Part 110: Part One Hundred and Ten: Revolutionary
Part One Hundred and Ten: Revolutionary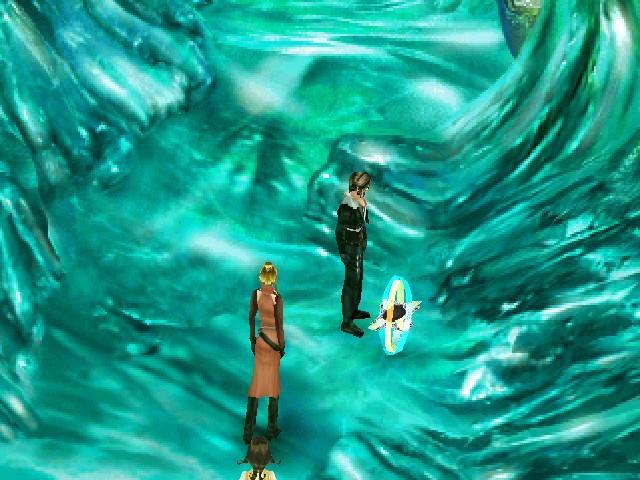
Here we are, at this save point. Past here is pretty much the end of Lunatic Pandora. It's kind of weird - the place is huge, but it's not that long a dungeon, especially if you just go straight to the end.
Just pop through the door and...
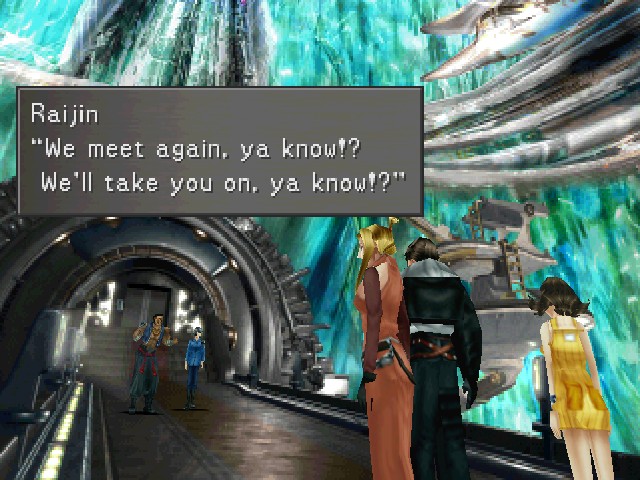
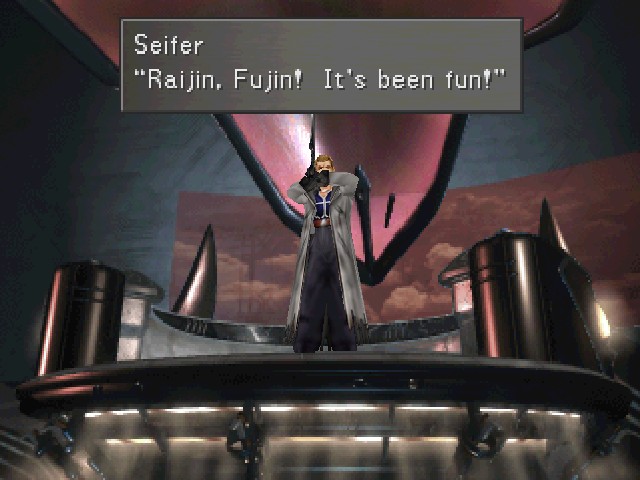
Ta-da! It's Fujin and Raijin.

But they're not going to fight us. Thanks for being here, I guess.
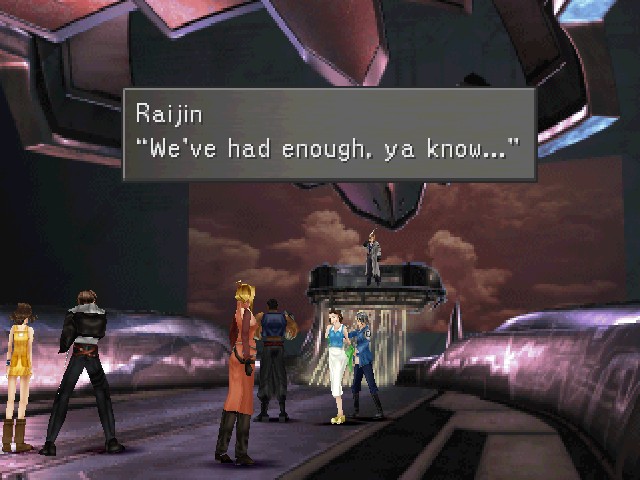
Raijin: That's right! We have a surprise, ya know!

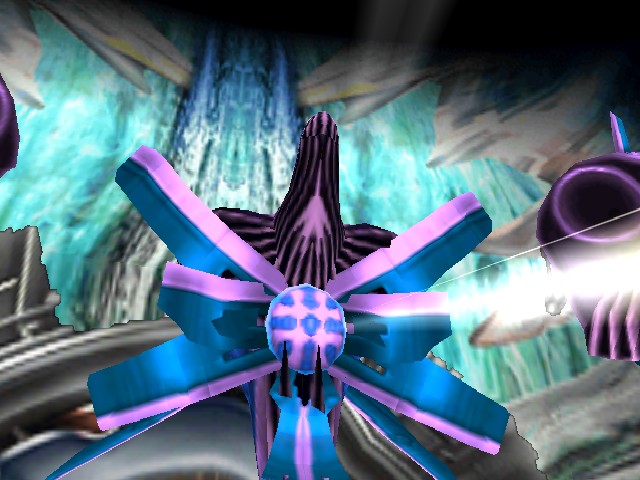
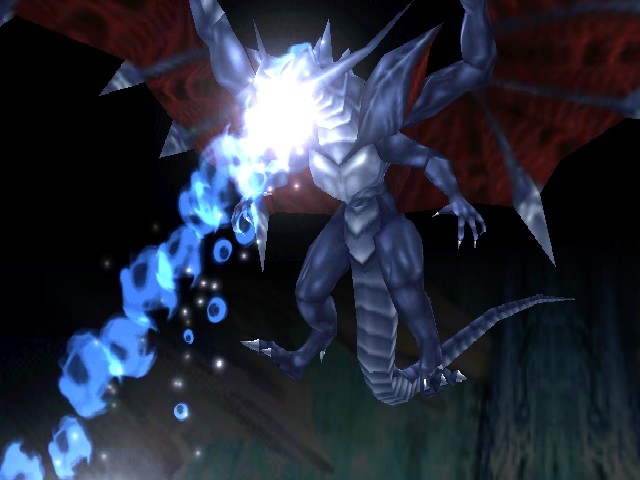
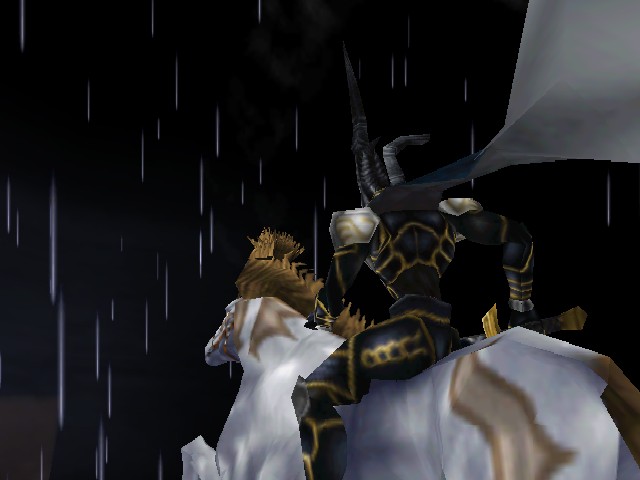
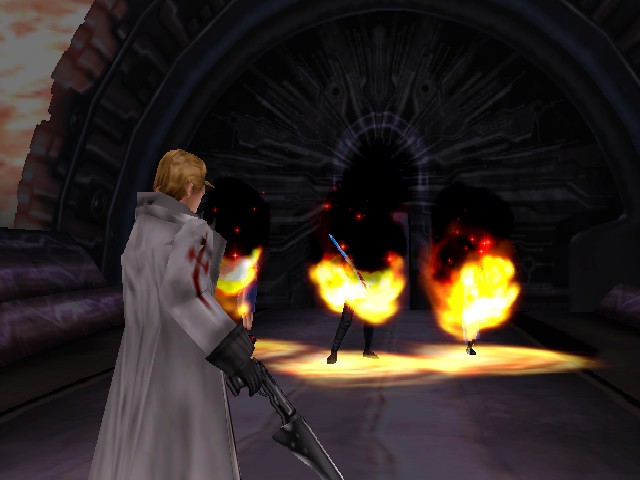
Their surprise is this thing.
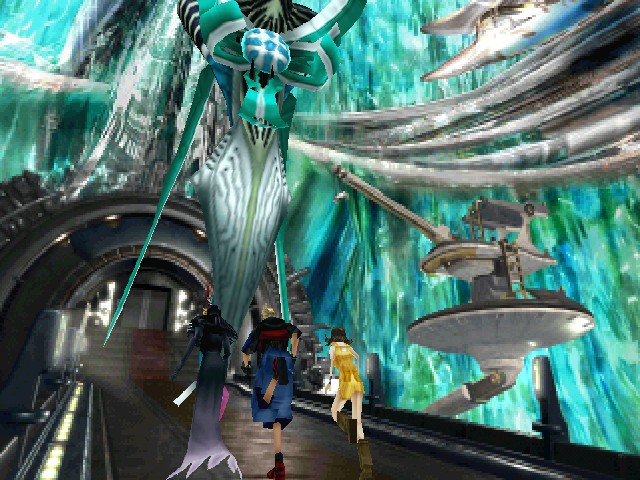
We've actually seen it once before, in this exact spot. When Zell boards Lunatic Pandora, this thing kicks him out directly.
Thankfully, it's not got psychic powers this time, so we can fight it as a regular boss. This kind of confuses and bothers me since we didn't actually do anything to weaken it.

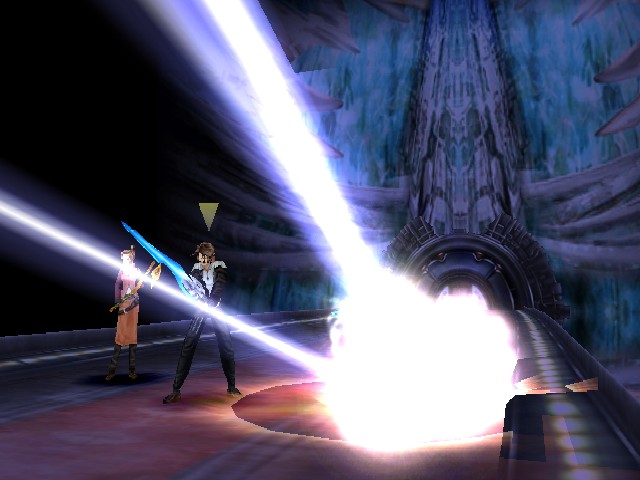
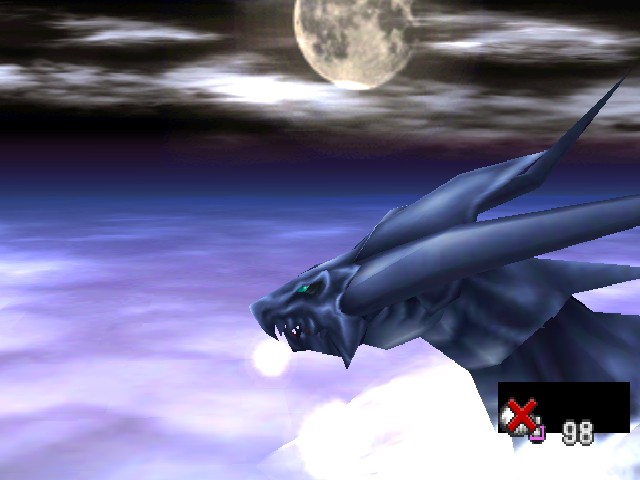
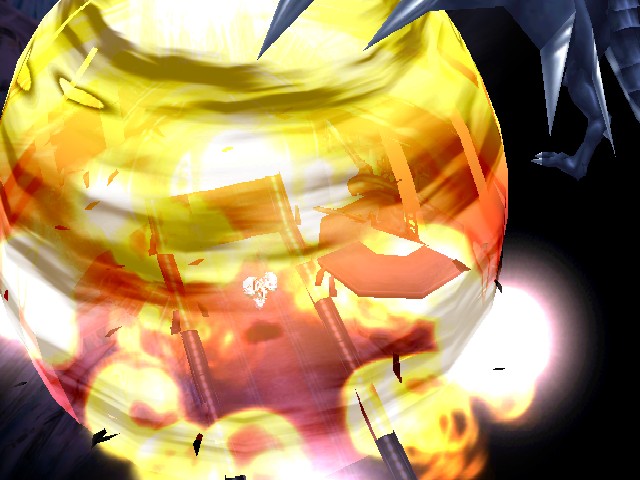
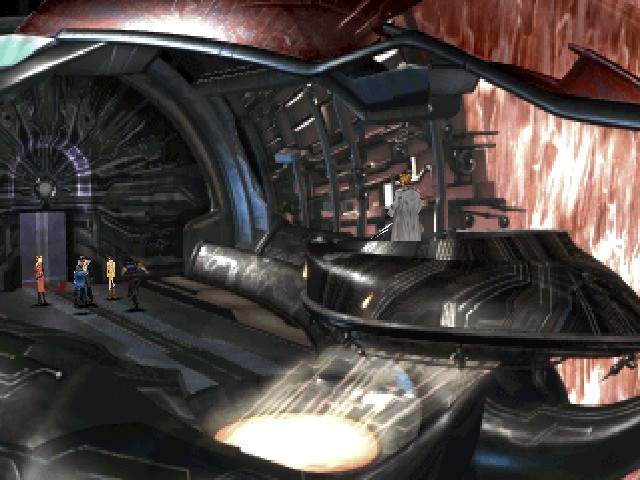
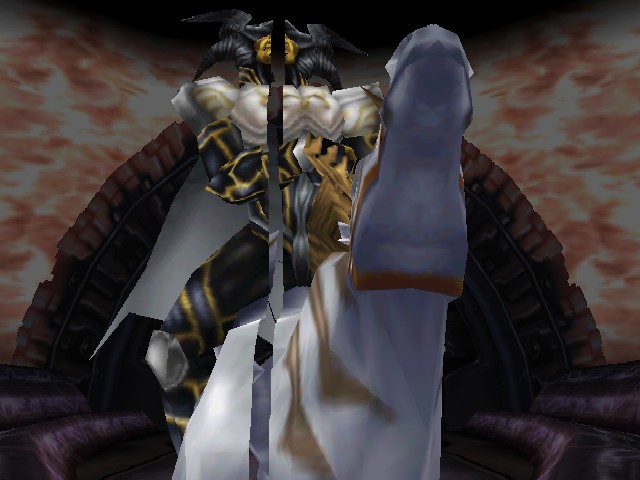
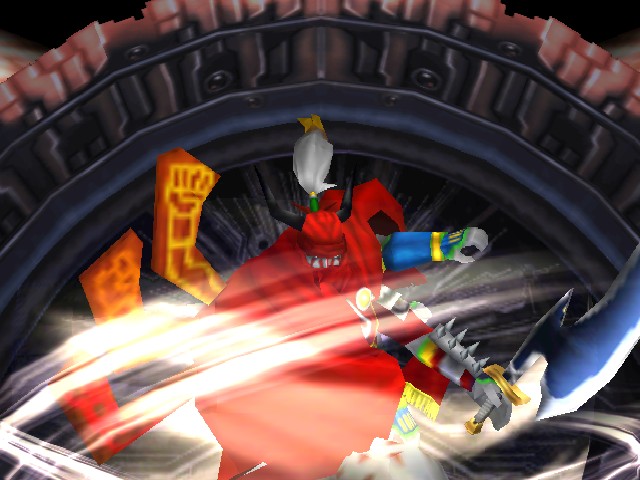
But here we are anyway, in a battle with the Mobile Type 8 and its two support pods (the things on its "shoulders"). The gimmick for this fight is that the boss has two forms. The first form is when it has the pods attached to the main body.
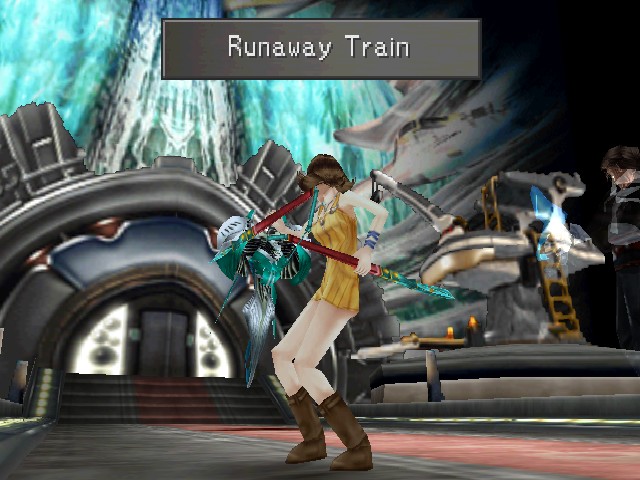
Its main attack in this form is that it floats over to a party member and whips them with some, uh, whips that come out of its pointy bit at the bottom there.
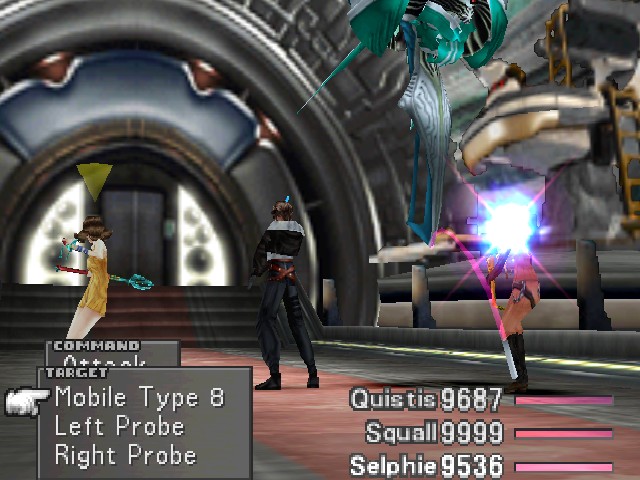
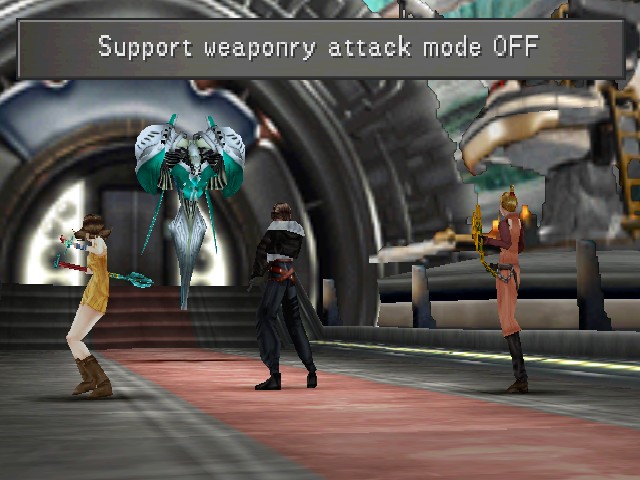
As you can see from the little target window, this fight has the three targets. The two probes serve an indirect support role in this fight, but you don't have to destroy them to win. Honestly, the best approach is probably to just blitz the main body.
My first order of business was to summon Doomtrain, and if you look at those numbers you can see why it's probably easiest to just smash the main body. The probes don't have nearly as much HP, but they do have 255 Vit/Spr even at level 1.
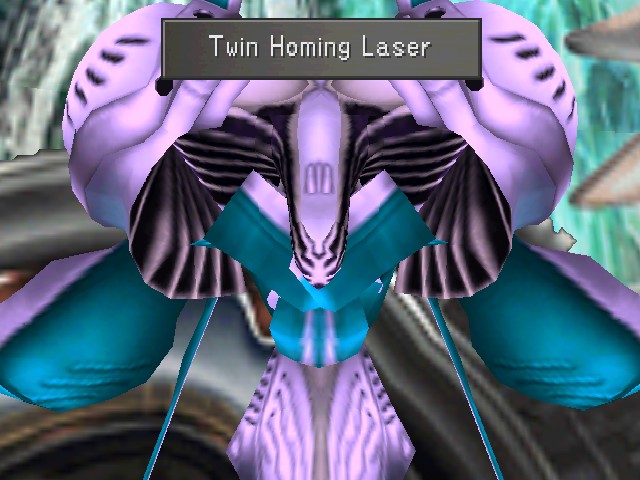
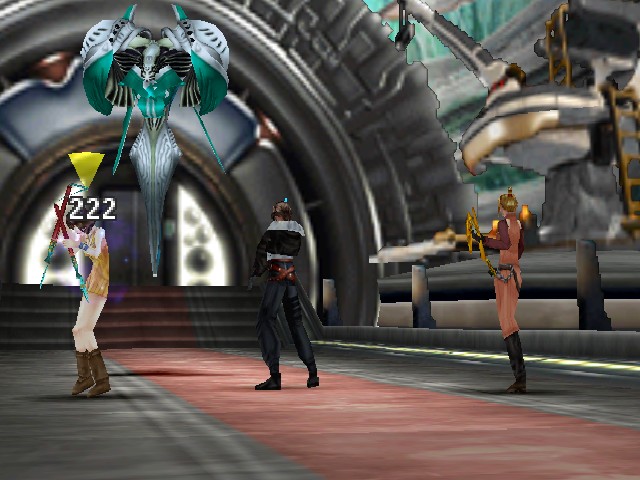
The only reason to ever worry about the probes is because when they're alive, they do this. Any attack on the thing is countered by Twin Homing Laser (or just Homing Laser if only one probe is functioning). I suppose this can get pretty nasty if you don't have a lot of defence, but here it does about 200 damage to Selphie. With squishier characters it's easy enough to mitigate the counter attack by just having one focussed attacker and someone healing them, so I've never bothered destroying the probes. If you're interested, you can mug the probes for a couple stat ups, though (the left probe has Vit Ups, the right has Str Ups).
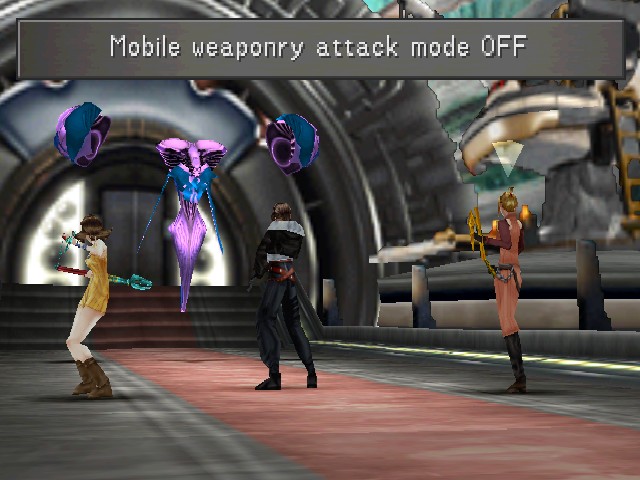
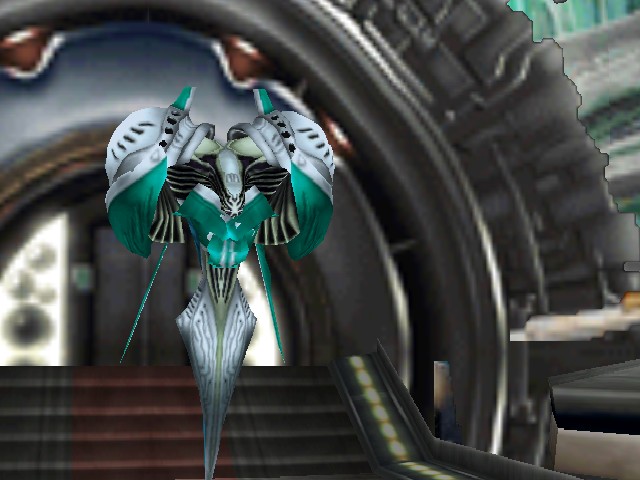
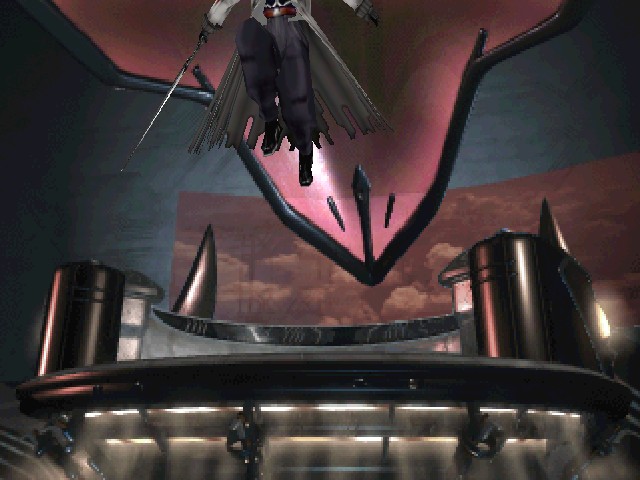
This, though, is what you really need to watch out for. After some time passes, the boss pops the probes off its "shoulders".
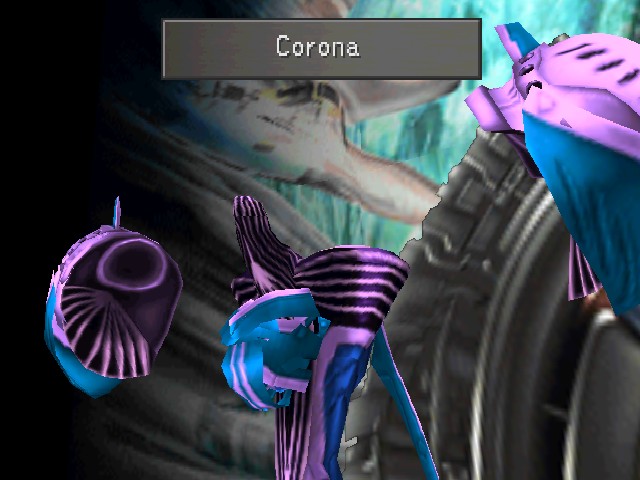
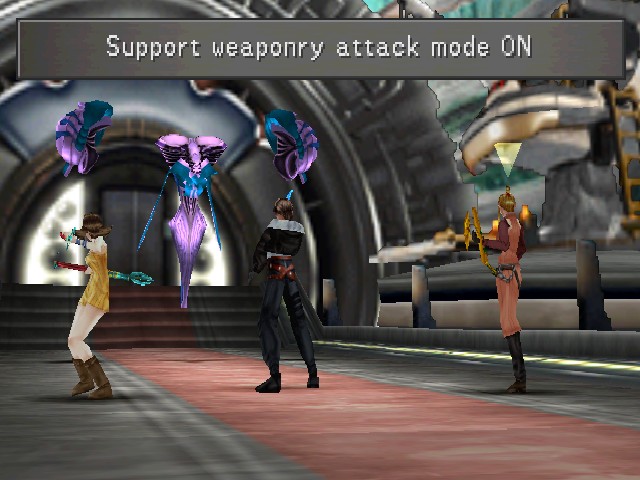
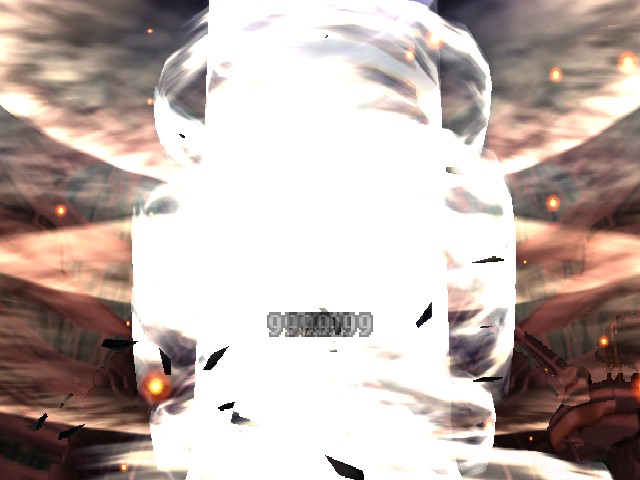
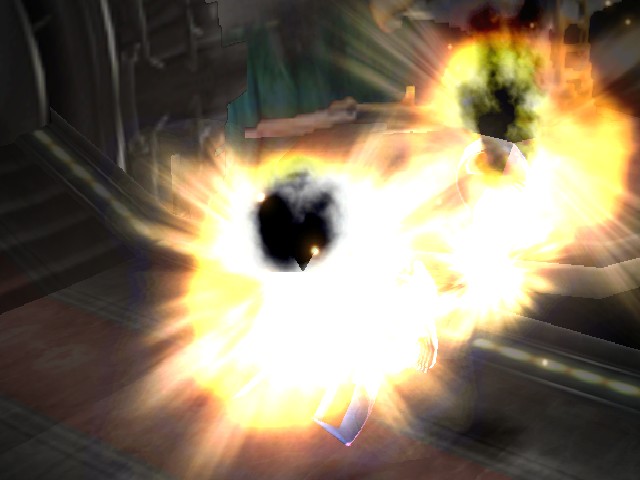
Once the probes are off, it uses Corona.
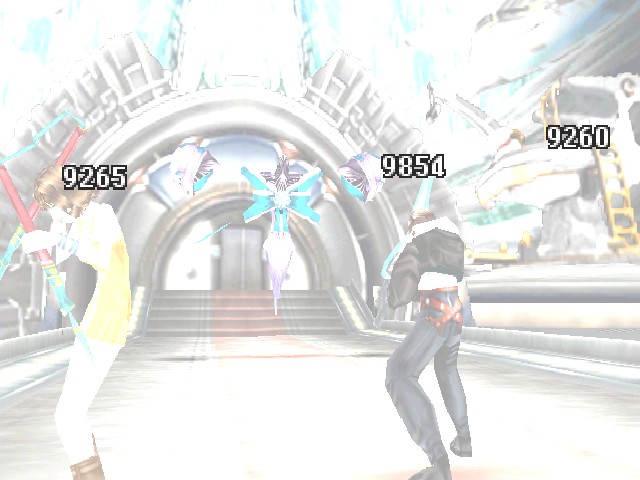
Corona is Mobile Type 8's ultimate move and drops everyone's HP to 1. There's nothing you can do to mitigate that, either, unless you use a Holy War or Invincible Moon to become invincible.
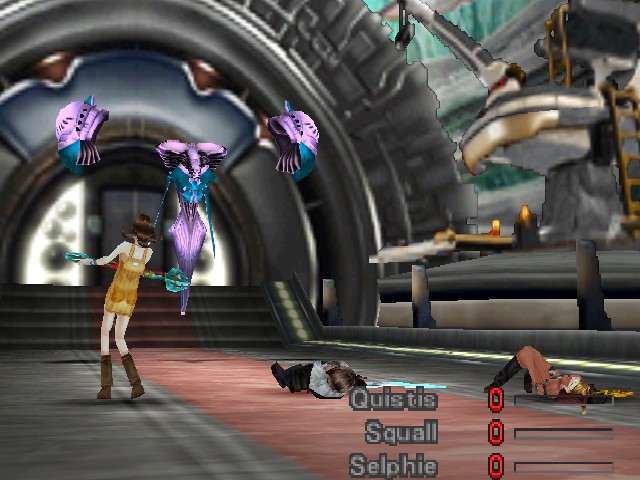
If the probes are still alive after Corona, they can now attack directly. They're not very powerful but when you only have 1 HP they don't need to be. I actually fucked this one up because Full-Cure came up on Selphie's slots and I hit "Do Over" like a dipshit. But either way, be careful of Corona.
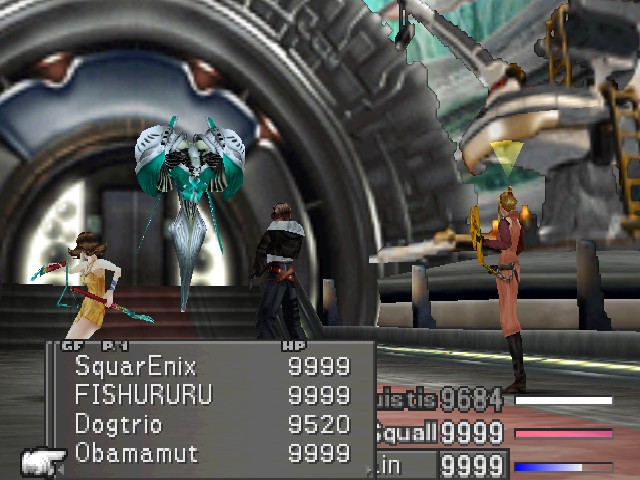
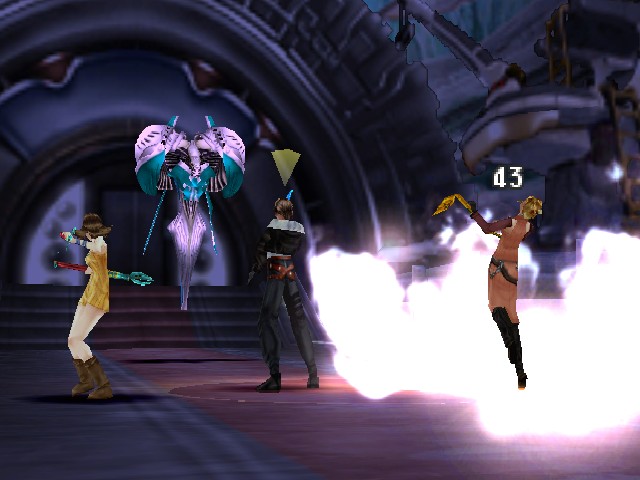
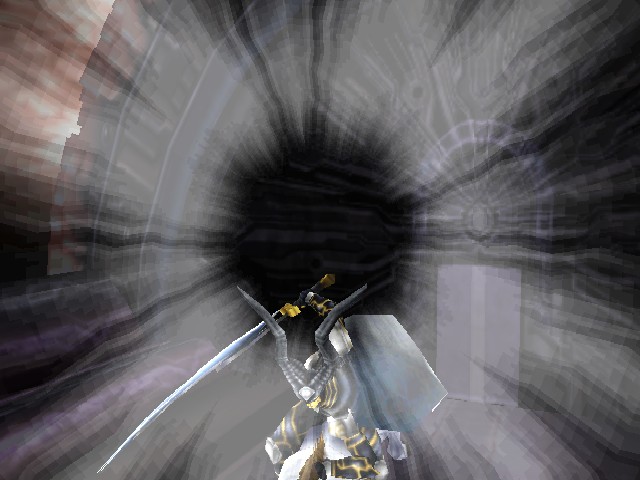
For round 2, I decided to show off Obamamut.
This time I didn't have to wait forever.
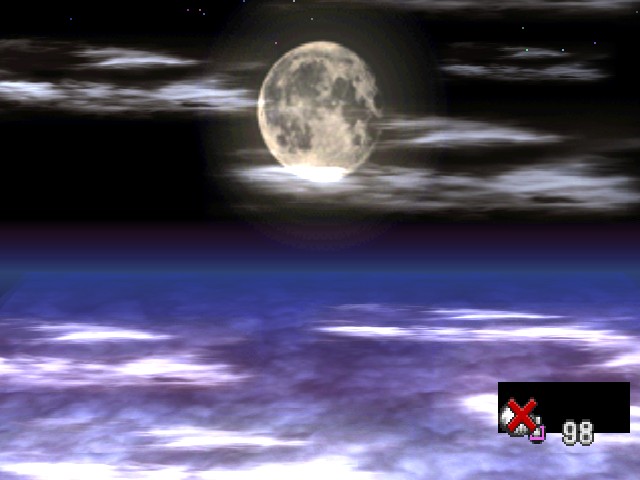
The attack begins as the king of dragons dramatically rises through some clouds.
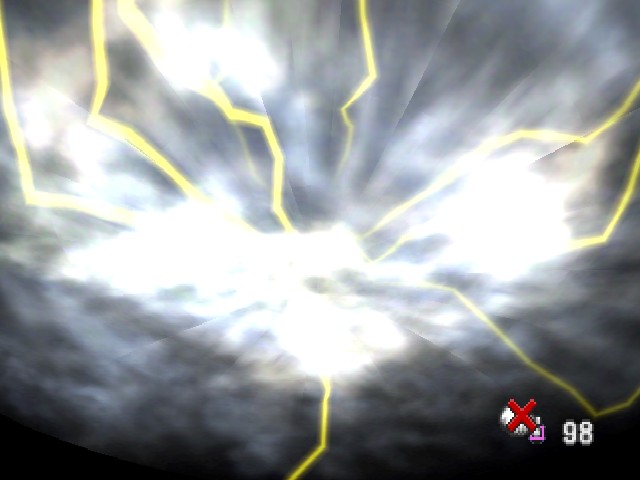
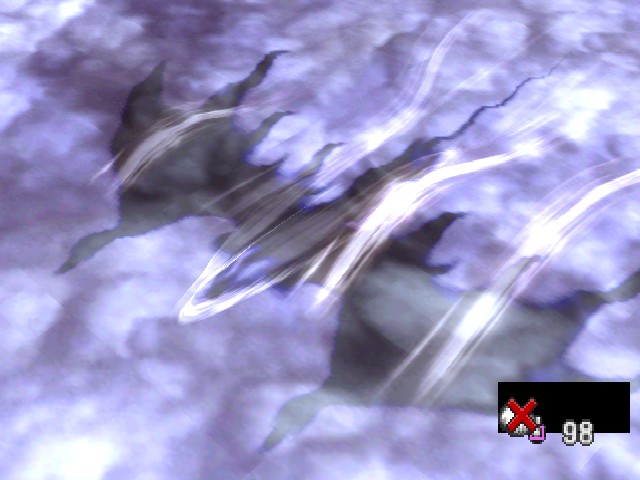
Then he does a lightning dive-bomb back through them because he is a show-off and they wanted to pad out the animation to let you boost the damage higher.
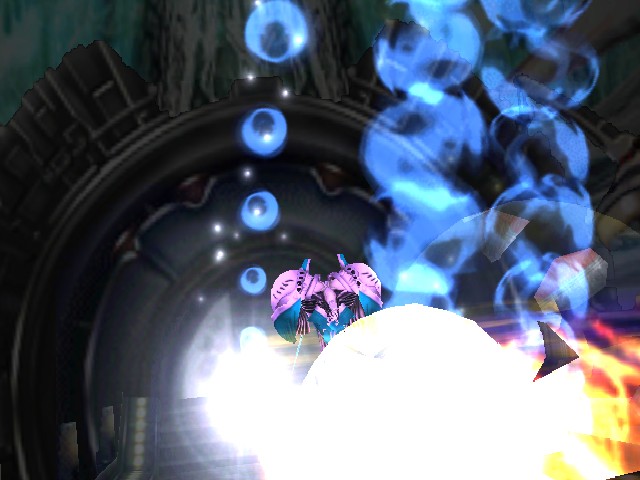
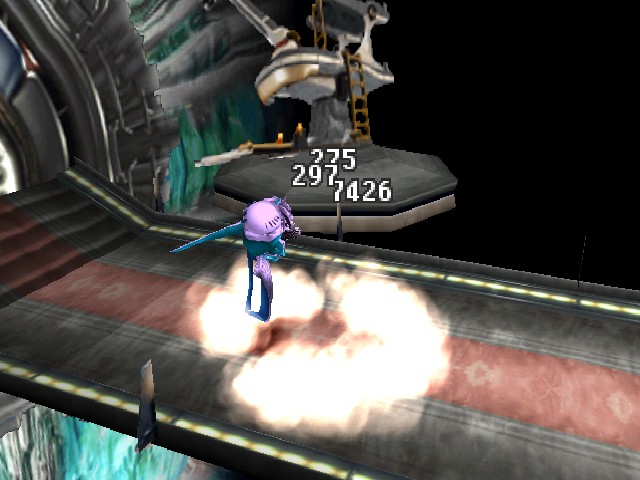
Having showboated enough, Bahamut proceeds to just blast the shit out of everything with fire breath. Unfortunately, this attack still only hits once.

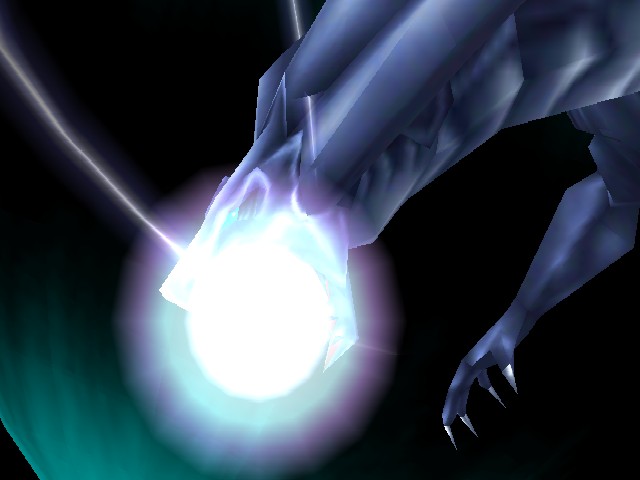
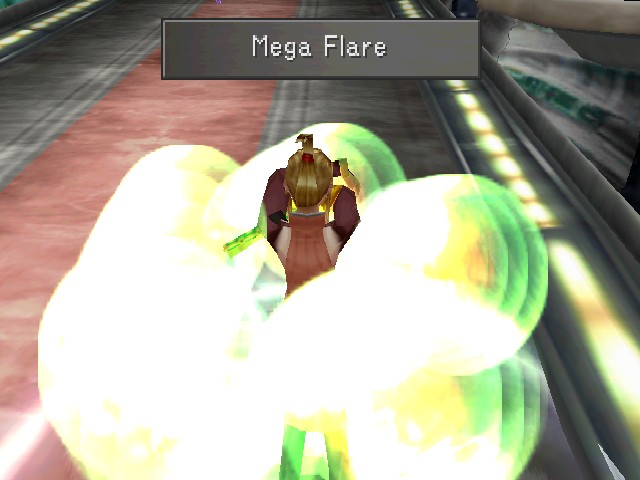
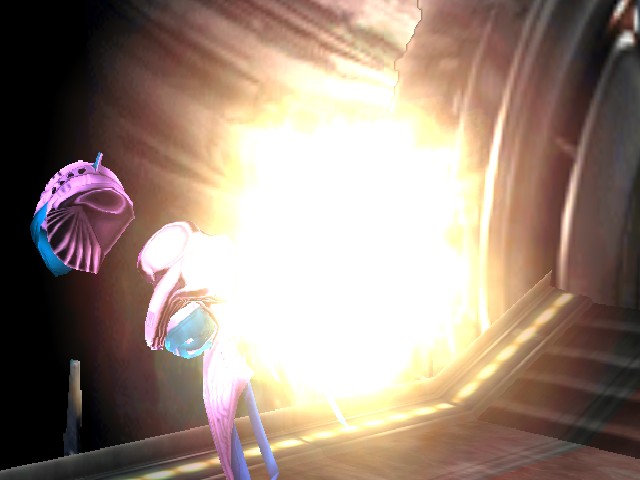
Pictured here: Mega Flare hitting, once.
And boy does it ever hit. You can barely see the numbers, but it did the full 9,999 to everything. On top of having high power, Mega Flare ignores enemies' Spr, making it a good choice if you're up against something with high Spr and you don't want to summon Doomtrain/cast Meltdown.
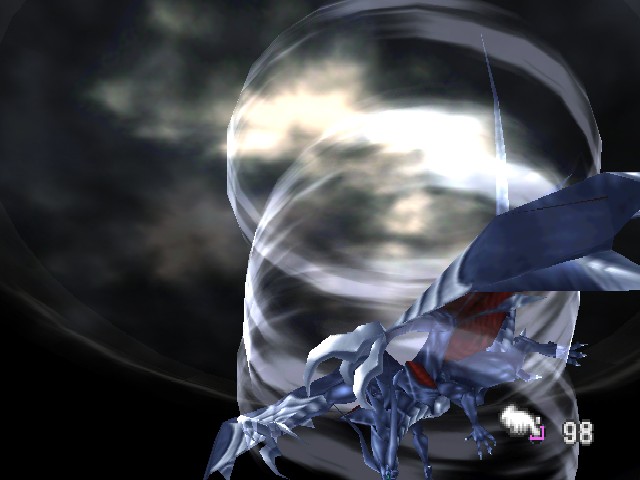
The Twin Homing Laser counterattack was a little lacking, in comparison.
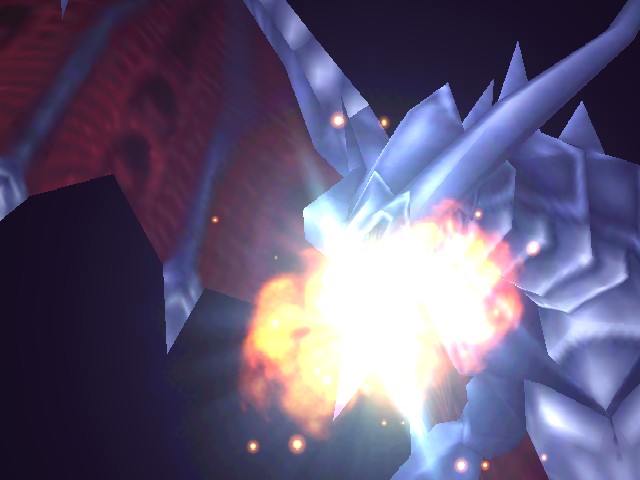
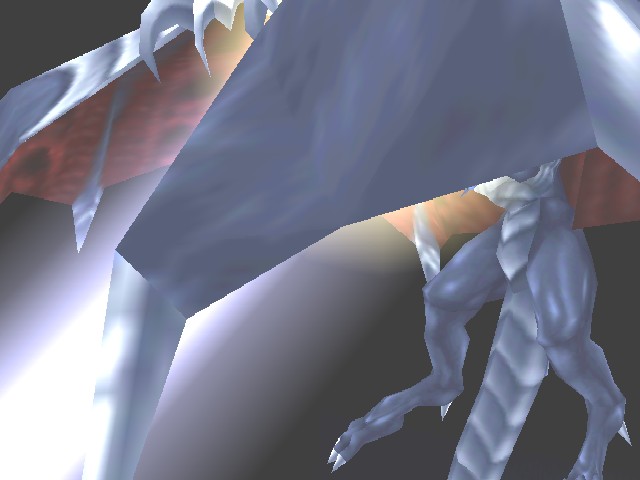
After getting nuked to shit by Bahamut, Mobile Type 8 explodes pretty spectacularly.

One weird thing about this battle is that everyone just stands around for a second after the boss blows up. I'm not 100% sure, but I figure there are some extra frames on the animation where nothing is happening.
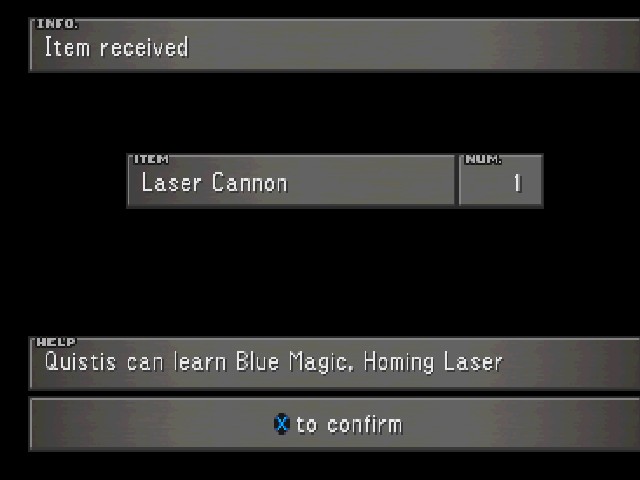
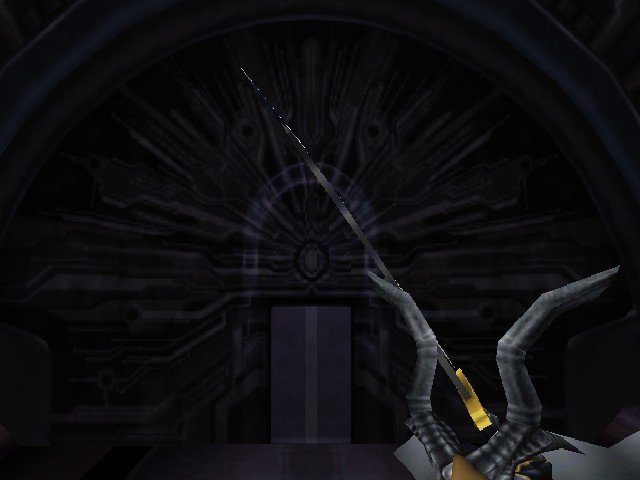
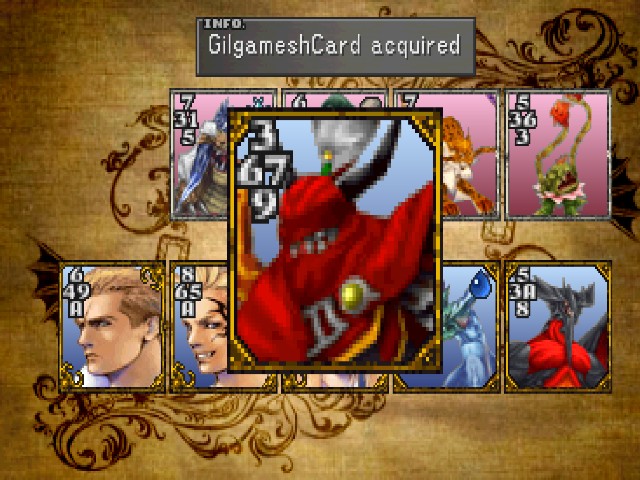
And here's our reward!
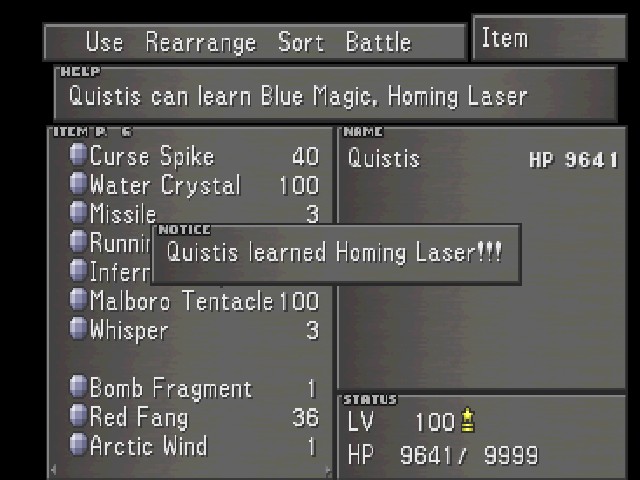
The Laser Cannon teaches Quistis her final Blue Magic spell, Homing Laser. Homing Laser is a single-target attack, but it's strong as fuck, with more power than Ultima at Crisis Level 1 and matching Shockwave Pulsar at Crisis Level 4. Unlike Shockwave Pulsar, though, damage on Homing Laser is still capped. Still, it's much easier to get and it's reliable enough in a fight.
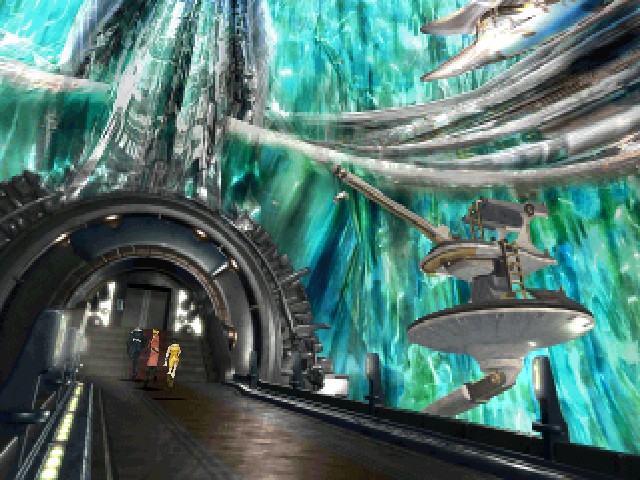
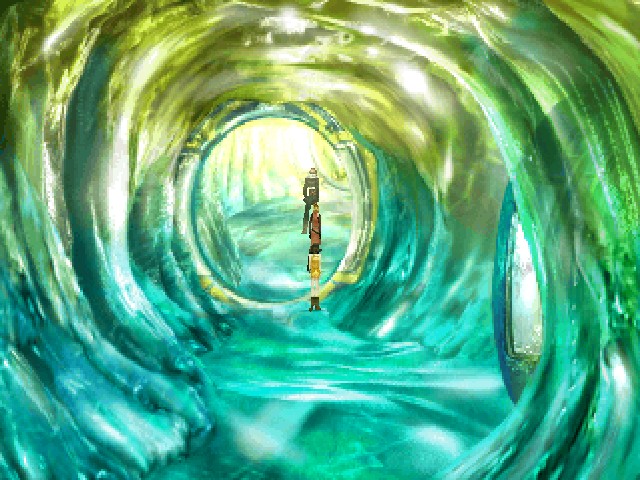
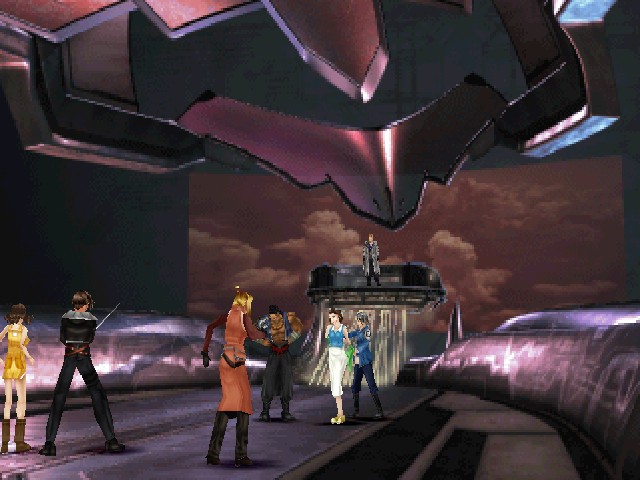
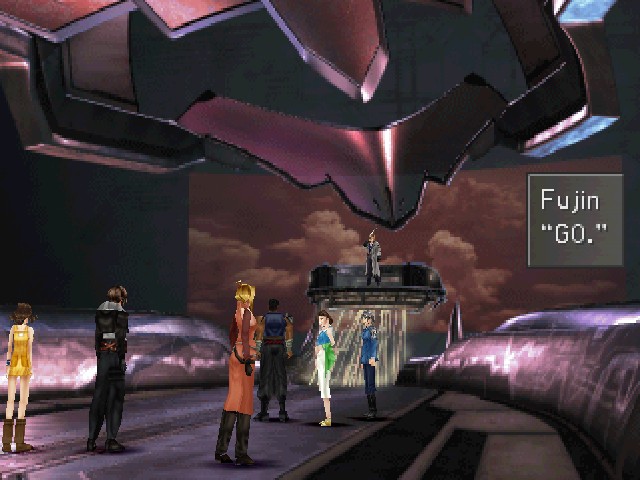
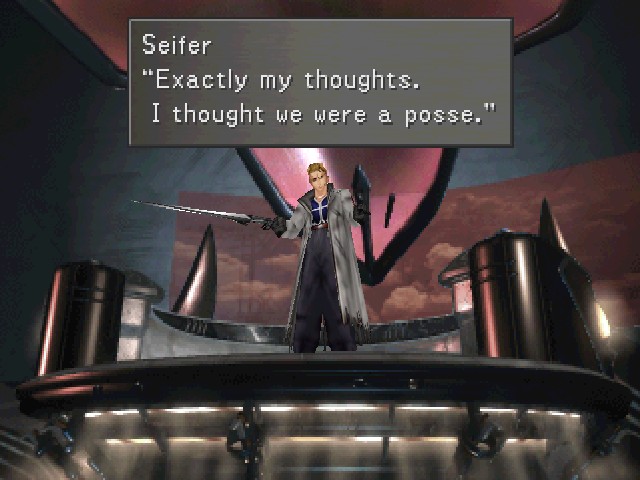
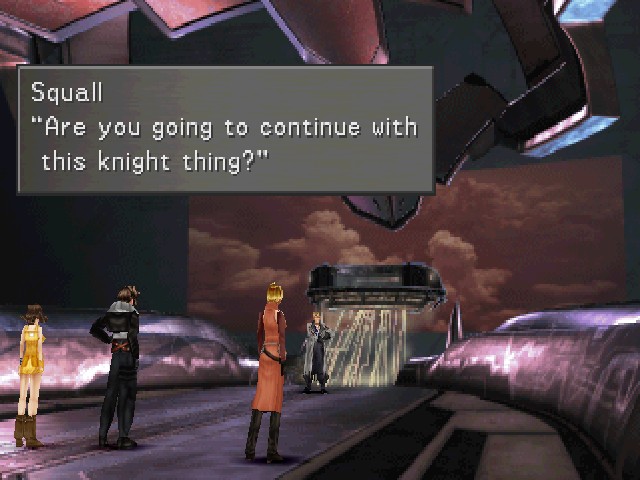
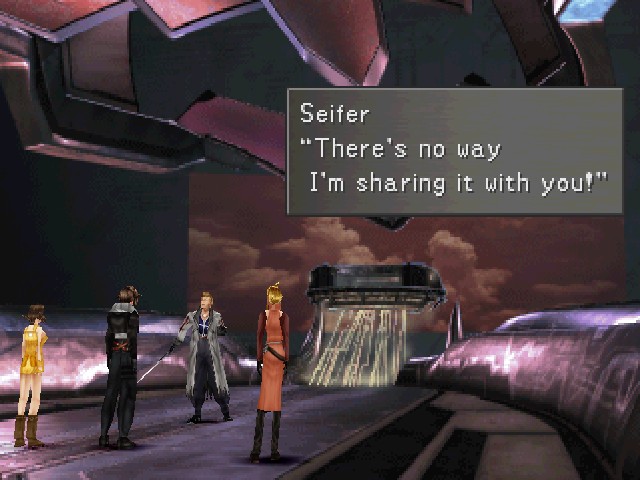
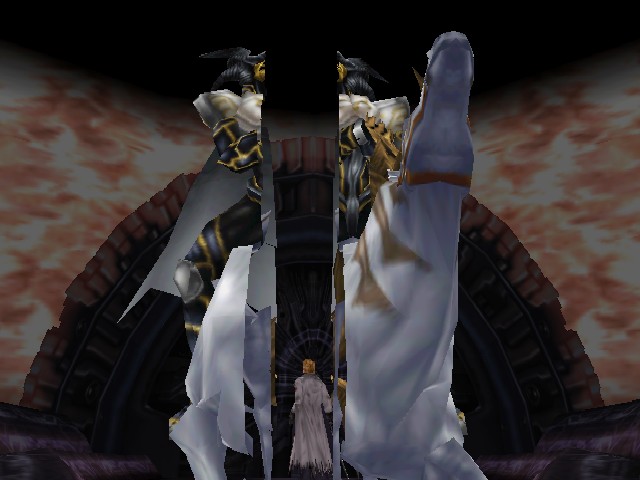
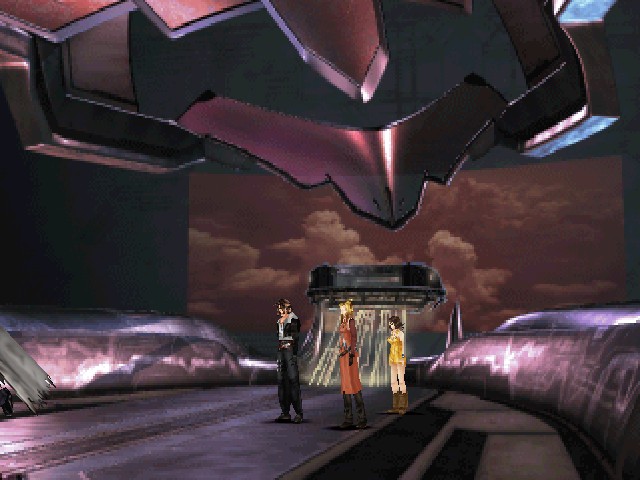
Moving on, Fujin and Raijin went through this door, so let's follow them.
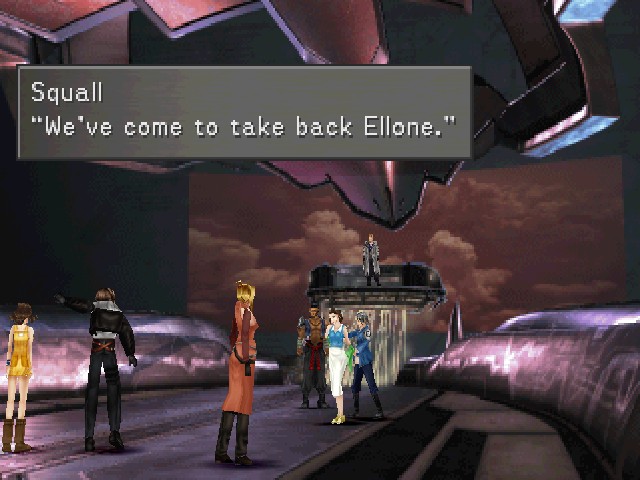
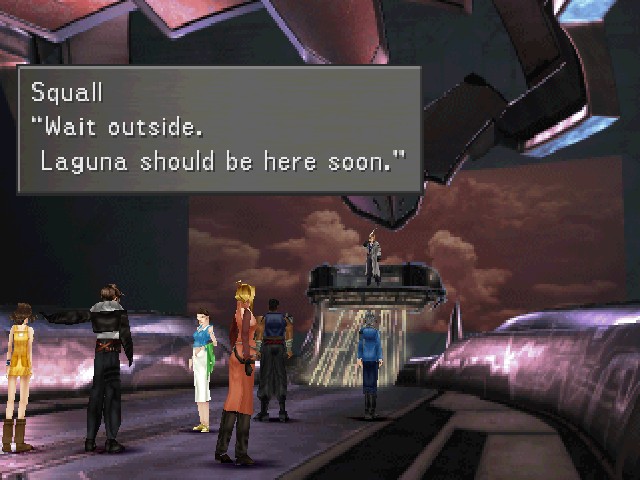
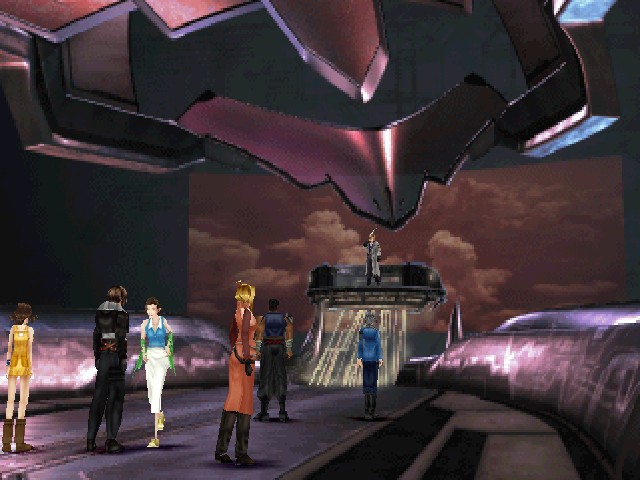
As soon as the party is through the door, a scene starts up. Looks like we've caught up.
A small motif with Seifer is that we generally run into him standing in front of Edea/Ultimecia, guarding her as her knight. Here, it's changed and Fujin and Raijin are in front of Seifer, doing the dirty work. Ellone is also here. Hello, Ellone.
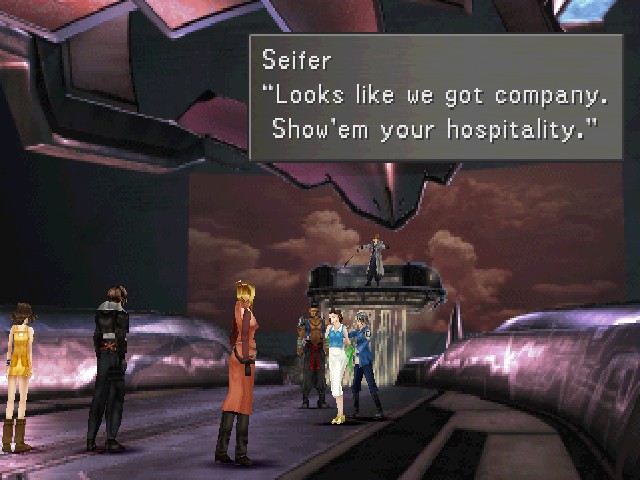
As Raijin steps forward, Squall pulls out his gunblade and takes a fighting stance.
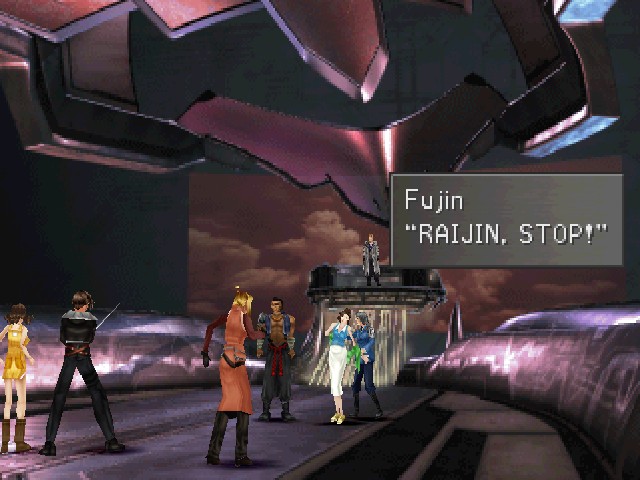
But Fujin's not into it this time.
Raijin does a little nod to acknowledge that he's not going any further.
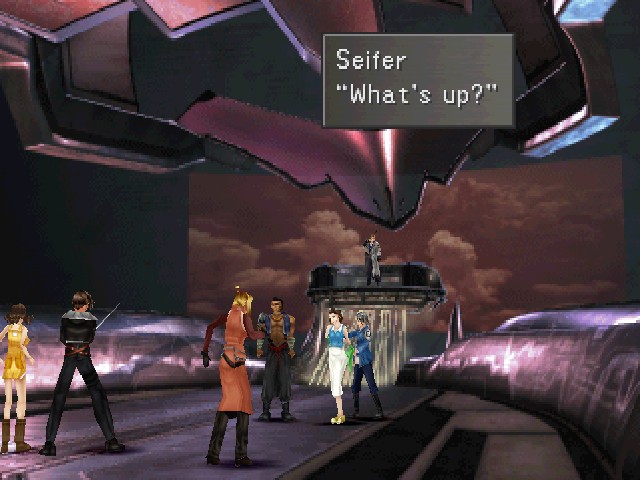
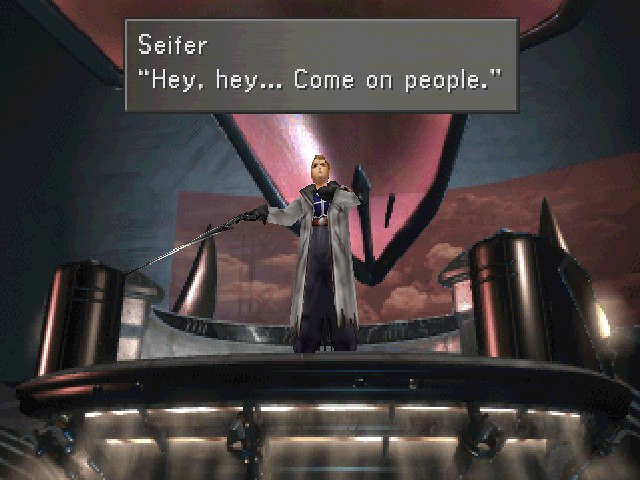
It's hard to see, but Seifer is doing little gunblade poses in the background there while he talks.
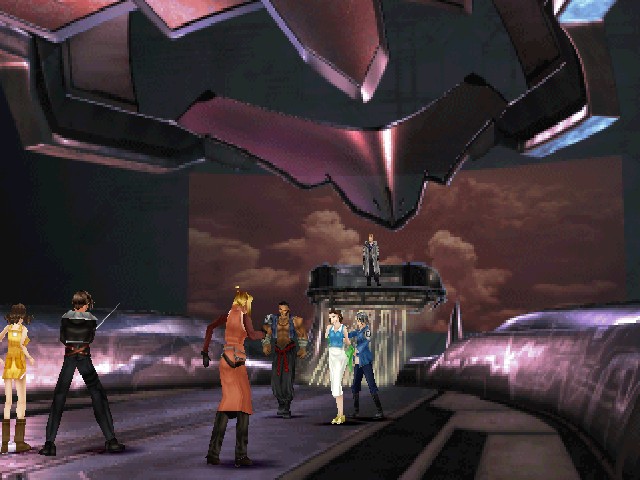
While Raijin turns around, Squall realises he doesn't have to fight right now and puts his weapon away.
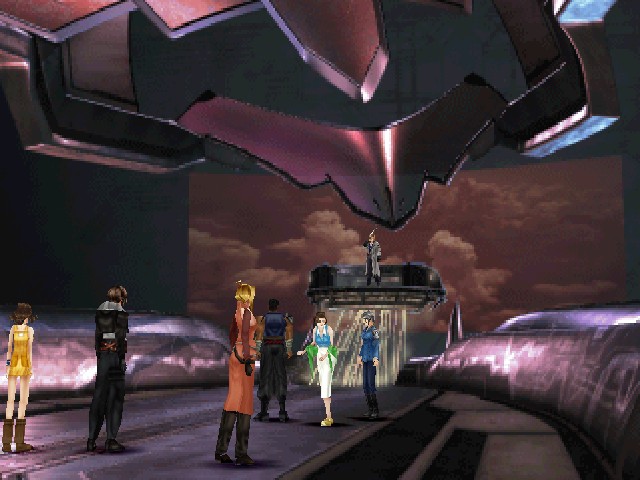
And Fujin lets Ellone go.
Oh, by the way, I hope you weren't expecting to see a line from Ellone here. That part of her contract ran out at the Lunar Base and she will never speak again.
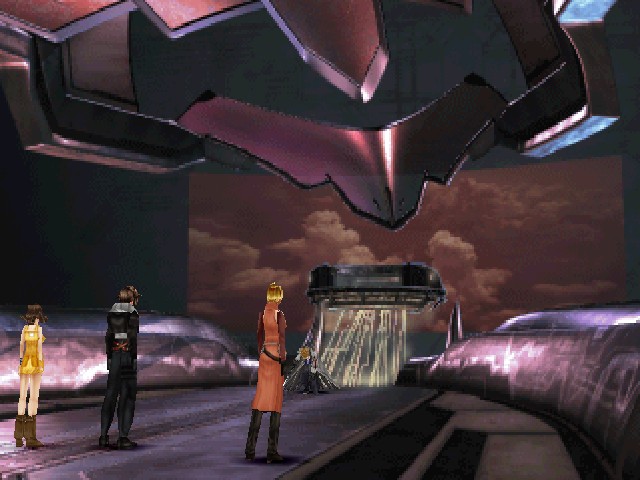
A very small thing you can see here is that Fujin and Raijin turn their backs to Squall's party. They don't want to fight, and they implicitly trust Squall to not just cut them down.

Here's the reason they're not fighting us. Lunatic Pandora is pretty much the end of the line for Seifer. As I mentioned with Biggs and Wedge last time, the G-Army is gone, with all the soldiers either deserting or being killed by monsters that fell into the Pandora.
And now the last two holdouts, Seifer's closest allies, are turning their backs on him. Metaphorically this time.
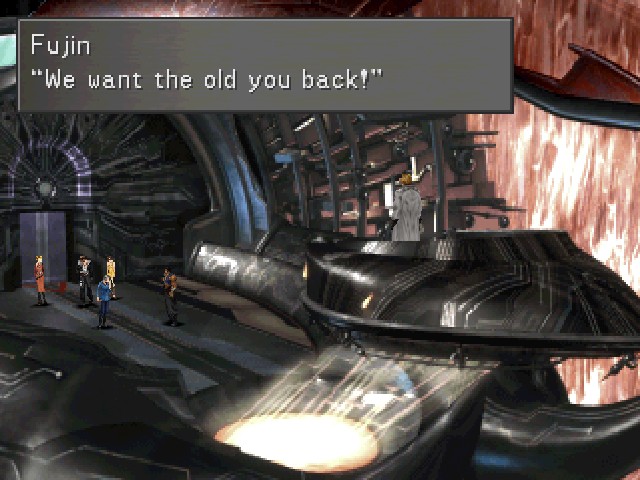
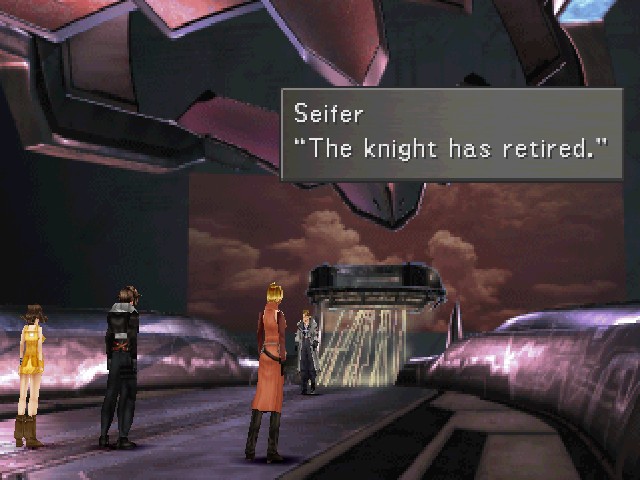
Fujin: POSSE...
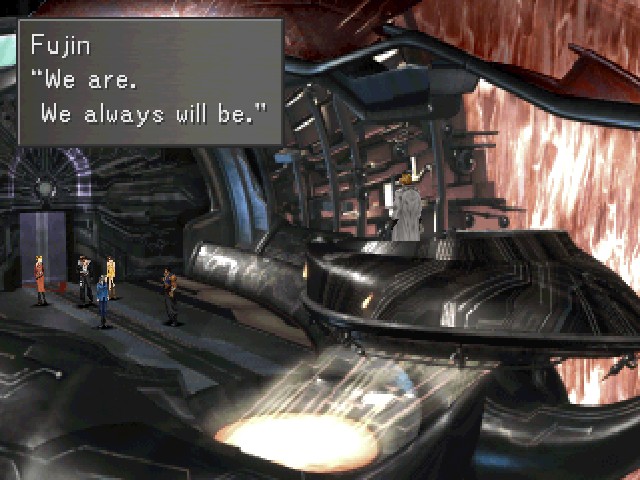
For her last lines in the game, Fujin finally drops her speech quirk. She's finally being open about her feelings, trying to appeal to Seifer with reason. Dropping her speech pattern of yelling single words to finally be open with someone she cares about parallels the development of another character in this game who tends to speak in clipped sentences and be cagey about their feelings (I mean Squall).
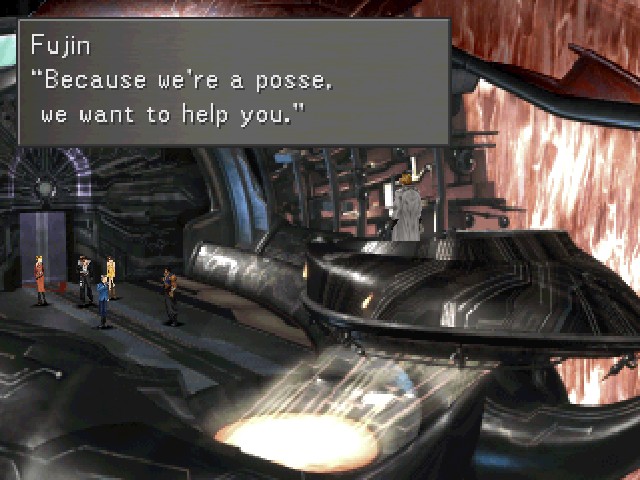
Fujin: Whatever it takes to fulfill your dream, we're willing to do.
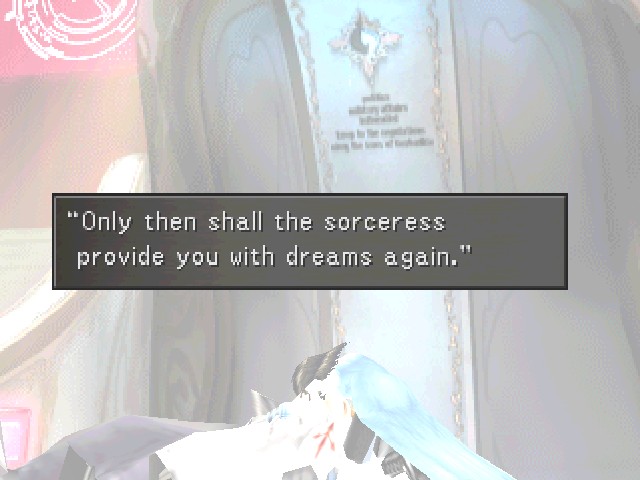
Finally, someone takes the initiative and says this to him. You may notice that there are currently no sorceresses in this room, which has thematic importance: Seifer's dream wasn't just to be a hero, it was specifically to be the romantic ideal of a sorceress's knight.
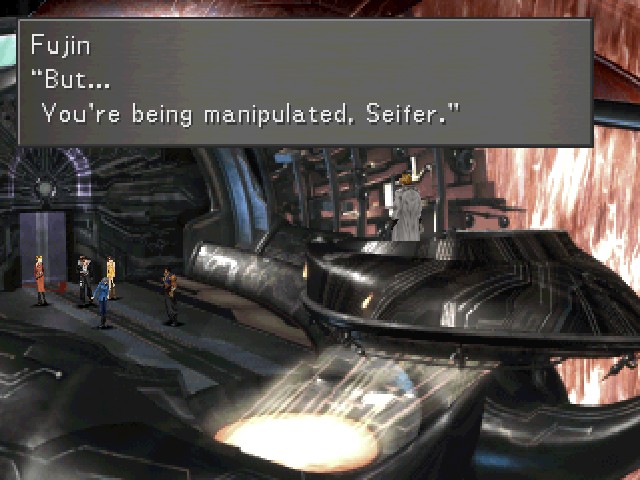
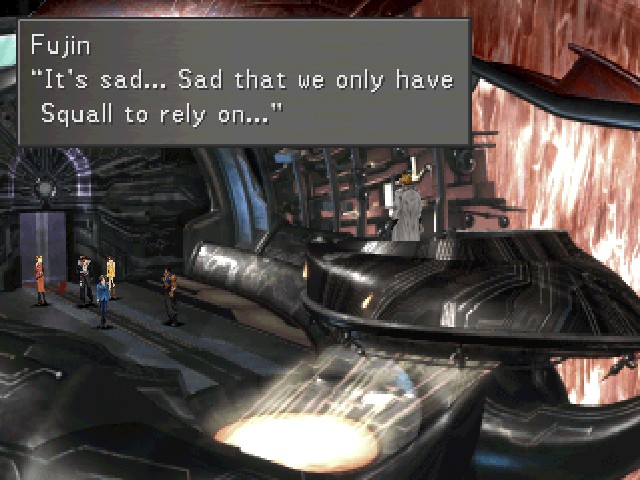
Fujin: You've lost yourself and your dream. You're just eating out of someone's hand.
This recalls this earlier line that we saw while looking through Rinoa's memories:
At this point, Seifer's dreams have been fully supplanted with Ultimecia's agenda.
Fujin: Since we can't get through to you, all we have now to rely on is Squall!!!
Hey, if you don't want him to help I'm sure he can find something else to do.
Fujin: Seifer! Are you still gonna keep goin'?
Seifer's fall from grace is finally complete as he ignores Fujin to chase a dream that isn't even his own.
See ya.

What a melodramatic fool.
For his part, Squall's not impressed. I love his body language here, totally unimpressed by Seifer.

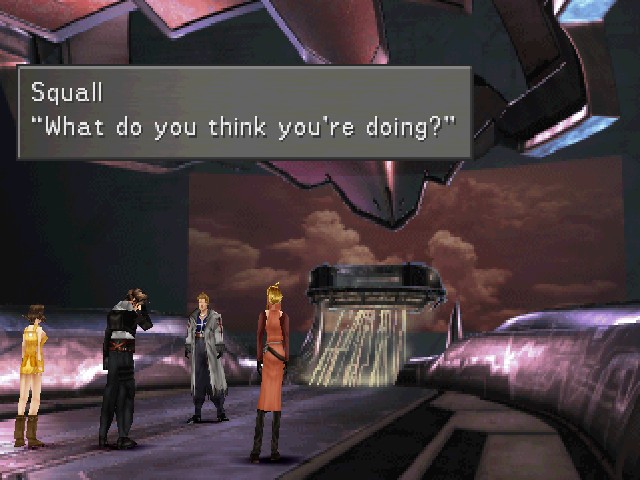
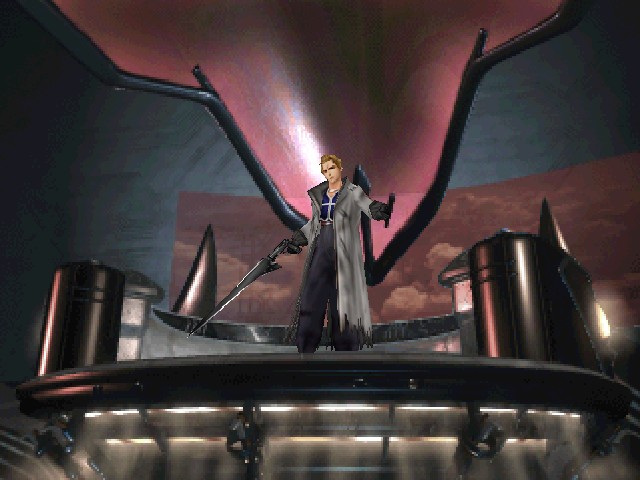
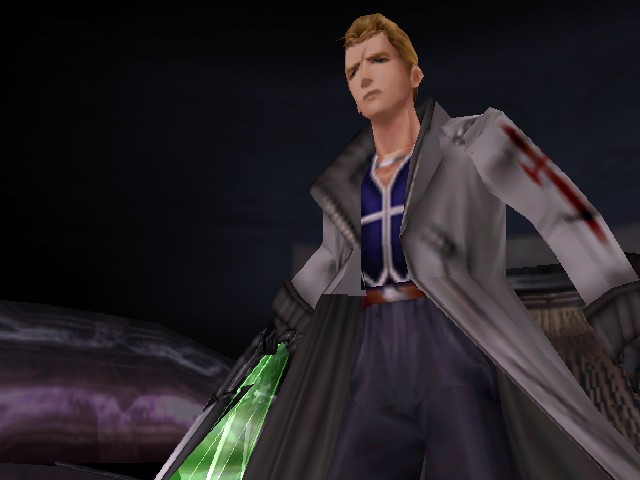
Seifer's not exactly cutting an imposing figure here with his coat all torn to shreds and his 0 for 3 record against the party.

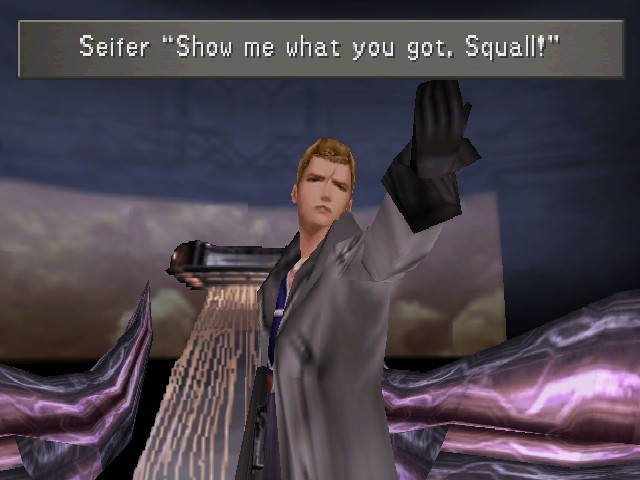
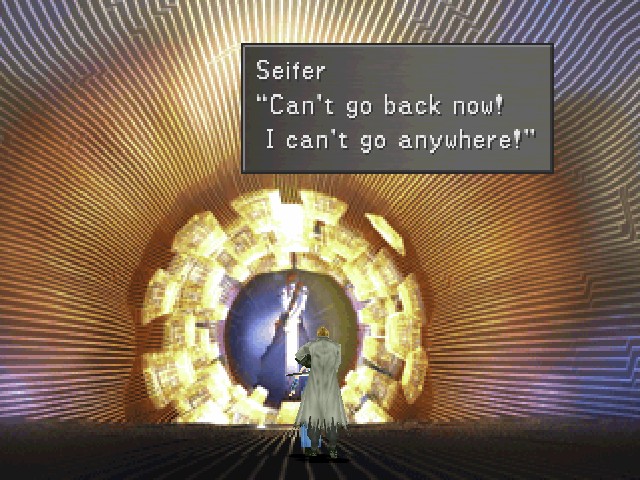
 : I don't wanna stop. I'm gonna keep running!
I love Seifer as a character. He's so bombastic and self-righteous.
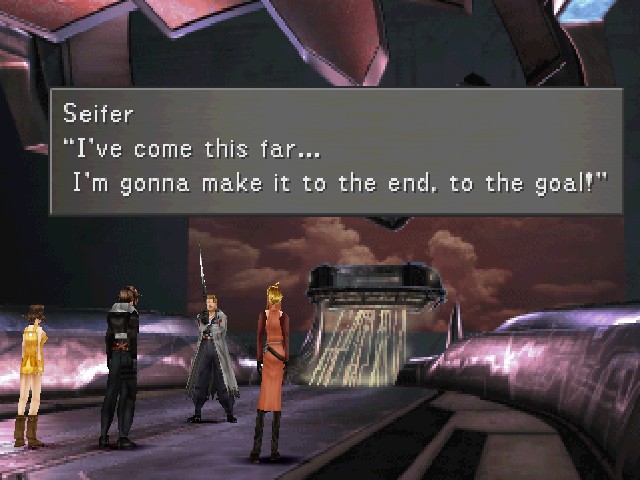
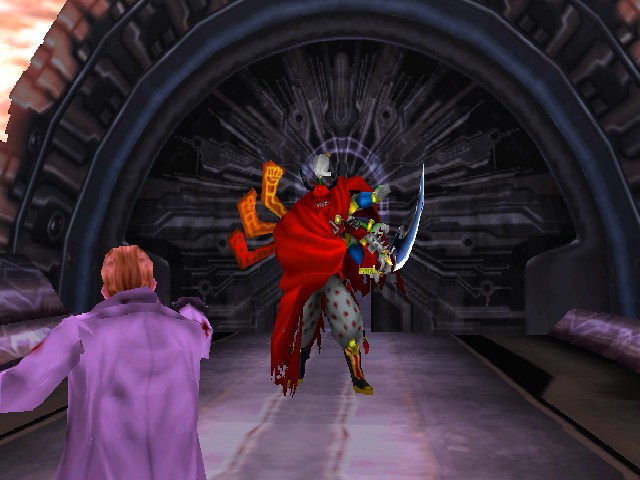
And with one more dramatic declaration, the battle begins.
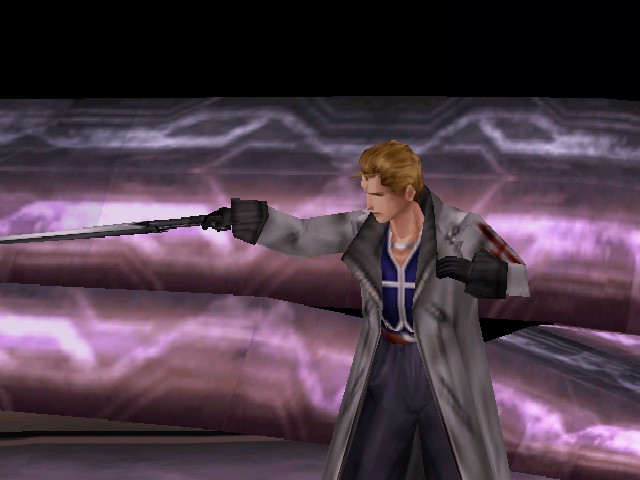
Seifer Almasy, round four.
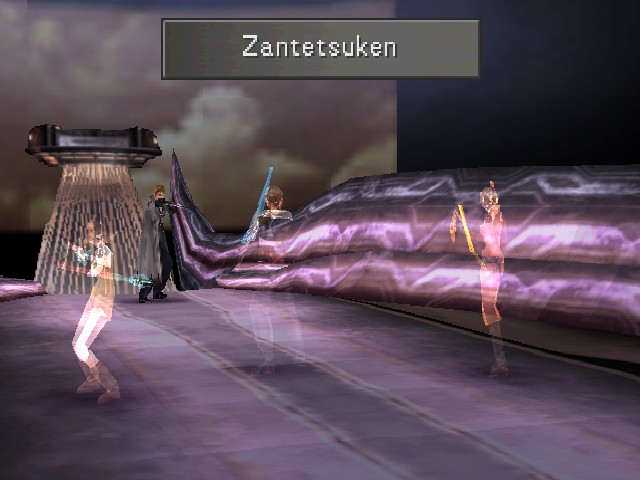
It goes a little differently than the others.
But that's not the only thing that goes differently in this fight - Zantetsuken's not the normal slice-across-the-screen affair.
Bad day to be Odin.
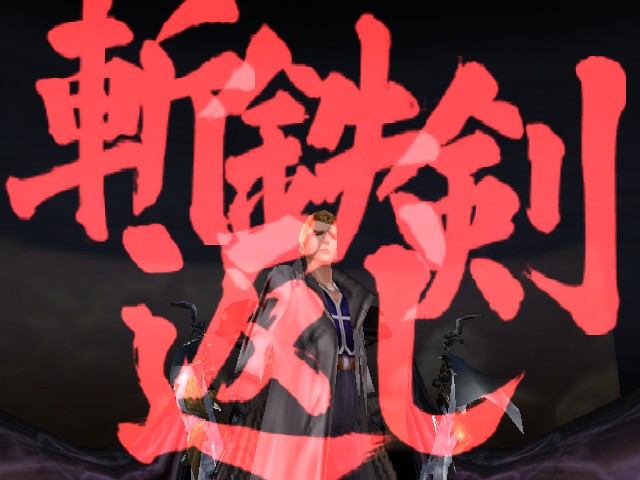
斬鉄剣返し - Zantetsuken-gaeshi, "sword that cuts iron reversal".
So, yes, the battle with Seifer is actually a little longer than just Odin's animation.
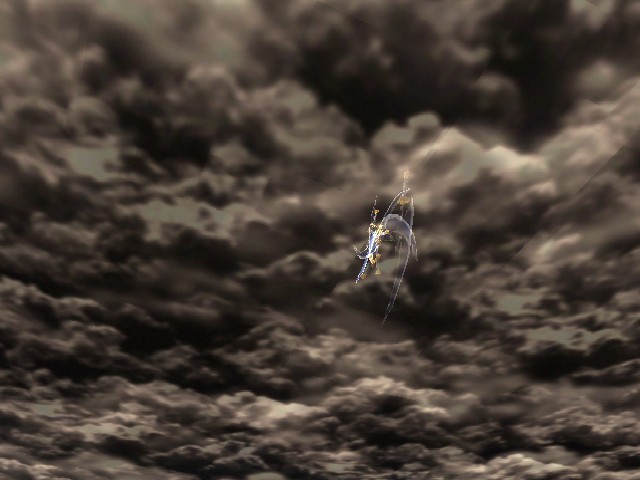
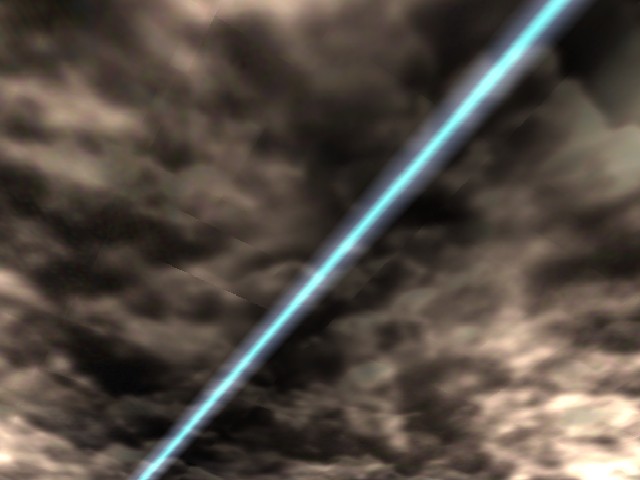
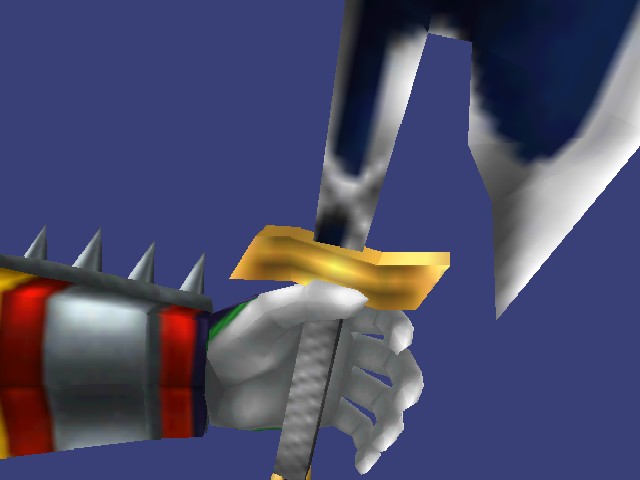
But before we get to that, we can see Odin's sword fly off and cut through the clouds, where it's caught by... some guy. Unimportant.
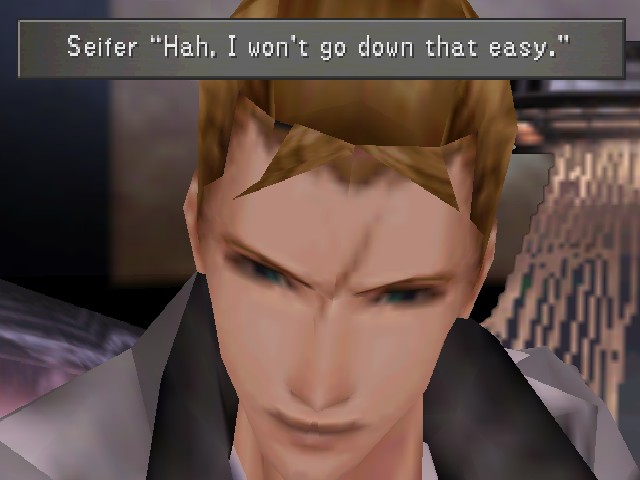
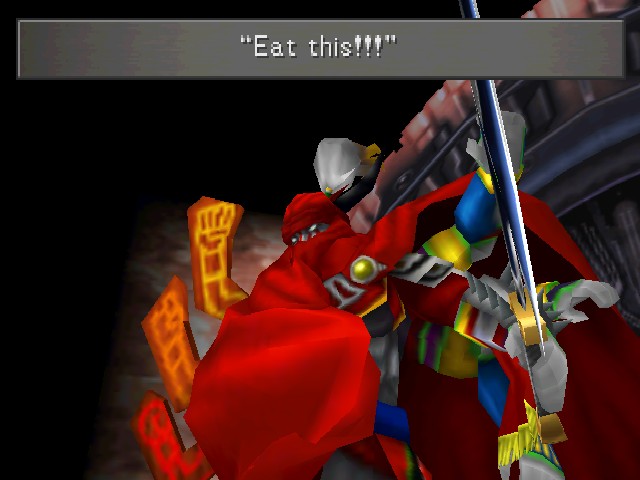
 : Let me add another scar for ya!
To begin the battle proper, Seifer delivers this line, which has always stuck with me but I never remember which fight he says it in.
And now for disappointment. Probably the second most interesting thing about this fight is that Seifer has Aura when he's above level 30. No other enemy in the game has Aura to draw.

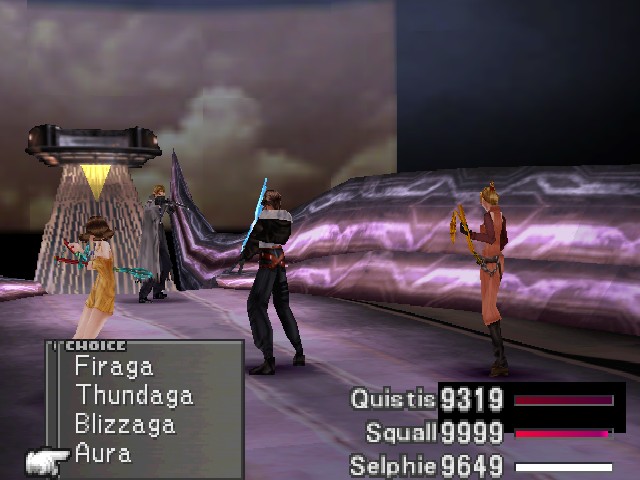
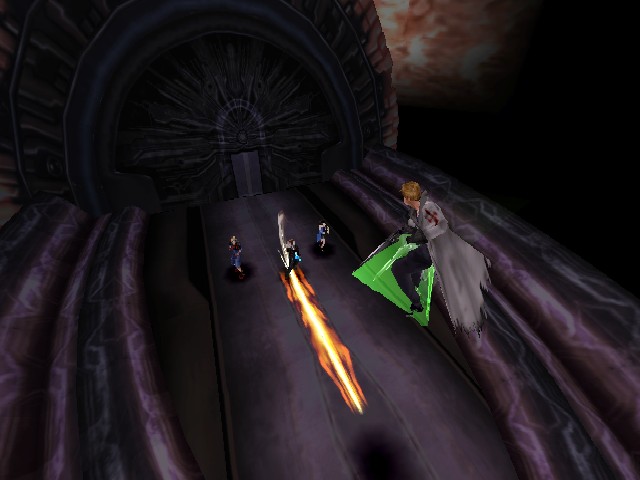
Otherwise, it's pretty much the same old Seifer. Physical attacks and fire magic, this time Firaga and Flare (which, yes, is technically not a fire spell). Because of something we'll see in a minute, this is probably the easiest fight with Seifer since Squall one-shotted him in Deling City.
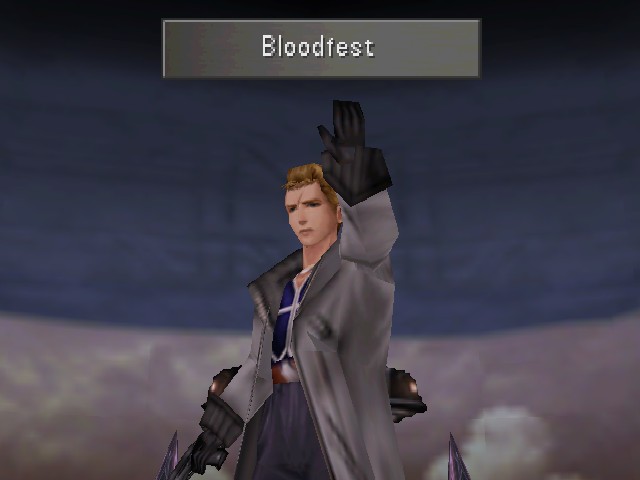
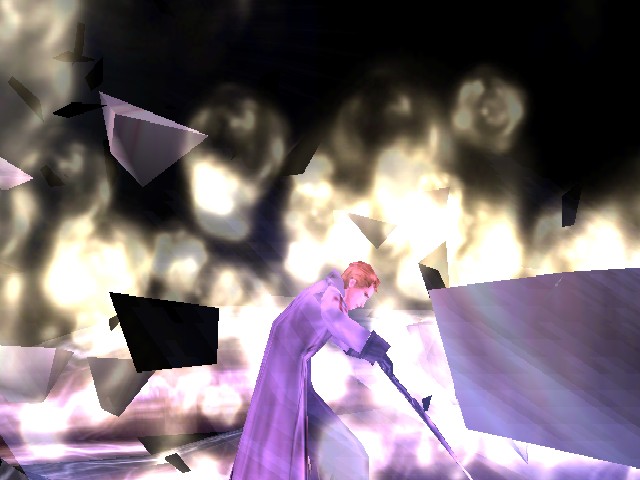
The last trick in Seifer's bag is Bloodfest, which only comes out when he's low on HP. And even then, it's rare. Most players will never see Bloodfest.
It starts out with Seifer dumping an unnamed fire spell on everyone and the Hyperion glowing green. This is his final limit break.
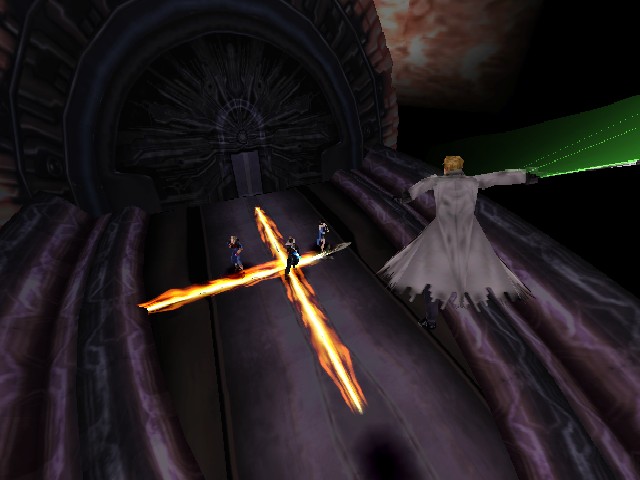
Leaping up, he cuts a fire cross into the ground.
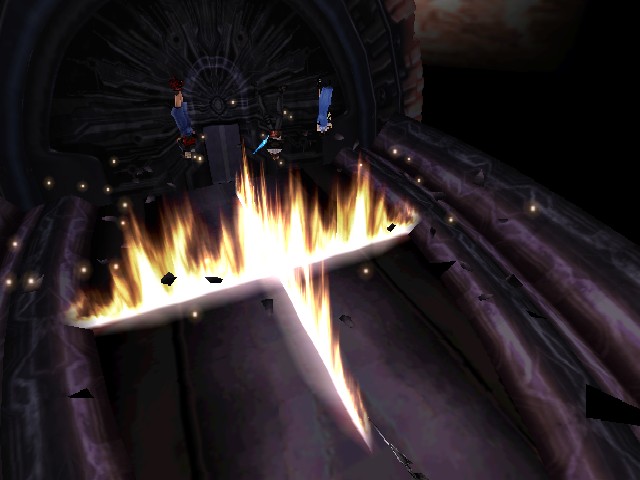
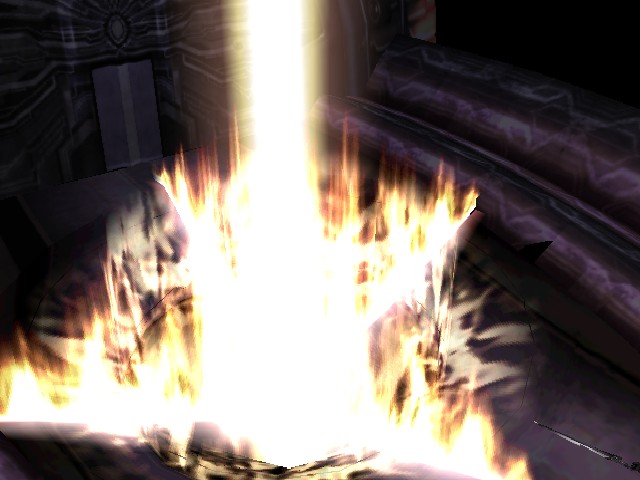
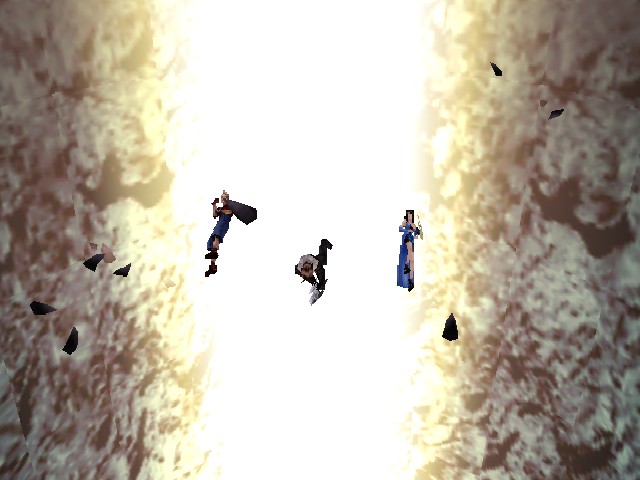
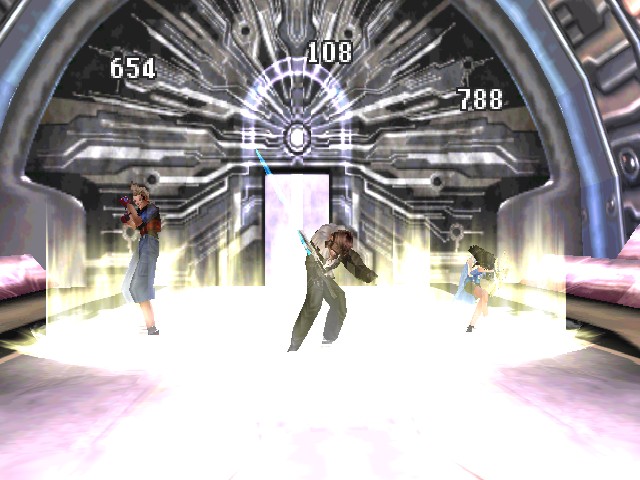
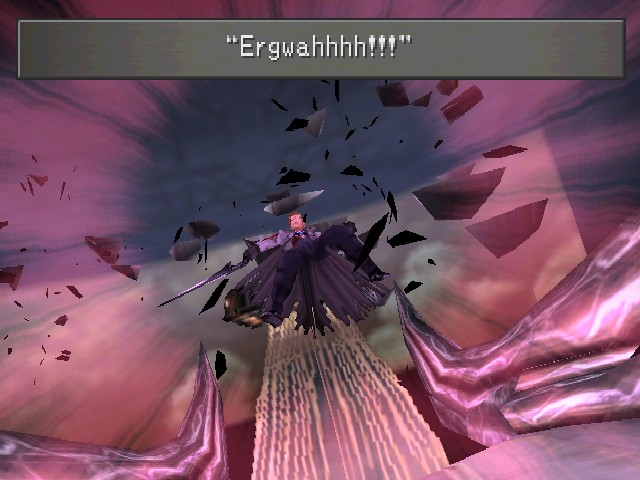
After the cross explodes, it sucks the party into another dimension, where it does pretty heavy damage. This is, I believe, Seifer's only move that hits the whole party (in this fight).
Other than Bloodfest and Aura, there's not much to see in the fight itself. You can mug the guy for a Hero (or, rarely, a Holy War) but whatever, he drops one anyway. The last thing of note is that, if you had Odin at the start, you can end the fight in two ways: either you burn through his HP or enough time passes. If you don't have Odin, you just have to beat Seifer up.
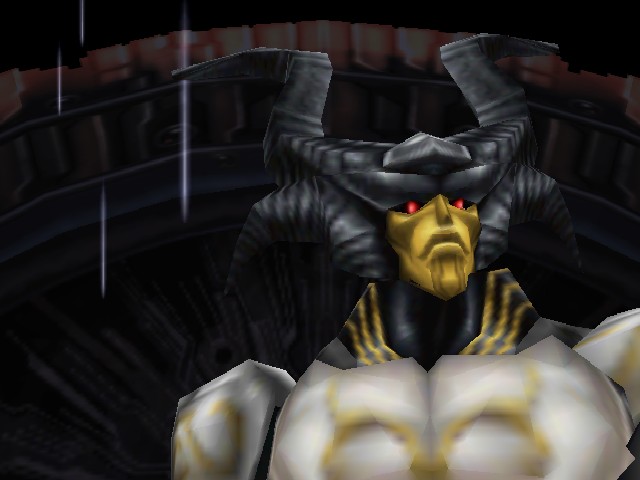
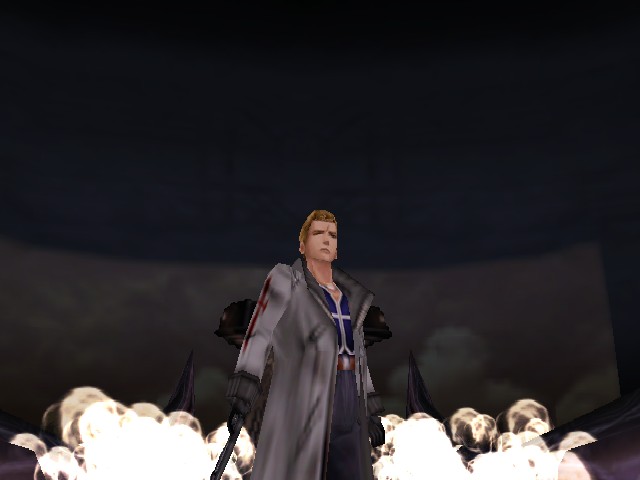
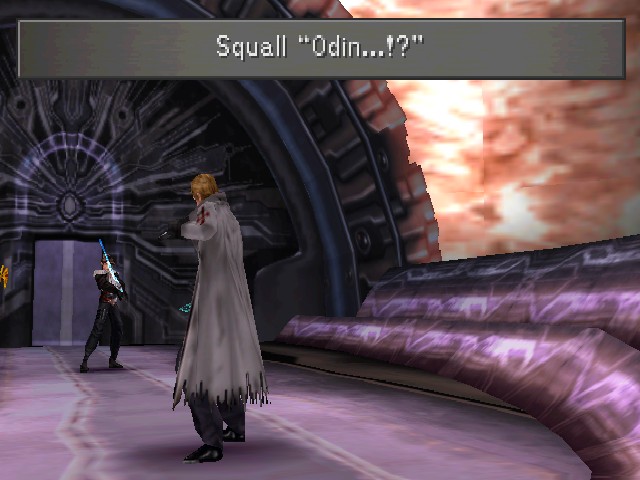
But I did have Odin, so I got this scene!
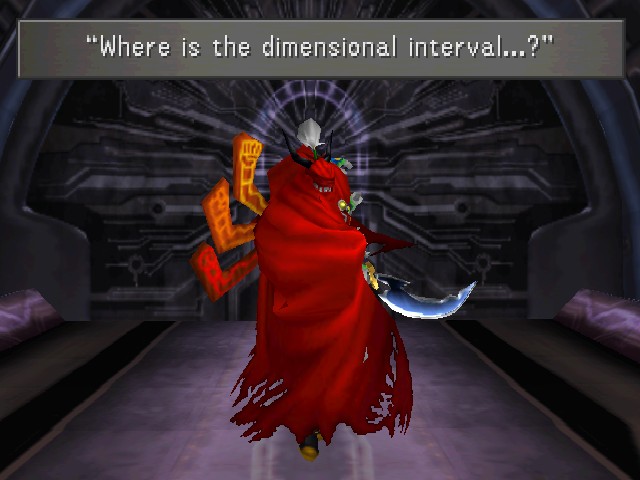
A strange man leaps in, holding the Zantetsuken.
You may recognise this guy from this card. This is Gilgamesh, though I don't think he ever actually introduces himself.
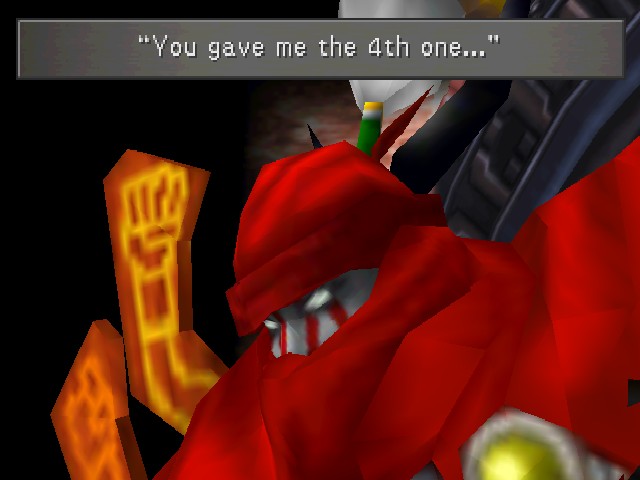
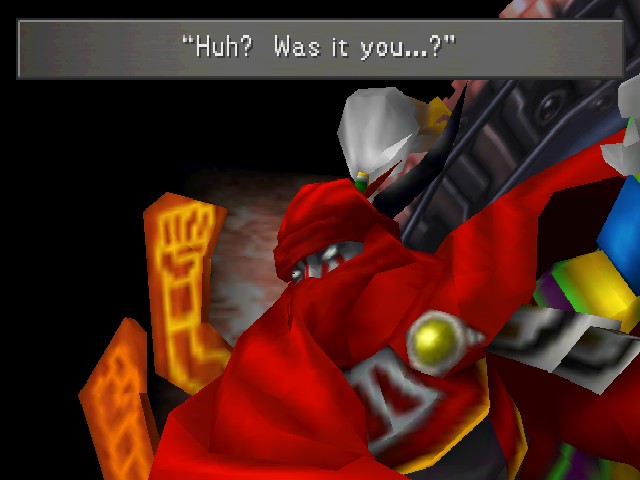
Gilgamesh delivers some slightly odd lines.
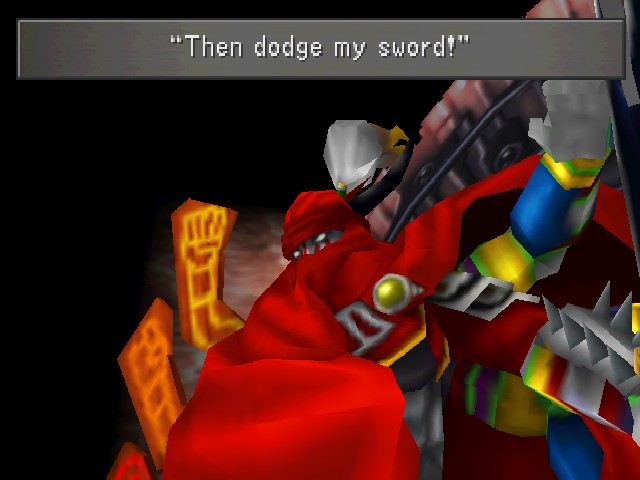
And then he blasts Seifer out of the arena! This is what makes this fight easy. As long as you had Odin, even if you're having trouble dealing damage to Seifer, Gilgamesh will eventually show up and waste him for you.
As suddenly as he came in, Gilgamesh leaves, still acting enigmatic.
His mention of the "dimensional interval" here suggests that Gilgamesh is the same Gilgamesh that shows up in Final Fantasy V, having hopped around the Interdimensional Rift since the end of that game and ended up here, still looking for legendary weapons. This was Gilgamesh's first appearance in the series after Final Fantasy V, though he's since appeared in XII, XIV, Type-0, and DLC for XIII-2 and XV, and there are characters with the name but not the likeness in IX and XI. The guy's become a pretty big recurring character, is my point. But in the west, this would have been his first official appearance, since Final Fantasy V didn't get an English release until Final Fantasy Anthology came out in October 1999.

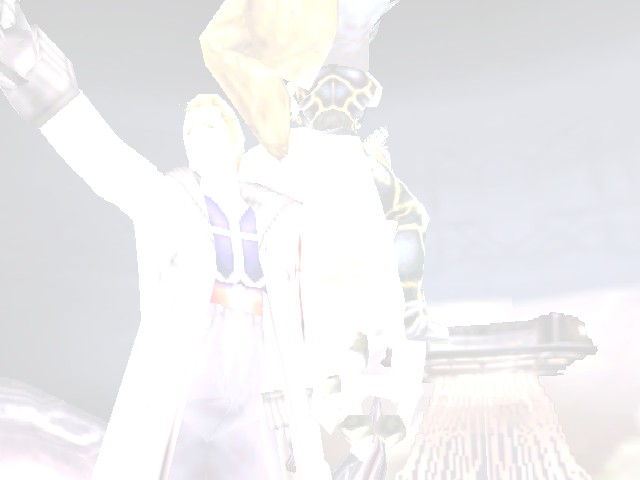
So ends the battle with Seifer. A hero, 40 AP, nothing really special as a reward.

The once-proud sorceress's knight, now a guy taking a nap on the floor.
 : Not yet! It's not over yet, Squall!!!
Just like he did in Galbadia Garden, Seifer gets up after his first beating.
And then, uh, runs off. Well.
Considering that we left Rinoa on the Ragnarok, Seifer is an insanely fast runner and Rinoa has a ridiculous set of lungs on her. This scene is a little weird, to say the least.
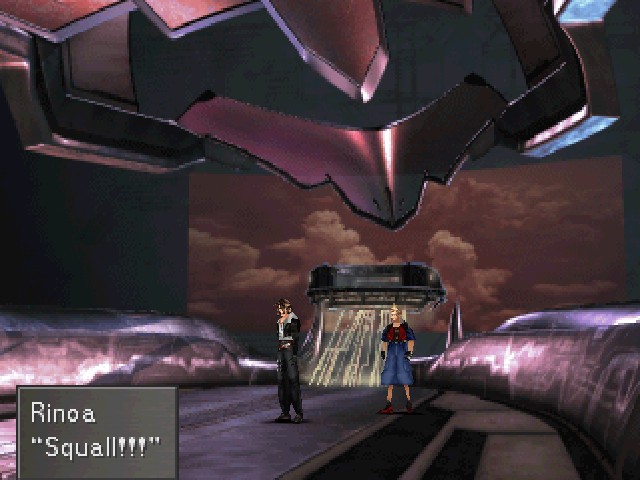
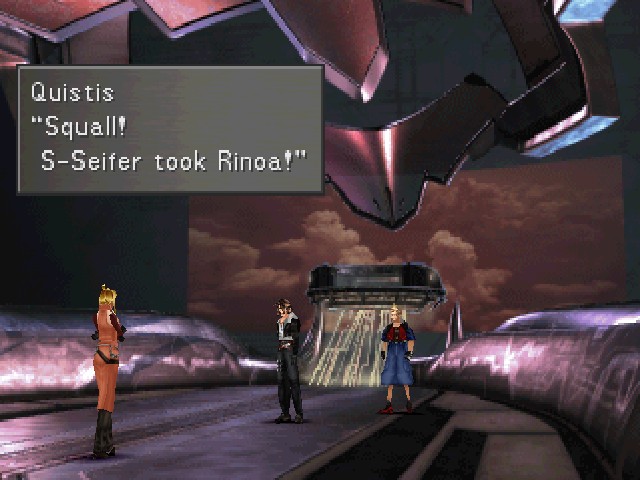
 : Rinoa!?
Probably meant to be taken as him being worried about her, but I prefer to think of it as him being completely perplexed.
How?
 : I...I'm sorry... Rinoa... She wouldn't listen. Said she was going to be by your side, no matter what.
The game offers this "explanation" but honestly, this scene is handled pretty poorly. It seems to me that this scene was planned out, and the next scene was planned out, and they didn't quite know how to bridge them.
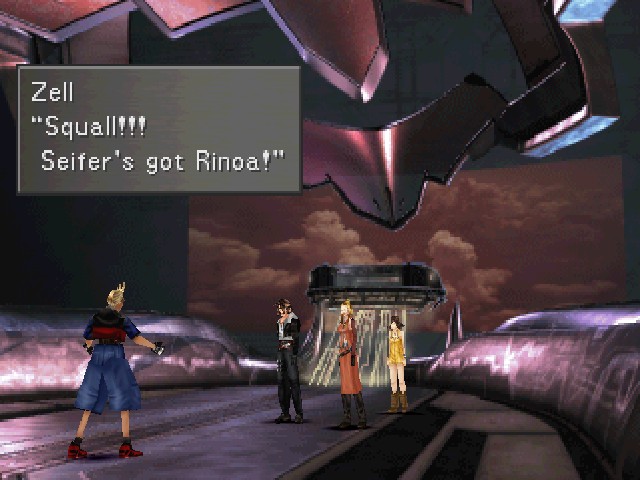
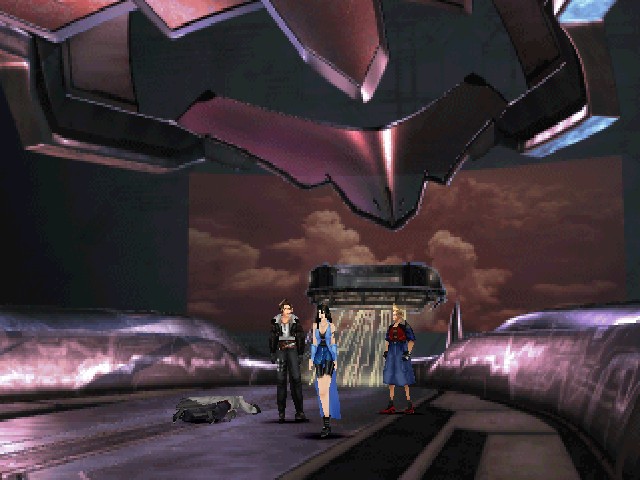
: Let's just go after Seifer!So, yes, now we're chasing after Seifer...again, so that we can rescue Rinoa...again.

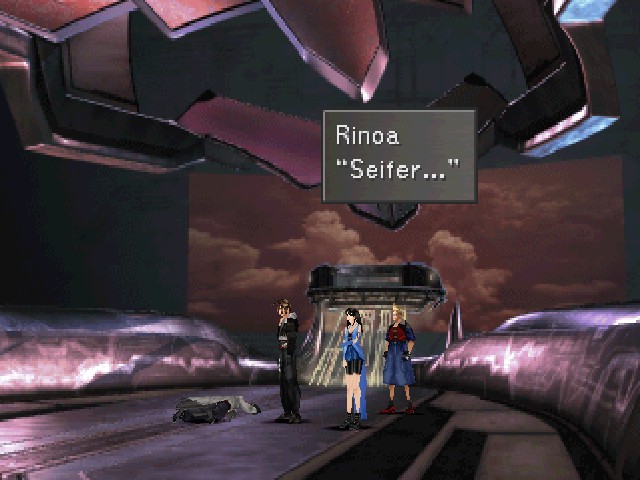
But: what happens if Rinoa is in the party?
After the battle, she takes a step towards him. She's worried, he jumps up, grabs her, &c., right?
Wrong. After the battle with Seifer, Rinoa realises it's five o'clock and she just immediately fucks off.
And so the scene becomes even more bizarre, with Seifer grabbing Rinoa off-screen and someone running in - again, presumably all the way from the Ragnarok - to announce that she's been captured.


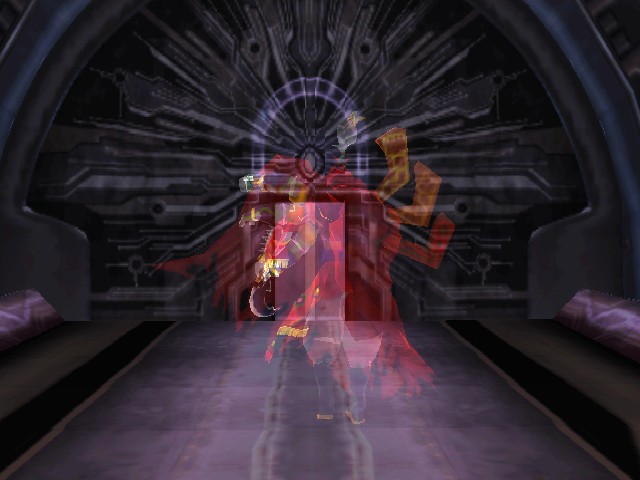
Following that wack-ass scene, we cut here, to right in front of Adel's tomb. The person in the background is Adel.
 : Haven't you done enough!? I know you're not like that!
Rinoa tries to reason with him, but Seifer's in way deep here.
 : The sorceresses as one! That is Ultimecia's WISH!
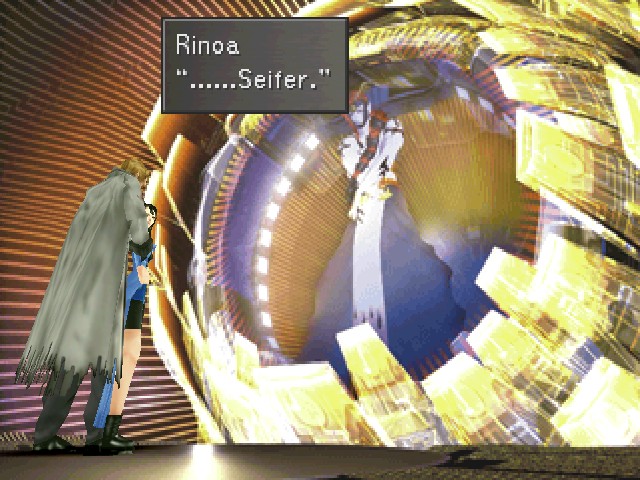
Rinoa looks back at him to give one more plea...