Part 114: Part One Hundred and Fourteen: Under the Sea
Part One Hundred and Fourteen: Under the Sea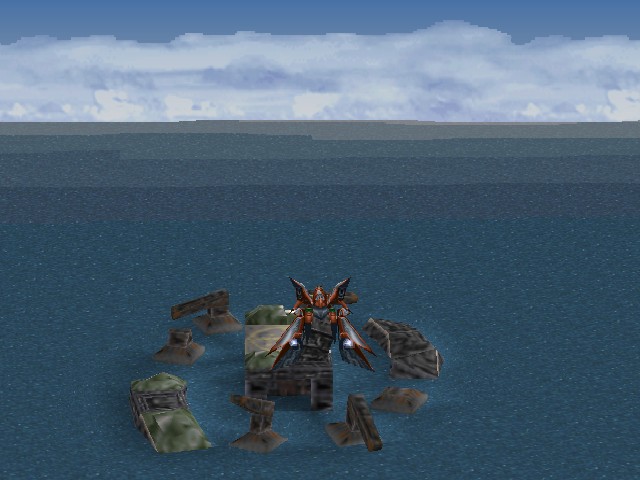
With the Ragnarok back, there's one last side thing to take care of here. It involves returning to Battleship Island.
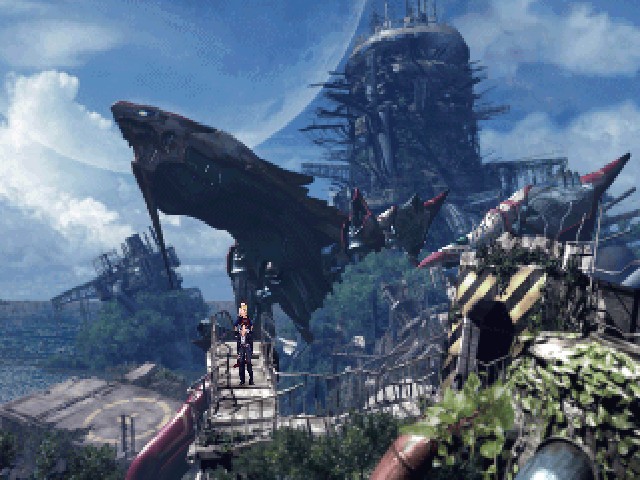
This can actually be done immediately after getting Bahamut. I believe the trigger is just talking to an NPC (like, say, any of the party members in the Ragnarok's cockpit). Aside from the card club and the queen getting new housing arrangements, none of the world map-based content on disc four is unique. The map is only available for the sake of gameplay, it has no actual role in or connection to the story at this point. All the open locations are related to sidequests that you could have missed doing before now.
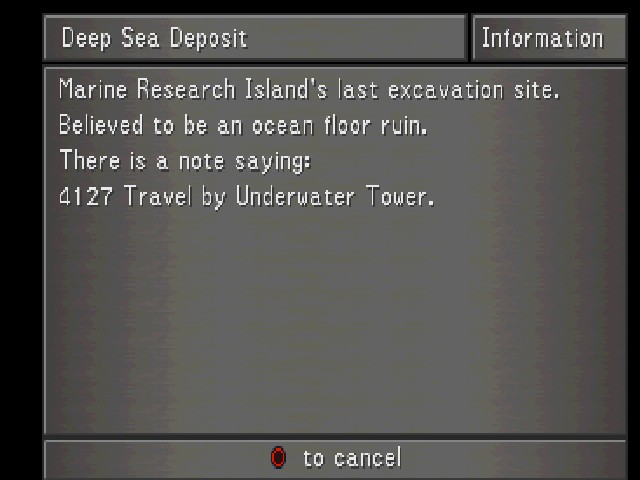
See, there's a second part to the area - this is alluded to in the Deep Sea Research Center Information page, but the Deep Sea Deposit also gets its own entry.
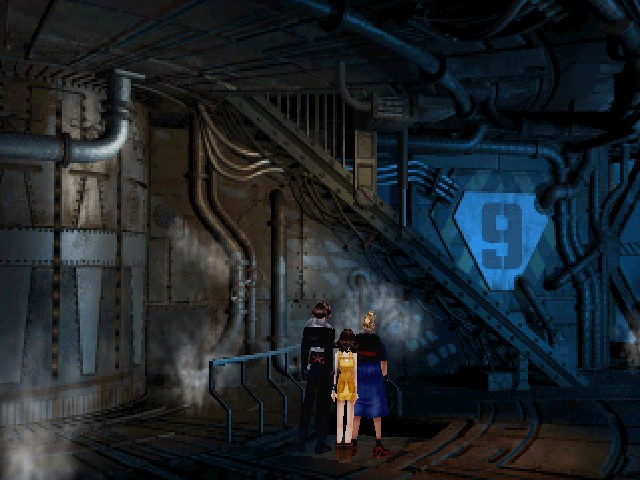
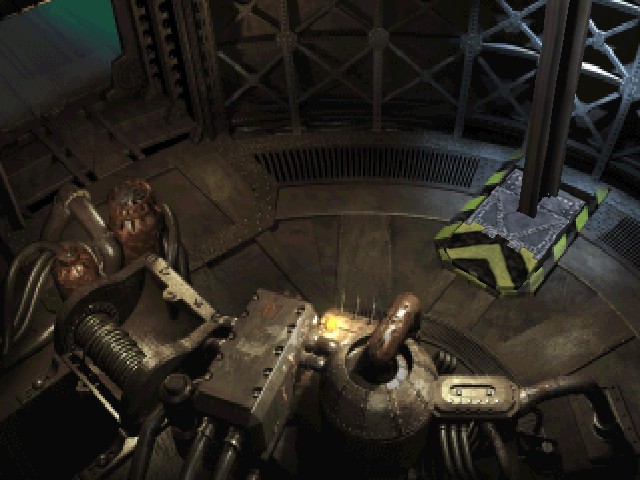
Going inside, things have changed a little bit. The save point is new, but more importantly there's some kind of big vine growing up through the hole in the floor where the core once was.
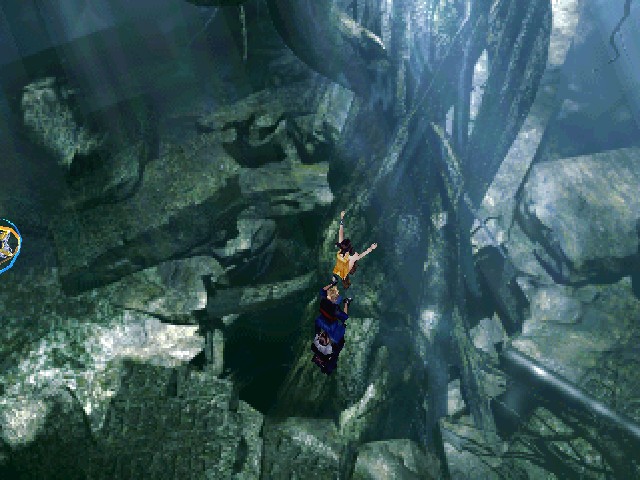
This vine is important because it provides a route to the lower levels.
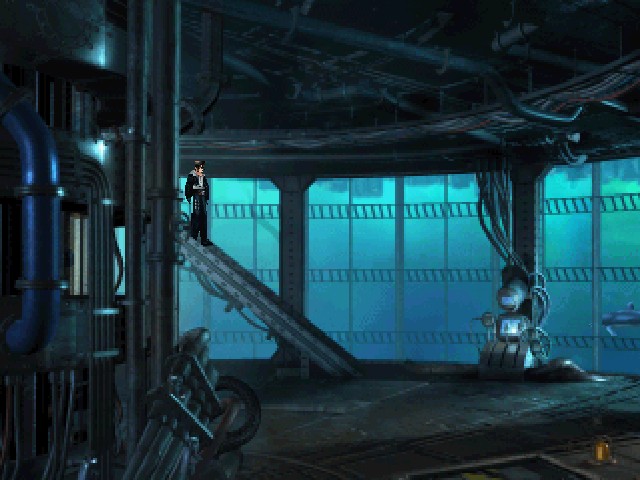
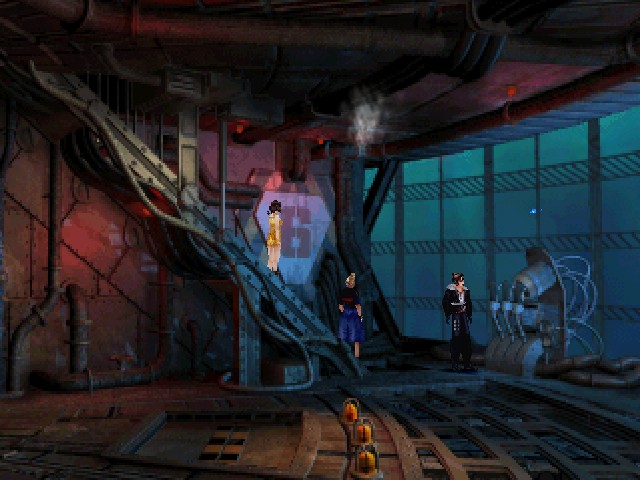
I really like the look of the lower levels, with the big observation windows and the dilapidated and lonely feel of the whole place. This isn't a particularly long area, nor is it narratively important, but it's one that always comes to mind when I think of this game.
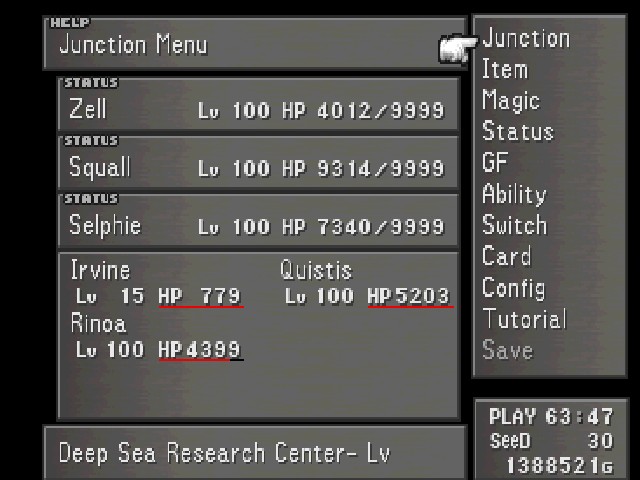
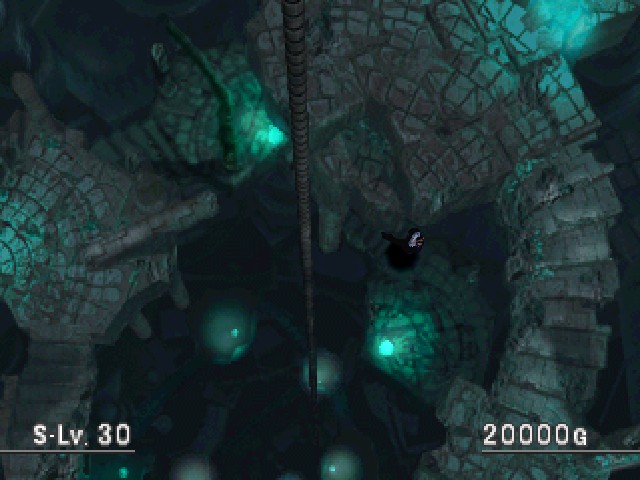
Before we get going on the meat of the place, here's a fun fact: the level number is cut off on the menu.
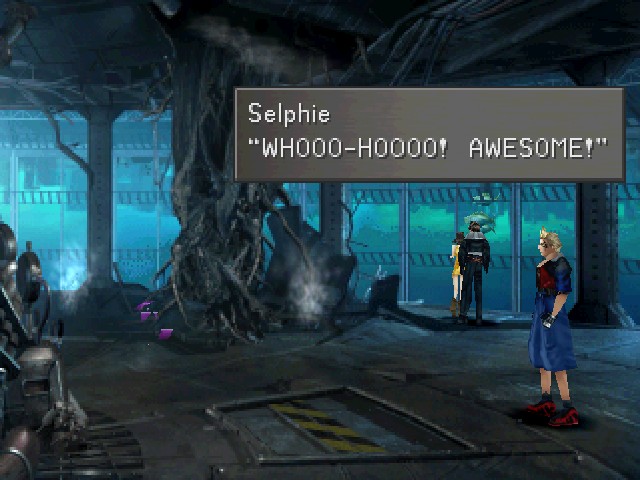
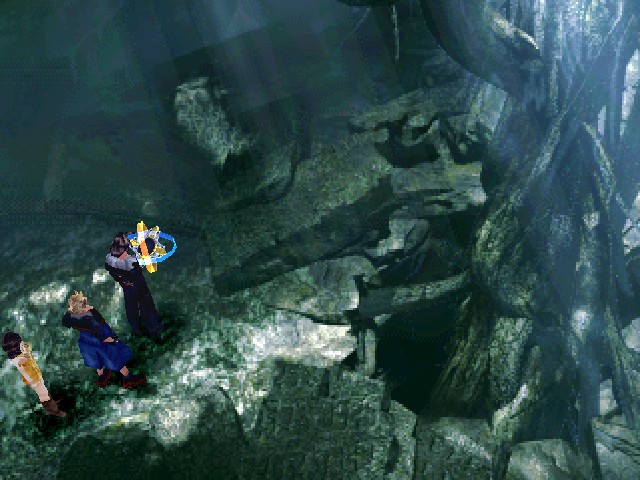
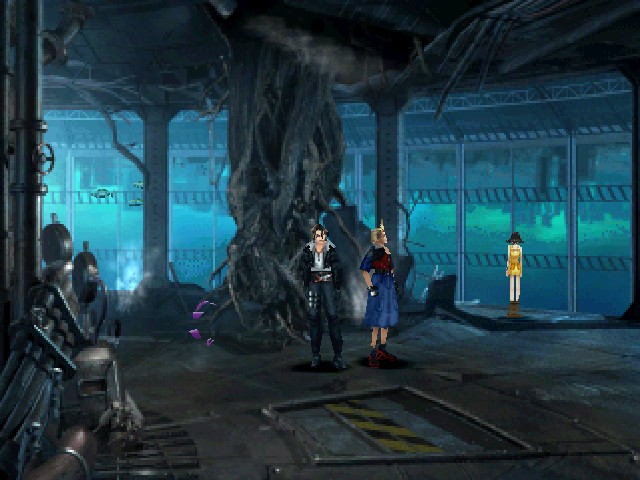
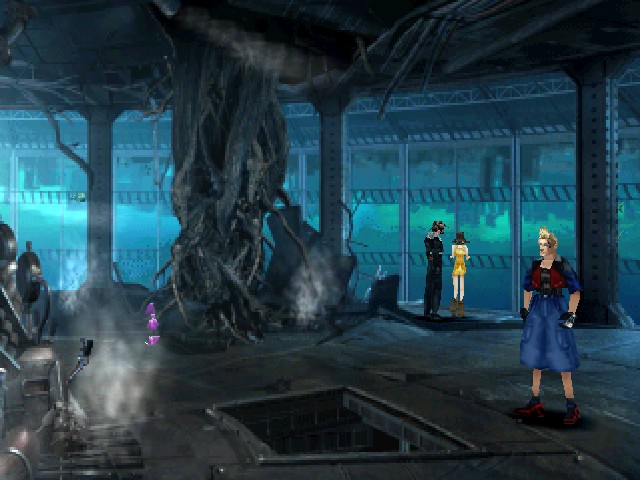
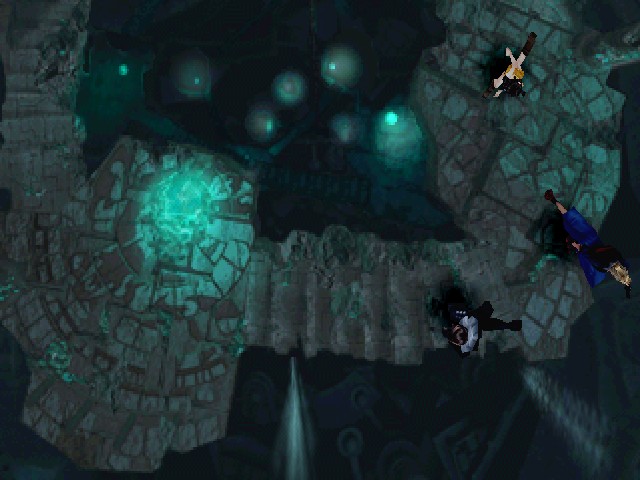
When you enter the area, your party spreads out. Selphie's just enjoying the fish (and there are actually fish that swim by in the background).
More important, though. Wait, sorry, no.
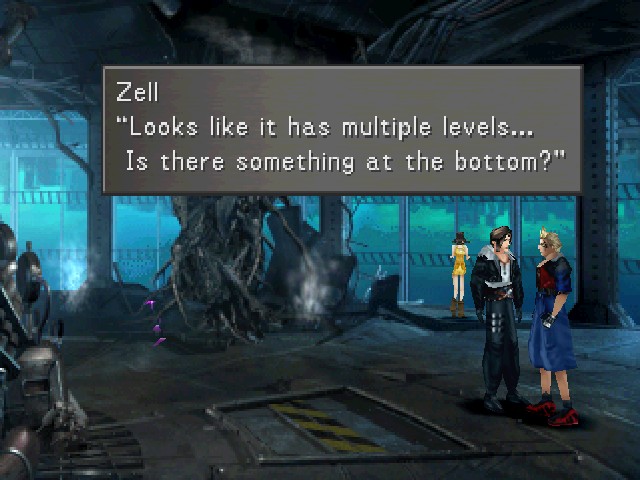
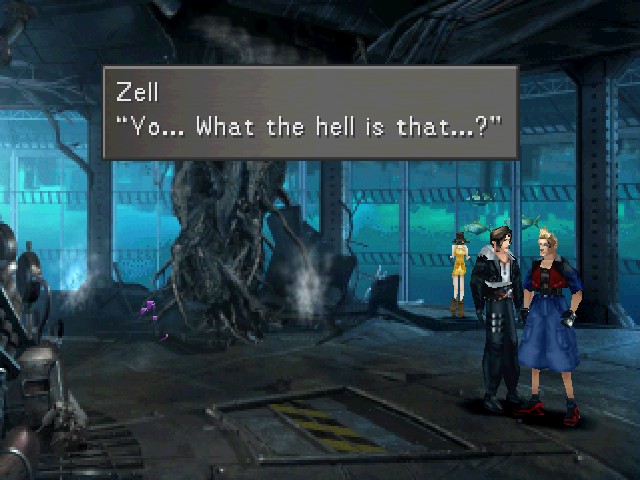
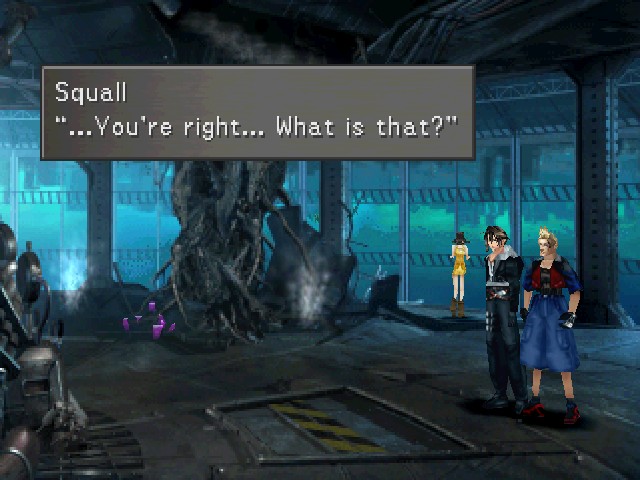
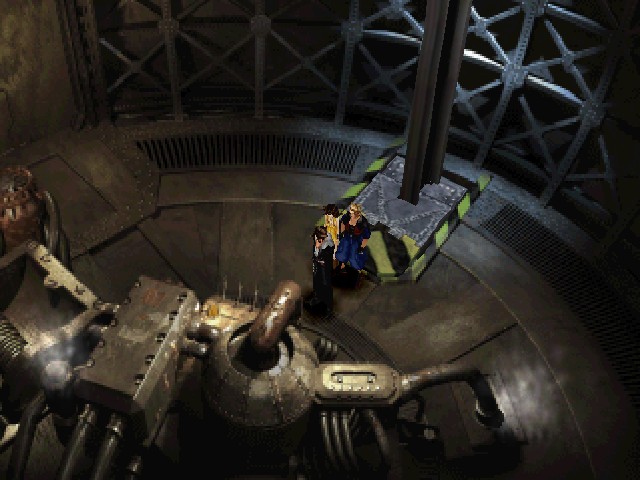
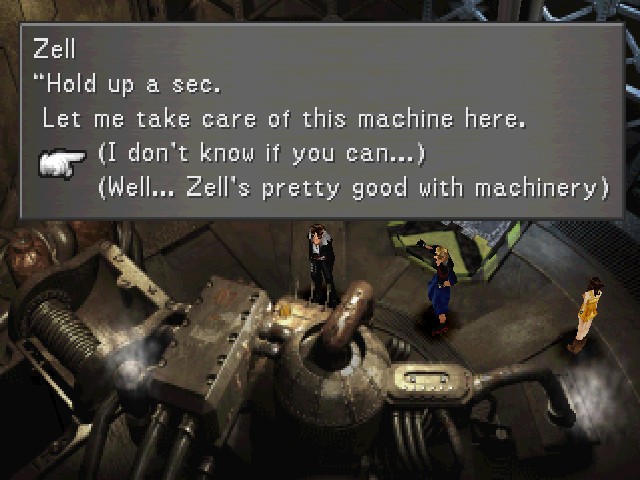
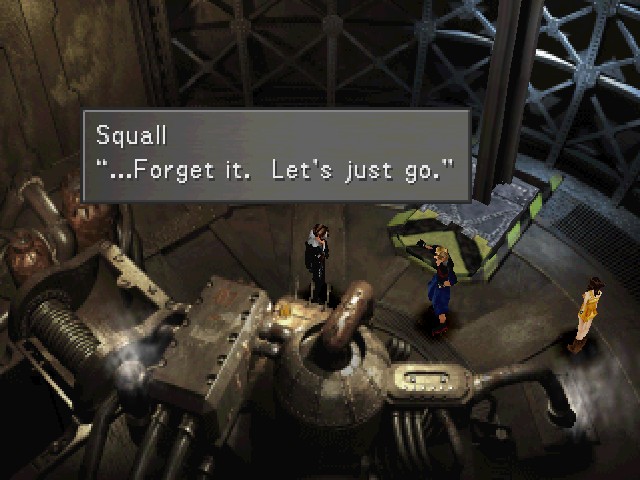
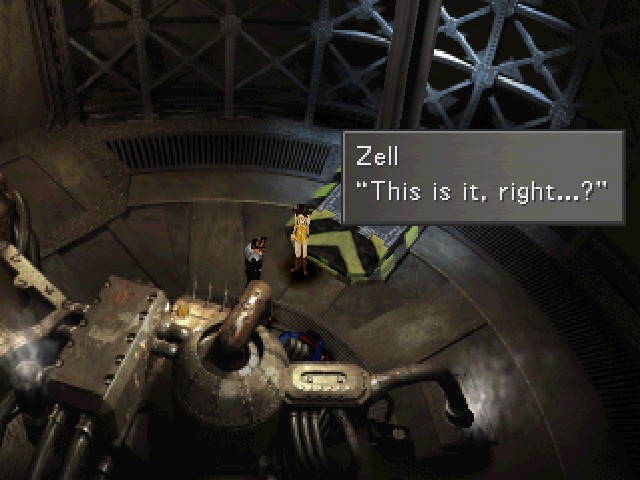
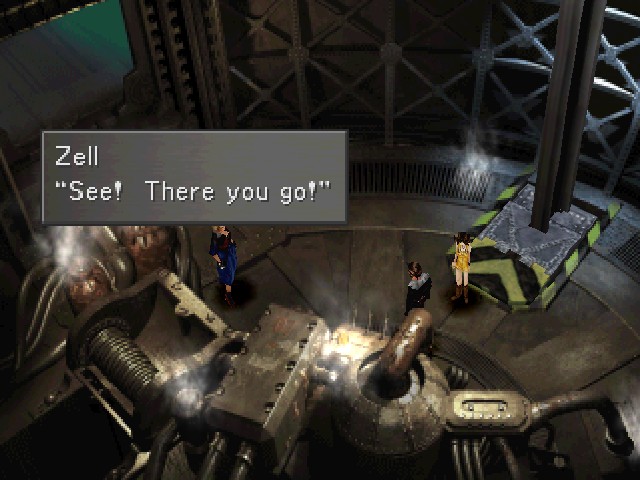
That's the ticket. More important, though, is what Zell has to say. Different characters have different lines here, but none of them are particularly different and Zell is important for something later on. That's why I brought him. Anyway, this is the underwater tower alluded to in the Information page. We will travel by it.
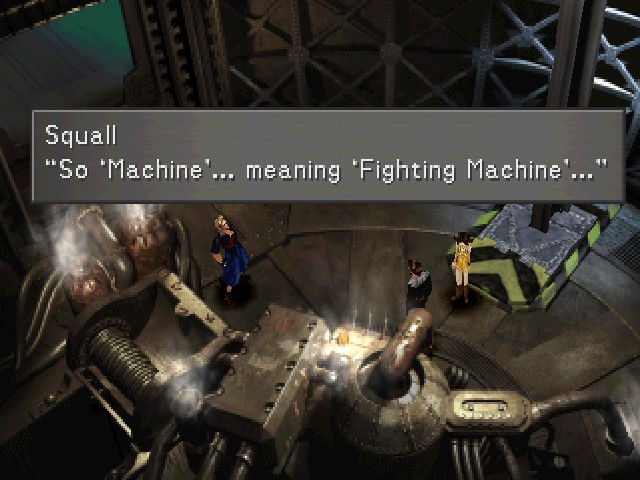
And this is the more useful aspect of talking to the second party member. It isn't actually necessary, but they do point out something in the environment and it saves a bit of pixel hunting.
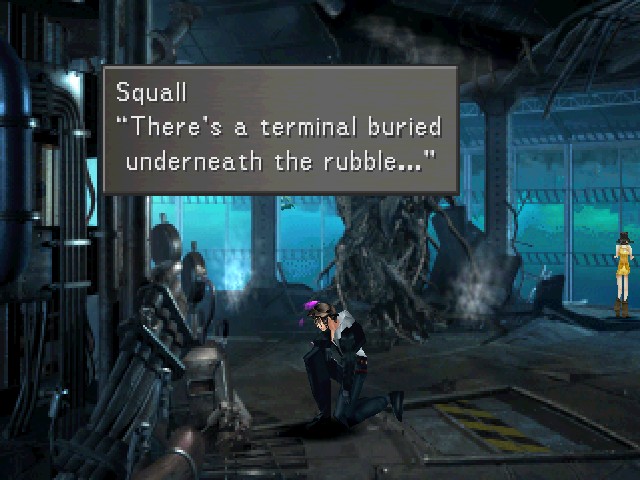
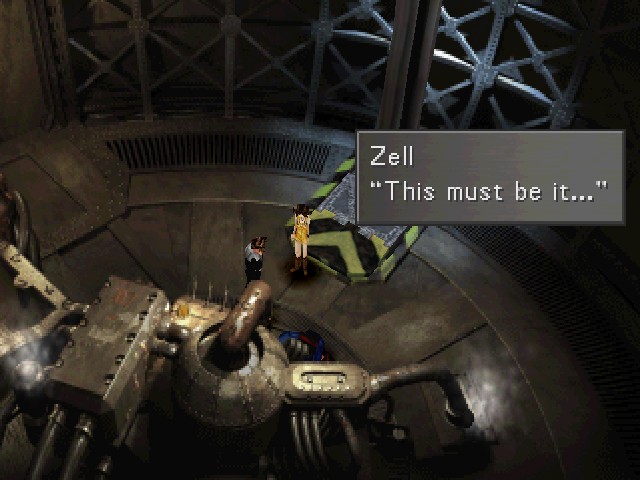
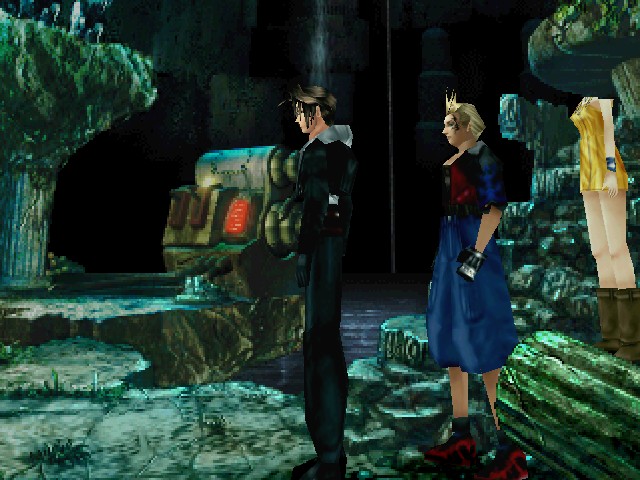
 : ......? Is it still functional...?
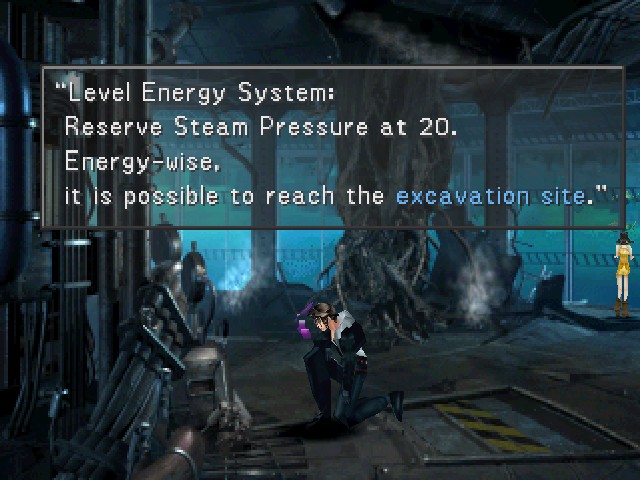
Fortunately, this terminal is still functional. Be a short quest otherwise.
I don't think the explanation is necessary, but I usually get it since that's where the cursor is by default and I love to press X.
This is the essence of the thing. We have to use our energy properly to get to the bottom. It's pretty simple.
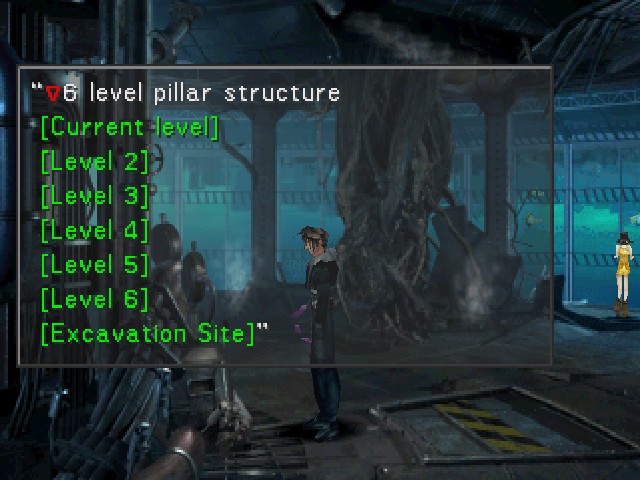
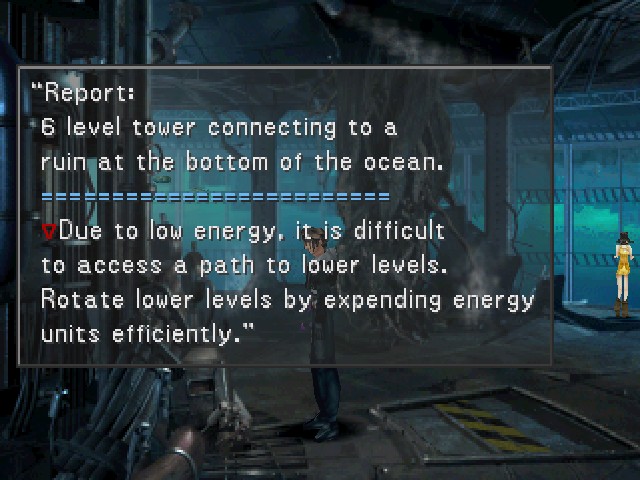
By way of explanation, there's also this very useless diagram of the structure. It could have just said there were six levels and the excavation site, but there you go.
It's actually kind of a problem in this place - a lot of the prompts and messages are a couple text boxes too long, or involve stuff like this.
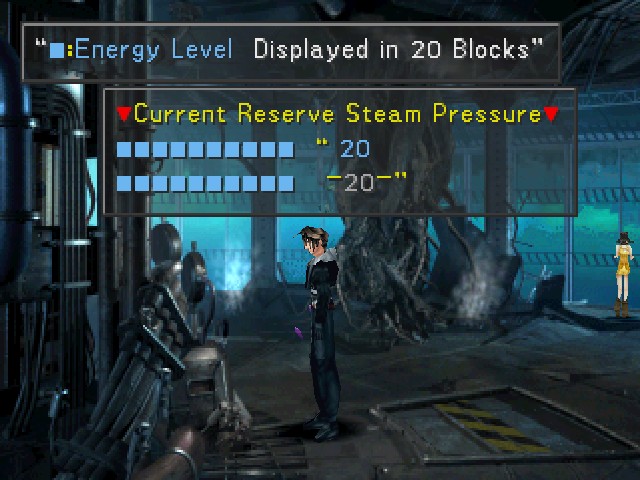
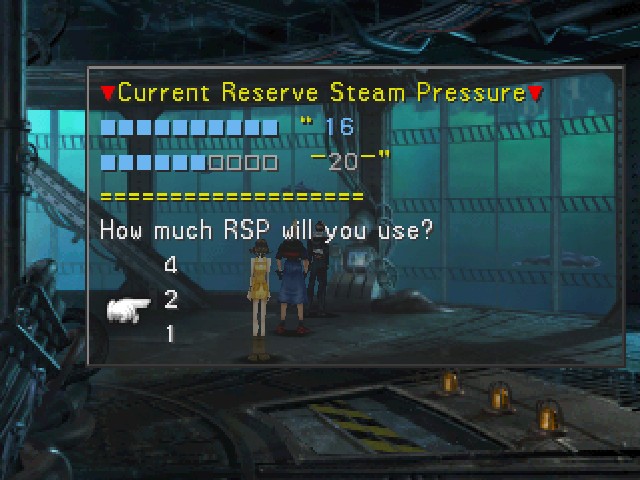
I think it takes three button presses to get through this, which is just explaining that we have 20 units of energy, handily represented as these blue boxes with "20/20" next to them. Yes, the game explains "20/20" with its own text box; no, I'm not including it.
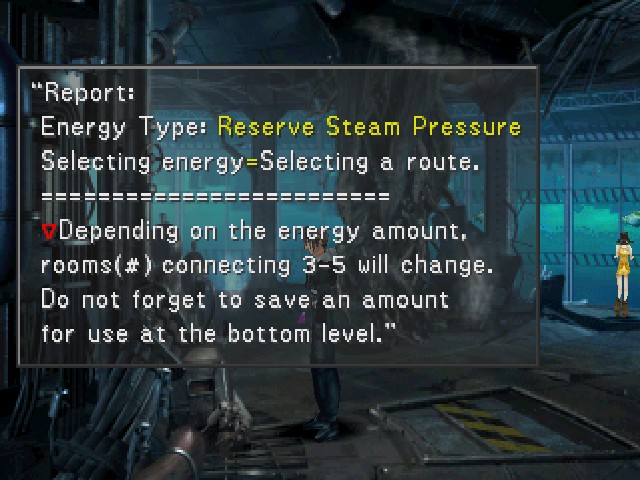
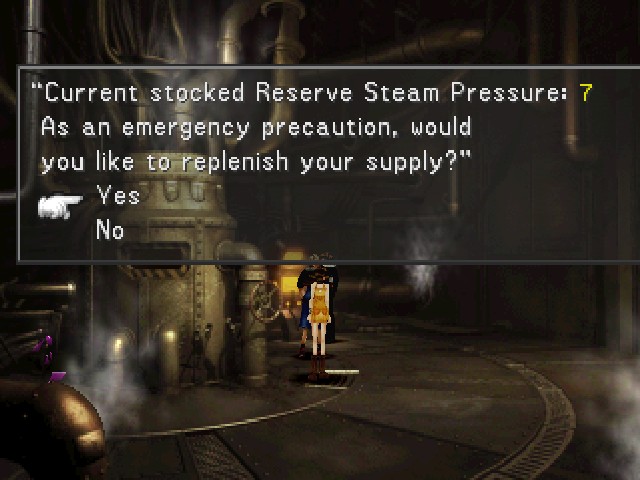
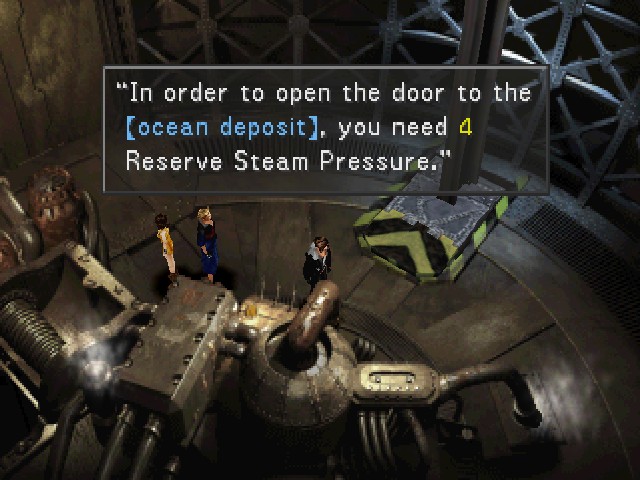
I'm including this one because the fact that it says "an amount" is, like, 70% of the "puzzle." It's not exactly hard, but if that said - just spitballing - 10 instead, you wouldn't be, uh, tricked? I don't know if "tricked" is really the right word, but you would know how much energy you need to save for the bottom. I'll be honest: this isn't much of a puzzle. You'll see.
Oh, and you can mostly disregard that part about rooms changing. It matters once. Again, you'll see.

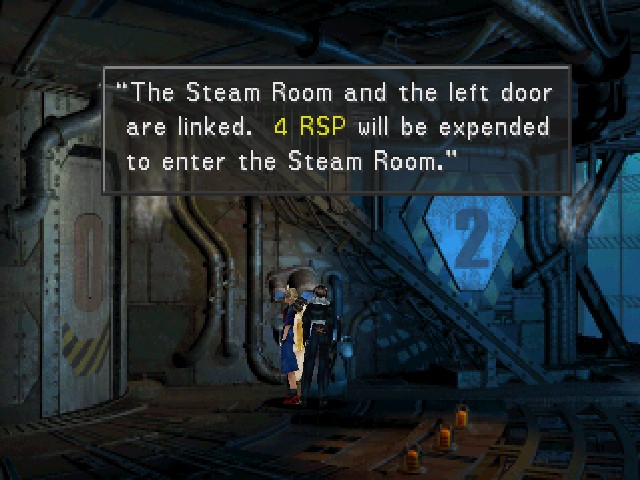
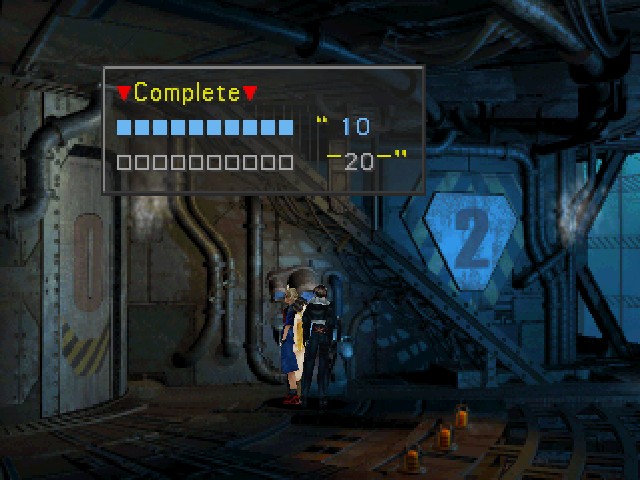
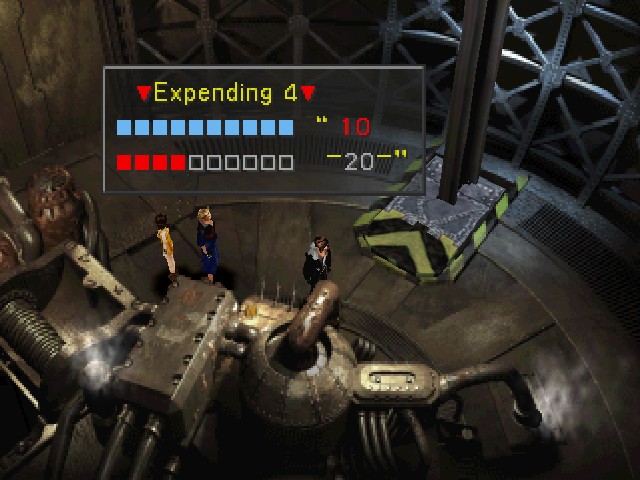
For brevity's sake, I'll omit the rest of the explanation and just say that it takes 4 units of energy to reach the second level. Each time energy is subtracted, it's communicated over three text boxes and with the graphic (first box is how much energy you start with, second is how much is being subtracted, third is the difference).
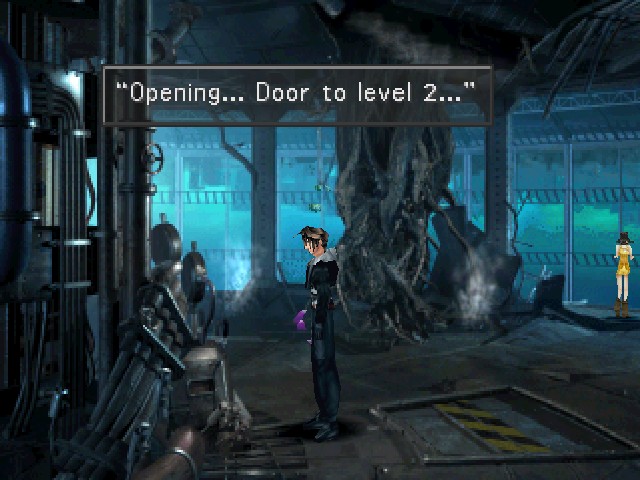
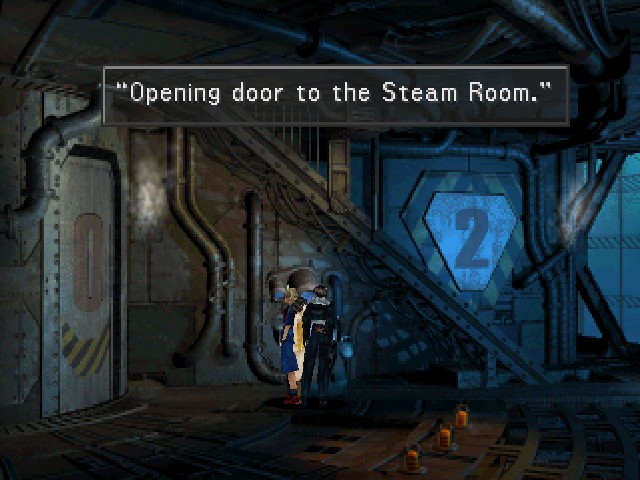
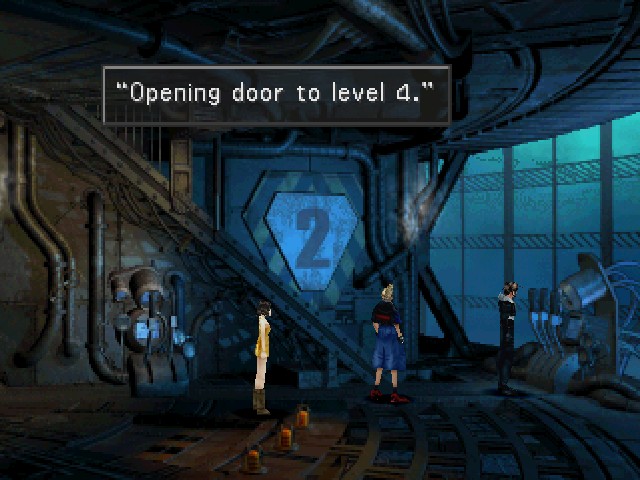
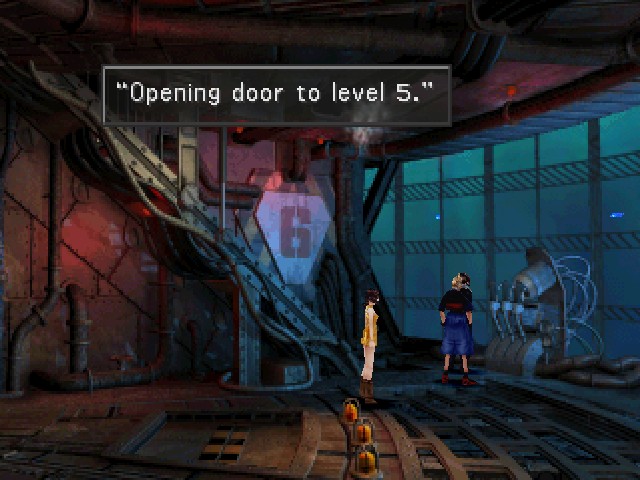
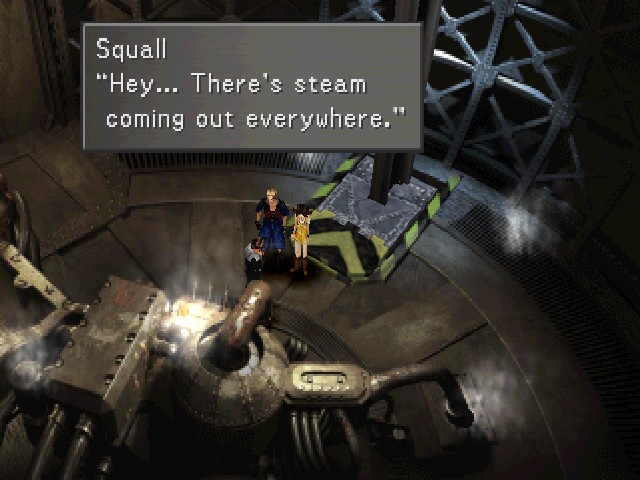
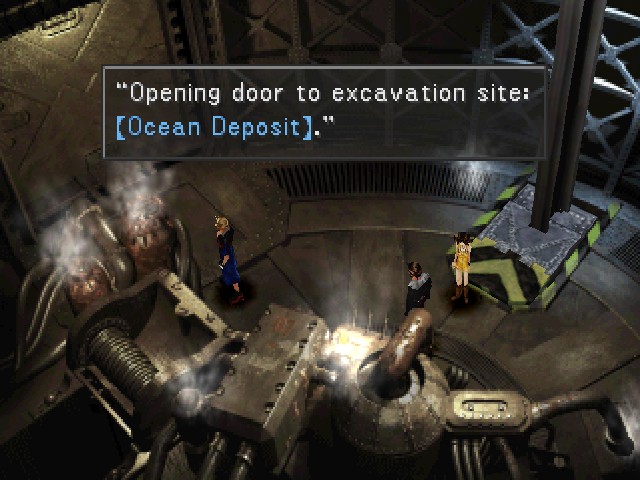
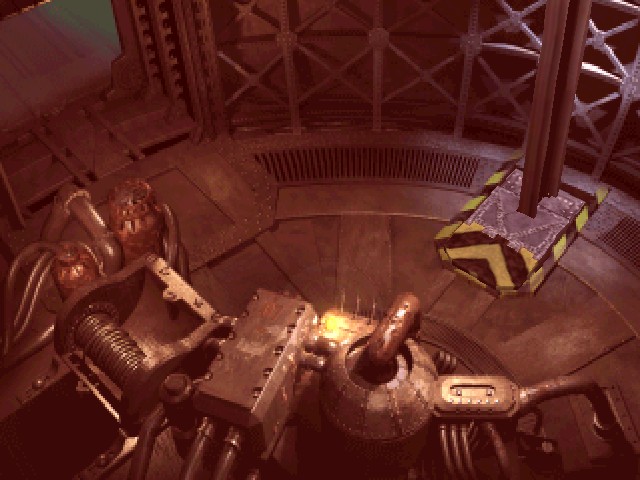
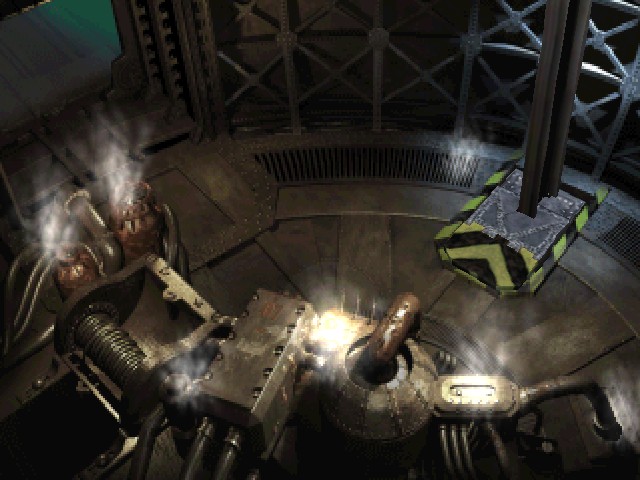
And then the door opens.
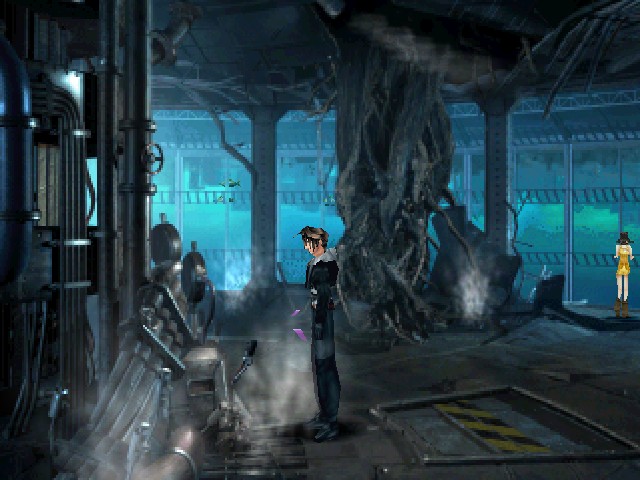
This also causes steam to come out of all these vents. Maybe energy wouldn't be in such short supply if that didn't happen.

Once you interact with the terminal, your party members won't speak to you, but they also don't immediately regroup.

Also, if you return to the terminal, you can reset the puzzle.
Past that is level 2. There's not a lot of visual difference but that's something I actually like about this area. This tower isn't an art installment, it's an old lab/excavation site, so the layout is more functional than anything.
Level 2 has a very important choice on it. The correct option is 2.

Note that the door to the next level will open regardless of what you choose. Choosing 2 is just important because this is the only place where the routes changing matters.
Choosing 2 on level 2 sends you to this version of level 3. The steam room is key to properly solving the puzzle.
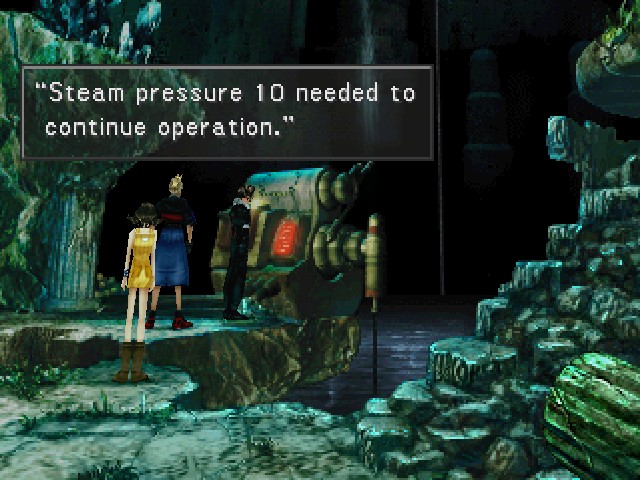
It does leave you with only 10 units of steam, though.

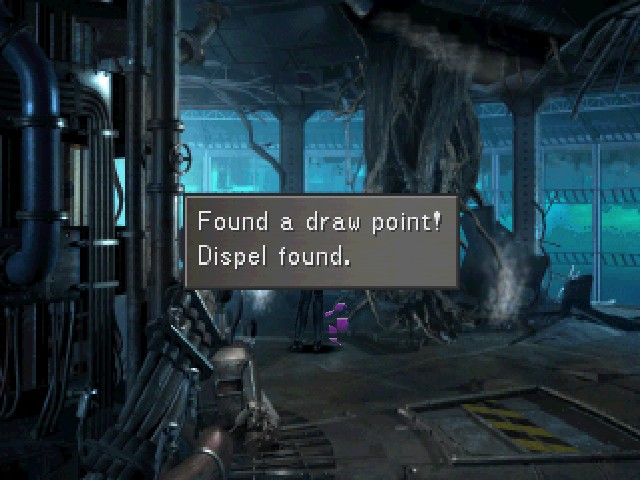
Inside the steam room is this big machine. The draw point is just Esuna.
This is what's so important about the steam room. You need these 7 units of steam to properly solve the puzzle - you can get through it another way, but you'll be penalised.
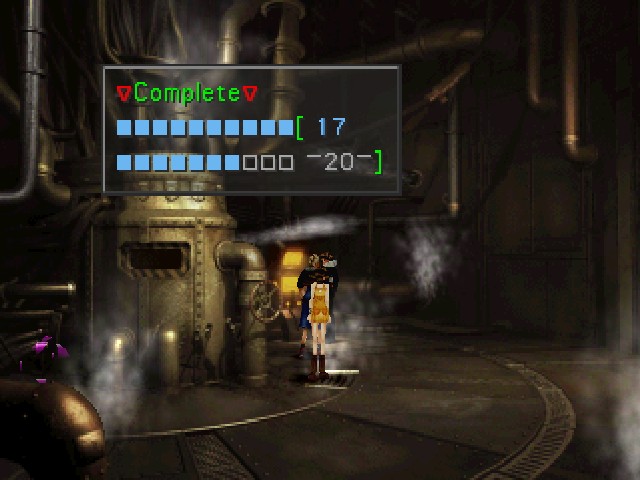
So now we have 17 units of steam, which is more than we really started with (since that first door always takes 4 units to open).
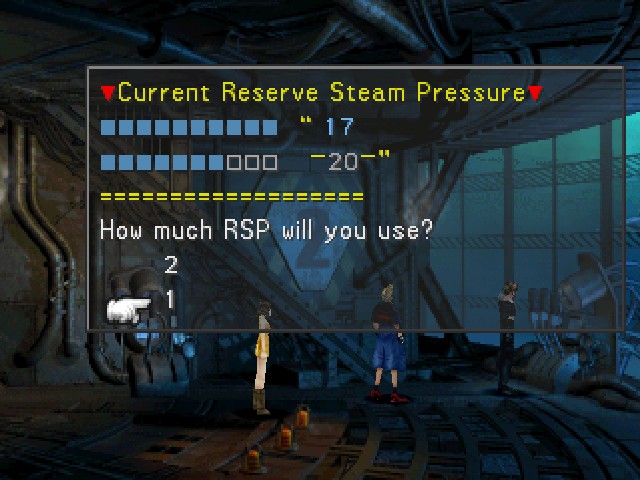
Once you've gotten the spare steam, you should use 1 to open the door to level 4. There's no reward for using 2 (and it will screw you out of the puzzle).
A small thing I like about this area is that the water outside gets darker as you descend. The fish that swim by also change, though it can be a little hard to tell, if you even notice them in the first place.
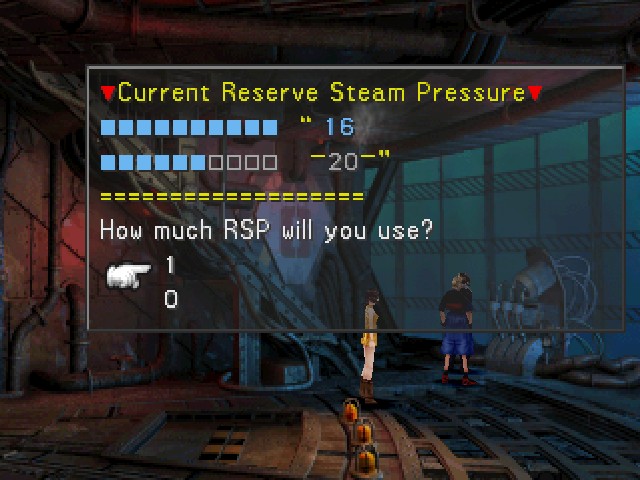
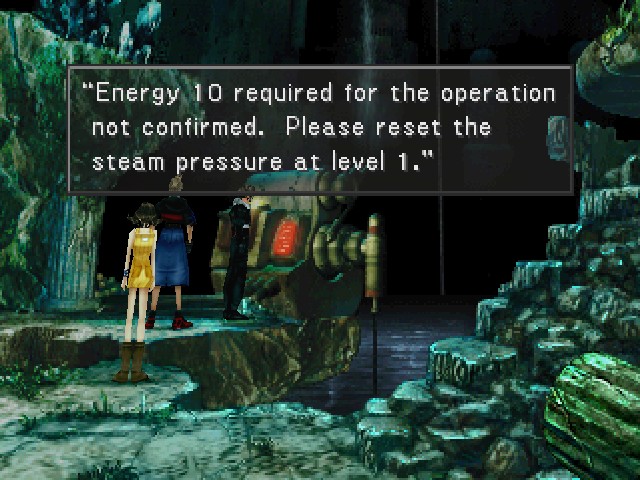
After level 3, there's a change to these terminals: from here on, it's 1 unit of steam or 0. Choosing 0 does not open the door.
So 1 unit it is.
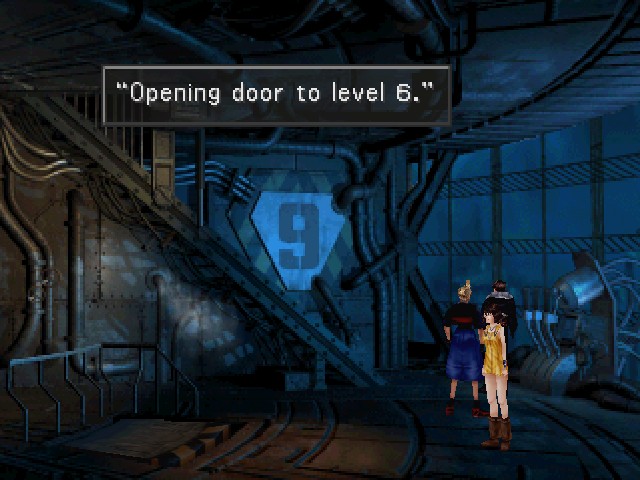
Again, 1 unit on level 5, which leaves you with 14 units of steam. Also note how dark it is outside; we're very deep now, well into "underwater horror" territory. It's a nice little piece of environmental storytelling, we're going deeper than most people would.
Unlike the other areas, you take a small lift down to level 6.
Level 6 itself is also different from the other areas, replacing small terminals with a big ol' steam machine. The windows are also gone.
The last door requires 4 units of steam to open. There's no way to get here with fewer than 4 units of steam, but remember that you also need "an amount" for the bottom. If you don't hit the steam room on the way, you won't have 4 + "an amount" units of steam left.
"An amount" is equal to 10, by the way. Remember that for your lives.


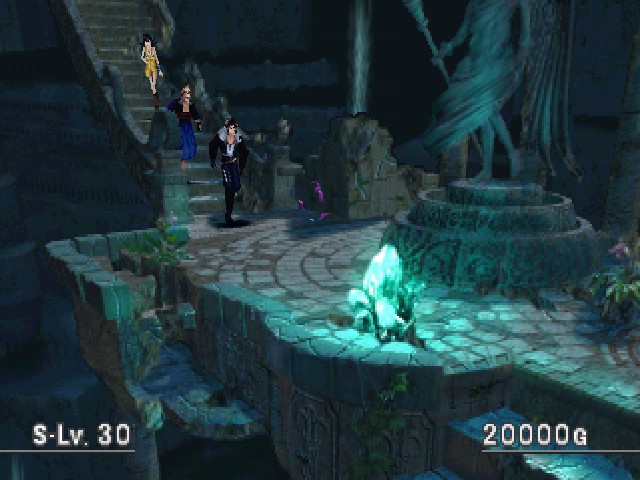
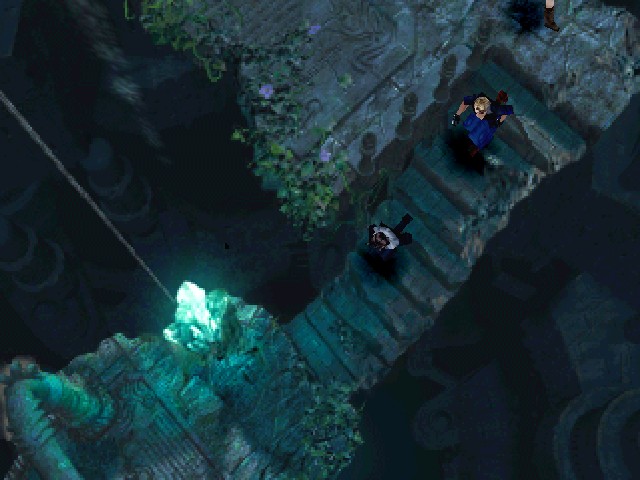
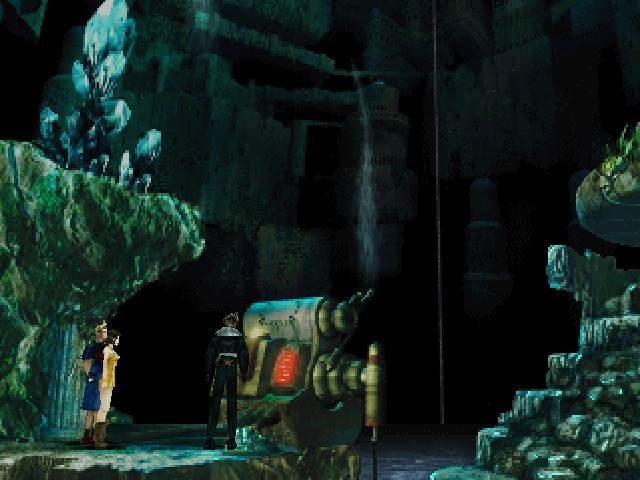
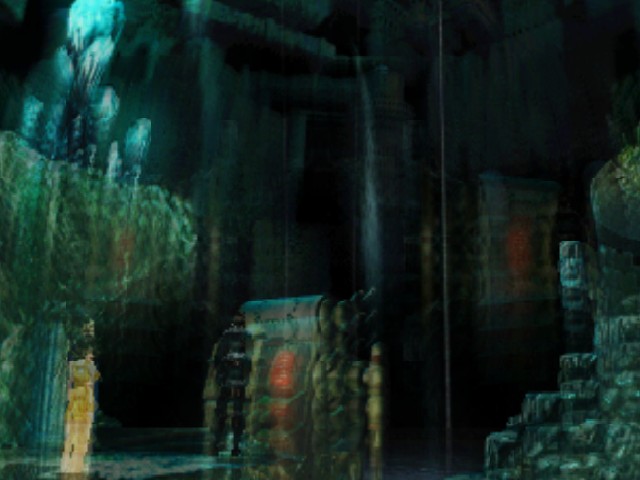
And so, the door opens nicely and we're allowed into the ocean deposit. You can see in the background that the whole thing is surrounded by the same material that the observation windows are made out of, which is why Squall's not drowning right now. It's also lit by little glowing crystals rather than any artificial source. I love the look of this part of the area, too. It's never explained what left these ruins here (Centra empire, if I had to guess) but it also doesn't need to be - it's some spooky-ass ruins at the bottom of the sea, the adventurer's wet dream.
But before we go spelunking, let's take a step backwards. If you get to the bottom of the tower and you have Zell in your party but fewer than 14 steam units left, this dialogue box pops up.

If you don't let Zell help, you're fucked. Walk back upstairs and try again.

So let's see what happens if you do let Zell take a crack at it.
: Sure... Go for it.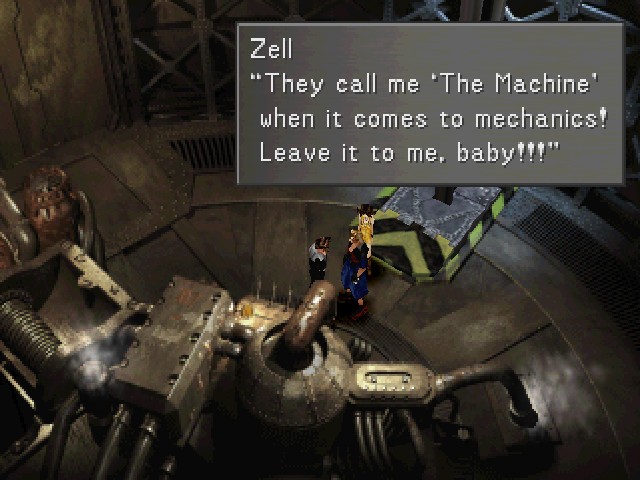
He's so happy just to get a chance. I really like that Zell gets this optional little scene in a semi-obscure quest. It's the kind of character/environment interaction that gets overlooked a lot in games, especially in side areas. You might also remember that Zell has optional lines the first time you show up to Battleship Island, it's cool that it's not just a place the party goes to and wordlessly moves through like it's nothing.

For his part, Zell is, uh...

Are you sure you're good with machines...?
Well, it's not nothing.
 : Ok, ok...! Just let me think...
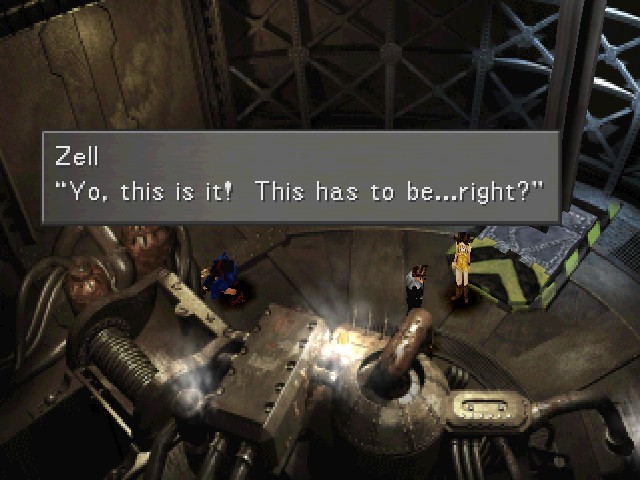
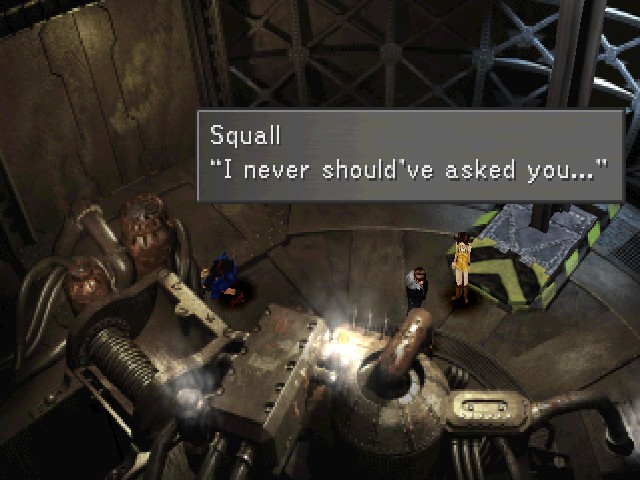
Hard to tell, but Squall's doing his classic facepalm here.
: ......... I didn't wanna have to resort to this, but...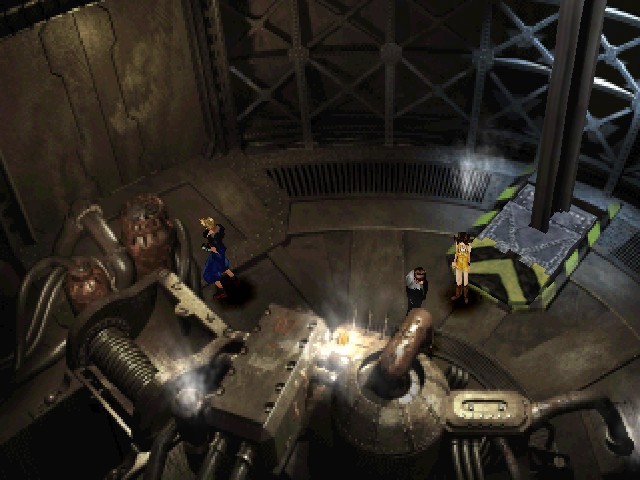
Having failed to find the part of the thing that makes it do the thing he wants it to do, Zell uses the classic tactic of punching it.
Well it's the result that counts.
 : (Well... As long as we're in...)
This is another one of the times that this game gets a little goofy, and I like it. Even in this spooky sea base, Zell is still Zell (and Selphie's still Selphie when she's yelling because she's so psyched to see some fish). Again, I really welcome seeing this kind of character scene in what could just as easily be a totally silent (or totally generic) hike through an optional dungeon.
But here's the trade-off: if you have Zell open the door, there are random encounters in the ruins that ignore Enc-None. I've definitely read before that these encounters are scripted, but it feels more like it's just the regular encounter rate (editor's note: they are fixed, as Erpy and Vil confirmed in the thread). This is the other thing that makes the Zell scene cool - it only comes up if you screwed up the puzzle in the upper areas, but the devs decided to include a reasonable little character bit and gave the player access to the reward, but at a cost. Again, it would be easy to omit, but there is that reward for players who paid attention and remembered that Zell was interested in machines and brought him back to Battleship Island.
By the way, the only enemy that appears in the first area of the ruins is Tri-Face. If you want to make a Dark Matter (or farm them to refine Ultima from) this is the best place in the game to farm Curse Spikes.
I believe that every screen of the ruins has one enemy formation. Either that or I was very lucky when I played this part.
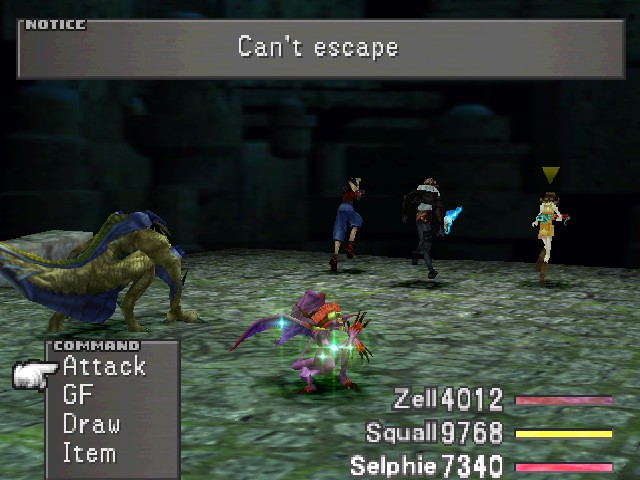
Oh, and you can't run from them. Which sucks because an Imp and a Grendel is not an encounter worth fighting (you might also think that it sucks because the enemies here are tougher/higher-level than normal).
It also sucks because one screen just has Behemoths on it. These guys are sturdy enough that I'd normally just run from them in a random encounter but nope.
So I thought, you know what? Kind of a Zell-heavy update already, let's take a look at Duel. I mentioned ages ago that the most efficient use of Duel was to chain two basic moves together into a bullshit infinite combo, but let's look at the rest of Zell's techniques.
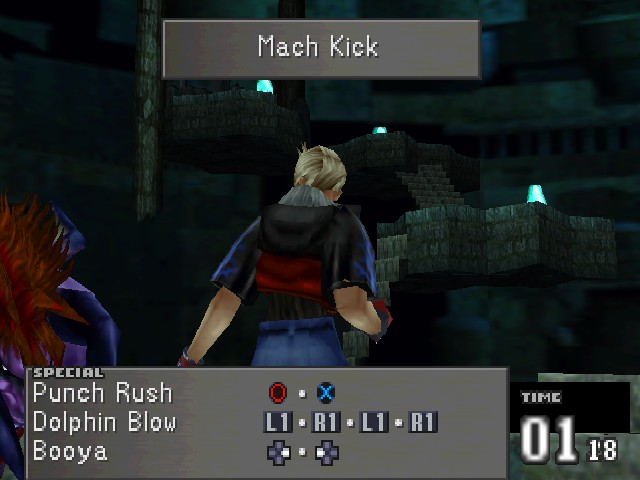
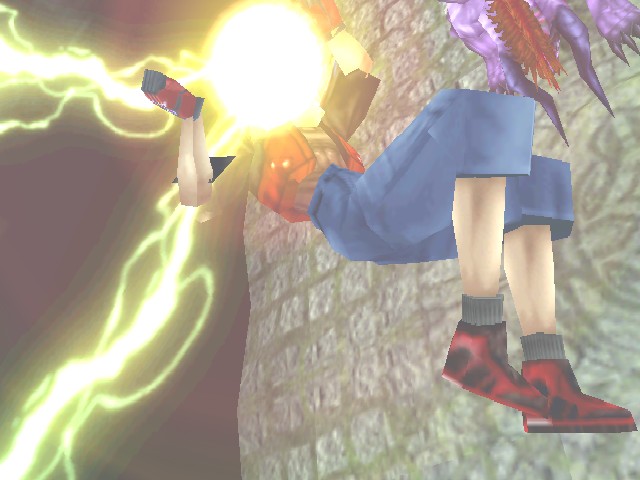
Mach Kick is one of the moves Zell starts with. Using it causes him to kick an enemy for reasonably high damage.
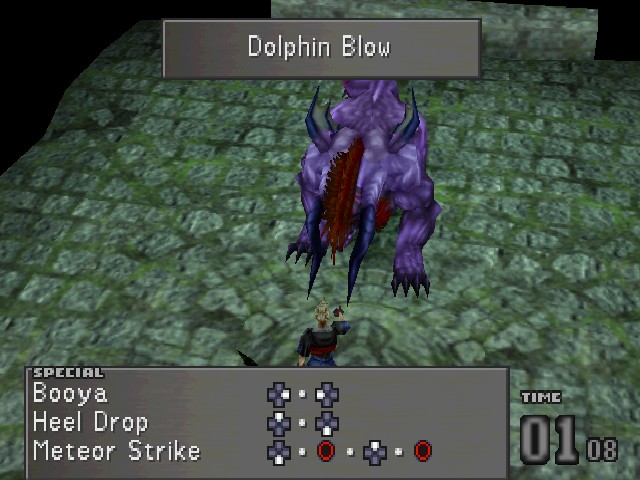
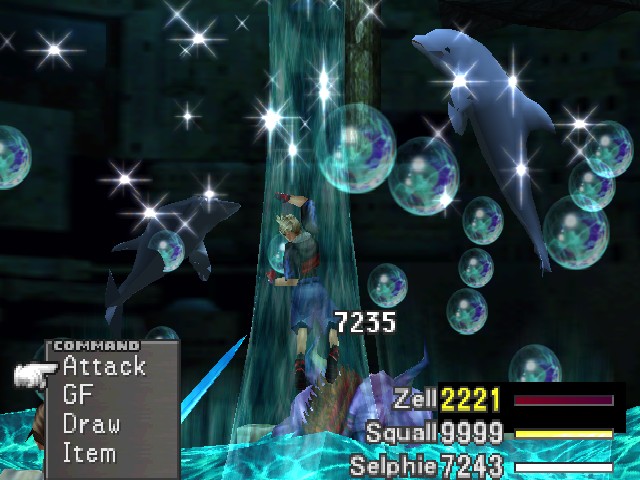
Dolphin Blow is in Combat King 001. Zell does an uppercut that summons dolphins to...help him punch better? I'm not an expert on the martial arts.
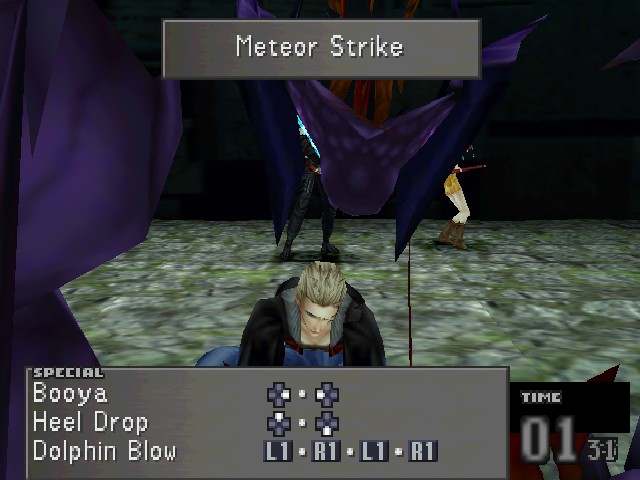
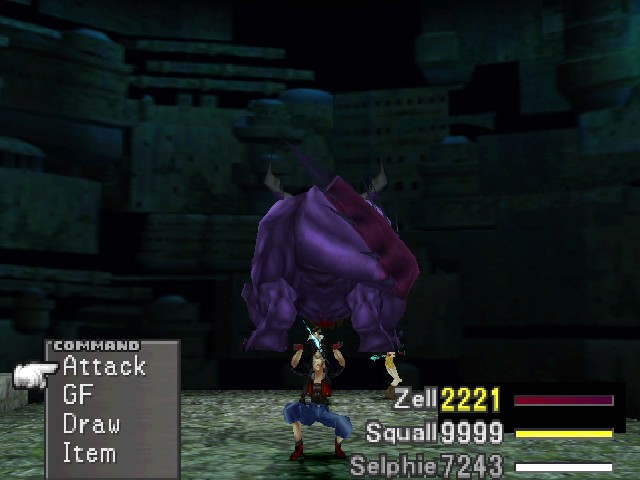
Meteor Strike is just Zell lifting an enemy up and slamming them into the ground. Unlike the rest of his moves, this one does proportional damage, taking off 25% of an enemy's current HP (up to 9,999) but will miss anything immune to Gravity. Dealing damage based on current HP also means it can't kill anything. Whoops!
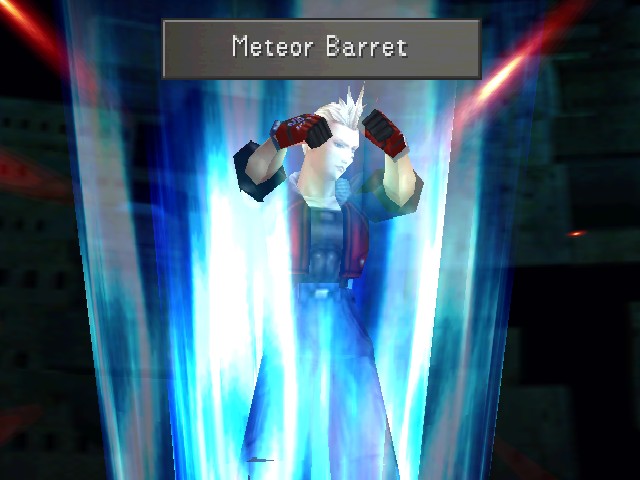
If you combo the right moves together, you can do a finisher move, indicated by a blue aura instead of the normal yellow. Meteor Barret comes from Combo King 003, but is also the easiest to do - if you do Punch Rush then Dolphin Blow, you can finish off with this move. This is the only 3-hit Duel combo.
As these things go, Meteor Barret is pretty simple. Zell charges up a bit and then does an exploding punch on an enemy. The damage is high, but it's still capped at 9,999.
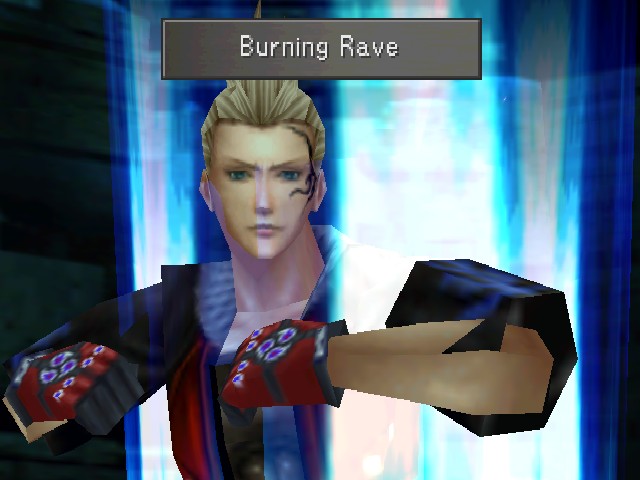
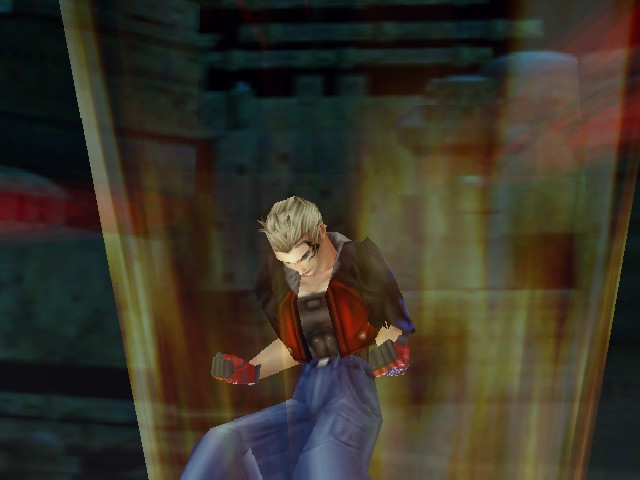
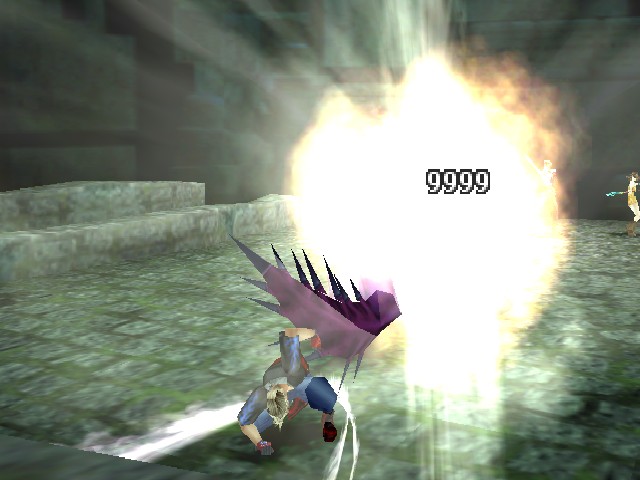
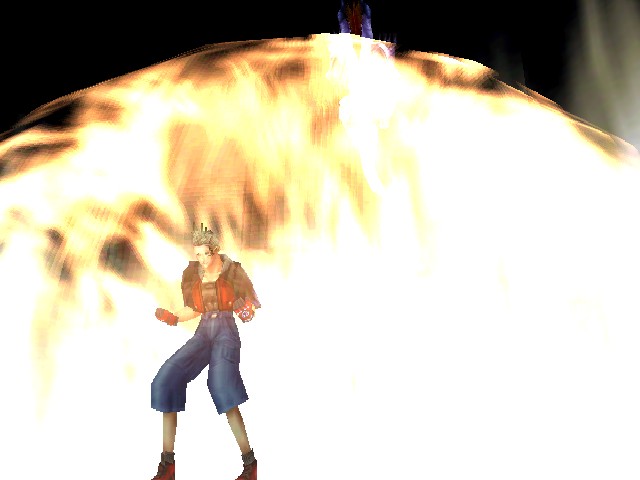
Burning Rave is the finisher Zell starts with.
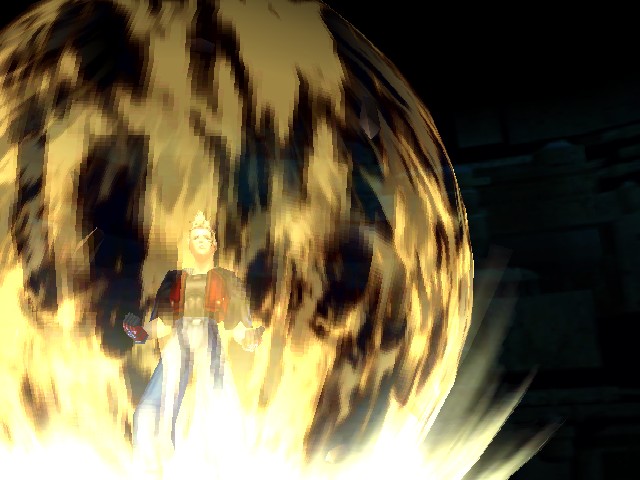
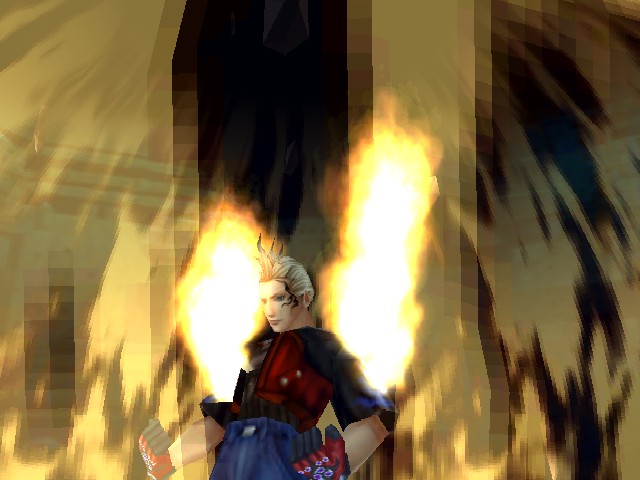
Charging up until you catch on fire is probably not good in general.
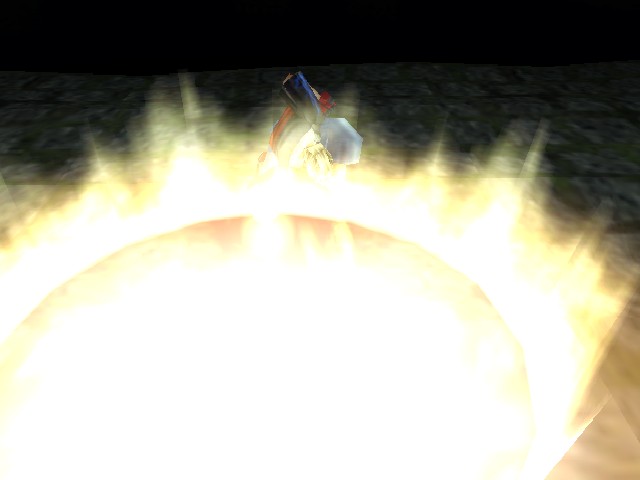
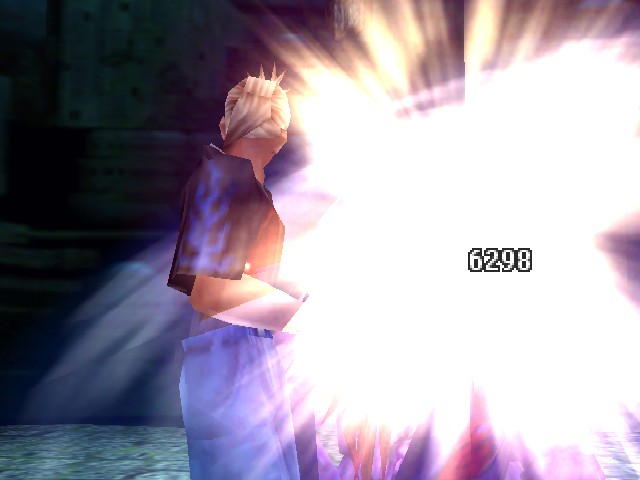
Chanelling his flaming energy into something productive, Zell punches the ground so hard it causes an explosion. This is one of two Duel moves that hits all enemies.
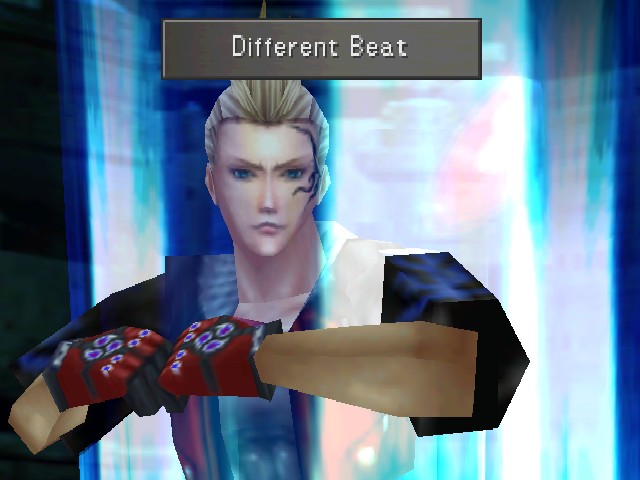
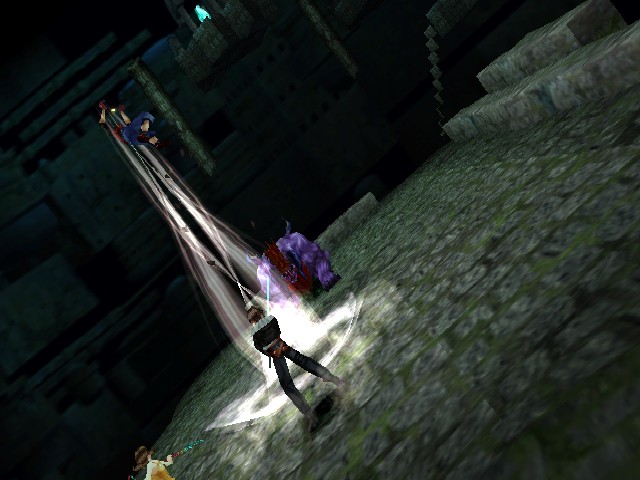
Different Beat is learned from Combat King 004 and is Zell's most powerful Duel move.
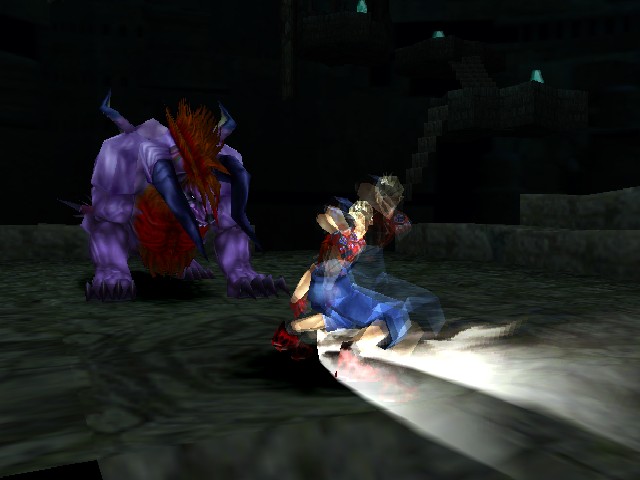
Conceptually, it's pretty simple: Zell does a bunch of flip kicks, air-juggling an enemy way up into the air.

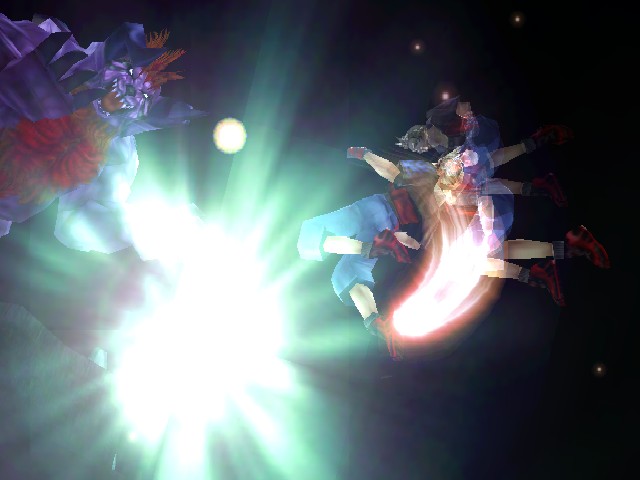
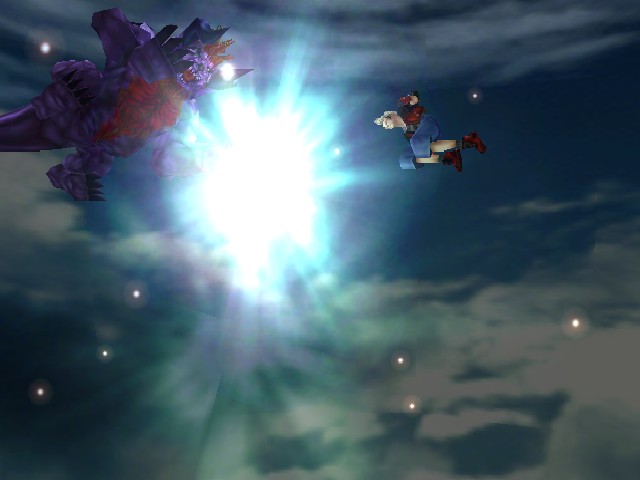
Then he just kicks them right the fuck back down to Earth.
Like all the individual Duel moves, this only hits once, despite Zell visibly kicking the enemy like a dozen times.
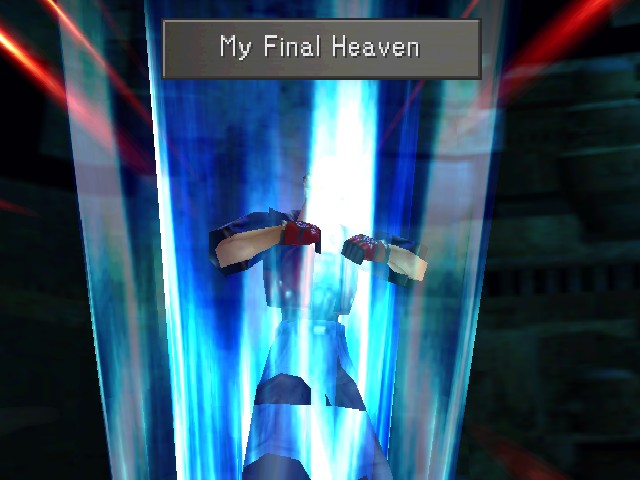
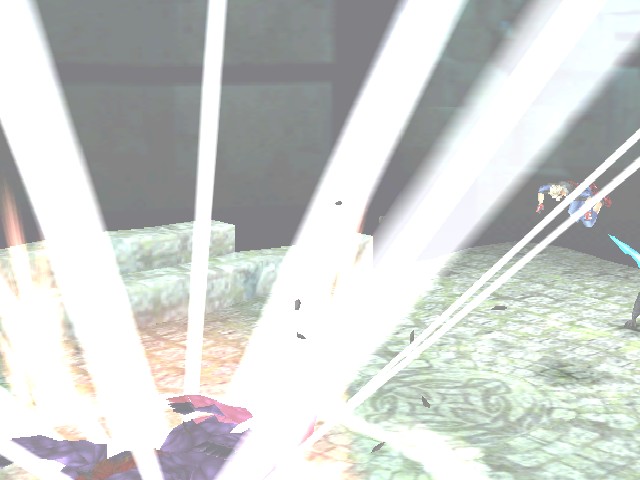
My Final Heaven is the last Duel move, learned from Combat King 005.

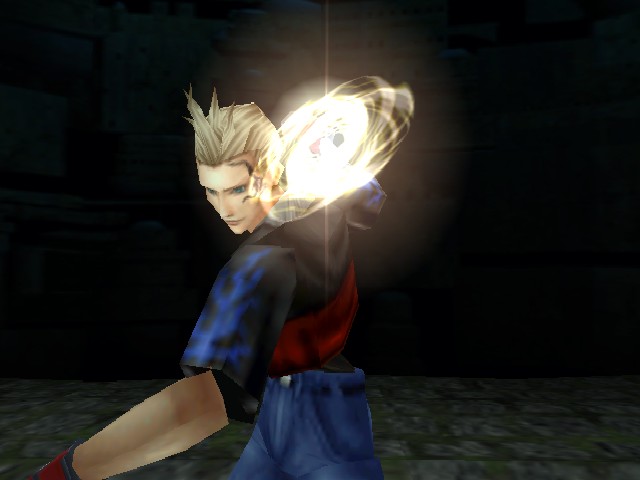
This one is just a big, charged-up punch.
...That he completely whiffs.
It does make the enemy turn around as he passes, though.


And then he keeps running.
The issue of Combat King you read implies that Zell moves at relativistic speeds to deliver this punch with such force that it causes that huge explosion.

The upside: this damages all enemies (and is stronger than Burning Rave). The downside: still one hit capped at 9,999. This is the big limitation of Duel combos and finishers - none of the combos are more than 7 hits long, so they're capped at 7x9,999 damage. If you chain basic moves, though, it's easy enough to get in a lot more hits, which can run up the damage total even if you get a short time limit from having a low Crisis Level. Plus it's easier to input and I always forget both which moves combo into which and what the inputs are.
And now that I've shown off those Duel moves, I'd had enough of the Behemoths and other encounters in the area and returned to the timeline where I did the puzzle properly.
If you were curious, by the way, there are also encounters in the tower area, but I prefer to run this area with Enc-None on because I like the atmosphere of being all alone in this abandoned area.
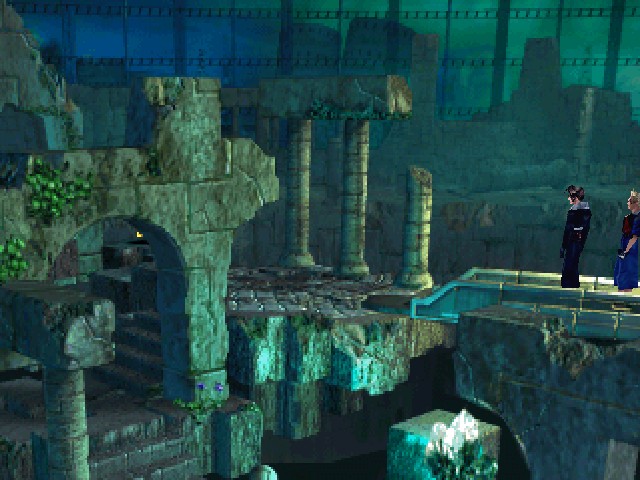
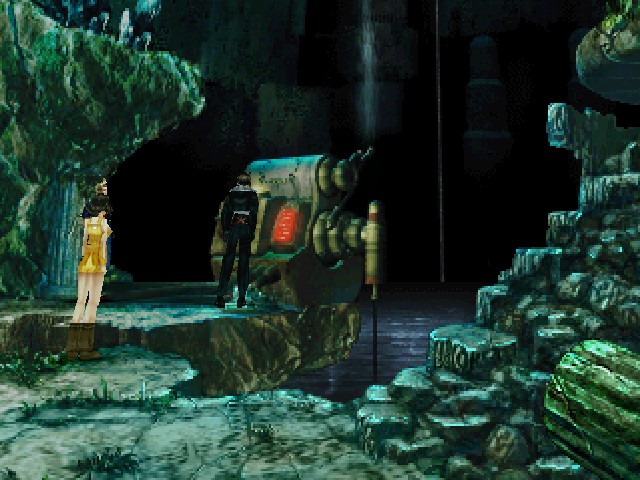
So now let's take a look at these ruins.
If you look on the right, you can see that those rocks appear to be floating. There's also a design painted on the floor where Squall's standing, but I don't recognise it as anything important.
Looking at the background, we're in the ruins of some sort of sprawling city.
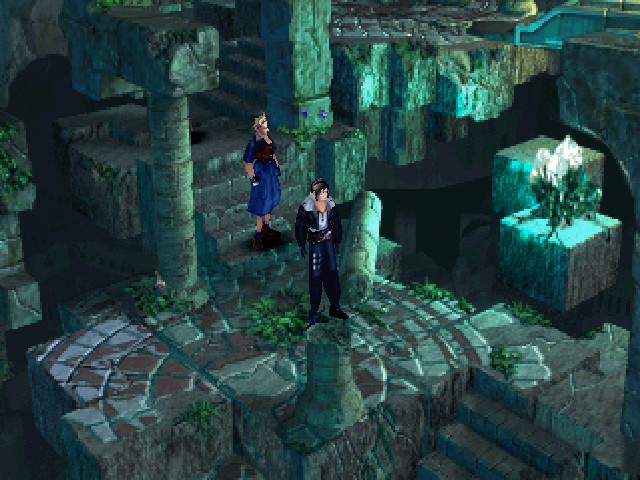
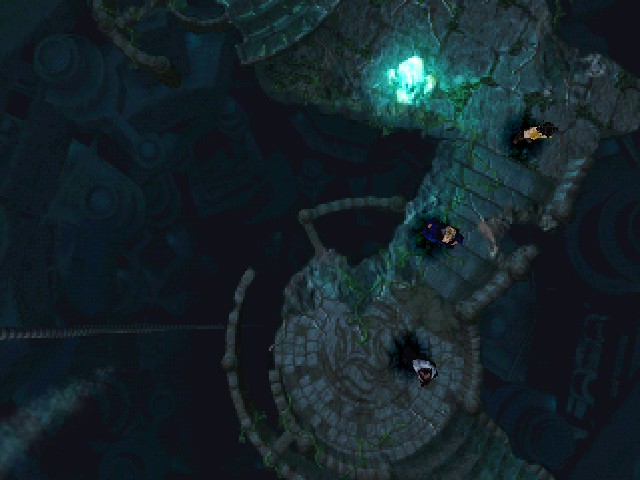
I'm a sucker for environments in games where you go down spiral staircases with the camera looking straight down like this.
I also really like the way the environment crosses over itself here. There's not much to say about this area gameplay-wise, I'll admit, and the puzzle is pretty weak, but to me the visuals make up for it. Running through the place (with Enc-None) is, like I said, one of the most memorable parts of the game's world for me.
Down here is a statue, but we can't see its head.

There's also a Triple draw point. Triple is as good as ever, but everyone's full up right now.
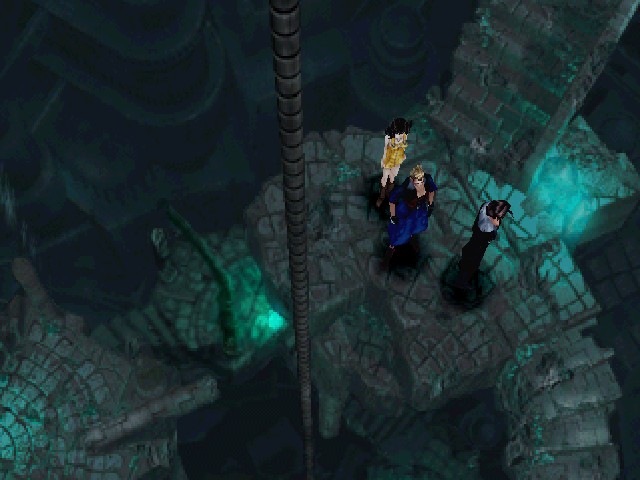
I love how the landing here is right above that pitch-dark abyss at the vanishing point of the buildings around it.
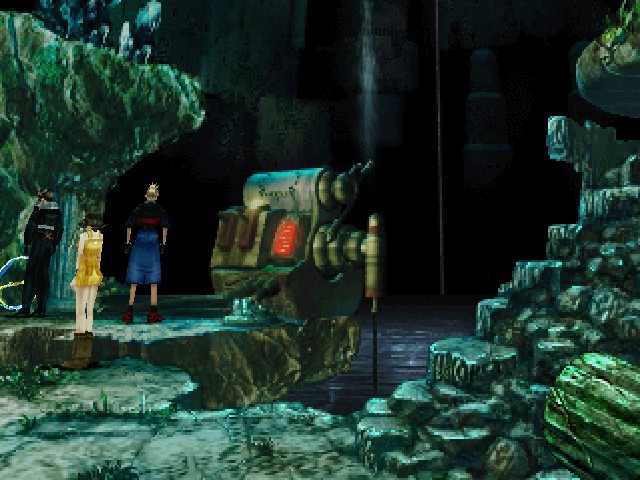
And then it's just a few more stairs down and we're at the bottom of the dig. All that's left to do is check out that console there next to the water (so this isn't the sea floor, just the lowest point that was excavated).
If you don't have enough energy, by the way, this is the message you get. I sure hope nobody has opened the door with Zell, had to fight a bunch of tough encounters, and then seen this. That would suck.
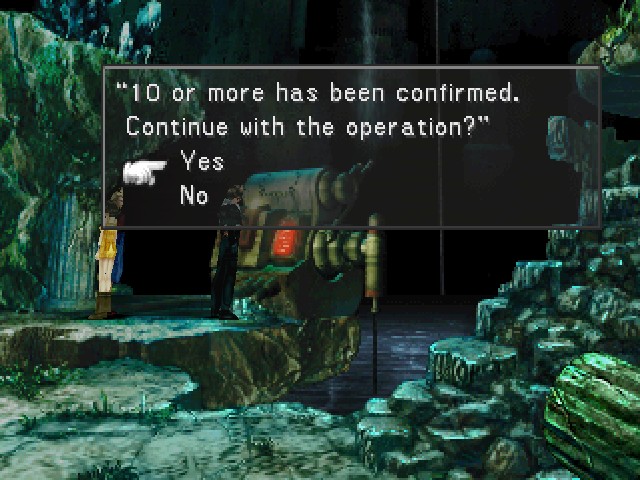
But, if you do have 10 units or more...
You should be sure to junction Move-Find and use this hidden save point!
Once you've saved, feel free to hit the button and continue with the operation.
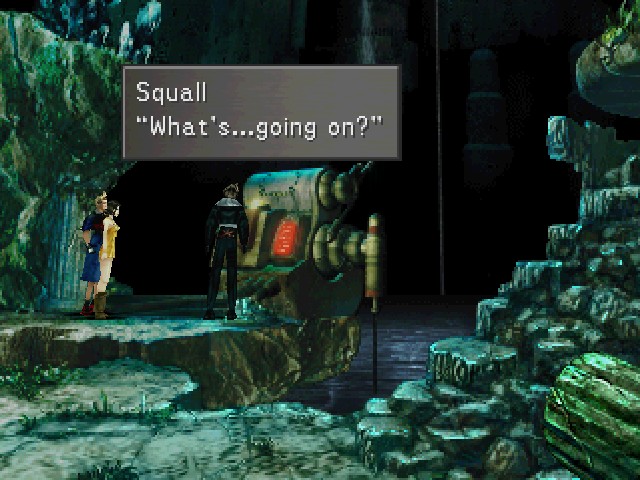
: What was going on down here...?Probably a good question. When we first came here, Zell mentioned something about a draw point, but we really have no idea what they found that necessitated sealing this place off.
Console: Resuming operation...
But I suppose we'll find out soon enough.
 : We made it this far! It must be a treasure!: Can't wait to see what happens!
I admire their optimism, at least.
Something starts happening now.
Way back at the big machine, the steam stops.
And then a warning light starts flashing, while the steam starts up again.
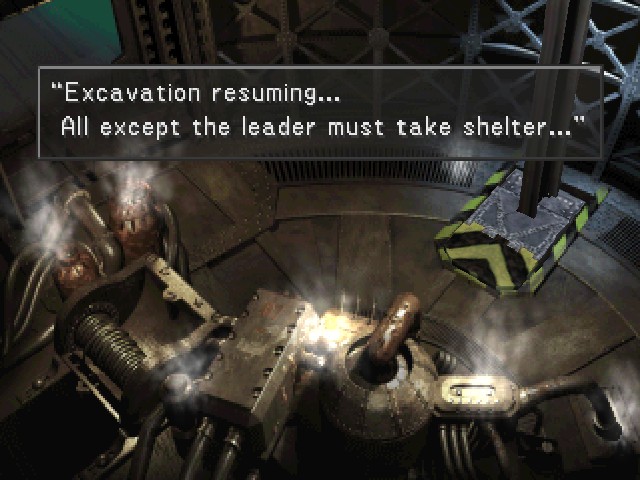
It would probably help if someone were there to hear this.
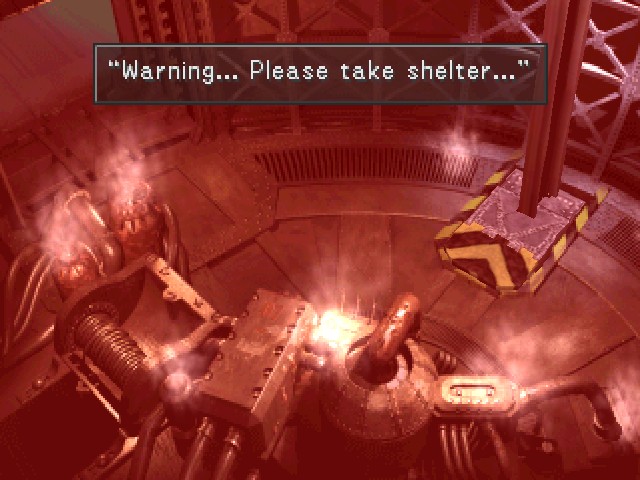
Yeah, I got a bad feeling.
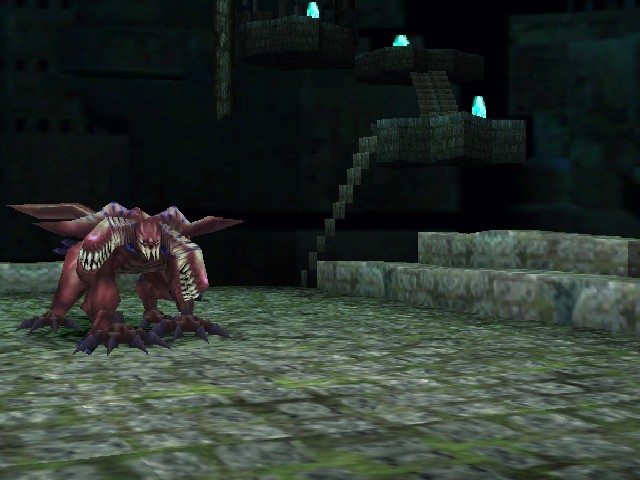
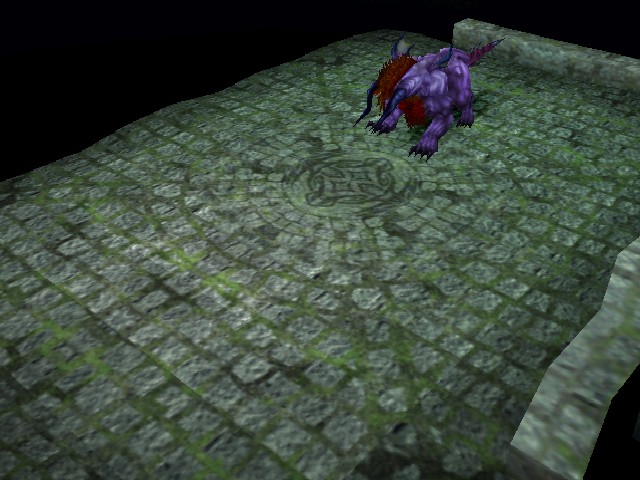
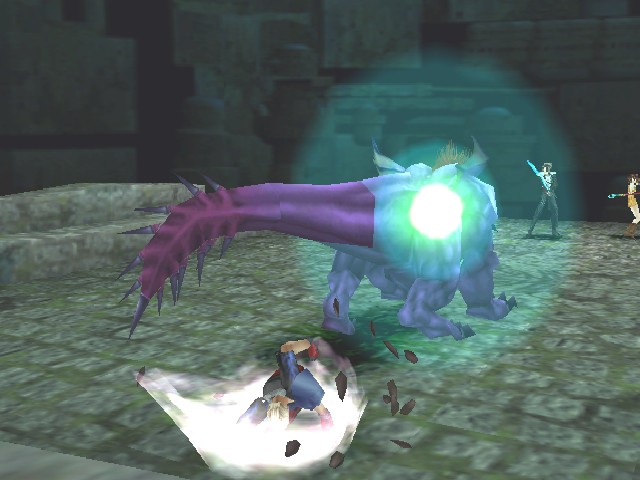
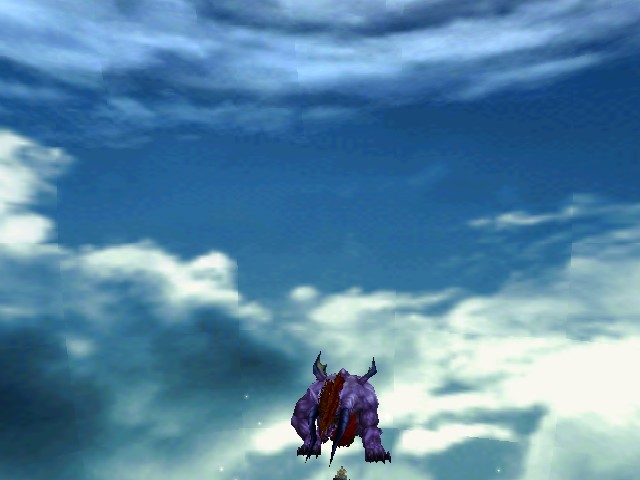
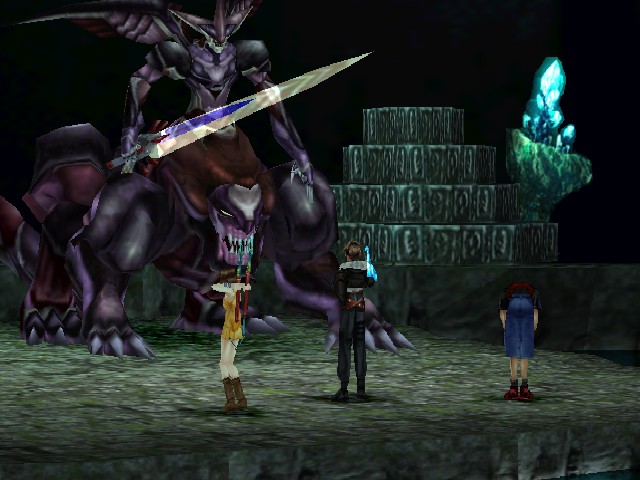
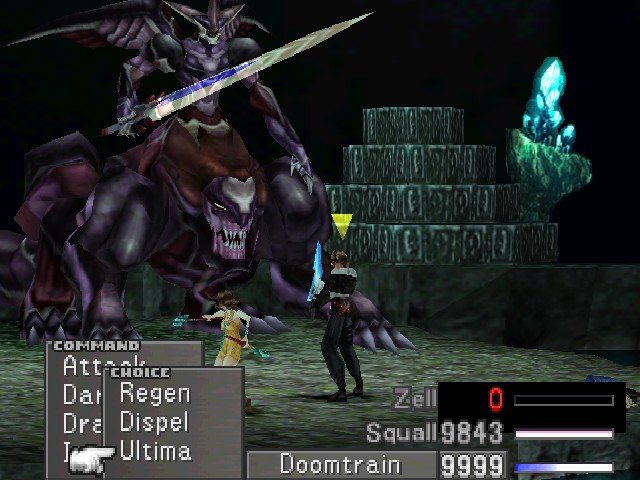
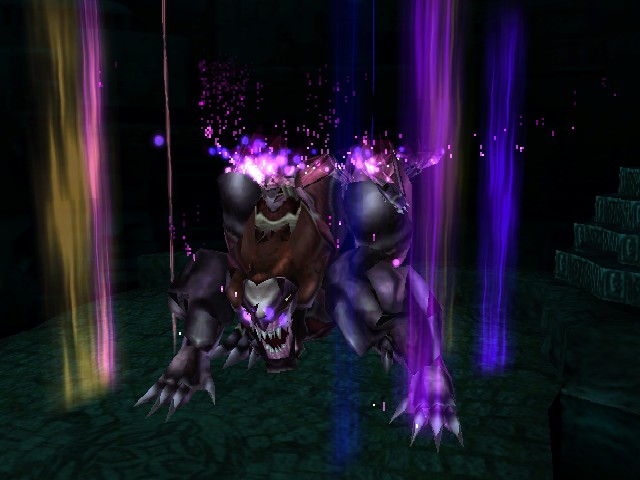
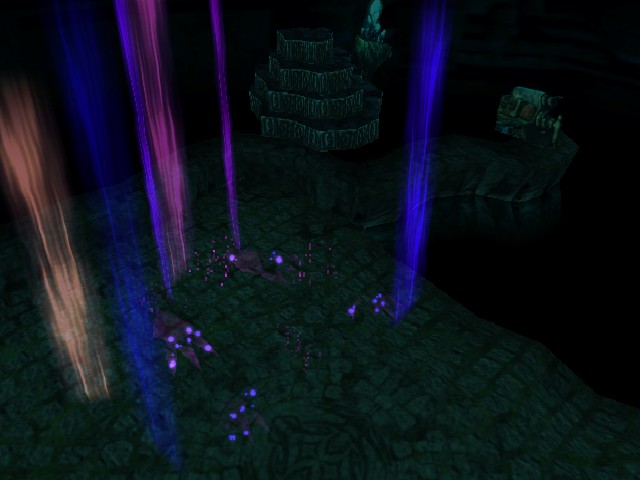
Now, back to these guys.
It's quiet for a second.
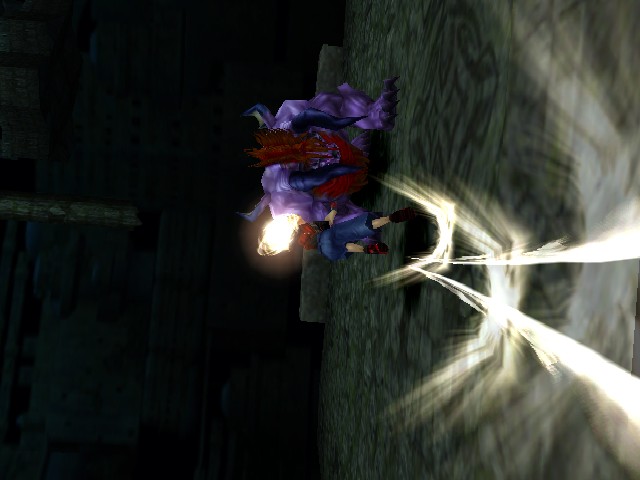
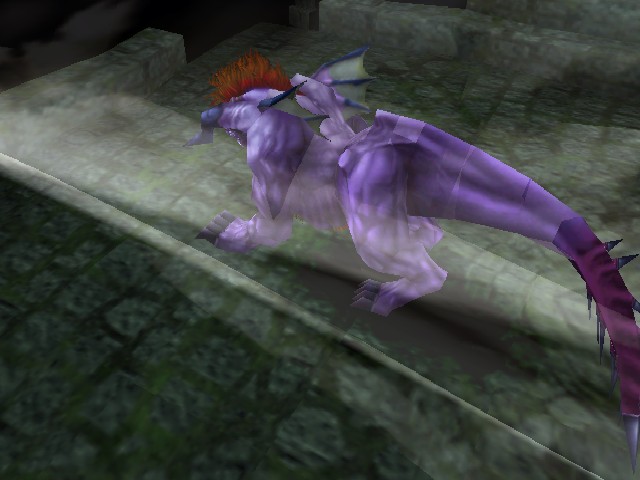
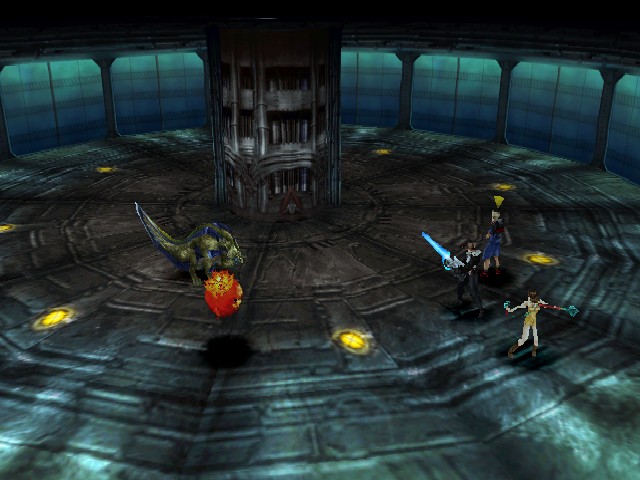
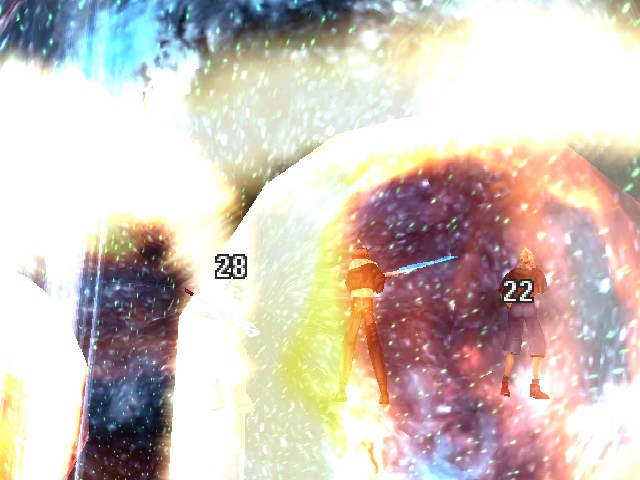
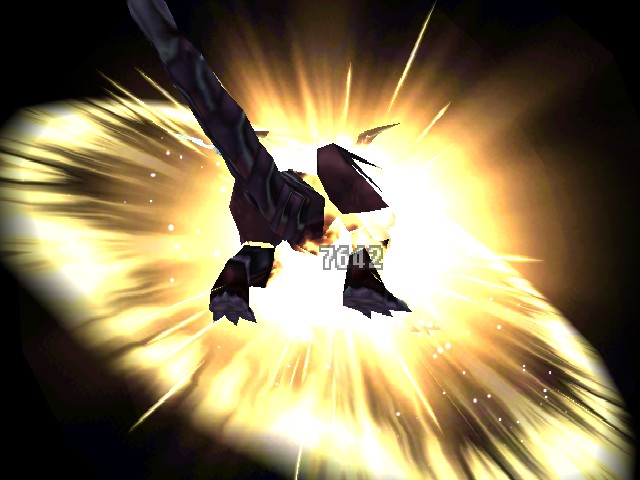
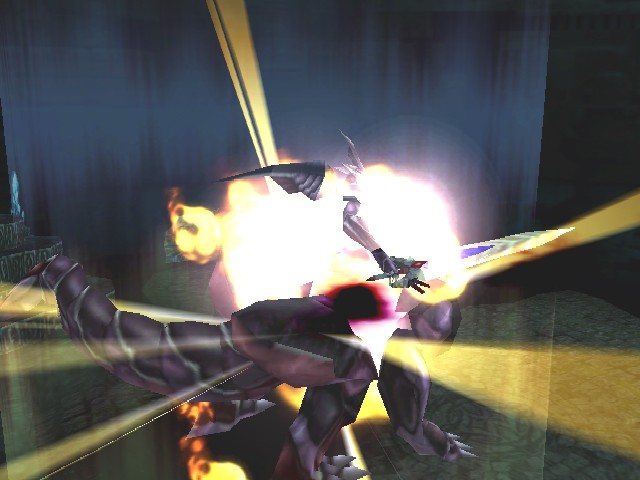
And then it happens.

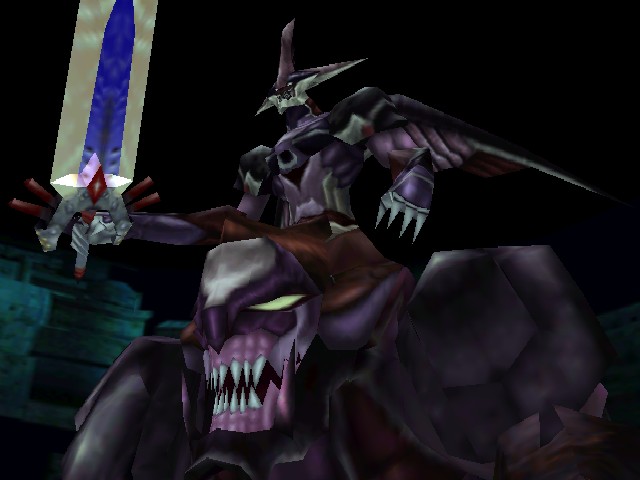
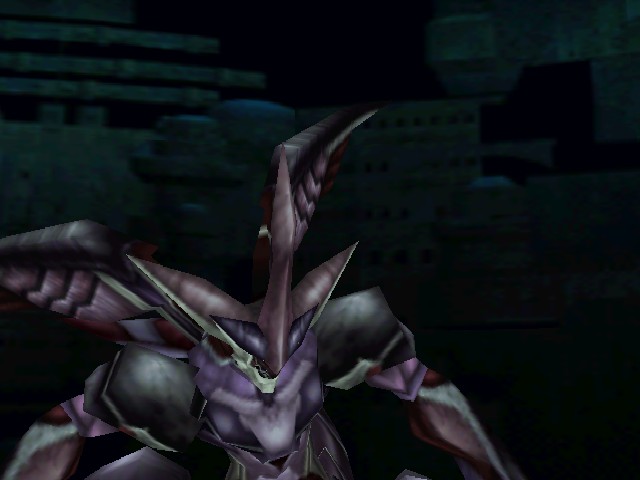
This guy is Ultima Weapon. It's the name of a recurring boss and also often of a weapon, usually a sword. As you can see, he's holding a sword in his right hand - that's actually Cloud's ultimate weapon from Final Fantasy VII, which was called... Ultima Weapon.
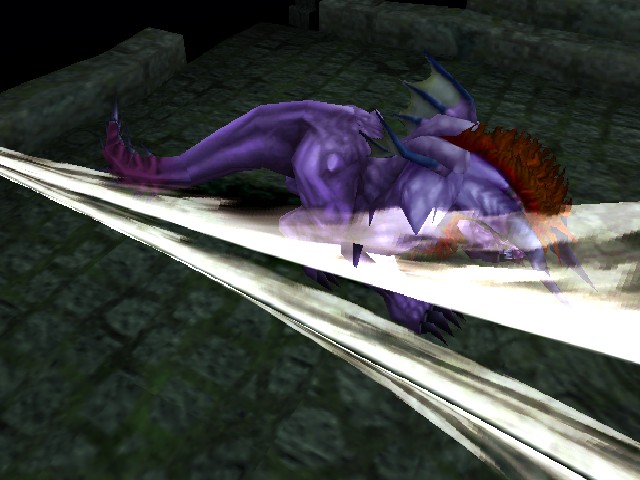
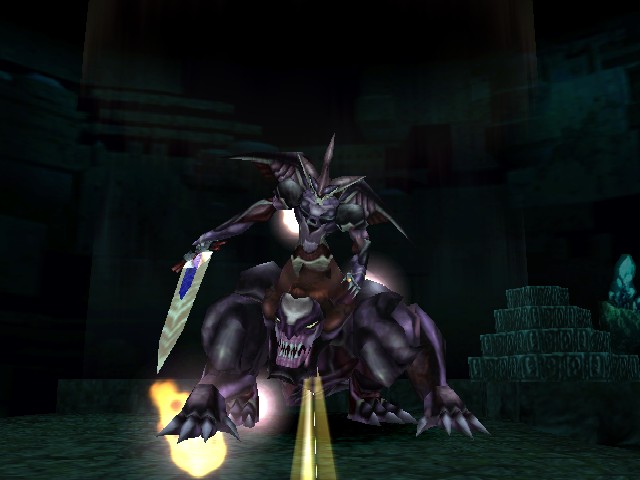
He is also a big boy. This is probably why there are no scientists hanging around this place.
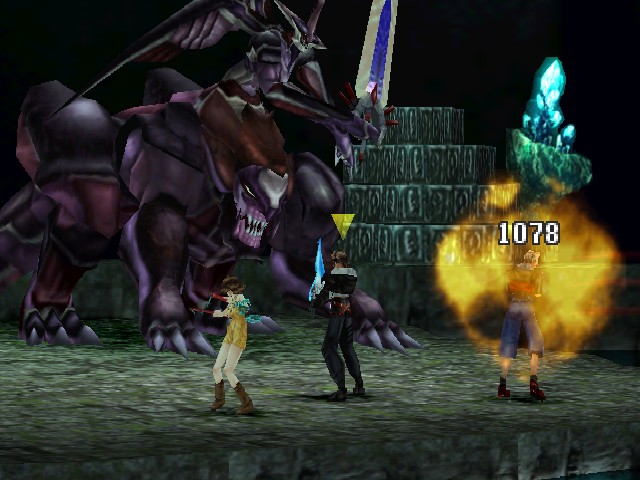
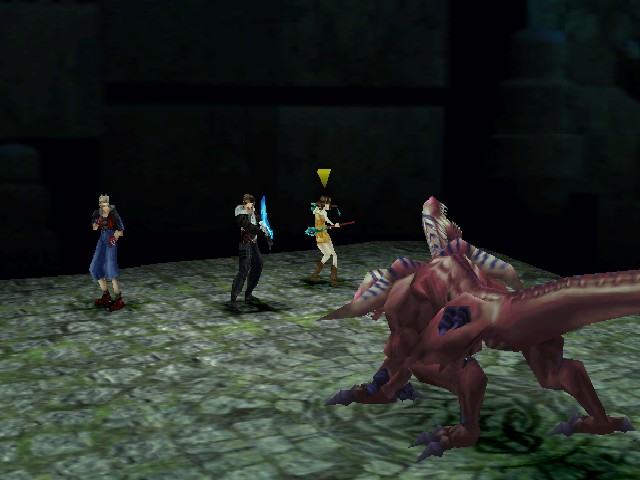
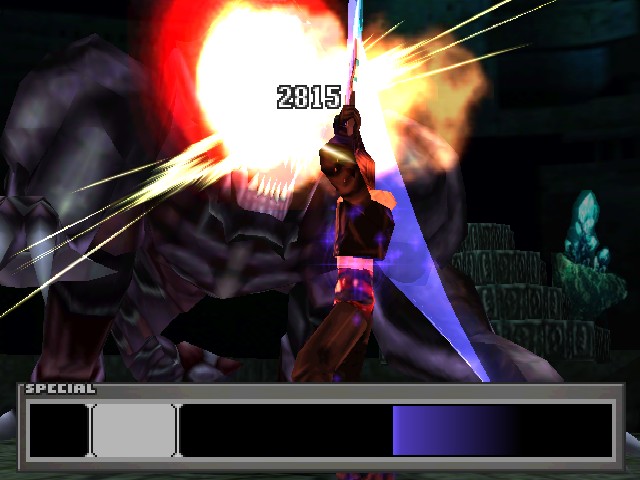
As soon as the battle intro finishes, Ultima Weapon gets straight to business kicking your ass. And he's good at it, too - at level 100, you're looking at 254 Str and 145 Spd. It's that second number you really need to pay attention to - Ultima weapon is fast as fuck. At level 100, Squall naturally has 37 Spd, and Triple adds 70 for a total of 107. Even with Auto-Haste, Ultima Weapon is easily able to keep up with my party and often even gets two turns in.
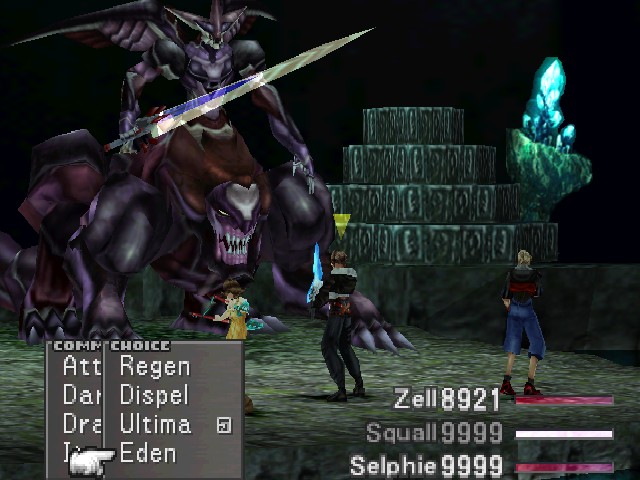
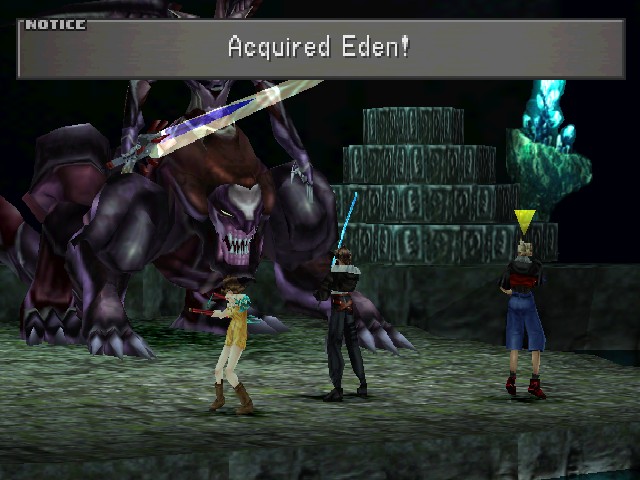
So here's the first order of business. Ultima Weapon is carrying the "ultimate" GF, Eden (note: Eden is nowhere near as useful as Doomtrain). Make sure you Draw it. If you forgot to junction Draw, either load up or save or go without, I guess.

In addition to having the stats for it, Ultima Weapon has a moveset to kick your ass. This is Gravija, which we previously saw used by Diablos/Booyakaga in that bossfight a million years ago. It can't kill you by itself, but it definitely leaves you in a position to be killed.
By, say, Meteor. Ultima's Mag caps out at "only" 213, but if you don't have sky-high Spr you're not gonna like seeing this one.
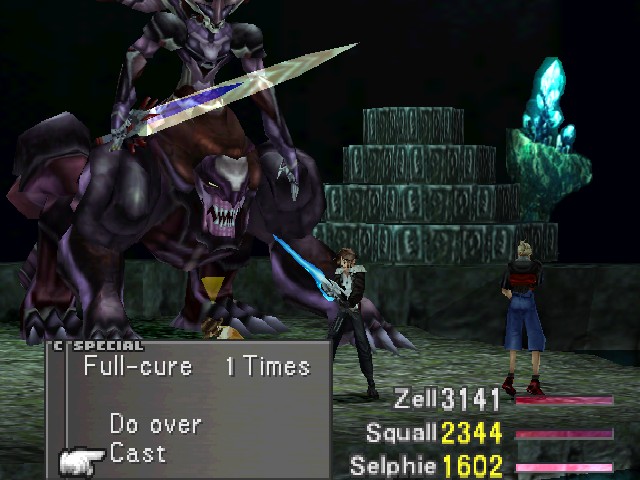
It's pretty important to have some kind of healing in this fight. Selphie's Full-Cure is good for this, as is the Recover ability. I prefer those to triple-cast Curagas since they're guaranteed to bring people up to full HP. I also like to bring a load of Mega-Potions and X-Potions to pick up any slack.
In addition to Meteor and physicals, Ultima has Quake. You can actually turn this one around on him by junctioning 100 Quake to your Elem-Def, so it'll heal you.
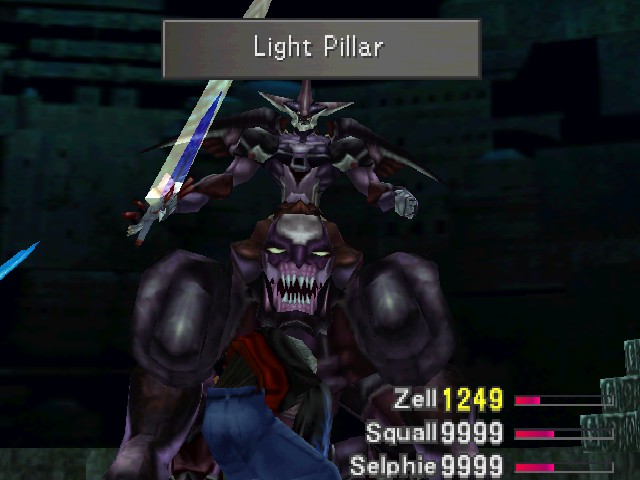
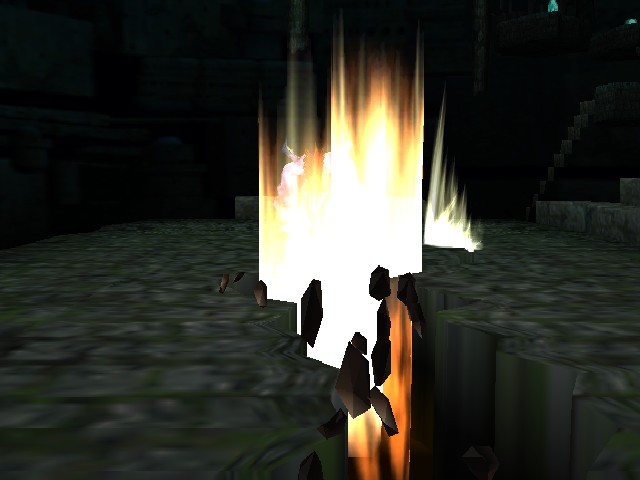
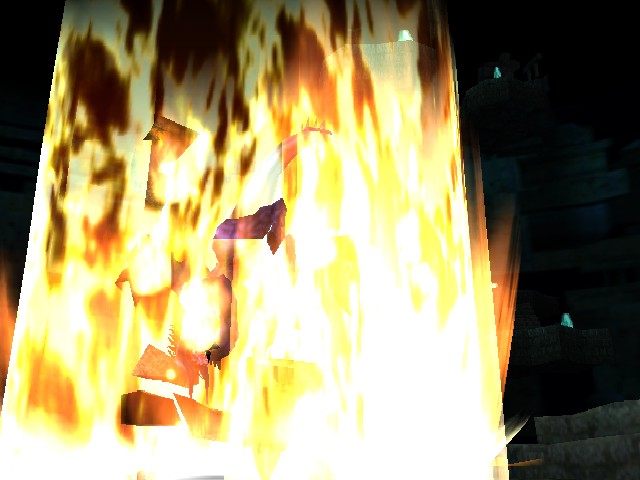
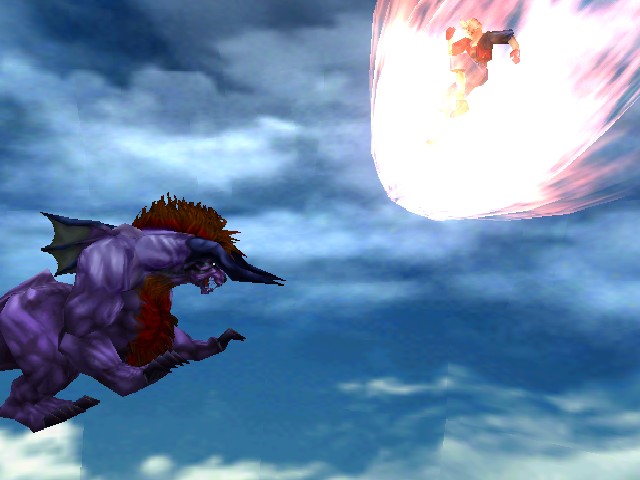
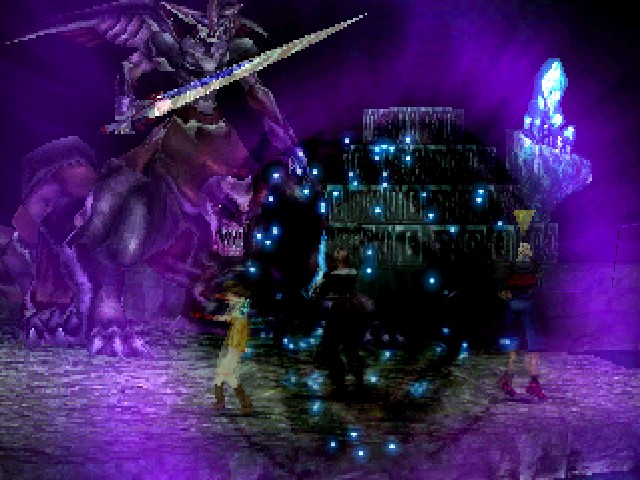
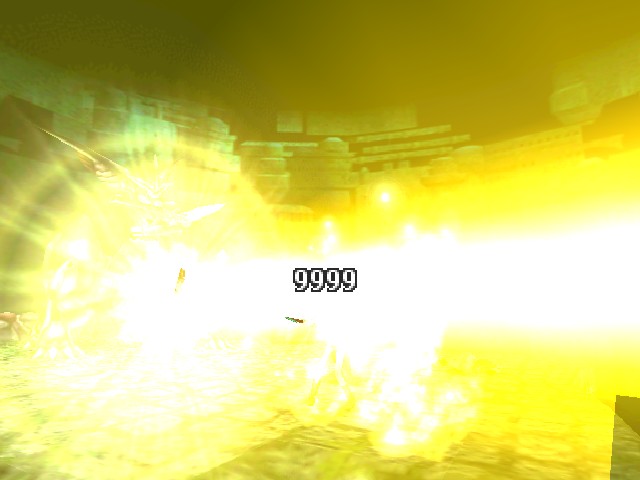
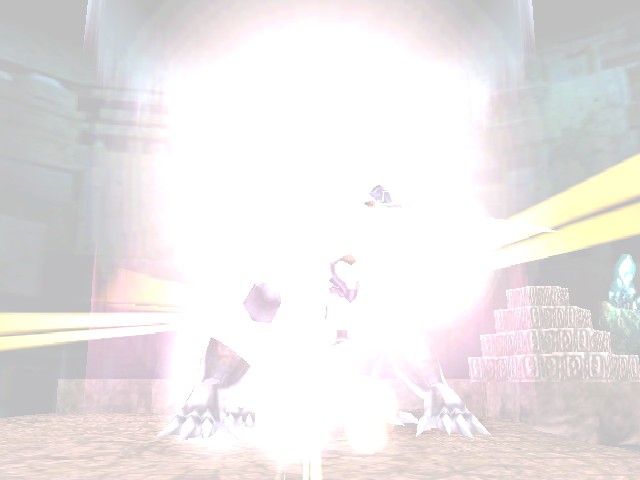
But those moves aren't the problem here. No, the problem here is Light Pillar. This is Ultima Weapon's specialty.


Light Pillar causes one character to be dead. 9,999 fixed damage - the only thing you can do to mitigate this is to be invincible, which you might do if you're a coward. This is what makes the fight dangerous, because this isn't a counter or on a timer or anything, Ultima can just shit out Light Pillars at will. This is why his speed is so dangerous, since he can easily hit two characters with Light Pillar before a slower or less-prepared party can react. I made sure to have a bunch of Mega-Phoenixes on hand and the Revive ability junctioned to deal with this one.
See, I need to make sure I can keep people in the fight here because I'm going to do something very stupid. Ultima Weapon is one of two enemies in the game to carry Ultima as a draw spell, and I decided to collect a full 300. With each party member usually getting 9, this didn't take too long but it got dicey a couple times.
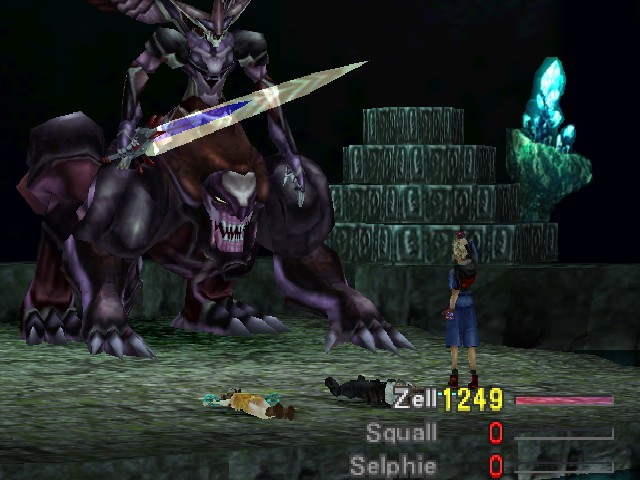
Pictured: it getting dicey.
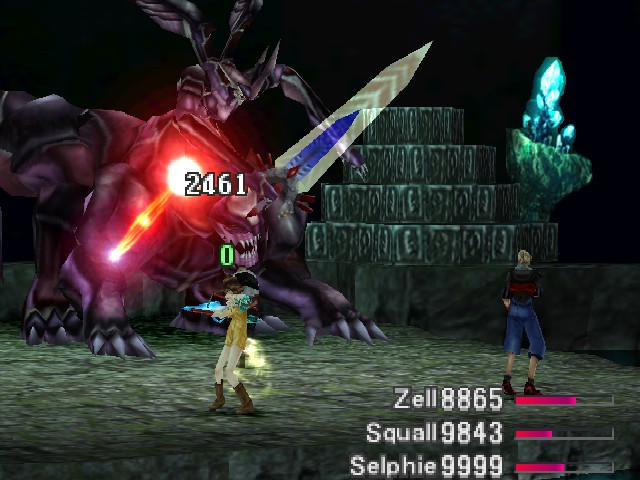
On top of high attack stats, Ultima Weapon caps out at 188 Vit and 160 Spr (interestingly, his base values are 12 Vit and 127 Spr), so it can be tough to get damage in.
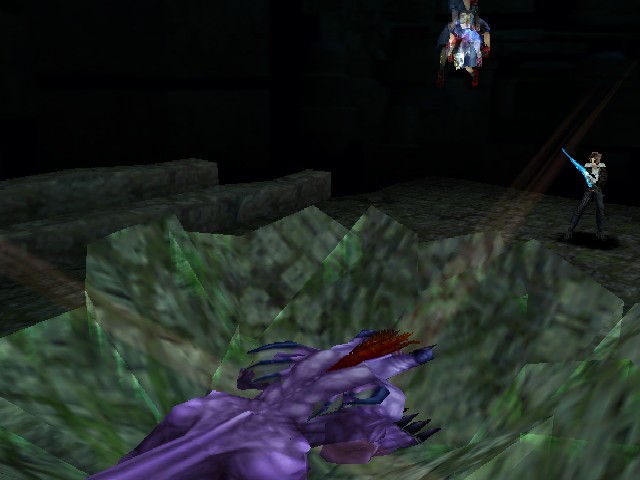
I tried to get Doomtrain in to fix the defence problem, but
he wasn't feelin' it.
This was stupid to do. My party build is the next best thing to invincible but this was still a close fight (I actually wiped once, because I forgot to stock up on supplies beforehand. Use the save point.). For my money, Ultima Weapon is the hardest and most interesting fight in the game. Not because of his HP, but because he hits fast and hard enough that you're generally going to be on the back foot.
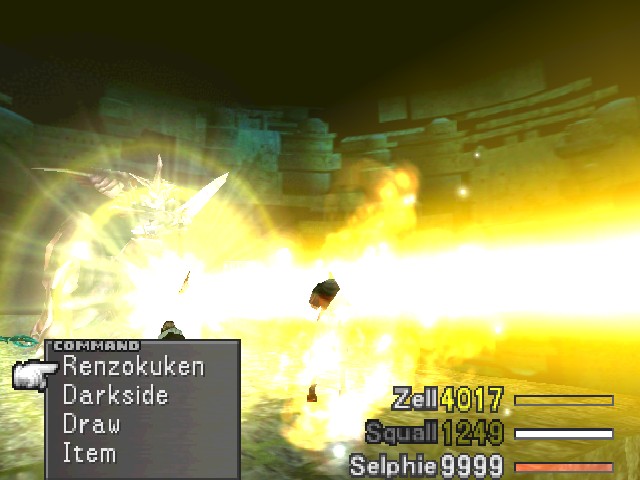
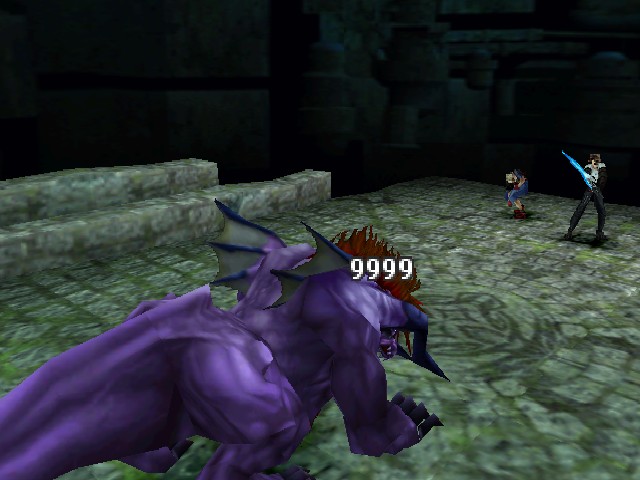
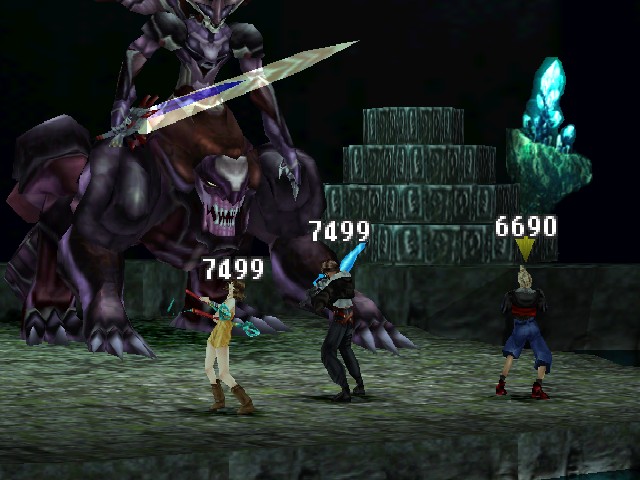
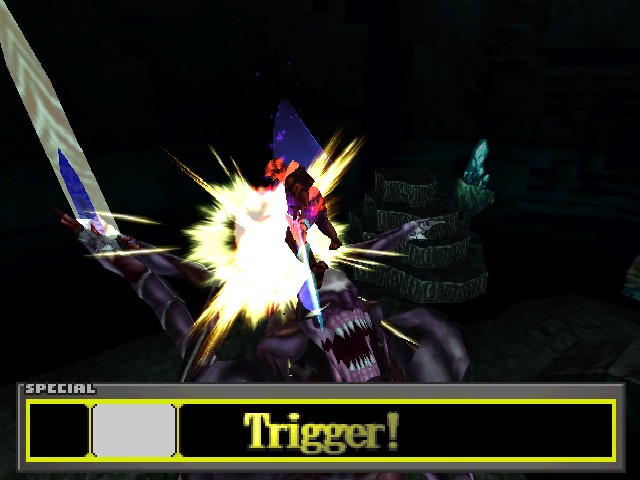
The easiest strategy to actually beat Ultima Weapon is to throw a multi-hit Limit Break at him. See, that's Ultima Weapon's big weakness: he caps out at 160,000 HP.
I didn't get Doomtrain out, so there's no Vit 0 here, which means Renzokuken won't do it alone (note: Renzokuken always hits 7 times in this fight, so it wasn't doing it alone anyway).
I wonder if his head is the humanoid one Squall is hitting here or the monster face growing out of his dick area Squall was hitting previously.
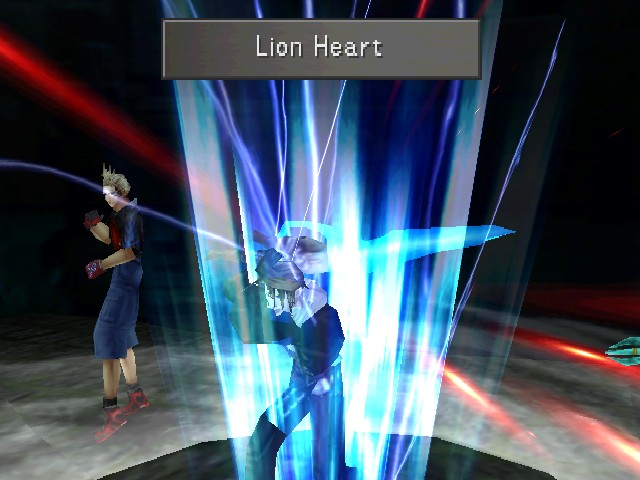
This was fairly lucky, coming out on the first 'kuken and locking things up for me.
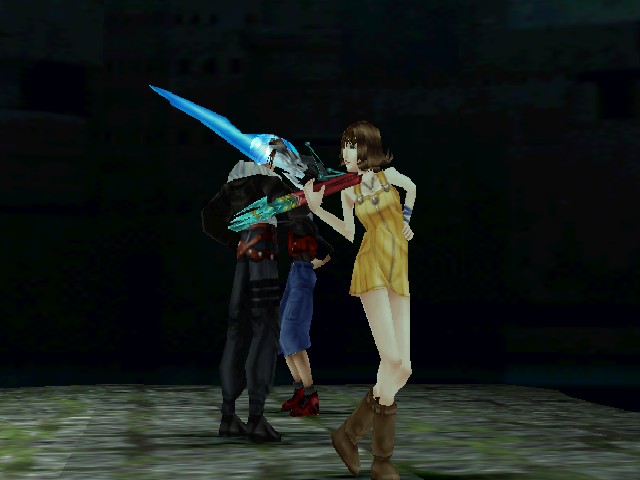
Lion Heart's really good.
And such a stylish finish.
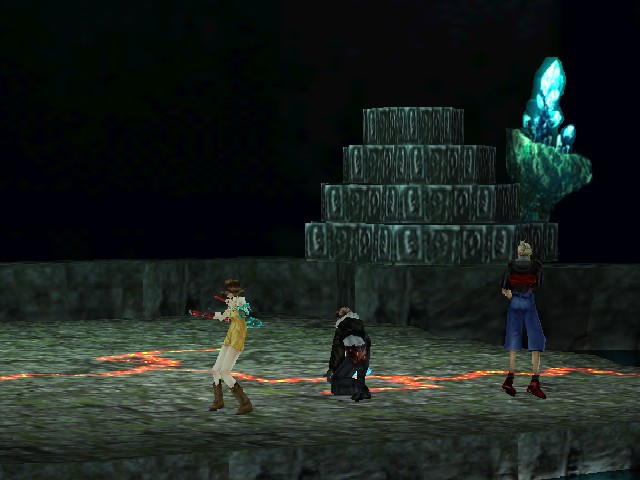
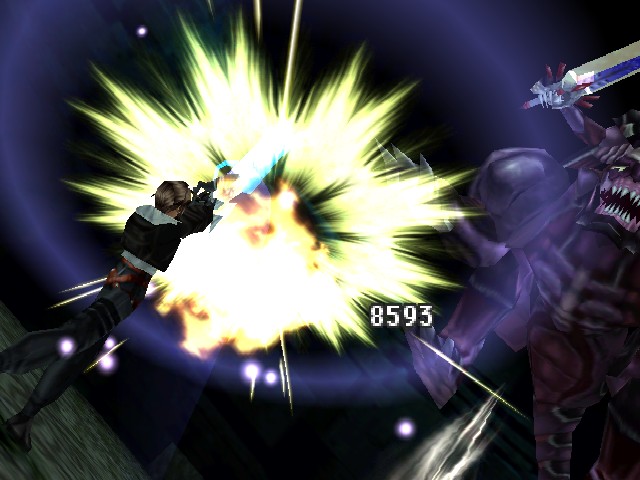
Why do monsters explode?

God, it's so dramatic.
Just slowly dissolving away to nothing like that. If you're goin' out, put on a show. That's the way.
I mean, I know I made this look easy, but that's mainly because I knew it was coming and I knew what to do. I prepared for this when I did all that power levelling. If you come in here with a party that's like level 60 with middle of the road junctions, you'll probably eat shit immediately. If you have nothing on speed he'll chain turn you into oblivion like nothing. And that's what I like here, the fast pace of the fight. I don't like how slow the ATB system tends to make things, it adds a lot of dead time to battles, but this battle has essentially no dead time. Ultima Weapon is the third reason I remember this area so well, and he was actually one of the first parts of the game I saw, watching someone else play who was stuck on the fight.
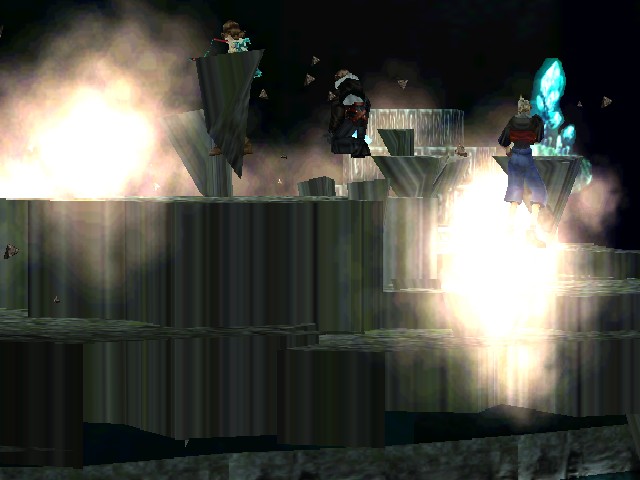
While we're here, look at Selphie's good-ass victory pose.
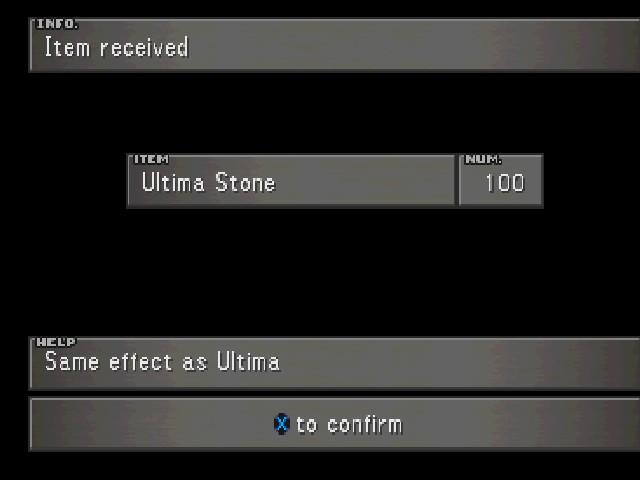
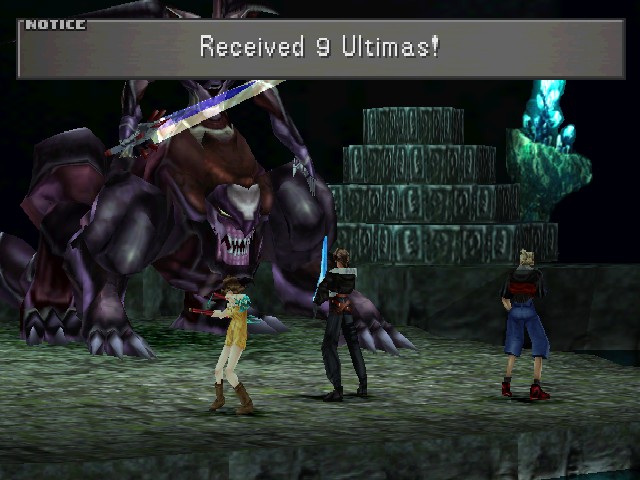
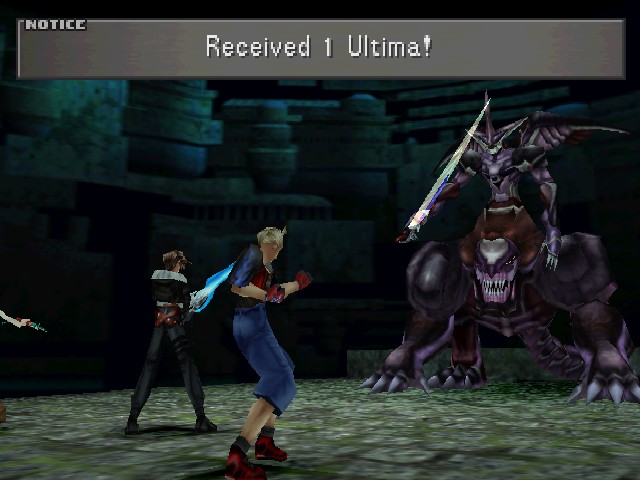
This is also a decent reward - that's 100 Ultima spells with Forbid Mag-RF. Since I drew three full sets and had a fourth already stockpiled, adding these makes 500 total spells, which is all I want (and 500 more than I need).
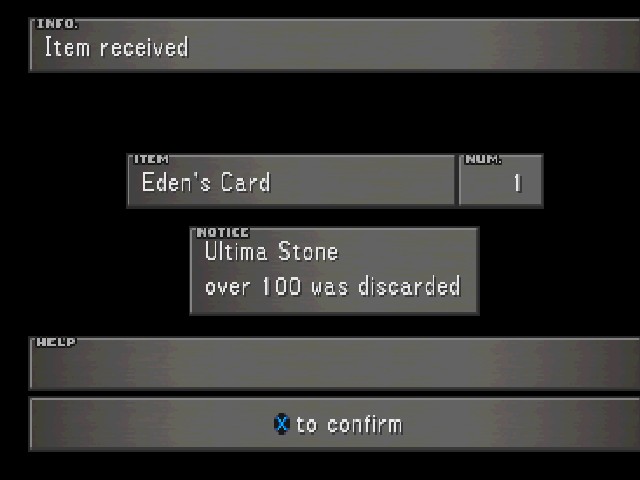
Eden's card refines into 3 Monk's Codes (teach a GF Counter) and those refine into 3 Str Ups total, so um. Full card set?
Most people will tell you, though, that this is the real reward and the real reason to come here. But discussing Eden more fully will have to wait until next time!