Part 117: Part One Hundred and Seventeen: Ultimecia's Art Dungeon
Part One Hundred and Seventeen: Ultimecia's Art Dungeon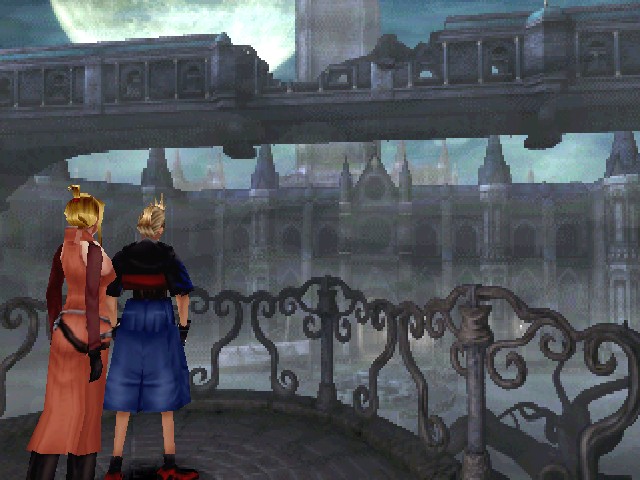
After Sphinx, Tri-Point, and Krysta, we've pretty much dealt with all the bosses in the front part of the castle and now it's time to move inwards.
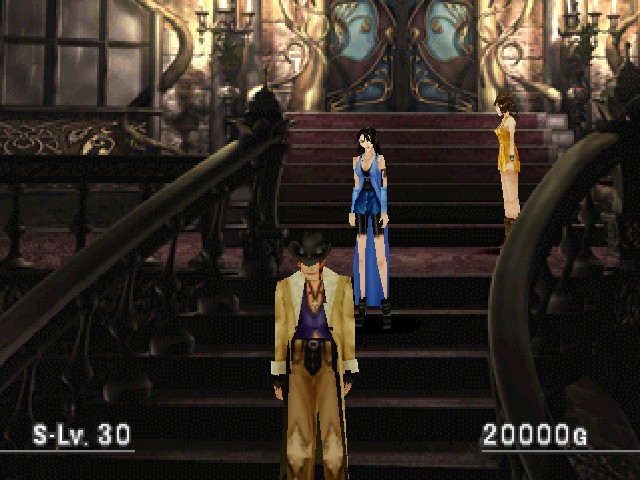
The party that will be handling this next fight is Irvine, Rinoa, and Selphie. This is the arrangement Irvine wanted when he first showed up so he could harass those girls even though I'm 100% certain they could both kick his ass.
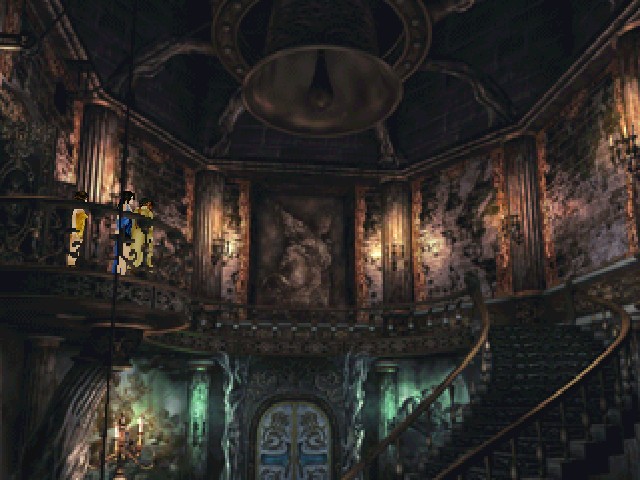
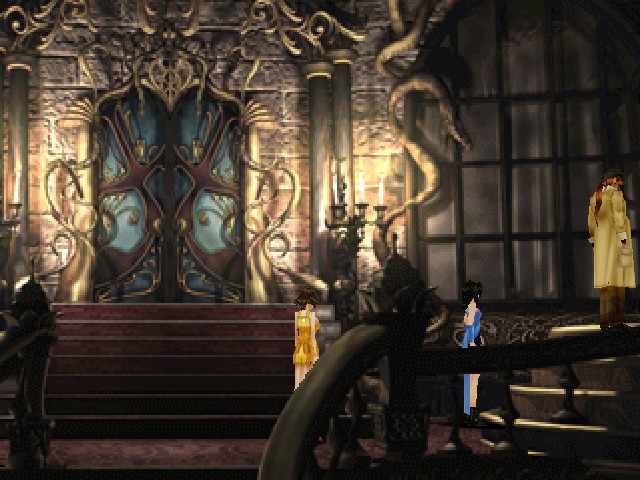
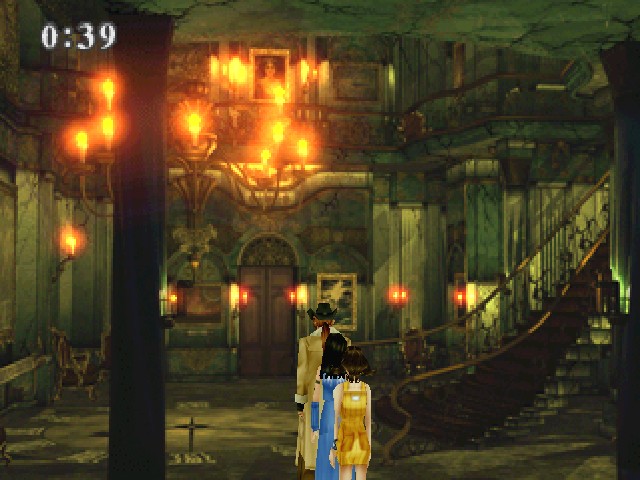
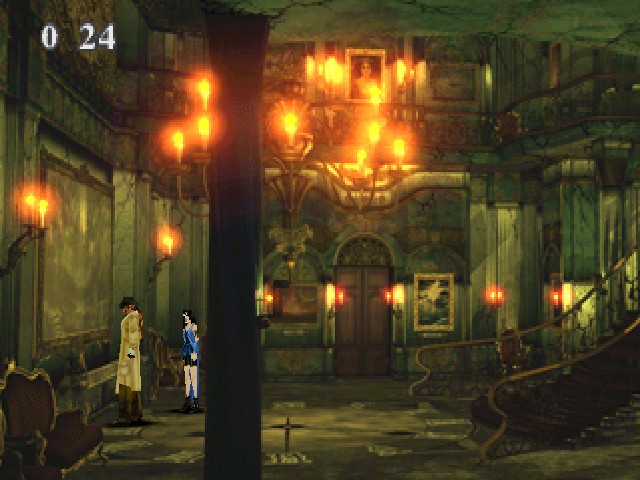
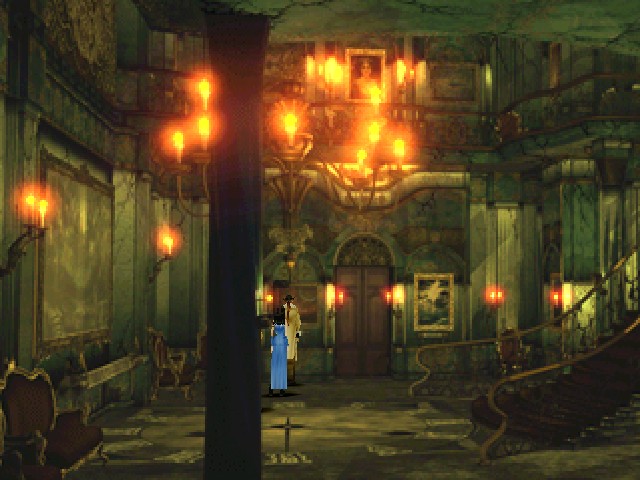
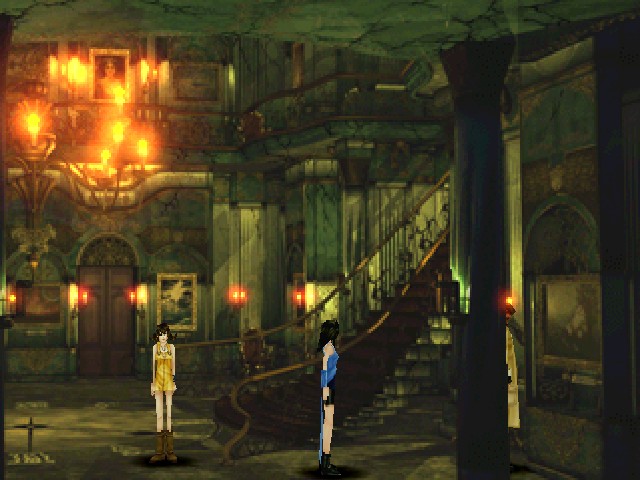
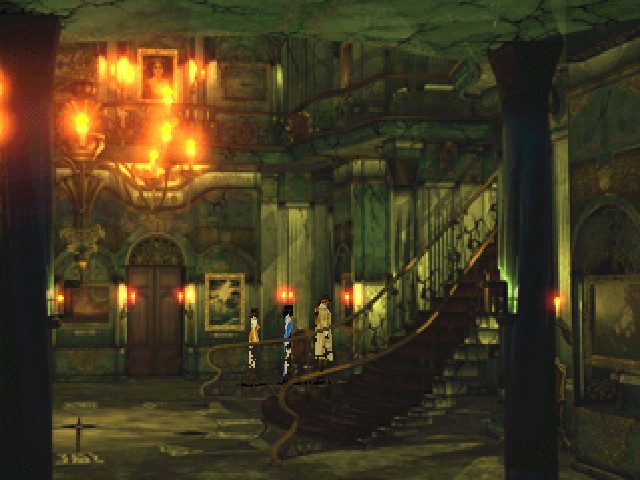
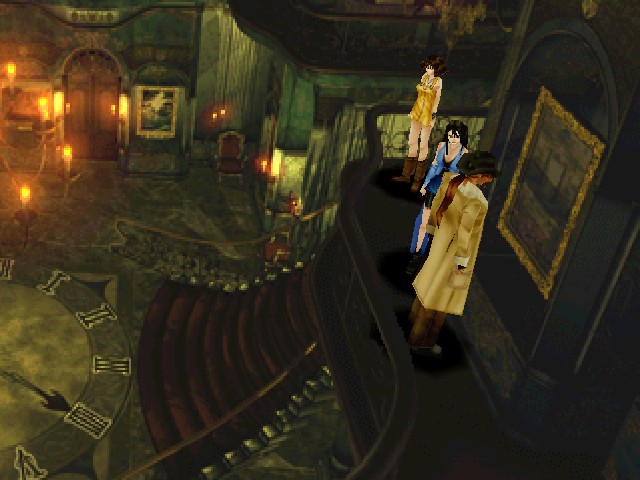
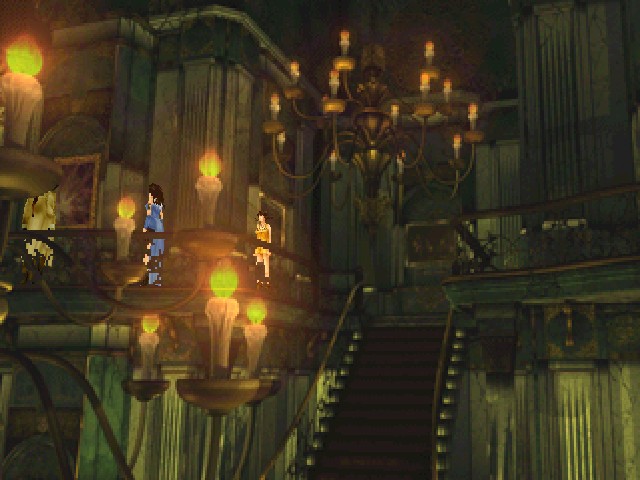
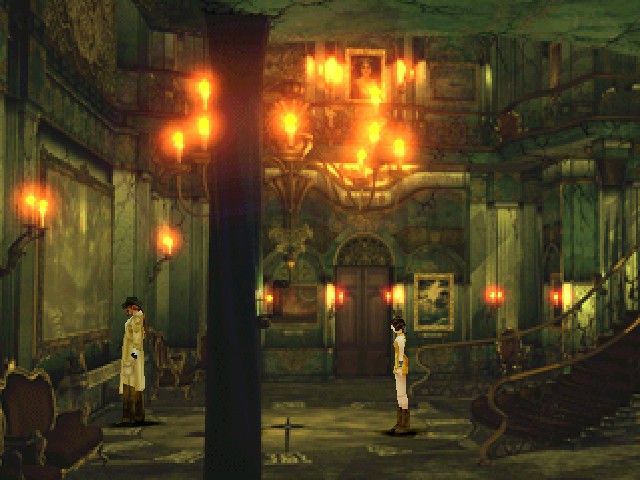
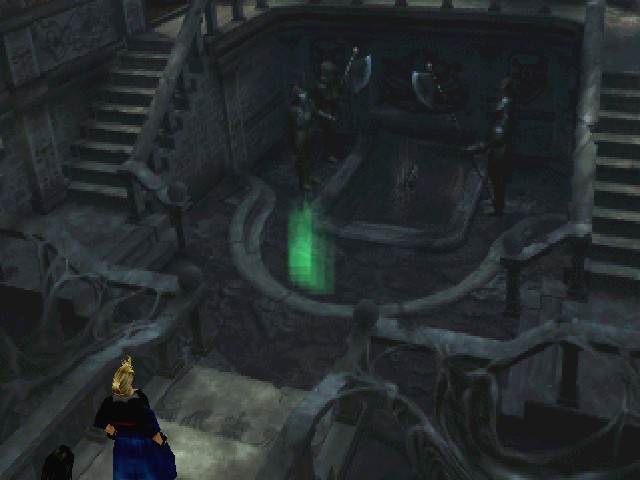
Taking the right-hand exit out of the foyer's second floor leads to this once-opulent room. This is the "bell room" because the most important feature is that bell you can see.

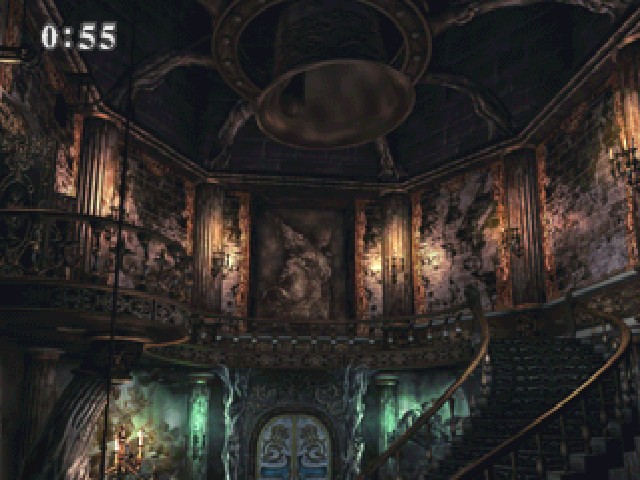
If you pop down the stairs, you can pull the cord and ring the bell. Doing so starts a one-minute timer that immediately tells you to eat shit and runs down to 50 seconds while you watch the bell ring. This does something that we're going to ignore for now, I actually rang the bell by accident, but maybe keep it in mind that this exists.
Our actual destination from the bell room is just on the other side of that door, the art gallery.
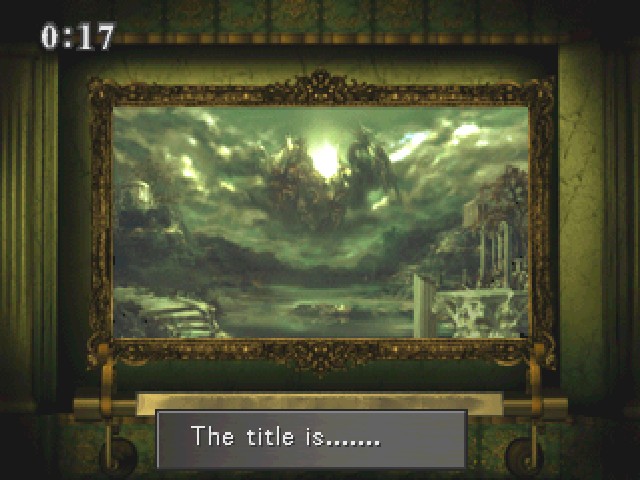
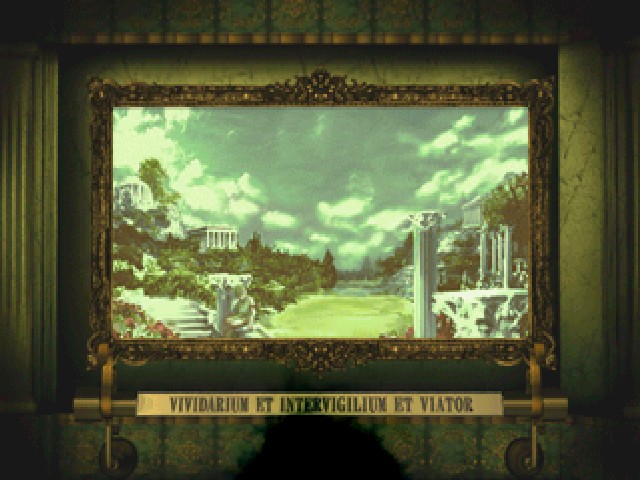
Right up front is a big ol' painting of the sun emerging from the clouds.

But we can't read the title, which leads us to the puzzle of this area.
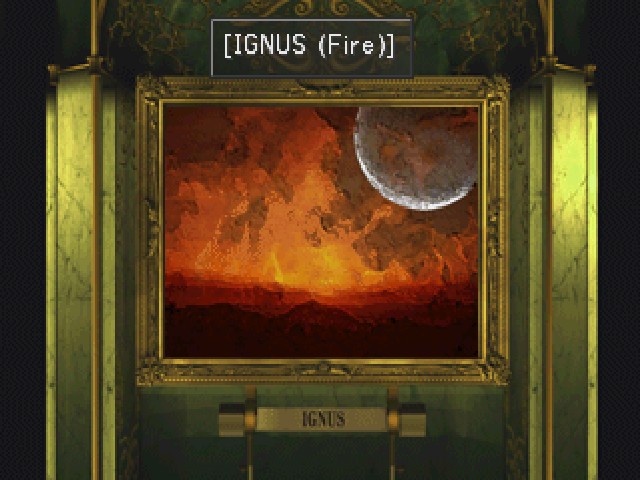
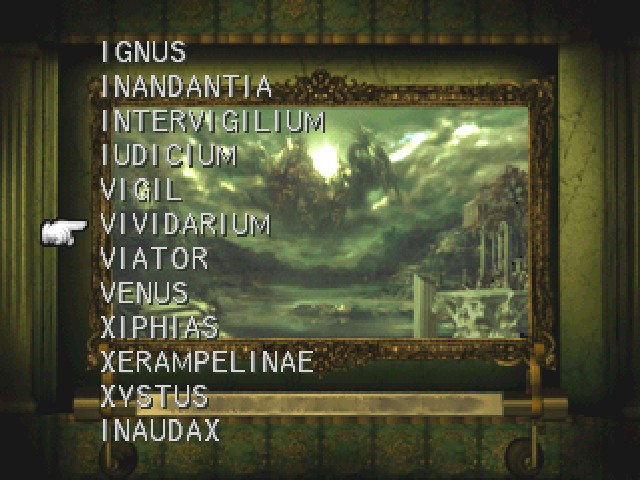
On the walls of the rest of the art gallery are, predictably, paintings. Each painting has a one-word title in faux-Latin. This one, "Ignus", evokes the actual Latin word for fire, which is ignis.
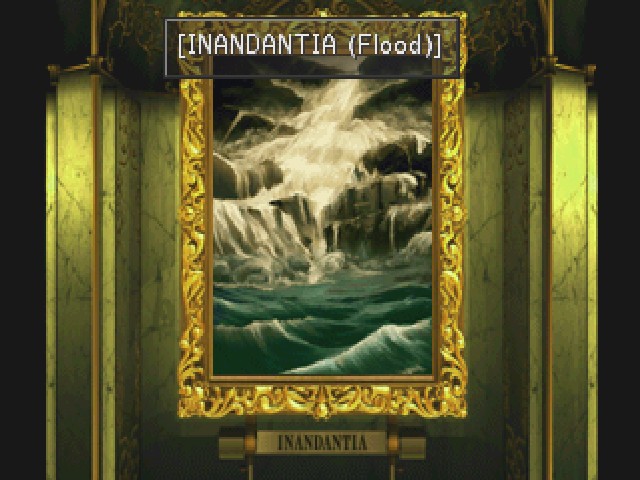
On the other side of the door, we find "Inandantia"; the Latin noun for flood is inundatio, but apparently nominative neuter plural participle is inundatia. The more you...read off a dictionary without actually knowing Latin grammar, I guess.
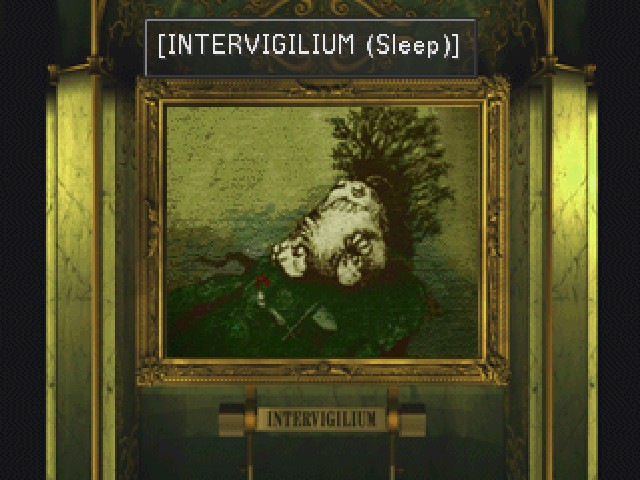
Over here is "Intervigilium", a painting that reminds me of Snorlax from that famous game we all know and love. The Latin word for sleep is dormio as a verb or somus as a noun. Vigil as a Latin adjective means "awake", inter- means what inter- means as a prefix in English, so intervigilium would mean "between awakeness"... "between states of being awake"... it means nothing, it's not a word, and it sure as shit doesn't mean "sleep". Moving on.
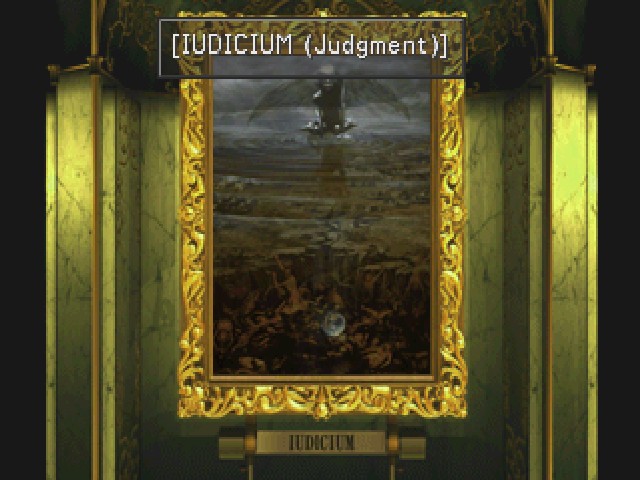
By the stairs and "Inandantia" is "Iudicium", which actually is Latin for "judgement" (as in the noun).
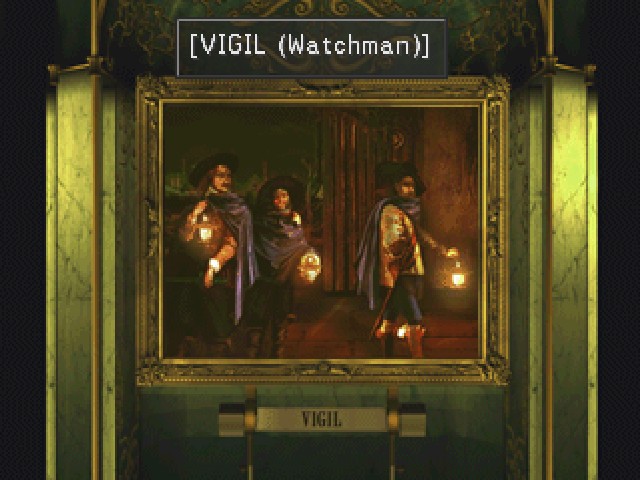
Movin' on up, "Vigil" is at the top of the stairs. "Vigil" as a Latin noun does in fact mean "watchman".
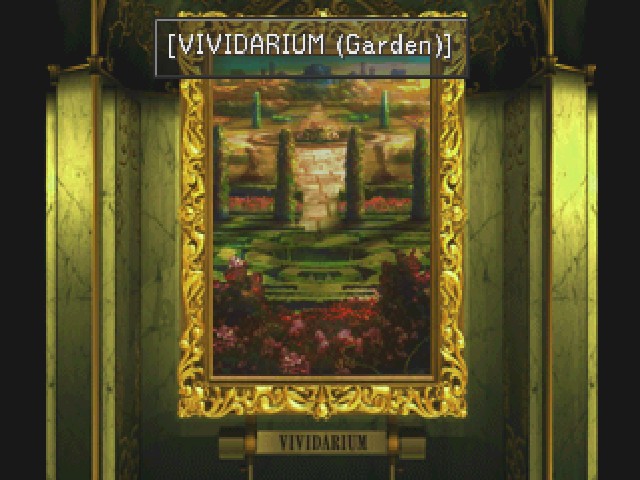
The fun little camera angle on this one brings us to "Vividarium". Viridarium means an arboretum; the Latin word for "garden" is hortus, while vividus and its various inflections means "lively" and -arium is a suffix meaning "place where things are kept" (a viridarium is where you keep green things, i.e., plants).
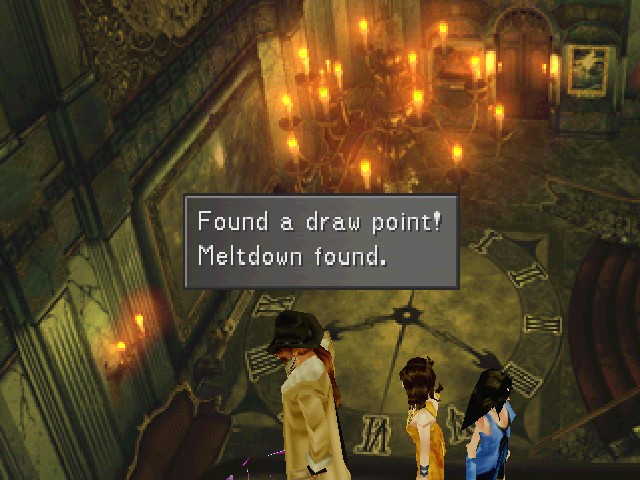
Also on the mezzanine is a Meltdown draw point. The only person who's not carrying 100 already is Rinoa, so I could set up the Angel Wing-Meteor combo (I never actually use it).
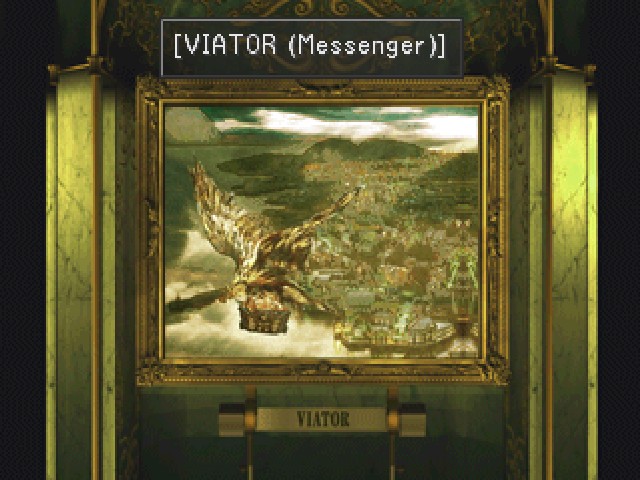
"Viator" is back by the stairs. This is another one with a correct title.
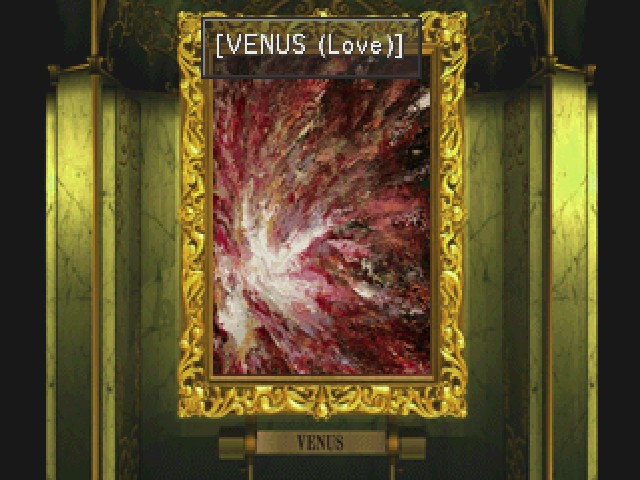
"Venus" here is named after the goddess of love (amongst other things); the Latin noun for love-the-feeling is amor.
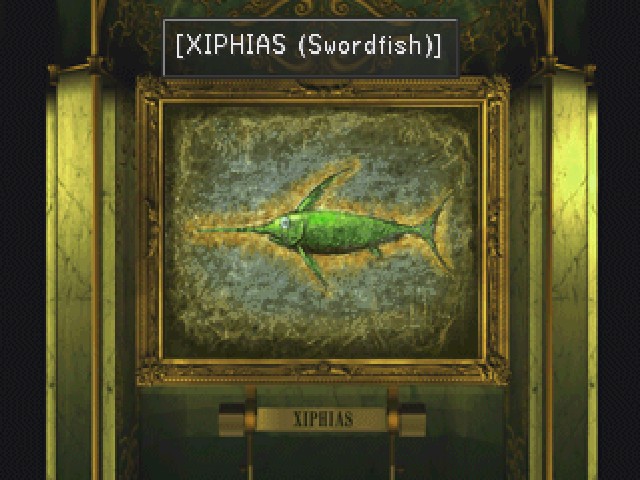
This is the first painting on the wall above "Ignus" and "Inandantia". "Xiphias" is another one with a cromulent title.
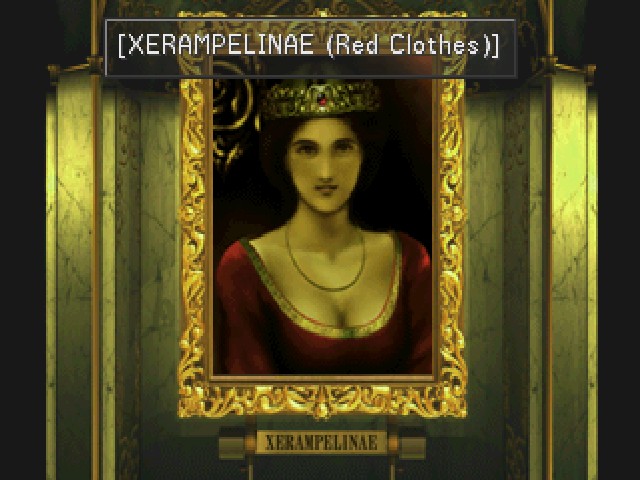
"Xerampelinae" is, as far as I can tell, the most nonsense of the titles in the place. Russa xerampelina is a mushroom with a red cap that is apparently named for the Ancient Greek for "colour of dried vine leaves" (source: wikipedia) and I can't find anything to relate such a word to red clothes in any language.
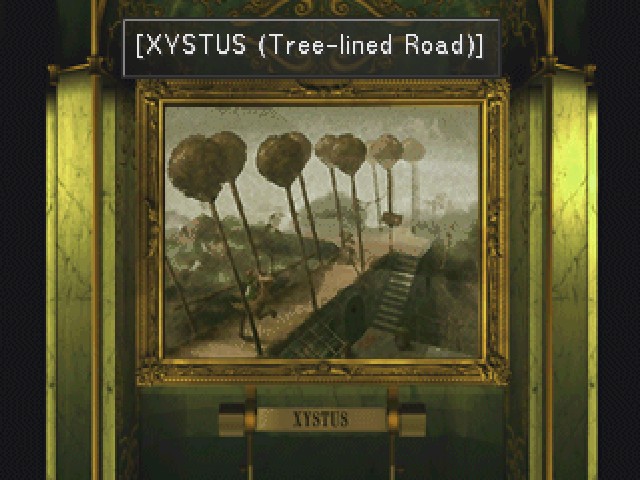
"Xystus" is next up, and the word xystus can be stretched to mean a tree-lined road, I guess.
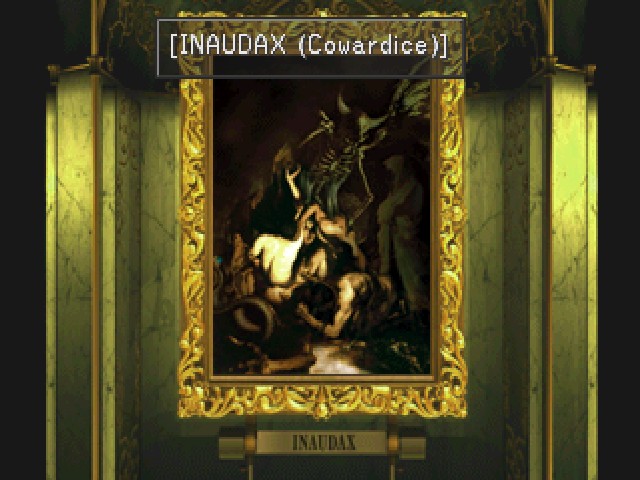
Moving out of the X section brings us to our last titled painting, "Inaudax". Inaudax would mean "not bold" or "unboldness" in Latin, so sure, "cowardice", why not?
And now that we have the titles, we can solve the puzzle!
See, the title's faded away, but we can put it back together using the words we found around the place. "But," you say, "what the fuck is that supposed to be?"
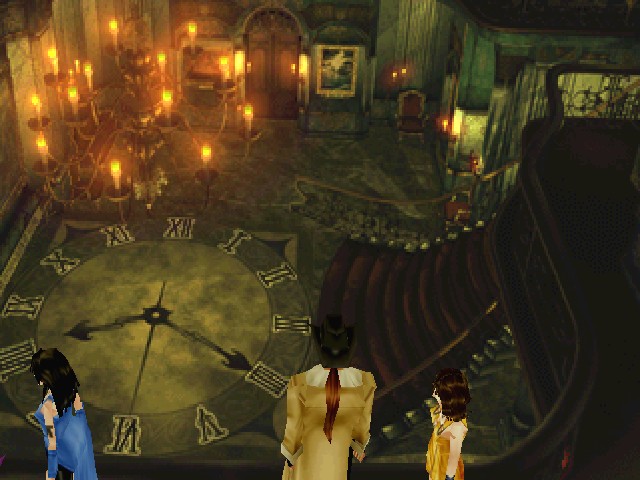
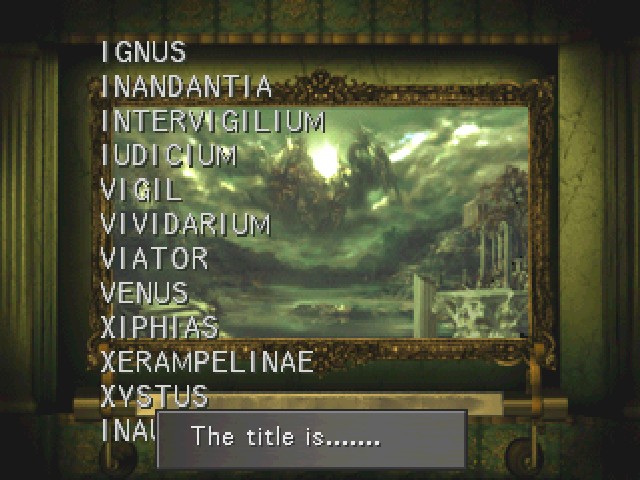
Good question, my friend, and the answer is: hell if I know. There is a hint, though, in the form of this big fake clock that some idiot painted on the floor. It's apparently 8.20.30 or VIII-IIII-VI.
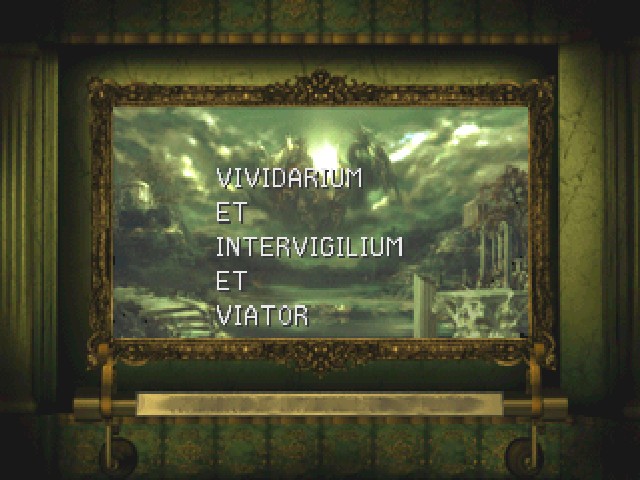
If you're looking closely, all the titles of the paintings start with I, V, or X, and there are 12 of them. Each title hides a number on the "clock face" within it, so matching them up in the hour-minute-second order, you get the title shown in the screenshot.
Swing and a miss, that's three nouns and zero verbs.
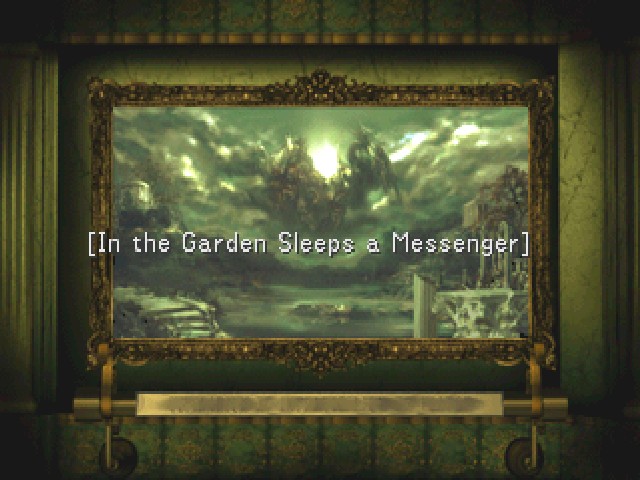
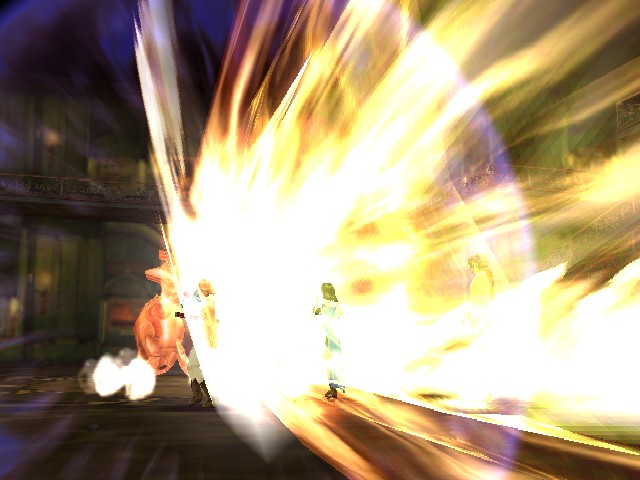
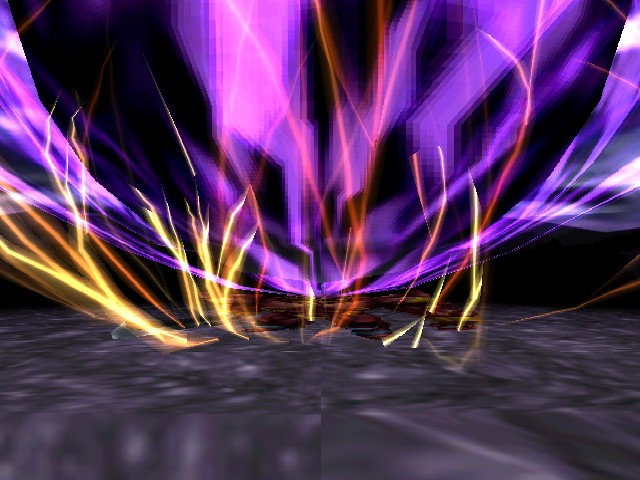
Naming the painting correctly causes the sun to emerge fully from the clouds while a black swirl appears in front. I guess Ultimecia had to do something between killing SeeDs and trying to collapse time, so why not set up a magic puzzle in your art gallery?
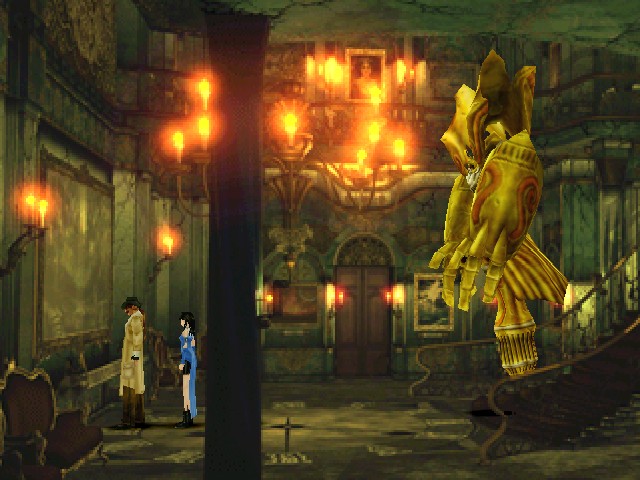
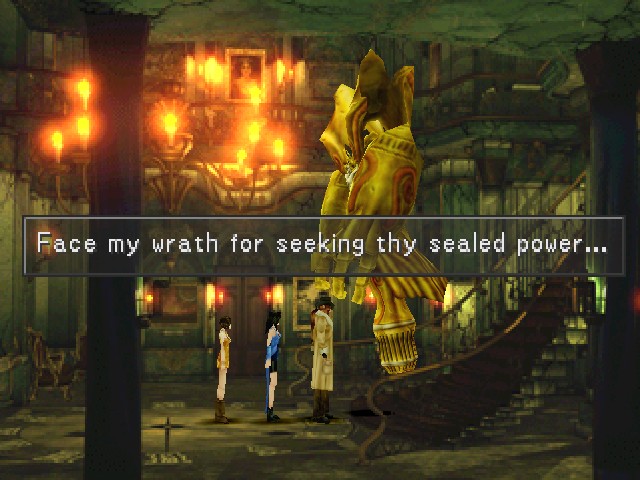
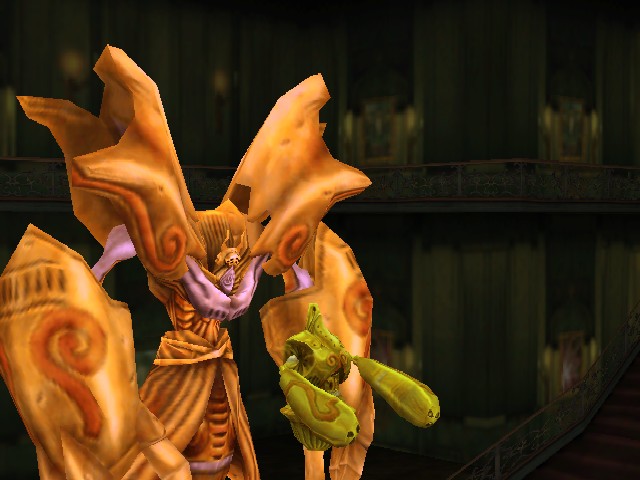
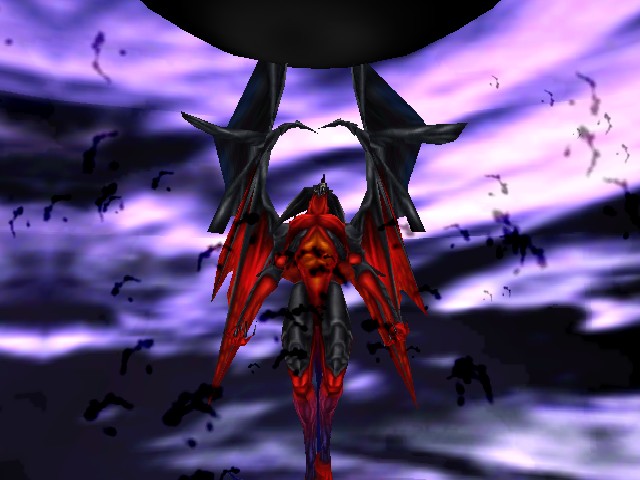
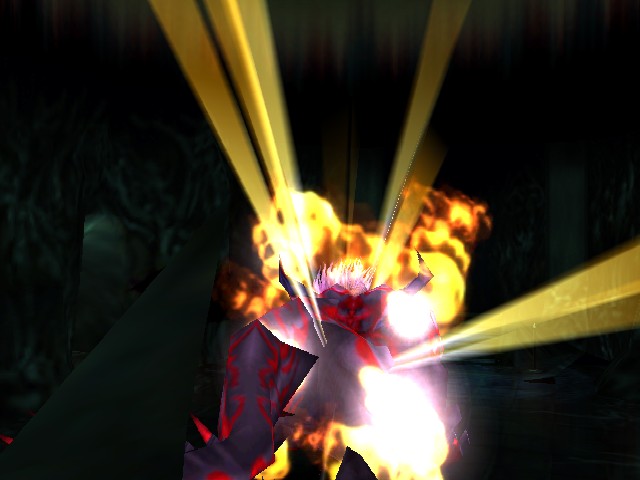
And, once it's solved, a boss appears behind you.
Yes, yes.
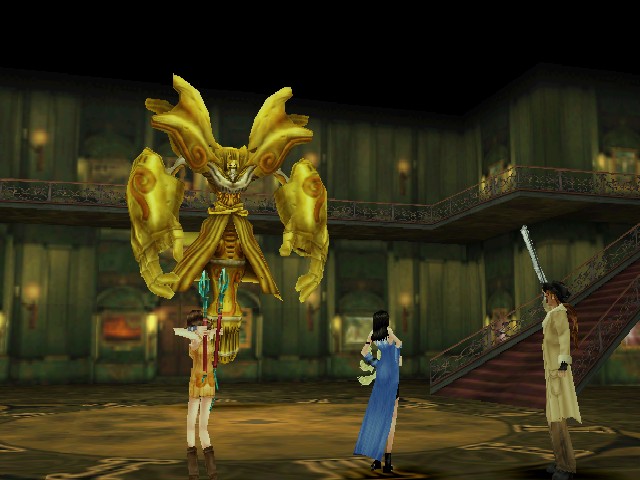
This is Trauma, which is (according to Scan data) a weapon from the future that Ultimecia brought to life.
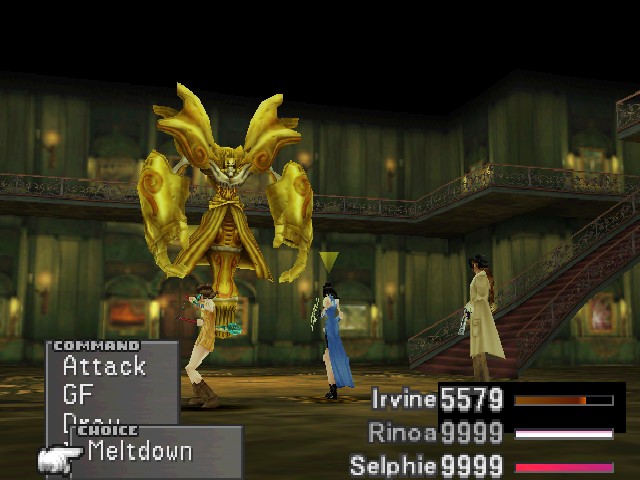
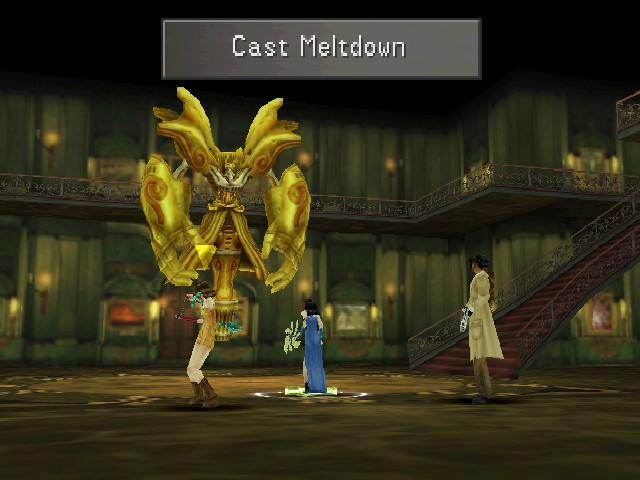
You can draw Meltdown from it, which is a good idea because it has a static 180 Vit. If you missed it back when you fought NORG, you can also pick up
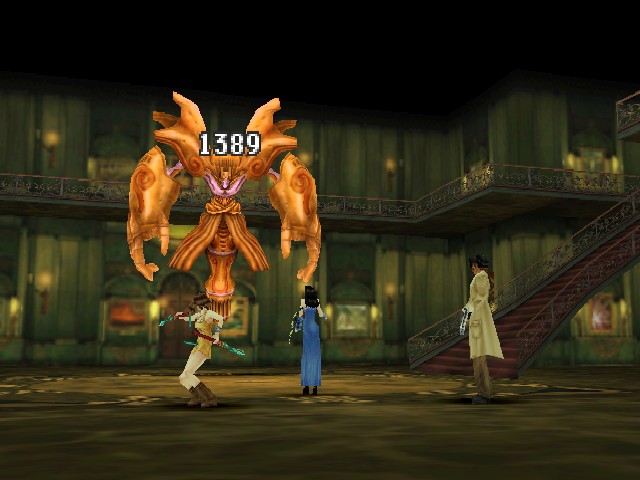
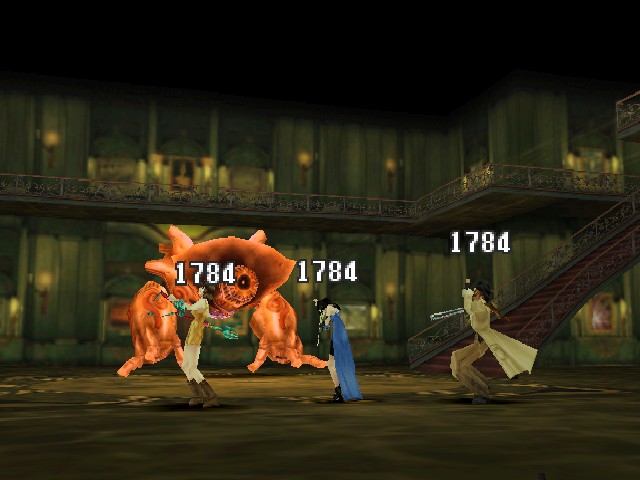
At this point, I could easily just beat the boss to death. But I let it stick around to show off its moves.
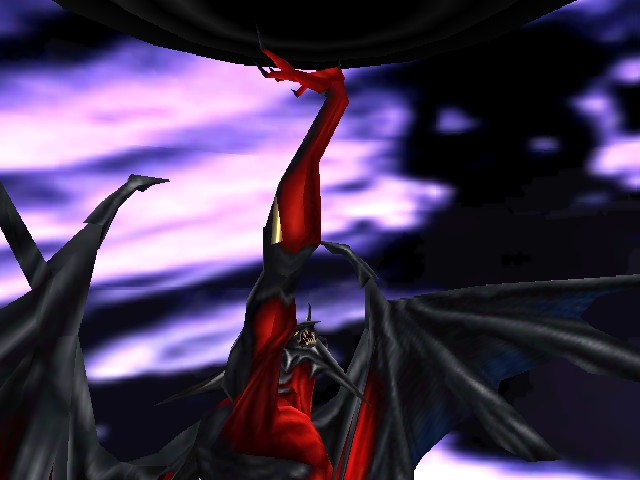
First move: making a smaller version of itself called a Droma.
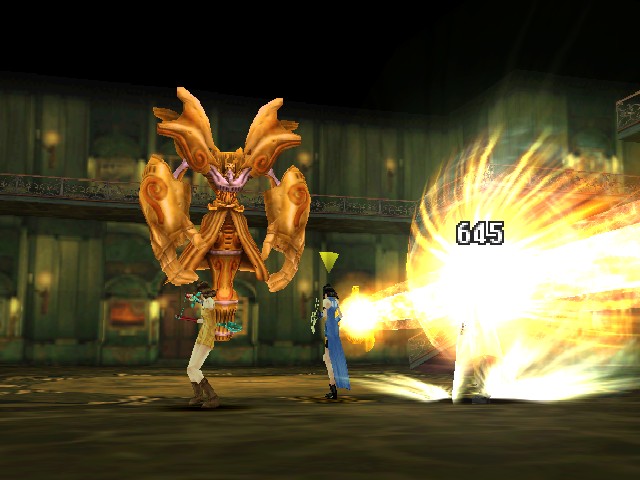
Dromas aren't much of a threat, but can hit you with Mini Pulse Cannon, which ignores Spr but just isn't very powerful.
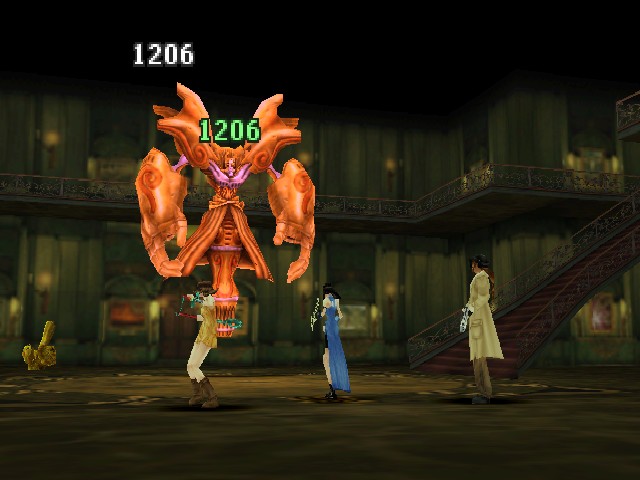
The other reason they exist is so that Trauma can cast Drain on them to heal itself. This (usually) kills the Droma.
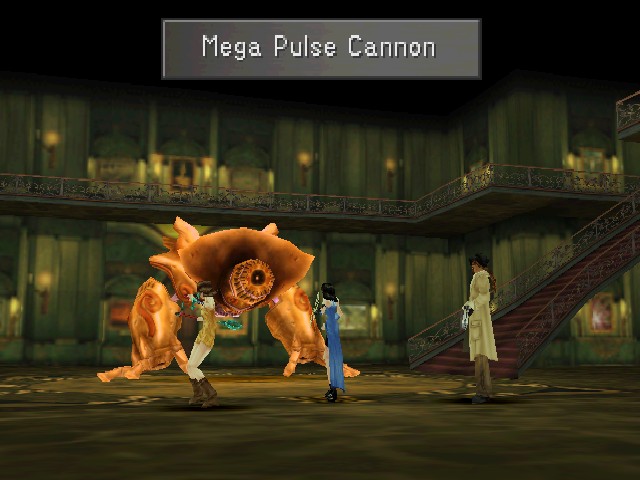
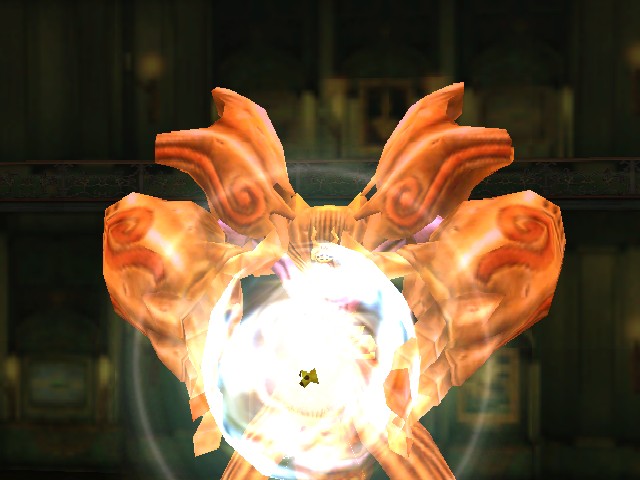
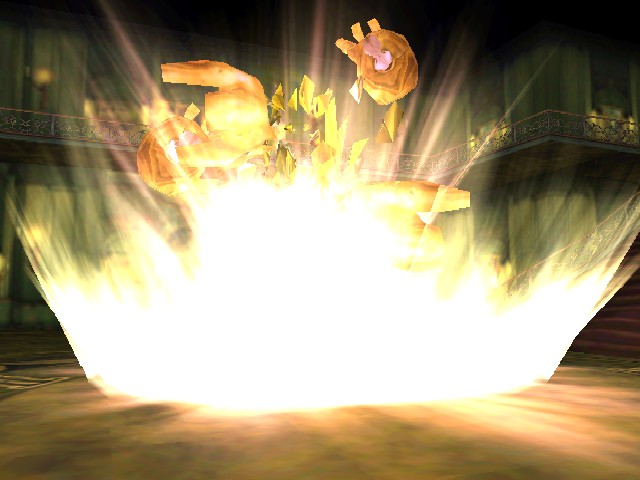
Once two Dromas are down, Trauma will bust out its big gun, the Mega Pulse Cannon.
Mega Pulse Cannon also ignores Spr and is three times as powerful as Mini Pulse Cannon. It's fairly powerful, but also fairly easy to avoid by just not killing Dromas. For the record, Mega Pulse Cannon is used once for every two Dromas killed, so it's even easier to avoid getting it with it twice.
Other than that, there's nothing to really say about the fight. Like the other servant-bosses, Trauma's HP is middling (max 34,114) so it'll go down fairly quickly once you start attacking in earnest.

Wow, an Elem Atk? Is it my birthday?

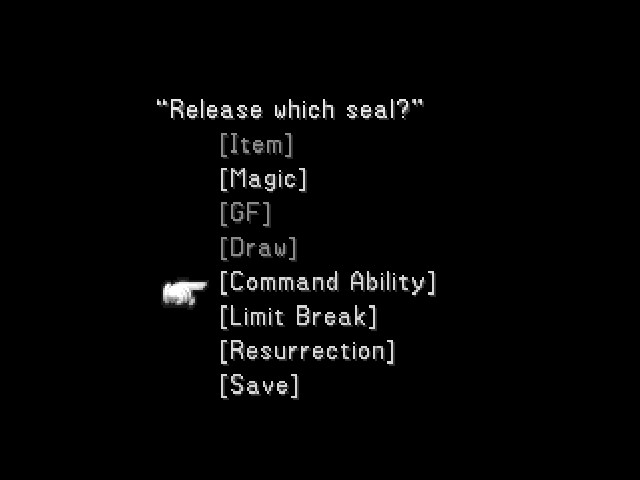
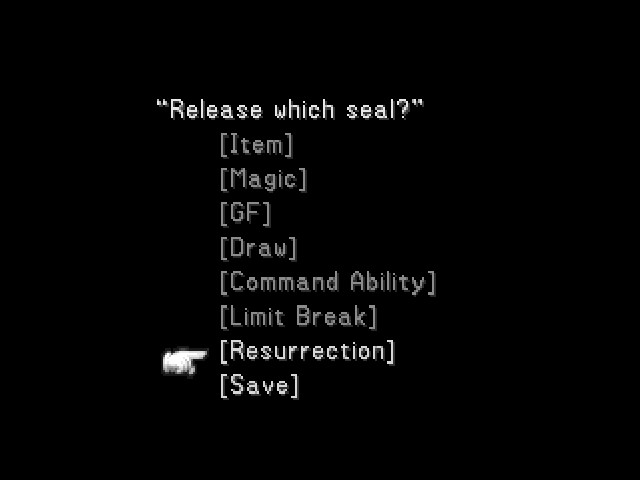
I picked command ability here because honestly, I don't have designs on using anything left on the list. Could have gone for Limit Break, but I'm not spamming the bosses so whatever.
I got demoted from A back to 30 while I was leaving to rearrange my party.
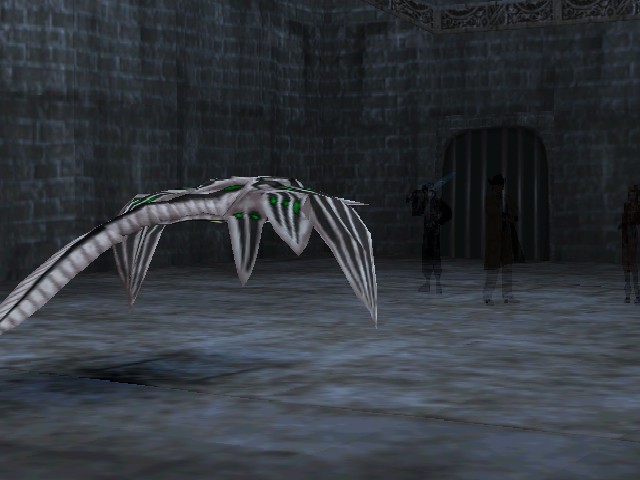
On my way back through the castle, I ran into an Abyss Worm, which might be the first one I've seen ever? I run Enc-None a lot, especially by this point in the game, and the worm is already a fairly rare encounter, so there you go.
 The enemies in this dungeon have completely random levels, by the way.
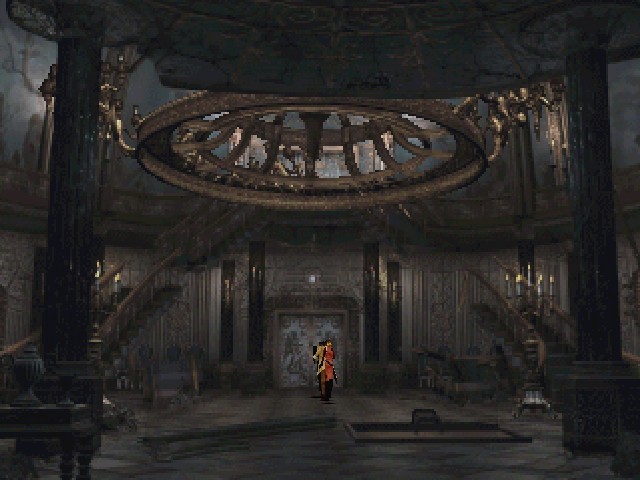
Moving on from the grand hall leads us out to this courtyard.
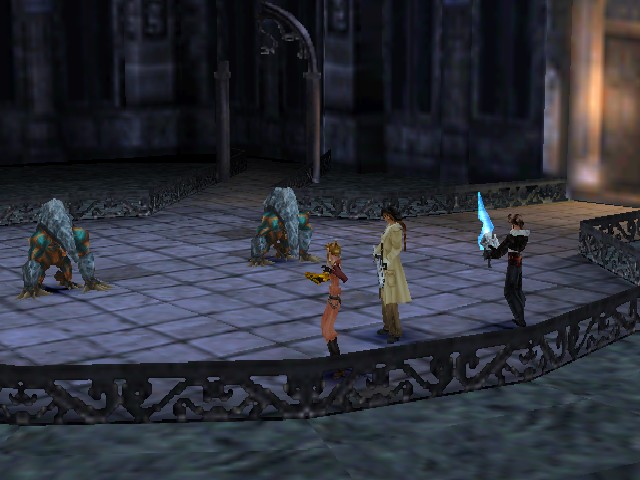
I never saw the courtyard battle background before this run.
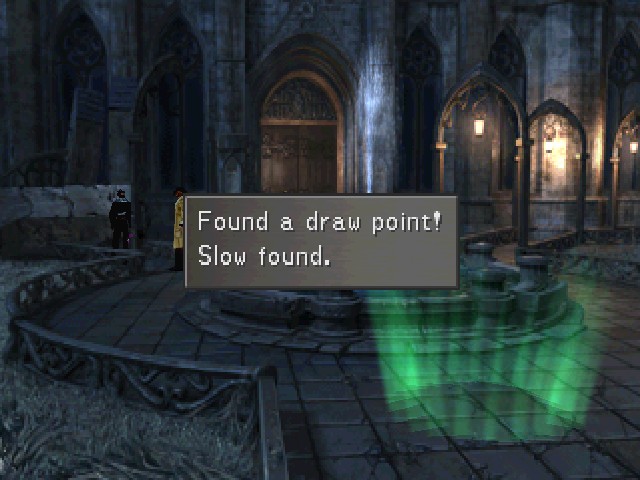
In front of this broken column is a Slow draw point, which I also don't know that I've ever seen before.

The right-hand exit leads to a dead end, but we'll open it up eventually.
I basically just kept that shot in to show off that it has its own special battle background to go with it.
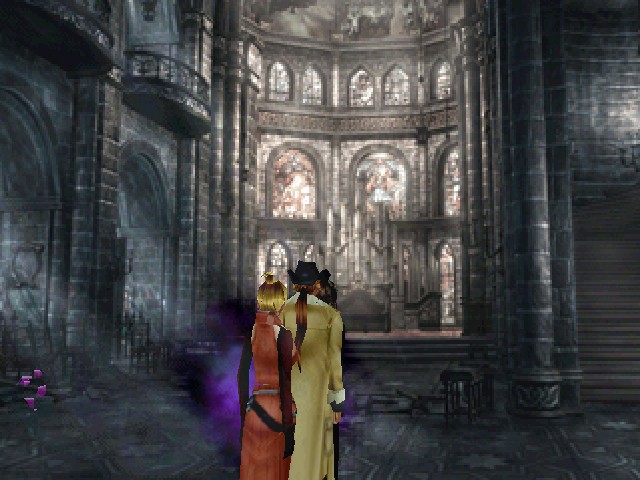
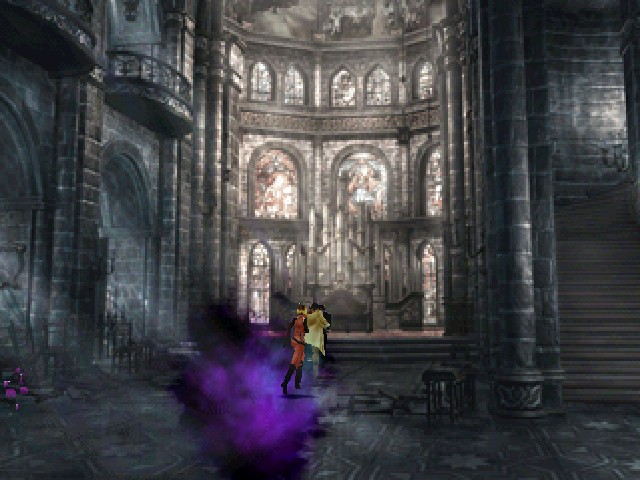
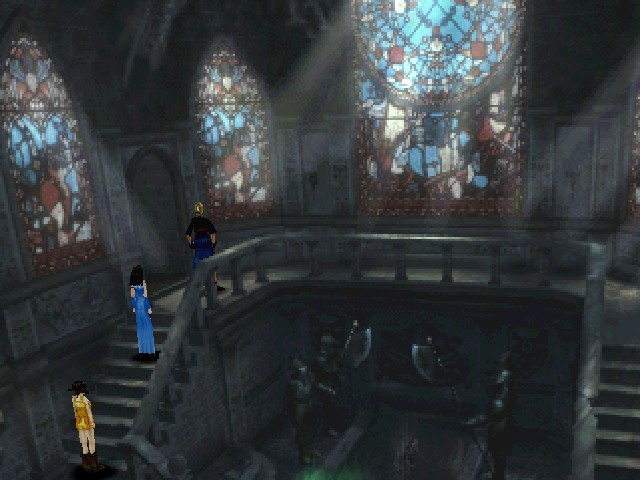
Back to the main path, past the courtyard is the chapel. I'm a sucker for a run-down cathedral type area, even though this one's a bit small. Again, though, I love the backgrounds in this game, and I think that Ultimecia's place looks great in general, so I'm going to try to show them all off.
You might notice a weird purple miasma thing in the shot there. It's another one of those things we'll get to later.
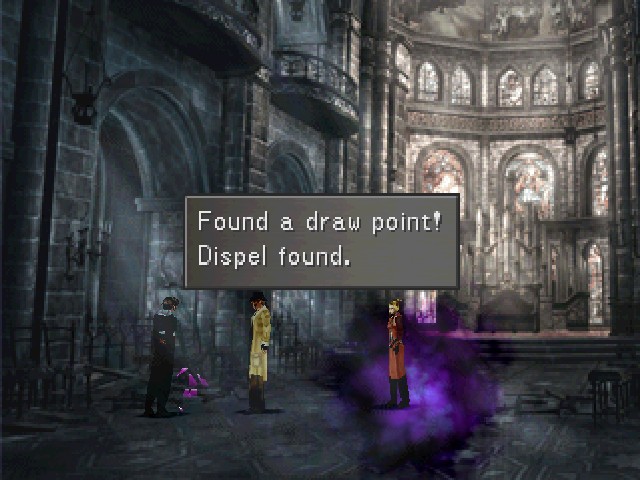
Dispel is a really weak thing to be putting in the final dungeon. This should be Ultima or Meteor or something, as far as I'm concerned.
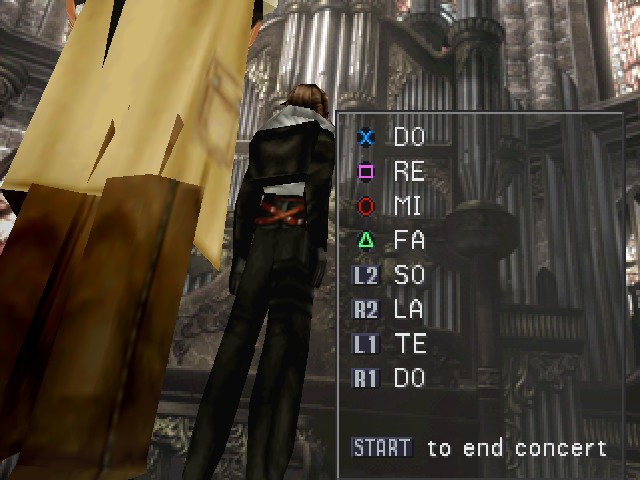
Going to the back of the chapel, you can find this organ. You can go ahead and play a short tune, but what the game actually wants you to do is just hit all the notes at the same time and hold that for a couple beats. It's a bit of a pain in the ass to hold all the face and shoulder buttons at the same time on a PlayStation controller, but emulation lets you just map all of 'em to one button and makes it much simpler.
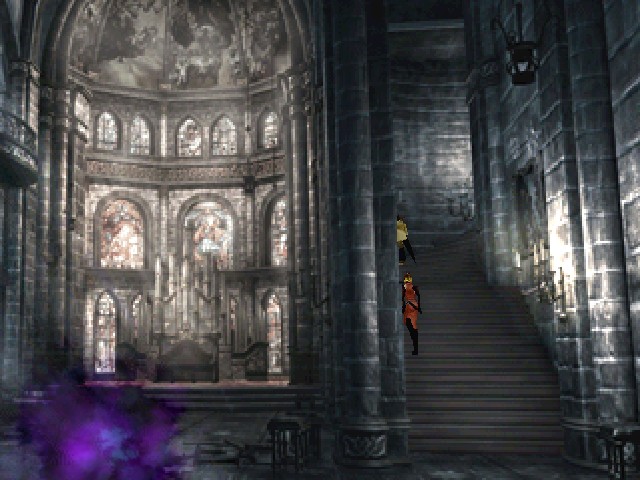
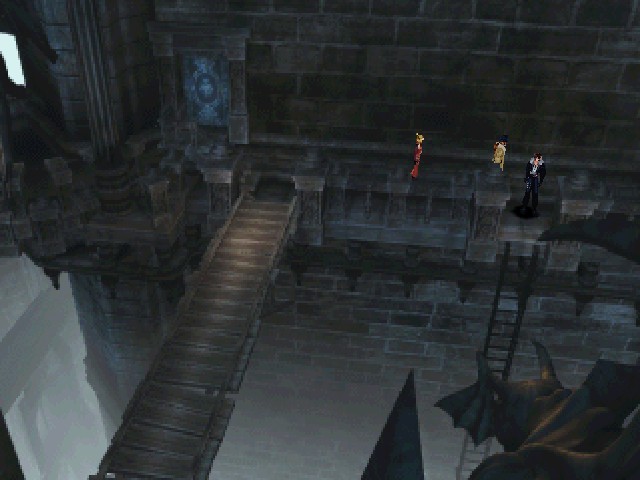
On that note, let's head up these stairs.
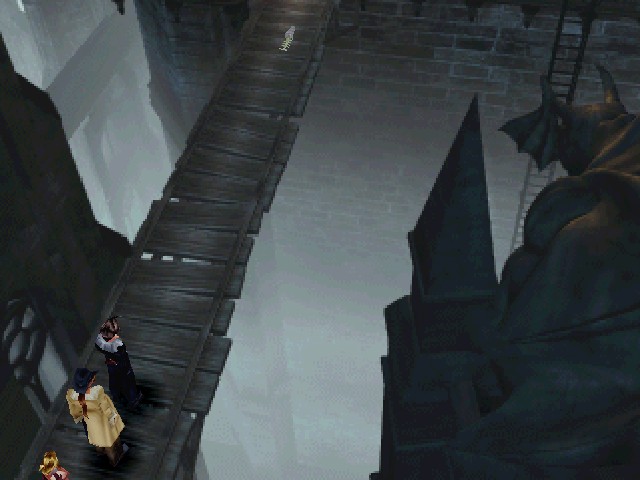
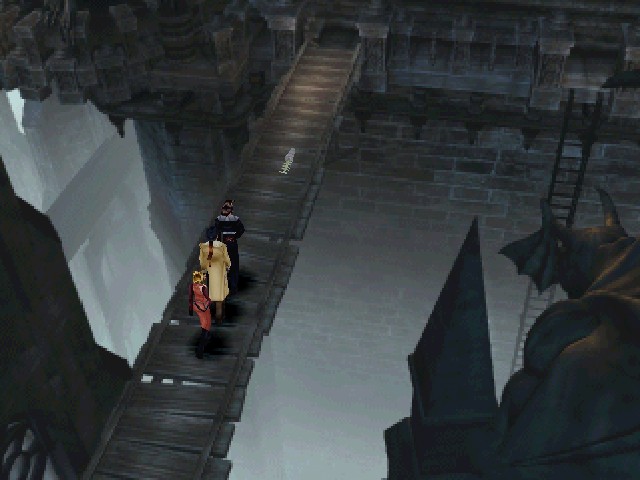
When you hit this bridge, you have to be careful to walk slowly (hold down the cancel button), otherwise the thing on it will fall off. The only other time it's important to walk in this game is when X-ATM092 is chasing you down the mountain in Dollet.
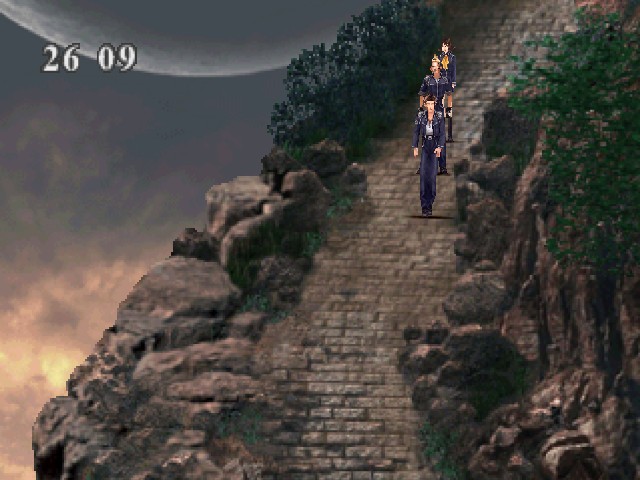
(This screen, if you were curious).
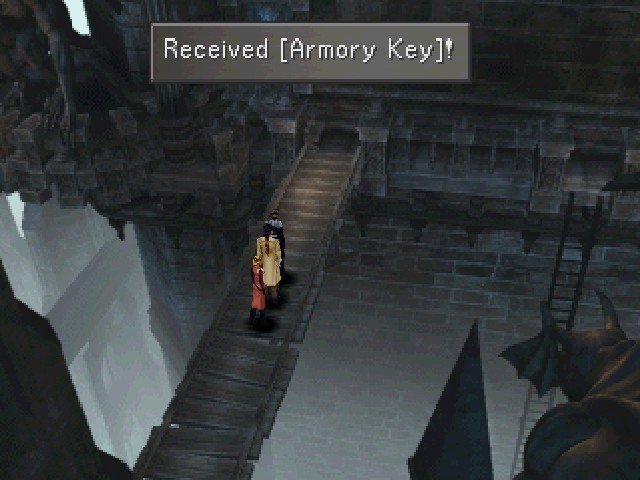
By being careful, you can grab the Armory Key here, which makes things a little more efficient.
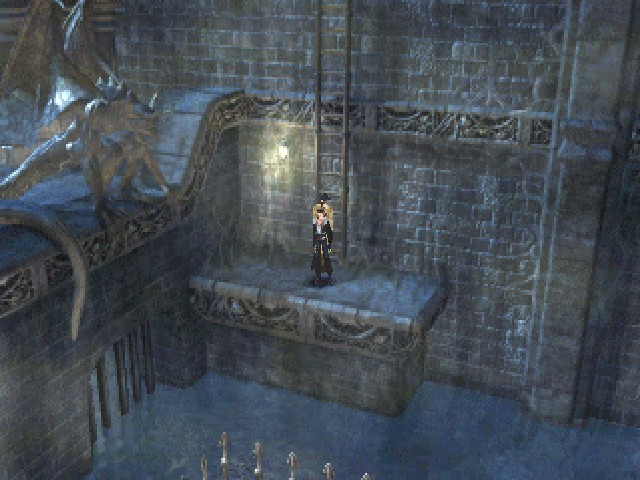
There's this ladder over here, but it just leads to a bunch of water and no way are we going in there.

So, instead, let's pop back here and solve a puzzle real quick.
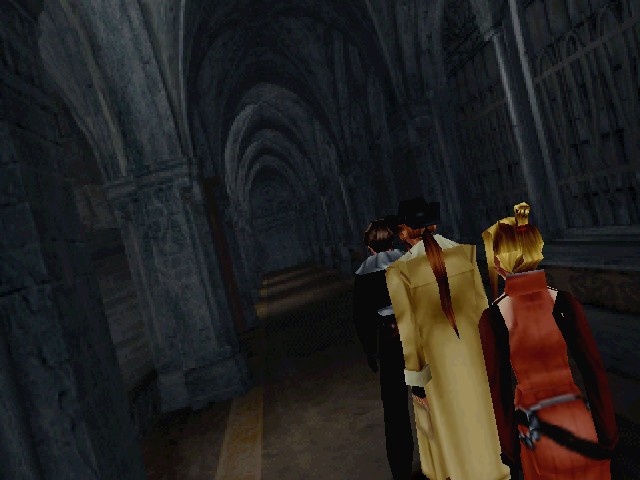
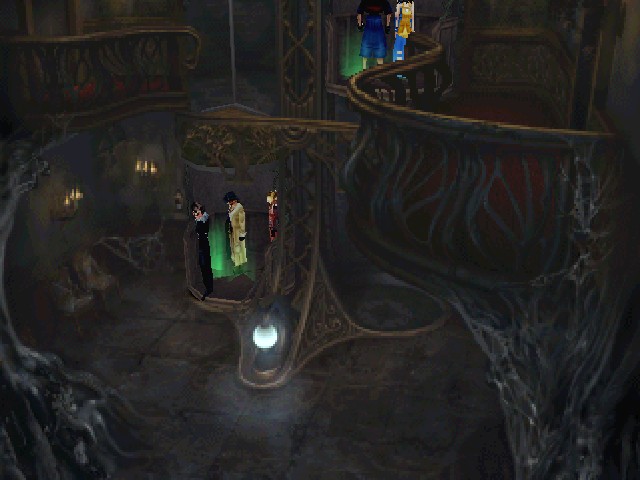
This room over here actually has two exits. The top exit leads to the Dutch angle hallway.
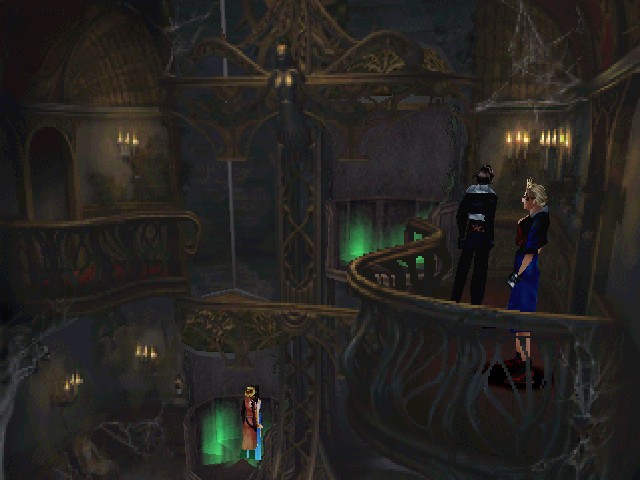
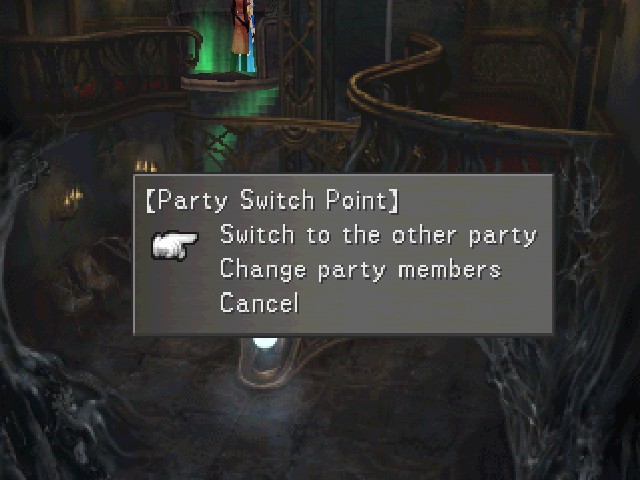
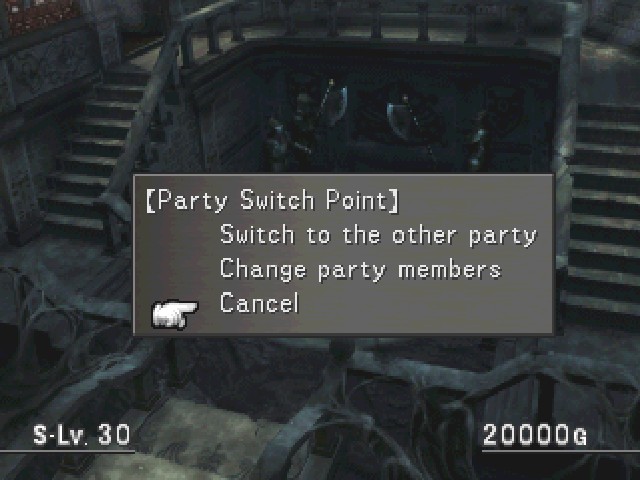
Past that hallway is a room with an elevator, and on that elevator is a party switch point.
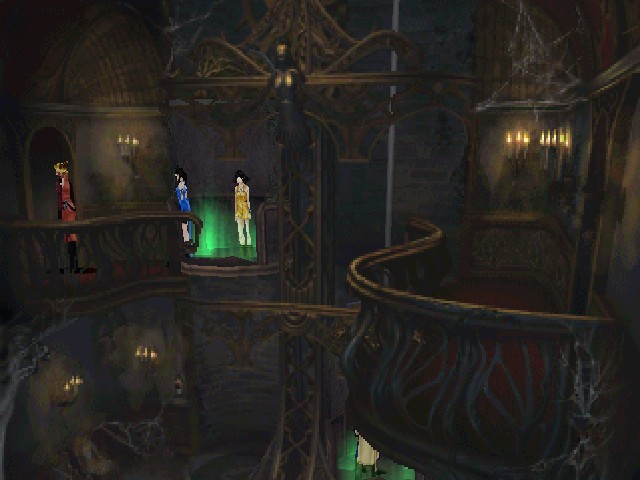
So we're gonna be these guys for a bit.
As far as geography goes, this room is the one past the art gallery. As far as leadership goes, Zell is in front of this party but it's canonically Selphie's party.
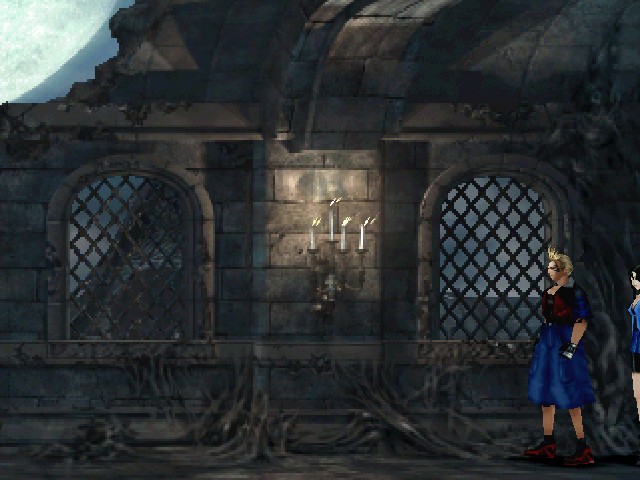
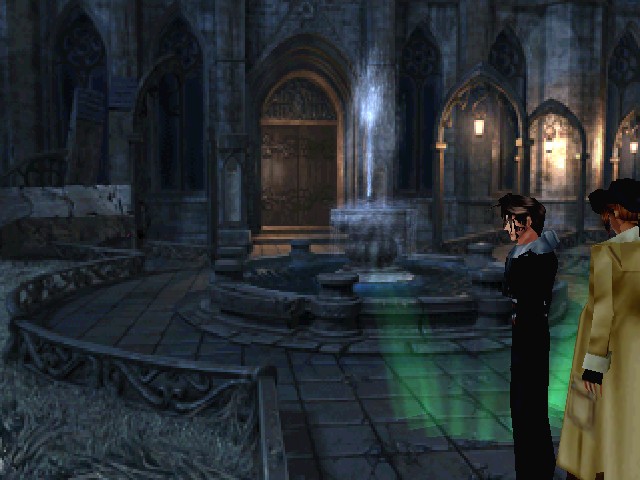
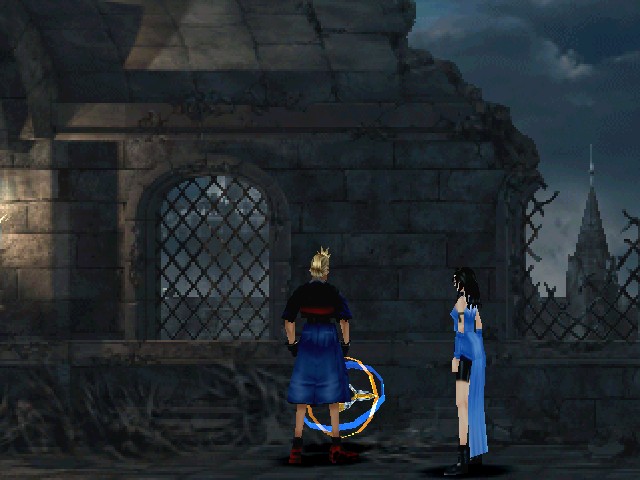
Past that is this hallway with a very nice view of the moon through the giant hole in the wall/ceiling.
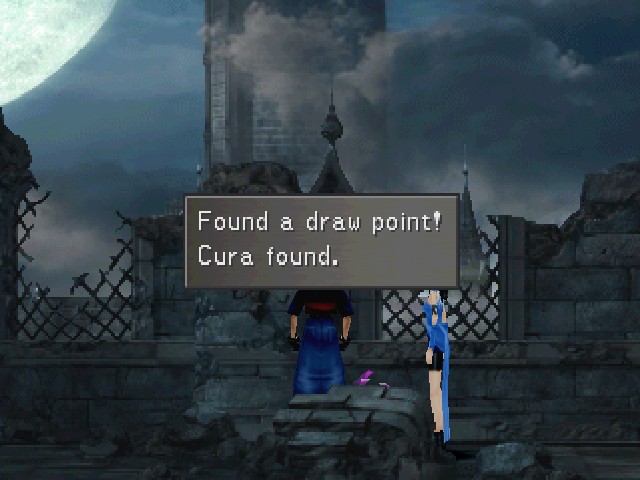
In the background, you can see the tower above the chapel. In the foreground, you can see a Cura draw point in the final dungeon for some reason?
And one of the two save points in the castle, which is located in a very non-central location. Not only do I not have saving unlocked at this point, I don't know if I've ever used this one at any point.
So, here's the puzzle. We need to raise the left elevator platform so that we can cross over to the room on that side. Unfortunately, I didn't think that far ahead, so I have the wrong party setup.
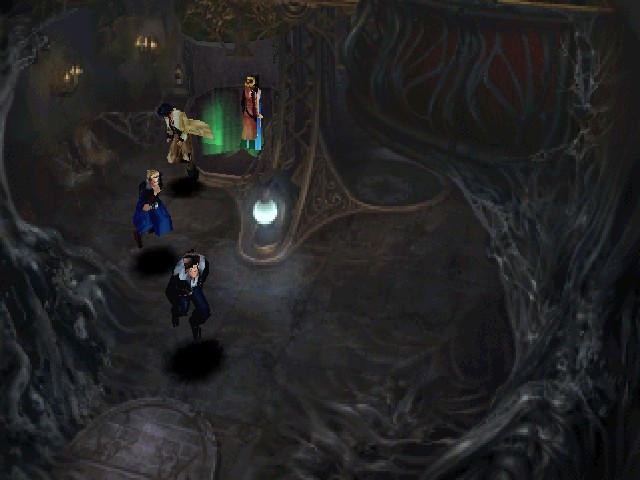
The easiest way to solve this one is just make one party with all the boys and leave the women standing on the left platform.
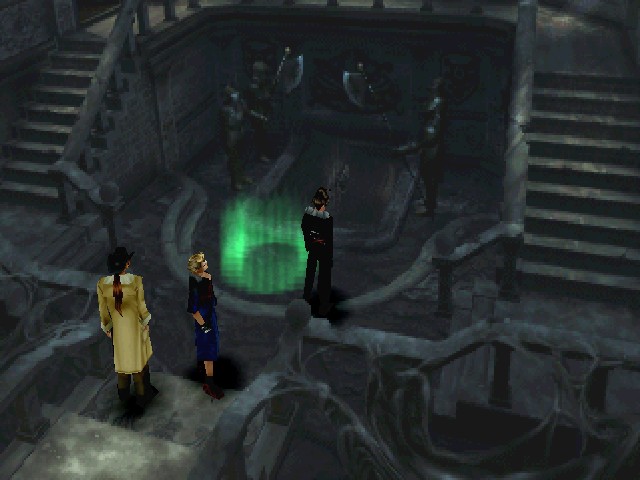
Quick jump later, we're these guys over here, ready to counterbalance the elevator.
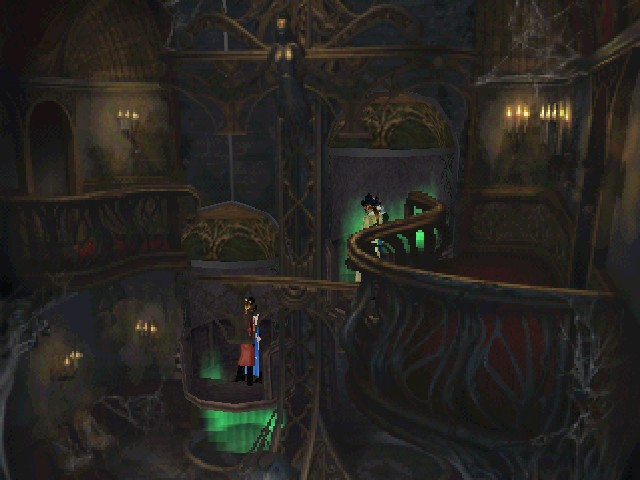
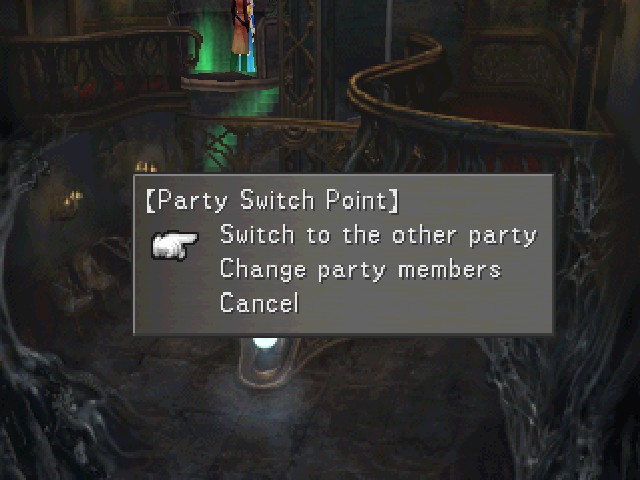
Once the heavy party is on the platform, the light party is lifted up to continue on the path. It's very important that, at this point, you switch to the other party.
Otherwise, you have to run through the whole path again like some kind of stupid asshole. But who would ever do that, right?

Anyway, puzzle solved.
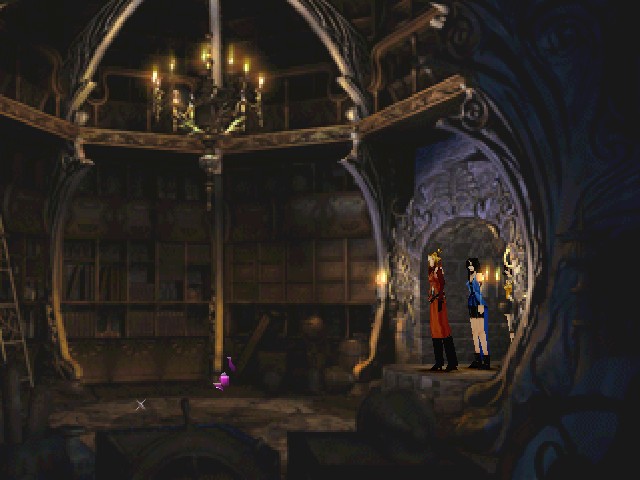
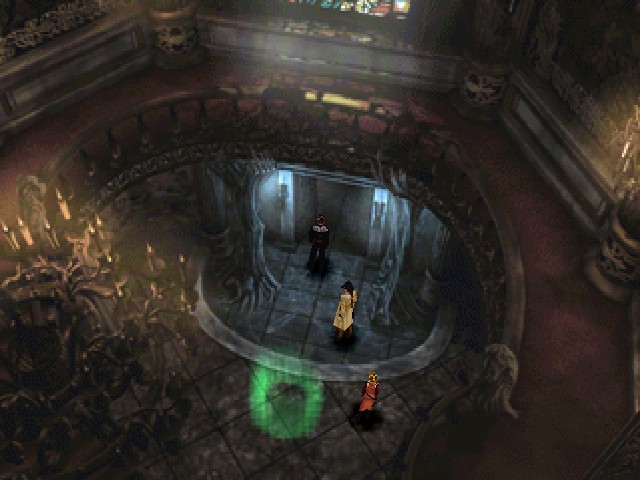
Getting past the elevator leads to Ultimecia's little library here, which I'm sure is full of great reads.
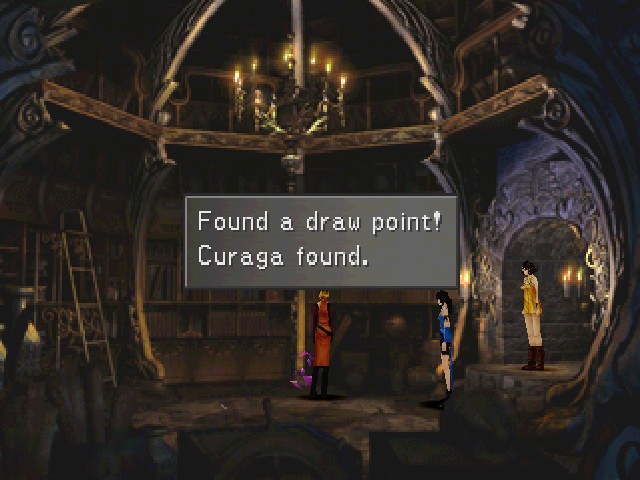
Also, a Curaga draw point. Sure, okay.
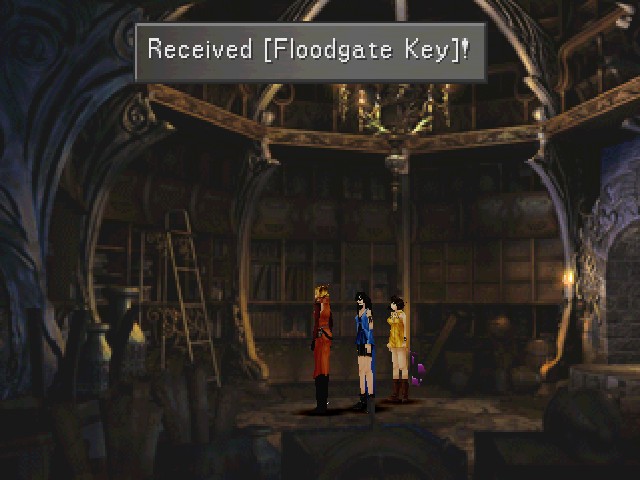
The real reward, though, is the Floodgate Key. This opens the way to both another boss and a very good treasure.
Other than that, the library is a dead end, so bwoop, we're these guys again, back to the original B-Team.
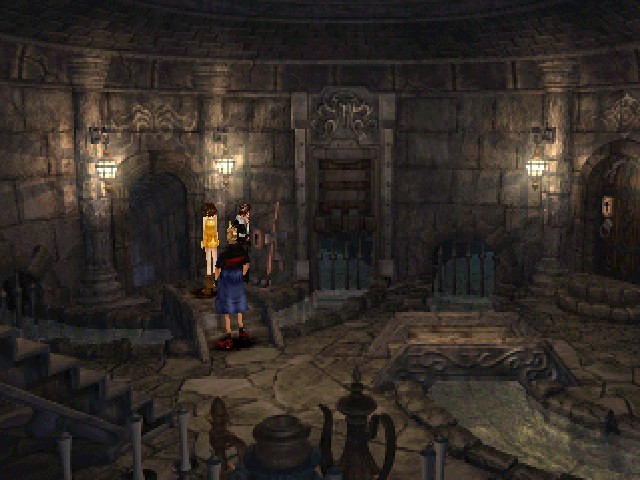
Going down the stairs past the art gallery leads to this little crossroads.
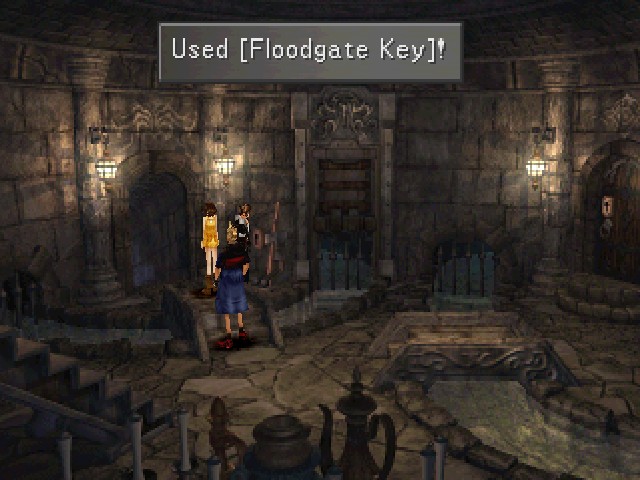
First order of business: using the Floodgate Key.
This closes the floodgate, stopping the water from flowing.
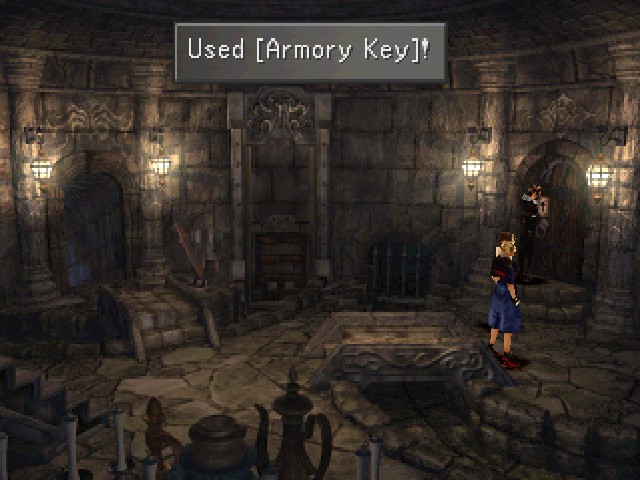
On the right side of the crossroads is the armoury.
Inside the armoury, you can see a Vysage enemy (which, quelle surprise, is a boss).
That's not the boss I was looking for, so I just ditched on it and went over here.
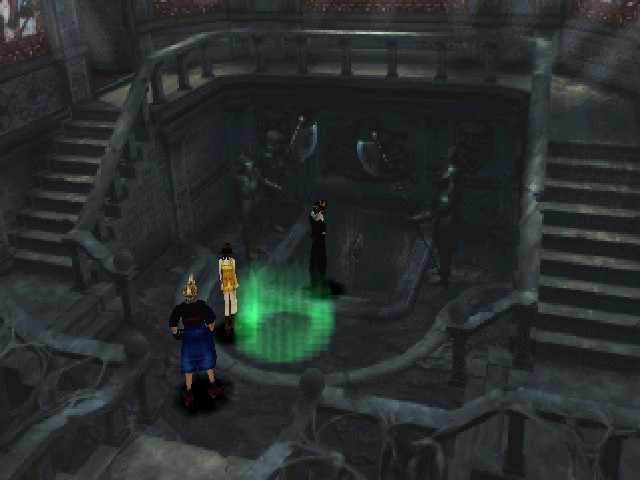
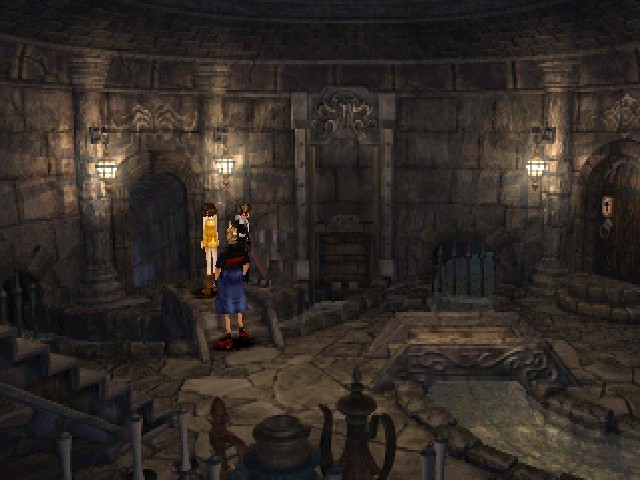
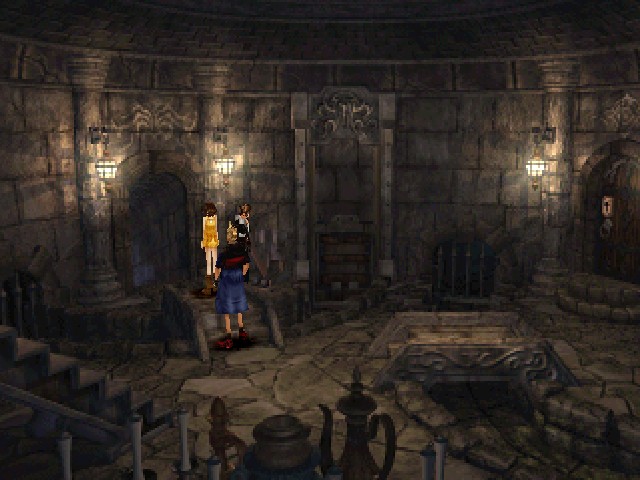
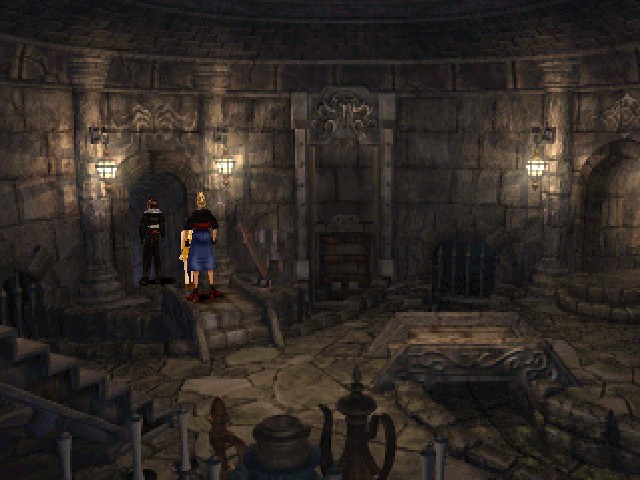
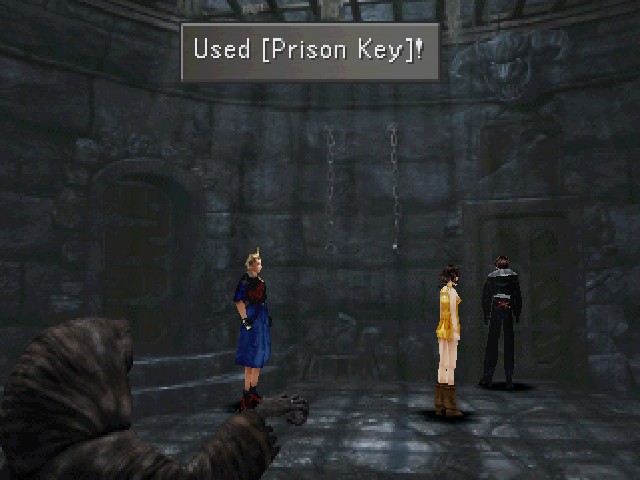
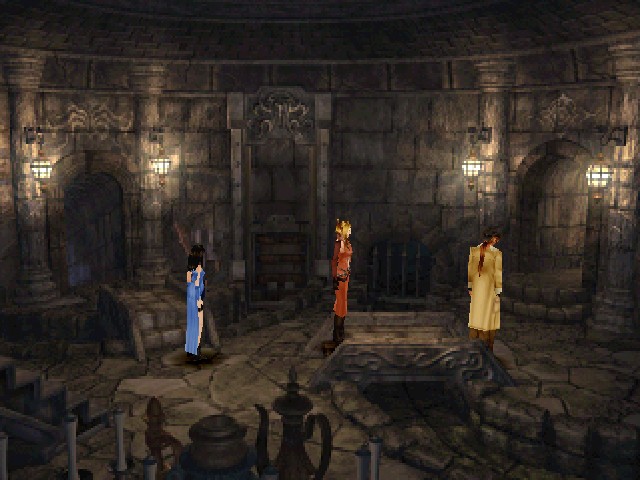
This is the prison. As soon as you enter, the door locks behind you.
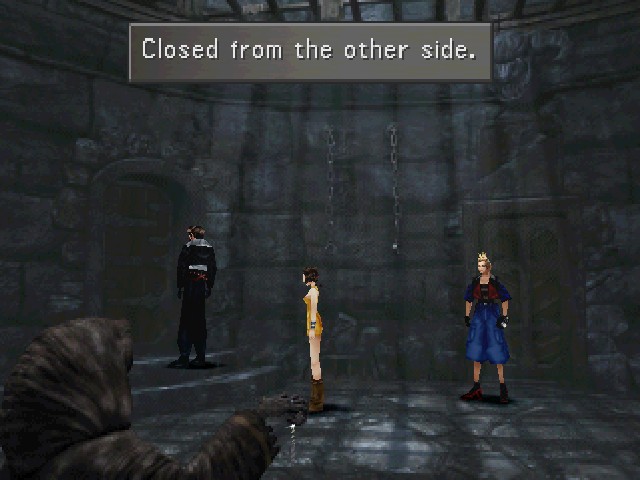
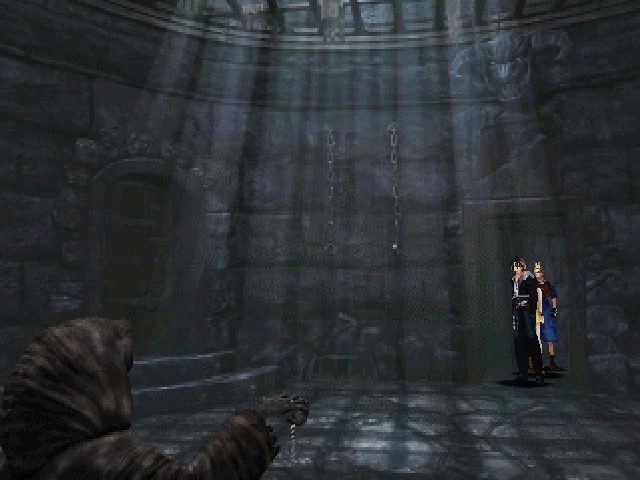
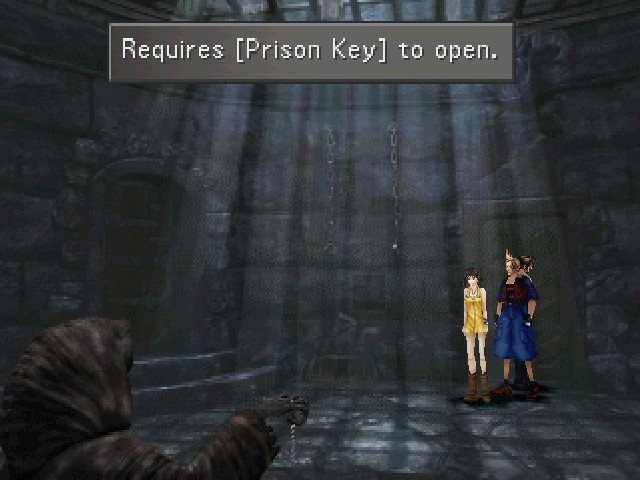
This other door isn't much help, either.
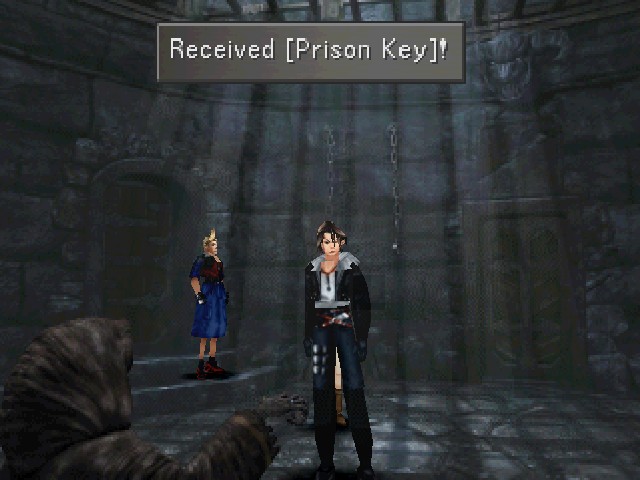
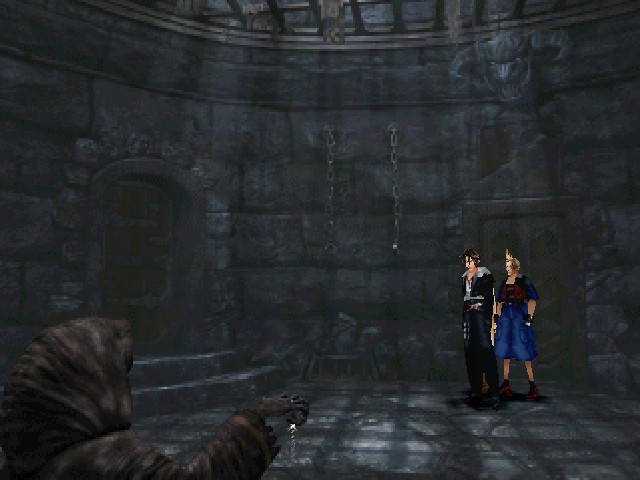
So you have to go over to the item in the foreground, which is predictably the Prison Key.
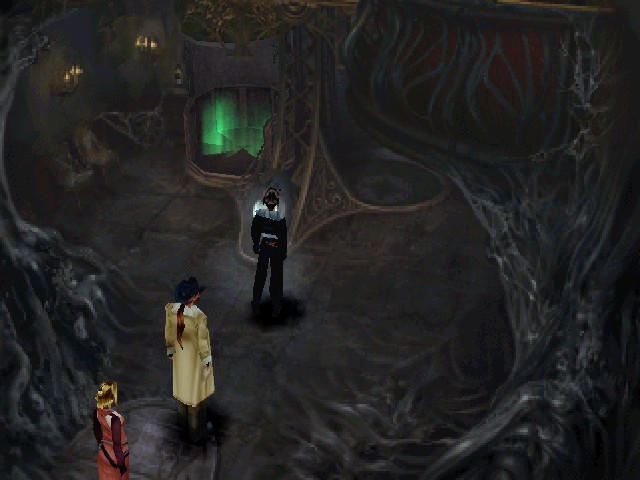
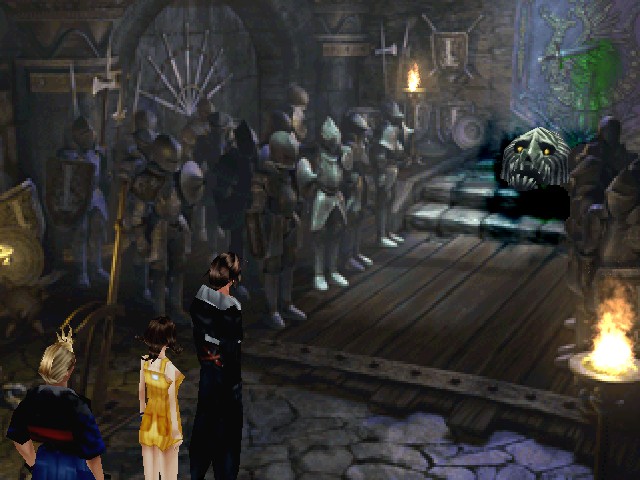
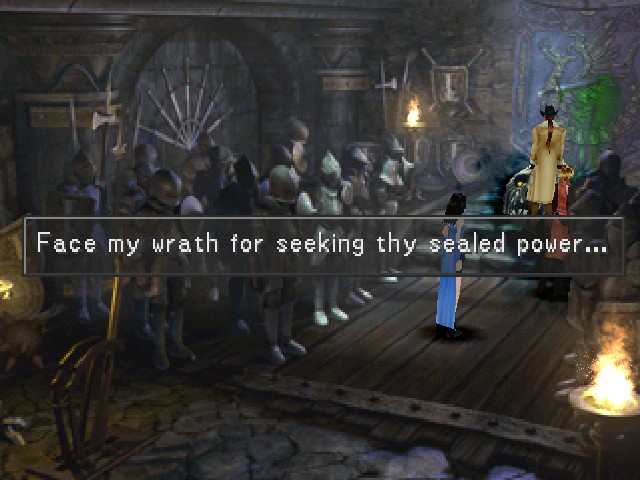
Equally predictably, some dickhead immediately shows up to hassle the party once you pick it up.
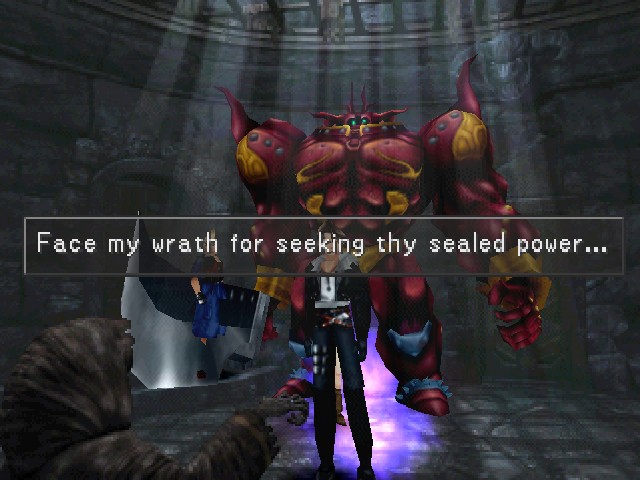
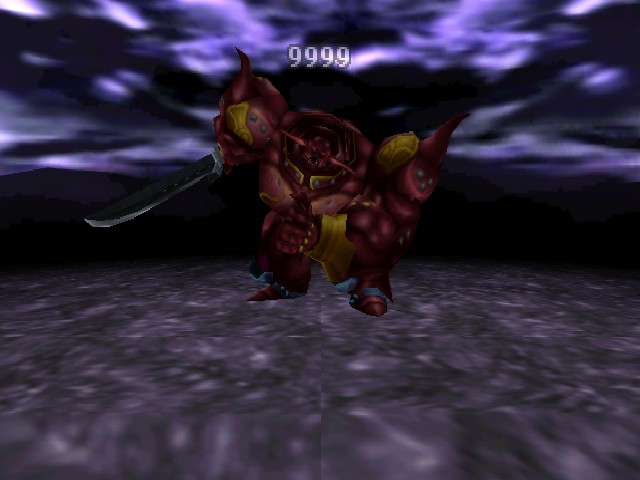
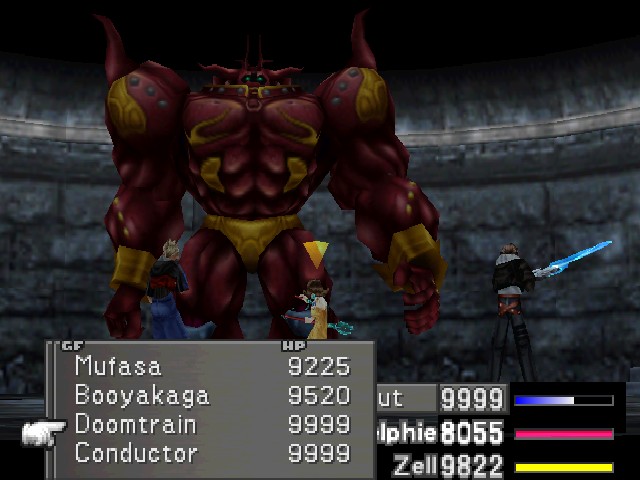
This is the Red Giant.
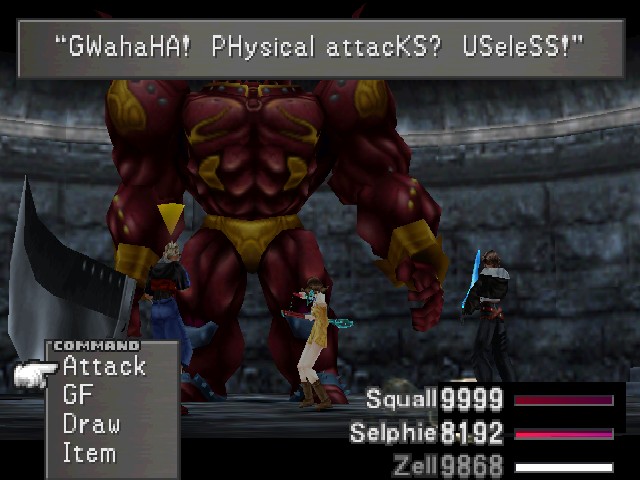
Red has a fixed 30,000 HP but has an equally fixed 255/255 Vit/Spr, so it basically takes no damage from hitting it. This is a chatty boss, by the way - in addition to this line responding to physical attacks, it has one for magical attacks:
Red Giant: THat magic is useleSS!
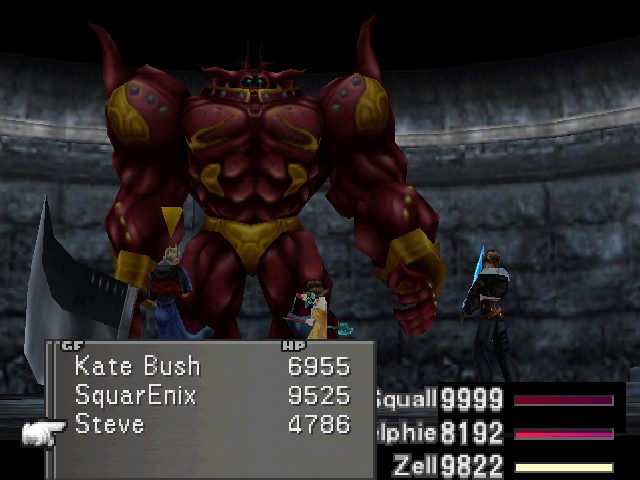
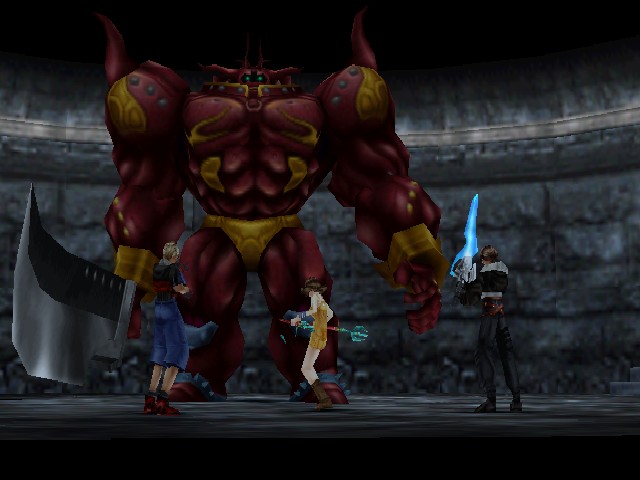
One strategy for this fight is to just summon Steve or Obamamut, both of whose attacks ignore defence.
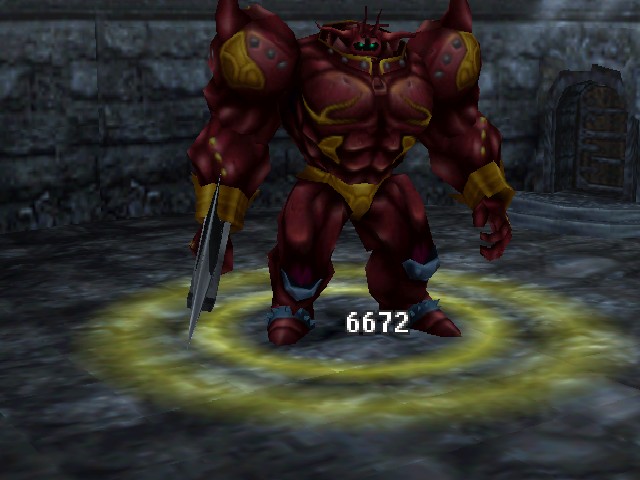
For example, this is what Eternal Breath did.
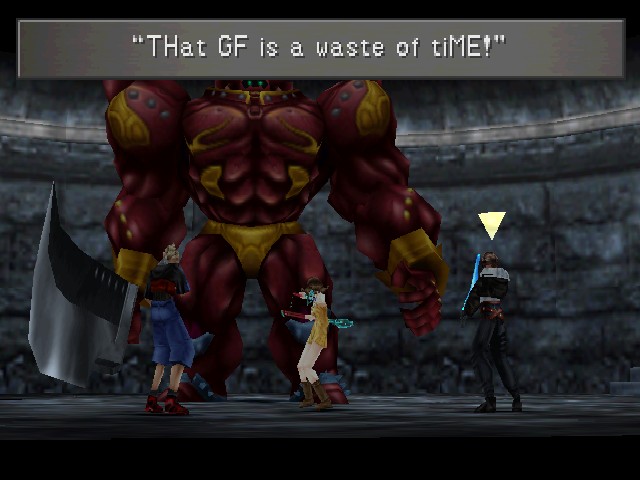
This line makes a lot more sense if you use one of the GFs that don't ignore defence.
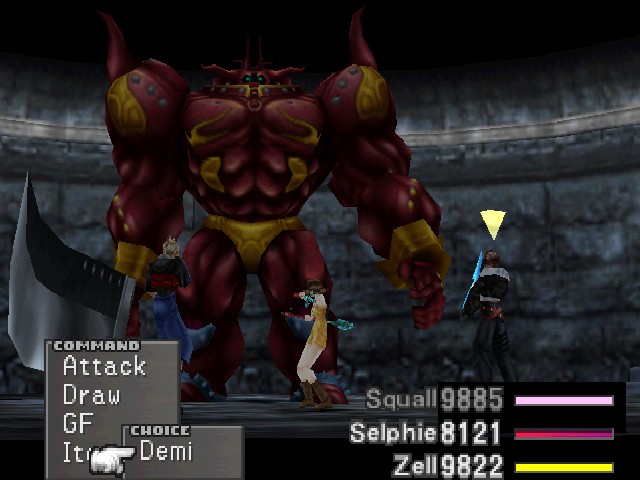
Maybe the easiest strategy is to just draw-cast Demi. Red Giant is not immune to Gravity, so Demi will chew through its HP fairly well. By the way, Red Giant's drawable GF is
(Pictured: casting Demi.)
Red Giant: Urgh! N-NO more DEMI, pleaSE...!!!
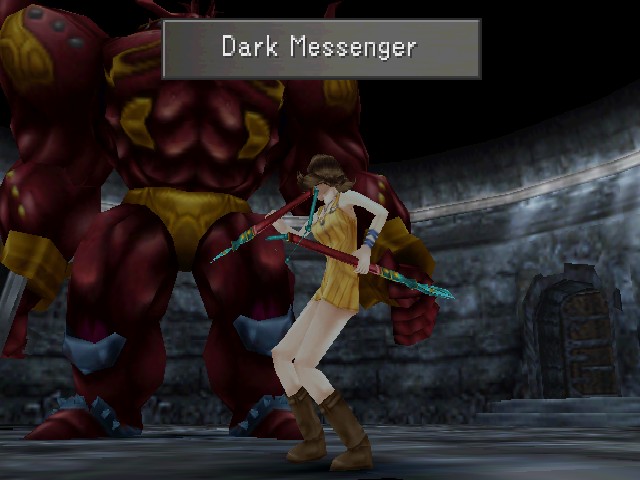
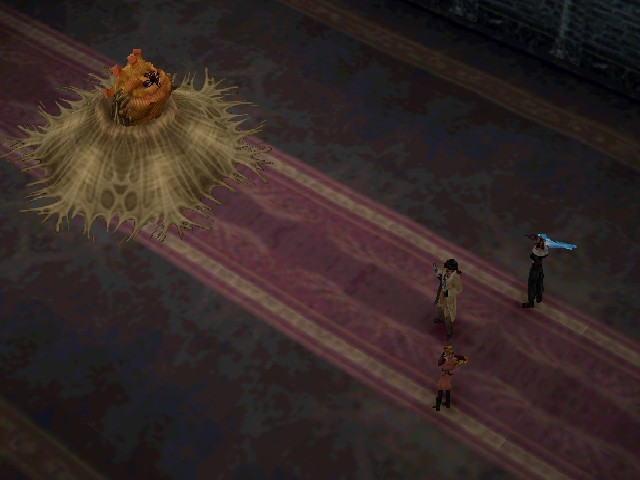
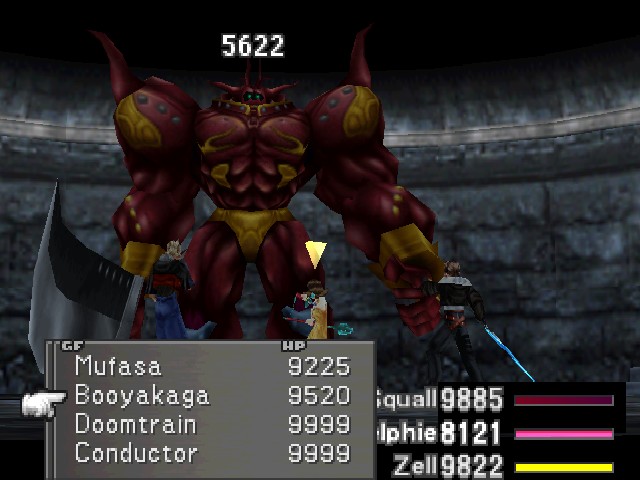
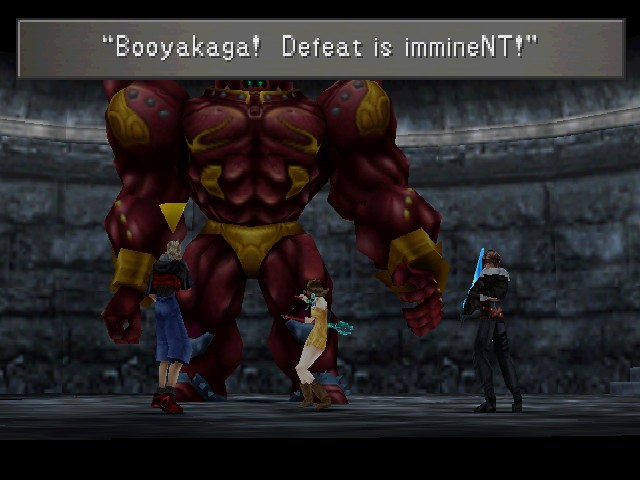
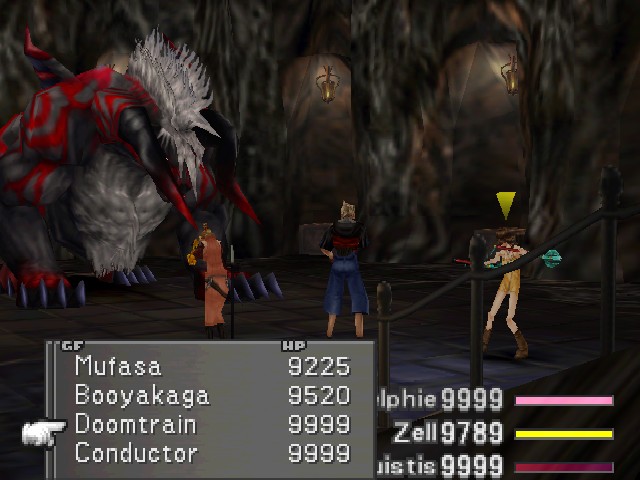
Also pictured in that last shot was Selphie about to use her ultimate catchphrase and summon Booyakaga for one of its most useful appearances in the whole game.
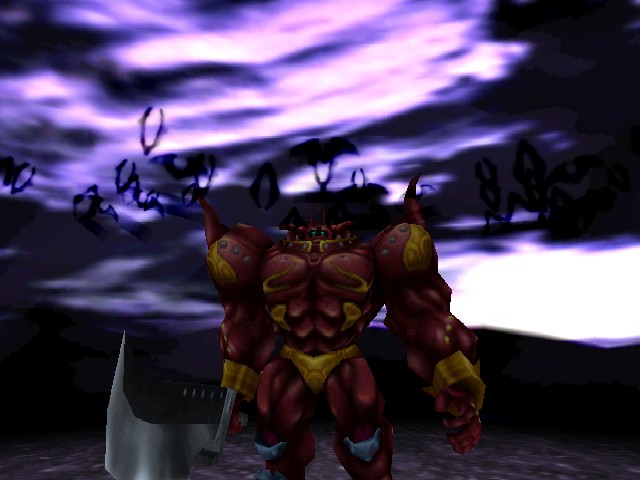
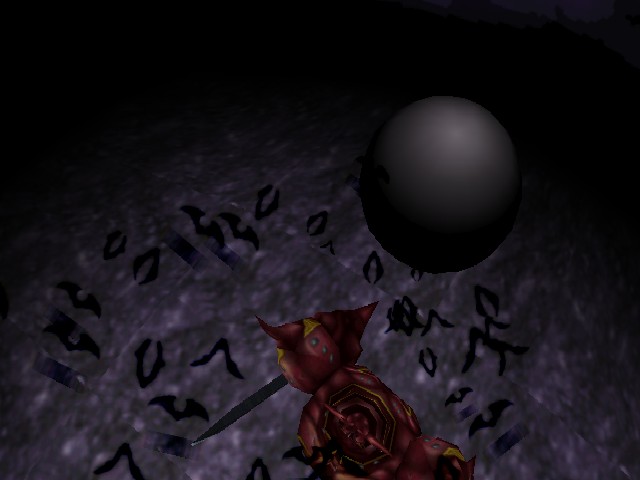
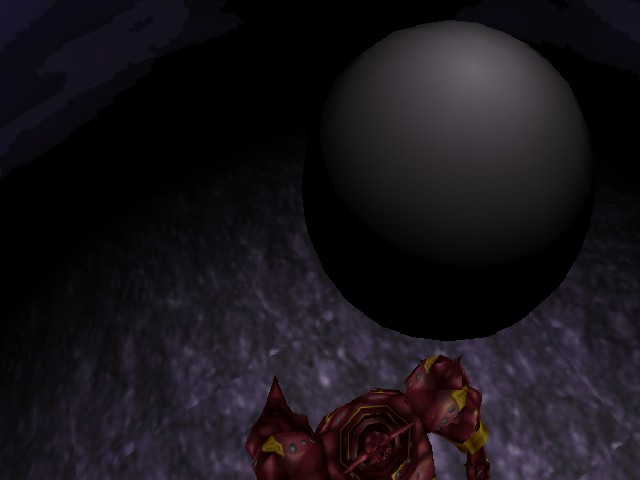
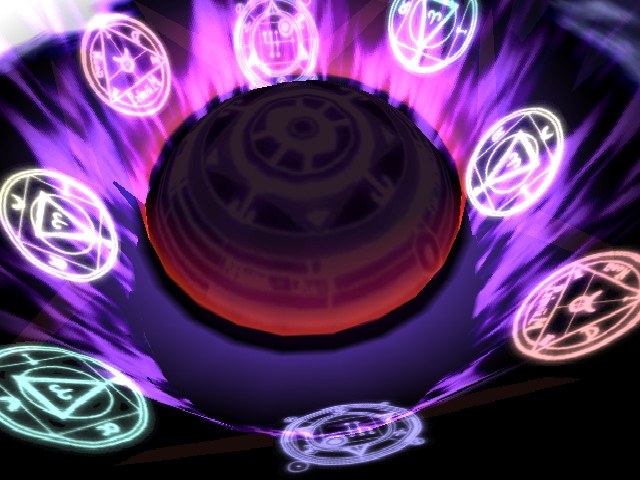
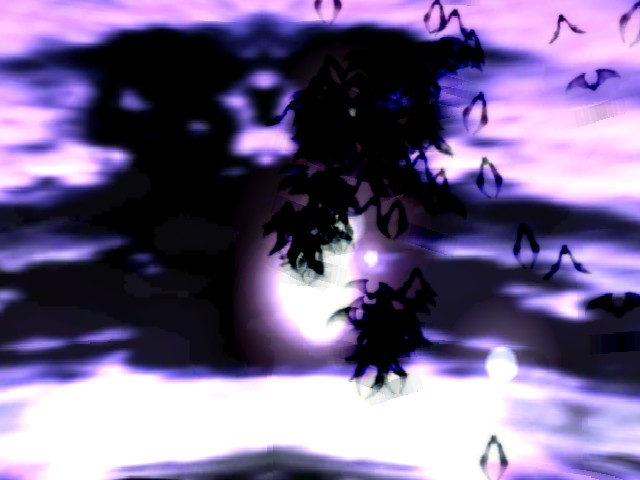
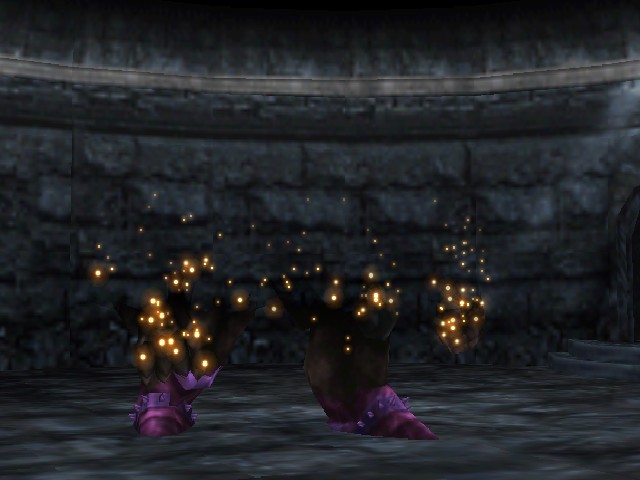
Booyakaga begins by appearing out of a big ball of goth bullshit.
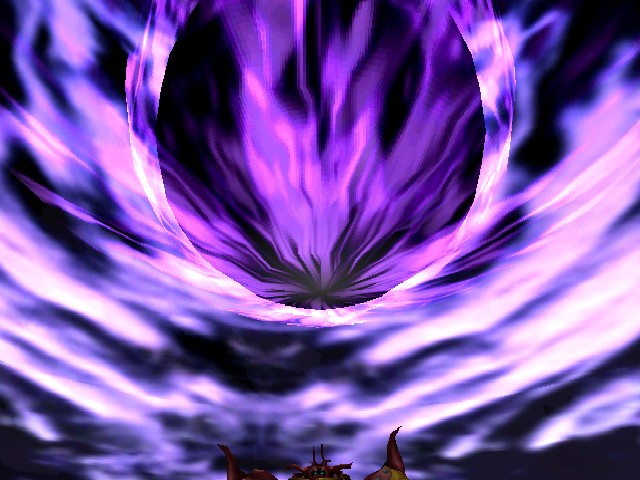
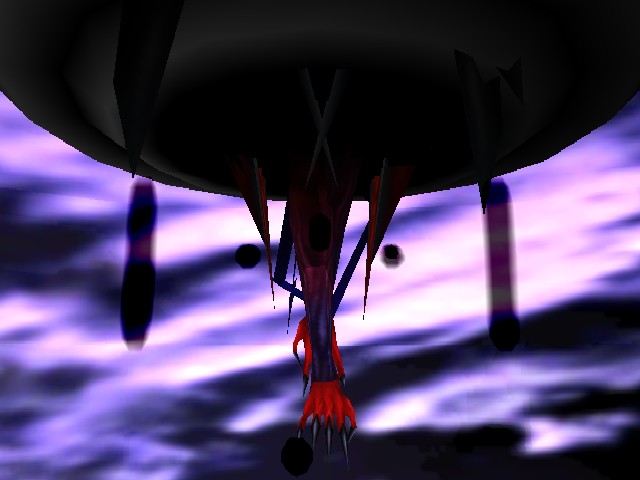
Then chucks the ball at the enemy, which crushes it flat.
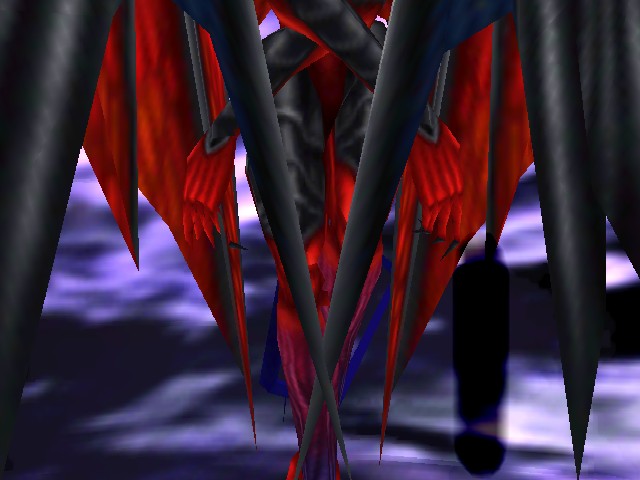
And there he goes, just like he came in.
The reason Booyakaga is good here is because it deals percentage-based Gravity damage, 1% of the enemy's max HP per GF level, capped at 9,999.
And that's his last line.
But I killed him with Selphie's other special move, Doomtrain. For the record, Red Giant has two attacks: Gigantic Sword, a physical attack that hits everyone; and, when its HP is under 9,000, Punch, a physical attack that hits one person but never misses. Really, this boss is interesting because of its high defence and not because of its attacks. If you're not set up to draw Demi, summon a defence-ignoring GF, or somehow set Vit 0, this boss is actually a huge pain in the ass. If you need to, you can deal with Gigantic Sword by inflicting Blind on the boss to buy yourself some time.
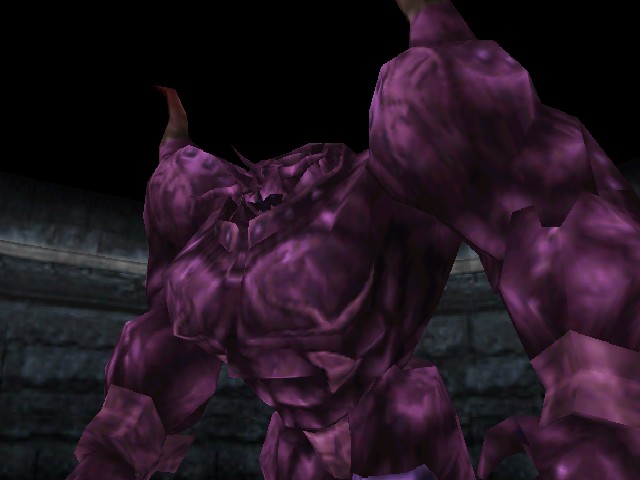
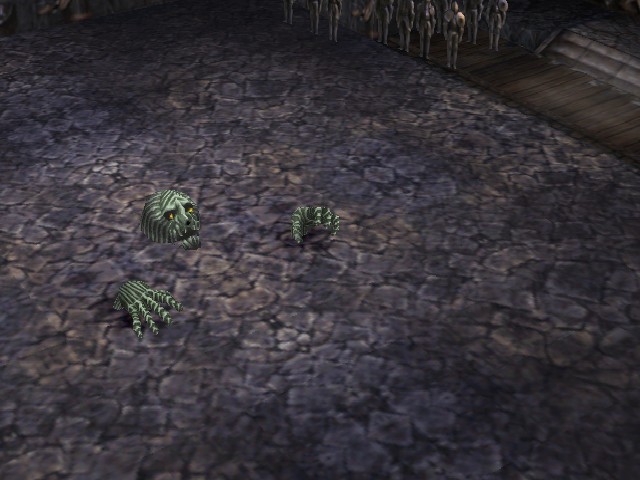
Anyway, once it's dead, it turns to stone and then breaks apart.
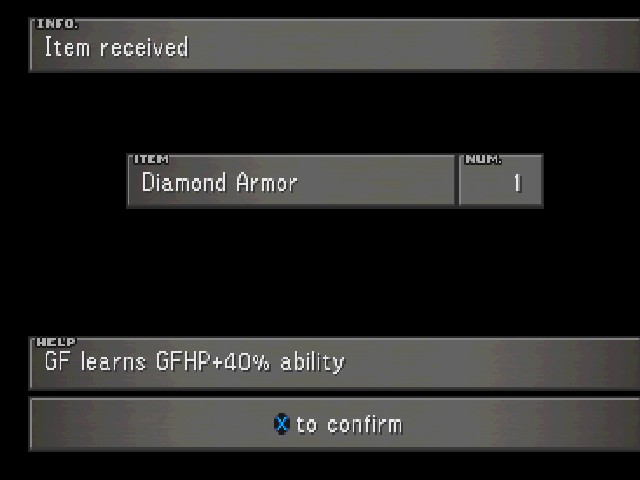
GFHP+40%? Prison sucks.
I'll probably do something with Limit Breaks later. This leaves us at only three bosses left.
And now we're out of prison!

Even though the next boss is right across the room, I'm dedicated to using different parties, so let's bounce over to, uh...
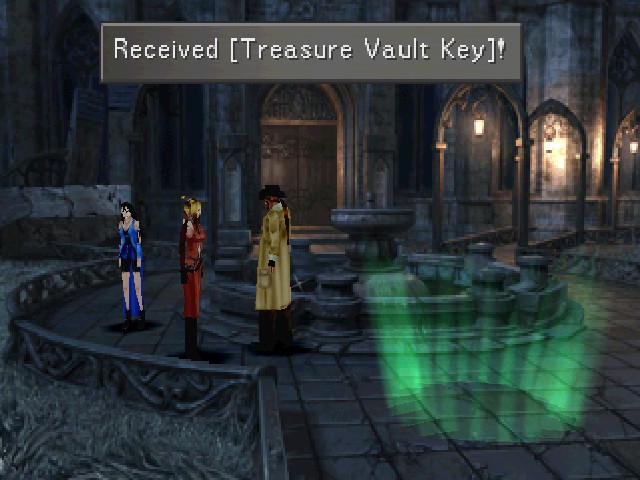
Okay, yeah, these guys. First stop is the courtyard, where the Treasure Vault Key is available after you use the Floodgate Key.
Now it's back over here.
Alright, this dipshit.
The gimmick of this fight is that it starts with a Vysage/Lefty/Righty fight.
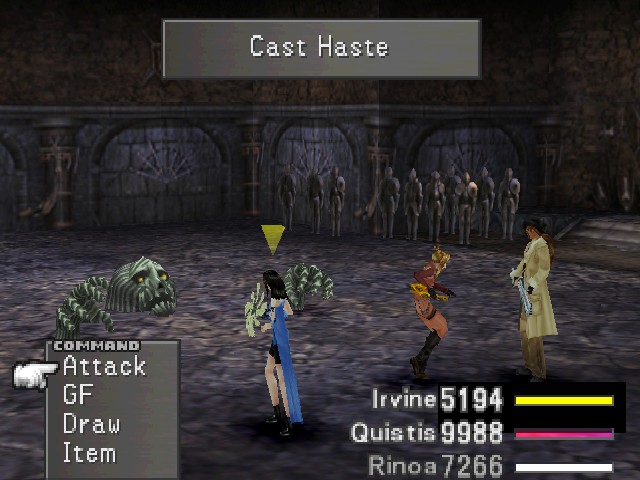
I drew Haste from the Vysage for Irvine.
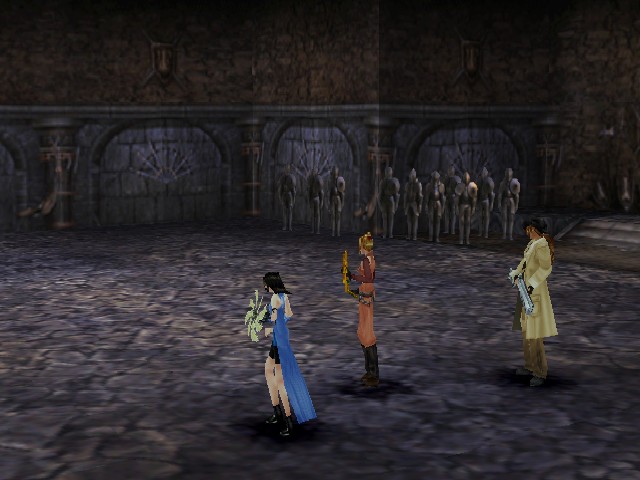
This is basically just a random encounter, so nothing else interesting happens.
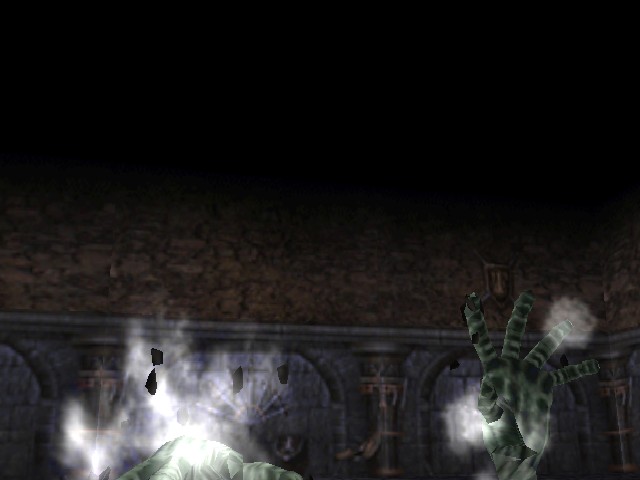
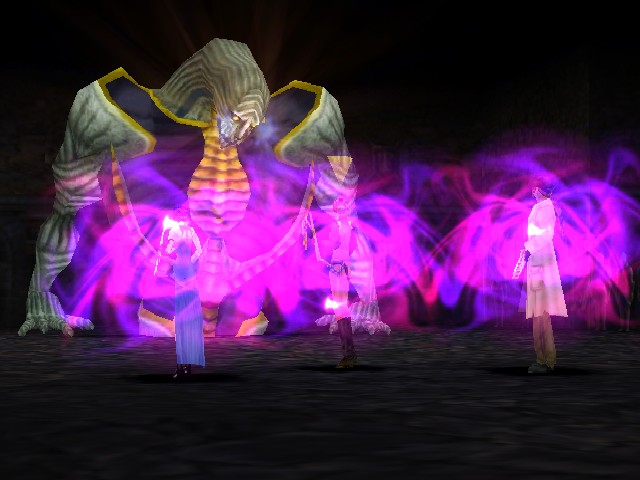
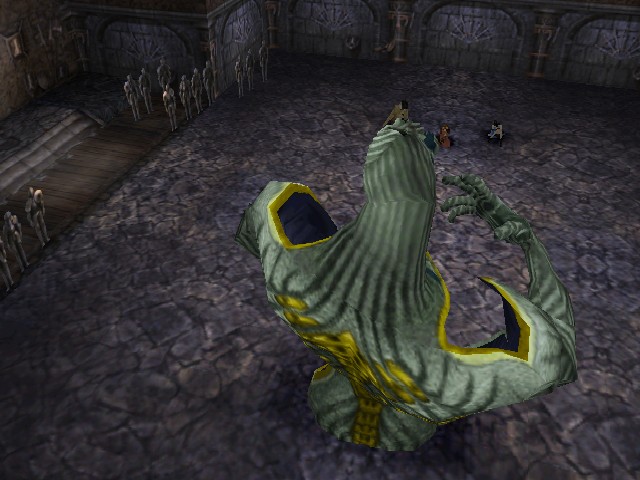
At least, until my boy Gargantua shows up.

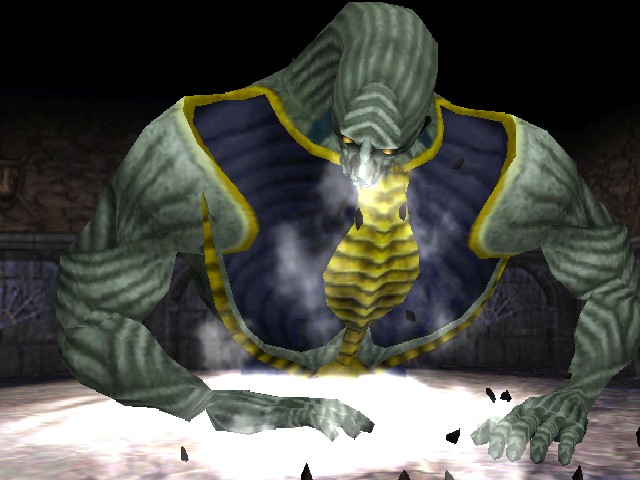
Gargantua has a fixed 180 Vit and a fixed 0 Spr, so Draw-casting is back on the menu for this one. The fourth spot in this fight is actually filled by
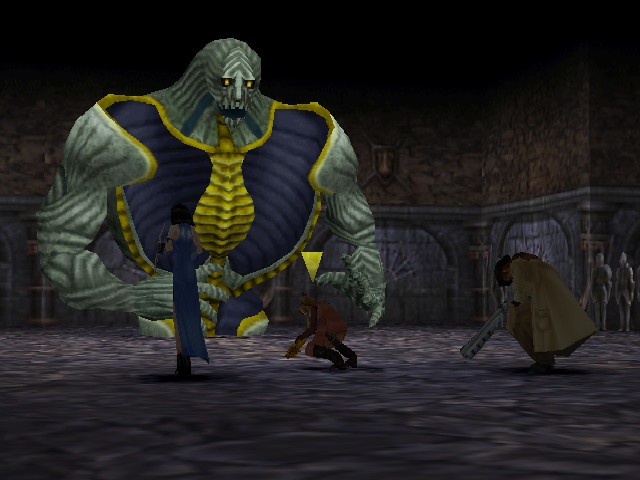
Gargantua opened this fight up by using the ability Evil Eye, which puts Curse on ya, locking your Limits back up.
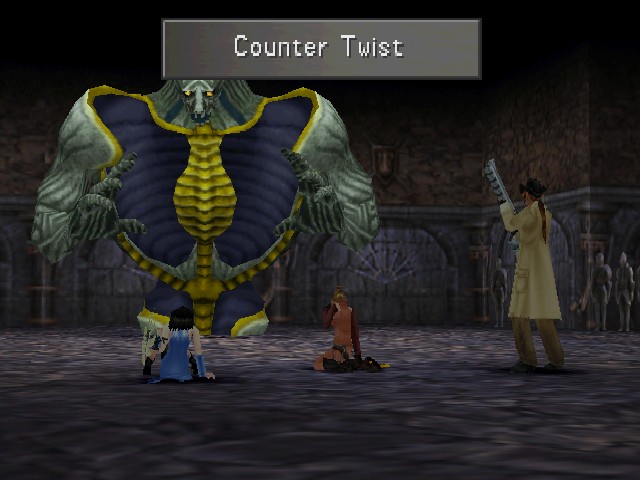

In addition to having high Vit, when you physically attack it, Gargantua will counter with Counter Twist.
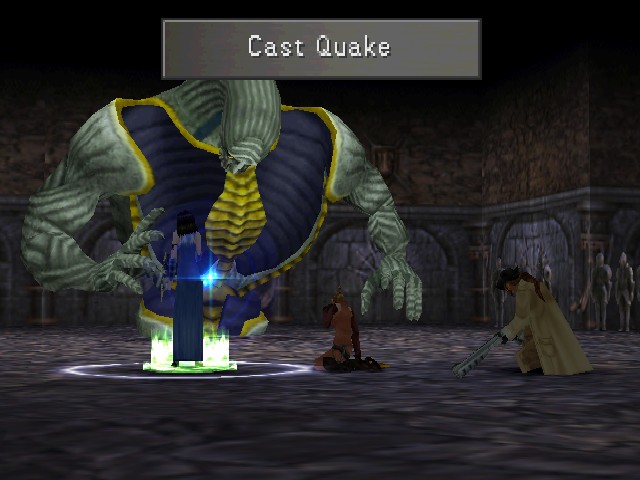
The boss's other attacks include Quake and Demi, and it can also throw Silence or Berserk on your characters to set them up for maximum Counter Twisting.
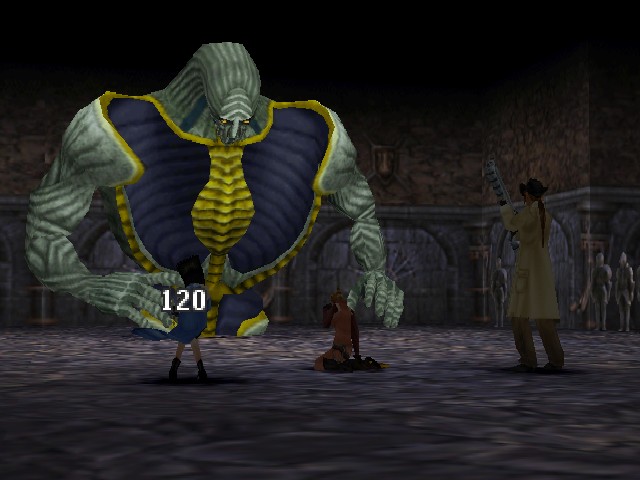
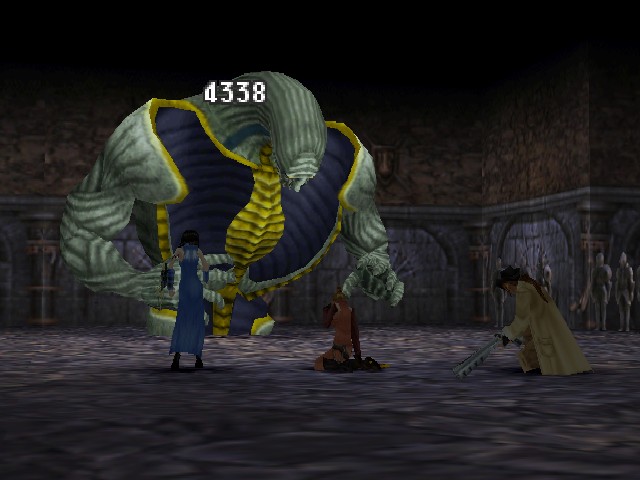
On the other hand, it maxes out at 15,400 HP and Rinoa's fast as fuck and dropping 4,000+ damage per Quake, so this isn't a long fight.

Fun fact: the enemies in the fakeout battle before the boss drop their normal items.
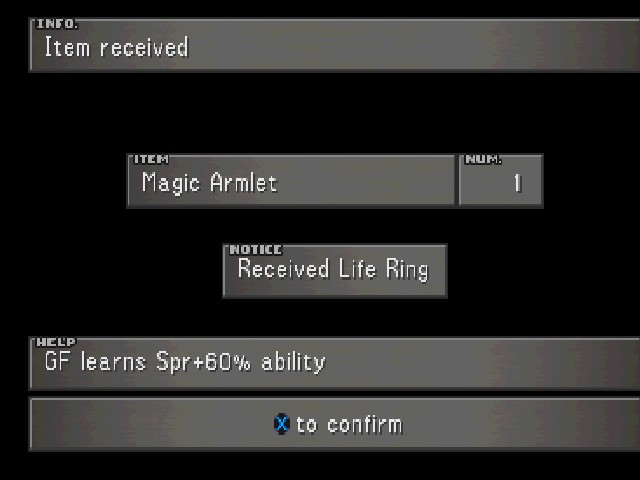
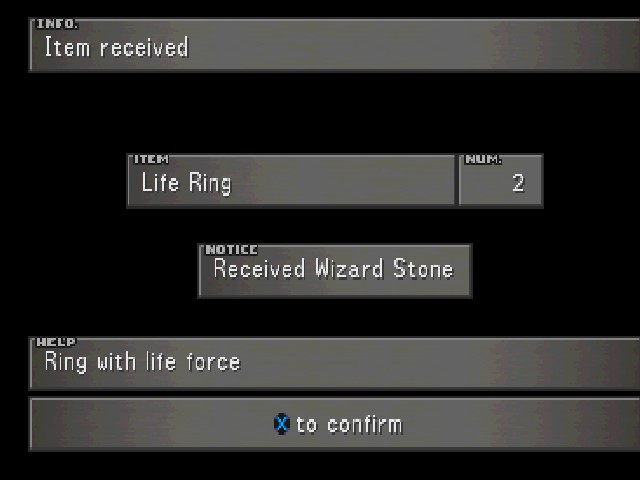
And Gargantua himself drops this Magic Armlet. I also got a Vysage Card.
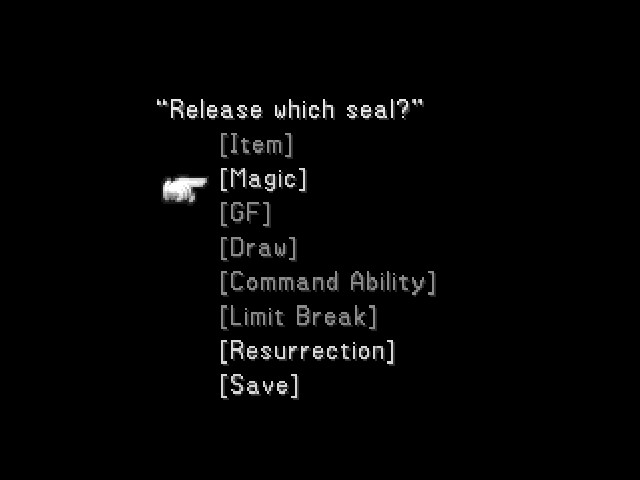
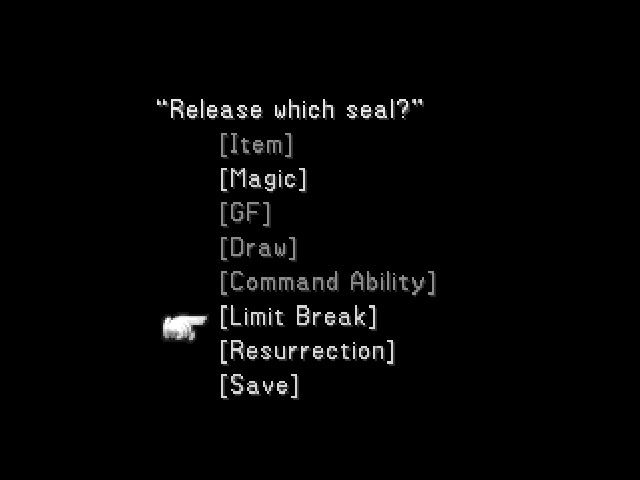
Should have picked up resurrection, probably, but I went with magic here.
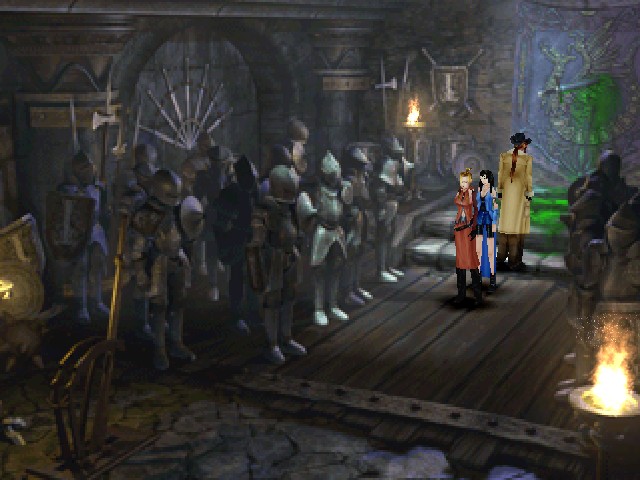
Now that the monster's gone, we can see this green blood on the wall over here. In the Japanese version, this was apparently red blood, but it was changed to green for the international release for some reason. This game has red blood in it about one minute in.
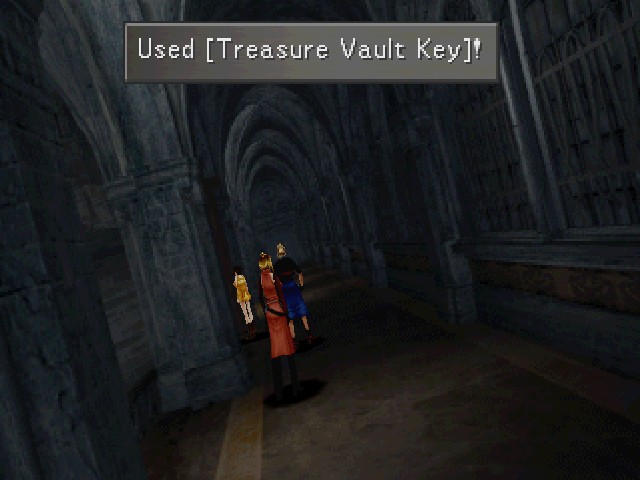
To close out the update, we're gonna take a quick detour over to the Dutch angle hallway and pop open the Treasure Vault.
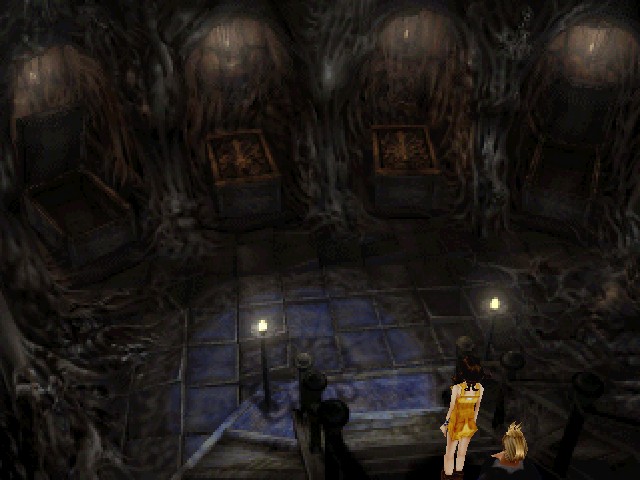
Inside, there are four crates, two of which are open. This is one of those puzzles where moving one lid changes others, and you have to get them all open at the same time.
Like so.
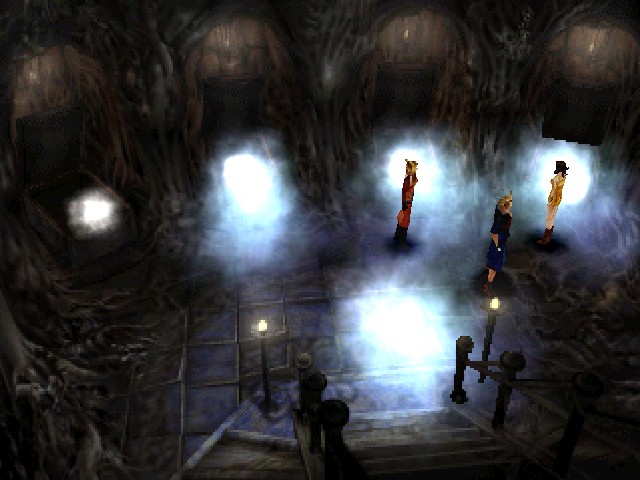
Here's the boss.
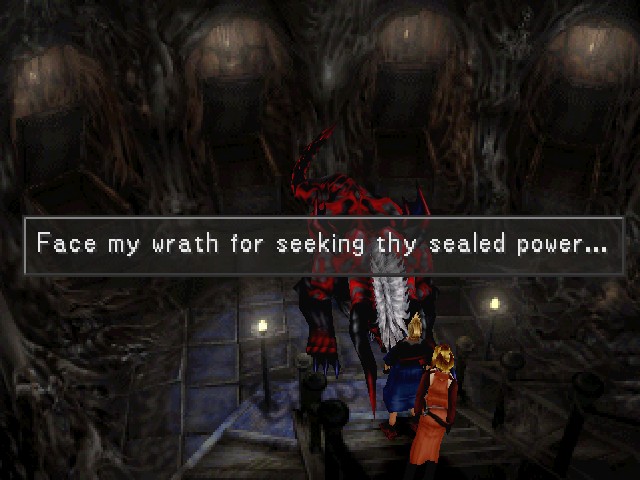
It can be kind of weird to trigger these - the hitboxes are definitely smaller than the bosses are visually.
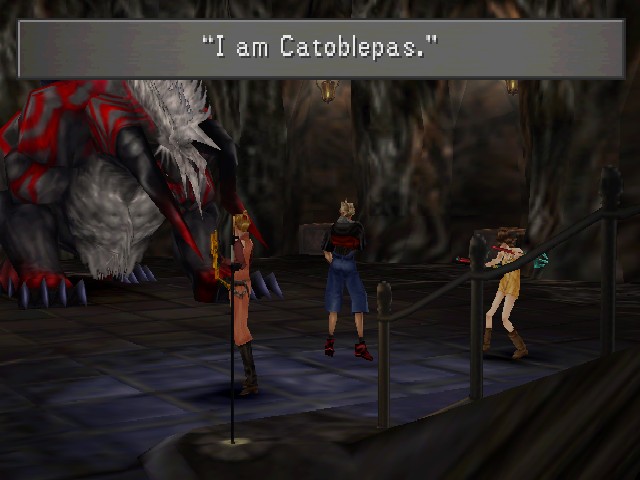
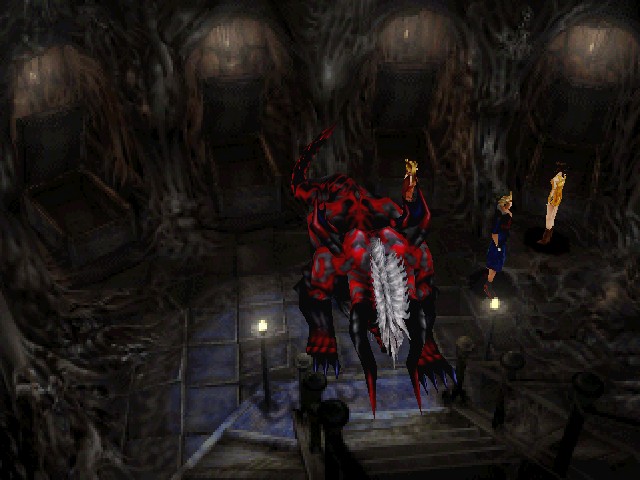
Handily, this boss introduces itself.
Catoblepas: What do you humans plan to do against the likes of me...?
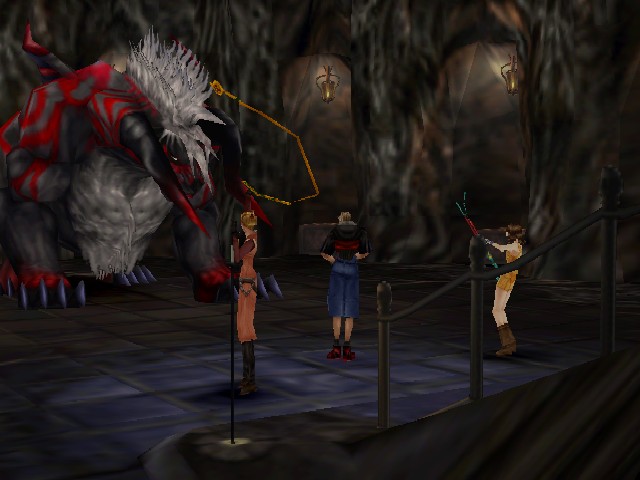
Catoblepas is not as hot as he thinks he is. In fact, Catoblepas may be one of the most boring castle bosses even in design, since it's just a palette-swapped Behemoth.

For one thing, this jackass immediately showed up and took out about a sixth of his health (maximum of 38,500).
Because I already have
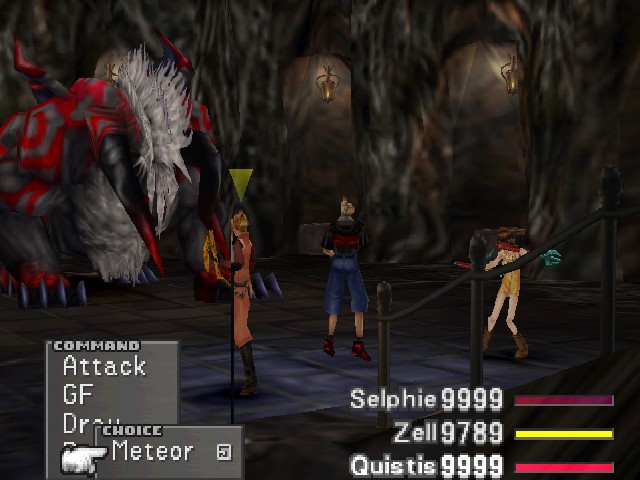
Instead, I just used the ol' Doomtrain/shitkicking combo. Catobelpas has reasonably high Mag and an attack called Thunder Summon that ignores Spr to do big Thunder damage to everyone, as well as a powerful attack called Deadly Horn that's always a critical hit, but I honestly don't remember if it even got a turn off in this fight.
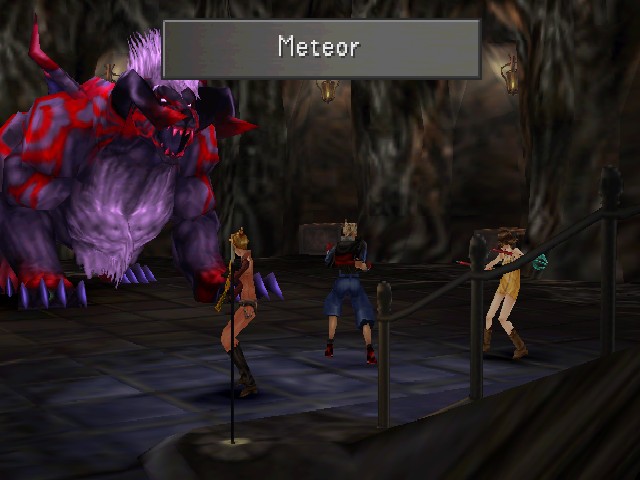
With its dying breath, the boss casts Meteor on the party.
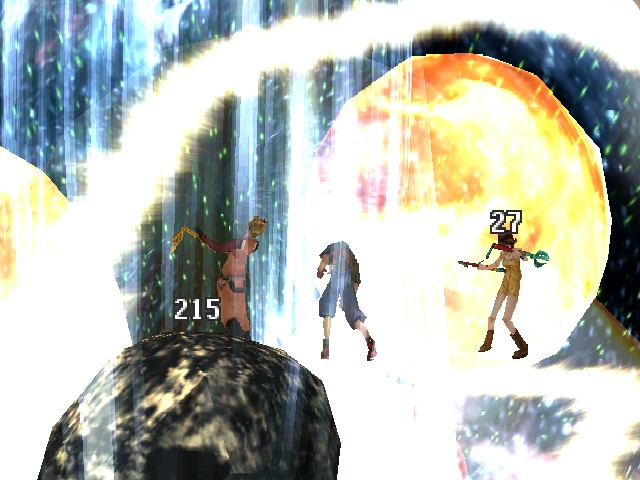
As far as final attacks go, it's not the best. In addition to having low power per hit, Meteor seems to have particularly variable damage. If you have decent Spr and have healed, this is honestly less of a problem than Krysta's Ultima. I think Catoblepas is the most forgettable boss in the whole place for me, and if I'm going to skip any of them, it's this guy.
Well,

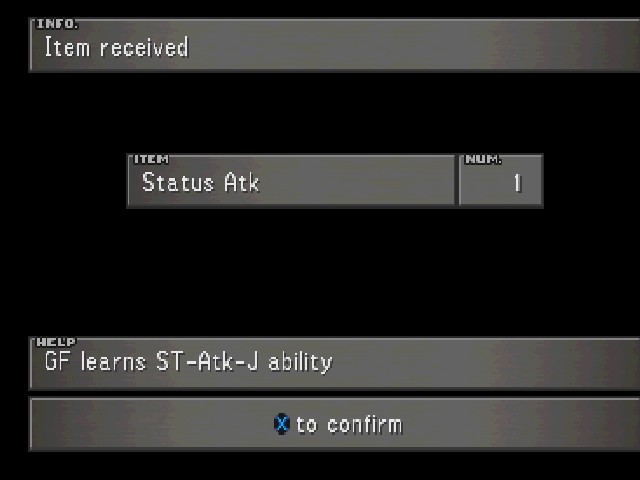
Now, let's take our Status Atk and resurrection ability and blow this joint.