Part 118: Part One Hundred and Eighteen: Fight! Fight!
Part One Hundred and Eighteen: Fight! Fight!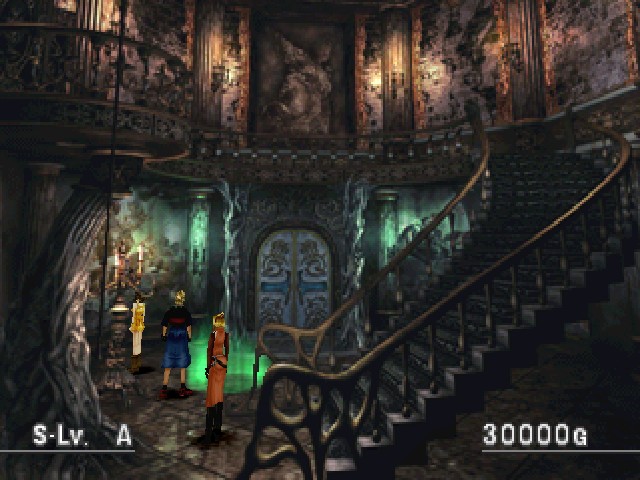
Now that Catoblepas is gone, Ultimecia only has one pet left. But before we get to that, there's some bullshit to deal with.
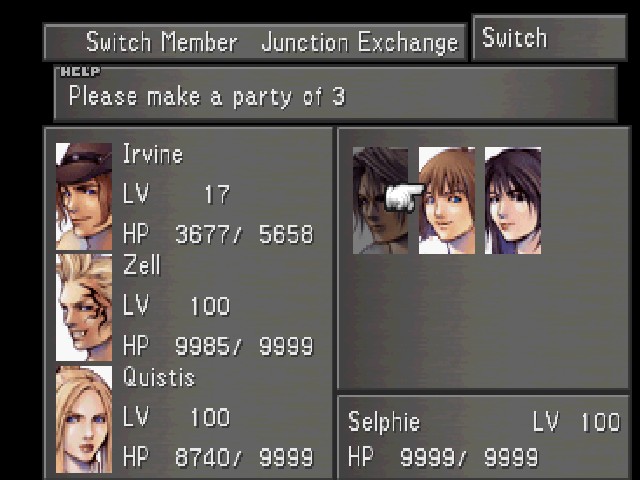
It starts with me arranging my party like this. I'm actually taking the Squall party on this trip.
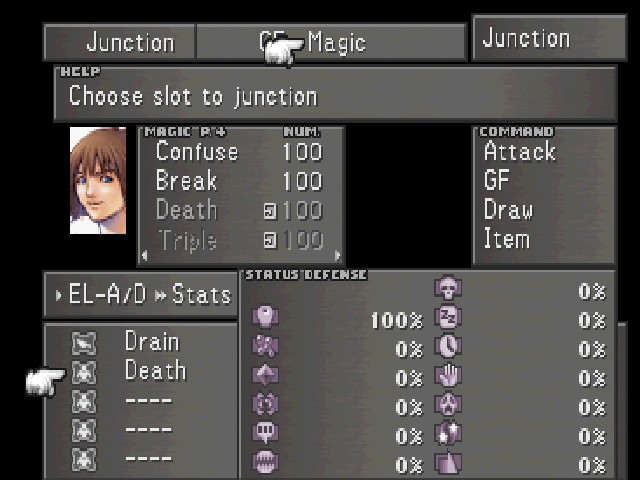
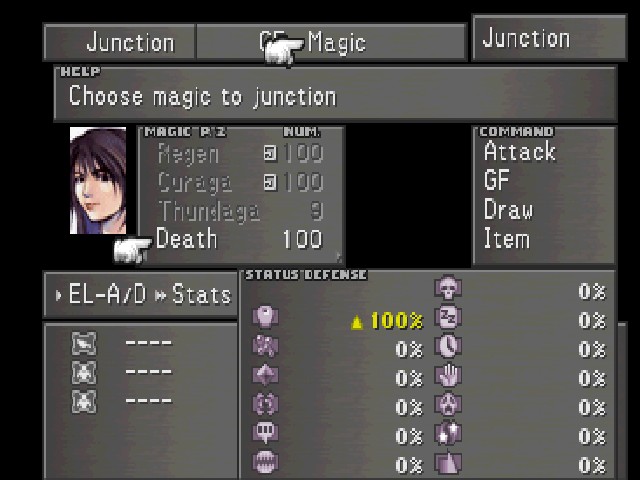
I also had to make sure that everyone had Death on their status defence.
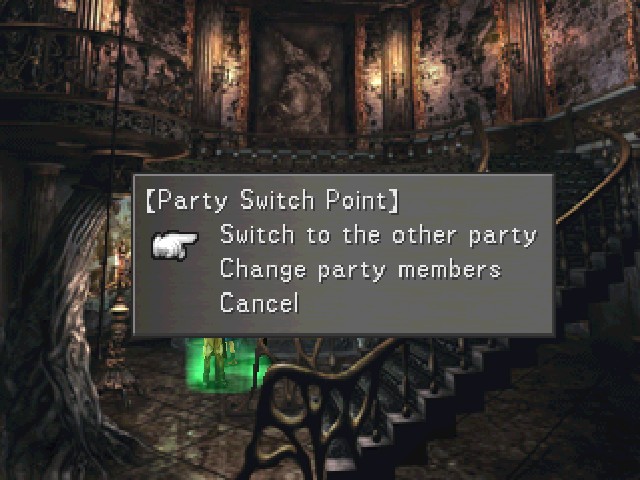
I was still controlling the C-Team at this point, so I brought them back to this room and switched over to Squall's B-Team. It's not vital that this party is parked here, but it speeds up the process.
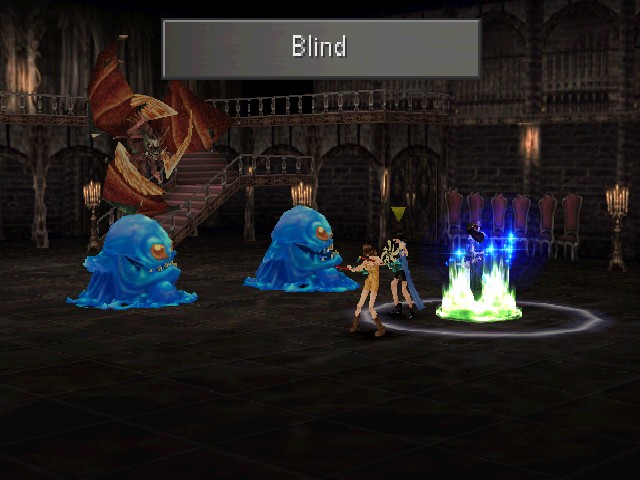
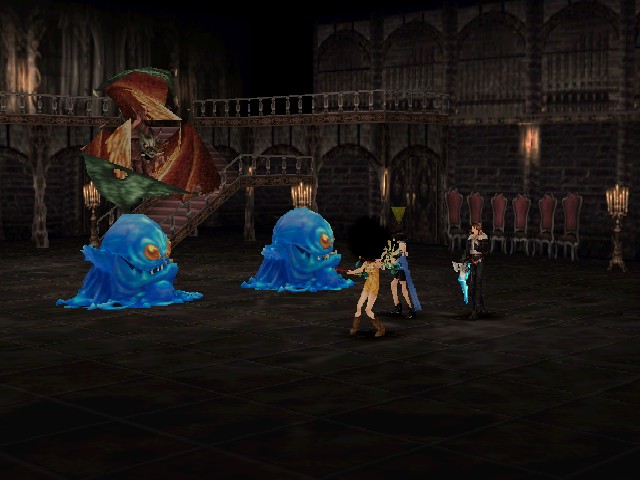
Now, my preparations moved into their final phase when I had Squall blind Selphie.
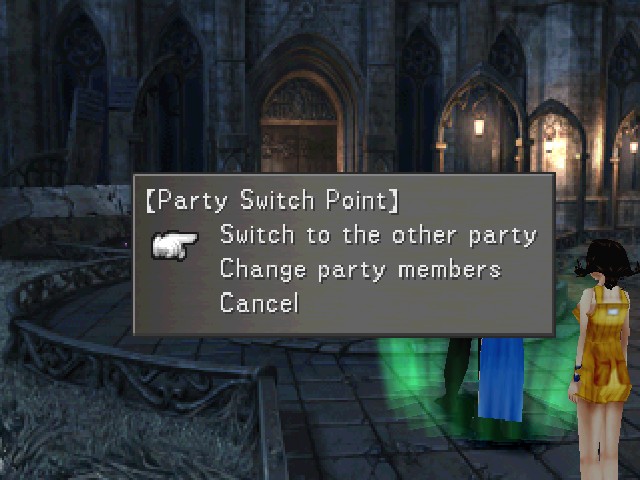
Unlike the other party's location, it is vital that your main party is at the courtyard switch point.
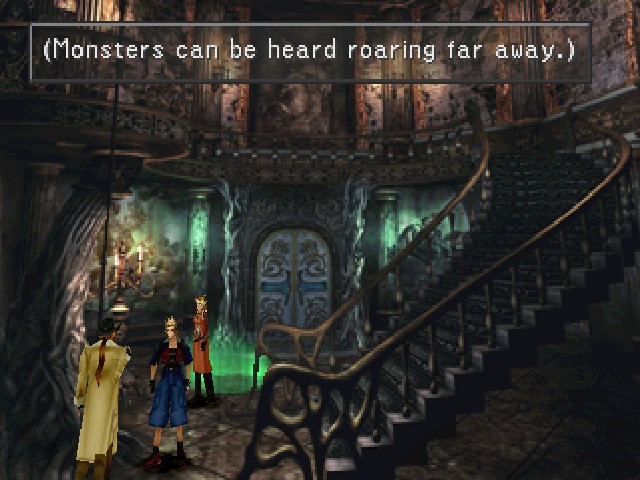
Remember this bell? Well, I hope you followed my advice and kept in mind that it exists, since today we're ringing it.
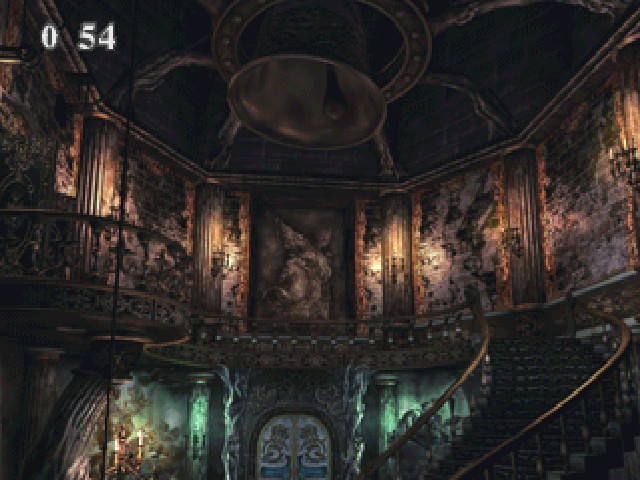
As always, it wastes 10 seconds giving you a pan up to the bell.
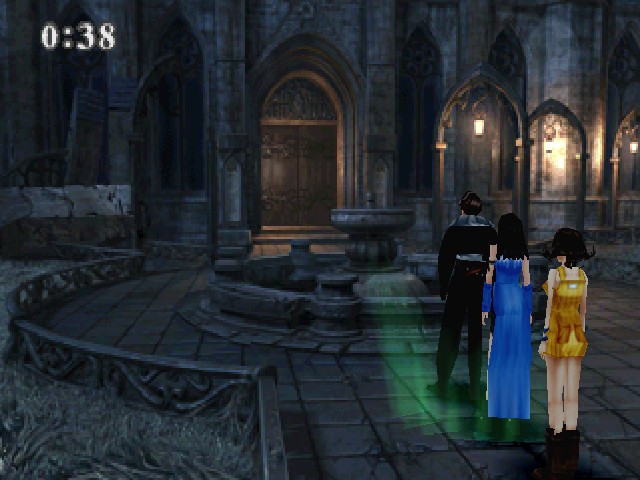
By the time I got switched back to the B-Team, there were only 40 seconds left on the clock. It's plenty of time, since we just need to cross this courtyard, but I still don't like a timer that starts at a fake number.
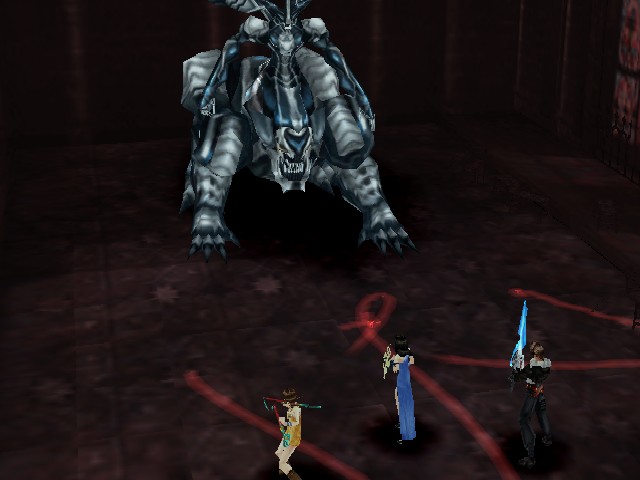
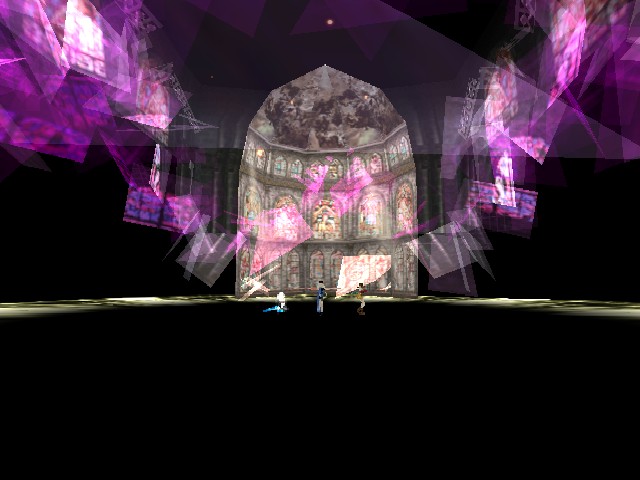
Once you ring the bell and get back to the chapel, you'll see this tall drink of piss hangin' out.
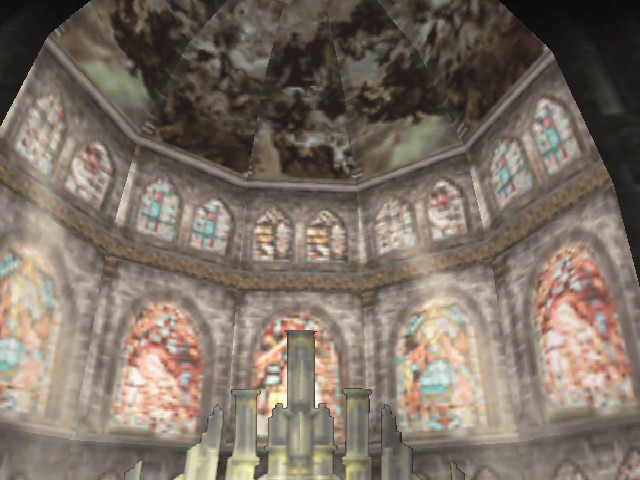
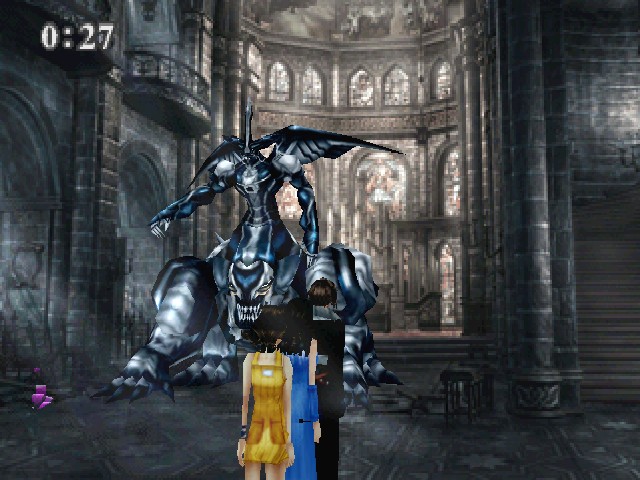
During the pan-around before the fight, you can see that there are clouds painted on the bottom of the chapel dome.
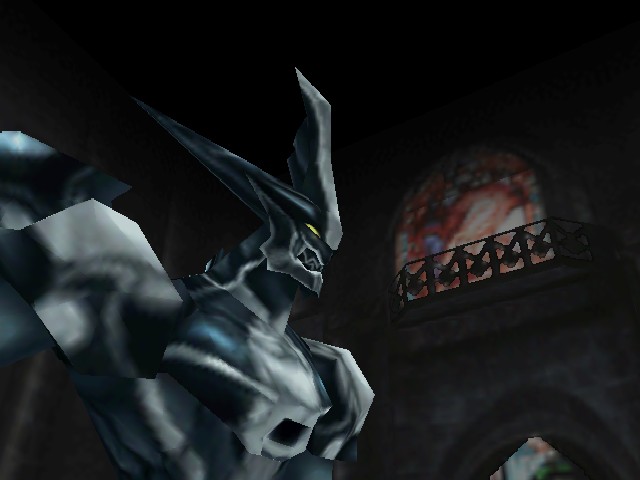
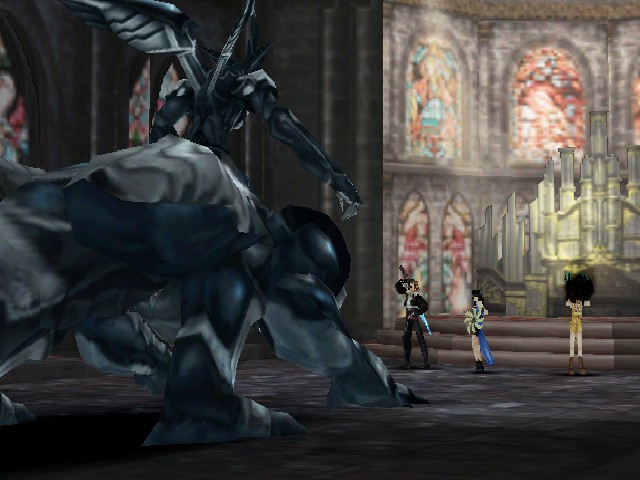
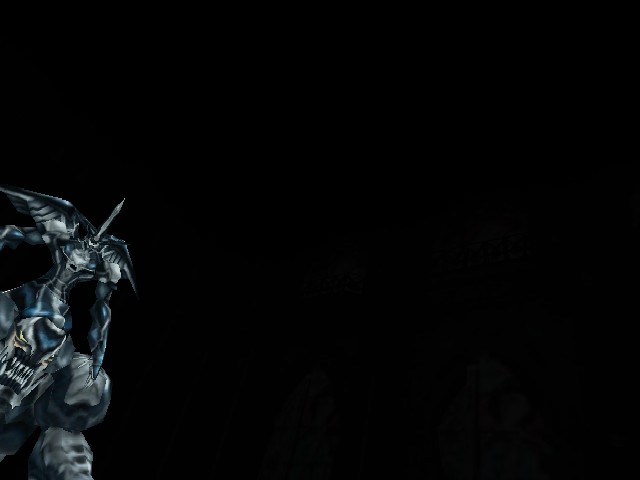
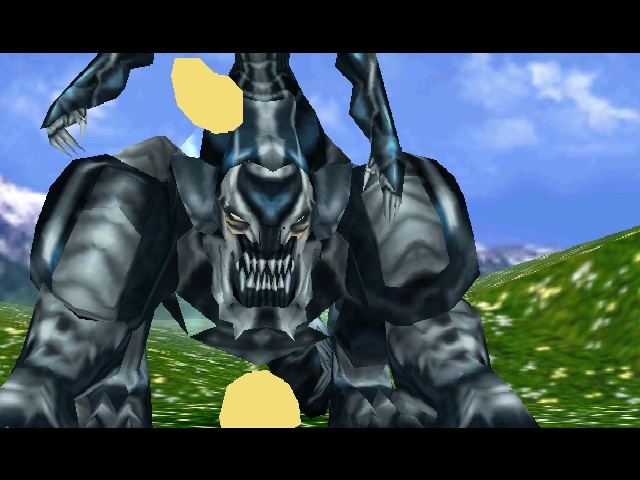
So, this is Omega Weapon. Like Edea way back when, it's taken the time to turn around before the battle. Like the Ultima Weapon it's palette-swapped from (though Omega isn't holding a sword), this is one of the game's superbosses and, at least nominally, the hardest enemy in the game. It is so strong, in fact, that the Scan text for it contains the line "It is bad luck to run into this monster," which I find funny, and that's the last positive thing I have to say about these proceedings.
Now, let's talk about the mechanics of this fight. Omega Weapon's attacks technically follow a pattern. This makes the fight technically predictable, but the problem is that the pattern can be interrupted with regular attacks at any time, which combines with the fact that a bunch of things in the pattern are gotcha bullshit to make the fight even more of an annoying pain in the ass than it already would be.
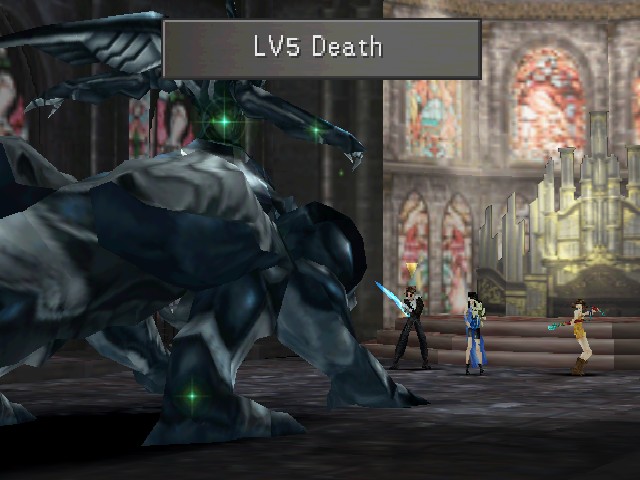
The pattern begins with LV5 Death. I had been under the impression that this always opened the fight, but nope. On the run where I beat this, the boss never actually used this move. Anyway, this is why you need either to have Death on your status defence or to not be a level divisible by 5. This ability is only used by Torama, which is a random encounter that shows up around Esthar and doesn't use it reliably. I'd categorise this as "gotcha bullshit" but it's the least offensive one.
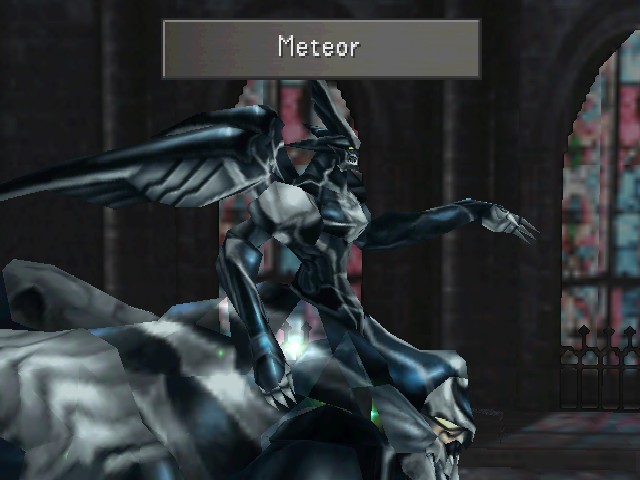
Next up is Meteor, but who gives a fuck about Meteor? It only matters because it's the lead in to this:
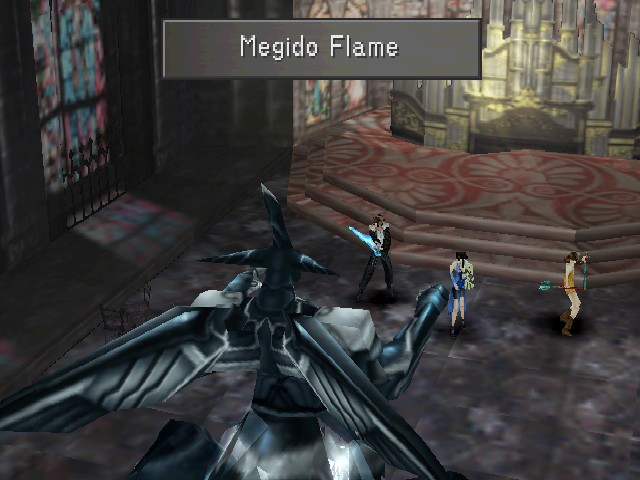
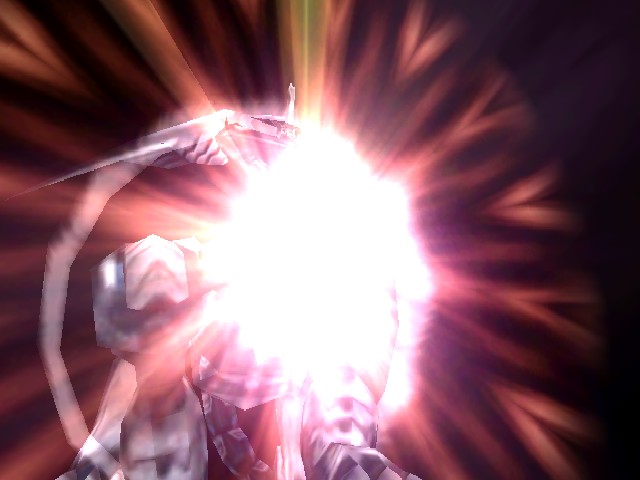
Megido Flame is the first big annoyance in this fight.
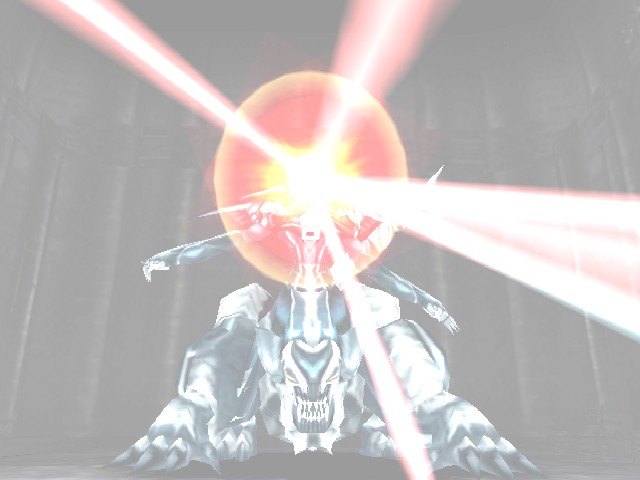
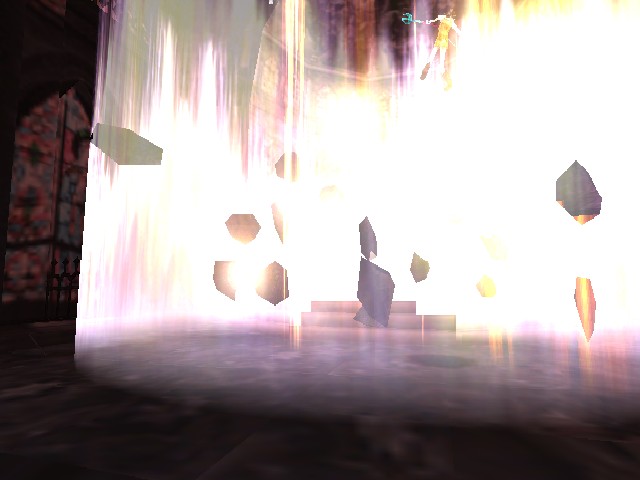
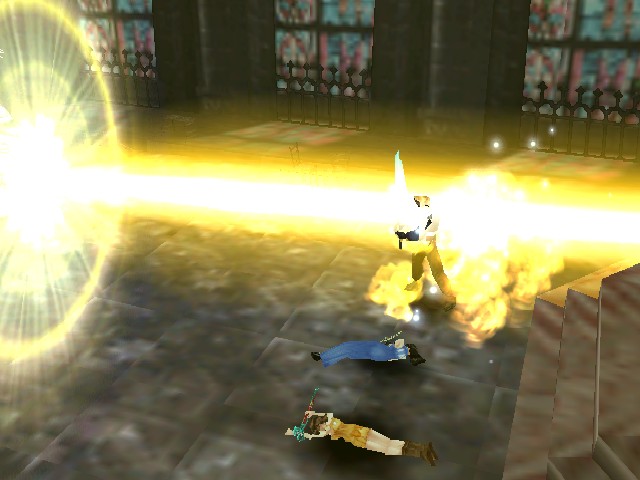
Lasers come out of the boss and draw some crap on the ground, explosion, &c.
And then everyone takes a fixed 9,998 damage. This attack is stupid because that's not Max HP minus 1, it's actually 9,998. The only way to get through this attack is to have a full 9,999 HP before it goes off or to be invincible. I don't like this because it restricts the player's approaches. If you approach things right, you can get through everything else in this game without 9,999 HP and it's actually a little difficult to even have 9,999 HP in the first place. If you don't want to spend an ability slot on HP+X%, you need to either: be level 100 and have 100 Ultima spells junctioned to HP (does not apply to Quistis, Selphie, or Irvine); use Bonus abilities to make up the difference like I have; or use stat-up items/Devour to make up the space or just get base HP to 9,999. So, if you were a player that was going through with any other strategy, your only options are to be invincible (i.e., cheese the fight) or to end it before Omega gets to this move (i.e., cheese the fight).
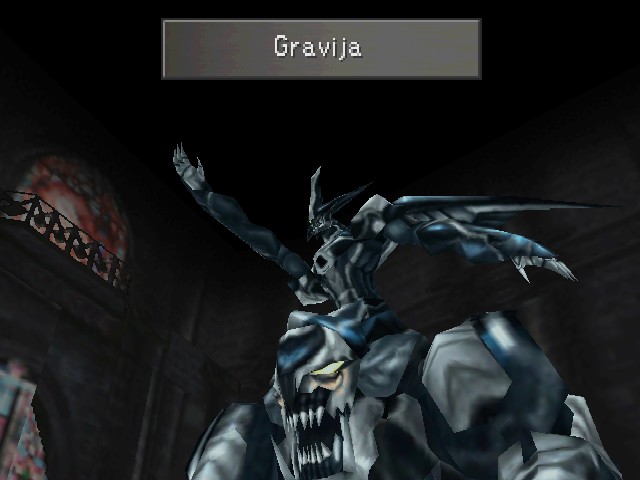
After Megido Flame is Gravija, which still just cuts everyone's HP by 75% and can't kill anyone. This gives you "breathing room" in the most nominal sense.
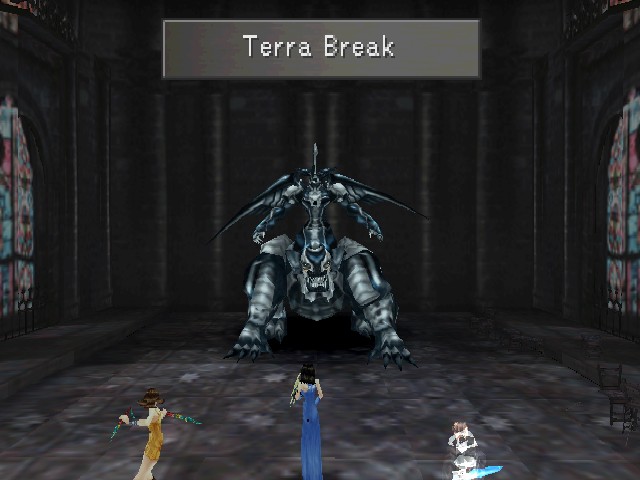
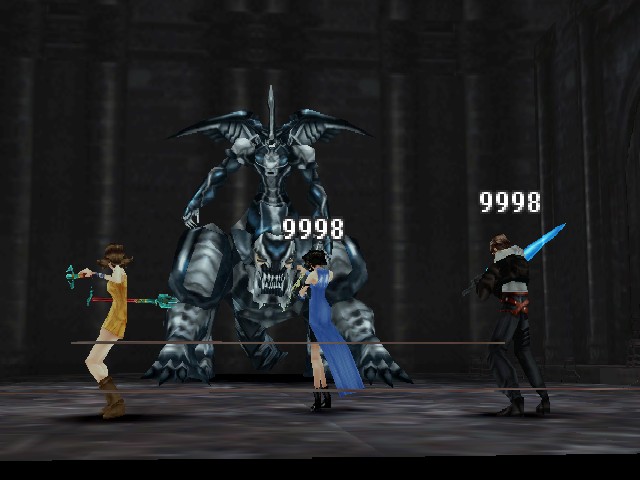
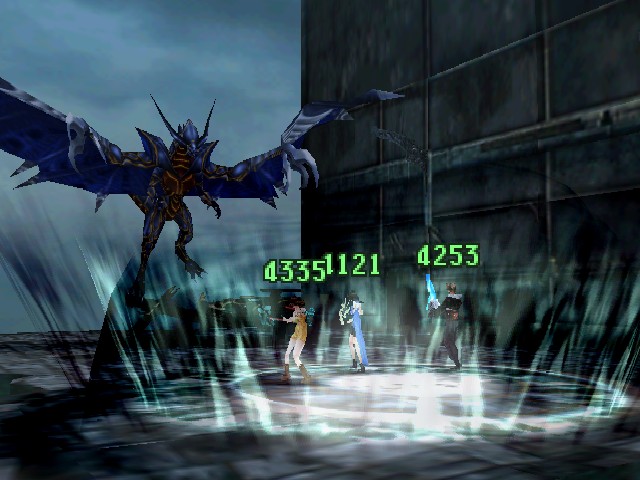
Gravija is followed by Omega's unique move, Terra Break. I'll give Megido Flame the edge in being annoying, since it comes early in the pattern, but this move rubs me the wrong way.
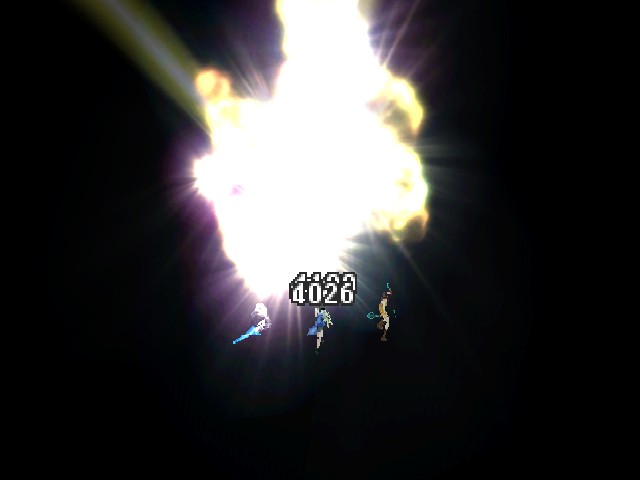
The boss takes the party to the Omega Zone and starts shooting energy blasts at them. As you can see, these do about 4,000 damage each, and there are 16 of them. Since the attack bypasses Vit, there's nothing you can do about that stat-wise, so you only have a few options. You can use the Defend command, which reduces physical damage to 0 until the character's next move is chosen - Defend's not particularly useful in general, so you're unlikely to have it junctioned unless you already know this is coming, plus it makes the character useless while you're waiting for Terra Break to come out. Alternatively, you can stack Protect with the Zombie status (which also halves physical damage), which has the drawback of making it difficult to heal (unless you cure and re-apply Zombie during the pattern). Or you can just be invincible, which is the easiest and most reliable way to get through any part of this fight, and so is a mainstay of Omega Weapon strategies. The problem with being invincible is...it's fucking boring.
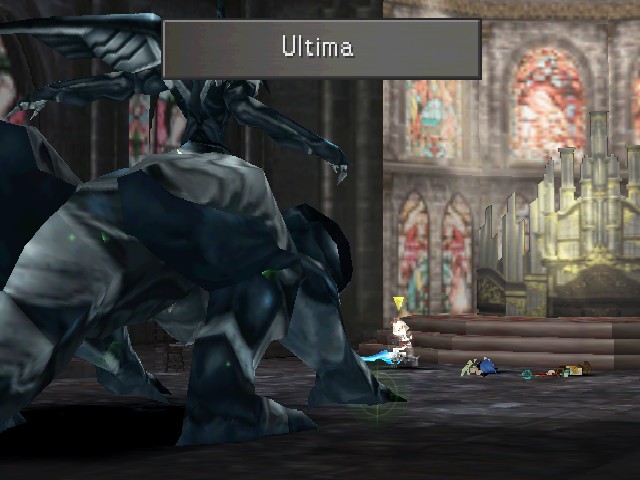
After Terra Break is Ultima. It's still Ultima, but if you're low on HP after Terra Break, I guess it could take your party out.
The end of the pattern is Light Pillar, which is still just 9,999 fixed damage. Unlike Ultima Weapon, which just used this as a regular thing, Omega only uses Light Pillar after Ultima. After Light Pillar, the pattern resets to Meteor and repeats.
So that's the regular flow of the fight. Talking more about the boss itself, in the PSX version of the game, it's fixed at level 100 with 1,161,000 HP. It's got reasonably high stats, too - 255 in Str and Mag, then 113 Vit and 175 Spr. Unlike Ultima Weapon, though, Omega's 61 in Spd doesn't make it fast enough to keep up with a speedy party. In the PC version, its level isn't fixed, so the fight can be made easier with low-level shenanigans. Unfortunately, it's just not that interesting a fight no matter what you do, since you're going to either have to slog through a million HP with conventional attacks or you're going to cheese the boss with Limits. The second is the orthodox strategy.
You might wonder, given the numbers, why I said Ultima Weapon was the hardest fight in the game earlier. Basically, it comes down to the fact that, if you're fighting Omega and get through Megido Flame or Terra Break, you probably have a strategy that has a high chance of success. With Ultima, there's space for things to go wrong because of Light Pillar and its high speed, and that just isn't really there with Omega, you either get caught in one of the traps or you win.
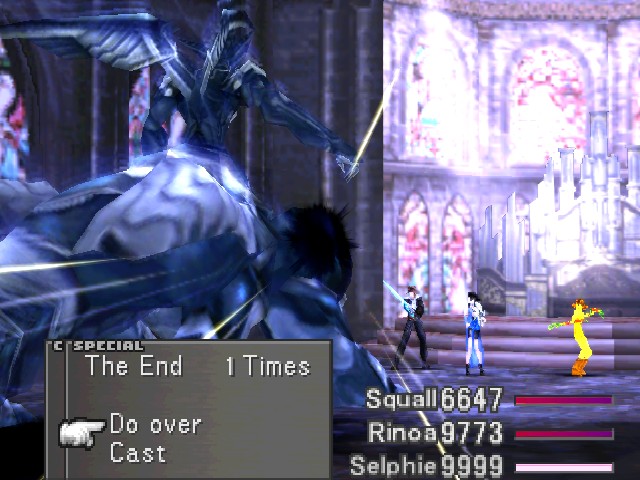
In fact, I've saved a very specific Limit to show off right here.
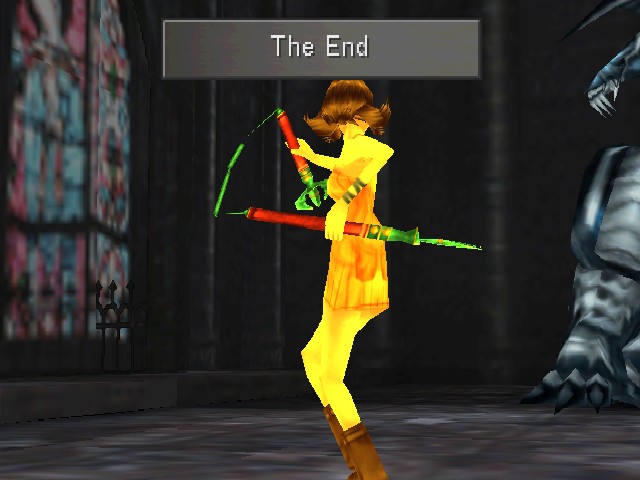
The End is Selphie's ultimate Slot spell and is the most powerful move in the game, even though it deals no damage. It's also Selphie's rarest Slot spell, only coming up in one of the 15 "sets" Slot draws spells from, which is assigned to only one of 65 values that Slot uses to select the set. Due to how the ability selects sets, it's also only available when Selphie is under level 40 or over level 80.
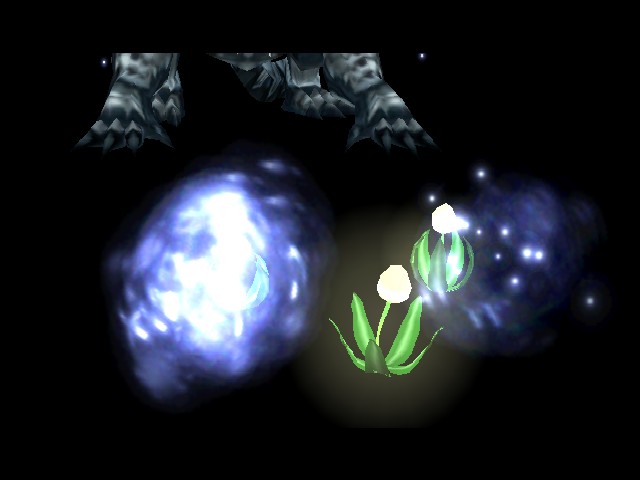
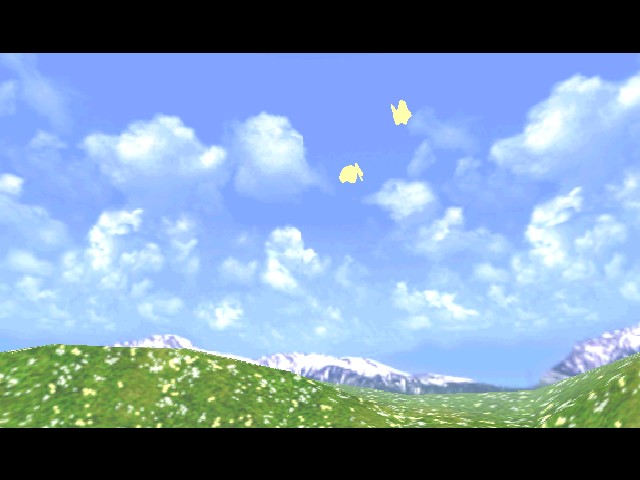
Instead of damage, The End whisks the enemy away to a nice meadow full of butterflies.
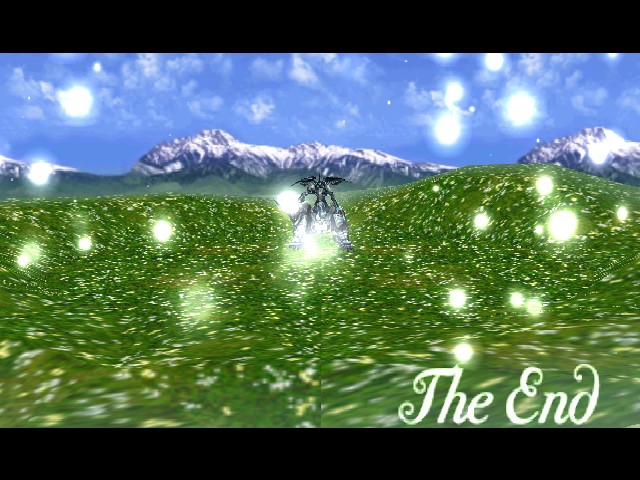
And that's it, that's the end of the fight.
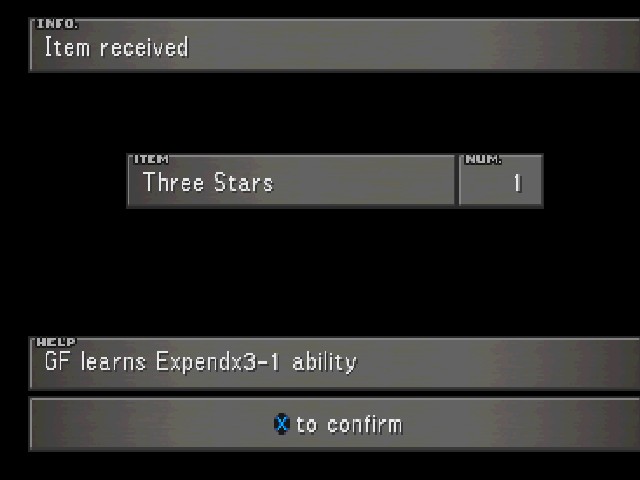
For your efforts in this fight, you get... a Three Stars. There's also a reward of 250 AP, which is... the biggest number of AP in the game, I guess.

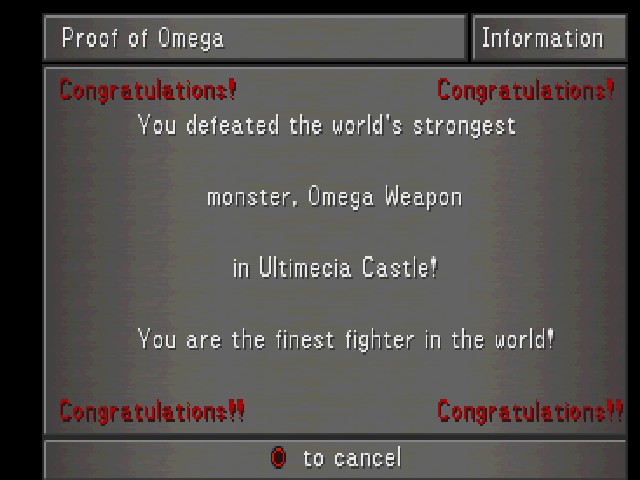
Finally, you get the "Proof of Omega," which is this shitty little certificate. This is the other thing I hate about this fight, and it's something I hate in games in general: you beat a superboss and it doesn't give you anything. The argument for this kind of reward is usually something along the lines of "the challenge is the reward" or "well you beat something harder than the final boss, what do you want?" but I don't buy either. If a game's going to have a superboss, it should have a reward for beating it. Go the Nocturne route and give me an ability that makes my characters invincible. Go the Shadow Hearts route and give me an ability that just completely shuts down the rest of the game. Like, get creative, this is the place and time to give a dedicated player access to some real wild shit. Getting a non-unique item and a certificate is just dull.
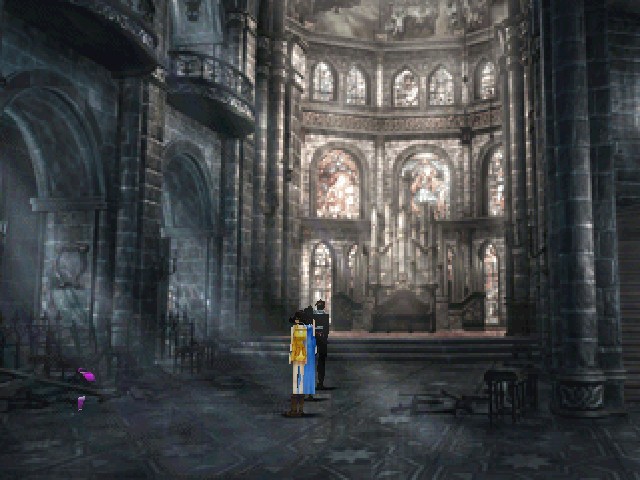
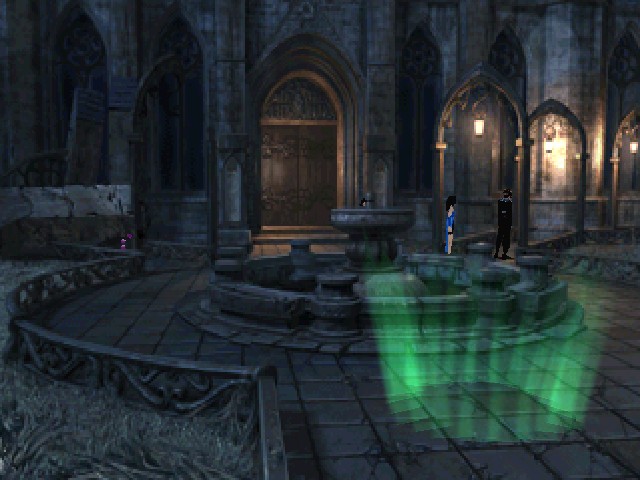
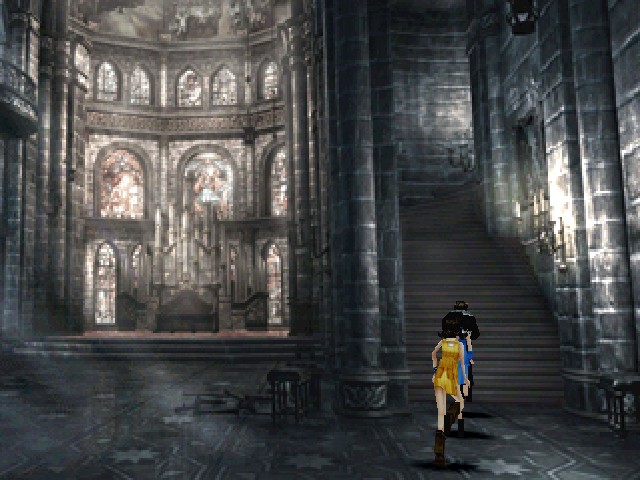
After the battle, we're just back in the chapel, but the purple cloud that had been here is gone.
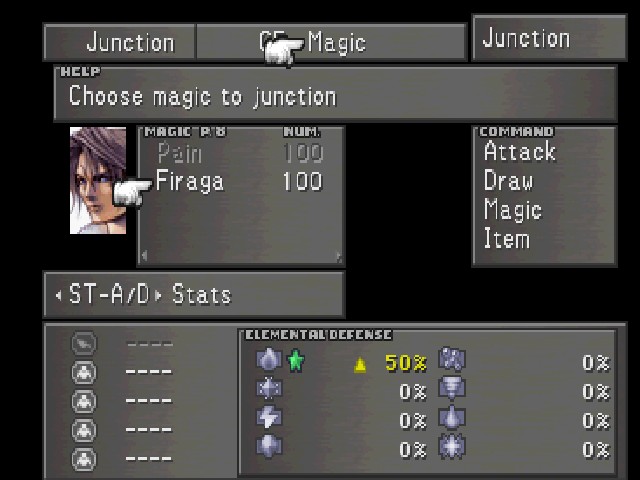
Before we move on, I'm make sure everyone has Fire on their elemental defence.
And then I actually head backwards a bit.

When I played the organ earlier, it dropped this gate.
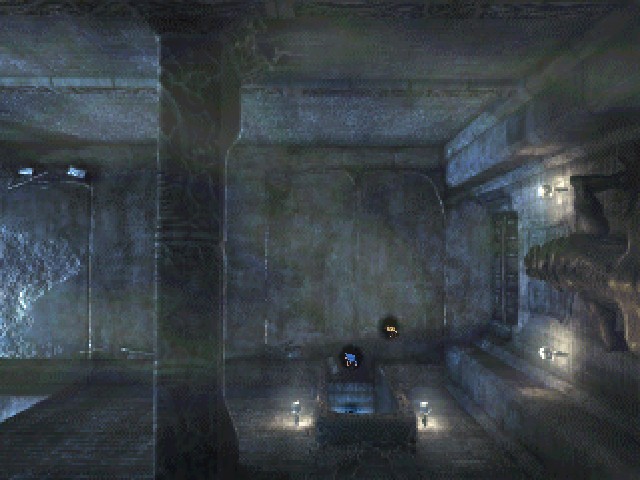
And closing the floodgate has emptied the waterway here, so I can grab the Rosetta Stone at the end.
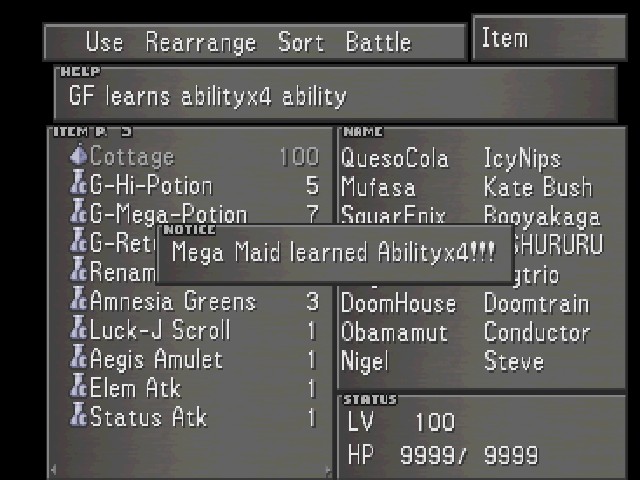
I used it on MegaMaid, since that's one of the GFs with Auto-Haste.

The door at the bottom of the waterway is the other door out of the prison, by the way.
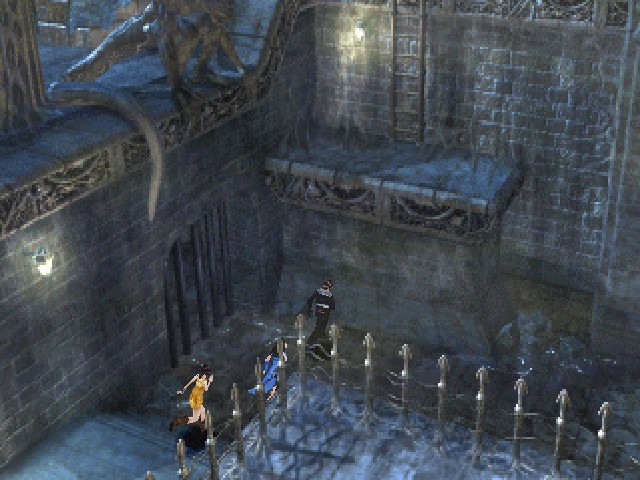
Defeating Omega Weapon and grabbing that Rosetta Stone were the last things to take care of in the lower castle, so let's head up these stairs.

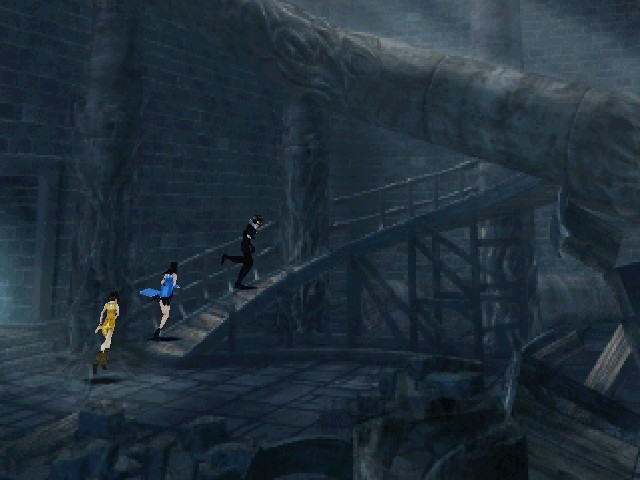
Up the stairs and across the shaky bridge is the tower.
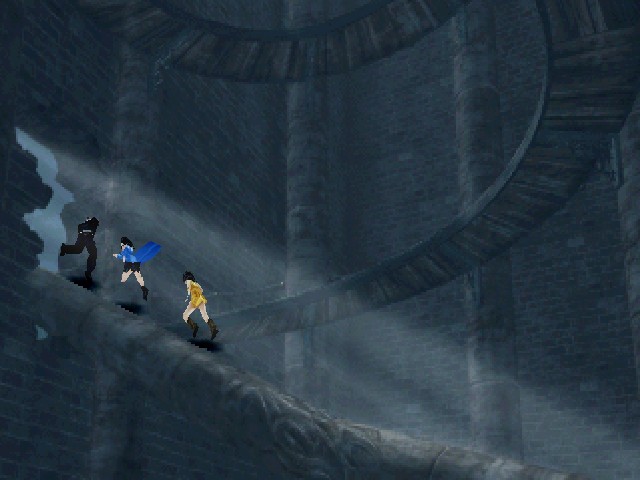
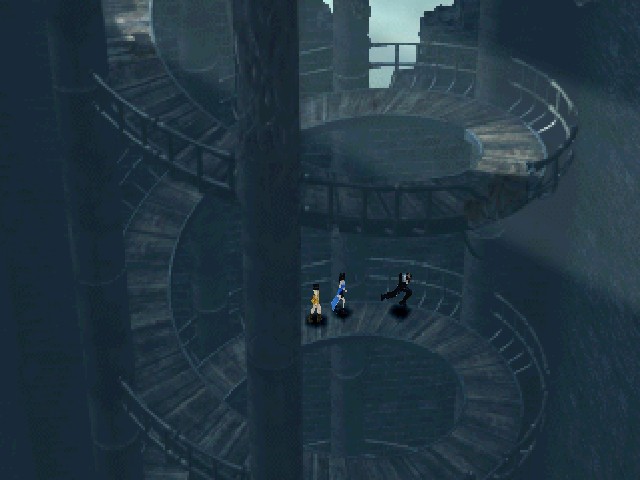
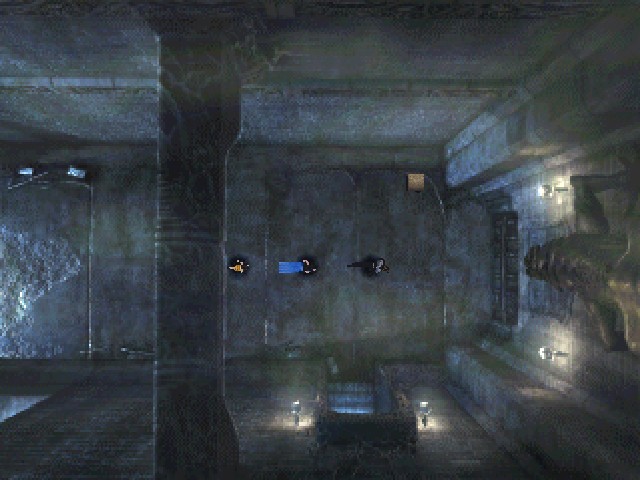
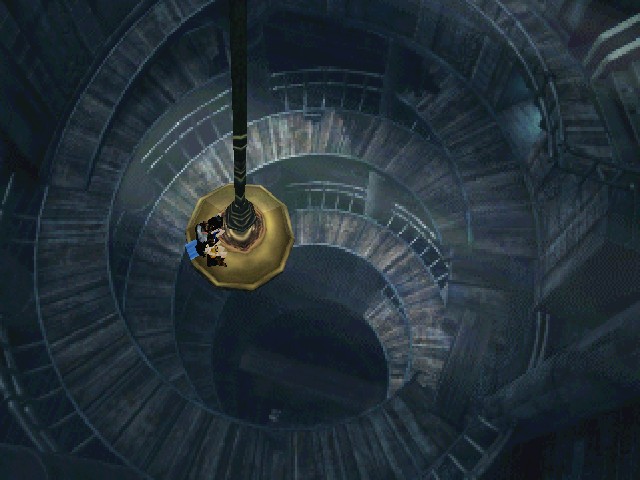
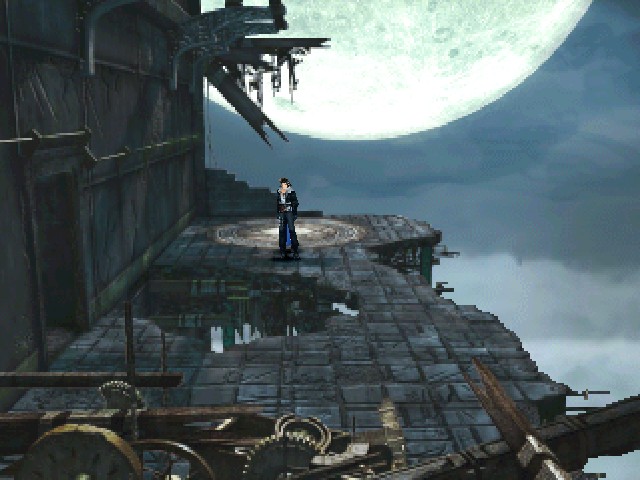
Gameplay-wise, it's just going up this spiral walkway, but I like the look of the tower a lot, with the holes in the walls and the only light coming from the moon. It's very atmospheric.
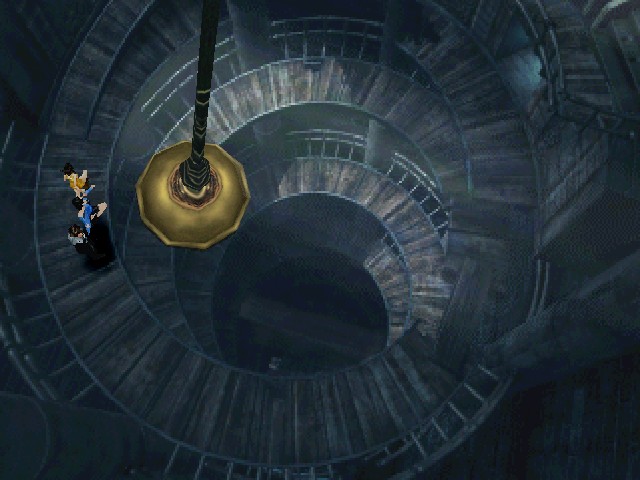
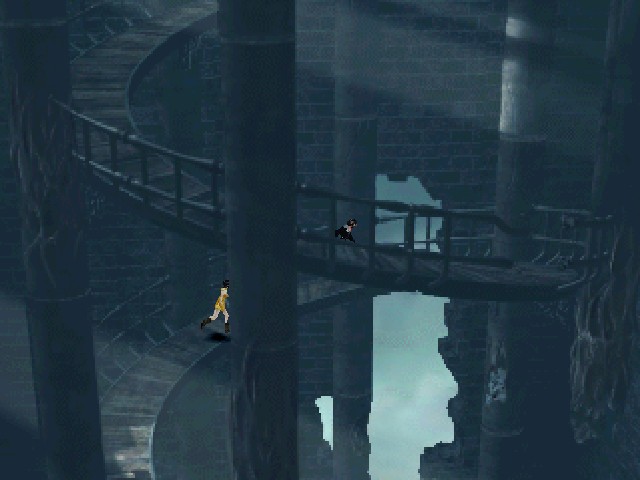
At the top, the perspective changes and you can see this pendulum swinging from side to side.
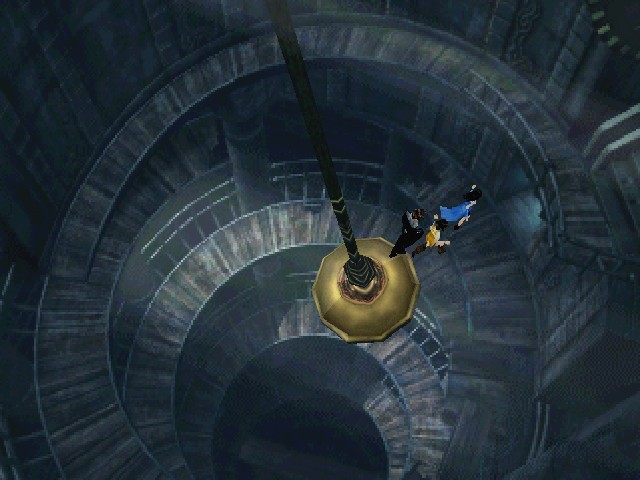
When it's close, you can jump on and swing across to this broken part of the walkway.
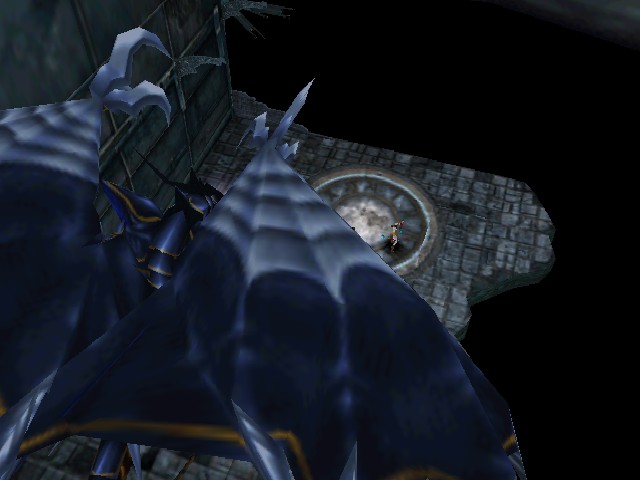
Doing so provides access to this destroyed balcony and the last of Ultimecia's servants.
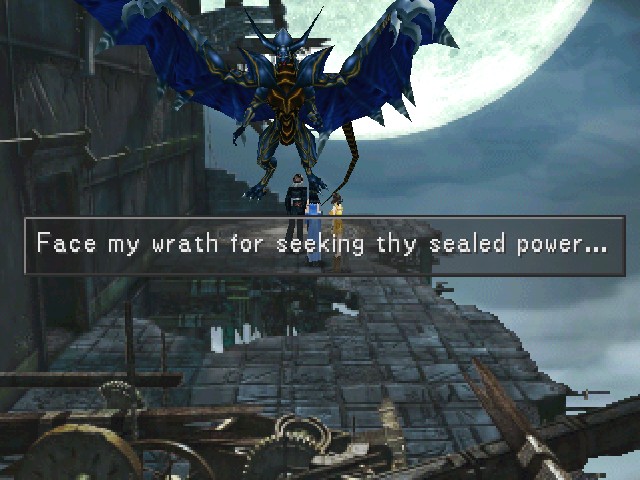
This is Tiamat, which "used to be a GF"; as you can see, it's a palette swap of Bahamut. On the topic, you can draw
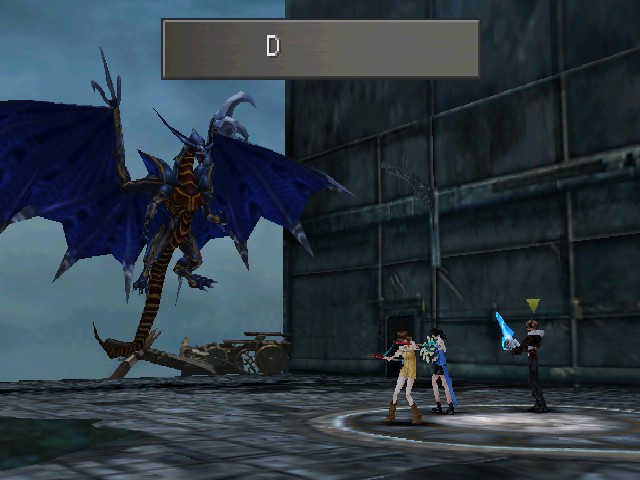
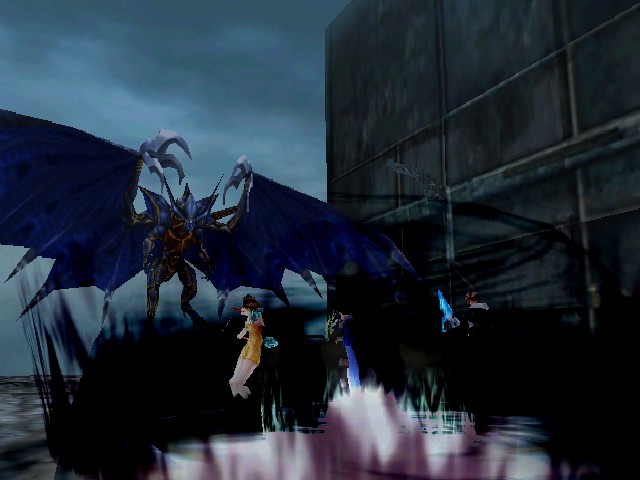
Tiamat is a boss whose design I like a lot (I also like Bahamut in this game), but which has a bit of a problem. See, Tiamat is a countdown boss. It "counts" by spelling out the name of its attack, Dark Flare.

(In case you didn't believe me.)
The attack is counted out over six turns, split up into D/a/r/k F/la/re, rather than the nine that you might expect. That's a little mercy for the boss, but it's still kind of a disappointing fight. You'll see.
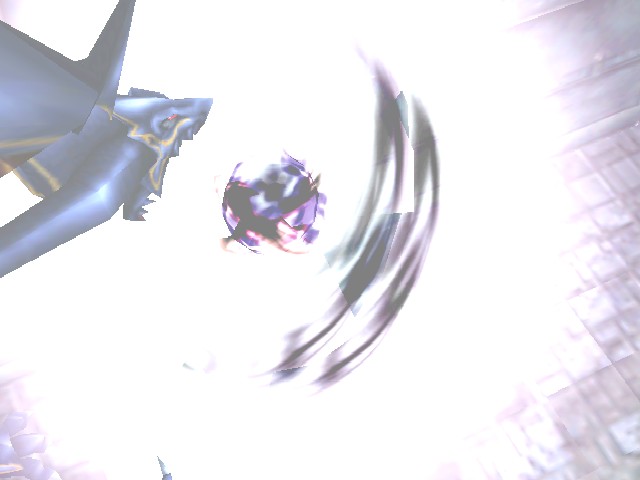
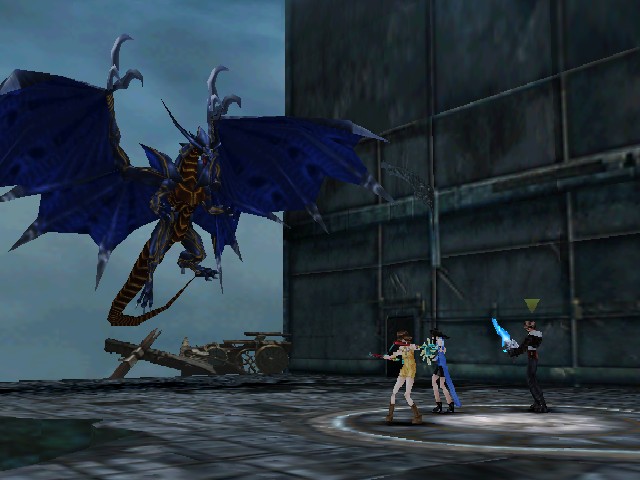
The animation's not complicated, just a big blast of dark energy and an explosion, but:
It's fire-elemental. Dark Flare is a powerful attack that ignores defence, so it can really screw you up. Or it can be totally neutralised with Firaga on your Elem-Def. This is a bit odd, since Dark Flare/Shadowflare is in a bunch of Final Fantasy games and it's usually non-elemental.


Tiamat caps out at a respectable 89,600 HP and has reasonable stats all around, but none of it really matters because it doesn't do anything but spell or cast Dark Flare. All these guys in Ultimecia's castle are minibosses more than anything, but Tiamat is a special case because if you have fire defence, it becomes possibly the easiest boss to beat in the game.

Status Guard is...not great, honestly. Okay but not great.
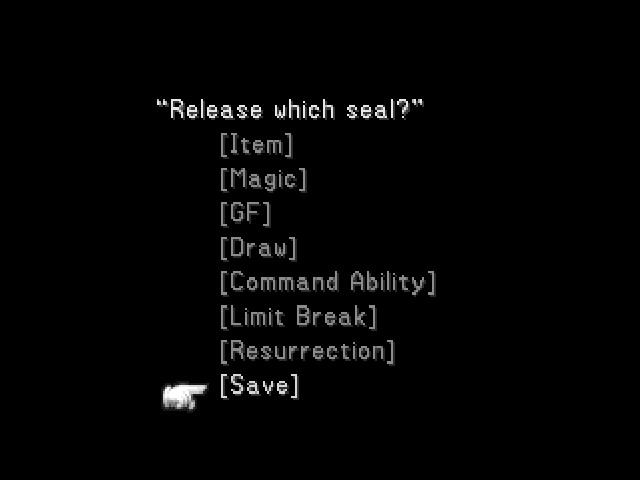
And, by unlocking the ability to save, the party is back at full strength.
One last look at the moon and it's back to the tower.
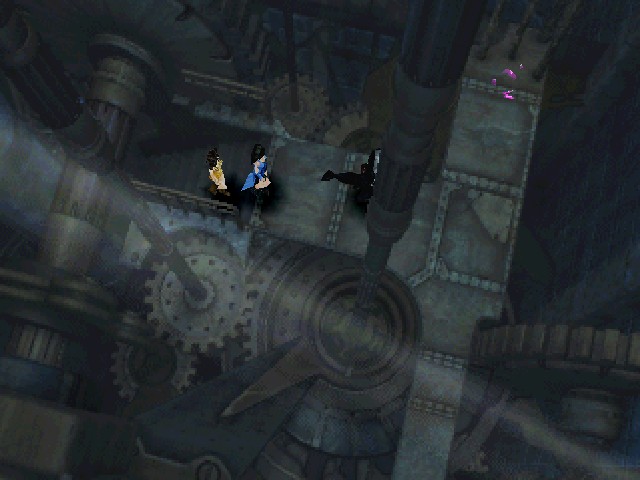
Past the screen with the bell is the guts of a clock. I guess that's why the tower's here.
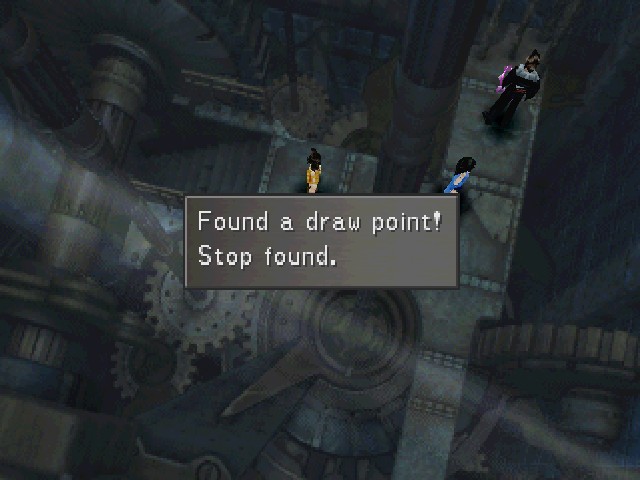
There's a Stop draw point, but nah.
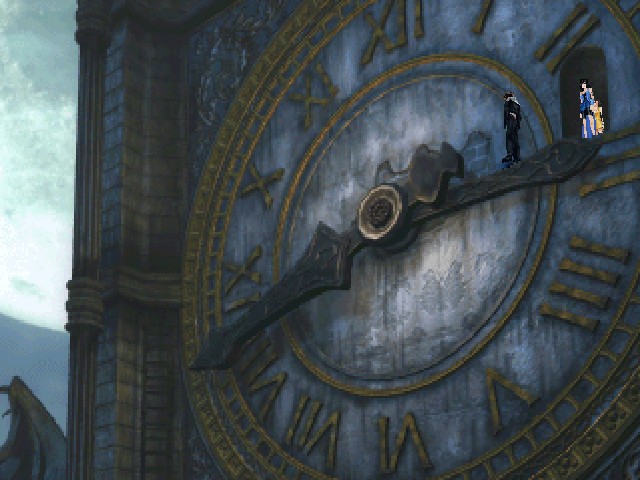
Following the path back outside, we find the face of the clock, and we see it's stopped at about twenty to three.
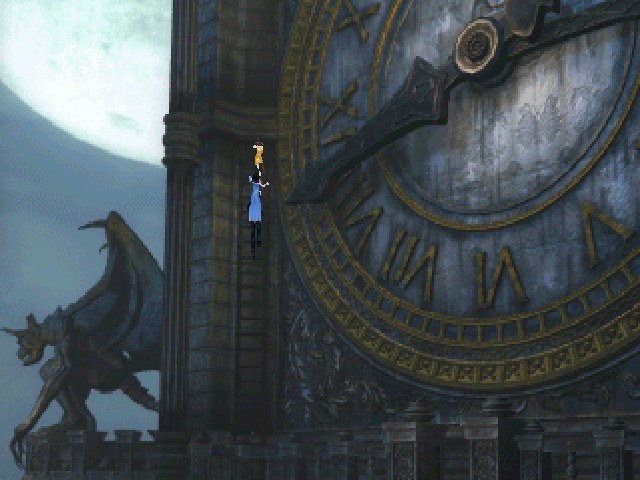

Climbing down a couple of ladders leads to a stretch that may look vaguely familiar.
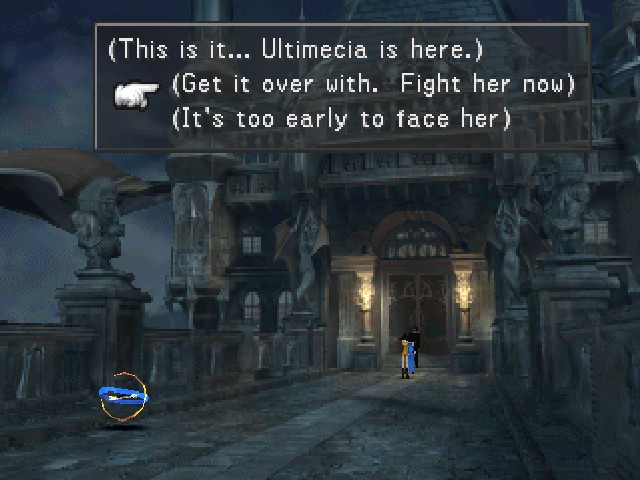
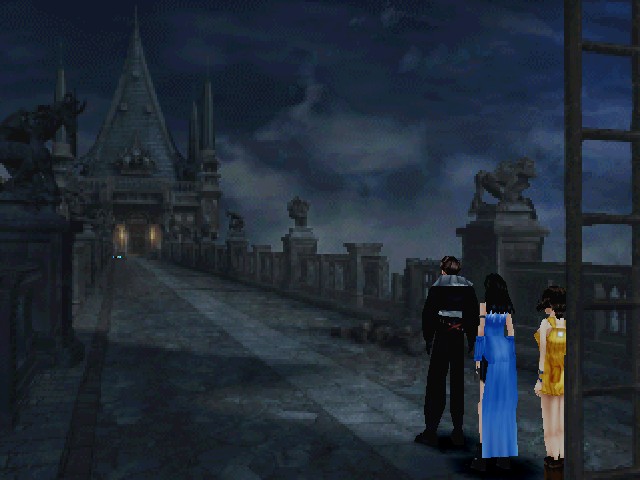
Here we are, at our last chance to take a break before the party faces off against the final boss.
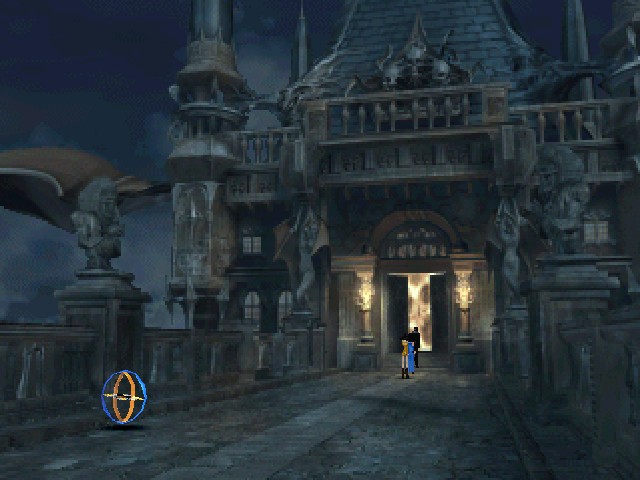
Smoke 'em if you got 'em.