Part 119: Part One Hundred and Nineteen: The Final Battle
Part One Hundred and Nineteen: The Final Battle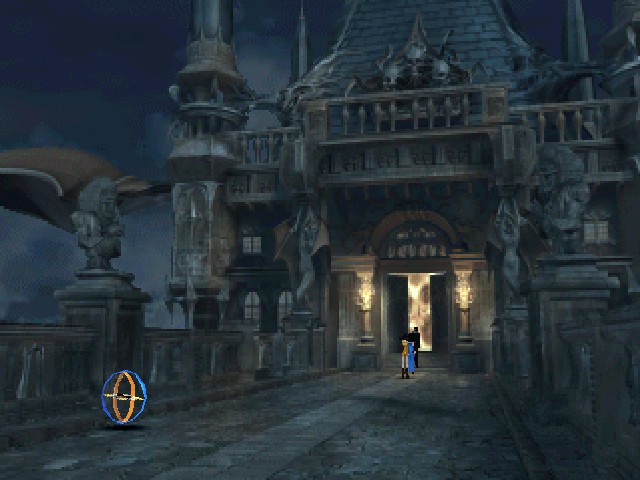
Alright, break time's over.


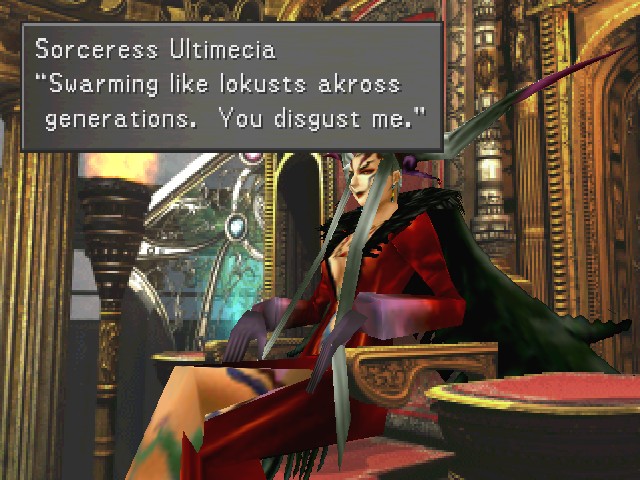
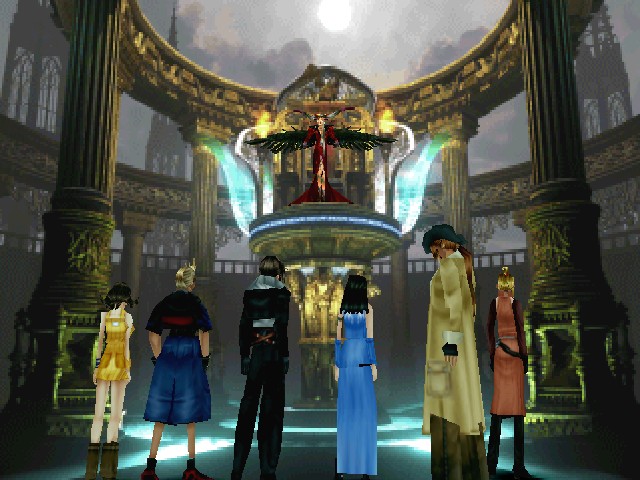
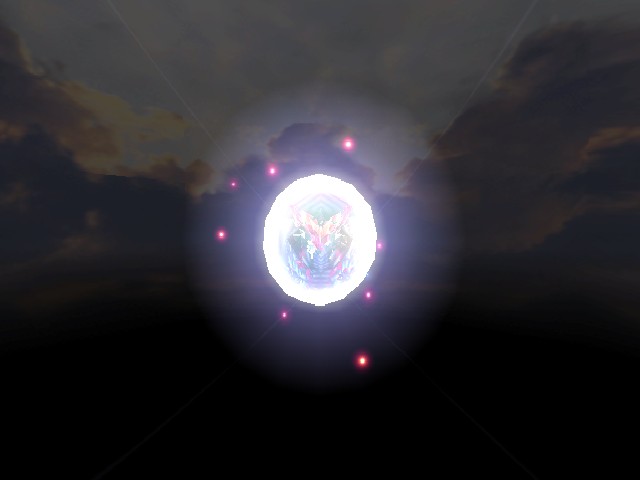
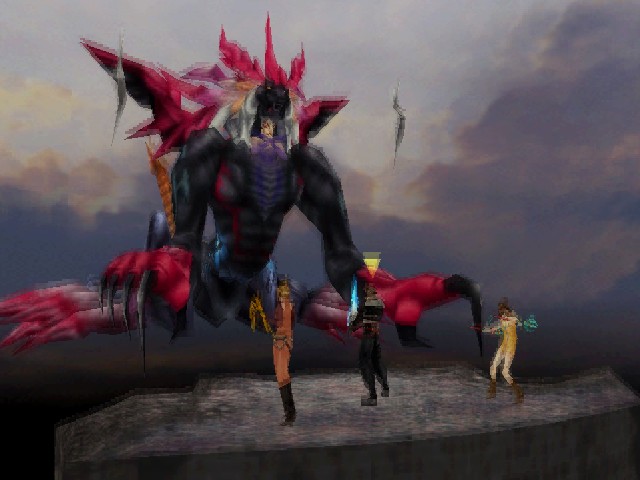
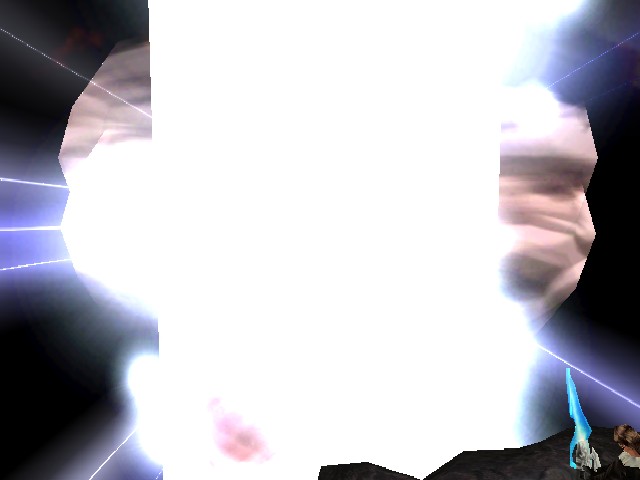
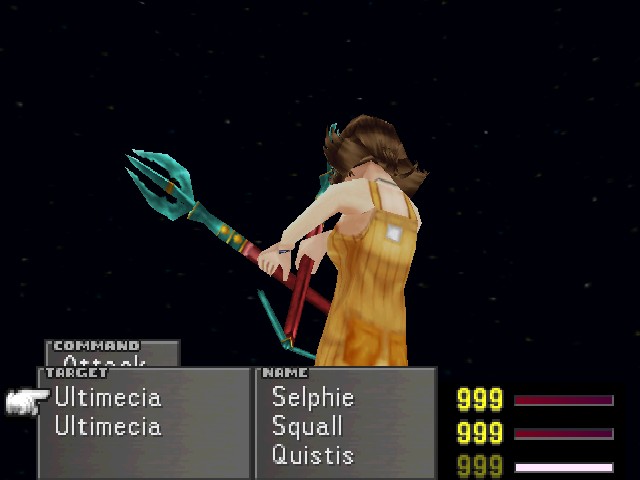
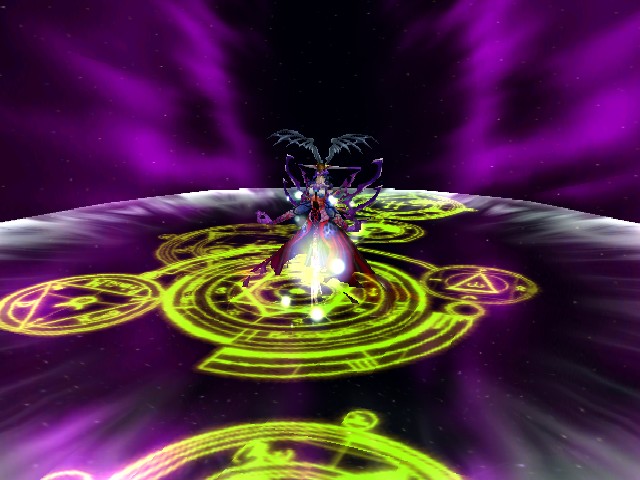
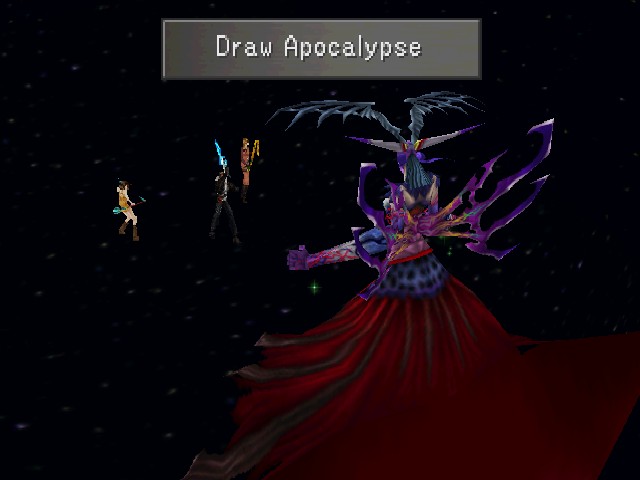
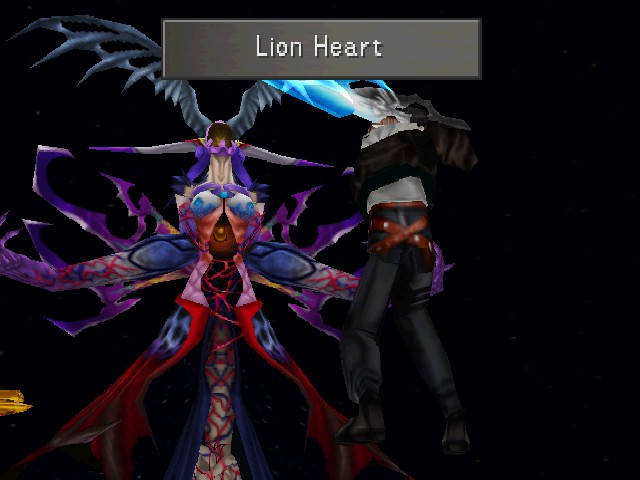
Entering Ultimecia's room, we're treated to this pan down from the clouds and a glance at Ultimecia's opulent throne room.
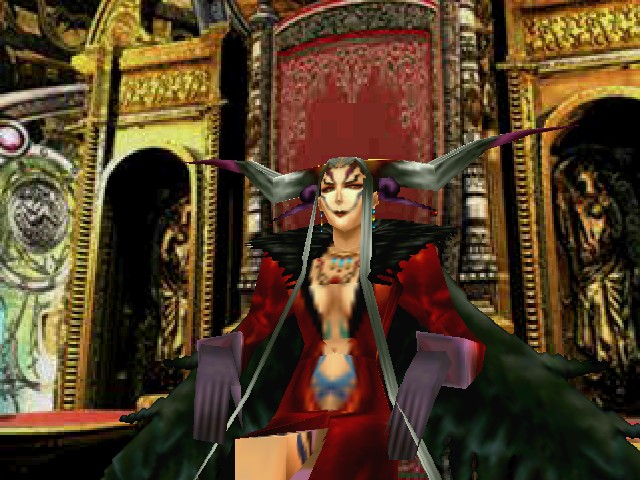
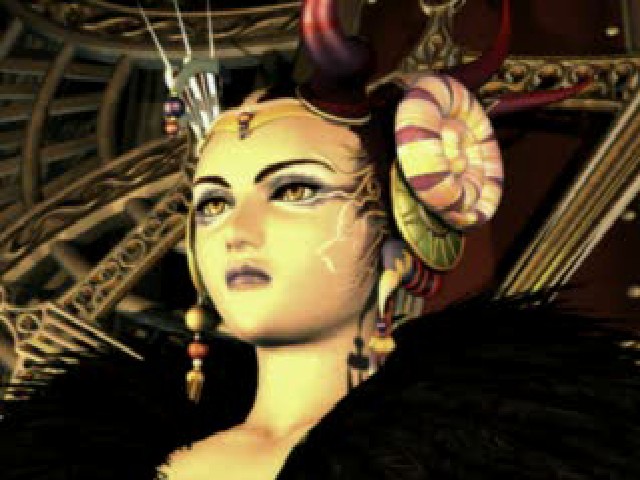
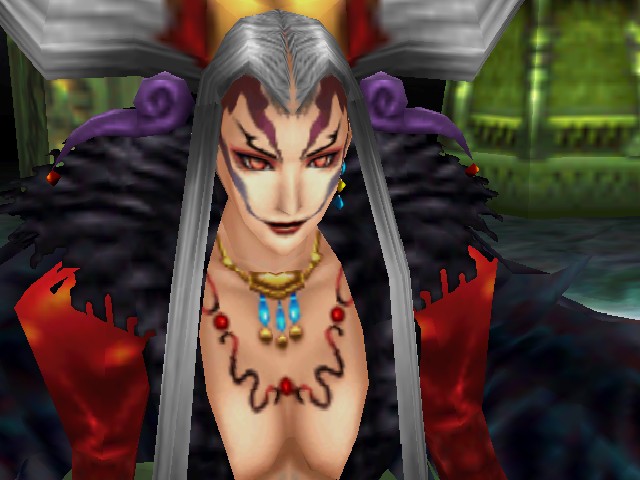
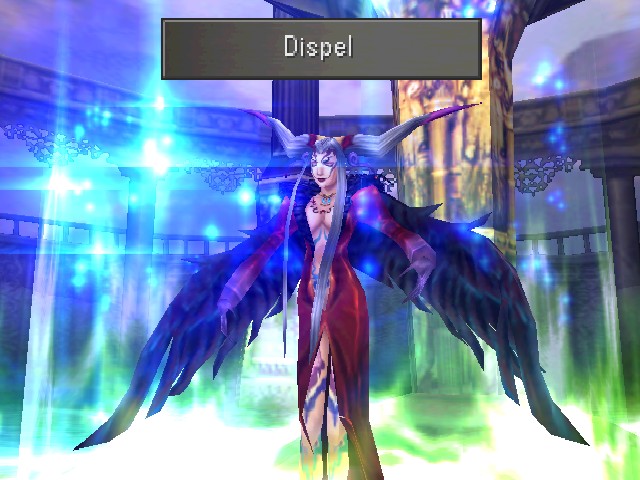
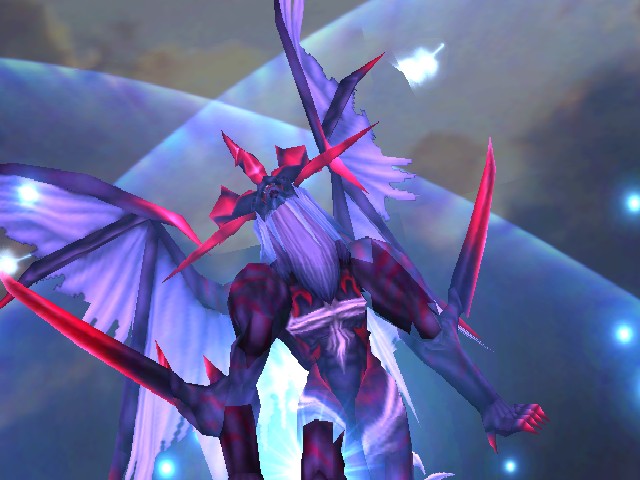
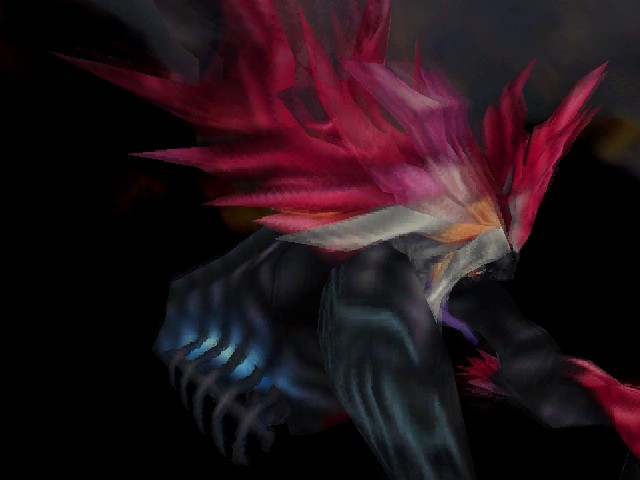
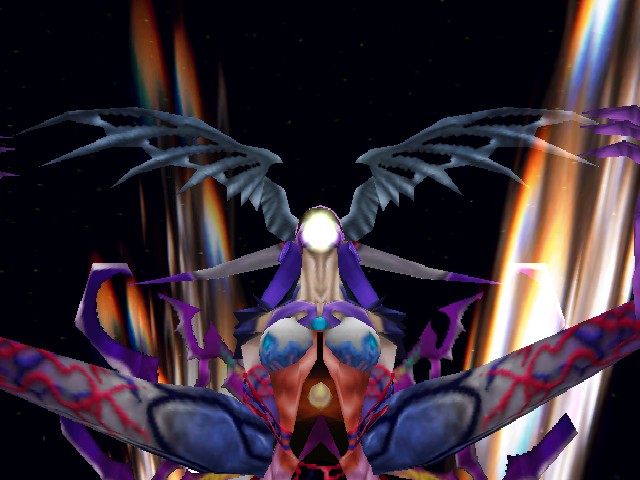
And here's our first real look at the woman herself. Ultimecia was briefly semi-visible when Ellone connected Squall's mind to Rinoa's.
(Pictured here.)
In that shot, though, we can't really make out any of the details of Ultimecia's model. Now, let's just slide back to the moment at hand and have a look, shall we?
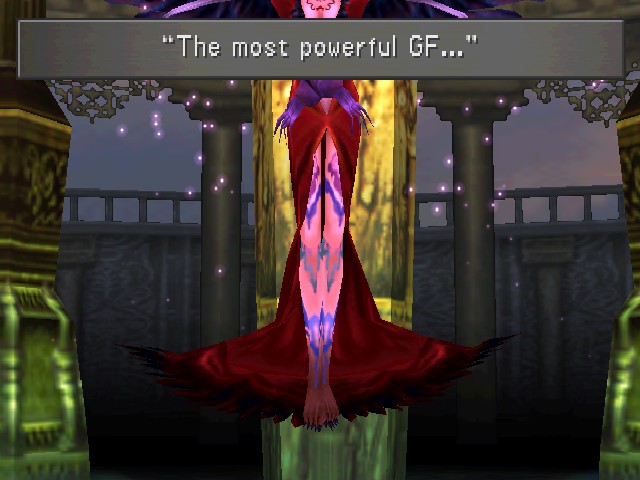
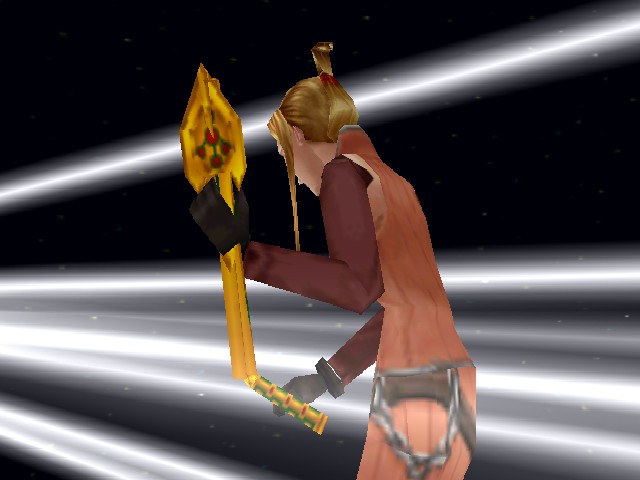
Ultimecia's style of dress is, from a glance, very extravagant. You don't wear that kind of red/black combination if you don't want to draw attention to yourself. Not to mention that she's wearing essentially an open robe - as soon as she stands up, everyone's gonna see more of Ulty than they'd ever want.
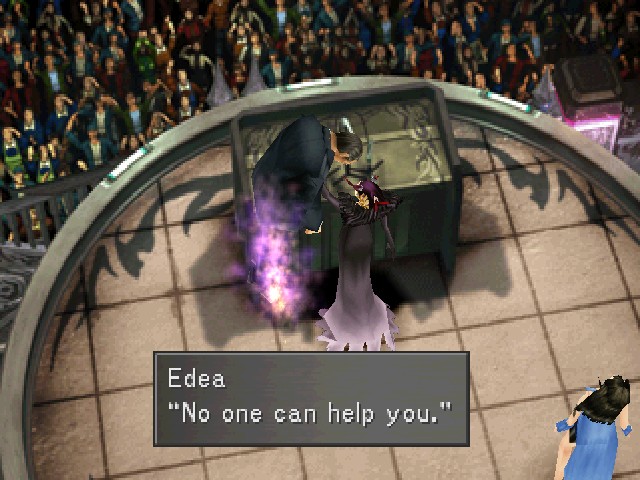
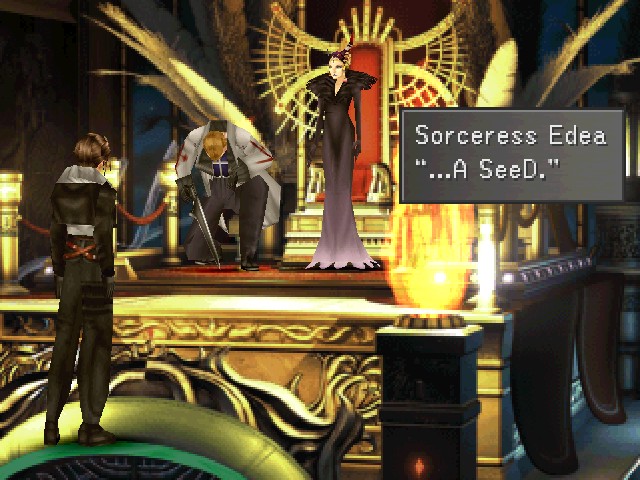
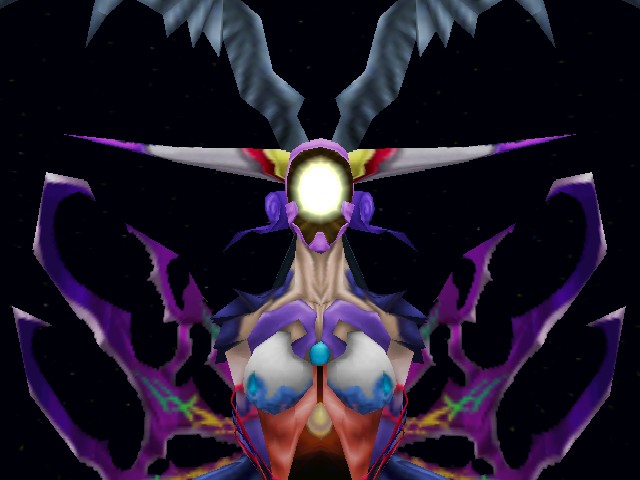
Flashing jokes aside, there are a couple comparisons to draw between this first appearance "in the flesh" and the first time we saw her face, back in Deling City. First up, she's seated in both scenes, though in Deling City, she's facing away. Remember, if you will, that Edea first shows up wearing a mask:
I couldn't find a straight-on shot of it, but you can see it here, in the scene where she decided her hair was too long. Anyway, at that point, she was hiding her face - Ultimecia was keeping quiet, waiting for the right time to emerge from the shadows. Now that we've gone through the whole game and found out who she is and what she wants, she's fully out in the open.
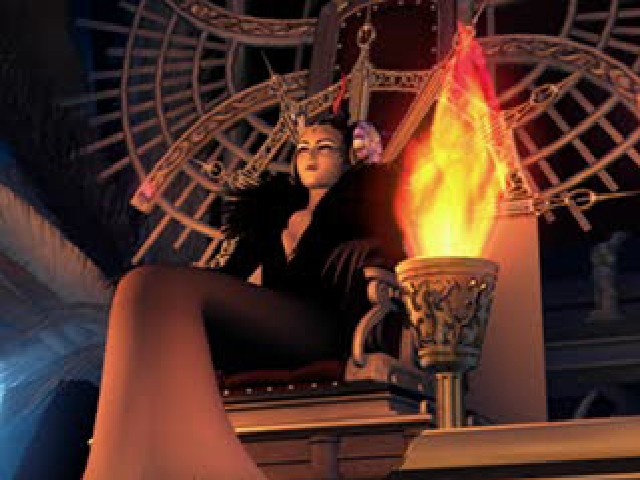
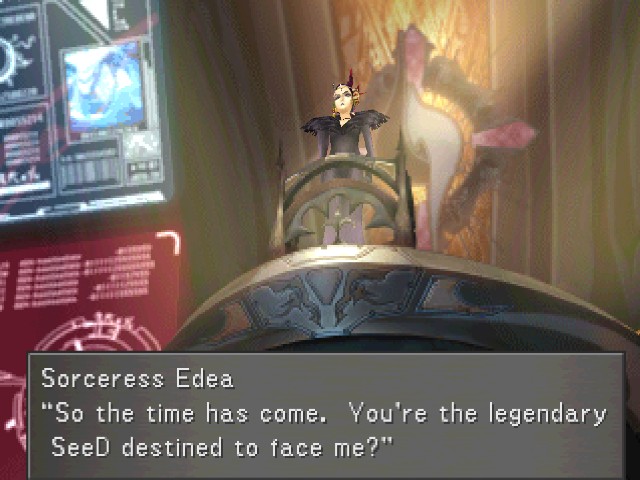
This shot is from a bit further on, when Edea is on the parade float in Deling City. The consistency of the sorceress's posture is even clearer from these shots, which precede the first actual confrontation between her and the party. A gold throne with red cushions, elbows on the armrests but hands brought in towards her torso, straight back, and it looks like her legs are crossed.
We don't get an FMV shot of Ultimecia's face here, but especially from the way she'll address the party in a second, she's probably got a similar look on her face. The point I wanted to make, though, is more about her headgear - both Edea in Deling City and Ultimecia on her throne have fairly elaborate headpieces that give her "horns," though Ultimecia's seem to just be made of her own hair. There's a real continuity of apparel overall, with both women wearing long dresses with plunging necklines and a ruff of feathers around the collar. If you compare their hands, you can also see that they're both wearing gloves with long fingers that give the impression of claws.
My point with all of this is that there's a strong visual link between Edea in Deling City and Ultimecia here. A player could conceivably be sceptical about Edea having ever been possessed, I suppose, but the similarity between the designs make it pretty clear that the same person has been acting throughout the game. It's also important in that it lets us see the continuity of character - Ultimecia still hasn't addressed the party face-to-face, but we can use all of Edea's earlier lines and behaviour to understand what kind of person she is.
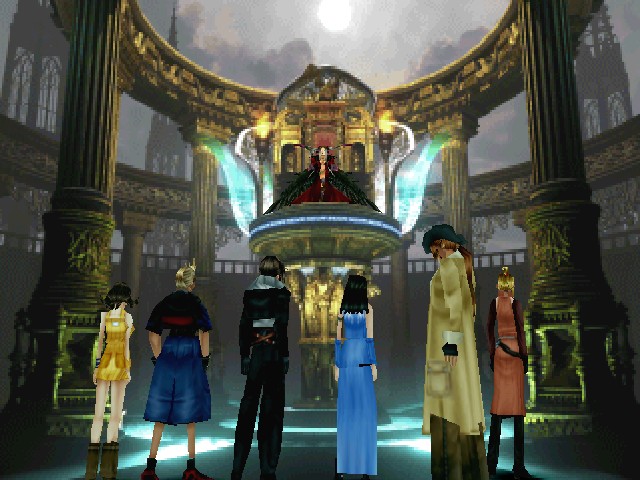
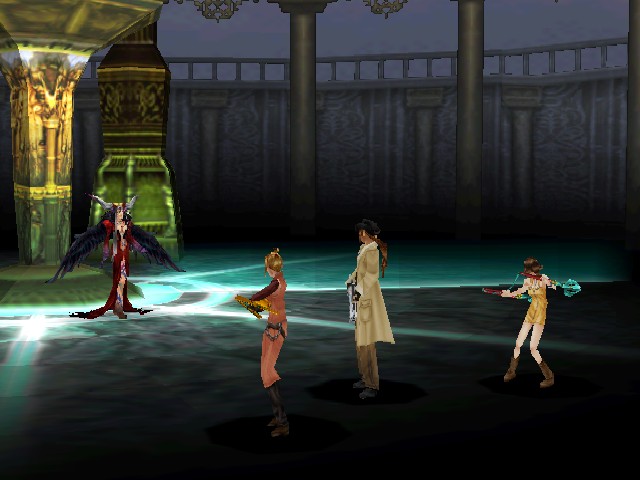
This kind of arrangement, with the sorceress above the party, is also a recurring visual in encounters with her.
Edea addresses Deling City (and, by extension, Squall and Irvine) from the roof of the plaza,
then she knocks Squall off her parade float with the ice spear,
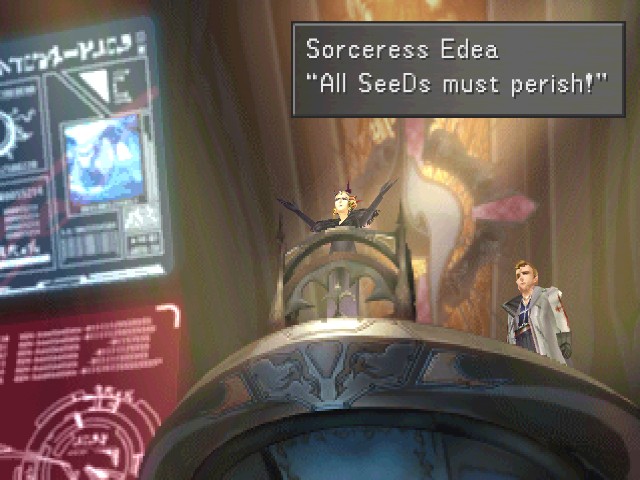
and at Galbadia Garden, she stands at the podium in the auditorium before the fight with her.
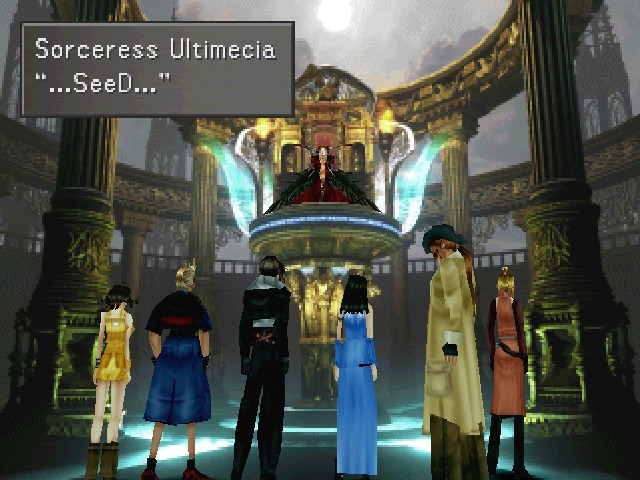
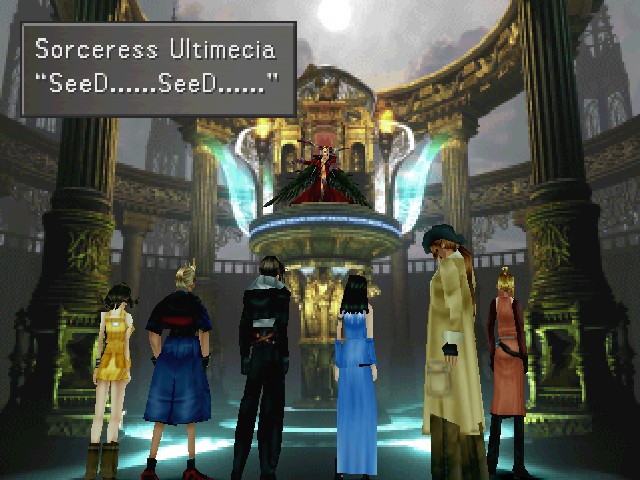
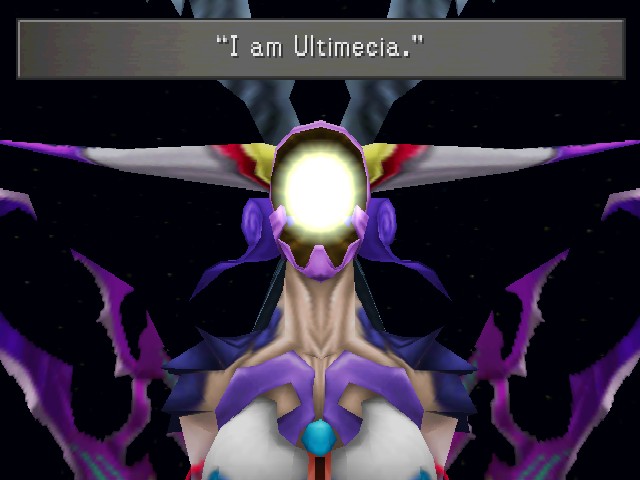
Before the fight, Ultimecia has a few words to say. As usual, these words involve SeeDs. See also:
Her lines before the fights in Deling City and G-Garden. I don't mean to belabour the point, I just find this repetition in Ultimecia's appearances very effective.
Enough about motifs, though, let's stay in the moment.
(Okay, one more thing about motifs: notice that her text label is Sorceress Ultimecia. The only other person to get the "Sorceress" label is Edea, before the party knows about the possession.)
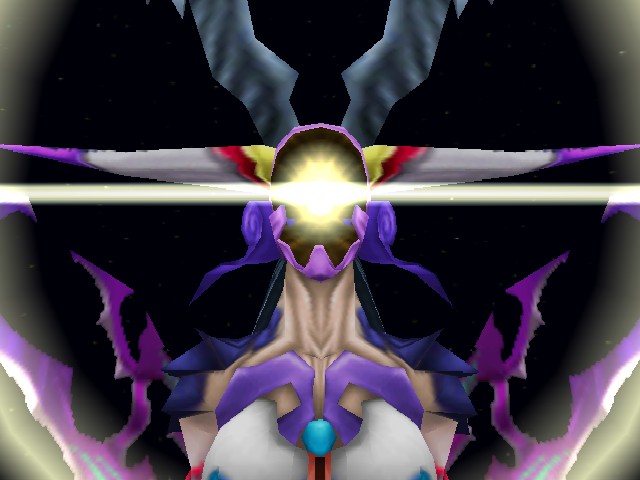
Sorceress Ultimecia: SeeD, SeeD, SeeD!
She says SeeD six times, despite that fact that there are only four SeeDs in the room...
Oddly, Ultimecia's speech is stylised with k's replacing hard c's. There's no other change to her dialogue to indicate an accent, so I guess she just bites the hell out of them.

Great line.
Sorceress Ultimecia: The world was on the brink of that ever-elusive "time kompression".
If you were curious about how the party existed at this point, it's because time compression hasn't been completed.
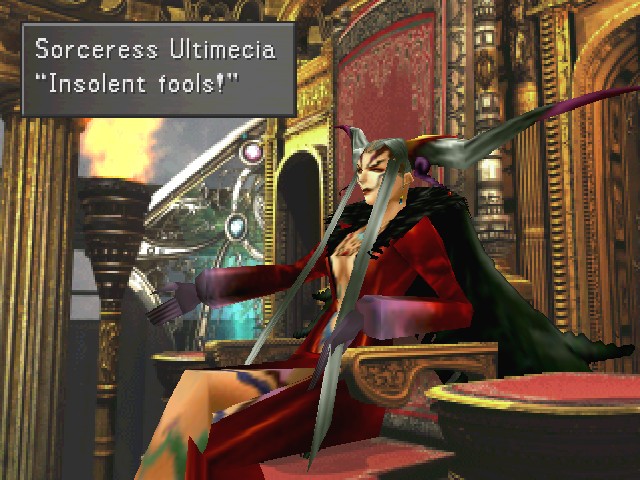
Love it when a villain addresses someone as "insolent".
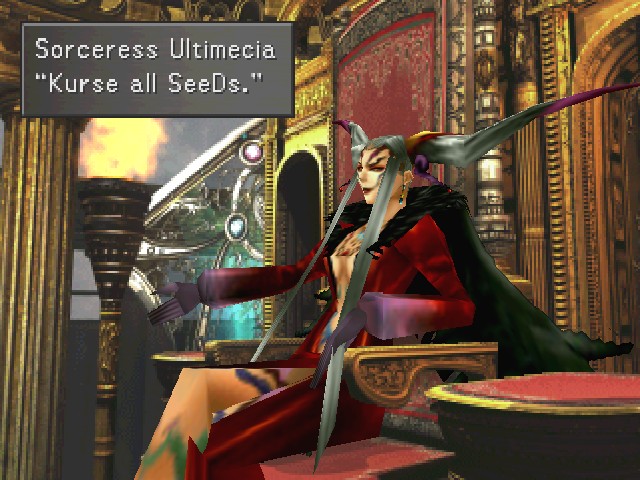
Sorceress Ultimecia: Your vain krusade ends here, SeeDs.
Maybe not intentional, but it's mildly amusing to see "crusade" used to refer to the morally-uninterested Squall's actions.
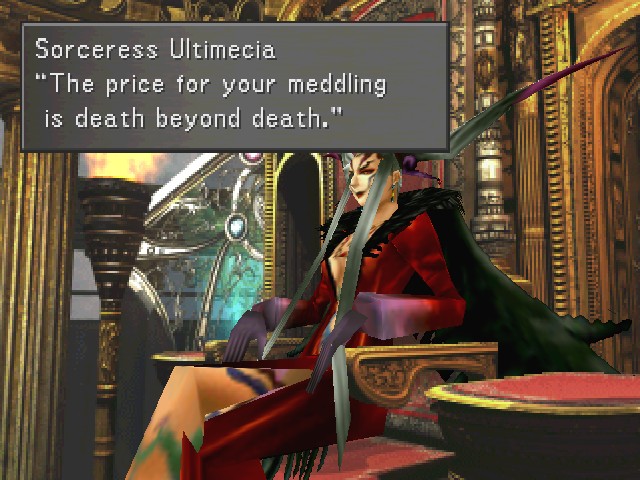
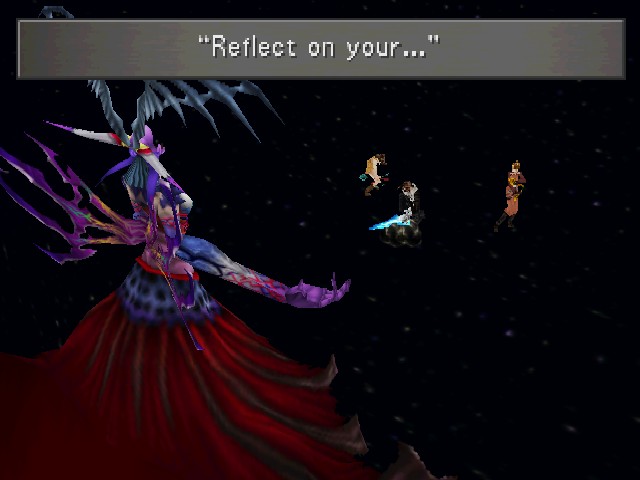
"Death beyond death"! So dramatic!

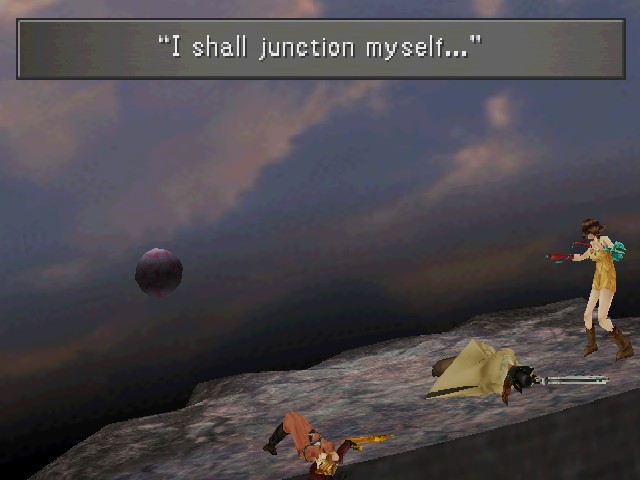
Sorceress Ultimecia: I shall send you to a dimension beyond your imagining.
(Cf. the line from Edea to the gathered masses in Deling City, "I will let you live a fantasy beyond your imagination.")
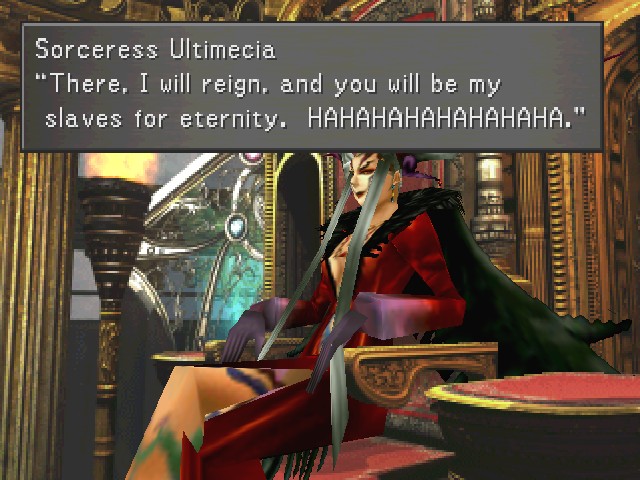
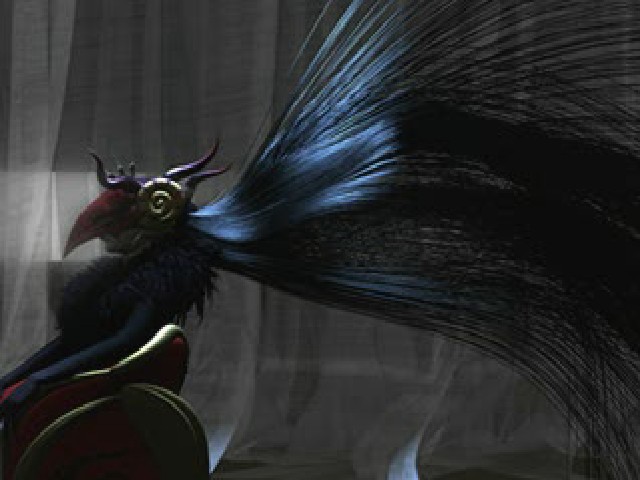
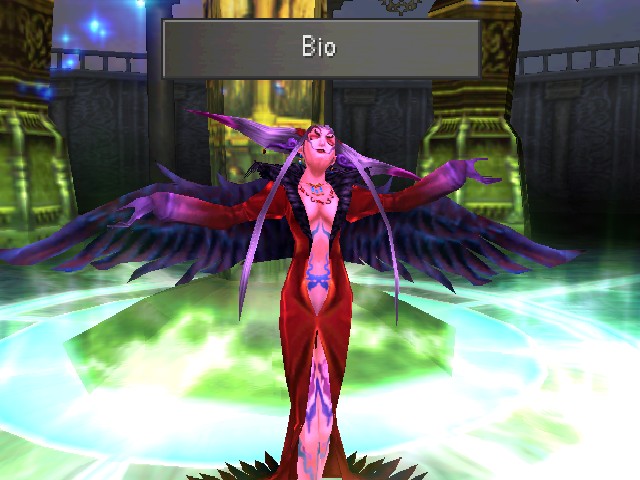
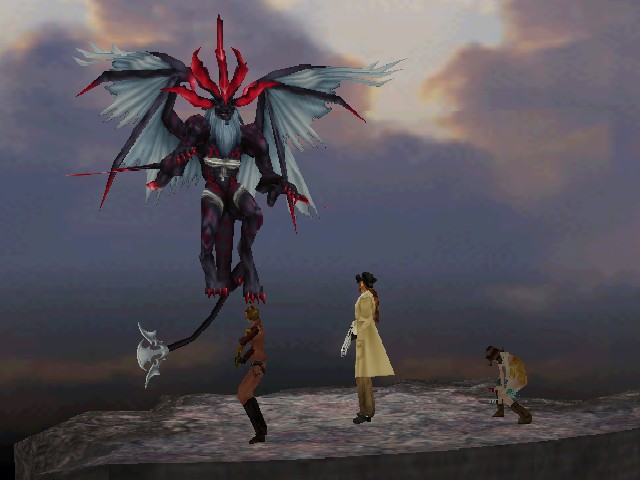
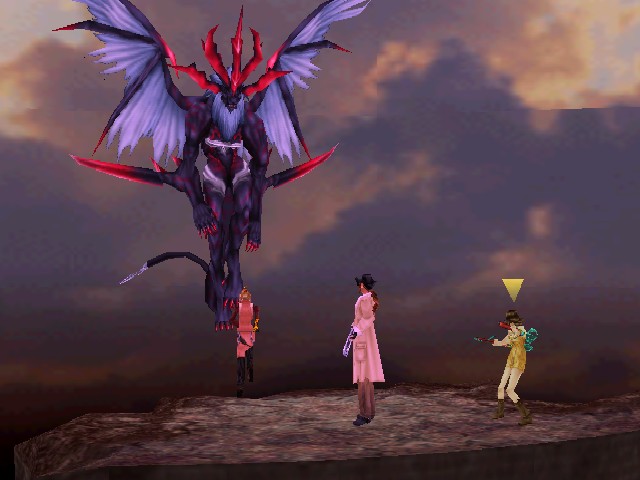
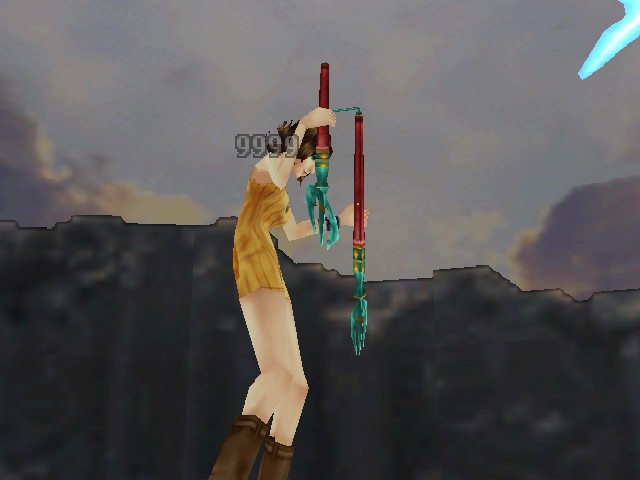
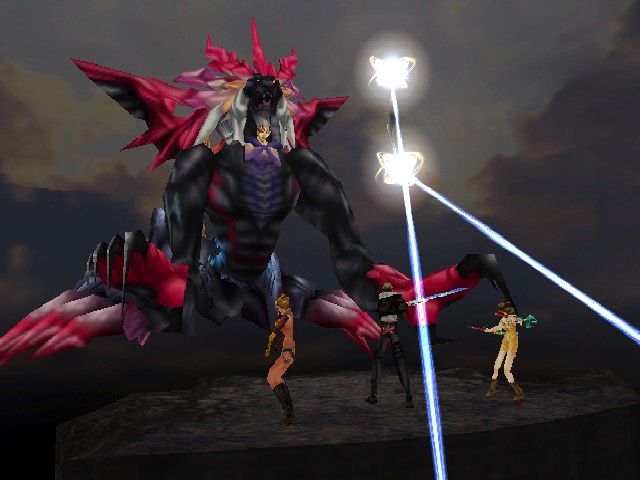
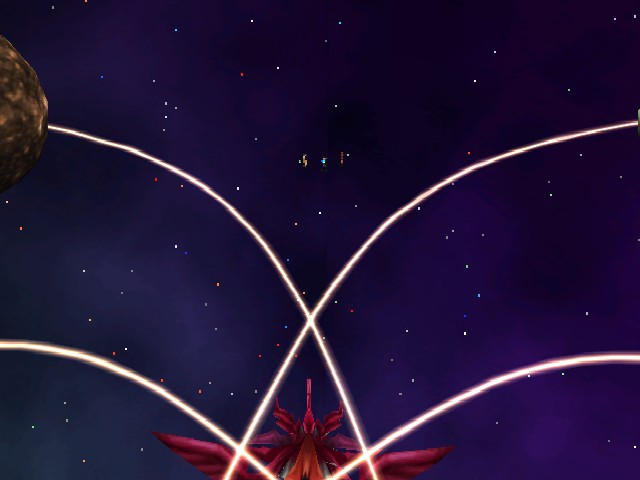
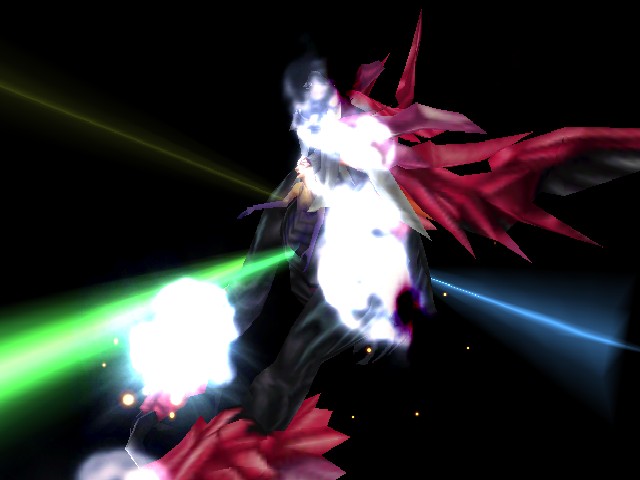
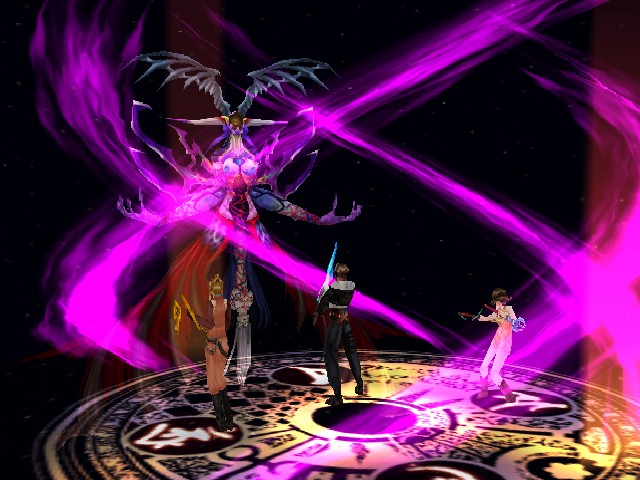
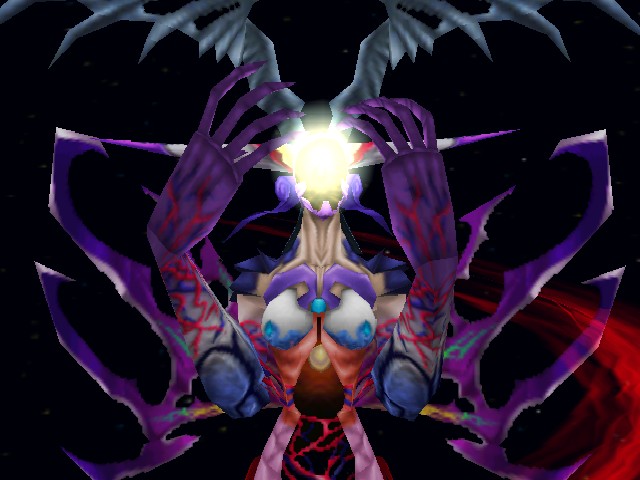
Her speech finished, Ultimecia finally rises from her throne. As she does so, she stretches her wings. Having two gives her an advantage over Sephiroth, but Ultimecia's no angel.
 compare Ultimecia's black wings to Rinoa's white wings from the Angel Wing limit for a fun motif shared between the two characters:
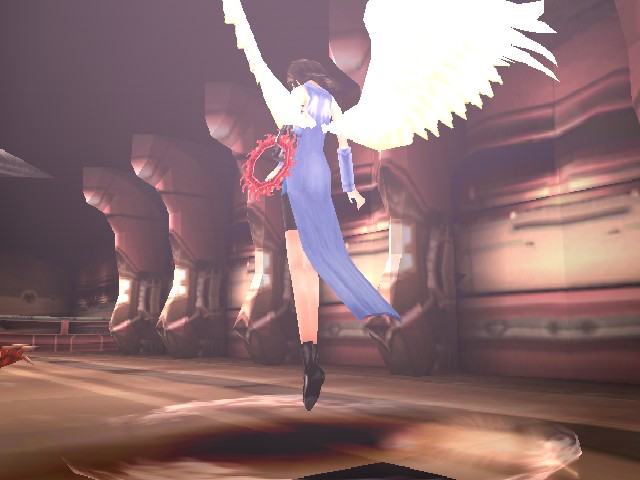
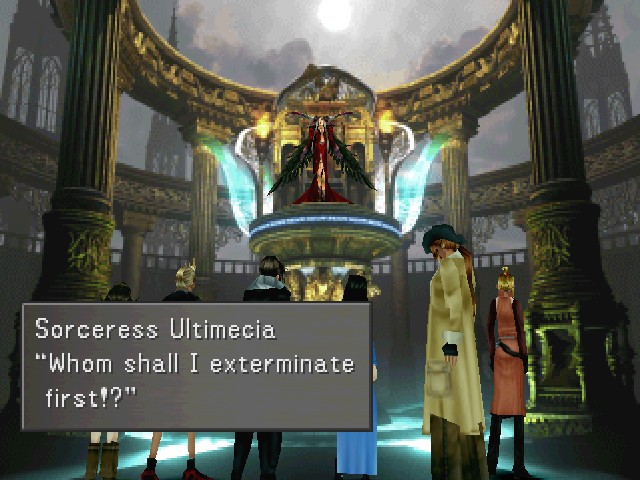
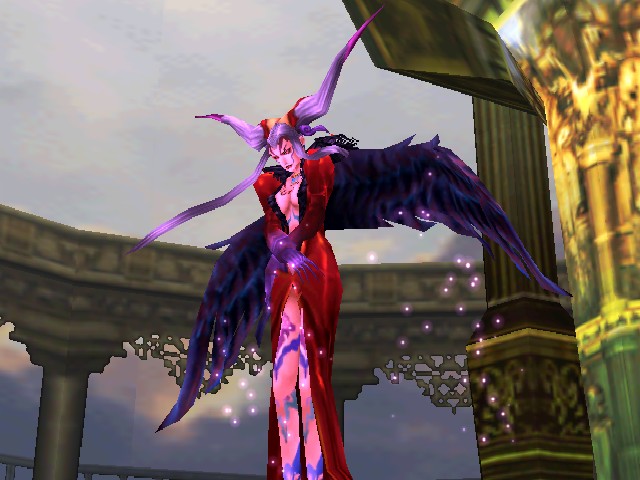
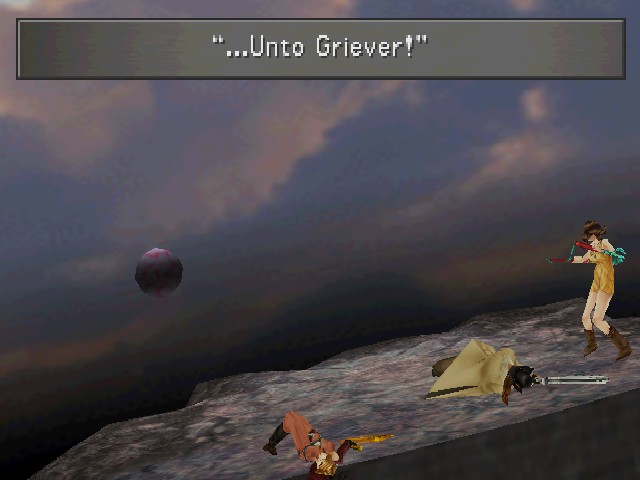
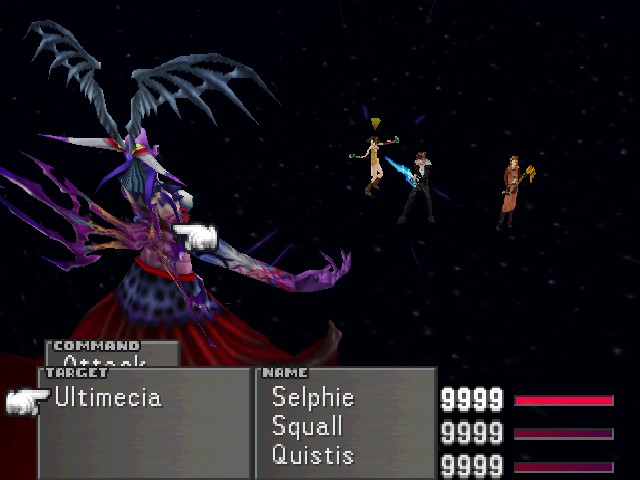
Sorceress Ultimecia: I'll start with you three!
In her last line before things actually heat up, Ultimecia alludes to one of the unique mechanics of this fight.
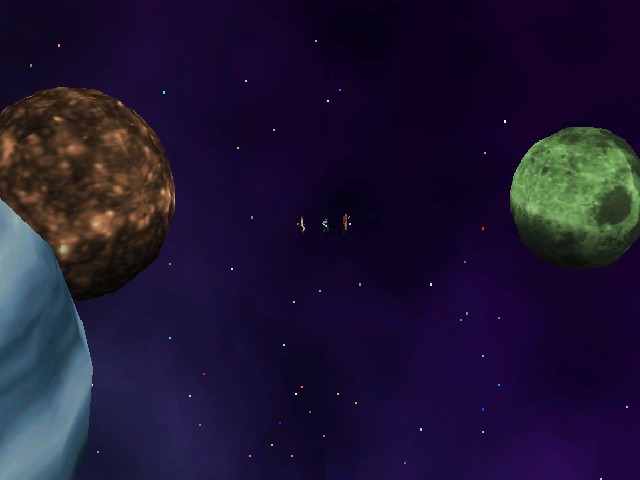
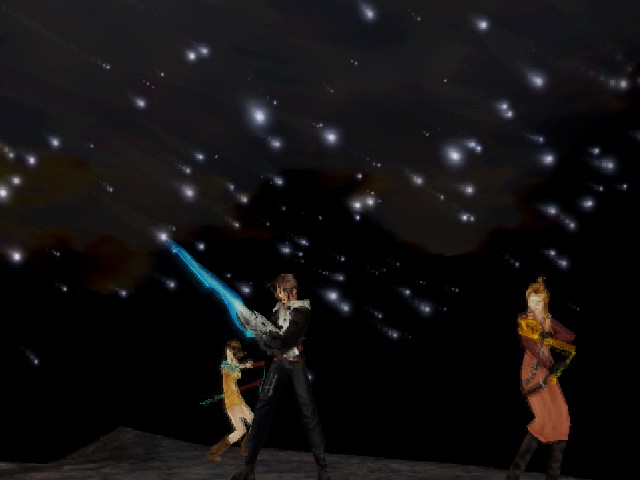
And now we're in the shit for real.
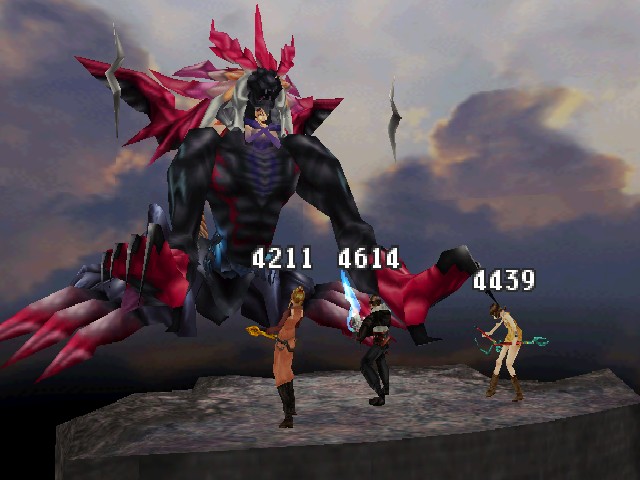
First up, this fight works differently from every other one in the game. When you start, Ultimecia picks three party members at random to fight. Conceptually, I like this: you're in Ultimecia's house and she's not going to give you any quarter. It's a nice connection to the anti-ability field in the castle as Ultimecia taking initiative against SeeD. On the other hand, it's a surprise if you're playing for the first time. Normally, there's no use in having junctions on more than three people at a time, and if you go into this fight with that mindset, she can choose three characters with no "equipment" to annihilate out of hand. I knew it was coming, so I spread out junctions to cover the entire party, but it's definitely an interesting idea that misses the mark a bit on the execution.
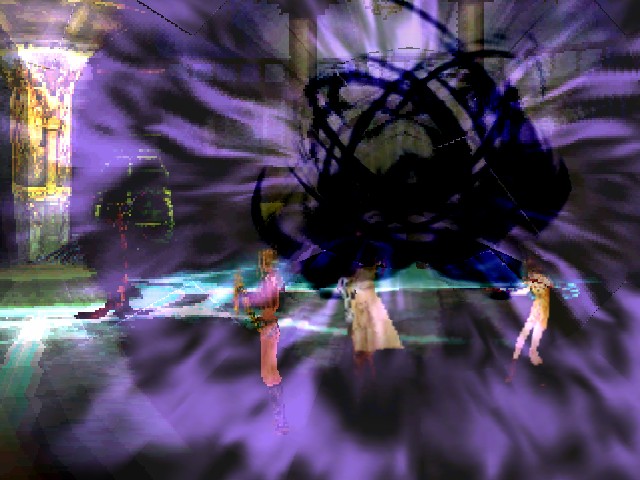
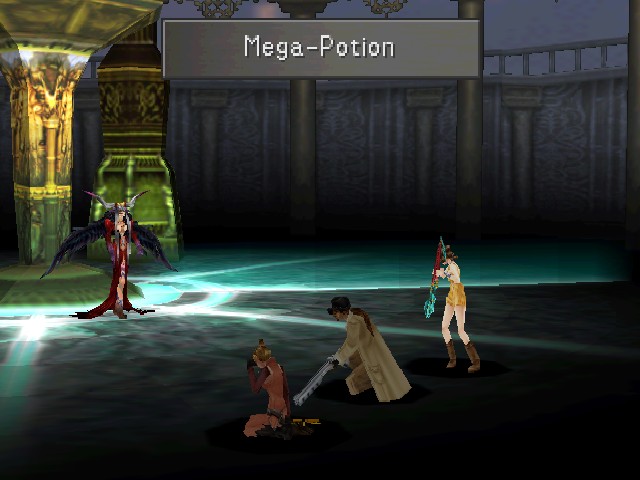
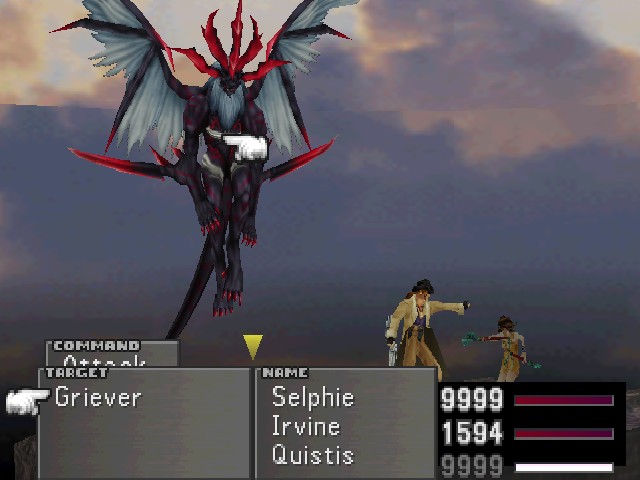
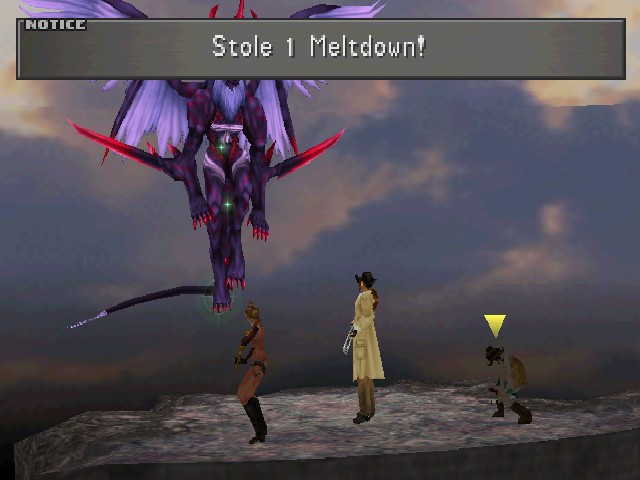
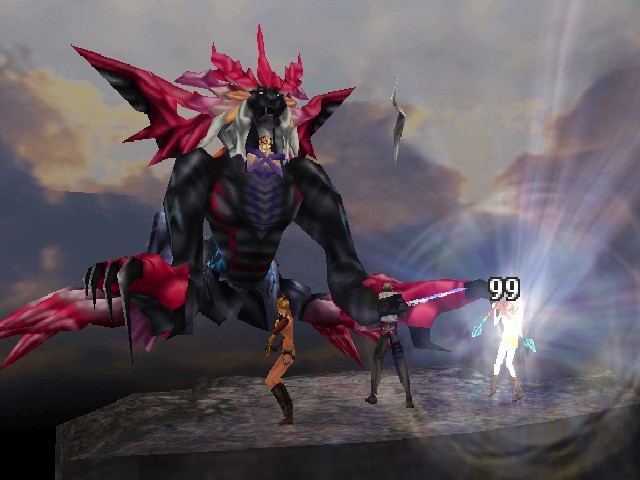
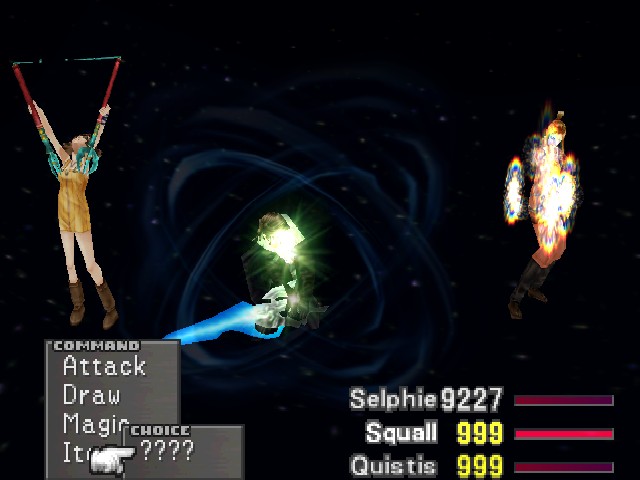
One of Ultimecia's most dangerous abilities here is Maelstrom, which takes off two-thirds of everyone's HP and inflicts the Curse status. Having multi-target healing like the pictured Mega-Potion or triplecast Curaga is important here, since you don't want to leave your characters low on health. The Curse can be prevented with status defence, if you're worried about it.
Irvine doesn't have Auto-Haste, but you can draw the spell from the boss and cast it. Unfortunately, she didn't tolerate that.
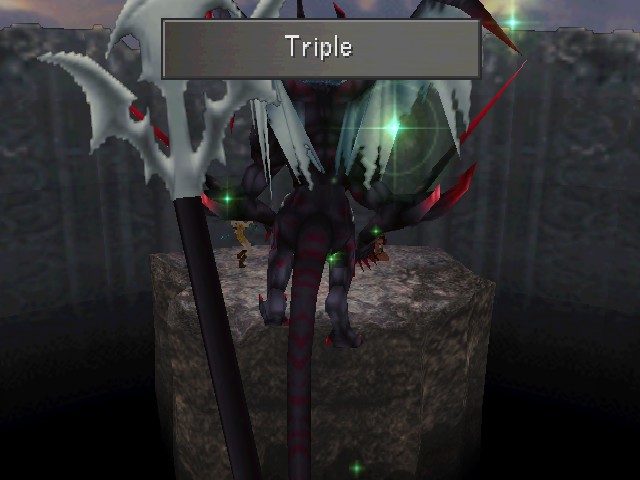
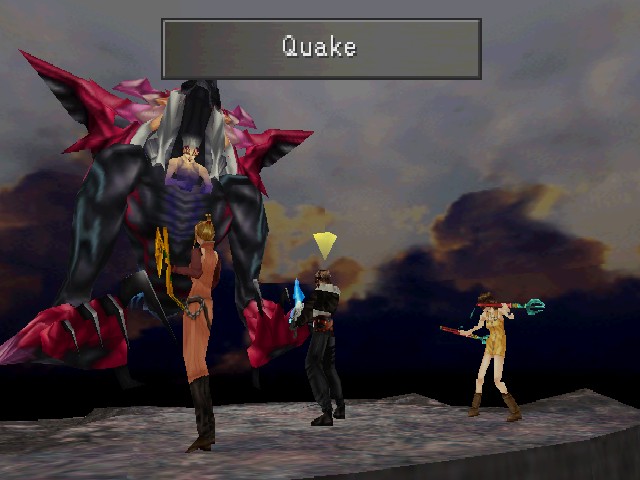
Other than Maelstrom, Ultimecia's attacks are all just regular high-level magic. Most of it is single-target, but she's also got Quake and Tornado to spread the pain out. She can also cast Double on herself, but not Triple.
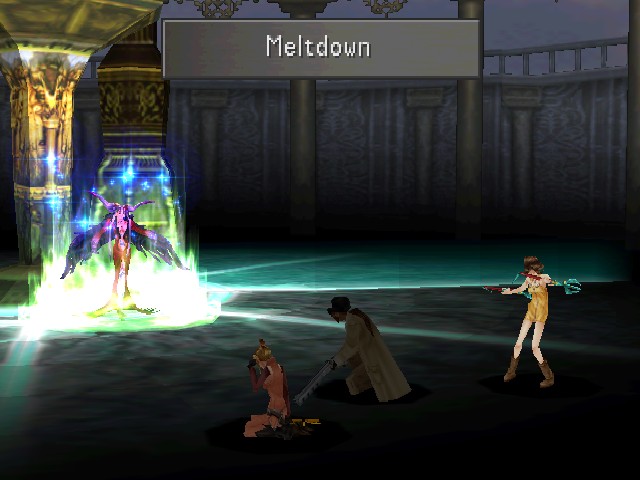
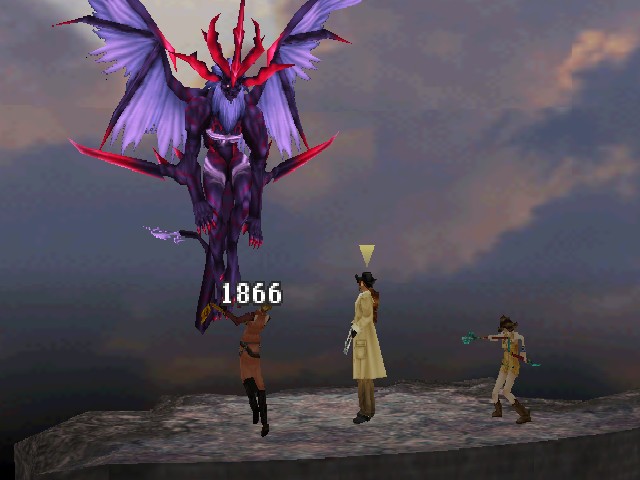
Her most dangerous move is Meltdown. Vit 0 is just as effective on the party as it is on enemies, and you can't block the effect with junctions. Fortunately, her AI doesn't prioritise the debuff.
Overall, this fight's not that much trouble. Ultimecia caps out at 43,000 HP, which is easy to burn through. Her Mag hits the 255 cap, she has 116 Vit/Spr, and her greasy-fast 122 Spd will keep her on fairly even footing with even the fastest parties. Really, all you have to do is keep damage pressure on her.
But this is the final battle of a Final Fantasy game. We're not out of the woods that quickly.
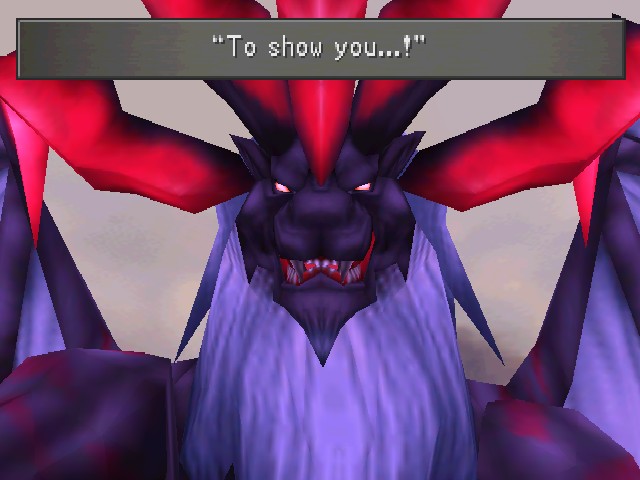
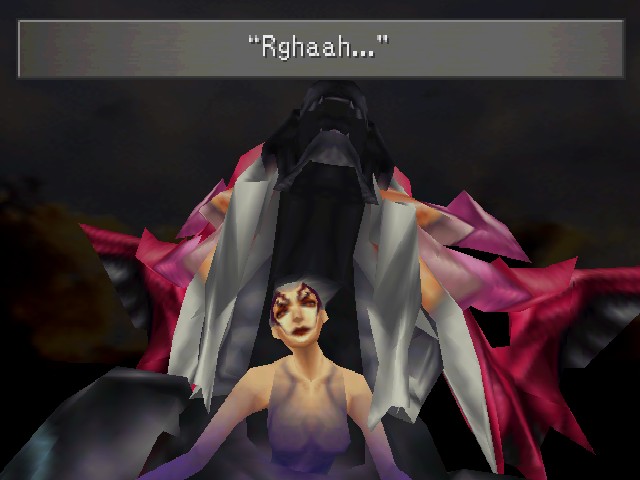
Sorceress Ultimecia: ...You shall... ...SUFFER... HAHAHA...

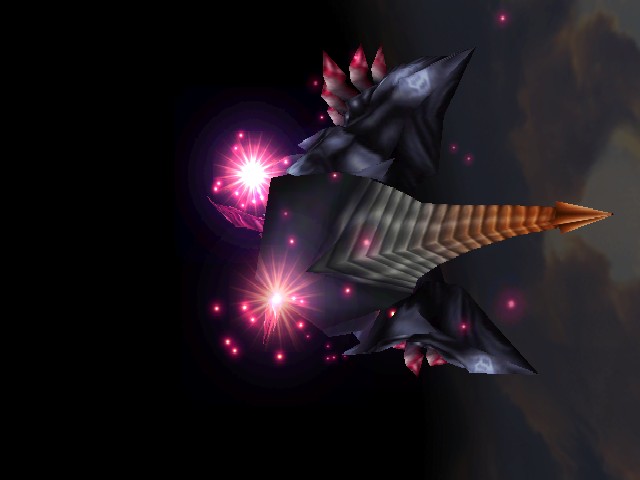
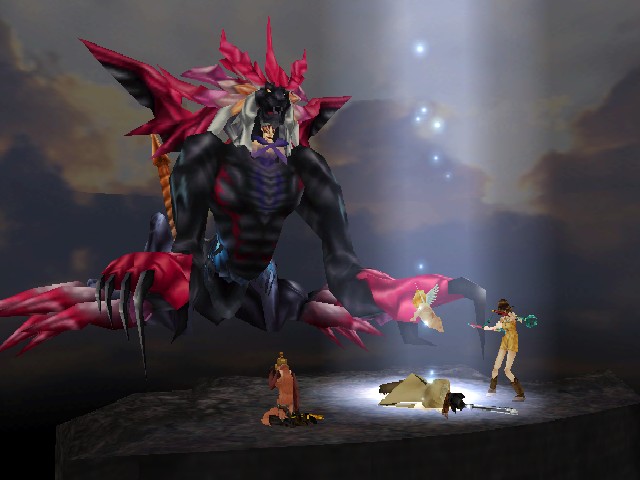
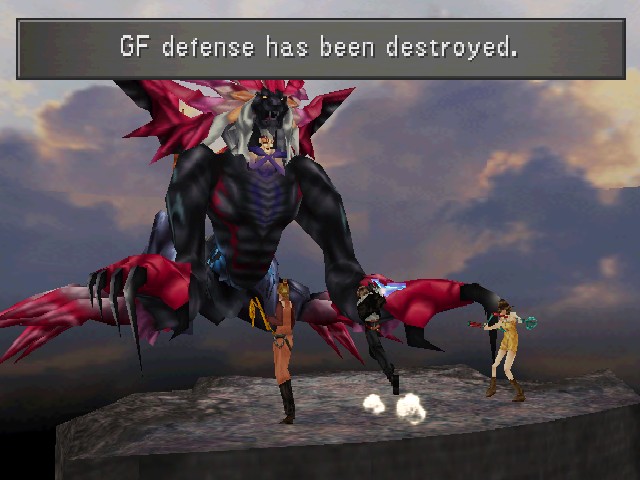
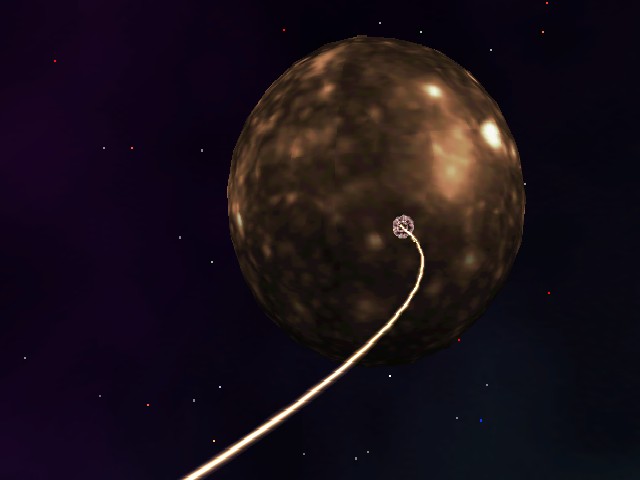
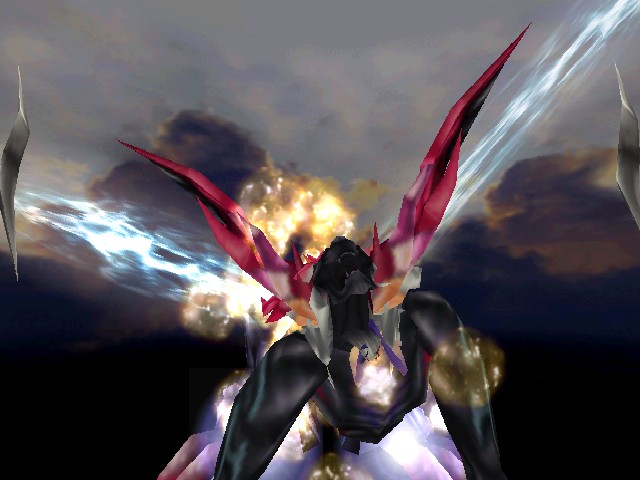
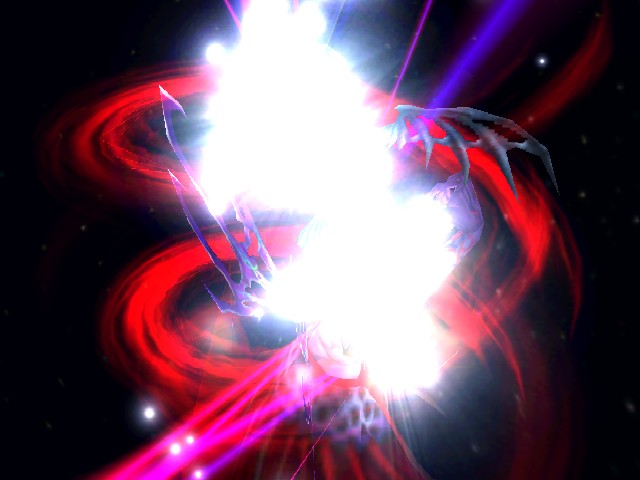
And so, Ultimecia summons her own GF, turning SeeD's own weapon against them.
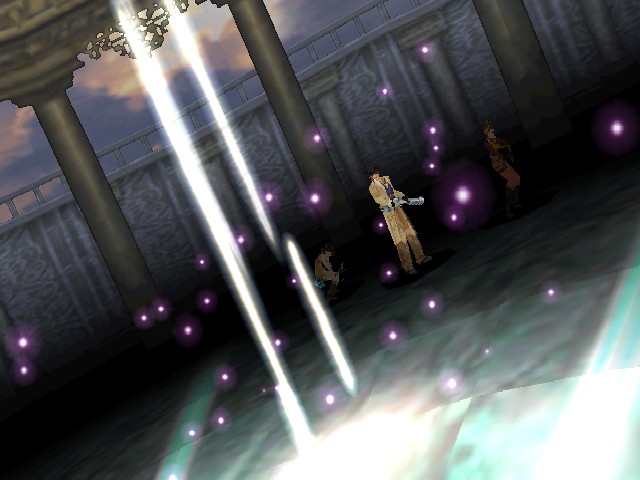
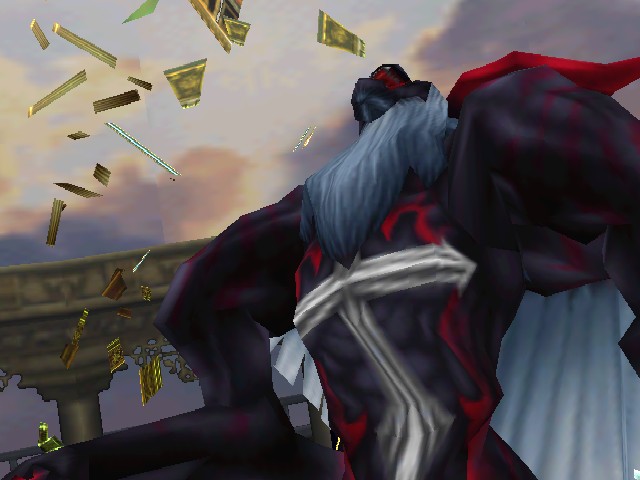
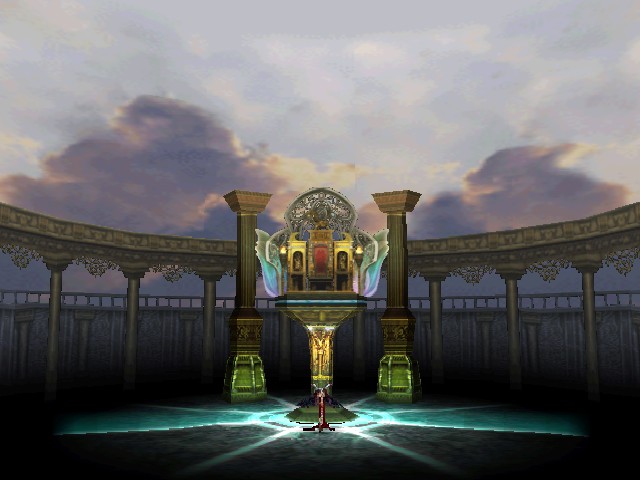
Unlike the party's GFs, Ultimecia's is going to be on the field for more than one attack, and blows away the arena as it makes its appearance.
The beginning of this phase comes with a shift in the music, which marks the point that this battle really starts to get serious:

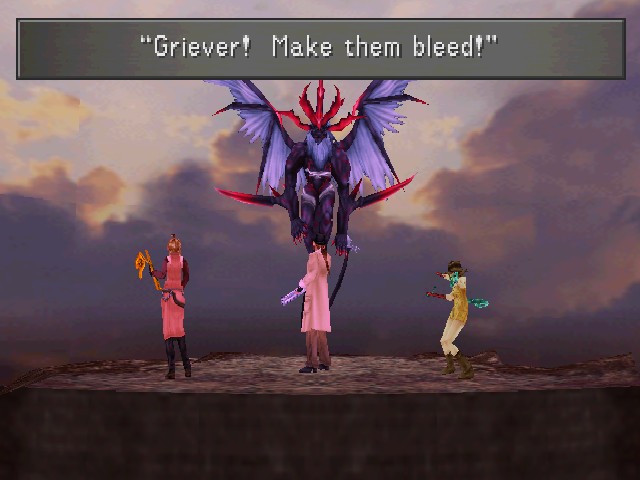
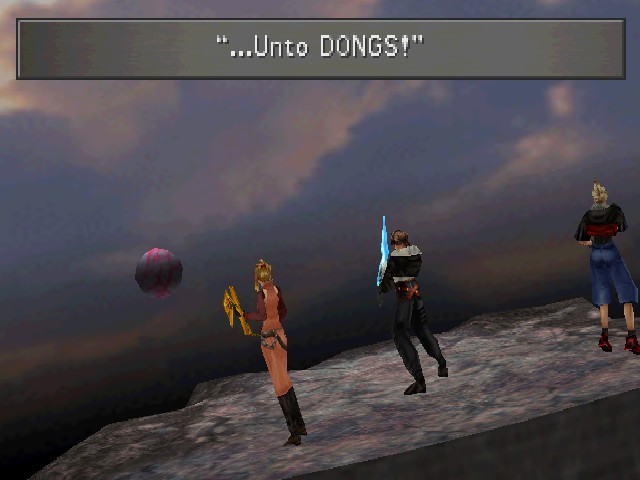
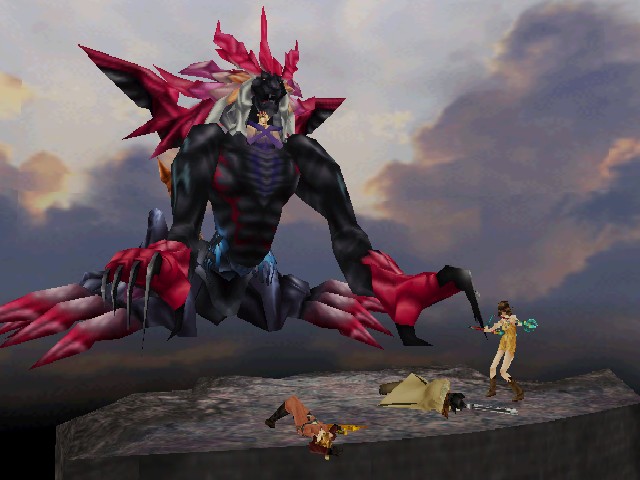
This fight is against Griever, which you might also recognise as the name of Squall's ring.
Or, more accurately, the default name of Squall's ring.
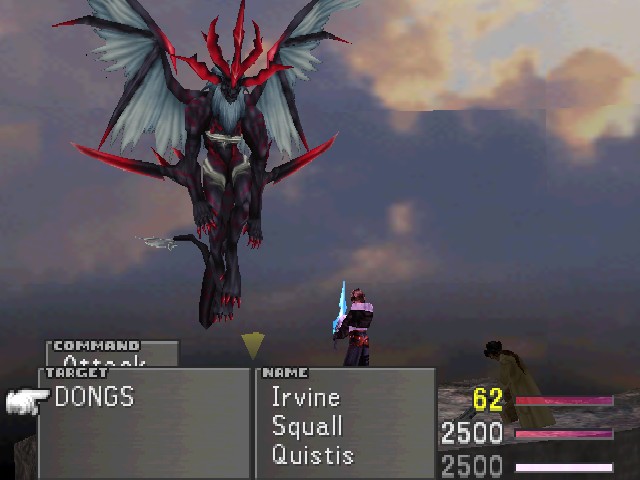
So, yes, if you're so inclined, the final battle of Final Fantasy VIII can include a sequence where the party battles against DONGS (or any other thing you can fit into 9 characters).
Back to the actual fight, the Scan data suggests that Griever, or at least its form, is drawn from Squall's mind (it's described as being "in Squall's mind, the strongest GF.") and made real by Ultimecia. This continues the trend of Ultimecia using mind-reading (as she does to Seifer) and mind-control type (used on Edea/Rinoa in the past, as well as the people of Deling City) spells.
As far as its fighting style goes, Griever likes to cast Triple on itself and start using powerful magic on your party.
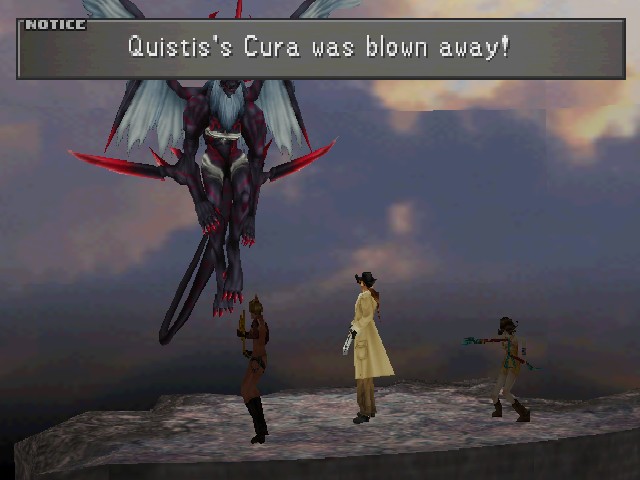
To complicate things, the boss can also wipe out characters' stocks of spells. This applies to any spell in their inventory, even things that are junctioned. Thankfully, it can only do this to one character at a time and it's not smart enough to focus on de-junctioning you.
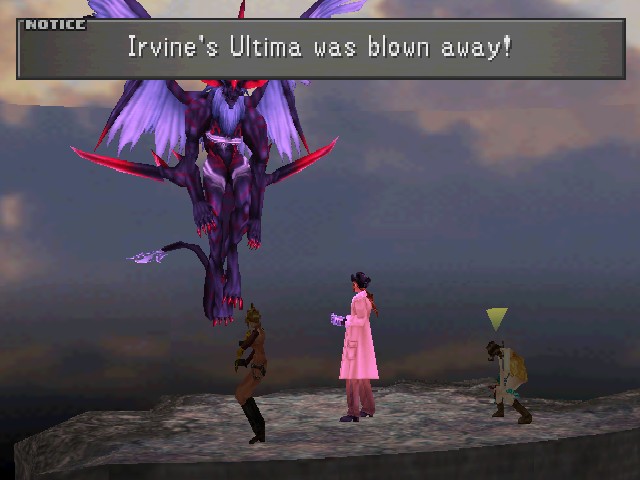
If it lands properly, though, it can fuck you up pretty badly. Irvine had Ultima on his Str, so now he's pretty much useless for the rest of the battle. Like Ultimecia choosing the party, this is another part of the fight that I think is interesting but that I could see being very frustrating to people. If you've only junctioned three people and Griever blows away something important, it would be bad news. Of course, this is the final boss, so it makes sense that they're not pulling any punches.
In addition to just blowing your stocks up, Griever can use them against your party by using Draw to steal one of your spells and cast it. This is neat because it extends the boss's moveset, and a lot of spells you're likely to be carrying around are good spells to cast against you. This and the "blow away" move can be sort of countered by filling characters' stock with chaff spells since, again, the boss isn't smart enough to know what to go after. Griever being able to use Draw is also a nice story-gameplay convergence. It is a GF, after all.
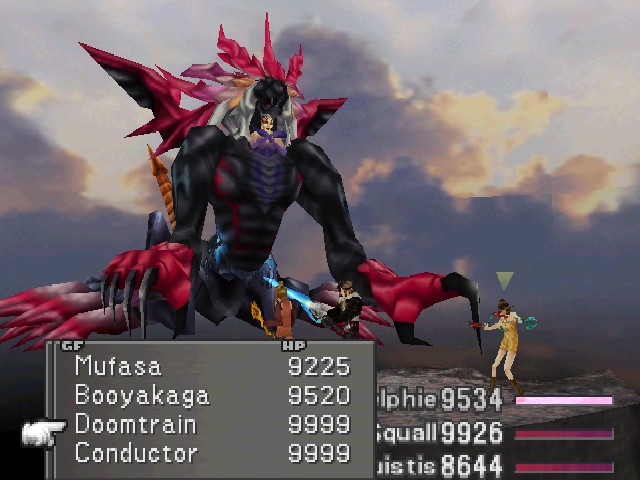
Griever (and the previous phase) can't do anything about GFs, so Doomtrain is good here. It does absorb Poison damage, though, so do it early.
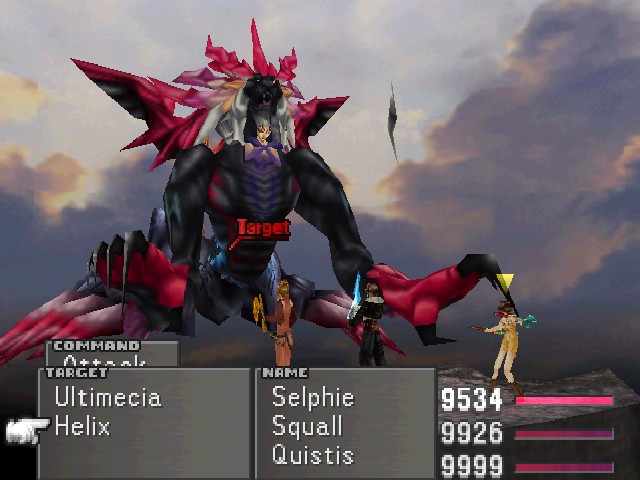
Like Ultimecia, Griever's Mag caps out at 255 (Quistis is eating a Flare here), so it's a good idea to junction your characters' Spr up to handle magic.
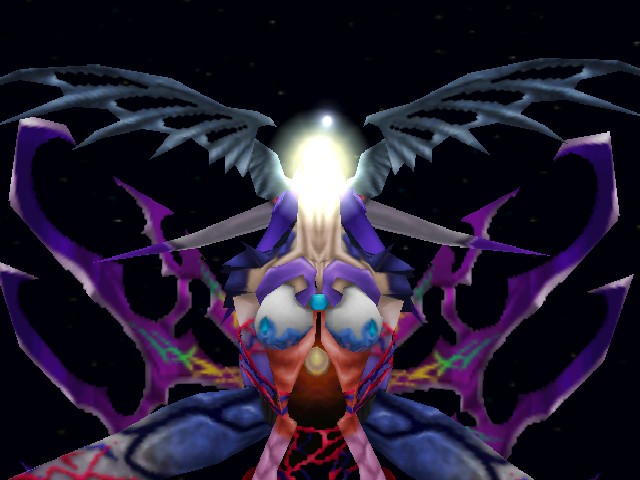
After some time passes, the sky in the background turns reddish and Ultimecia decides to address the party.
Sorceress Ultimecia: The GF's true power... Allow me...
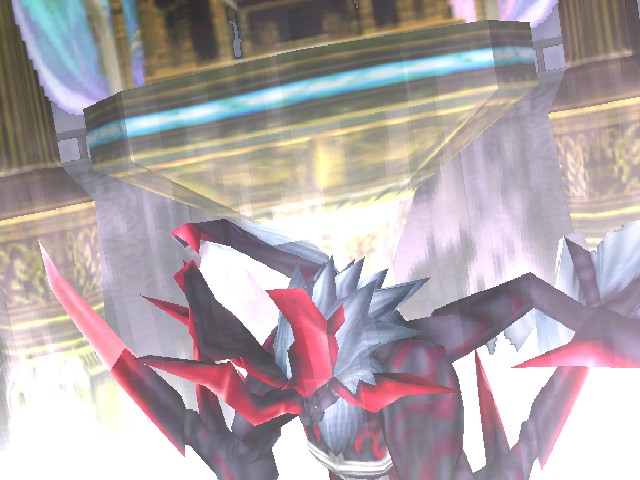
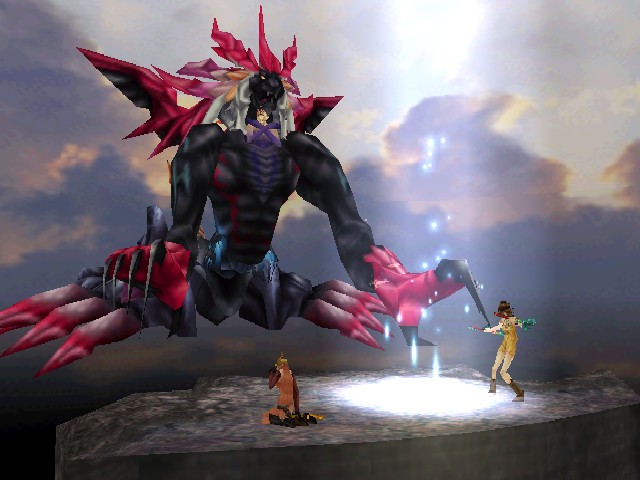
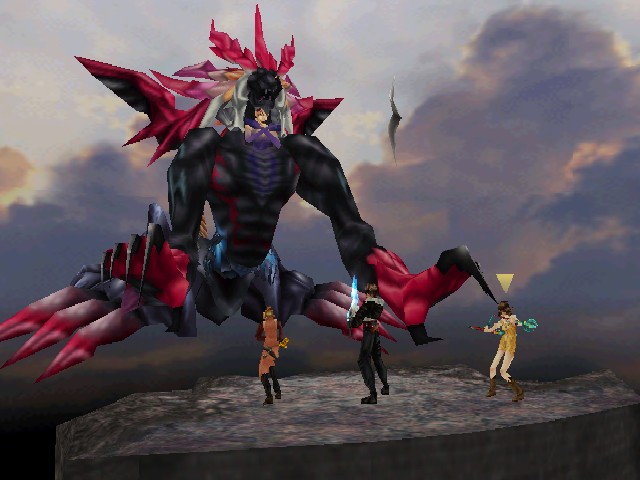
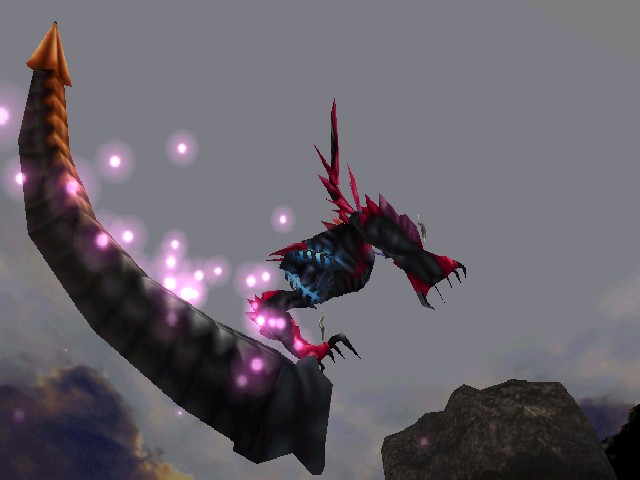
This is a pretty good shot of Griever's head, where you can see that it's a lion.
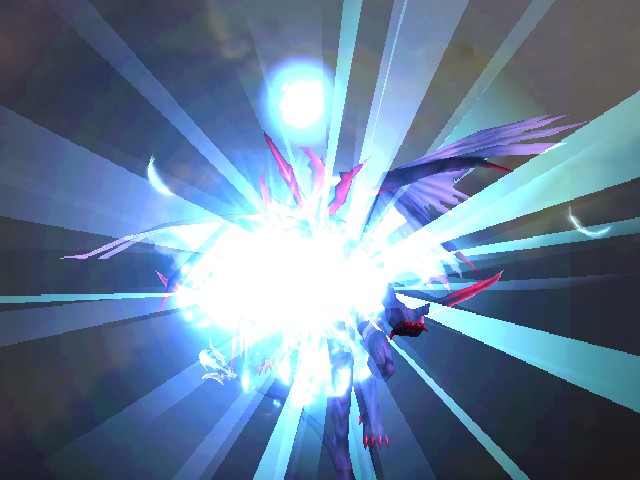
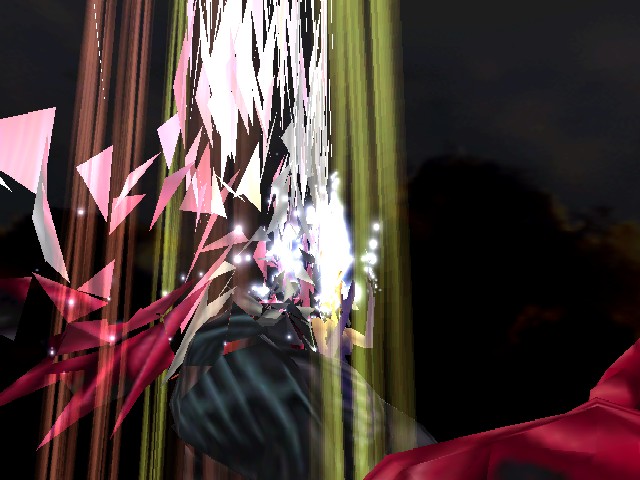
Once this line shows up, you're in trouble.
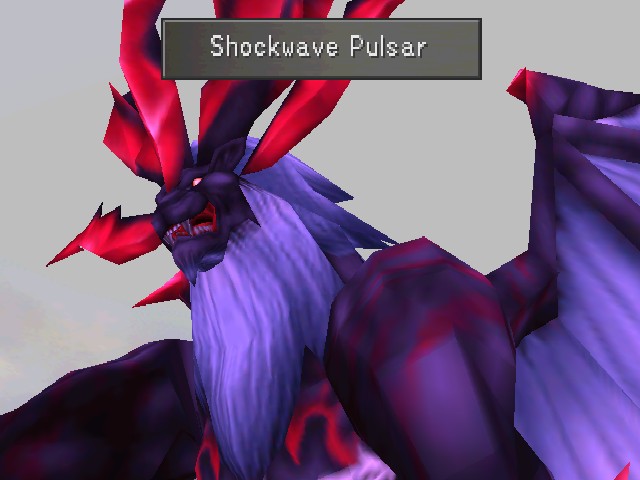
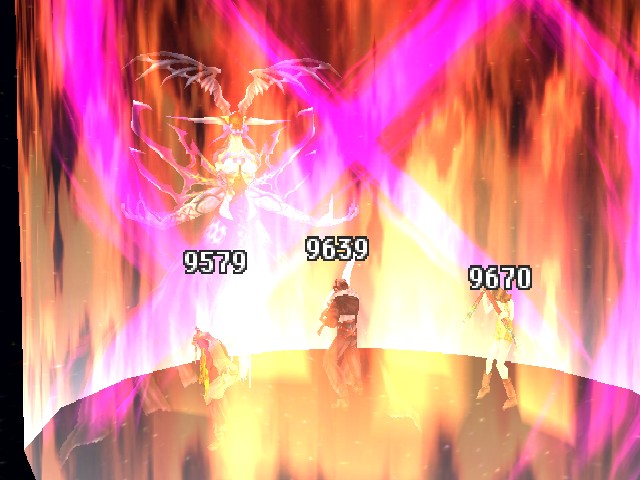
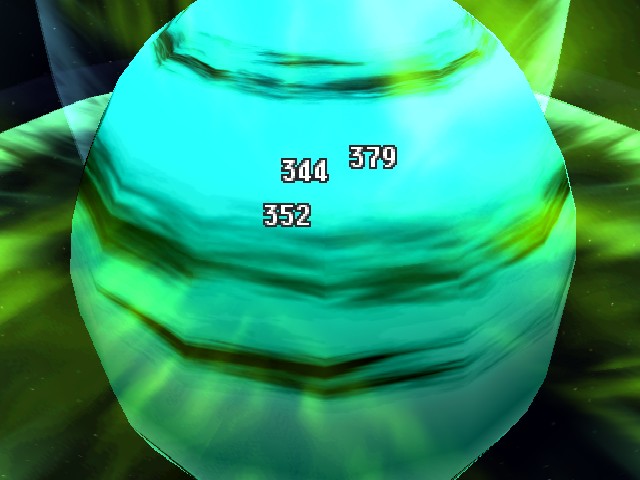
Remember how Quistis's Limit is Blue Magic? Well, every one of her spells shows up as an enemy's attack somewhere, and this is the last one.
It's just as powerful as when Quistis uses it, but thankfully, it doesn't ignore Spr. Quistis and Irvine both had Vit 0 here (I, uh, neglected to bring Esuna or Treatment to the fight) and so they both died outright.
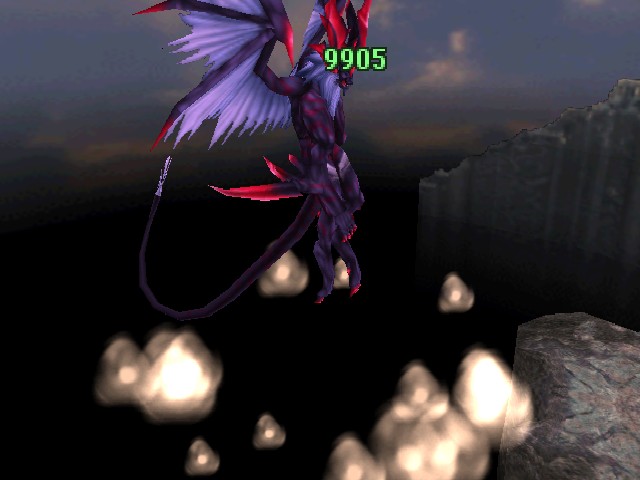
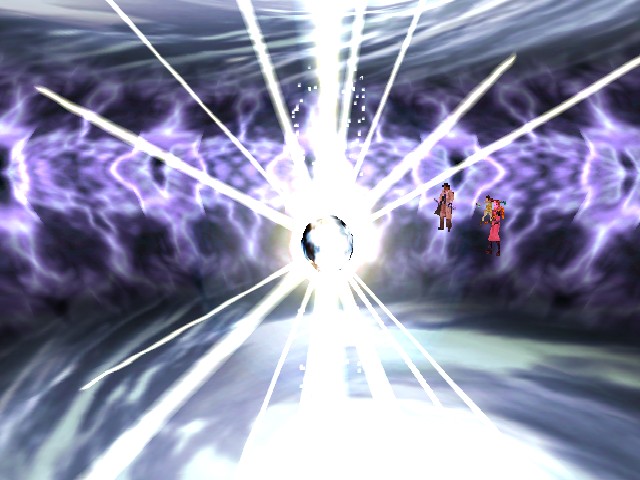
I was lucky, though. See, Shockwave Pulsar is used in two circumstances - either after enough time has passed/damage has been done, or as Griever's final attack. Griever caps out at a hefty 115,950 HP, but I managed to burn through that before Shockwave Pulsar went off the first time. If you don't get through the boss before that point, it can use Shockwave Pulsar multiple times. This is a real problem if, say, you haven't unlocked some ability that allows you to heal.
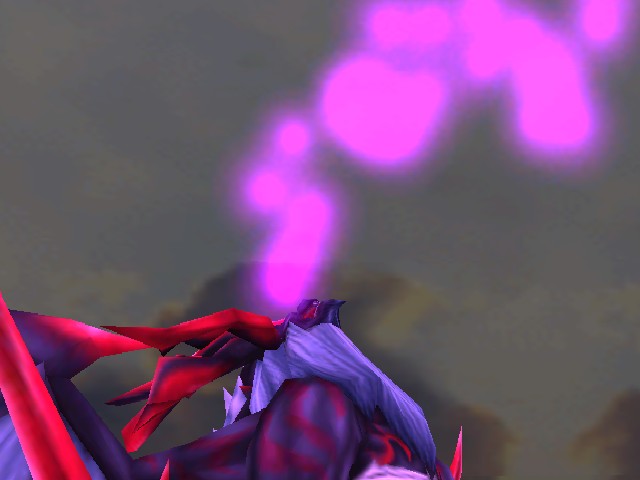
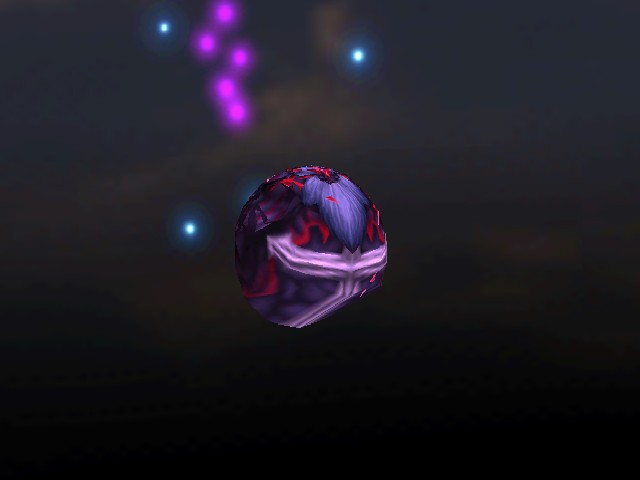
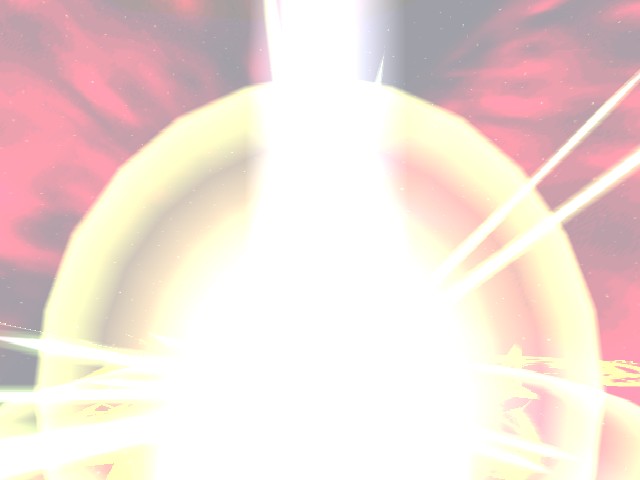
Once it's done exploding/vomiting out purple light, Griever is reduced to this weird ball thing.
And Ultimecia dutches the angle to start talking to us.
Doesn't that usually work the other way around?
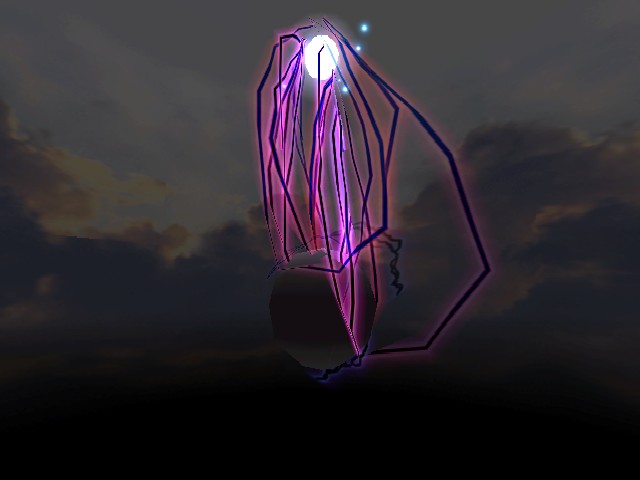
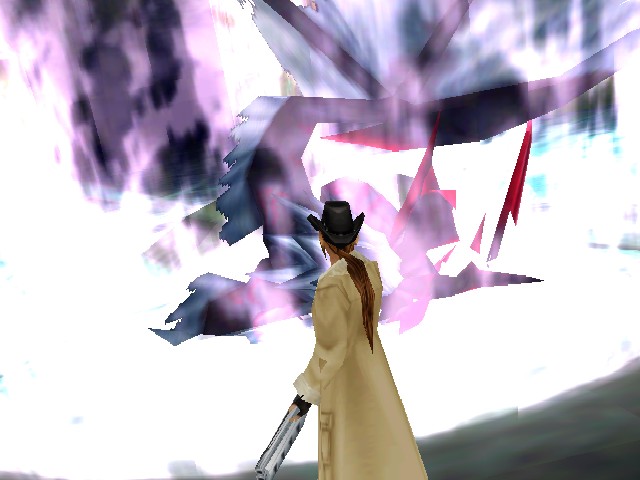
She starts working her magic, and then...

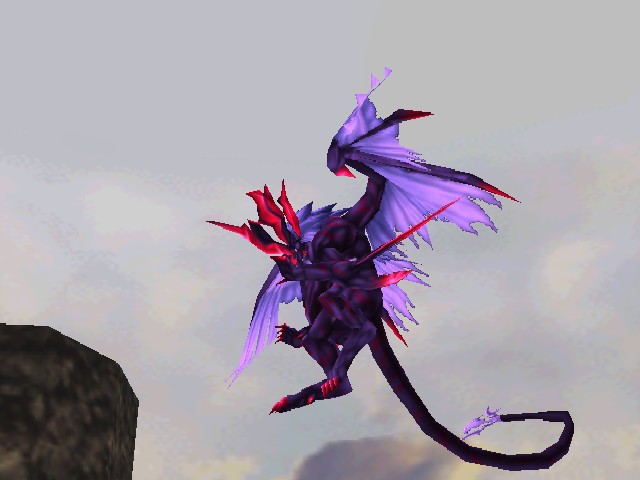
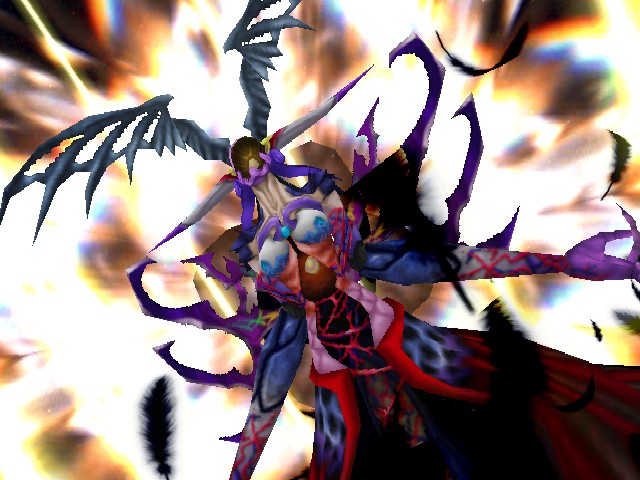
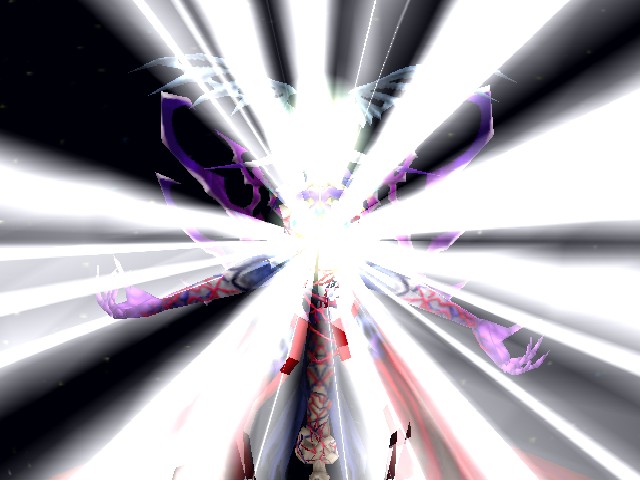
The third form emerges! The fans tend to call this Ultimecia-Griever, but the game just calls it Ultimecia. Compared to Griever, it has higher HP (caps at 176,250) but lower defence (85 Vit/48 Spr), and it's a little slower (97 Spd). Just like when the second phase started, the music changes here:

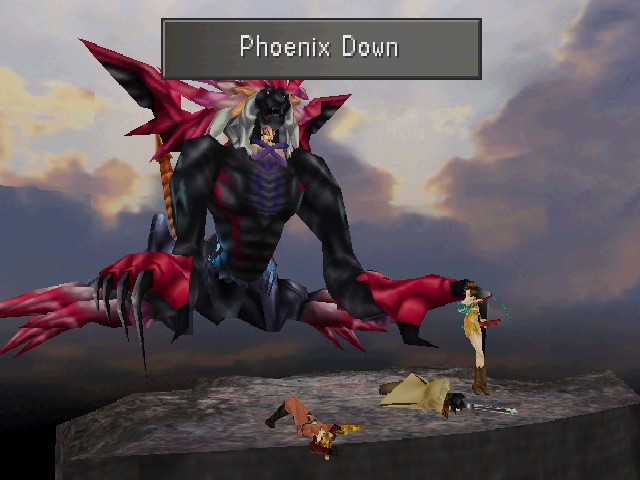
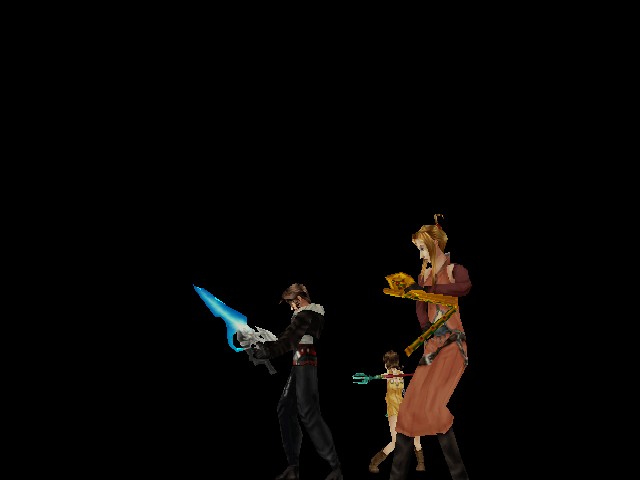
Starting a new phase of the fight with two characters down is not a great situation. I want Quistis back up, but I actually want Irvine to stay down for a bit.
Message: Absorbed into time...
See, if a character is KO'd for long enough, a little angel takes them away to the afterlife.
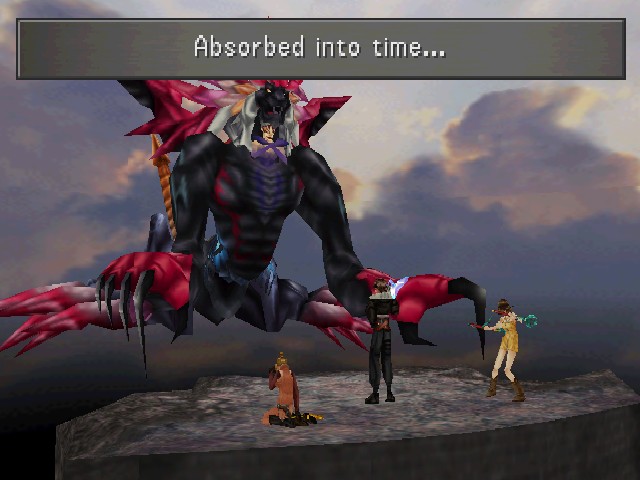
And they get replaced with someone fresh!

This is very useful if you don't have your whole party kitted out, or if someone has their junctions fucked up by spells getting blown away. On the other hand, if one of your junctioned characters bites the dust, it can kind of screw you over.
The first note about this phase is that Ultimecia will now counter GFs. If you try to summon, she'll wipe it out before you can. Like Adel using Rinoa as a shield, if you've been accustomed to using GFs as your primary source of damage, you might be in trouble in this fight.
Ultimecia-Griever is generally pretty straightforward, with the boss having lost both the ability to Draw your spells and to blow away your stocks. Instead, though, it uses a new trick.
Occasionally, the boss will create one of those weird things floating to the right of it in the screenshot. This is a Helix.
Helices themselves aren't a big deal - this little laser counter is all they do. But, if there's one on the field, you should have someone focus on taking it out tout de suite (not too difficult, as they cap out at 30,000 HP).
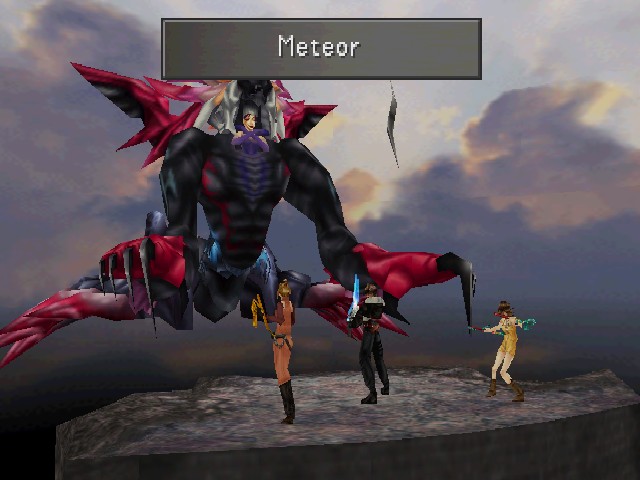
One Helix existing gives Ultimecia access to Ultima and Meteor. This is bad, but not awful.
No, the awful part comes when there are two helices in play.
Once this happens, the screen will start shaking and the clouds in the background start racing past.
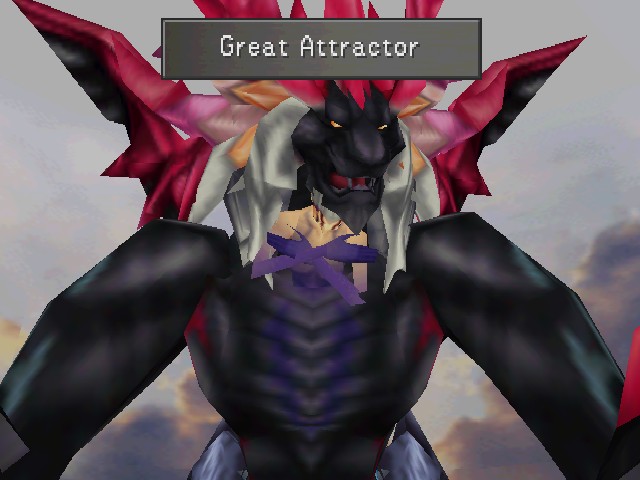
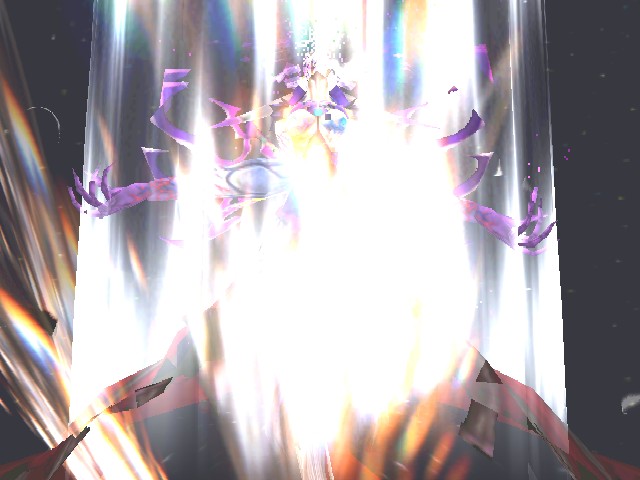
And the boss will use its special move, Great Attractor.
Great Attractor takes place in space, so you know it's gonna get ugly.
Like Sephiroth's infamous Supernova in Final Fantasy VII, Great Attractor involves planets.
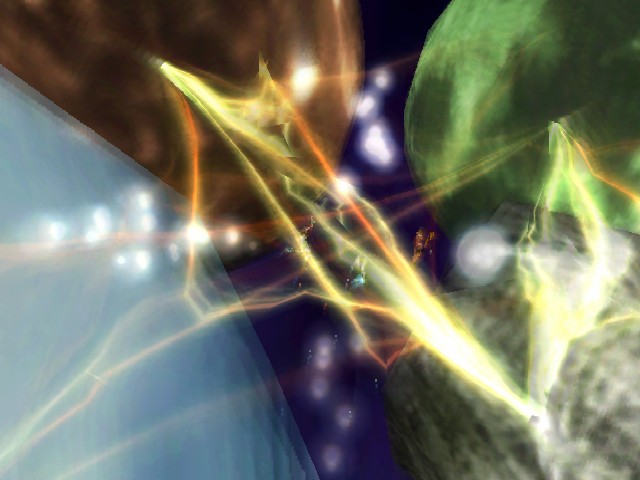
Ultimecia's a bit more direct in her approach, though, preferring to just slam space rocks directly into the party.
Unlike Supernova, this attack doesn't deal percentage damage - it's just a powerful physical that ignores Vit. Like Shockwave Pulsar in the previous phase, Great Attractor can be used multiple times, with the boss using it every couple turns until you get rid of at least one Helix.
Once the boss is down to one-third of its HP, it'll jettison its lower half.
When this happens, Helices are no longer in play and instead it will attack with Tornado, Quake, and physical attacks. If you can get to this phase of the fight, it's pretty much over.
While we're here, something to take note of is that the sky is getting darker and darker as the fight goes on.
After the tail falls off, just keep up the pressure and this will happen soon enough.
Not feelin' so hot, eh?
That looks pretty final to me.
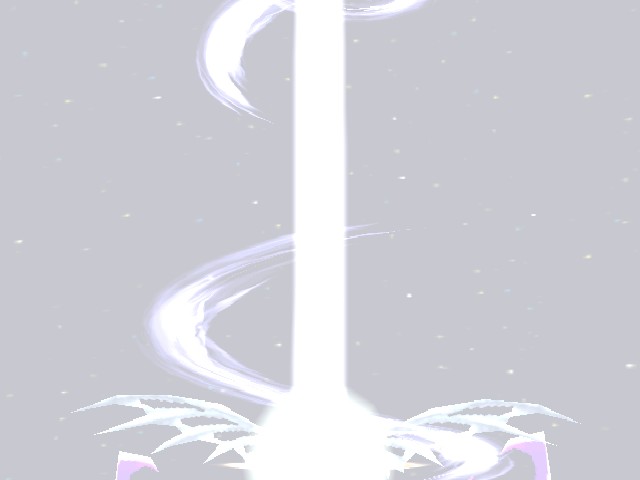
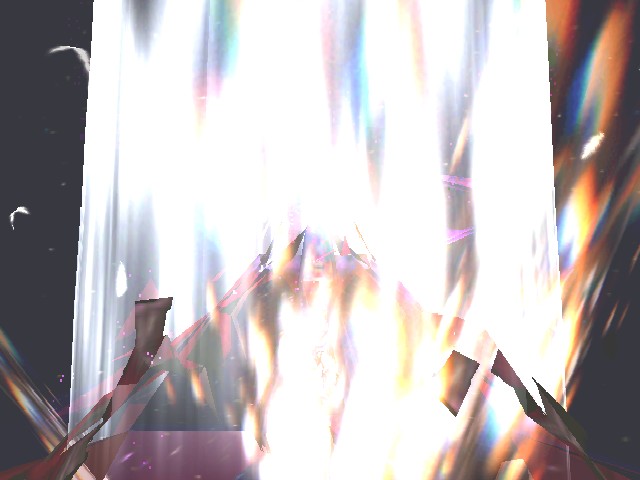
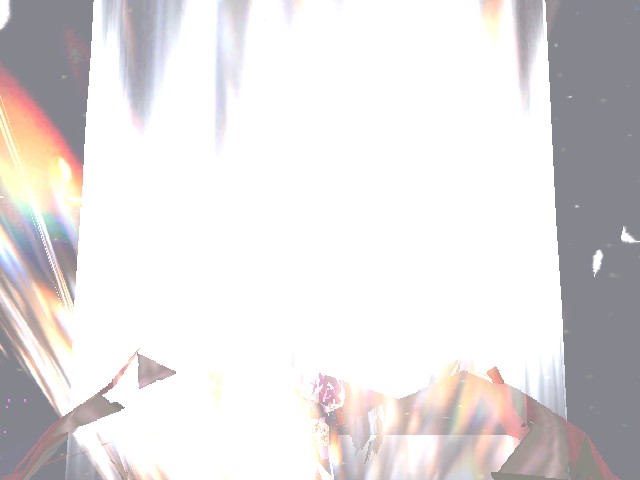
The fragments of the now-exploded boss rain down behind the party like shooting stars.
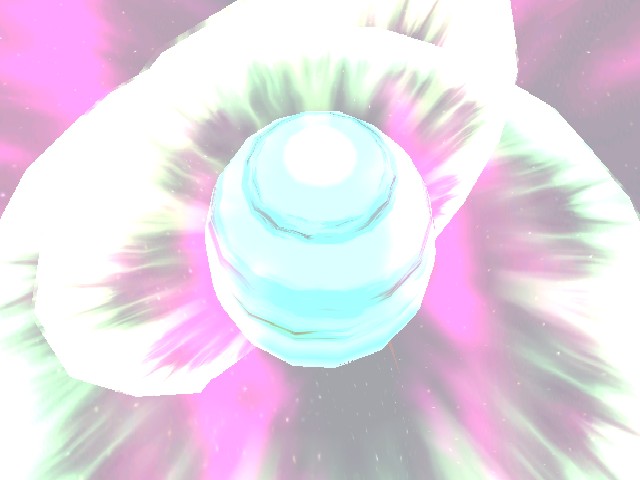
And then everything goes black.

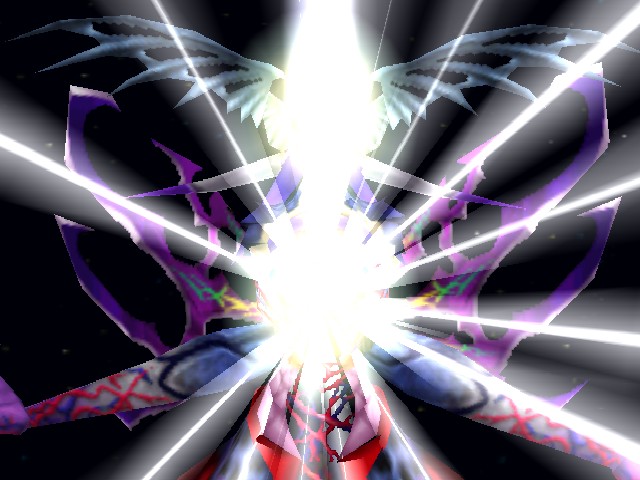
Suddenly, there's a light.
And, uh, this thing.
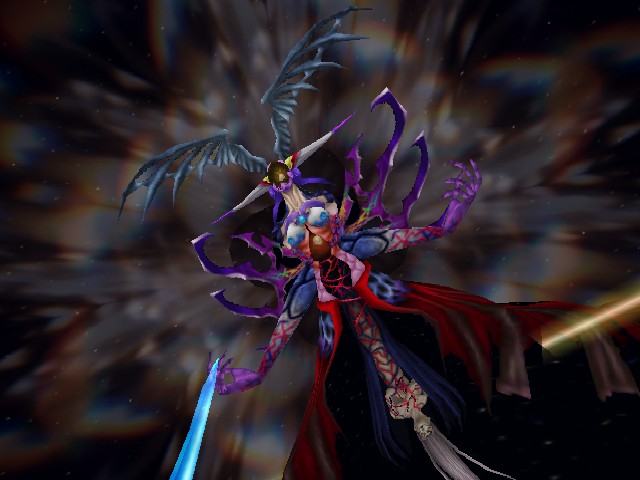
You can recognise the horns and other remains of the headpiece, but it looks like the party's done a real number on the sorceress of the future over here.
Ultimecia: Time shall compress... ...All existence denied.
Dramatic to the very end.
We also get a better shot of Ultimecia's final form in the pan. You can see elements of the original in the top half - the horns, the vestigial wings (though they're not so feathery now). But there's also an upside-down figure under its "dress" that looks even more like Ultimecia's human body, including having her face. I don't think the bound body is the "true" Ultimecia or anything, it's just part of how she ends up. It's interesting that she has no legs, though, after the bottom half of Ultimecia-Griever fell off in the third phase.
In this fight, Ultimecia is actually absorbing space and time into herself (i.e., compressing them into herself) - if you pull up the full model in a viewer, it continues past her "dress" and contains part of the starfield.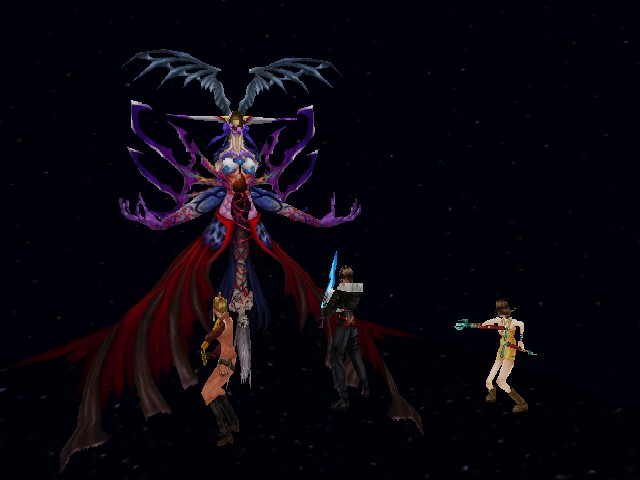
This one's for all the marbles.
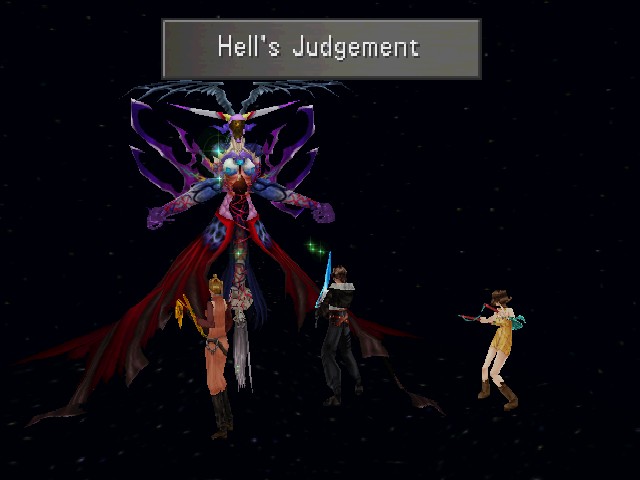
Final Ultimecia always opens with Hell's Judgement, as near as I can tell. This is a nasty one, dropping everyone's HP to 1. This is the last of the "super" moves in the fight (along Maelstrom, Shockwave Pulsar, and Great Attractor) that make it so difficult if you don't unlock at least some of your abilities. As I mentioned before, you can fight her with nothing unlocked, but if you do, your only option to heal is junctioning for elemental attacks and having your characters absorb them (I think Thunder is the best choice, if you're so inclined). At this point, if you don't have actual healing, you'd be stuck with three 1 HP characters, scrambling to get attacks off before the boss can finish you (and she's reasonably fast, at a cap of 97 Spd). Since you'd also be stuck using Attack, there's no way you'd get through her maximum HP of 278,900, either.
I do have healing, though, so I can just use a Megalixir. No reason not to, at this point.
If you're willing to take a risk, Hell's Judgement is also a great setup for using a Limit.

I elected to have Quistis use Mighty Guard, which ended up giving the whole party Aura.
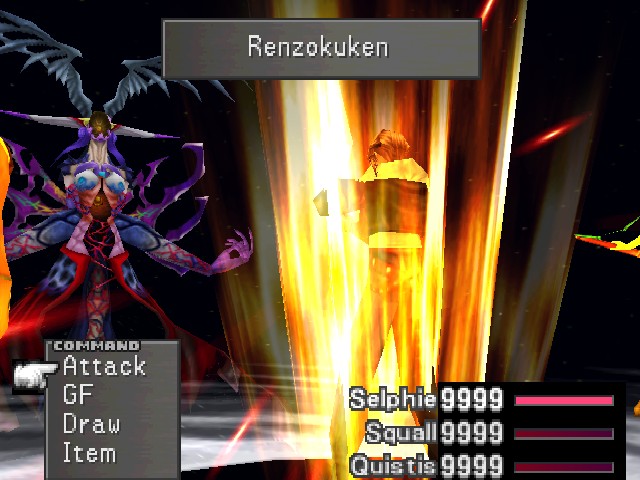
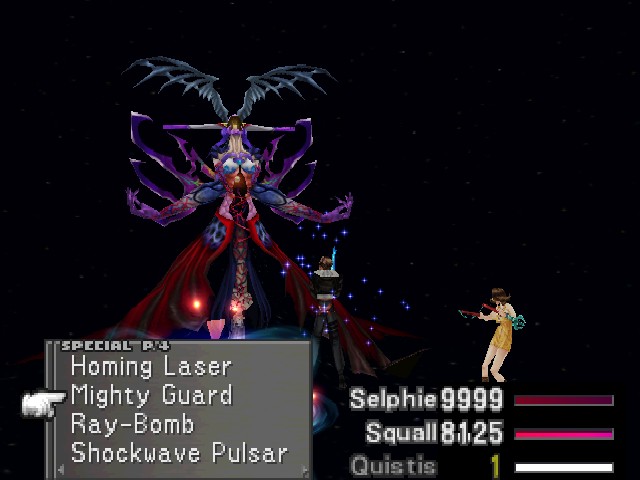
Fun fact: for the last three phases of this fight, the number of hits in Renzokuken is fixed - 5 against Griever, 8 against Ultimecia-Griever, and 7 here.
This move is back for the final form, though she's still not smart enough to use it to just wreck your junctions. This is already a long, tough fight, but if the bosses had really good AI scripts, it would be damn near unwinnable.
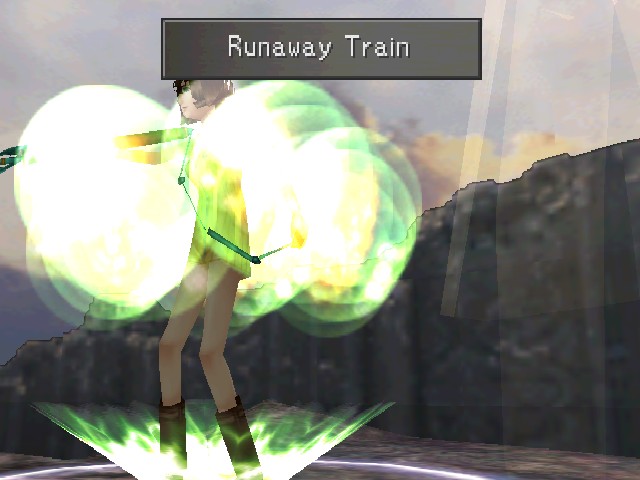
As long as he's got Aura, I just have Squall on Renzokuken.
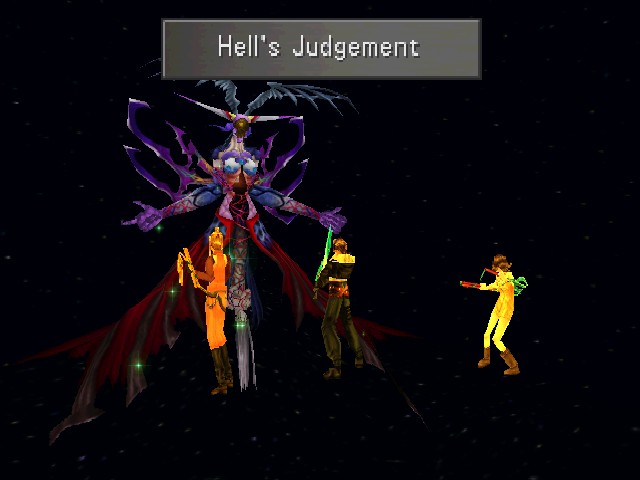
Oh, and if you were wondering, Hell's Judgement is just in the normal rotation.
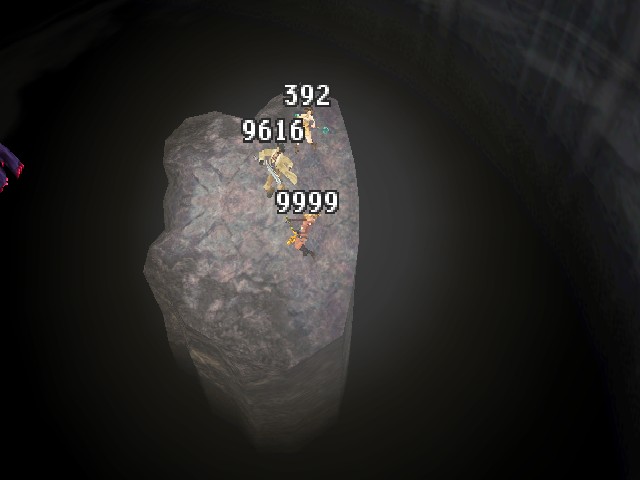
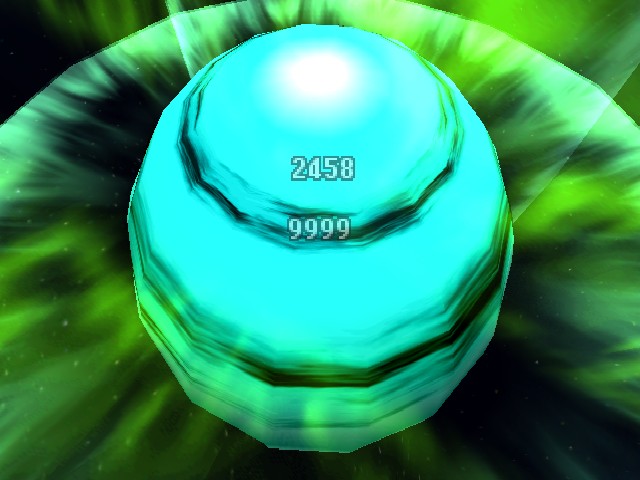
And then, while Selphie was casting Full-Cure, I got lucky. See, once you chop through enough of Final Ultimecia's HP, that second target in the window will show up. It's the bottom Ulty, and it only exists for one reason.
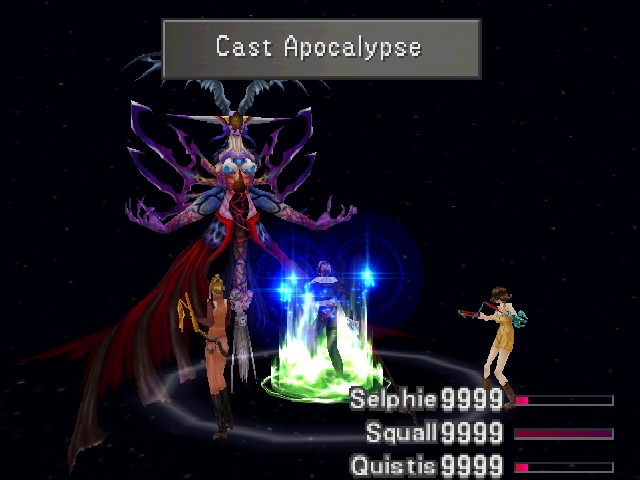
That reason is to hold a totally unique spell, Apocalypse. Once the lower body is a valid target, you can draw it freely. There's not much reason to stock it at this point, though.
Apocalypse does have an effect on your stats if you cheat and junction it outside of battle. It's worse than Ultima for everything, and not particularly remarkable outside of Str/Mag/Vit/Spr.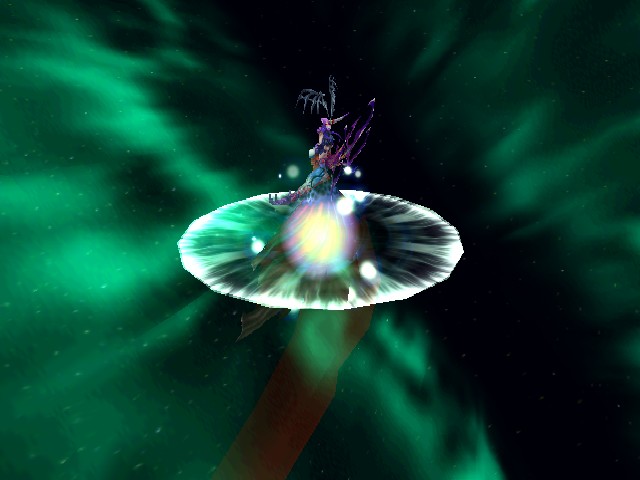
As Ultimecia's unique spell, Apocalypse is appropriately bombastic.
It's powerful, too - Apocalypse has 120 power, so it's 1.5x as strong as Ultima.
Fun fact: the reason that one number in that shot is 9,999 and the other is only 2,458 is because the lower half of the boss has essentially 0 stats. It really only exists to carry Apocalypse and can't do anything else, so I guess the devs just didn't give it any. The only non-0 value is for HP, which caps at a measly 21,500.
You have to watch out, though, because while you can benefit from Apocalypse, so can Ultimecia.
Thankfully, it doesn't ignore Spr, but if you didn't stack your stats properly, this can really fuck your day up. It's worth noting that before her lower half enters the fray, Ultimecia only uses single-target attacks and Hell's Judgement. But once the lower half is a consideration, you have to start watching out for a Hell's Judgement/Apocalypse combo.
It's easy enough to kill the lower half, and it's probably a good idea to focus on it while it's around. Just be aware that, once you do, she'll start using Ultima and Meteor. And, of course, could combo Hell's Judgement and one of those.
What I'm saying is, don't fuck around with Hell's Judgement.
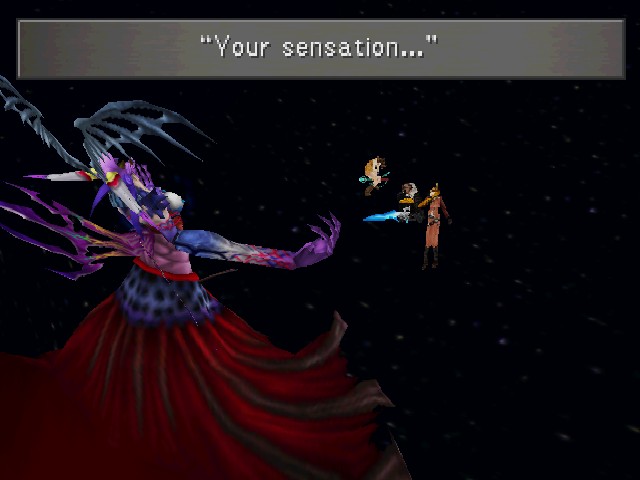
Ultimecia: Childhood...
It's a real slobberknocker, but eventually Ultimecia starts talking again.
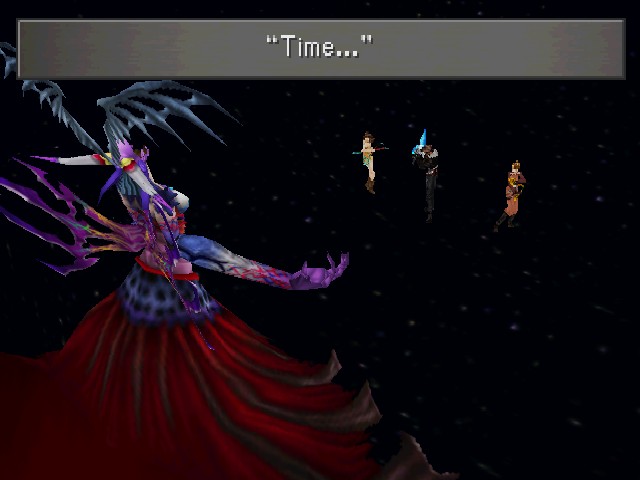
Ultimecia: Your words... Your emotions...
At this point, you just need to keep attacking to keep triggering the dialogue.
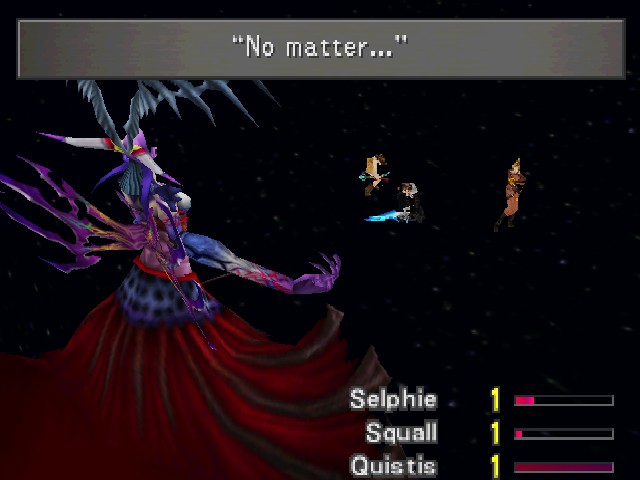
Ultimecia: It will not wait...
Any attack will move things forward, no need to get fancy.
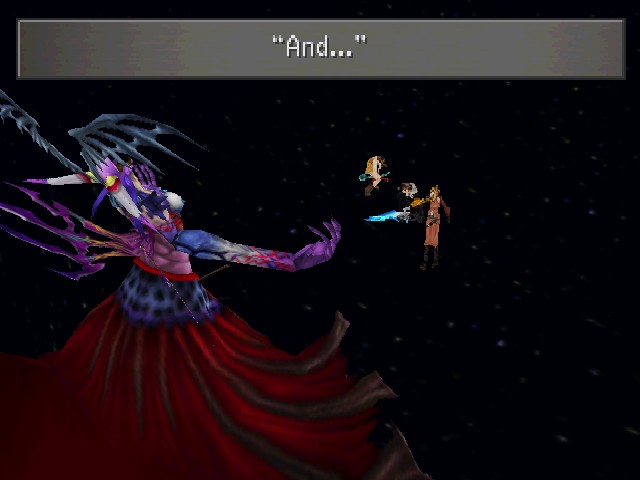
Ultimecia: ...how hard you hold on. It escapes you...
I really like that the last thing Ultimecia does at the end of the fight is give a speech about the futility of existence. There's just so much flair in this fight, it's excellent.
But finally, it comes to an end.
Ultimecia faces off against the "legendary" SeeD, but she comes up short.
And so, all the time/space energy she'd absorbed starts spilling out of her.
This is, I think, the only death animation that involves the party like this.

The explosion lights up the whole starfield for a brief moment.
There's a flash of a staticky Ultimecia as she loses her form.
She continues to explode and break into fragments, writhing in agony all the while.

But eventually, she's fully destroyed.
So, what's at the end of time?