Part 20: Episode XVI: Say My Goodbyes

Inflexible Determination
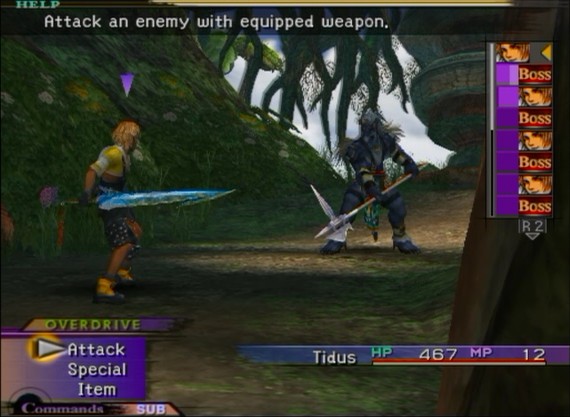
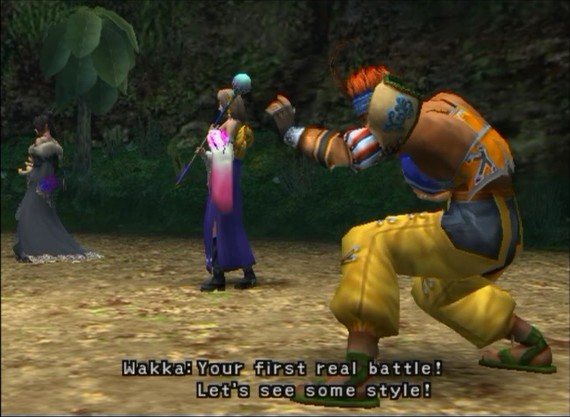
Now then, where were we...? Ah yes. Tidus was getting attacked by a giant fuck-off furry. A furry which seems to have pulled a giant fuck-off halberd out of its ass between scenes. Terrific.
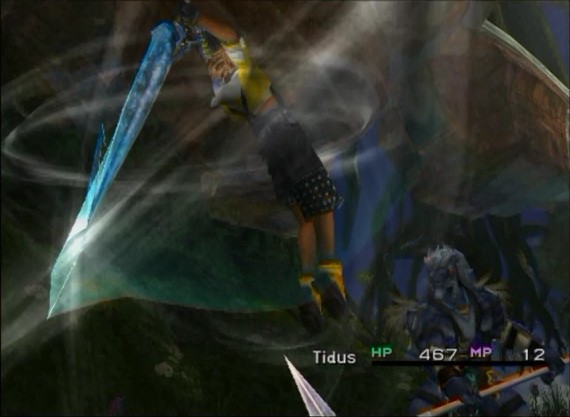
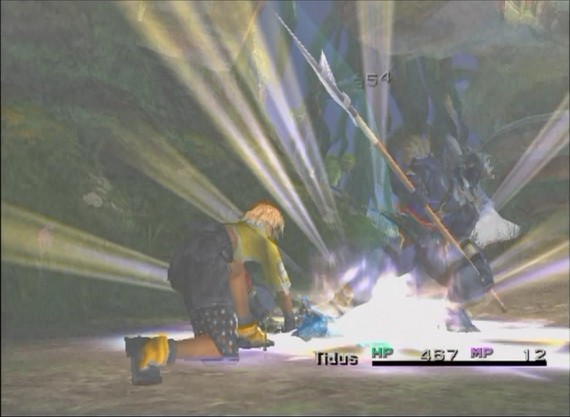
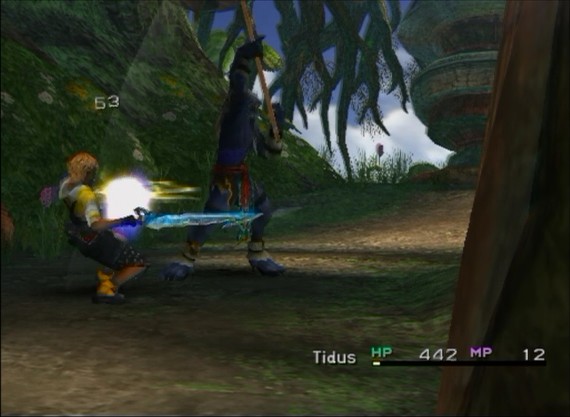
Tidus and Catman take turns beating the shit out of one another with neither making any kind of particular headway. An interesting battle it is not.


After a while of this, Wakka appears with his best
 pose and our furry nemesis halts its assault on Tidus.
The beastman shoves its halberd safely back up its anal cavity and walks off...
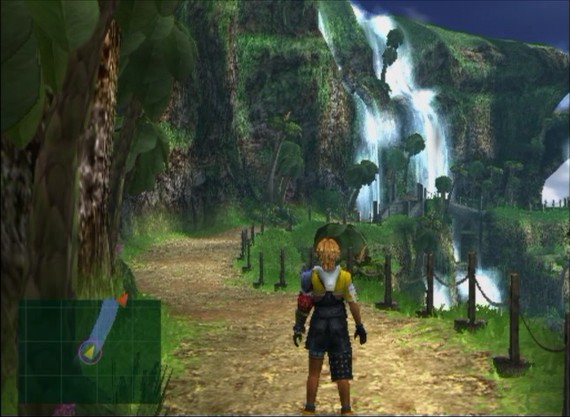
Besaid Island
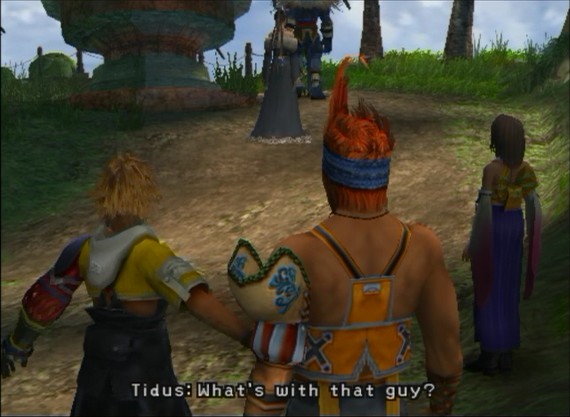
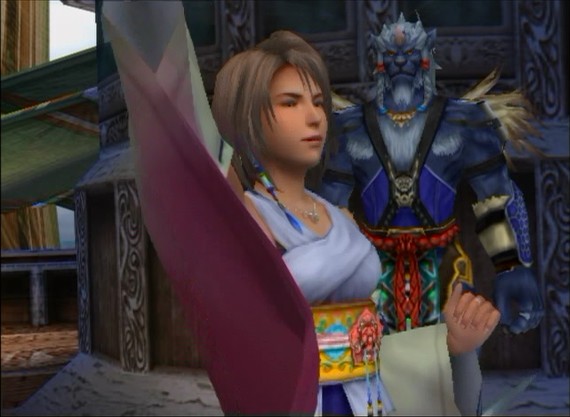
 ”What a DICK!”
 "Kimahri Ronso, of the Ronso tribe. He's learned the fiends' way of fighting." "That's not what I meant!" “He's another of Yuna's guardians." ”Yeah. That’s great. Still not explaining why he just tried to stab me to death...”
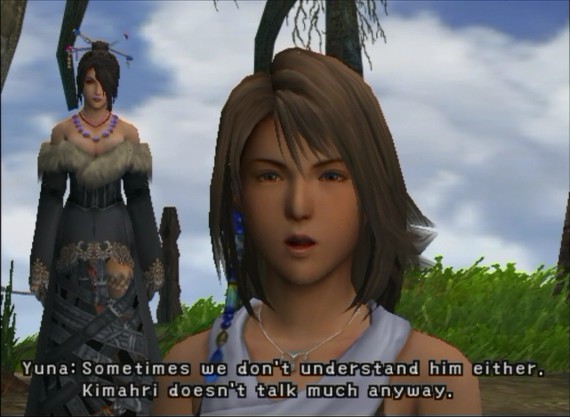
 “But he has protected me since I was a child!" ”Neat. But in the future could you tell him to not try to claw me to death? Or am I gonna have to start carrying around bottles of milk and crap to get him to back off?”
Kimahri is a busta, so despite hanging around with the rest of Yuna’s entourage, he hasn’t joined our party as of yet. But as recompense for assaulting Tidus, he does drop 100 Gil and a piece of armor. So I guess that helps. A little...
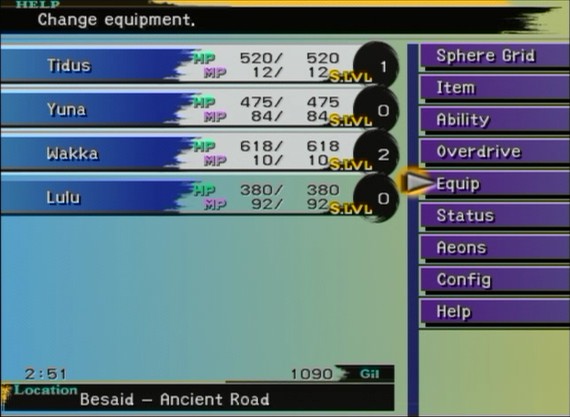
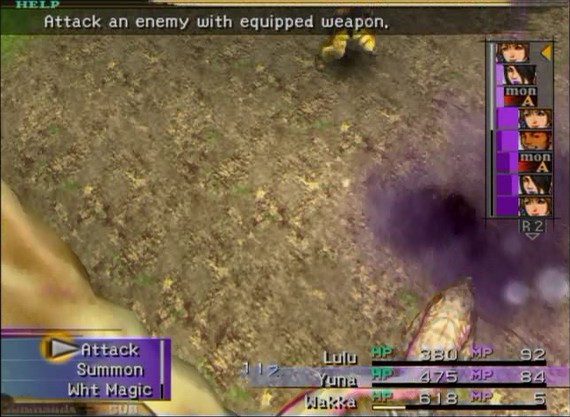
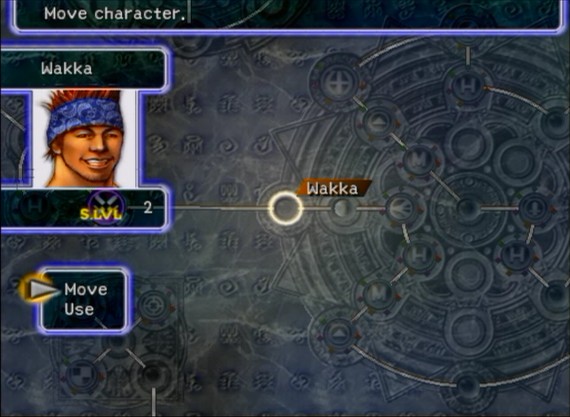
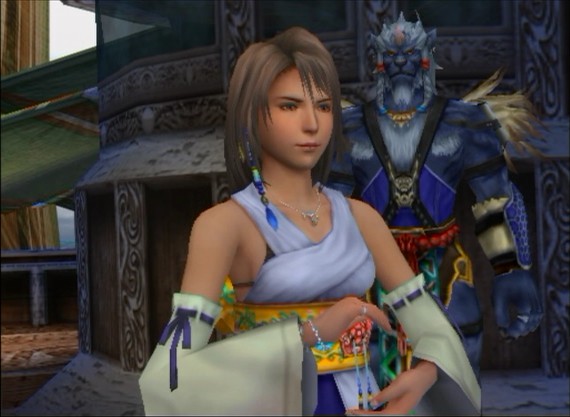
So let’s briefly talk about equipment, since the game never actually does so. After our departure from Besaid Village, the Equip function has faded into being in the menu. From here we can... well, you can figure that part out...
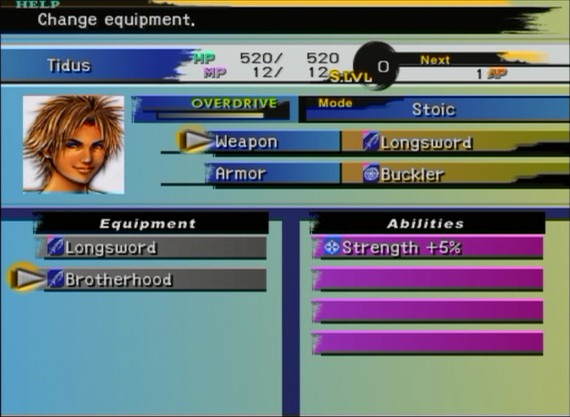
Equipment works a little bit differently in Final Fantasy X compared to earlier games in the series. There are no hard stat increases like Silver Dickcompensator gives +55 Str while Golden Phallicalibur gives +74 Str. Instead, each bit of equipment is imbued with certain special abilities. Let’s take a look at Tidus here first.
Wakka gave us the Brotherhood sword as a gift. The original Longsword from Jecht did diddle-squat. But hooking Tidus up with the Brotherhood will give a 5% increase to his Strength stat as long as it’s equipped. This, obviously, is an improvement. Each character can only equip one type of weapon and one type of armor. Tidus here is Longswords for weapons and Shields for armor only.
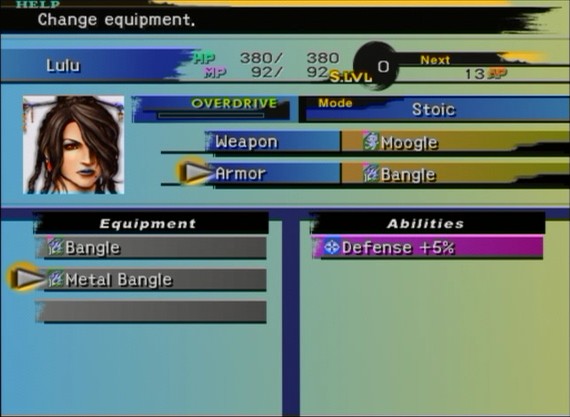
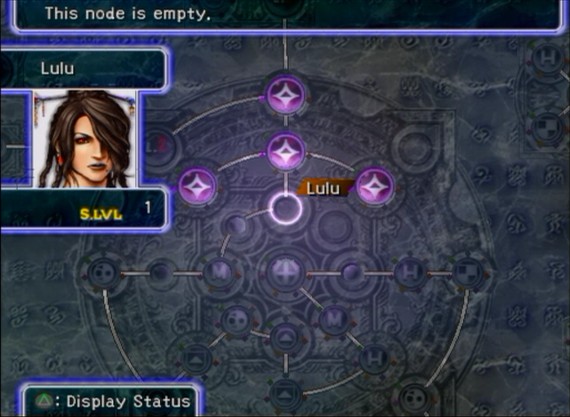
That Metal Bangle that Kimahri dropped goes to Lulu and provides a 5% boost to her Defense stat. For her weapons, Lulu rolls with... dolls. Magic dolls that will leap out of her arms, march over, and smack enemies over the head at her request. They never even attempt to explain what the hell that is all about. Just go with it...

It is worth mentioning that all of Lulu’s dolls are Final Fantasy mascot characters. Her starting critter is a Moogle, the de facto main Final Fantasy mascot which appeared in some form in every game in the series since Final Fantasy V.
Were you about to go type up a reply to correct me in saying Moogles first appeared in Final Fantasy III? They don’t appear in IV. So the statement of every game since V is quite correct. Also, you’re a terrible person.
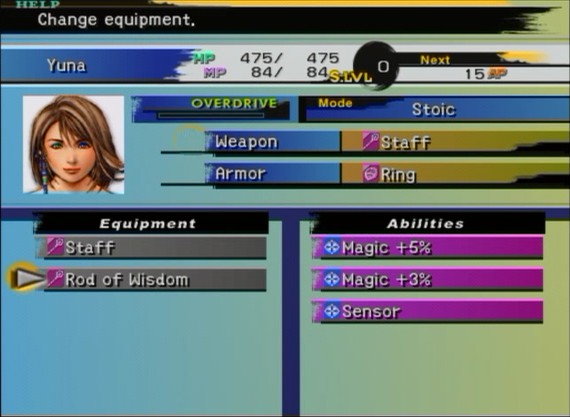
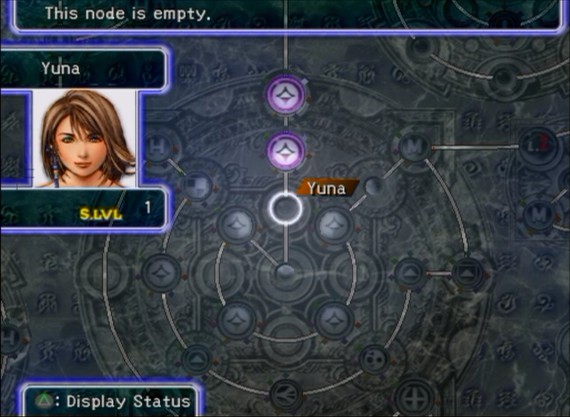
Yuna is all about the Staff/Rod type weapons and Rings for her equipment. That Rod of Wisdom we gained using the Destruction Sphere back in the Cloister of Trails raises Yuna’s magic stats by +8% (there’s a reason it’s broken into two slots of the same stat, but that’s a mechanic for later) as well as the Sensor ability. Sensor allows us to see the current enemy’s HP. It’s pretty nice to have at least one character with a Sensor equipped bit of equipment.

Lastly, Wakka just brought his favorite Blitzball along and forgot to wear any armor (he uses Armguards.) I’m sure he’s going to make a swell bodyguard for Yuna.
Well, that’s quite enough equipment chatter. Onward to the next tutorial battle down the road.
Music: Normal Battle
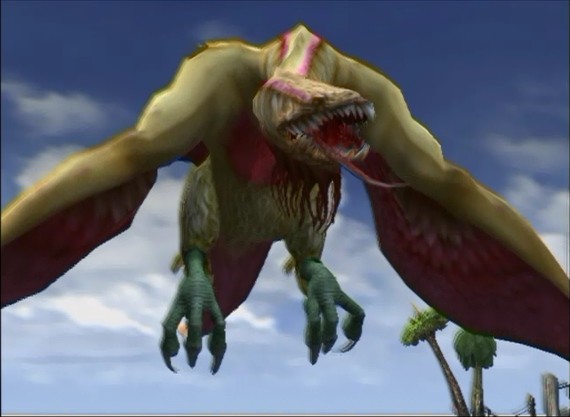
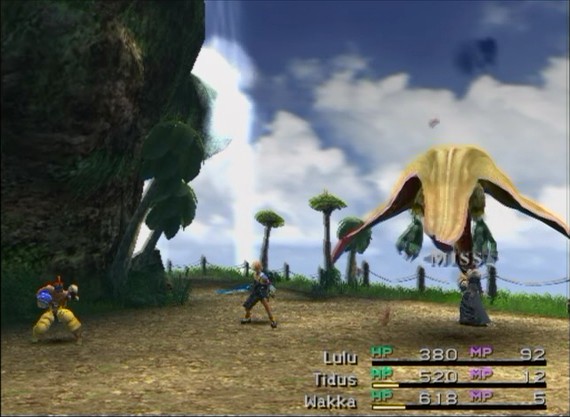
Well, that’s a step up on the terrifying creatures out in the wild scale. Meet the Garuda, the strongest random battle fiend skulking about on the roads of Besaid Island.
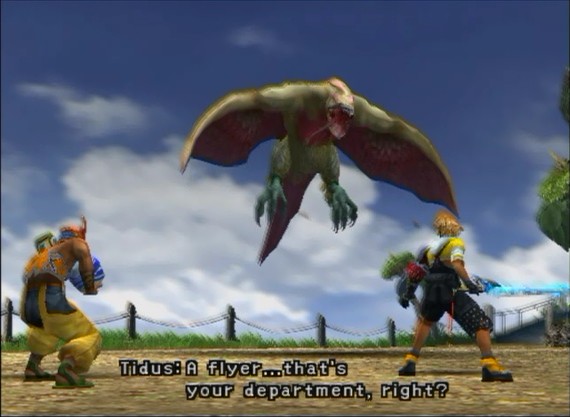
 "True, true. But, uh... Why don't we let our summoner show us what's she's made of?"
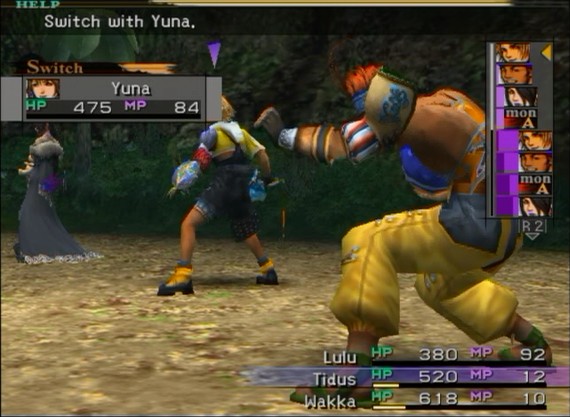
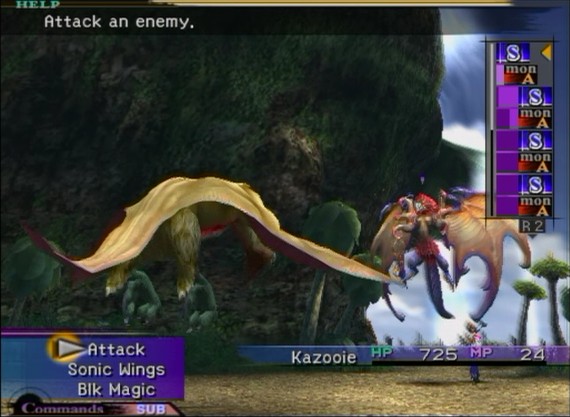
So a really nifty part of Final Fantasy X’s battle system is that while fights are a three character affair, we can swap in any of the benched characters from the bullpen into the starting line-up with just the push of a button. It doesn’t even spend a turn changing folks out. So here we can have Tidus take a breather in order for Yuna to step up to bat.
 "Show us what your training has taught you, Yuna!" “Okay.”
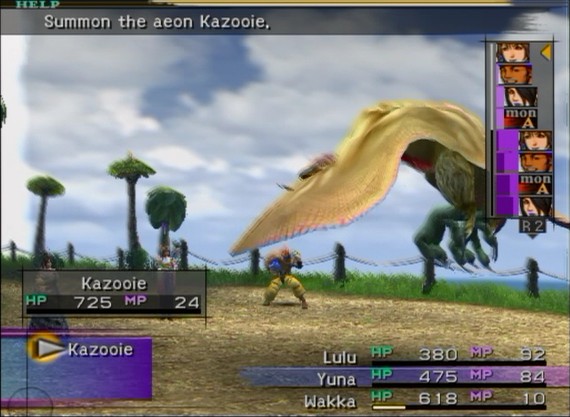
Now we can use Yuna in battles. Factory model Yuna comes out the door with crap Strength and Defense, but good Evasion and Agility alongside the best Magic based stats in the game. This means that if you ever sent Yuna down Lulu’s Sphere Grid path, she’d turn out to be a way better Black Mage than Madam Gothtits. But that is getting far ahead of ourselves.

Yuna’s base Sphere Grid path sets her up as the party’s White Mage (read: healer) with a bunch of health/status restoring spells along with a variety of defensive buffs. But this tutorial is about Yuna’s secondary job as a Summoner, which is its own thing.

Summoning costs no MP to perform in this game, but that’s because the summons function differently than every other prior game in the series. Instead of just playing an overly drawn-out animation (culminating in one so long you could go make a decent sandwich and check the weather report before it completes) for above average magic damage; summons are straight up their own characters in Final Fantasy X.
A summoned monster has its own stats, learn their own skills, level separately (thought tied to Yuna’s growth) and will effectively replace the entire party for the duration of their summoning. Yuna can recall a summon at any time to return the battle to normal. But there is seldom reason to do so once it is busted out.
Summons are also dispelled if their HP is depleted and they will be unavailable until they are healed (save points are the easiest method.) However, there’s no penalty to having a summon croak in battle. Meaning this can be exploited to have them tank particularly powerful attacks instead of our party. You know... if you’re into animal cruelty like that. It is worth noting that Kazooie is the only playable character in the game that flies. As such, it is considered Out of Range to enemies with only ground based physical attacks (for an example, that Dingo from earlier.) Such fiends, unless they’ve got some kind of magic attack on reserve, are more or less entirely helpless if Kazooie comes flying up to ruin their afternoon.
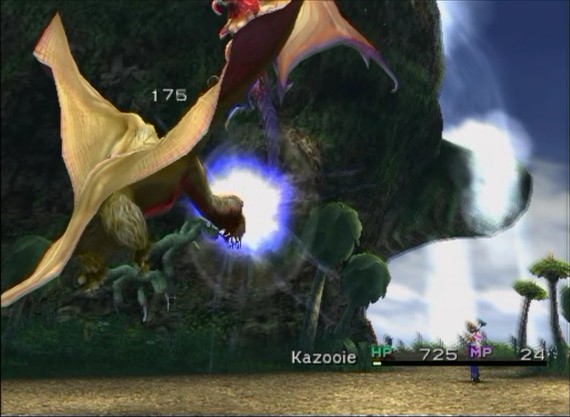
In any case, each Aeon comes with a basic physical attack for a moderate amount of damage. Nothing to write home about. But there’s at least still the option to do that if its MP is depleted.
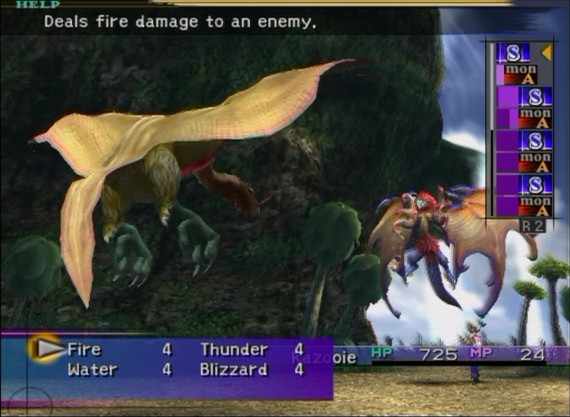
Kazooie also comes with all the basic elemental spells that Lulu possessed.
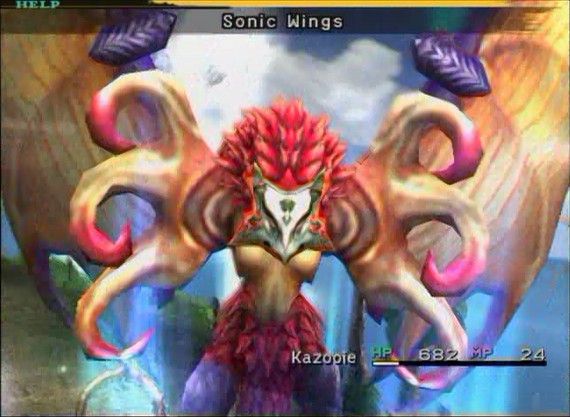
Kazooie’s unique basic ability is Sonic Wings. An attack that hits for moderate damage, has a really quick recovery time, costs 0 MP, and delays enemy attacks. Needless to say, spamming the shit out of this is Kazooie’s bread and butter.
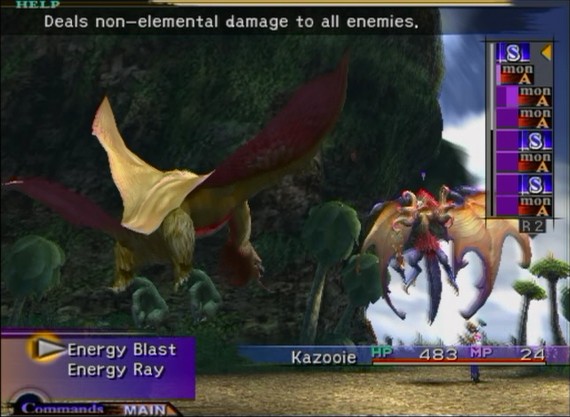
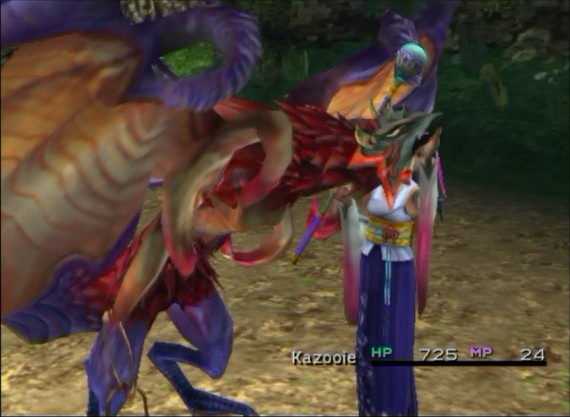
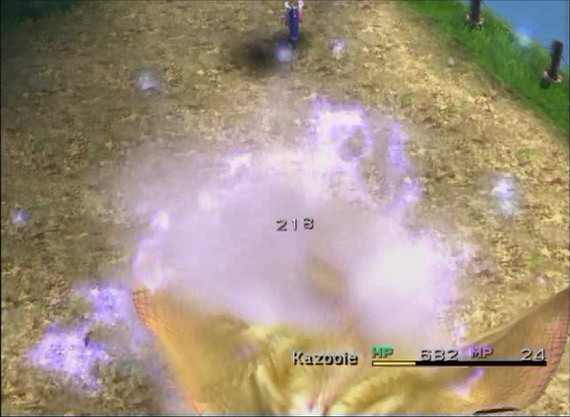
Summoned Aeons also each possess unique Overdrive skills. Aeon’s Overdrives tend to fill up way faster than regular characters. Just in this fight I went from an empty gauge to enough juice for blasting one off. Kazooie is the only summon which has two Overdrive attacks. Given how early on we can get it and only via an obscure sequence of events, I kind of think they intended to have all the summons gain a second Overdrive but ditched the idea soon after.
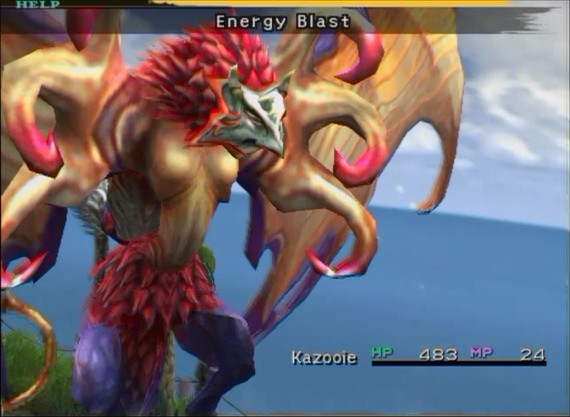
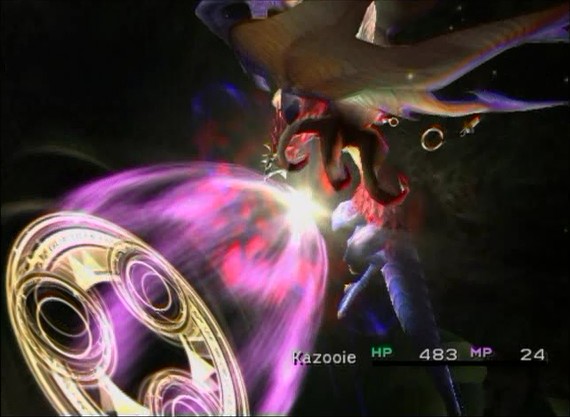
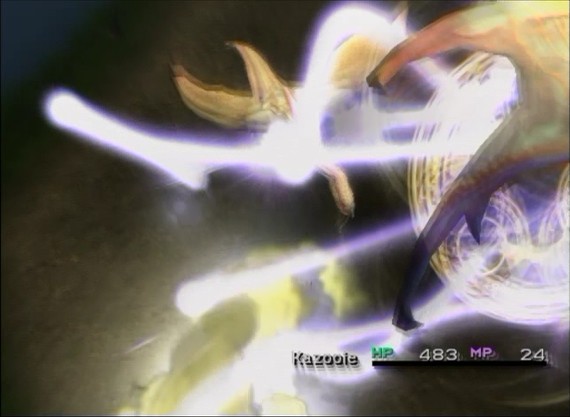

Anyway, Energy Blast is the stronger of the two Overdrives, but it has a slightly longer recovery time. Which matters little early in the game considering it could have 1-shot the monster we were just battling.
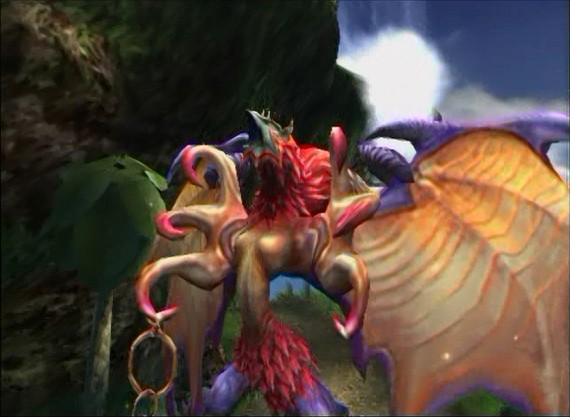
So concludes our tutorial on Aeons. How does that tiny little torso support those massive wings...? It looks like the poor thing could snap in half at any moment.

Before we continue, a mention should be made that if you plan on summoning an aeon during a battle, it’s best to have everyone else in the party take a turn first. Otherwise Yuna will be the only one gaining any AP from the brawl. Though this fight also earns her a Bright Ring for her tutorial troubles (immunity to darkness status ailment.) So I guess this is Yuna’s time to shine all around.
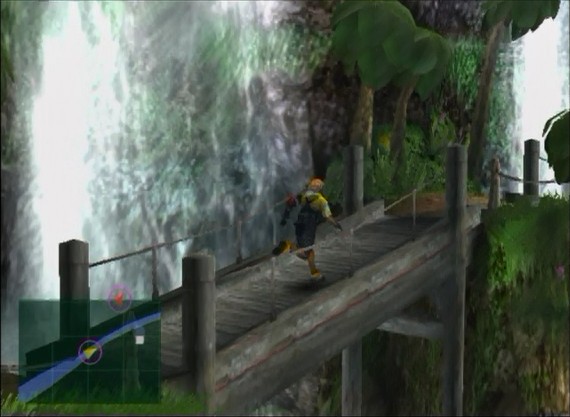
After another short power walk, the game throws one final tutorial at us before we depart Besaid.
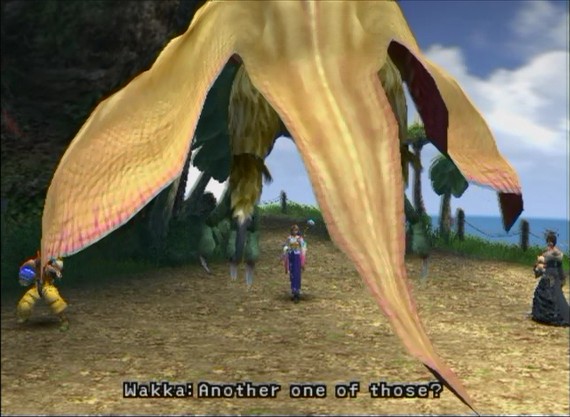 “No problem! Leave this one to me, ya? Say goodnight, birdie!"
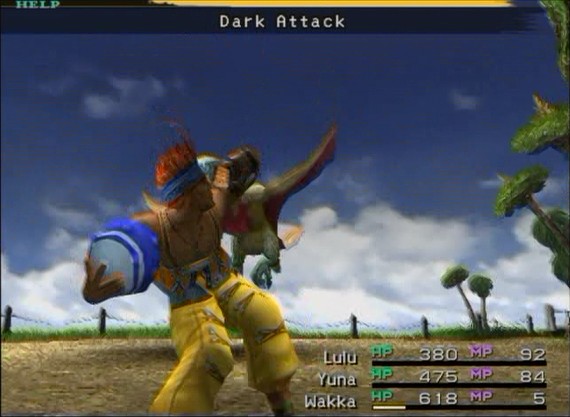
All this tutorial entails is pointing out the fact that Wakka can inflict the Darkness status effect and it could come in handy. Garuda has 1500 HP and hits for 100-200 HP each attack and could be a handful. But blinded, it just flails around helplessly as the party mercilessly beats it to death. Good times. Plus Wakka receives a Bright Armguard for his troubles after that battle (nullifies Darkness, just like Yuna’s ring.)
And that’s about it for the battle tutorial triathlon. There’s one last fight against a Condor, a Water Flan, and a Dingo just to make sure you’ve gotten the message of (Wakka > Flying Monsters), (Lulu’s magic > Elemental Monsters), and (Tidus > Generic Trash Mobs and Fast Critters.) Just to get all of the game mechanics crap out of the way at once for a decent clip, let’s briefly update everyone’s Sphere Grids. Just a quick summary of gains...

Tidus moved up one space in order to gain the Flee ability. In battles, it is possible to run away. But the run command must be issued to each character separately and has the chance to fail. Flee just makes the entire party head for the hills all at once and is effective in everything outside of boss battles.
Useful. If you’re some kind of a pussy.
Wakka moved ahead to spaces and gained +2 Agility and +200 HP. Good for him.
Yuna moved ahead once and learned the NulBlaze ability (buffs protection against Fire elemental spells.) Could come in handy down the road.
And lastly, Lulu moseyed onto the next space and activated a node for +20 MP. Since ya know... she was running low... In the future, I’ll probably just do a trip report at the end of chapters for everyone’s gains.
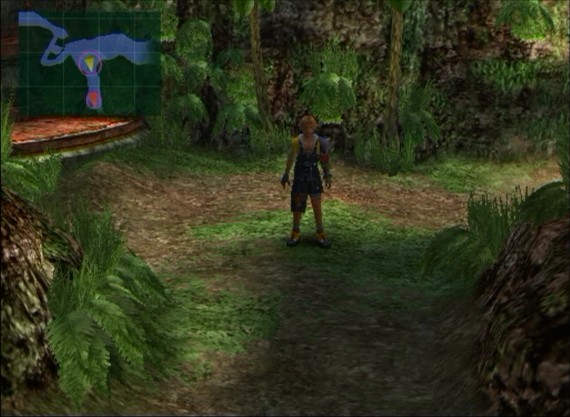
With that all squared away, it’s just a few hundred more yards before we emerge back to the fork in the road from when we first arrived on Besaid. You know, where Wakka led his newly found friend to the nearest cliff in order to push Tidus straight off it.
Music: Yuna’s Theme

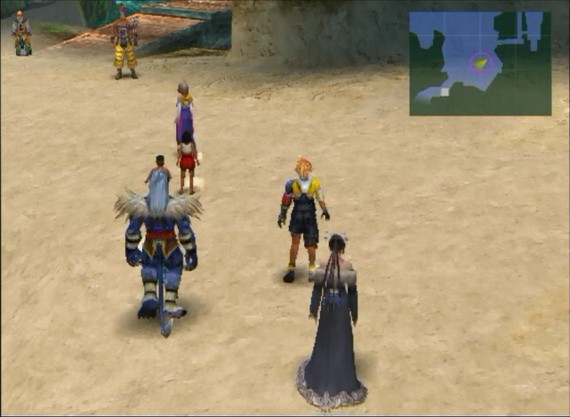
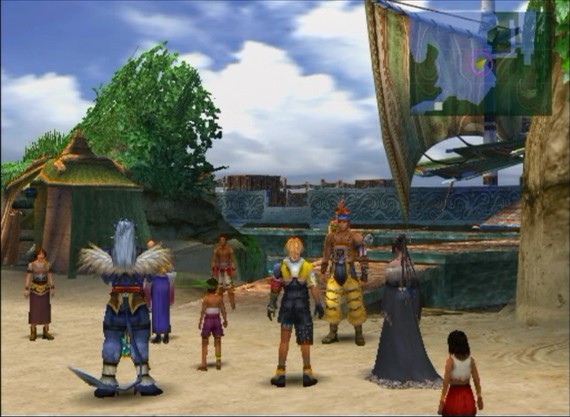
A small crowd gathers at the dock to see Summoner Yuna off on her journey. Wakka and Lulu get a big collective “whatever” out of the residents.
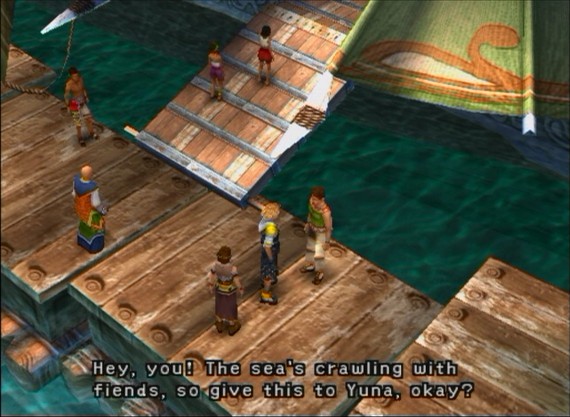
Despite the folks back in the village declaring Tidus a heretic that ought to be exiled as soon as possible, everyone seems quite keen on him hanging out with Lady Yuna. To the point they’ll shove gifts on her behalf into Tidus’ arms. Of course, Tidus will just pocket them all. Gabbing with the people on the pier will net Tidus with:
- Phoenix Downs x 3
- Remedy (heals all status ailments)
- Ether (Restores 100 MP)
- Seeker’s Ring (Yuna Armor with +10% HP stat.)
- 400 Gil
Not a bad haul at all.
Tidus boards the ship with Yuna and her entourage...
Yuna waves goodbye and prays toward the crowd of namely Besaid villagers seeing her off on the journey.


And so with that, to our first proper stop of Final Fantasy X, we say...
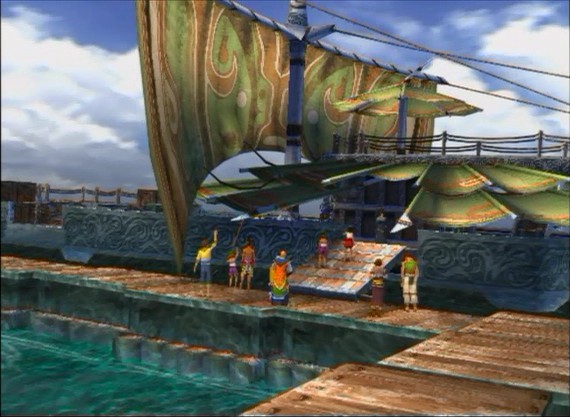 “Goodbye...”

Video: Kazooie Summoning Demo

Video: Episode 16 Highlight Reel
Bonus: Alternate Parting Cutscene

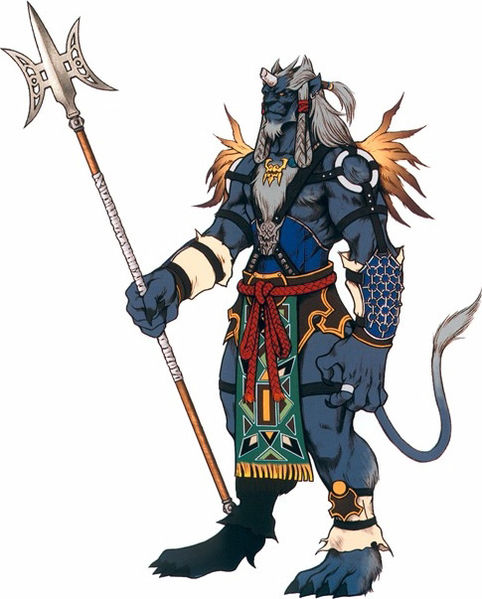
Kimahri Ronso Official Art
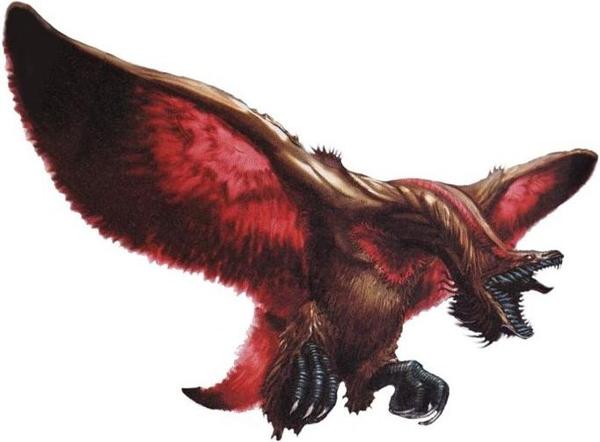
Garuda Enemy Official Art