Part 3: Caves, Fetching, and Stubborn NPCs
Chapter 3: Caves, Fetching, and Stubborn NPCs
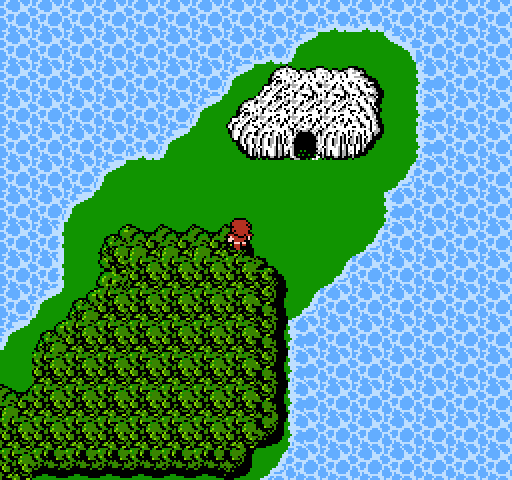
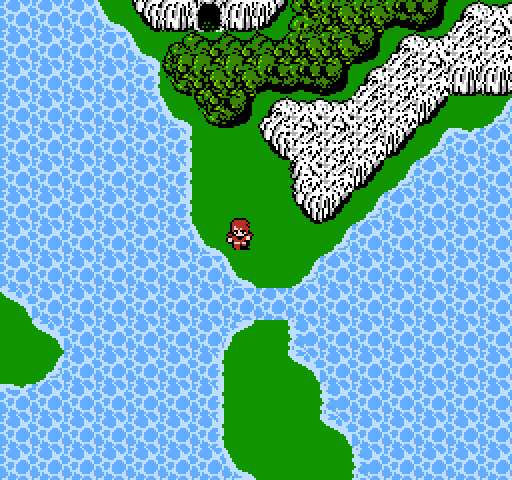
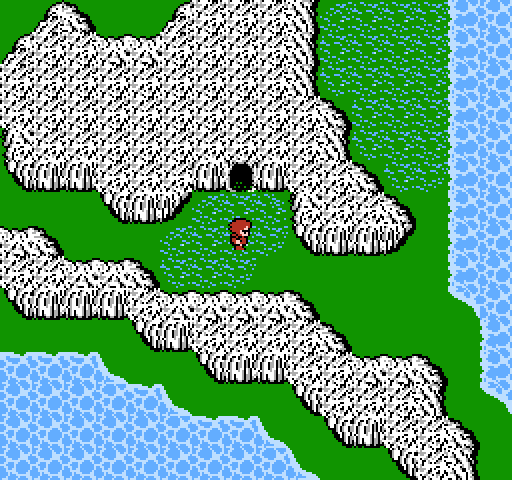
At the end of the last chapter we were standing in front of the Marsh Cave, which for first time players of the game often marks a sudden climb in the difficulty level of the game. When I was a kid, I refused to go near this place without a full stock of potions, a bunch of pures, and a cabin or two.
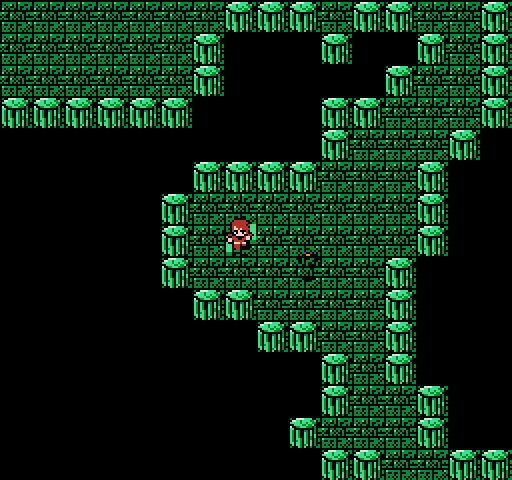
It's not terribly intimidating, just very, very green. This cave throws a bit of a switch at you by putting you right into the middle of the cave. You can go either up or down, which is a bit of a mindscrew when you consider that you're in the middle of a marsh.
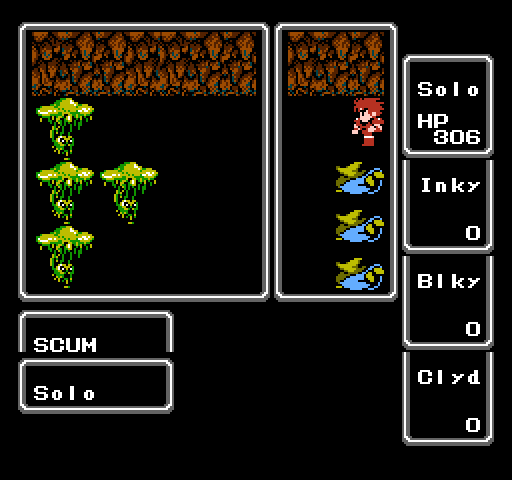
These are the first rather unimpressive enemies I ran into here. They're poisonous, but really they're more annoying than anything. Scum have incredibly high defense, so much so that I'm lucky to do more than a couple of damage to them. Unlike most enemies with that kind of defense in RPGs, however, they give no great rewards when defeated and don't have an HP total dramatically lower than other creatures in the area.
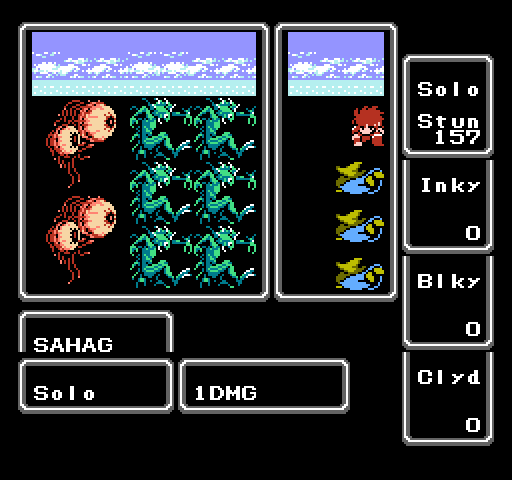
I mentioned that this is one of my two least favorite dungeons for this kind of run, with the Ice Cave being the other. Enemy groups like this are the main reason why. Every enemy in this group has a chance to paralyze when they hit, and there's really nothing I can do about it but hope that the paralysis runs off and that I can run.
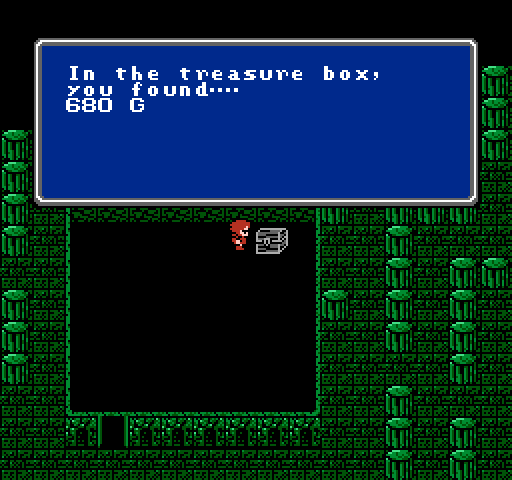
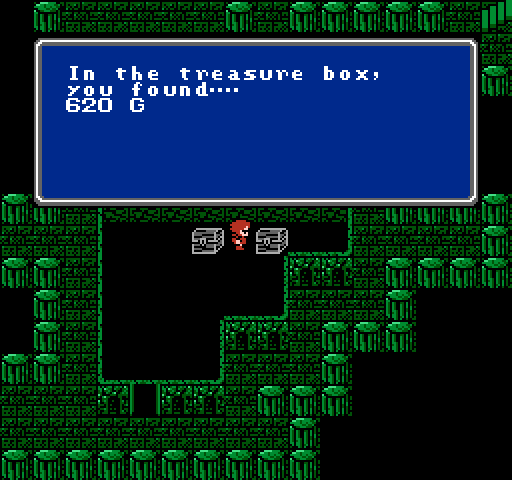
As far as this playthrough is concerned, these are about the two best chests in this entire cave. None of the armor or equipment in here is worth using, and it's barely worth selling. For some reason, I still went around and collected every bit of it.
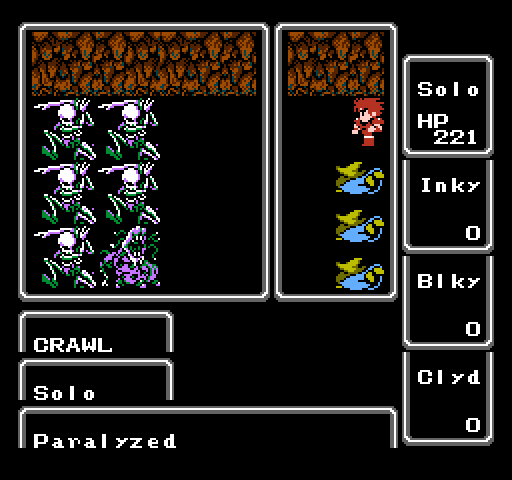
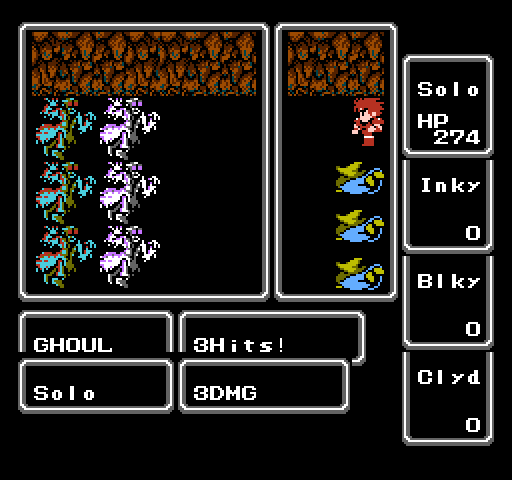
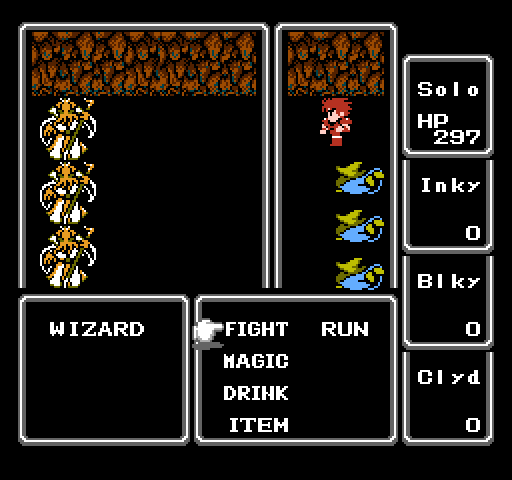
This group right here represents the stuff of nightmares. The crawl is probably the single most dangerous creature in this cave, and that includes the wizards at the end. They hit 6-8 times for each attack, and have a chance to paralyze. As near as I can tell, each individual attack's chance to paralyze you is calculated individually. As a result, their success rate is near 100% just because if they flip that coin often enough, it will come up heads. If you're lucky you can hit them first and kill them or run away and hope you don't see anymore. If they attack even once, it's more or less over. In order to escape at that point you need to be cured of paralysis after the crawl has already attacked for the turn, choose your action, and then manage to run away or kill the crawl before it goes the next turn and paralyzes you again.
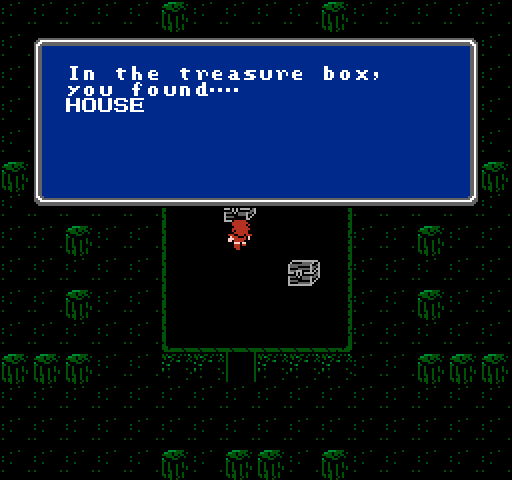
On the bottom floor I come across this treasure, which is practically useless. Houses don't restore enough HP to a high level party, and have a nasty bug where they save your game before restoring HP. If you use a house to save your game and then come back to it later you're going to end up without the house and with your HP still where you left it. They are useful for restoring spell levels, but that's obviously not an issue here.
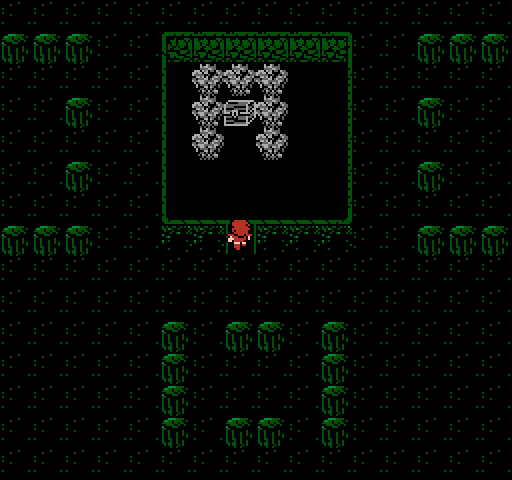
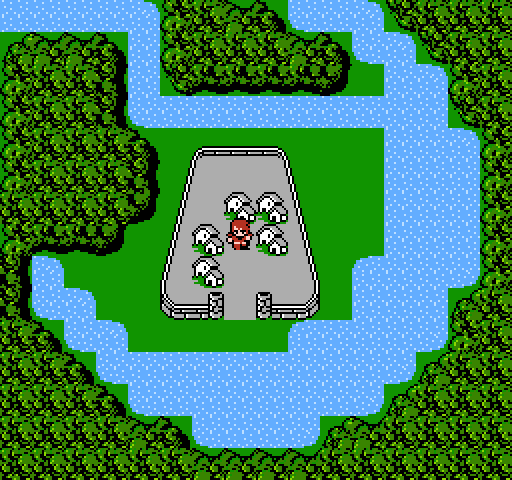
Finally in a completely ordinary room we come to the object of this dungeon. You can tell this because it's surrounded by statues. Who DOES this? If you have a hidden safe at home, are you going to put a neon sign around it saying "valuable stuff inside"? This is literally weapons grade stupidity here.
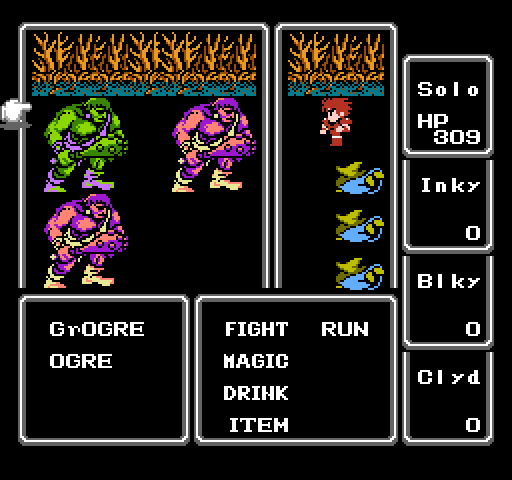
This is another battle that was intimidating as hell for a kid but is kind of a joke. These guys still pack a punch, but it's not nearly as bad as it might be. By the time they're done I'm down to about half of my HP. The real risk with them is when you have a regular party. If two or three of these guys were to gang up on a wizard, that would be it for the squishy. Once they're dead, it's time to take the CROWN and hightail it out of the cave before something stunlocks you to death.
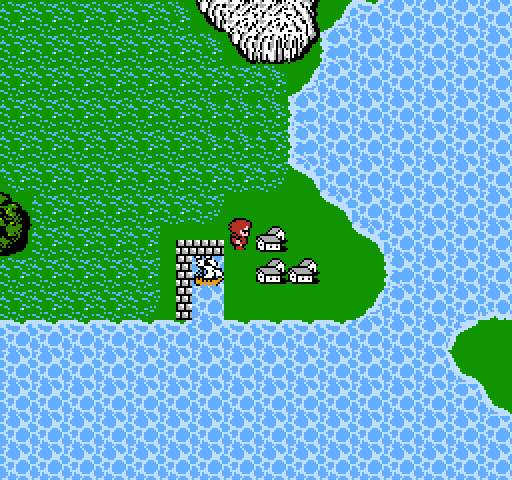
Just outside of the marsh cave I run across this merry little group, a good example of the rare enemy formations. In theory, these tougher groups are supposed to be something you run into at a rate of about 1/64. Due to how they're placed in the encounter table, however, you're lucky if you actually find them that quickly. I had no real need to farm any of the rare groups, but if I wanted to it would be a substantial pain in the ass.
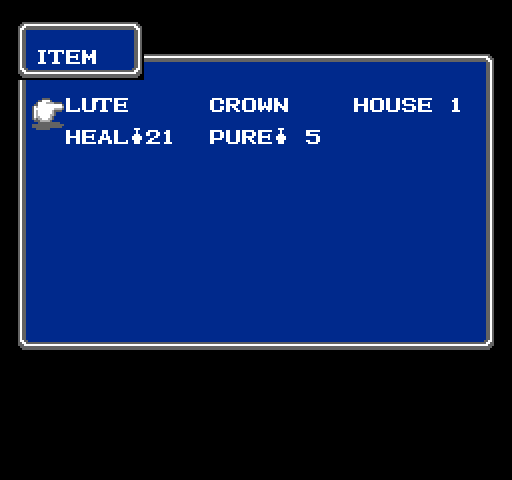
You might remember that I went into that cave with a half dozen or so pure potions and more than 50 heals. This is what I had coming out.
Let the fetch quest begin! First step is this ancient castle, which I've never been to before since there were no event triggers that would force me to do so.
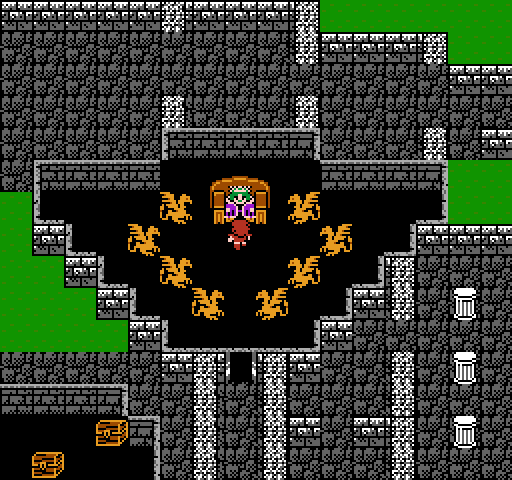
Inside, a random guy in purple robes with a terribly decorated throne room attacks me for no discernible reason that the PC would be able to figure out.
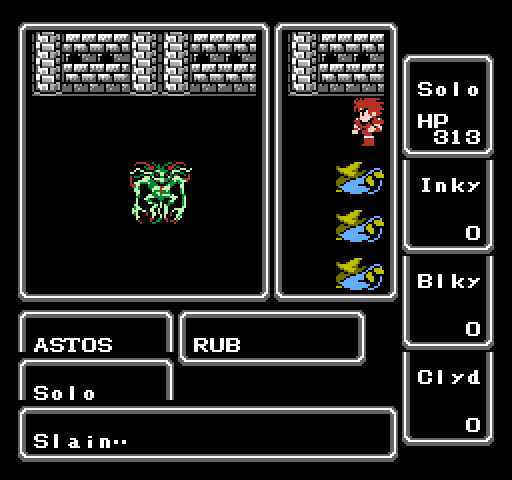
Astos almost always begins by casting Rub on one of your party members. It's an instant death spell that you have no way to protect against at this point, and this battle is the bane of all OCD players who can't stand to have the XP totals of their characters be different. You'll note that in this image he's succeeding in killing me. Funny story about that...the first time I attacked him his Rub spell missed, but I was a second too slow on the screenshot and missed it. I already knew I wanted to talk about it, so I ended up fighting him half a dozen more times after this time before I was lucky enough that it missed again. A lot of people have the mistaken idea that he will only use Rub once. It's actually just buried so deep in his attack pattern that most people never see him. I had to survive it twice to win.
Even without his instant death spells, Astos can be a tough nut to crack. He's got Fir2 for damage, Fast to increase his own attack, Slep to put you down, and Slo2 to reduce your ability to hurt him. He's also got regular attacks. I might have been a bit underleveled for this fight, but the reward was definitely worthwhile. In some ways, Astos might be the most difficult boss in the game.
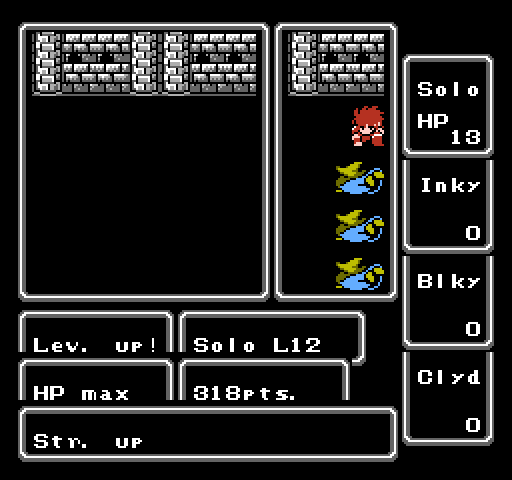
As you can see, I'd just reached level 12 at the end of the fight. This isn't an unusual level to finish this boss at with a whole party.
Next stop is Matoya's cave, which I mentioned earlier held nothing of any real worth. If it weren't for the fact that it was part of this fetch series, I don't think most players would visit it on a second playthrough.
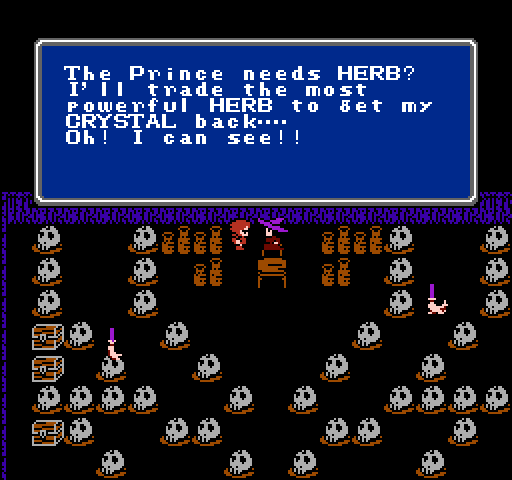
 Seriously, it sounds like Matoya is the Prince's dealer. I'm guessing that the curse that's got him sleeping so much is something like glaucoma. I can't imagine that medicinal "herbs" are going to make somebody sleep less, though.
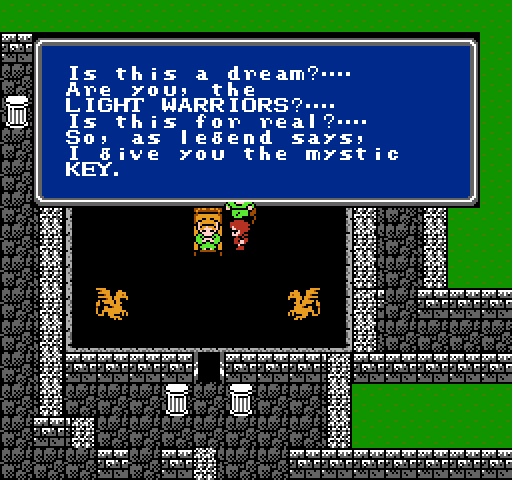
Finally, we have the object of our desire. This isn't the ultimate goal, however, but it does open up a whole lot of loot for us to collect. I pass on most of it. An interesting question is whether any chests outside of the starting area here are actually lacked with the Mystic Key. Did they bother to lock the doors that you shouldn't be able to get to?
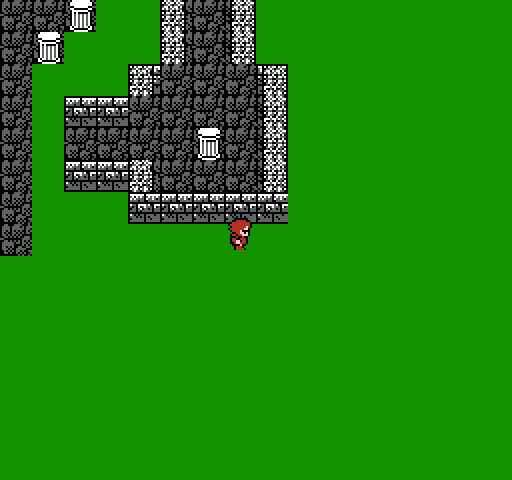
The first treasure trove is actually inside the elf castle, cleverly disguised by a walkway that's one space wide around the outside of the castle. The sad part is that as a kid, I was actually confused by this for a few minutes.
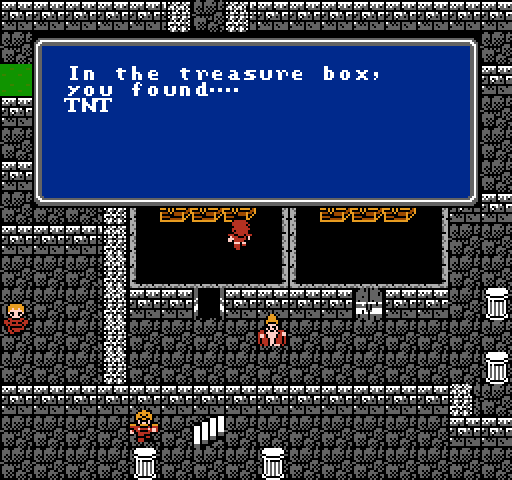
Naturally, the real treasure this key gives to us is the gift of explosives. It's inside Coneria castle, which begs the question of why you're given a lute instead of explosives for saving the Princess.
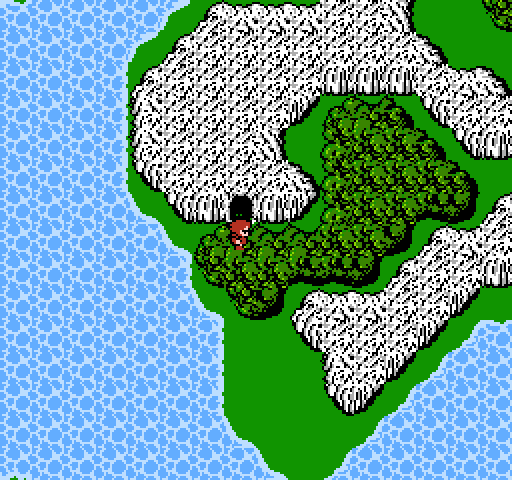
Once we have explosives, the only logical course of action is to give them to the dwarves. Who else are you going to trust for all of your explosive needs? This cave (to the west of Coneria) also has about 1,000 gold available for the taking at any time, which is pretty handy if you're having trouble grinding and need equipment fast.
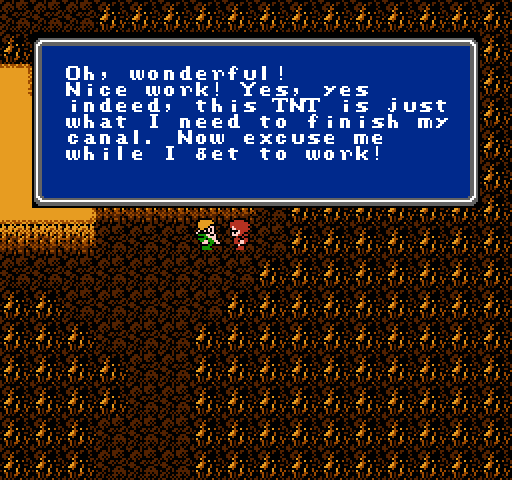
I love how excited he is about getting some TNT. The only real question is why the player isn't running in the opposite direction, considering that he immediately vanishes to go do something explosive once you finish talking to him.
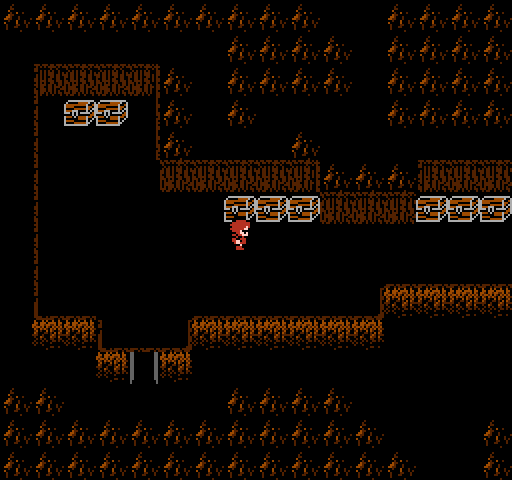
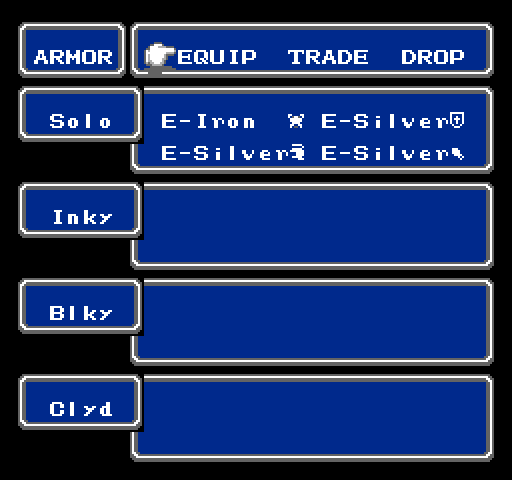
Once again, the treasure here is absolutely useless to us. The silver armor in one of these sounds like a nice idea, but it's only got 75% of the protective power of the iron armor. It's lighter and more people can use it, but for a fighter it's much better to stick with the iron armor since dodging things hasn't really come into play. There's also a dragon sword, but it's pretty much useless to us. Supposedly this weapon should give a bonus to hitting and damaging dragons, but the piece of code in the game that supports this doesn't actually work. A further but would have resulted in an equipped weapon making you weak against the element it provides a bonus toward, but thanks to the shoddy programming that prevented the first part from working the second bug doesn't come up. Raw attack power, accuracy, usability in battle, and critical hit chance are about the only things that matter for weapons.
Just a few steps south of the cave is a giant space evidently blown apart by the TNT we were carrying. Considering that this is making a hole big enough for an entire pirate ship to fit through, how many pounds of explosives were actually in that box?
Directly to the west is the town of Melmond, which has absolutely nothing of value for us right now. Our weapons are better than what they sell, as is our armor. This is the home of the ultra-powerful and ultra-heavy steel armor, which I've bought a grand total of one time. It's an impressive upgrade in defensive strength, but being able to afford it would require a good bit of grinding at this point. It's also going to pretty much completely remove any chance of your character dodging. While this isn't as huge a factor as all that, it's still a downside. Finally, within a couple of caves you're going to find armor that's got just as much absorption, less weight, and that is completely free.
Instead, we'll sail south and west to arrive here, at Crescent Lake. This place has some good equipment for sale and it's a good way to possibly get a bit of experience and improve your chances for the next dungeon.

On the way, we finally reach level 13. At the moment, there's a bit of a wall for leveling. Most enemies are only giving modest amounts of experience. That'll change quickly.
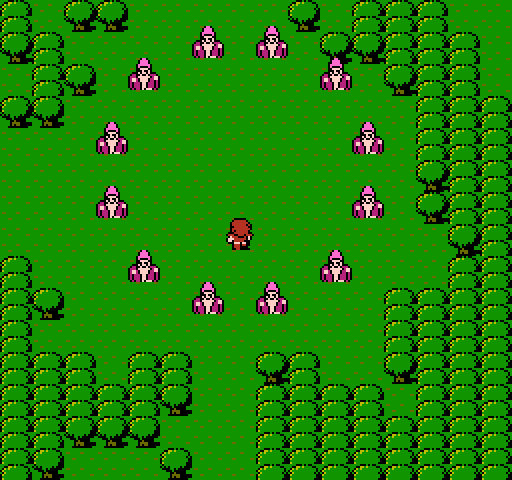
Although our main character is getting tougher, groups with a high potential to stun still pose a problem. I got to see that level up screen twice because of a run in with this group when I hadn't saved in a bit.
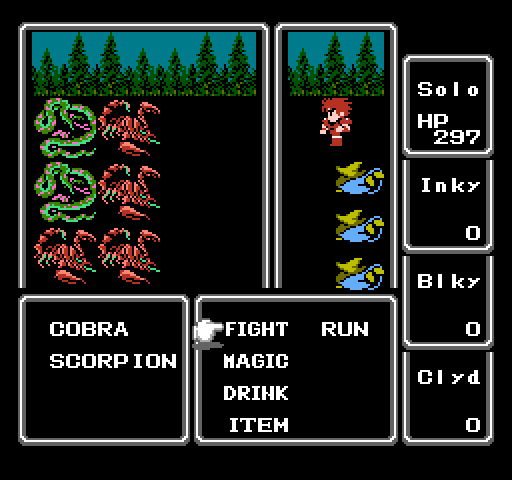
Here's another one of those strange name choices I mentioned earlier. Here we've got a group of cobras and scorpions. The scorpions are poisonous, as they should be, but the cobras are not. In the Japanese text, the cobra are referred to as pythons. As they're green, presumably big, and attack you without using poison, this is a pretty good naming choice. What possessed the translator to rename them as cobras is beyond me. Python would have fit just fine.
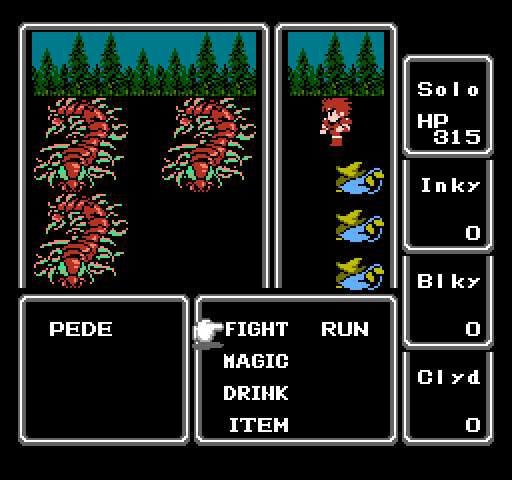
These are also a pretty dangerous group of enemies in this area, which makes a bit more sense when you consider the role that monstrous centipedes have in Japanese folklore. In this case, it's just pure brute force. At this point they're more than strong enough to simply chew through Solo and spit him out.
The reason we're here is for the silver accessories, which are actually better than any of the stuff we've been able to find or buy up until now. The armor's still no good, but the rest is fine. While I'm here, I stock up on 99 heal potions and about 20 pures. There is no item shop in Melmond.
This town also holds the last barrier before you're given freedom to travel anywhere in the game. The old bastard in the lower right hand corner has a canoe, but despite the fact that you're group has all four of the orbs he isn't going to let it go until the Earth Fiend is dead.
Armored and full of potions, we journey back to Melmond and hike to the Earth Cave. I want my damn canoe.