Part 4: A Thief of Our Own
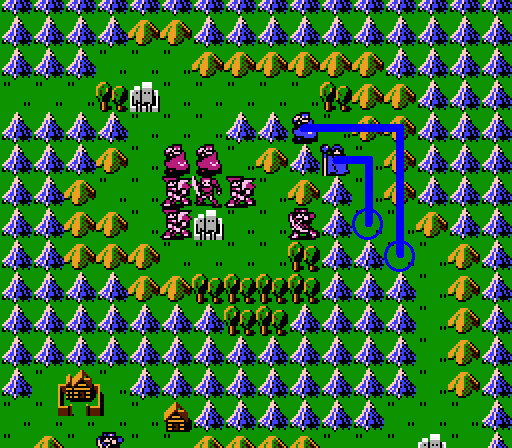
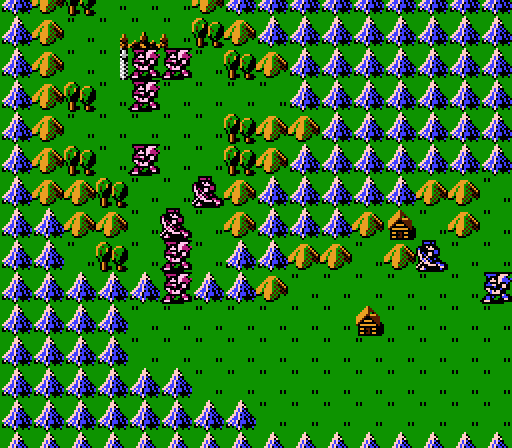
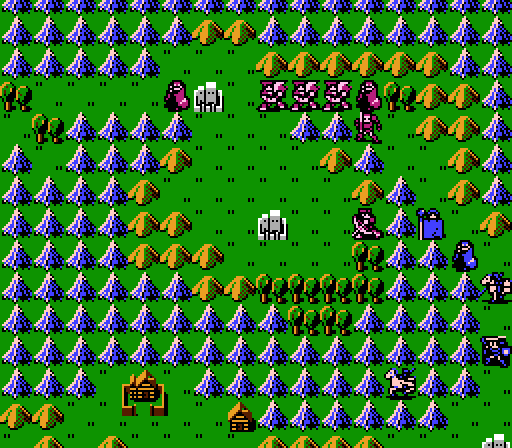
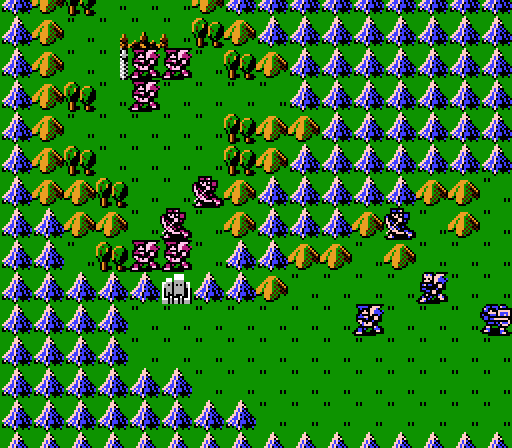
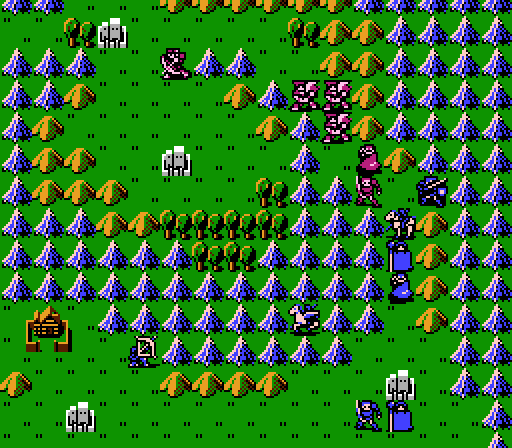
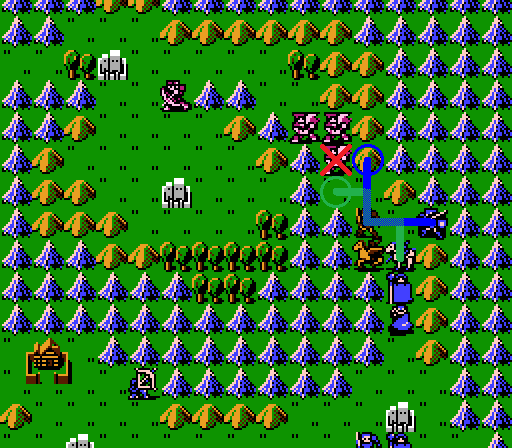
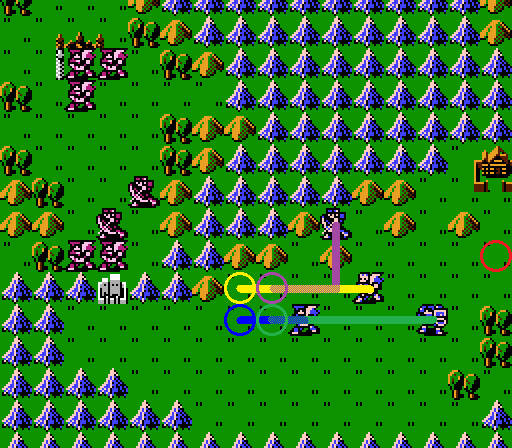
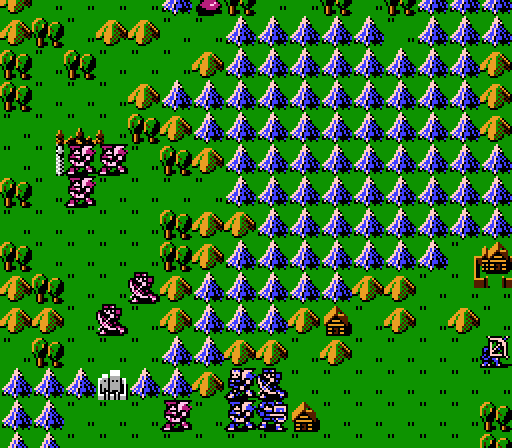
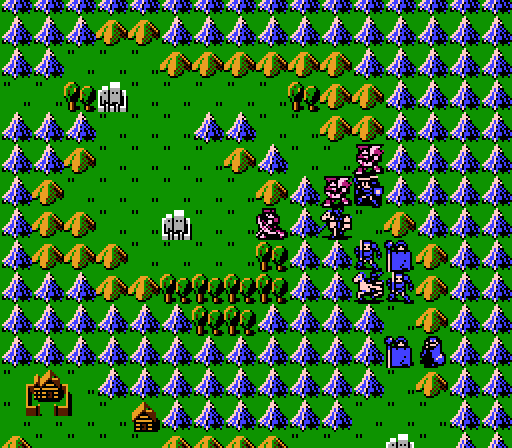
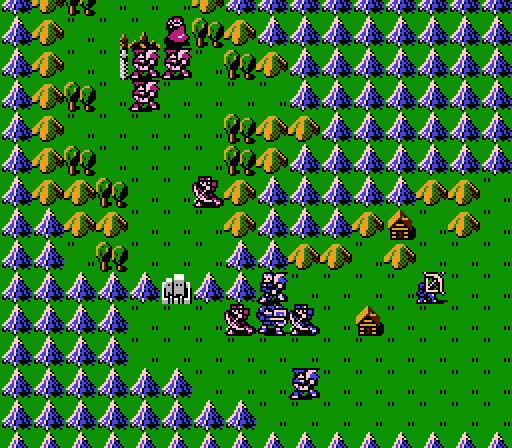
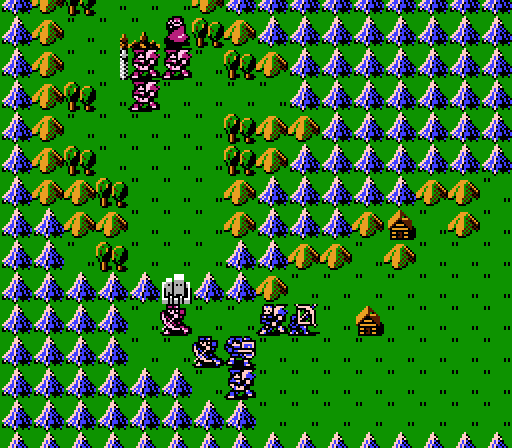
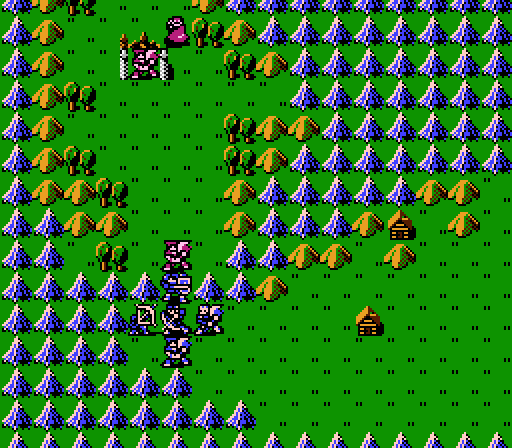
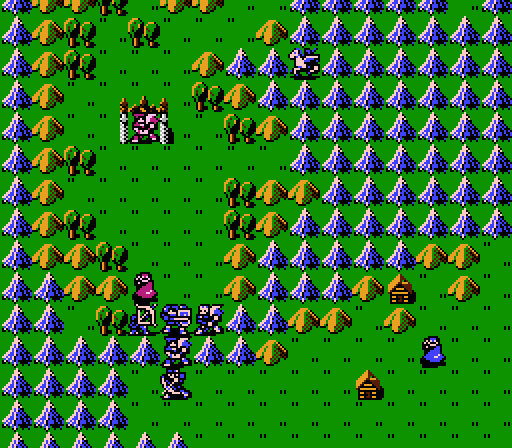
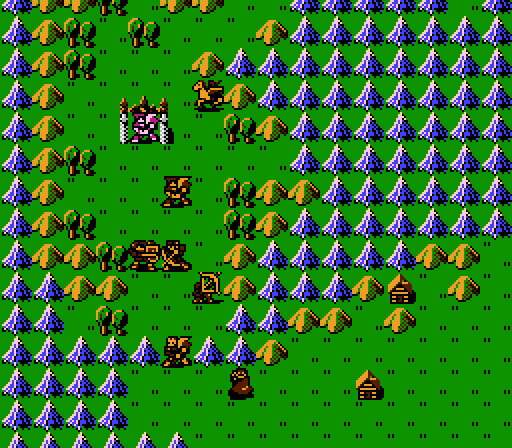
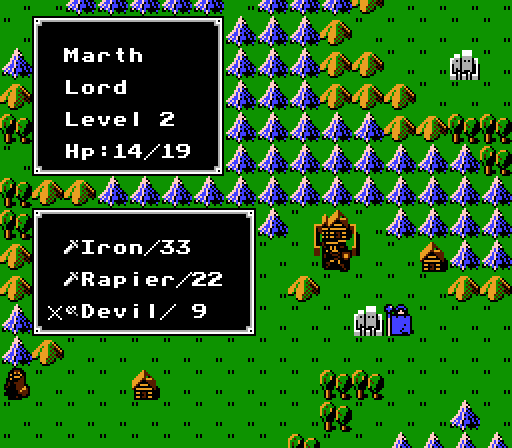
Still en route to Orleans, we've made it to Devil Mountain after an unexpectedly long journey: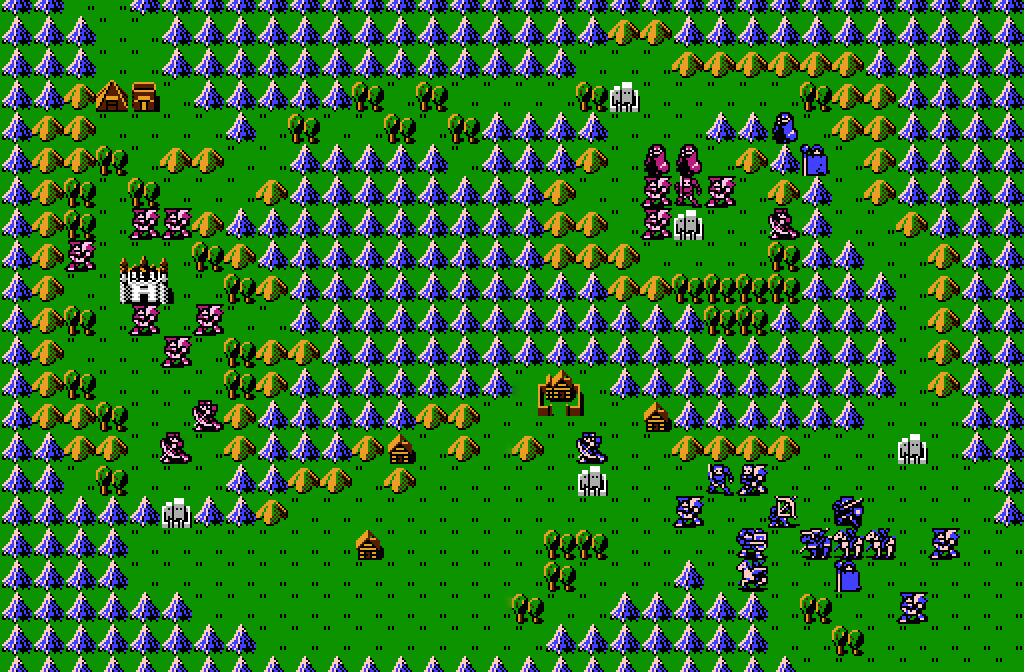
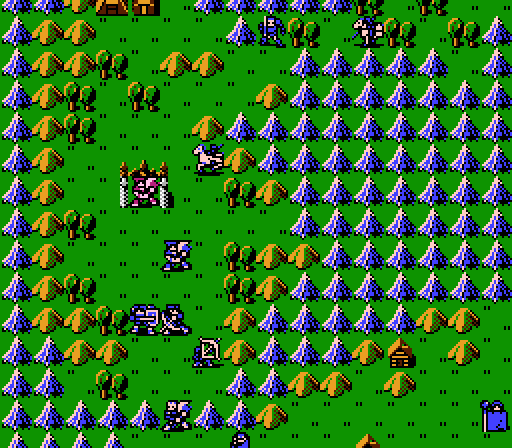
We've got two groups of enemies (notice the masses of Pirates have been replaced with tougher Fighters now), plus a couple of newcomers heavily out-numbered and out-gunned up in the mountains. Let's see what they have to say:
That is one flamboyant Thief.
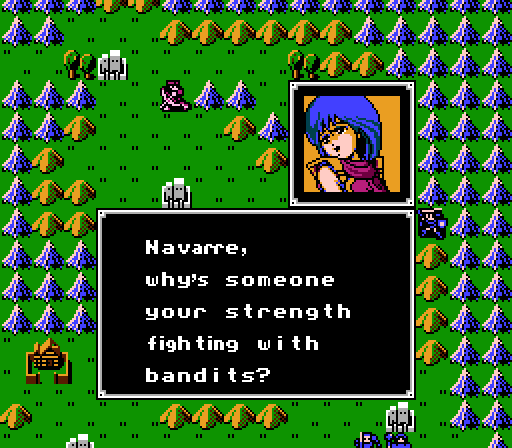
 I heard Aritian men are here.
Convenient timing for your escape attempt then!
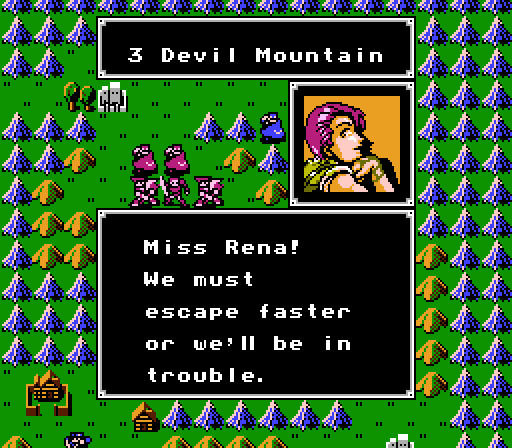
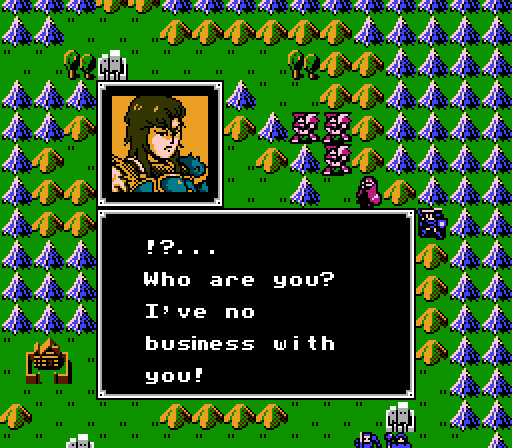
That's our chance!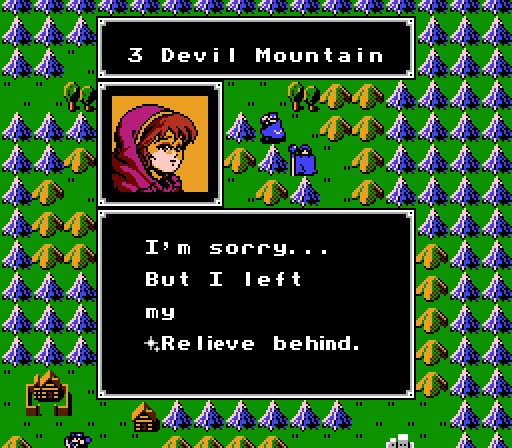
Rena is a Cleric that is helpless even in cutscenes.
 I need to get it back... Forget about me and save yourself.
Yes, because a Cleric charging through a horde of enemies alone is a great idea!
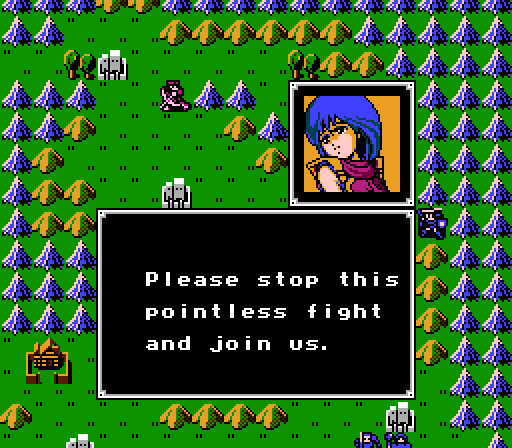
I can warp you to a different location!Whoa, what? (We'll see in just a minute.)
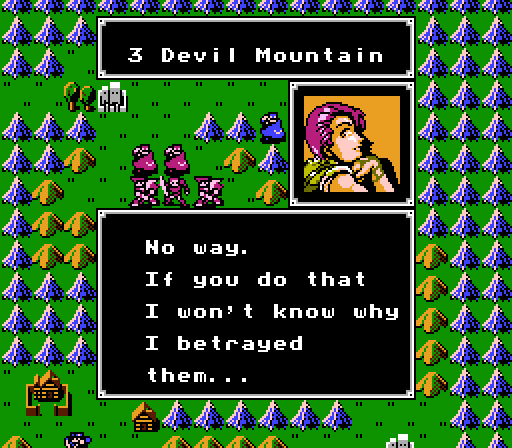
Ah, now it becomes a bit more clear - Julian is with the bandits but betrayed them to help Rena escape. Let's not let that effort go to waste, hmm?
I will get the staff later.Right, because a Thief is only slightly more capable of charging alone through an enemy horde.
Just focus on running away. Let's go!That's about the first smart thing we've heard, and it's exactly what we're going to make them do.
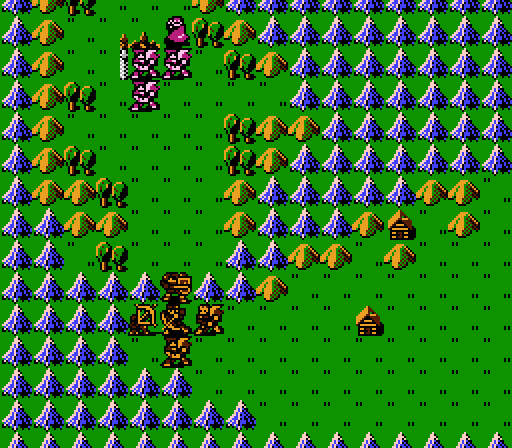
The game hands over Julian and Rena into our control right away, so let's take a look:
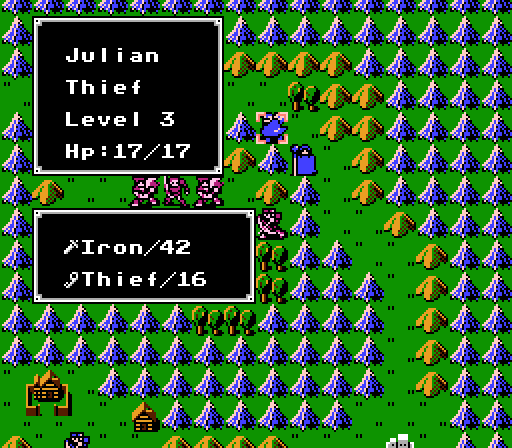
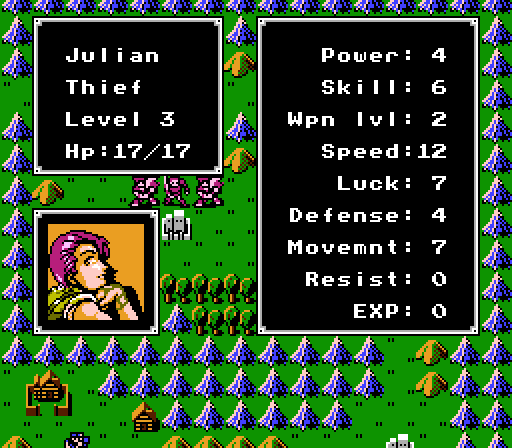
Julian has a juicy Speed but is going to have a hard time doing damage with that Power. He has just enough Weapon Level to use that Iron Sword he's holding - we can also give him a Steel Sword later as well. However his Weapon Level growth is 0 so he'll never get any better than that. Oddly enough, Julian's other growths are actually good enough that he can turn into a decent fighting unit, particularly since he's able to move as far as Marth and cross rivers, but that's not really what he's here for - the most important thing he has is that Thief Key, as it allows him to open doors and lower drawbridges. He can also open treasure chests for free. Alas, Thieves can't steal weapons for us in this game, so he's not really much use on this map.
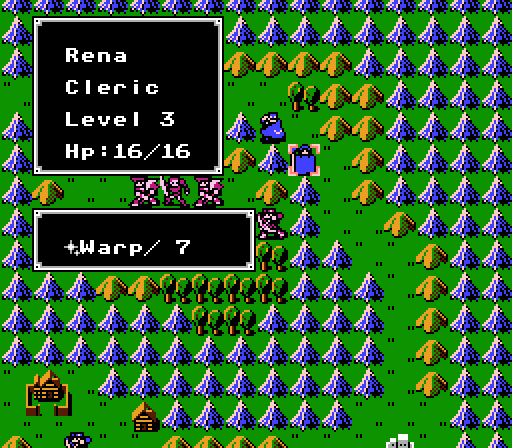
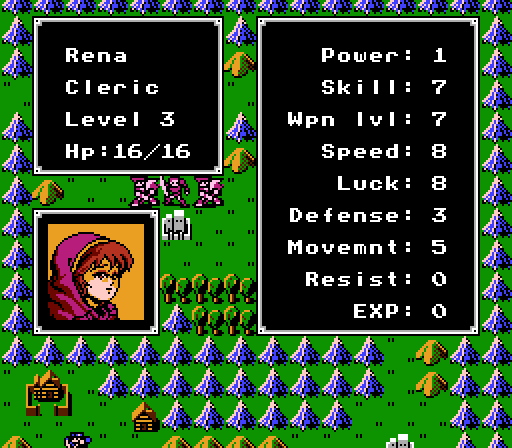
Rena is holding a Warp Wand, the first of the utility Wands and even with only 7 uses it can be a game-breaker. With it, Rena can tap anyone adjacent to her on the head and send them to any other square on the map - with infinite range. The implications are obvious - you can send Marth straight to seize the castle, or shore up a weak front without having to traverse the whole map. We won't have need for it on this map, but it will probably come into play in a couple chapters. The Warp Wand also requires Weapon Level 6, which Rena just barely has, and which Riff would be lucky to reach in 20 levels, a very good reason to switch over to using Rena. She also has higher base stats and starts a couple levels higher but, like Riff, has terrible growths - including a 0 for HP growth.
Anyway, we start off by retreating our new units a bit:
Yes, I'm intentionally leaving Rena in range of the Hunter - it can't critical her and won't do enough damage to kill her otherwise so it's a free bit of XP. This will also keep the Hunter where he is instead of chasing after us, which will be important next turn.
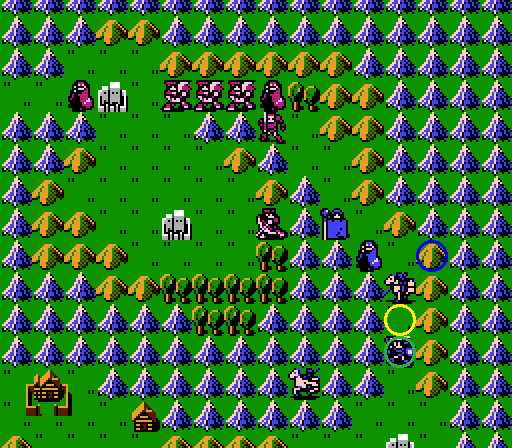
The mercenary in the center of that group is Navarre, and we don't want to let him get near us for one very good reason...
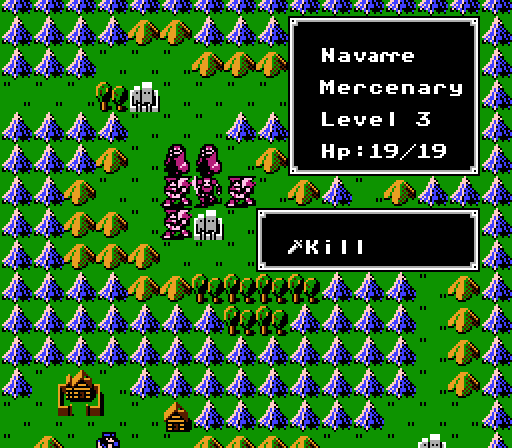
That Kill Sword he's carrying hits like a Steel Sword, is lighter than an Iron Sword, and comes with 100% Accuracy and a 20% Crit Rate. He'll one-shot Rena easily and would make quick work of Julian, too.
Next we move the non-combatants out of the way. Oguma and Riff remain where they are for now so they can hand off their weapons to their new counterparts.
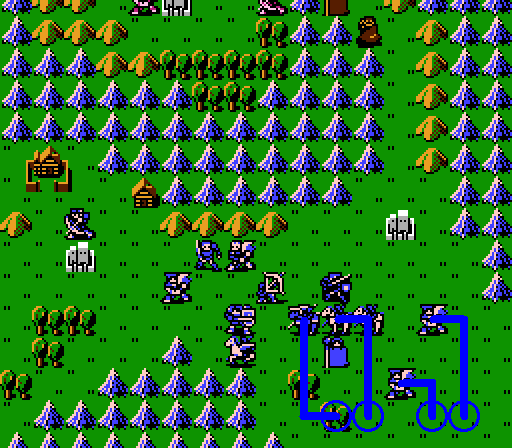
Marth, Abel, and Sheeda move north to rescue our new pals and deal with the enemies there...
while Barts, Kashim, Doga, and Gordon head for the western group and we end our turn.
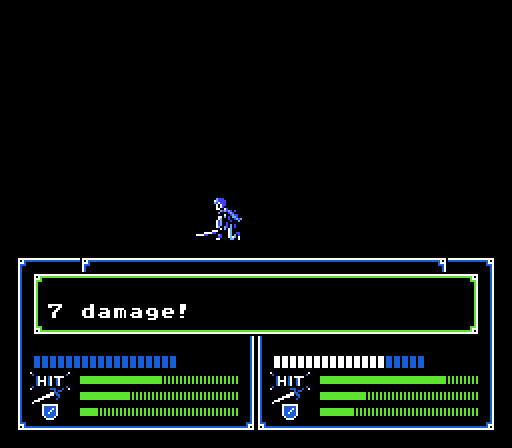
On the enemy turn, the Hunter takes a shot at Rena:
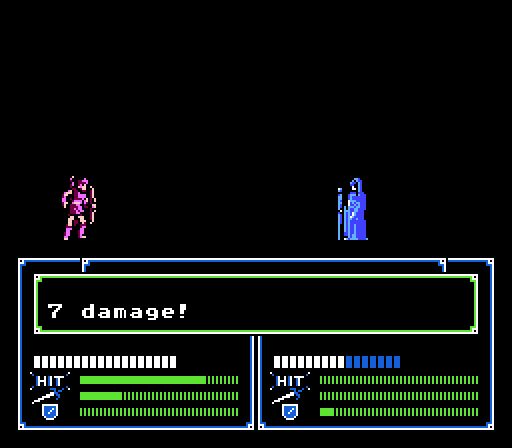
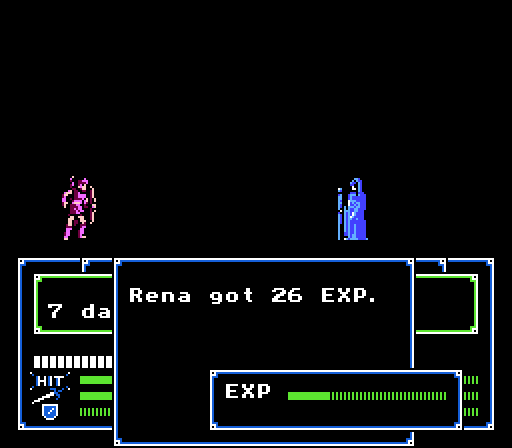
Minor damage only and a bit of Exp for Rena.
The rest of the enemies advance, while the boss camps out on the castle.

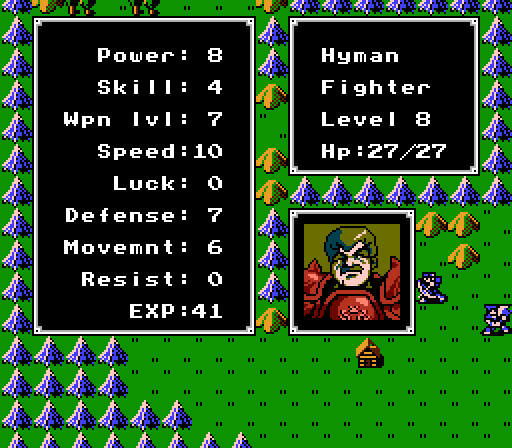
Hyman is Level 8 but his stats aren't too threatening. The Hand Axe means we won't be able to snipe at him from a distance but it will make his melee attacks weaker.
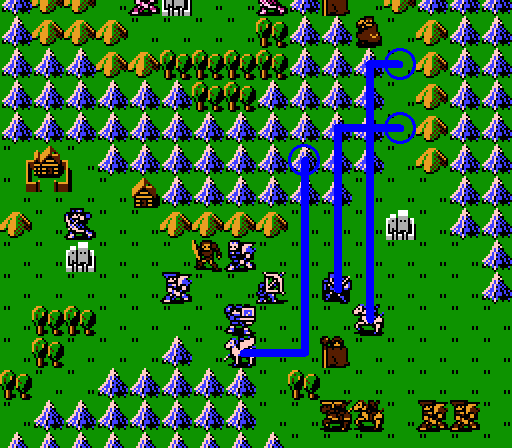
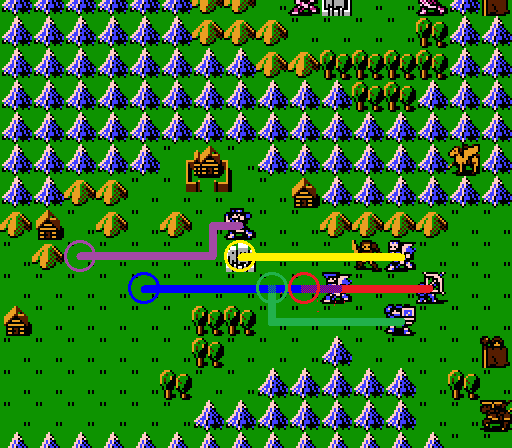
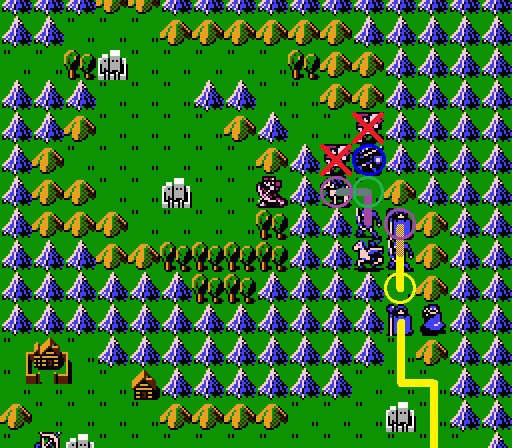
To the north, Marth heads up to the blue circle to sit with Abel just out of Navarre's range. Rena and Julian move down to the yellow and green circles, while Abel and Sheeda stay put and wait. Not shown - Oguma and Riff moving closer to perform the handoff.
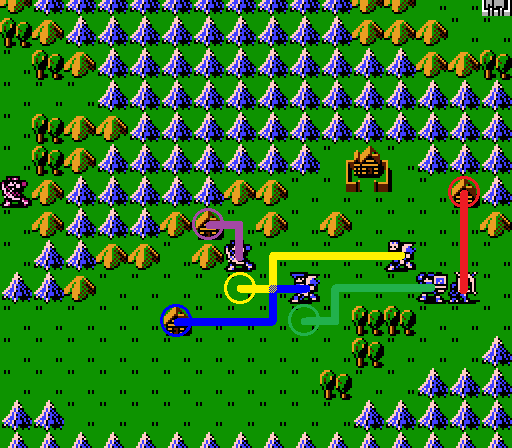
Daros and Doga advance while Kashim, Barts, and Gordon go house-hunting.
Fortunately Navarre isn't going to get the chance to hit us.
 The more speed, the more dodging.
This house actually contains useful information for a novice player. Though Speed also leads to Double-Attacks and Skill also increases regular Hit Rate.
This is exactly why Hunters are better than Archers - neither should be on the front lines getting hit so Power is more important than Defense. If only Hunters could promote in this game...
Another turn complete and we still haven't attacked anyone. That'll end shortly.
One of the western enemy Fighters is just in range of Barts, so leaves the chokepoint to go scratch him:
_-_Chapter_03_-_Turn_02.gif)
It doesn't end well for him.
The western group hunkers down behind the chokepoint. The northern group advances, though one of the Thieves makes a run for it through the mountains to the west.
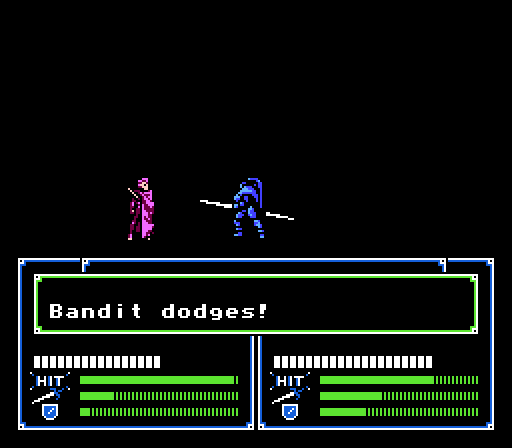
Sheeda moves up to talk to Navarre:
 If you can't say yes, do what you want to me!
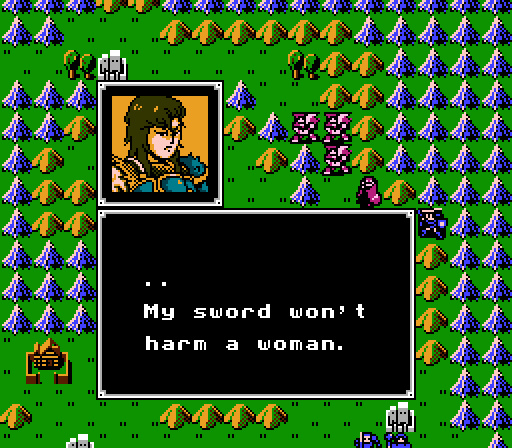
 If you risk your life to recruit me, I have no choice...
And with that, Navarre joins our side thanks to Sheeda walking up to him and threatening to force him to kill her. The magical recruiter Pegasus Knight, everyone!
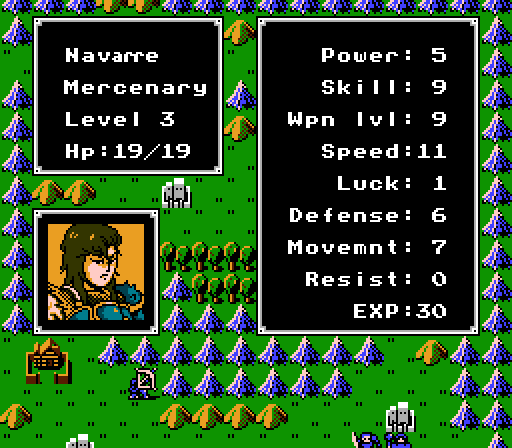
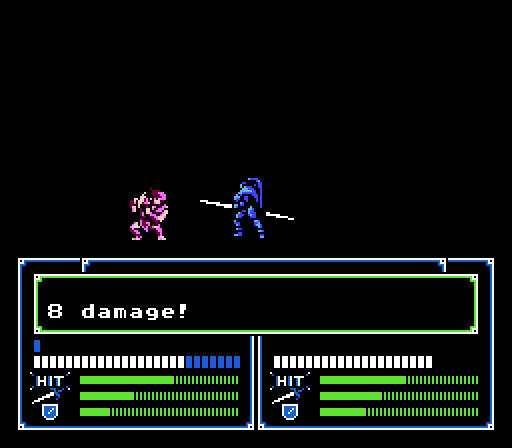
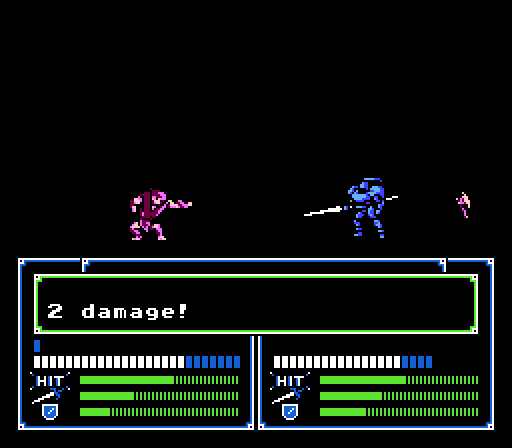
Navarre has great stats with the exception of Power, and his Weapon Level is already high enough to use any regular Sword in the game. Plus, he comes with his Kill Sword. Let's go put him to use, shall we?
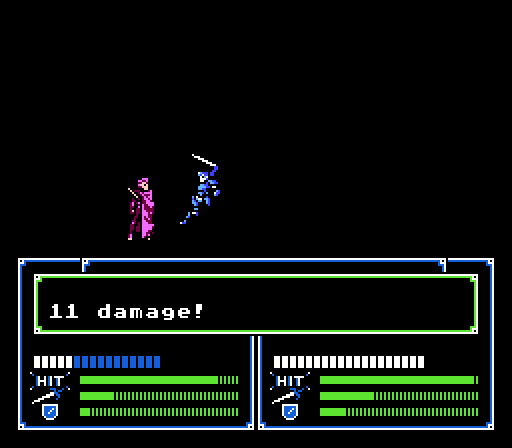
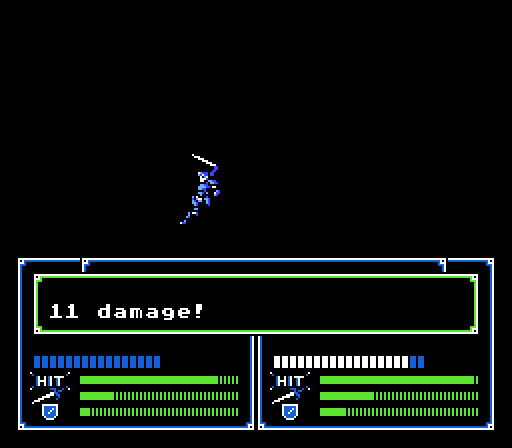
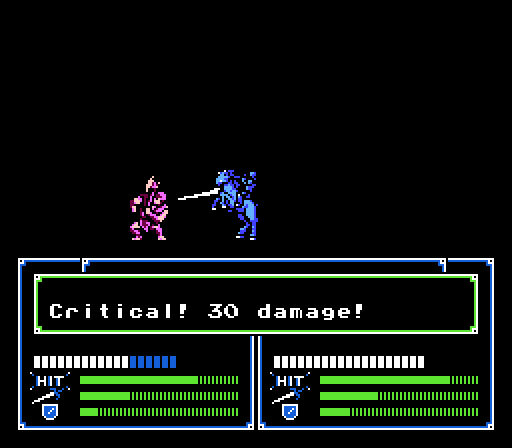
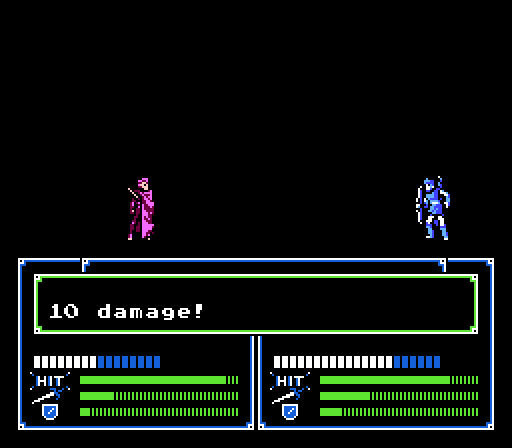
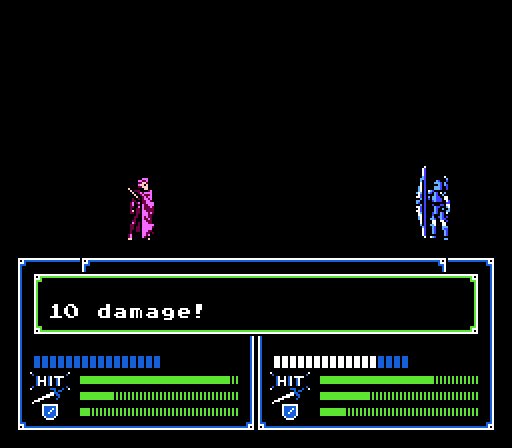
Navarre is fast enough to double the Thief and easily kills him while taking only 2 damage in return.
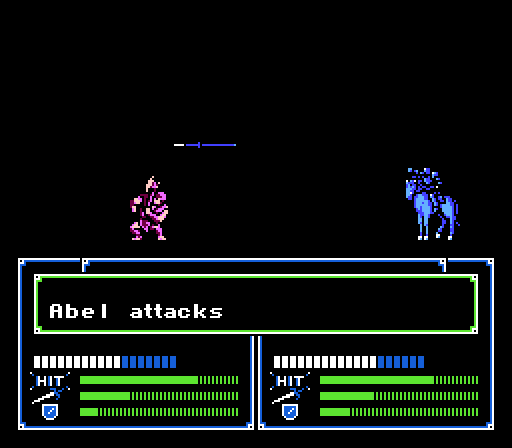
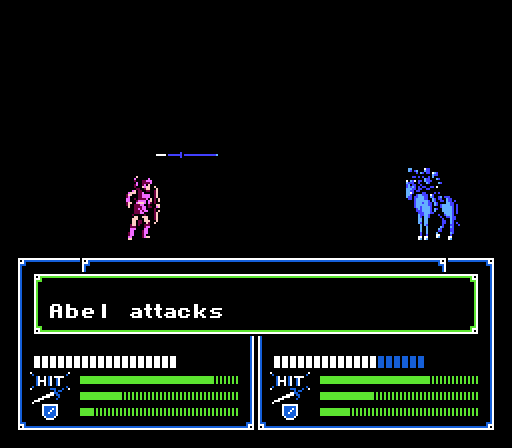
Abel and Marth move up to tag-team the lead enemy Fighter...
Well, turns out Abel didn't actually need any help.
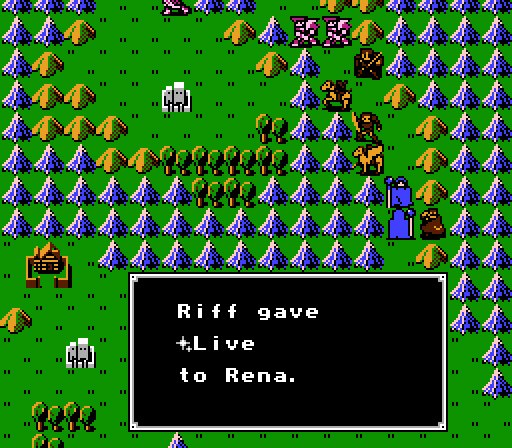
Julian moves out of the way so Riff can give the Live Wand to Rena.
Rena moves up into healing position, while Oguma moves up to get ready to give away his Sword.
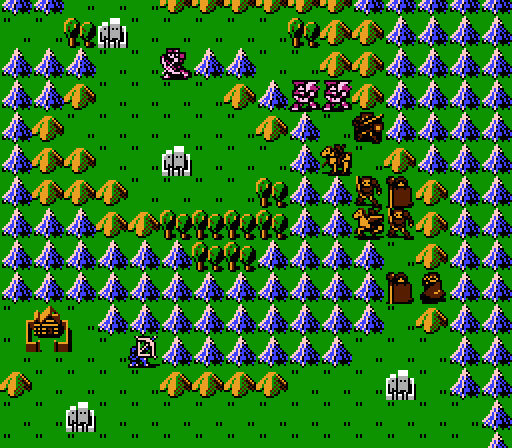
Back to the western group...
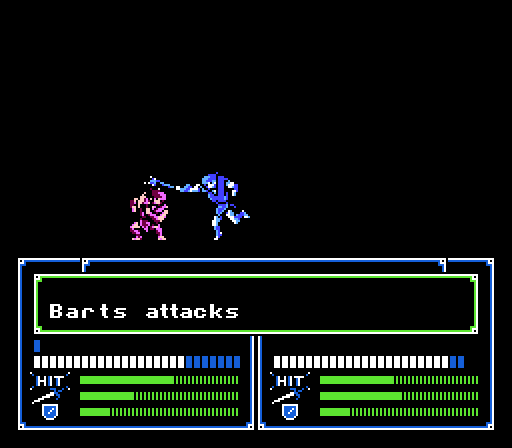
Barts moves up a couple spaces to draw out another enemy Fighter, while the others form up behind him. Gordon also moves up into the red circle from off-screen.
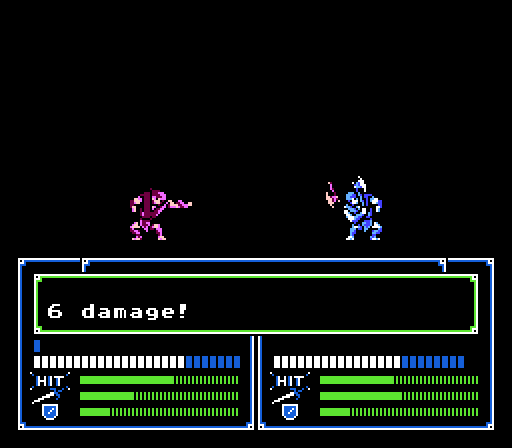
On the enemy phase, Barts successfully lures in a Fighter:
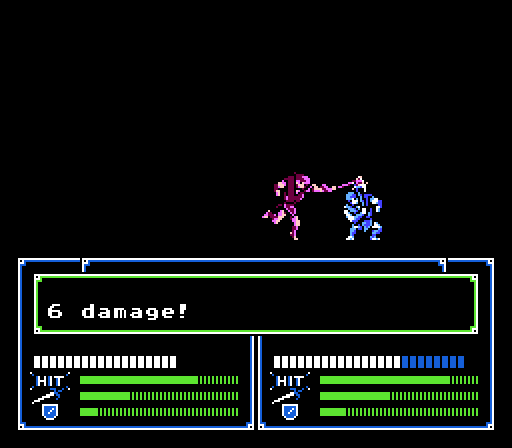
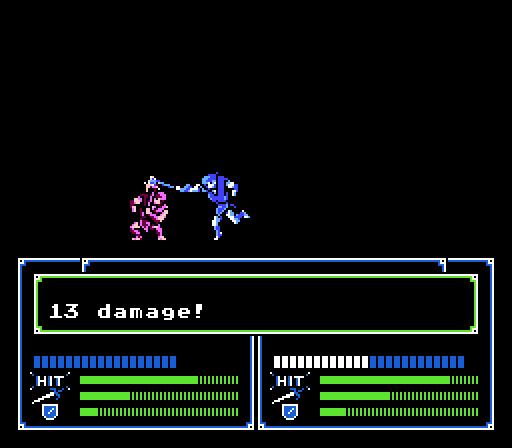
Barts again counter-kills it and gains a level:
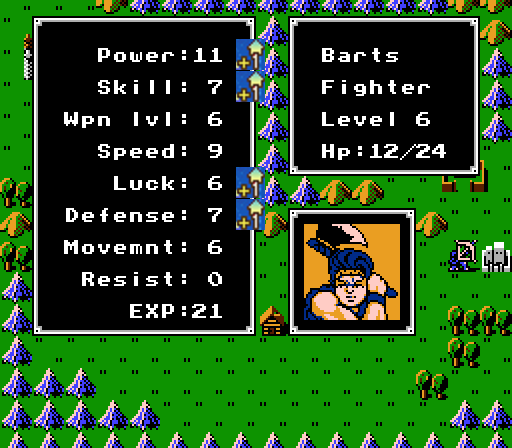
Great level; more
 for Barts.
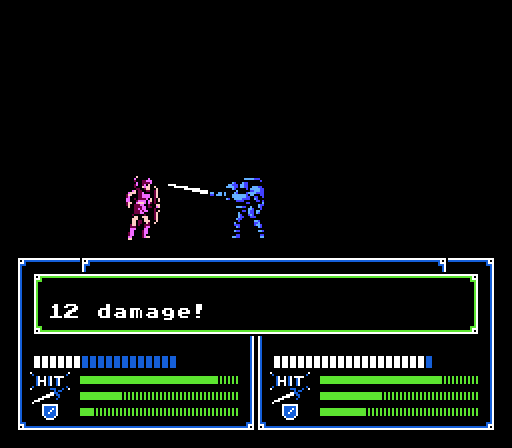
The two Fighters to the north go after Marth:
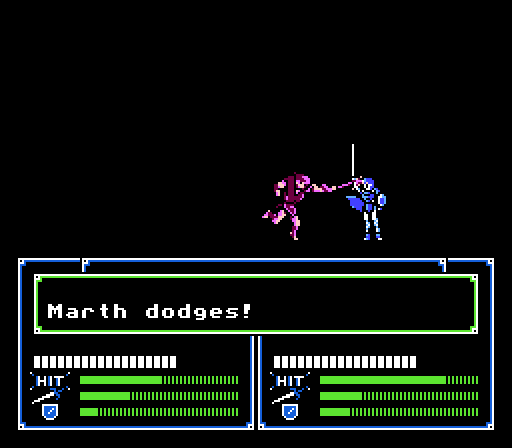
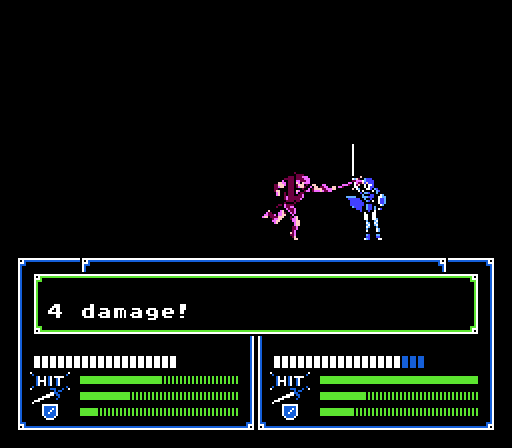
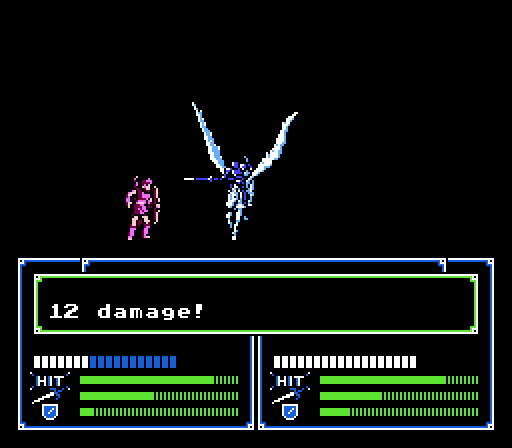
Marth counters with 12 damage to one Figher and 7 damage (missing the 2nd attack) to the other, finally gaining his first level:
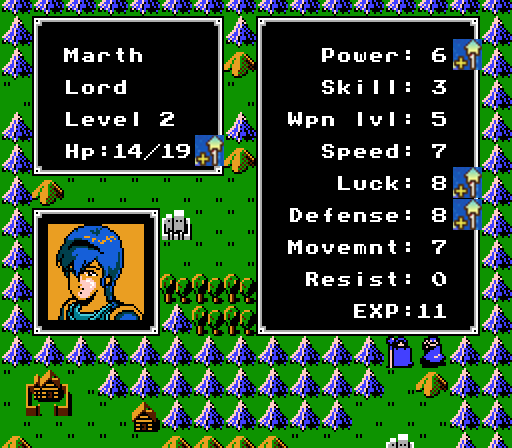
Excellent start. More Power and more Defense makes the world go round.
Another Fighter from the west group advances but can't reach anyone, while the Hunter to the north takes a couple shots at Abel for 6 damage. The remaining Thief continues to try and circle around, probably looking to go after the village.
On the northern front:
Marth goes after the Fighter to his north and kills him. Abel moves east and tosses a Javelin at the other Fighter, bringing it down to 2 HP.
_-_Chapter_03_-_Turn_04_-_Battle_03.gif)
Rena gets out of the way so Oguma can give his Iron Sword to Navarre, who uses it to finish off the Fighter. Riff goes off to join the other non-combatants.
I could have Sheeda use the Silver Lance to try and take out the Hunter, but if she misses on one of her two hits then she'd be exposed on the enemy phase, so I just leave her where she is and let the Hunter get off a free shot on Navarre. Julian likewise sits and twiddles his thumbs, mostly because I didn't feel like drawing more circles and lines.
")
On the western front:

Barts retreats to the south while Kashim and Doga move in to attack the Fighter. Daros advances one more square to the west, while Gordon continues to try and rejoin the group.
_-_Chapter_03_-_Turn_04_-_Battle_04.gif)
Kashim softens it up for Doga to finish off. Doga gains a level:
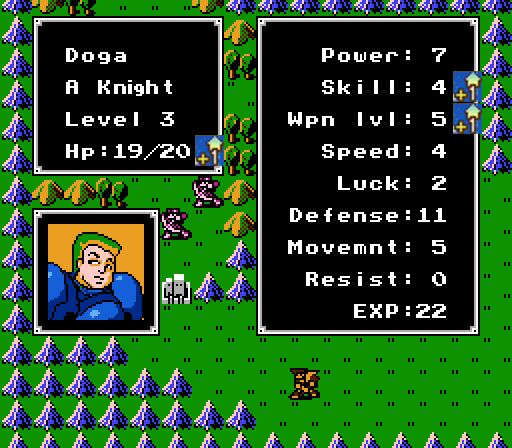
Not bad for Doga.
With that, we let the enemy take a turn.
The Hunter to the north takes a shot at Navarre for 4 damage. One of the Hunters to the west moves up and does 5 damage to Daros.
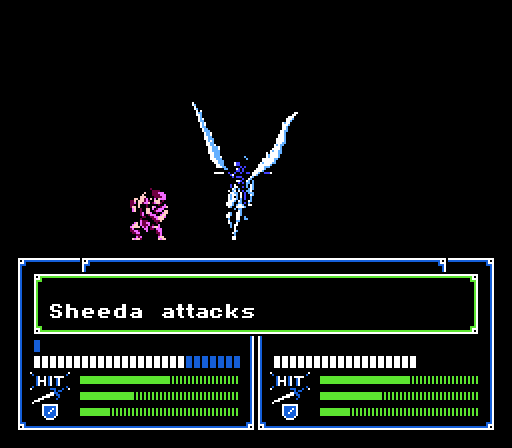
Navarre moves off to the north to try and circle around to get at the Hunter, if needed. Abel moves up to toss a Javelin at the Hunter, and then Sheeda will attempt to finish it off.
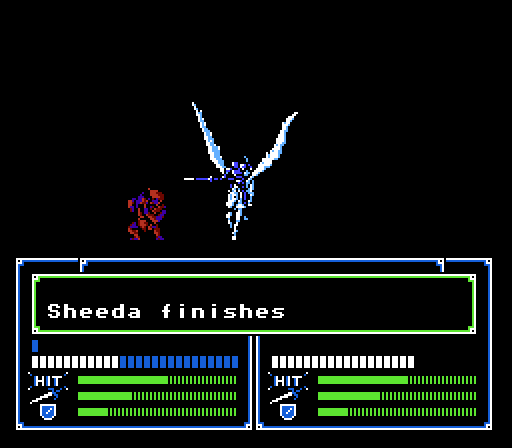
Abel knocks off 12 damage, and then Sheeda misses the first attack but kills the Hunter with the second, gaining a level in the process:
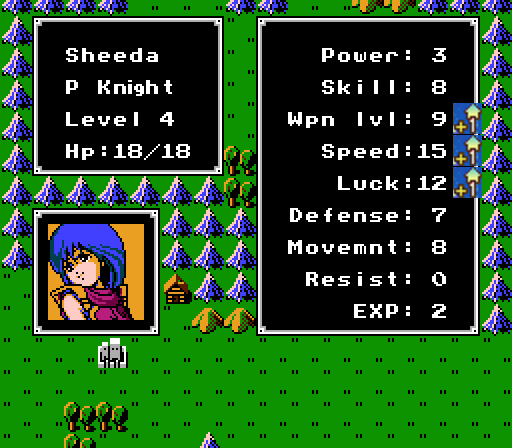
Pretty normal. Here's hoping for some Power soon though.
With the northern enemies defeated, Marth, Rena, and Julian start making their way over to the western side of the map.
Main goal here is to take out the nearby Hunter and then bait out the remaining one.
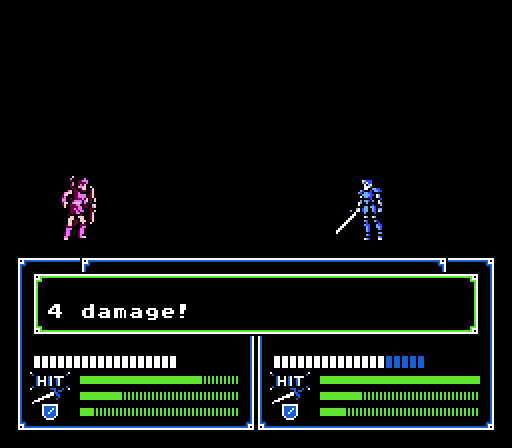
Doga hacks into the Hunter and Daros gets his revenge by killing him off.

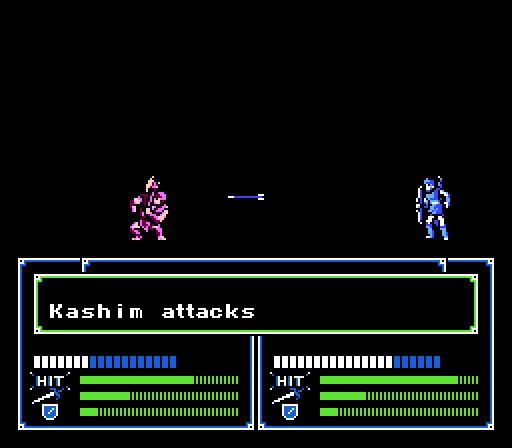
Kashim moves over to bait out the last Hunter, with Barts and Gordon both moving up behind the line.
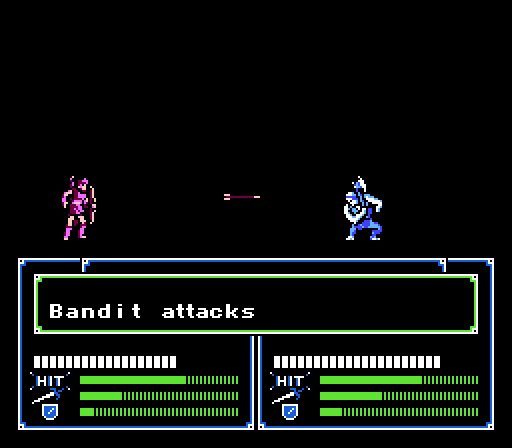
On the enemy phase, the Hunter takes a shot at Kashim for 6 damage, but takes 16 damage in return.
Time to finish off that last Hunter...
_-_Chapter_03_-_Turn_06_-_Battle_01.gif)
_-_Chapter_03_-_Turn_06_-_Battle_02.gif)
Daros tries to finish off the Hunter but misses, so Barts takes the Exp instead. The game rewards us with the happy about-to-win map music.
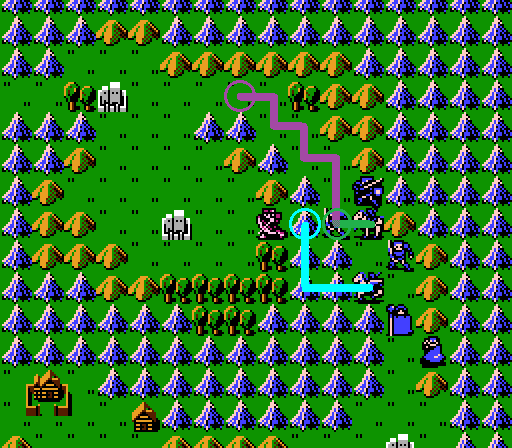
Doga moves onto the fort to draw out the remaining Fighters, with Kashim and Gordon lining up behind him. Everyone left off-screen from the northern army continues to advance.
The Fighters come after Doga.
 Thou shalt not pass.
_-_Chapter_03_-_Turn_06_-_Battle_03.gif)
_-_Chapter_03_-_Turn_06_-_Battle_04.gif)
Doga counter-crit-kills the first Fighter and knocks around the second for good measure too. What little damage he took gets healed by the fort at the start of the next turn.
Time to take care of that last Fighter.
Kashim misses the first shot but gets the kill with the second and gains a level:

Not going to complain about getting only two stats when those are the two.
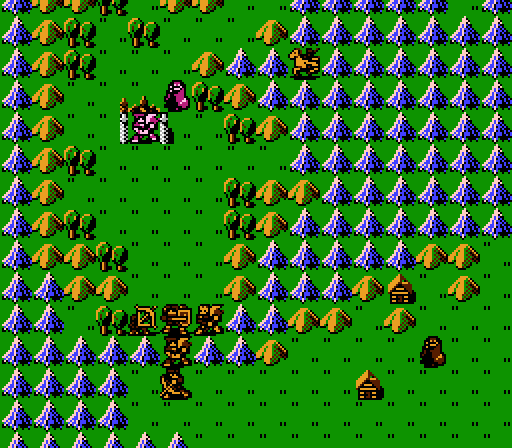
Doga moves up off the fort and Barts takes his place to heal up. Everyone else forms up with only the enemy Thief left that can attack. Sheeda and Julian also make it into the picture as everyone else slowly makes their way over.
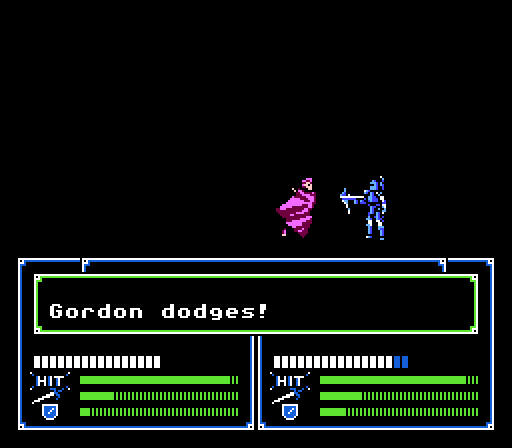
The Thief goes after Gordon to minimal effect. Time to swarm him before we go after the boss.
Doga misses, but the Thief can't hurt him anyway.
Kashim gets in a good shot...
And Gordon finishes him off. All that's left now is the boss, Hyman.
Barts and Sheeda move into position while Daros takes a turn healing up on the fort. Everyone else keeps moving forward, with Marth finally reaching the lone village:

 Never use it!!
Then why are you giving it to me?!
Right, so now we have the Devil Axe. It's super-strong - more than twice as strong as a Steel Axe - but has a (21 - Luck) % chance of damaging the user instead. It's also twice as heavy as an Iron Axe and has only 9 uses. If Barts ends up capping Luck this might be worth using at that point, but for now we'll just ignore it.
Everyone is starting to converge on the boss now. We'll start with Doga and then continue with Barts and Sheeda and see what happens from there.
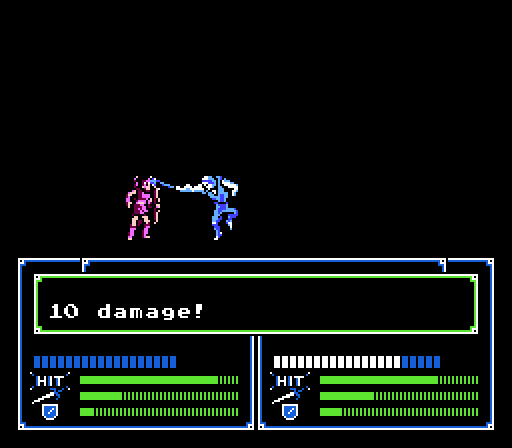
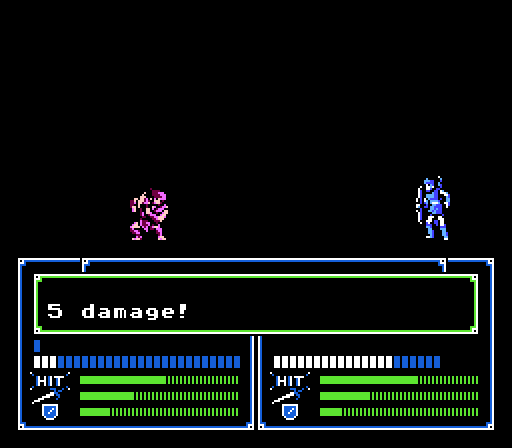
Good start...
Barts misses and takes 12 damage in return.
Sheeda gets in two attacks and dodges the counter, leaving Hyman at just 3 HP.
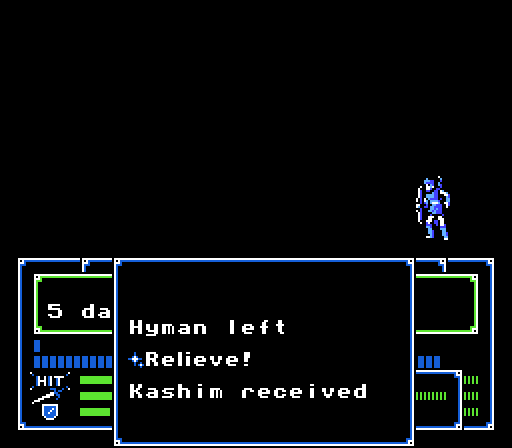
Kashim manages to finish him off, and receives Rena's Relieve Wand for the effort.
The Armory to the northwest doesn't have anything we need right now, but we do eventually have Marth drop off the Devil Axe in storage:

 you can retrieve them from storages.
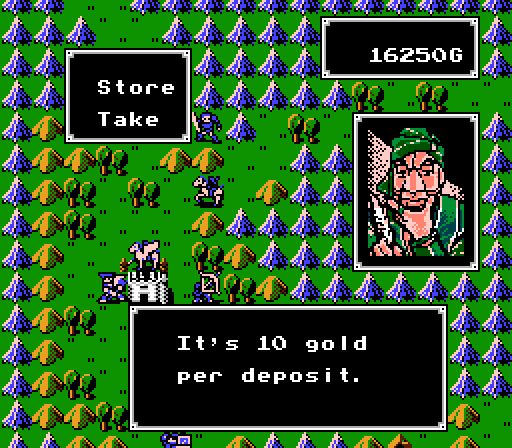
Meanwhile, Doga gives the Vulnerary to Rena (since she can't heal herself) and Kashim gives her the Relieve Wand. Marth eventually makes his way to the castle to seize it.
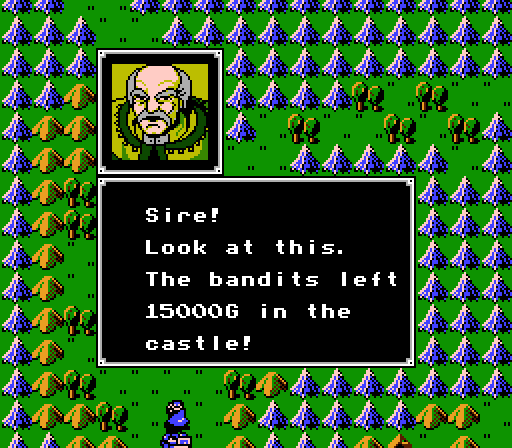
Sure, more for the pile.
 Tomorrow we'll arrive in Orleans.
 Please get plenty of rest tonight.
I've already had a lot of time off, thanks.
Unless there's a groundswell of support to switch, we'll be sticking with our current roster next chapter, so no need to vote right now.
New Characters
Julian - ThiefJulian is pretty straightforward as a Thief, and generally has good enough growths to make a serviceable combat unit if you feed him some kills, but his low Weapon Level and lack of a growth there will severely limit his weapon selection.
Growth Rates:
- HP: 80%
- Power: 70%
- Skill: 50%
- Weapon Level: 0%
- Speed: 50%
- Luck: 80%
- Defense: 30%
- Total: 360%
Rena - ClericRena is better than Riff in almost every way - better base stats, better growths (except for a 0 growth in HP that makes leveling her up more difficult), and a better Weapon Level that lets her use the Warp Wand right away. She'll also get a unique Wand to use late in the game.
Growth Rates:
- HP: 0%
- Power: 0%
- Skill: 0%
- Weapon Level: 30%
- Speed: 20%
- Luck: 40%
- Defense: 0%
- Total: 90%
Navarre - MercenaryNavarre generally has better growths than Oguma but will usually need to have a high HP and Speed to make up for a low Defense. On the other hand, he'll tear through enemies on offense.
Growth Rates:
- HP: 90%
- Power: 50%
- Skill: 40%
- Weapon Level: 30%
- Speed: 50%
- Luck: 40%
- Defense: 10%
- Total: 310%
New Weapons:
Kill Sword - Despite being as strong as a Steel Sword, lighter than an Iron Sword, and perfectly accuracte, the real benefit to this Sword is the 20% boost to crit rate.
- Might: 8
- Uses: 22
- Weapon Level: 7
- Hit Rate: 100%
- Crit Rate: 20%
- Weight: 2
- Special: None
Devil Axe - Tied for the strongest weapon in the game, but has a small chance of damaging its user instead of its target.
- Might: 20
- Uses: 9
- Weapon Level: 4
- Hit Rate: 70%
- Crit Rate: 00%
- Weight: 14
- Special: Has a (20 - Luck) % chance of attacking the user instead of the target.
Relieve Wand - Twice as strong as a Live Wand, healing adjacent allies for a flat 20 HP, but doesn't have as many uses.
- Might: 20
- Uses: 16
- Weapon Level: 2
- Special: Heals Allies
Warp Wand - One of the most powerful items in the game, can send adjacent allies to any other location on the map.
- Might: --
- Uses: 7
- Weapon Level: 6
- Special: Infinite Move of Allies
Next time: We don't quite make it to Orleans, but we do finally fight a *real* enemy.