Part 5: Macedonians
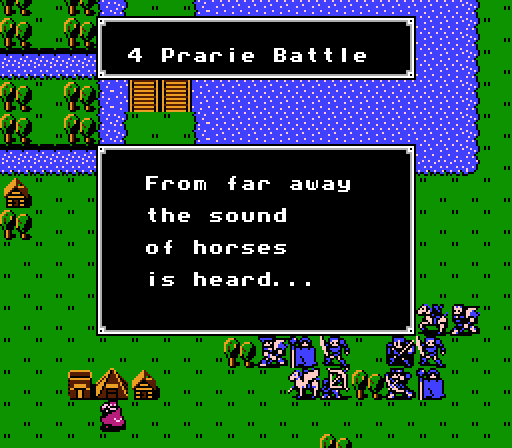
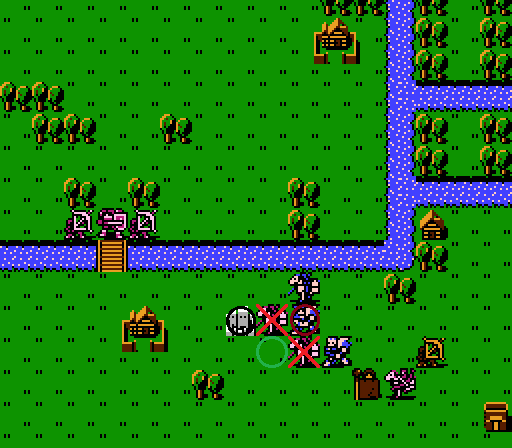
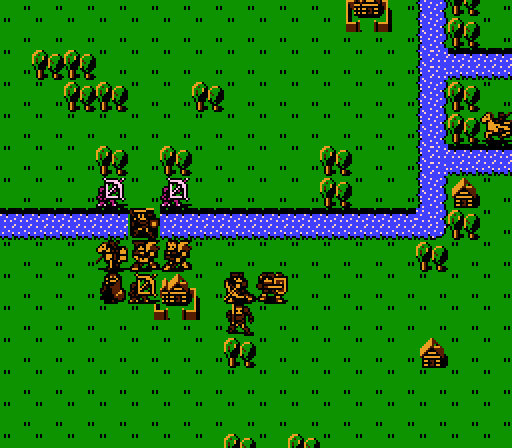
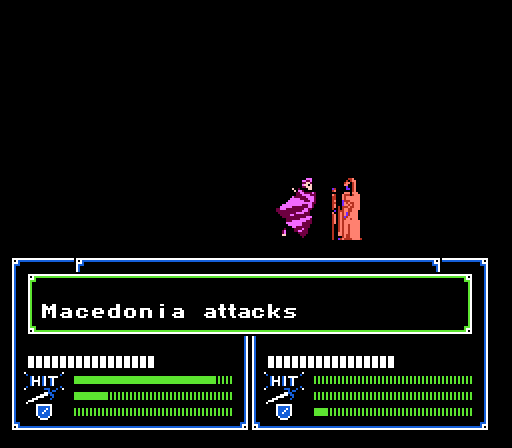
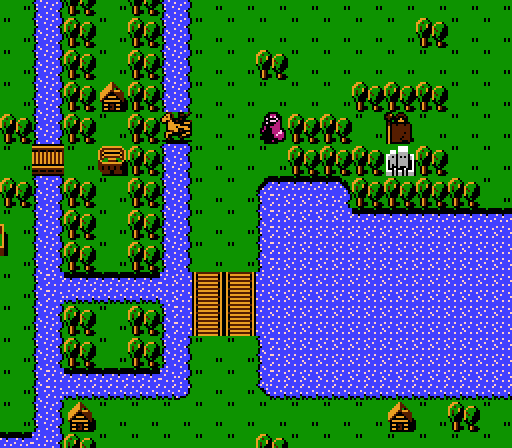
Last time we were promised that we'd be in Orleans, but instead we get intercepted by our first encounter with an actual army: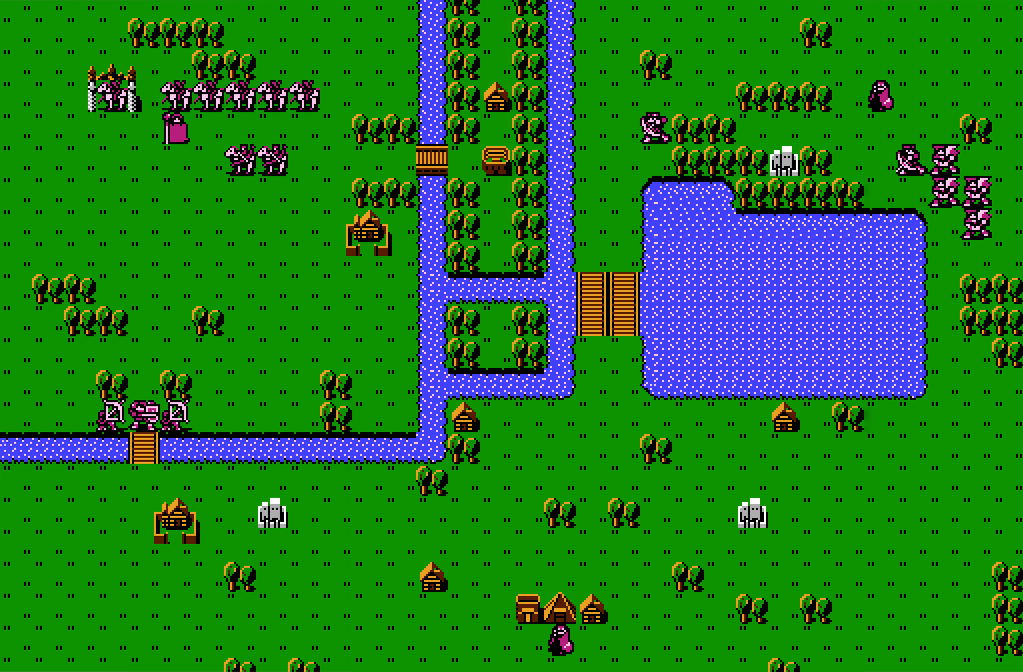
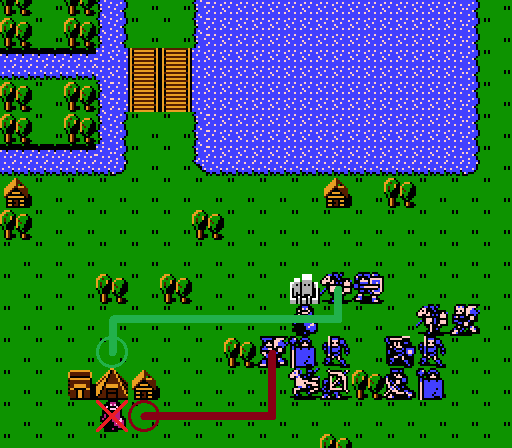
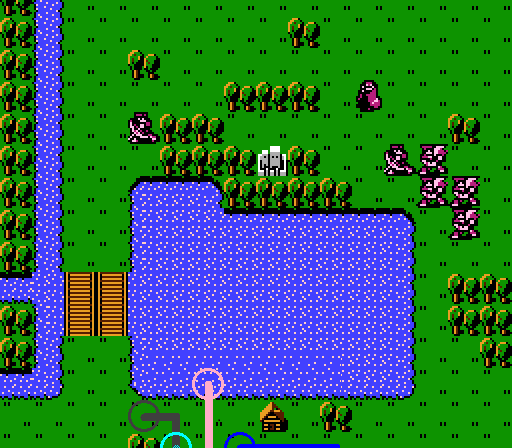
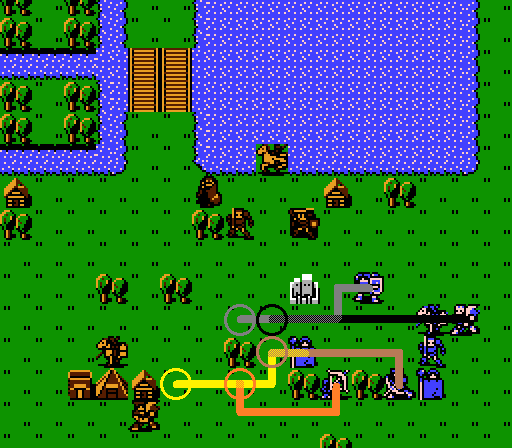
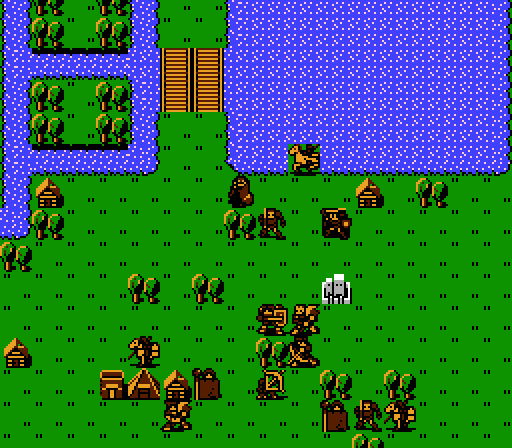
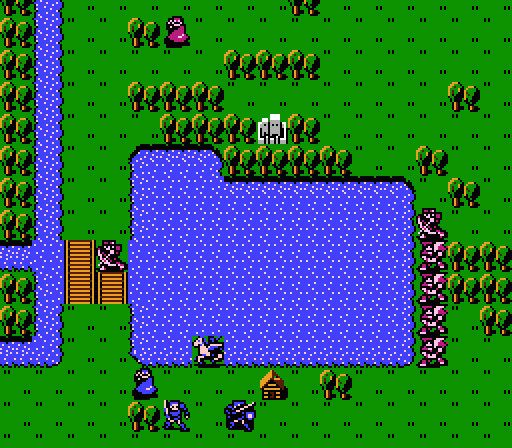
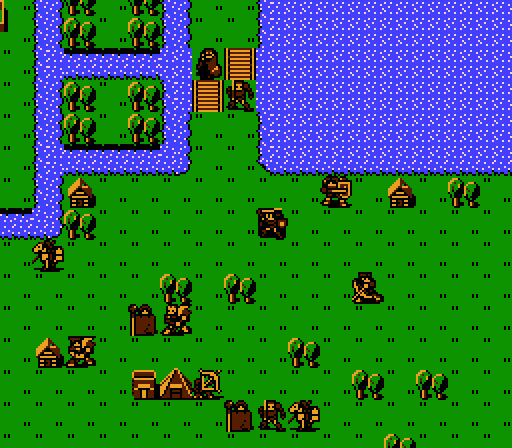
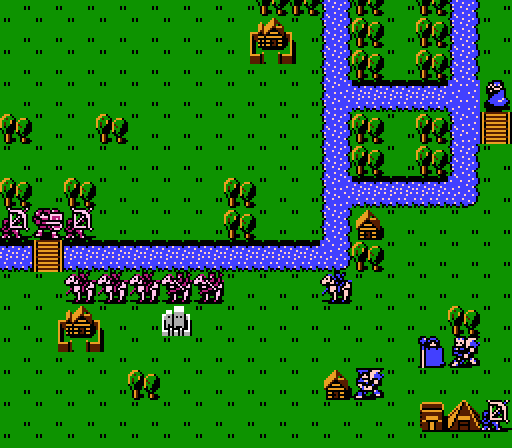
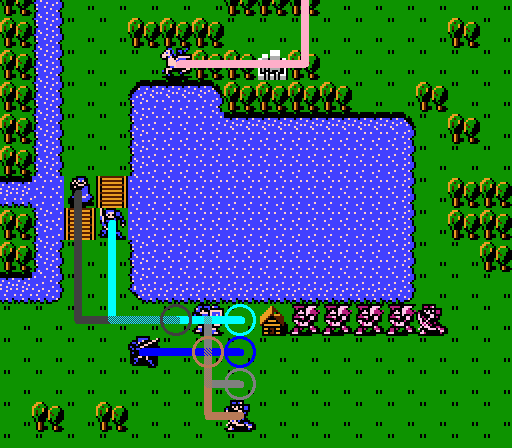
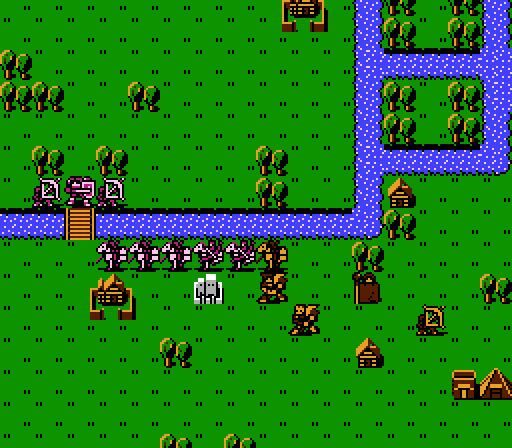
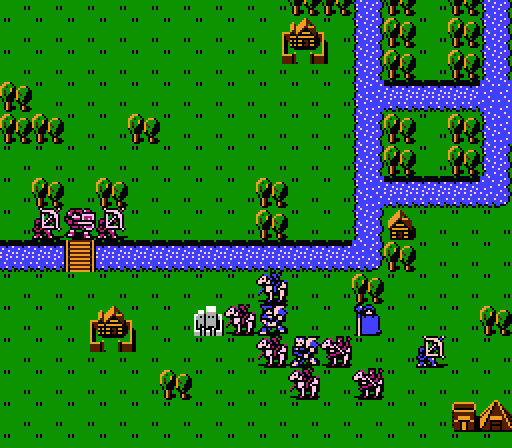
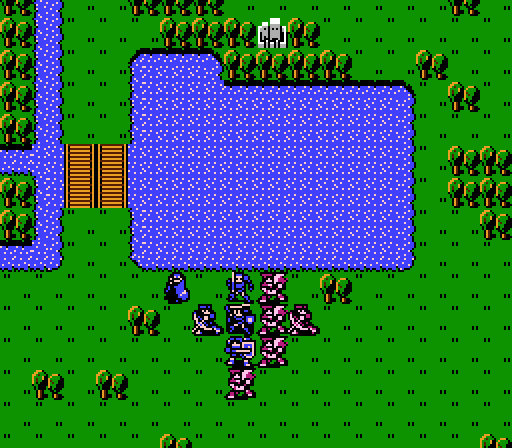
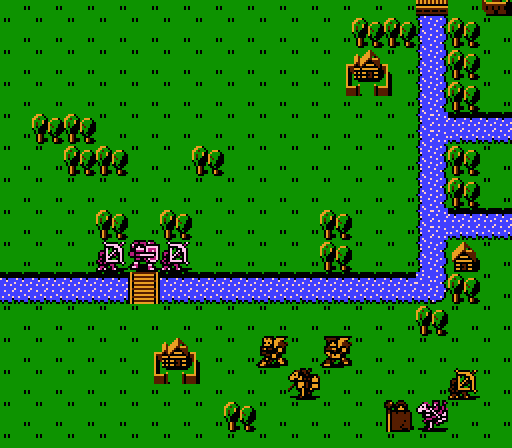
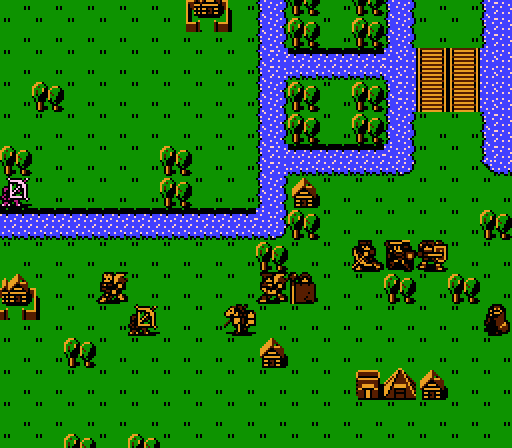
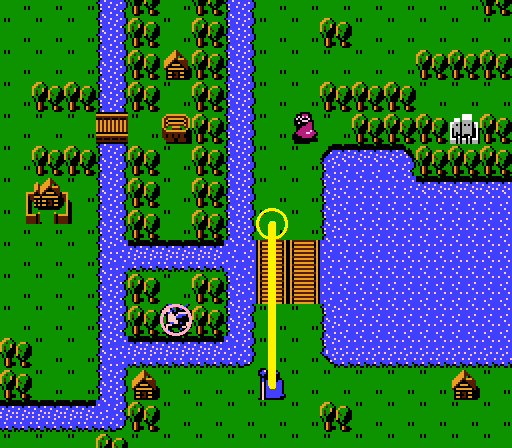
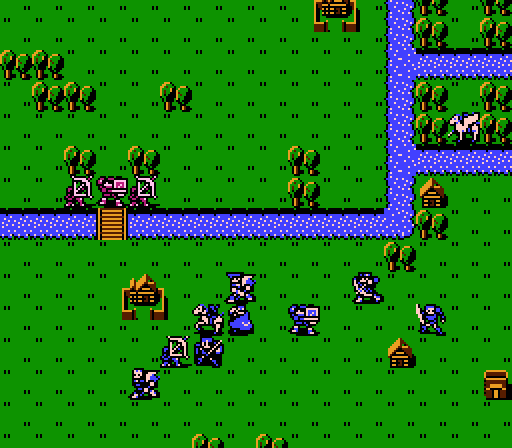
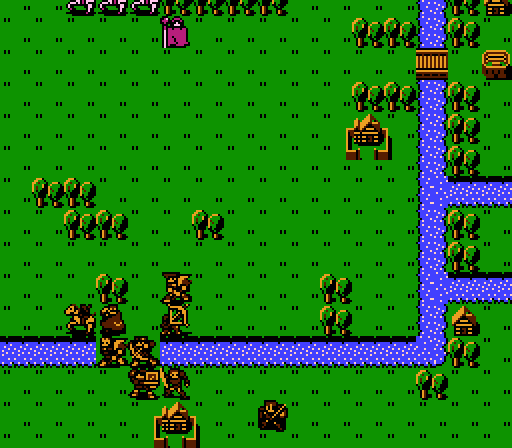
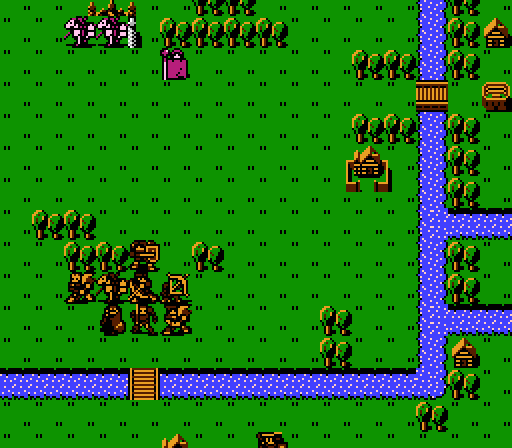
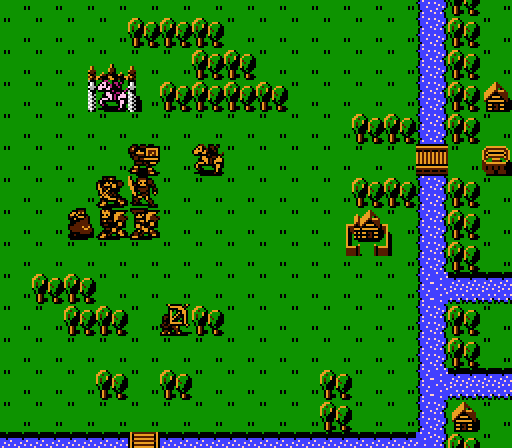
We've got a squadron of mounted units at the castle, an Armor Knight flanked by a couple Archers making a decent chokepoint at the bridge, and a band of Fighters and Hunters to distract us to the northeast. We will be starting in the southeast.
There's a couple villages to protect here, one near the chokepoint to the southwest and one well behind enemy lines to the northwest. The southern Thief is no problem since we start out close enough to it to catch it from behind. The northern Thief is a bit of a trap - a novice player might leave it alone, thinking to catch it when it comes south and then west in order to cross the bridge. Unfortunately, Thieves can cross rivers, so this guy is going to head straight west to the northwest village if we're not careful.
There's also a fancy new building between the rivers to the north that in later Fire Emblem games can shatter the difficulty curve, but here will just cause you to curse at the screen even if you're abusing save states. We'll get to that in good time.
Let's take a closer look at the enemy forces:
The enemy this time around is the Macedonian army. I'm not sure who they are but we'll just assume they're evil and ruthlessly slaughter them all anyway.
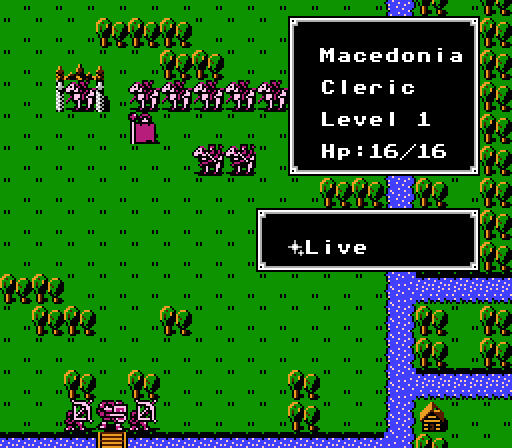
We encounter an enemy Cleric for the first time here - he probably won't be too influential though with just a Live Wand.

The Macedonians also have the first enemy Armor Knight for us to fight - that 11 Defense will be tough to crack, but we will have something planned for it when the time comes. He comes with an Iron Lance. The nearby Archers both have Steel Bows, making them slightly more dangerous (ie: still not very much so).
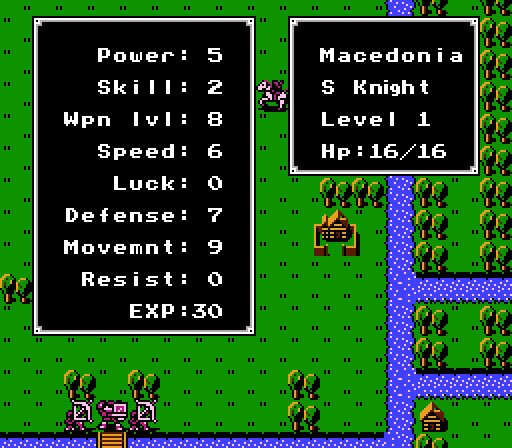
The pack of Social Knights are all Level 1 with pretty well-balanced stats. Three of them have Iron Lances. One has an Iron Sword. The last has an Armor Killer - basically, an Iron Sword that has triple Might against Armor Knights. Sure would be nice if we could get our hands on that...
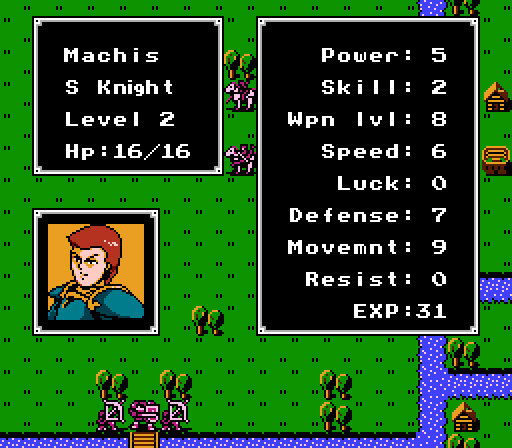
One of the enemy Social Knights comes with a name and a (semi-)unique portrait. I'm sure that's not relevant at all.
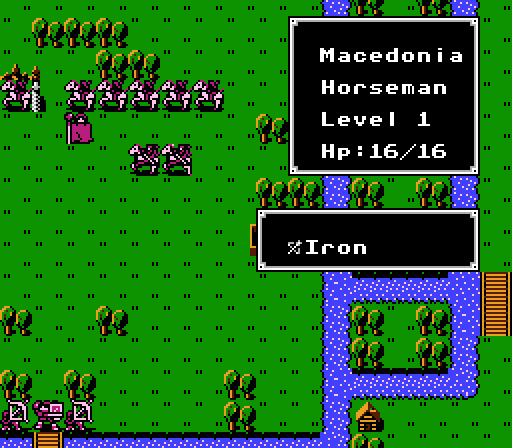
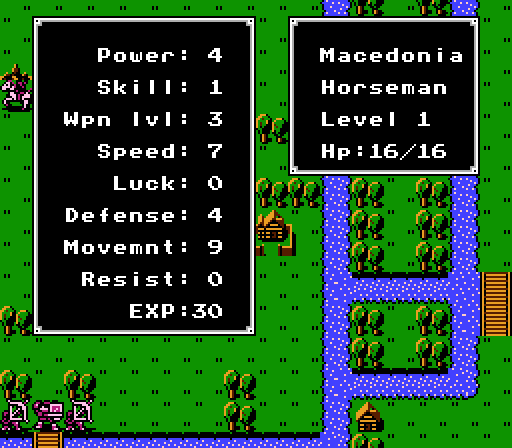
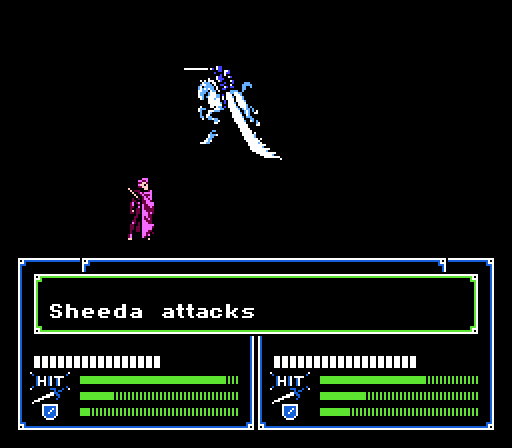
The Horseman is a new unit and is really a Bow Knight, a mounted archer. Both of the ones here come with an Iron Bow and overall weak stats - they'll only do 8 damage to someone with 0 Defense, and have a 0% critical hit rate. A decent Speed and a high Movement can surprise some people though, and we will definitely have to be careful with Sheeda in particular.
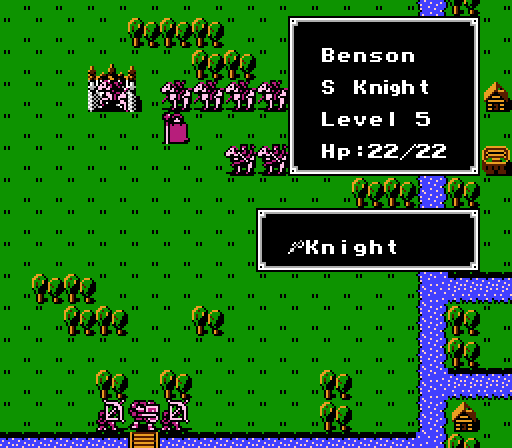
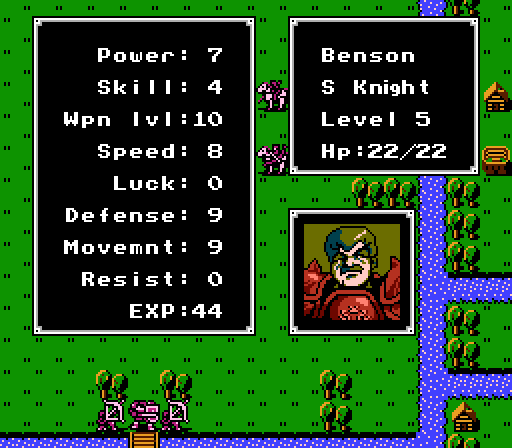
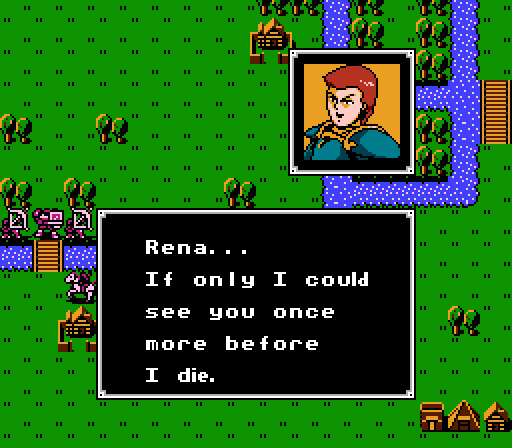
The boss is a crotchety old Social Knight with a remarkable resemblance to last chapter's boss, Hyman. I like to imagine that Benson and Hyman are twins and that Benson sent Hyman with a group of 'bandits' to go slow Marth down while he got his army ready. And now Benson is all mad because we killed his brother. And that's probably more thought than IntSys put into it.
Benson has high, well-rounded stats and a nasty weapon, the Knight Killer. It is normally as weak as an Iron Sword, but has triple Might against Social Knights (and not other Knight types). This weapon choice will actually work out in our favor for this run, since we're only using one Social Knight and can keep Abel out of the way rather easily.
The northeast group of Fighters and Hunters has all iron weapons and are thus entirely irrelevant.
We now have more units in our army than we can deploy at once, so we get to see the unit selection screen for the first time.
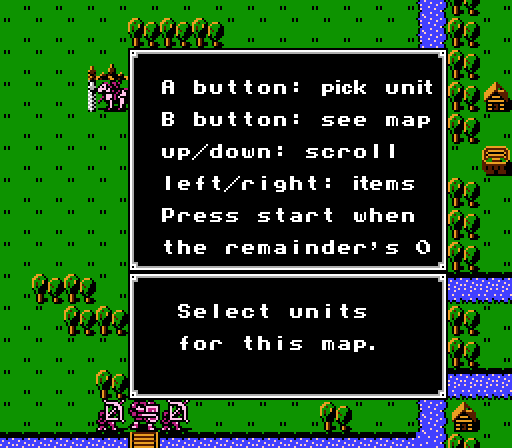
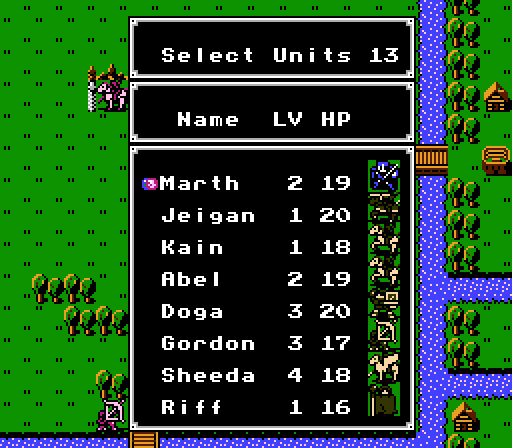
Of course, most of our units aren't really eligible to fight according to our run rules so there aren't any real choices here yet. We are, for obvious reasons, forced to bring Marth along. We also are not allowed to bring fewer units than the required amount (unless we happened to have killed off so many that we don't have enough, in which case our entire army would be auto-deployed as in previous chapters). So in addition to Marth, Abel, Doga, Gordon, Sheeda, Barts, Daros, Kashim, Julian, Rena, and Navarre as our fighting army, we be bring along Kain, Riff, and Oguma as ballast and start the chapter.
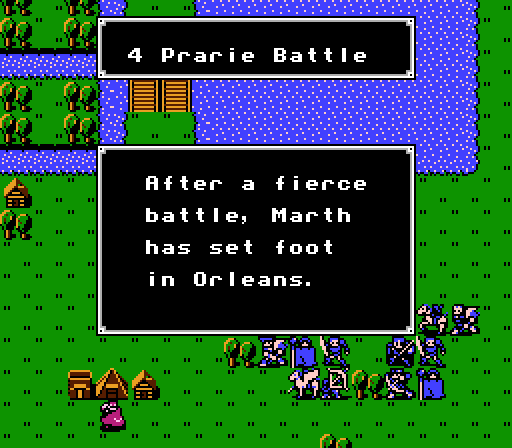
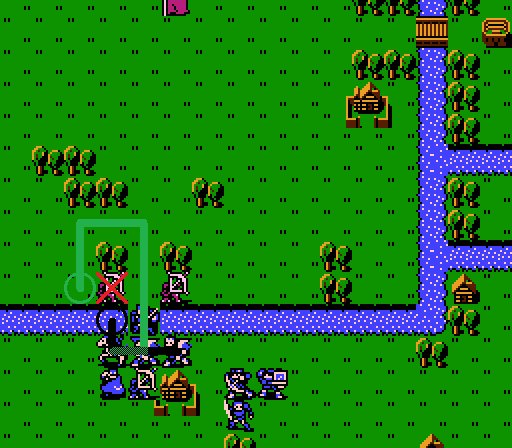
This area is more like the outskirts of the territory controlled by Orleans, but close enough.
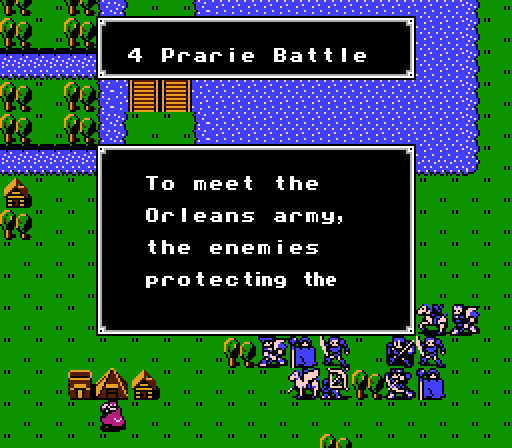

So these guys are standing between us and Orleans, and represent our first encounter with enemy cavalry. Let's get started then!
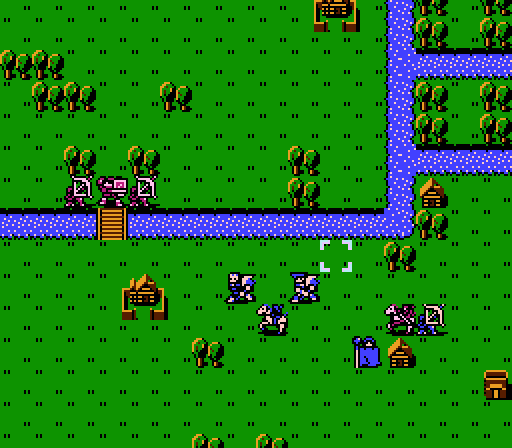
Turn 1:
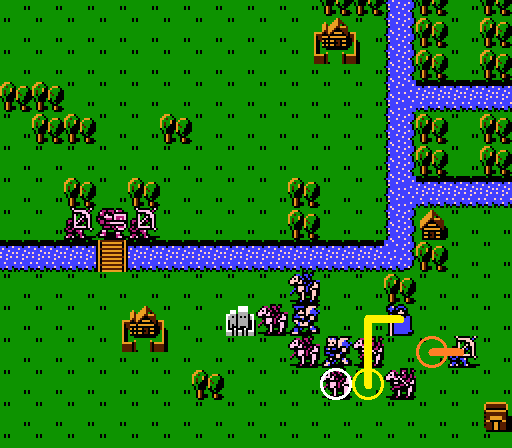
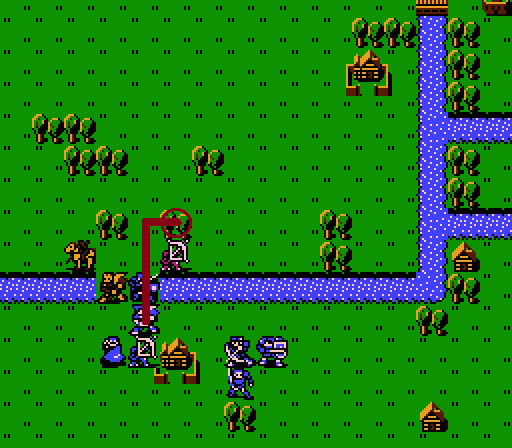
First priority is taking out that nearby Thief.
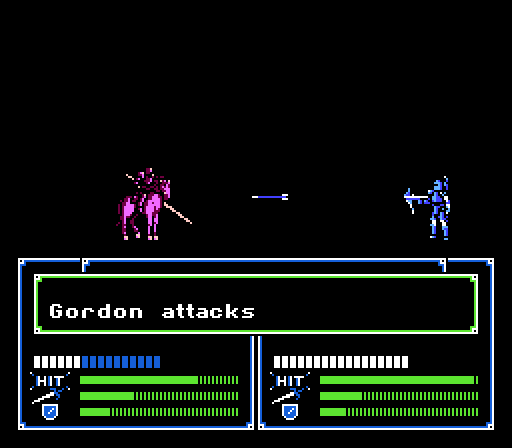
_-_Chapter_04_-_Turn_01_-_Battle_01.gif)
_-_Chapter_04_-_Turn_01_-_Battle_02.gif)
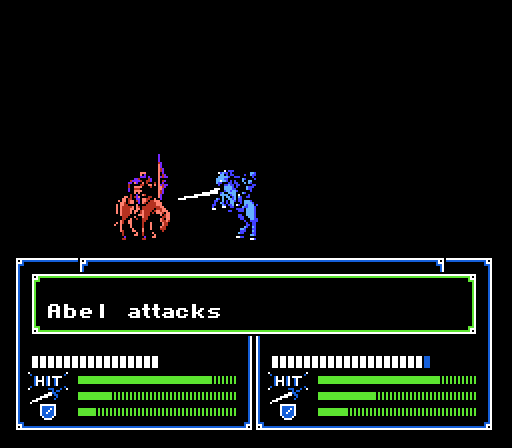
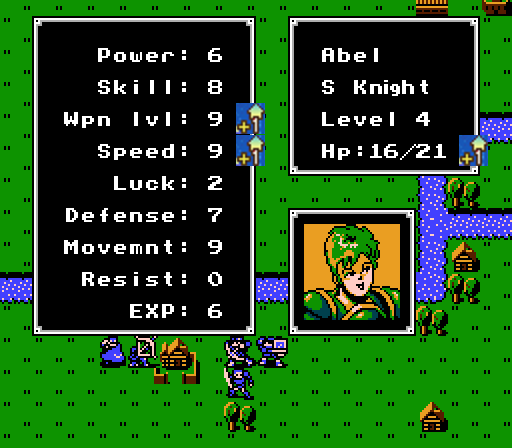
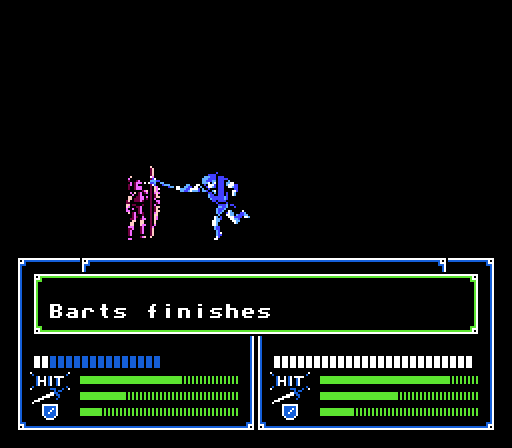
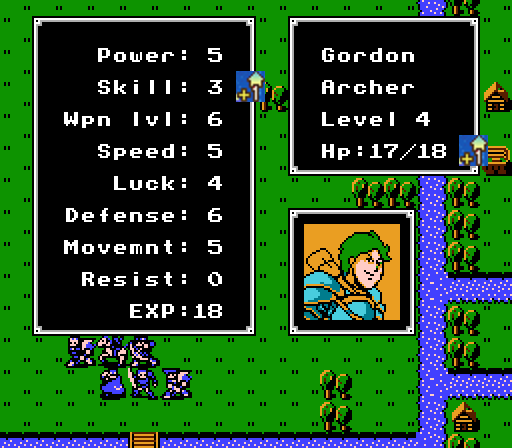
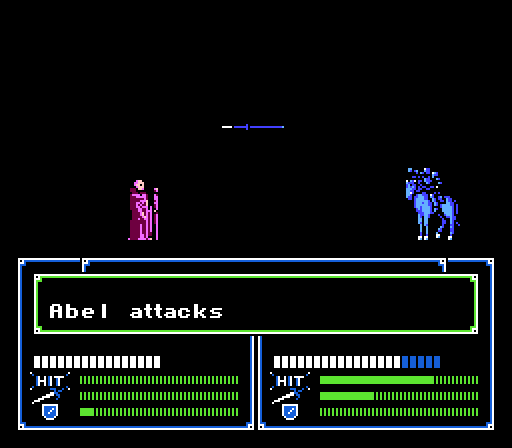
Barts, always up for some bloodshed, nearly kills off the Thief with one blow and takes a couple scratches in return, then Abel finishes it off with a Javelin for a level:
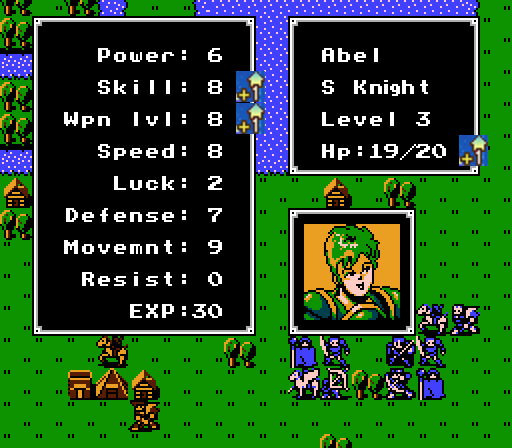
He's starting to fall a bit behind his averages but still doing alright so far.
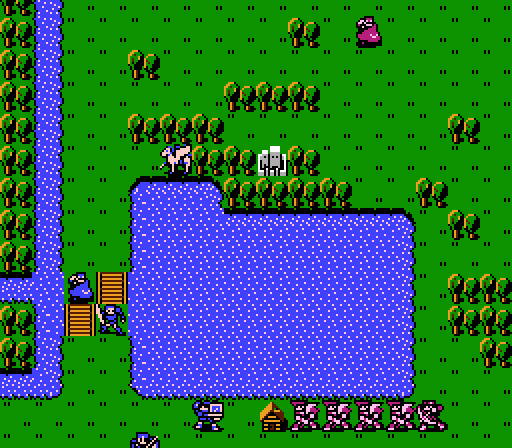
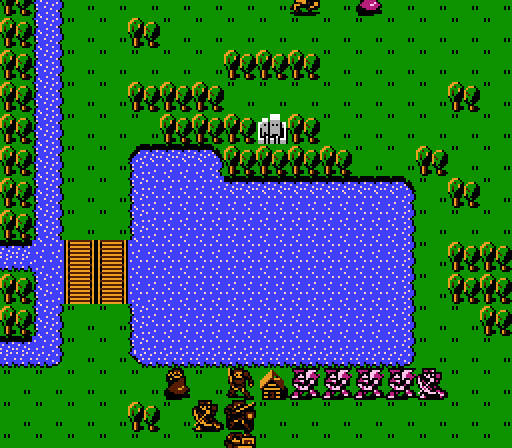
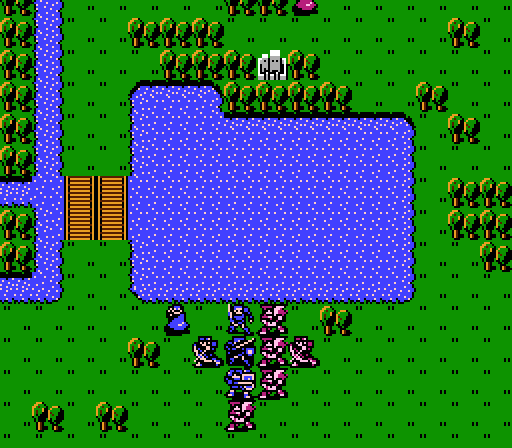
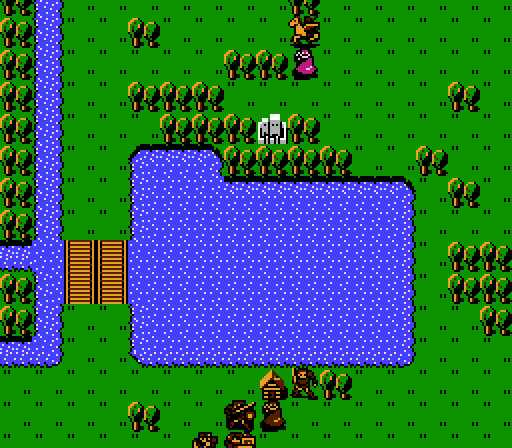
Next we want to send some people north to intercept the other Thief and fight off the Fighters and Hunters there. Unfortunately that Hunter guarding the northwest corner of the lake means we can't easily use Sheeda but we'll keep her around just in case.
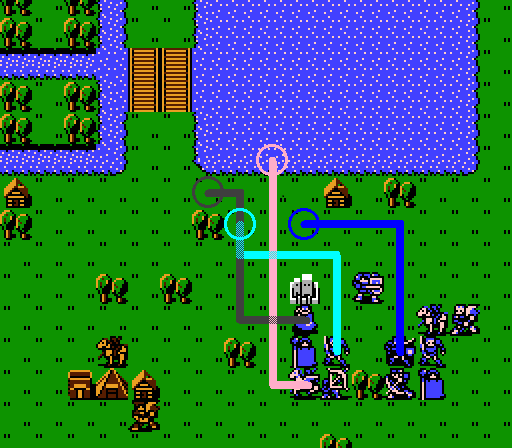
The remainder of our army advances to the west to meet the oncoming rush there.
Our non-combatants follow behind to avoid the northern enemy force and we end the turn.
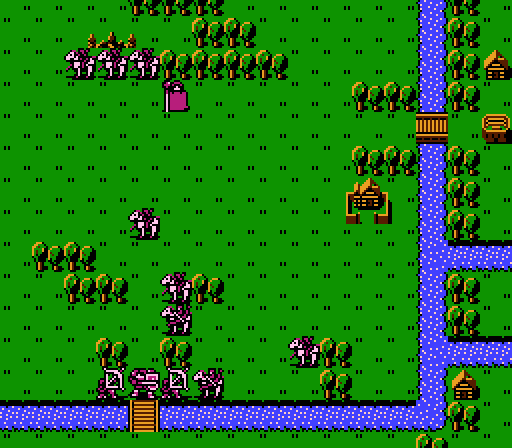
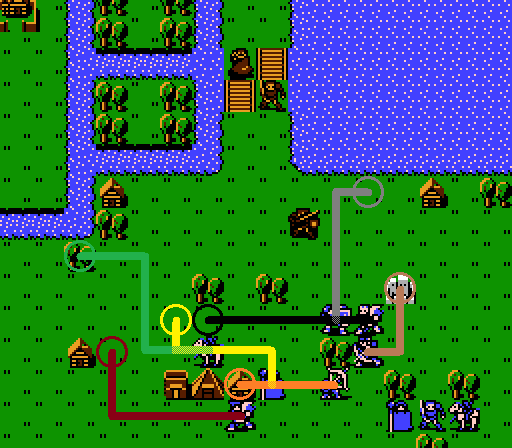
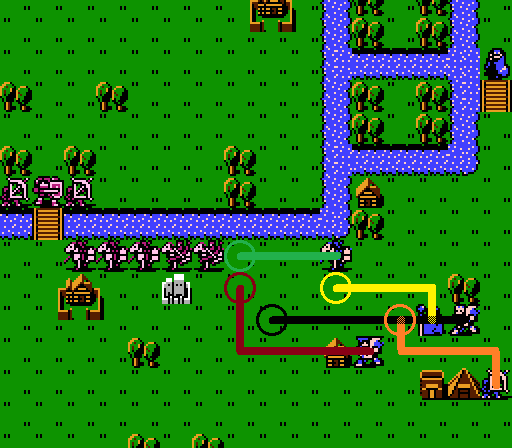
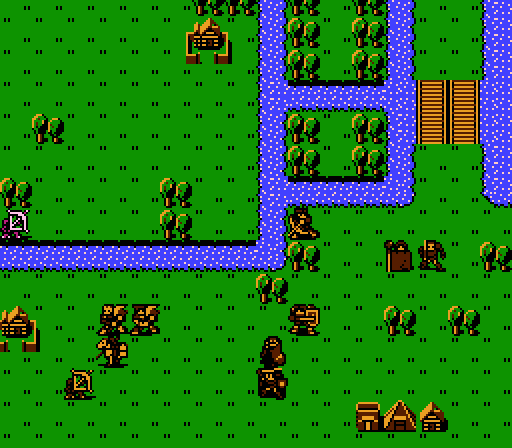
To the west, two Social Knights remain behind to guard Benson, while the rest of the cavalry, including Machis, charges towards us. To the east, the Fighters and one of the Hunters circle around the east side of the lake, while the other Hunter is isolated on the west side and the Thief tries to sneak past to the northwest.
Turn 2:
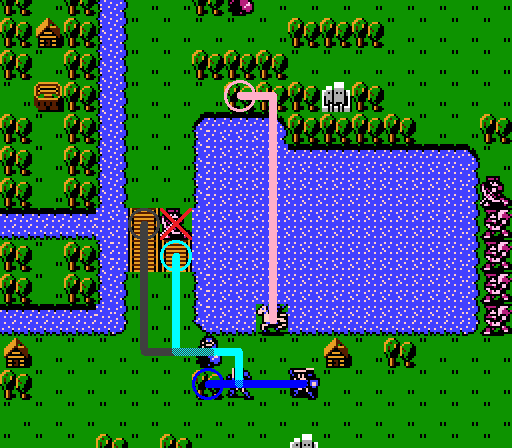
The western Hunter's advancement allows us to isolate him and send Sheeda safely after the Thief.
_-_Chapter_04_-_Turn_02_-_Battle_01.gif)
_-_Chapter_04_-_Turn_02_-_Battle_02.gif)
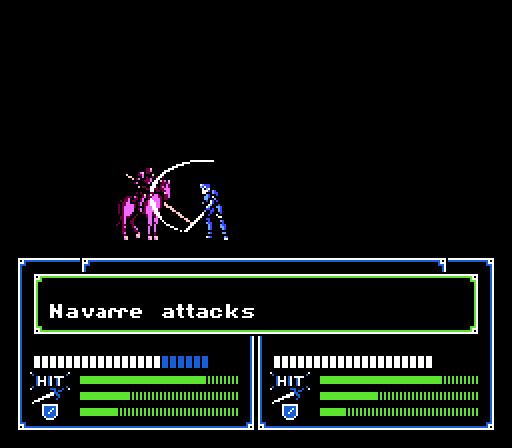
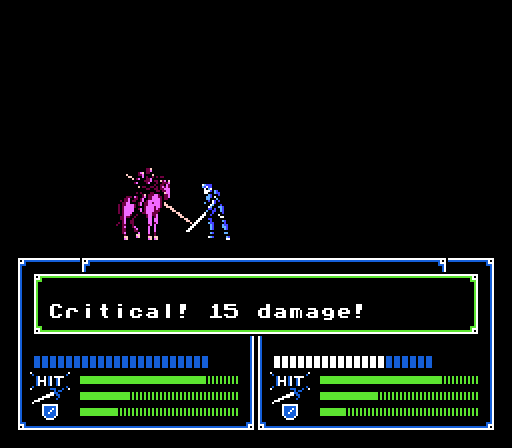
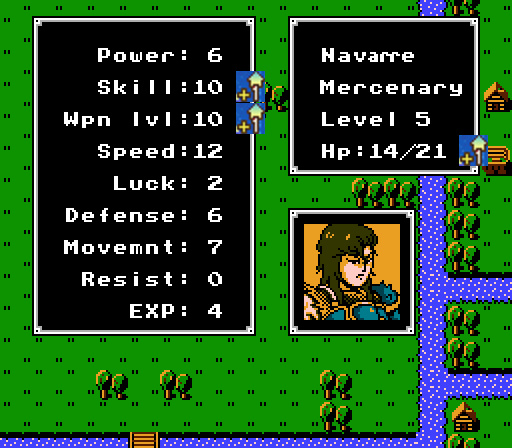
Julian and Navarre team up to take out the Hunter. I think when Navarre was recruited by Sheeda, he decided that he wanted to fly as well, thus that crazy attack animation. Anyway, Navarre gains a level:
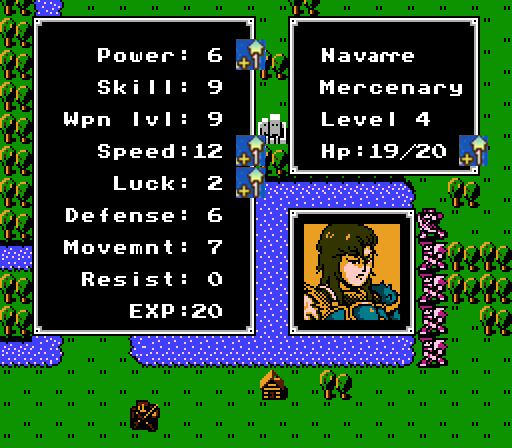
Great first level for Navarre.
The rest of our army assembles into two groups. Abel, Barts, Gordon, Daros, and Rena prepare to meet the oncoming Knights from the west. Doga and Kashim move up to help Marth and company take care of the Fighters to the east.
Our extras continue to stay out of the way as we end the turn.
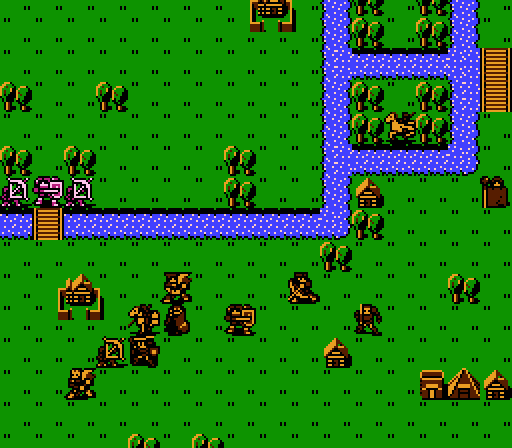
To the west, the Knights advance and are almost upon us. However the enemy AI screws up and leaves its Bow Knights out front for us to massacre next turn. To the east, the Fighters move in-range and are ready for slaughter as well. Far to the northeast, the Thief wets himself at the sight of flying death machine Sheeda and moves just out of range.
Turn 3:
Okay, I may have overestimated the exposure of those Bow Knights as only Abel and Barts can reach them, and Barts is stuck using the Hand Axe.
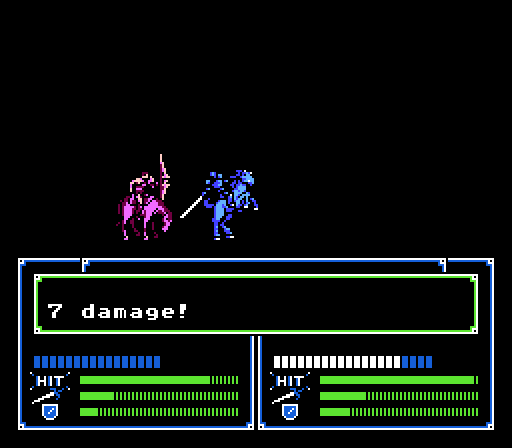
Abel gets in a hit for 10 damage, but Barts misses (taking 2 damage on the counterattack) and the Bow Knight lives another turn.
Daros moves up to form a rough line, and Rena moves to within range of the Bow Knights (since they can't kill her) but out of range of the other Social Knights. Gordon moves up to visit the nearby house:
 Each is stronger.
That's an unusual way to put it. As an aside, there's no Steel Lance, and no Silver Axe.

To the east, Navarre, Marth, and Doga form up in a line with Kashim sitting behind Marth to support, and Julian moving up as far as he can. Sheeda flies off to the north to chase after the Thief.
We end the turn braced for impact.
The western enemies attack first:
_-_Chapter_04_-_Turn_03_-_Battle_03.gif)
The first Social Knight goes after Daros with the Armor Killer. Fortunately Doga is far away on the eastern front.
_-_Chapter_04_-_Turn_03_-_Battle_04.gif)
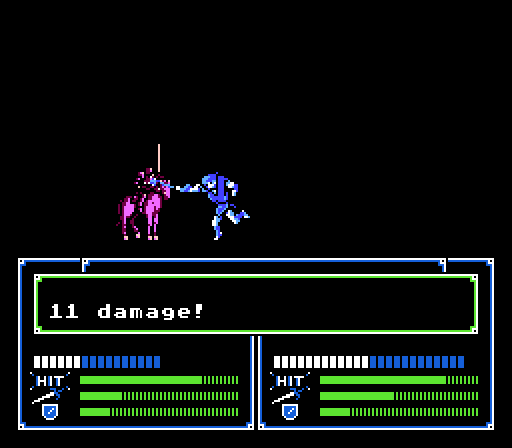
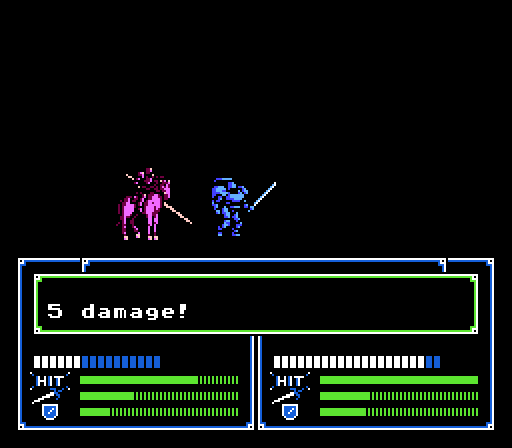
Machis also goes after Daros and gives us a giant hint about what to do next turn.
Cut it a little close on Daros there, if Machis had gotten a second attack in he could've killed him.
_-_Chapter_04_-_Turn_03_-_Battle_05.gif)
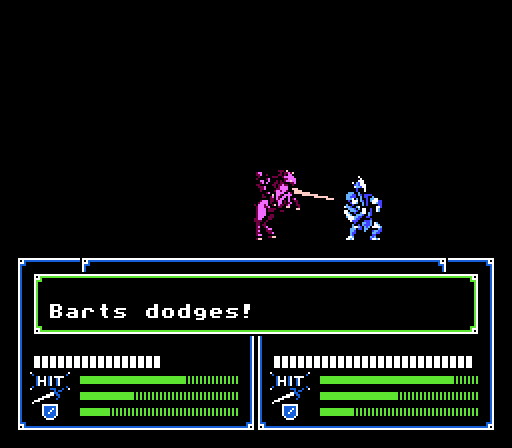
The last Social Knight takes a couple shots at Barts and dodges his counter.
_-_Chapter_04_-_Turn_03_-_Battle_06.gif)
_-_Chapter_04_-_Turn_03_-_Battle_07.gif)
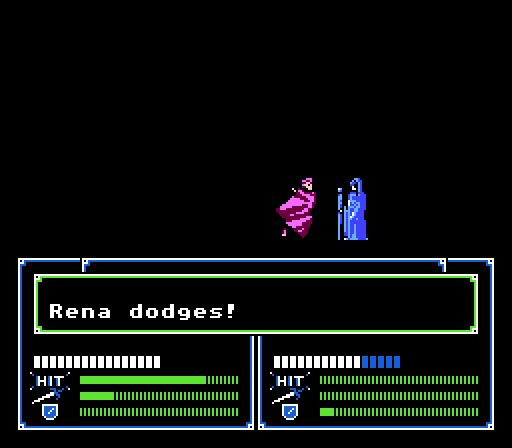
The two Bow Knights, as expected, go after Rena, who dodges one attack and survives the other for a total of 60 Exp.
Next come the eastern enemy group:
_-_Chapter_04_-_Turn_03_-_Battle_08.gif)
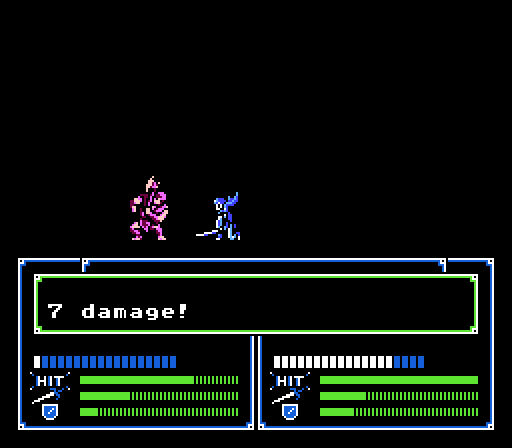
The first Fighter does 4 damage to Marth but takes 14 between the counter and finish.
_-_Chapter_04_-_Turn_03_-_Battle_09.gif)
_-_Chapter_04_-_Turn_03_-_Battle_11.gif)
Two others go after Doga to minimal effect.
_-_Chapter_04_-_Turn_03_-_Battle_10.gif)
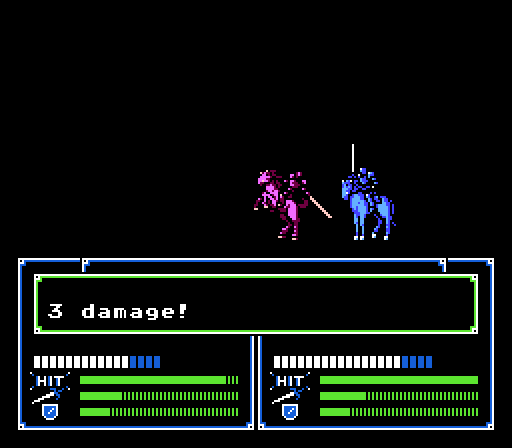
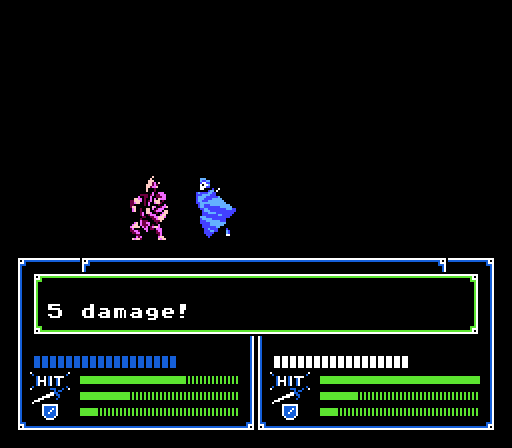
The last attacks Navarre for 6 damage and takes 14 in return as well.
Finally, the Hunter moves up to attack Marth, who dodges.
We're hurting but everyone is still standing (so far).
(Thus ends the animation spam; wanted to convey the rush of attacks all at once.)
Turn 4:
Sheeda is finally in range of the Thief. He dodges twice.

We have a tricky situation here with Daros and Barts both injured. Rena can only heal one, but she actually has something more important to do first.
_-_Chapter_04_-_Turn_04_-_Batlte_01.gif)
Gordon takes out the wounded Bow Knight, opening a path for Rena to go to talk to Machis. (It's a good thing it's Rena who's the recruiter here since I already committed Marth and Sheeda both elsewhere.)
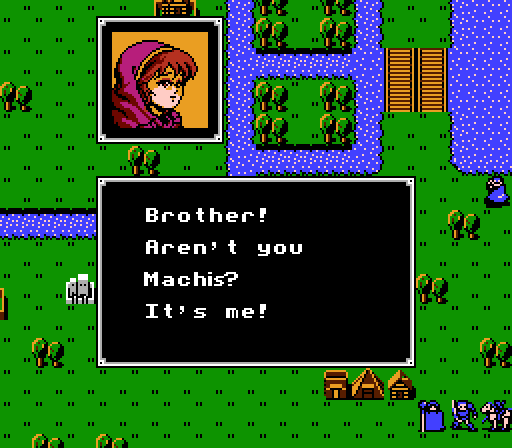
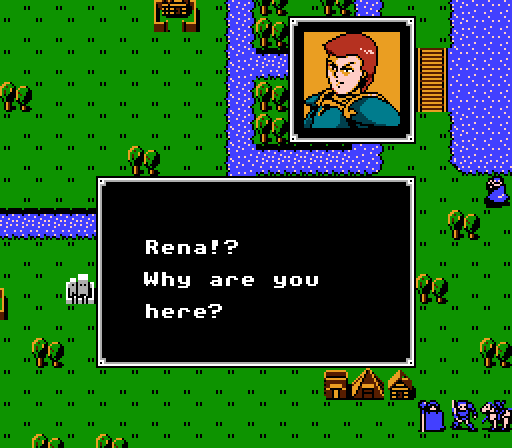
 Why are you with the army?
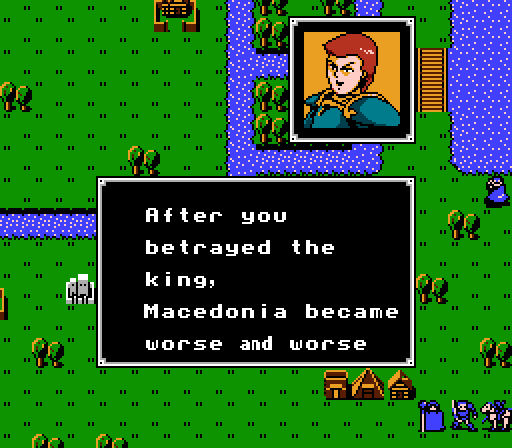
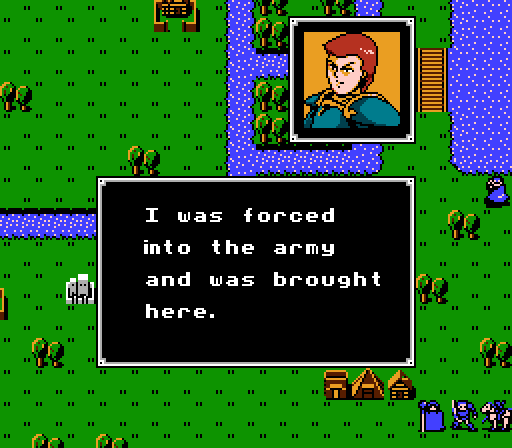
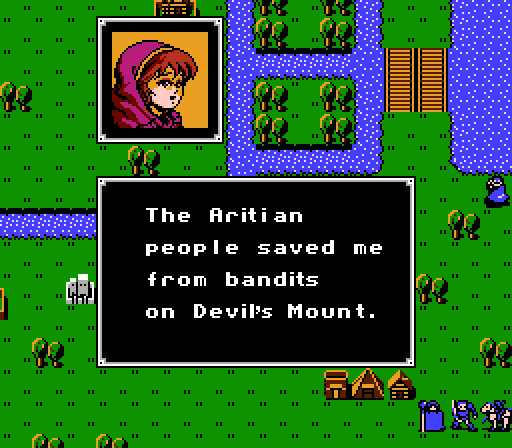
 I don't like war but it's hopeless. Don't say that brother! If you're not brave and won't follow the right path, Macedonia will help Durhua making people suffer. Join the Aritian army. Everyone will welcome you. They are great people.
You've known us for all of one chapter, Rena. And frankly I'm not that sure about Gordon always sitting there watching your backside, if you know what I mean.
 I'm helping!
Yes, yes you are.
I see. If I'm about to die, I might as well look cool doing it.Yes, 'cool' describes us perfectly I would think.
But it's tough looking after a betrayer.That's a pretty mild burn attempt Machis.
And that's...way off-topic.
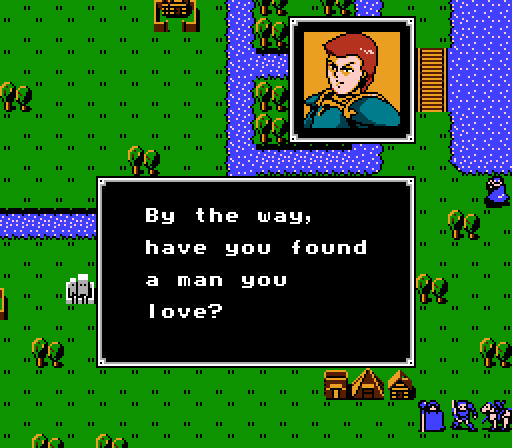
Uh... There's no one.Yes Rena, nothing like a hesitation to convince someone you're telling the truth.
Looks like there is.And Machis sees right through it. Might be our most intelligent recruit yet.
 What was that?
Nothing Riff, go back to sitting in the corner and not participating because no one likes you.
But I don't mind, as long as it's no thief.I had absolutely zero idea that Rena and Julian were supposed to be an item until this line. There's nothing to really suggest that in last chapter's opening dialogue. Frankly, Julian's portrait barely looks male.
 I heard that!
No you didn't, you're on the other side of the map!
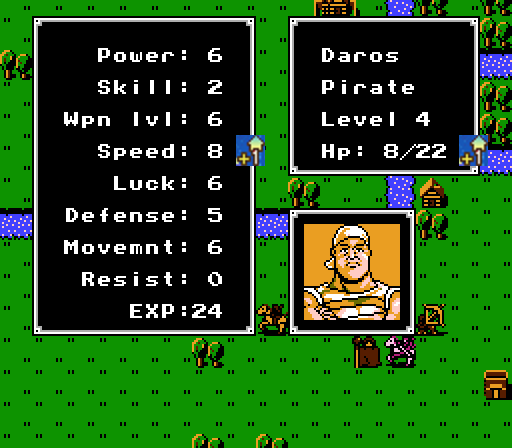
Anyway, after that bizarrely long recruitment conversation, we now have another Social Knight at our disposal in Machis. More importantly, we have one less enemy to focus on this turn. Machis gets sent down to join the rest of the dead weight, dropping off his Iron Lance in the Storage on the way. His solid but unspectacular stats, for those interested:
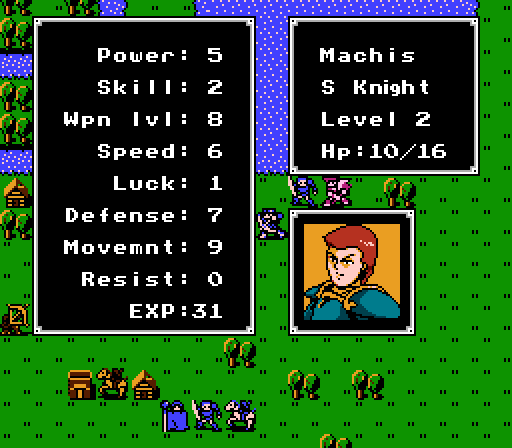
Machis has lower base stats and lower growths than Abel in every stat so we immediately throw him into the pile of unused Social Knights with Kain.
The Bow Knight we can ignore, since he'll just take another shot at Rena and won't be able to kill her. That just leaves the two Social Knights.

Barts goes all
 and kills off the one to the south, who'd been damaged by Daros's counterattack earlier. He also gets the enemy's Armor Killer as a reward, and sends it off to the Storage since his inventory is full.
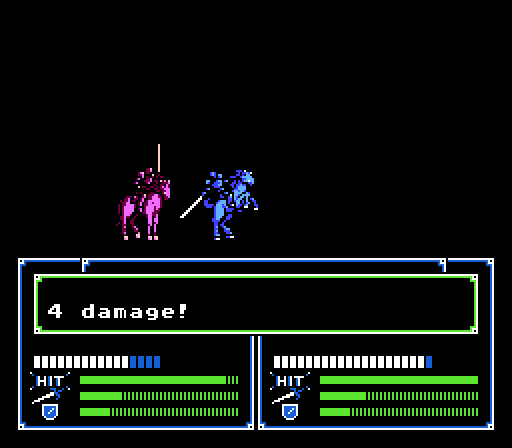
Abel is still relatively unscathed so takes the first shot at the other Social Knight from the south, dishing out 8 damage and taking 3 in exchange.
Daros is our only unit left. He can barely do enough damage with a Steel Axe to kill the Social Knight in one hit - if that hit lands. He moves onto the fort for some extra avoidance just in case...
_-_Chapter_04_-_Turn_04_-_Battle_02.gif)
And, no need to worry apparently. Daros even gains a level:
Very odd level for Daros, gaining Speed on a 10% chance but whiffing on both Power (50%) and Defense (40%).
That takes care of the western front for this turn.
We have a 5-on-5 battle to the east. The goal will be to at least take out all of the Fighters.
The Fighter to the south dodged Doga's counterattack and is the only one at full health, so Kashim moves down to soften it up:
_-_Chapter_04_-_Turn_04_-_Battle_03.gif)
Or he could critical and kill it off himself, that works too.
Doga and Marth each take out their attackers, with Doga gaining a level:

Apparently Doga has decided he'd rather be a Mercenary.
Julian finishes off the last Fighter, leaving Navarre a free shot at the Hunter.
_-_Chapter_04_-_Turn_04_-_Battle_04.gif)
He takes full advantage.
The western front still has a Bow Knight, and the Armor Knight and two Archers guarding the bridge. The eastern front is now all clear except for the Thief playing hide-and-seek with Sheeda.

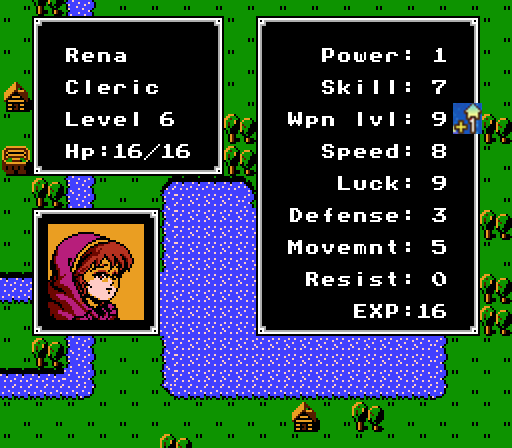
As expected, the Bow Knight goes after Rena and does another 5 damage. Rena gets a level out of it though:
Believe it or not this is actually a good level for Rena - she now has enough Weapon Level to use every Wand in the game.
The Thief hides on the fort and the rest of the enemy units stay put.
Turn 5:

Pretty quiet turn - we will want to take out the last Bow Knight finally, and otherwise try to form up to rush the chokepoint.

Barts and Abel team up to take out the Bow Knight, with Barts gaining a level:
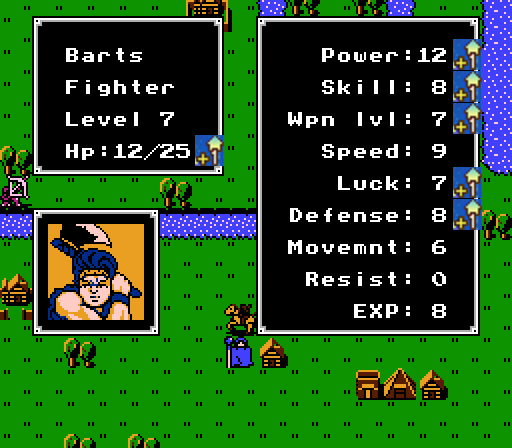
 Way to go Barts, almost a perfect level.
Marth and company head off to join the rest of the army, with Navarre first stopping at the house:
 The rapier is effective against both, but only the prince can wield it.
A little misleading - the Knight Killer is actually only effective against Social Knights, but anyone that can wield lances can use it (Social Knights, Armor Knights, Pegasus Knights, for example).
_-_Chapter_04_-_Turns_05-08_-_Battle_01.gif)
Rena heals up Barts and begins moving off to the north. You see, an enemy Thief isolated near a fort is a pretty easy way to power-level a Cleric in this game - the Thief can't do much damage, and the Cleric can heal up on the fort each turn.
None of the enemy units move, giving us plenty of time to set up for the second half of the chapter.
Turns 6-7:
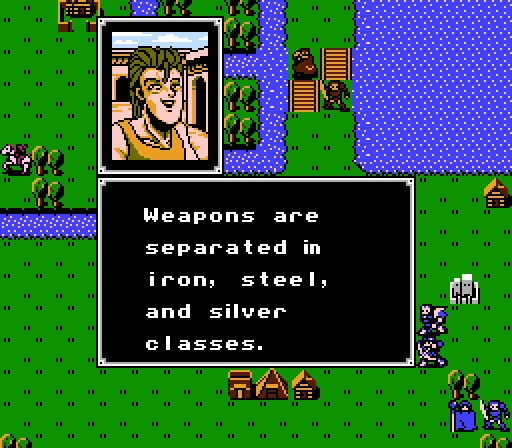
Everyone moves up, and we take the time to visit the rest of the houses:
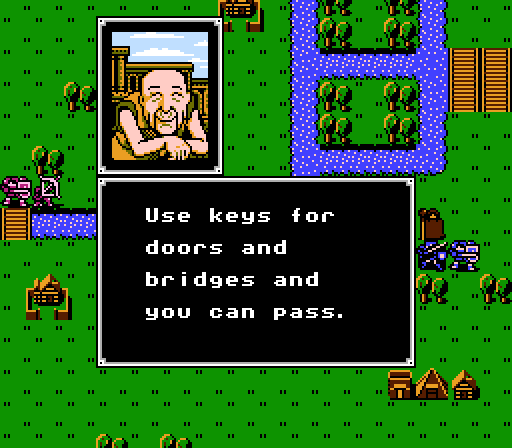
Oddly useful information, though we won't hit any doors or bridges for awhile yet.

Another useful warning that comes a few chapters too early. The 'D' in D Knight? That'll be a surprise (like anyone reading doesn't already know).
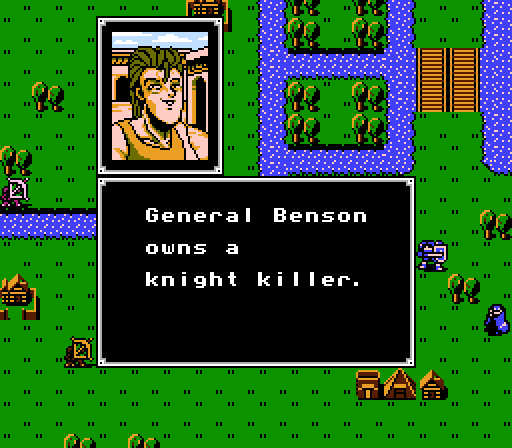 S Knights better don't get near him.
Yet another warning about the boss's weapon.
Rena heals up Marth and Navarre on her way north as well.
Turn 8:
The Thief is trying to make a run for it, but Rena will make a more tempting target - she heals herself to full HP with a Vulnerary as well. Sheeda stays put as backup, if needed.
Marth will be our bunker-buster with his Rapier. He moves up to take on the Armor Knight.
_-_Chapter_04_-_Turns_05-08_-_Battle_02.gif)
Marth takes 5 damage but clears out the Armor Knight and gains a level:
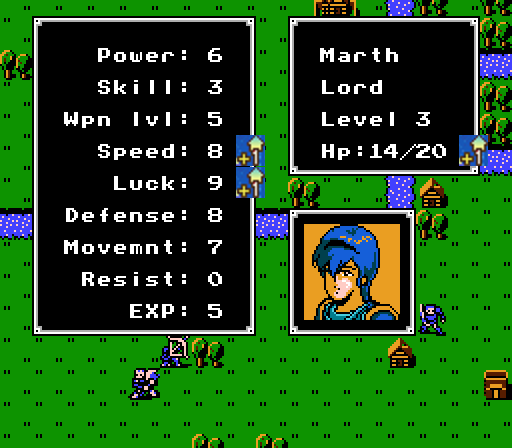
Solid gains. Could use some Skill and, believe it or not, Weapon Level soon though.
We could rush Abel into the gap to attack one of the Archers, but that would bring down one of the Social Knights guarding the boss. Instead Marth will have to tough it out - he's got enough HP to survive, and the enemy grunts still don't have the ability to land a critical hit.
Lined up to charge across the river next turn.
The Archers each take a shot at Marth - their Steel Bows are too heavy to get in two attacks - for a total of 6 damage. The Thief freezes in place, not wanting to go after Rena since it'd bring him in range of Sheeda.
Turn 9:

Rena advances again. Sheeda flies up to make faces at the Thief or something.
Daros uses his water-walking ability to cross the river and attack the left Archer. Abel uses his horse-riding ability to cross the bridge and swing all the way around to finish it off for a level:
Not terrible, but that's three levels now with no Power or Luck (or Defense for that matter). He's got plenty of time to make up for it though.
Barts takes out the Archer by himself and sits out as bait for the Social Knights.
Marth retreats to the fort to heal up while the others set the trap.
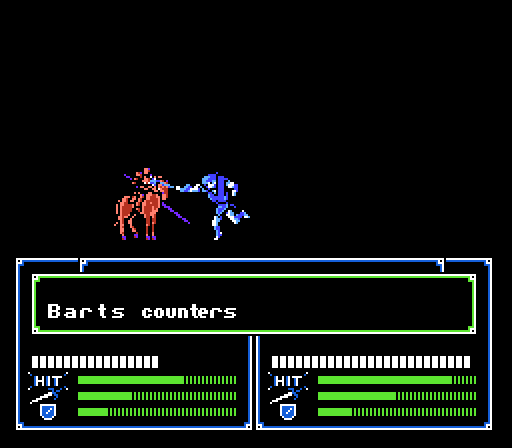
The Social Knight moves down to attack Barts but misses. Barts doesn't miss; he actually hits twice and counter-kills him.
The Thief does 5 damage to Rena but can only get in one attack. Rena gets a full 40 Exp for surviving the attack.
Turn 10:

Rena continues her journey to the fort, with Sheeda standing guard.
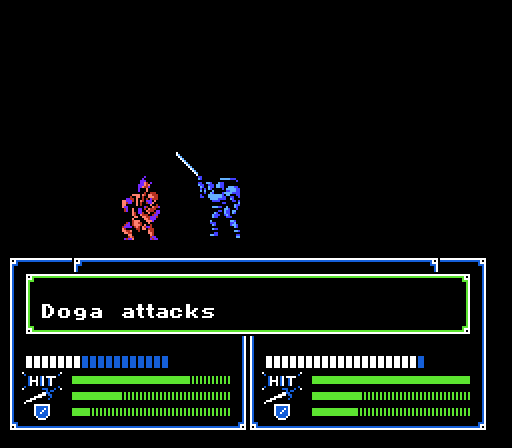
Doga moves up to act as bait this time, with the others falling in behind him. Marth continues to wait on the fort.
The Social Knight does 2 damage to Doga. Doga calmly dishes out two attacks of 5 damage each and disdainly turns his back on the enemy.
The Thief takes another swipe at Rena but misses; she gets another 40 Exp.
Turn 11:
Rena's almost reached the fort.
Gordon finishes off the Social Knight for a level:
Sadly that's actually pretty much average for him.
Abel takes out the Cleric, leaving just the boss.
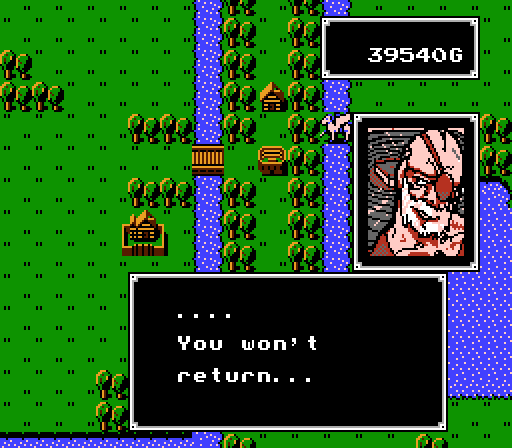
Marth finally gets around to visiting the southern village:

 For this we've gathered 5000G. Please take it.
Ka-ching.
Ready to assault the boss next turn.
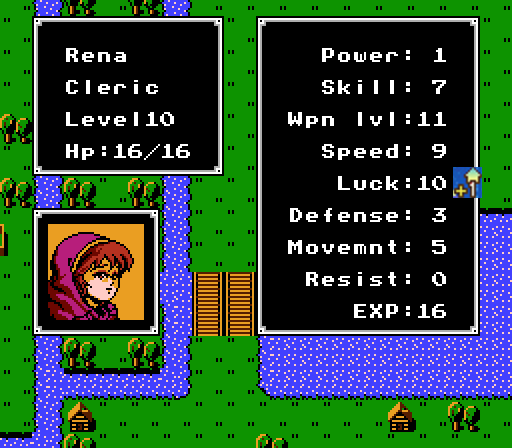
The Thief takes another shot at Rena, who gains another level:
Another 1% chance to dodge a magic attack down the road. Yay?
Time to gang up on the boss.
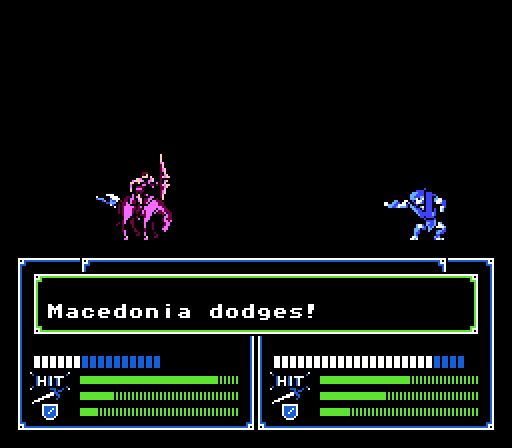
Kashim does 6 damage. Abel needs to stay out of melee range, so takes a shot with the Javelin but misses.
Benson isn't very soft yet. That's ok though because we have a Merc with a Kill Sword:
He took 6 damage in return but that hardly matters now. He also gained a level:
More Weapon Level is useless for Navarre at this point but he's pretty much on his averages on everything.
Navarre also gets to keep Benson's Knight Killer, but he can't use it so he eventually gives it to Doga.
Turns 12+:
Marth finally makes it to the remaining village:
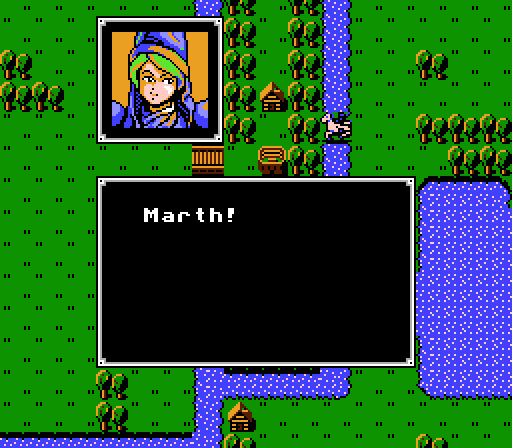
Hello?
 Good to see you.
 Marich? Is that you?!
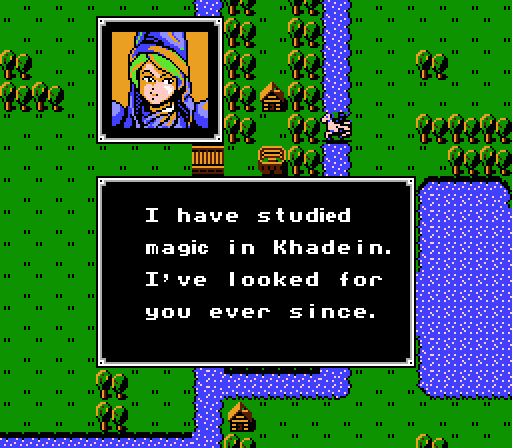
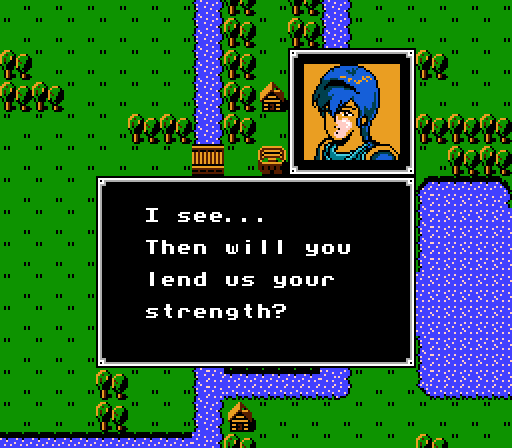
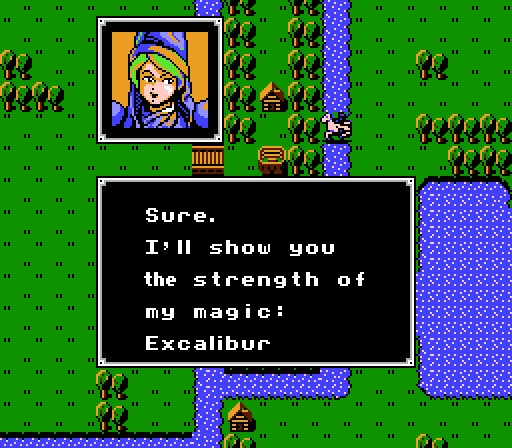
Yes! Magic!
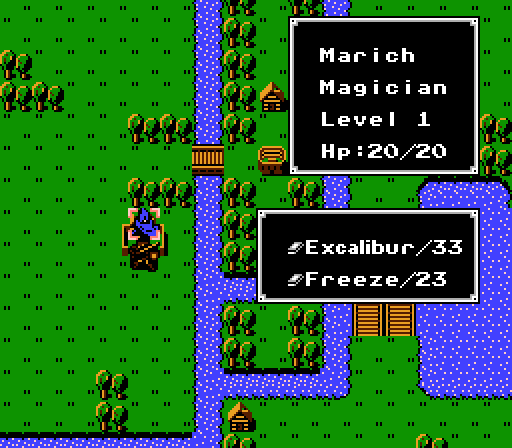
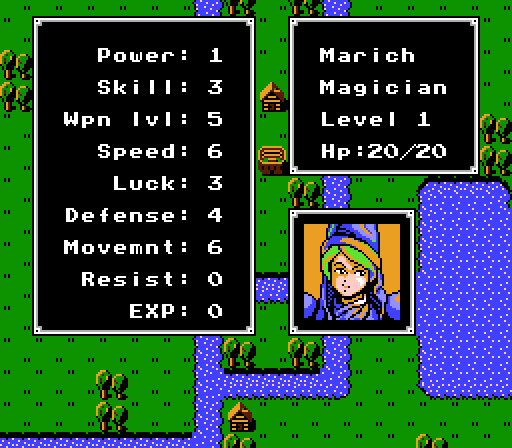
Marich is a Magician and therefore awesome. His spells do fixed damage unaffected by Power (there is no Magic stat at this early stage of the series) and almost no enemies have any Resist (Magic Defense). On top of that, he comes with a unique weapon in the Excalibur Tome, which has the crit rate of a Kill Sword and more Might than a Silver Lance. He excels at clearing out chokepoints and destroying bosses.
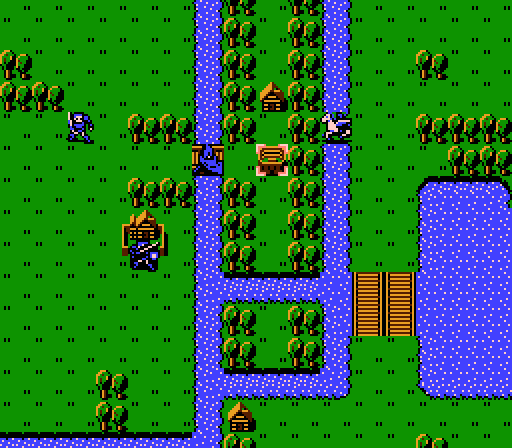
We can use Marich to check out this new building. This is the Arena - you place a bet and send in your unit to fight, and the fight continues until one combatant dies - there's no backing out once the bet is made. Win, and you keep your unit and the Exp earned and win 10 times what you bet. Lose, and you lose not only your bet but also the unit - for good!
Since there's no backing out once the fight as started, and you can't (normally) know what your opponent would be ahead of time, it's tough to make use of the arena without abusing save states. In some situations the bet will fluctuate based on the opponent's class, but you're still placing yourself at the mercy of the RNG. Your one advantage is that your unit will always attack first. Fast units have an advantage since they can often double-attack every round, getting in three attacks before the enemy can get in a second (Attack for Round 1, Enemy Counter, Second Attack, Attack for Round 2). In later Fire Emblem games, you can cancel out of a fight in progress if it's going badly, making the Arena a great place to power-level units. In this game it's really more trouble than it's worth.
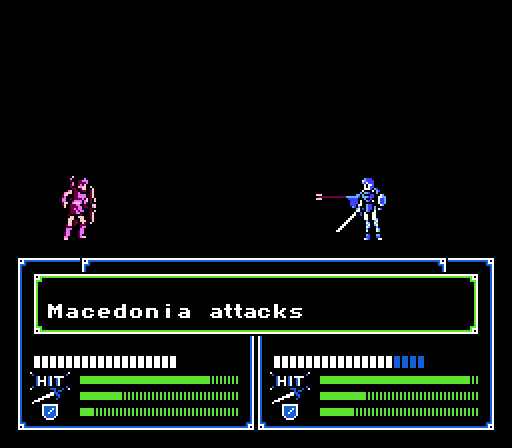
But I have full confidence in Marich so we have to at least try it out once, right?
_-_Chapter_04_-_Arena.gif)
I knew you could do it Marich! What's that, you want to go again? I don't think that's really a good idea...
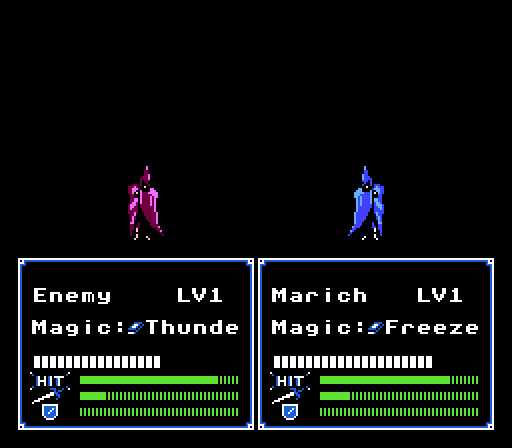
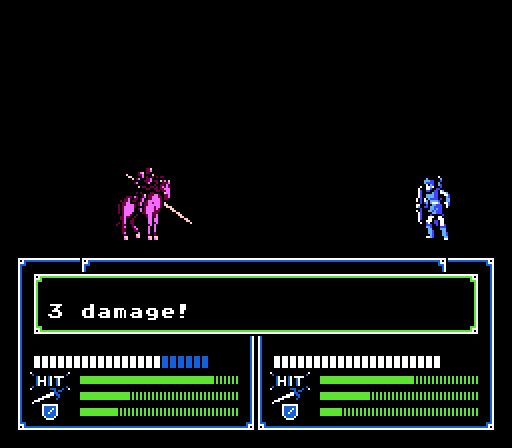
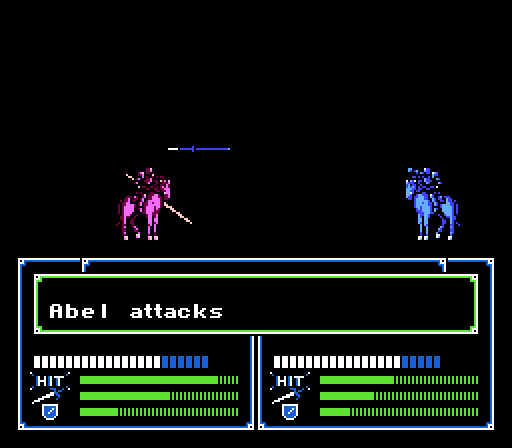
Another Magician isn't a good matchup for Marich, but I can't back out now. The Thunder tome is lighter than Freeze, and has a higher hit rate. But still, as long as the enemy doesn't dodge too much, Marich should be fine...
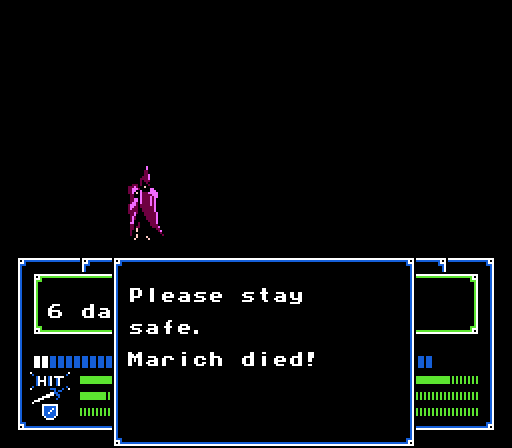
Oh Marich, we hardly knew ye.
That's all that seems to happen when a unit dies, by the way. Unless it's Marth, then you get a game over and are forced to start from your last save (hopefully just the start of that chapter). In this case however, I have rewind magic!
Before we have Marth seize the castle, I feel like I'm forgetting something...
Here...Rena! What happened to you!
(You may want to avert your eyes for this next part, it's pretty gruesome.)
(I mean it, you probably don't want to actually see this.)
(Okay, but don't say I didn't warn you!)


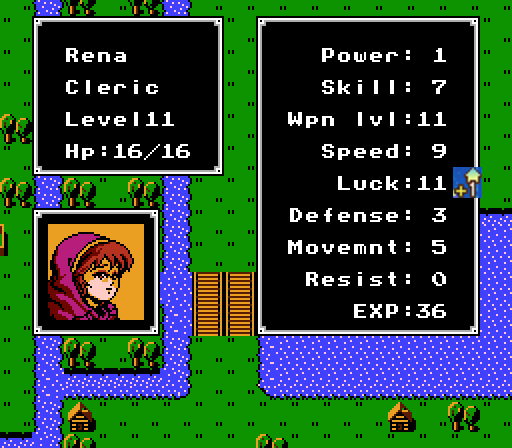


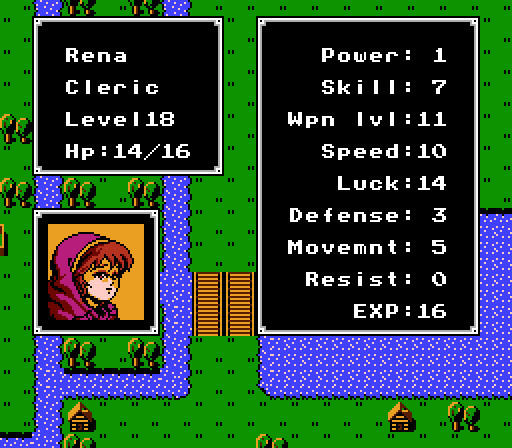

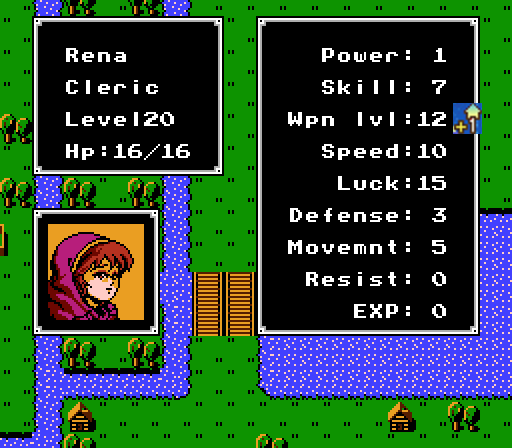
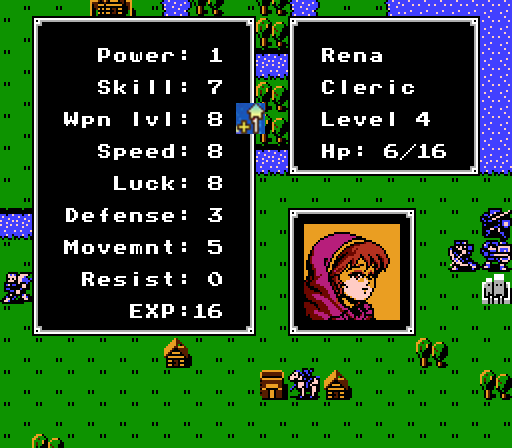
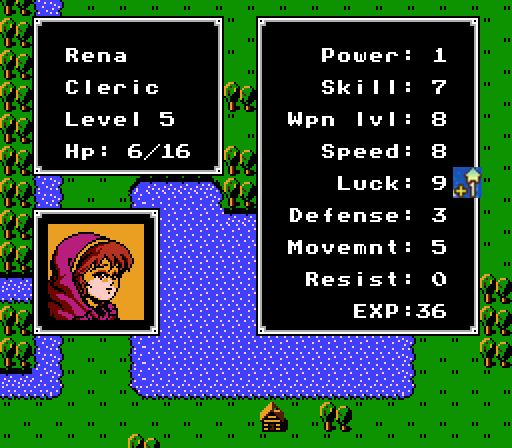
That's right, 15 levels and Rena gained a total of +4 Weapon Level (none of which are helpful), +2 Speed, and +6 Luck. Despite those terrible level up screens she's actually average on Weapon Level and Luck, and only a point behind on Speed. That's just how bad Clerics' growths are.
But wait, it gets better - Clerics and Magicians actually promote into the same class. And Magicians have reasonable growths in every stat. So needless to say, Rena isn't going to get promoted - we'll be limited to only one promoted version, and a promoted Magician will be miles better.
Okay, lecture over. Sheeda kills off the Thief and Marth seizes the castle.
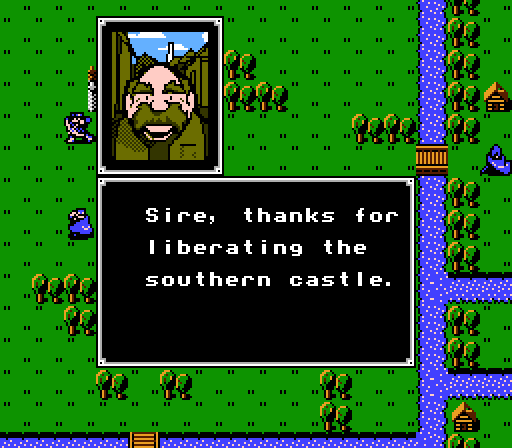
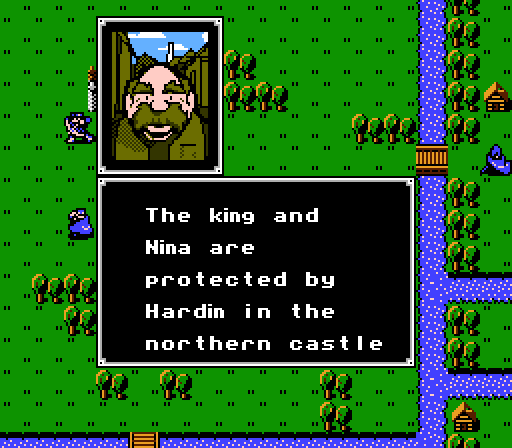
I see, so we liberated half of Orleans. Apparently the crappy half, with only this guy who looks remarkably like a peasant we found in one of the houses to thank us.
 Please give Hardin this sword.
The game doesn't say anything about it so we normally wouldn't find out what it is until we start the next chapter and look at Marth's inventory. (Unless Marth's inventory had already been full, and then we would get a message asking to send it to Storage.) PS: It's a Silver Sword. And Hardin isn't going to be getting it.
New Characters
Machis - Social KnightMachis is inferior to both Kain and Abel. You could get away with using all three for awhile in a normal run, but even then there will be better units thrown at you in the next few chapters.
Growth Rates:
- HP: 50%
- Power: 40%
- Skill: 30%
- Weapon Level: 70%
- Speed: 20%
- Luck: 20%
- Defense: 20%
- Total: 250%
Marich - MagicianAs a Magician, Marich is awesome. He can do reliable damage against any unit. He can attack from 1 or 2 tiles away, so he can safely attack from range but still counterattack from melee. He can promote for another 20 levels of growth. He gets a unique weapon that does a lot of damage with a high crit rate. And on top of all that, his growth rates are actually pretty good as well.
Growth Rates:
- HP: 80%
- Power: 0%
- Skill: 30%
- Weapon Level: 80%
- Speed: 50%
- Luck: 50%
- Defense: 20%
- Total: 310%
New Weapons:
Silver Sword - Easily the best regular weapon in the game. It's as light and accurate as an Iron Sword, but as strong as a Silver Lance. It has a low Durability, however, and requires the highest Weapon Level amongst all Swords (but it's still not that high).
- Might: 12
- Uses: 17
- Weapon Level: 9
- Hit Rate: 100%
- Crit Rate: 0%
- Weight: 3
- Special: None
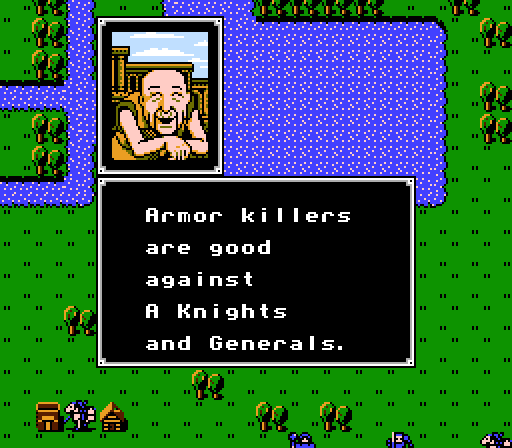
Armor Killer [Sword] - Basically a less accurate Iron Sword that is effective against Armor Knights. Can be useful in some situations. The Hammer has the same effect and is generally better, but the Armor Killer is capable of being wielded by more classes.
- Might: 4
- Uses: 22
- Weapon Level: 3
- Hit Rate: 80%
- Crit Rate: 0%
- Weight: 2
- Special: Triple Might against Armor Knights
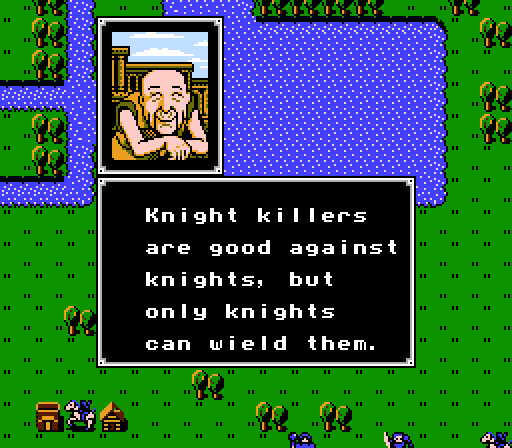
Knight Killer [Lance] - Normally the weakest Lance, the Knight Killer becomes the strongest when facing a Social Knight or a Paladin. It doesn't have many uses however, so generally having Marth wield a Rapier (which has the effects of both a Knight Killer and an Armor Killer) is more effective.
- Might: 5
- Uses: 14
- Weapon Level: 4
- Hit Rate: 90%
- Crit Rate: 0%
- Weight: 5
- Special: Triple Might against Social Knights and Paladins
Thunder Tome - We only really saw this in the Arena death that never happened, but I'll list it here anyway. It's light, accurate, and hits harder than an Iron Sword. But a Freeze Tome is still a bit better.
- Might: 6
- Uses: 21
- Weapon Level: 2
- Hit Rate: 90%
- Crit Rate: 0%
- Weight: 1
- Special: Range of 1 or 2 tiles
Freeze Tome - The Freeze Tome is a bit stronger and less accurate than the Thunder Tome, but the extra boost to crit rate makes it more useful over all. Also note that there are no elemental strengths/weaknesses. And just as there's no weapon triangle, there's no magic triangle either.
- Might: 7
- Uses: 23
- Weapon Level: 3
- Hit Rate: 80%
- Crit Rate: 5%
- Weight: 2
- Special: Range of 1 or 2 tiles
Excalibur Tome - Marich's unique weapon. It has a lot of uses but we won't see another one for a long time so should still be conserved. It's strong, accurate, light, and has a high crit rate - what more could you want? Well, the DS remake gave the Tome an effectiveness against flying enemies as well, but it's not that overpowered here.
- Might: 13
- Uses: 33
- Weapon Level: Marich only
- Hit Rate: 100%
- Crit Rate: 20%
- Weight: 3
- Special: Range of 1 or 2 tiles
And an update on our current roster, with the active units in bold. If I get a call to recall that is seconded, we'll have a recall vote. If the recall vote succeeds, we'll vote on a replacement. (Only applies if there is a replacement, of course.) Right now we're doing pretty good with what we have so probably no need to switch.
Lord: Marth
Pegasus Knight: Sheeda
Social Knight: Abel, Kain, Machis, Jeigan [Paladin]
Armor Knight: Doga
Archer: Gordon
Cleric: Rena, Riff
Mercenary: Navarre, Oguma
Fighter: Barts, Maji, Saji
Hunter: Kashim
Pirate: Daros
Thief: Julian
Magician: Marich
 We'll also be limited to 9 units to bring along next chapter. You may notice we have units across 12 classes. That means three get to be left behind. One will be Julian - we won't need a Thief, and he'll have other opportunities to grind. As the Lord, Marth has to come along. I'm not going to try to finish the chapter without a healer so the Cleric is mandatory as well. So among the other nine classes above, vote for two to be left behind.
Next time: We assault the northern half of Orleans!
