Part 7: Treasure
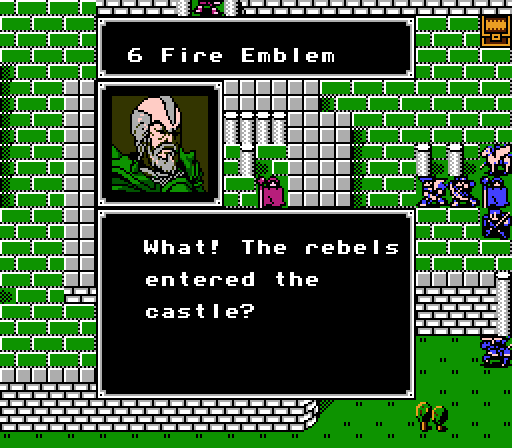
We've freed Orleans, but there are still some enemies holed up in the castle. Time to begin the assault.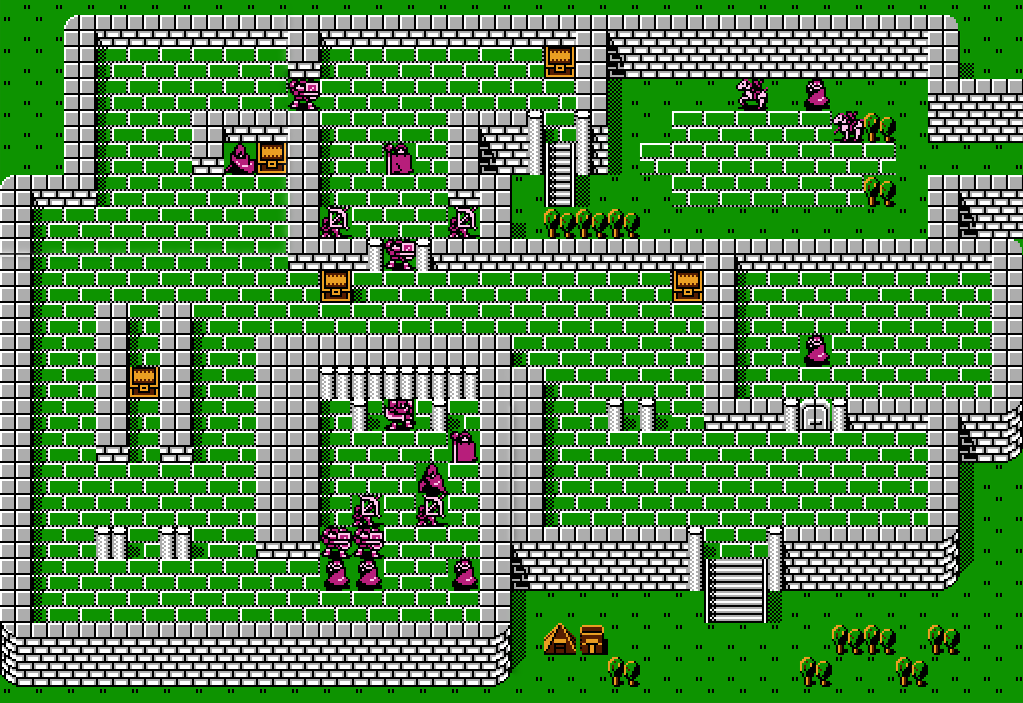
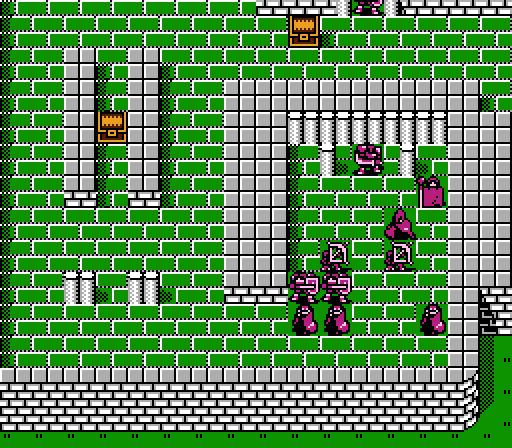
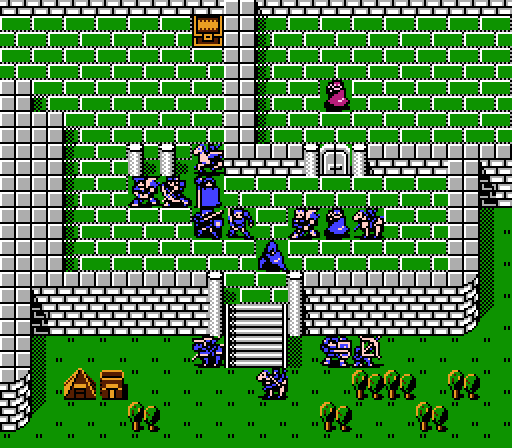
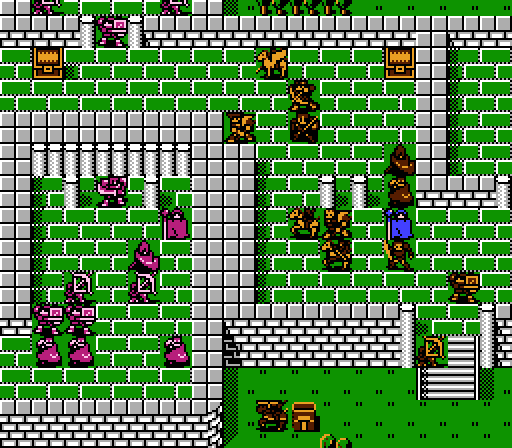
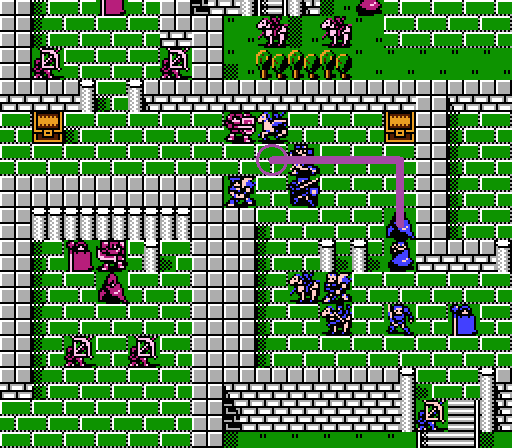
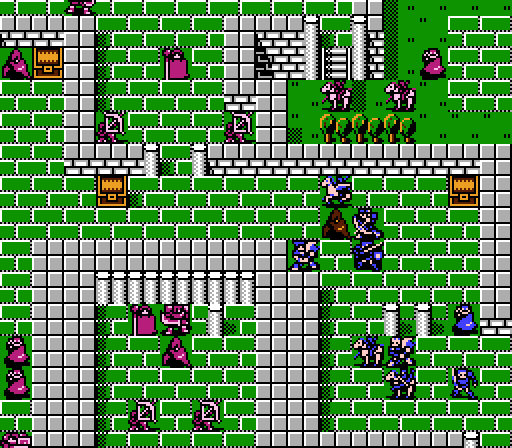
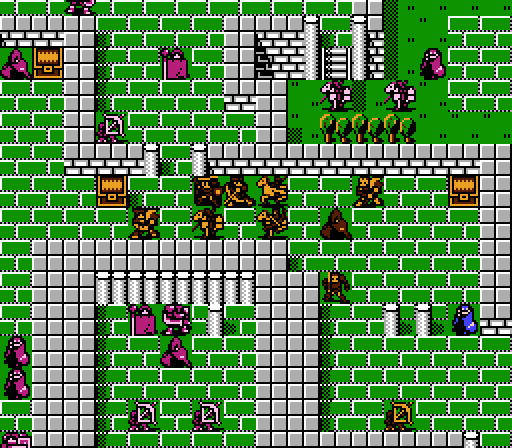
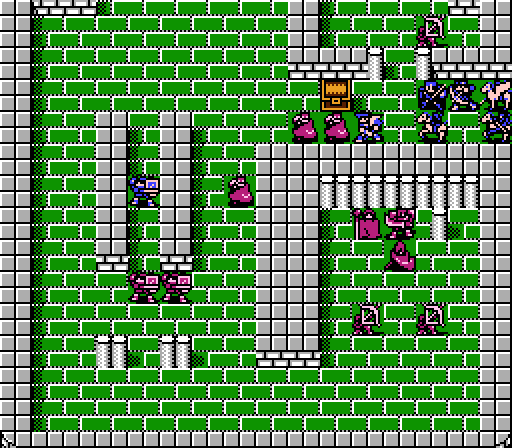
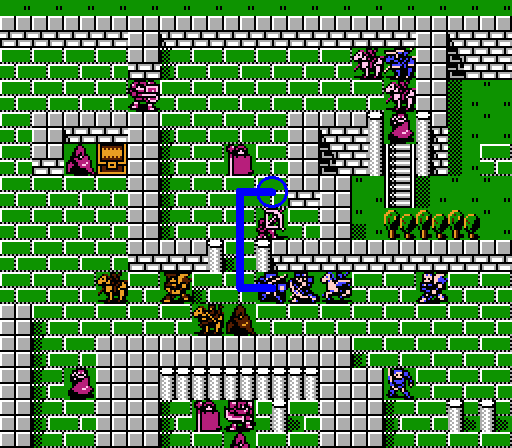
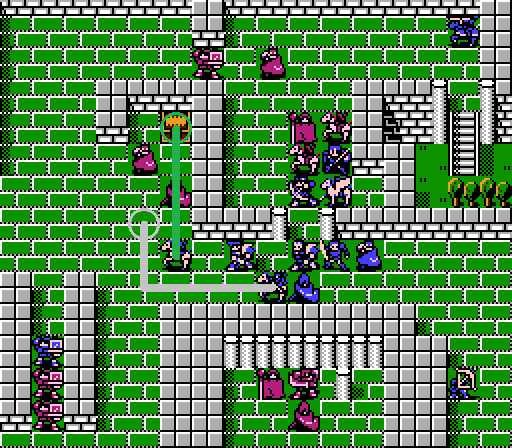
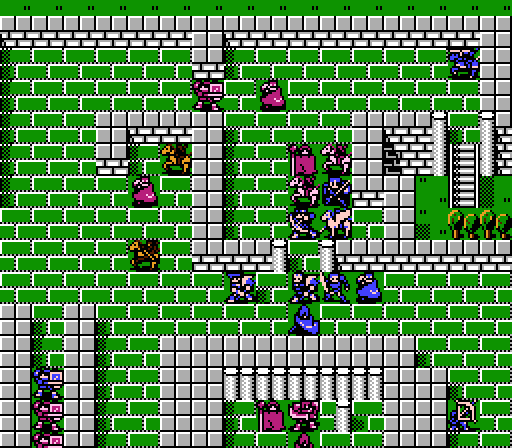
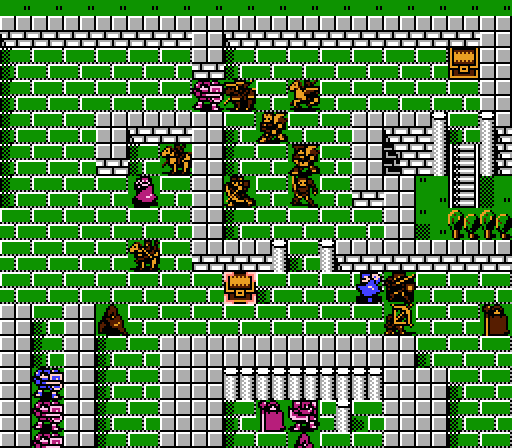
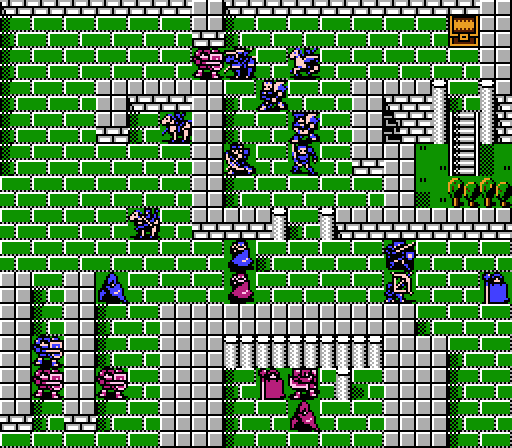
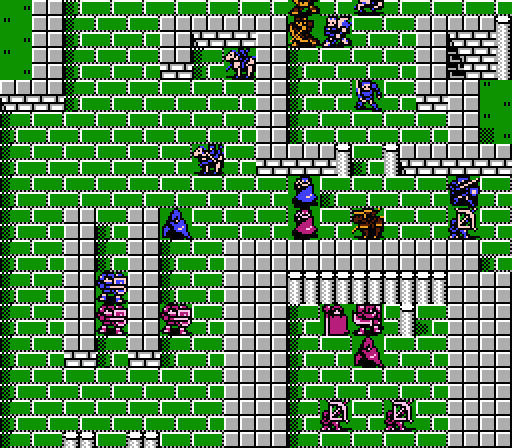
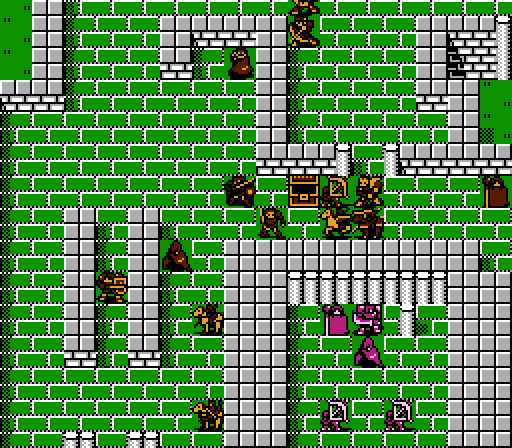
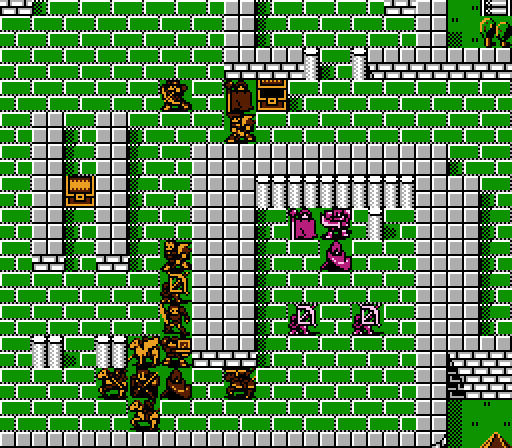
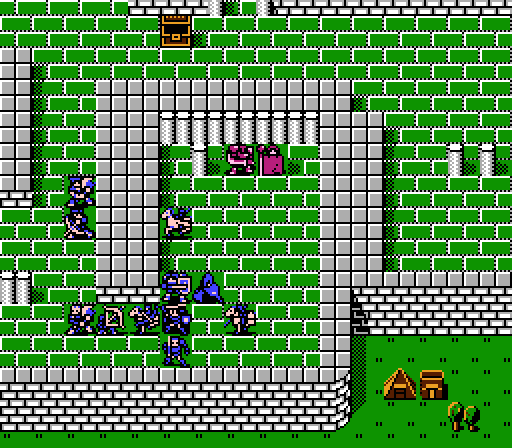
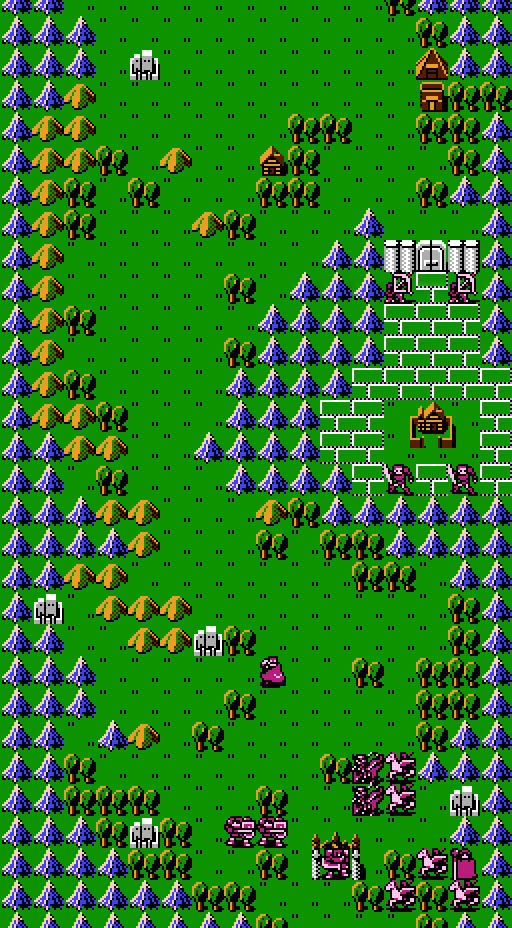
The first indoor map of the game. There's no real mechanical difference - everyone has the same movement rate, all the mounted units get to ride their horses through the hallways, and we're still asked to seize the objective guarded by a boss. The new terrain has one major difference though - the walls. Bow users and mages and the like can still attack through them, but flyers like Sheeda can't fly over them. The pillars are basically indoor trees, providing extra avoidance at the cost of reduced movement. There are also no forts so no free healing this chapter; on the bright side that also means no reinforcements.
The other new wrinkle is the set of treasure chests scattered about the map. Being a horrible completionist, I have to get all of them. There's a problem, though...
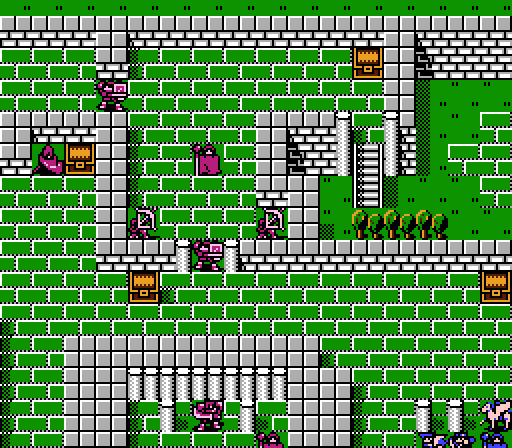
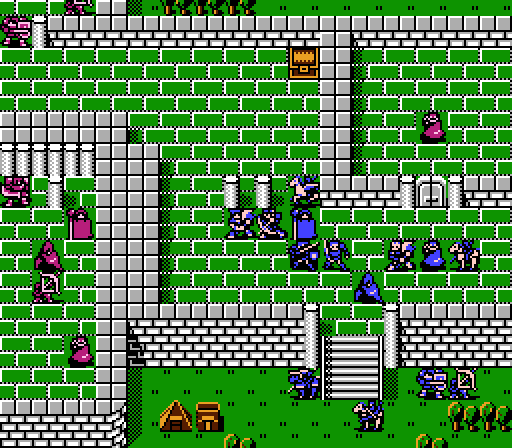
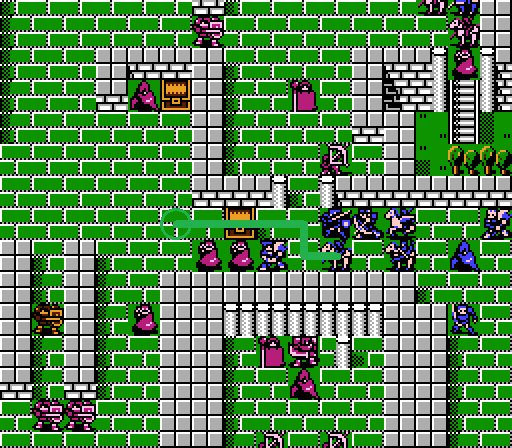
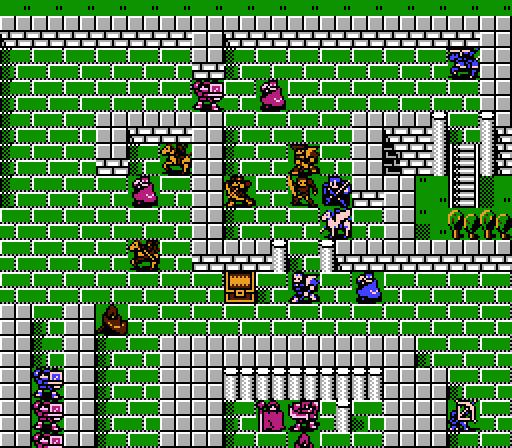
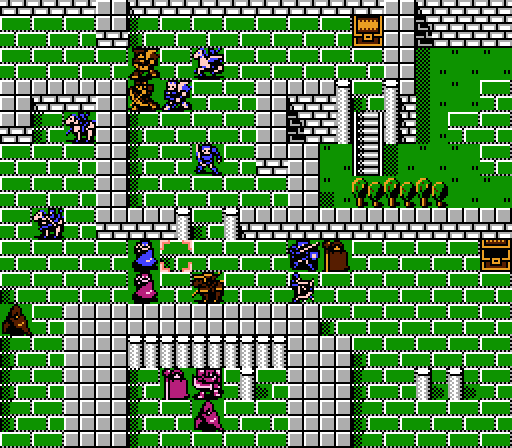
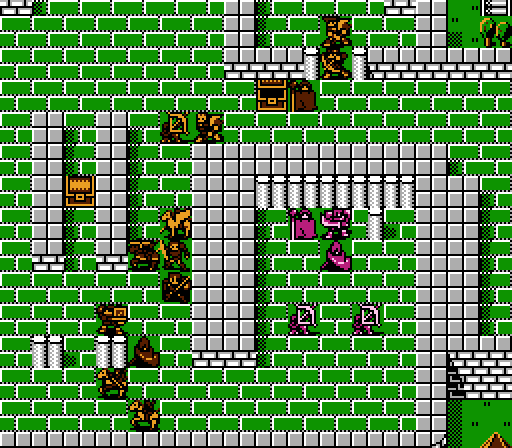
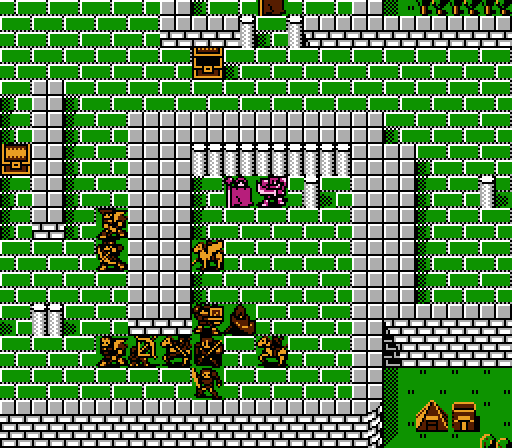
The enemy Thieves are the problem. The group to the southwest will reach the treasure in just two turns, and we have no one who can get there in time. If you've only played the later games in the series, you might not see the problem here. However in this game, once an enemy Thief loots a treasure chest, it's gone for good - your own Thieves can't steal the item back since there's no stealing in this game, and you won't get the item back by killing the enemy Thief either. The only way to get the treasure is to keep the enemy Thieves from getting there in the first place.
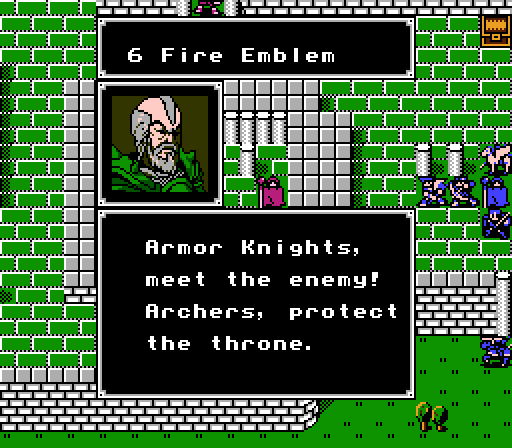
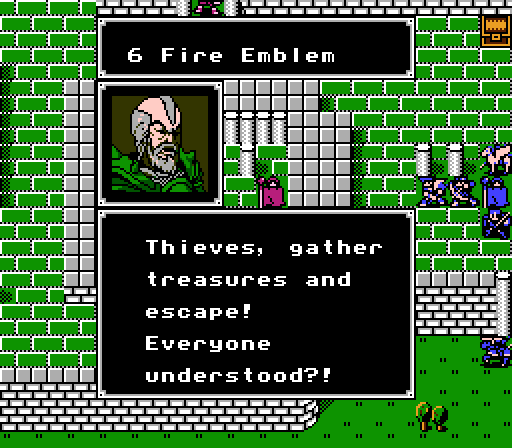
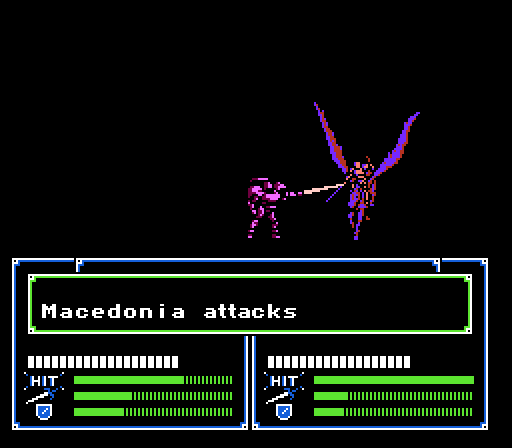
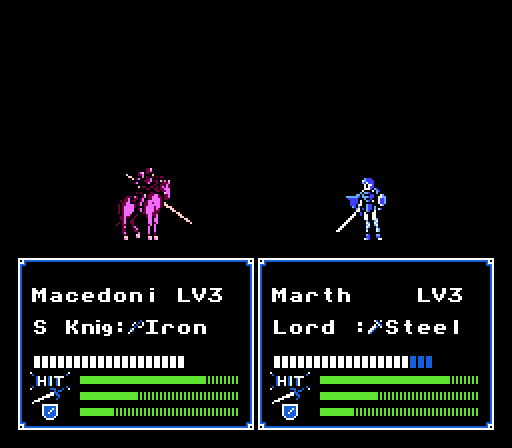
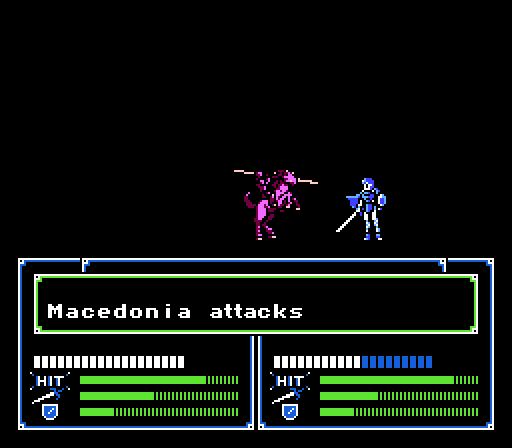
The speaker is our first boss with a new portrait in several chapters:
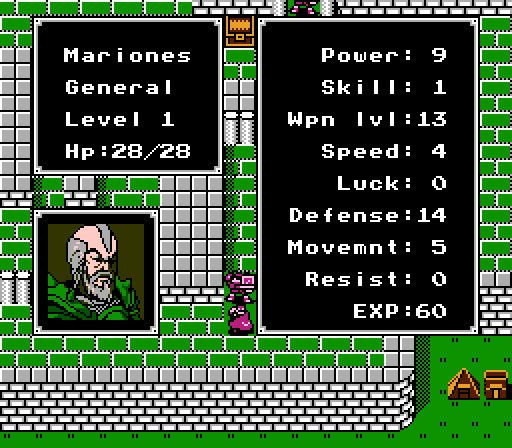
Mariones is the first General we've encountered so far. Effectively, a General is the promoted form of an Armor Knight, but there doesn't exist any item in this game in order to actually promote an Armor Knight to a General. So, tough luck for Armor Knights. Mariones has enough Power and Defense to cause trouble and he also has a Silver Sword for a 21 attack. (For reference, the highest Defense we currently have is Doga's 11.) Fortunately the boss's Speed is low enough that he will have a hard time double-attacking anyone.
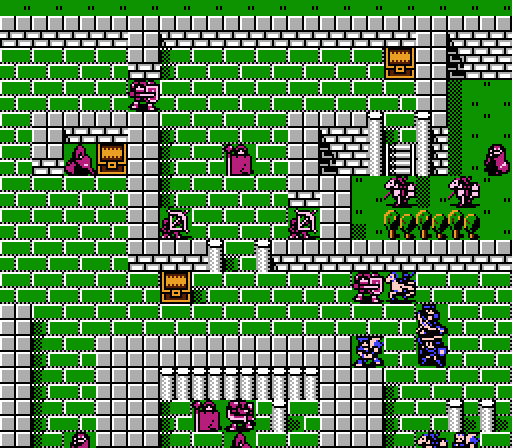
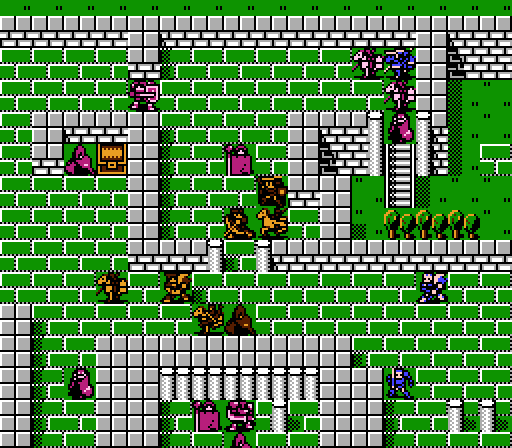
The group of enemies near the boss is nothing special, though we do see the first enemy Magician here. The Cleric has a Relieve Wand but shouldn't be a problem. The Archers have Steel Bows, the Magician has a Thunder Tome, and the rest have Iron weapons.
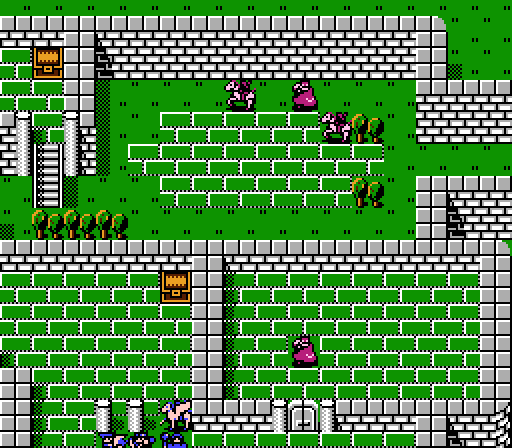
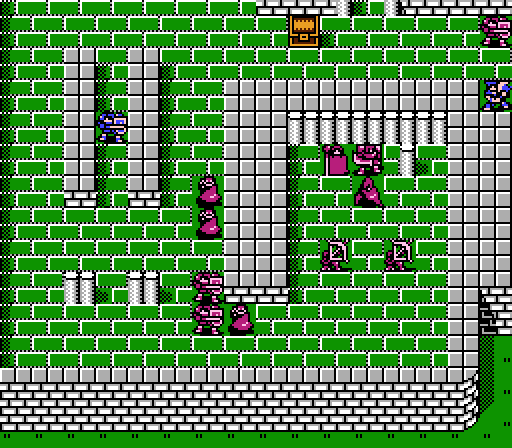
To the north are a few more scattered enemies that don't pose much threat. The Archers have Steel Bows, the Magician has a Fire Tome, and most of the rest have Iron weapons all around. The farther Armor Knight has a Steel Sword, and the right-most Social Knight has a bit of a surprise with a Silver Lance.
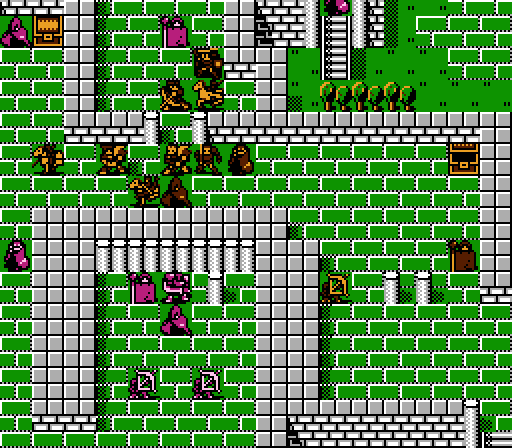
The Thief locked in a room by himself is actually a prisoner:
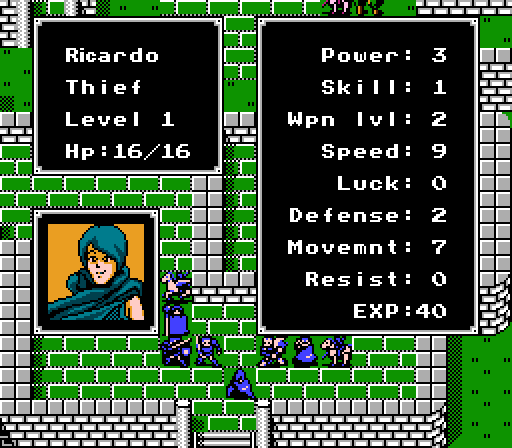
Ricardo is an inferior Julian but can still serve to open treasure chests and unlock doors in a pinch. He can be recruited by talking to Julian but we're just going to ignore him for now.
Our team:
It's the same crew as last chapter, with Daros and Julian returning from their day off. Jeigan also makes a guest appearance; he'll be helping us negotiate the treasure trap.
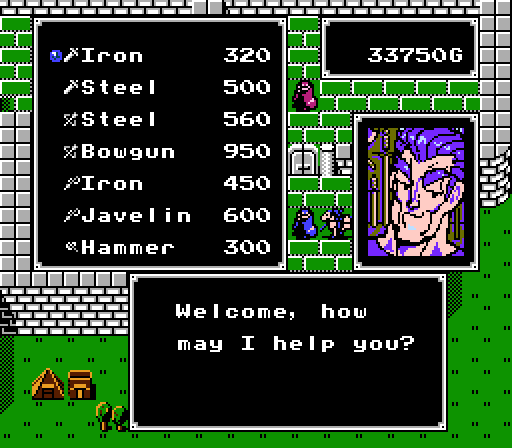
The Armory nearby has the same stuff as last chapter, including the convenient access to the Hammer which happens to be effective against the boss. We also get to access the Storage at the beginning of the chapter this time.
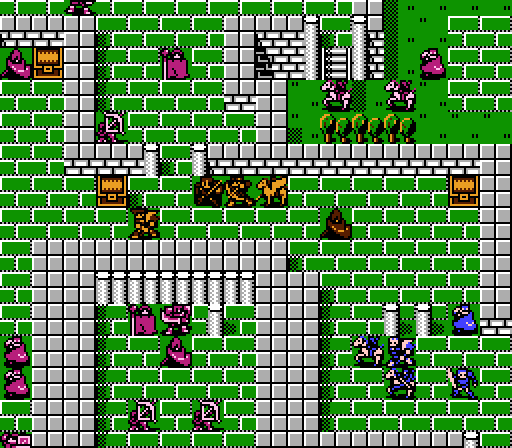
Turn 1:
Rushing is important here if we want to get all the treasure with minimal fuss so we send almost everyone forward as far as they can go. Jeigan pops in at the Storage to pick up the Armor Killer from last chapter for Navarre.
Rena has a special task:
_-_Chapter_06_-_Turn_01.gif)
Remember that Warp Wand we got when we recruited Rena? Using it here is the only way to protect that treasure. Doga will shrug off anyone that goes after him until we can get there.
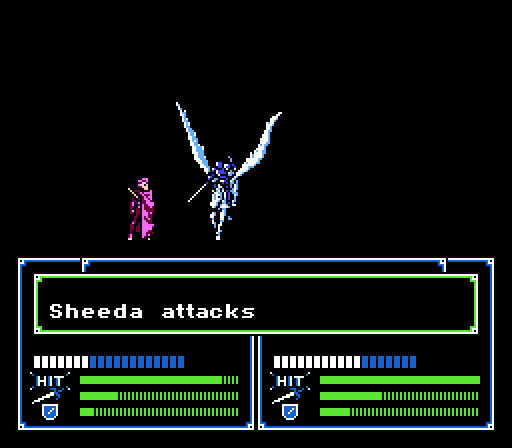
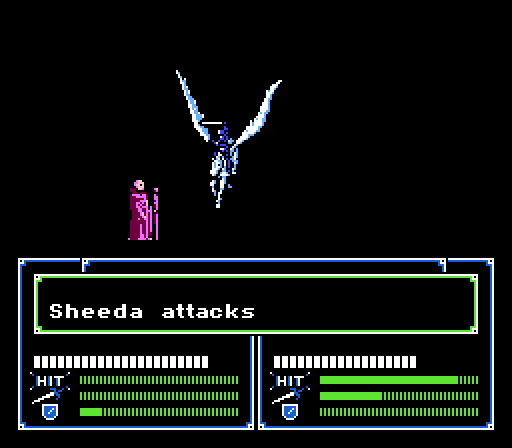
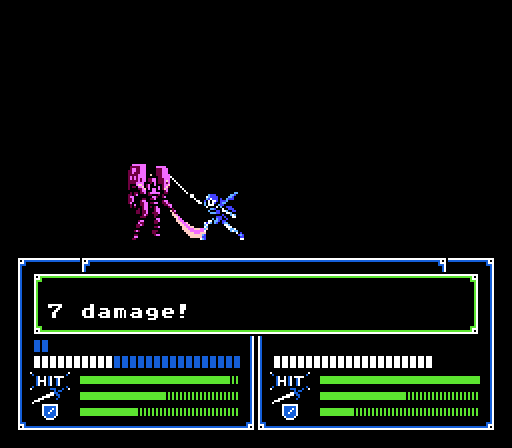
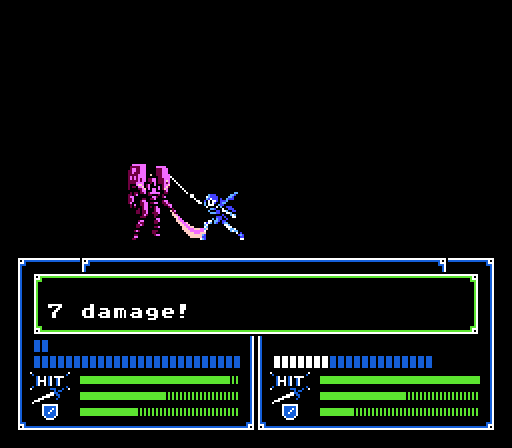
On the enemy phase, most units advance. With Doga blocking the nearest treasure, the southern group of Thieves continues to the next set and is just unable to reach them in another turn. One Armor Knight gets in close enough to attack Sheeda:
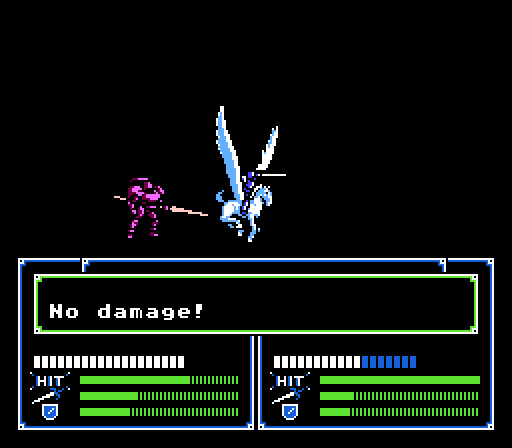
Sheeda takes 7 damage and does nothing in return because I forgot to switch her weapon from the Iron Sword.

Turn 2:
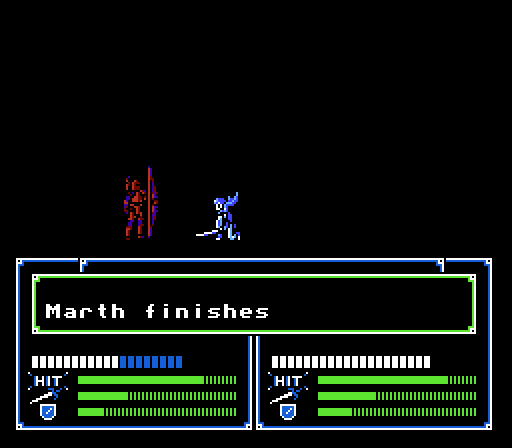
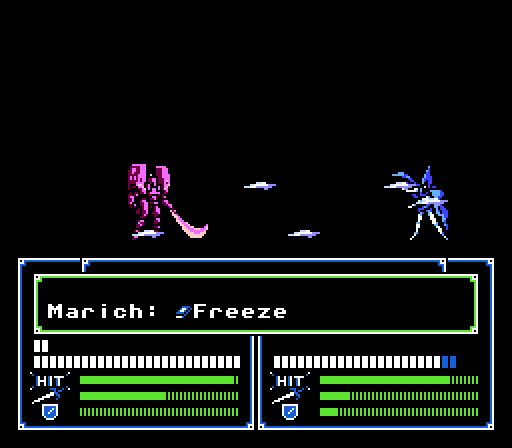
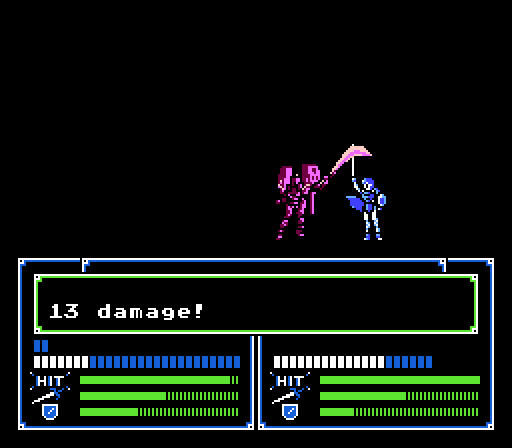
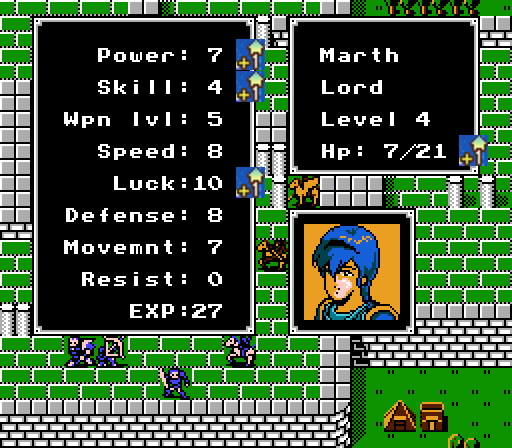
We need to take care of that Armor Knight first, preferably with someone near the back of the group so that the others can continue to move forward. Marich volunteers.
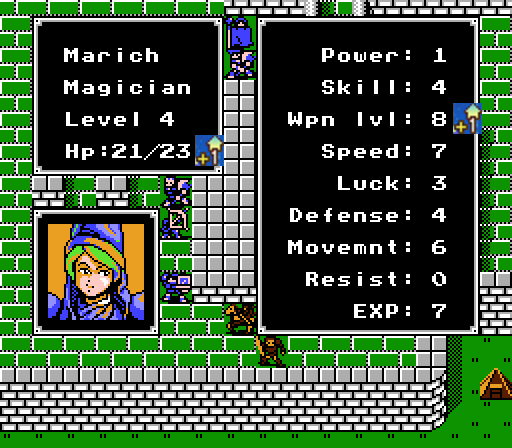
He takes care of the first objective and gains a level:
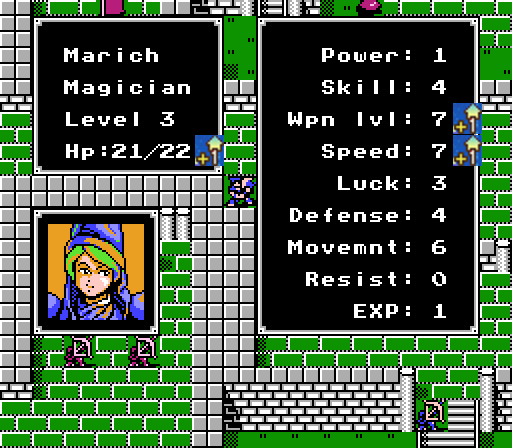
Speed is about all Marich really needs. He also now has enough Weapon Level (already) to wield every Tome in the game. Weapon Level was not really a very well thought out stat in the beginning of the series.
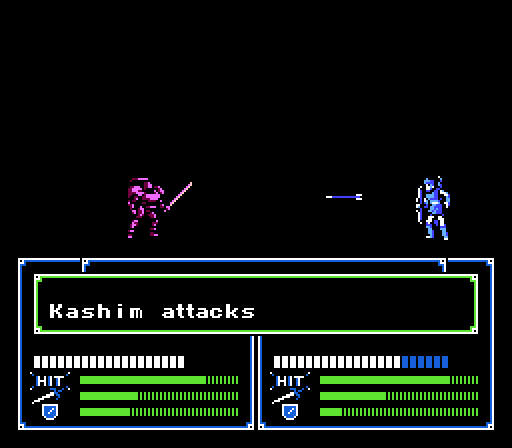
We still have to rush forward to protect the treasure, but also have to be careful because the enemy Magician there can do 10 damage to most of our units and the Archers will take shots at anyone in range as well. Kashim takes the opportunity to take out the nearest Archer, taking 6 damage in return. Marth moves up to bait the other Archer while Sheeda hides behind them.
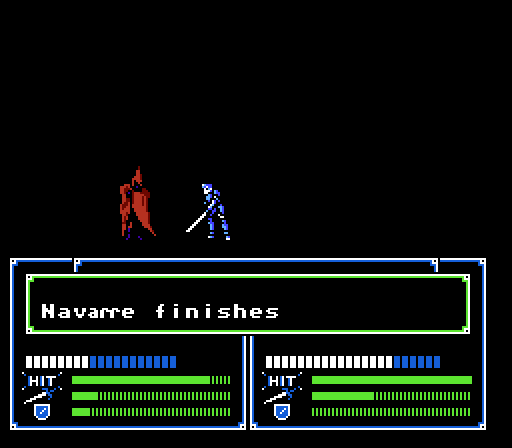
Jeigan gives the Armor Killer to Navarre, and then Rena sends him off to make a stand to the north, guarding another treasure.
The rest of our army advances as well, with Gordon bringing up the rear.
Julian nabs the first treasure chest on his way forward:
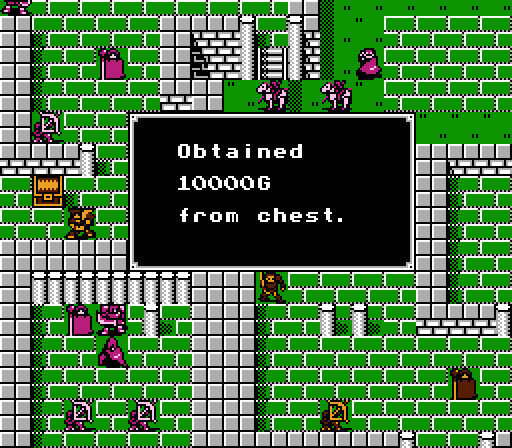
Oh yay, more gold.
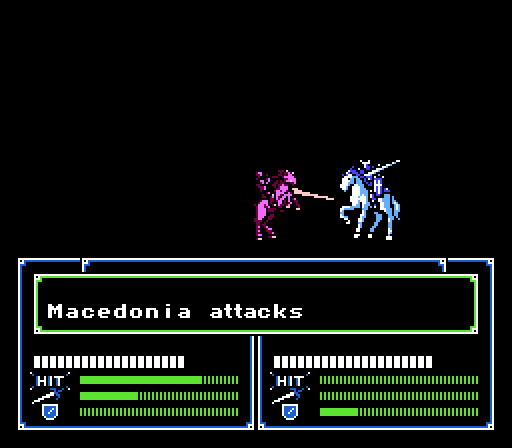
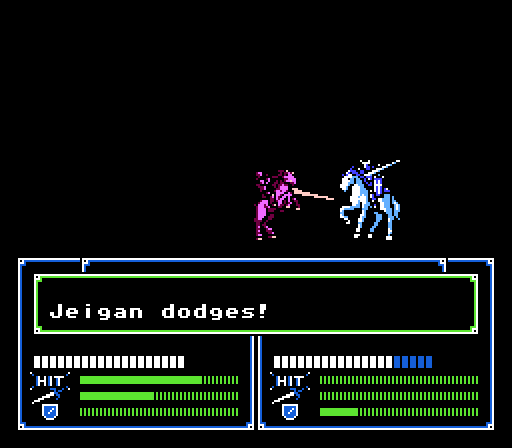
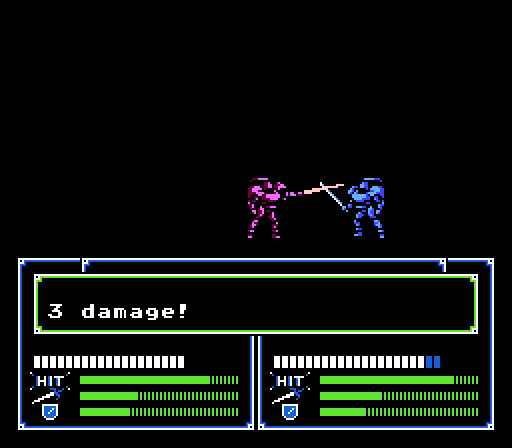
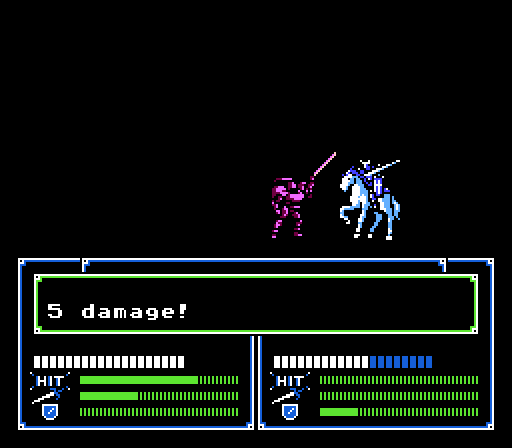
On the enemy phase, Jeigan's last stand begins as the Social Knights go after him. Fortunately, the one with the Silver Lance misses. The Archer also takes a shot at Marth for 3 damage.
To the southwest, two Armor Knights approach Doga while the Thieves have almost reached a treasure chest. That won't do at all.
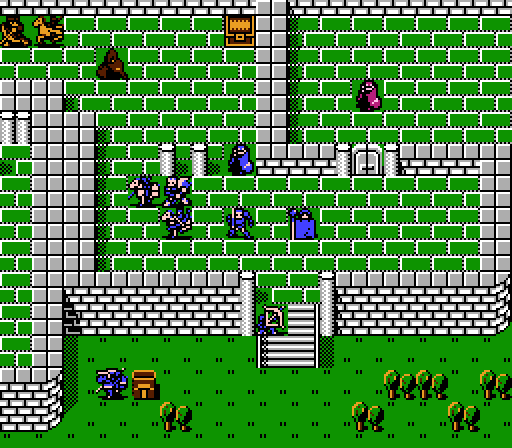
Turn 3:
Well, this is going to be a mess. The enemy Thieves can reach both treasure chests if I don't do something about it. The enemy Magician will be in position to strike if I get anywhere close. And Jeigan isn't going to hold out for very long, exposing another chest to the Thief up north. After careful consideration, the first move is actually to move Abel to a square that draws in the Magician and blocks the Thieves from the northern chest - he should be able to survive hits from everyone that can reach him there. He also uses the Javelin to get in 10 damage on the nearest Thief while he's there.
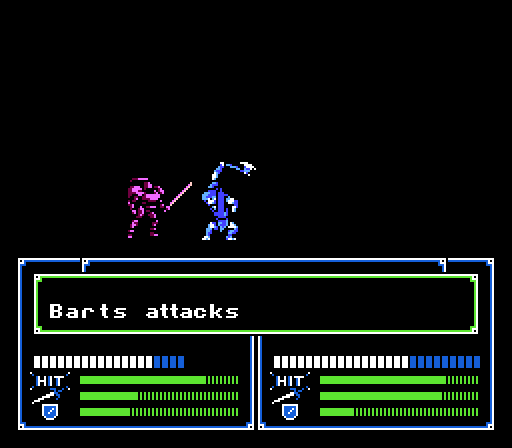
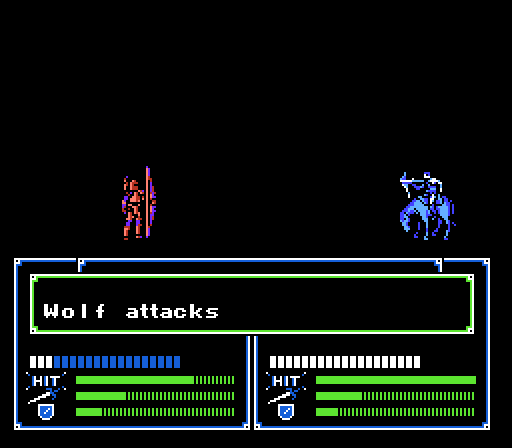
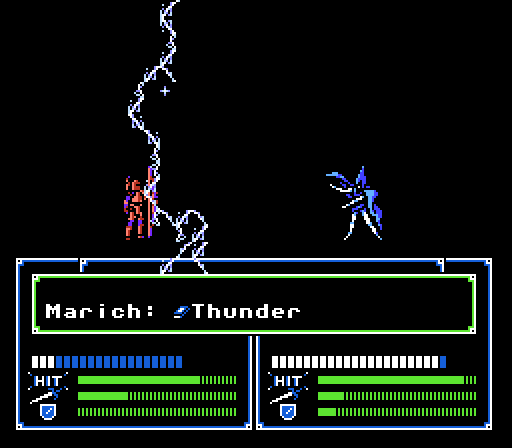
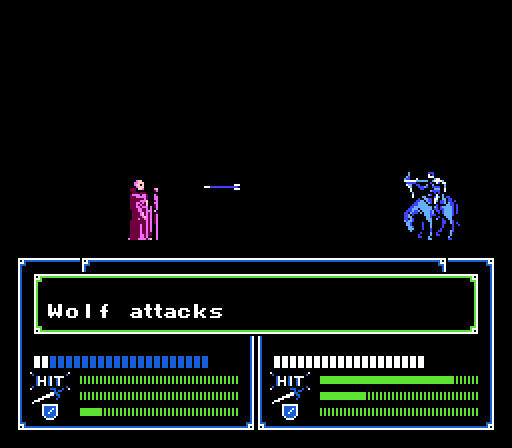
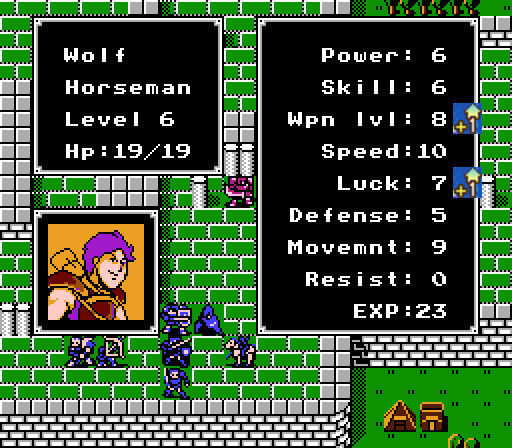
Barts moves up to guard the chest and attack the Thief for 18 damage, leaving him at 1 HP. Marich switches to Thunder and moves in to finish off that Thief, while Wolf uses the Steel Bow to finish off the other for a level:
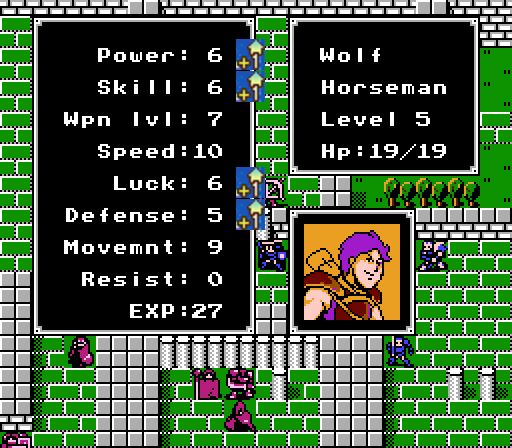
Fantastic level for Wolf.
Marth moves up and kills the Archer. This move puts him in range of the Social Knights, but with the Cleric in the way only one will be able to reach Marth since they move first. Moreover, the Social Knight with the Silver Lance goes after his partner, so will be stuck poking Jeigan again. Kashim and Sheeda also move up; I could have Kashim kill the Cleric here but that would leave Marth exposed to both Social Knights. (Yeah, big logic error here...)
Daros and Navarre finally make it to the front lines, with Julian right behind ready to nab another treasure. Gordon is still struggling to catch up.
Lots of activity on the enemy phase:
The Armor Knights reach Doga, with one of them trading scratches with him.
The Iron Lance-equipped Social Knight attacks Marth for 6 damage. Marth has his Steel Sword on here instead of his Rapier specifically so that he doesn't kill the Social Knight on the counterattack - if he did, the other Social Knight would be free to attack Marth as well.
Yea the other Social Knight got to Marth anyway. Since, you know, the enemy Cleric did nothing at all to block him, them being on the same team at all.
 Thankfully, Marth survives with 1 HP. The Cleric then calmly heals away the damage Marth had done on the counterattack.
The Magician attacks Abel for 10 damage, but Abel gains a level on the counterattack:
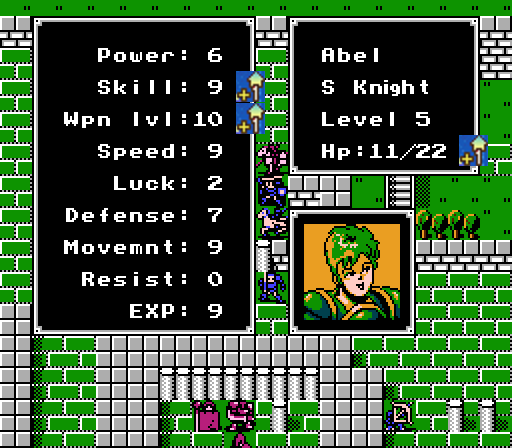
Not Abel's best.
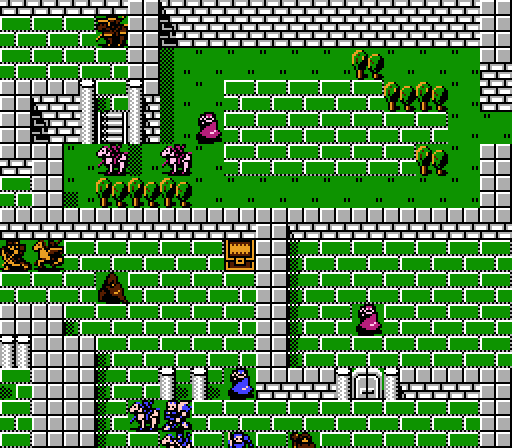
Turn 4:
Doga will be fine where he is for another turn, but we need to take out the last couple Thieves and retreat Marth back to safety. To start, Wolf finishes off the Magician and Abel moves up to guard the chest while throwing a Javelin at the Thief for 10 damage.
Marich moves left to eventually support Doga. Kashim moves over to finish off one Social Knight, Navarre moves up to kill the Cleric, and Barts takes care of the other Social Knight for a level:
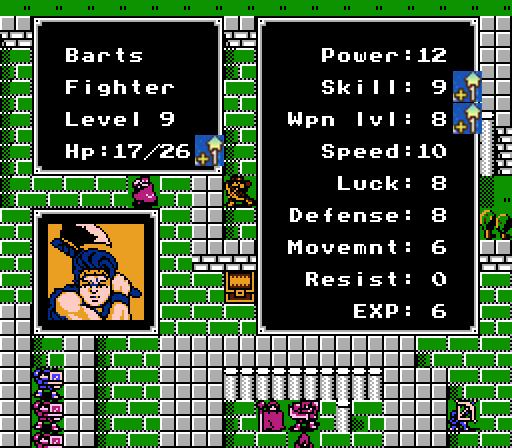
After a great first two levels, Barts has come back down to his averages with the last two.
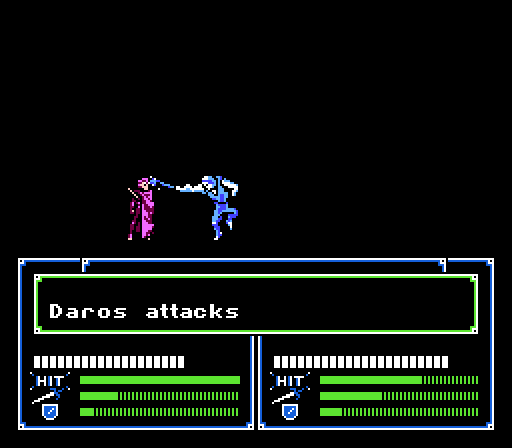
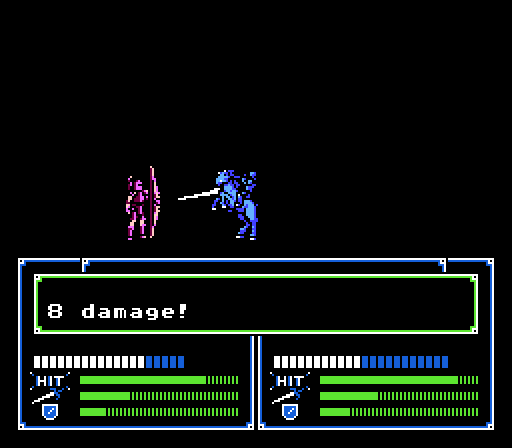
Daros does 12 damage to the northern Thief and takes 8 in return; Sheeda finishes it off.
Jeigan is free to leave his post and goes to block off the Armor Knight instead. Marth retreats for some healing, both Gordon and Rena continue to try and catch up, and Julian goes after the nearest treasure:
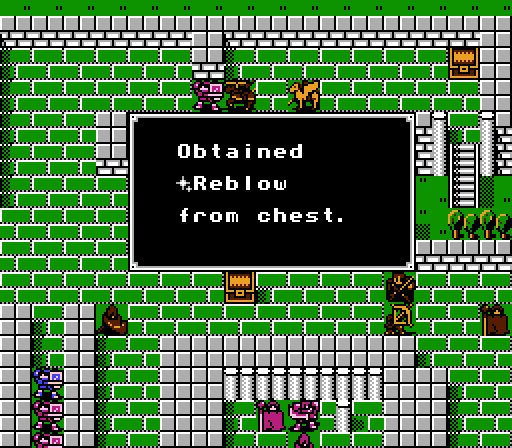
A Reblow Wand is the equivalent of the Physic Staff in later games - it heals for 10 HP like the Live Wand, but has infinite range. Rena will definitely want to hold onto this one for emergencies.
Doga and the Armor Knight trade blows, but the enemy by far gets the worst of it. The other Armor Knight circles around to go after Marich.
Jeigan takes another one for the team but he's still got plenty of HP left.
Turn 5:
There's only one Thief left and he's not in range of any of the remaining treasure.
Jeigan gets out of the way so that Kashim and Barts can take out the northern Armor Knight. Barts is actually using the Hammer here but it still looks suspiciously like an axe to me.
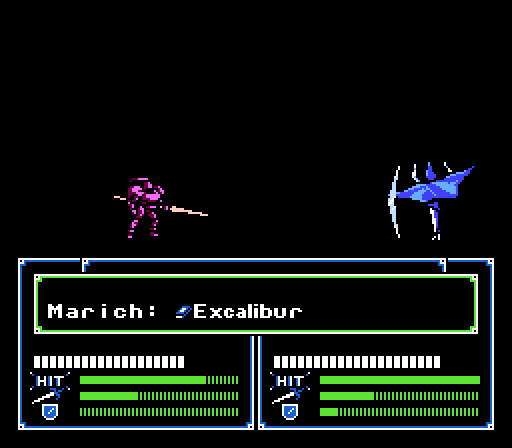
Down to the southwest, Marich uses Excalibur again to take out one Armor Knight, while Doga finishes off his opponent for a level:
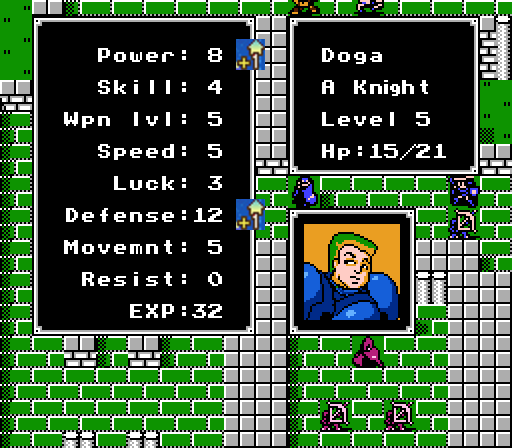
Pretty much the best possible 2-stat level for Doga - he's actually ahead on everything but Skill now (mostly because his growths aren't actually that high).
Rena patches up Marth, and Gordon moves up to take out the last Thief and the last of the aggressive enemies. He gains a level in the process:
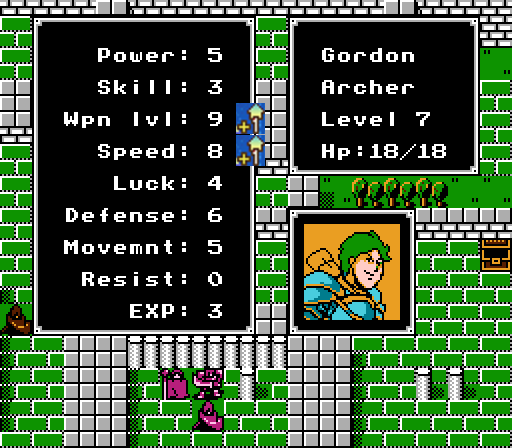
Gordon's actually 2 ahead on Speed now, but also 2 behind on Power.
The rest of the turn is some repositioning for the assault on the boss, but Julian also grabs another treasure:
Not nearly as nice but we'll take it.
None of the remaining enemies move on their phase.
Turn 6:
More setting up for the boss rush, with Rena healing Sheeda before she flew off.
Turn 7:
Jeigan is going to be a champ and draw everyone out for us. Rena heals up Barts this time, but he probably won't be needed.
Both Archers go after him for a total of 6 damage, leaving Jeigan with just 4 HP left.

Jeigan's continued survival also draws in the enemy Magician, who puts an end to Jegian's valiant struggle.
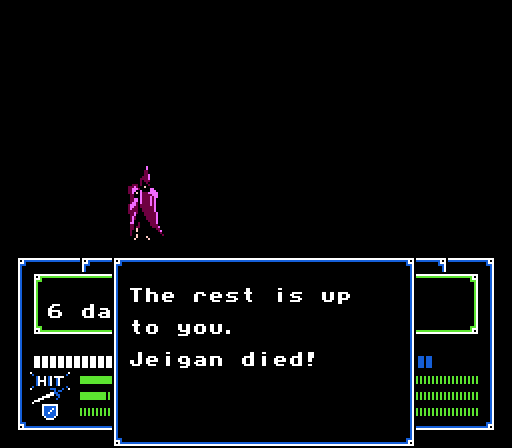
Hey, I guess there are different death quotes. We will keep calm and carry on, for Jeigan!

Turn 8:

Jegian's sacrifice shall not be in vain, as we are poised to roll over his murderers.
First, Navarre eliminates the Magician.
Marth and Wolf then take out the first Archer.
Abel and Marich team up to kill the second Archer, with Marich gaining a level:
Correction: With Marich gaining a shitty level.
Julian picks up another treasure, this time a good one. His inventory is full so it goes straight to the Storage (but we still get charged 10G
 ).
).
Ready to take out Mariones and his pet healer next turn.
Turn 9:
The Cleric moved over on the enemy phase in a vain attempt to avoid notice but otherwise we're ready to launch our final assault on the throne.
Sheeda and Wolf, being of limited use against the boss, take out the Cleric first instead and each gain a level:
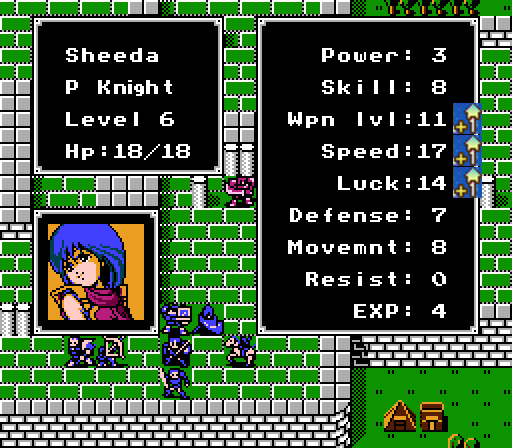
Sheeda is ahead on Speed and Luck but behind on everything else (except Weapon Level which doesn't matter for her anymore). Then Wolf pulls out an even worse level.
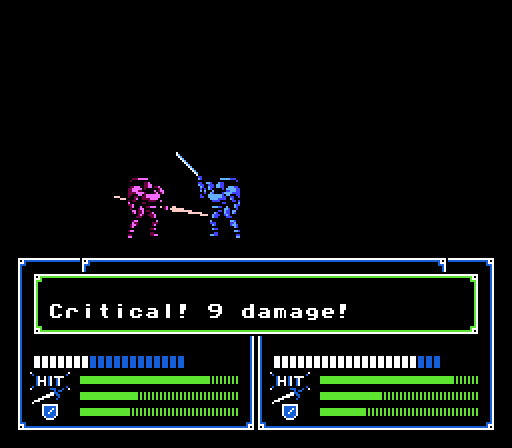
Marich starts off by taking half of the boss's HP away.
Marth moves in with his Rapier - effective against Armor Knights - and takes off half of the boss's remaining HP with his first attack, but suffers a major counterattack in exchange.
Marth gets in a second attack and just barely finishes off Mariones for 60 Exp and a level:
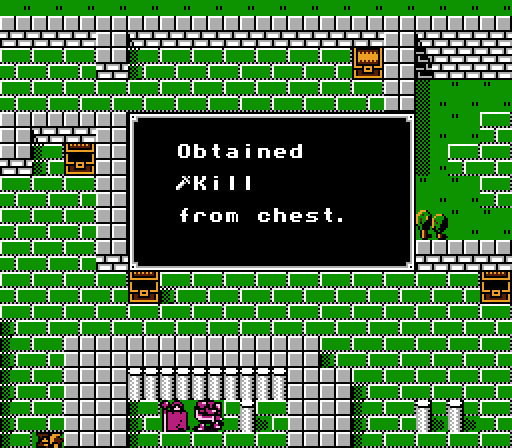
Now that's more like it. Marth also gets a Thief Key from the boss.
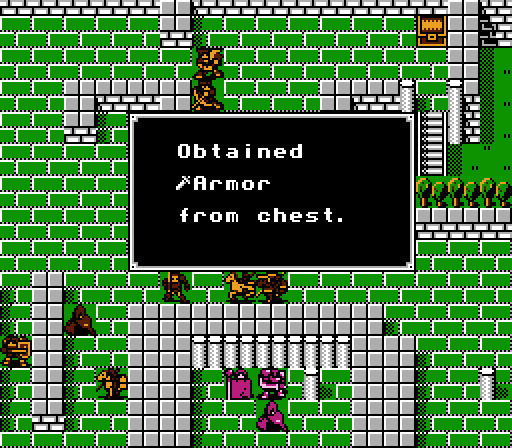
Before we end the chapter, there's still a few things left to do. Julian eventually grabs the last treasure, the one that required us to warp Doga in to even have a chance at getting it:
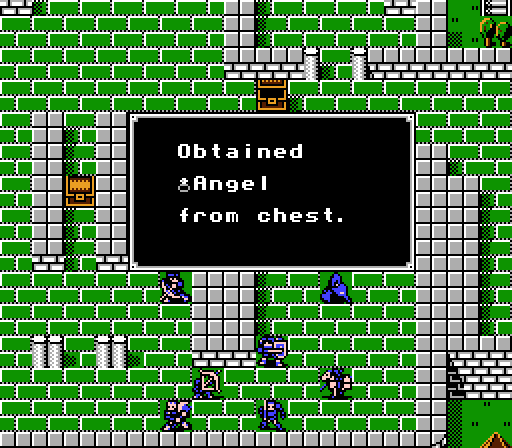
For the trouble, we get our first stat-boosting item, the Angel Robe, which increases HP by 9 for whichever unit uses it.
Julian also eventually frees his buddy Ricardo from the cell and recruits him:
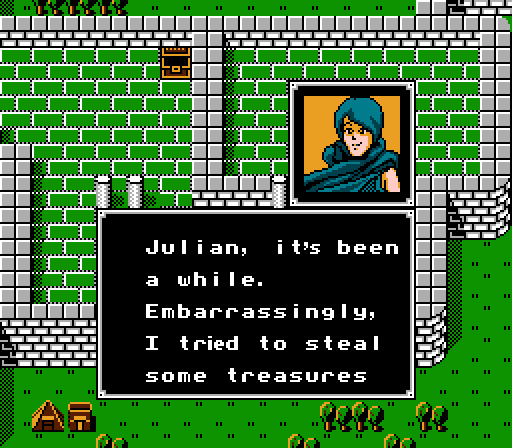
 I quit being a thief. Now I'm an ally of justice. ...and a thief.
 You got tricked by a girl. You're so weak to beauty.
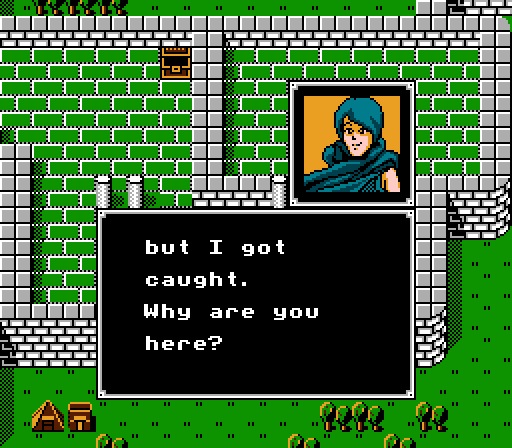
Ricardo sees right through Julian's act.
I... idiot! I really fight for justice... Well, that doesn't matter. Now you will be our ally. Where's my say in this...About as much say as any of the people we've recruited by having Sheeda run up to them and dare them to kill her.
Alright. I have the time and I can't refuse your pleas. But I want rewards!How is freeing you from a prison cell to start? Because that's all you're gonna get.
Other cleanup stuff: Julian gets the extra Thief key and dumps the Armor Killer into Storage. Rena gets the Reblow Wand. Marth gets the new Kill Sword from Storage even though he can't use it yet (Weapon Level is too low). Wolf hangs onto the Angel Robe for now until we decide what to do with it.
Finally we're ready to end the chapter so Marth seizes the throne:

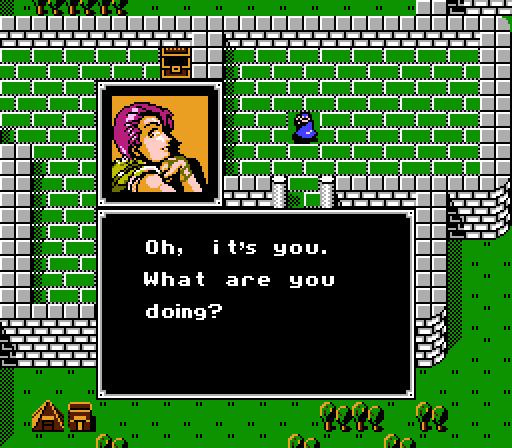
 I'm Akaneia's Nina. The Akaneia Kingdom's charged with protecting our world yet we've lost to Durhua.
So Princess Nina is actually from some place called Akaneia and has nothing to do with Orleans. So why was she here?
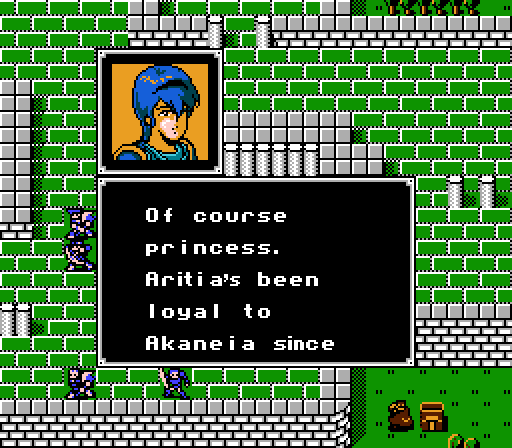
 ancient times and defeating Durhua's Mediuth is our duty.
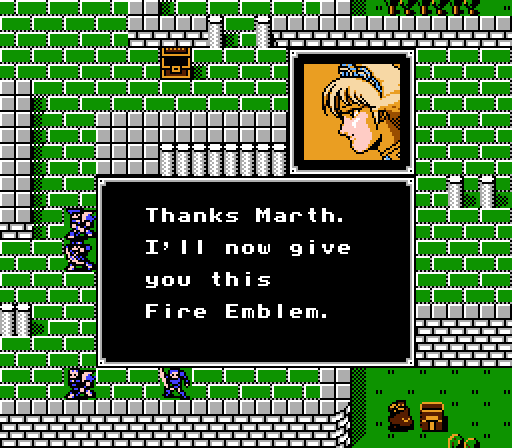
Title drop!
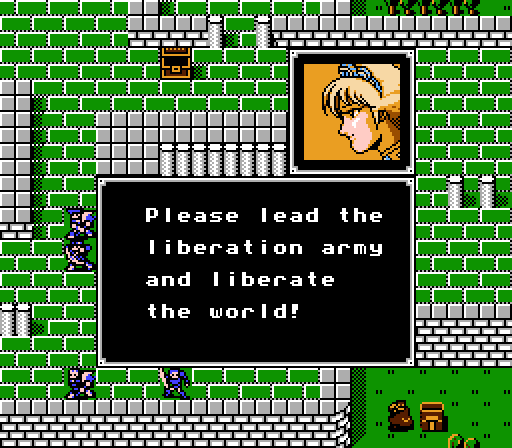
 given to who will save the world. You'll be able to open treasures now.
That's right, the Fire Emblem is a skeleton key for treasure chests just for Marth. (That is literally it's only gameplay use. At least it doesn't take up an inventory slot in this game...)
Please return light to our world!We'll do our best, ma'am.

And thus the liberation of Orleans that we set out to do for no good reason has turned into liberating the entire world because we just found out it's supposed to have been our duty all along. Plot!
New Characters
Ricardo - ThiefRicardo is a Thief and can do all the things that Thieves do, but you're going to be better off with Julian if you're planning on a Thief you can take into combat.
Growth Rates:
- HP: 50%
- Power: 50%
- Skill: 20%
- Weapon Level: 0%
- Speed: 60%
- Luck: 40%
- Defense: 20%
- Total: 240%
New Weapons:
Fire Tome - The most basic of the Tomes, it does the least damage but has 100% Accuracy and 0 Weight.
- Might: 5
- Uses: 25
- Weapon Level: 1
- Hit Rate: 100%
- Crit Rate: 0%
- Weight: 0
- Special: Range of 1 or 2 tiles
Reblow Wand - A Live Wand with infinite range, can definitely be useful as a bailout option in an emergency, and allows your healer to cover multiple fronts at once.
- Might: 10
- Uses: 10
- Weapon Level: 7
- Hit Rate: 100%
- Crit Rate: 0%
- Weight: 0
- Special: Heals Allies, Infinite Range
Our current roster, with the active units in bold. (Full stats in this post.) If you want to make a change, propose a recall motion and, if seconded, we'll have a recall vote. If that's successful, we'll vote on a replacement. (Only applies if there is a replacement, of course.) Only new unit is Ricardo who is clearly worse than Julian in every way. Abel didn't really help himself with his one level but he's still the best option on the table right now.
Lord: Marth
Pegasus Knight: Sheeda
Social Knight: Abel, Kain, Machis, Hardin, Biraku, Roshe,
Armor Knight: Doga
Archer: Gordon
Cleric: Rena, Riff, Wendel [Priest]
Mercenary: Navarre, Oguma
Fighter: Barts, Maji, Saji
Hunter: Kashim
Pirate: Daros
Thief: Julian, Ricardo
Magician: Marich, Wendel [Priest]
Bow Knight: Wolf, Zagaro
 I need two votes from everyone this time around:
 1) We get 14 units again for next chapter, more than we need. We'll go all
 and kill off another of your least favorite units so vote for the next Honorary Jeigan Sacrificial Lamb among the non-bolded units.
2) We have our first stat-boosting item, the Angel Robe, which gives a +9 to HP, and we're not going to be hoarding it for later. There's at least one unit (Sheeda) who's sorely lacking in the HP department and could probably use it. Anyone else who can't promote will never hit the HP cap of 52 so could also benefit from it (ie: Marth or Barts). Those are just my recommendations - vote for whomever you like among the bolded units.
Next time:
Remember, the enemy gate is down.