Part 9: Grinder
We're off to liberate the world, but first it's time to stop off for a shopping trip in Port Warren.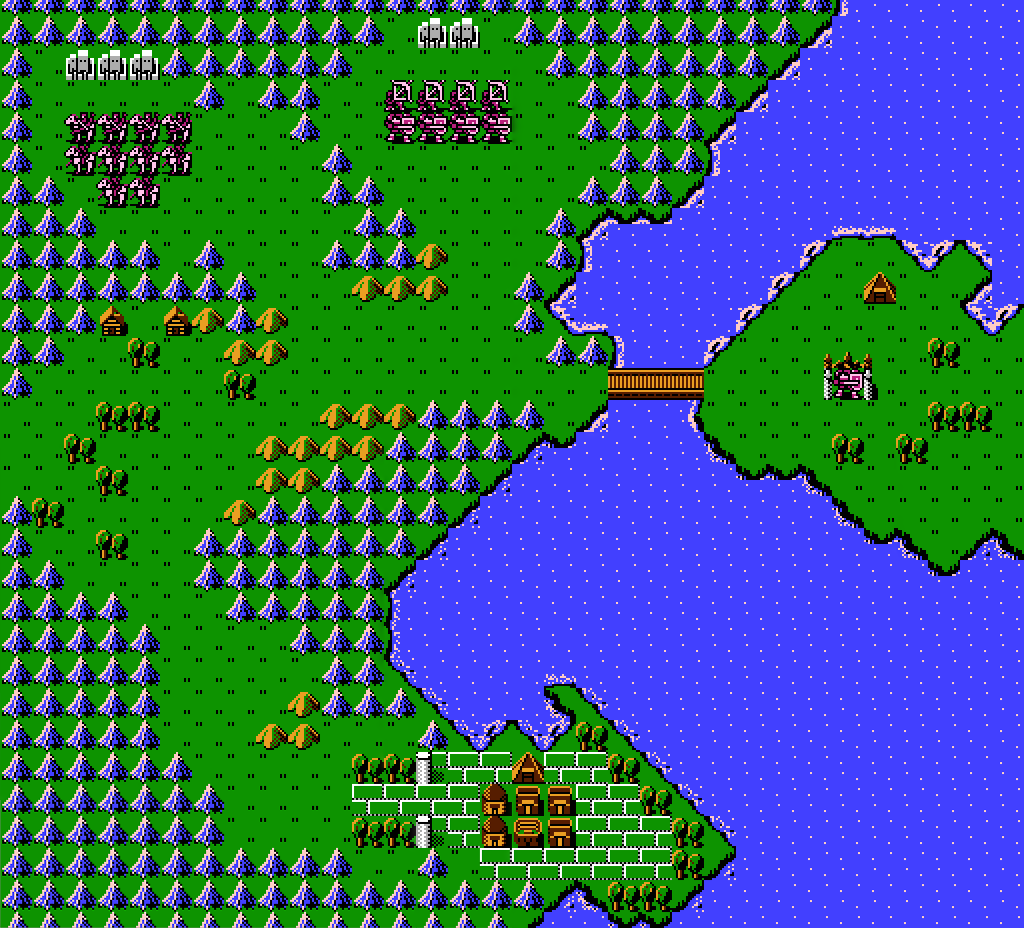
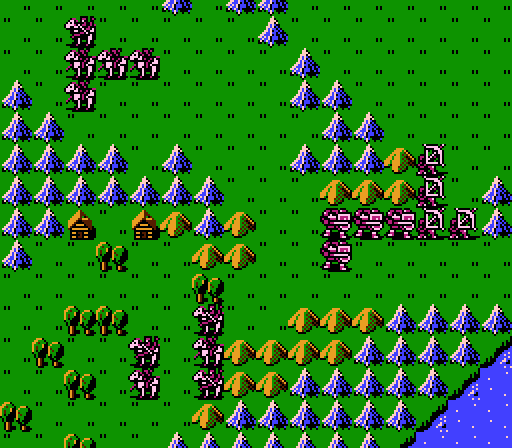
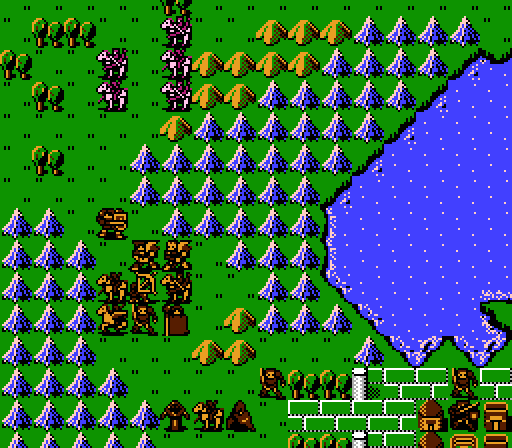
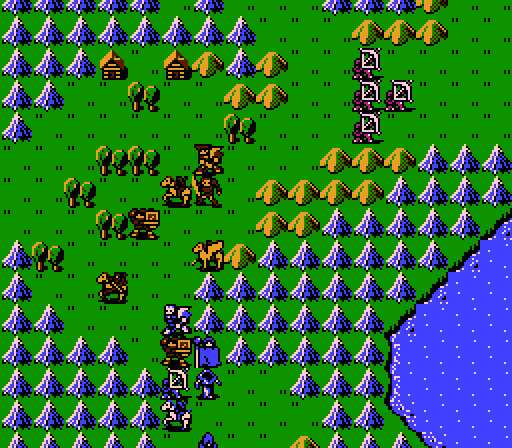
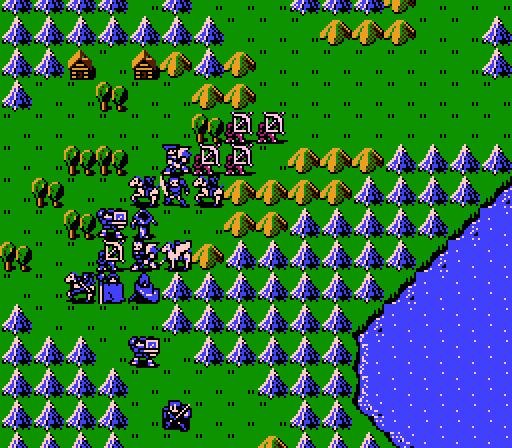
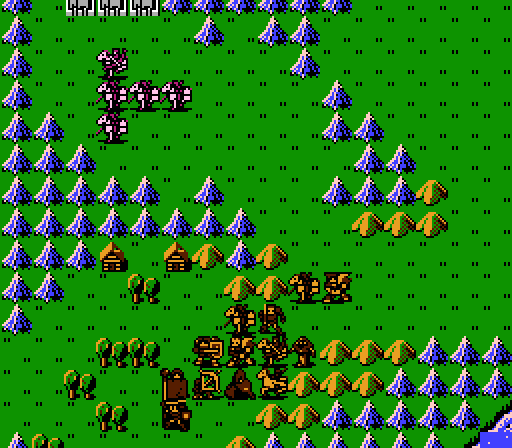
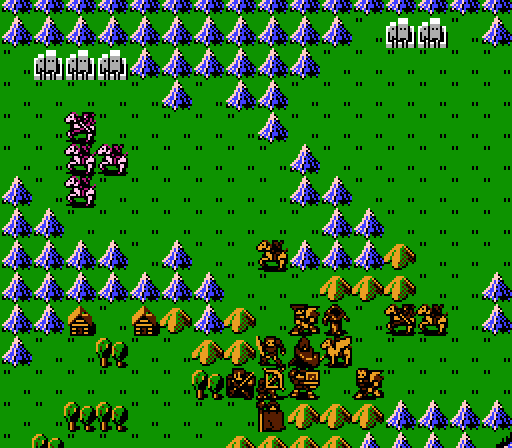
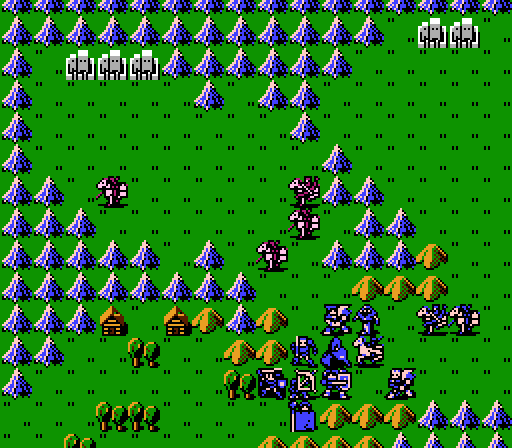
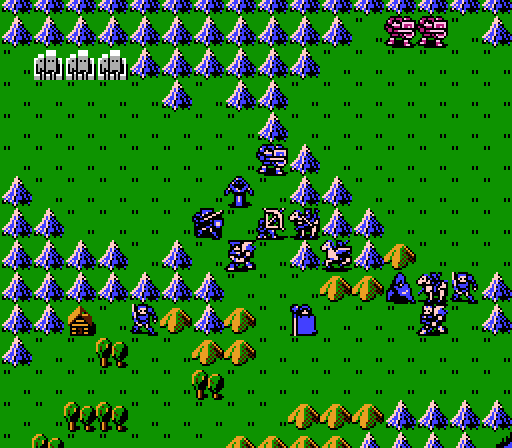
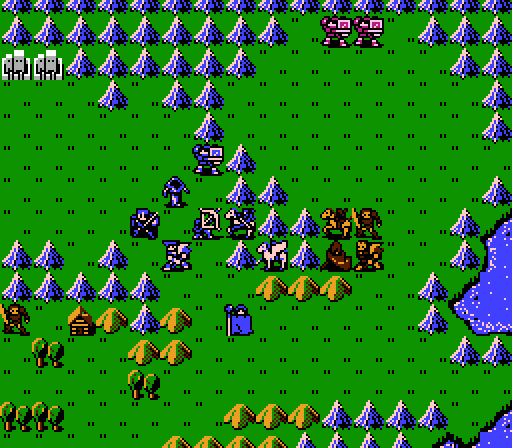
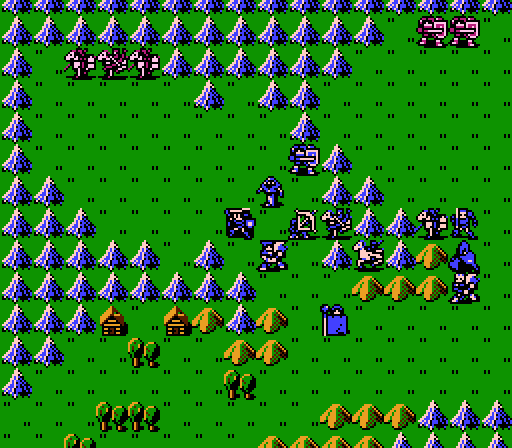
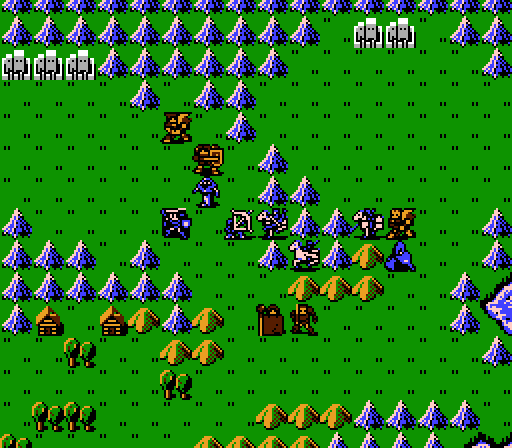
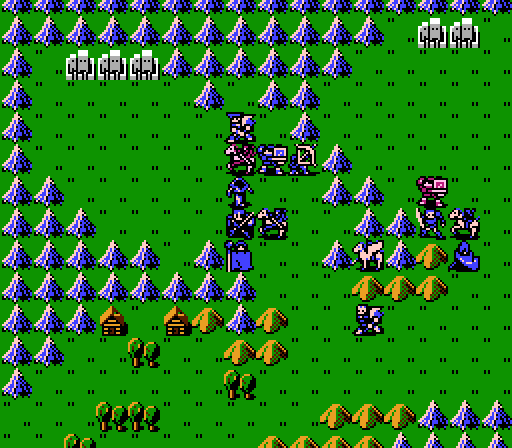
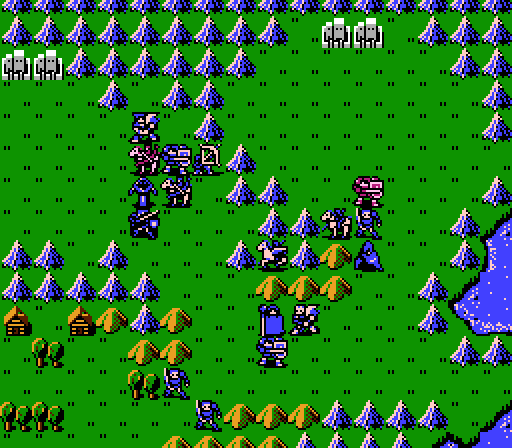
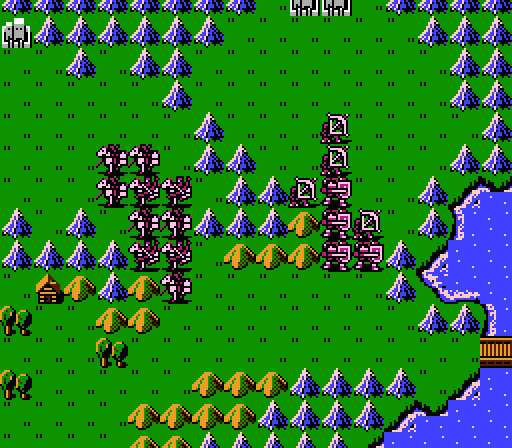
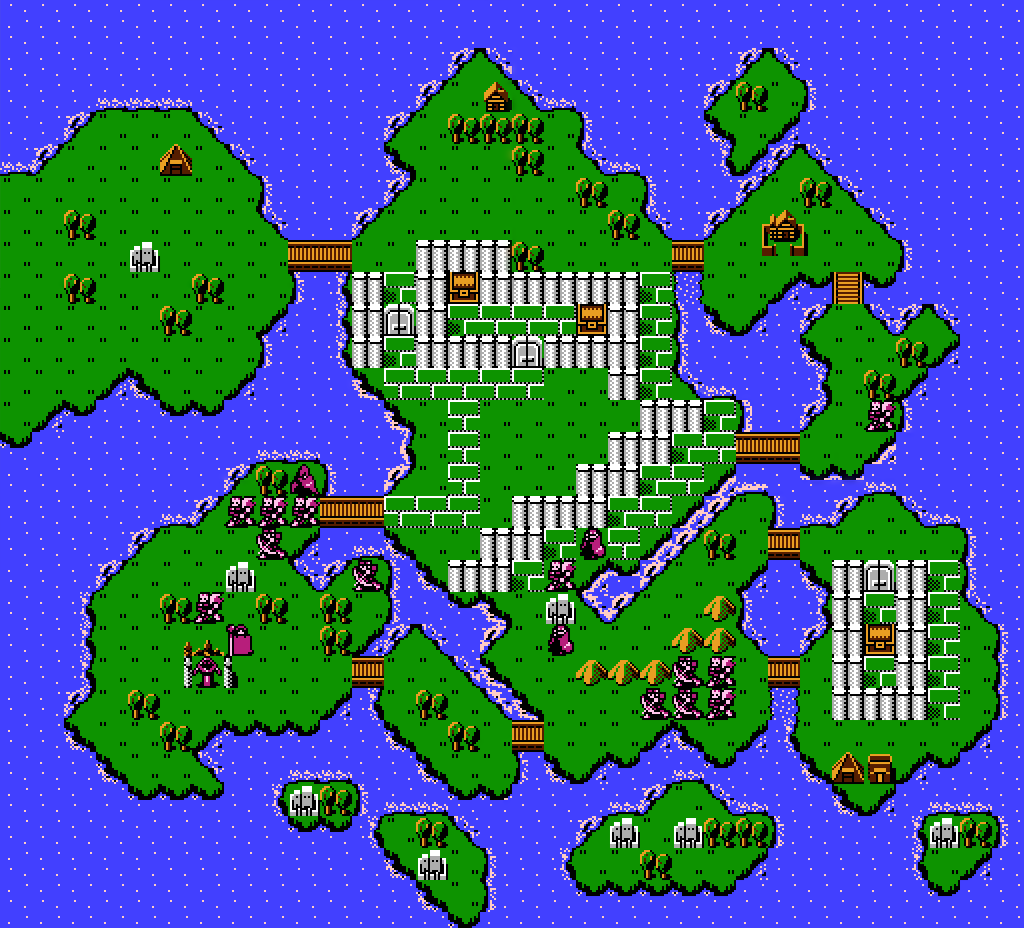
Grunia's not about to let us shop 'till we drop in peace, though. This chapter has a big map with lots of enemies, plus a group of forts at the top for possible reinforcments. The boss is strangely isolated from his troops. No treasures or villages to worry about, so we just have to deal with a flat-out slugfest.
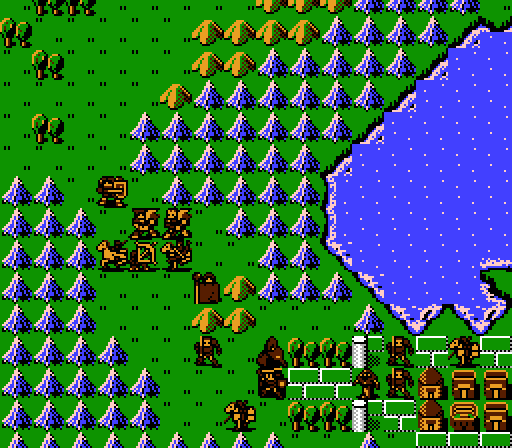
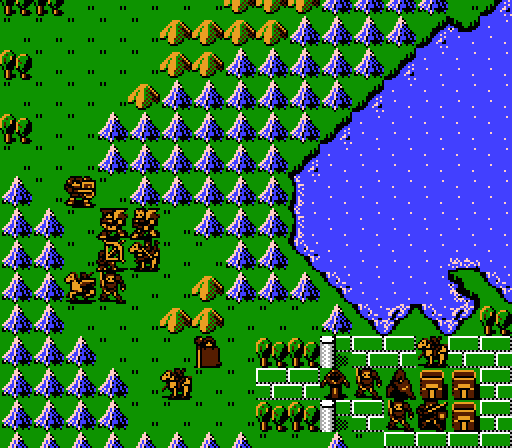
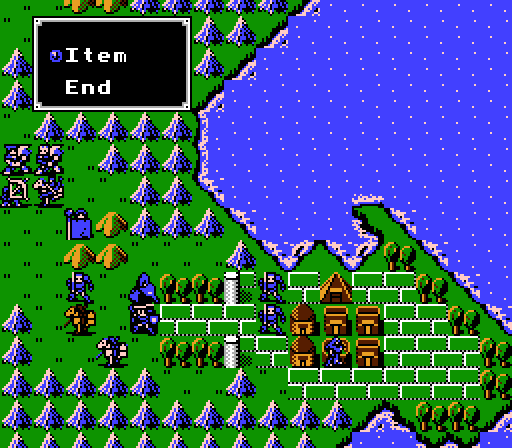
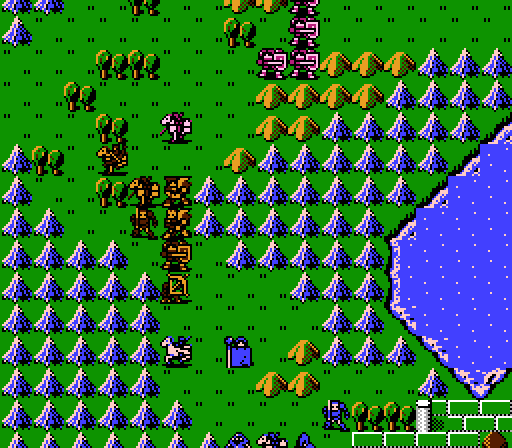
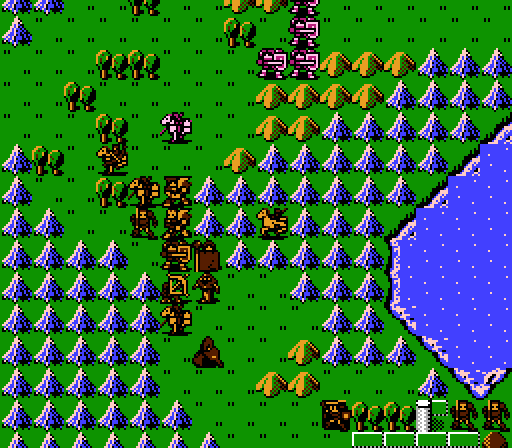
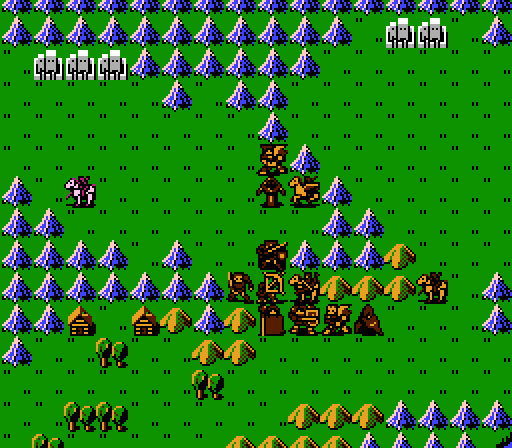
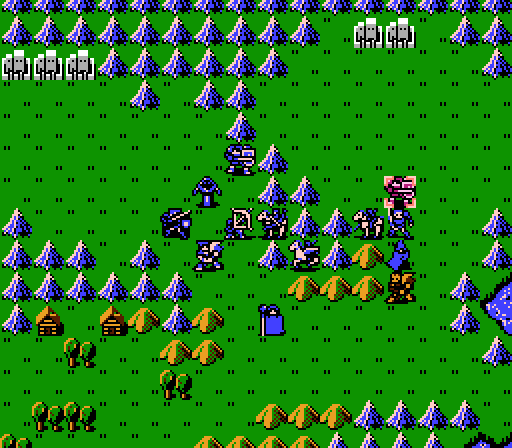
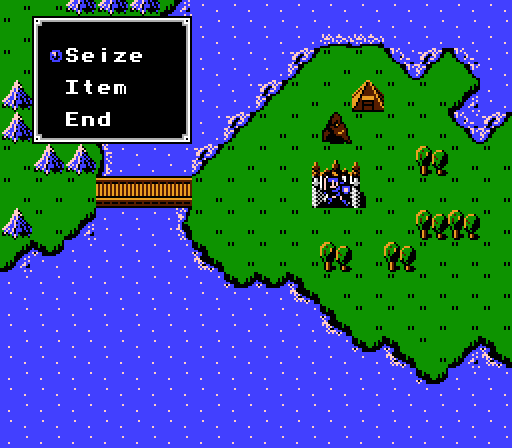
We'll be starting off by the group of three Armories, two Shops, a Storage, and an Arena representing the bustling marketplace of Warren. We don't have much time to dawdle though because the 18 enemy units will be rushing us. They're more about quantity than quality, though - they're all Level 3, with low-level weaponry. The one exception is one of the Armor Knights:
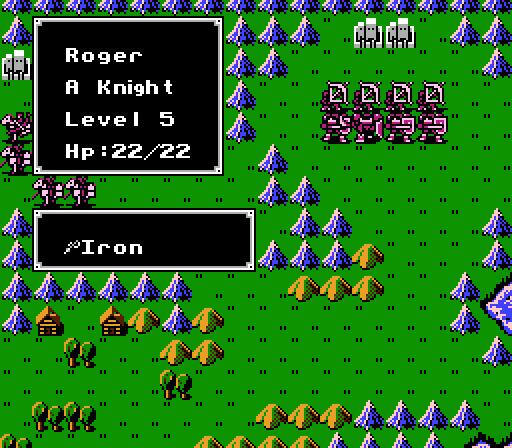
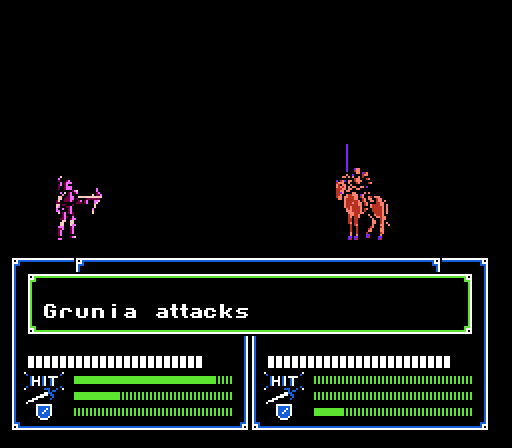
We'll deal with Roger later. We also have a boss sitting way off to the east:
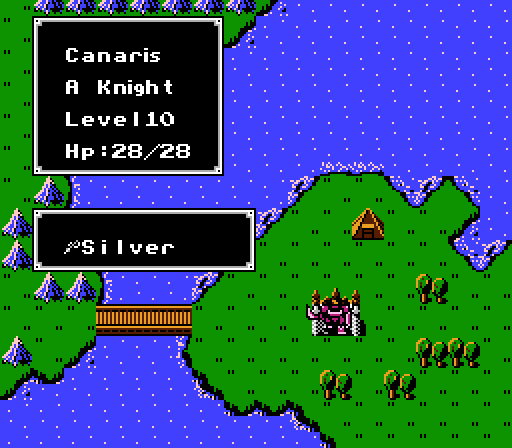
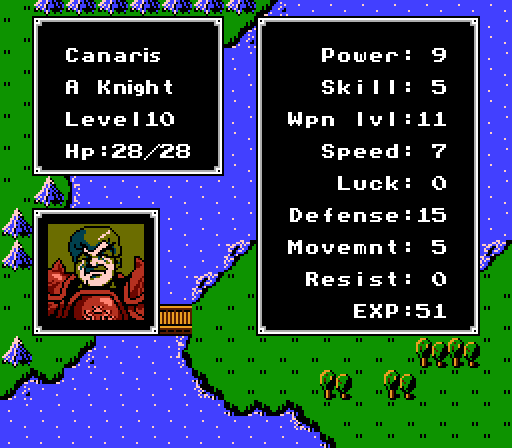
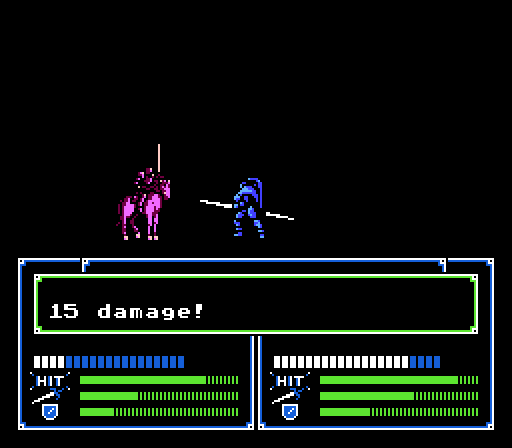
Despite the higher level, Canaris is a little weaker overall than Hermine from last chapter, but that 15 Defense will still be tough.
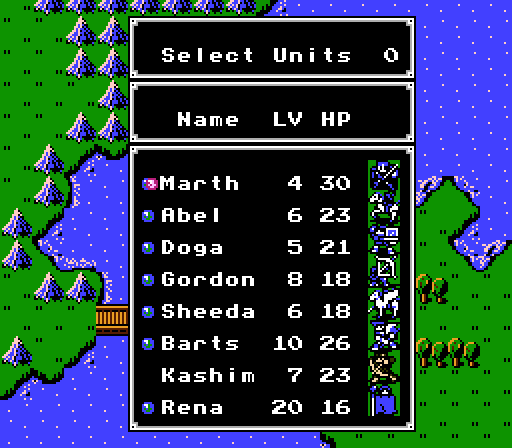
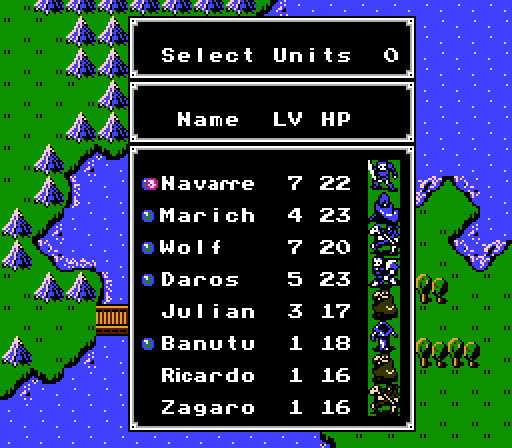
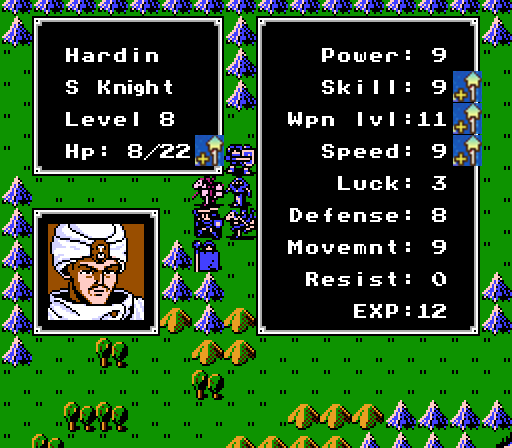
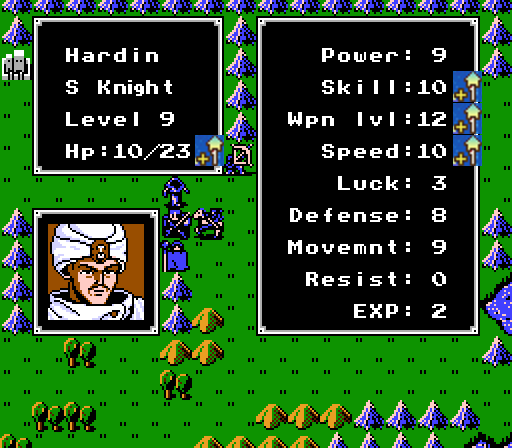
Our team, plus Hardin who will be replacing Abel this chapter. Julian and Kashim get left behind.
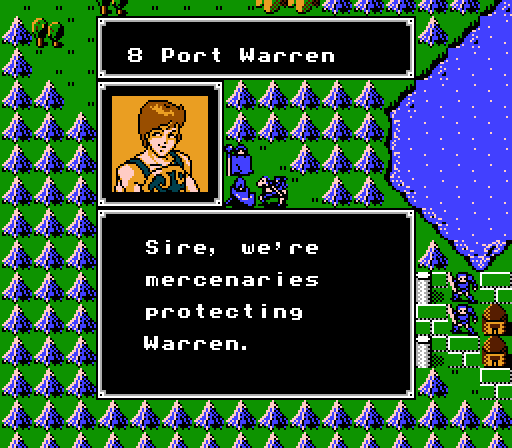
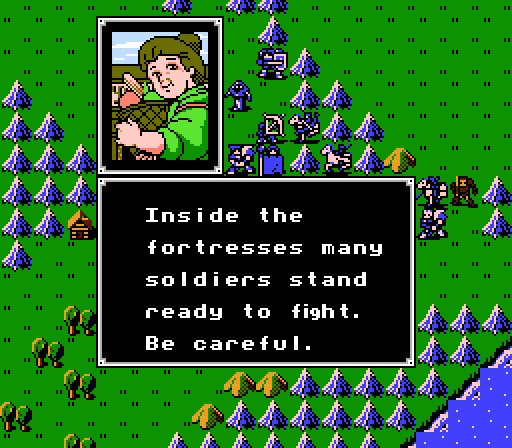
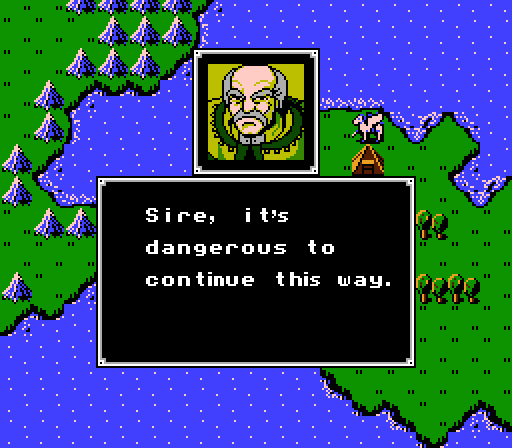
Some new guy talks to us at the start of the chapter...
 The west castle's used by the Grunian army. We're surrounded by them. The eastern castle's used as their base. It'd be best to take that down. Please help!
An adequate description of our current situation.
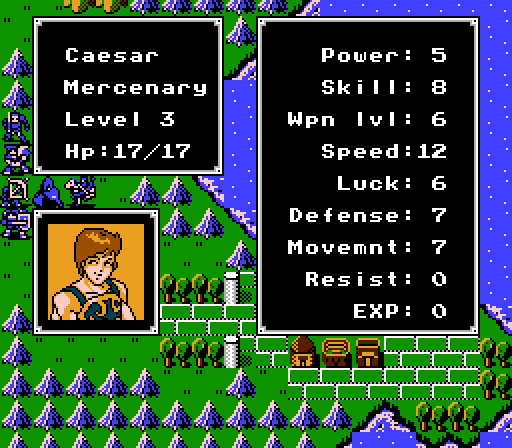
So this chapter comes with a couple of new Mercenaries for the team:
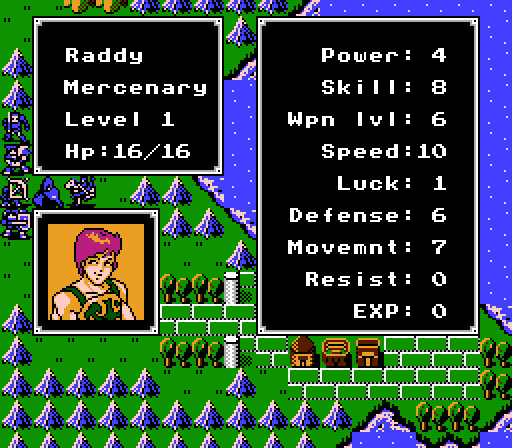
Caesar is "average" which isn't much compared to Oguma and Navarre. Raddy is surprisingly good - he matches Navarre's growth in everything but Speed and Weapon Level, which are actually 20% higher for Raddy. Unfortunately Raddy comes in at Level 1 with base stats to match and Navarre is already Level 7 and turning out pretty well so far.
Turn 1:
First order of business is to equip Hardin so we can start putting him to use. Abel gives him the Javelin, Marth the Kill Sword. Hardin then goes off to Storage to pull out an Armor Killer and the Silver Sword we won last chapter.
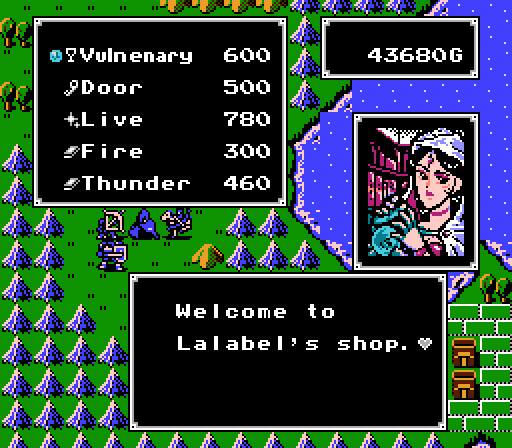
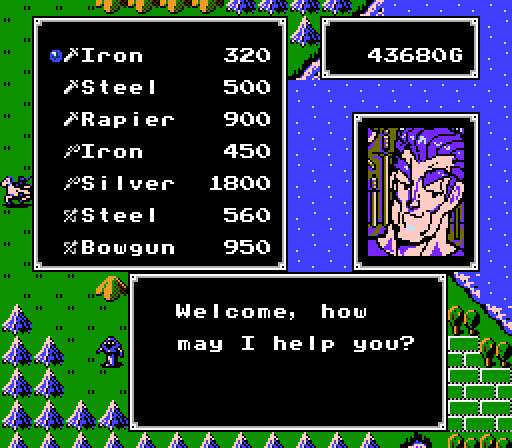
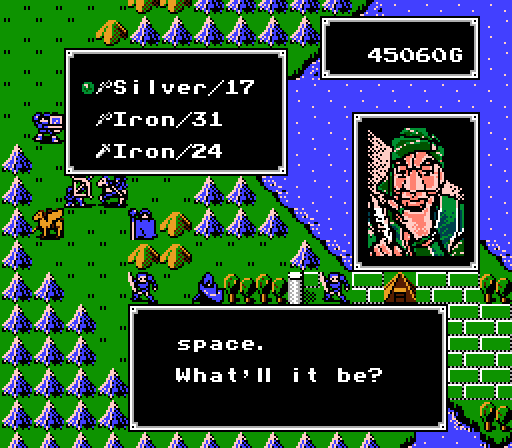
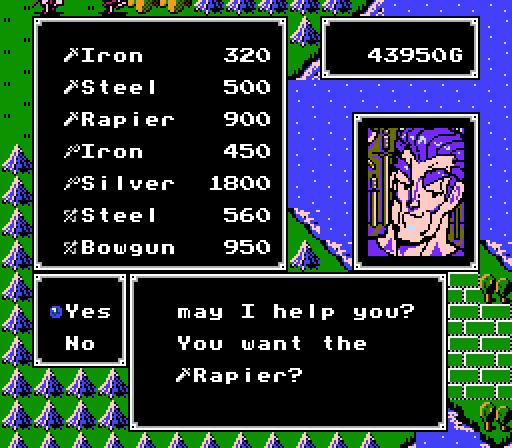
The Shops both have the same inventory and are our first opportunity to purchase extra magic and healing items. We could also buy a Door Key if we wanted to waste money. The three Armories also all sell the same stuff, but for the first time we can get additional Rapiers for Marth and pricy Silver Lances.
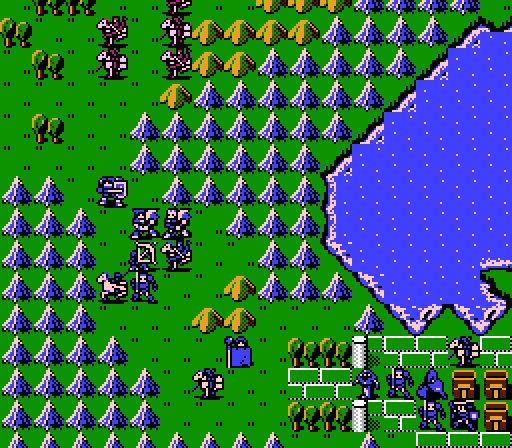
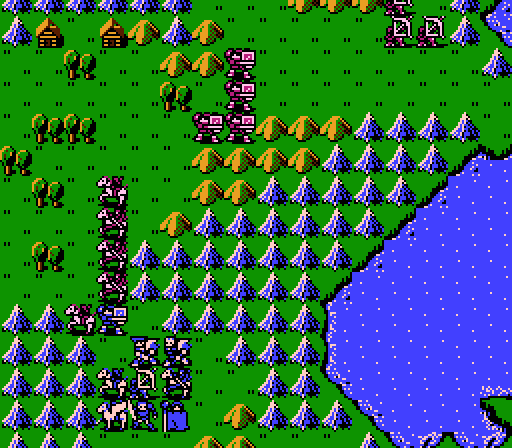
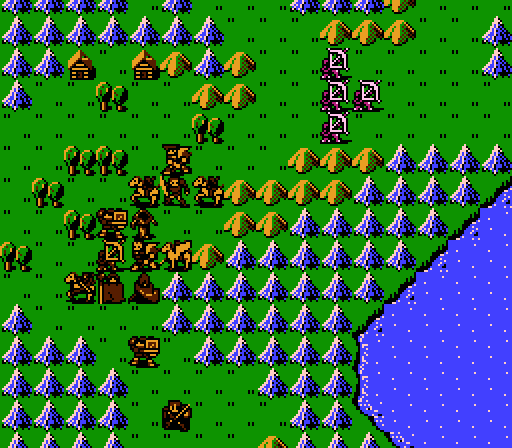
Doga plugs the chokepoint with support from Sheeda and our ranged units (Barts and Daros have Hand Axes). The others head back into town to stock up.
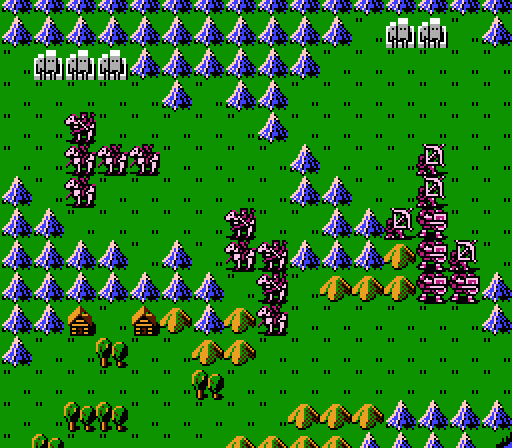
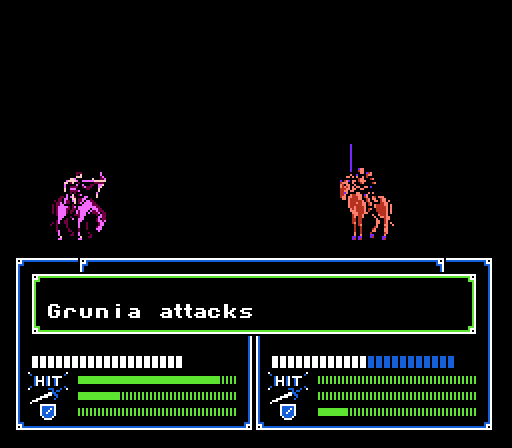
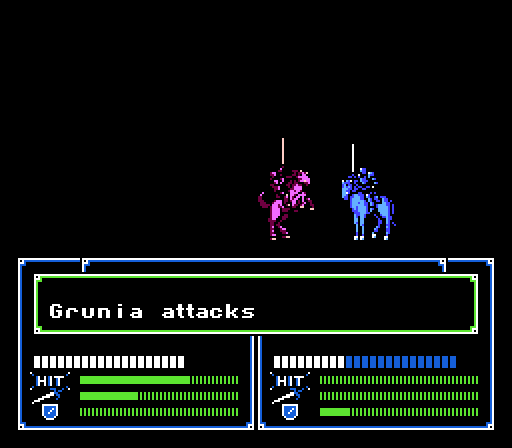
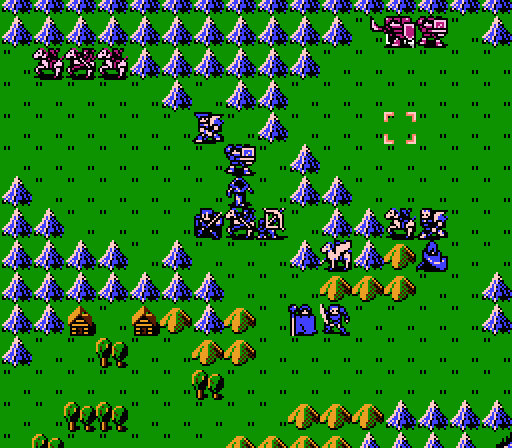
The enemy forces begin their advance, though some of the knights hold back for some reason.
Turn 2:
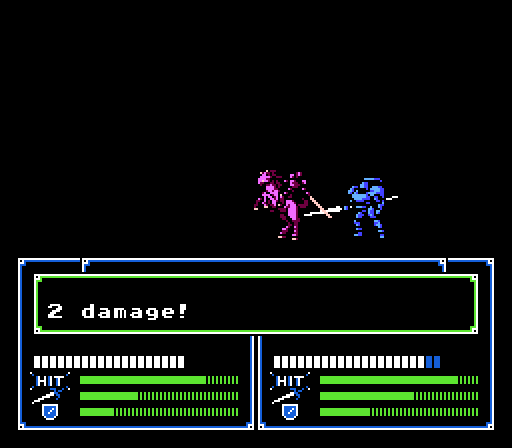
Now, the Arena being placed here at the beginning of the chapter allows it to be easily used legitimately, since an unlucky death means not much progress is lost for a reset. There is also a trick to the Arena that can be exploited even without using save states:
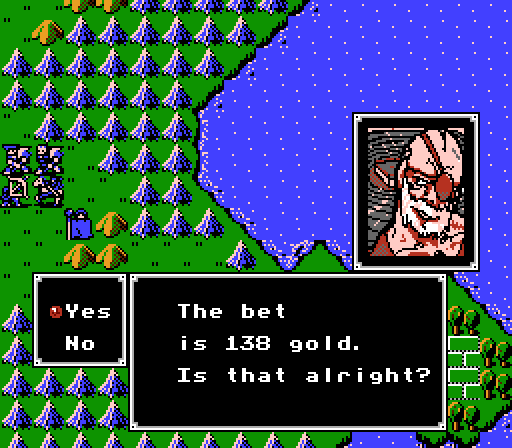
Marth is currently Level 4 and is offered a bet of 138 gold. I don't know if it was intentional or not but the bet amount can actually indicate your opponent, and thus the risk level of the fight. Of course if you're going to go through that much trouble you might as well just abuse save states anyway.

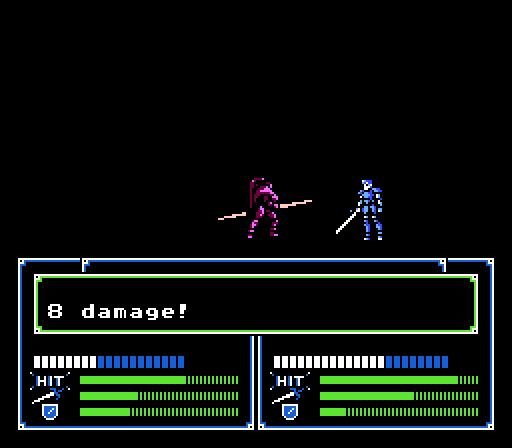
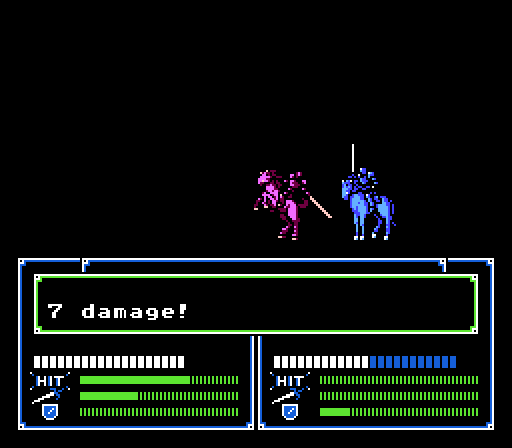
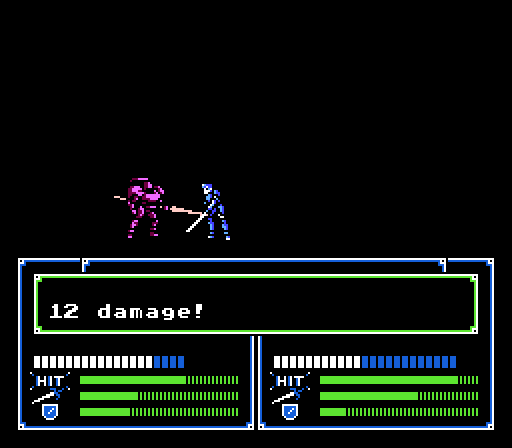
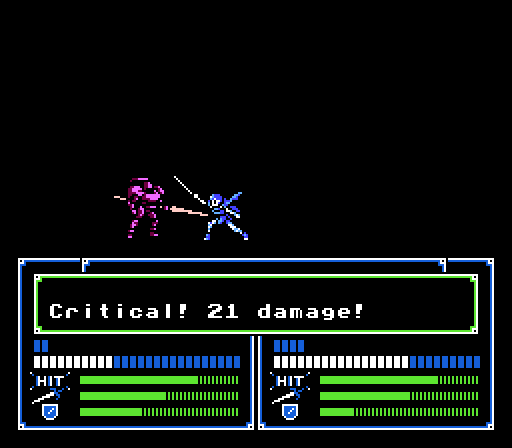
I had Marth keep the Rapier and got a lucky draw against a Social Knight. Marth takes 6 damage but easily wins the fight, gaining 1380 gold and a level:
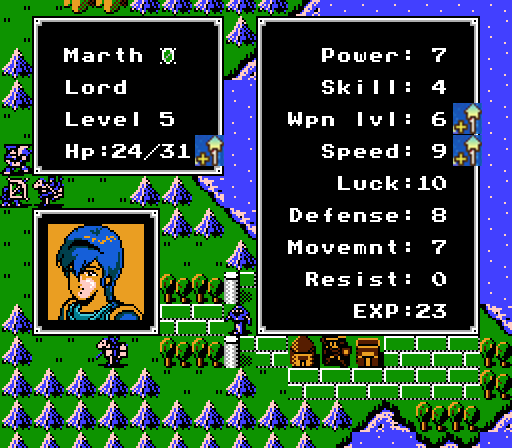
Marth still needs 3 more Weapon Level to be able to wield a Silver Sword so that's actually a useful gain for him, but overall it's pretty underwhelming.
Anyway that's all I'll use the arena since we don't need any help fielding overpowered units (at least so far). I think by the end of the chapter you'll agree.
Abel drops off the rest of his stuff at the Storage to prepare for the ritual.
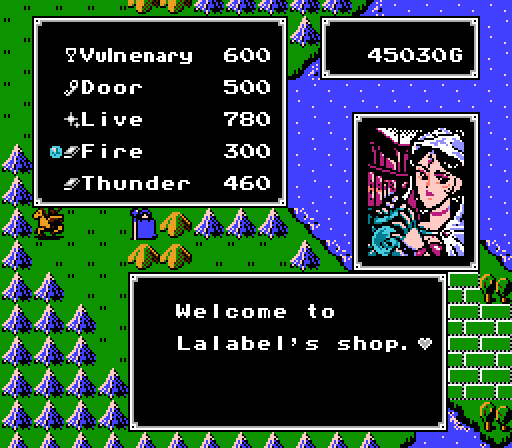
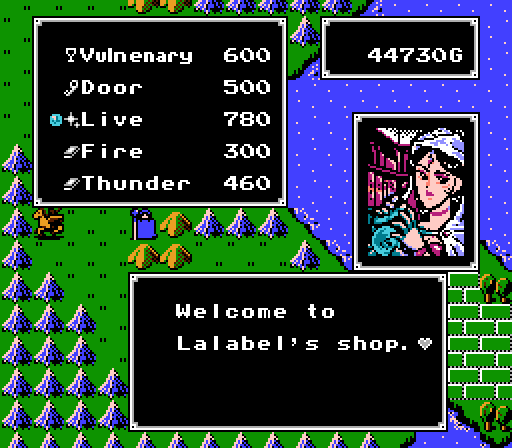
Marich picks up a Fire Tome for himself. Raddy gets another Live Wand for Rena.
Everyone else continues to wait.
The enemies get closer, with the same few held back in reserve.
Turn 3:
Doga's going to get hit one the enemy phase so we just spend the turn getting ready to strike back. Also Marth picks up an extra Rapier.
This was actually from earlier but it shows that for some reason Banutu can't participate in the Arena. I guess they couldn't pay people enough to fight dragons to the death for sport.
Lined up ready to hit back next turn. Doga's got the Knight Killer equipped for counterattacks on the two Social Knights.
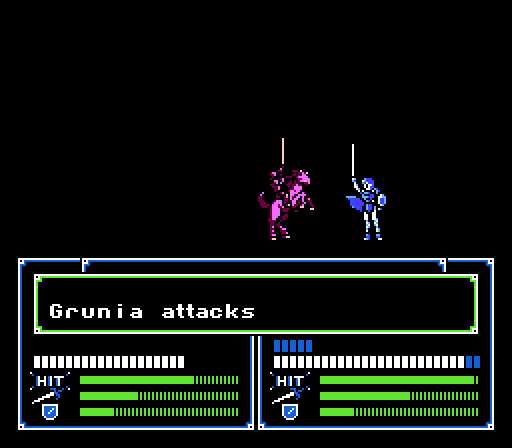
The plan doesn't really work out because Doga misses. Only one Social Knight actually attacks, a Bow Knight moved in to block off the other space for some reason.
Turn 4:
The Archers didn't move up for some reason but we've now got three distinct waves to handle.
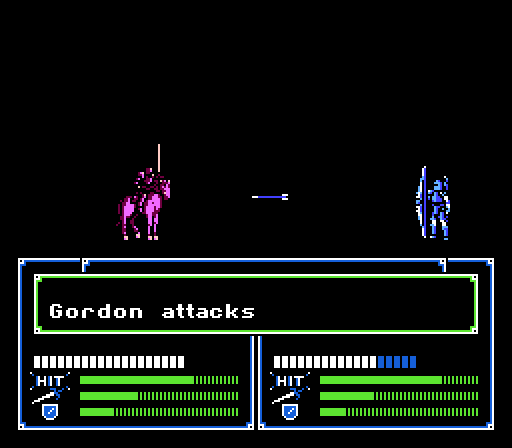
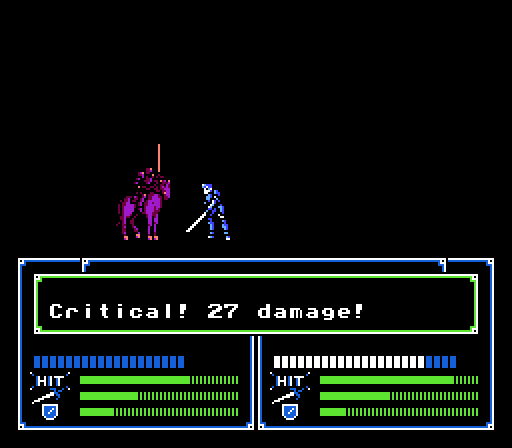
Doga lands the hit this time, and Gordon finishes it off.
Navarre takes out the first Bow Knight solo.
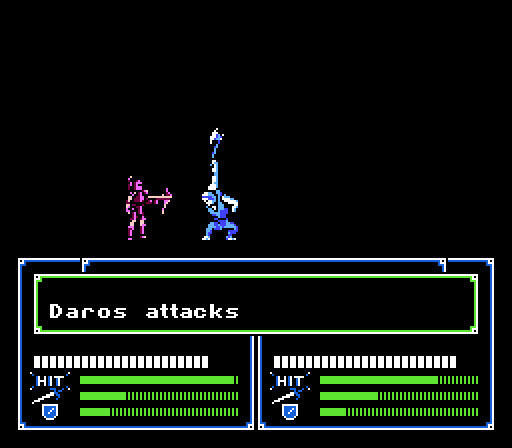
Hardin sees his first action, teaming up with Daros to take out the second Bow Knight.
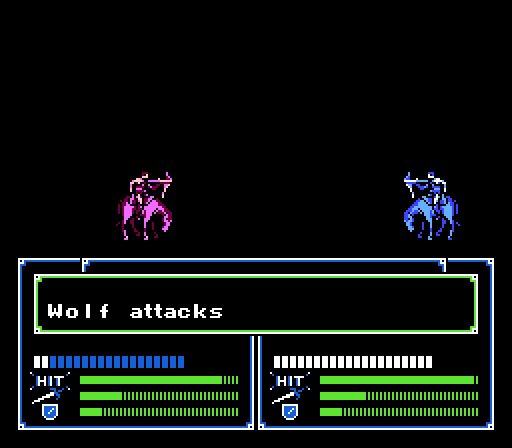
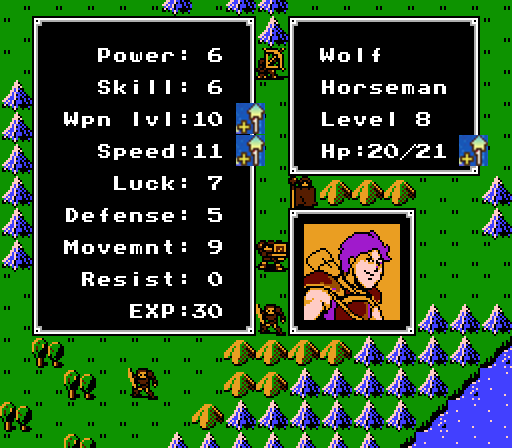
Barts does his thing and Wolf cleans up.
Just the one Social Knight left from the first wave. Sheeda could still attack, but barring a lucky critical she wouldn't be able to kill him so she'd just be exposed on the enemy phase. The Social Knight will probably attack Wolf but shouldn't kill him.
Sheeda moves up to hopefully strike next turn. Rena patches up Doga and our stragglers catch back up to the rest.
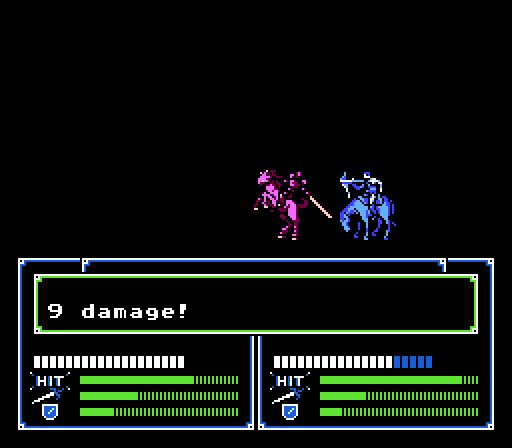
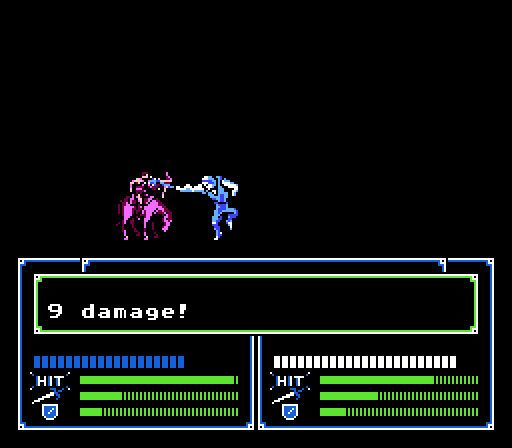
The Social Knight does 9 damage to Wolf, as expected. Also, the Armor Knights and the Archers all advance.
Turn 5:

Let's try and take care of those Armor Knights before the Archers get here.
Doga takes another stab with the Knight Killer, and Wolf takes his revenge.
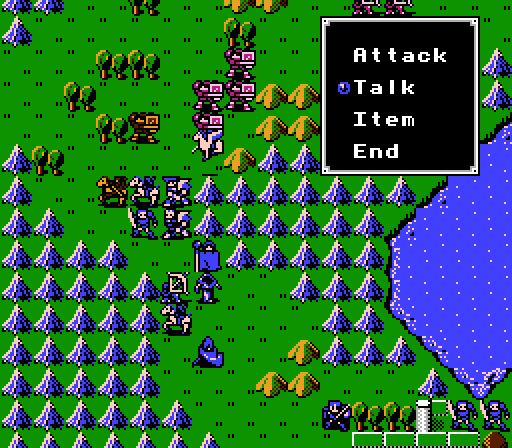
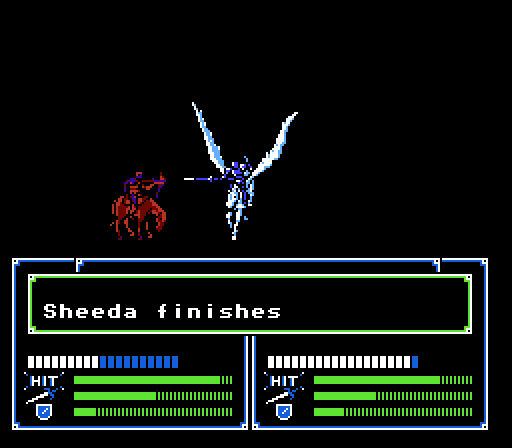
Roger is at the forefront of the Armor Knight assault, and it's once again up to Sheeda to lure him over.
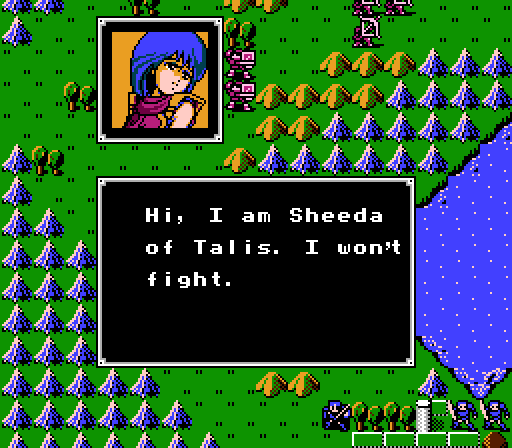
 You believe in love? You love someone?
That's kind of out of nowhere. I wonder if any US soldiers in Afghanistan query the Taliban fighters on their love lives...
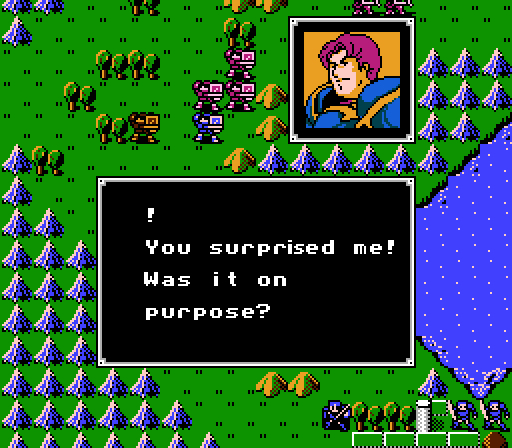
 W...What? Are you alright?
Roger actually has a normal reaction, assuming that Sheeda has been knocked on the head one too many times or something.
I'm sorry. I just wanted to speak with you. You looked so nice. What's your name? Eh? Um...I...I'm Roger of Grunia.That would be about my reaction too, I would think.
Roger, in war, women and children cry. My group's trying to end this useless fighting. Do you understand?Sheeda fights better with words (particularly with her 3 Power handicapping her swords and lances), we should just have her give speeches around the continent instead of throwing her into pitched battles.
I do. I don't fight because I want to, but I can't betray them.Roger continues to be disturbingly normal.
You care for someone in Grunia?(Because betraying one's country is okay as long as all of your loved ones are already dead.
 ) My parents died and I have no lover, but I can't betray Grunia.
Roger fends off another verbal assault. He's like the tank of words.
No matter what? Yeah, sorry... I see, but you are really a nice person. I'm glad we got to chat.Maybe Sheeda's enemy-flipping magic finally ran out.
You're leaving? If I stay any longer, I will cause problems for you.Fraternization within your own army is one thing, chatting up the enemy on the battlefield quite another.
You're a nice person... There are no women like you in Grunia...Roger starts to waffle. Also Grunia = evil, etc etc.
Hey! Don't leave yet...I...I'll go with you!And score another one for Sheeda.
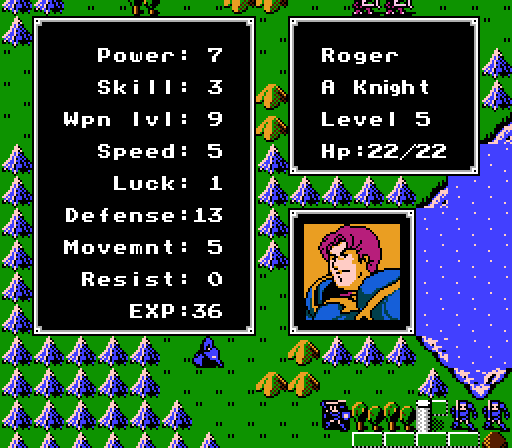
Roger is actually pretty similar to Doga; I'll make a full comparison at the end.
For now we've already used Doga so Roger just gets out of the way. Hardin and Navarre both have Armor Killers, Barts and Daros both have Hammers - let's go after the rest of those Armor Knights now.
Barts doesn't need any help with the northern one.
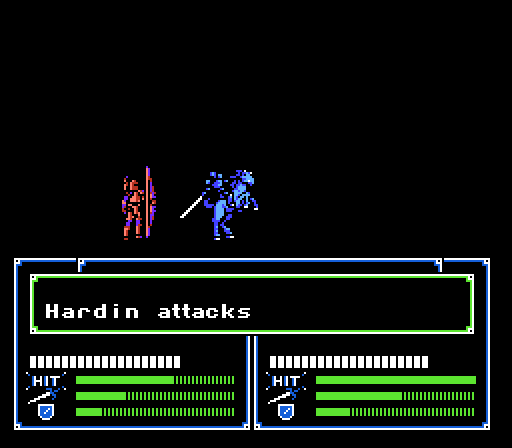
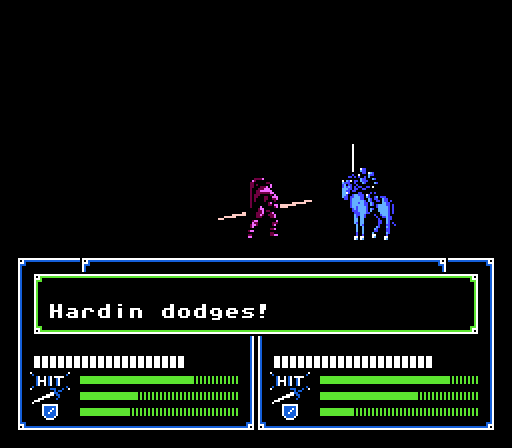
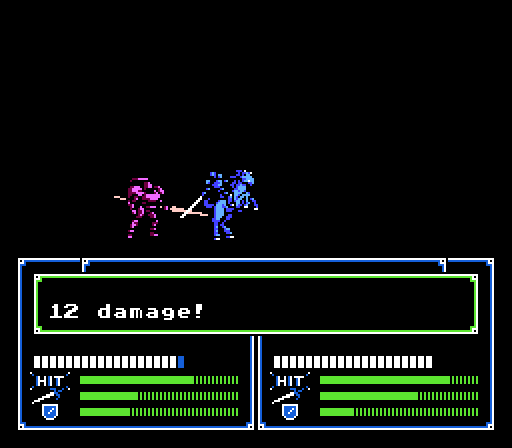
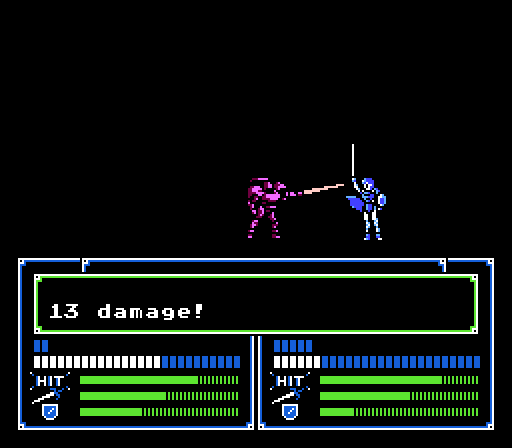
Hardin needs two hits but also takes care of his Armor Knight without any help. He even dodged the counterattack.
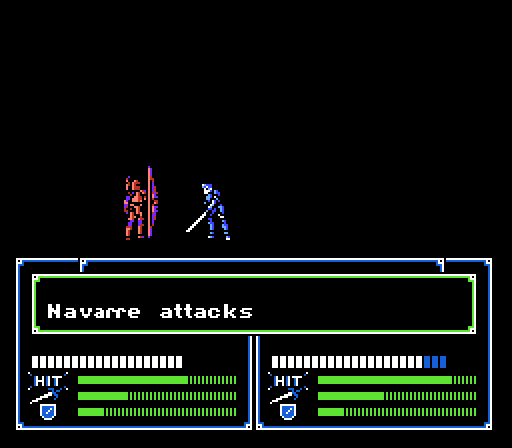
Navarre, not to be shown up, takes some damage but also takes care of business.
Poor Daros is left without anyone to attack. The Archers can only reach Barts and Navarre, who should be okay even if the enemy manages a critical hit or two.
Abel doesn't want to risk one or more lucky criticals on Barts and Navarre, and volunteers to act as bait.
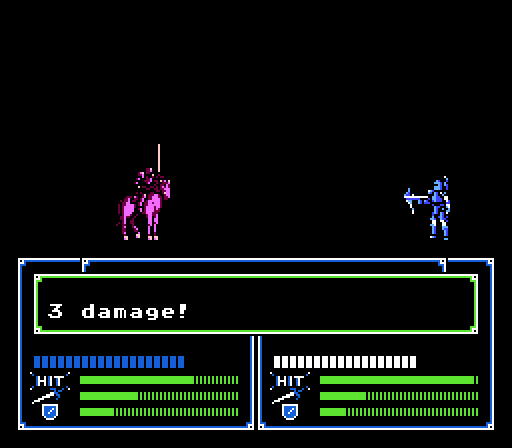
Navarre has the lowest defense and is damaged so the first Archer targets him, but only for 5 damage. I had actually miscalculated because a critical here would've killed Navarre, but fortunately the Archer didn't connect on the 21% chance (he has a Bowgun).
Another Archer goes after Abel for only 4 damage. The other two Archers can't reach anyone so we're safe for another turn.
Turn 6:
Exposed Archers on the player phase are basically free experience so I try to prioritize based on who could use it the most. (The answer is usually, "anyone that can promote".)
As such, Hardin moves up first and puts the Silver Sword to good use on the northwest Archer.
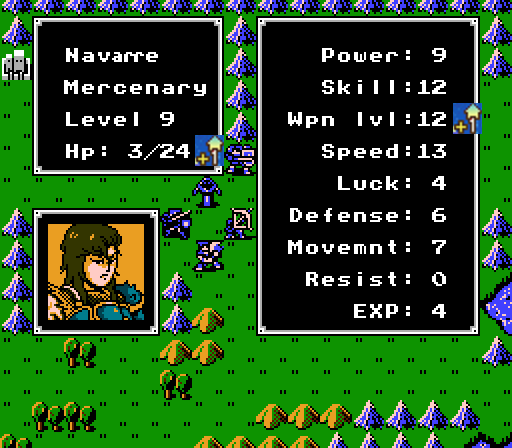
Rena heals up Navarre, who likewise makes short work on the farthest Archer and gets a level for it:
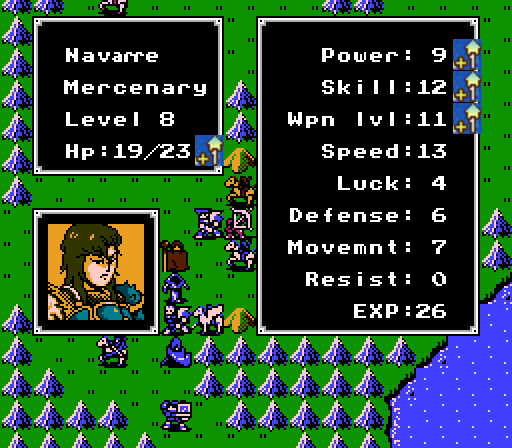
He's going to be a bit fragile (can't do much with a 10% Defense growth) but Navarre is beautifully deadly. He's also passed Doga for the unit most above his averages.
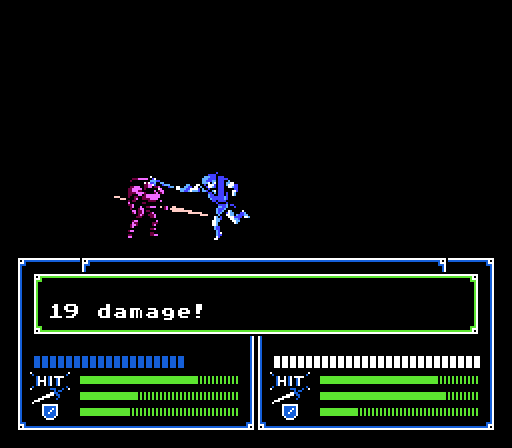
_-_Chapter_08_-_Turn_06_-_Battle_01.gif)
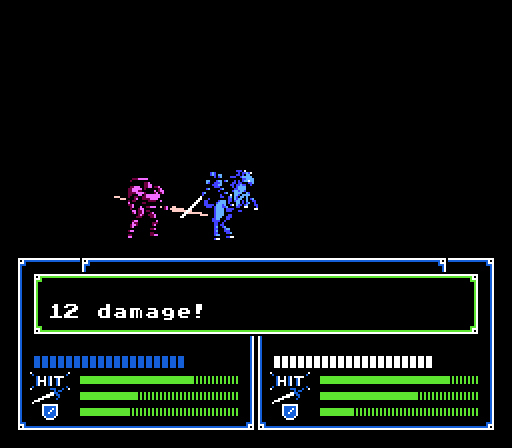
_-_Chapter_08_-_Turn_06_-_Battle_02.gif)
Marich softens up the nearest Archer first, and then Gordon trades blows with the Bowgun and comes out on top (he could've survived a critical here or I probably wouldn't have risked it).
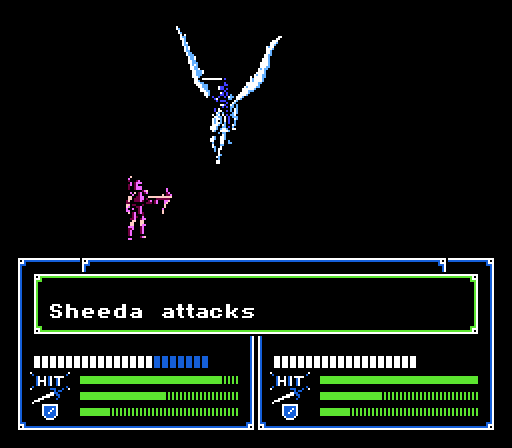
Daros does a Skyward Strike on the last Archer and softens it up just enough for Sheeda to swoop in for the kill. She also gets a level: (come on, Power and Defense
 )
)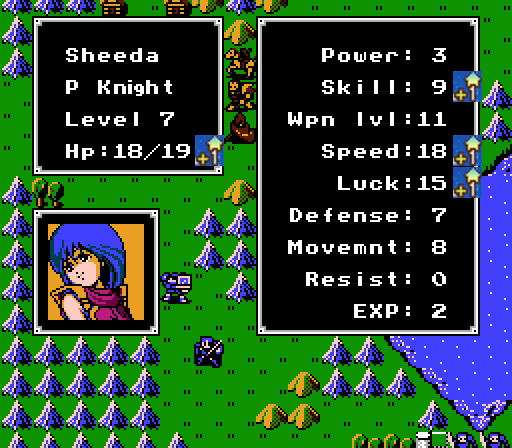
Not sure why I bothered hoping for anything different.
Just the one squad of cavalry to the north remaining (besides the boss). Abel takes point again to protect his buddies one more time.
A single Social Knight is successfully lured in, the rest still hang back. I feel like I'm being drawn into a trap with the jaws about to close...
Turn 7:
One dead Social Knight, coming right up.

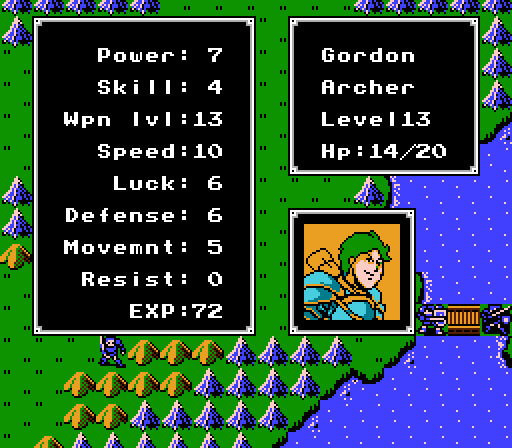
Barts softens it up and feeds Gordon the kill. They both gain levels:
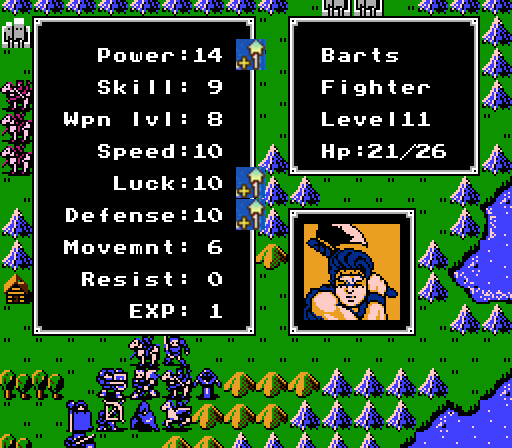
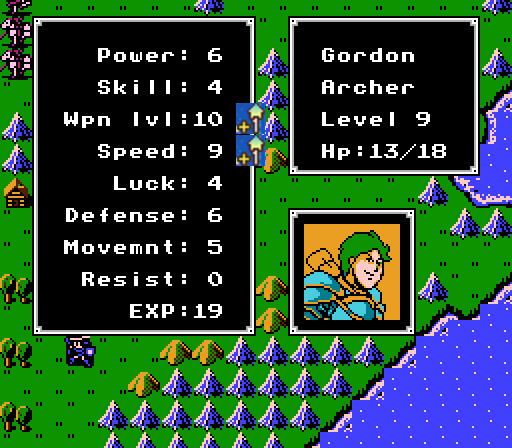
Barts still a murder machine, Gordon still a disappointment. Well technically Gordon is actually 3 points ahead in Speed, which is all that's been keeping him useful in combat, but he's also behind in HP, Power, Luck, and Defense.
Abel makes his final stand. Rena heals up the damage Wolf took like three turns and 50 images ago. Everyone else is ready to pounce.
The Bow Knight moves in first but does just 3 damage. The first Social Knight also connects, for 7 damage, leaving Abel with just 2 HP.
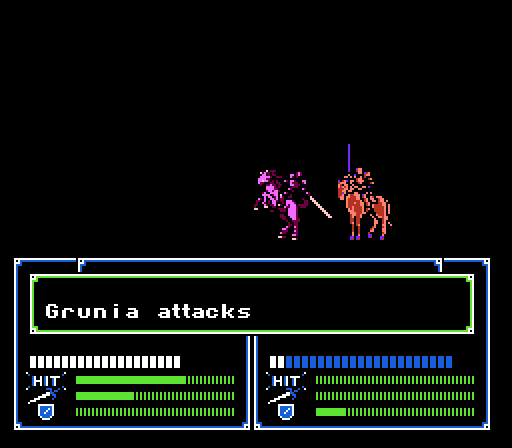
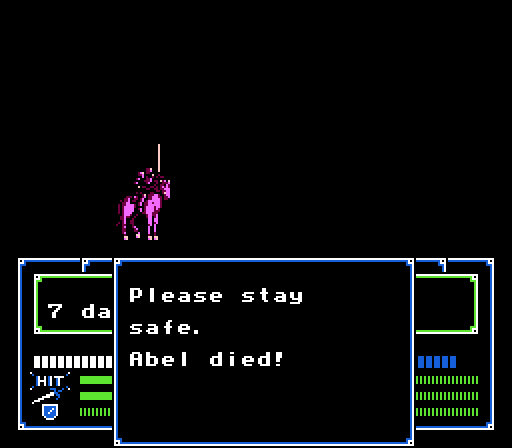
The second Social Knight finishes the job. Farewell Abel, may your sacrifice to the RNG gods not be in vain!
Turn 8:
Without anyone to attack, the third Social Knight just stayed where it was for another turn. That's okay, because we already have plenty to work with, and no doubt reinforcements will be pouring out of those forts any turn now.
I try out having Gordon take the initial strike this time, but he misses with his first hit and ends up doing only 5 damage. Archers!

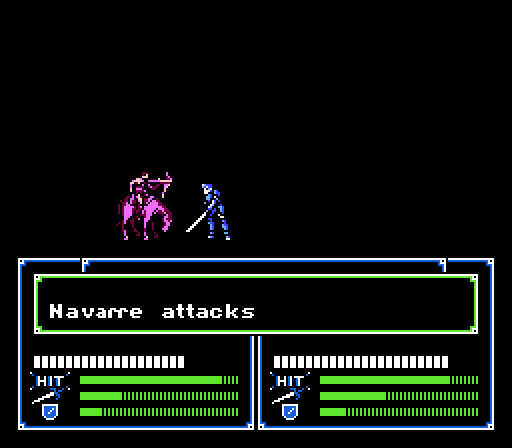
Navarre teaches me a lesson by critting with a Steel Sword (8% chance) and doing enough damage to have killed the Social Knight without any help.
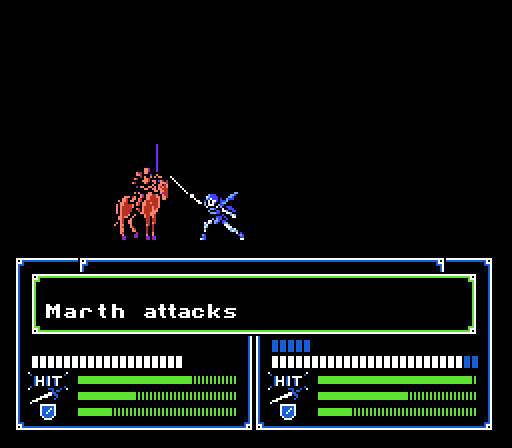
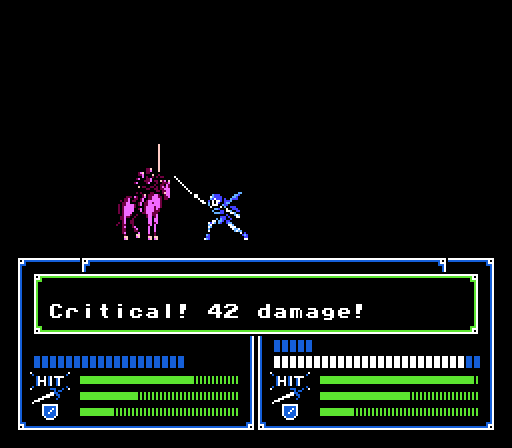
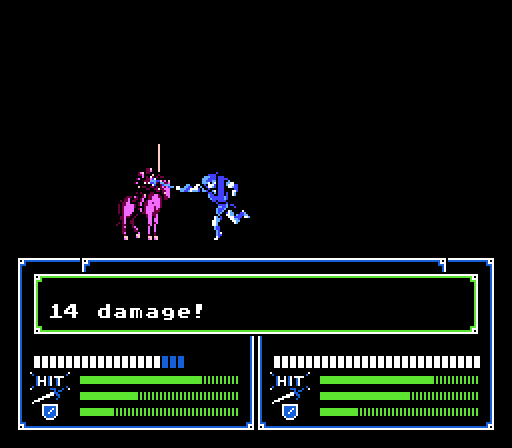
Marth puts his Rapier to use against the other Social Knight for 14 damage, dodges the counterattack, and then gets a significantly overkill critical to finish up.
Sheeda doesn't like bow users, and her low Power can be offset by the might of silver weaponry, so she attacks the Bow Knight with extreme prejudice and kills it with her two hits.
Sheeda is screwed if a Bow Knight pops out of the forts on the enemy phase but otherwise we should be fine here.

The Social Knight misses Marth, and is counter-killed in exchange.
Turns 9-11:
Nothing happens for a few turns, so we set up to ambush any reinforcments that dare to appear. Caesar also takes the time to visit the two houses:
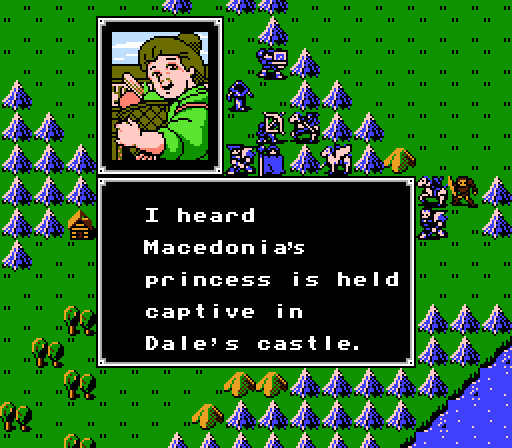
Another warning about reinforcements, and some information on Minerva's sister. It probably would be a good idea to head there soon...
Finally, on the enemy phase of Turn 11 these two Armor Knights show up. There's no one in range for them to attack so they just sit there. We'll have to fix that or they'll block any more reinforcements from appearing the next turn, which would ruin the whole grinder thing we've been trying to set up.
Turn 12:
The Armor Knights are both Level 3 with Iron Lances, just like the ones we already beat. Hardin and Navarre equip Armor Killers and move just into their range to draw them out.
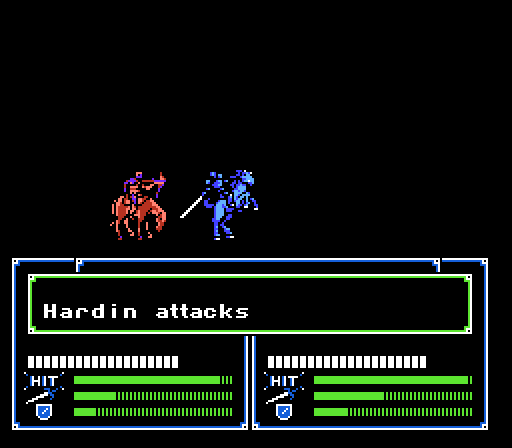
Hardin dodges the first Armor Knight and then kills him on the counterattack, gaining his first level:
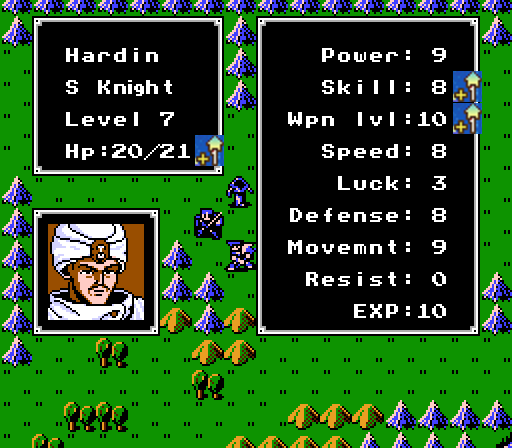
I think the spirit of Abel was at work there. Maybe he didn't like being a sacrifice so much after all.
Navarre doesn't dodge, but the Armor Knight does on one of Navarre's hits so he lives to see the next turn.
Turn 13:
Marich finishes off the Armor Knight to make way for another possible wave this turn. He also gets a level out of it:
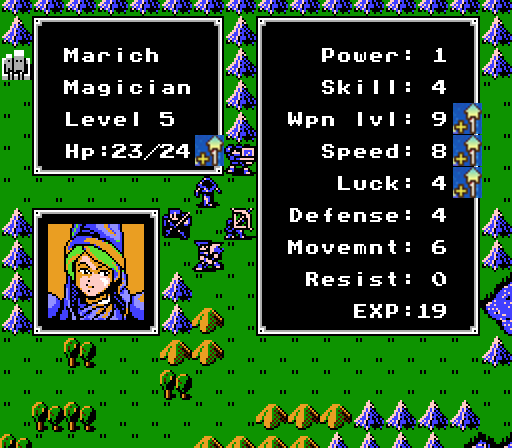
Pretty good level, all he really needs is Speed anyway.
The enemy phase of Turn 13 brings in a squad from the western forts as well.
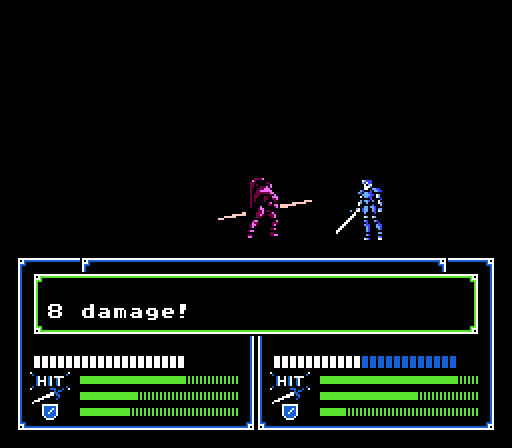
Hardin and Navarre both take hits, but both kill their opponents this time. Navarre also gets another level:
I think maybe the RNG gods are angry at me for sacrificing units at all? Anyway, Navarre's stint as unit-most-ahead-of-averages was rather short-lived.
_-_Chapter_08_-_Turn_13_-_Battle_01.gif)
_-_Chapter_08_-_Turn_13_-_Battle_02.gif)
Marth gets crit-happy on the attacking Social Knights. Marth critting with the Rapier is the only unique crit animation I've seen so far, but I think there are a few others that I'll try to catch.
The Bow Knight also attacks Marth, for 3 damage. Marth gets a level out of the first kill:
Perfectly mediocre again.
Turns 14+:
Doga and Barts take out the Bow Knight, and Navarre moves back for healing with Daros moving up to take his place. I also have Wolf give his Vulnerary to Marth for some self-healing.
Another round of reinforcments, identical to the last. This cycle will actually continue all the way until Turn 30 and we're set up pretty well so I'll just give you the highlights. Feel free to just scroll past all the text and look for the shiny level up pictures.
Turn 14: Hardin and Daros both dodge and then kill their opponents. Marth gets hit by both Social Knights but kills both, then dodges the Bow Knight. Marth gets a level:
Identical as last time. Also, yes I did cut it a bit close on Marth's HP that turn.
Turn 15: Barts and Gordon kill the Bow Knight. Rena heals Marth for 20 HP. Hardin takes a hit but kills his opponent again. Daros takes a hit and misses one of his own to leave his Armor Knight alive. Marth gets hit by both Social Knights but breaks his Rapier so only one is killed. The Bow Knight gets off a critical but it's only for 6 damage so Marth is still fine. Oh, and Hardin got a level this time:
That's...pretty much exactly what Abel's levels looked like.
Turn 16: Marich kills the Armor Knight, Wolf kills the Social Knight, and Banutu and Gordon kill the Bow Knight this time. Rena heals up Marth again. Hardin and Daros both dodge and both kill the Armor Knights (they're standing up like champs over there). Marth once again can't dodge either Social Knight but kills them both this time, then gets shot by the Bow Knight. Daros and Marth both gain levels:
Daros being Daros, and Marth gets an interesting but not very satisfactory level.
Turn 17: Barts and Gordon kill the Bow Knight, Marth uses a Vulnerary, and Navarre and Hardin switch places so that Rena can heal Navarre. Navarre and Daros both dodge and kill the Armor Knights - Daros has been surprisingly reliable despite my complaints. Marth gets hit twice, kills twice, as usual. Gordon got a level from his kill:
At least it wasn't just Weapon Level and Speed this time?
Turn 18: I start having Raddy and Roger ferry up a couple replacement Rapiers for Marth and a new Live Wand for Rena. Barts and Gordon kill the Bow Knight, etc etc. Daros gets hit this time, and misses one of his own hits, but Navarre is still operating at peak efficiency. Marth actually dodges one of the Social Knights before killing them both this time. Marth also gets another level:
Now that's what I like to see. Marth effectively maxes out Weapon Level for him here, too.
Turn 19: The leftovers fall as normal. Marth heals himself, Daros and Hardin switch places so Rena can heal Daros, and we're ready for another round. The enemy phase goes smoothly with a couple more units left alive. Navarre and Marth also each get a level:

That's more like it, Navarre. Marth tries to imitate but falls a bit short.
Turn 20: Barts and Gordon get levels from the Bow Knight. The enemy phase proceeds as normal - Marth actually crits on both Social Knights.
Barts gets an okay level. Gordon...
Oh, Hardin also gets a level:
Hardin is really feeling being the Green Cavalier replacement.
Turn 21: Marich picks up a level finishing off an Armor Knight, Marth gets himself another level, otherwise quiet.

Marich's level isn't great at first glance, but more speed for him is all I ask for. Marth's level is fantastic.
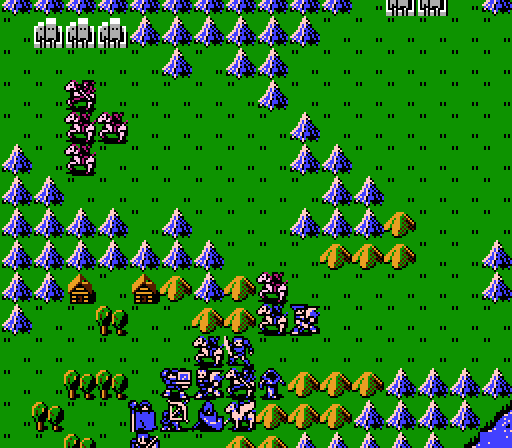
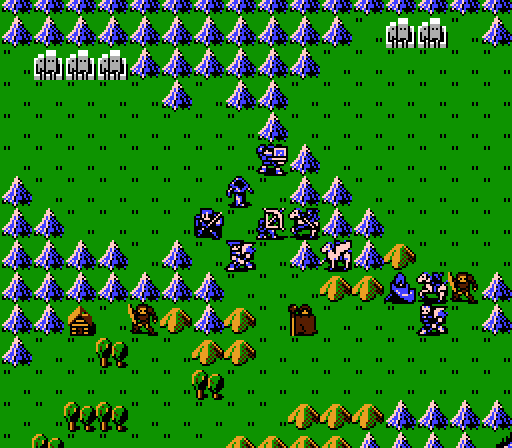
Turn 22: Here's how we look halfway through the gauntlet. Still pretty much the same formation as when we started. Navarre and Hardin are both hurting so I need to swap one out and have Rena heal the other from afar. Weapon durability is also becoming an issue. Daros and Marth each gain levels on the enemy phase:
 Daros! On the bright side Marth gains the first point of Defense in the entire chapter.
Turn 23: Gordon gets another level off the Bow Knight. Marth actually has gained enough Power that he can counter-kill the Social Knights with just the Steel Sword so he switches to that. Unfortunately the Steel Sword is also less accurate and Marth misses on the first Social Knight. The second Social Knight is blocked from Marth so goes after Barts instead, dying for the trouble. Navarre also gets a level on the enemy phase.
Turn 24: Barts gets a level off of the Bow Knight. Wolf cleans up the Social Knight that Marth left behind and also gains a level. The enemy phase is pretty normal, except Marth misses on the first Social Knight again.
Not much luck that turn. Barts I know you're better than this!!
Turn 25: Gordon gives his Vulnerary to Marth, with Wolf taking his place on Bow Knight killing duty. Rena actually heals up Marth so that he can spend the turn finishing off the Social Knight he should've killed last turn. On the enemy phase, Navarre's Armor Killer finally breaks, and Marth gets another level:
I guess he was due for that.
Turn 26: Home stretch now. Barts misses on the Bow Knight so Doga attacks instead, and gets a critical to both kill it and gain a level. Marich also gets a level finishing off an Armor Knight.
Doga, you do know that your potential replacement was just recruited this chapter, right? And Marich, I don't care if you're ahead on Weapon Level, you're behind on Skill, Luck, and Defense.
Navarre and Hardin also get levels on the enemy phase:
 Navarre finally cashes in on that 10% Defense growth.
Turn 27: I got tired of Marth missing with the Steel Sword so I switched to a fresh Rapier from the supply train. Barth crits and kills the Bow Knight outright for a level. Daros and Hardin switch again, with Rena forced to use another Reblow charge to heal Navarre from afar. Marth gains another level on the enemy phase.
Barts has caught up in Speed but fallen behind in everything else in the process. Marth is just one Power away from one-shotting these Cavaliers with the Rapier.
Turn 28: Both Armor Knights survived but they're still trivial to finish off. Navarre switches out for Hardin, who's Armor Killer then breaks on the enemy phase. No other surprises for once. No levels this turn either.
Turn 29: Gordon gets another level off the Bow Knight, and Marich gets a level finishing off an Armor Knight.
 I would say Gordon's irredeemable at this point except I know that isn't true. The Defense is welcome on Marich at least.
Hardin and Marth each gain levels on the enemy phase:
Turn 30: The last of the reinforcements! Also, Rena breaks her Relieve Wand. Marth gets one final level on the enemy phase:

Can't complain after the last couple levels, and Speed is something he needed to catch up in.
Turn 31: Just need to clean-up the leftovers and then head over to the boss.
 Actual interesting gameplay resumes here
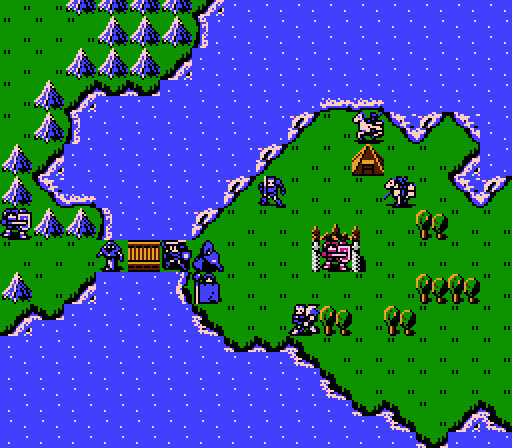
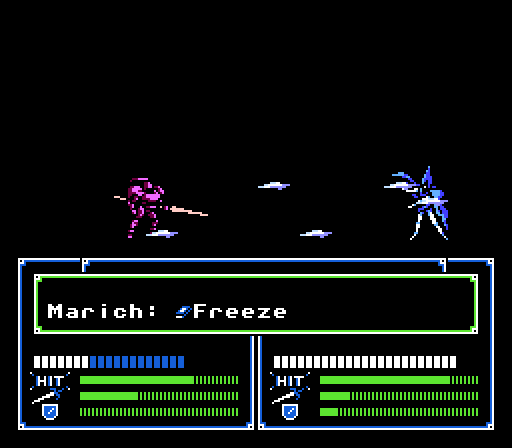
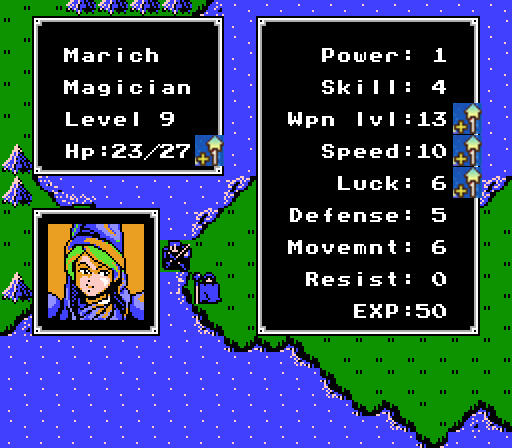
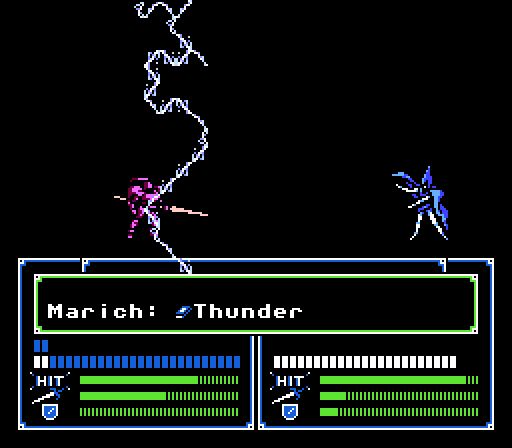
Turn 34: Only half the army makes it over to the boss because everyone's exhausted. That's my excuse, anyway. Marich isn't in the mood to wait so he picks up Excalibur and kills the boss in one turn, getting his Silver Lance and a level:
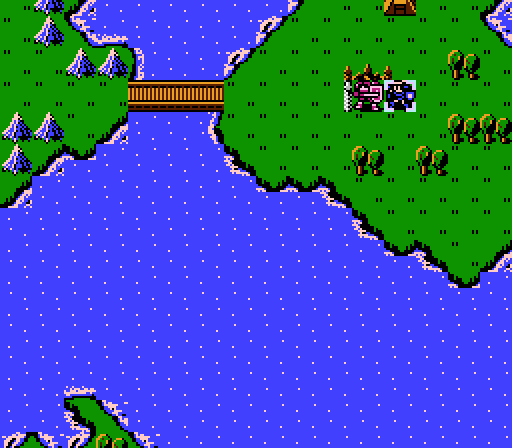
Pretty good way to wrap it up. Marth seizes the castle to mercifully bring the chapter to a close.
What way? We're on a peninsula here, not exactly going anywhere. (I think he's referring to sitting around and letting Grunia throw bodies at us.)
 We must escape to Peraty but there's a rumor that Peraty's king, Manuu, has Mamkute blood. But we must go that way.
If he's anything like Banutu then I don't see the problem.
 So basically next time we run and hide to Peraty to try and buy ourselves time to plan our liberation strategy.
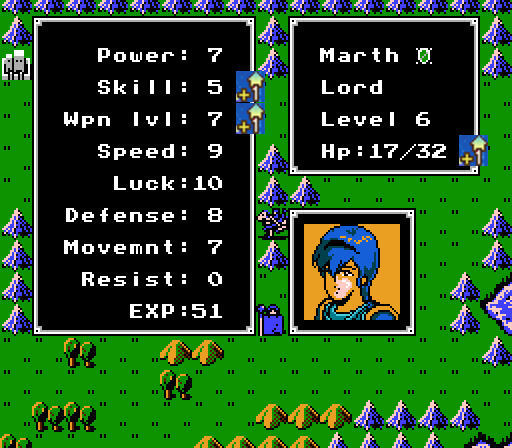
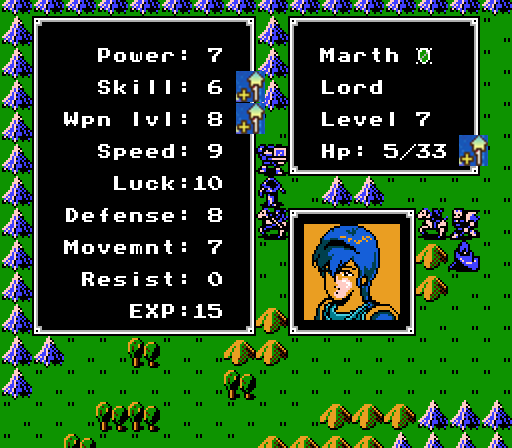
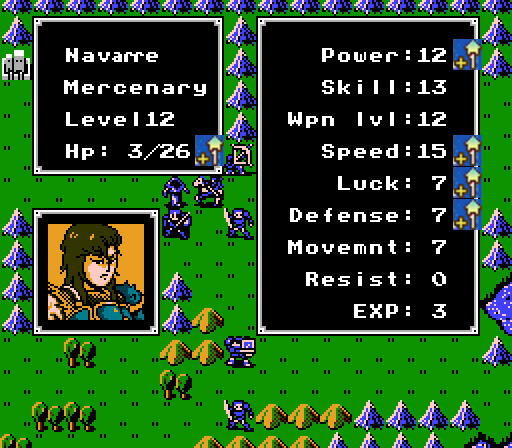
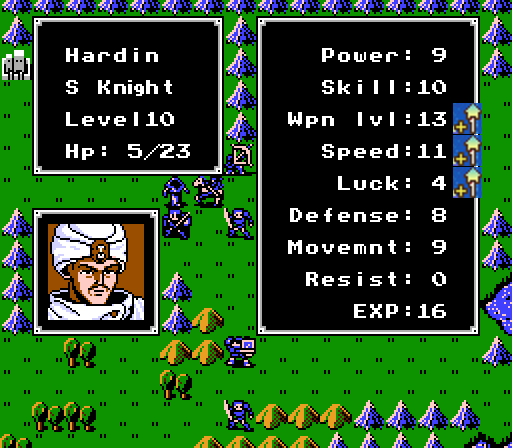
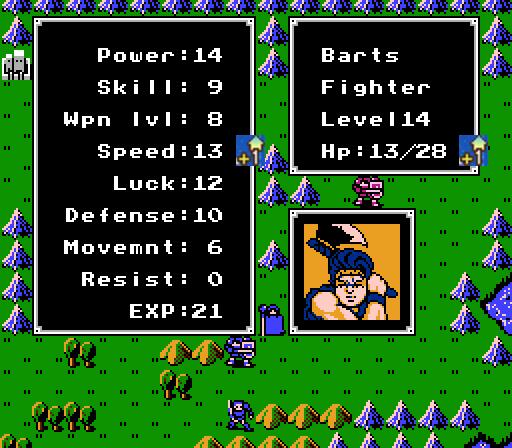
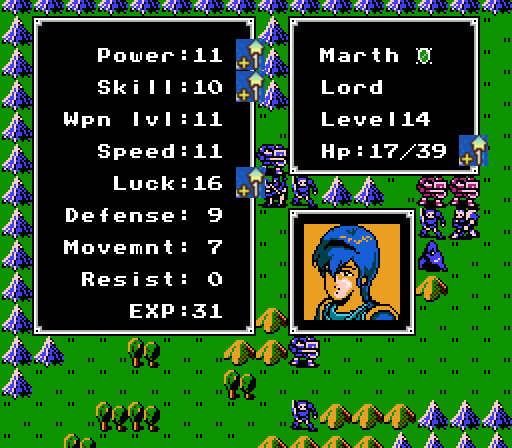
For fun, here's before and after shots of the major players this chapter:
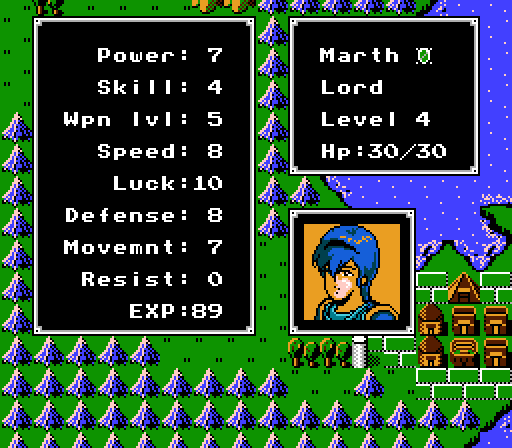
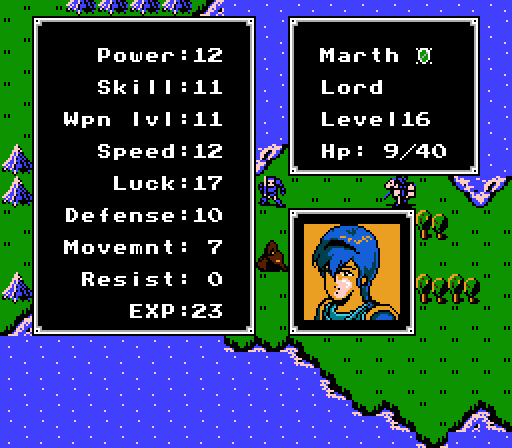
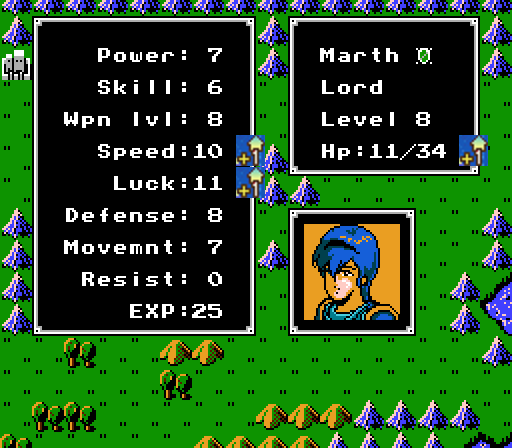
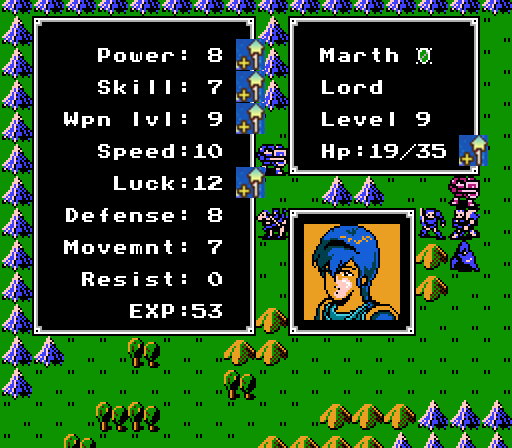
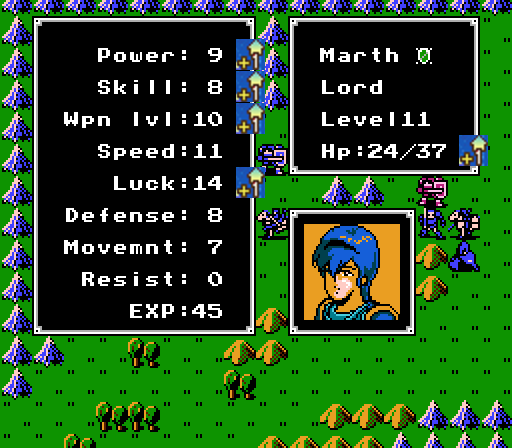
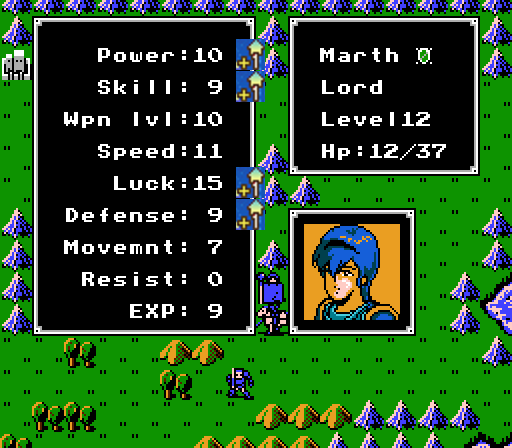
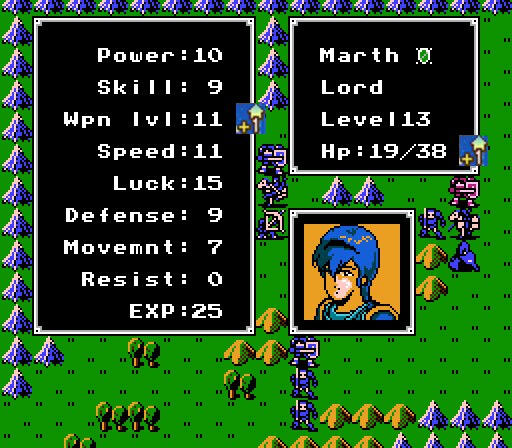
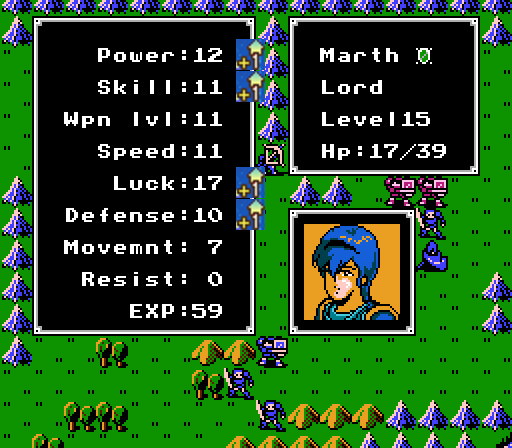
Marth had the biggest gains, with 12 levels in the chapter. He's a couple ahead in Skill and a couple behind in Speed but otherwise pretty much right on his averages. That Angel Robe we gave him last chapter was also critical to him having the ability to essentially tank 50 Social Knights and Bow Knights by himself, too.
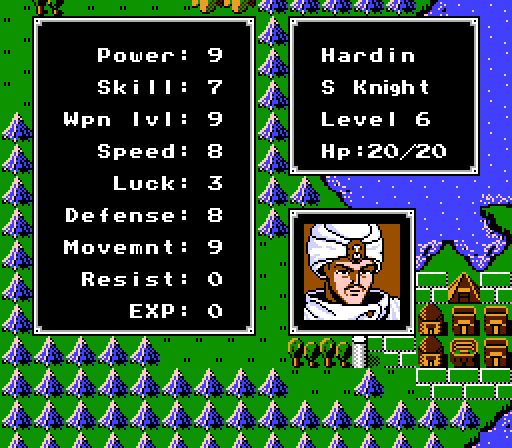
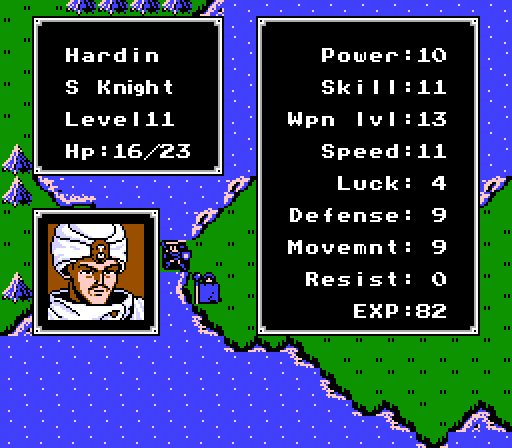
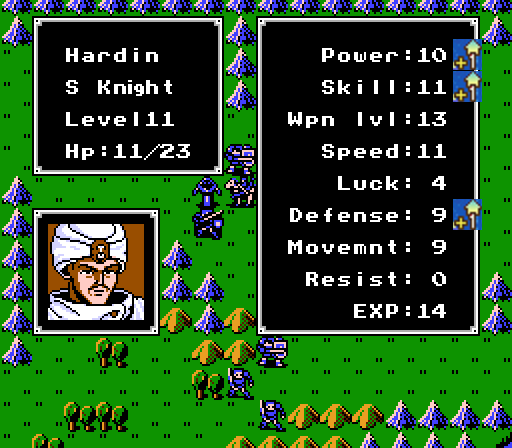
Hardin's a point ahead in Skill but five pretty average levels otherwise. Definitely working out better than Abel so far.

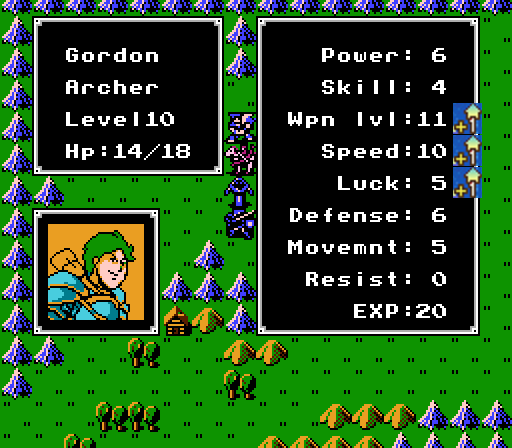
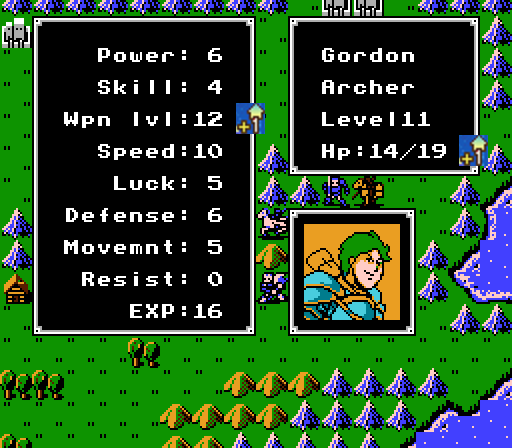
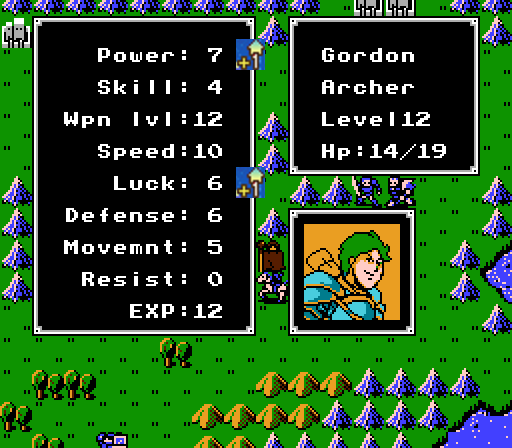
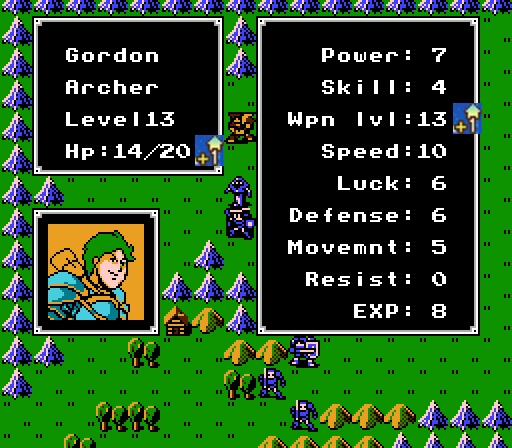
Gordon can't really help his bad growths but he's still a couple points behind even those. That 13 Weapon Level will be important in a few chapters, though.
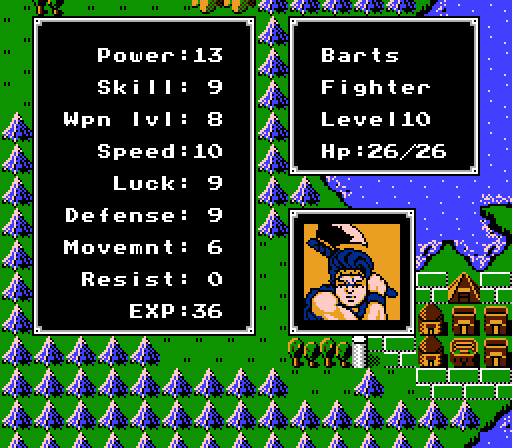
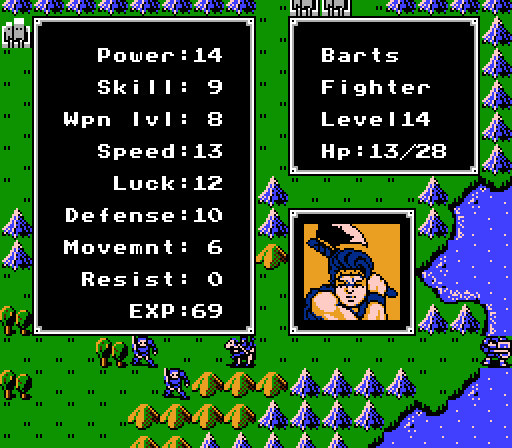
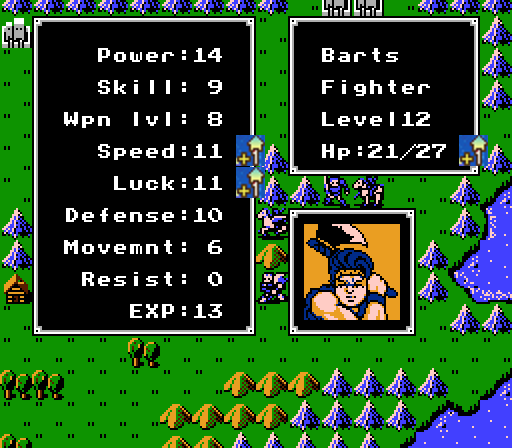
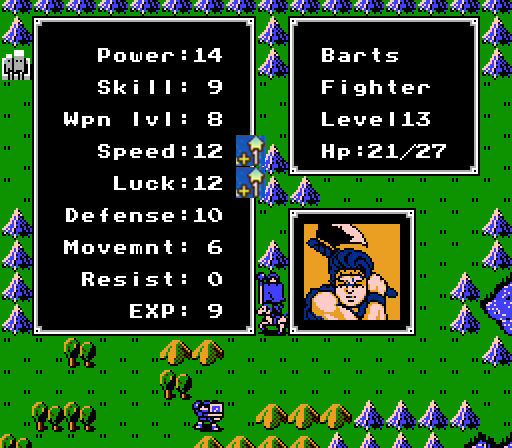
Barts unfortunately had a pretty bad four levels there by his standards. He's four points behind his averages overall now, and is also our farthest-behind unit, surpassing Kashim.
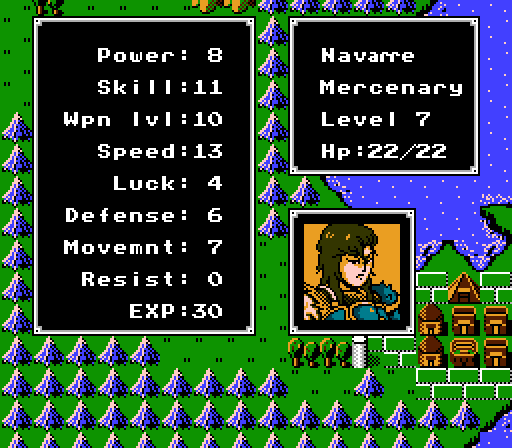
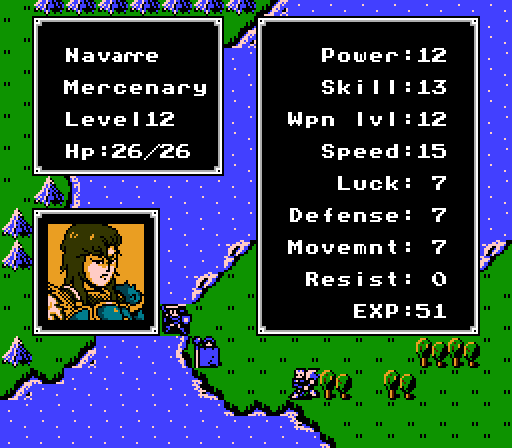
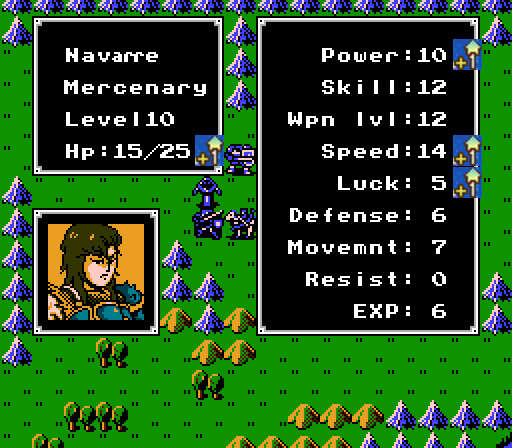
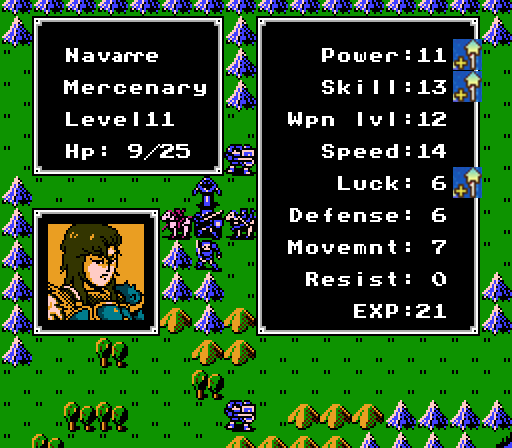
Navarre, on the other hand, is doing great, particularly with four Power in five levels. He's now five points ahead of his already great averages, easily the team lead.

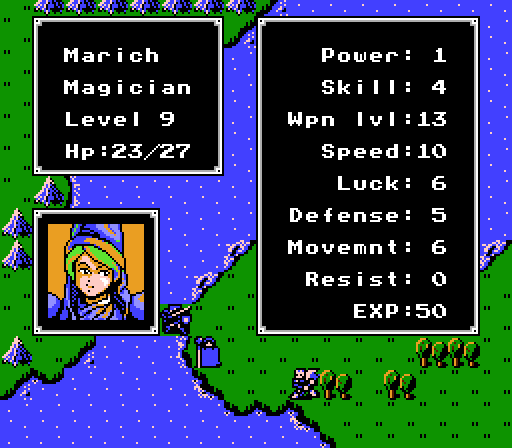
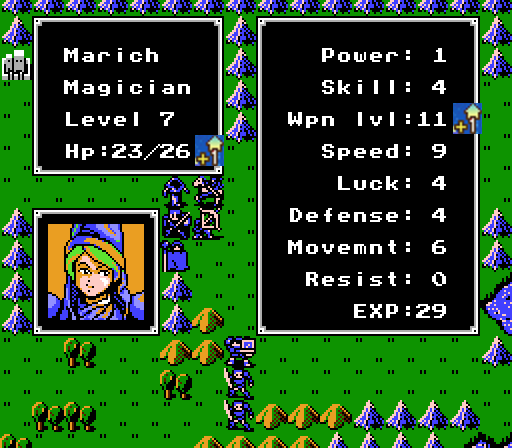
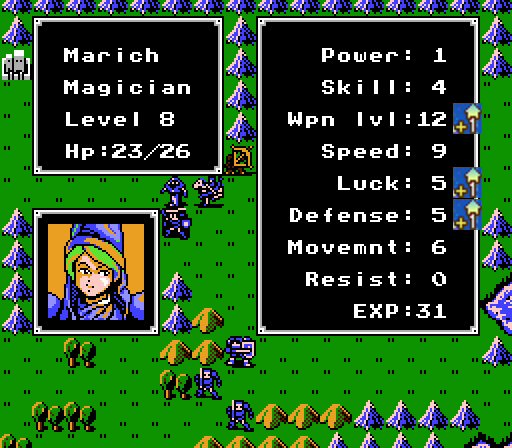
The extra Speed, Luck, and HP is great, and he even got a point of Defense. He's a bit behind in Skill, but that's not a very important stat for Magicians.
Alternate Timeline Alert! Well that chapter was long and not very exciting, so let's try it a different way.
Marth panics at the sight of all the incoming enemies and heads straight for the castle.
The Rapier works just as well against the boss even with Marth still at Level 4.
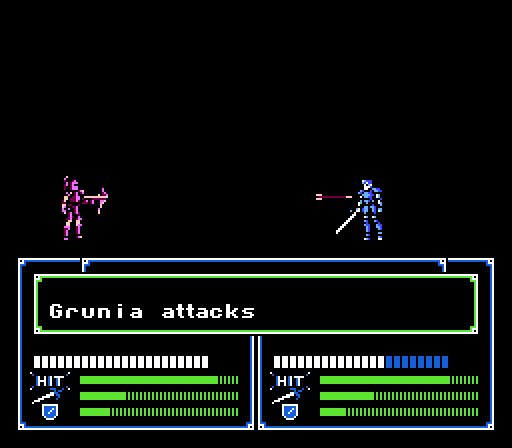
Canaris strikes back on the enemy phase.
None of the enemies can get here in time.

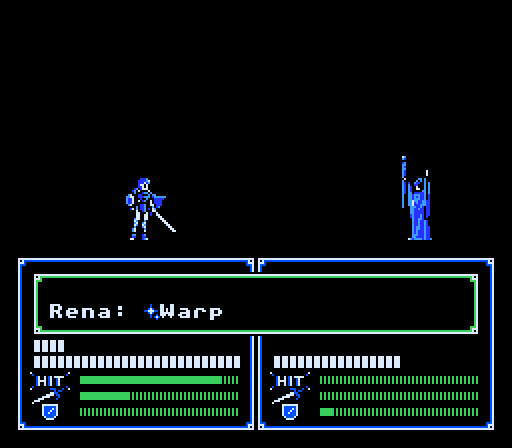
Rena sends over reinforcements for Marth, and Marich kills Canaris (again).
And Marth seizes the castle and wins the chapter on the second turn.
In later chapters with a second Warp Wand and a second unit that can wield it, you can actually win chapters like this in just one turn. Of course, you'd miss out on all the Exp and any other treasures to be had...
End Alternate Timeline Alert New Characters
Caesar - MercenaryCaesar is basically a weaker Oguma. He can be a useful unit but we have much better Mercs to play with.
Growth Rates:
- HP: 80%
- Power: 30%
- Skill: 30%
- Weapon Level: 30%
- Speed: 20%
- Luck: 10%
- Defense: 20%
- Total: 220%
 Raddy - Mercenary
Raddy is actually a great unit, trading off joining behind at Level 1 with growth rates that (barely) exceed Navarre's. He also joins in a chapter that happens to be great for catching him up if you're playing a normal run. Oguma, Navarre, and Raddy all fighting at the same time is a sight to see. In our case we can stick with Navarre since he's doing great and will easily cap Speed anyway (the only stat Raddy has a higher growth rate in).
Growth Rates:
- HP: 90%
- Power: 50%
- Skill: 40%
- Weapon Level: 50%
- Speed: 70%
- Luck: 40%
- Defense: 10%
- Total: 350%
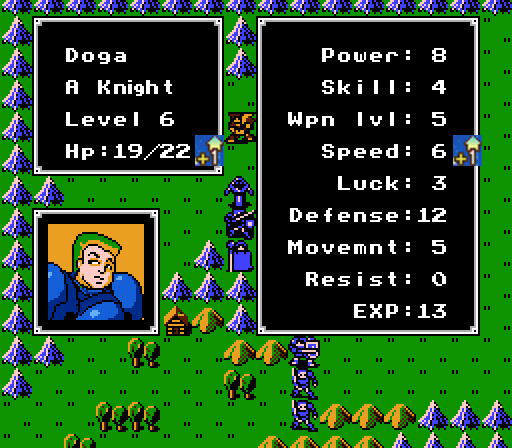
Roger - Armor KnightRoger is basically an improved Doga model. He trades off higher Power and Luck growths for lower Speed and Skill growths, and still has the same 10% Defense growth that's so odd on an Armor Knight. However he generally has higher bases than what Doga averages at the same level - our Doga has had to be a little lucky just to break even. Roger's higher base Defense (13) will probably make him the better tank in the short-term, but they're both pretty interchangeable long-term.
Growth Rates:
- HP: 70%
- Power: 50%
- Skill: 10%
- Weapon Level: 40%
- Speed: 20%
- Luck: 80%
- Defense: 10%
- Total: 280%
Our current roster, with the active units in bold. (Full stats in this post.) If you want to make a change, propose a recall motion and, if seconded, we'll have a recall vote and vote on a replacement. (Only applies if there is a replacement, of course.) Hardin is turning out well so far so good call on the switch there. Navarre is fantastic so I'd definitely recommend sticking with him over either of the new guys. Doga can probably be replaced with Roger though.
Lord: Marth
Pegasus Knight: Sheeda
Social Knight: Hardin,
Armor Knight: Doga, Roger
Archer: Gordon
Cleric: Rena,
Mercenary: Navarre, Oguma, Caesar, Raddy
Fighter: Barts, Maji, Saji
Hunter: Kashim
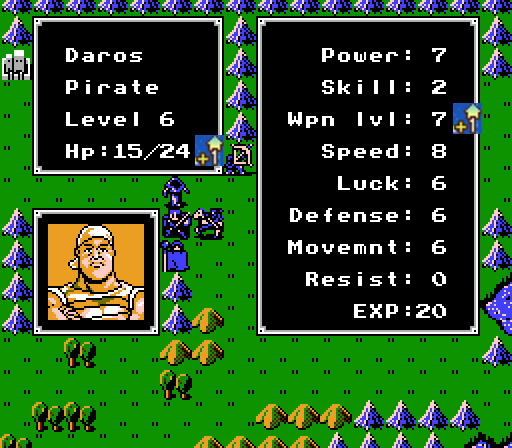
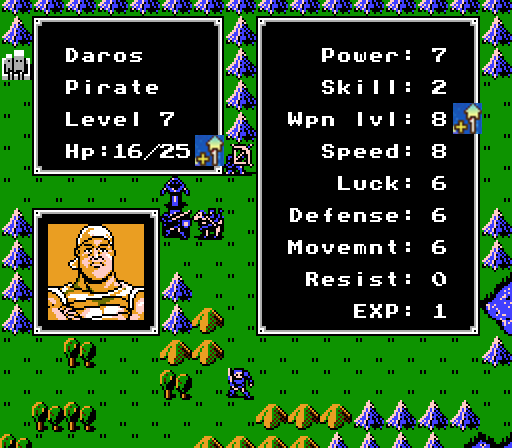
Pirate: Daros
Thief: Julian, Ricardo
Magician: Marich, Wendel [Priest]
Bow Knight: Wolf, Zagaro
Mamkute: Banutu
Just one vote this time: Abel proved a worthy sacrifice in the end, but we still have room for an extra unit next chapter so vote for your favorite benchwarmer to take one for the team.
Next time:
One of the most complicated maps we've seen so far, with outdoor treasure chests, a door shortcut, a bunch of islands with forts on them, and an Mamkute boss.