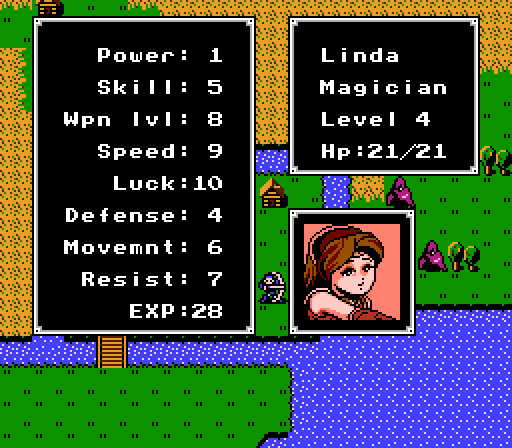
Part 16: Desert
Last time, we sacked Gra, avenged Marth's father, and learned that the wizard Garnef had run off to Khadein with Marth's family sword, the Falchion. Now we're off chasing after him.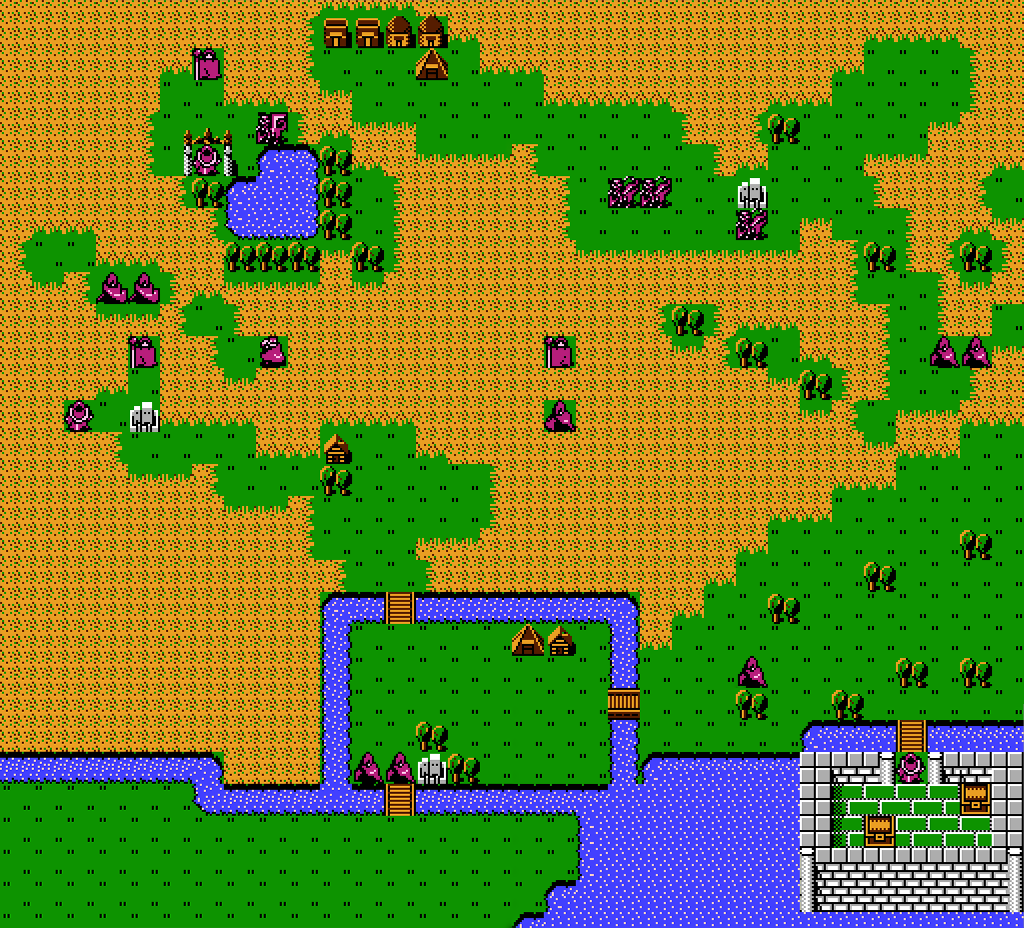
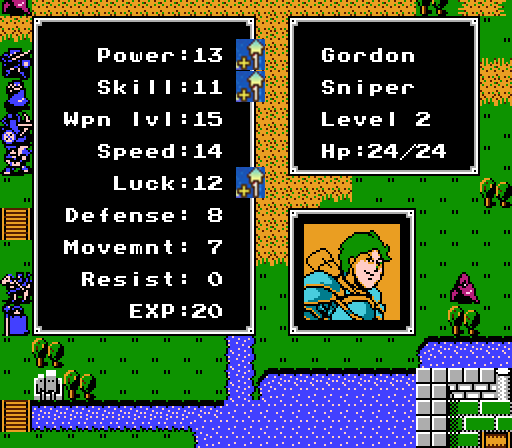
Of course, Khadein is in a desert. Desert chapters are a rather infamous recurring theme in the Fire Emblem series, and are typically either notoriously difficult or just annoying. The main reason is that almost everyone's Movement turns to shit in the sand, particularly those on horses. In this game, though, for most units sand isn't any worse than forests - it's just more prevalent. For instance, Paladins' 10 Movement only buys them three tiles of sand (same as forests), while a Bow Knight's 9 Movement only lets them move only one tile at a time on sand. Archers would be stuck moving one tile at a time, too, which is why it was important to get Gordon to promote last chapter - Snipers can actually move three at a time across the sand.
Other than fliers, the only exceptions are Magicians, who I guess float above the sand or something. Curiously, they lose this ability when promoting to Priests. Of course, we're in a magic city, so guess what we're going to be primarily attacked with? If you guessed anything other than flyers and Magicians, you don't know IntSys well enough.
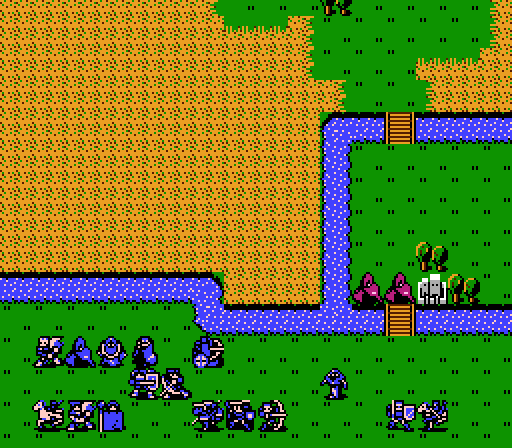
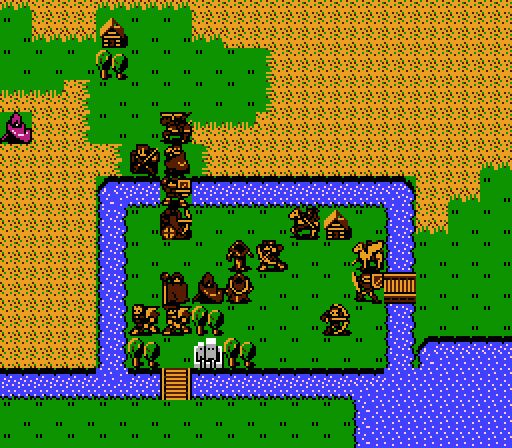
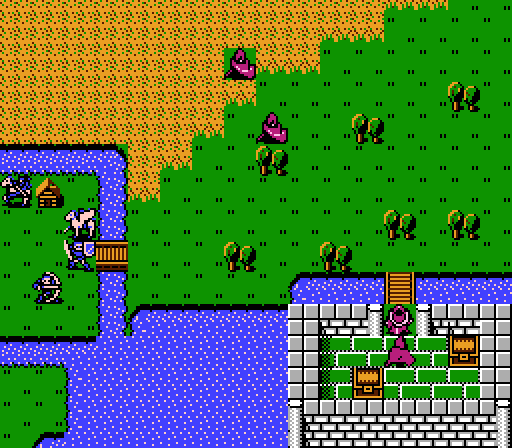
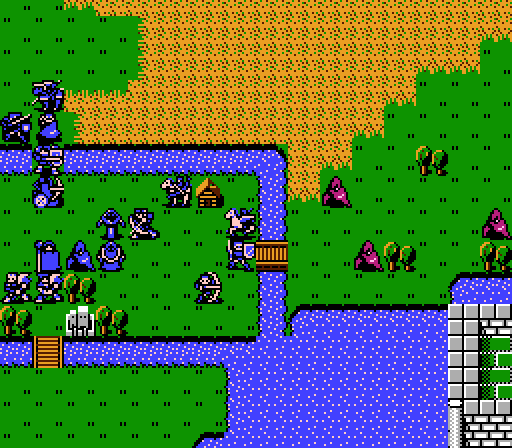
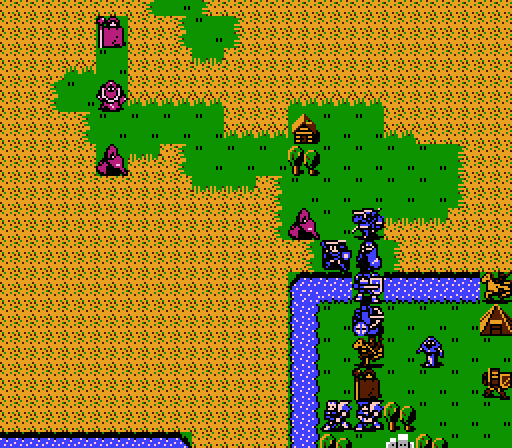
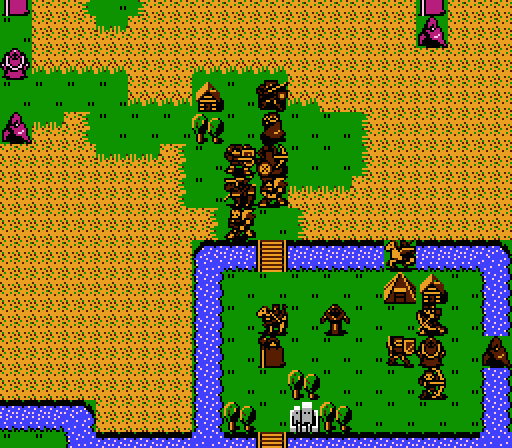
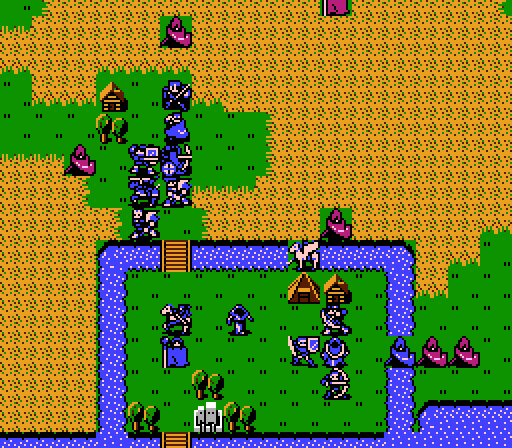
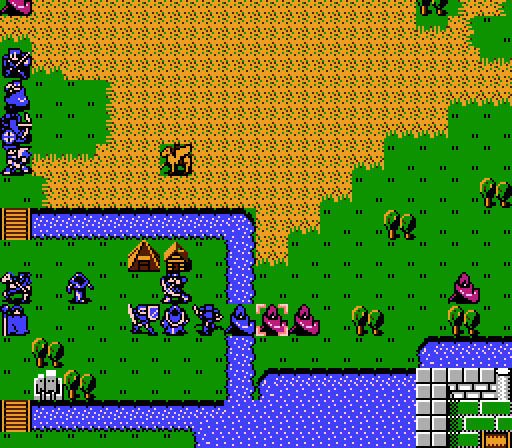
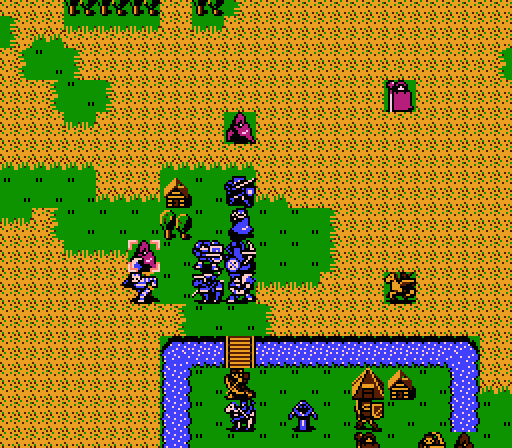
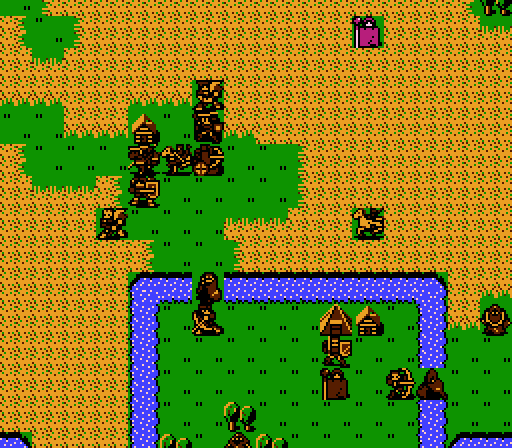
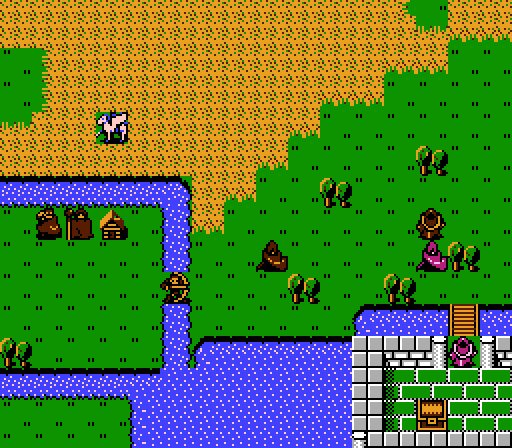
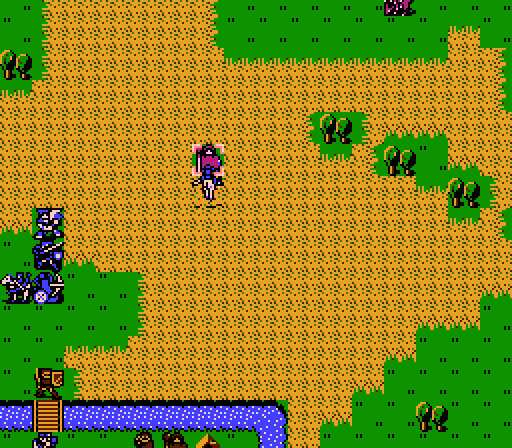
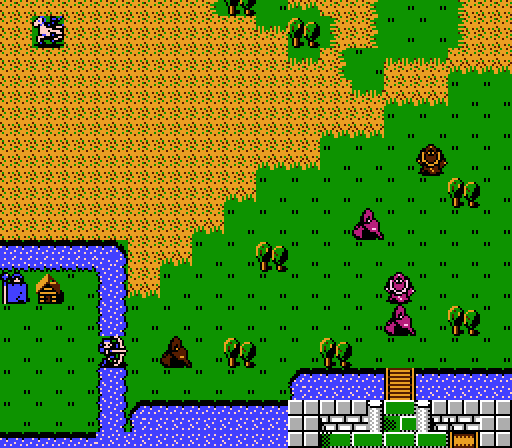
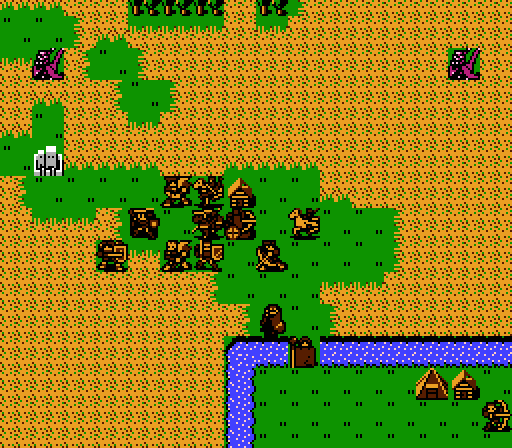
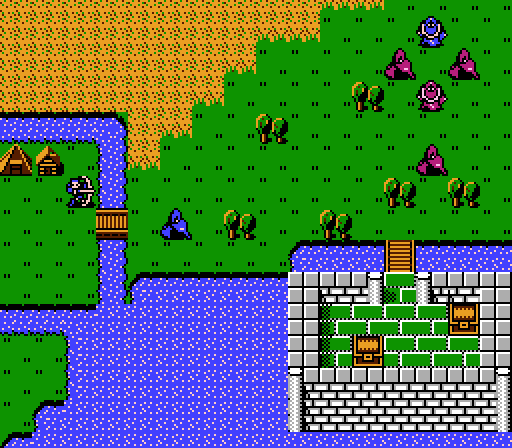
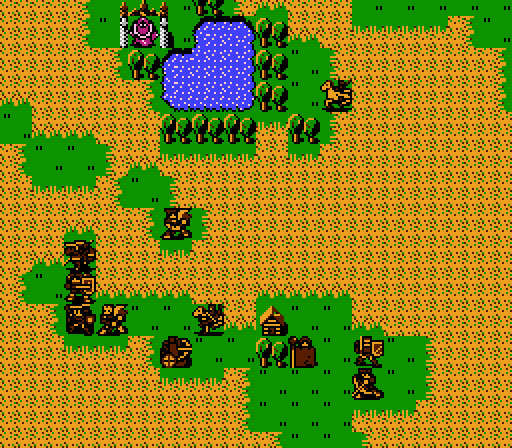
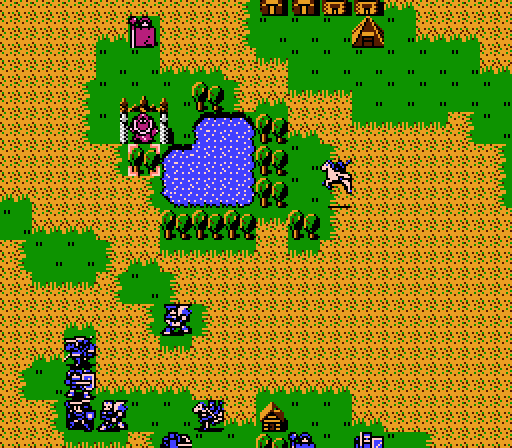
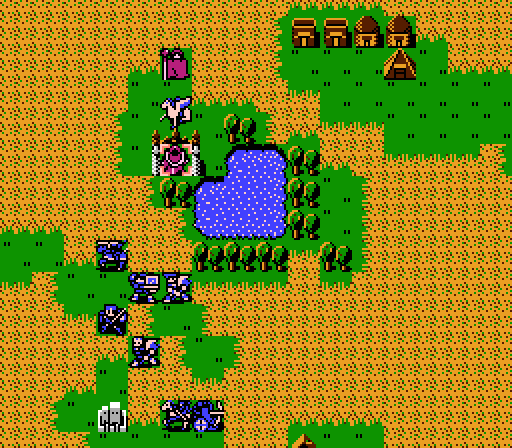
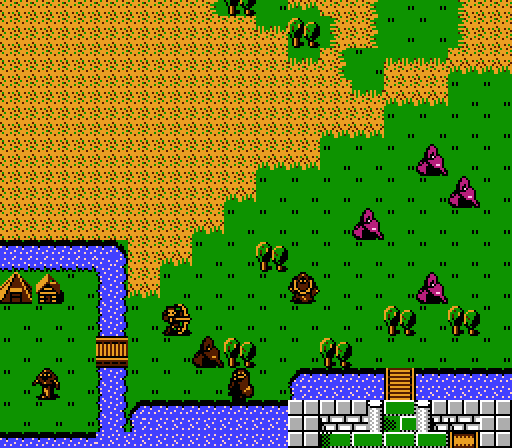
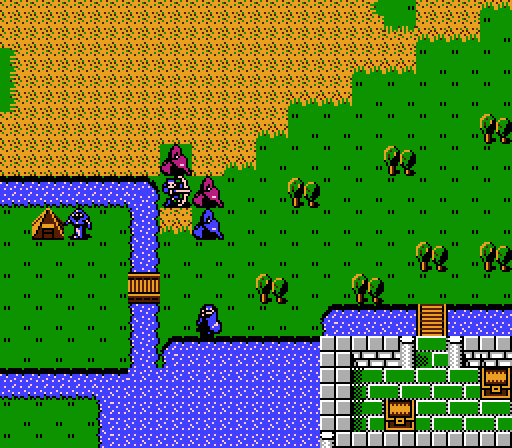
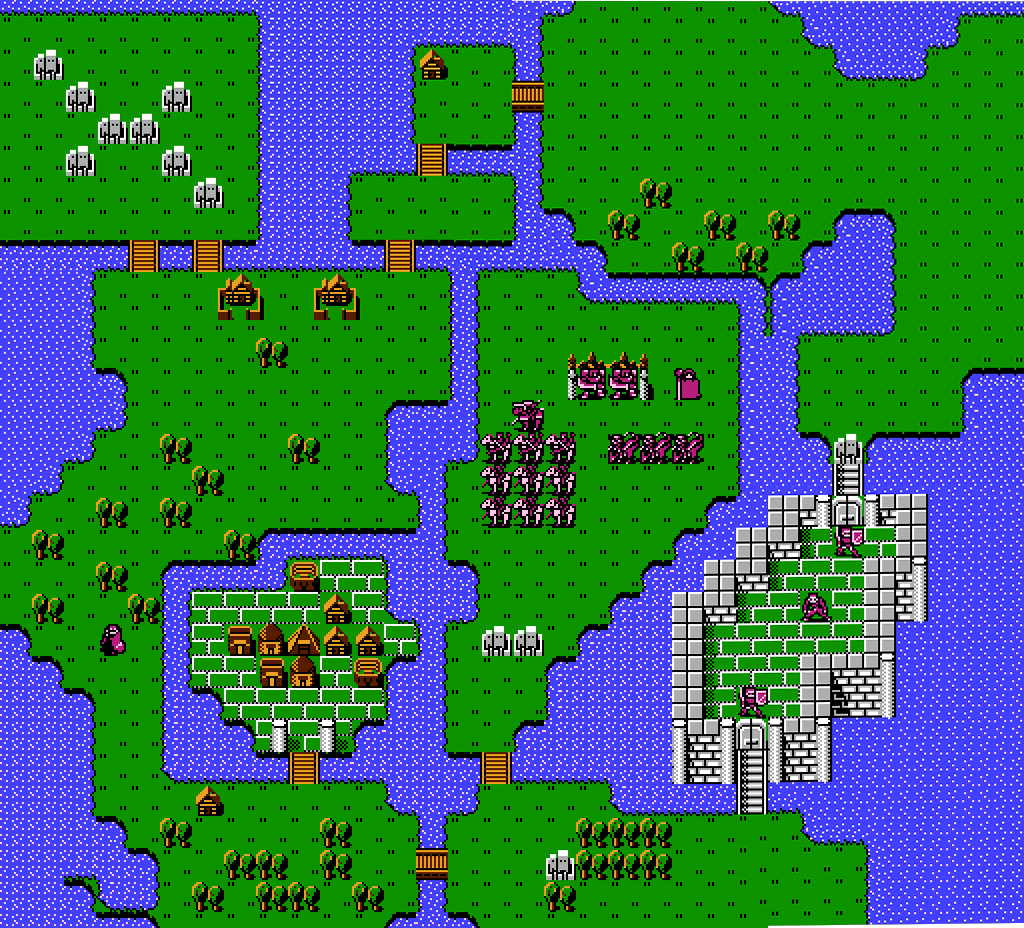
Fortunately, this being the first game and all, IntSys hasn't worked out all the kinks in properly expressing their hatred for the player. There's a mostly sand-free path leading to the castle in the northwest, and the treasury to the southeast is easily accessible as well. The rest of the map doesn't matter - the enemies will come straight to us wherever we are anyway.
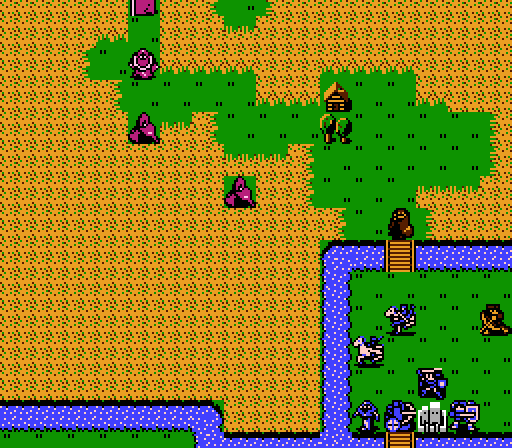
Now, one of the key elements of the desert chapters later in the series is the idea that there are valuable treasures buried semi-randomly across the map. That is not at all the case here, so we can just stick to the path and avoid the sand as much as possible. We will definitely want the two treasures that are visible on the map, though, so let's take a look at their guardian.
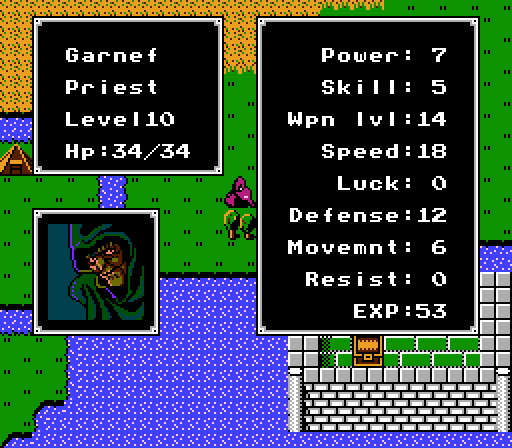
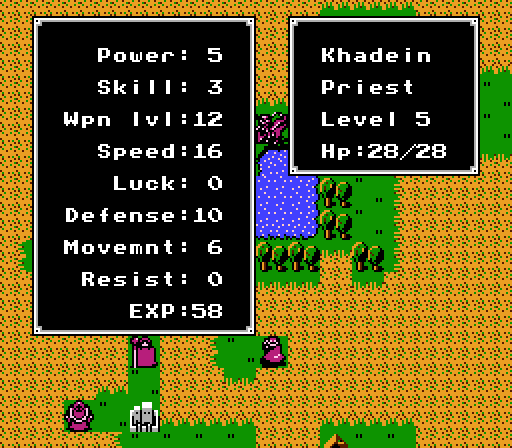
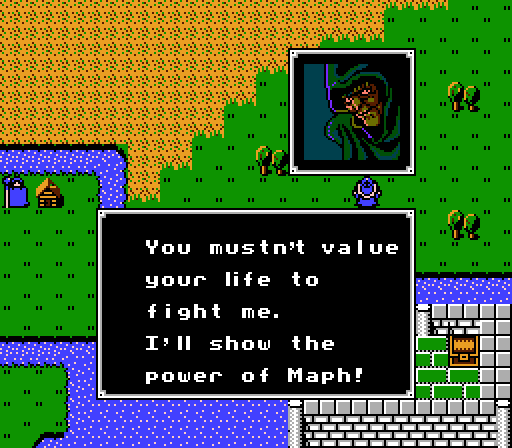
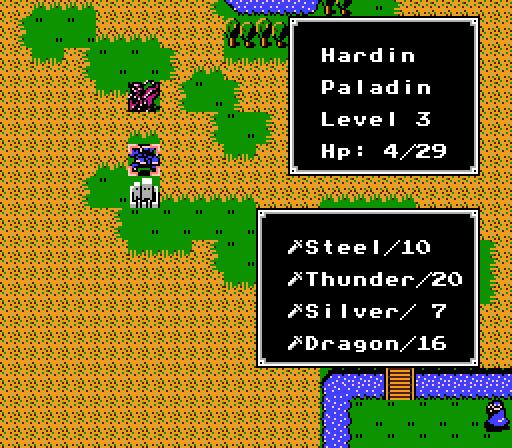
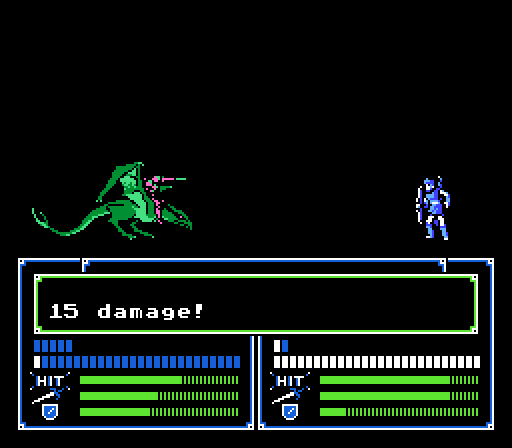
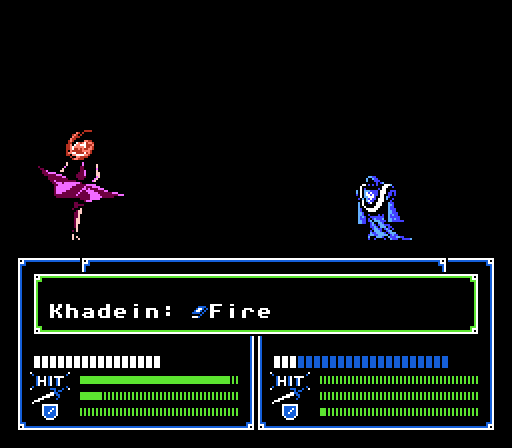
Well, snap, Garnef is down here instead of being the boss at the castle. His Speed is scary but otherwise doesn't look any more difficult than any other boss we've faced, right?
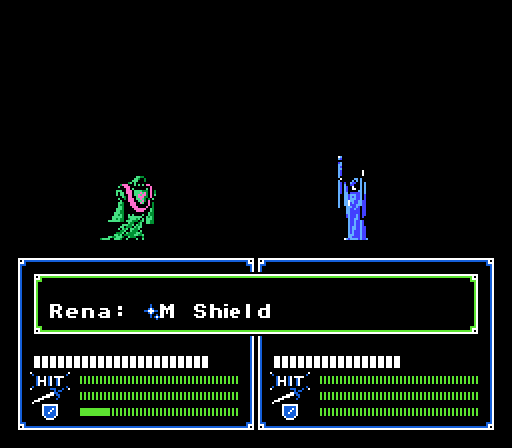
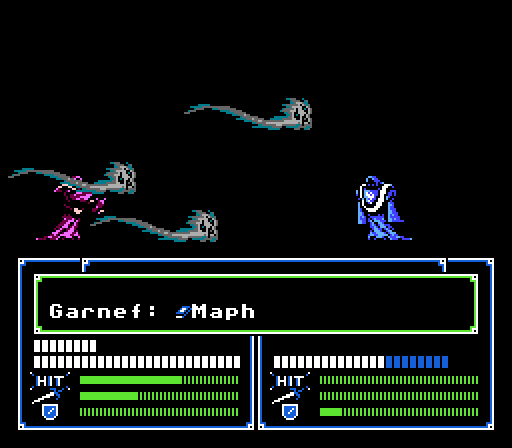
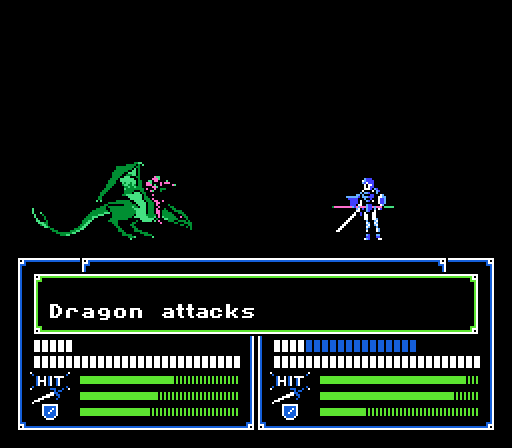
The problem is his weapon. The Maph Tome isn't all that impressive in terms of damage output, but it has a rather annoying side effect - it makes its wielder completely immune to all damage (with one plot exception later in the game). Just in case you thought you could just buff up a unit's Resist with the MShield Wand and tank his attacks until the Tome broke - it also has infinite uses. Desert chapters often have a 'gimmick' and Garnef is it.
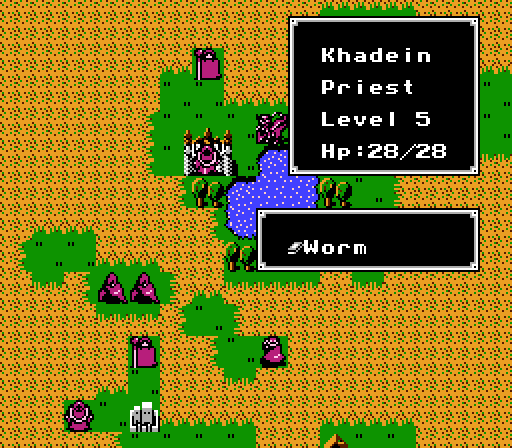
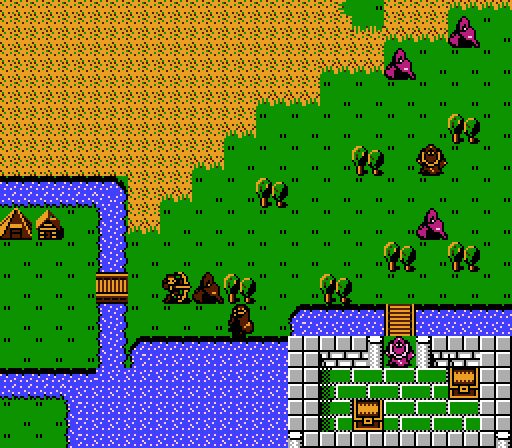
The nameless Priest guarding the castle is like a mini-Garnef, with high Speed and decent Defense, but nothing we can't handle at this stage. His Worm Tome is strong but heavy and inaccurate. In the DS remake, it would be a 'siege' tome, with a range of 3-10 tiles. Here it just has the regular 1-2 tile range, because IntSys couldn't figure out how to do ranges between 2 and infinite tiles and decided to not give the enemy a map-wide attack.
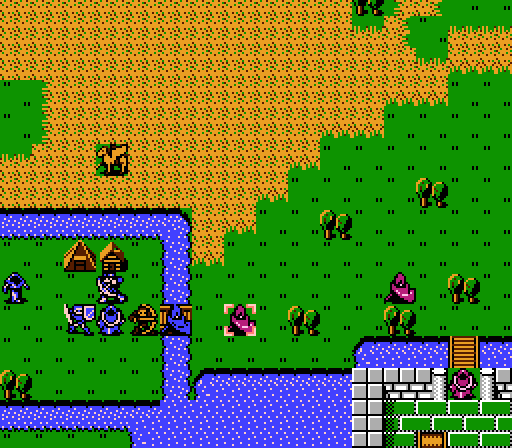
Also, note the Thief there. He's not going to have any problems getting past Garnef, so we need to intercept him before he gets to the treasures.
The rest of the map has a bunch of Magicians with basic elemental Tomes, and a handful of Dragon Knights all armed with Javelins. I guess that was so that they could counter-attack bow-users, but really it just makes them less threatening overall.
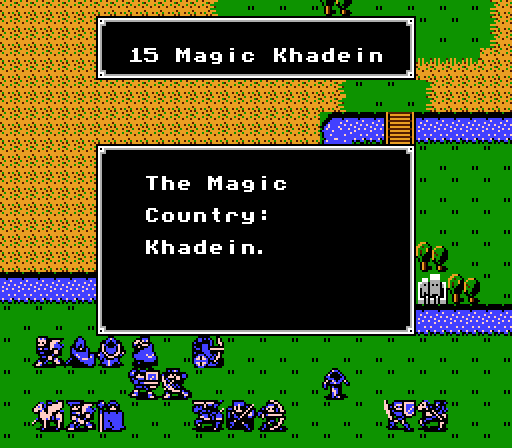
It's the land in which the sages under Garnef's control live.
Against their spells, even the strongest warriors can't protect themselves. Is it a cursed country?
No natural Resist in this game, you see.
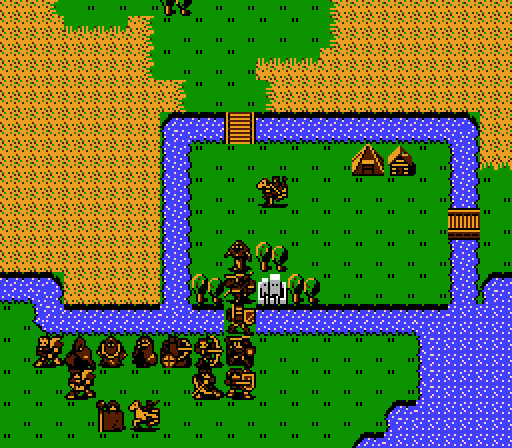
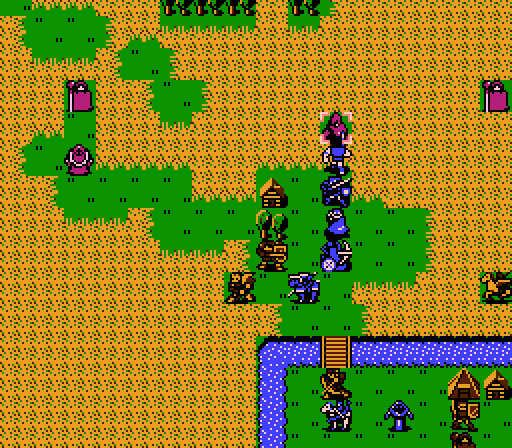
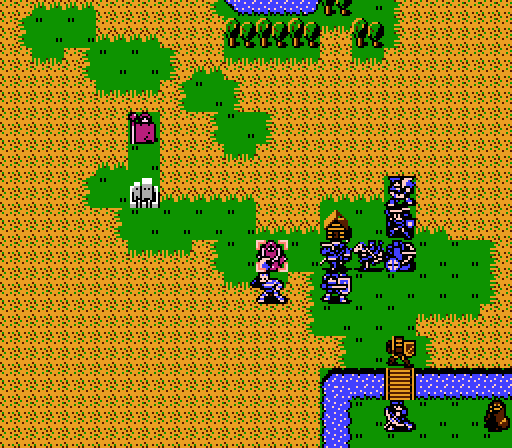
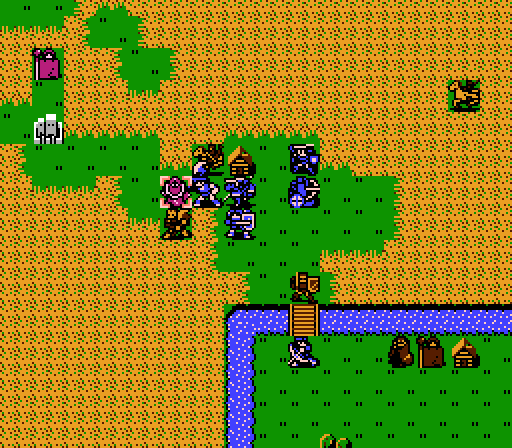
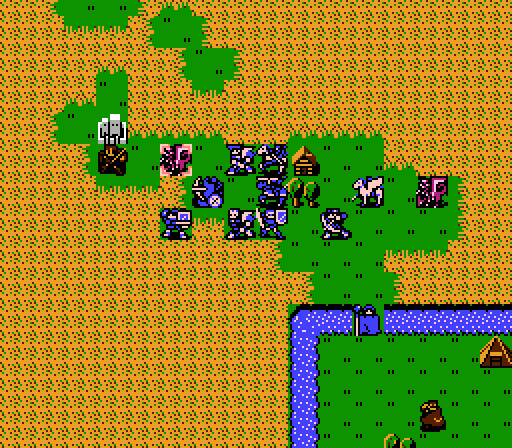
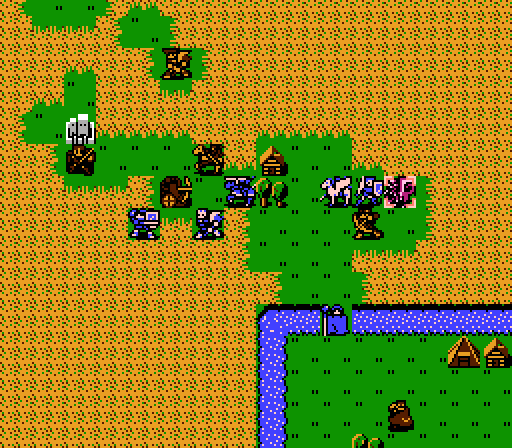
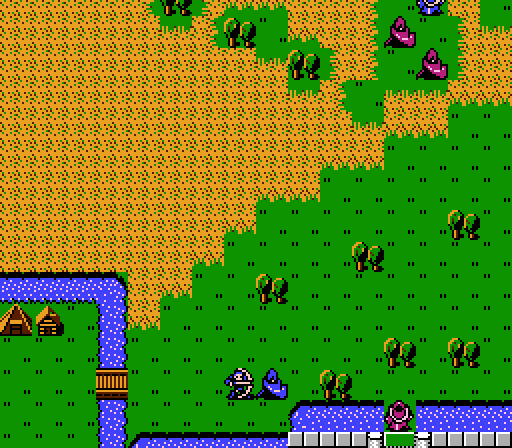
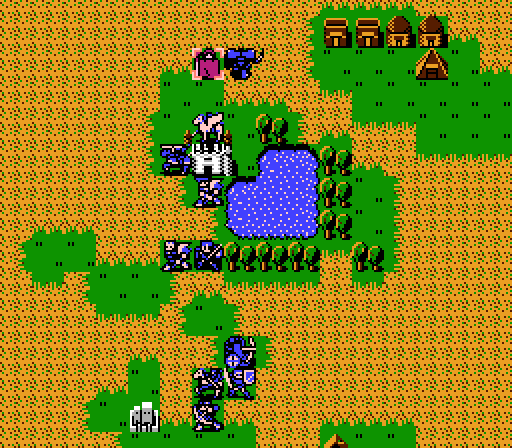
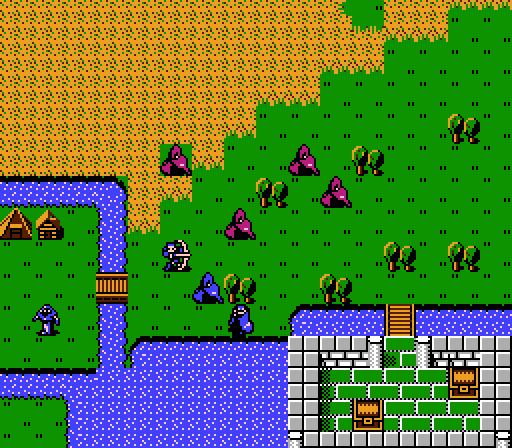
Turn 1:
We get the full team today, including our own Priest in Wendell. He has valiantly volunteered to take on/distract Garnef.
Defense is irrelevant when taking on Magicians, so the general strategy is enough HP to take a few hits, and enough Speed to avoid getting doubled - big surprise that Navarre is the best candidate here. Marth would work well but he's maxed out so I'm going to try and hold him back a little. Rena can also use the MShield Wand to buff up someone's Resist and make them temporarily immune to everyone except Garnef and the Priest on the castle. The MShield Wand, if you don't remember, boosts an ally's Resist by 7, but the effect decays by 1 every turn.
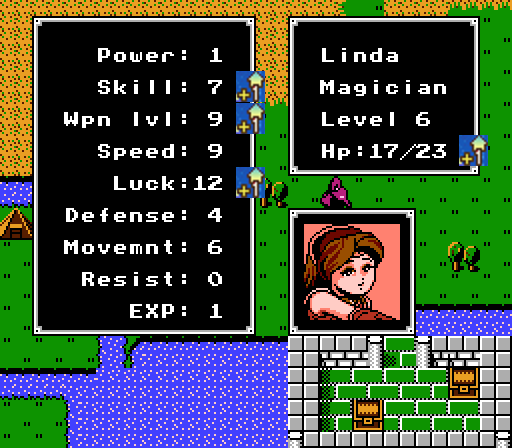
Interestingly, one of the best counters to Magicians is other Magicians, since they have the same natural 1-2 tile attack range so can always counter-attack. What I'm saying is Linda will also be playing a big role here.
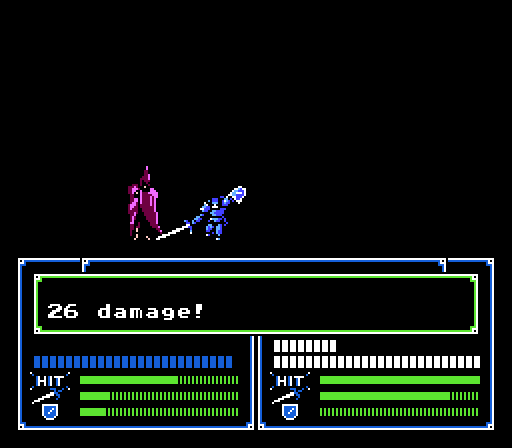
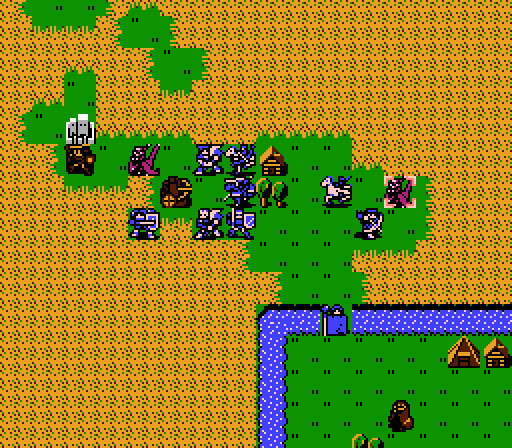
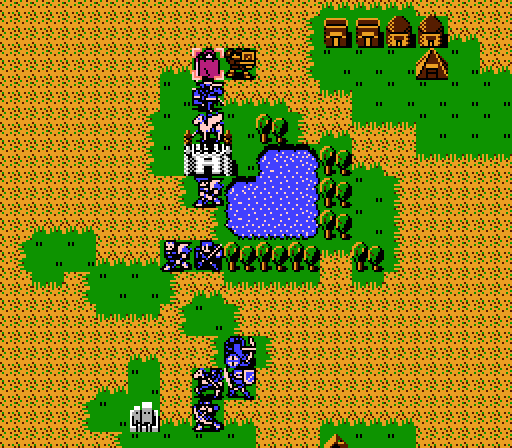
Navarre crosses the bridge and one-shots the first Magician.

He misses out on capping Speed, but picks up a point of Defense! Navarre.

Gordon breaks out the Partia for the first time to one-shot the other Magician. For some reason the Partia's animation involves flames breaking out at the target's feet. Also, Gordon has become surprisingly competent.
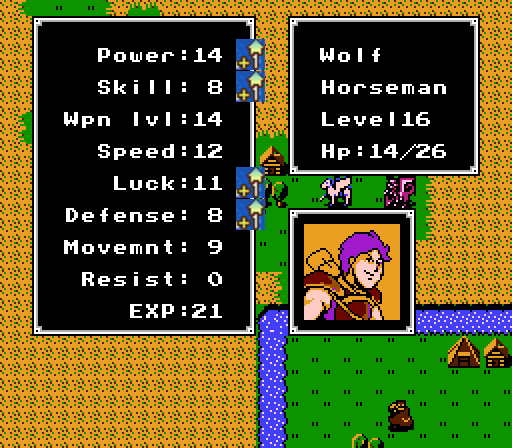
And we start our charge onto the island. Wolf is making a break for the Storage to pull out the MShield Wand for Rena.
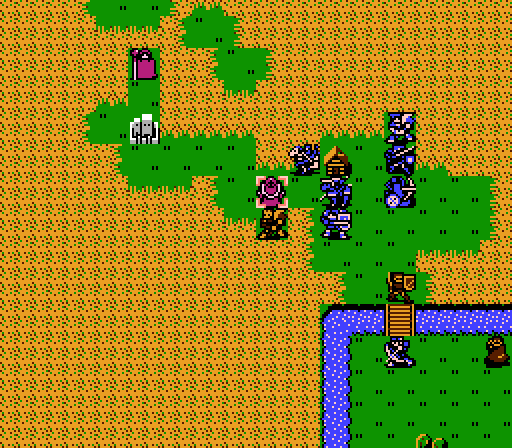
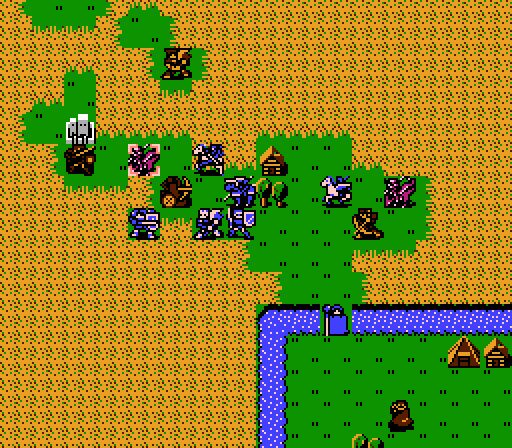
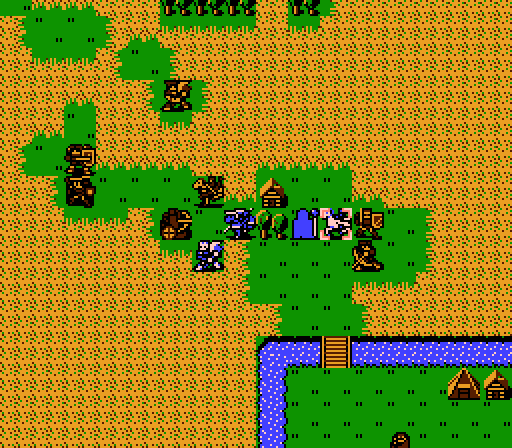
Turn 2:
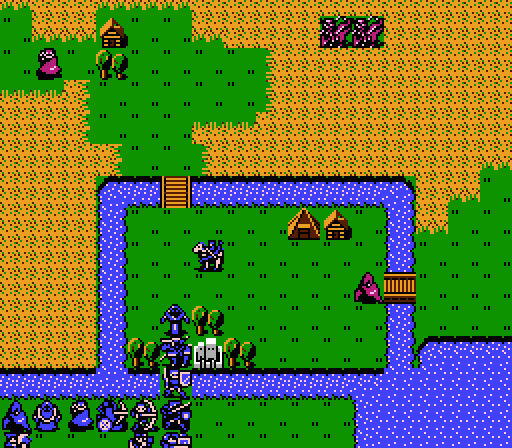
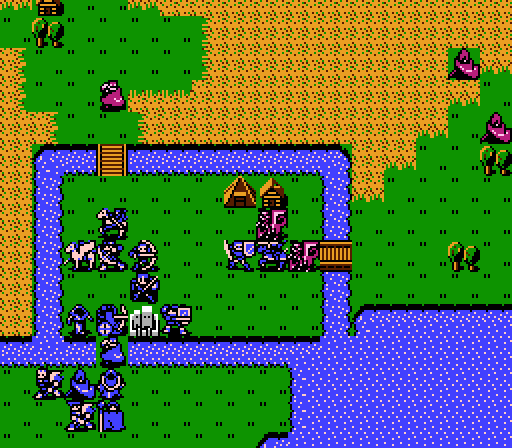
Most of the enemies rush us. In particular we need to deal with this Magician and the two approaching Dragon Knights.
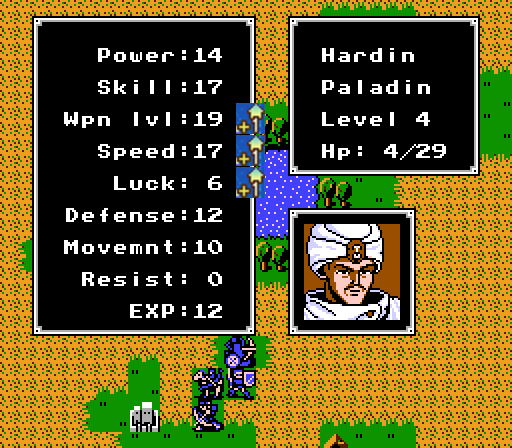
So Wolf didn't make it to the Storage this turn. Instead Hardin takes out the encroaching Magician, and lines up with Navarre to receive the Dragon Knights. Wolf and Gordon wait just barely in range, armed to counter-attack with Silver Bows.
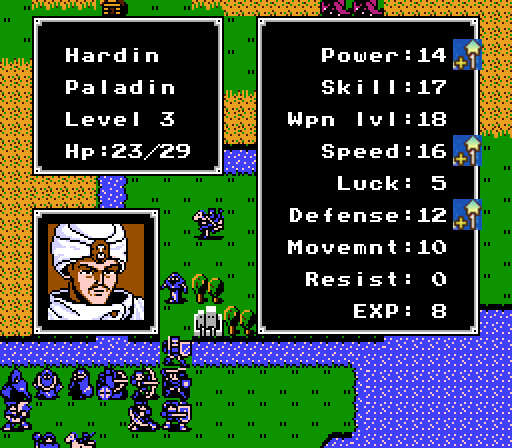
Hardin gets another great level from the Magician. He's way behind in Luck but otherwise doing great.
On the enemy phase, both Dragon Knights opt to toss Javelins at Navarre from range instead, and both miss.
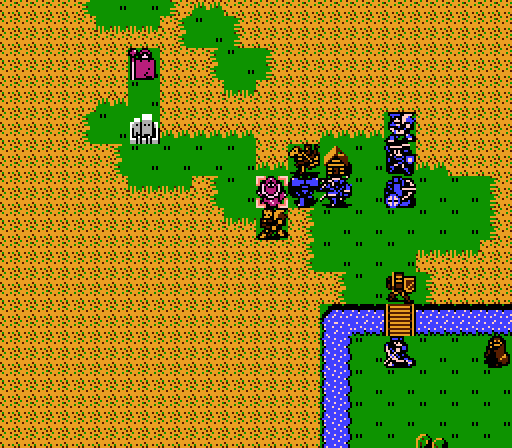
Turn 3:
The Thief is getting close now, so let's take care of it.
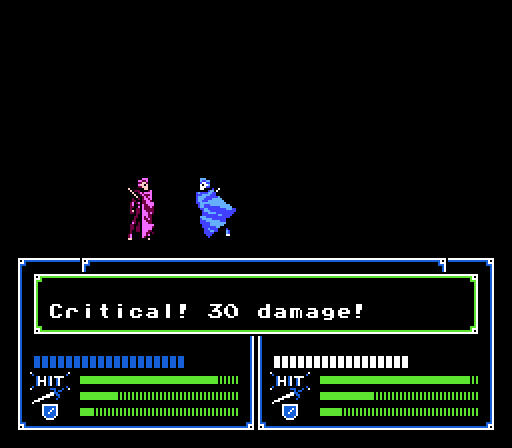
Julian comes through with a nice critical using the Kill Sword, and also picks up a Recover Wand. It will fully heal an adjacent ally unit.
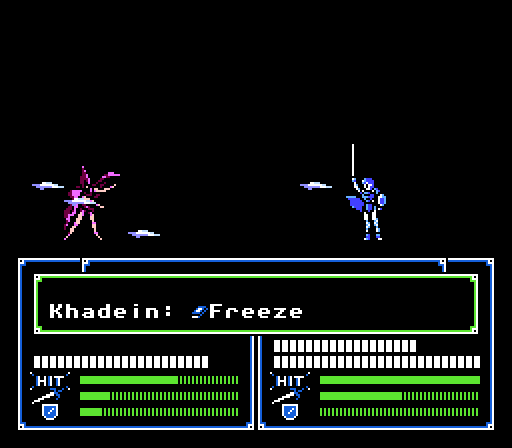
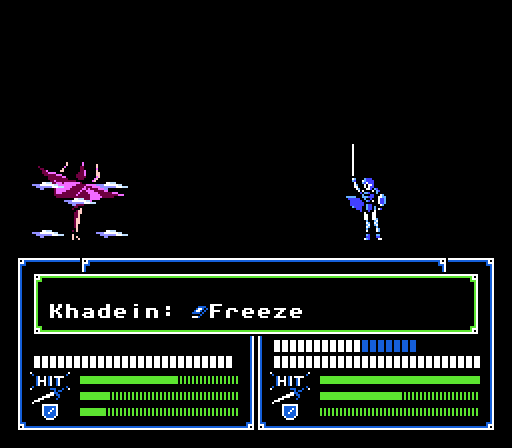
Of course what I didn't notice was this enemy Magician now in range of Julian. He should be fine as long as the enemy doesn't get a crit, but he has a Freeze Tome with a natural 10% crit rate, so yeah.
Meanwhile Kashim and Gordon easily handle the two Dragon Knights, with Kashim getting a level out of it:
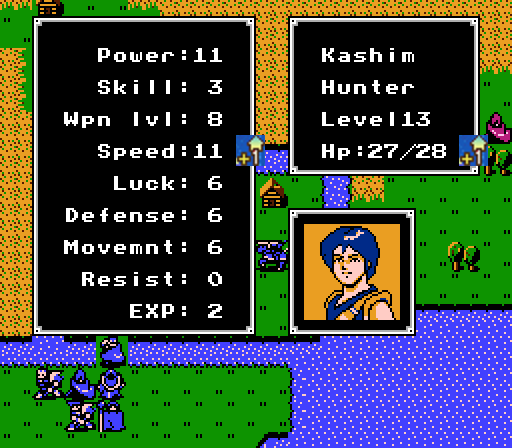
You're lucky you're the only Hunter we get, Kashim.
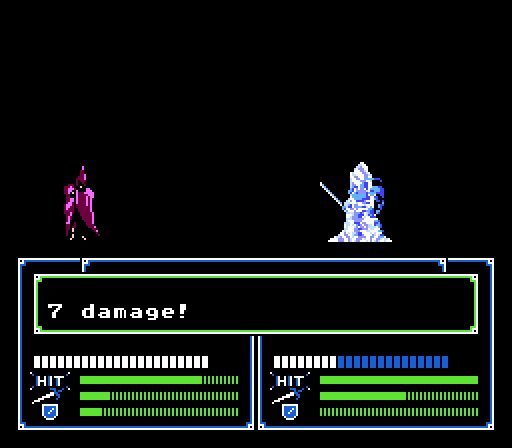
In the end I realize that Marth has enough HP to tank two Freeze crits if necessary, and is also an enemy magnet, so I stick him out there to take the heat. Wolf also gets out the MShield Wand for Rena, finally. I would visit the house, but there's another Magician to the north that can just barely reach it, so I'll leave it for a turn.
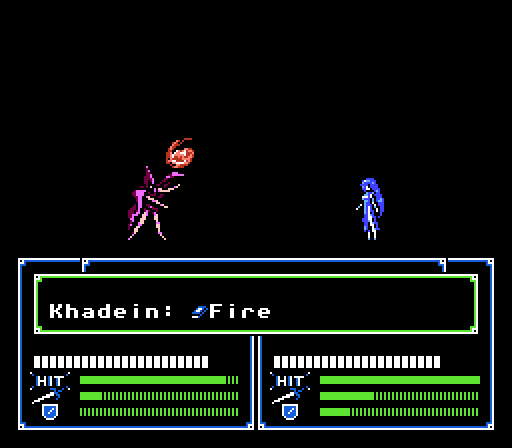
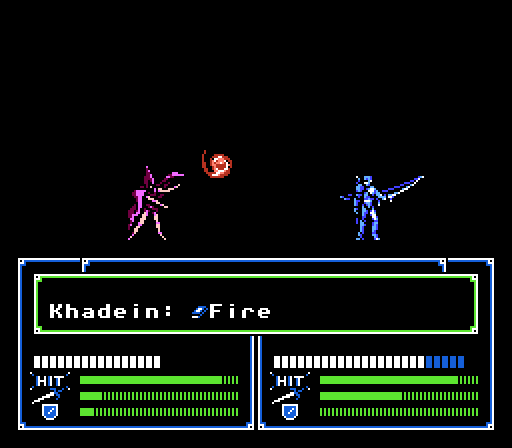
Garnef fortunately hasn't moved yet, but enemy Magician reinforcements start popping out here and coming for us. Fortunately they only have Fire Tomes.
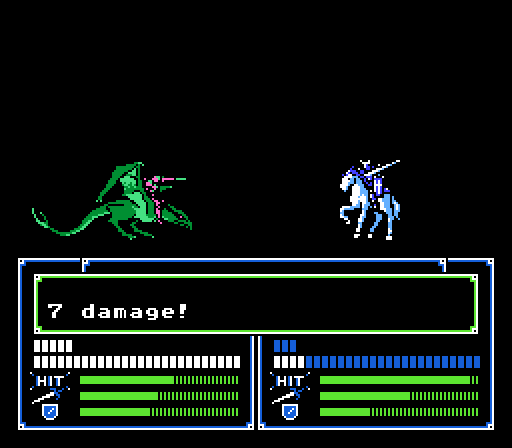
The Marth-bait plan works like a charm, and he only takes 7 damage anyway. Without strong Tomes, most of our units can handle enemy Magicians just fine, as long as Rena keeps the heals coming.
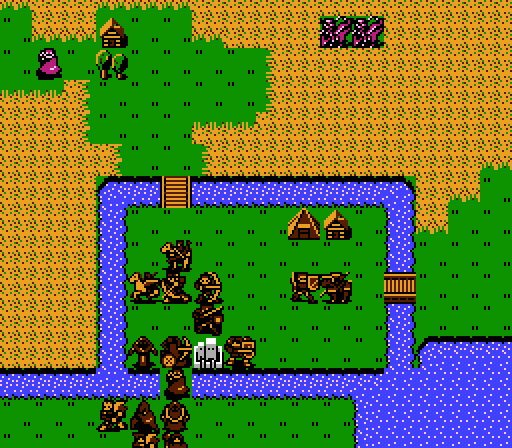
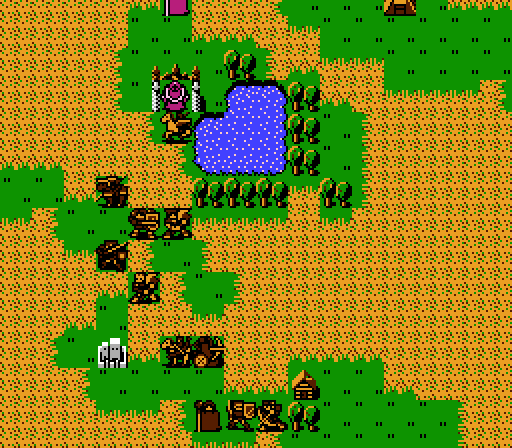
Turn 4:
We've got incoming mages from the east. Time for my favorite strategy.
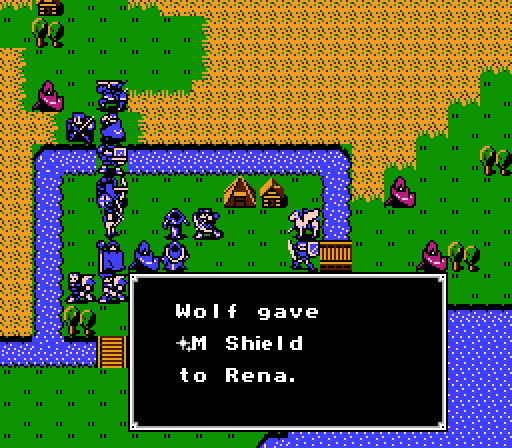
Wolf hands off the MShield Wand to Rena...
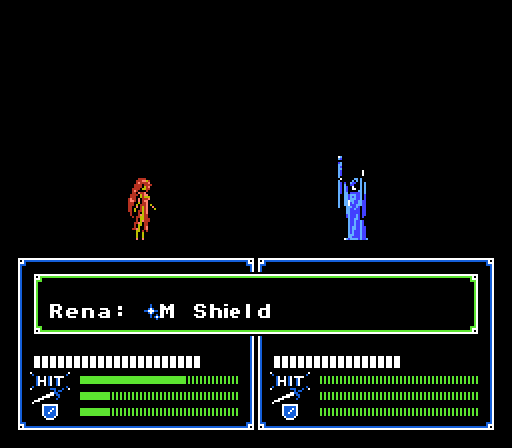
Who uses it on Linda...
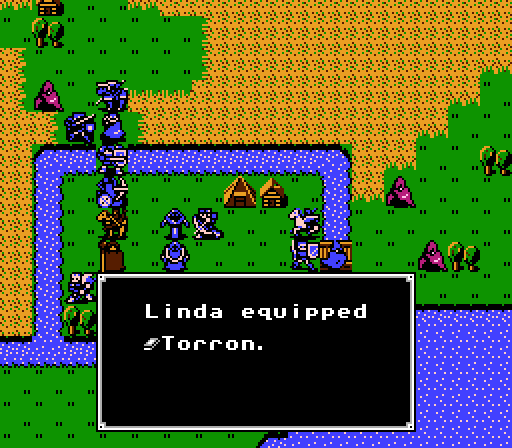
Who marches onto the bridge and equips Torron, taking all comers.
On the other side, Marth is the only one capable of one-shotting this mage, but that'd be a waste of Exp. Instead Hardin gets the job done, and even dodges the counter-attack.
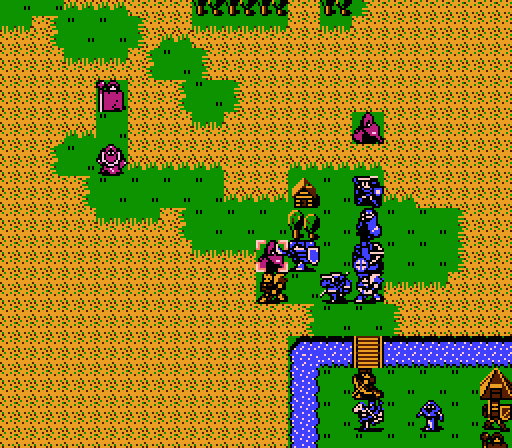
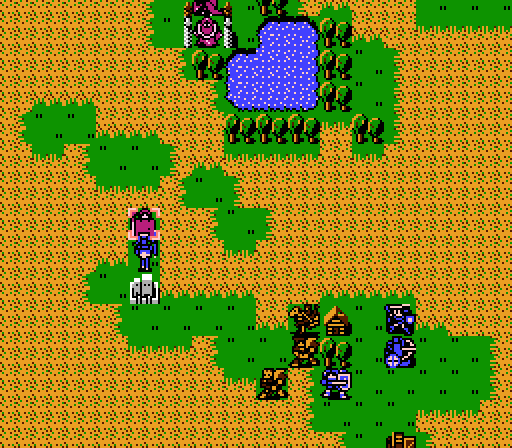
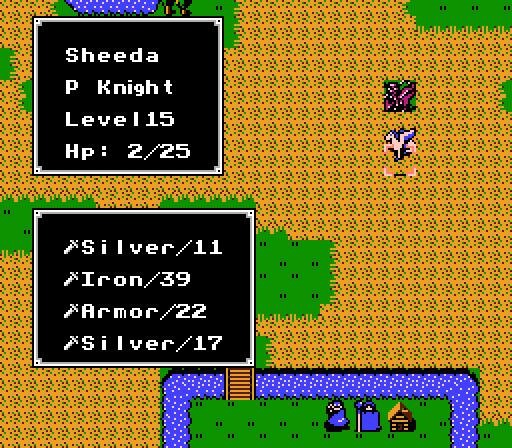
Roger moves up to bait out the next Magician, with the others forming up around him. Meanwhile Sheeda is going to make a charge across the desert at the northern Magician, and Banutu just tries to stay out of the way. He's actually the most vulnerable unit here, with only 18 HP and 1 Attack Speed.
On the enemy phase, nothing actually works the way I'd planned.
First, Sheeda's planned target was actually in range of Marth, so crossed over to attack him for 7 damage instead.
Then, Roger successfully baited out his planned target, but I messed up the Speed check because he got doubled and could've died if even one of the hits had crit.
To the east, one Magician doesn't even bother attacking Linda, while the other successfully does zero damage but is fast enough to avoid getting doubled and counter-killed in return.
And to top it all off, one of the eastern mages that was supposed to go after Linda, was just in reach of Sheeda instead.
So, nothing fatal, but a lesson in how difficult it is to keep track of all these mages' ranges out in the desert.
Turn 5:
Plenty of targets now.

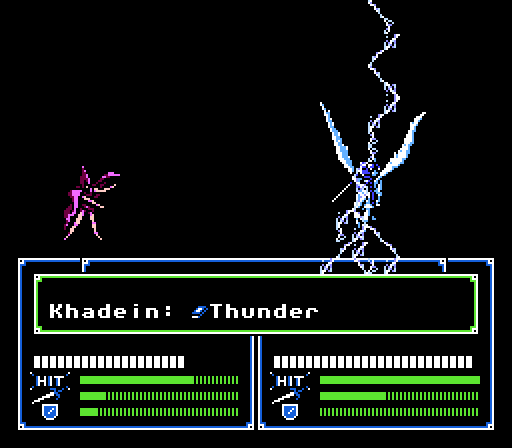
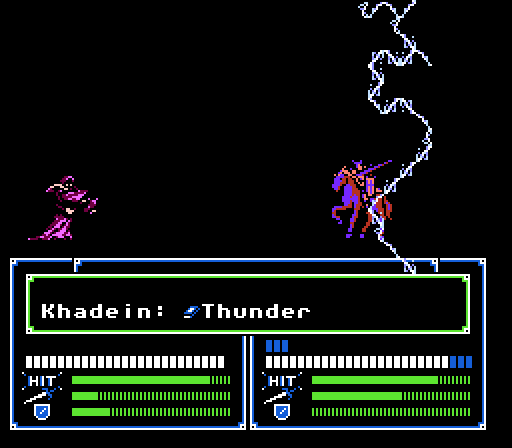
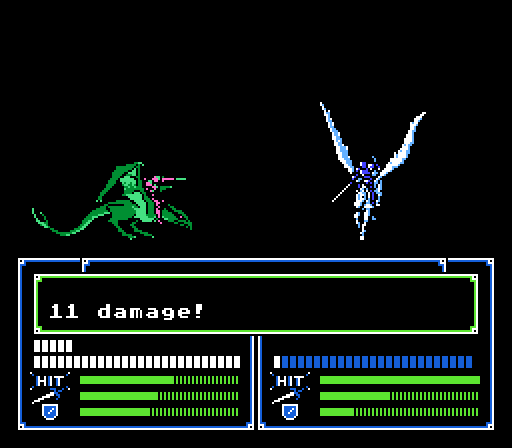
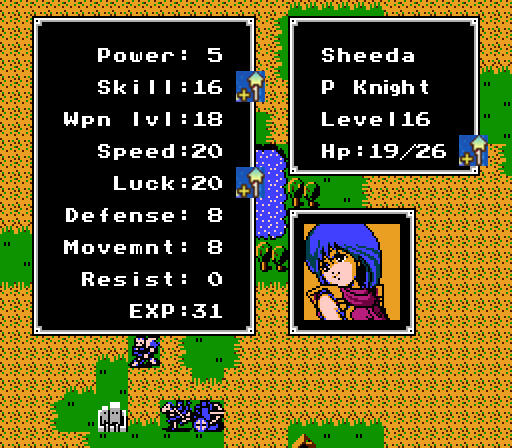
Sheeda eats another counter-attack but is able to kill off her mage in one turn, picking up his Thunder Tome.
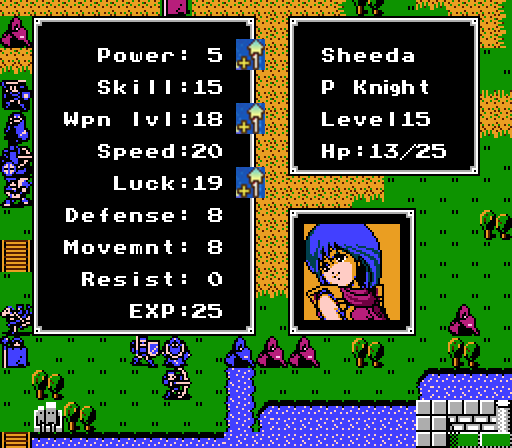
She also gets this level. Power!
Gordon easily finishes off the mage that Linda had weakened.
I never doubted you, Gordon, really.
Linda takes care of the mage that rightfully was too scared to attack.
And Wendell prepares for a journey.
Daros gets his first action in awhile, taking off half the mage's HP.
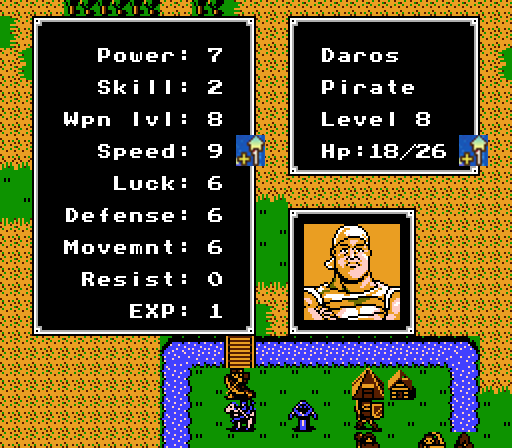
He also gets his first level in awhile, but doesn't appear to have been storing up his luck for it.
Roger finishes him off.
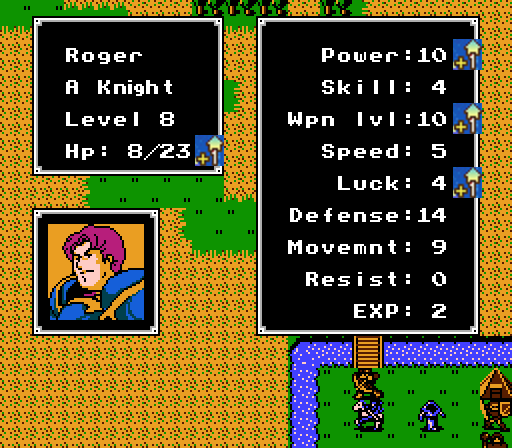
And gets an acceptable level.
Barts handles the other mage by himself.
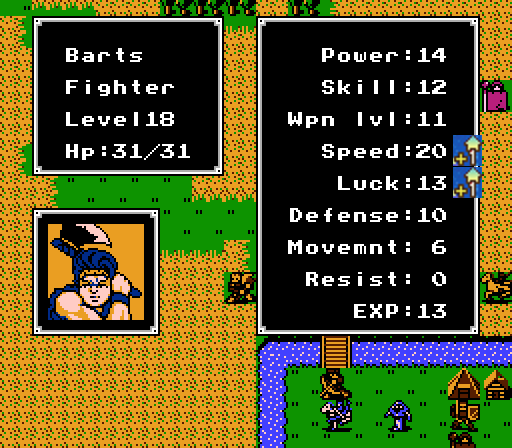
Well, he capped Speed thanks to that Speed Ring we gave him. He's not bad by any means (his growths don't really allow for that) but this is the worst Barts I've ever had by far - 2.5 behind in both Power and Defense.
Hardin is going to bait out the Priest to the west.
He gets doubled but he's fine.
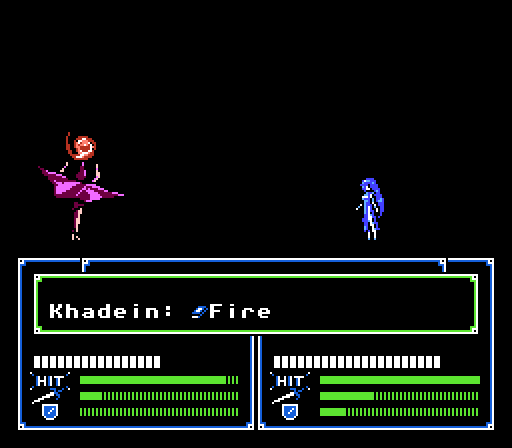
Linda's still immune to Fire. The enemy Magician has no such luck.
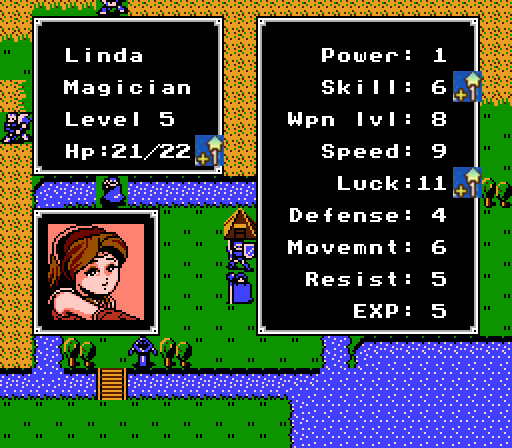
Not bad, she's got plenty of levels to grow still. Again, all we really want from her is Speed.
Turn 6:
Wendel is going to try and draw Garnef away from the treasury. Rena drops off the MShield Wand back into Storage, and takes the Recover Wand from Julian instead.
Sheeda takes out this Cleric, and is in position to draw out the Dragon Knight to the northeast now.
Daros and Wolf soften up the Priest, who's too fast to be doubled.
Roger could finish the job, but he's down to 8 HP so if he misses he's probably dead. The Priest is just dodgy enough that it isn't really worth the risk this late in the chapter.
Instead Barts takes care of business.
That frees up Hardin to take out this last Cleric. It puts him in range of the Dragon Knight, but he should be able to take one more hit for us.
End of the turn here. Marth also visits the house.
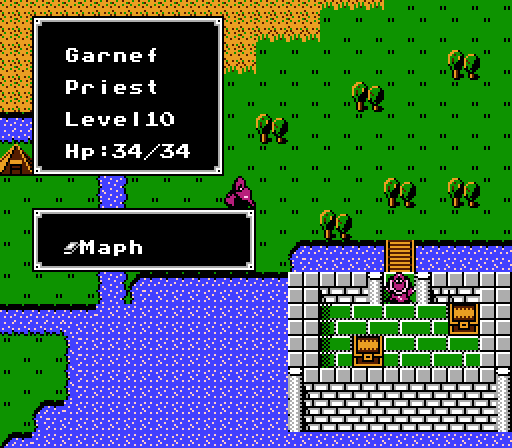
 He's protected by the spell Maph. Only Lord Gato's Starlight can break through it.
That'll be plot-relevant eventually.
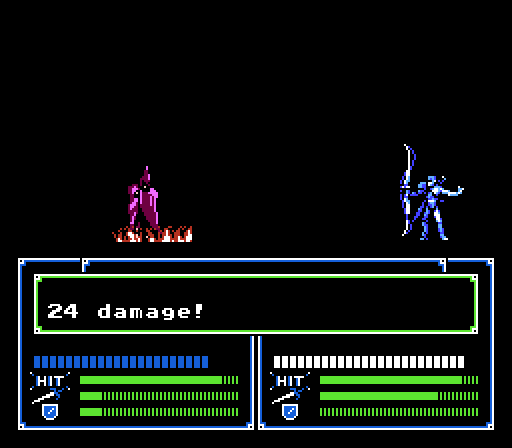
Speaking of Garnef and Maph...
_-_Chapter_15_-_Turn_06.gif)
Wendel takes the flying death skulls like a champ, but Maph still stings even with the MShield up.
Hardin gets hit but he's still alive. Sheeda took a similar hit from her Dragon Knight attacker.
Turn 7:
Mages everywhere! Wendel retreats to the north, while Linda holds her ground.
A few of our units are looking a bit worse for wear, but we're almost done here.
Hardin and Sheeda are somewhat exposed. Rena uses the Reblow Wand to heal up Sheeda, while Hardin hides behind some other units.
Wendel dodges this one. The Fire Magicians still trail after him even though they still can't damage him. Unarmed healers are pretty high on the priority list.
Sheeda gets hit but is barely hanging on.
The other Dragon Knight goes after Marth but misses.
Turn 8:
The treasury is open now thanks to Wendel's efforts.

Wendel retreats to the north, with Linda and Gordon taking the rearguard.
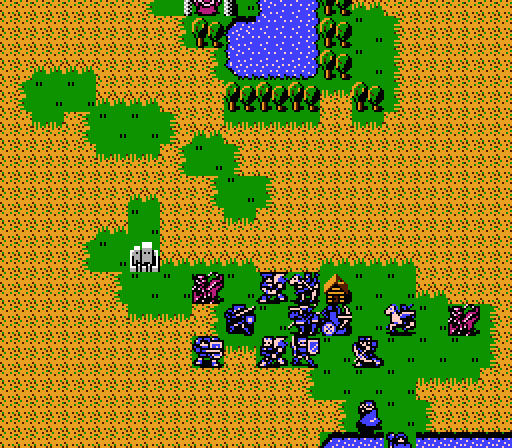
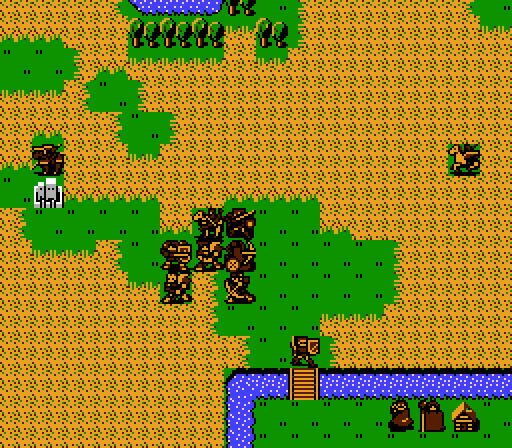
Meanwhile it's time to take down these last two Dragon Knights.
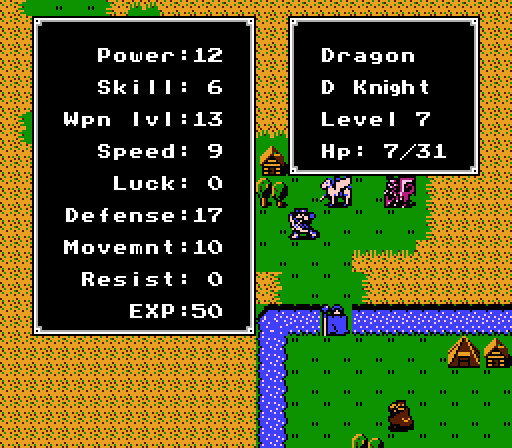
These two Dragon Knights are a little tougher than the others, especially with that 17 Defense, but we can manage.
Jake can't double this Dragon Knight so doesn't get the kill, but he can take a couple hits just fine.
Kashim similar weakens the other Dragon Knight.
Wolf finishes off the first and gets a level:
A great level.
The Dragon Knight may have 17 Defense, but Navarre can trump that with his 20 Power.
The primary boss strategy involves not getting double-attacked - our units can survive one hit of Worm at 16 damage, but most can't handle two. Thus, Rena heals up Sheeda.
Not much to say here, really. Crossing that last stretch of desert and forest before reaching the boss can be a bitch, hopefully Sheeda can handle it.
Turn 9:
Yeah, I screwed up (kind of). The enemy Magicians moved first, and unfortunately that blocked Garnef from chasing after Wendel, so he went back to guarding the treasury.


So let's start over.
Sheeda can only survive one hit of Worm, and she only does 7 damage per attack. So instead of attacking here, we'll sit on the tree and let the Priest attack us first instead. With Sheeda's Luck, the enemy Priest will only have a 50% hit rate, and if he misses, we can go in for the kill next turn.
Barts is our insurance plan here.
_-_Chapter_15_-_Turn_09.gif)
Good thing too because Sheeda doesn't dodge. Also if you think that the Worm animation looks more like a swarm of insects, you're right - it was actually called 'Swarm' in the DS remake.
Turn 10:
Setting up again, with Julian ready to make a run for it.
I decide it's easier to just have Rena use the Reblow Wand on Sheeda again, and she finishes off the Priest. For what it's worth, she dodged Worm this time.
Relatively good, for Sheeda. Caps Luck now, too.
We'll want to check out those shops before we go, though.
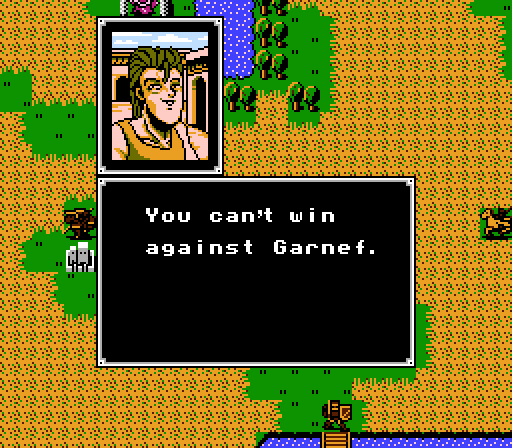
On the enemy phase...
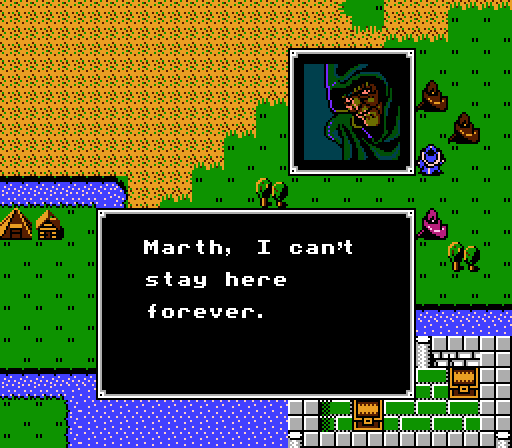
 If you want the Falchion meet me at Tebe.
And with that, Garnef takes off. Well I guess we can get Wendel out of there now.
Turn 11:

Uh, Wendel? It might be time for a strategic retreat.
I've got a bad feeling about the enemy phase.
Roger and Hardin take out the last Cleric.
Eh, Speed is nice I guess.
Wendel!
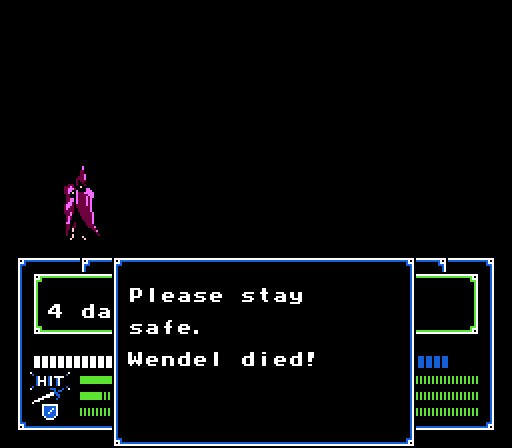
Noooooo Wennndellllll!!!!!!
Turn 12:
Avenging Wendel is going to be tricky with Linda's Resist back down to 0.
Gordon and Linda each take out a Magician. They each have 17 HP remaining so even if the other two gang up on one or the other, they should be fine.
Also, Banutu finally gets around to visiting that house from the beginning:
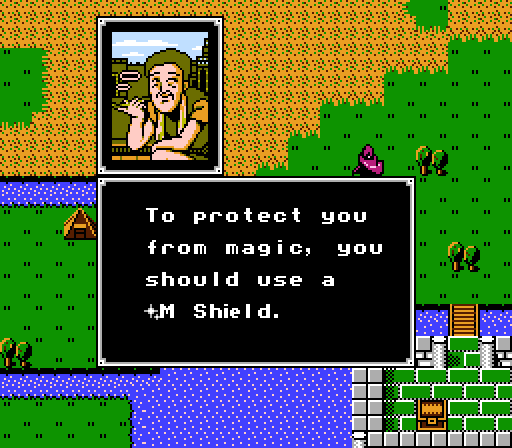
Useful advice that would've been timely if I'd visited it at the beginning.
Meanwhile, Sheeda checks out the shops:
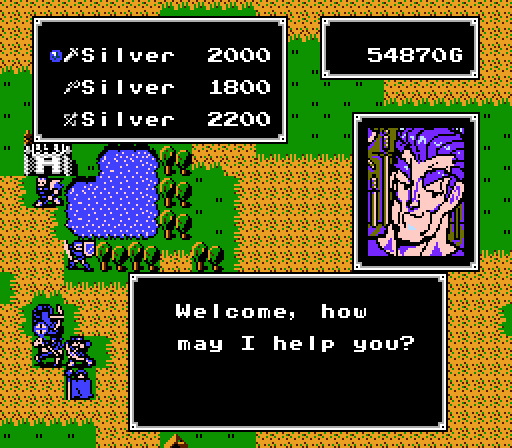
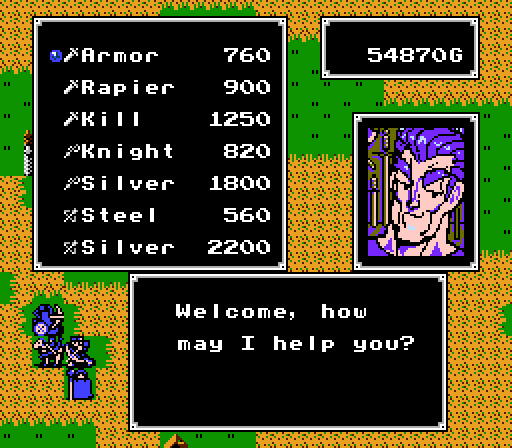
Good chance to re-stock on Silver Swords.
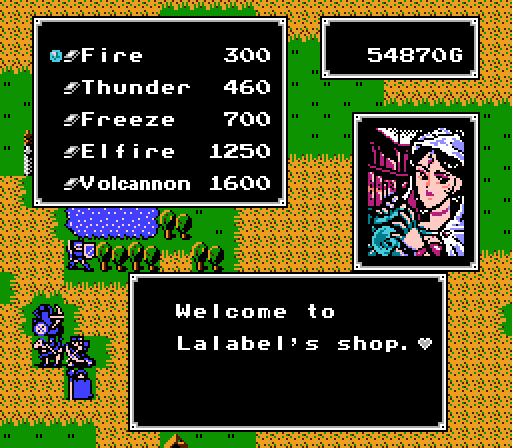
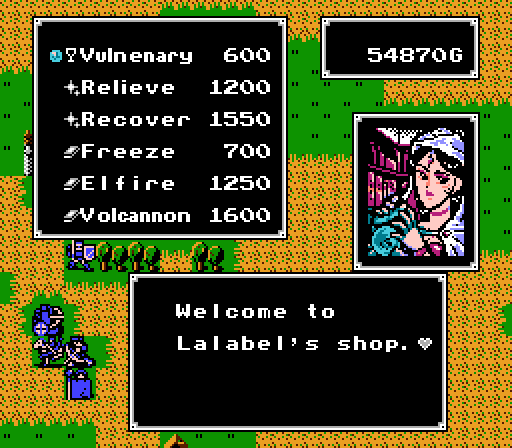
Also a chance to pick up some higher-level Tomes and Wands.
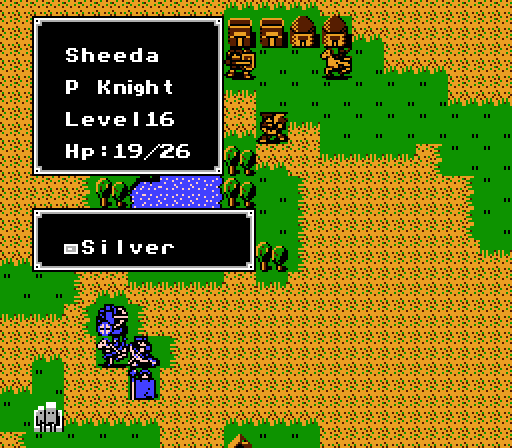
Sheeda temporarily drops off all her stuff in Storage and pulls out the Silver Card for some shopping later.
Both mages go after Gordon from melee range, but he dodges one of them.
Turns 13+:
Gordon and Linda finish off the last of the enemies, while Julian is finally free to go after the treasure.
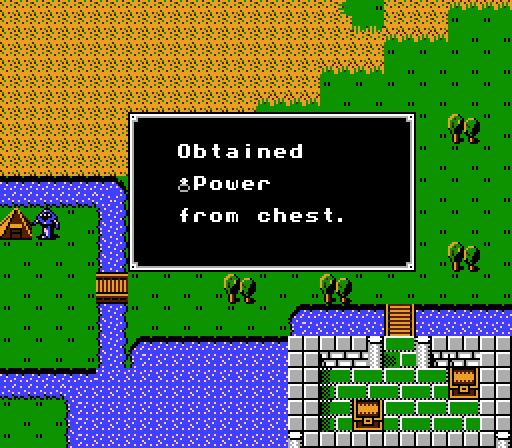

Sweet, another Power Ring (+4 Power, if you forgot)! Also an Amulet - it gives +7 Resist. 7 is actually the cap for Resist (so you can't stack an Amulet and an MShield Wand, for example). Probably makes sense since mages have no way to overcome it.
Sheeda picks up spare Elfire and Volcannon Tomes for Linda, spare Recover and Relieve Wands for Rena, an extra Silver Sword for herself and a couple more Kill Swords for herself and Hardin - all at a nice half-price.
With that, we're finally ready for Marth to sieze the castle:
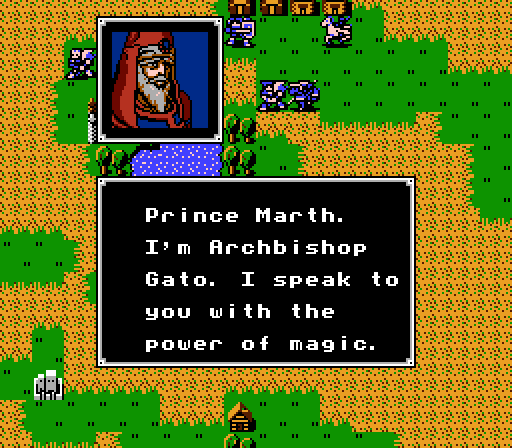
Prince Marth, you have a long-distance collect call from an 'Archibishop Gato' from Macedonia, do you wish to take it?
 Yeah fine, whatever.
 While watching your struggles against Garnef, I felt I should help. Listen carefully. Garnef and Miroah were my students, but Garnef stole Maph from me and vanished.
Miroah, if you recall, was Linda's father, but was murdered by Garnef.
He's indeed in possession of the Falchion. With Maph and Falchion, even Durhua can't defeat him.The bad guys are having teamwork issues.
But if you find the Star Sphere and the Light Sphere and bring them to me, I'll give you the Starlight Tome which can defeat Maph.Sounds like a fetch-quest to me, let's get rolling.
New Weapons:
Worm Tome - The pre-cursor to modern siege tomes, it's strong and heavy but not very accurate. It still has just the regular 1-2 tile range, though.
- Might: 16
- Uses: 25
- Weapon Level: 7
- Hit Rate: 70%
- Crit Rate: 0%
- Weight: 9
- Special: Range of 1 or 2 tiles
Maph Tome - Maph is really just a weaker Worm Tome when attacking, but it's the side effect that matters - it makes Garnef completely immune to anything but Starlight.
- Might: 14
- Uses: Infinite
- Weapon Level: Garnef only
- Hit Rate: 70%
- Crit Rate: 0%
- Weight: 9
- Special: Range of 1 or 2 tiles, makes user invincible
Recover Wand - The strongest healing Wand, it will 'recover' all of an adjacent ally unit's HP.
- Might: Inf
- Uses: 13
- Weapon Level: 3
- Hit Rate: 100%
- Crit Rate: 0%
- Weight: 0
- Special: Heals Ally
Our current roster, with the active units in bold. (Full stats in this post.) If you want to make a change, propose a recall motion and, if seconded, we'll have a recall vote and vote on a replacement. (Only applies if there is a replacement, of course.) No new units recruited this chapter, so I don't expect much turnover.
Lord: Marth
Pegasus Knight: Sheeda, Minerva [Dragon Knight], Paola, Katua
Social Knight: Hardin [Paladin],
Armor Knight: Roger, Doga, Tomth,
Archer: Gordon [Sniper], Thomas, George [Sniper]
Cleric: Rena,
Mercenary: Navarre [Hero], Oguma,
Fighter: Barts, Maji,
Hunter: Kashim
Pirate: Daros
Thief: Julian, Ricardo
Magician: Linda, Marich,
Bow Knight: Wolf,
Mamkute: Banutu
Shooter: Jake, Beck
 I need five votes this time around:
 1) We need yet another sacrifice from the non-bolded units above. Wendel was a champ, even if his distraction mission didn't end up entirely necessary.
2) We get to bring along 14 units next chapter, so vote for two classes to ride the bench.
3) It took awhile, but we did get another Power Ring (+4 Power), so vote for the unit to receive the Power Ring. I'm excluding Sheeda, since she won't make good use of it until after should could promote anyway. Navarre's already capped, and neither Hardin nor Gordon will probably need it in the end. Marth is a good choice (level-capped with 15 Power currently), as would be any of our other regulars (Barts, Roger, etc.).
4) We also picked up a new type of stat booster, the Amulet (+7 Resist). This item would effectively make any unit immune to basic elemental Tomes, and take reduced damage from everything else, but it can't stack with the MShield Wand. Anyway, vote for the unit to receive the Amulet.
5) Next chapter has another common series element - mutually exclusive recruitable characters. We can recruit either Alan, a Level 1 Paladin, and Samson, a Level 1 Hero. They both have decent growth rates - Alan is a bit better balanced, while Samson has slightly higher base stats. Really, though, neither one is fit to replace either Hardin or Navarre at this point - Alan and Samson are both still pre-promotes, and suffer from relatively low base stats accordingly. If you want the full details, you can find them, but really the choice is a matter of which unit to recruit (and thus, which unit is available for sacrifice later on). I'll show off both recruitments either way.
Voting will be open for 48 hours.
Next time:
Marth's liberation tour finally reaches his homeland,