Part 17: Chapter 16, Part 1: Home
Today, Marth goes home.
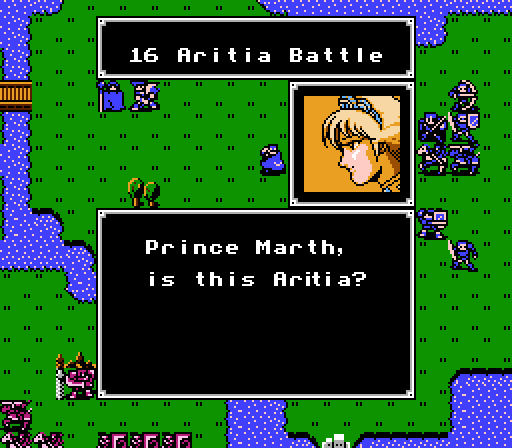
 That day my sister Ellis helped me to escape to Talis by acting as a decoy and getting caught by Durhua. Now I don't know where she is. But I'll rescue her! Let's go free my homeland Aritia!
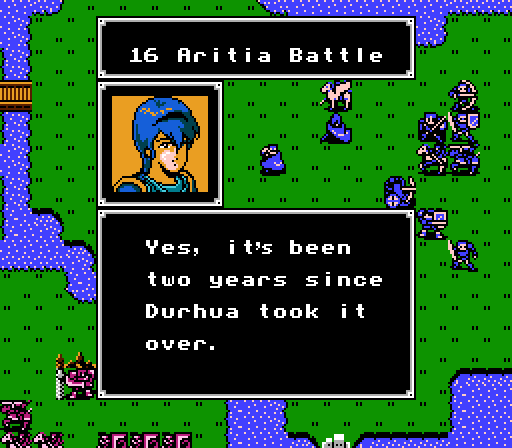
I'll go into details as we move along this time, so let's get started.
Turn 1:
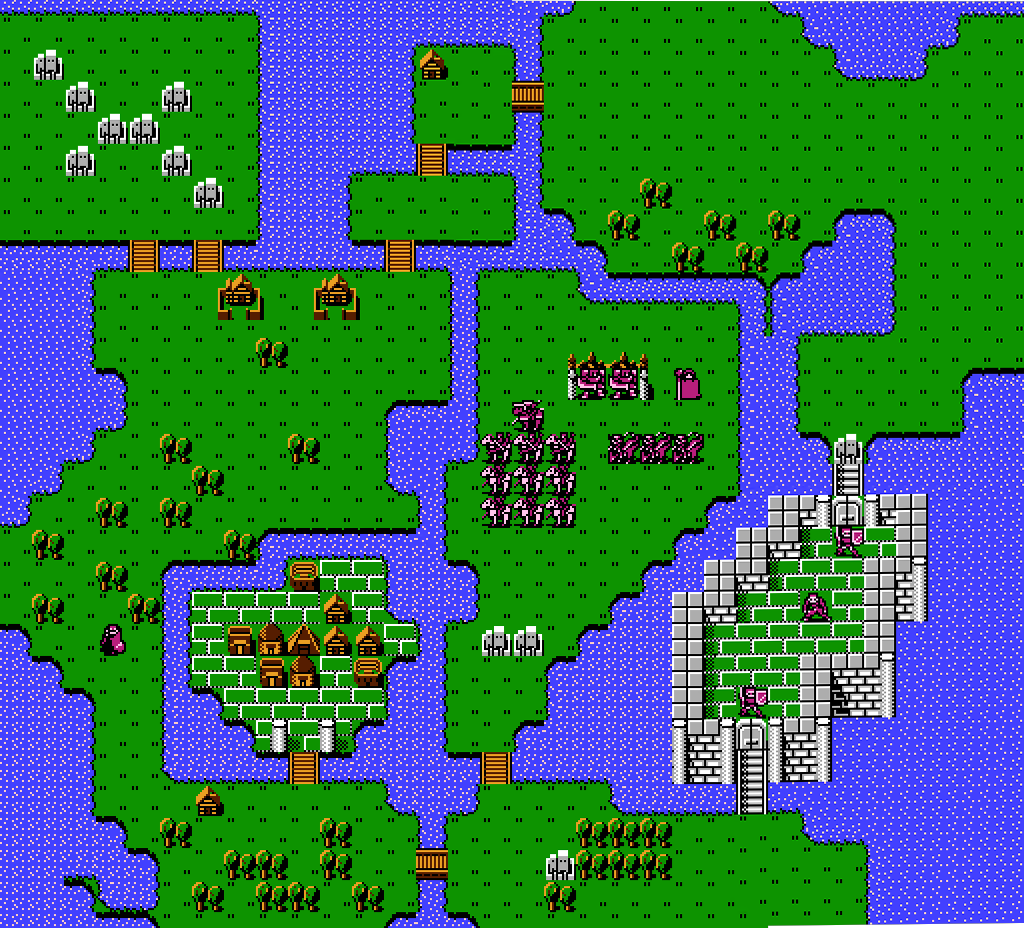
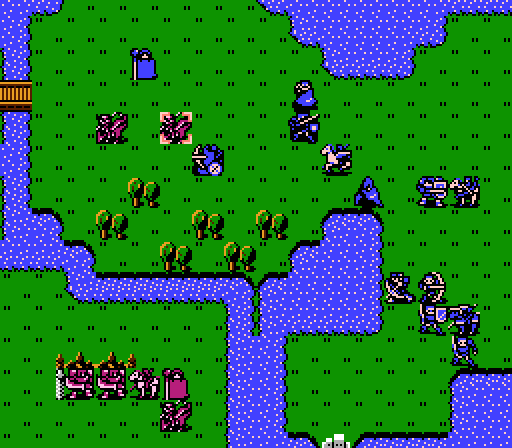
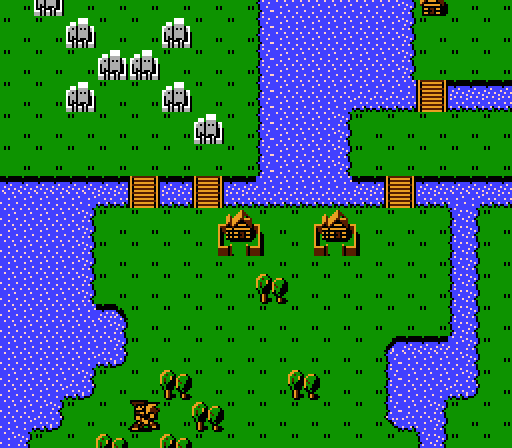
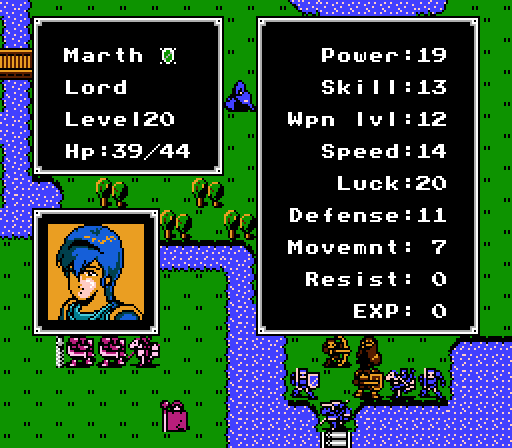
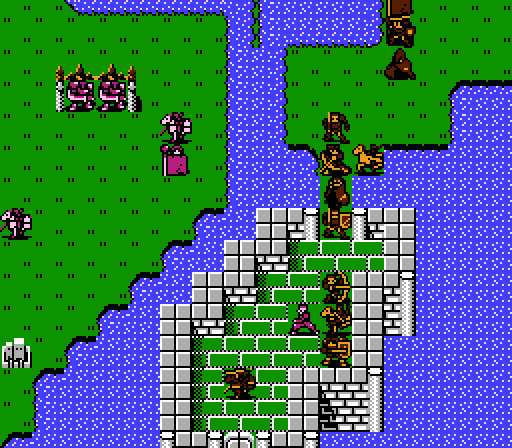
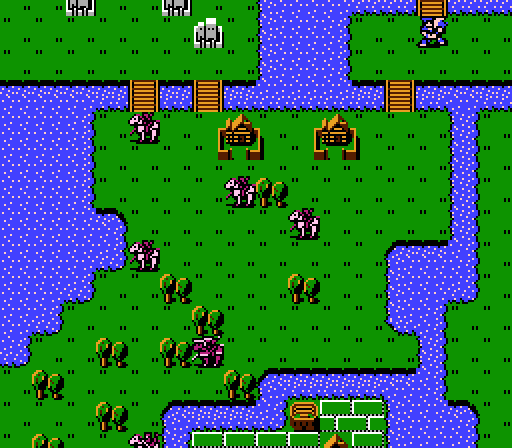
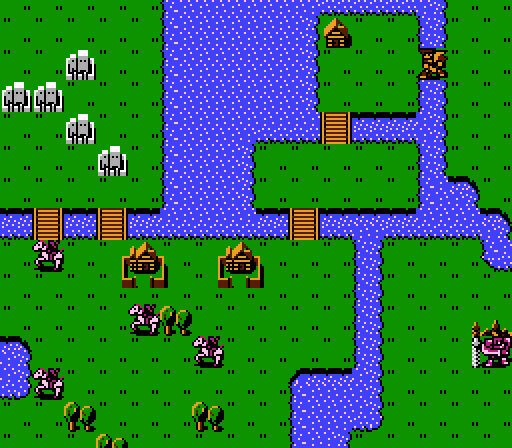
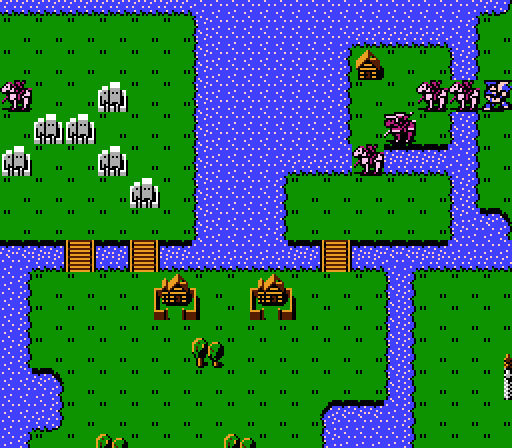
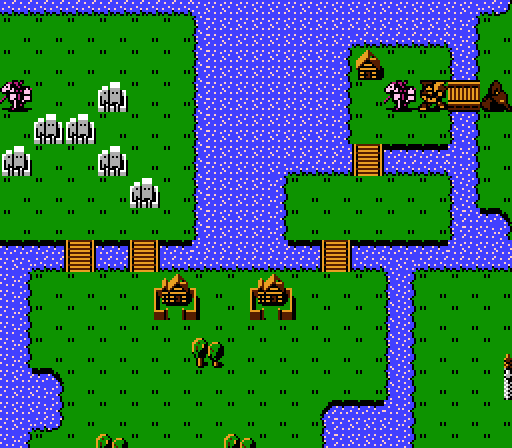
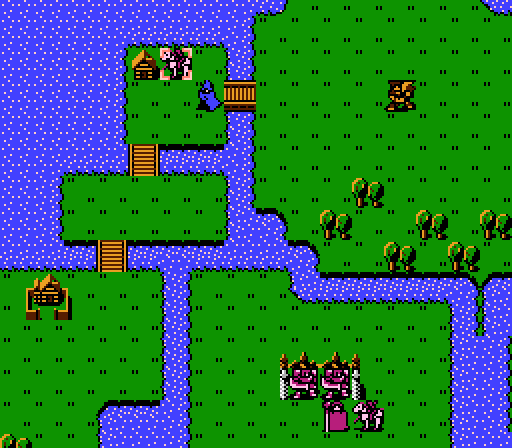
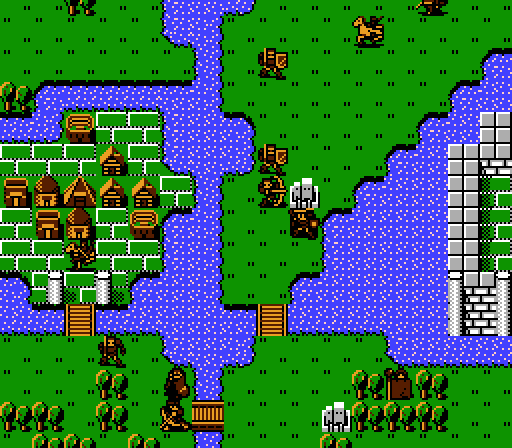
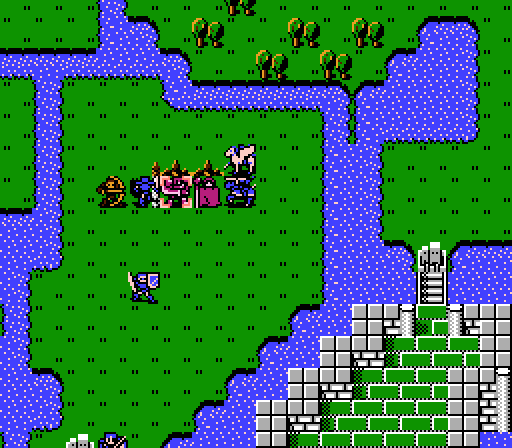
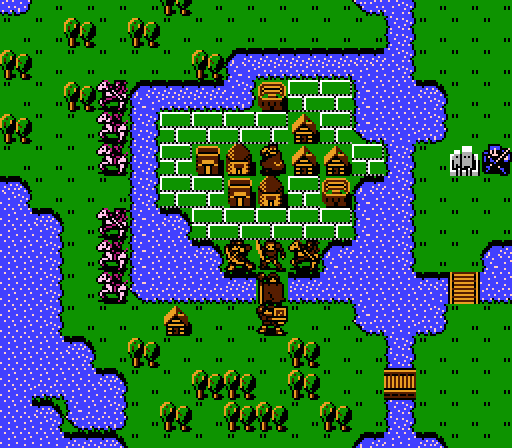
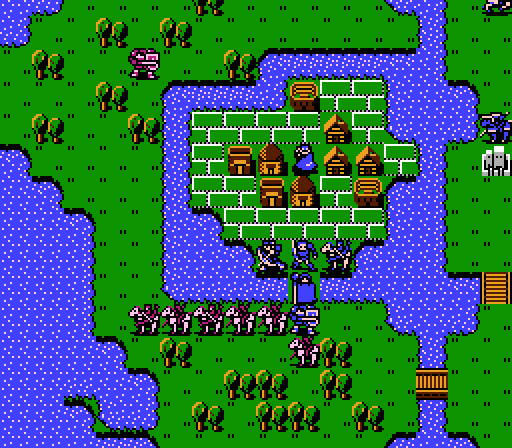
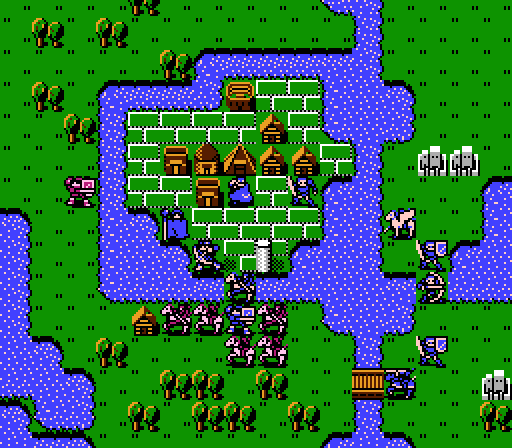
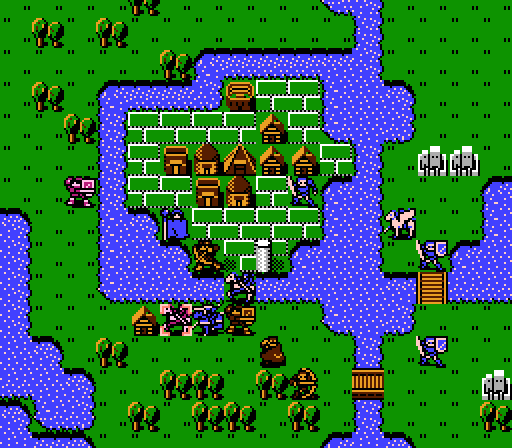
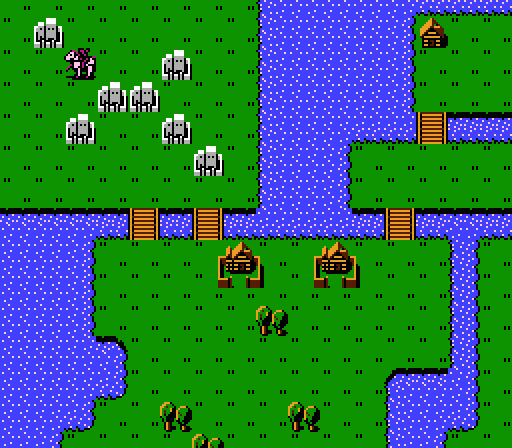
We start in the northeast corner. Daros and Banutu are sitting out, but we've got Oguma along for a 'special project'. Note how the castle is right nearby, separated only by some water. It's actually pretty easy to cheese this mission since Marth can cross the river, but then we'd miss out on all kinds of fun stuff.
Marth has two missions in this chapter that kind of work at cross-purposes to each other:
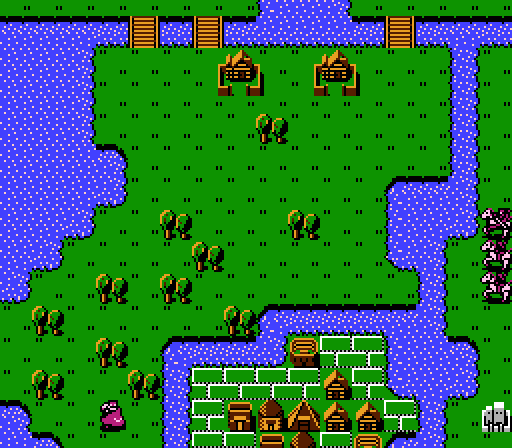
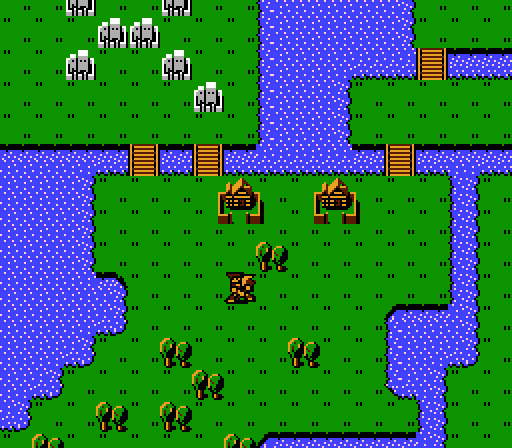
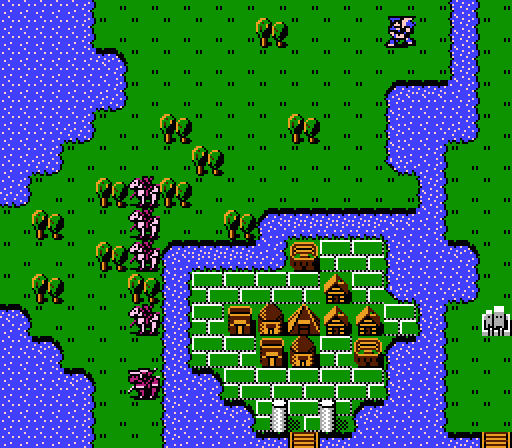
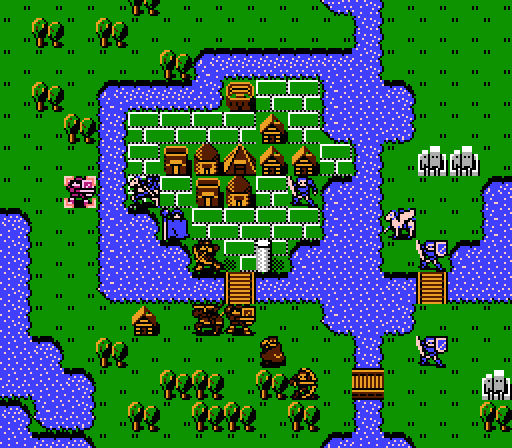
First, there's these two villages off to the northwest. The Thief will get to them in just three turns, and while we have a few units that can reach the eastern village in that time, none can reach the Thief or the western village in time to save it. Of course, you guys voted to save the eastern village, but in order to show both off I still need to get to the western one.
Warp just solves so many problems.

Barts approves of this strategy.
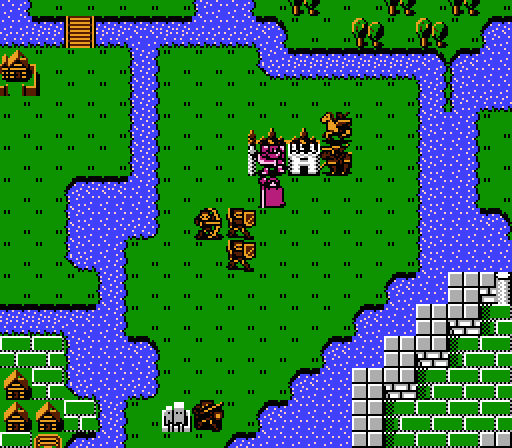
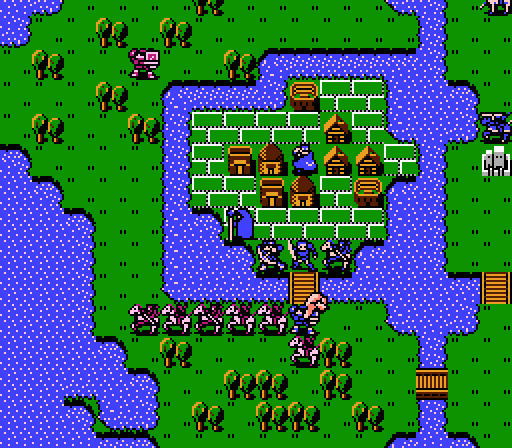
Off to the south of us is Marth's other objective. The funny-looking prisoner there can only be 'rescued' by Marth. The rest of the army heads down there.
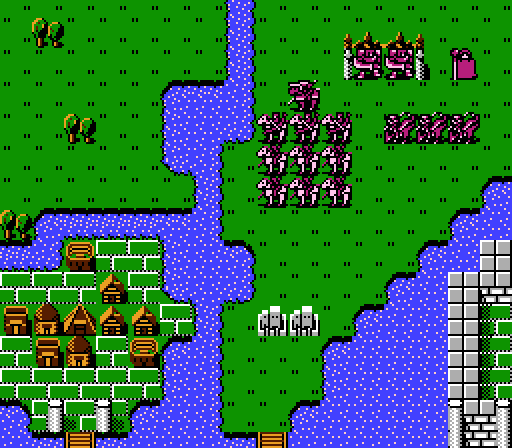
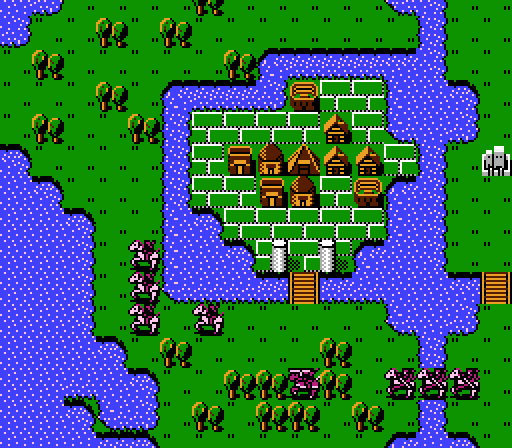
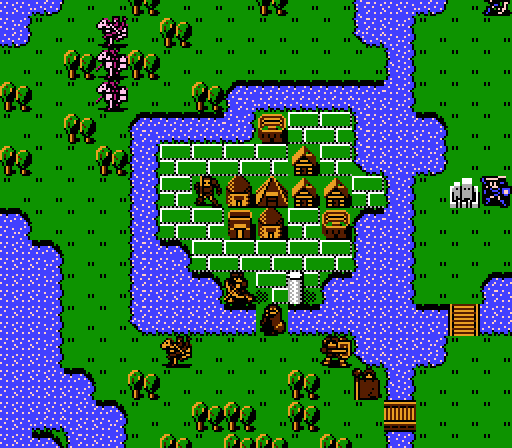
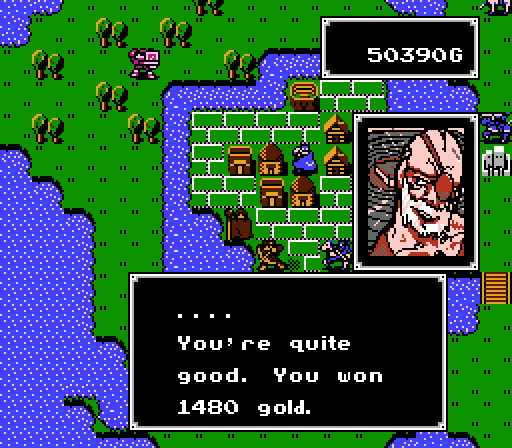
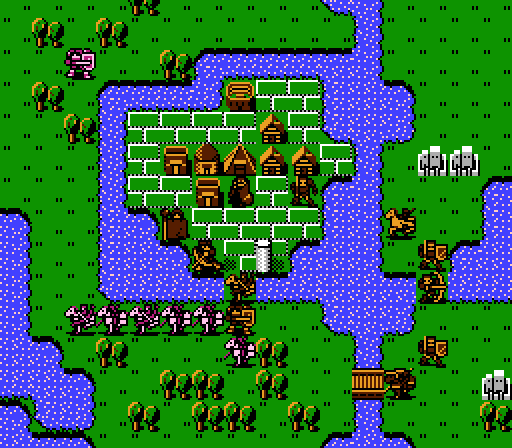
The castle hosts a couple of generals, a Reserve-wielding asshole Cleric, a flight of Dragon Knights that'll head straight for us, and a host of cavalry - including our first enemy Paladin - that'll slowly circle its way clockwise around the map to get to us. Barts will have to push hard to get back ahead of them. There's also a 'town' with shops, houses, and a couple Arenas to play with off to the southwest.
The Dragon Knights do have a couple surprises for the unwary, but they're pretty easy to avoid.
The Paladin is better than most of the generic enemies we've seen but not really anything special, though he is wielding a Silver Lance.
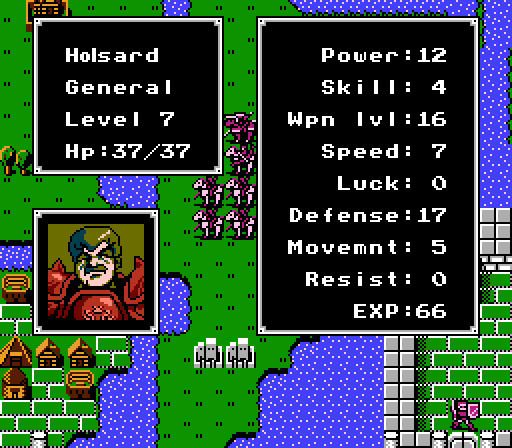
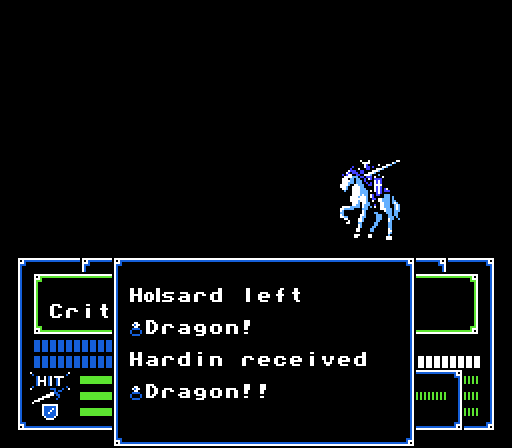
Holsard here we've seen the likes of plenty of times already. His new wrinkle is that he comes armed with a Kill Sword, so he's got over 20% crit rate to go with a 20 Attack. Melee is probably not the way to go there.
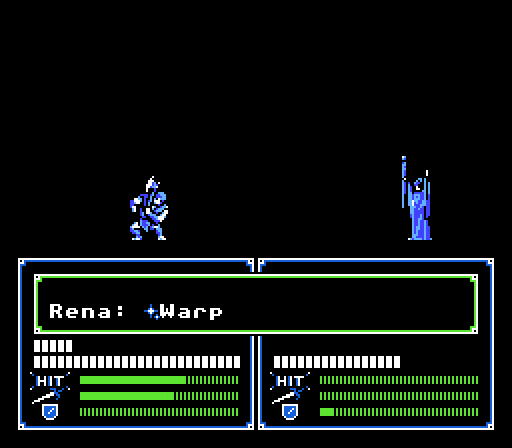
Rena's a bit exposed up there but we should be fine. Worst-case we leave Marth out in the open as bait.
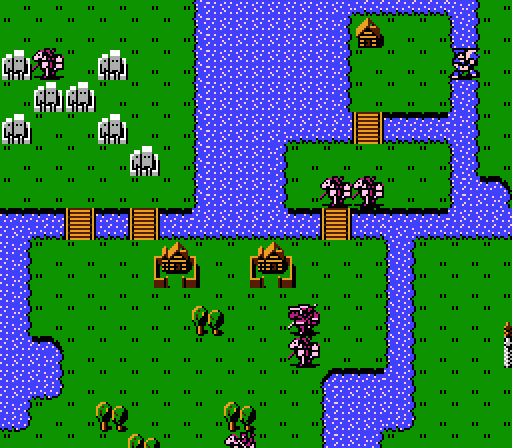
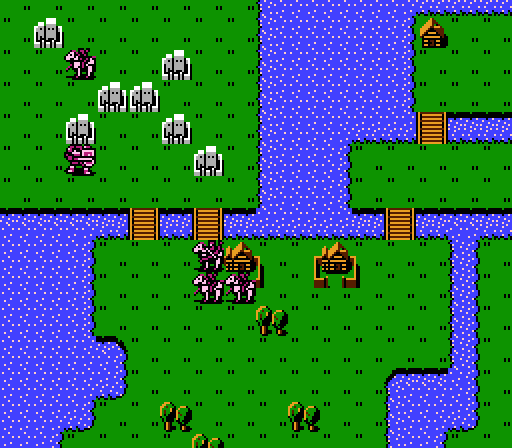
The cavalry begin their charge, though a couple units stay behind as guards.
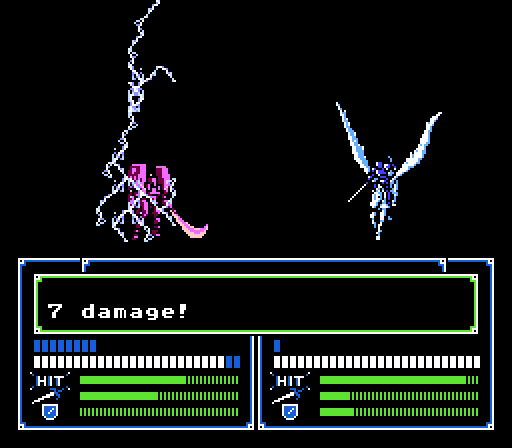
The remaining two Dragon Knights head straight for Rena. In retrospect I should've left some bow-users nearby, oh well.
Turn 2:
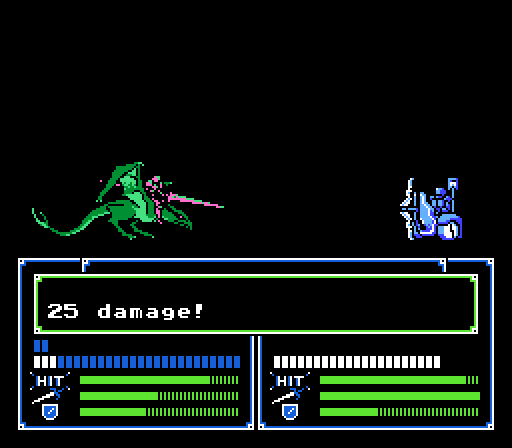
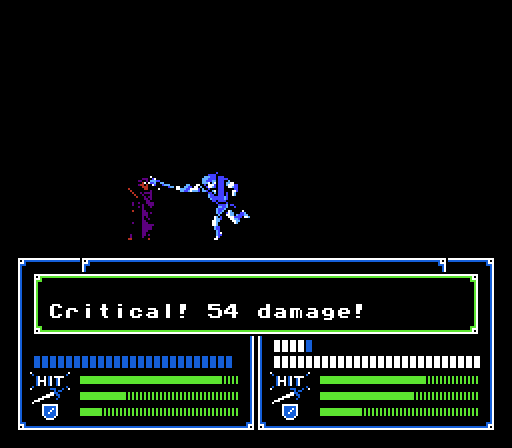
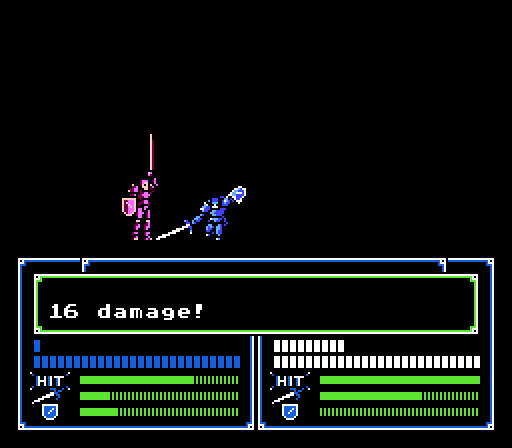
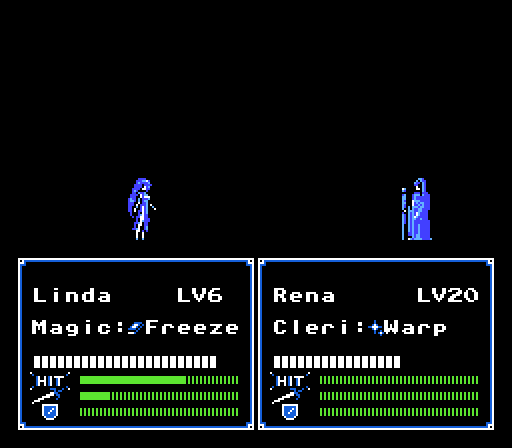
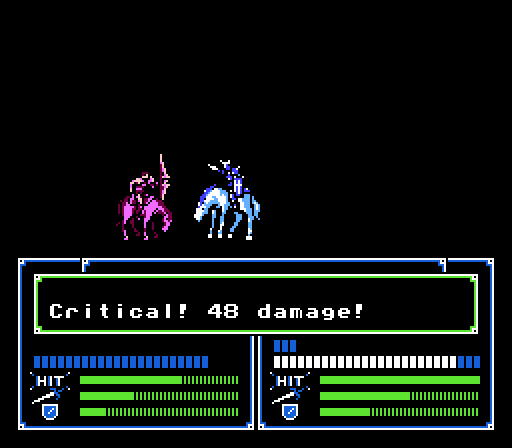
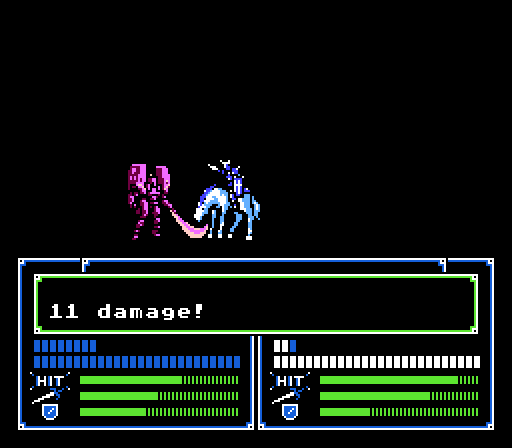
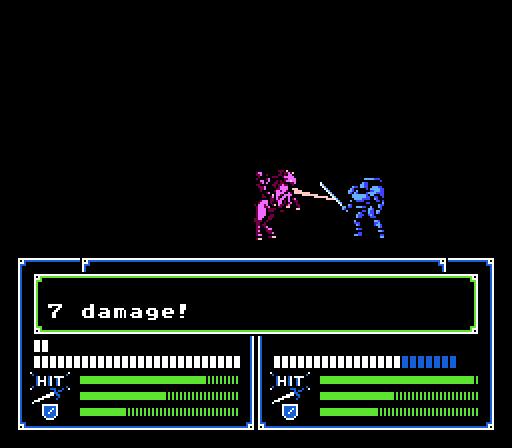
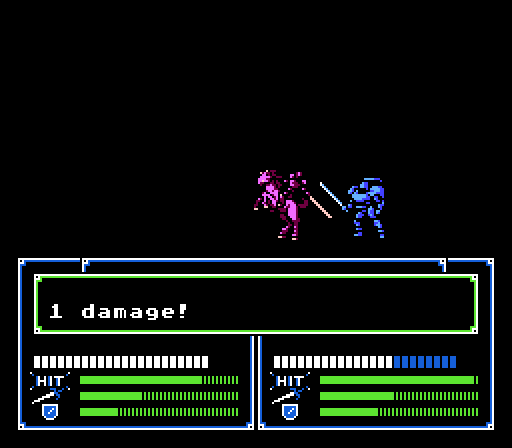
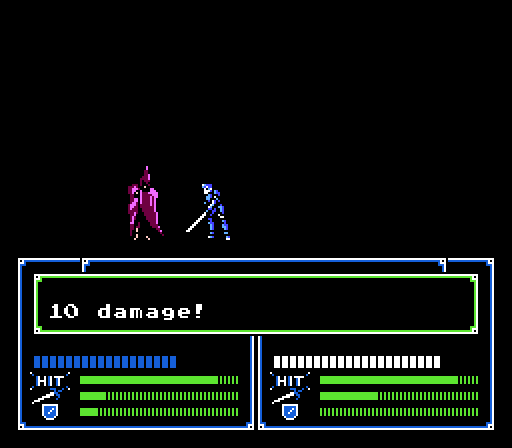
Jake is in range of a Dragon Knight, but even with effective damage can't quite kill it so Linda finishes it off.
Marth could handle the other Dragon Knight by himself, but they're worth a lot of Exp that I'd rather not waste. Instead he softens it up.
Sheeda steps in to take the kill.
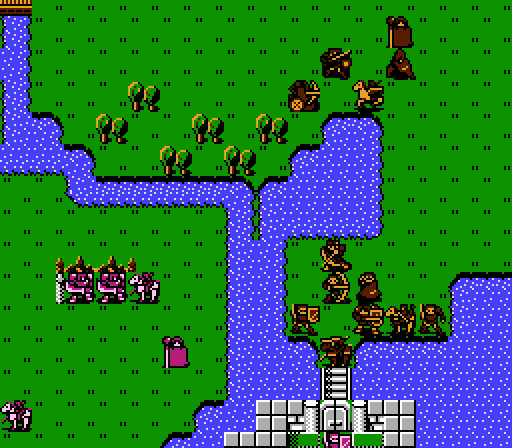
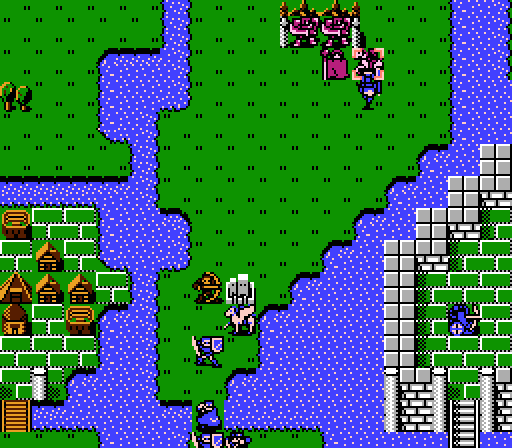
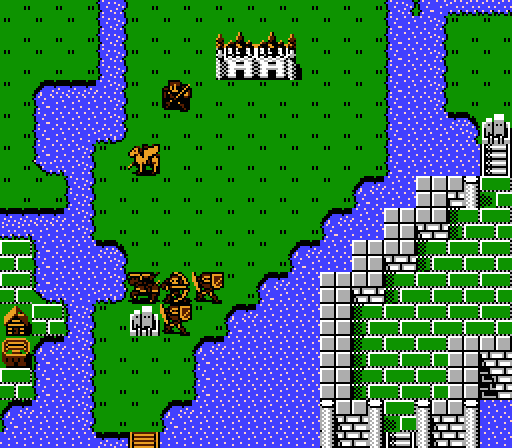
Barts begins his long journey. That group of forts sure looks suspicious, but we won't have to worry about them for awhile yet.
I'm not really sure if the other Dragon Knight will attack or not, so I make a wall of units to protect Roger and Oguma. The Dragon Knight just has an Armor Killer, which is pretty weak against anyone except Roger, so we should be okay here.
Kashim wasn't the greatest choice for wall-building but he managed fine.
Some of the cavalry continue to charge, while some hang back, suspicious of my actions or something.
Turn 3:
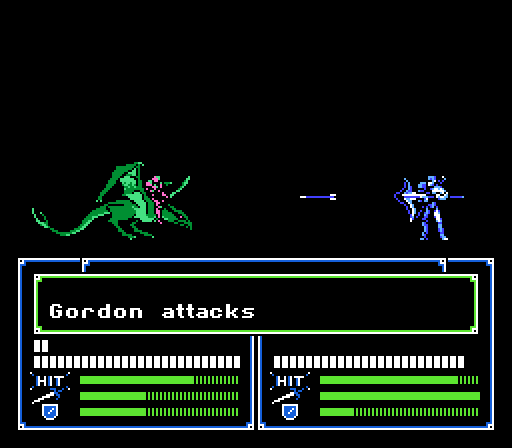
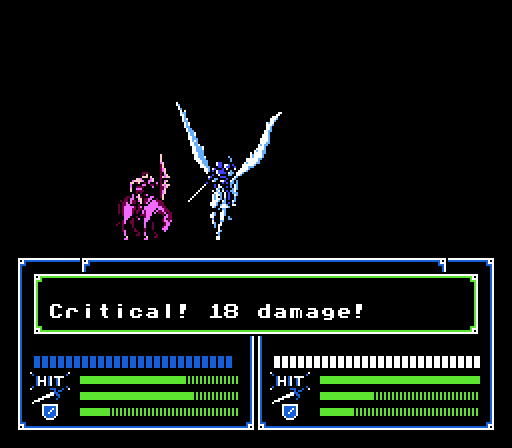
First order of business is for Gordon to remove the last Dragon Knight.
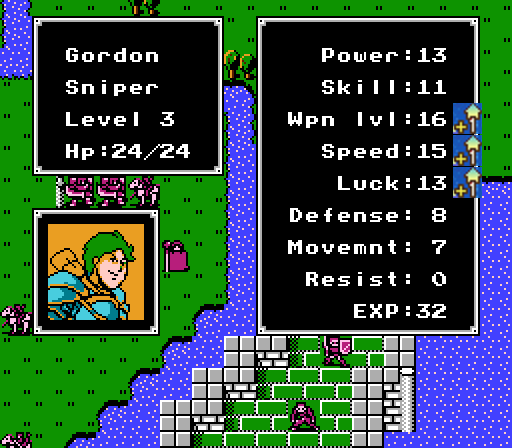
He also gets this thoroughly uninteresting level.
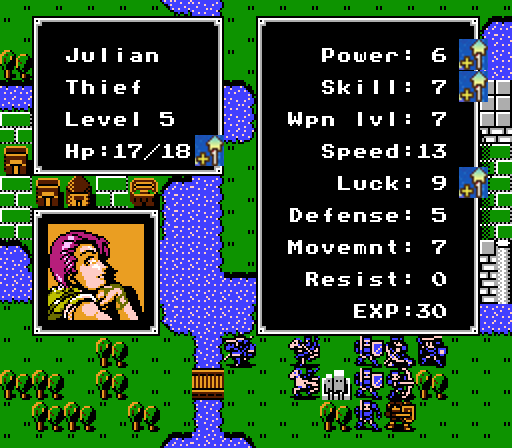
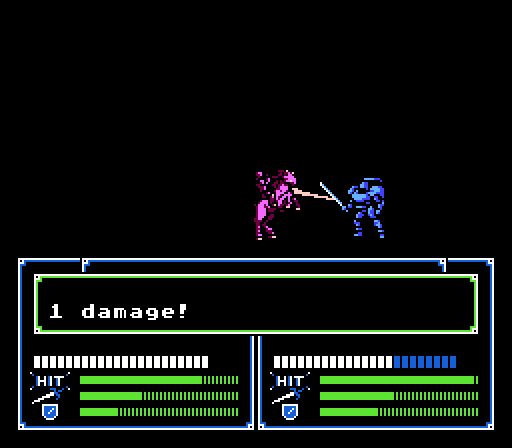
This little asshole has 15 Speed and a Thunder Sword. He'll ruin Julian's day when he unlocks the door, but the fixed 7 damage means Julian will survive at least one turn of it.
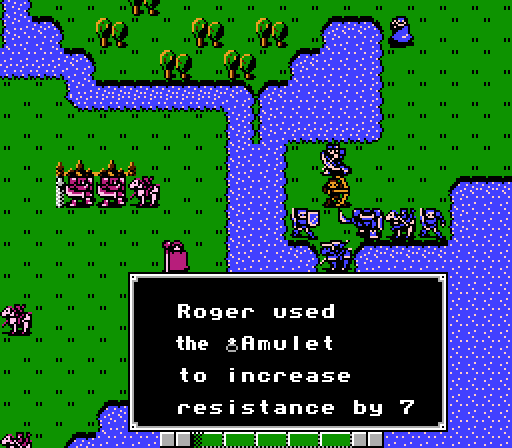
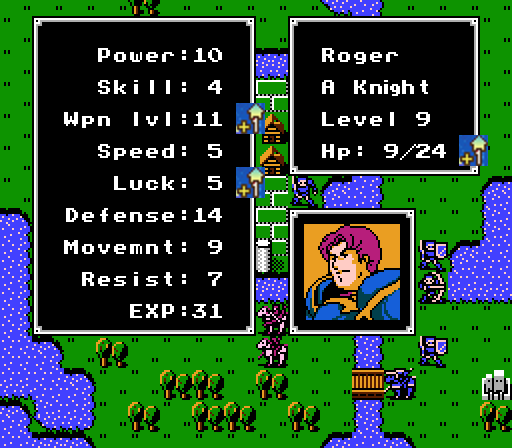
Also, we have the perfect antidote here in Roger.
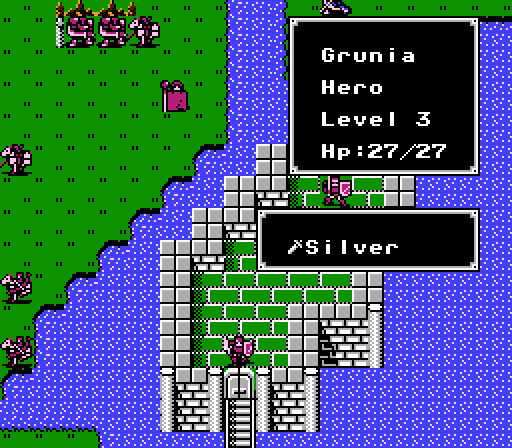
The other asshole Hero has identical stats and a Silver Sword, so Roger's kind of ideal for fighting off both now.
Not much to do but form up and wait for Julian.
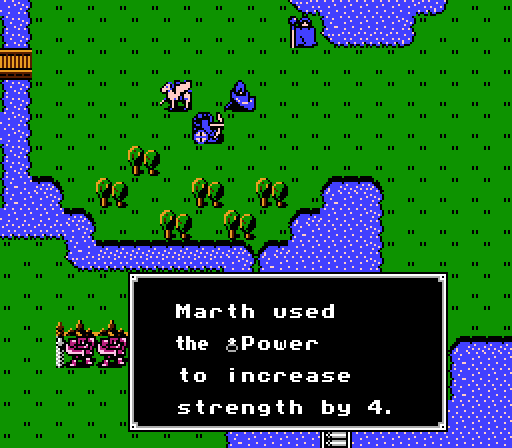
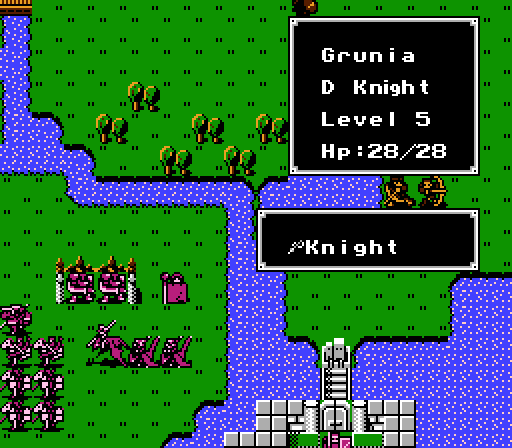
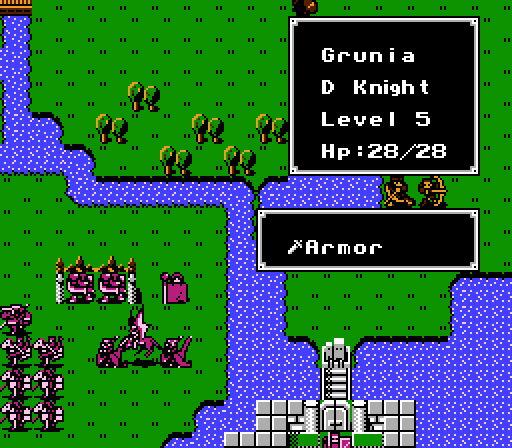
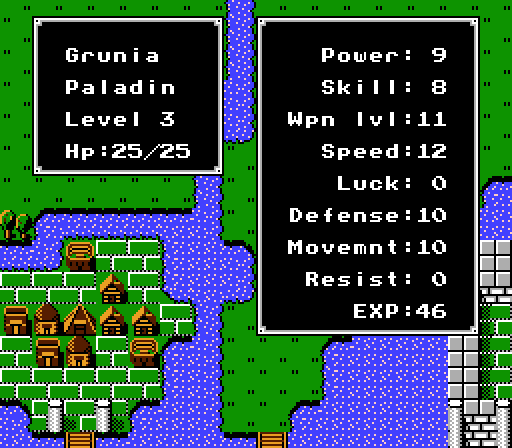
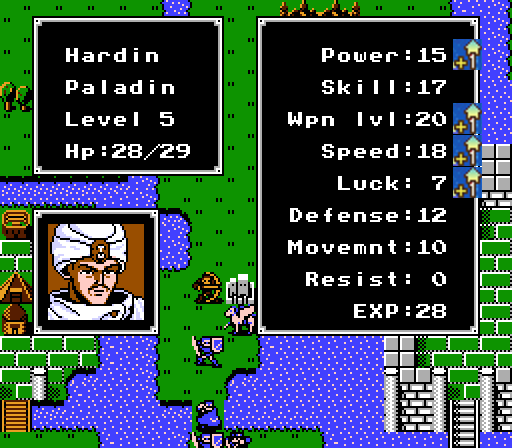
I did finally have Marth use the Power Ring, with pleasant results.
Also, Barts.
And they continue to circle.
Turn 4:
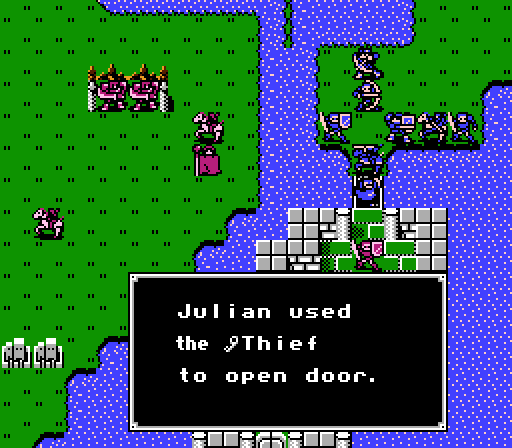
Julian does his thing.
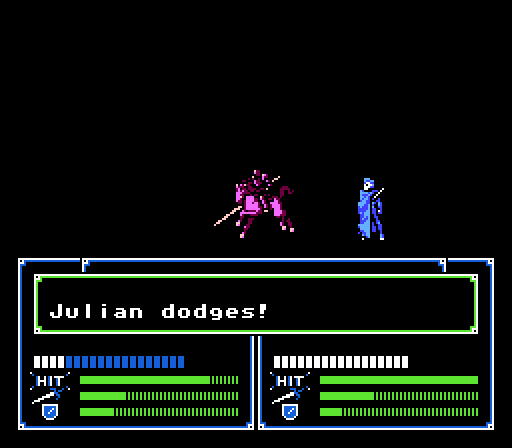
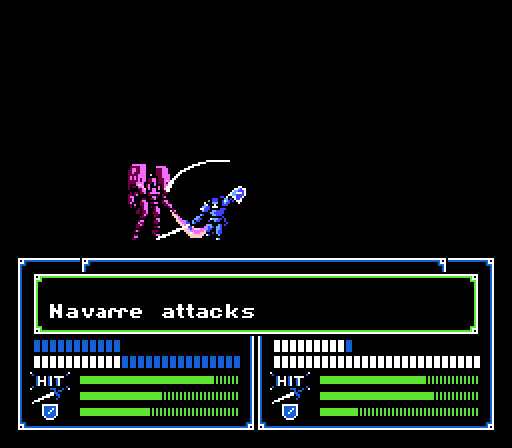
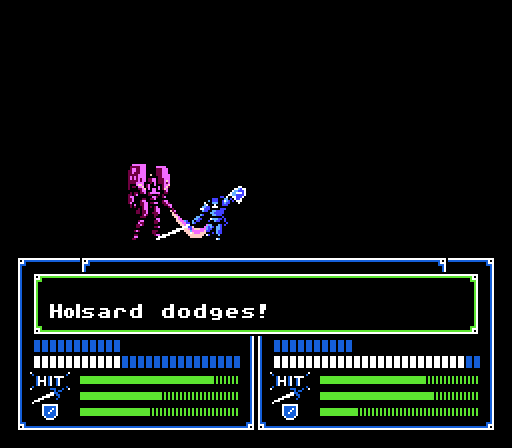
I decide it's more effective to have Navarre eat the Thunder Sword hit in order to get this wannabe Hero out of the way. Of course, Navarre is a god and just dodges the thunderbolt anyway.
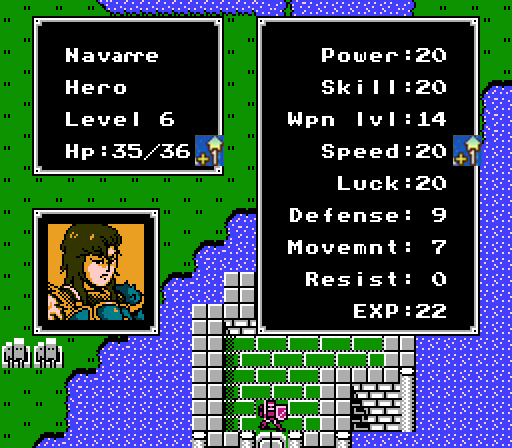
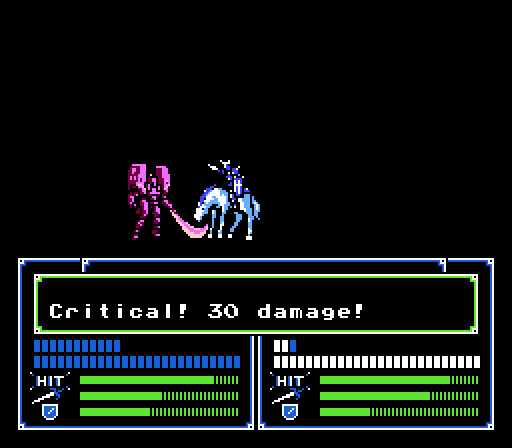
That's four stats capped now. Navarre also picked up a Hero's Proof, in case we had another Mercenary that needed promoting.
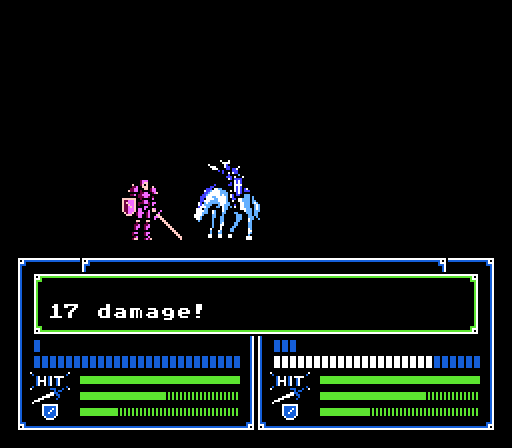
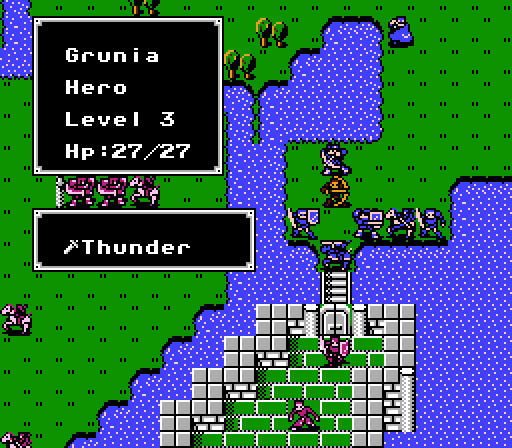
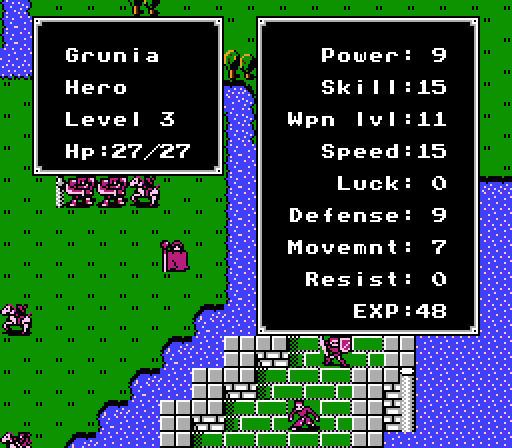
And now Hardin has room to charge in and take out the other Hero, though he eats a Silver Sword counterattack.
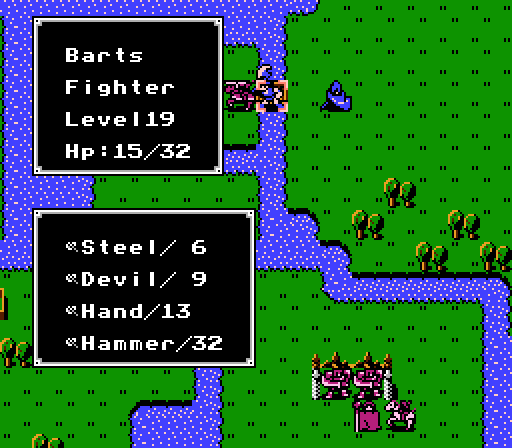
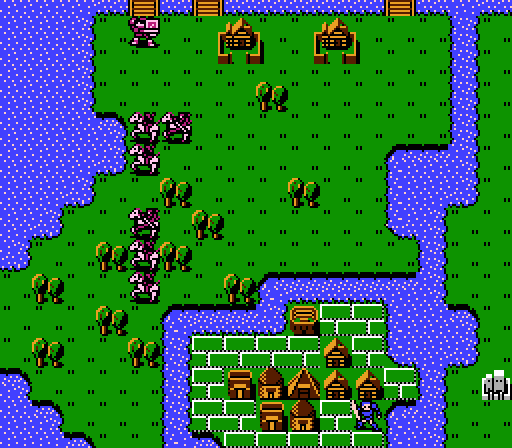
Barts has decent Movement but those Social Knights are still gaining 3 tiles on him every turn.
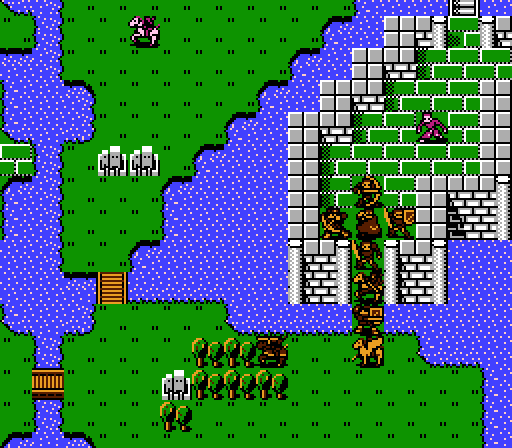
It's a prison riot!!
Quarry in sight!
Turn 5:
Barts is getting a different kind of workout today.
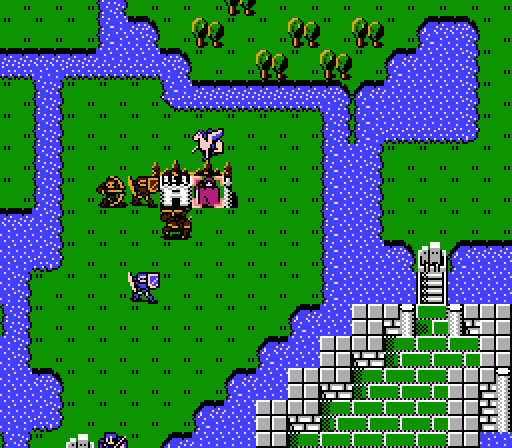
Lord Marth, we have the prisoner surrounded!
Stand by for further instructions...The prisoner is actually somehow armed with an Iron Sword, but fortunately he won't attack us. I say fortunately because then someone might accidentally counter-kill him or something.
The pursuing cavalry enter a spread formation. Silly cavalry, there aren't any area attacks in this game!
Turn 6:
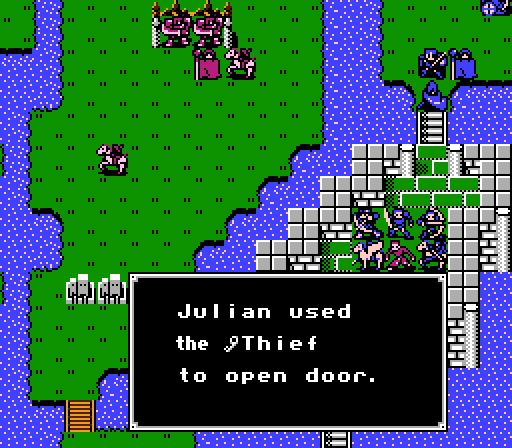
Julian unlocks the prison exit.
Prison break!!
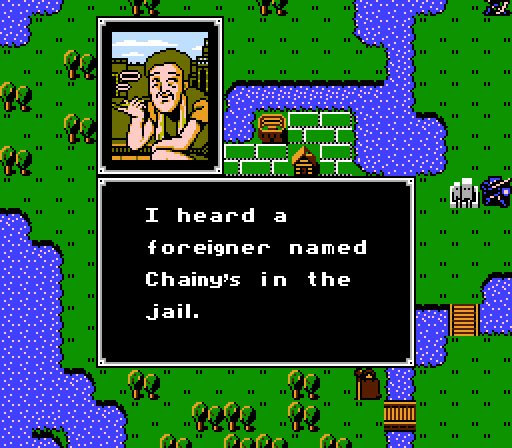
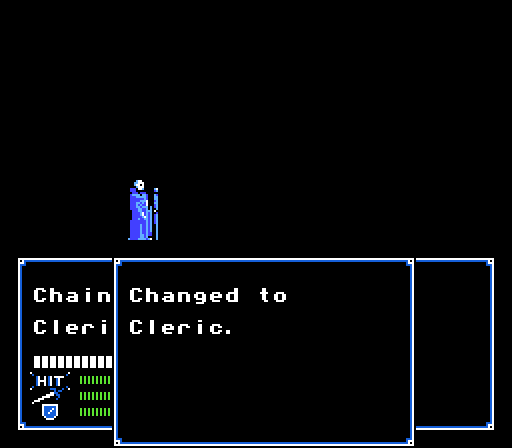
Marth finally gets around to chatting up the prisoner.
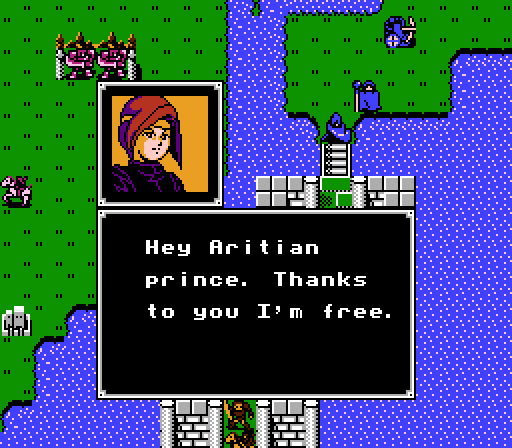
 I'm Chainy and I come from a faraway land. I can transform into anyone...
 ...because of this Durhua forced me to join their army, but I didn't want to. I'd rather join and help you!
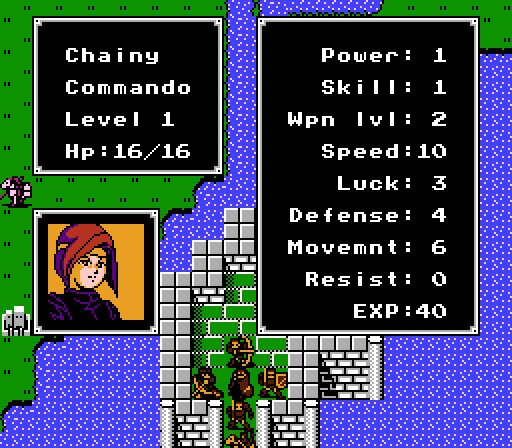
Chainy here is a Commando. His stats are as irrelevant as they are terrible. Allow me to demonstrate.
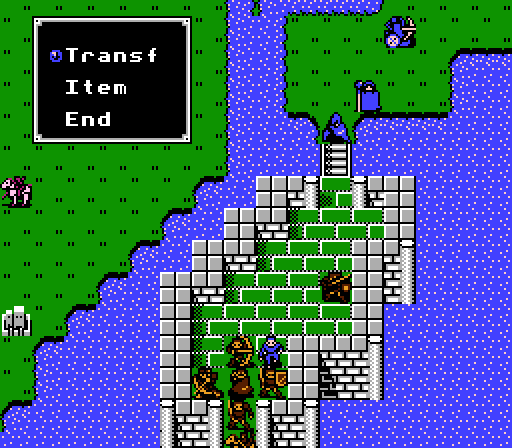
Chainy walks up to Navarre and selects 'Transform'...
Cue a screen that looks identical to a promotion...

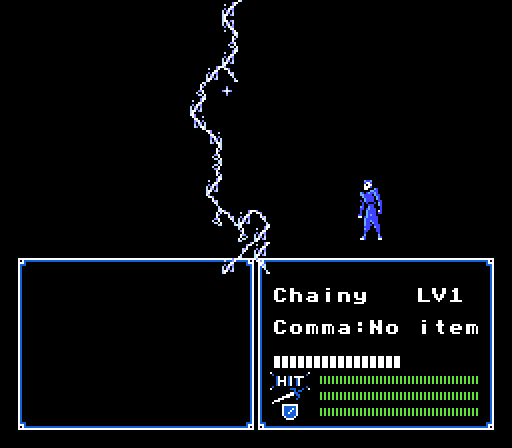
And Chainy transforms!
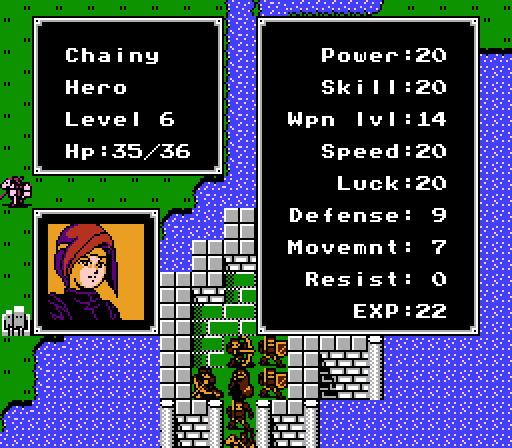
Chainy now has the exact same stats as Navarre. The weapons don't get copied, but really with Navarre's stats, all Chainy needs is that Iron Sword of his anyway. Gaining levels doesn't really do Chainy any good, so technically any attacks he make result in 'wasted' Exp. The real catch, of course, is that the transformation only lasts for four turns. Fortunately Chainy un-transforms at the start of the following Player Phase, so he won't get caught out exposed.
Barts continues to play his little cat-and-mouse game. Though he's probably more the cat in this scenario, really.
I don't know where that northwest Social Knight is going to, but the rest have almost caught up to Barts now.
Turn 7:
Let's send Barts some reinforcements.
This looks like a manageable choke point.
A couple Bow Knights turned back to face us, so we get ready to meet them.
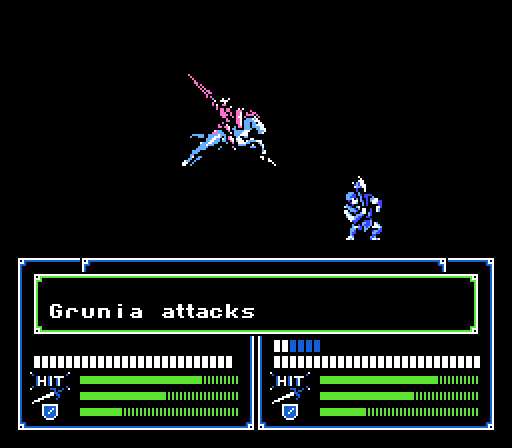
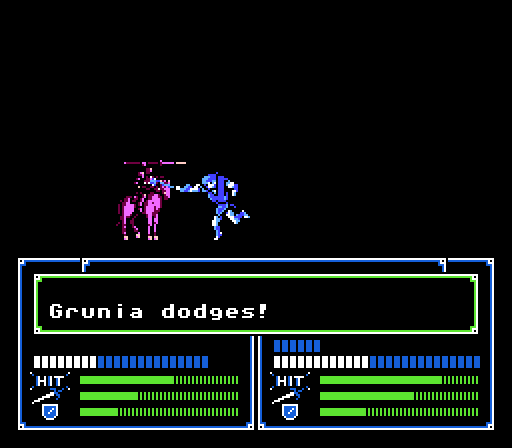
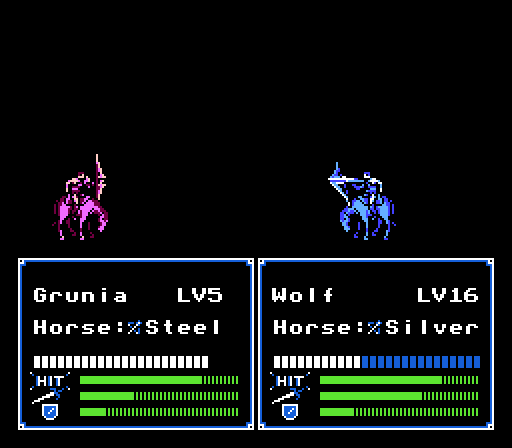
What was I worried about with Barts again? He also dodges a Javelin.
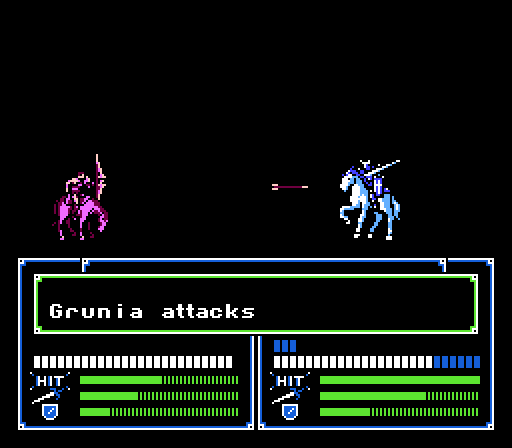
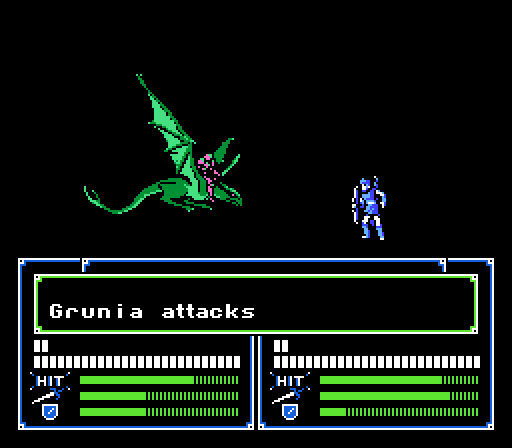
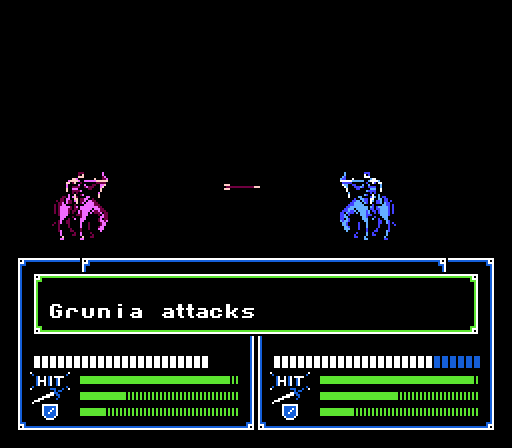
Also Hardin dodges an arrow. Productive turn there, Grunia.
Still a random Social Knight hanging out on a fort now instead of fighting.
Turn 8:
Linda and Barts start clearing out the horses.
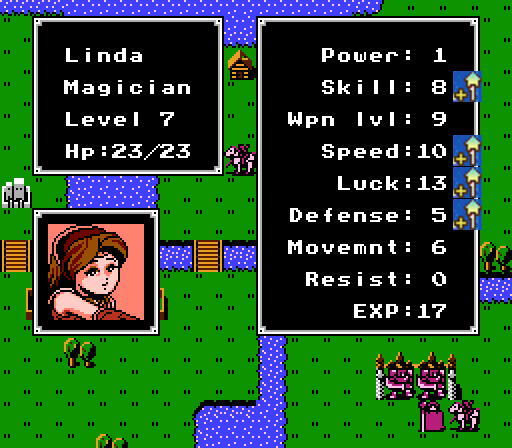
And Linda gets this fantastic level.
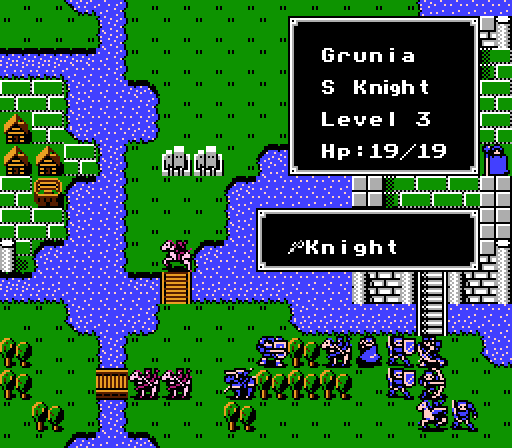
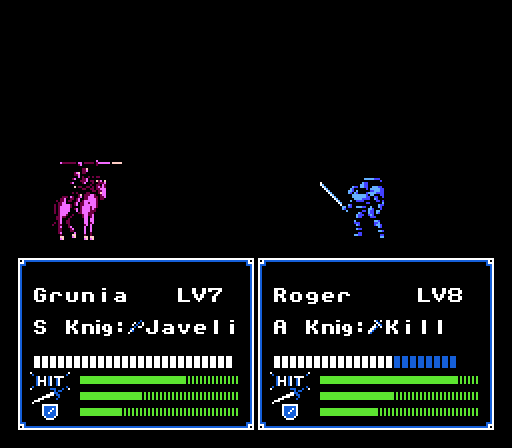
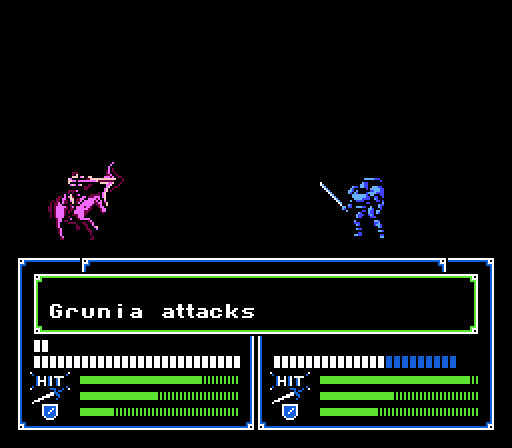
Down south, this Social Knight with the Knight Killer could be mildly threatening to Hardin, so Roger blocks him off.
Hardin is then free to destroy one of the Bow Knights.
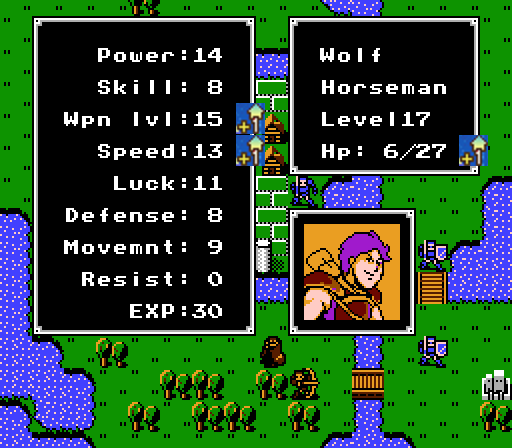
Wolf softens up the other Bow Knight so that Sheeda can grab the kill.
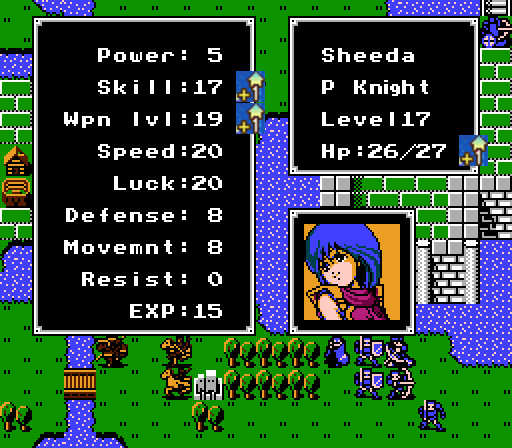
As usual, everything except Power and Defense for Sheeda.
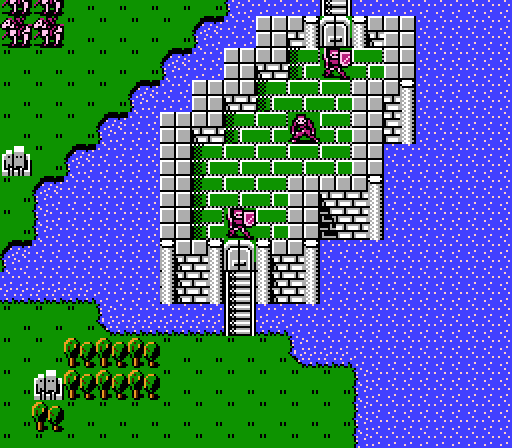
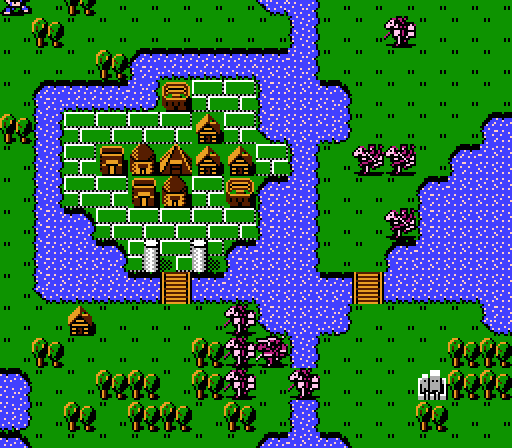
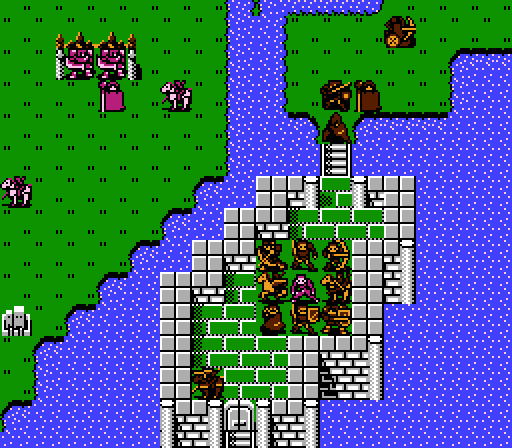
The army is ready to assault Boss Island now.
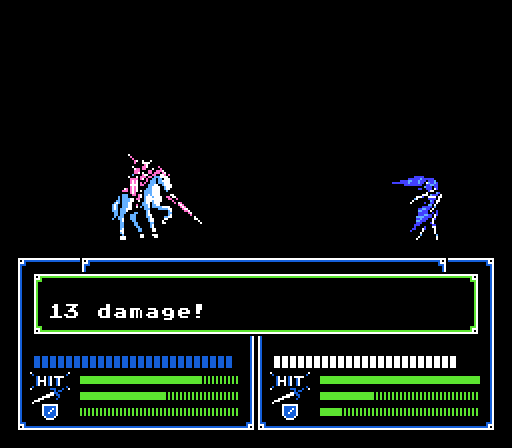
The Paladin and his jumping horse did 10 damage to Barts and dodged both of Barts' attacks.

Turn 9:
Barts is still in pretty good shape here, but let's use Linda to handle the Paladin anyway.
That'll do. Then Barts can take out the last threat...
Goddamn axes and lack of a weapon triangle!!

We can take him out fine next turn, but I had hoped to be moving away by then.
I move Roger out of the way and have Julian finish off the Social Knight.
I really should feed Julian some more levels.
Wolf is holding the chokepoint against the last Bow Knight.
He eats a critical but doubles and kills his opponent. Also Barts dodged yet another Javelin.
Turn 10:
Barts gets the hell out of the way and Linda finishes off the Social Knight.
Meanwhile, Hardin can now charge this Social Knight and kill him off.
He gets a pretty good level out of it, too. Also, he caps Weapon Level, for whatever that's worth - the highest required Weapon Level in the game is just 14.
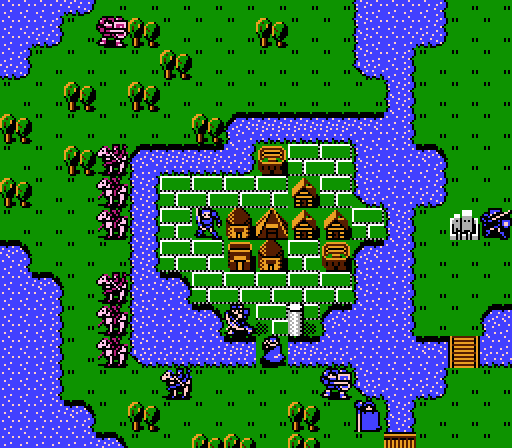
A few units head for the town, while the A-team gets ready to storm the castle.
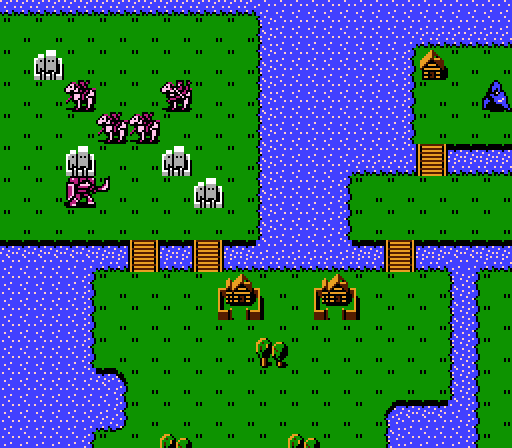
And some reinforcments pop out of the forts. Nothing too threatening though.
Turn 11:
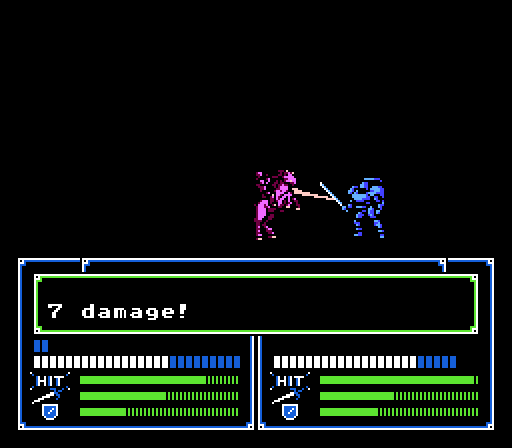
Sheeda stays out of the way while softening up the generic General, so that Hardin can finish it off - he dodges the counterattack, too.
Even Navarre can't one-round this boss without a lucky critical, so we'll have to be more cautious than normal next turn.
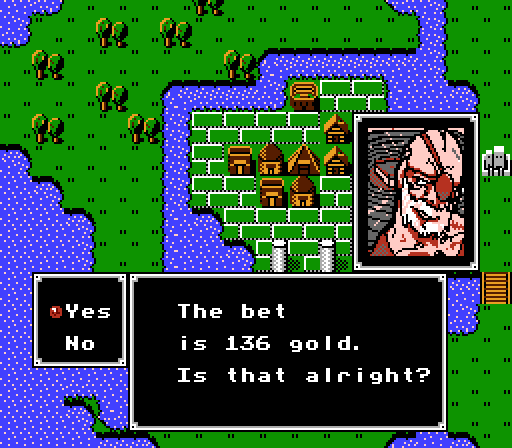
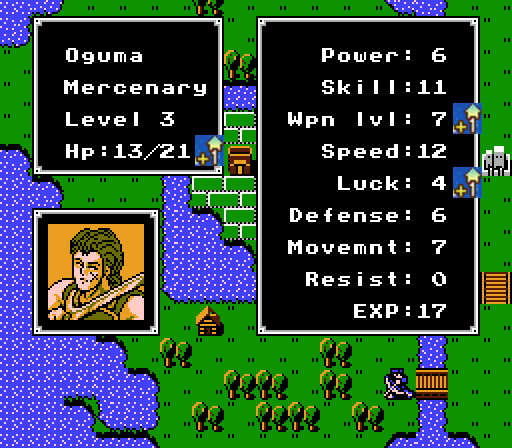
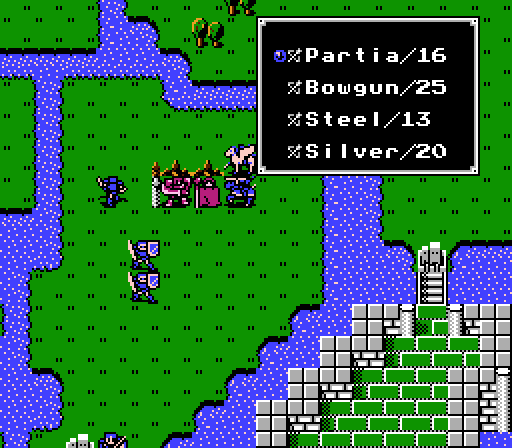
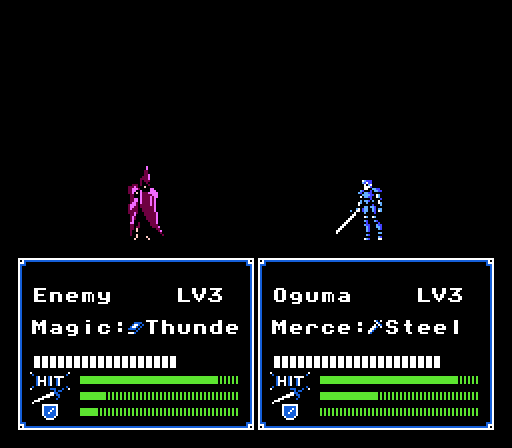
Oguma reaches the Arena. Normally the best way to improve your odds is to equip a crazy overpowered weapon, but Oguma's Weapon Level only lets him use Steel Swords. He could be in trouble if he comes up against an Armor Knight, but otherwise his Speed should keep him relatively safe to start.
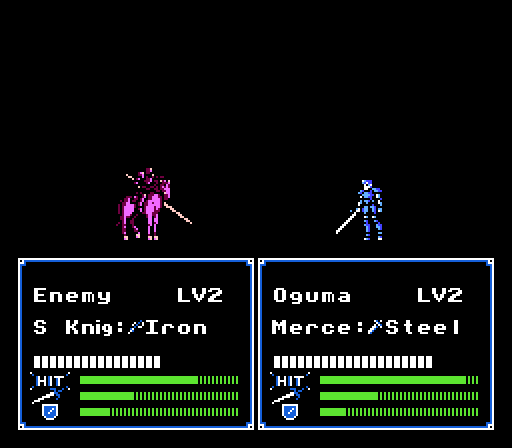
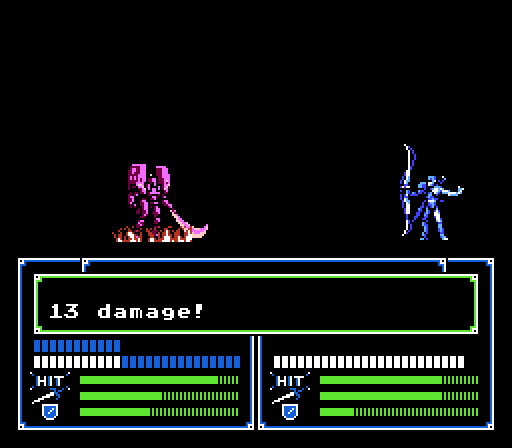
This matchup should work out okay.
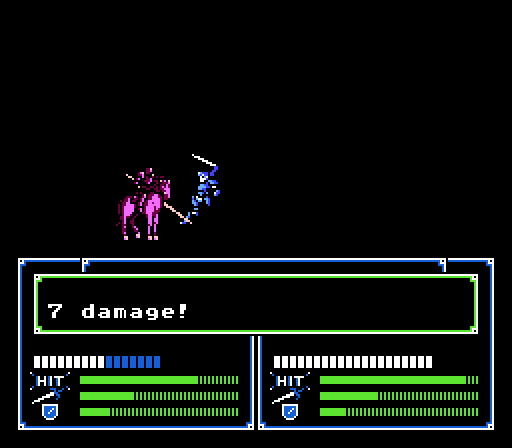
They trade blows in the first round.
But Oguma gets in a second attack.
And Oguma gets to go first again in the second round to secure the win.
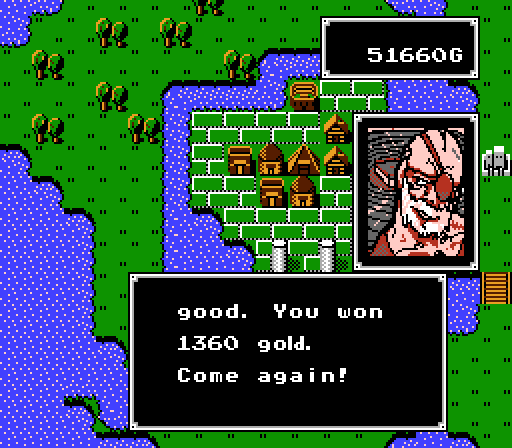
And some gold.

And a level to demonstrate why he was benched in favor of Navarre. Though Oguma can now take a Kill Sword into the Arena next time around.
The reinforcments are headed for Linda and Barts. I'm trying to move Wolf up to bait them over to everyone else instead.
The trick is successful, but another round of reinforcements came out of the forts, too, so now I've got another squad of cavalry headed for defenses that include just Wolf, Julian, and Kashim right now. Also the rear Bow Knight has a Silver Bow, so we need to watch out for that.
Turn 12:
 He seems to have an amazing ability.
I guess most people head west first to meet the enemy cavalry head on before circling around to the south and east to get to the prison.
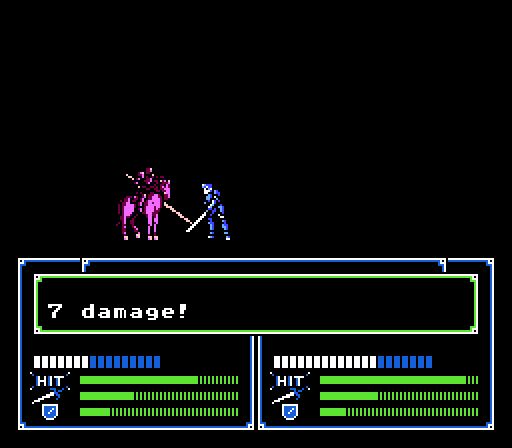
Roger moves over to help out against the incoming rush, and Oguma spends his winnings on a shiny new Kill Sword.
Gordon does have something that can break through even General Holsard's major Defense.
Even that's not enough for a one-round kill.
Is it Navarre or Chainy?
Like I would waste boss kill Exp on Chainy.
I made sure that Navarre could survive a critical if necessary, but he manages to miss both attacks anyway. Stupid castles and their 30% avoid bonus.
Hardin isn't taking any chances.
He gets a Dragon Shield, which gives a +3 to Defense. The lowest gain of any of the stat-boosting items, but still plenty welcome.
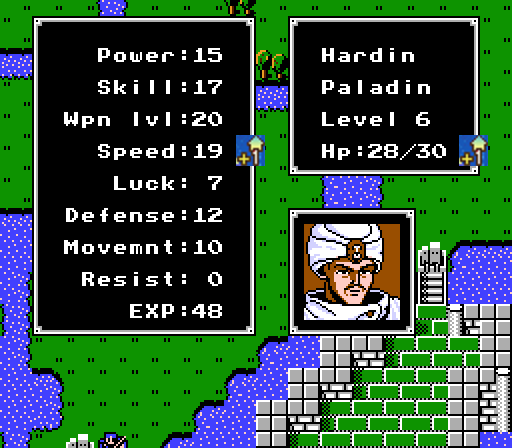
He also gets a level, not quite as welcome.
Sheeda wraps up the turn by killing off the Cleric.
Turn 13:
Right, need to set up a chokepoint at the bridge now.
That's a little better. I think that the Social Knights will keep the Bow Knight from attacking anyone but Roger, but we'll see...
We have our own reinforcements ready to head over if needed.
The first Social Knight moves in. He's got a Silver Lance, so he hurts a bit more than normal. Fortunately Roger just barely avoids getting doubled here.
The next Social Knight does get in two attacks, but both are just scratches.
'
Turns out, the Bow Knight can't even reach Roger, let alone anyone else.
Turn 14:
Step one is to heal up Roger while getting Rena out of the way. There's a Bow Knight with a Silver Bow at the back of the line, so I'm going to keep the Social Knights alive for now as a buffer.
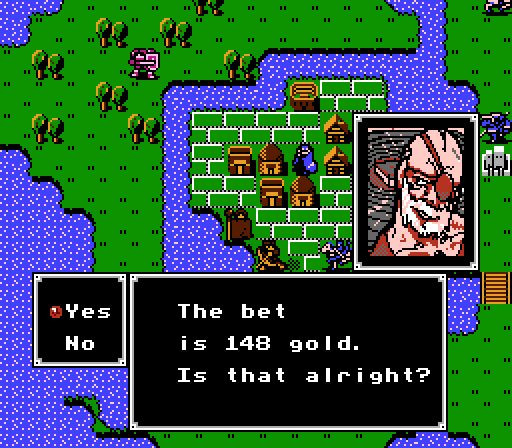
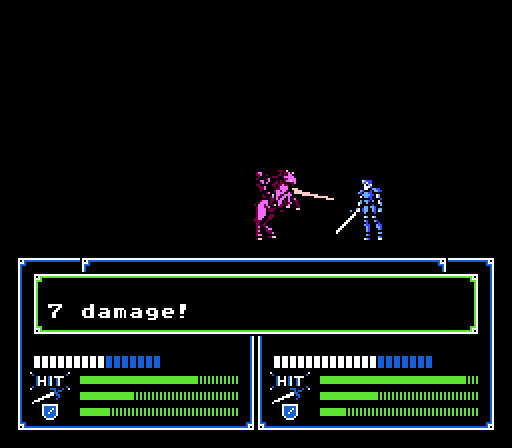
That doesn't stop Oguma from heading back into the Arena. The bet's a bit higher this time, but that'll just mean a bigger payout, right?
Uhhh...
It's okay, Oguma is still fast enough to double. And lucky enough to dodge.
And he claims the prize. Two down.
And ready for another turn.
I probably should've at least gotten rid of that Silver Lance guy. Oh well.

Roger counter-kills this guy, which of course just opens up space for another attacker.
He does just about as well.
Oops, looks like I forgot to heal Wolf. Fortunately, he makes it through.
Oh, come on. Roger dodges this one.
This guy has the Silver Bow and does 5 damage with it.
Turn 15:
Okay I've had just about enough of these assholes.
One.

Two.
Three.
Four.
Five.
Six. (Yup, Wolf has enough Power to knock off an Armor Knight in one round, with the Silver Bow.)
That'd make for a good Advance Wars Power score, I think.
The levels, on the other hand, aren't so good.
Well, everyone's dead, so...
Oh you've got to be kidding me. This guy was in the original group of enemy cavalry, made a beeline for this fort, and hasn't moved since. Fire Emblem AI confuses me sometimes.
One of the more interesting uses for Chainy is to get an extra healer on demand. The transformation process doesn't make him female, however. Wait a minute...
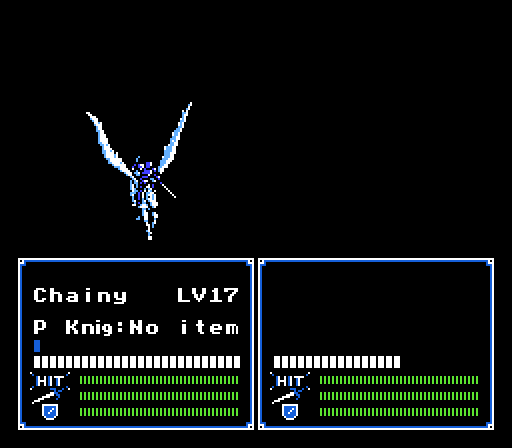
Ladies and gentlemen, a male Pegasus Knight. (It's still the same sprite, though.)
And on that note, I'll break for the night. Part 2, featuring Oguma's Arena Adventures, will be up tomorrow.