Part 44: The Empire Strikes (aka Remorse and Retaliation) - Part 1

000.png)
and prepared to leave as well.
001.png)
002.png)
---

004.png)
005.png)
 What? What happened?
 The Imperial Army struck back at us... We were...decimated... What!? What about Dorias? Where is he! Count Dorias... He charged at the enemy to make time for our escape, and he...fell...
---
Dorias...is dead? He'll be miss...
 Surely you could figure it out if I've told you the first two. I shouldn't need to tell you, should I? I understand. But their deaths will be in glory and honor. We'll have to do something about the ballistas to proceed. We can attack them with magic, or ambush them from the sky... Either way, we will suffer some casualties.
Eh, we'll survive. What we will miss is Leaf's second leadership star, which was coming from Dorias.
---
!! If only we were stronger... Forgive us, Lord Leaf! 006.png) How...could this happen...
How...could this happen... Prince! Get a hold of yourself! If we let our troops die out, Count Dorias' death will be for nothing! We must rescue as many troops as we can!
---
 (What a shock)
007.png)
009.png)
---
010.png)
011.png)
012.png)
---
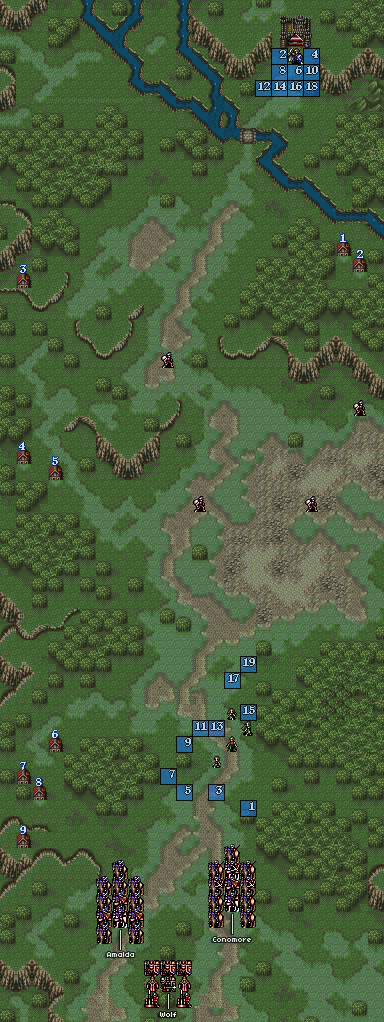
Chapter 19 is kind of an odd mission, and takes advantage of a lot of mechanics unique to Thracia 776 to create a unique map. First, as you can see, we can instantly win this map first turn by having Leaf escape. Of course, this means we'll lose the units scattered about that couldn't escape first. It's not as simple as only deploying Leaf though. I've mentioned it briefly a couple of times, but maps have deployment minimums as well as maximum, and this map requires you to deploy 16 characters at the least. Lastly, since we can't change positioning, our units will legitimately be scattered around. So yeah, this is an interesting map. Luckily, we've diversified a lot, and can easily field 16 combat capable units, so this map will be easier then it could be otherwise.
There are some standard Fire Emblem gimmicks going around as well. There's a group of civilians who give us a Knight's Proof if they all survive, as well as 8 villages to save. Most of the rewards aren't that essential, mostly just good weapons, but there is a Speed Ring we really don't want to leave without. Also two heal staffs. I honestly think we have more cumulative Psychic charges then heal charges right now.
013.png)
014.png)
Amalda remains unchanged. If we had Sleuf, we could recruit her, but we don't so we won't.
015.png)
016.png)
We can recruit Conomore however, using Miranda. Considering he has 4 leadership stars, this map is somewhat easier if you have Miranda to turn him early on.
017.png)
018.png)
Wolf is pretty much Boss 101 from here on out. He's a Baron with a Master Weapon, Tron, and Vulneraries. He's slow as hell though, and doesn't have a throne, so the only real threat he poses is through his Meteor tome.
Flanking Wolf are two Bishops with Blizzard, the Wind Siege tome. Blizzard puts you to sleep if it hits, because fuck you. He's also flanked by two 3-15 range ballistas, making that general area a long-range nightmare. Of course, you don't actually have to approach this area, as your goal is to get away from it. Fuck that noise, we're getting ourselves two Blizzard tomes.
---
And there we have it. I'm force-deploying Karin, Dean, Sara, Seram, Linoan and Miranda, so choose up to 13 characters from: Olwen, Marty, Carion, Fergus, Lara, Othin, Havan, Makua, Homer, Marita, Tina, Shiva, Pahn, Nanna, Asvel, Fin, Ronan, Xavier, Glade and Ralph. Click here for up to date character statuses.
Fatigue Counter:
Olwen: 5/27
Marty: 35/58
Carion: 19/49
Fergus: 33/40
Lara: 22/30
Othin: 28/43
Havan: 38/39 (Actually didn't plan this.)
Makua: 16/38
Marita: 14/39
Tina: 15/16 (Didn't plan this either)
Shiva: 4/35
Pahn: 8/24
Sara: 27/30
Safy: Fatigued
Lastly, vote for someone to get the Continue Manual.
---
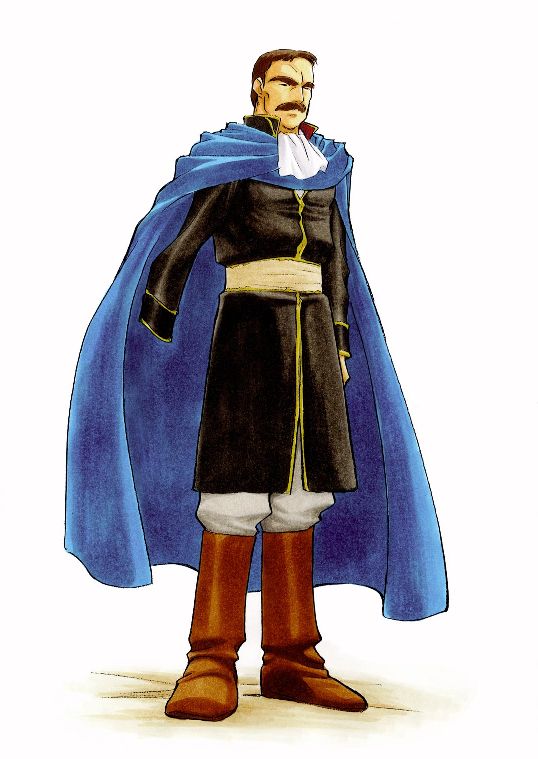
Dorias' official art.