Part 4: Saving the Economy
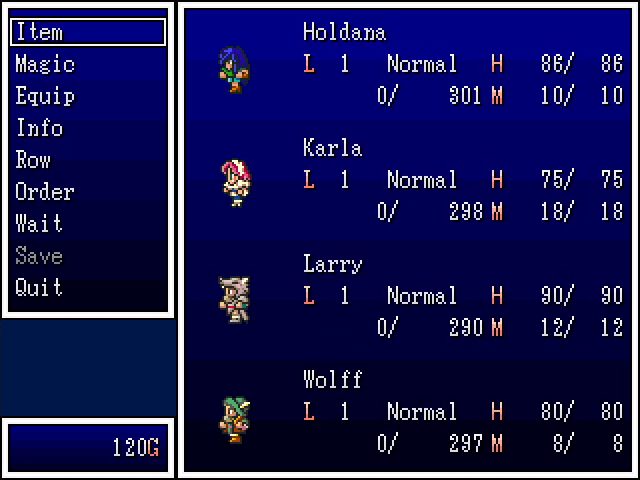
Holdana has a full crew and is ready to go adventuring. I took our Shapeshifter and Ranger's names from suggestions in the thread, but no one suggested a name for the Druid. It turns out that the game doesn't actually have a set of random names, so I made one up myself.
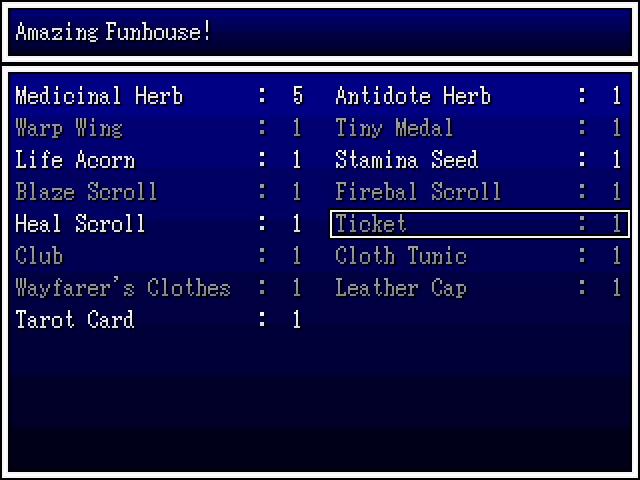
With that done, our first order of business is to loot every bit of treasure we can from this city. In general, I don't plan to show off everything I take from towns, but I want to do it here just to show off how much stuff there is to find.
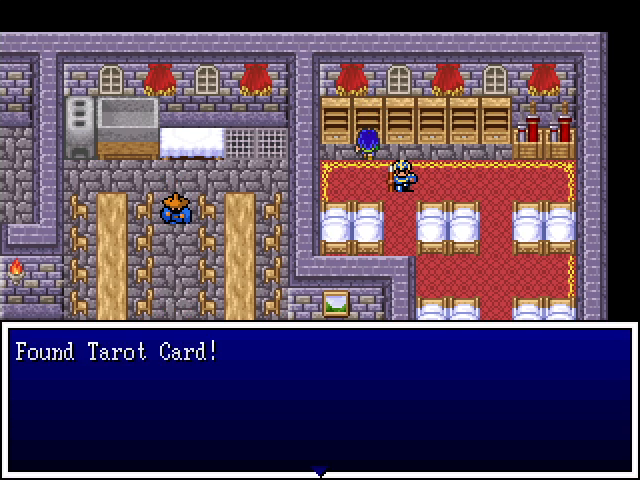
For example, this random set of shelves in the barracks contains a Tarot Card, which is used to allow a Harlequin to learn to Tarot powers.
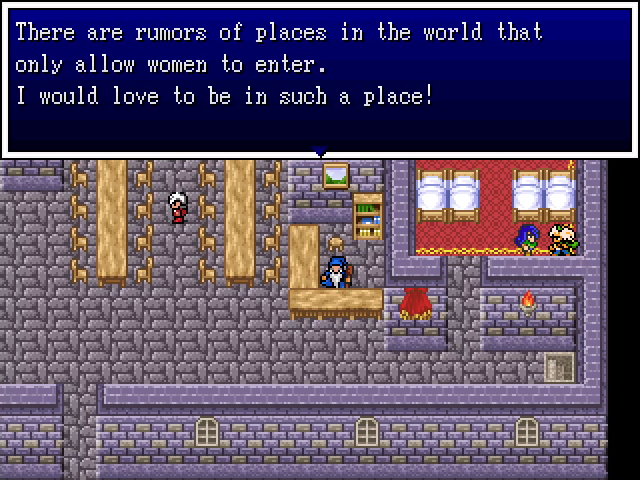
I'm sure this is just one guy being a creep and not a hint about anything we might encounter later.
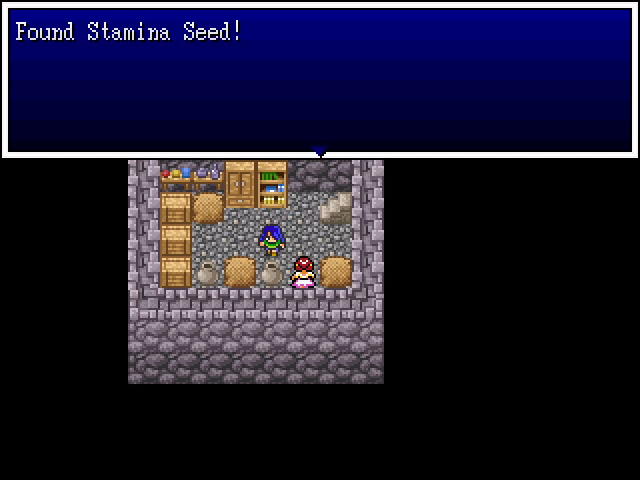

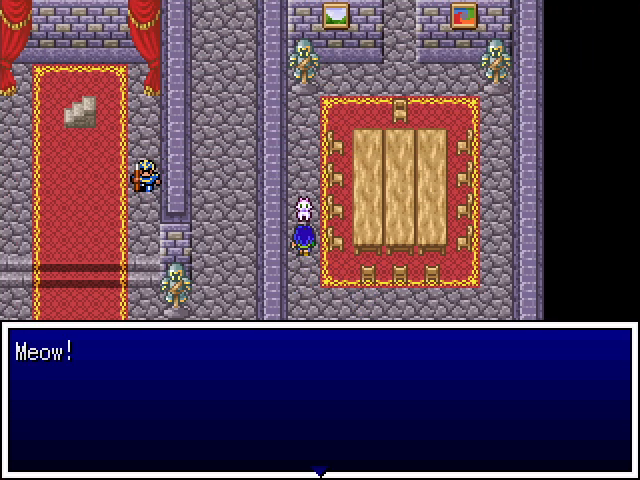
The basement of the barracks is a treasure trove, especially the Firebal scroll. Scrolls are single-use items that mimic the effects of a spell, and Firebal is quite powerful at this stage of the game. Dragon Quest fans can probably already guess what the Tiny Medal is for, but for the rest of you, the answer's coming up.
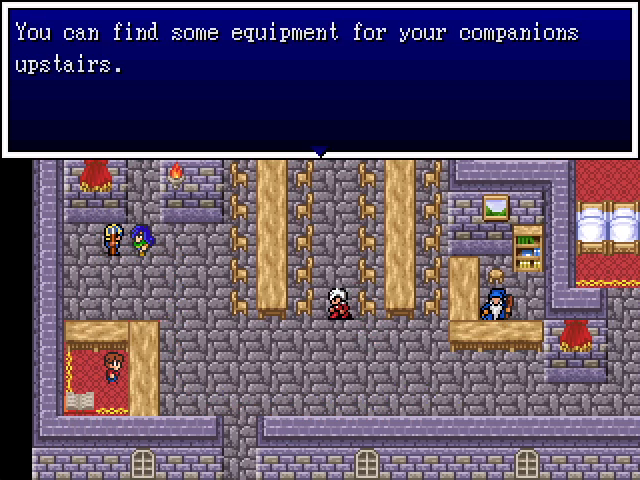
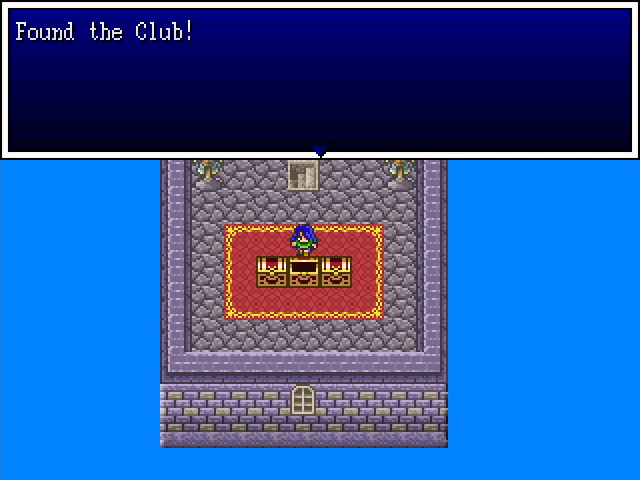
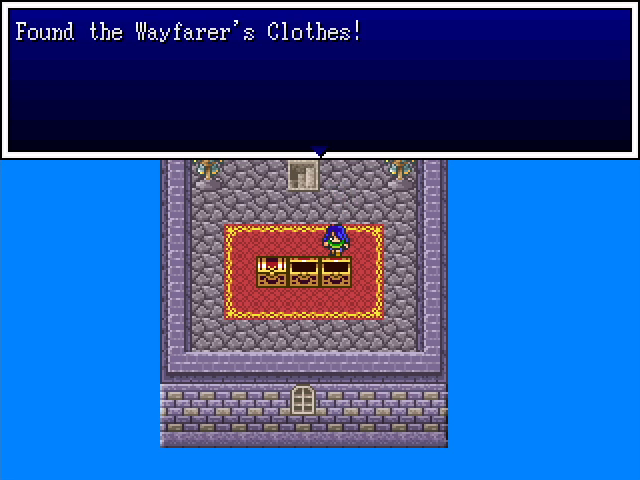
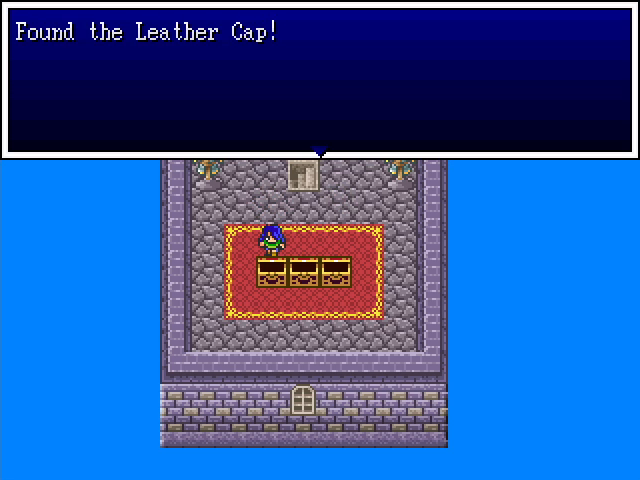
The upper floor of the barracks likewise has some good stuff. A club is a decent starter weapon and the wayfarer's clothes are the same for body armor. A leather cap doesn't offer much protection, but every little bit helps, I suppose.
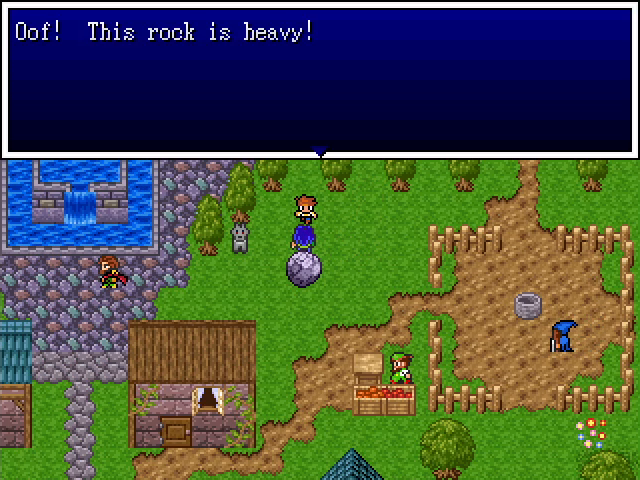
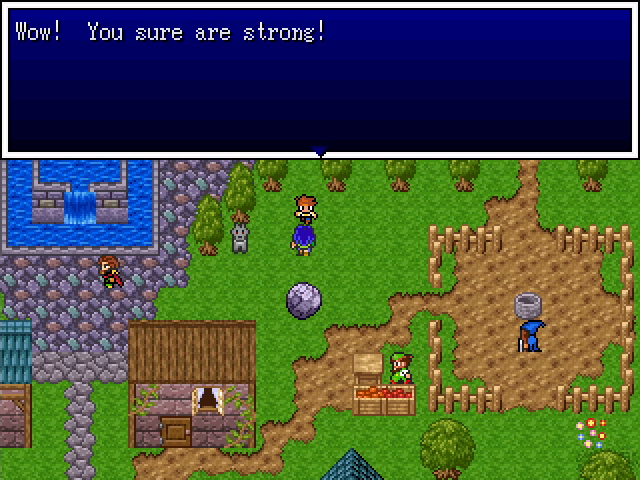
Back in the city, there's a tutorial on pushable rocks. We won't run into these for a while, but having them introduced early is still a good idea.
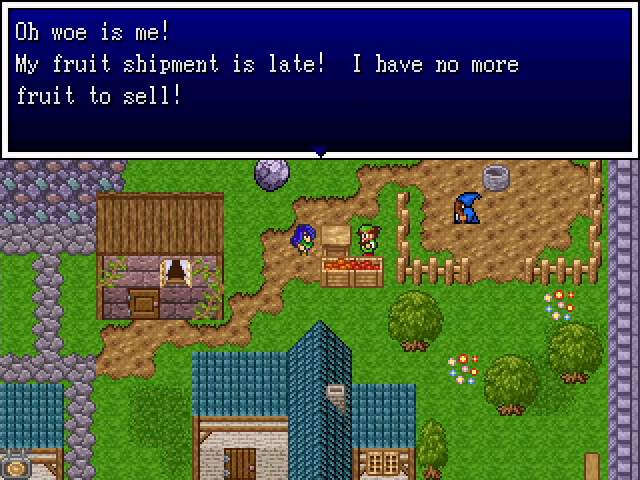
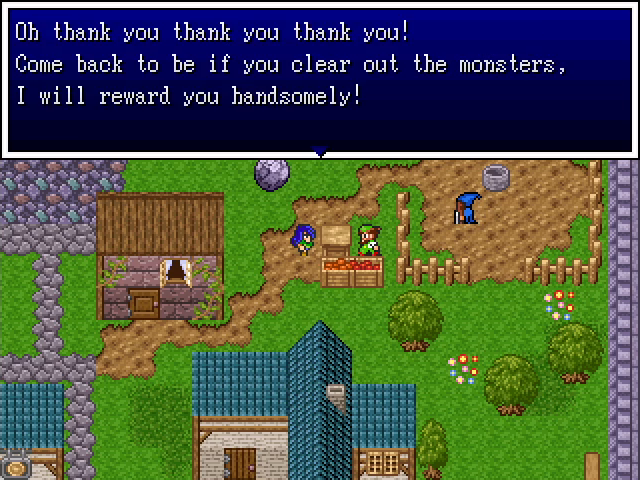
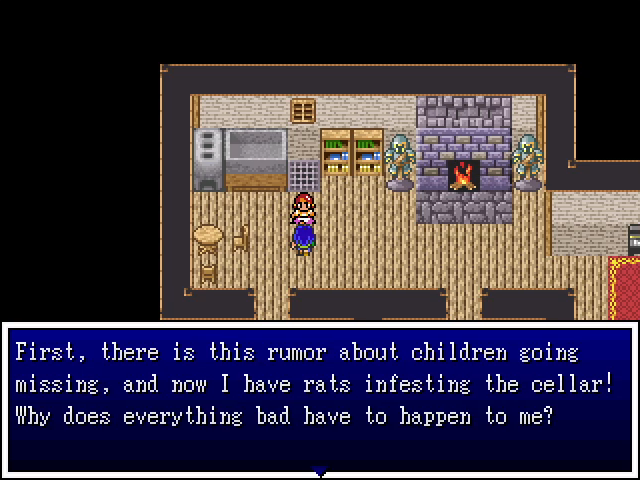
Nearby a merchant tells us of troubles with his shipment. This isn't exactly a priority over saving missing children, but money is money. Also, it's a side quest, and those are worth taking wherever they show up.
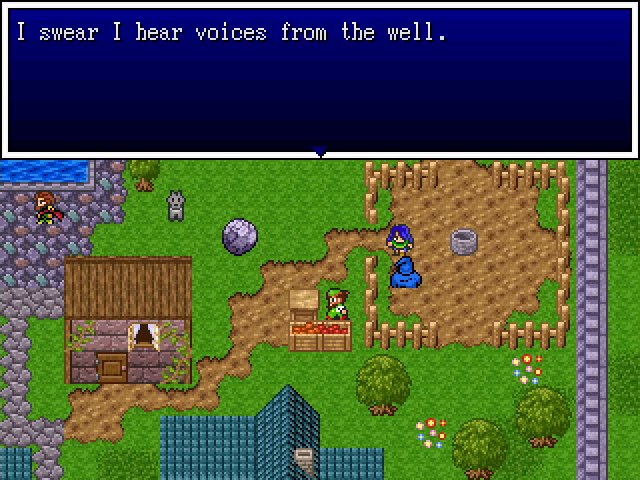
Odd. Let's take a look.
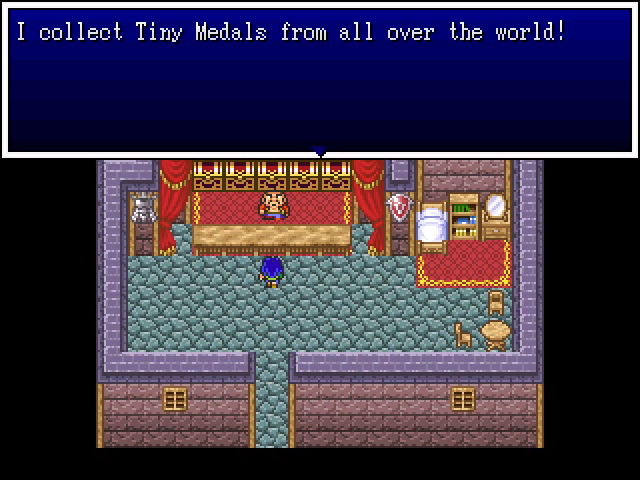
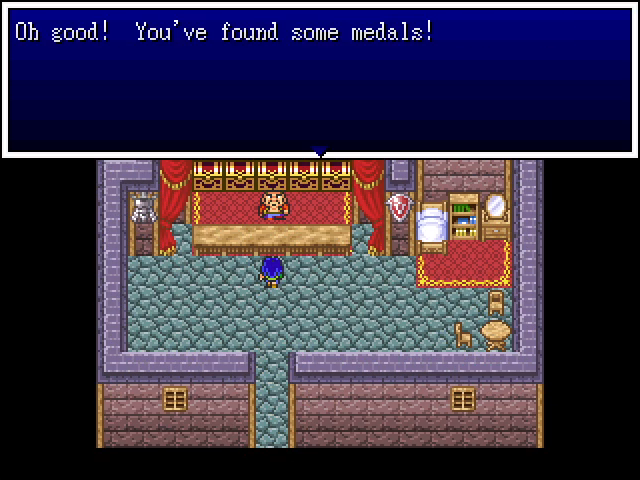
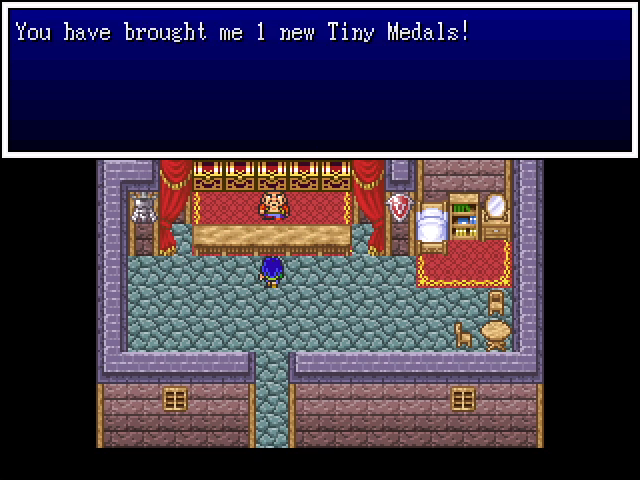
Inside the well is a small house, and living within is this man. We don't yet have enough medals to claim any of his prizes.
Believe it or not, this is actually light foreshadowing, and not in the way you might expect.
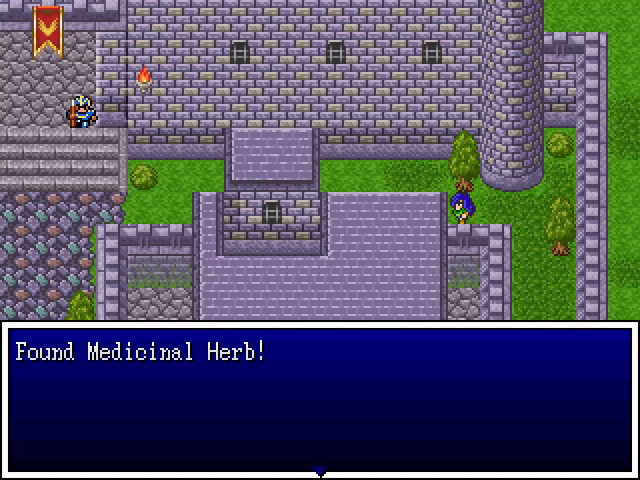
More loot.
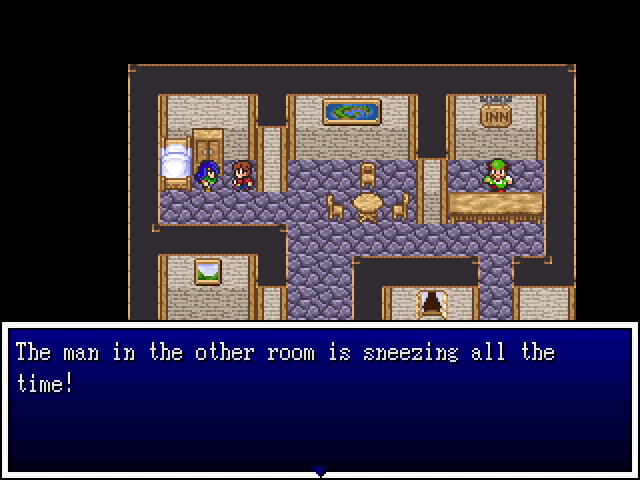
These two people are in the inn. They're not plot-relevant at all, but I do feel bad for the old guy.
The cabinet behind this guy is searchable, but he's blocking our access to it.
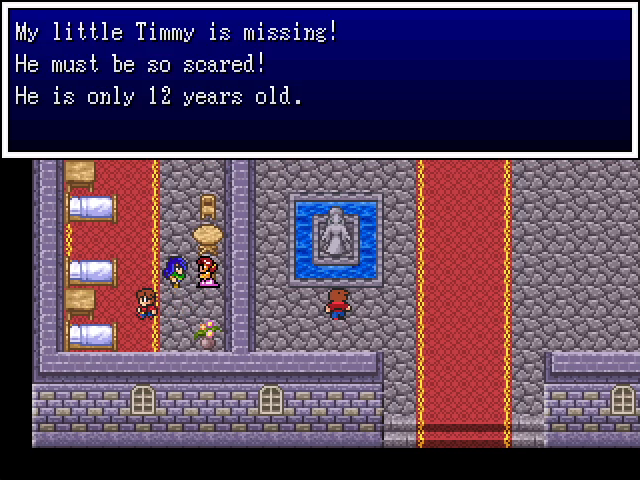
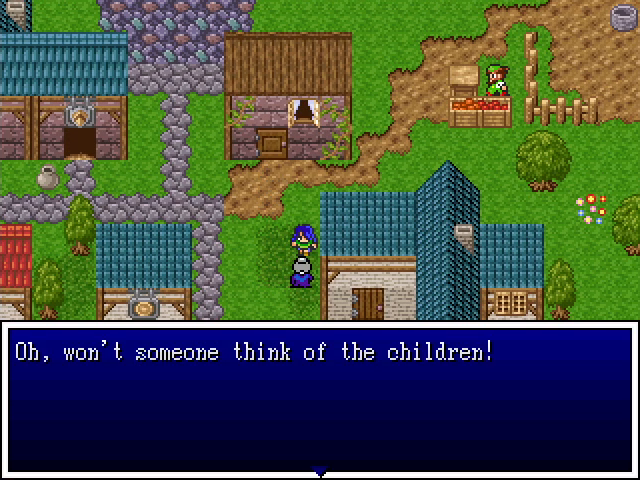
These are some of the people who've been begging the king for help. This bit of dialogue also contains some foreshadowing.
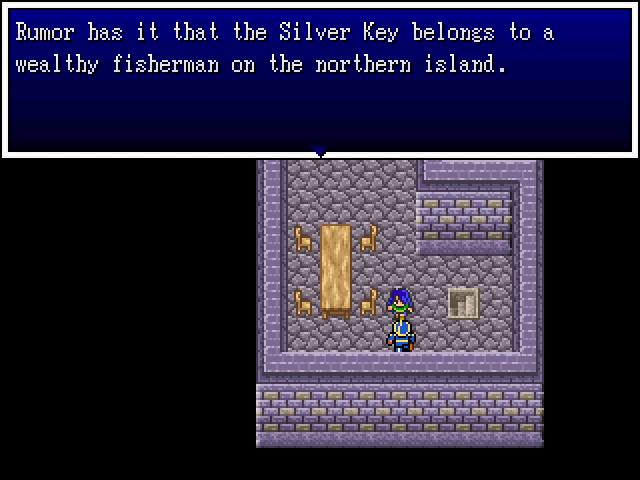
To the north is a mysterious door. We lack the key to open it.
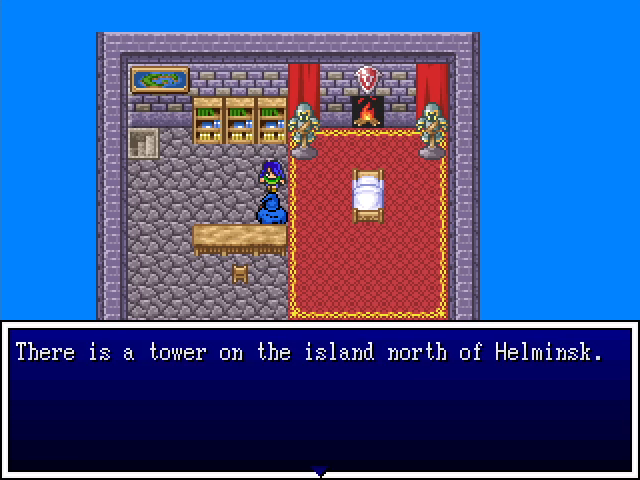
In the north part of the castle is a courtyard, which has some NPCs who offer helpful information.
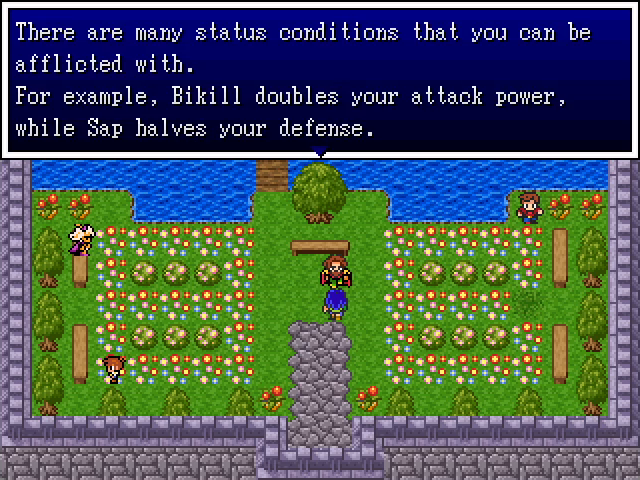
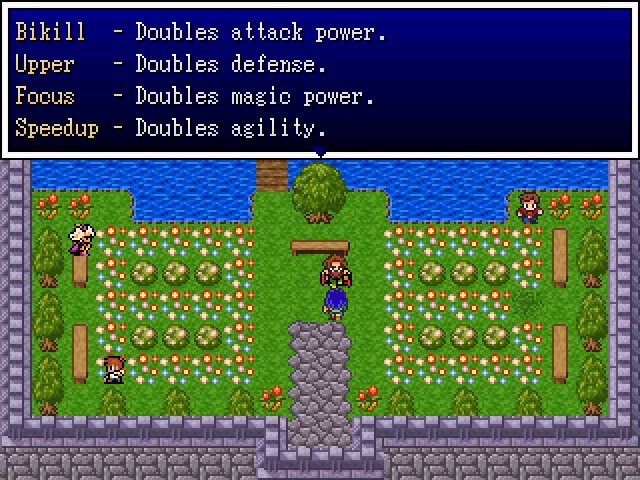
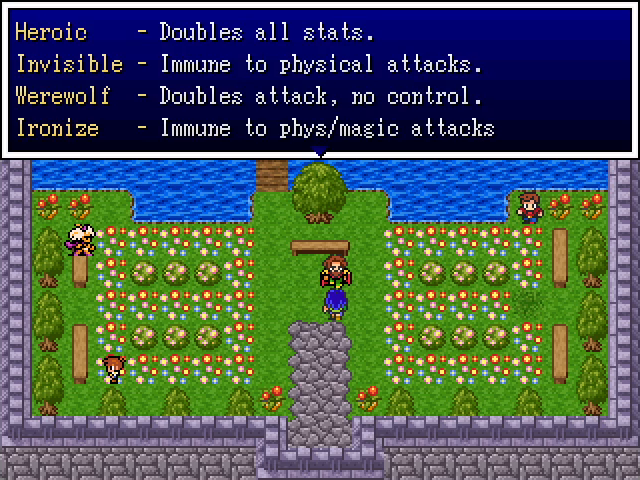
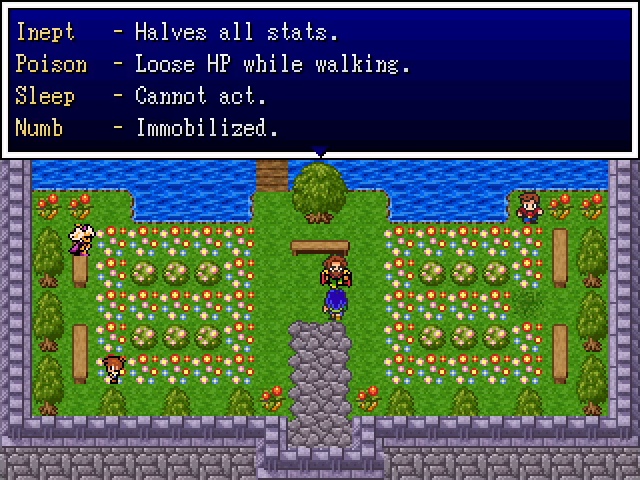
No, you do not need to memorize all this.

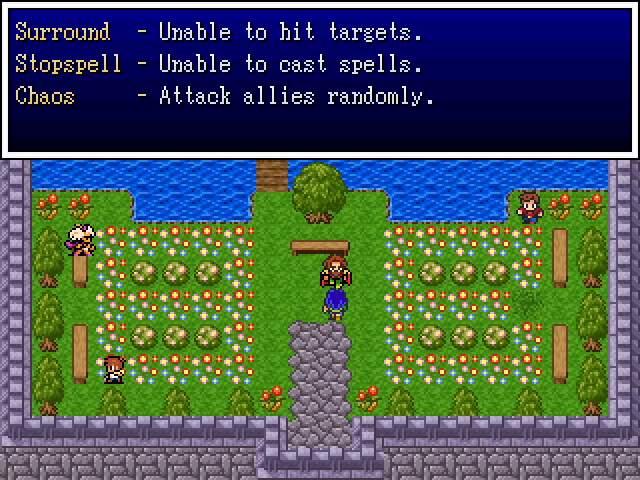
This, on the other hand, if extremely important both for finding treasure and for some quests.
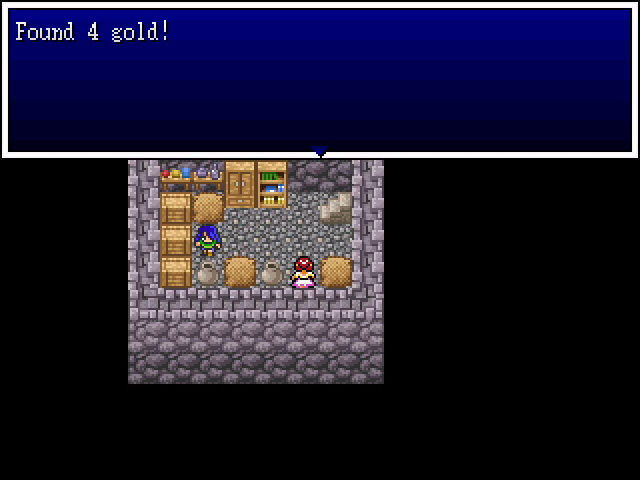
This isn't much, but gold is always welcome.
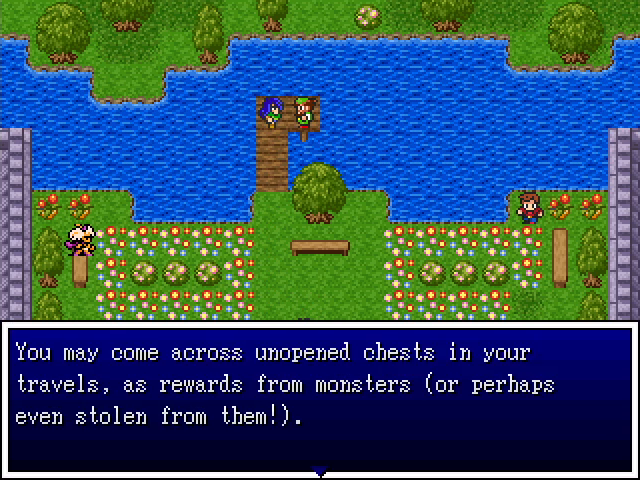
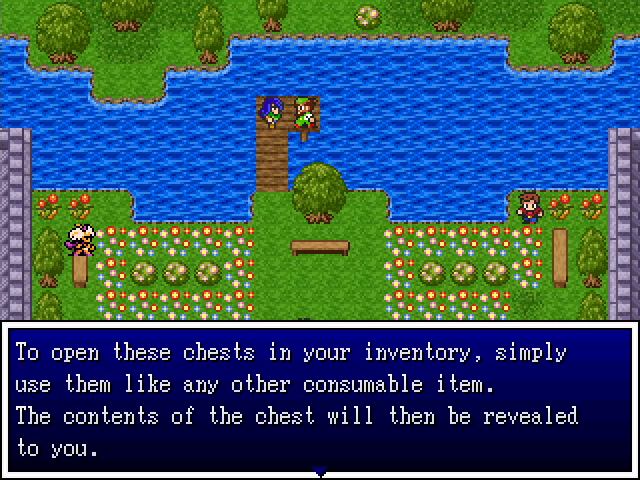
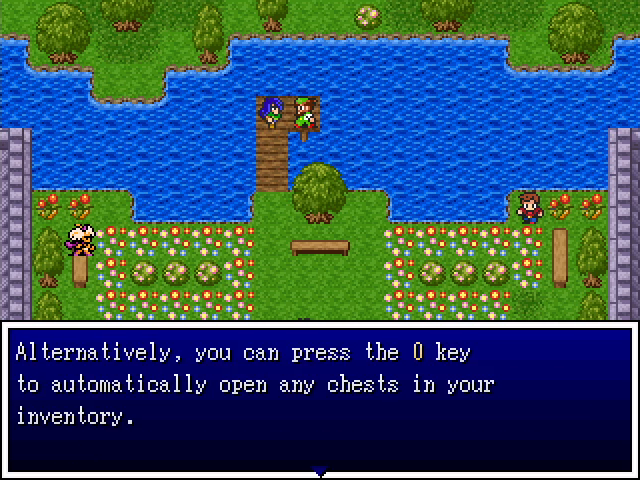
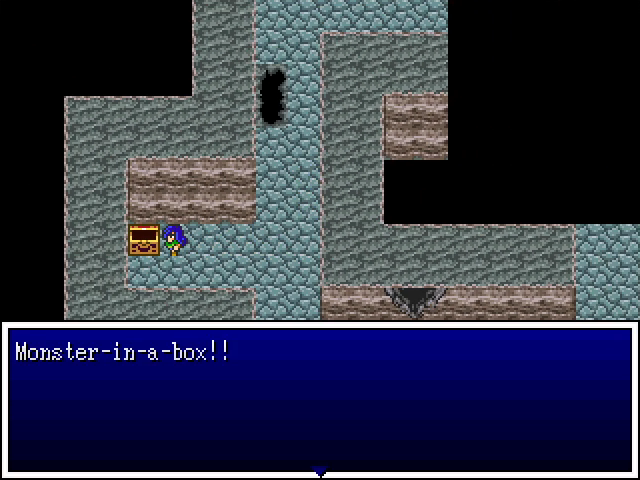
This is one of the game's weirder gimmicks: being able to acquire entire chests from monsters and searches.
Look, not every treasure is fantastic.
Information to save for later.
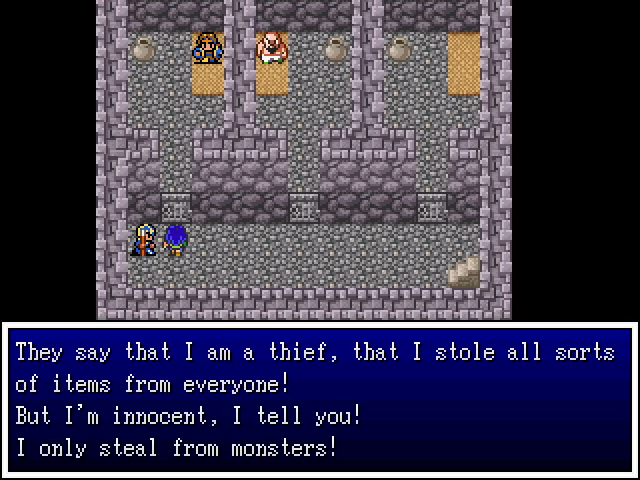
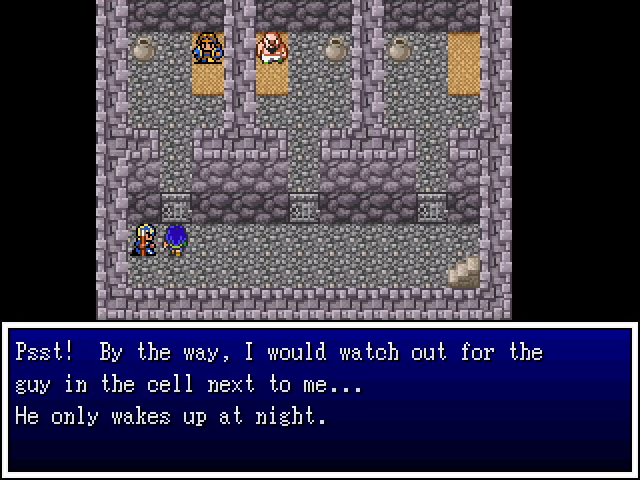
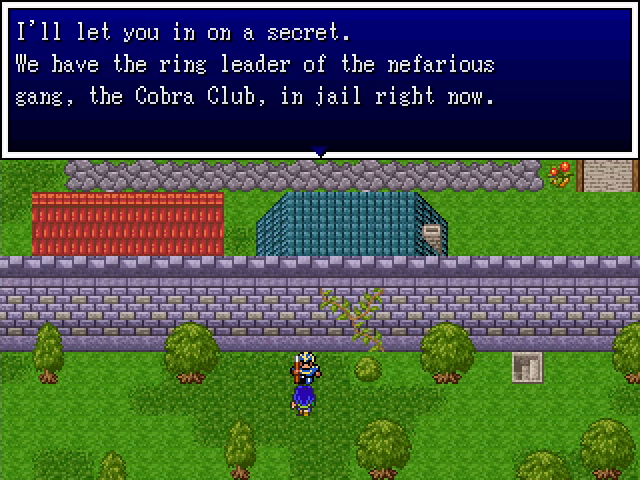
This guy is clearly a Bandit, but I guess he just has to rot in jail. Not sure about the guy in the other cell, though...
More potentially relevant information.
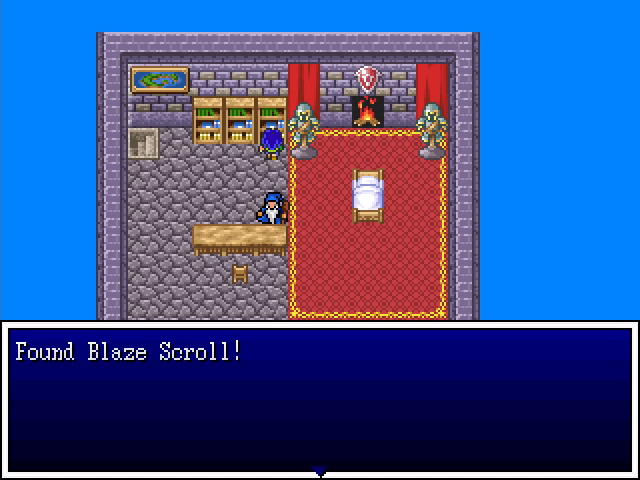
Blaze is the weakest attack spell in the game, but there are times when you need magic, so this isn't entirely useless.
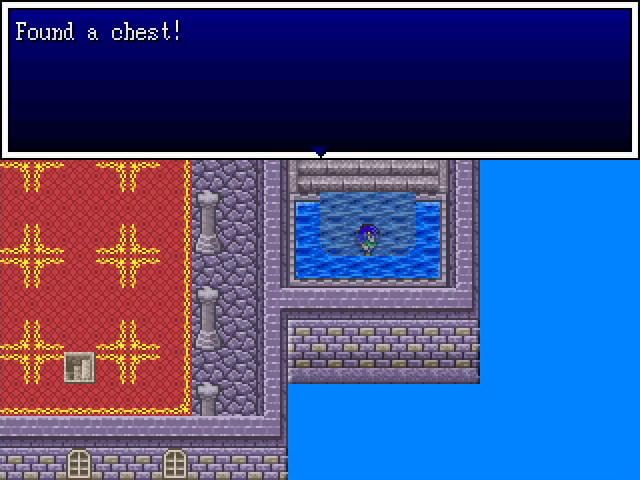
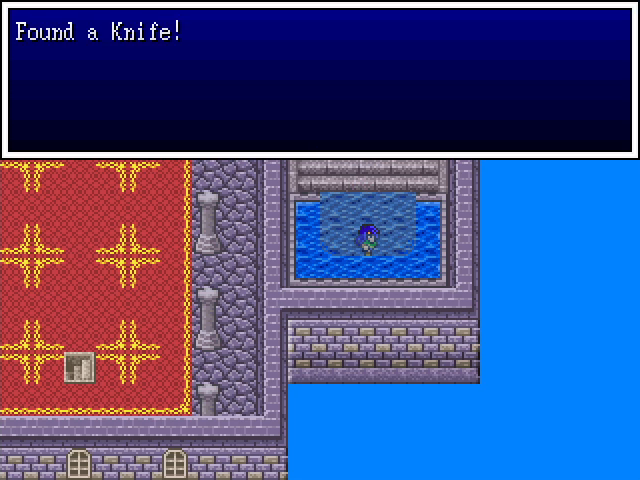
Back in the throne room, there's an additional chest hidden in the water. A knife is stronger than a club, so this is a good find.

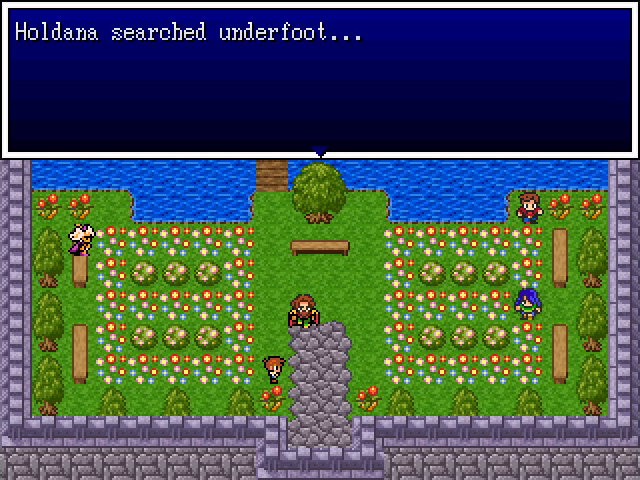
Always remember to search underfoot in suspicious spots.
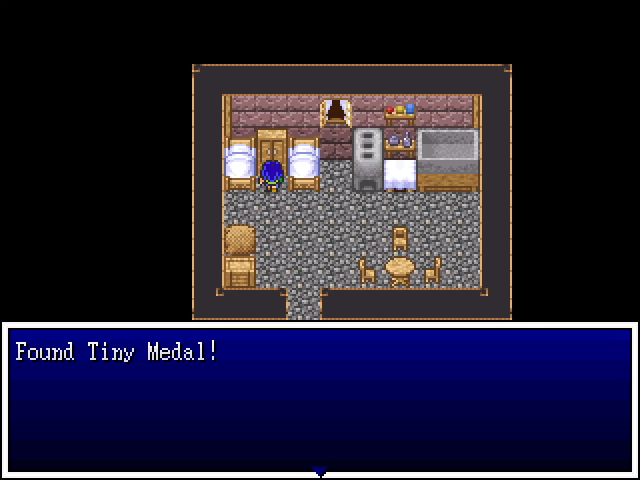
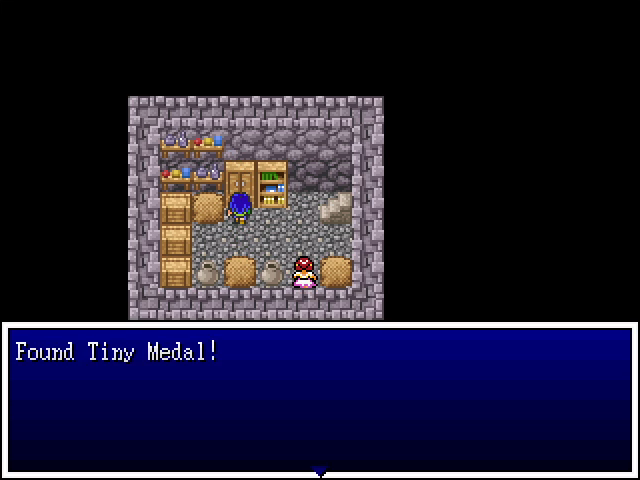
Another Tiny Medal.
Sorry, ma'am, but you misquoted the chapter title. No credit for you.
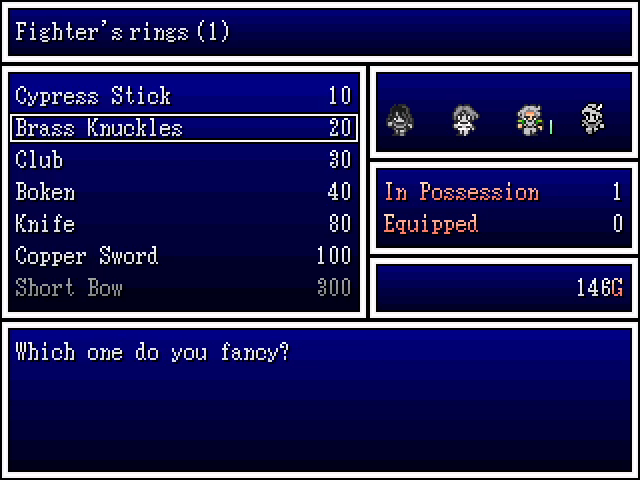
With the city mostly looted, I head to the shops to buy gear for our party. Larry's the only one lacking a weapon, and the only thing here that he can use is brass knuckles, which have a measly 1 attack power.
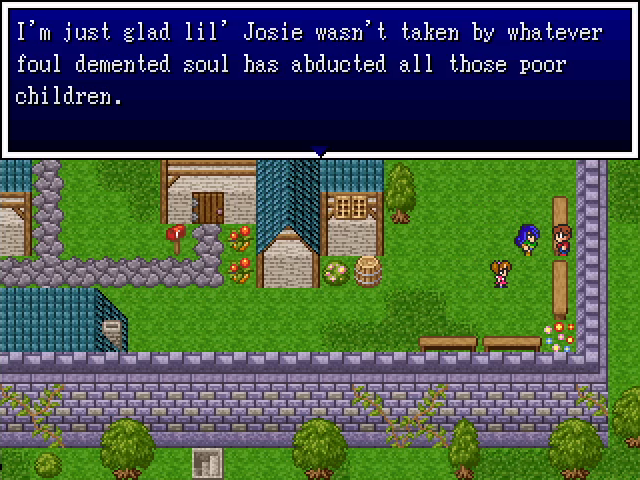
Yes, you certainly have it much worse than all the parents whose children have gone missing.
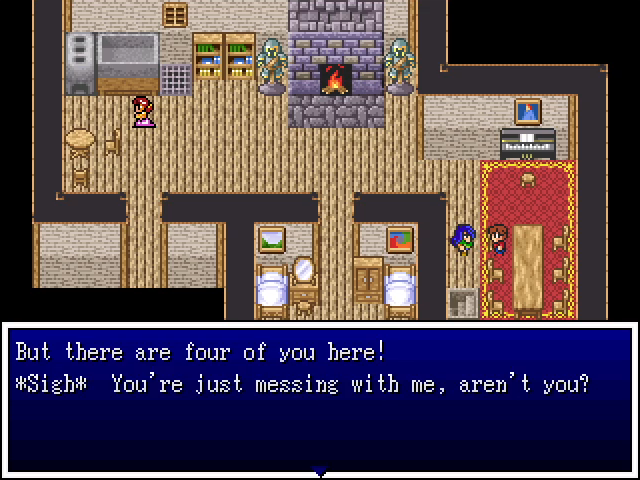
I appreciate an NPC who can tell when he's being fucked with, even if he doesn't have good grammar.
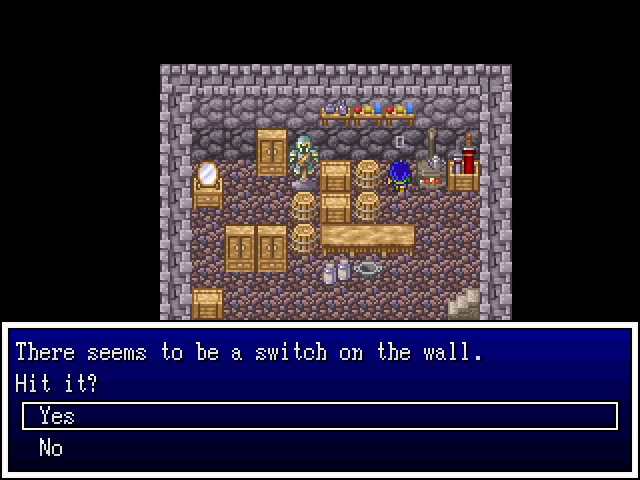
The woman's cellar has a switch on the wall, which opens a secret passage.
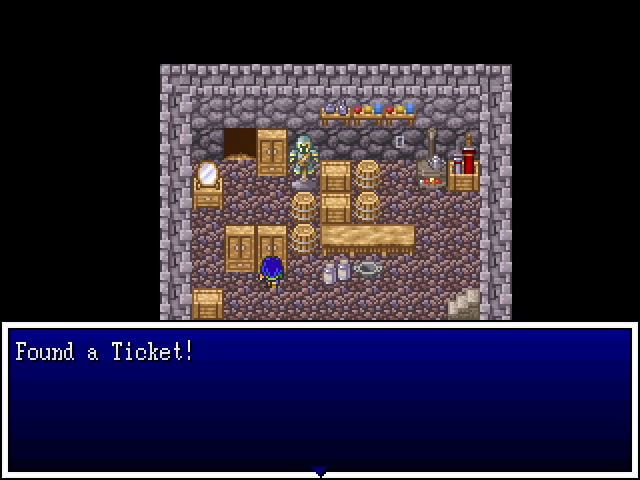


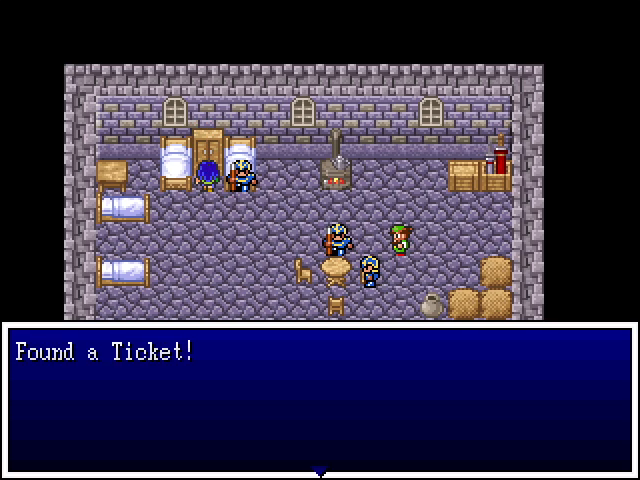
There's also a fair amount of stuff to find here, including some kind of ticket.
Why does this make me immediately suspicious?
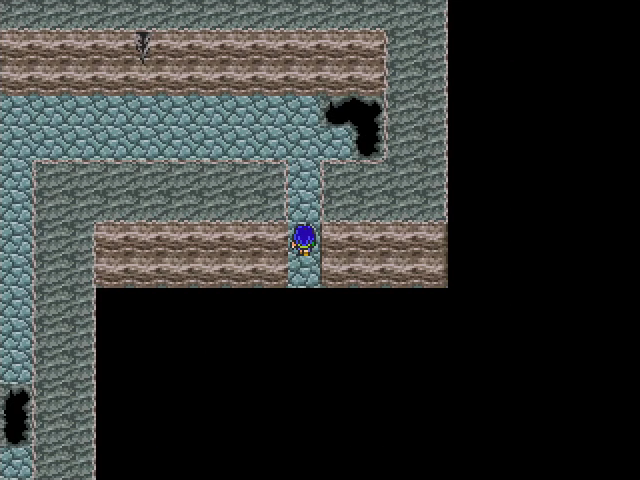
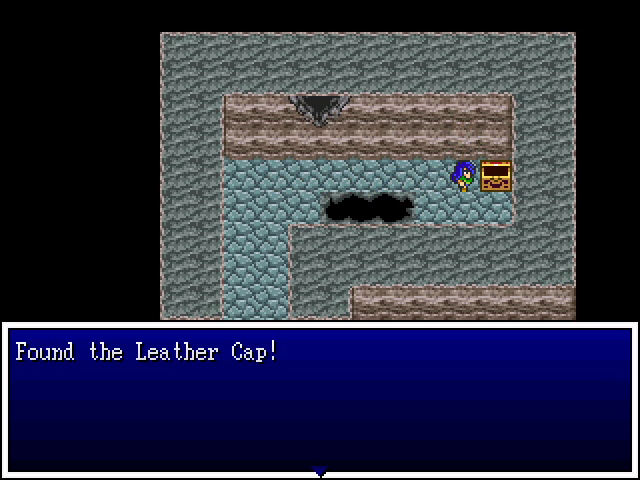
Anyway, the secret passage leads to this tunnel network. There are a couple treasures here, including this leather cap.
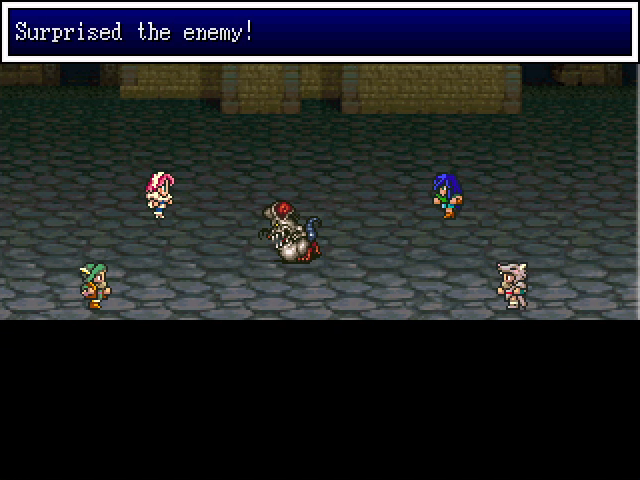
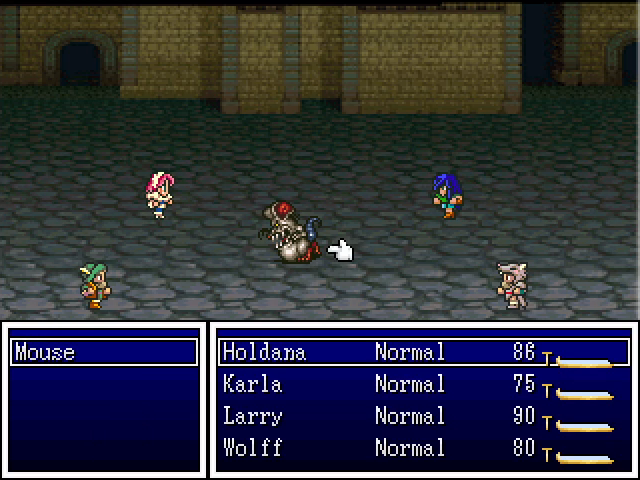
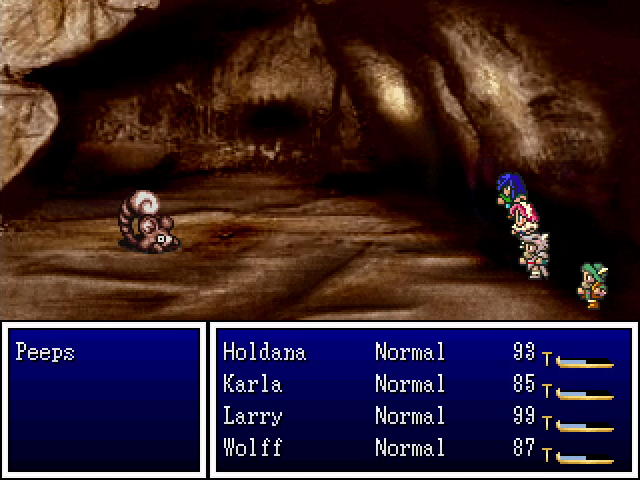
There are also monsters. Mice are pretty basic enemies with no real tricks, and this one was extra screwed since we surrounded it. Final Fantasy VI players should recognize this surprise attack mechanic.
Of course, our next encounter surprises us. Rats are slightly more durable than mice and have Plague Bite, which can poison a character. Luckily, no one was afflicted this time.
Here's the other treasure chest down here and SON OF A BITCH.

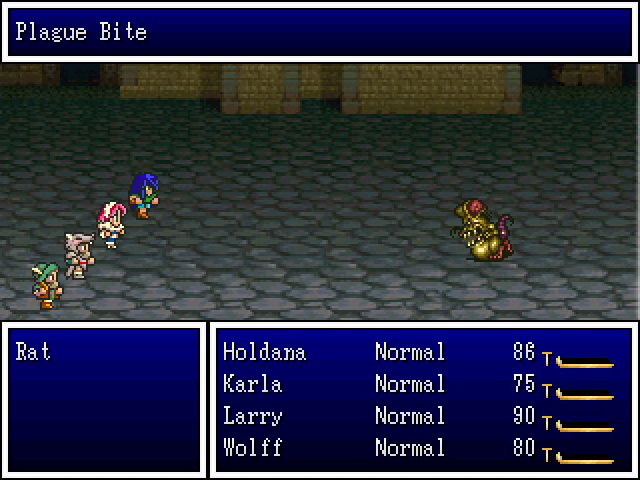
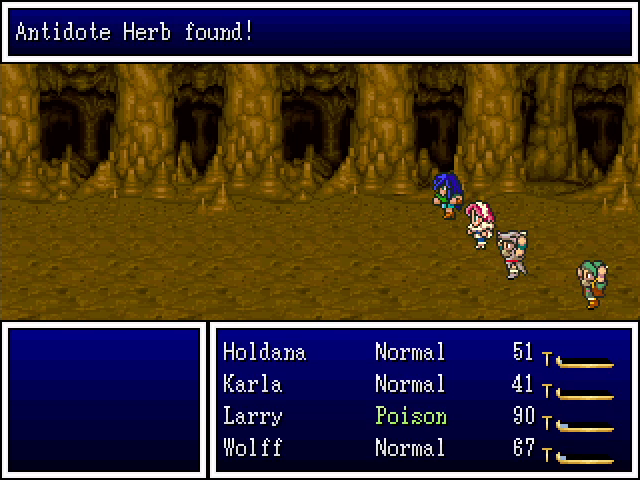
 This is a really dangerous encounter with the potential to wipe out our group.
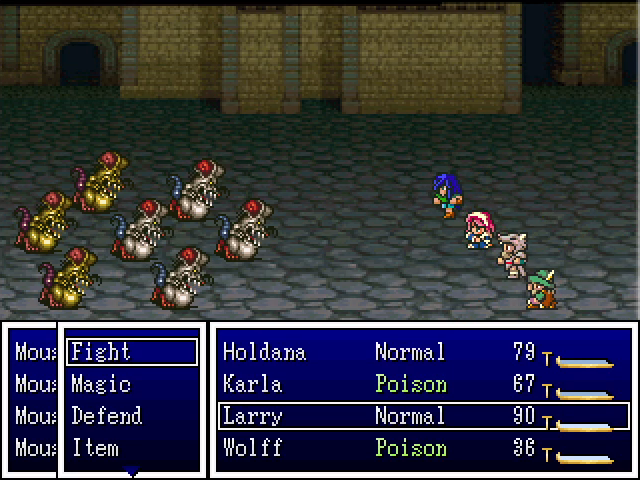
By the time I got any actions, two people were poisoned.
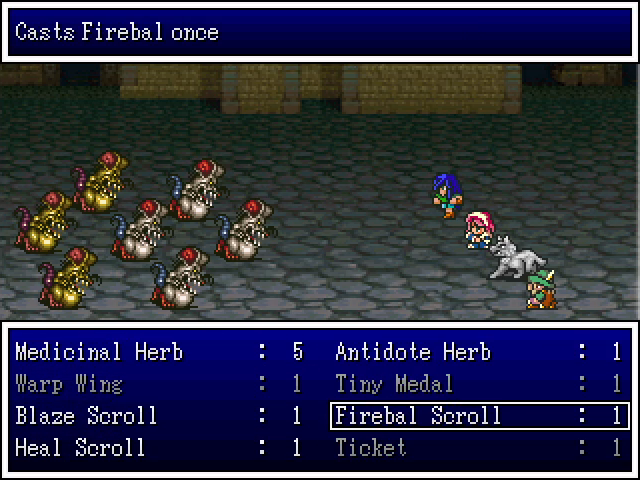
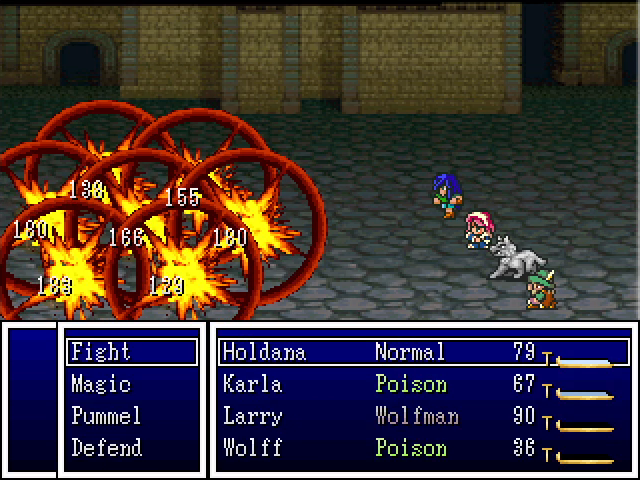
It's kind of overkill, but the Firebal scroll may have saved our lives, so it was worth it.
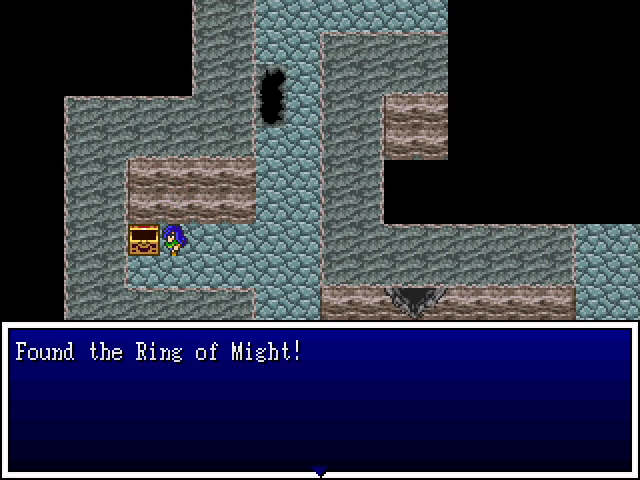
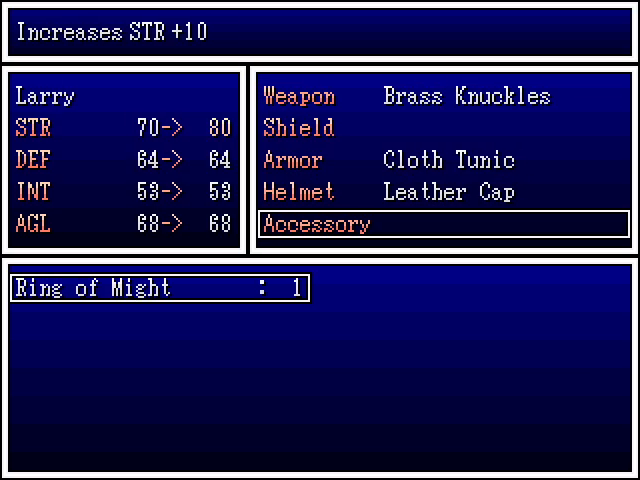
Our reward is a Ring of Might, an accessory which raises a character's Strength by 10. This is a fantastic early-game find and goes right to Larry.
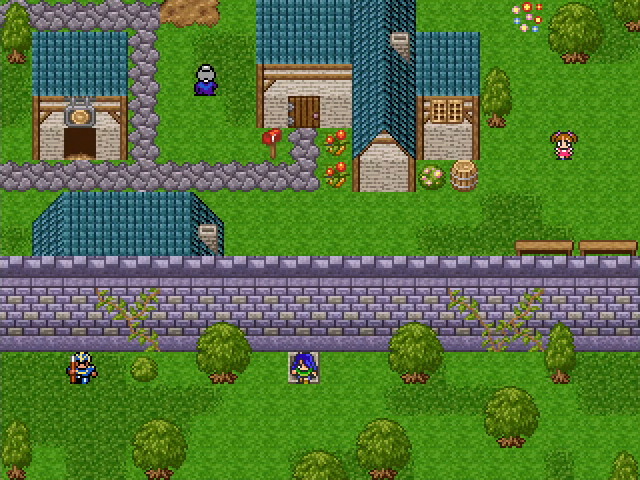
Lacking antidote herbs, I limp my way south, which leads to a staircase that comes up outside the city walls. There's a guard here who's probably shirking his duties, but he tells us about one of the prisoners.
After hitting up the church to get my poison cured and sleeping a night at the inn, I decide to head back to Holdana's cabin.
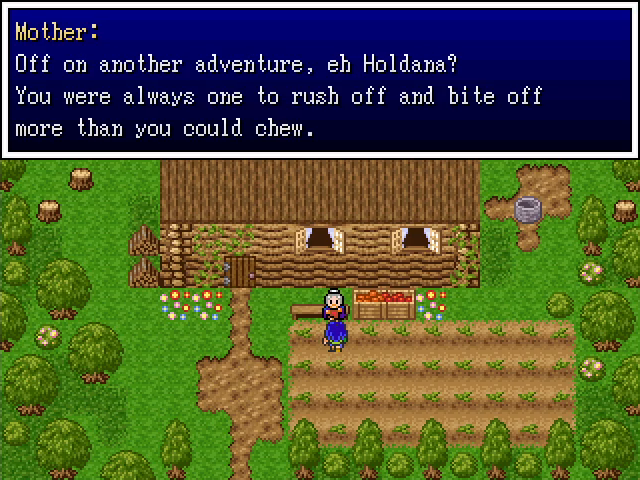
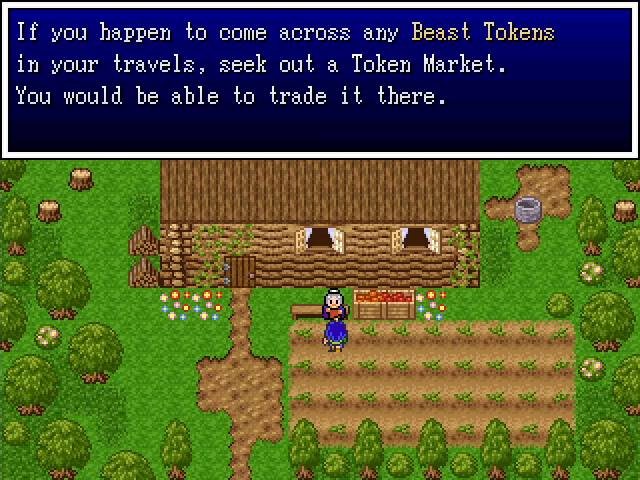
Holdana's mom is here, which is a nice deviation from the usual trope of heroes with no visible parents. She offers some friendly advice too.
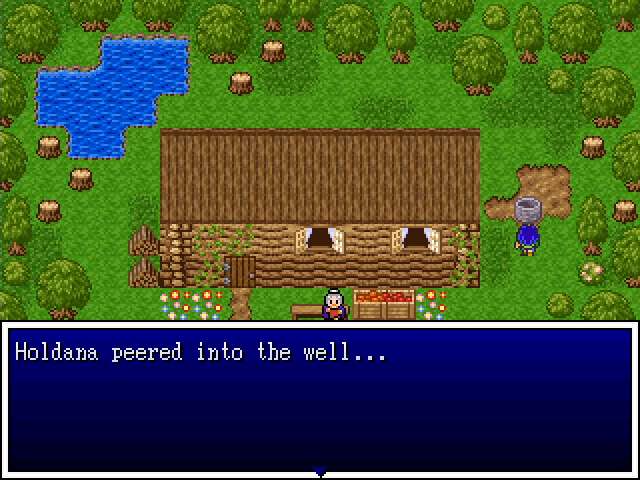
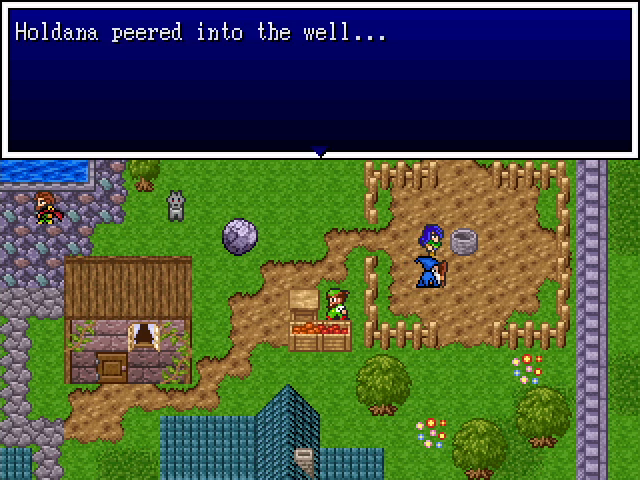
Like most wells, Holdana's can be entered. There's absolutely nothing here except shitty monsters that give barely any XP and money.
After this, I head out of town to fight some monsters. Grinding generally isn't required in Hero's Realm, but level 1 characters are pretty fragile, and it's worth taking some time to do it.
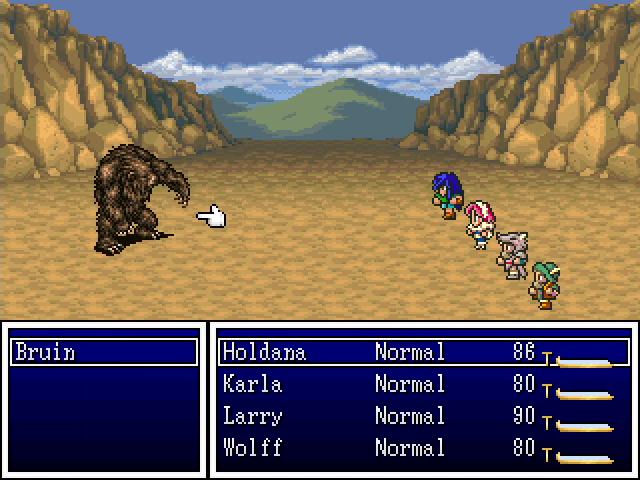
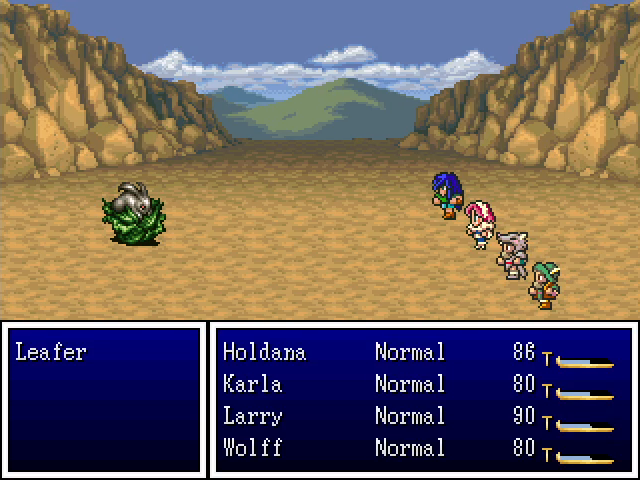
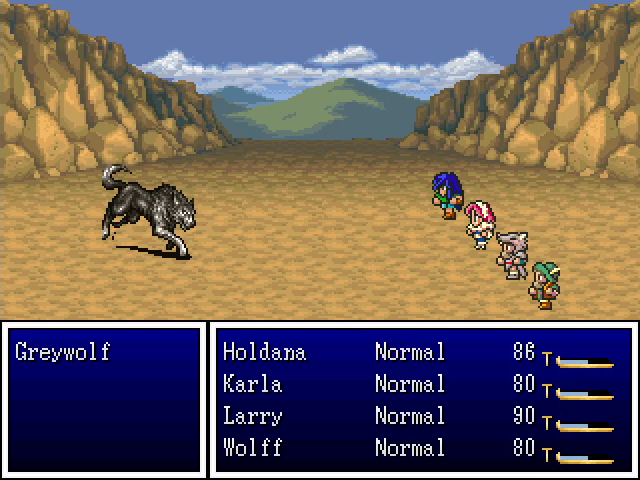
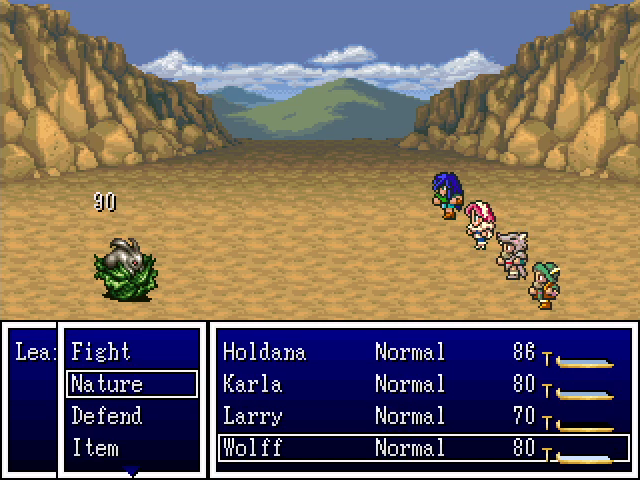
Bruins don't have any nasty attacks, but they're pretty durable and can take 2-3 hits to kill. Greywolves deal a bit more damage but also die more easily. And leafers are just basic fodder that barely do anything before dying.
This is Larry, by the way. I wanted to show off that, while is weapon sucks, he still has pretty considerable power.
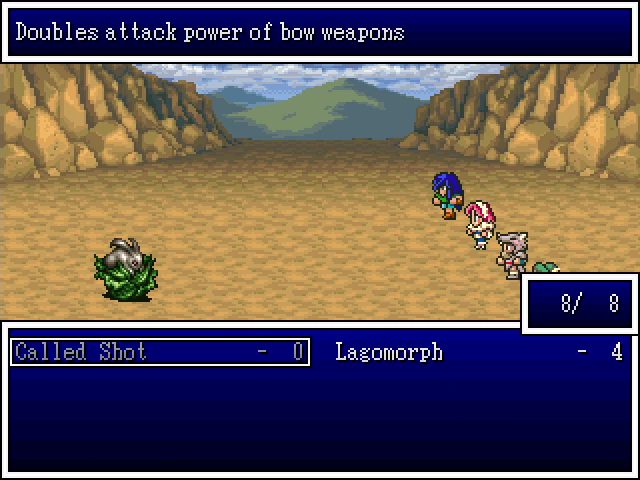
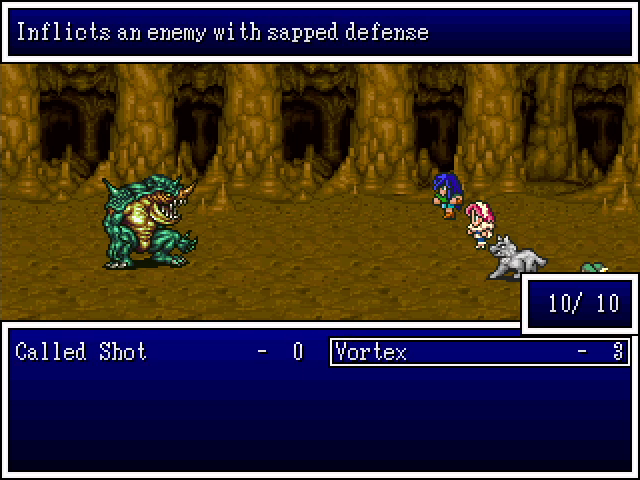
I also figured I should show off Wolff's current tricks. Lagomorph, rather than being a slot machine consolation prize, is a terrain spell and only works on the world map, and Called Shot is currently useless since he doesn't have a bow.
Eventually, night falls. Let's head into town and see if we can find anything new.
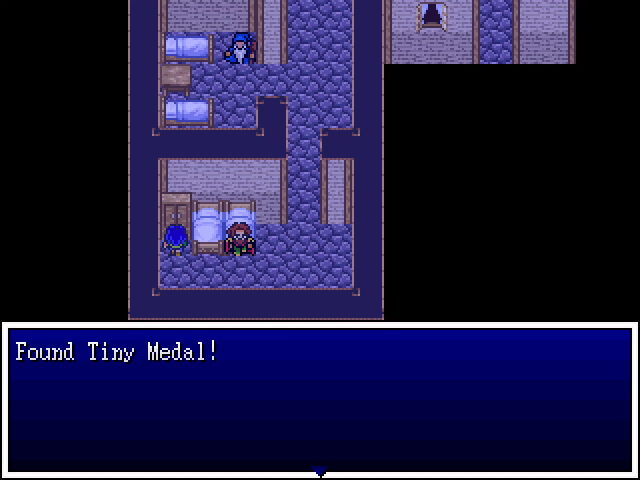
This guy at the inn has gone to sleep, so we can finally loot his wardrobe. Another Tiny Medal is always good.
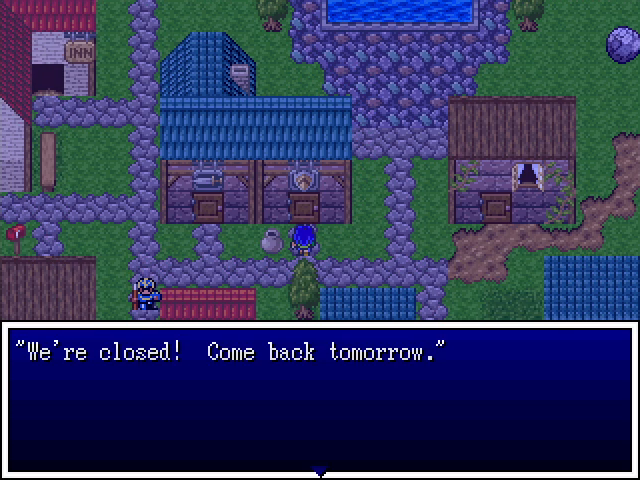
Shops are closed.
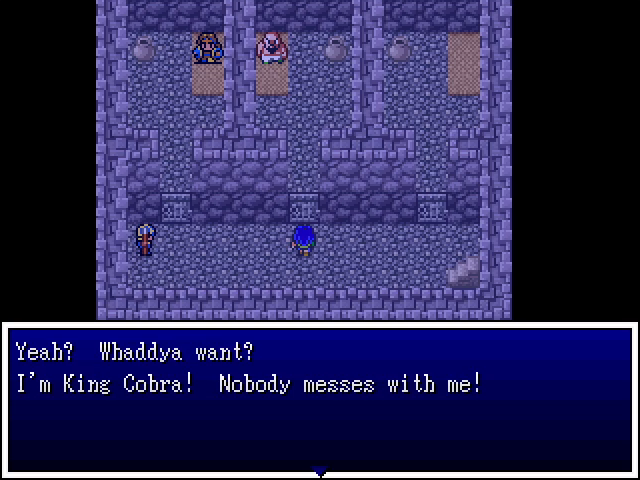
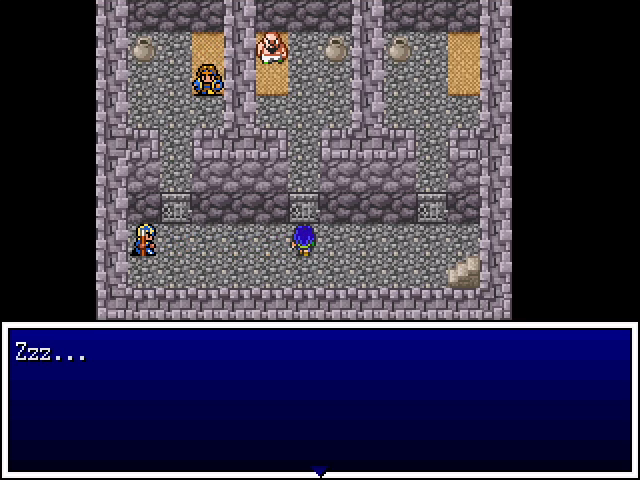
Turns out that that guard wasn't lying. A crime boss is actually a pretty impressive prisoner to have grabbed.
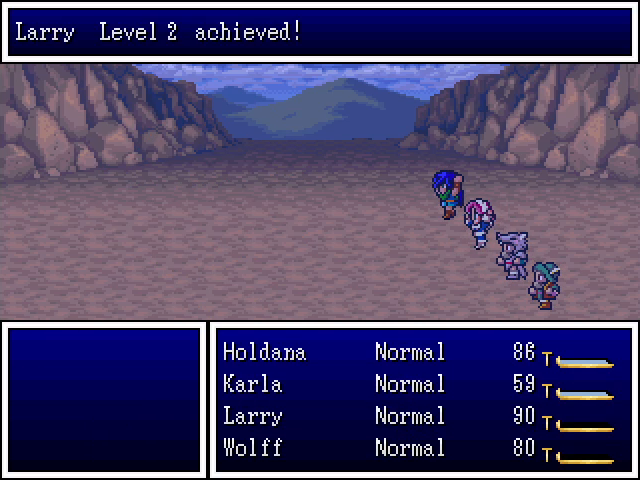


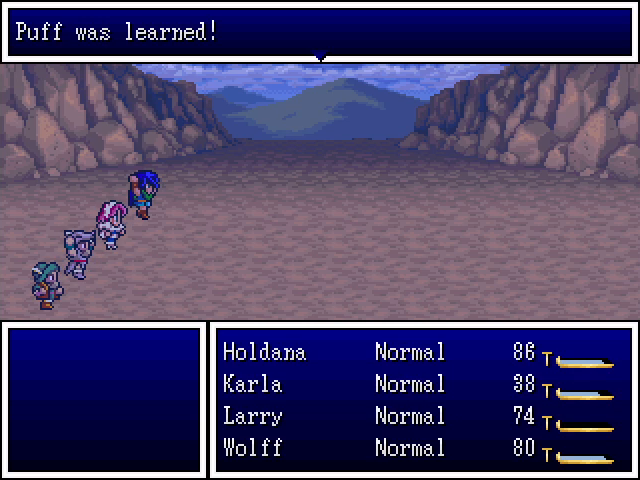

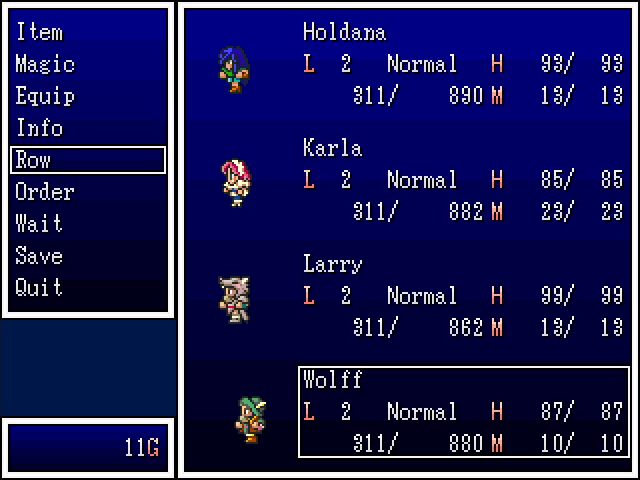
That's all there is to see in the city, so I head back outside to continue the grind. Level 2 comes in pretty short order, with Holdana learning her first spell, Blaze, and Karla learning her third (she already had Heal and Poison). Puff is an earth attack that targets all enemies. It doesn't work on flying foes, but a group attack is still quite handy this early on.
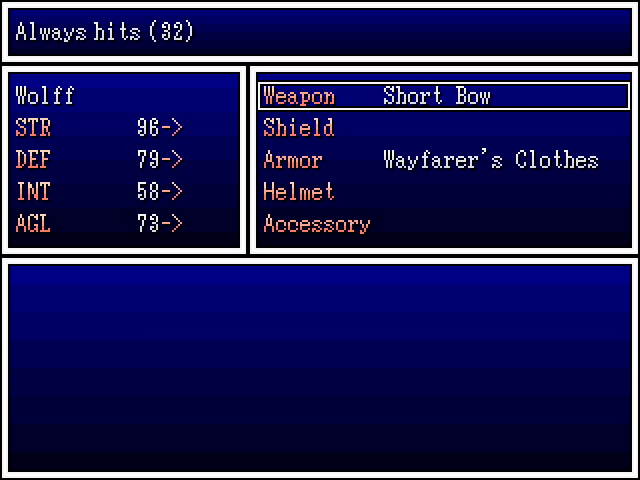
Back in town, I stay at the inn, then decide to sell off my Tarot card so I can afford a short bow for Wolff. This raises his power considerably and lets him use his Called Shot power for even more damage.
It also lets me put him in the back row, where he'll take less damage. Being in the back row lowers a character's accuracy, but since bows never miss, that's not a problem here.
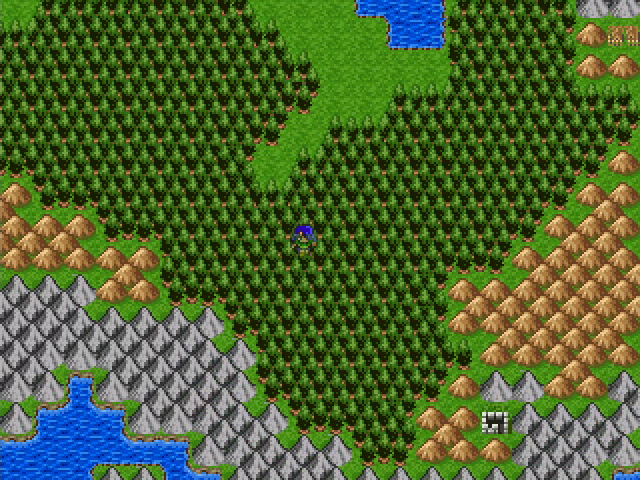
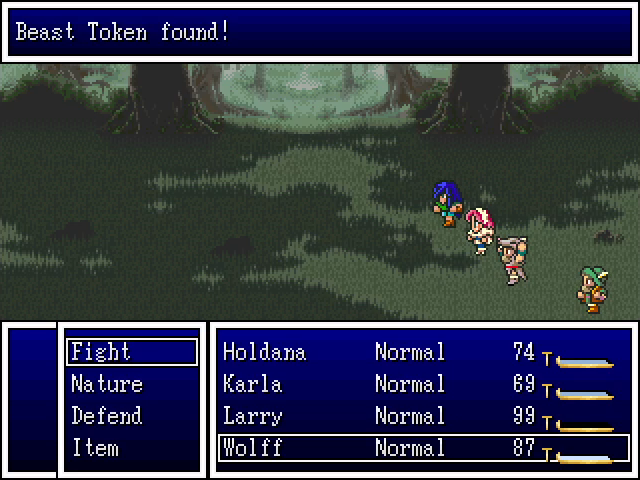
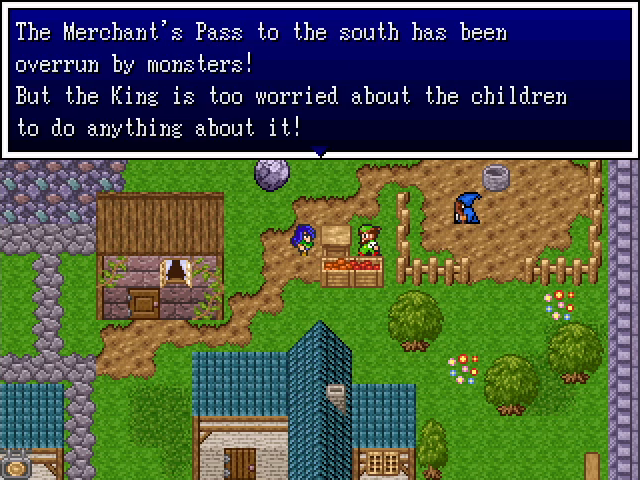
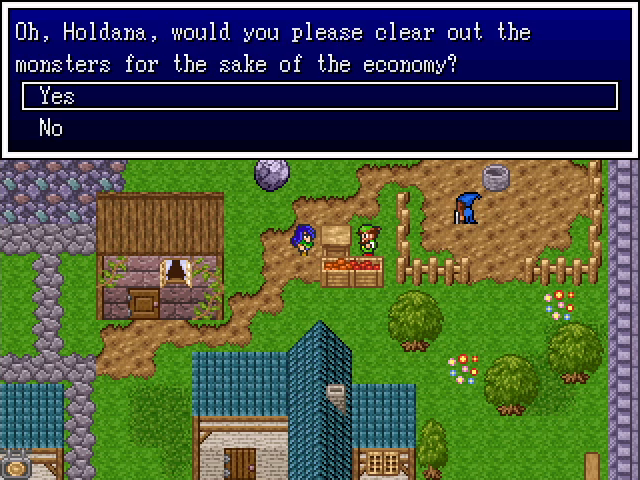
Now that we're level 2, let's head to Merchant's Pass to save the economy. On the way, we run into a monster that drops one of the beast tokens Holdana's mom mentioned. These will be useful later.
Outside the pass itself is a guard station.
Search everywhere!


C'mon guys. You suck.
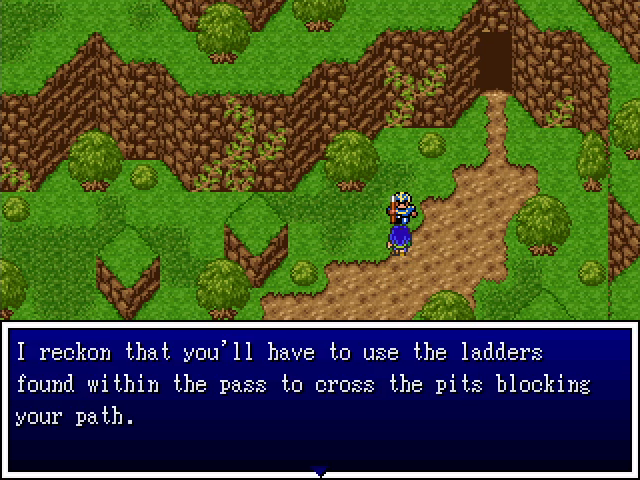
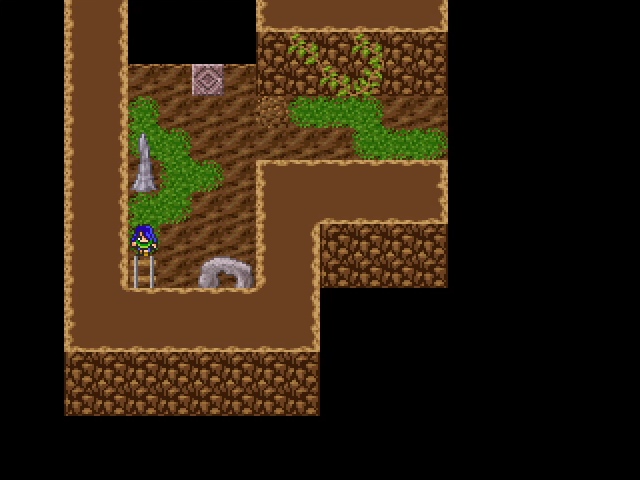
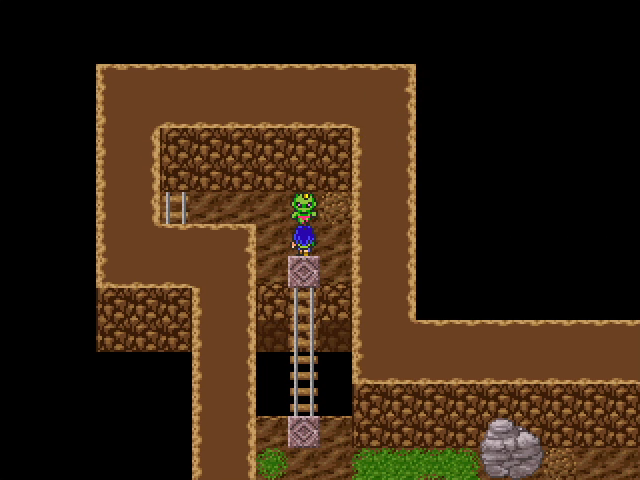
This dungeon serves as a tutorial of sorts. Using ladders to cross gaps is a central theme of quite a few dungeons.
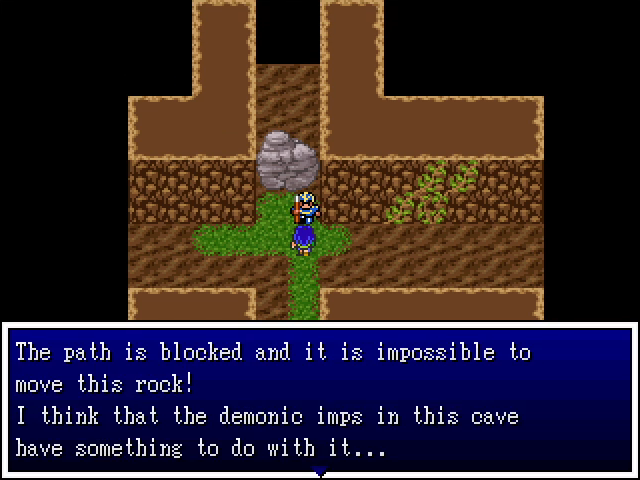
Inside the pass, we find this guard, who mentions that the blockage is probably the doing of some demons. Didn't see that coming.
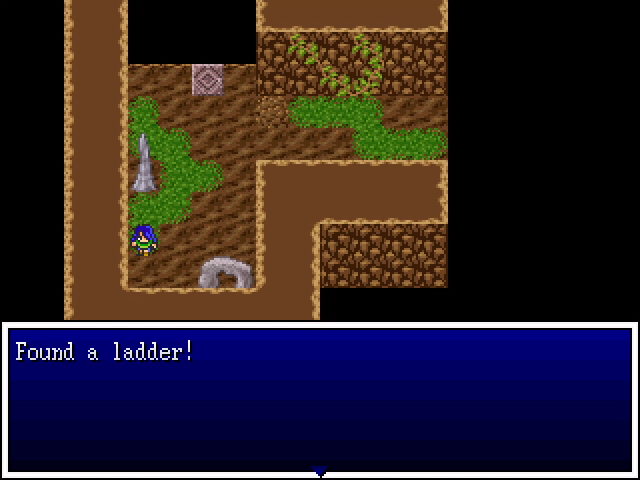
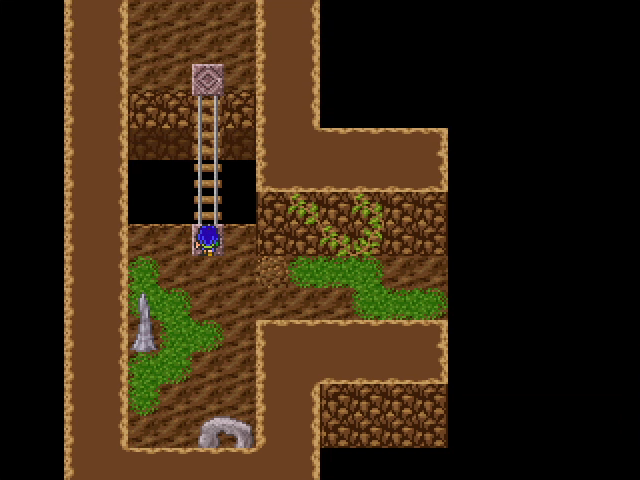
Heading left, we get a simple introduction to using ladders. They're visually distinct, as are the places they can go, so there's no confusion here.
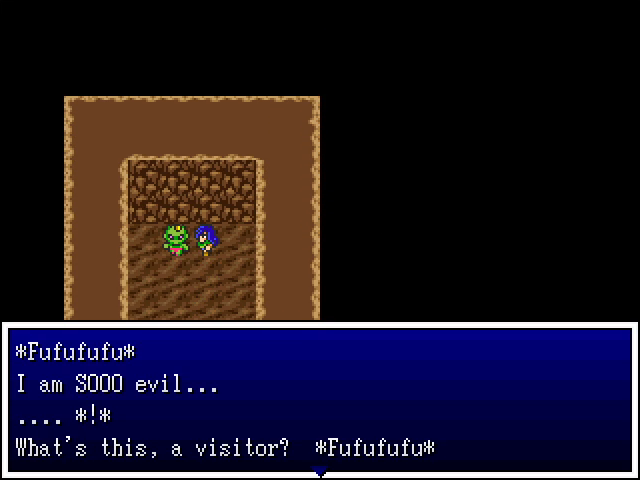 The writing in this game is great. This one dialogue box tells you everything you need to know about these imps.
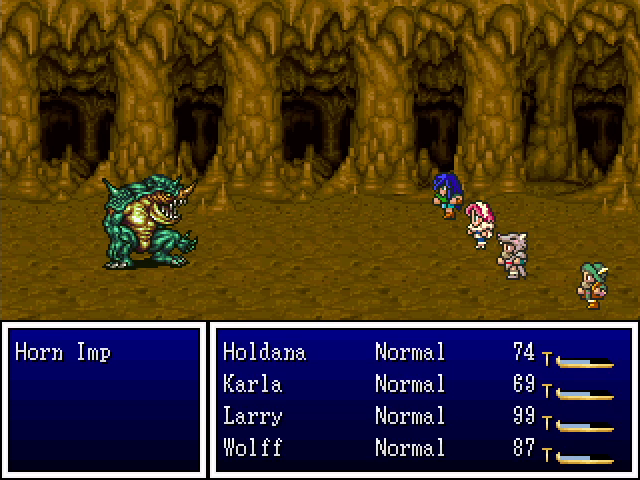
The horn imps take a couple of rounds to dispatch, and have both decent attack power (shown here) and a few nasty tricks (not shown here). This first one went down pretty easily.
Also, showing off that Wolff has a different power available in caves. No healing here.
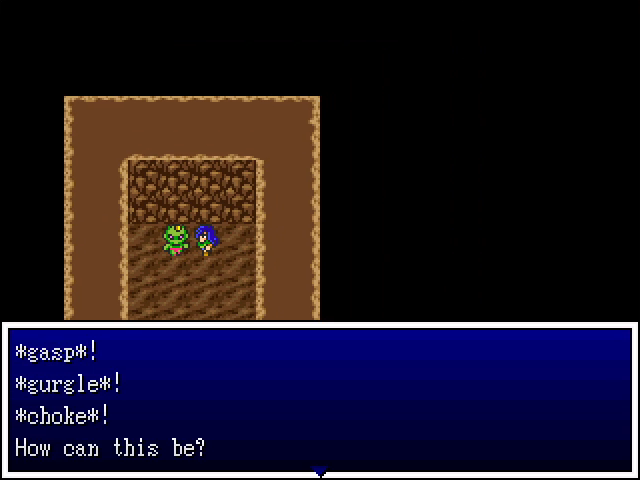
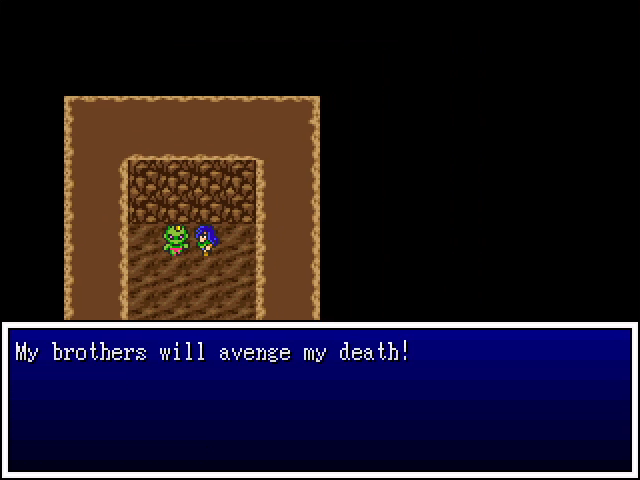
The imp dies, but not before making it clear that he's not the only one of his kind.

Heading east, we find another imp guarding a ladder. This one hits us with Plague Bite, poisoning Larry before I can kill it.
Luckily, they drop antidote herbs.
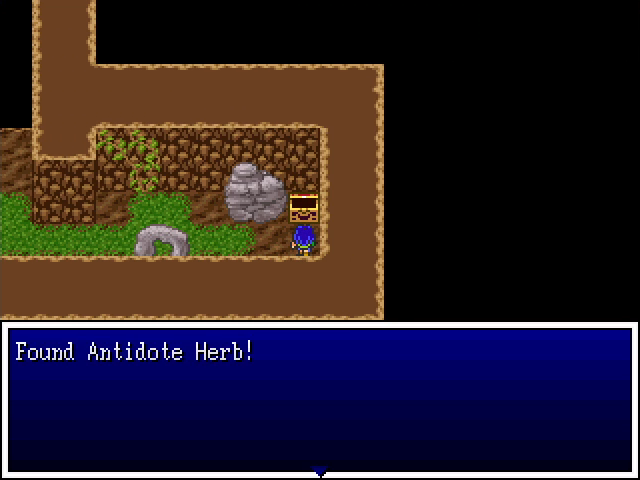
There's also an antidote to be found among the treasures here.

We eventually find a pit with two possible ladder spots. I opt for the right.
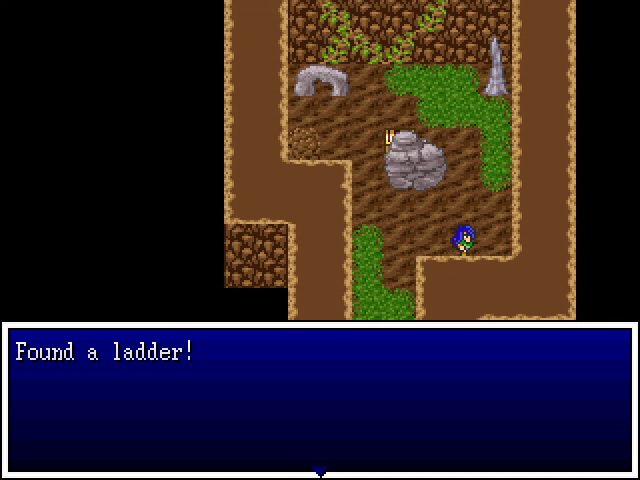
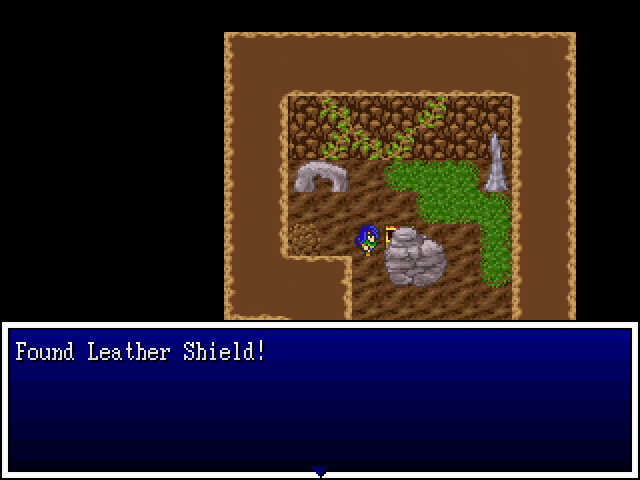
This leads to a dead end, but it's not in vain: we get a replacement ladder, as well as a leather shield from a poorly-hidden chest. This is a nice find so early in the game, since leather shields provide solid defense and almost every class can use them.
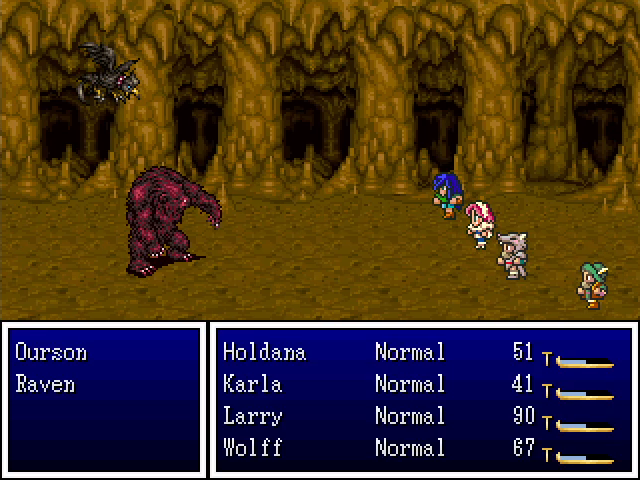
Merchant's pass contains a few new foes. Oursons are basically stronger bruins; they have a lot of HP and decent power. Ravens have Double Attack, which (obviously) hits twice, but are pretty fragile.
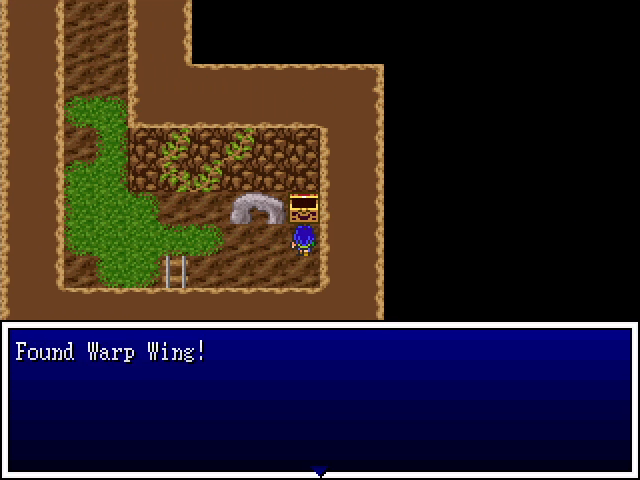
There's a warp wing near the end of the dungeon, which is handy if you're in bad shape by the time you leave.
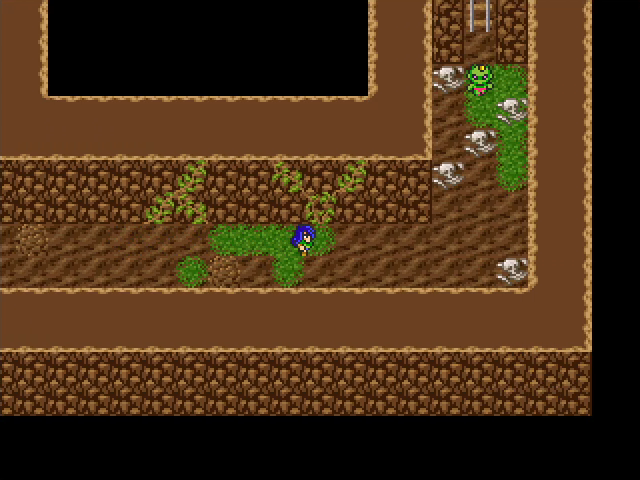
And here's the last imp. He has an extra ladder nearby in case you missed something before getting here.
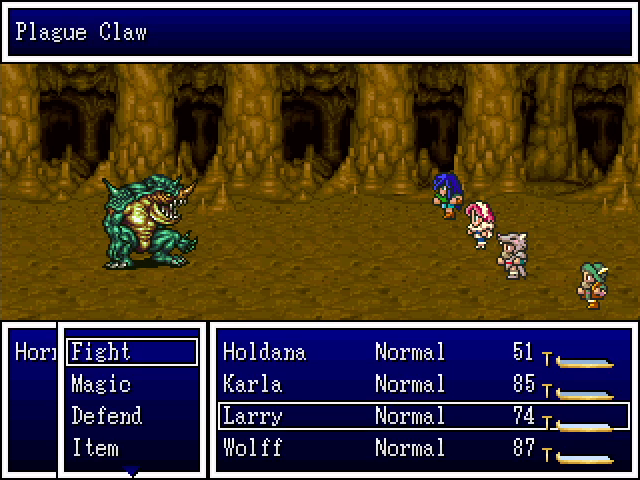
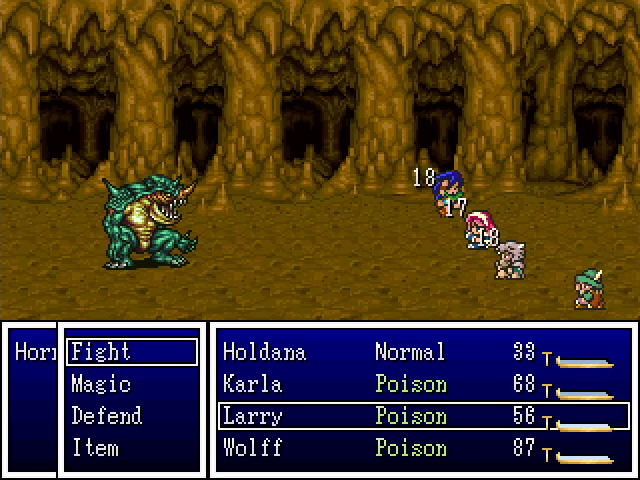
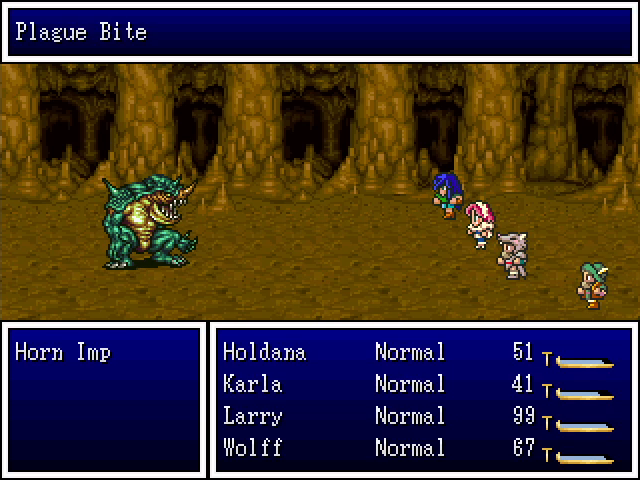
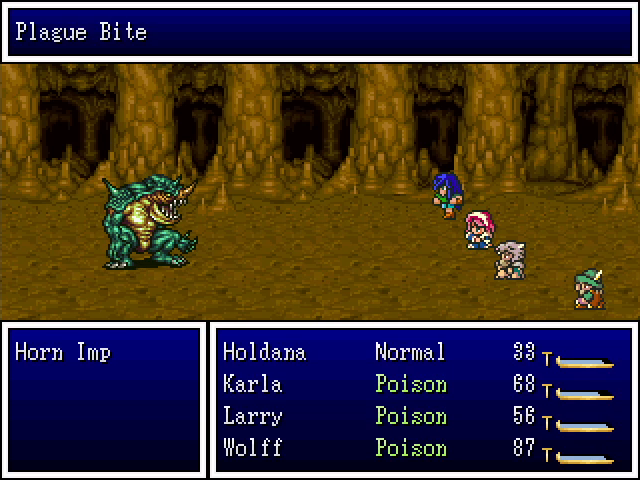
He immediately breaks out the imps' nastiest attack: Plague Claw. This damages the entire party and inflicts poison, which is real obnoxious.
His second attack is a Plague Bite on Karla, which does nothing since she's already poisoned. He dies shortly after.
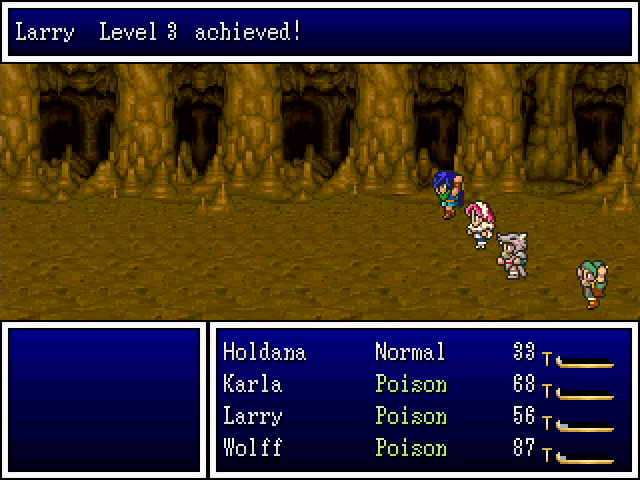
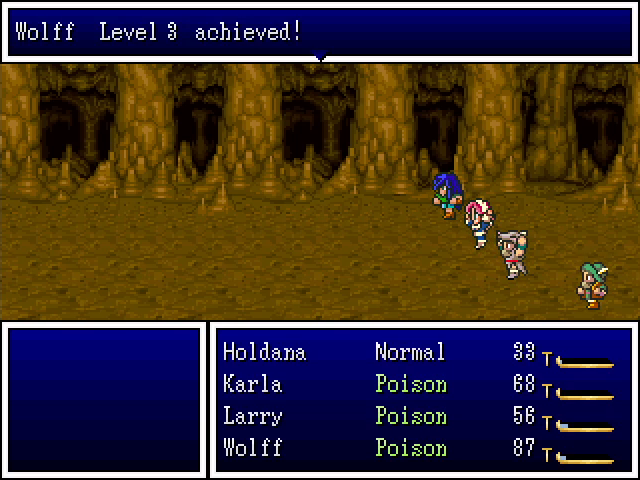
This gives Larry and Wolff enough XP to level. I had to use all my remaining antidotes to recover from poison, but at least I got everyone out alive.
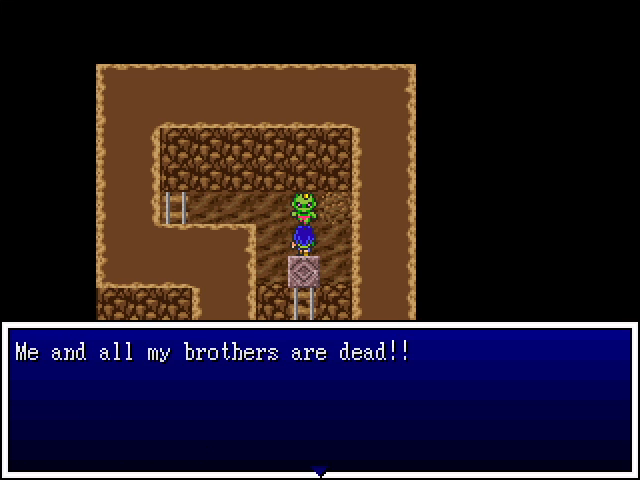
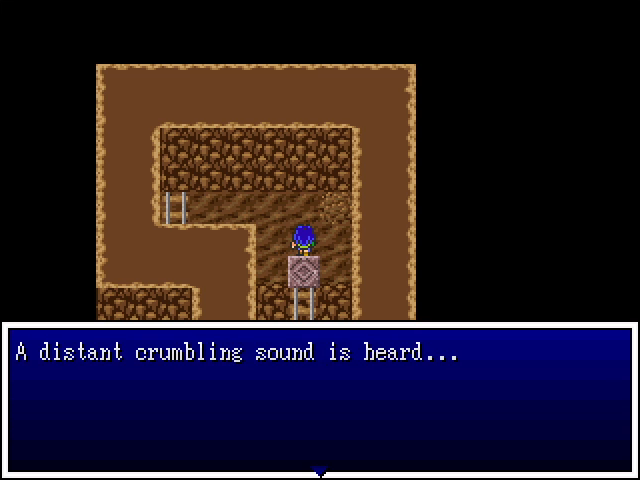
The imp leaves no doubt that the job is done, and the screen shakes violently. When it settles, we get a message about a distant crumbling sound.
Back at the entrance, we find that the rock is gone. Due to strategic placement of grateful NPCs, we still can't get through ourselves.
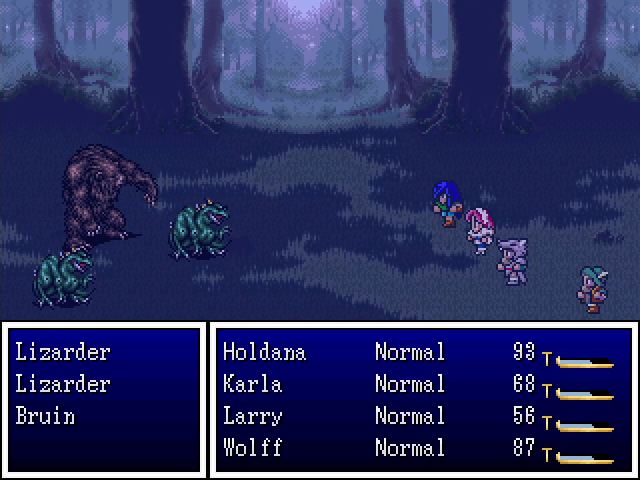
On the way back to the city, we run into Lizarders, which are more basic enemies without special tricks.

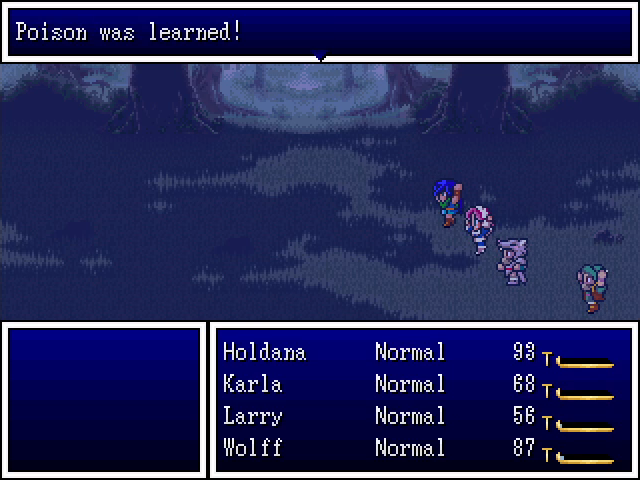
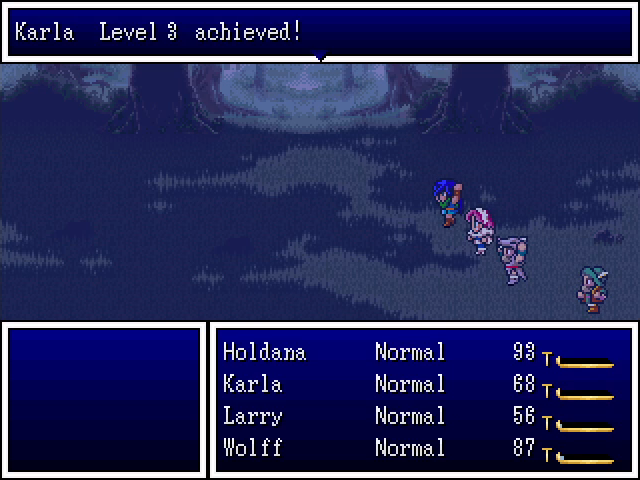
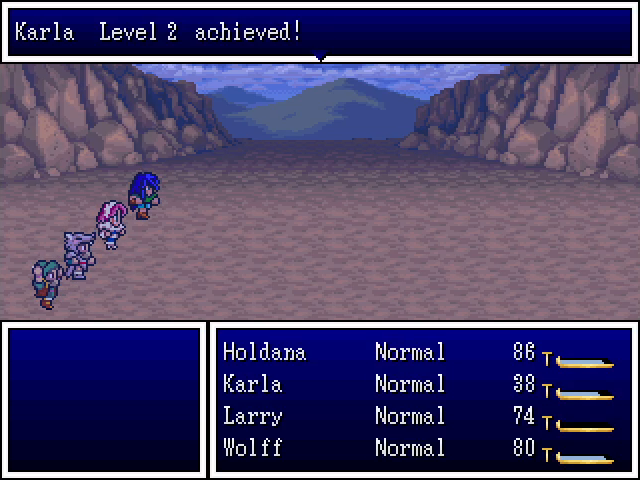
The fight was enough to get Holdana and Karla to level 3, giving our hero the Poison spell.

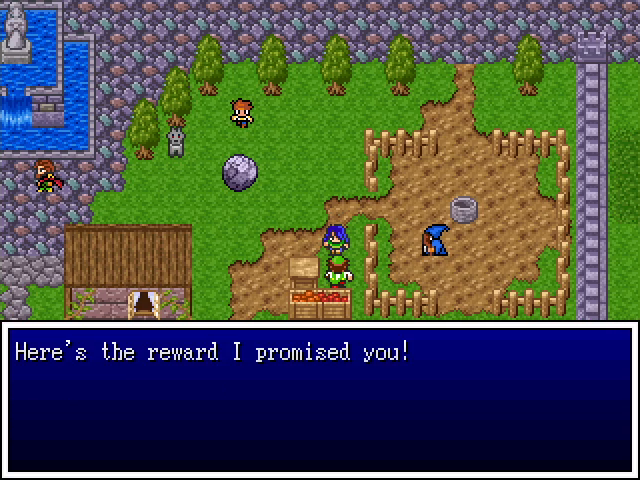
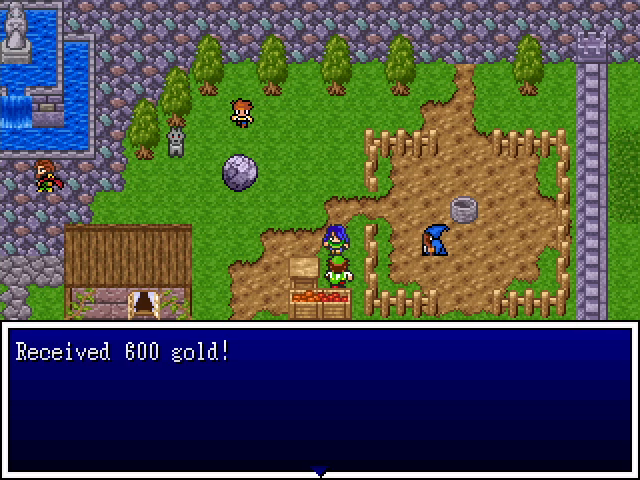
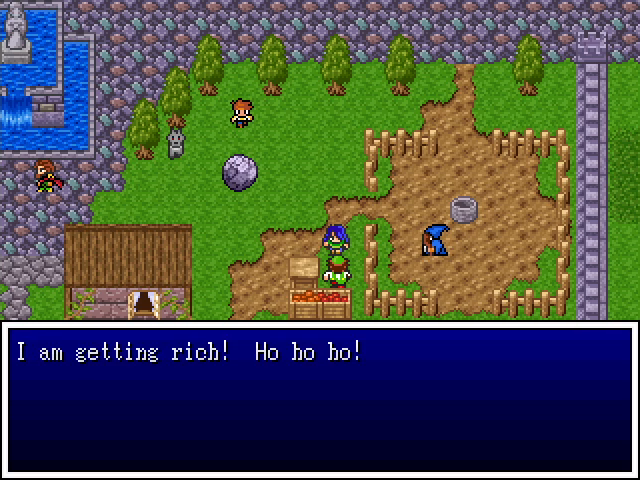
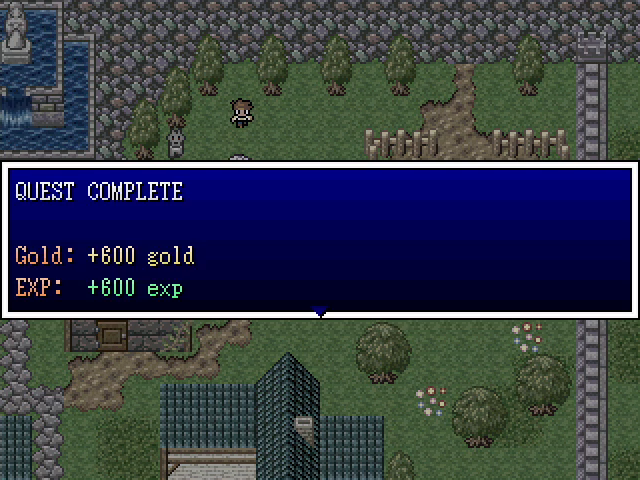
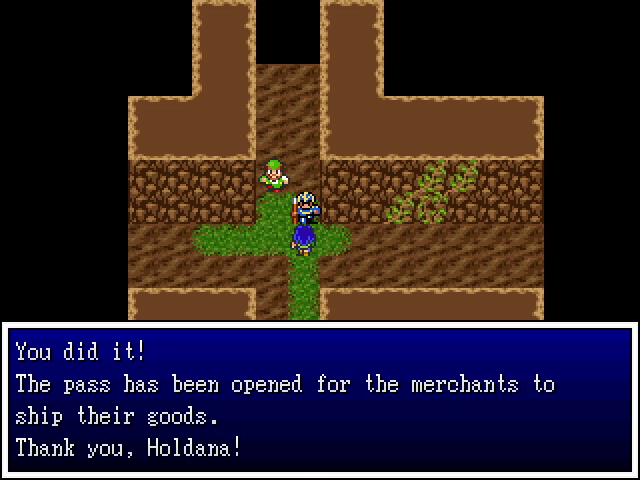
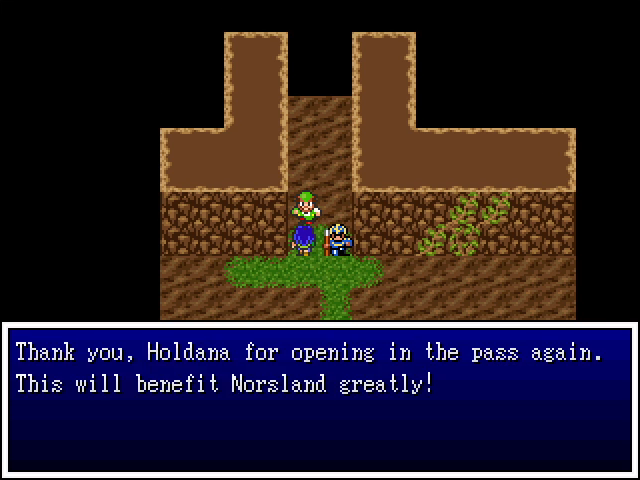
Talking to the merchant to gave us the quest earns us an excellent reward, both in gold and EXP. After upgrading Holdana and Karla's weapons to copper swords, I head outside and save.
Next time: We get on with the main quest.