Part 5: Joining the Club
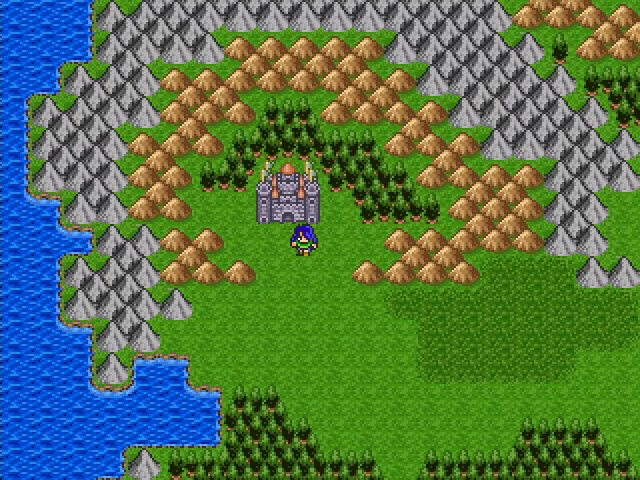
With Merchant's Pass cleared, we can leave Stromholm and head north to Helminsk. (I think I left the name of the capital out of the previous updates. Whoops!) The path is fairly linear, so all we have to worry about are the monsters.
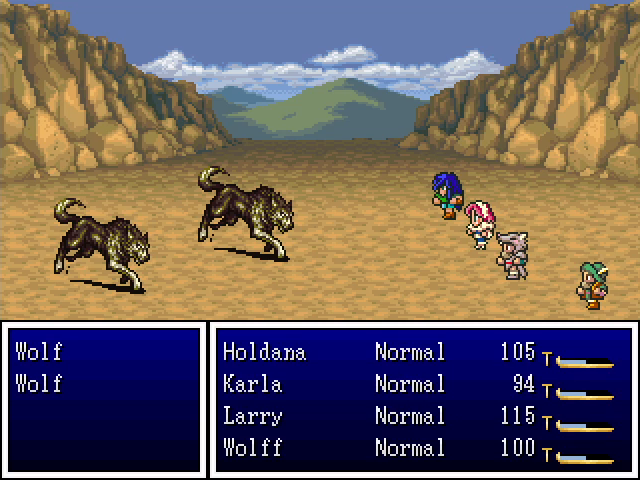
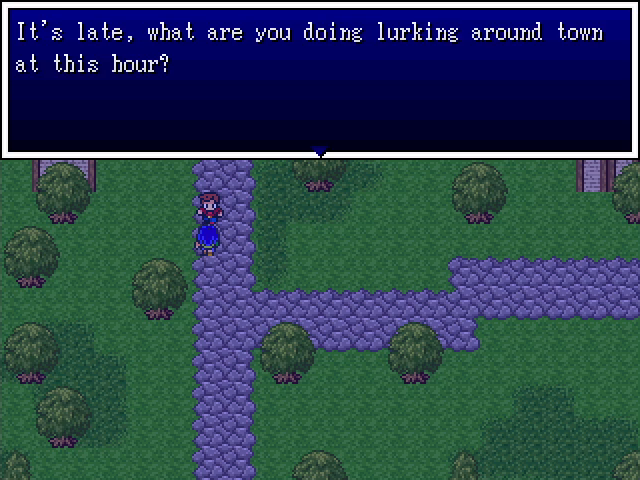
Wolves are functionally the same as greywolves. They have slightly higher HP and attack power, but at our current level aren't significantly more dangerous.
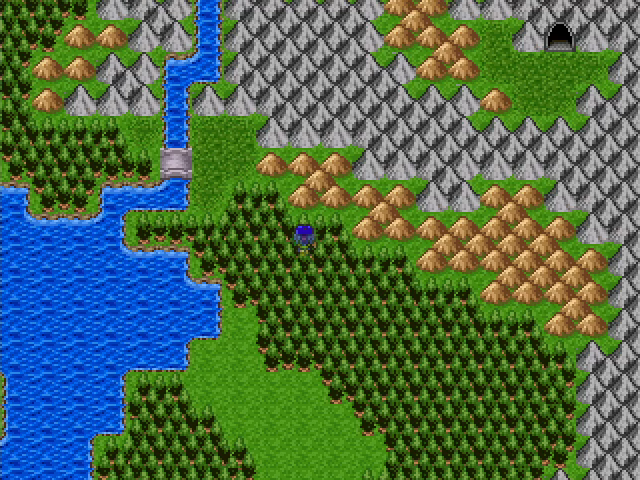
There's a cave northeast of us, but we can't get there yet. Something to keep in mind for later.
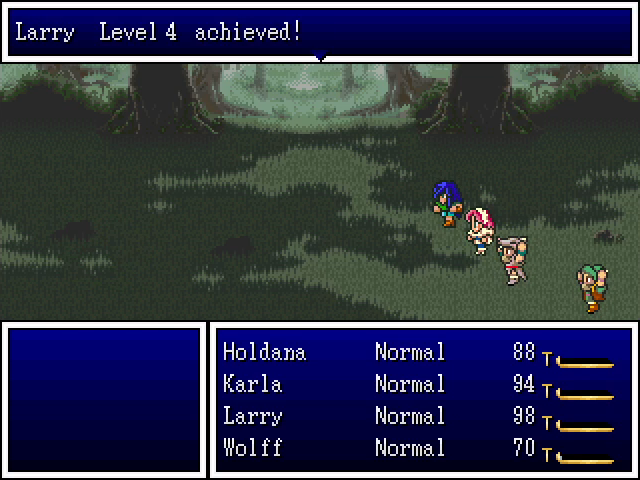
Larry, who has the lowest EXP requirements, hits level 4 on the way.
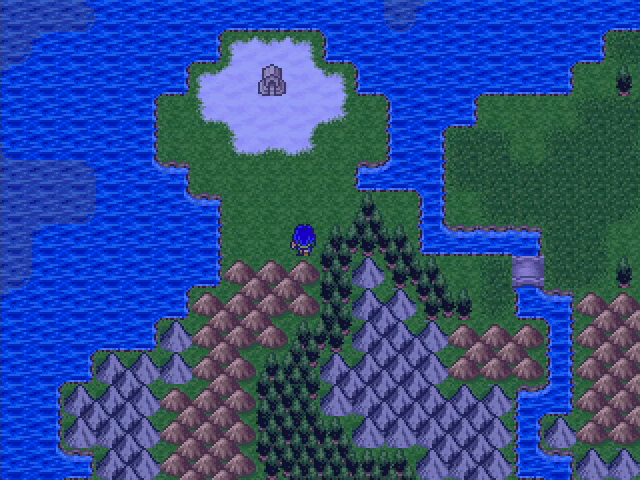
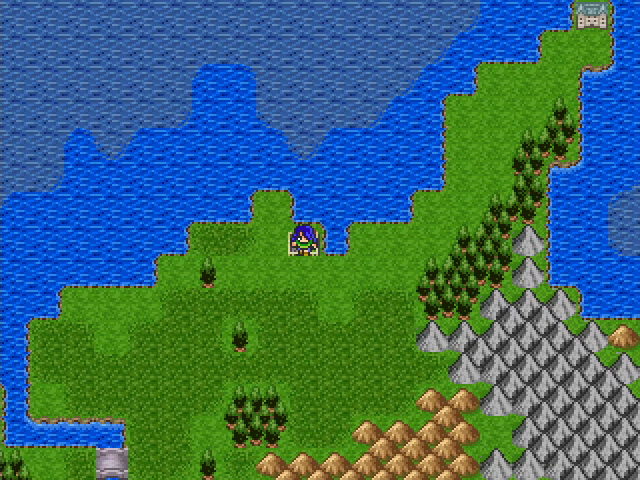
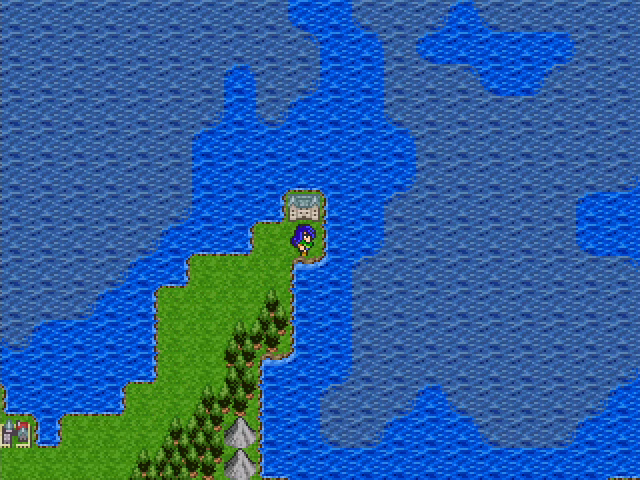
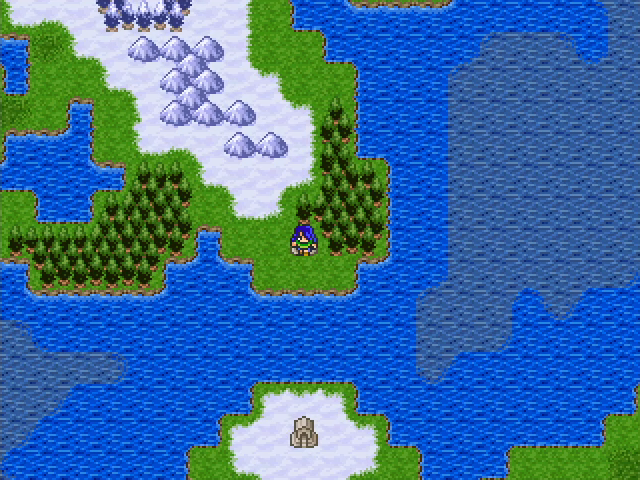
There's a minor split in the path here. That doesn't look like a town, but let's go check it out anyway.

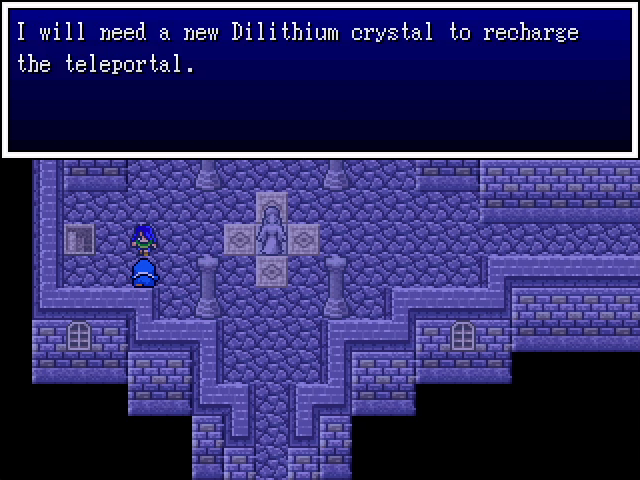
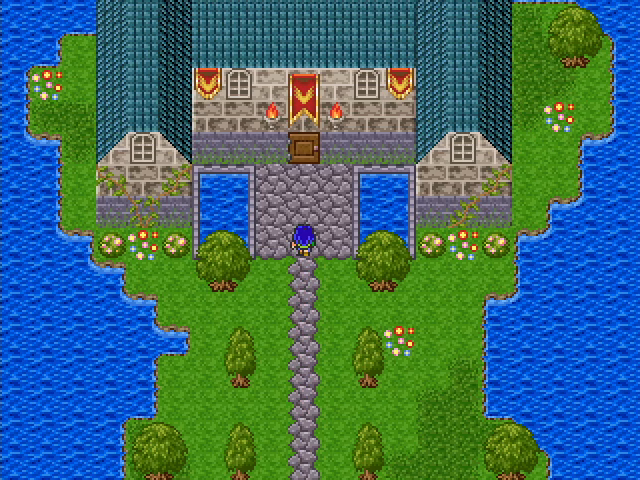
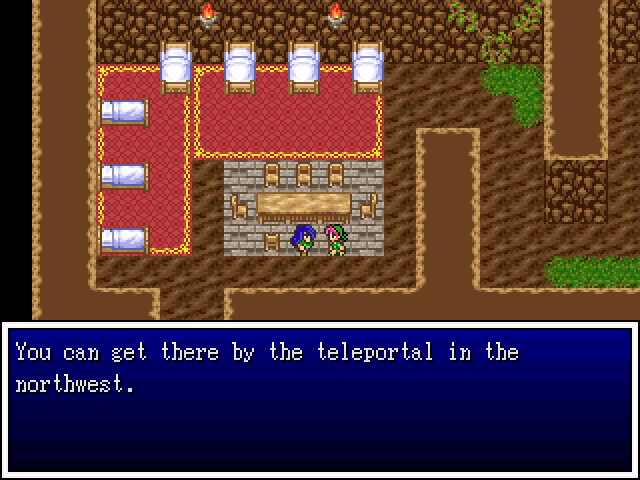
It's a shrine which, like many shrines in the game, houses a teleportal. Unfortunately, the device is down, so we're stuck here for now.
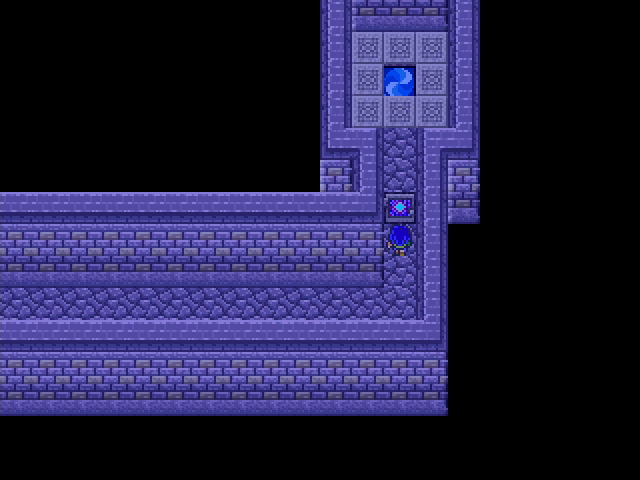
There's another teleportal in the building as well, but it's locked behind another strange door.
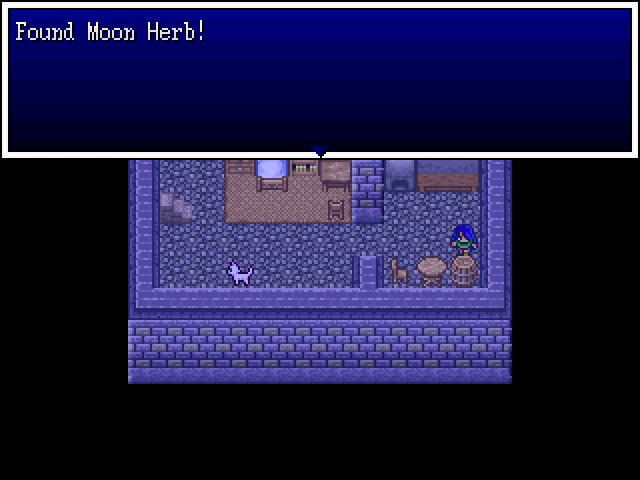
The priestess's room is downstairs, and has one item for us to claim. Moon herbs cure Numb, which is basically paralysis.
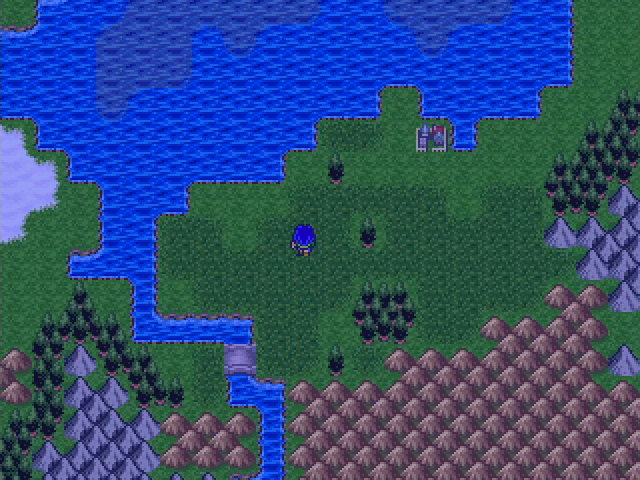
It's still night as we approach Helminsk, so let's take a look at the city after dark.
Taking all the treasure I can find. Because I'm a hero.
That must be the cave we saw earlier. And if the name is any indicator, there's something there that should solve another of our problems.
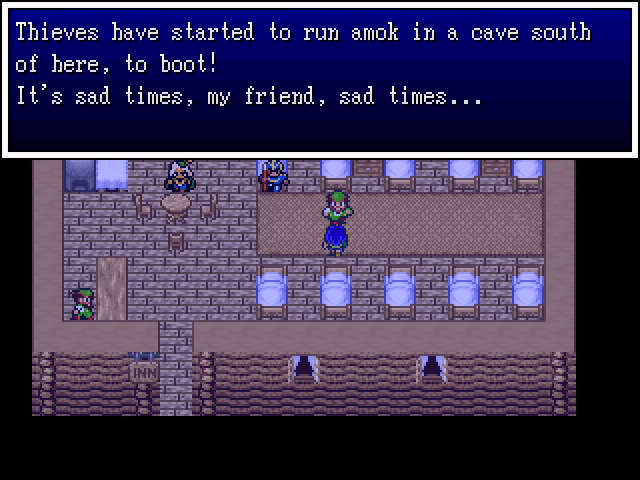
The people here drop a lot of information about the caves, so it's pretty easy to guess where you're supposed to go.
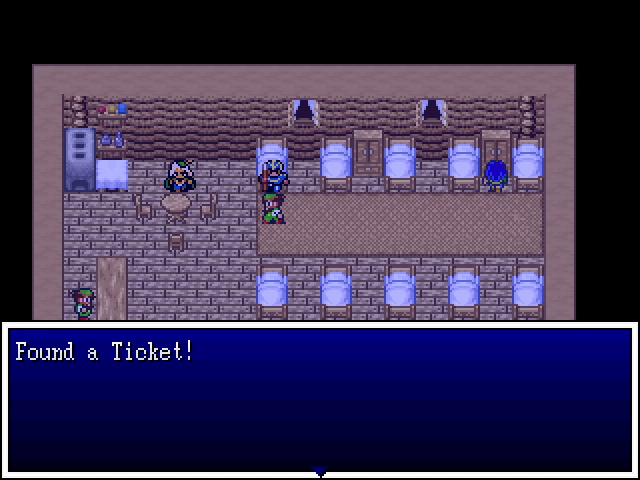
Another ticket. But what are they for?
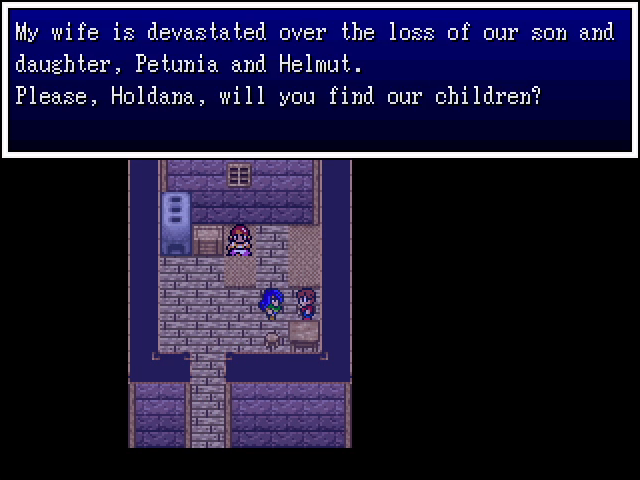
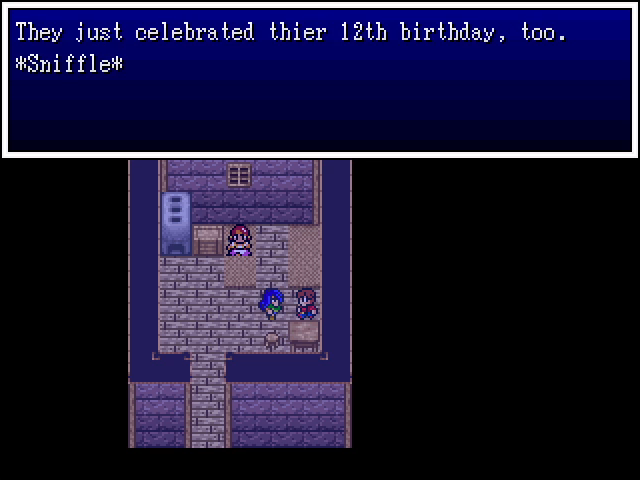
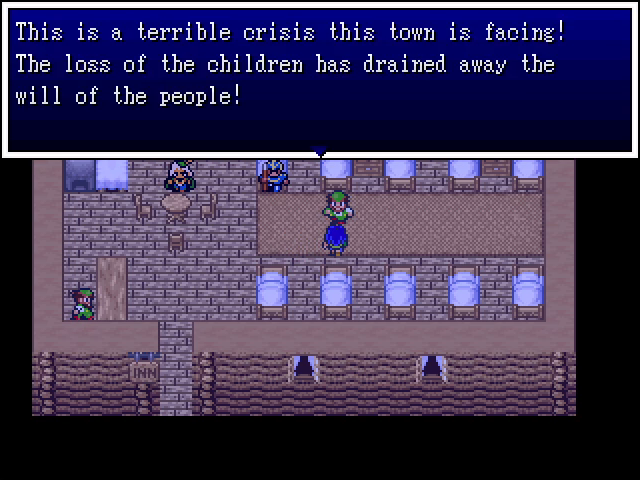
More distraught parents. The woman in Stromholm's castle also mentioned that her son was 12.

This isn't really important, I just found it amusing. During the day, the two are in separate locations, but the old man says exactly the same thing.
Pretty sure this is an almost word-for-word piece of dialogue from Dragon Quest 3. But more importantly: do you see something suspicious?
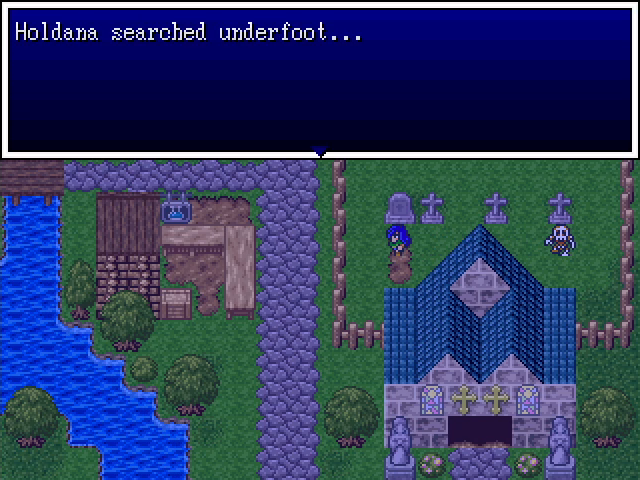
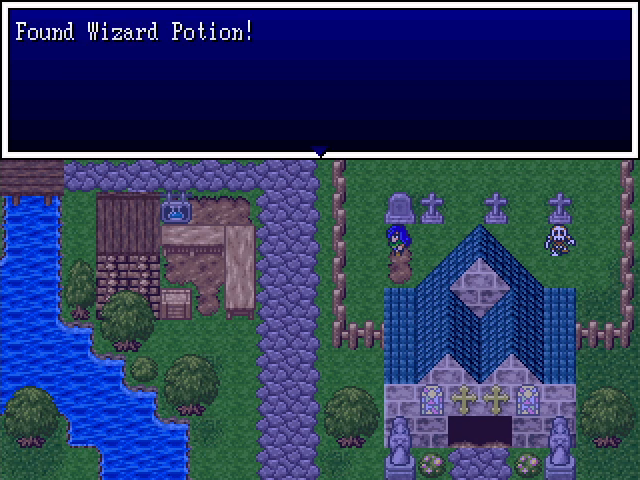
Yeah, keeping an eye out for suspicious spot on the ground pays off. Wizard potions restore MP, making them quite valuable - especially since they can't be purchased.

Not sure why you'd think that's a mistake. The old man in the castle told us there was a tower north of here.
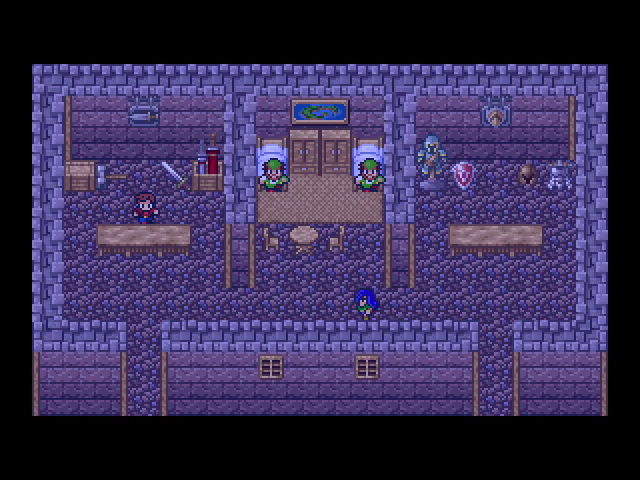
The weapon and armor shop is unlocked despite not being open for business.
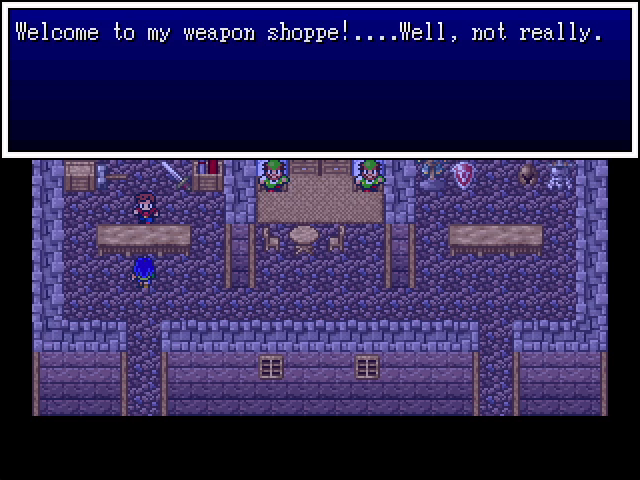
This weird guy is just hanging out, selling random stuff to anyone who breaks into the shopkeepers' home after dark.
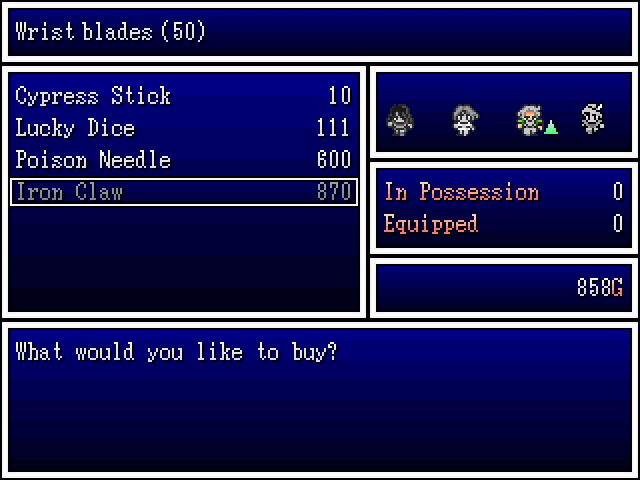
Most of the stuff he sells is useless to us. A cypress stick is the weakest weapon in the game, lucky dice are only usable by harlequins, and a poison needle is weaker than what anyone in our party can use (but it does have a small chance to score instant kills, so it's a good choice for most mages). The iron claw, though, is a must-buy for our party. A 49-point increase in Larry's attack power is huge. Luckily, I have a knife lying around that I forgot to sell off earlier, which gives me enough to buy it.
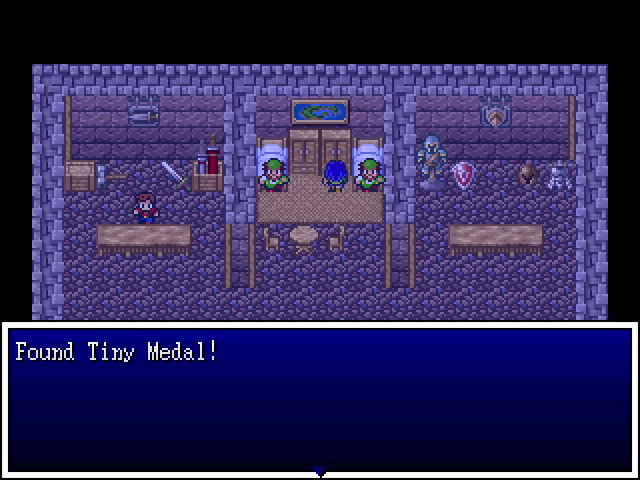
The shopkeepers have a tiny medal. I found a few more during this update as well, but I completely forgot to trade them in. I'll do it next time.
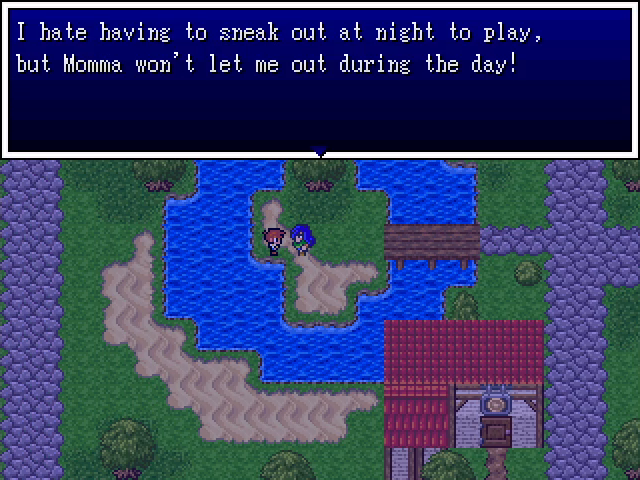
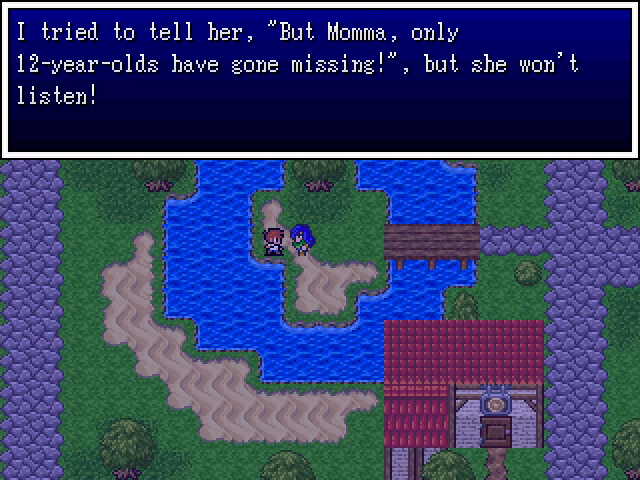
I don't know how this child came by this information, but he confirms something that the player may have pieced together already: all of the missing children are 12 years old. The real question is why. Who would abduct 12-year-olds en masse?
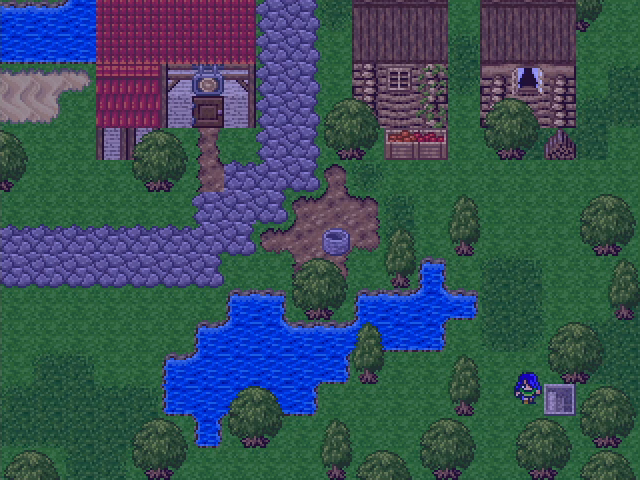
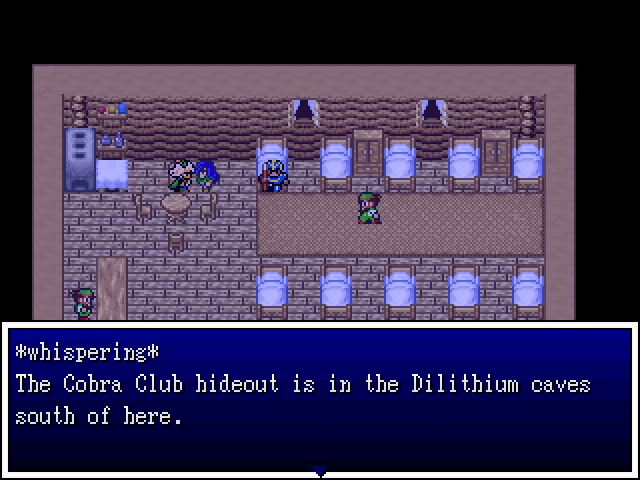
In the corner of the town is a mysterious stairway. Inside is another locked door (but different in appearance from the two we found previously), as well as a man.
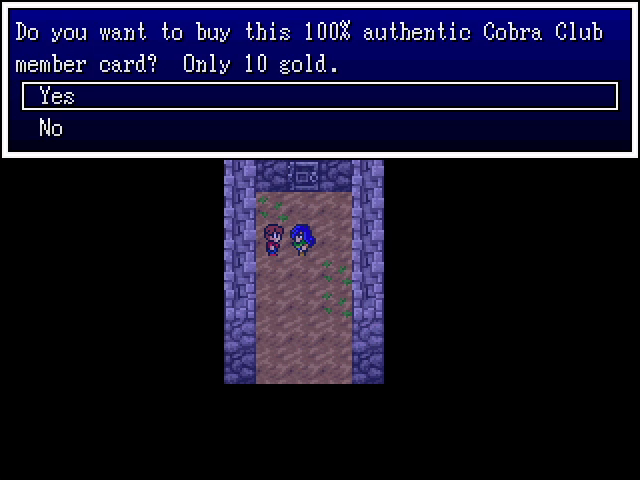
Hell yes I want to join the Cobra Club!


Why would I want a refund? I'm in the Cobra Club!
That's all there is to find at night. Let's head outside and wait for day.
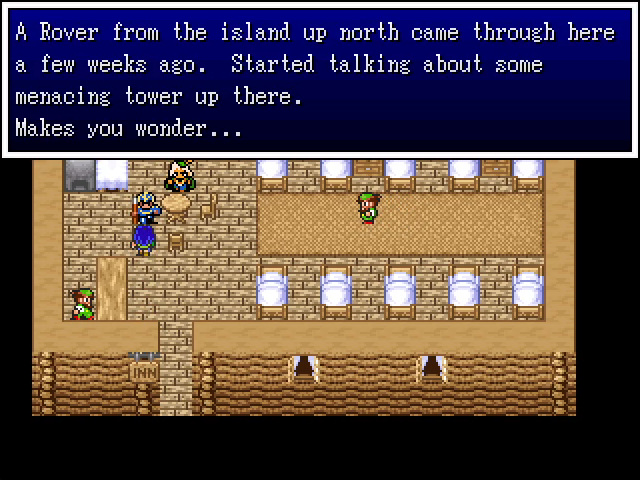
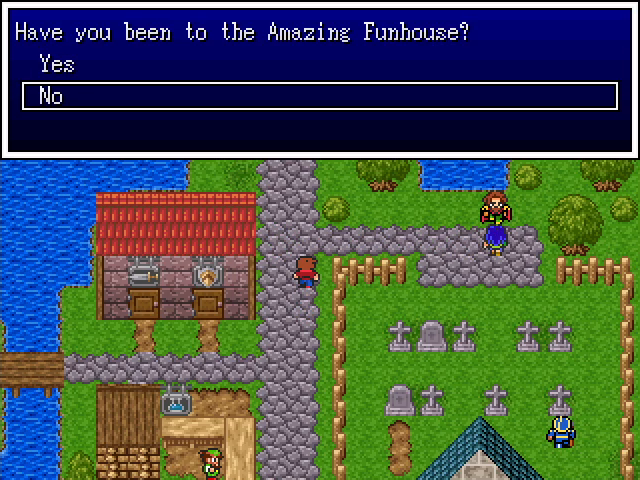
Yes, you're the second person to mention that. The only reason it seems at all noteworthy is that people keep mentioning it.
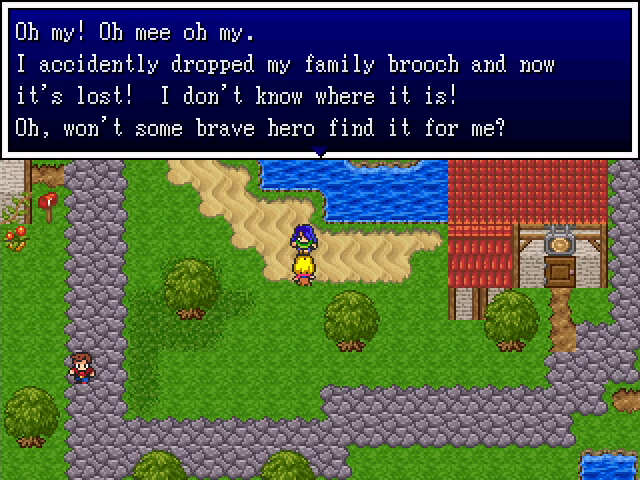
Without any clues to its location, this may take us a bit.

Something to remember for later. Much later, in fact, as we won't be visiting a town called Eastgate during this chapter.
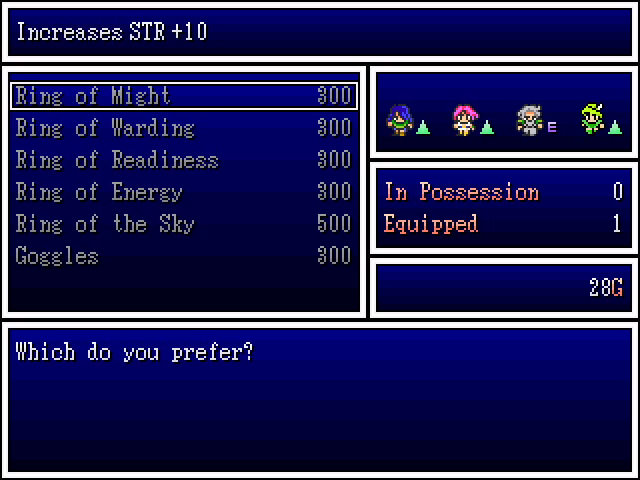
The town's accessory shop sells stat-boosting rings like the one Larry's wearing. These are potentially useful, but I tend to prefer saving my money for weapons and armor.
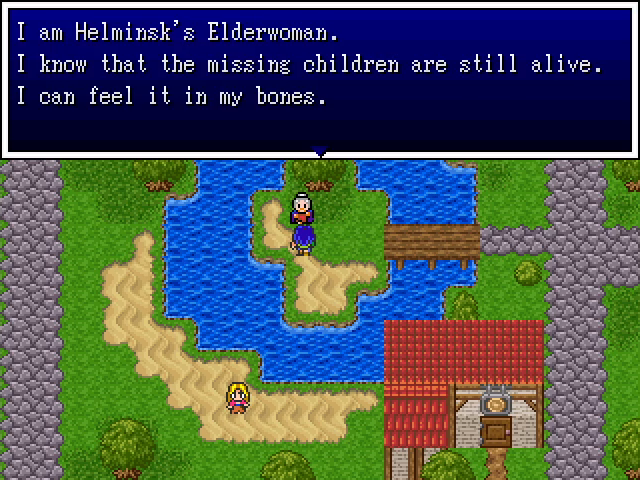
I really hope she's right.
We're going to have to do this soon, I guess.
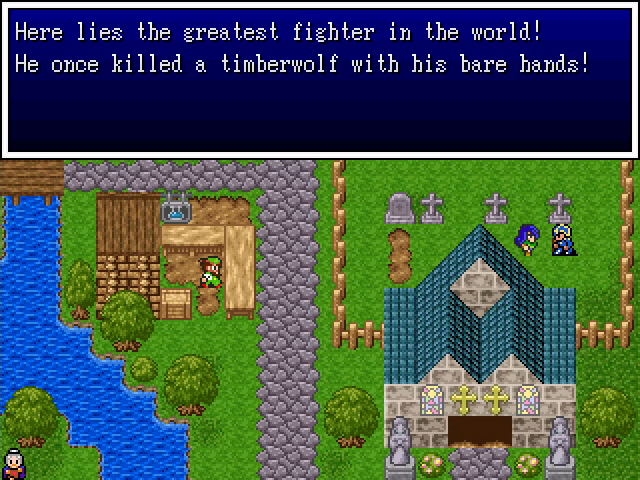
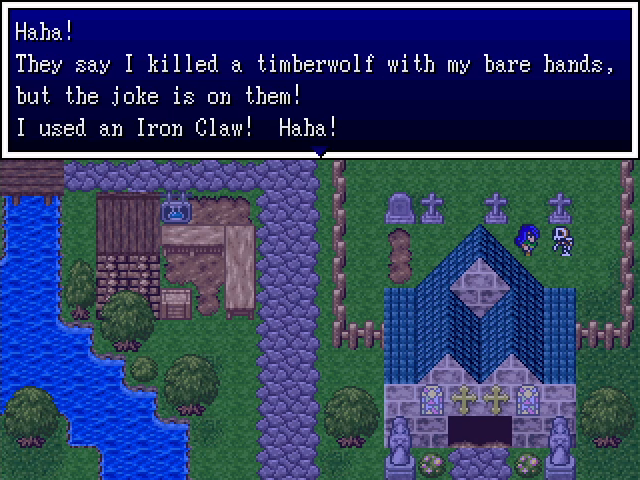
Dude, my shapeshifter has killed bears wearing nothing but shitty brass knuckles. This wouldn't an impressive feat even if it had actually happened.
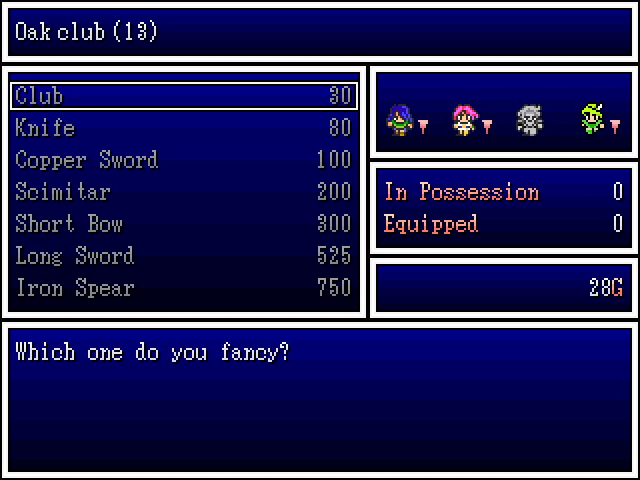
The town's weapon shop has a few new items, but most of them are of little interest to us. Iron spears are strong, but they require two hands, meaning no shield. Scimitars are only usable by Wolff, who prefers bows. Long swords are definitely something I want though. The armor shop has some good stuff too, but I didn't visit it at this point. I'll show it off in a bit.
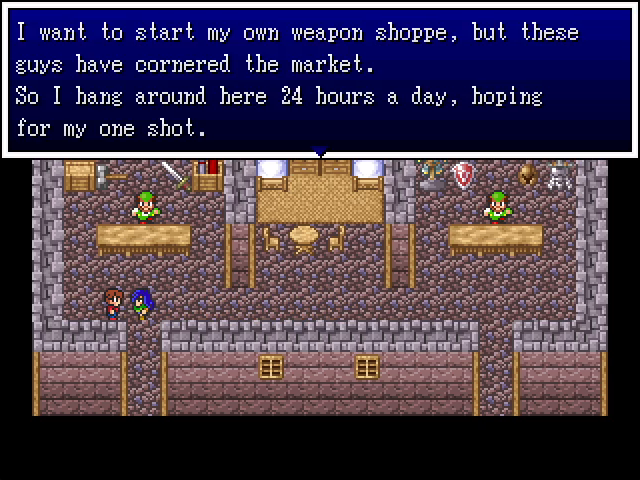
This guy never sleeps? That can't be healthy. Live your dream, but don't kill yourself for it.
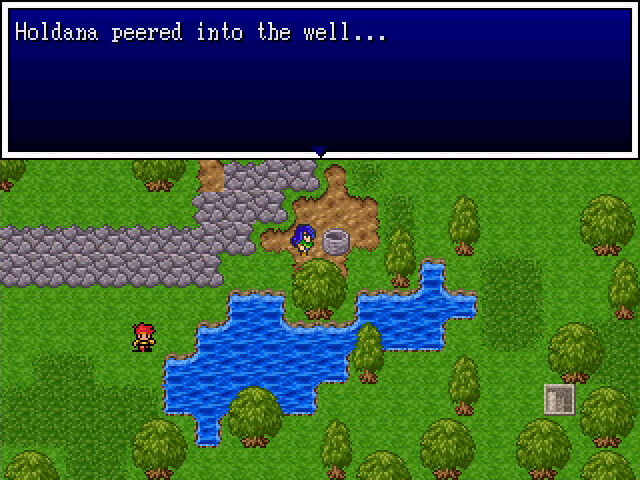
Finally, let's check out Helminsk's well.
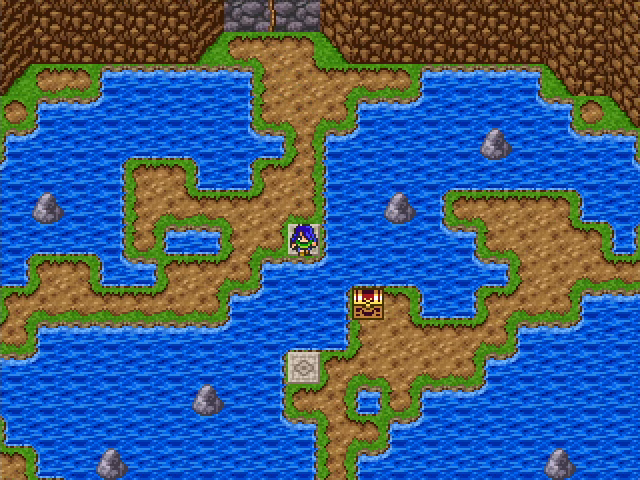
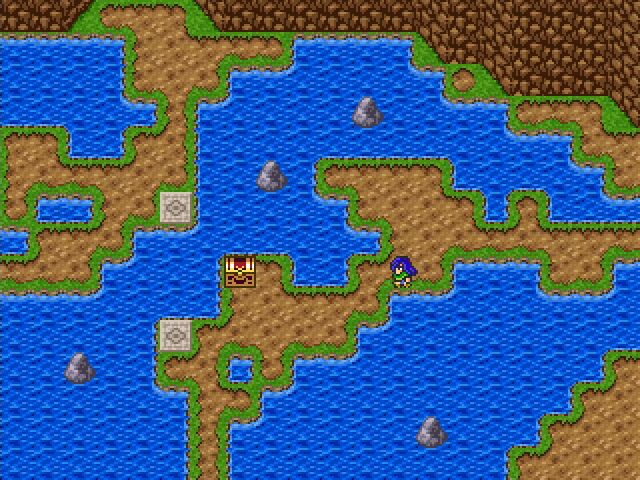
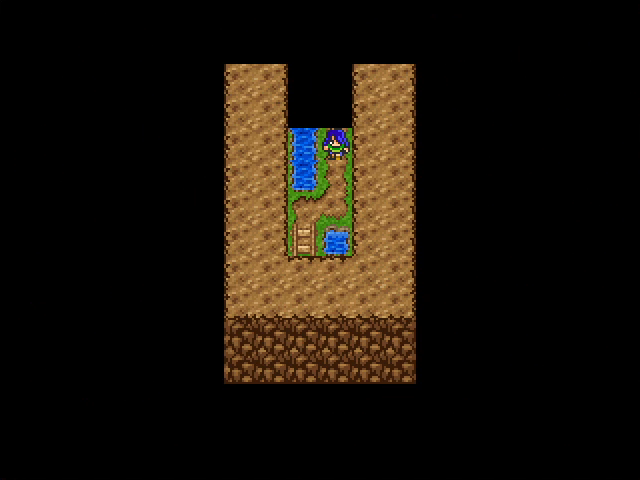
Inside we find a treasure chest by a ladder crossing. Regrettably, we have no ladder, so we'll leave to go west and take the long way around.
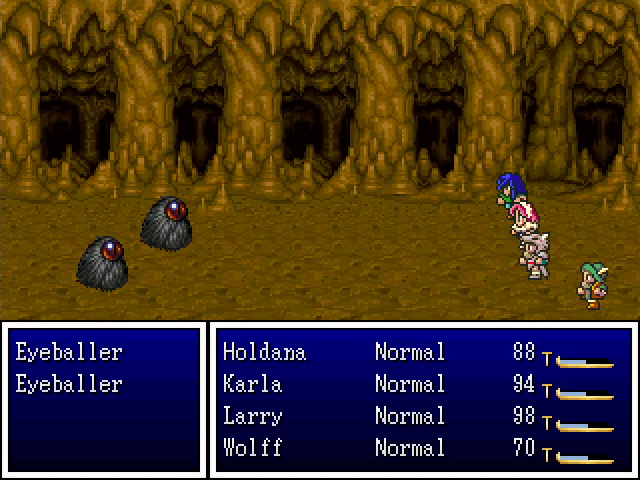
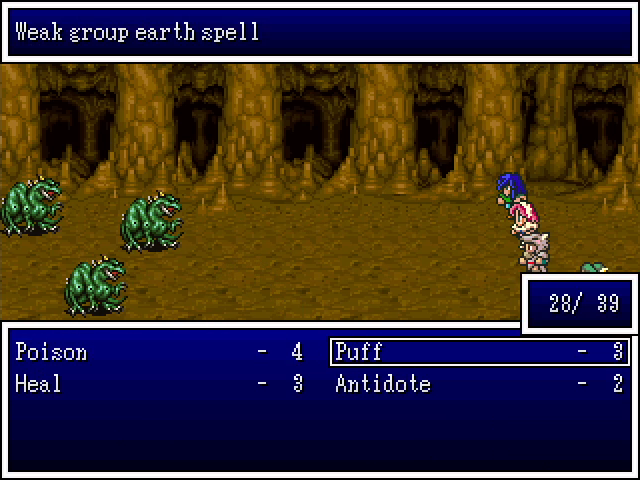
There are monsters down here too; this place is a proper dungeon. Eyeballers cast spells, randomly choosing between Blaze and Heal.
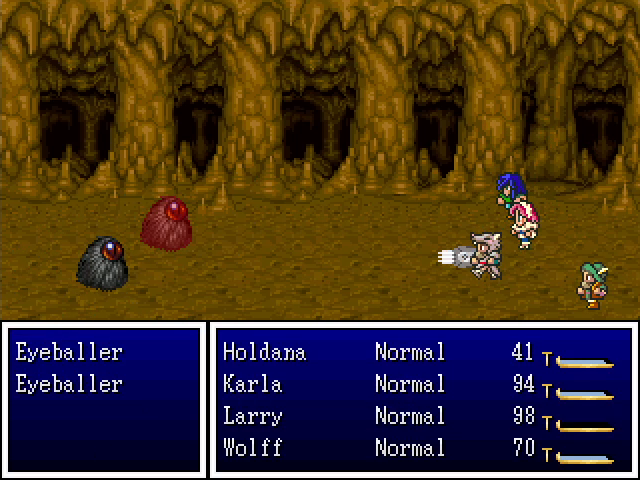
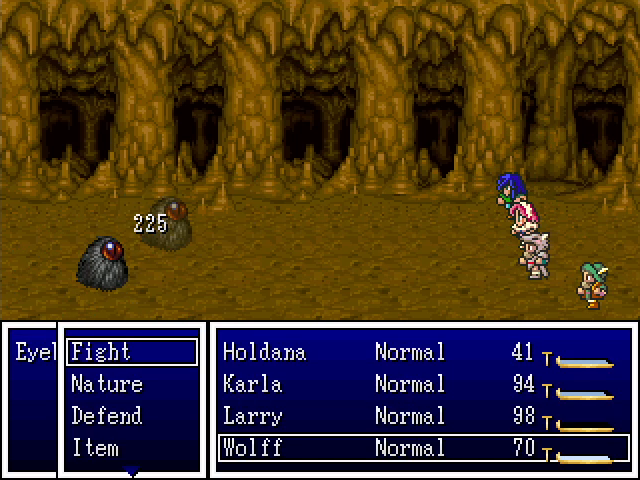
With his new claws, Larry is an absolute beast (hah) in combat.

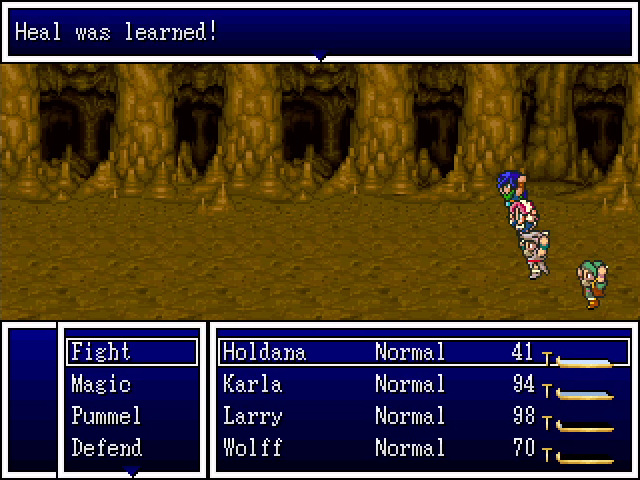

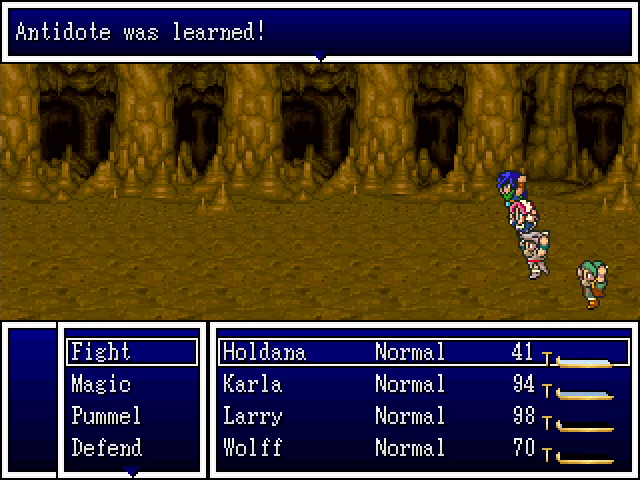
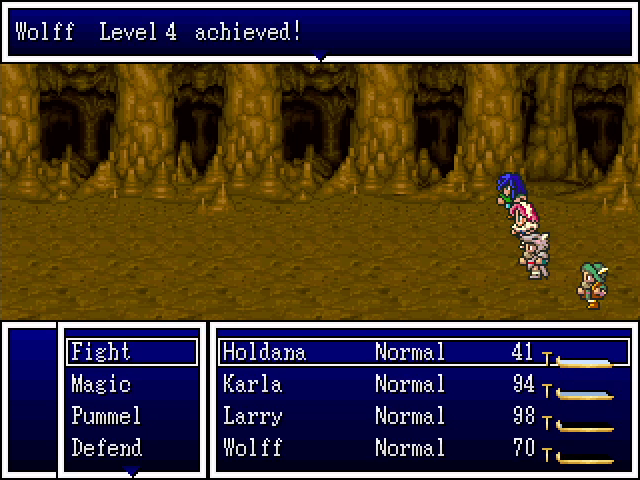
This fight got the rest of the team to level 4, which is a significant milestone. Holdana having Heal means that I now have two healers, and Karla getting Antidote make antidote herbs much less important.
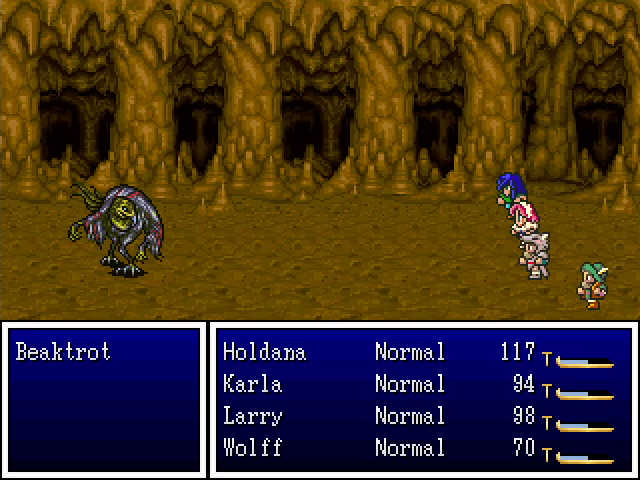
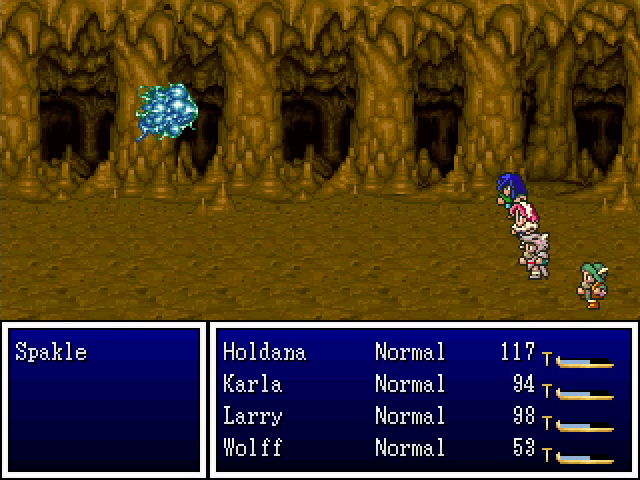
More new foes. Beaktrots have mild attacks but occasionally cast Sap, which halves a character's defense. Spakles [sic] have Shocker, which deals a small amount of lightning damage to one character. Neither is especially dangerous.
How on earth does someone live down here?


I'm just gonna post the entirety of what he has to say here, so get ready for a lore dump.

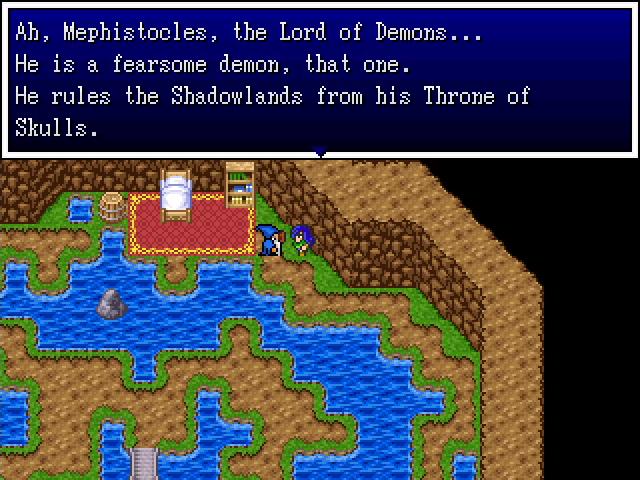


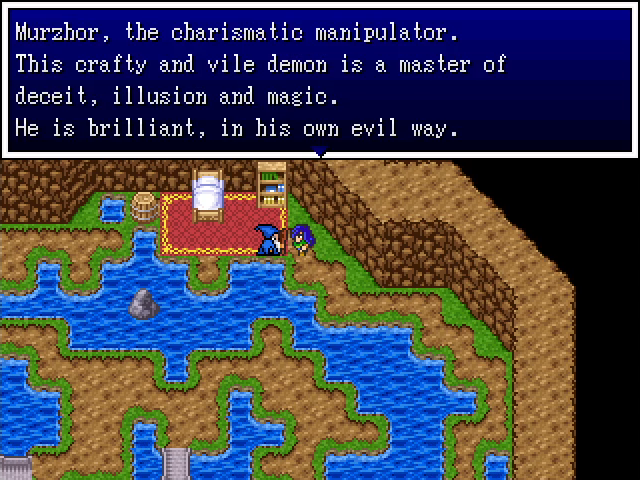
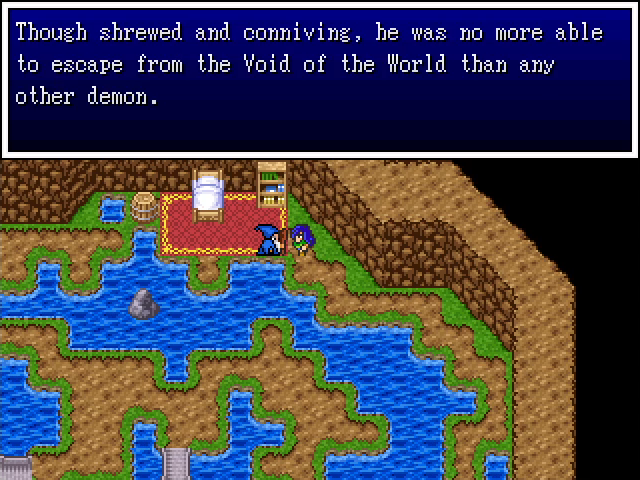
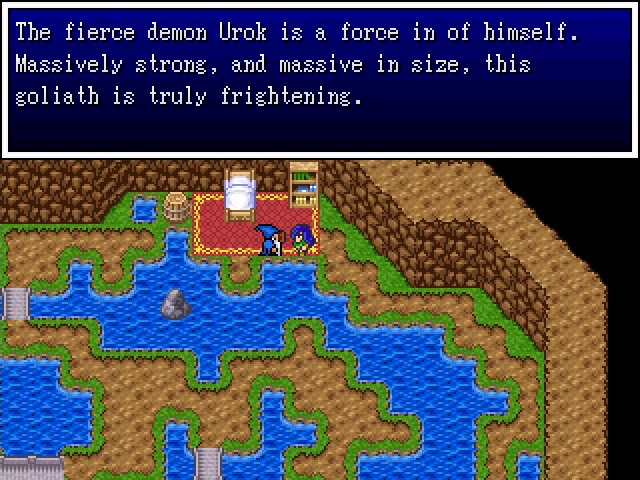

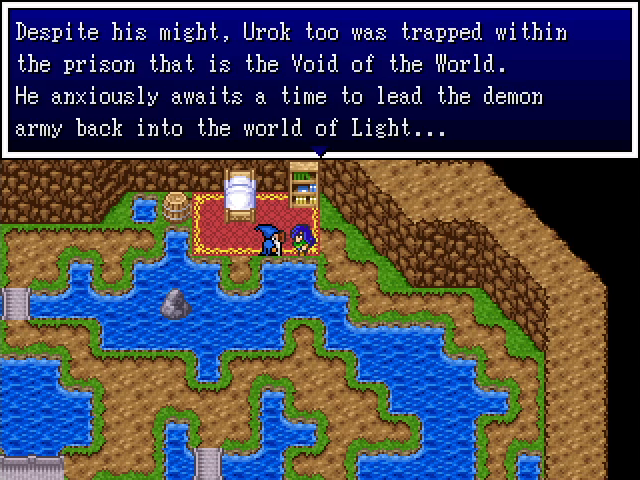
Phew! I hope you all found this interesting.
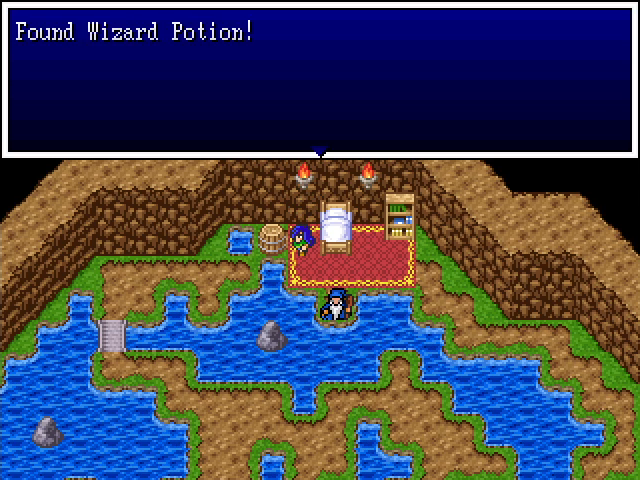
Oh, and the old guy's got another wizard potion. Always nice.
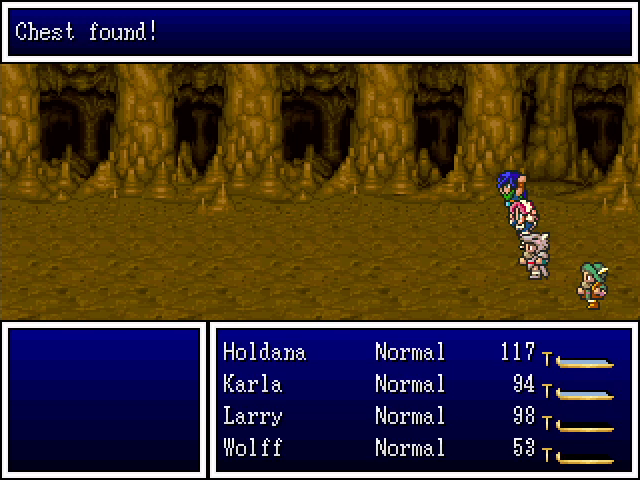
Oh hey, our first instance of monsters dropping a treasure chest.

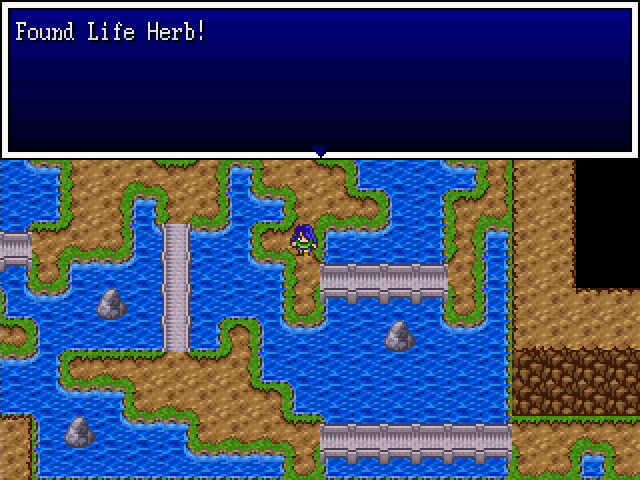
Inside is a life herb, which restores a dead character to life. These are super valuable and, like wizard potions, are not currently available for purchase, so this is a fantastic find.
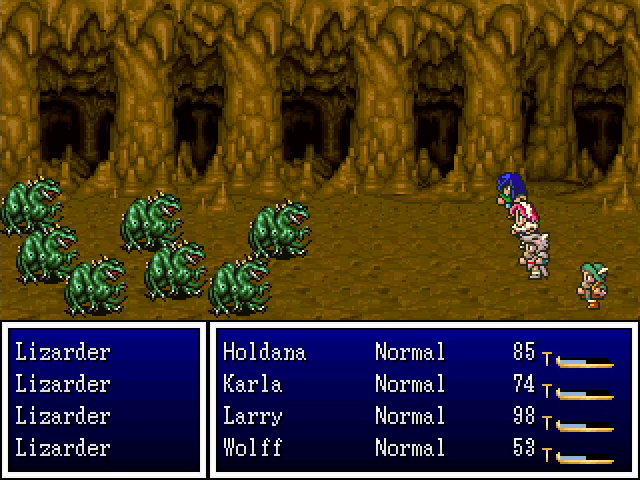
That's a lot of lizarders. They're not especially dangerous, but with large groups there's always the risk of them focusing on one character and bringing them down.
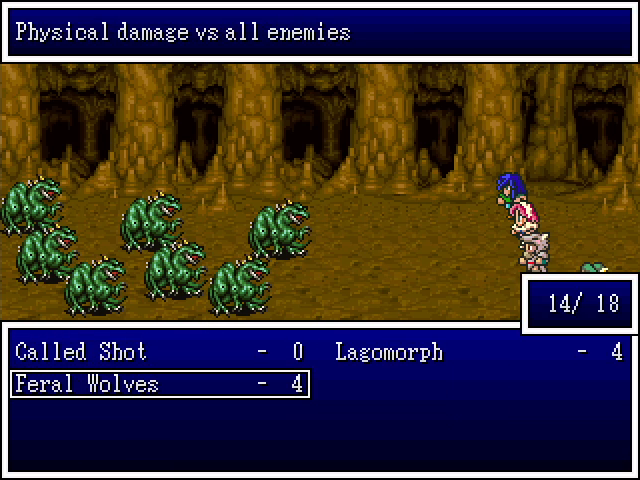
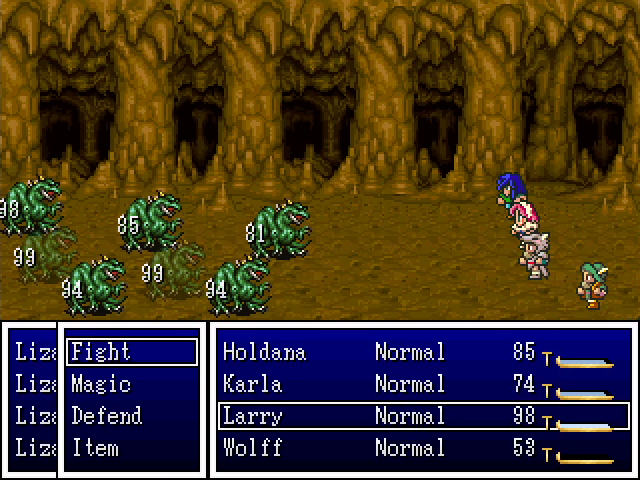
This is a perfect chance to use Wolff's new Nature ability, a multitarget attack. It only kills two, but the rest are softened up. Holdana and Larry each take out one...
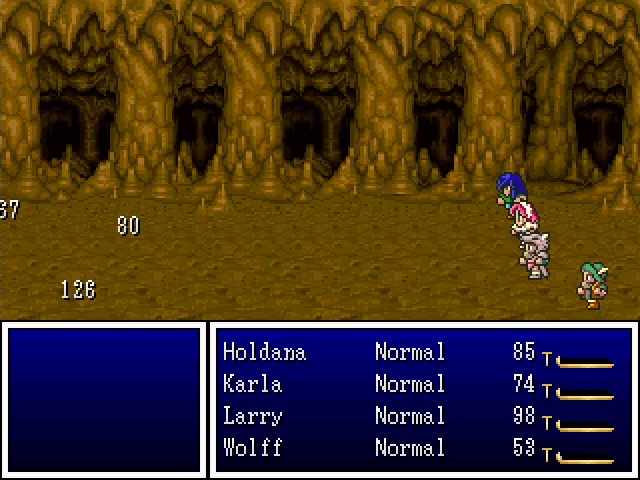
And Karla finishes off the last three.
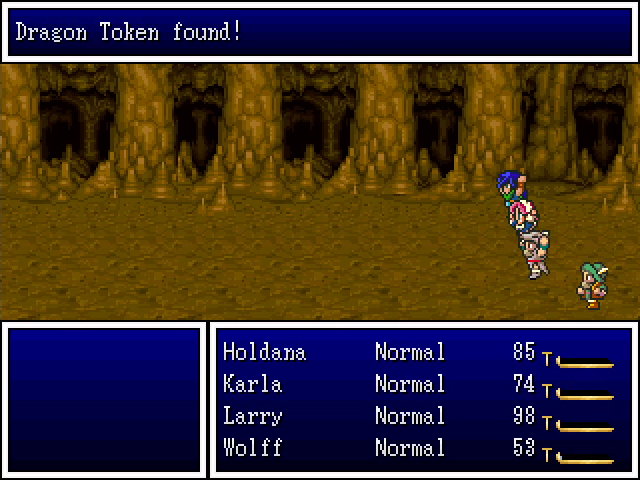
We also get a dragon token for our troubles. It serves a similar function to the beast tokens we got earlier.
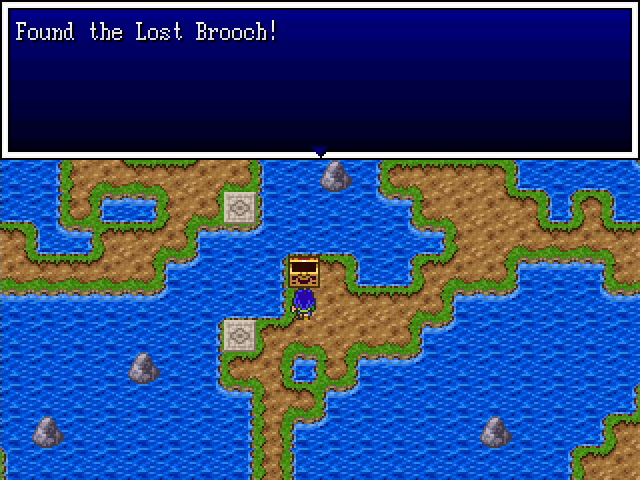
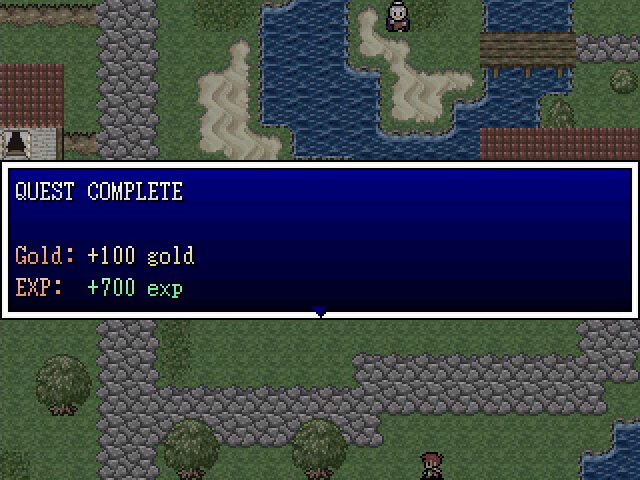
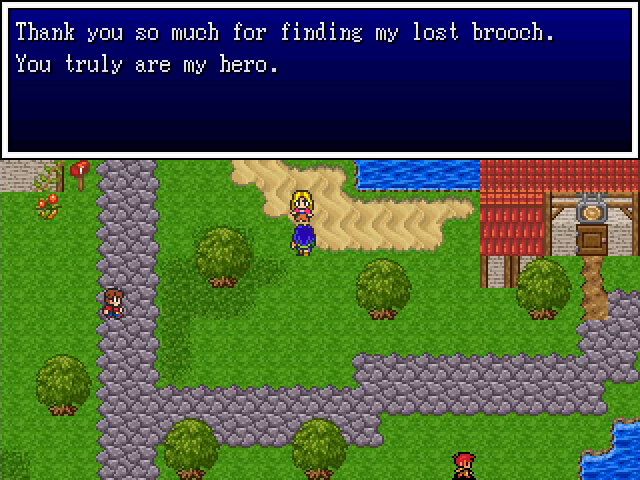
Finally, we loop back around to the entrance. Turns out the woman's missing brooch was right here in the well. I can see how that might have happened, but who put it in a treasure chest?
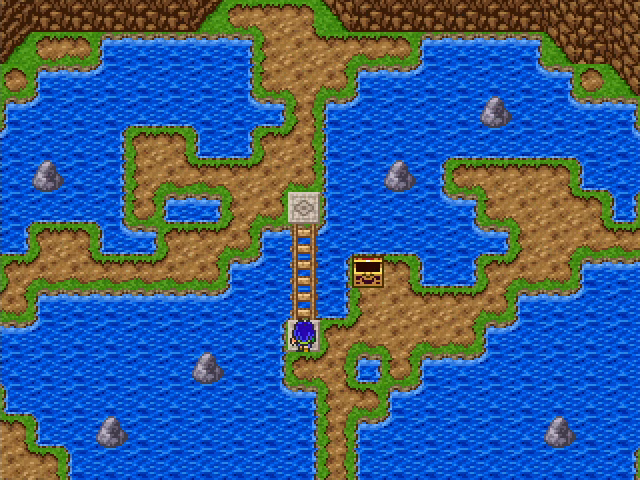
South of the chest is a ladder, which we can use to quickly get out.
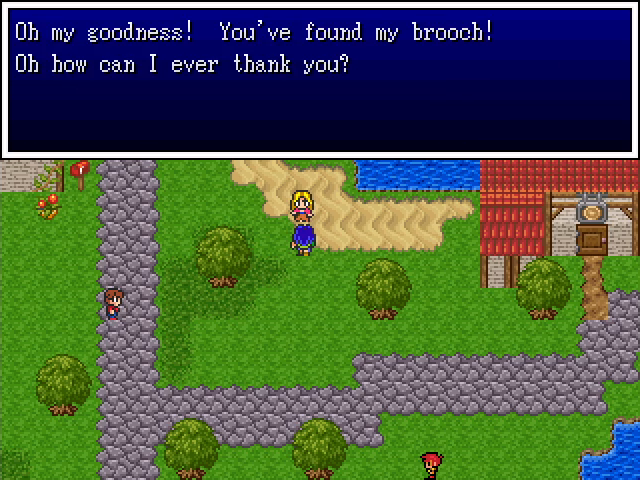

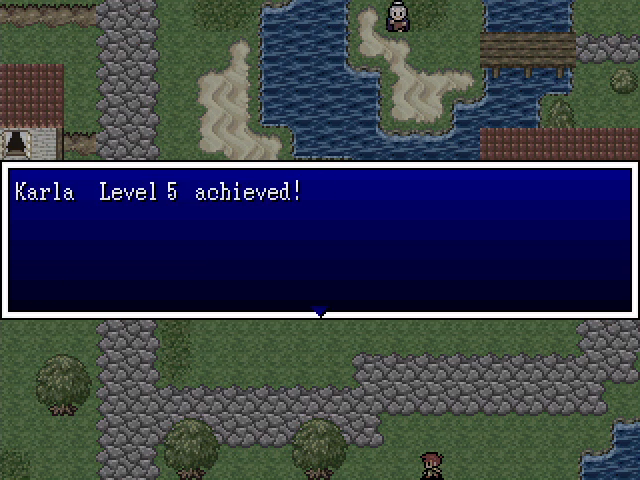
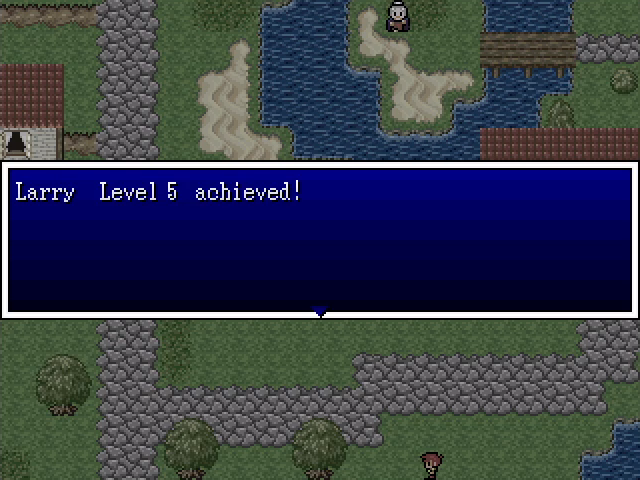

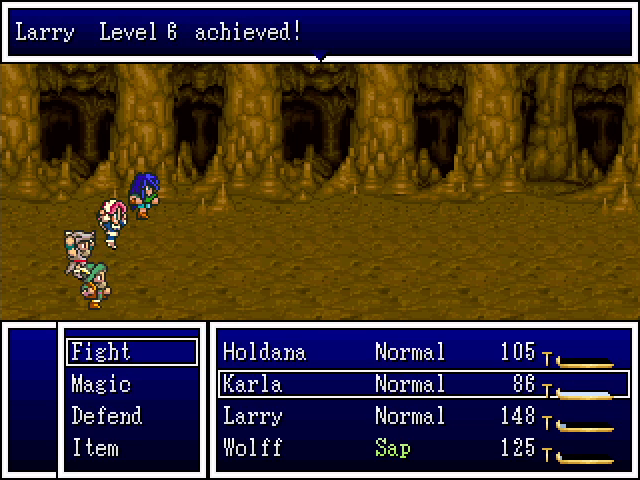
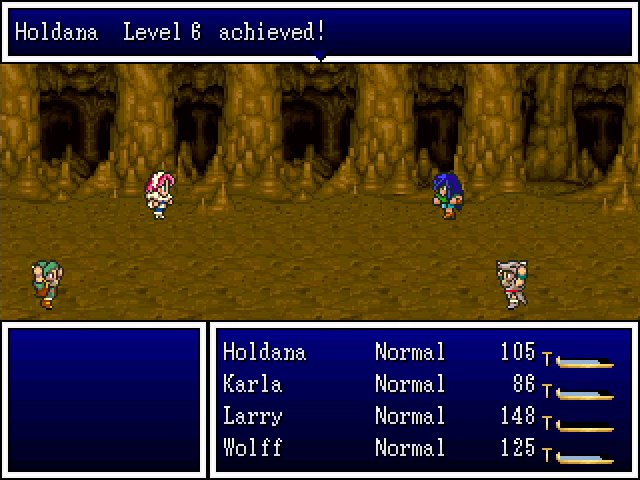
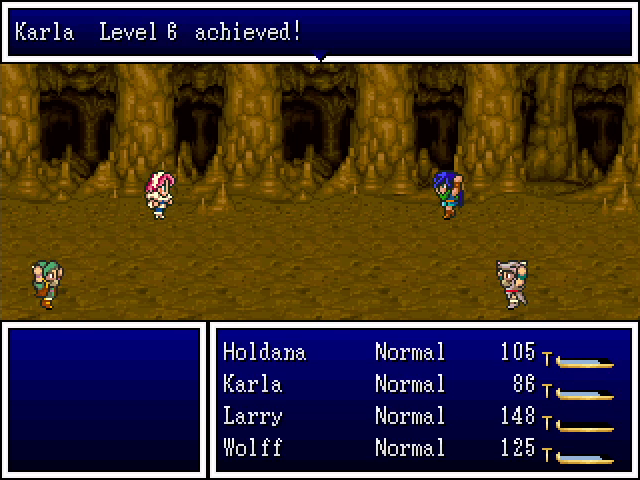
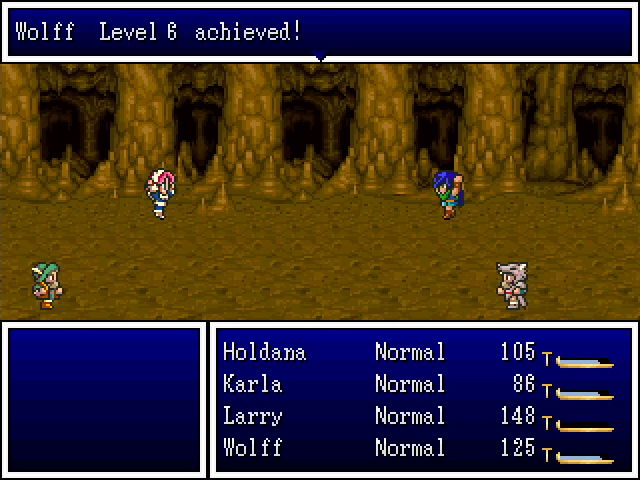
Nothing better than a job well done, especially when it gives us another level.
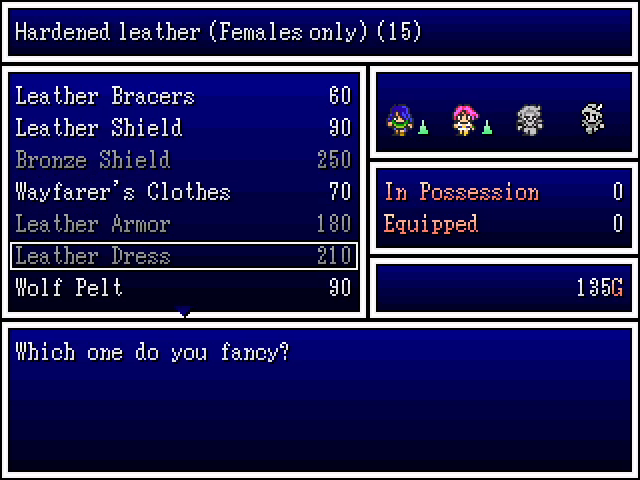

Now that we have a little money, let's buy some armor. The leather dress - a female-only piece with decent defense - is tempting, but Larry is still wearing a cloth robe, so the wolf pelt will be a nice upgrade for him.
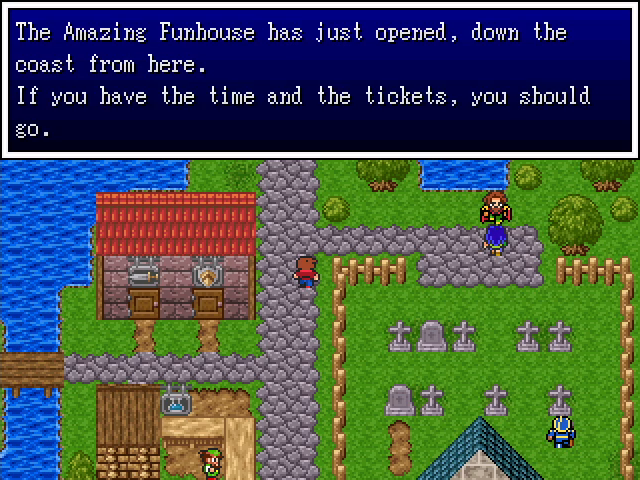
We've put this off long enough. The Amazing Funhouse is up to the northeast.
Let's go take a look.
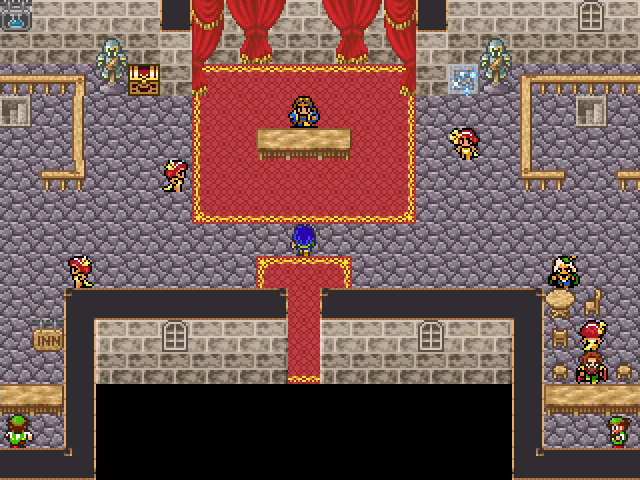
It's pretty swanky, actually. It definitely has the feel of a casino, though the "gambling" is quite a bit different.

There's a free ticket here in case you somehow got here without finding any - or sold them.
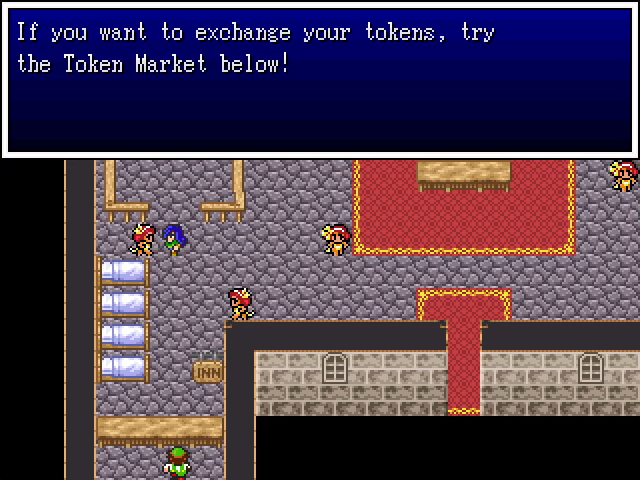
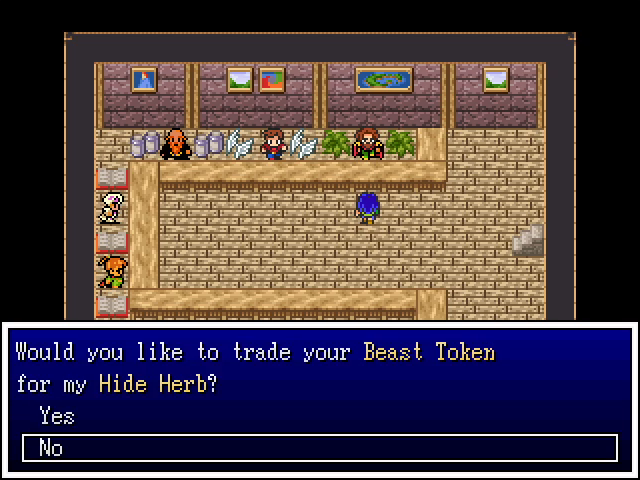
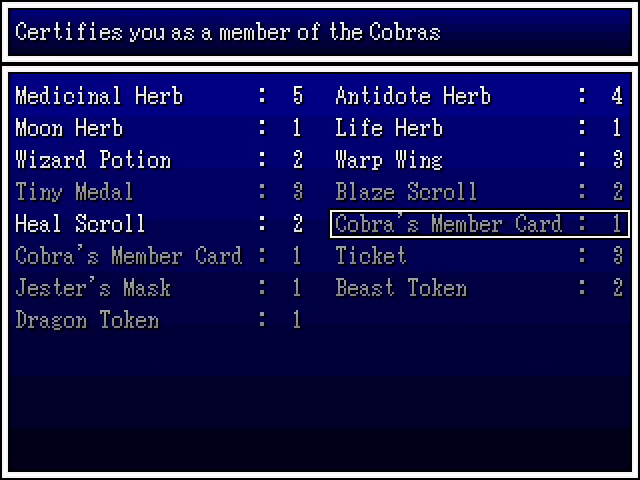
This is the token market that Holdana's mother mentioned. There are quite a few items on offer; depending on what tokens you have, you can get a hide herb (makes a character invisible), a warp wing, a wizard potion, a blaze scroll, a firebal scroll, a heal scroll, a random seed, or a pack of medicinal herbs. Several of those would be nice for us right now, but we can't get any of the really good ones, so we'll pass. Let's go check out the main attraction.
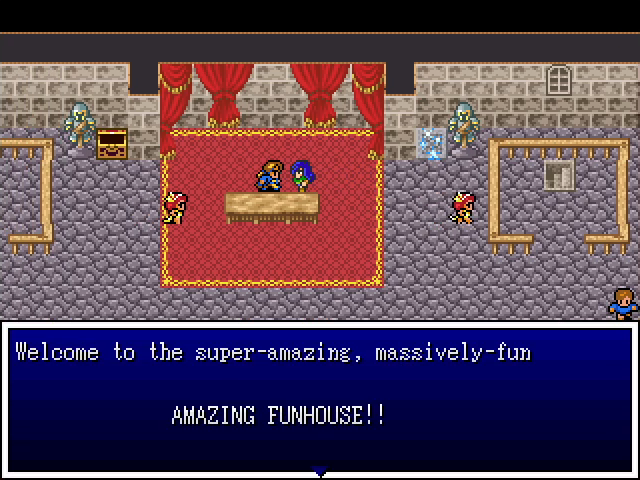
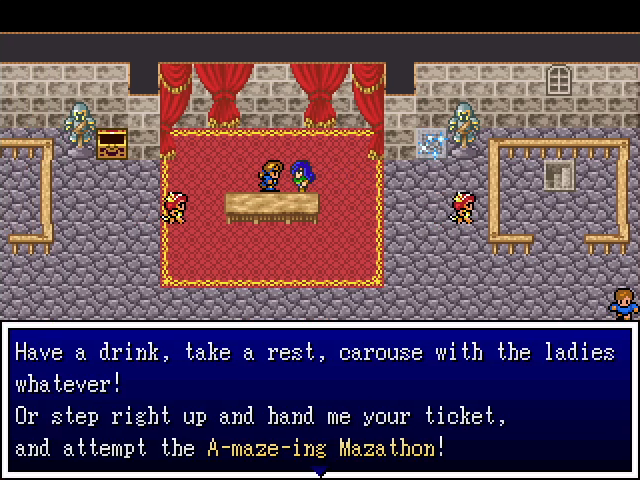
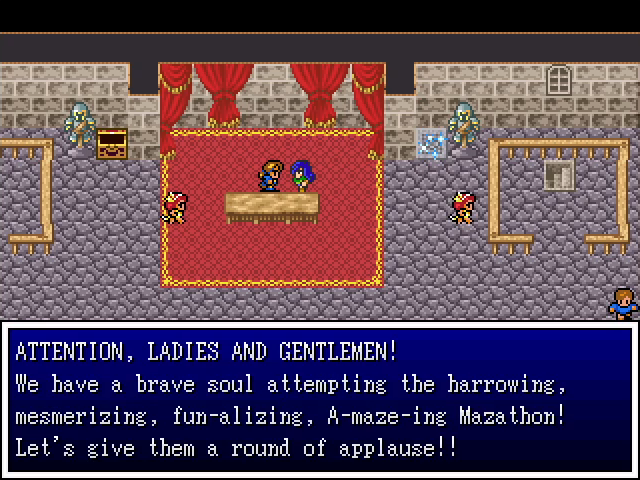
This guy really oversells how fun this is, but I can't fault his showmanship.
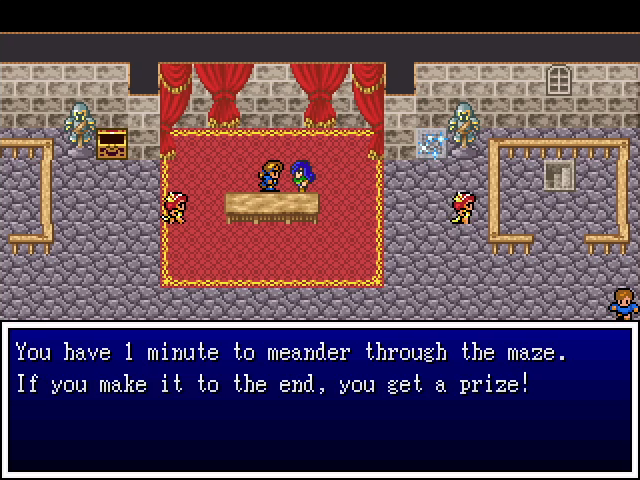
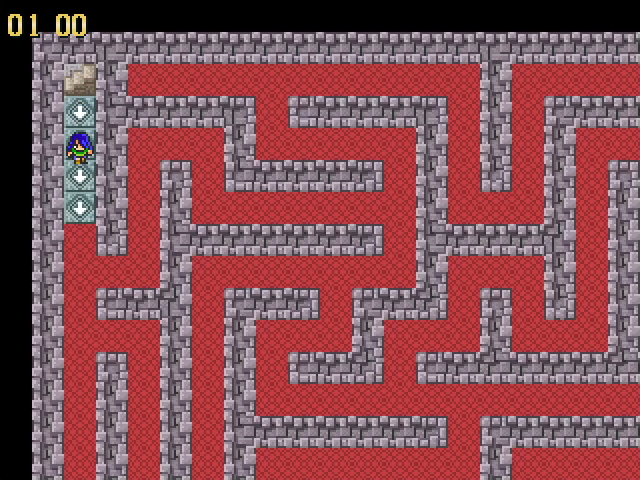
Yeah, it's a timed maze. Each attempt requires a ticket, and if you run out, you're out of luck.
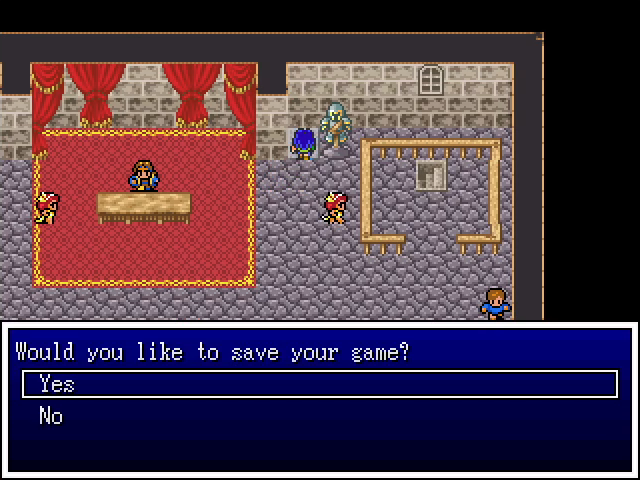
Fortunately, there's a save point right here, so if you fail you can just reset and save yourself a ticket.
I can see some people finding this fun, but I'll be honest: I'm not a fan of mazes and this feels more like work to me than it does play.
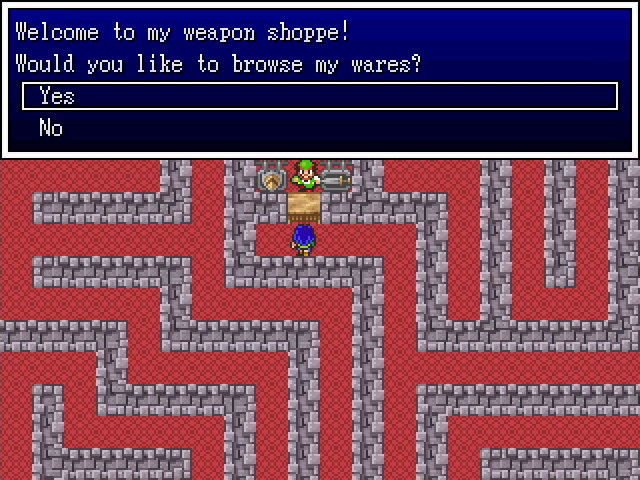

Still, credit where credit is due: the maze is an effort to give the gameplay some variety, and the creator did throw a few extra goodies into its nooks and crannies. There are a few treasure chests, but their contents aren't really worth it. There's also this shop, which does actually have some good stuff. Unfortunately, we already have some iron claws, no one in the party can use the golbin club or bullwhip, and we don't have the money for the chainmail. For now, it's more of a curiosity than anything else.
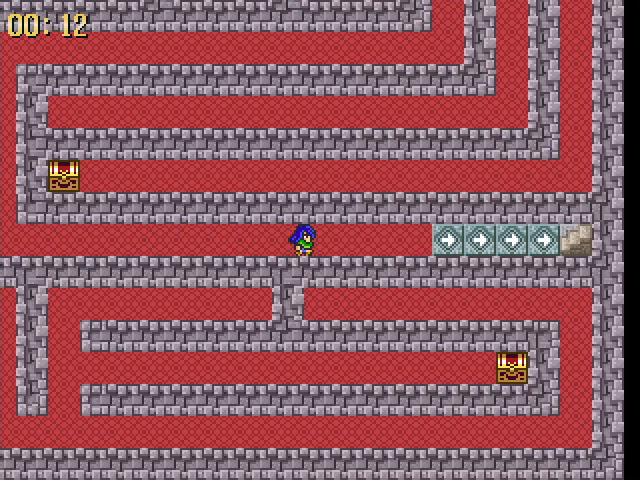
With some persistence, you can figure out the correct route to reach the exit.
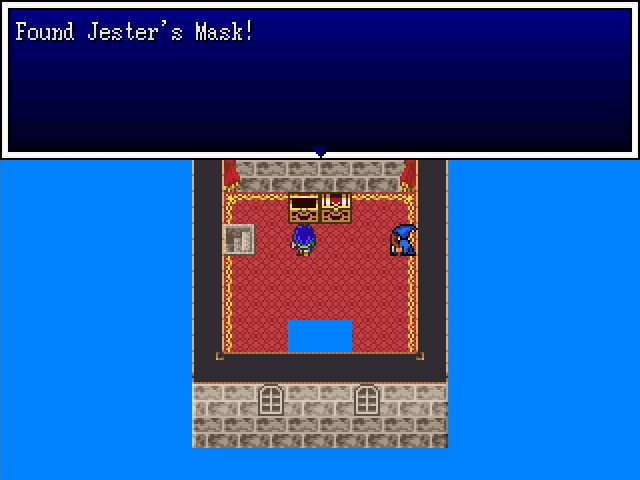
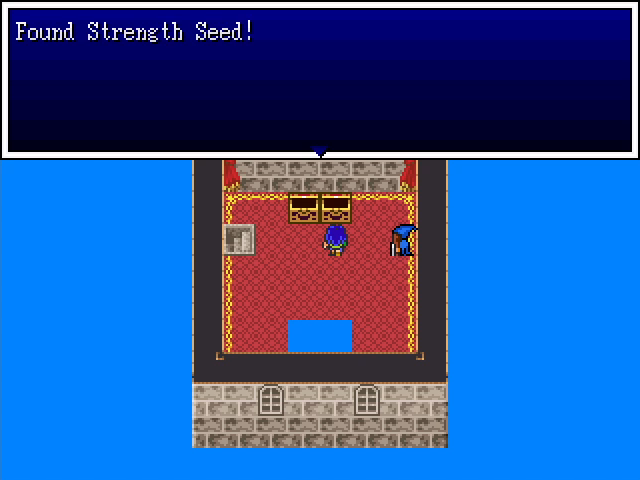
Here's our reward: a jester's mask and a strength seed. The mask has decent defense, but replaces a character's Attack command with Goof Off, which has a random effect - sometimes good, but just as often useless or detrimental. No way am I using it. At least the seed is nice.
Well, that's enough time wasted. Let's head south to meet the Cobra Club.
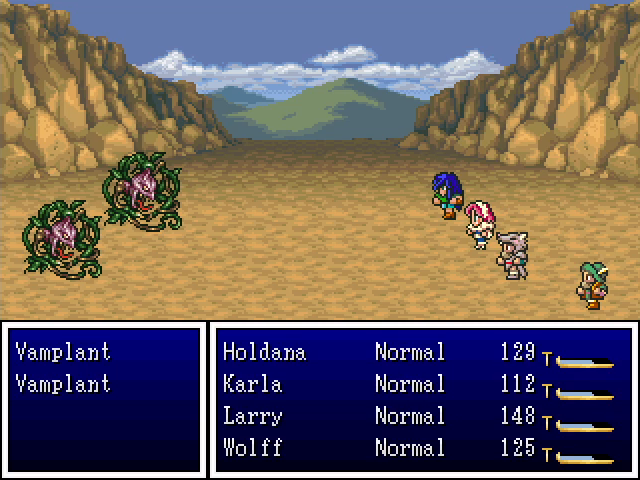
A few new enemies roam the lands around Helminsk, including vamplants. They're not too tough, but that can inflict Poison and drain your health, so they can be a nuisance.
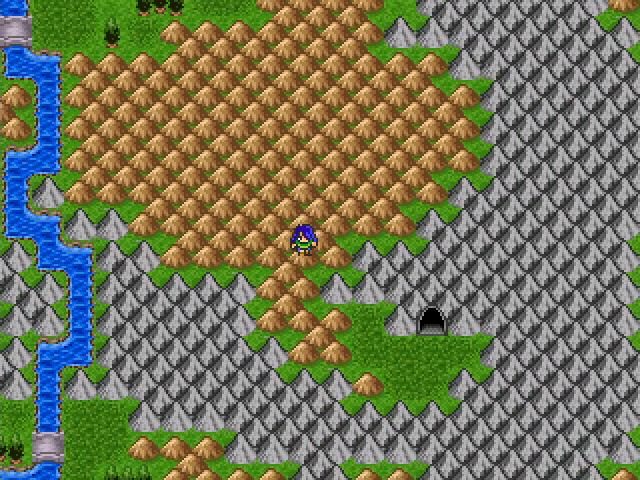
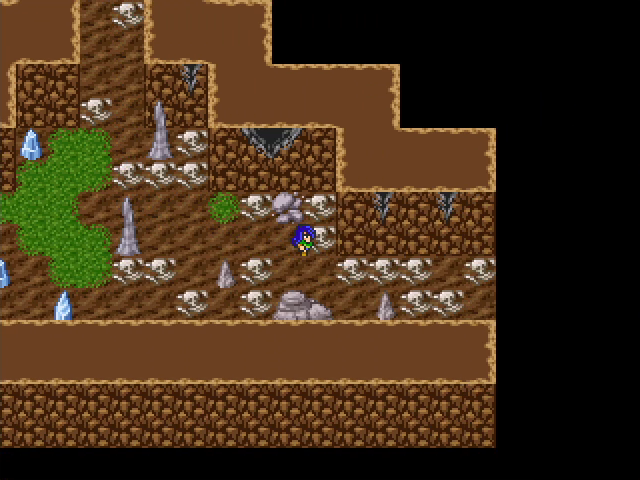
We've arrived. This is, in fact, the same cave we saw on the way to Helminsk.
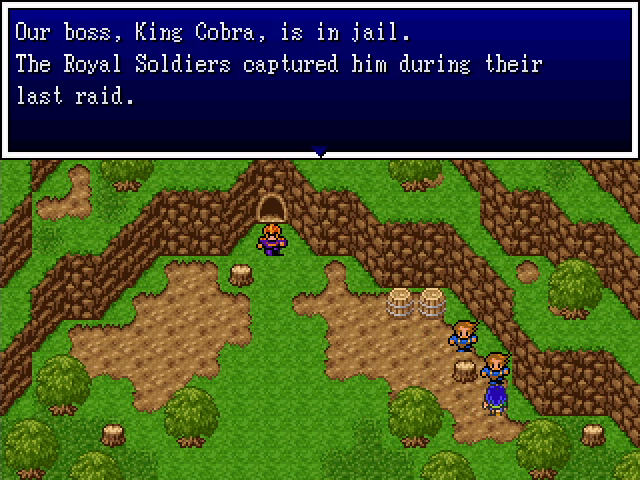
Confirmed that the guy in jail is King Cobra.
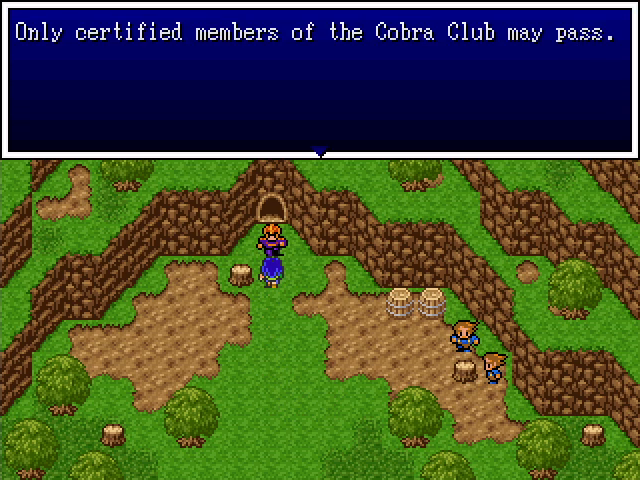
That's fine, check out my sweet membership card.

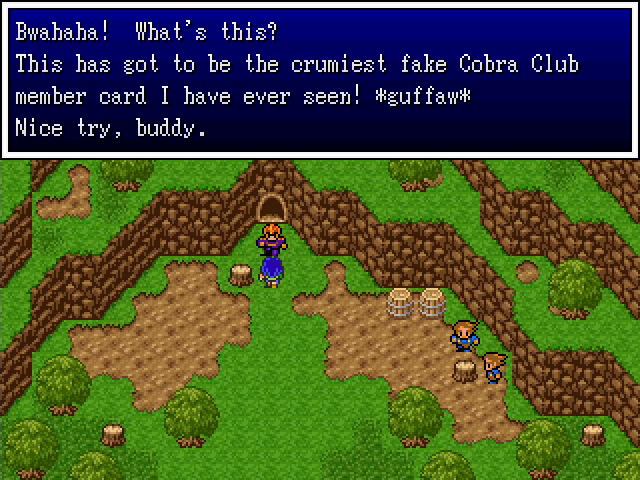
I... What?


SHIT. Okay, new plan. Let's head back to Stromholm and talk to King Cobra.
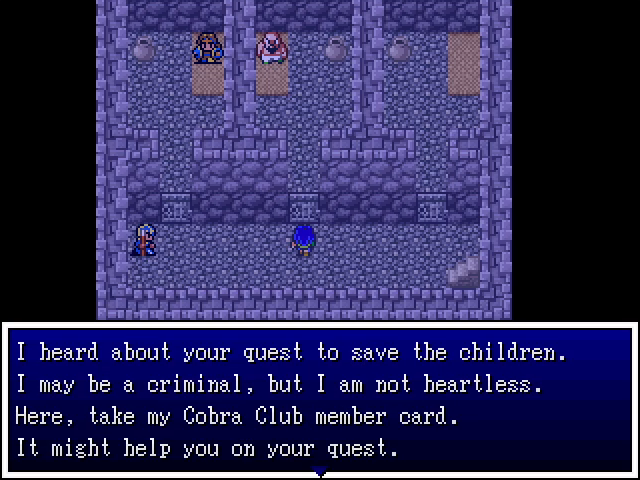
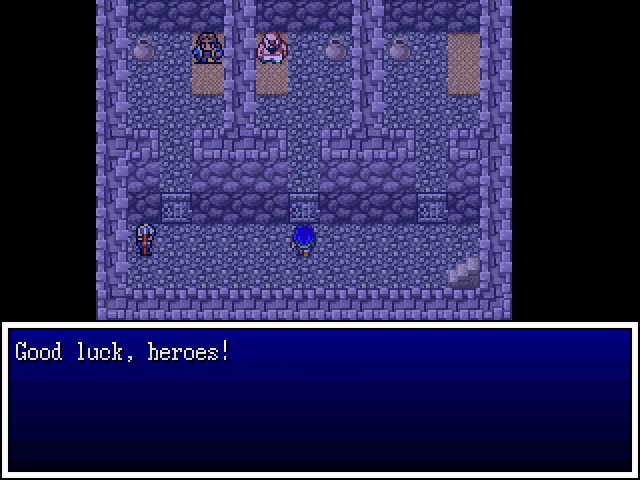
Turns out he's a surprisingly decent guy. For, you know, a criminal mastermind.
Okay, this is better.

And in we go.
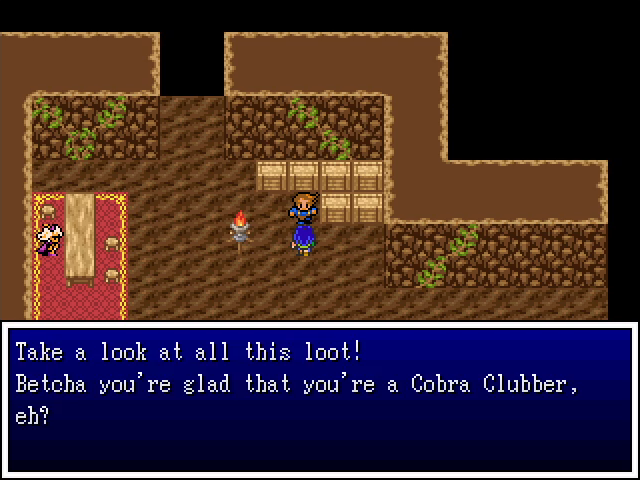
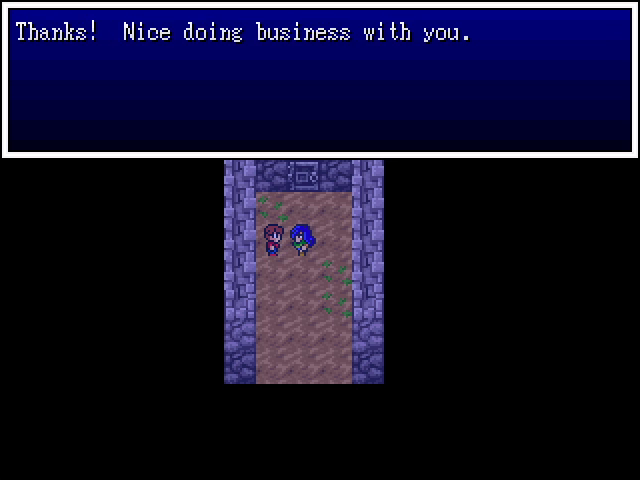
I'd be more glad if I could actually take that loot for myself. I've got kids to save, man!
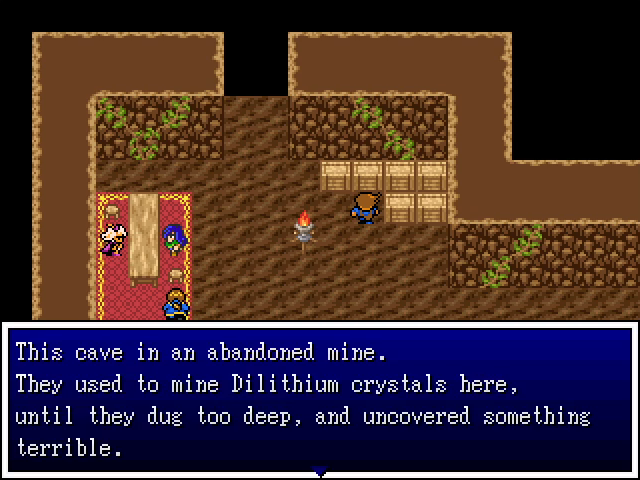
Well, that's ominous.

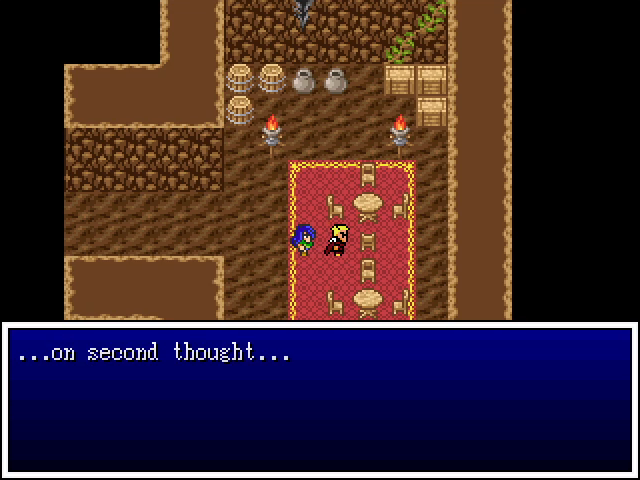
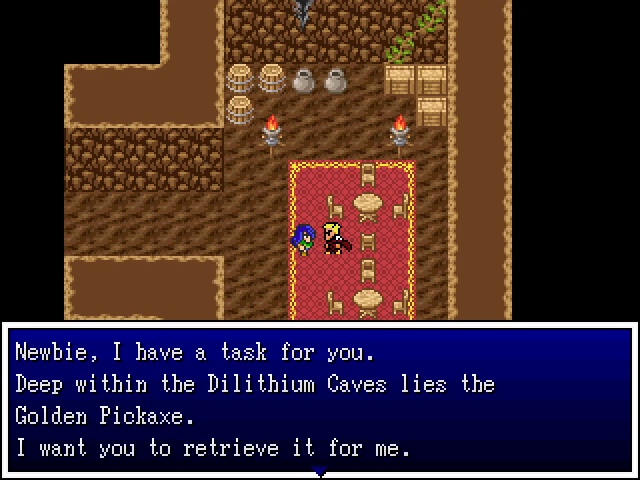
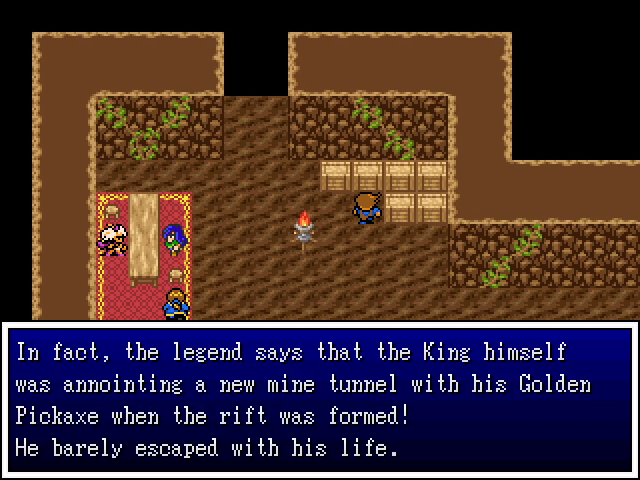
In the next room over we meet King Cobra's second, who tasks us with going down into the mine and recovering the pickaxe we just heard about. The one that was lost to "something terrible".
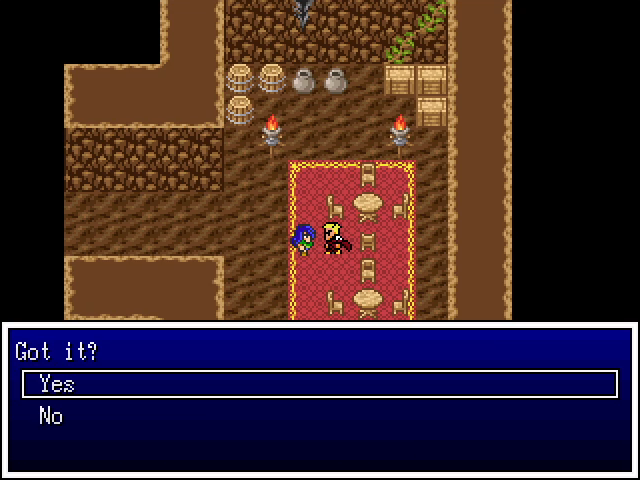
Sure, why not?
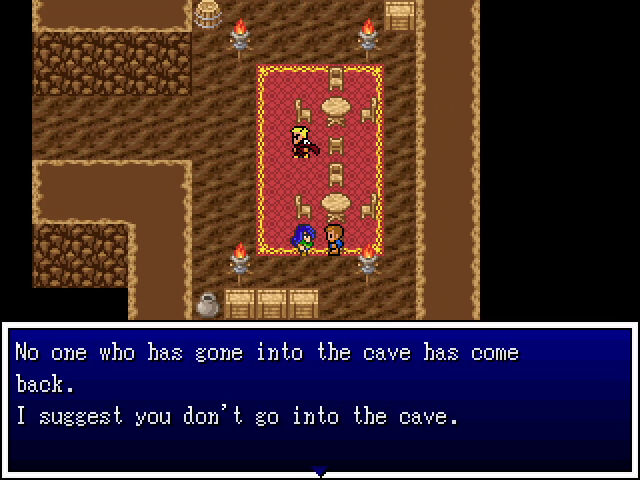
Oh, I'm sure it'll be fine. Probably just a bunch of imps.

Among the treasures hidden in the room is a warp whistle, not to be confused with a warp wing. It teleports us out of a dungeon, which can be a life saver in an emergency.

We now have confirmation that we need to use the teleportal to proceed, meaning we have to go into the mines anyway. Not that it wasn't already pretty obvious, but again: it's nice to have it confirmed.
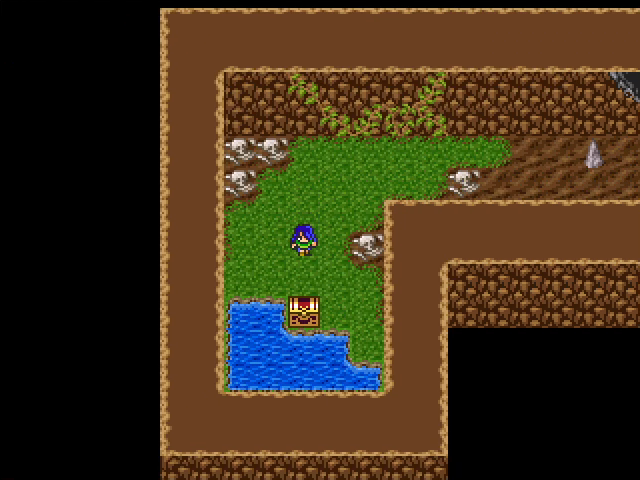
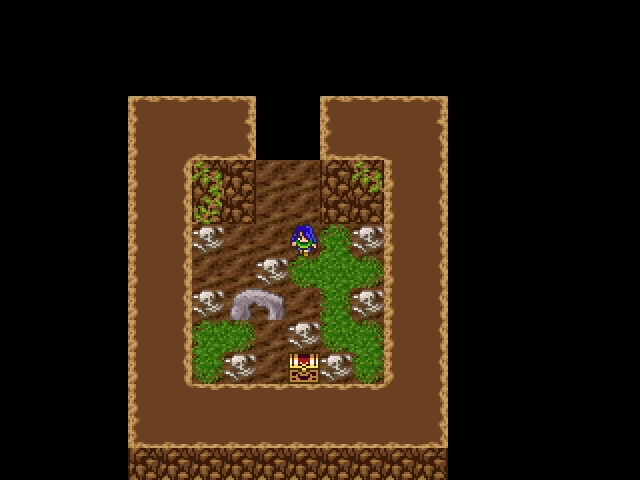
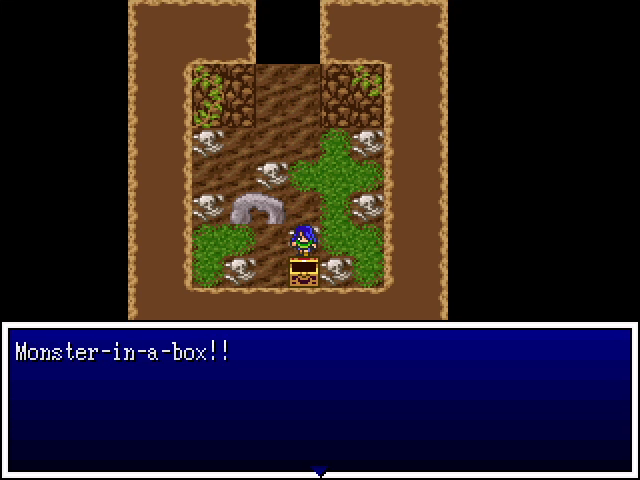
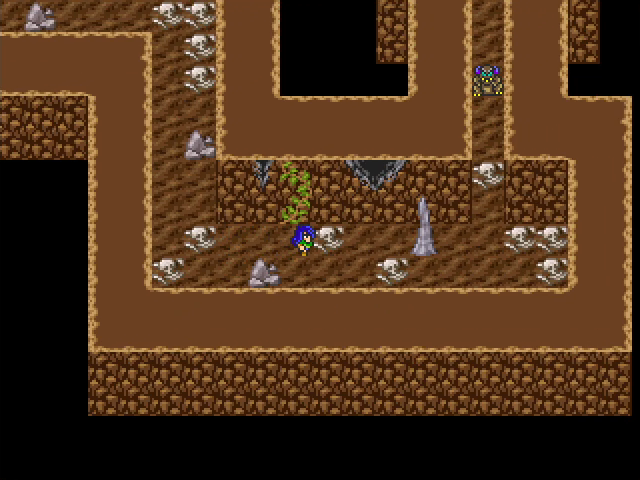
Look at all those corpses. I'm expecting a monster in a box.
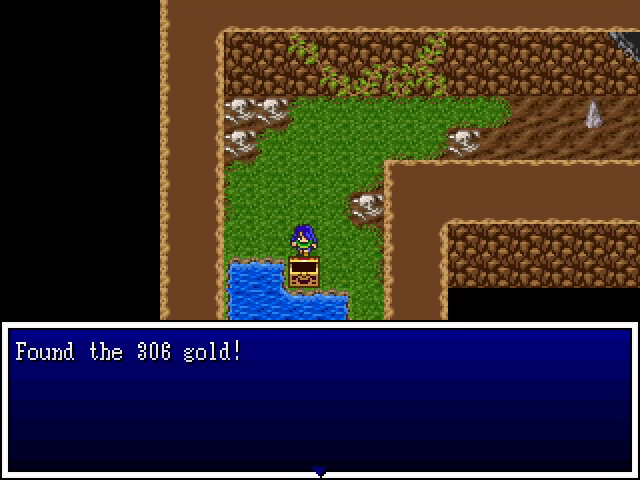
Nope, just gold.
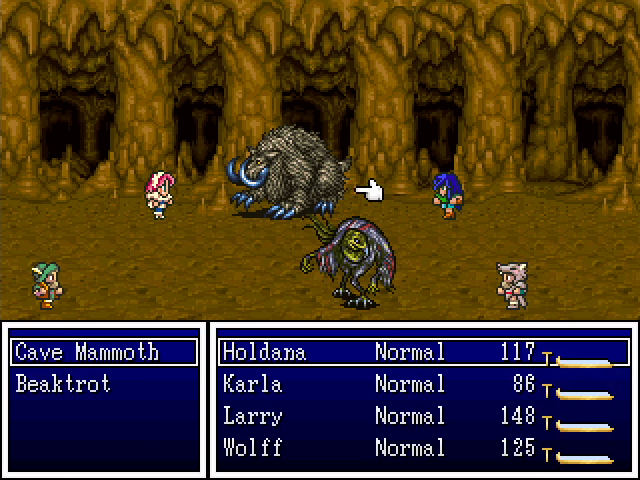
Cave mammoths are new here. They hit fairly hard and have lots of HP, but that's it.
More levels for our crew.
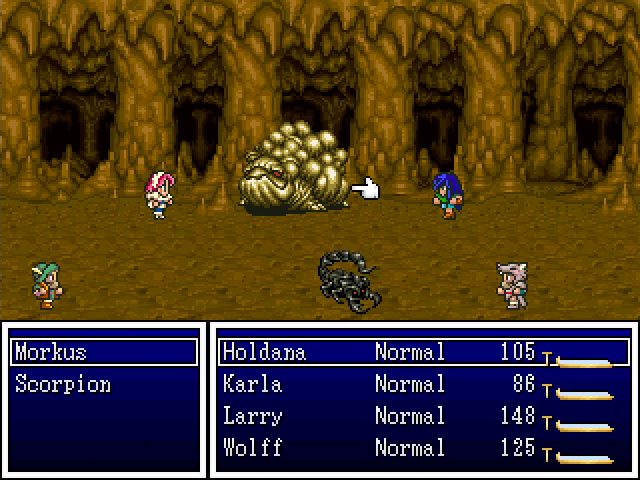
Scorpions, as you might expect, inflict poison. They're also surprisingly durable. Morkuses, meanwhile, are big bags of HP. I assume they can hit hard too, but I never found out; they're very slow and spend half their turns using Observe Battle, which has no effect.
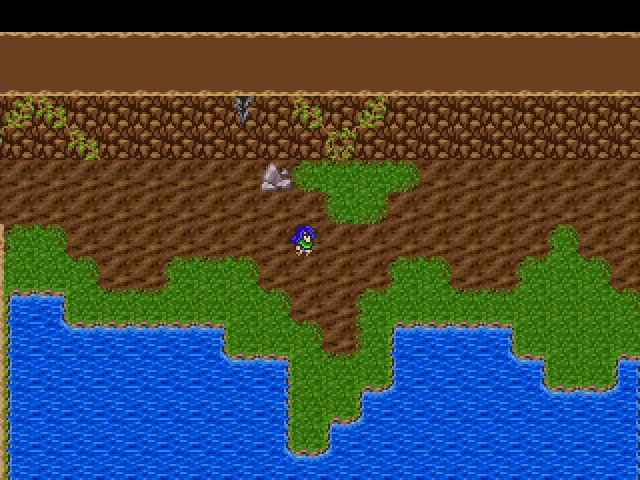
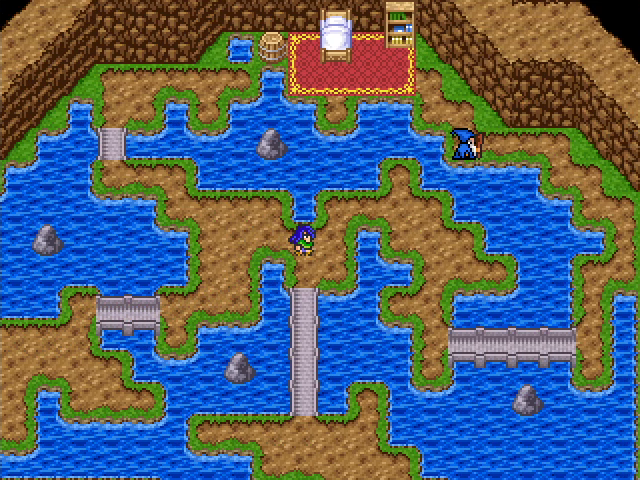
As we descend into the mines, we come across an underground lake. It's a nice change of scenery and will be relevant later.
We also come across this another chest surrounded by corpses. Is it an ambush or another fake-out?
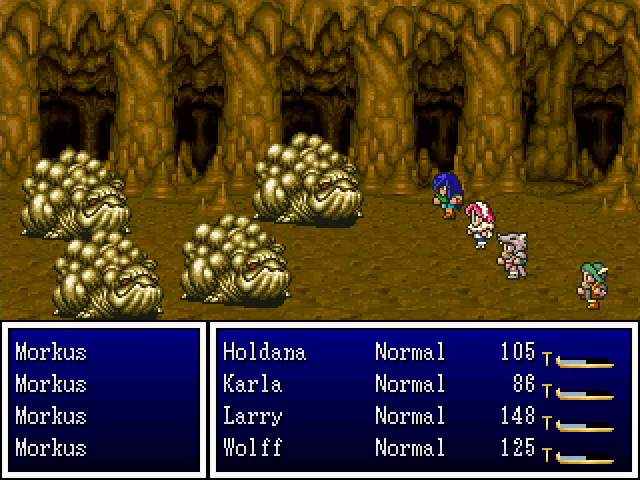
The former. It's four morkuses, and none of them actually attacked before they all died.
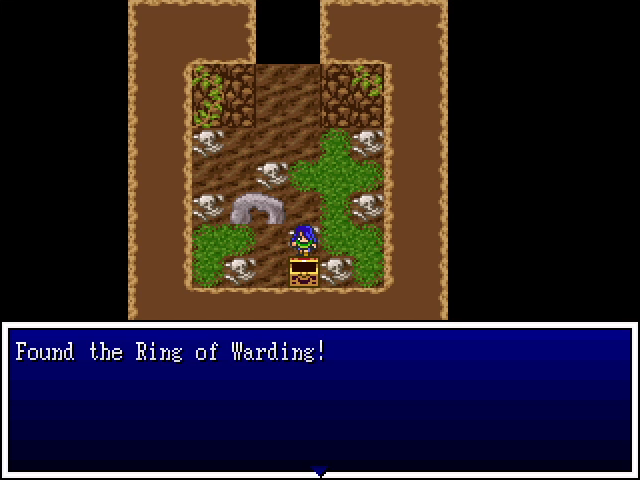
We're rewarded with a Ring of Warding, which increases Defense by 10. I give it to Karla since she's by far the most fragile member of this team.
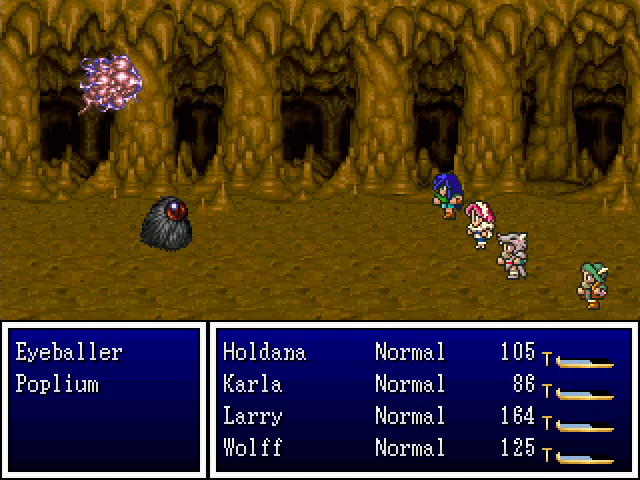
Popliums (poplia?) are similar to spakles, but more durable; they have good evasion and high defense, though they're weak to fire. They share the spakles' Shocker attack, though the poplium version does considerably more damage.
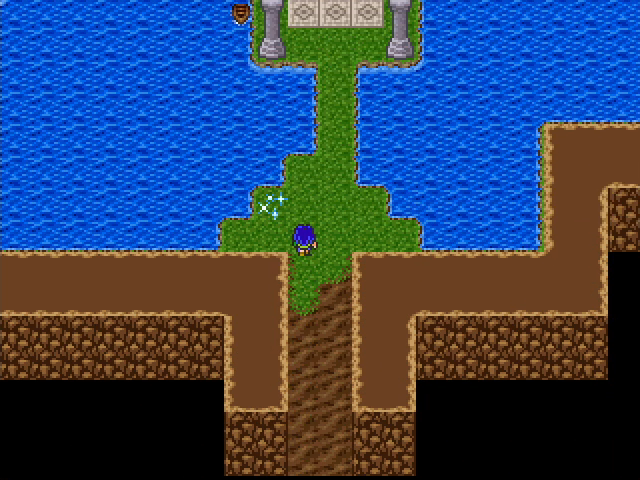
We've circled around to the south side of the lake. The save point is a godsend considering what's coming up. You might also notice a boat. We can board it to cross the lake, either going back north to exit the mines more easily, or going west to find a chest containing a wizard potion. For now, however, we're going to that peninsula, which has a staircase leading down.
I've got a bad feeling about this.
A really bad feeling.
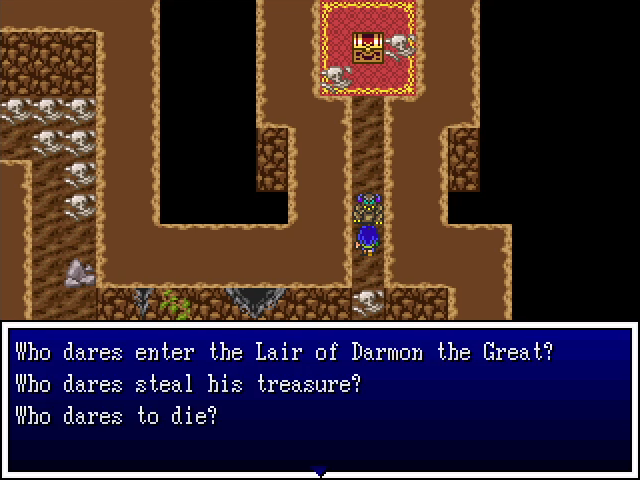
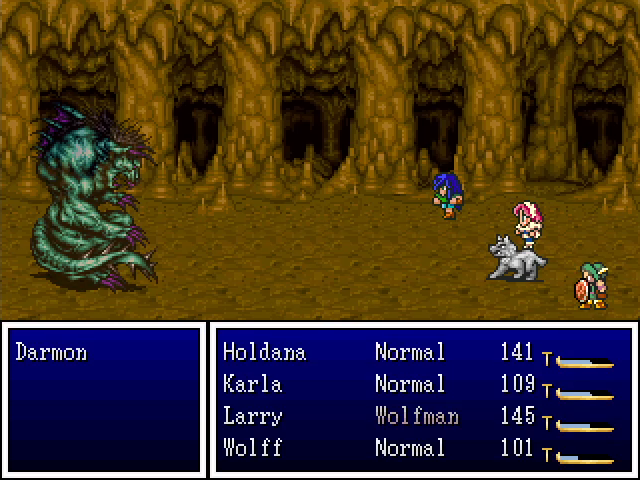
Bring it!

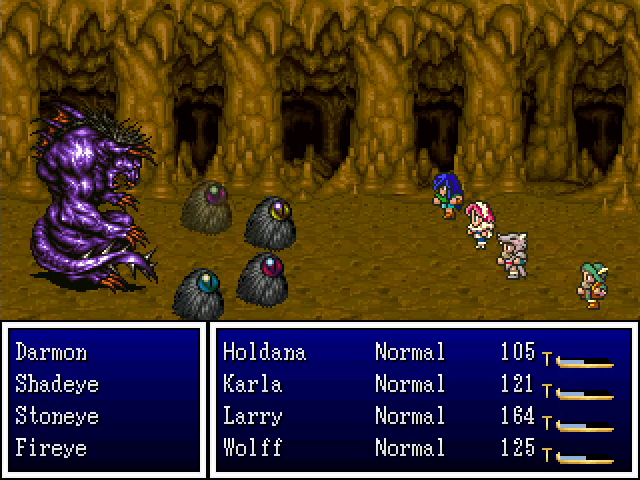
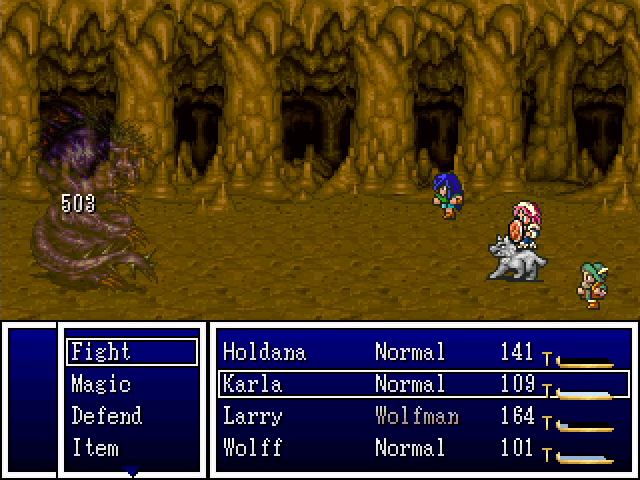
Meet Darmon the Great and his four servants, the Shadeye, Stoneye, Fireye, and Healeye. This battle is kind of nuts, and I can absolutely believe that these creatures killed a whole bunch of people. Darmon himself hits fairly hard and uses Fire Breath to damage the party, but the four eyes are the real threat. The Shadeye is immune to physical damage and inflicts Surround (blindness) on the party. The Stoneye absorbs earth (including Karla's Puff spell) and poisons the party. The Flameye uses Fire Breath, but it deals negligible damage, making it the least dangerous of the four. The Healeye heals Darmon's entire team for several hundred HP a pop. The eyes only act about 30-50% of the time (they use Observe Battle otherwise), but their combined assault is a real problem.
My first targets are the Shadeye, which is pretty vulnerable to magic, and the Stoneye, to avert poison as much as possible. Once they're down, things get more manageable, and the Healeye is our next target, followed by the Fireye. Once all four are down, Darmon is much less dangerous, though he still deals enough damage to be a threat.
Make no mistake: this is a very rough fight, especially if you come in unprepared. It took me four tries to win.
Eventually, Darmon transforms into this ghostly shape. In this mode, he's immune to physical attacks and absorbs all elements, but thankfully, he also doesn't attack.
Eventually, he reverts to his regular form, and we're able to take him out fairly quickly. Larry scores a critical hit, and with that, our first real boss fight is done.
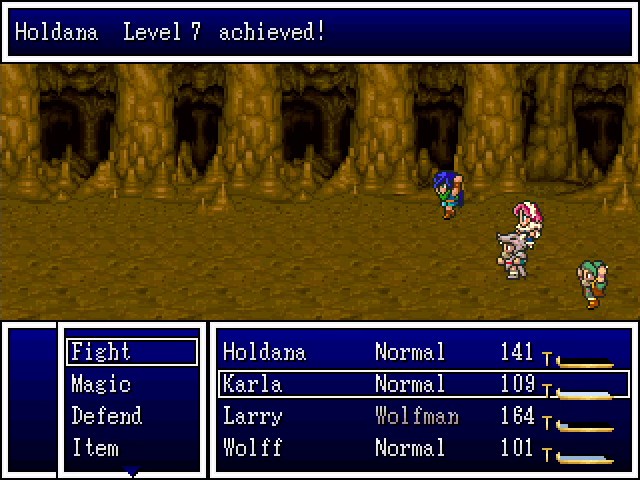
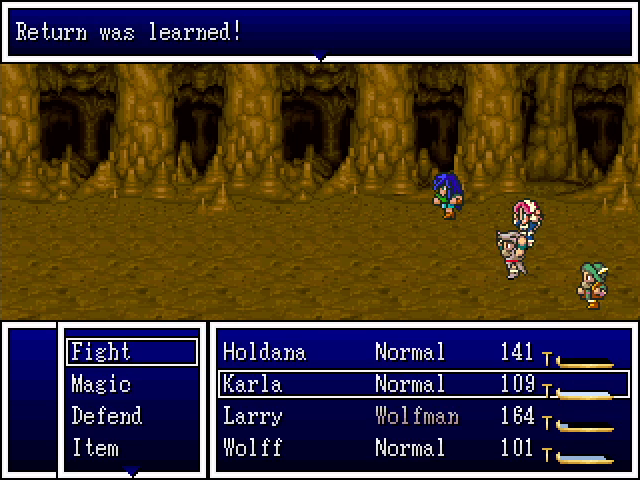

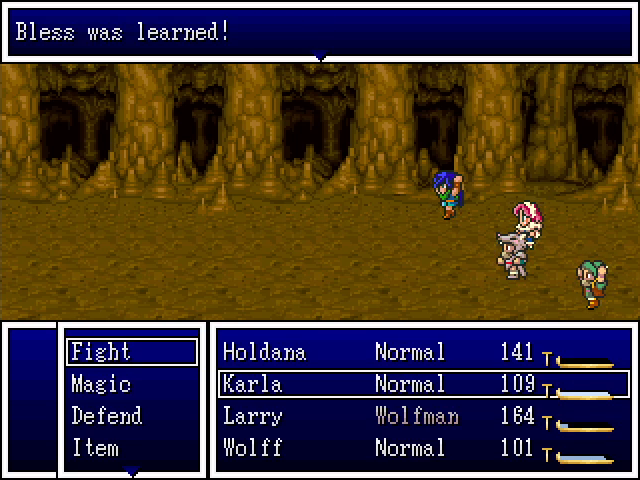
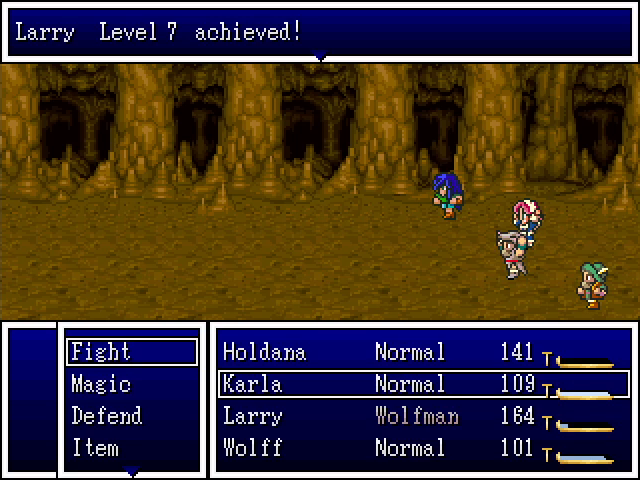

Darmon gives considerable XP, and everyone leveled again, with a couple new spells learned. Return has the same effect as a Warp Wing, though the MP cost is a bit exorbitant at 16. Bless deals damage to a single undead foe and is especially useful against ghosts.
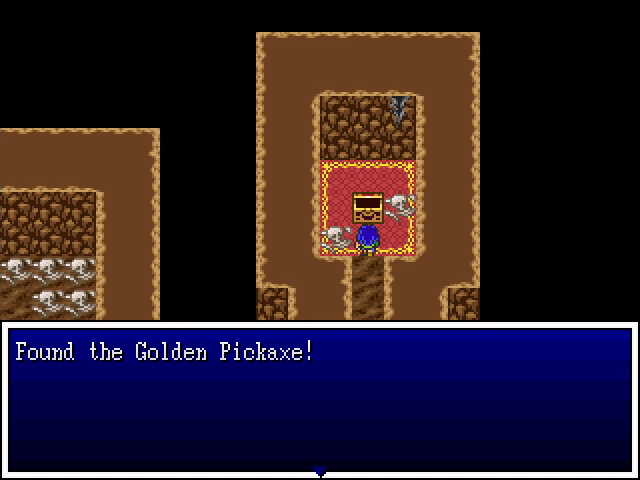
As expected, the chest behind Darmon contains the golden pickaxe.
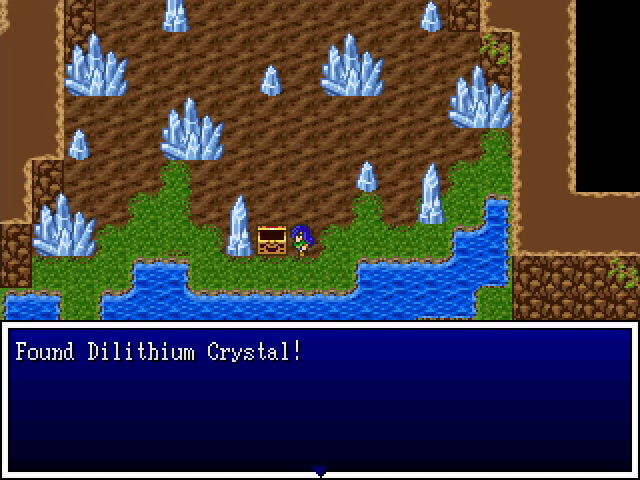
Heading the opposite direction leads us to this lovely room, which contains the dilithium crystal we need to continue our trek.
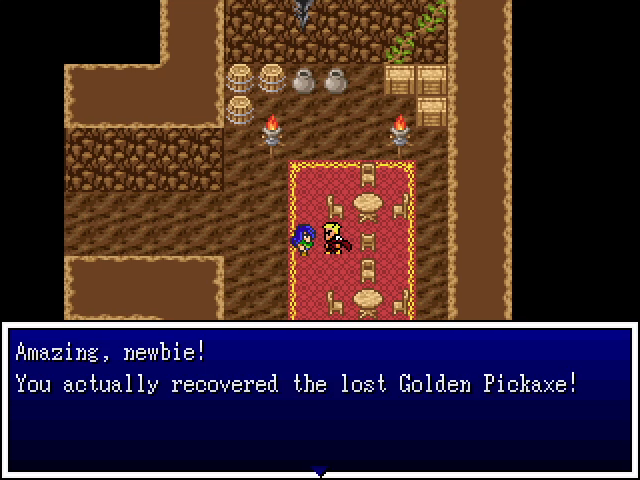
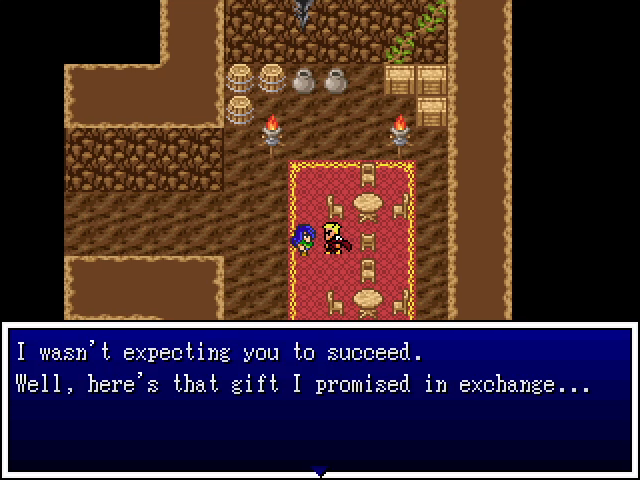
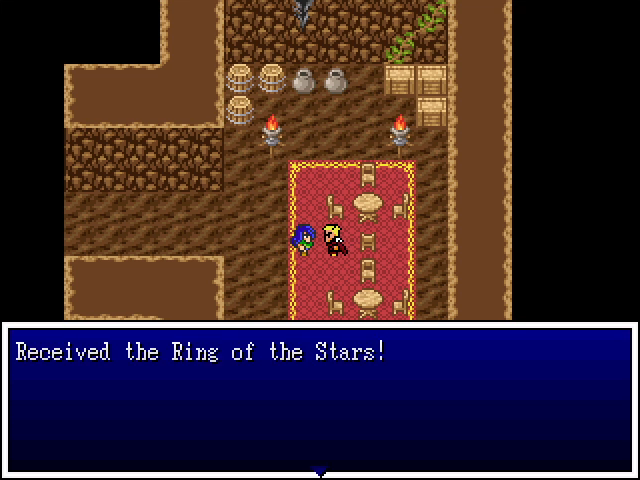
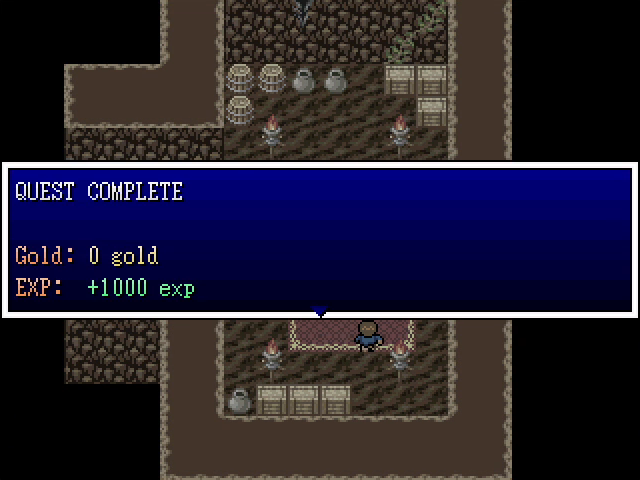
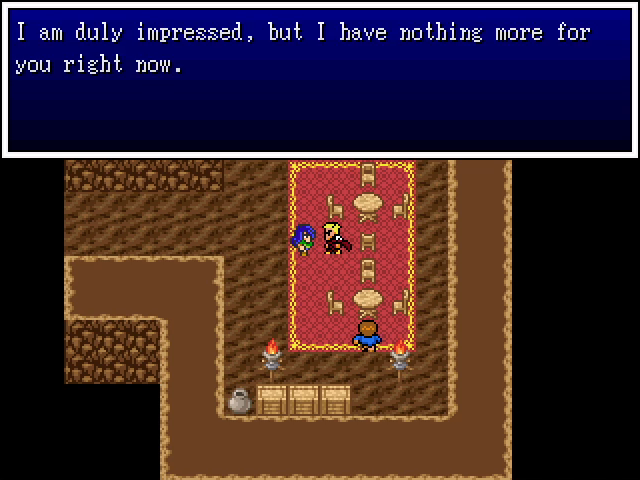
After returning to the surface, we hand over the pickaxe, and Prince Cobra gives us a ring, as well as a nice EXP reward.
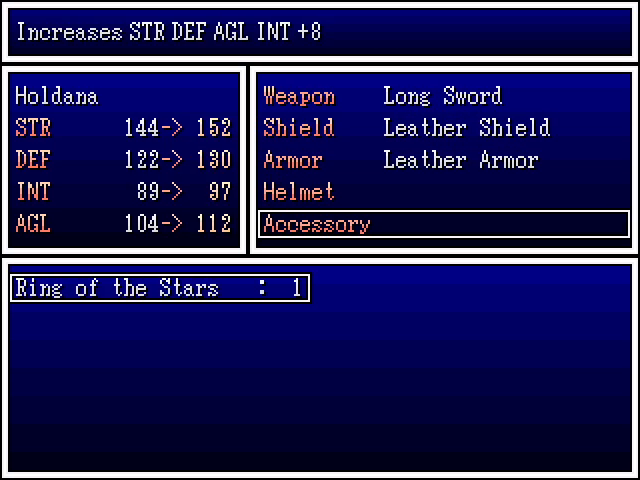
The Ring of the Stars raises all stats by 8, so I give it to Holdana, our most well-rounded character.
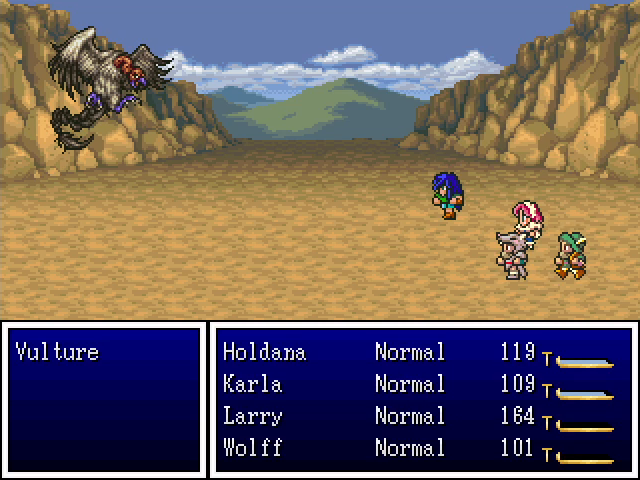
On the way back to Helminsk we run into another new enemy, a vulture. I don't know what it does since I killed it before it could do anything.

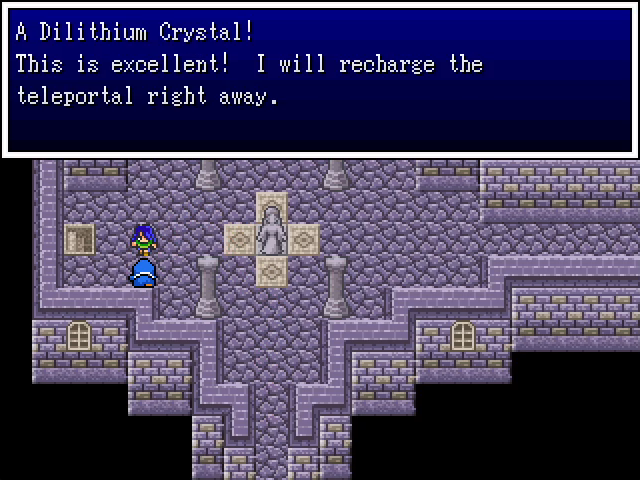
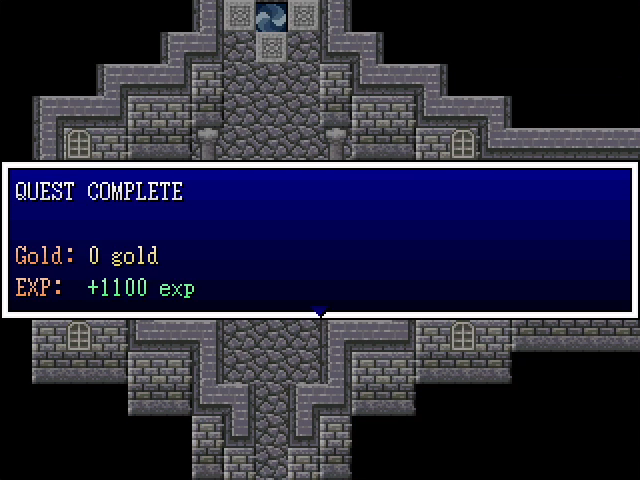

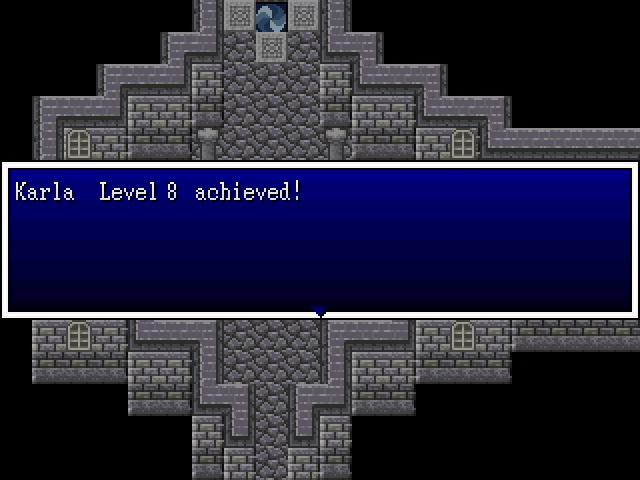

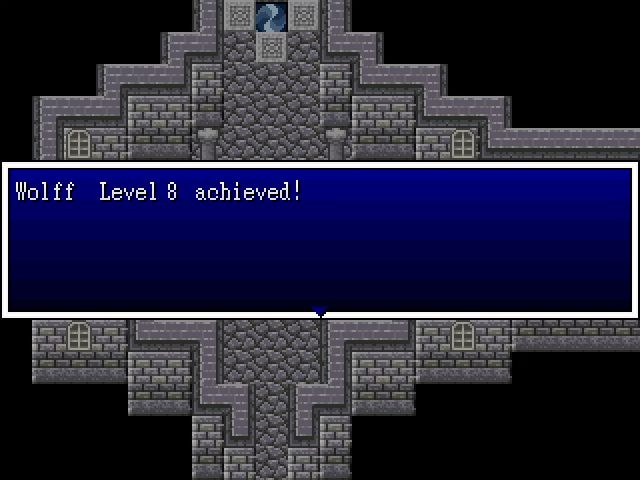
After resting up in Helminsk, we fork over the crystal to the priestess. Besides activating the teleportal, this counts as a completed quest, and the EXP reward is enough to give the team another level.
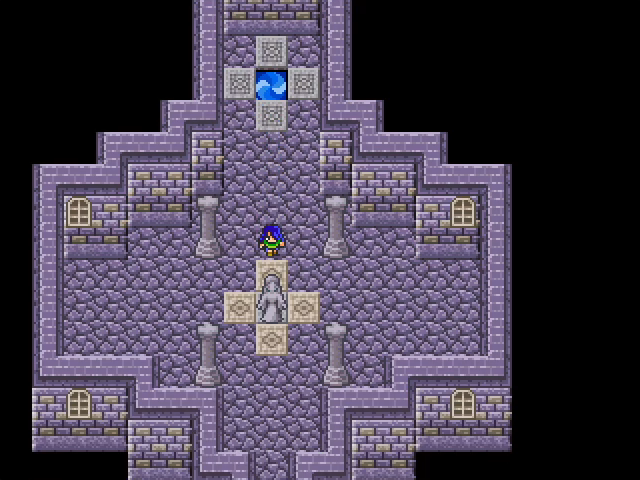
The portal leads to a similar building.
We've gone far enough north that it's getting snowy. Hopefully we won't have to go too much further to find the kids.