Part 6: Balthalas the Undead Mage
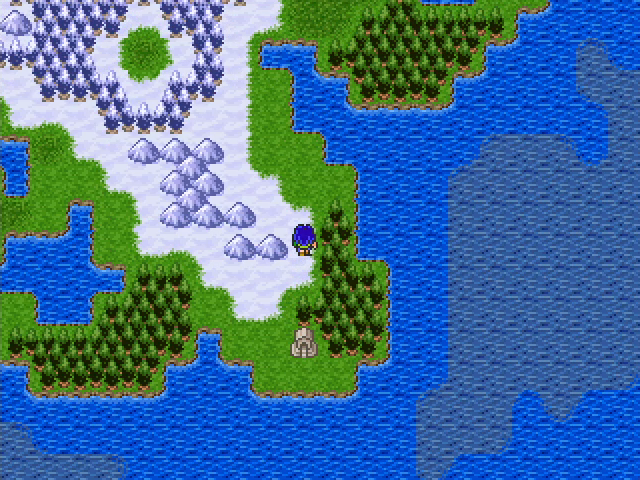
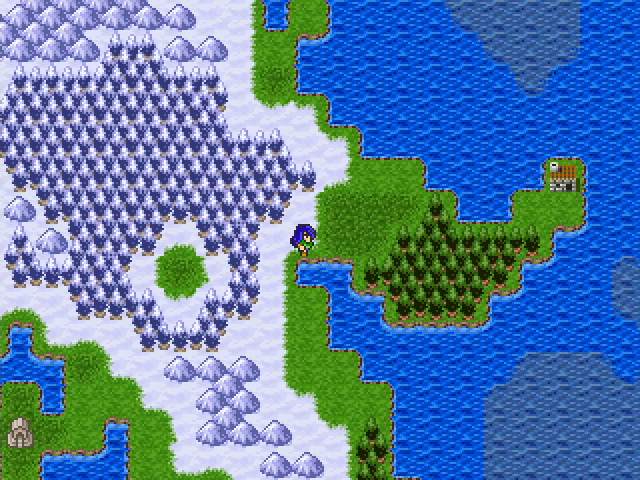
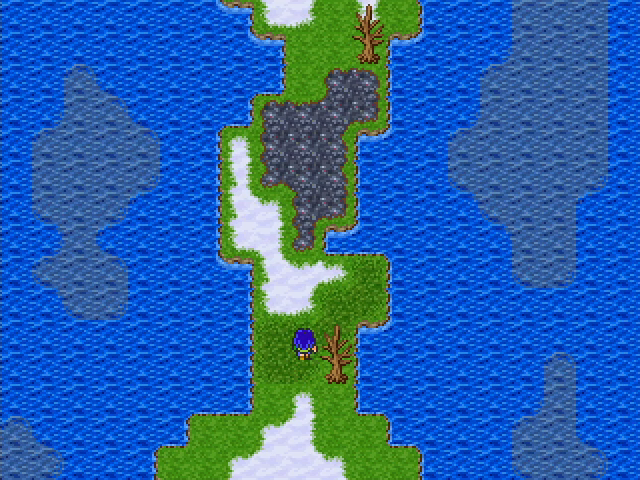
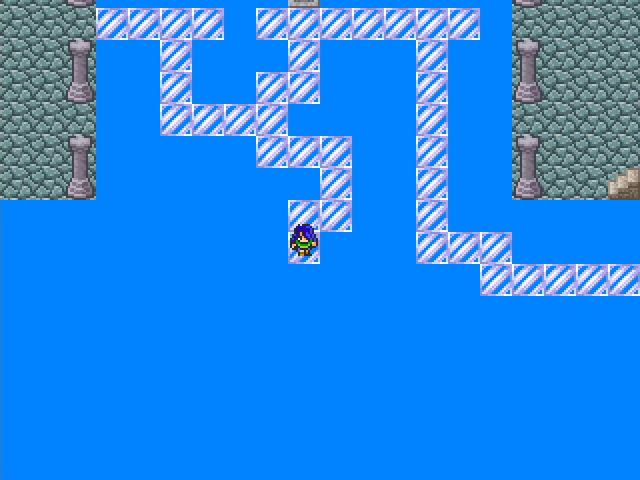
So here we are in the northern part of the world, a land of ice and snow. That forest clearing is a pretty obvious destination...
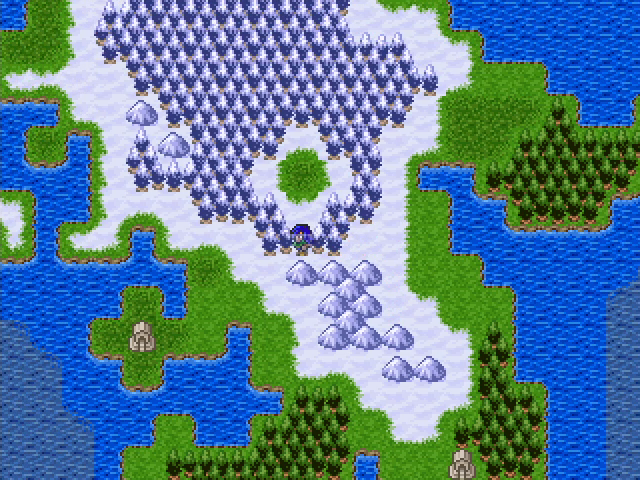
...but then there's this additional shrine. Let's check that out first.
Oh. Okay, then, back to the clearing.
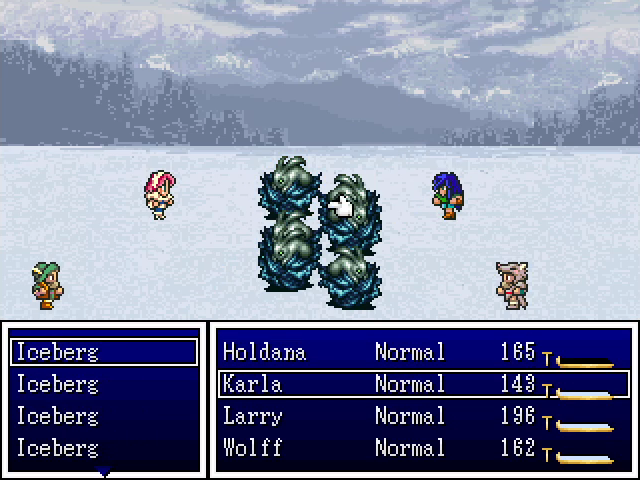
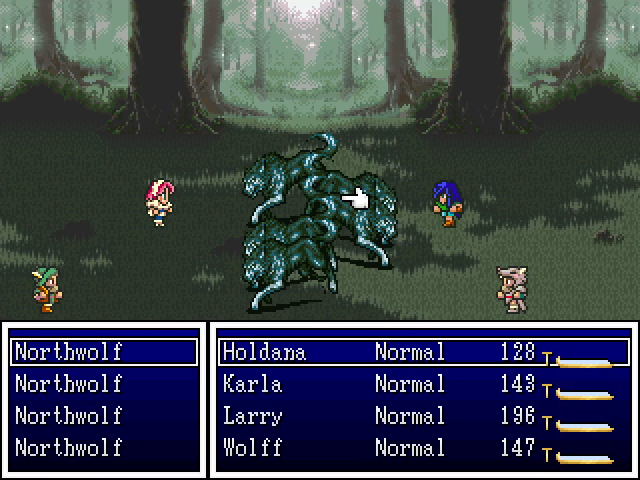
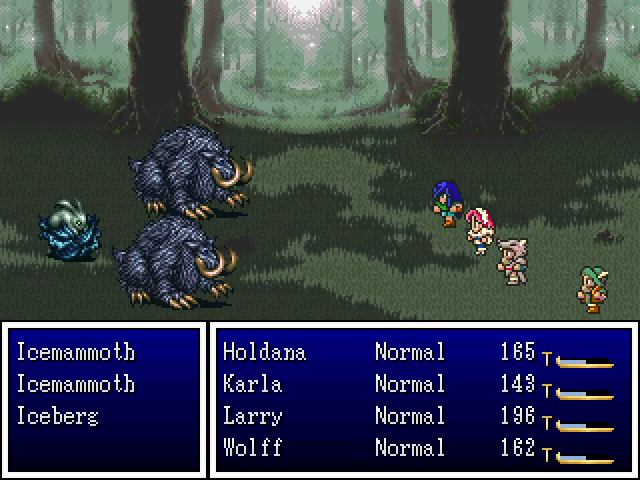
But of course, there are monsters to deal with. Icebergs cast Heal and Stopspell (silence), making them a pain, but they die pretty quickly. Northwolves supplement their bites with Icebreath, which its the entire party for a small amount of damage. Icemammoths are durable and hit pretty hard, but don't have any special tricks.
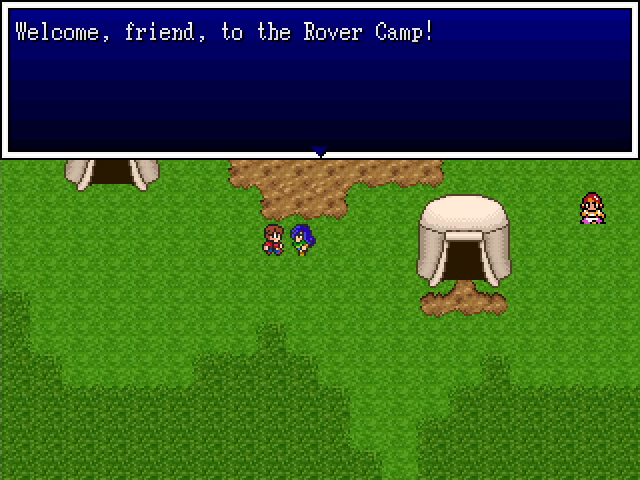
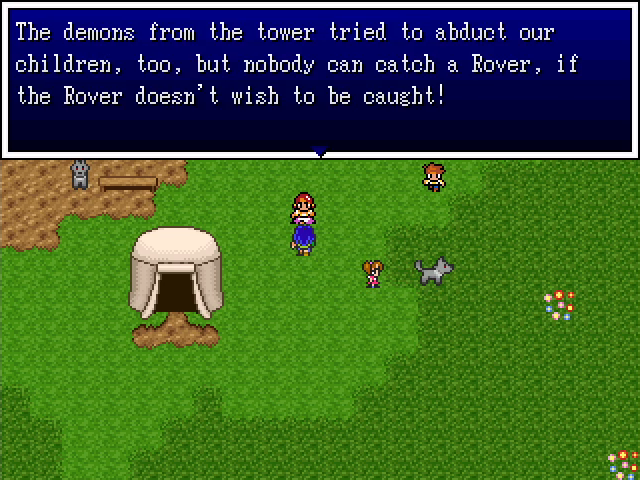
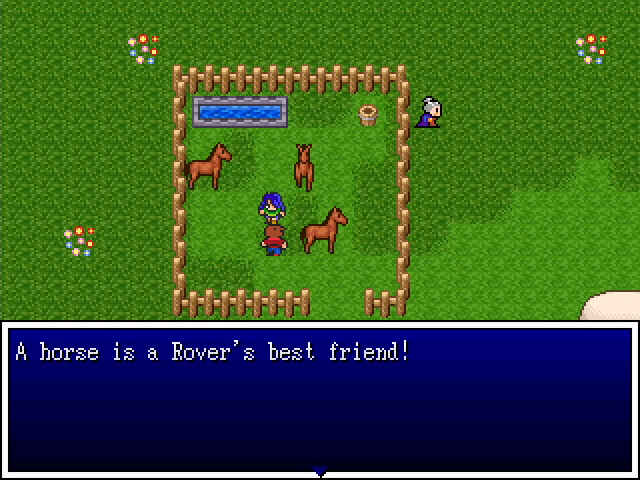
Someone in Helminsk mentioned a Rover, and this is their home. Given how old the game is, it's a little surprising to see such an inoffensive analogue for the Roma people.
Wish I could learn that skill.
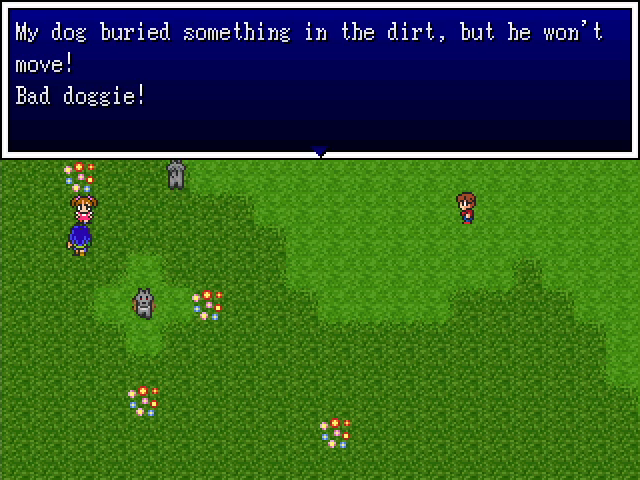
A girl in the corner of the camp gives us an obvious clue, but she's right - the dog won't budge at all.
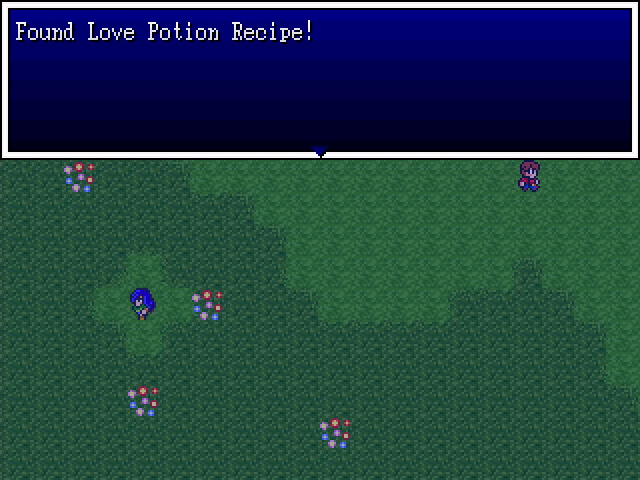
So we return at night to check out the spot. Our reward is a love potion recipe, which is for Warlocks and Witches. We can't make use of this, but we'll hold onto it for now.
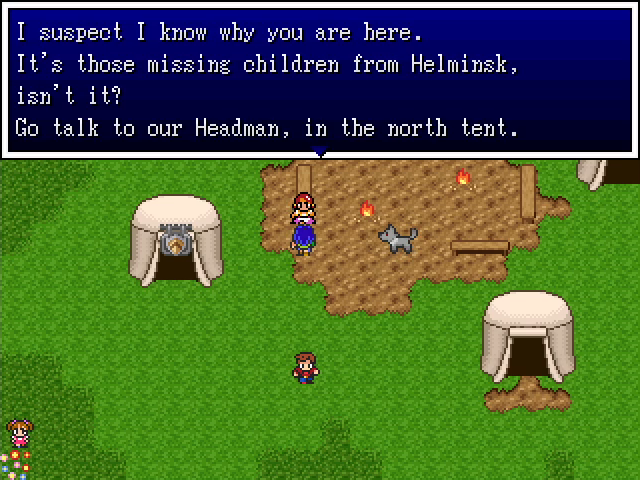
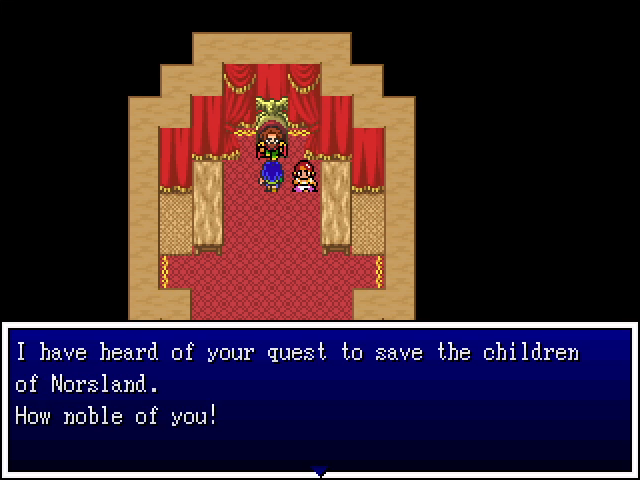
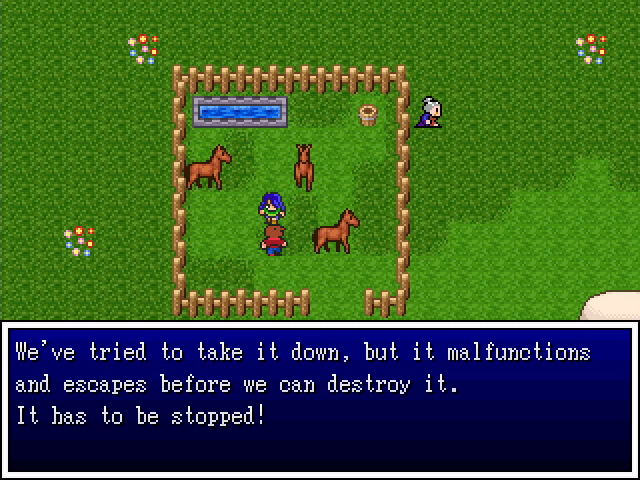
We may have actually found someone who knows what's going on.
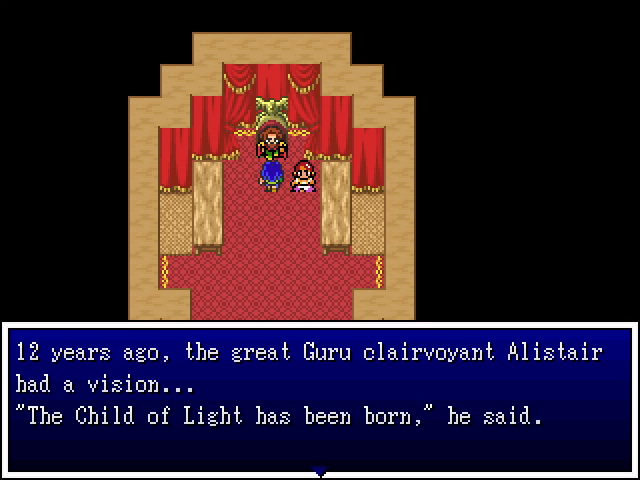


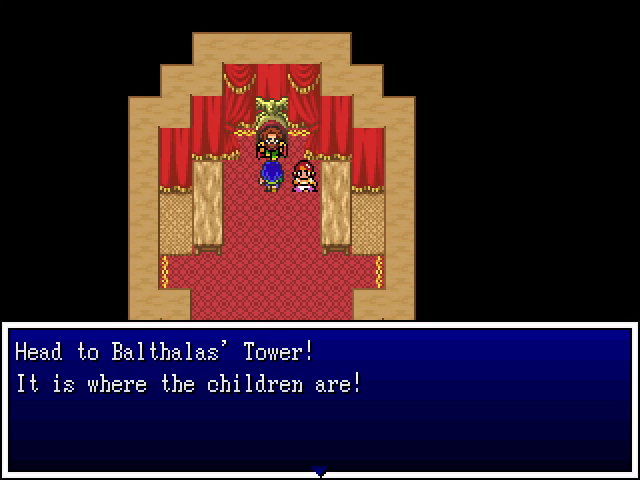
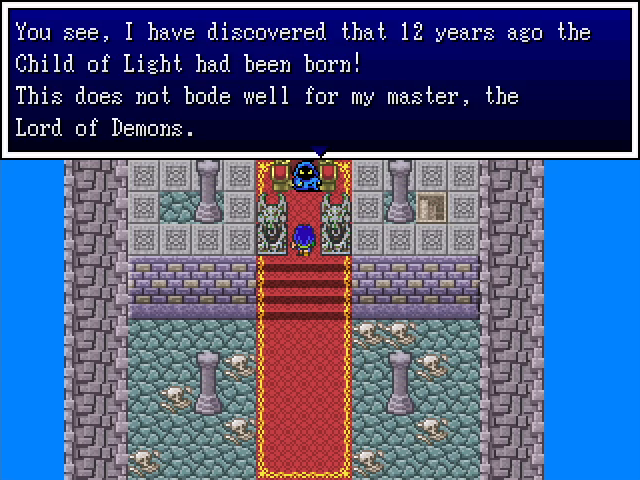
Finally, we have an answer to what's happening and why. The demon scholar's notes, the specific targeting of 12-year-olds, and the repeated mention of a tower to the north: this speech ties all of it together, and likewise reveals the game's main threat. We'll surely have to deal with Mephistocles eventually, but for now, we can at least take out one of his generals.
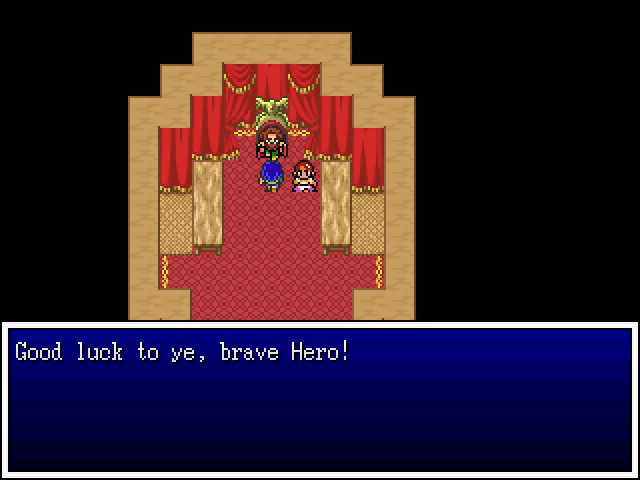
Of course, that's after we finish a few more side activities. The kids should be fine, right?
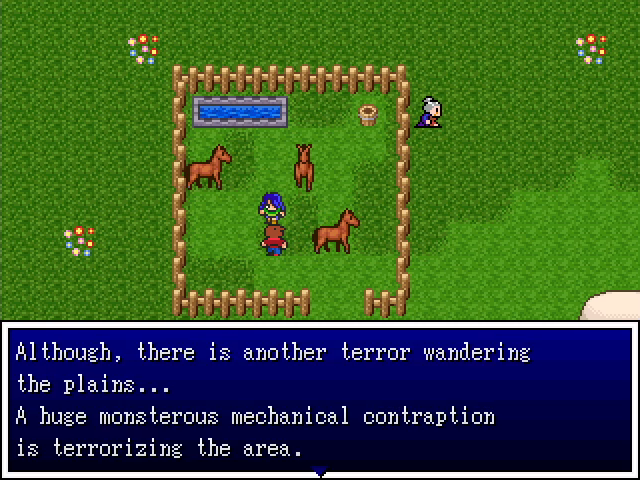
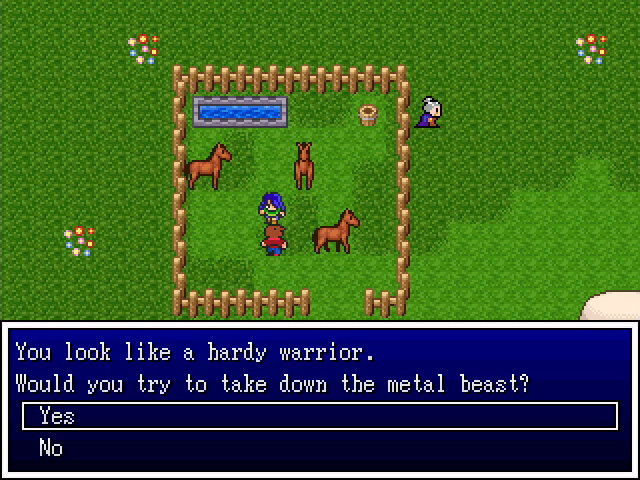
This sounds quite intimidating but is actually a pretty short side quest. We'll tackle it soon.
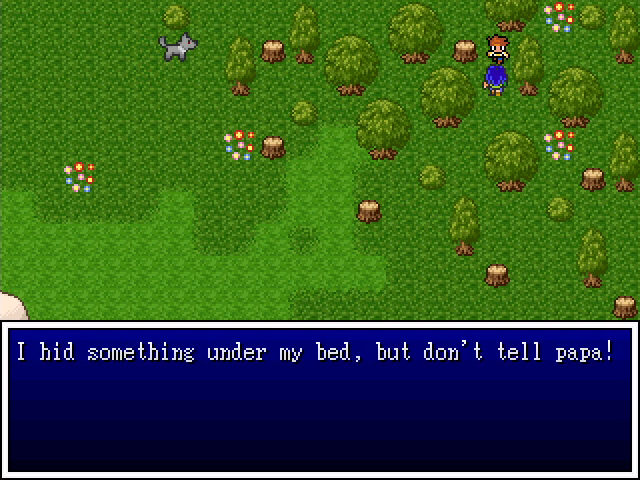
This is, in fact, a clue.
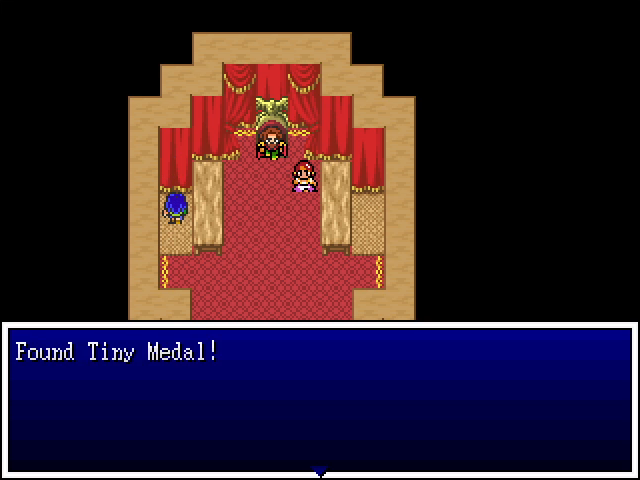
If we head back to the headman's tent and check one of the sleeping bags, we get a tiny medal for our troubles. Heroes, you see, don't just rob graves, but children too.
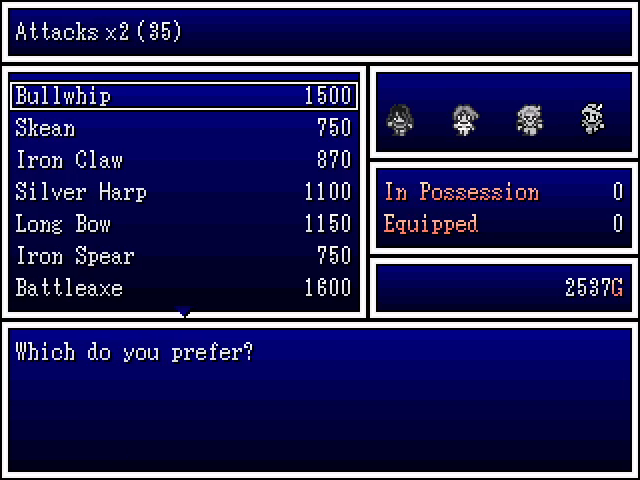
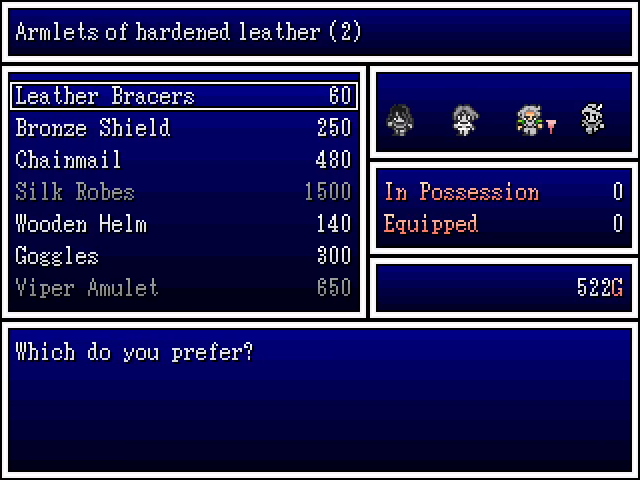
The shops in the camp contain the best weapons and armor one can buy in chapter 1. The goggles and viper amulet are accessories that prevent Surround and Poison, respectively. Everything else is just a weapon or armor upgrade, though we can't use all of them. Only harlequins can use the silver harp, for example. Still, there's a lot of good stuff here. The battleaxe, long bow, chain mail, bronze shield, and wooden helm are all upgrades for us. Technically, the silk robe is too, but it's female-only and only offers 1 Defense more than the chainmail; it's okay for female mages but too expensive to justify buying it for anyone on this team.
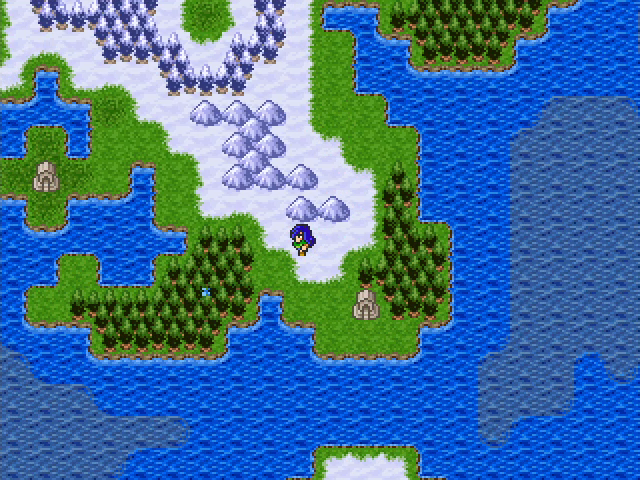
Outside the camp, there's a small spot of light blue to the northwest. It's sort of hard to see in this shot, but in-game it's animated, making it stand out a bit.
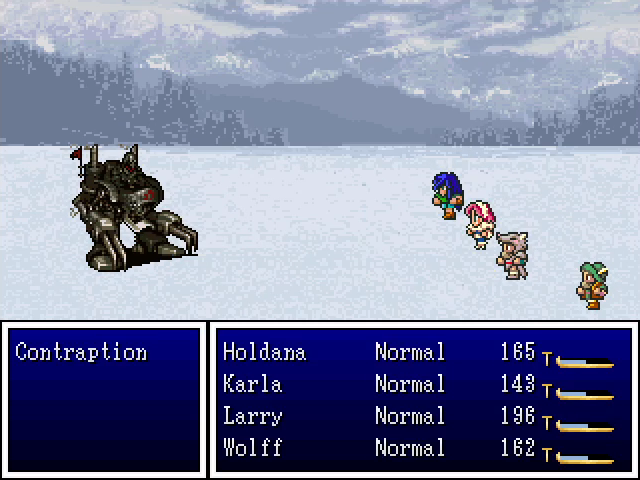
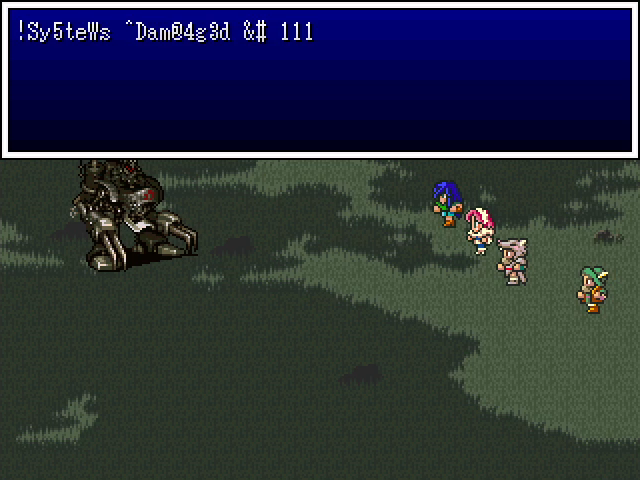
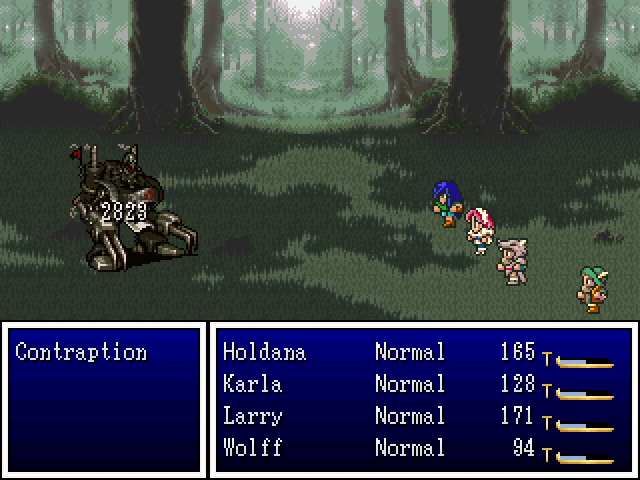
This is the Contraption, bane of the Rovers. It has a couple of attacks, but nothing too dangerous: Program 18 deals damage, while Program 5 inflicts Surround on the party.
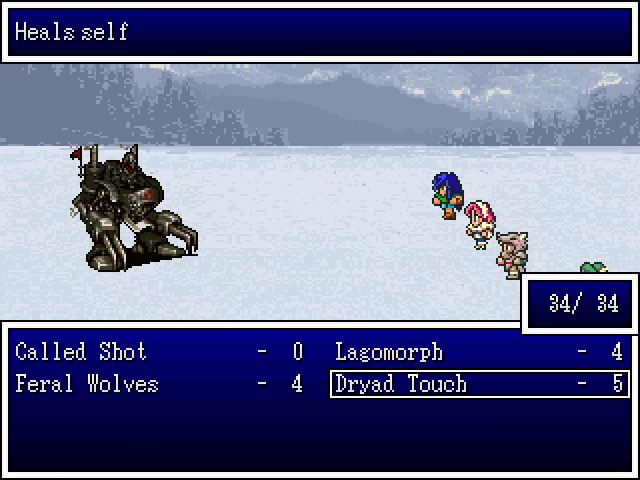
Oh, hey, it looks like Wolff got a new Nature power for the outdoors. Not useful here, but good to have.
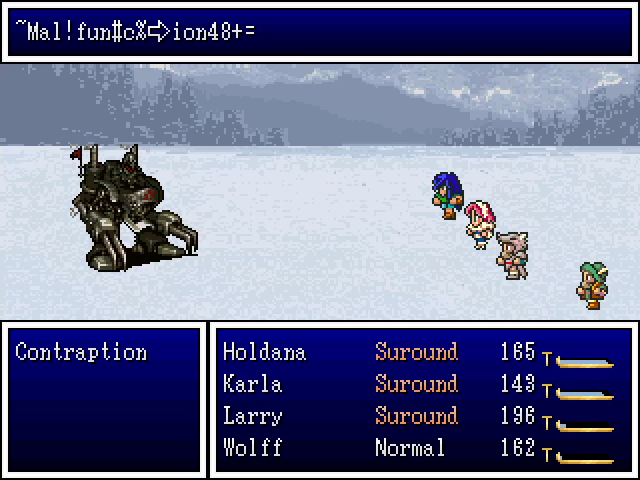
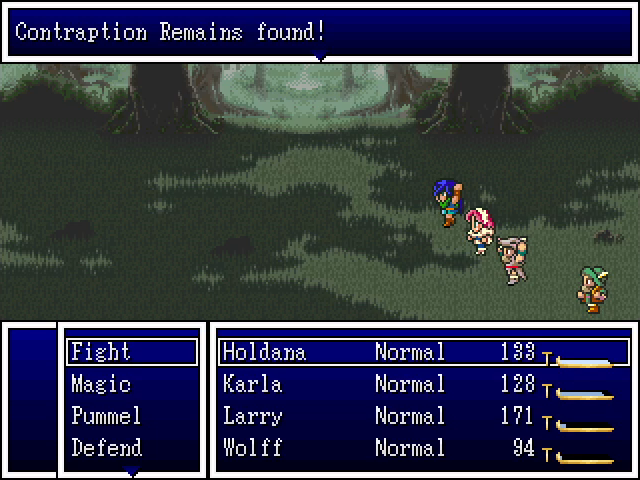
After a couple of rounds, the Contraption gets some kind of error and runs away.
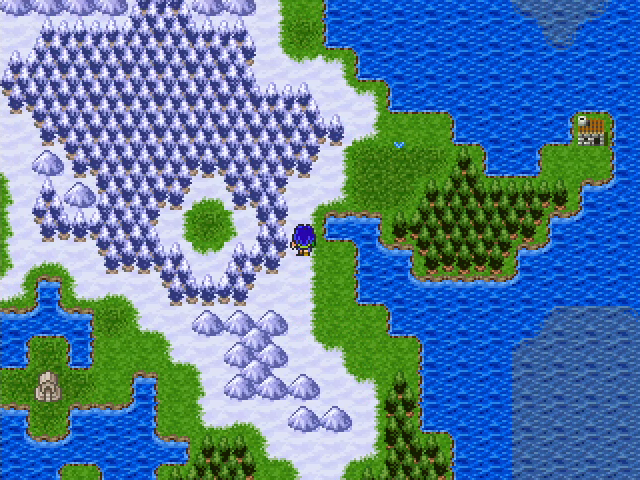
The Contraption always seems to respawn in a forest on the island, but it moves so it can leave them. In this case it went south.

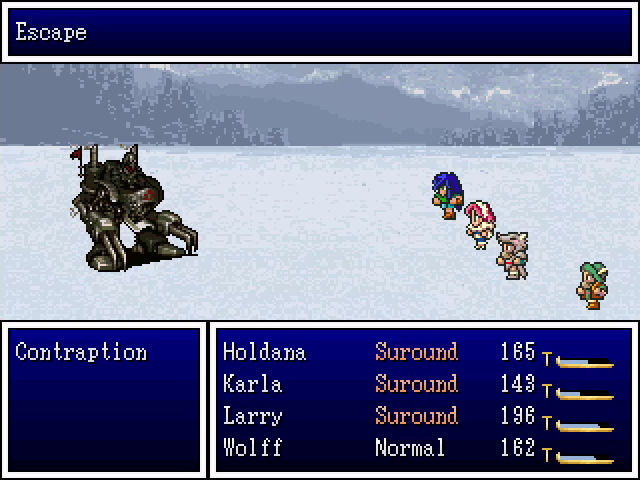
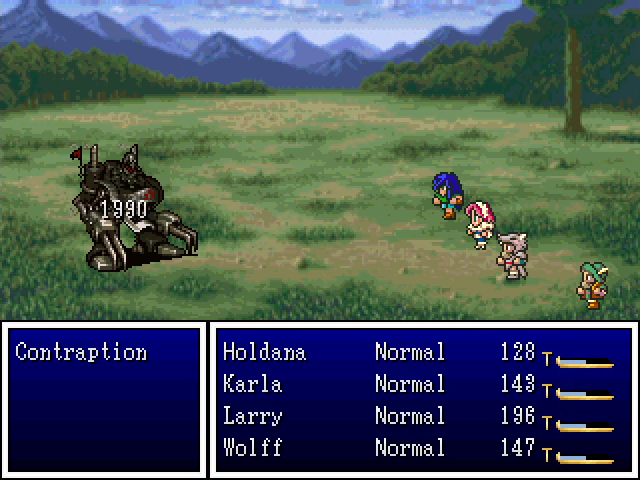
Fortunately, taking out the Contraption isn't as frustrating as you might expect. At the start of each fight after the first, it takes damage equal to whatever it had when it last ran away, so it can be worn down with a little persistence.
After the second fight, it runs away up here.
The damage continues to pile up over the next two fights, until finally, it uses Program 99.
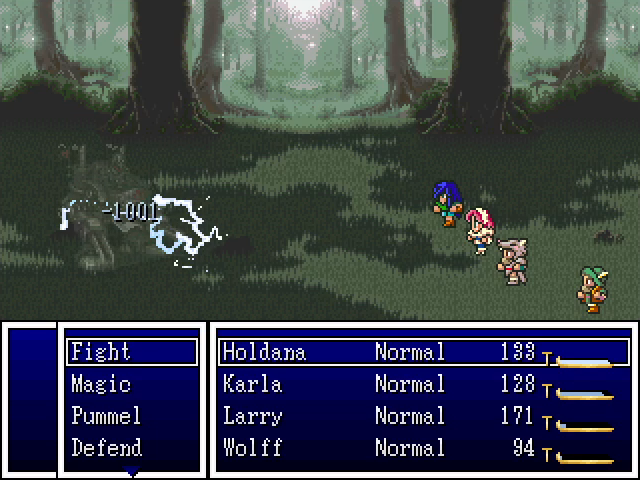
This "heals" it for -1001 damage, causing it to self-destruct. We get the Contraption parts for our efforts, to prove we've defeated it.

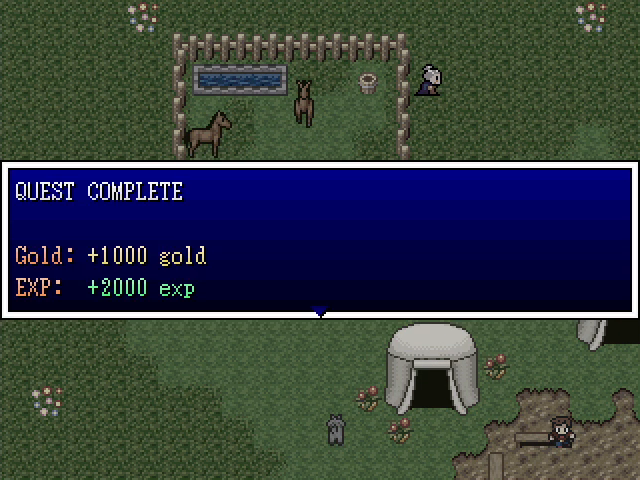
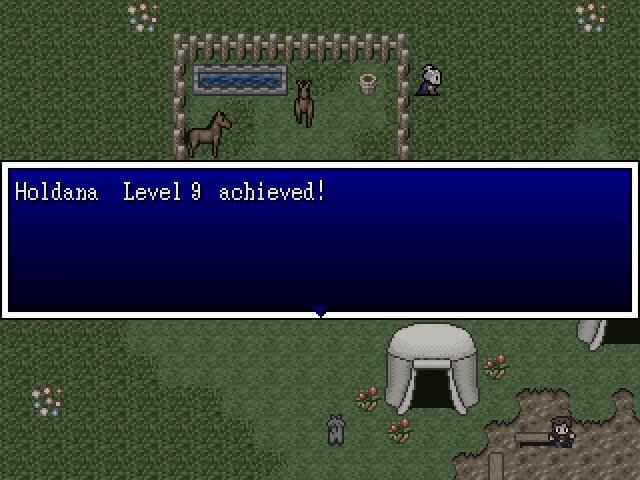


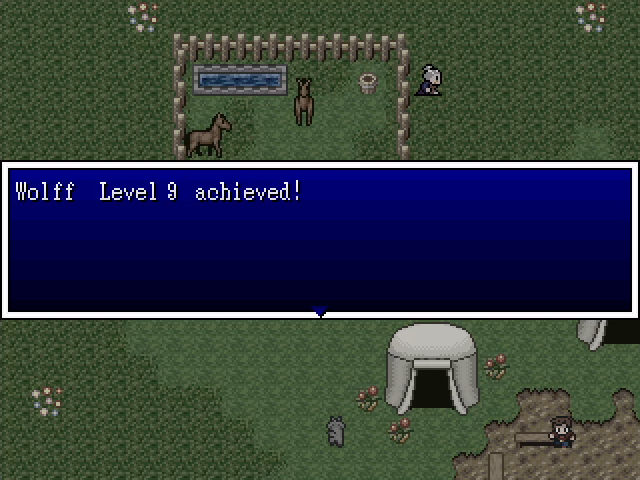
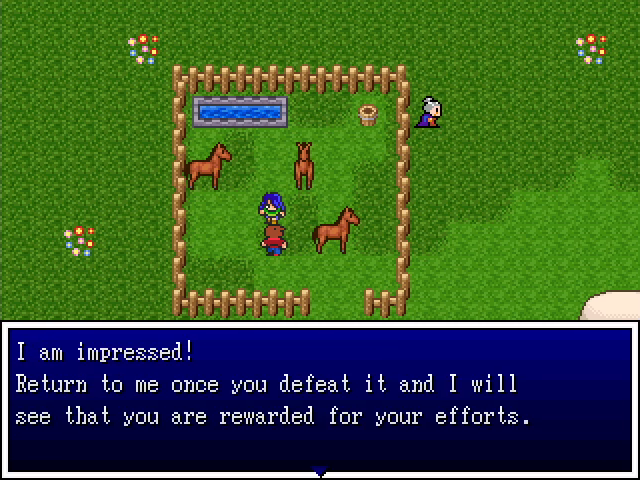
Back at the camp, we turn in the quest, earning ourselves a nice reward and giving everyone a level up.
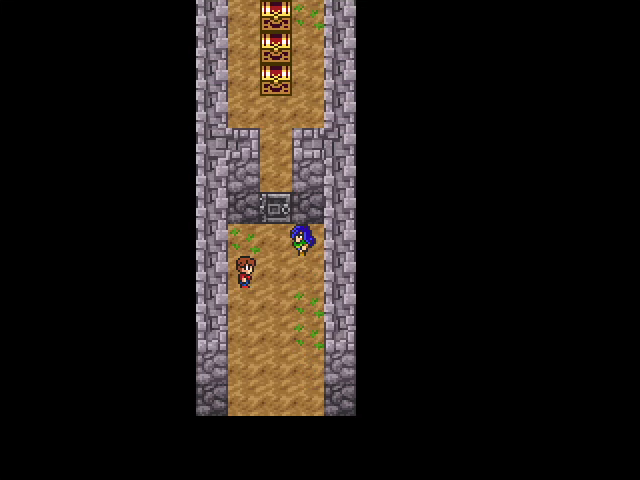
Next up is this lonely house to the east of the camp.
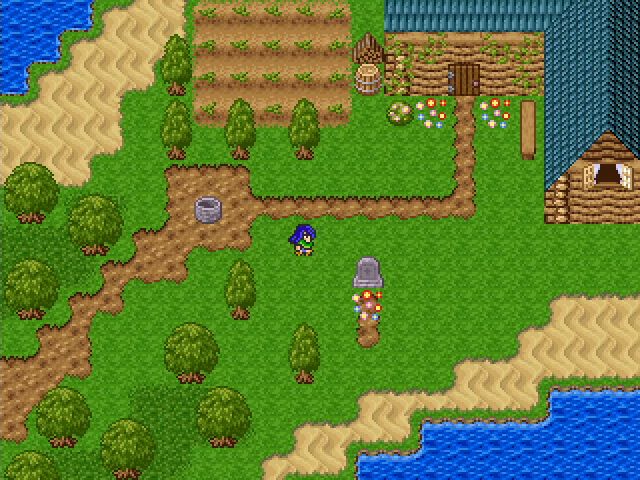
It's actually a pretty nice place. And do you see something interesting?
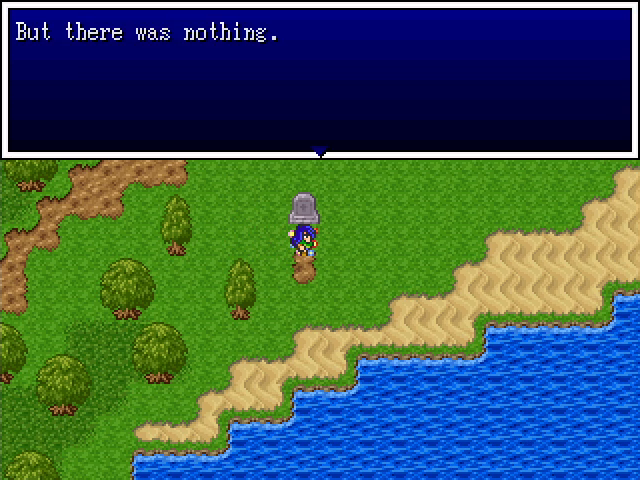
No, you don't, because there's nothing here. Look, I'm not going to let a little thing like "respect for the dead" keep me from looting every suspicious grave I see.
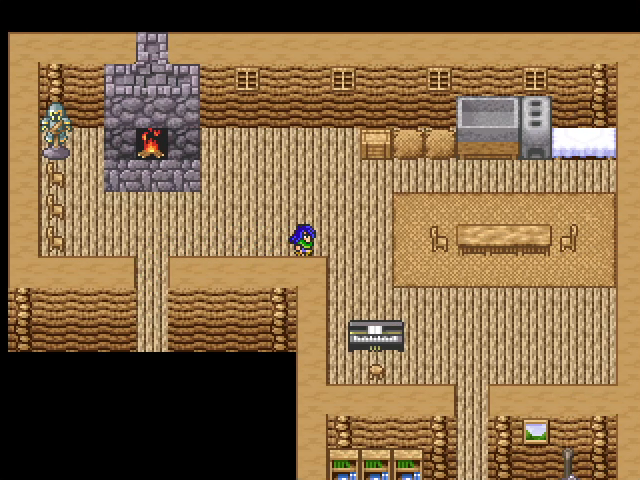
The cottage interior is pretty ritzy, considering. How did the owner even get a piano out here?
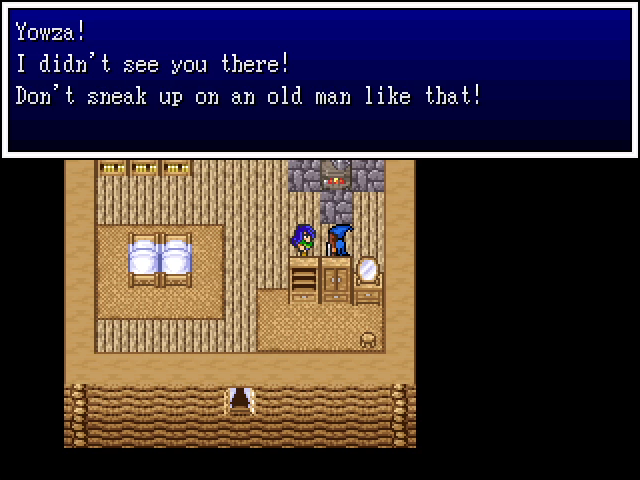
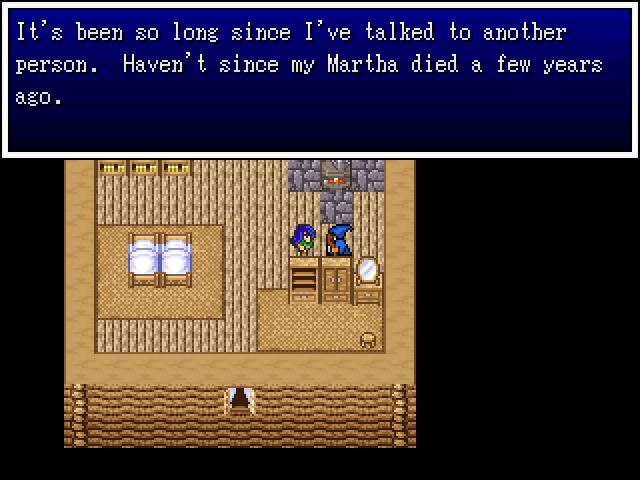
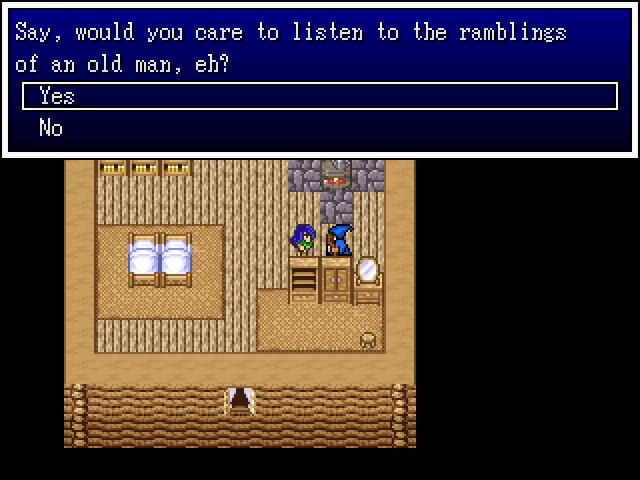
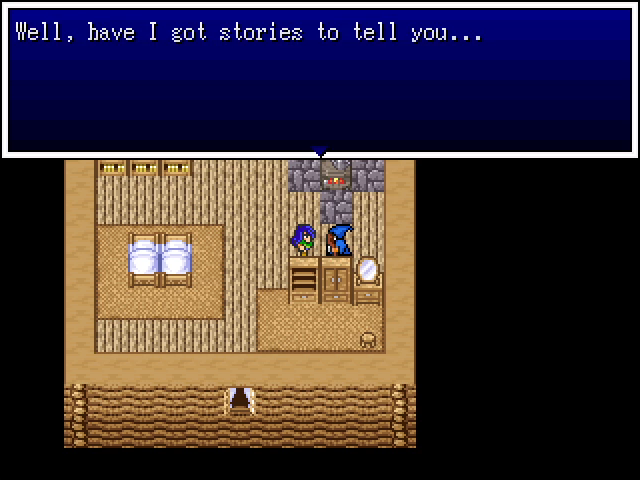
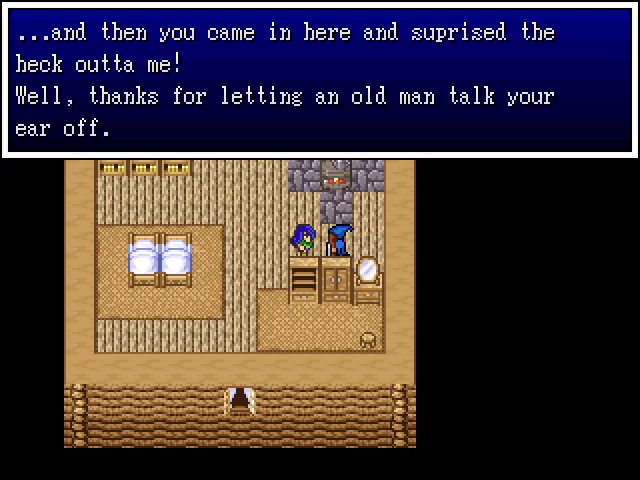

Inside is an old man, clearly starved for company. After jawing at us for literally a whole day, he gives us a princely gift as thanks.
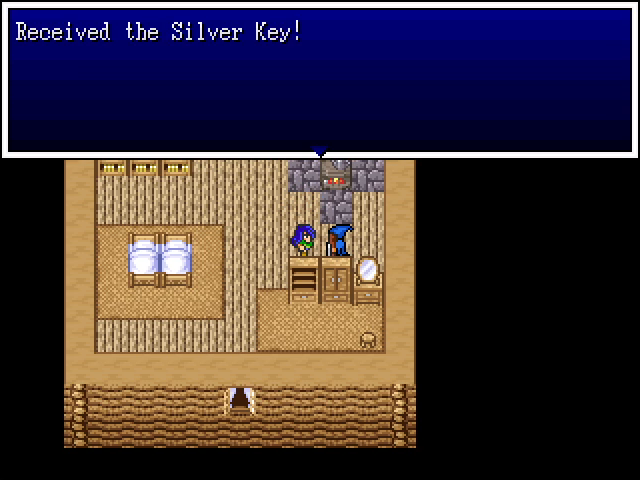
The silver key opens some of the locked doors we've seen. This is a great prize!
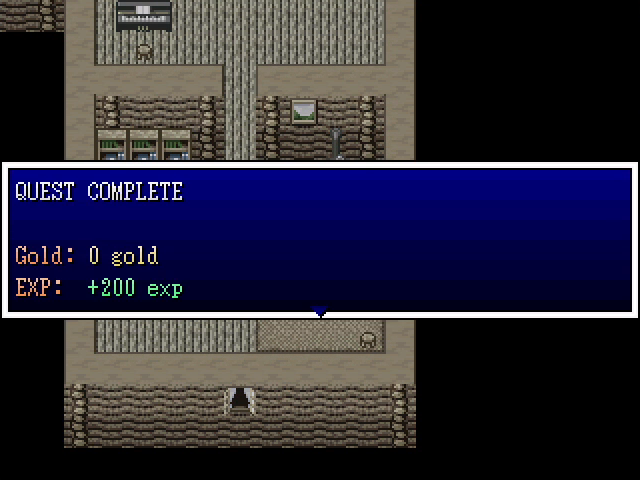
Listening to the ramblings of an old man is apparently worth some EXP as well.
He really seems like a genuinely nice guy.
")
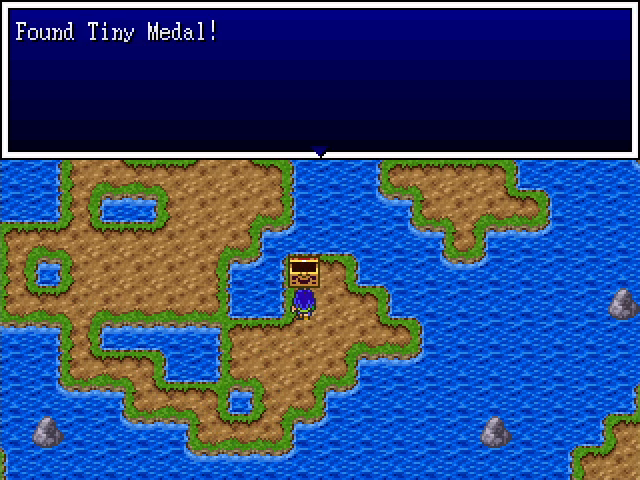
Oh, and he keeps a tiny medal in his well. This gives us 10, so let's head back to Stromholm and turn them in.
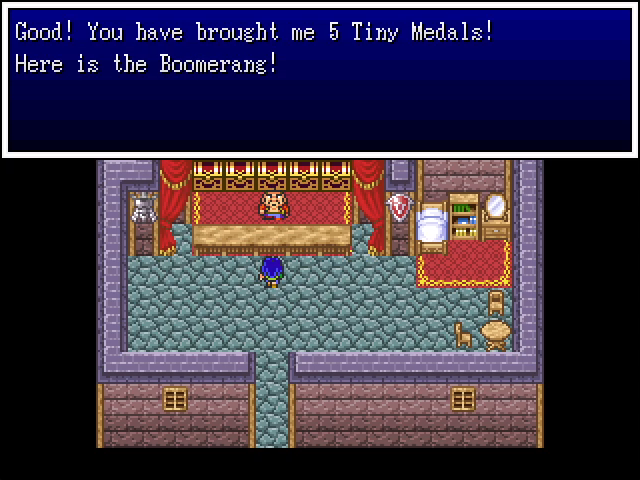
Our first prize is the boomerang. It hits all enemies, but by this point its power is so lacking that we can't really make good use of it.
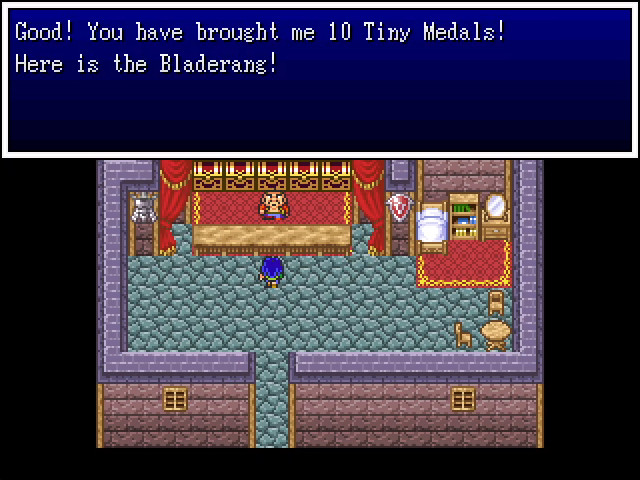
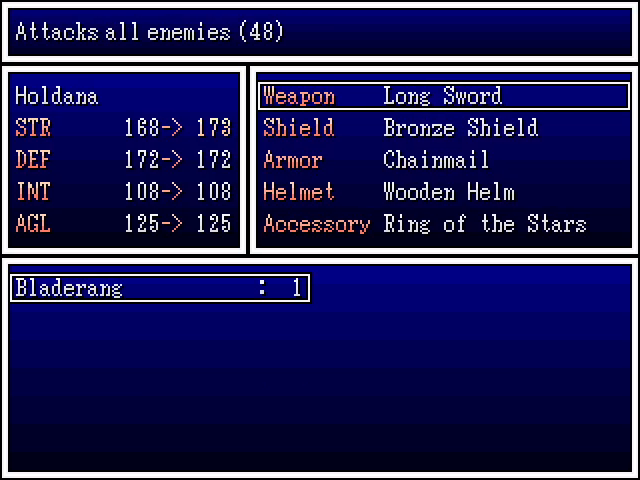
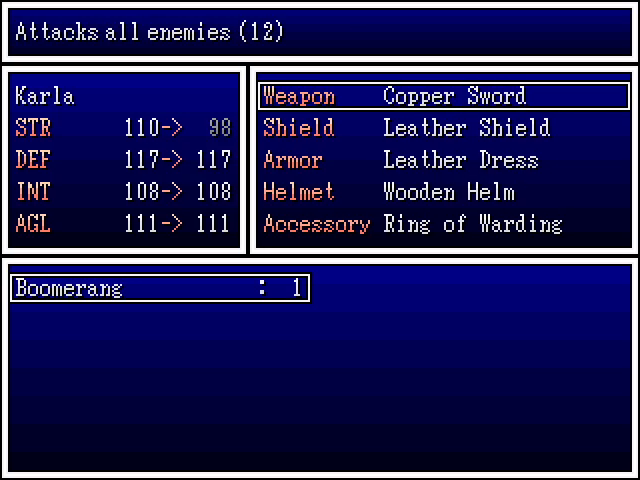
Our second prize, however, is the bladerang, which is a stronger version of the same thing. This is better than anything we have right now save for Larry's battleaxe, and will serve us well. I give it to Holdana, who's best equipped to make use of it.
Now that we have the silver key, let's put it to use. There's a locked door by the guy who sold us the fake Cobra Club member card, and behind it are three chests, containing 102 gold, a wizard potion, and a voicebox. A voicebox is an accessory that prevents Stopspell, but Karla is generally better off with the ring of warding. It's still worth holding on to, just in case.
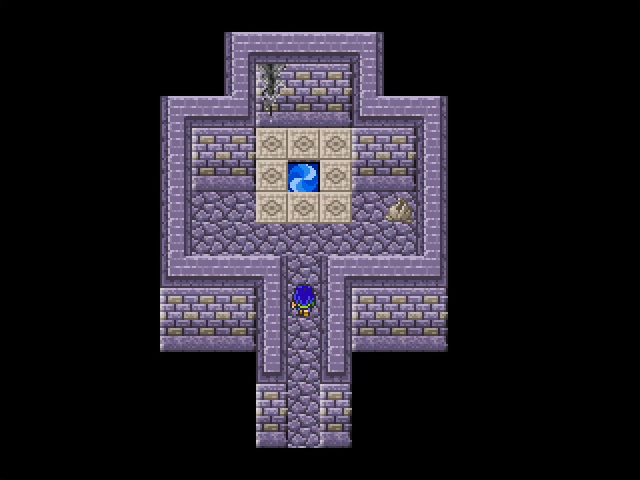
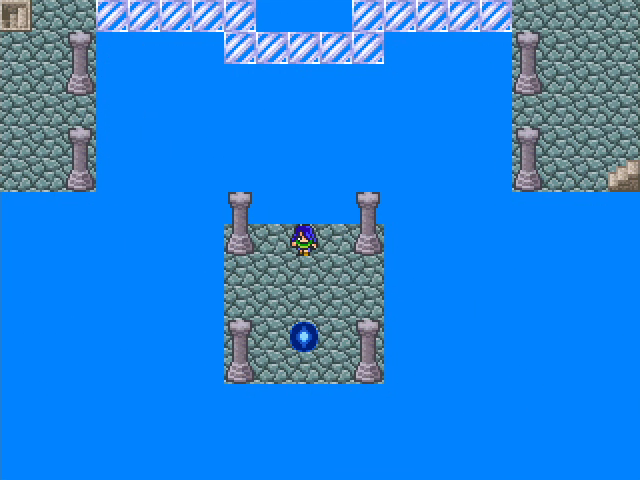
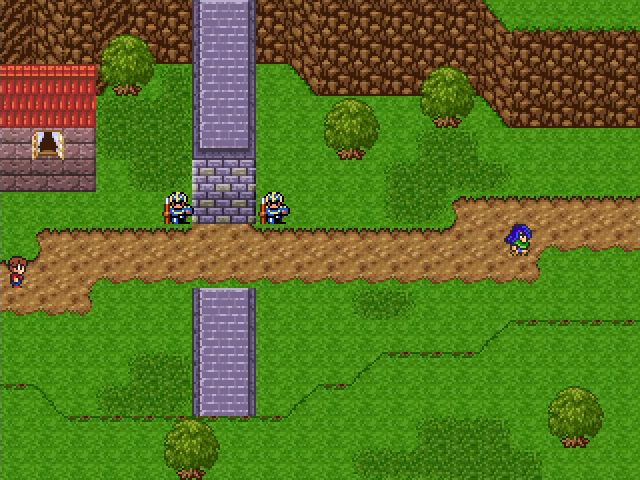
Next up, let's go check out that shrine, since we can open the door.

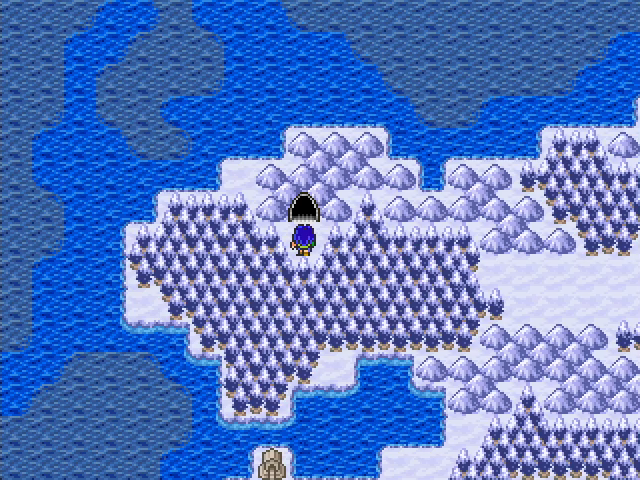
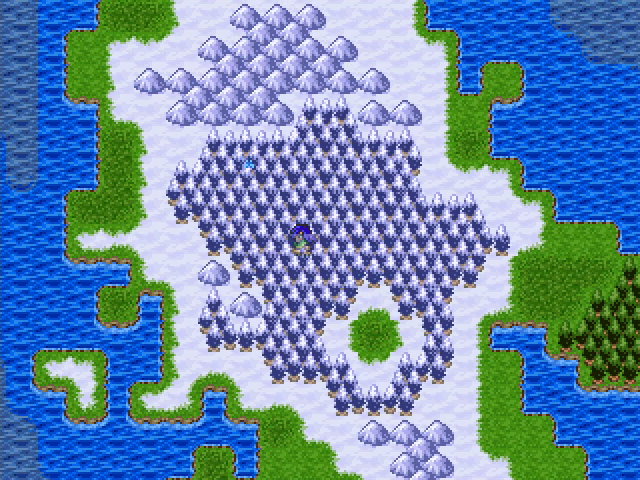
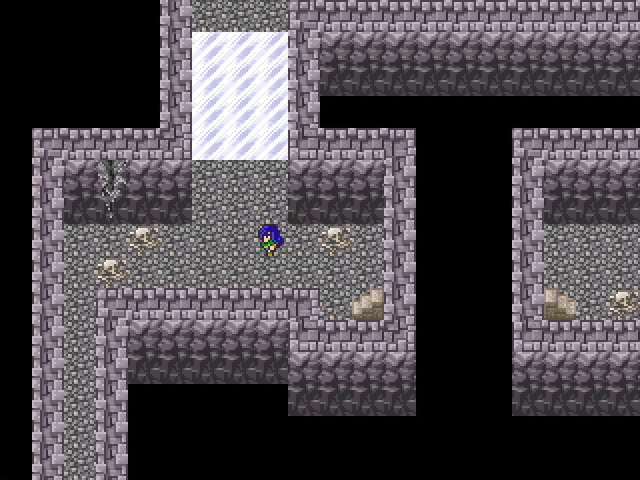
We're spat out on an island entirely covered by ice and snow. At its north tip is a cave, which we must obviously check out.
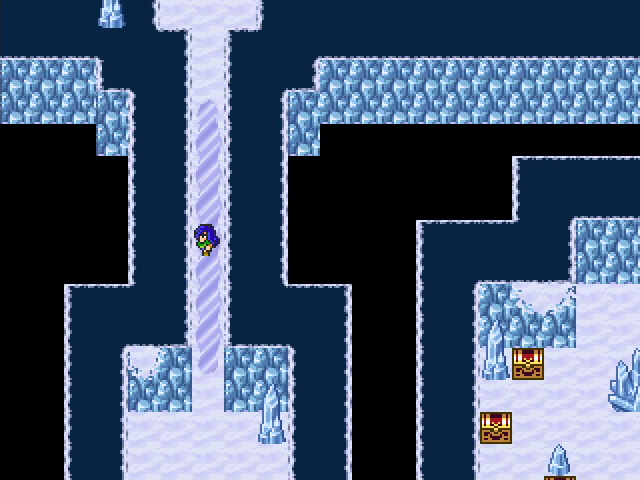
Inside, we're introduced to ice. Stepping on ice propels the party in whatever direction it was walking, unable to stop. Running into a patch of solid ground lets us stop, hitting a wall causes us to bounce off and reverse direction, and hitting an ice crystal does the same but also damages us.

Naturally, this is used to create a maze, but it's much less difficult than it might look.
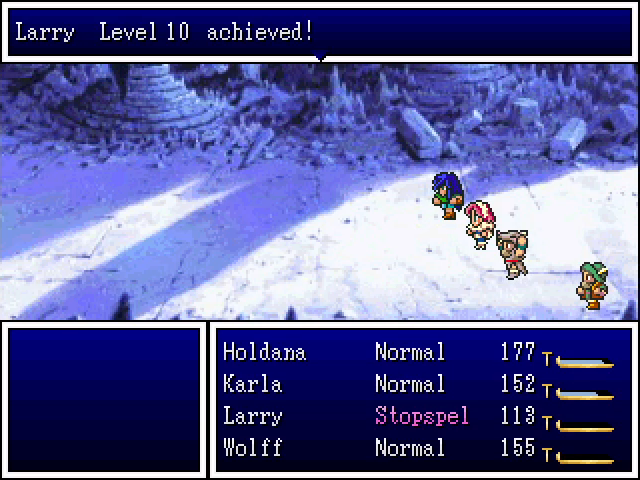
There are some monsters in here, and Larry levels from them.
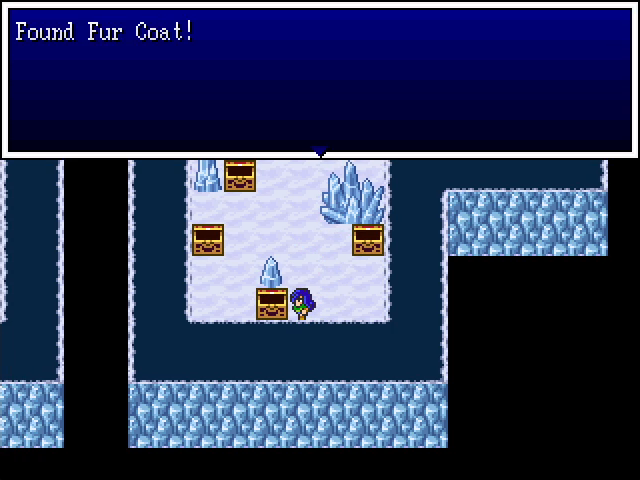
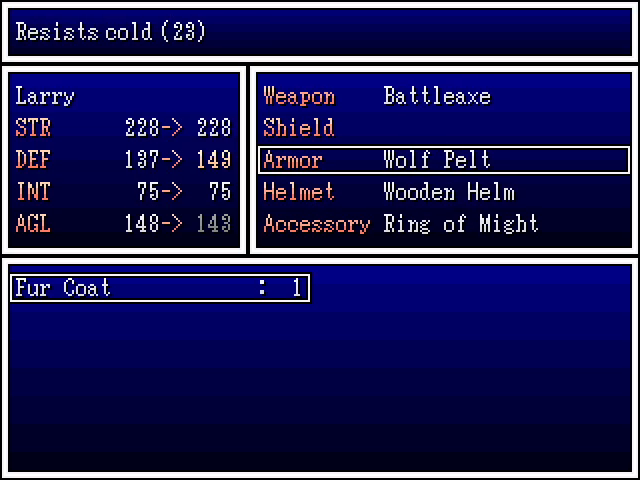
At the end of the cave are a few chests, with this fur coat being the best of them. I strongly consider giving it to Karla, our most fragile party member, but it's such a big increase for Larry that I can't really justify not letting him take it.

Wolff levels on our way back to town.

Okay, no more dithering. Let's go take the fight to Balthalas.
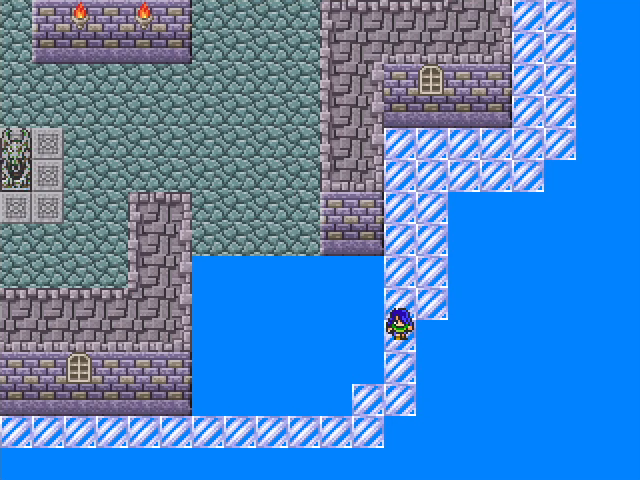
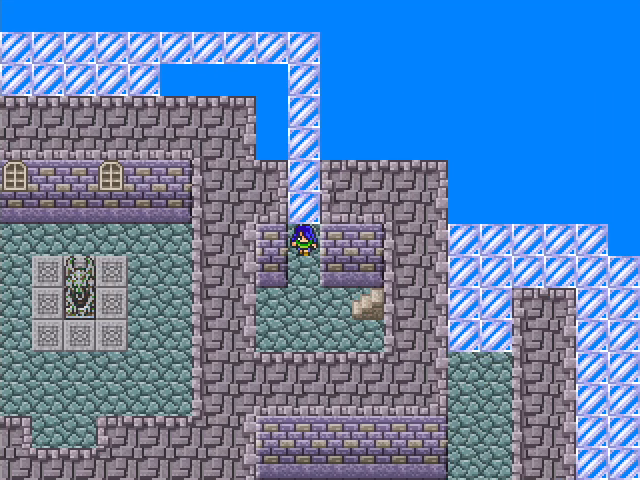
The exterior of the tower introduces us to swamp terrain, which will get more and more common as the game goes on. Swamp tiles deal 3 damage to the party when stepped on - not a huge amount, but enough to make crossing large stretches of it dangerous.
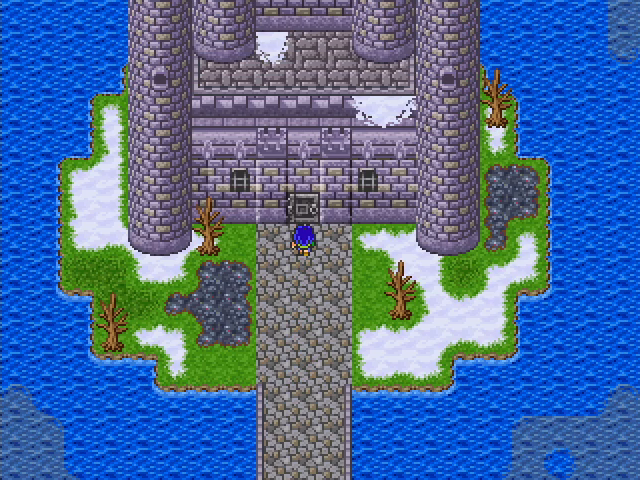
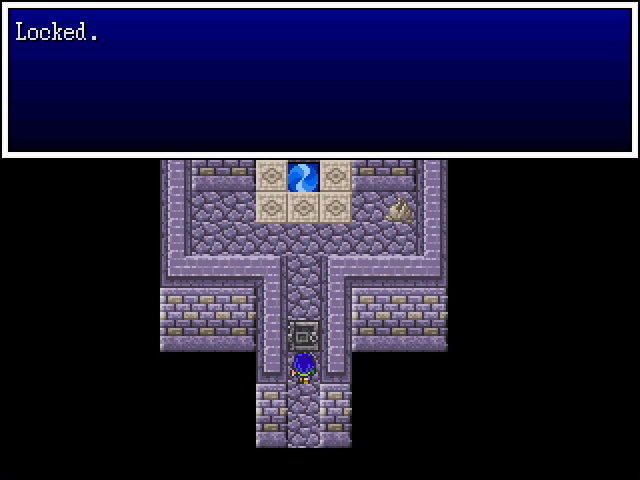
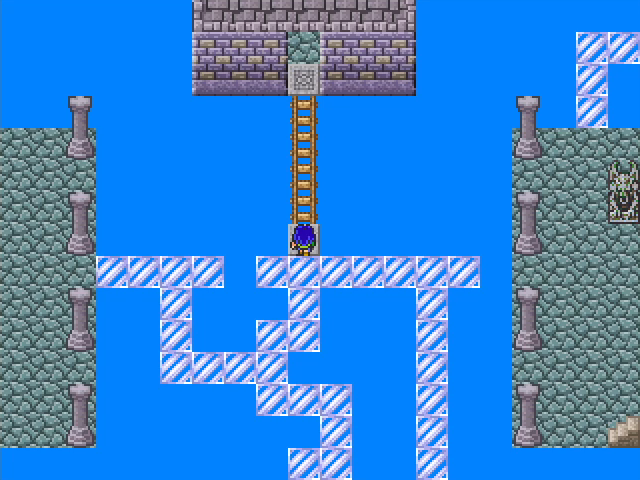
The entrance to the tower is a locked door. Getting the silver key is mandatory for entry.
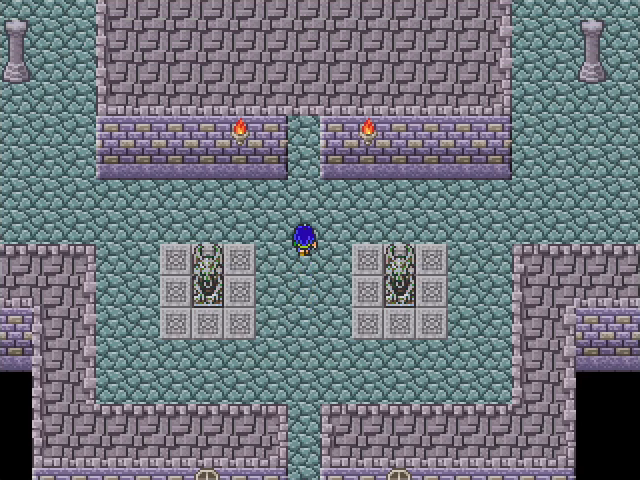
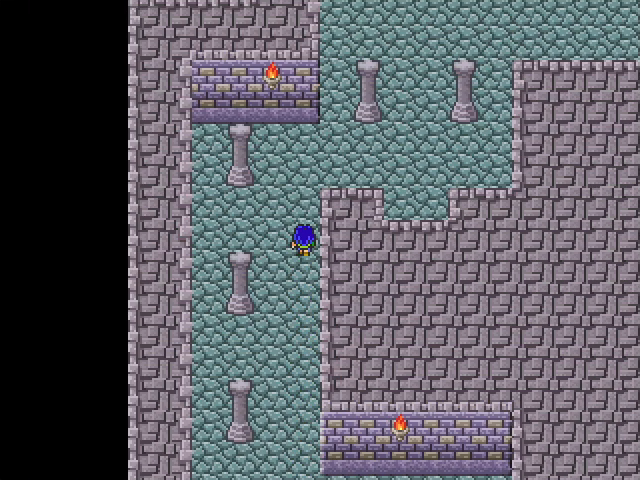
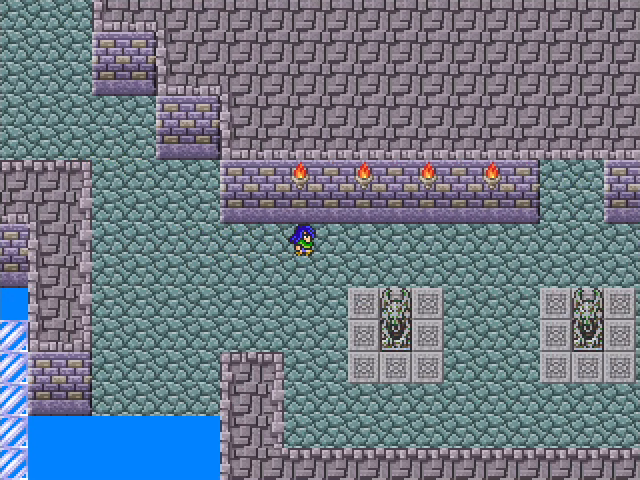
And so we enter the chapter's final dungeon. Apart from the statues decorating the entrance, it doesn't look too special, but looks can be deceiving.
Entering the first passage leads to a dead end, but the fact that we can see a ladder from here is a potentially important clue.
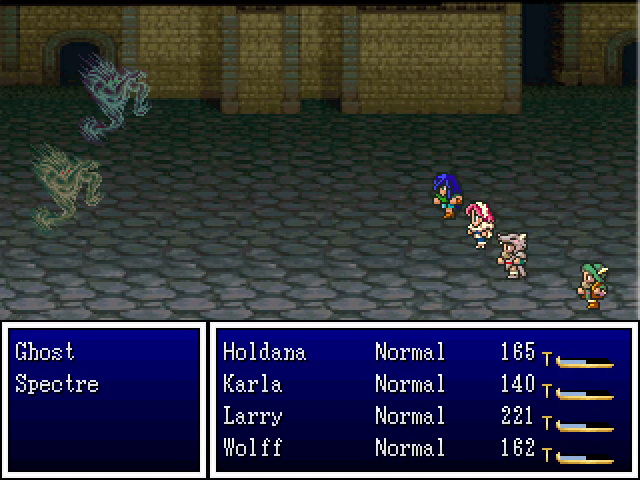
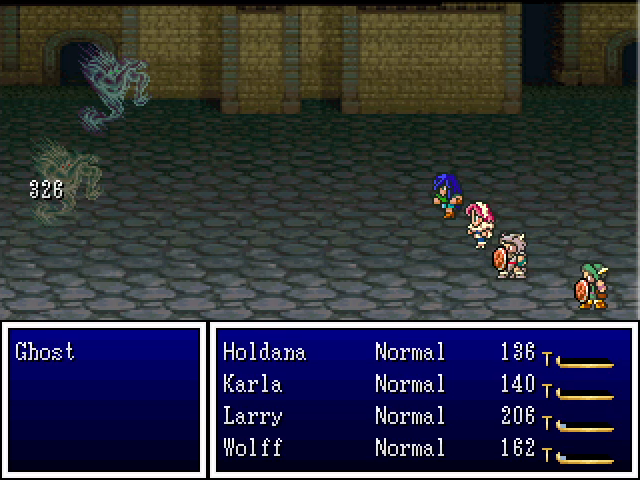
Ghosts and spectres both haunt the tower. If you'll recall from the previous update, Balthalas is an undead mage, so this fits his theme. Both these enemies are pretty similar: immune to physical damage, but lacking anything that'll seriously screw you. I usually run from enemies like this, since fighting them is both boring and a drain on MP, but I fought this one out.
Wolff has a couple of new Nature powers available here, though neither is especially useful in this fight.
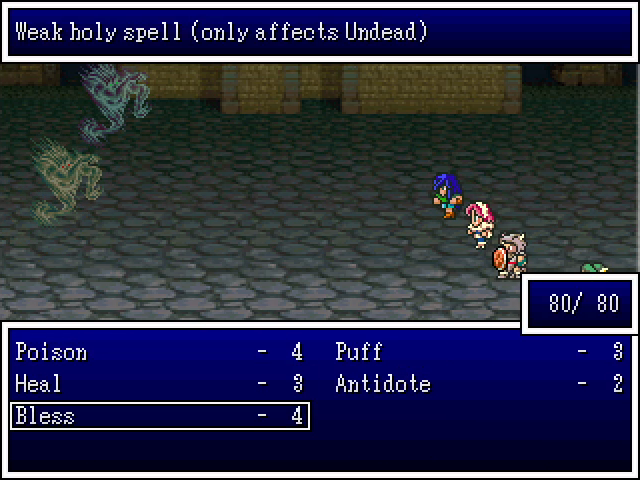
On the other hand, this is an excellent time to make use of Karla's Bless spell. Its damage isn't super amazing, but it's more than our fighters typically do with a standard attack.
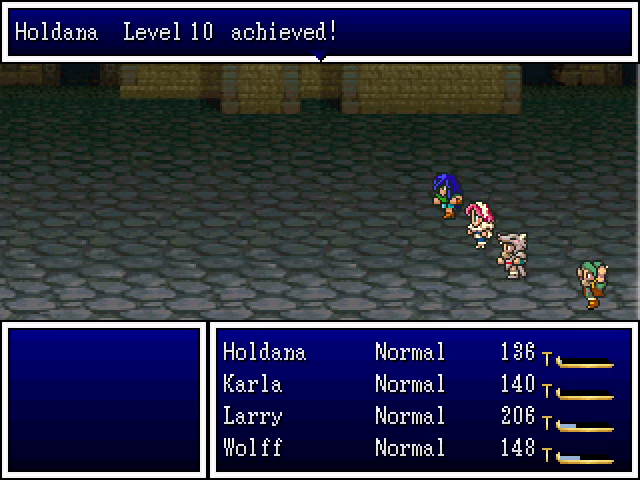
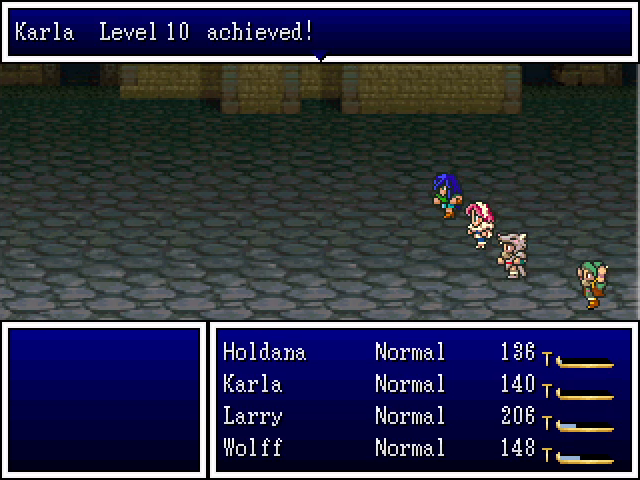
This fight earns us a couple of levels.
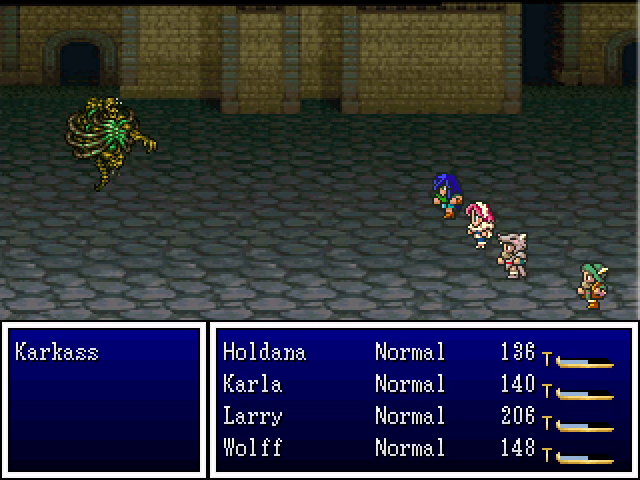
Karkasses are undead monsters that like to use Firebreath to damage the party. It's not terribly dangerous, but the monster itself is kind of a pain to fight due to its high Defense.
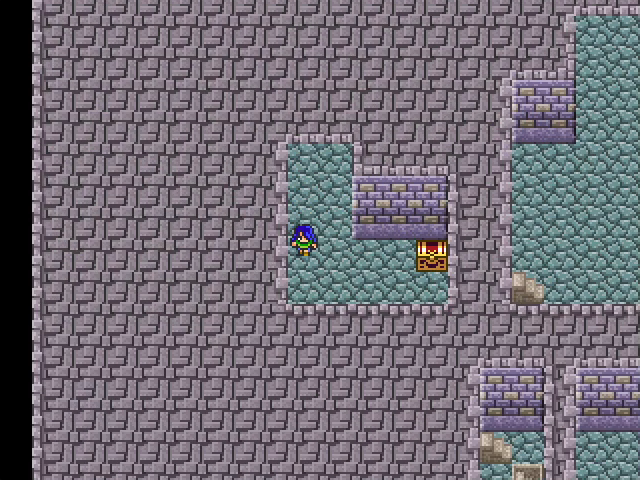
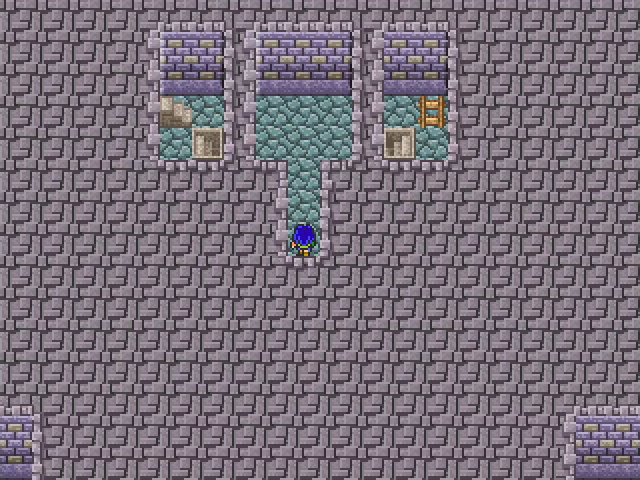
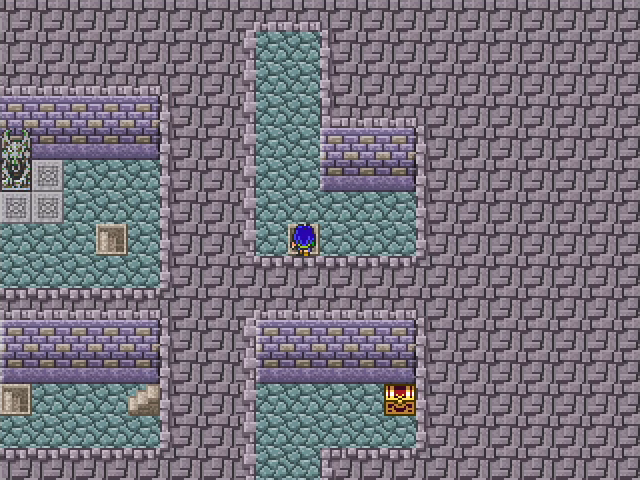
If we move around the floor's center, we can find three rooms: two with chests, and one containing two sets of stairs.
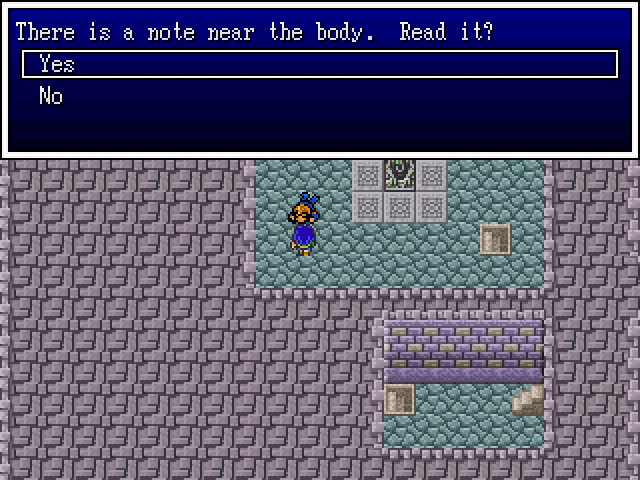
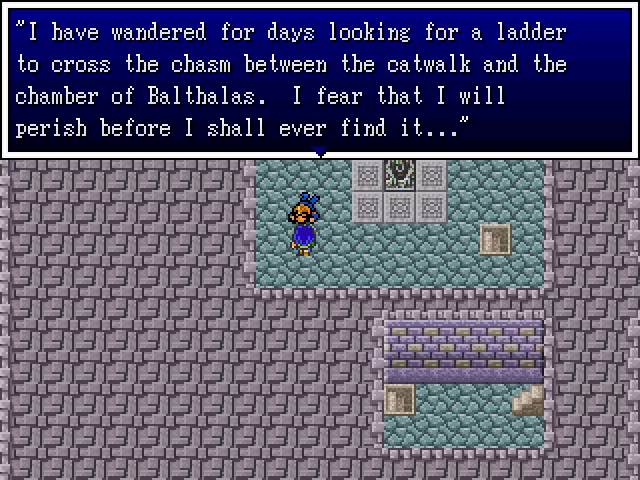
The left stairwell leads to a dead soldier holding a note, which confirms that we'll need the ladder we saw, and tells us that finding it may be tricky.
Taking the other staircase brings us to the rest of floor 2. Note the hole unblocked by walls: it is possible to step off of that, dropping down to the floor below. Falling is the dungeon's primary environmental hazard.
After circling around the center of the floor, we can get on this glassy walkway. This is where falling becomes a real problem for a careless player.
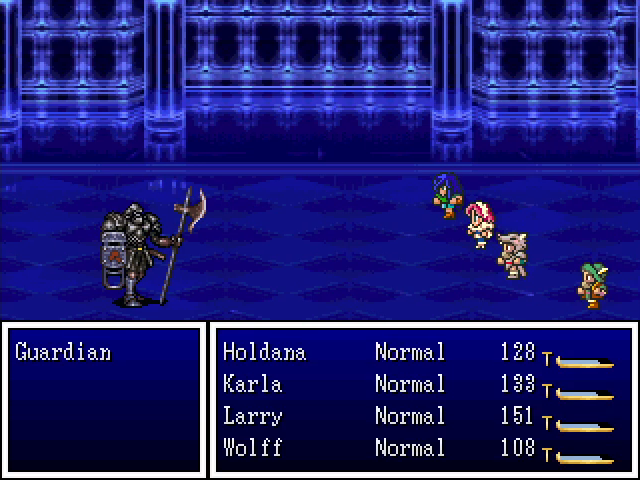
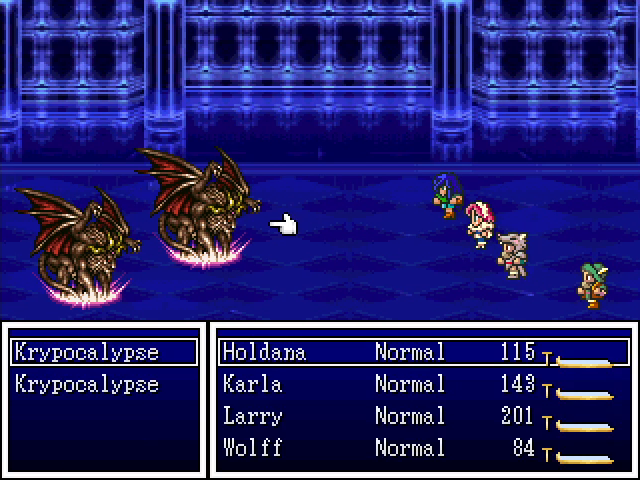
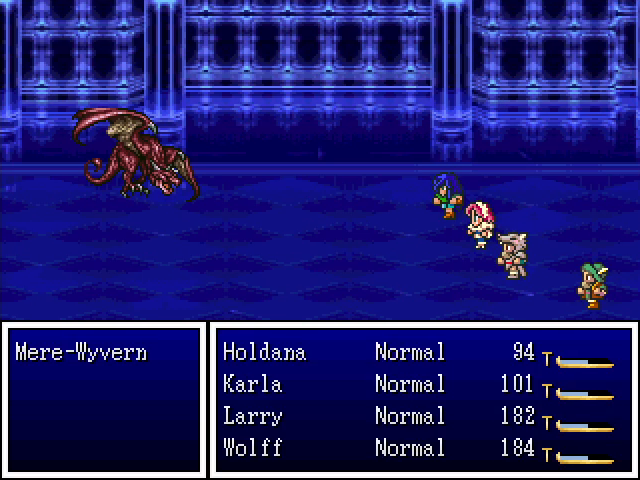
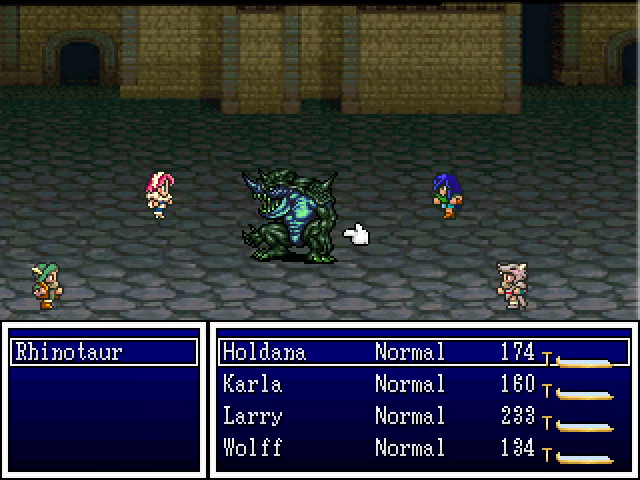
Several new enemies show up on this floor. Guardians are durable and strong, but have no special attacks. Krypocalypses can hit the entire party with Slasher, which deals moderate physical damage. Mere-wyverns are easily the most dangerous monster here; they're not too durable, but their version of Firebreath does a considerable amount of damage. And rhinotaurs... exist. (Seriously, this is the only one I encountered, and with the surprise attack I killed it before it did anything.)
Eventually, we loop around the outside of the tower to the stairs.
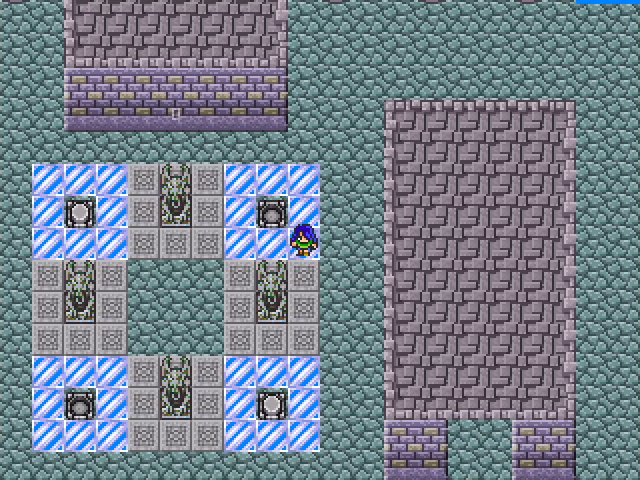
Ths next floor has three rooms and a button pushing puzzle. Stepping on a raised button lowers it but also toggles one or more other buttons.
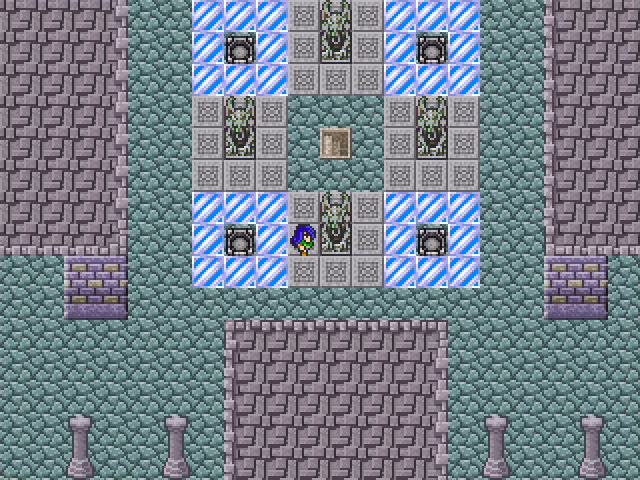
Having all for buttons lowered creates a stairwell.
The stairwell leads us down to the tower's basement. Here we can take one of two routes: a longer one with more random battles or a shorter one with a damaging floor.

Eventually, this route leads us to the ladder.
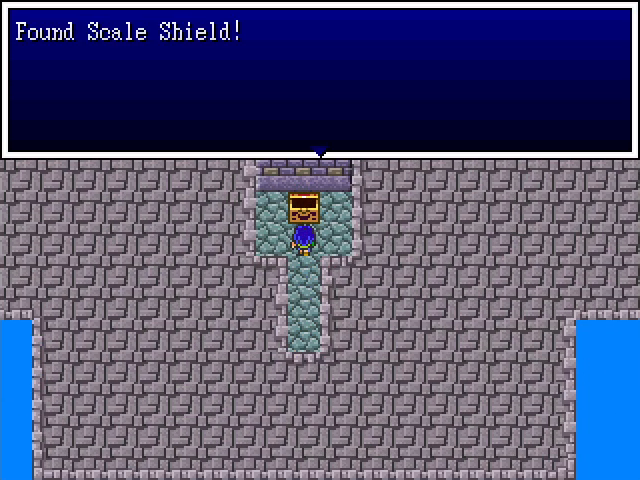

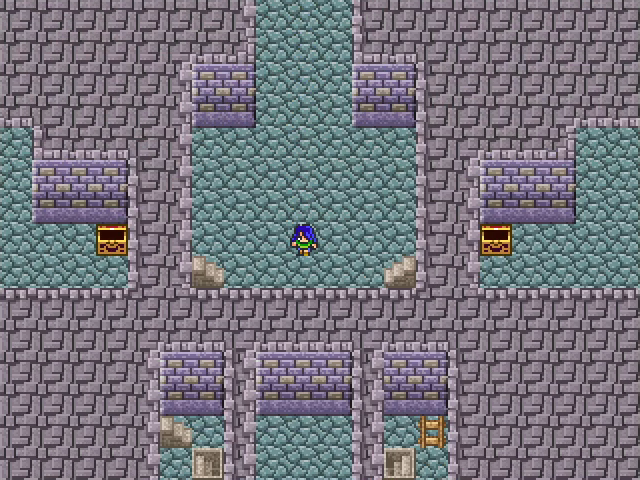
Back on floor 3, we check out the three rooms. The western room has stairs leading up. The southern room contains a chest holding a scale shield, which is not available for purchase in the chapter. Karla, ever lacking in Defense, is chosen to carry it. And the eastern room holds a red ball which, when taken, restores the party's HP. Not sure why Balthalas is keeping that here, but we'll happily take advantage.
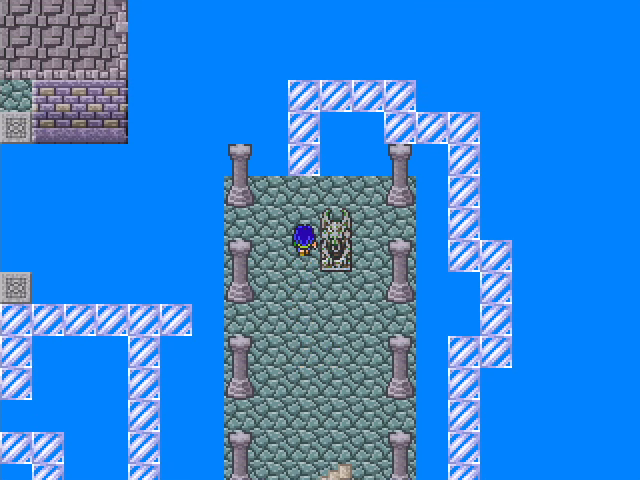
Floor 4 is a simple straight route, but floor 5 is a winding, narrow path that's very easy to fall off.
This looks like a dead end, but it's not.
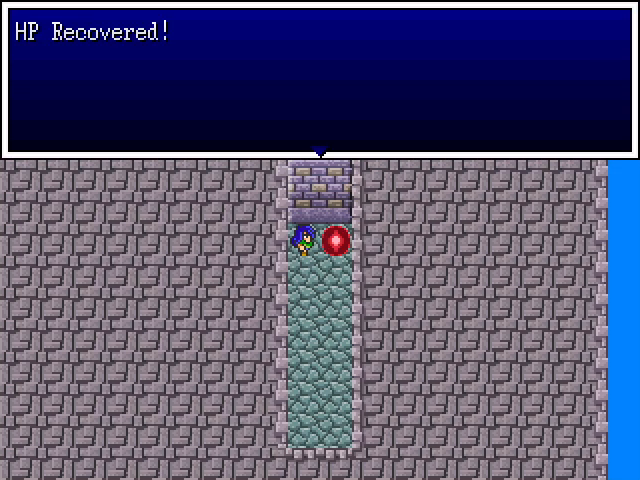
It leads us to an island with a blue ball, which restores the party's MP. It still requires us to climb back up two floors, but it's worth it.
After climbing back up and saving at the nearby save point (off-screen to the left), we set the ladder. Let's go end this.
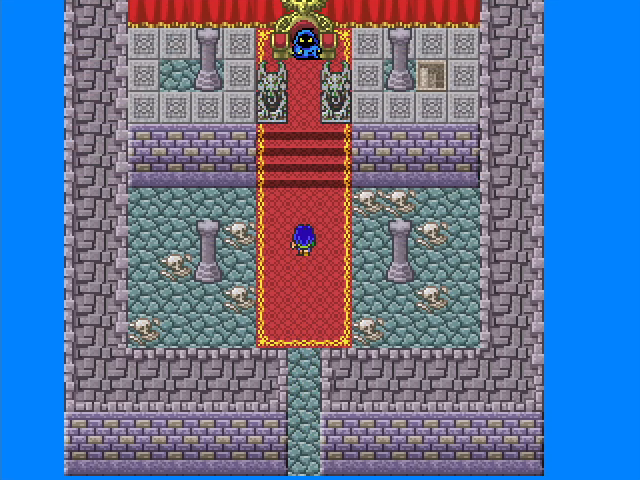
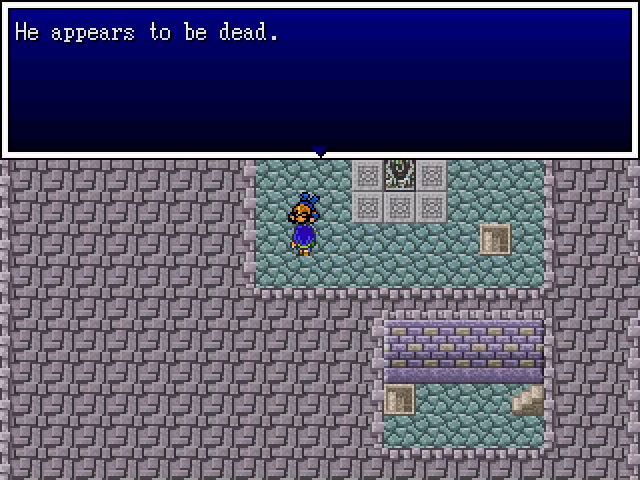
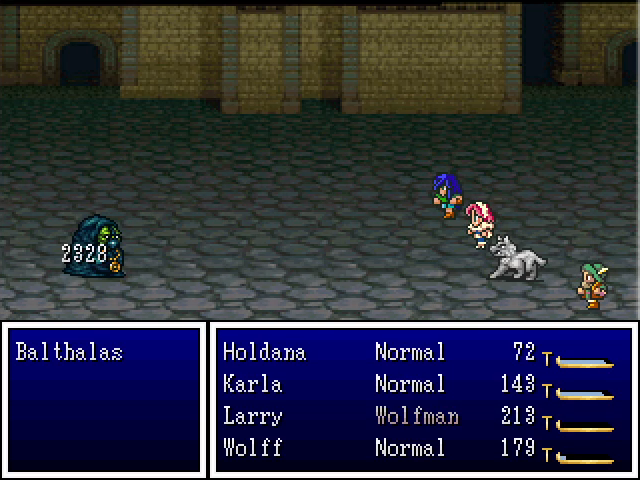
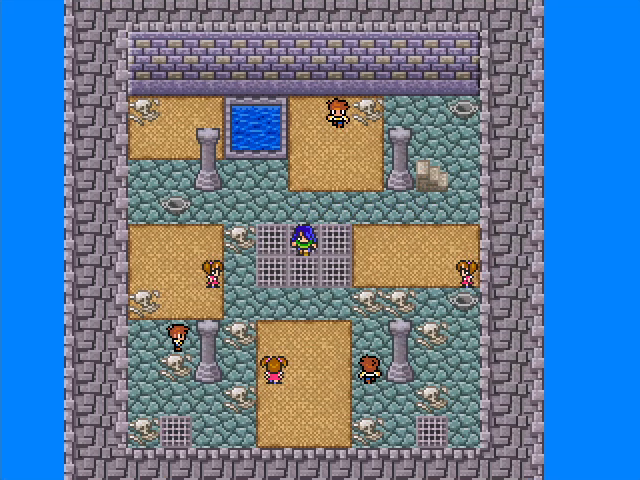
Balthalas' throne room is littered with corpses, which should surprise exactly no one.
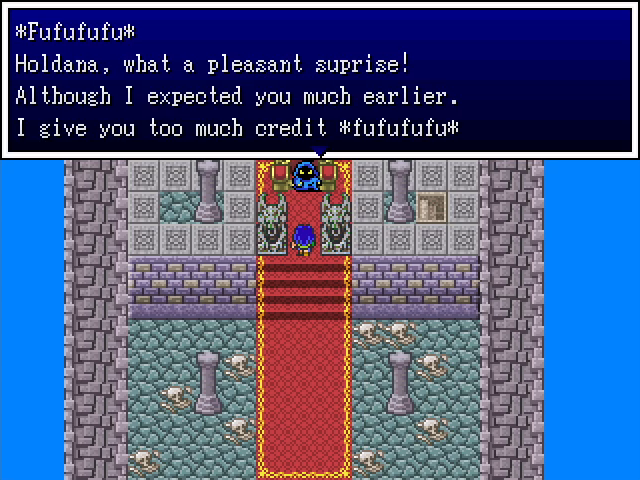
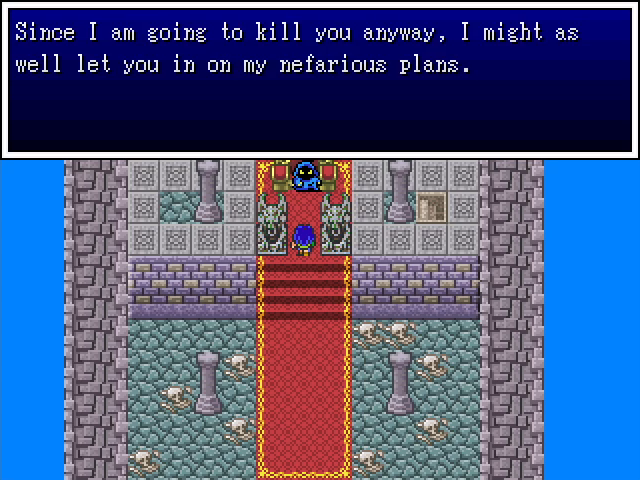
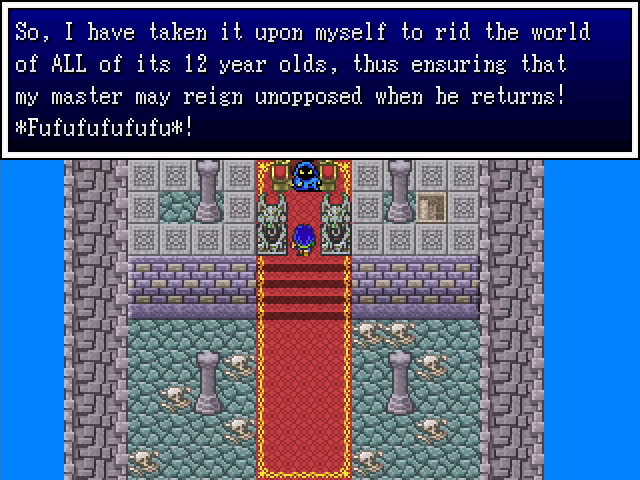
I genuinely can't tell whether this guy is clever or just dumb, but he laughs like the imps so I'm guessing probably the latter.
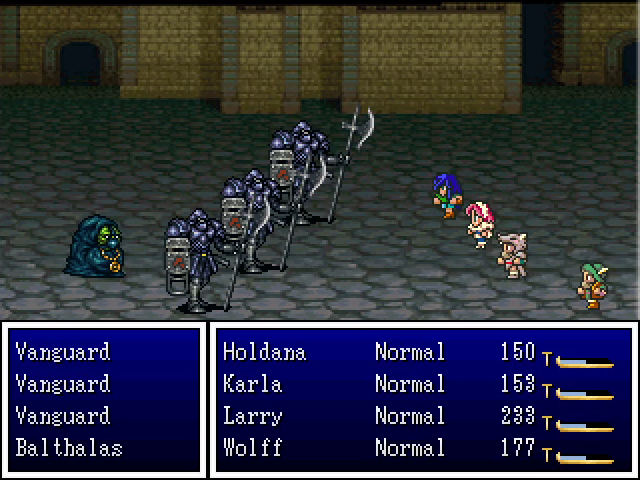
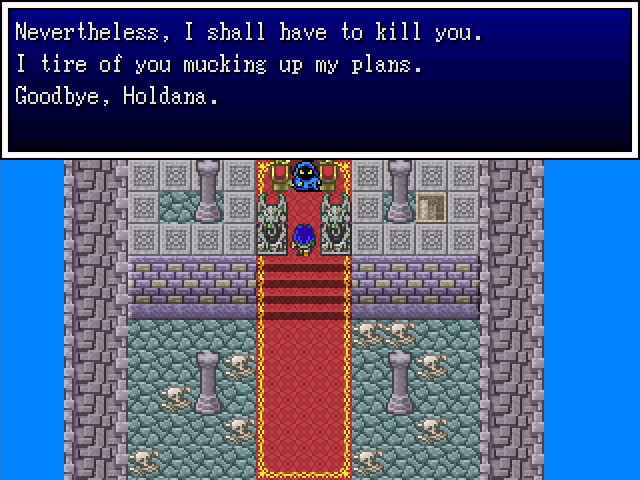
Here we go: last fight of the chapter. Balthalas himself isn't terribly dangerous; he mostly uses Evil Flame, which hits the party for small amounts of damage. His vanguards are more dangerous, since their attacks do a solid amount of damage.

Karla's action bar isn't actually filling here. A weird bug in the engine is that using Holdana's Pummel command prevents any other combatant from taking action until she herself does something. Characters who are set to attack still get to fill their bars, but anyone set to cast a spell just has to wait. Once she does, every other queued up action goes off at pretty much the same time, which can lead to one person taking a ton of damage if you're unlucky.
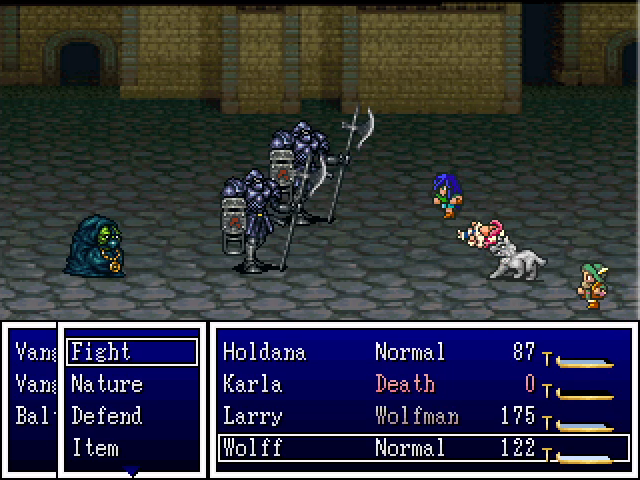
And we were. Karla took hits from all three vanguards, and Balthalas' Evil Flame finished her off. I decided to use a precious life herb to get her back on her feet.
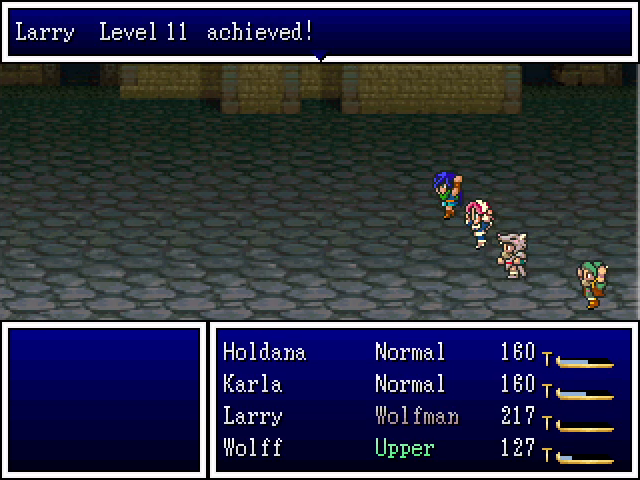
At a point where Wolff is dealing less than 200 damage without buffs, Larry whips out an absolutely devastating crit, which pushes the fight into its next phase.
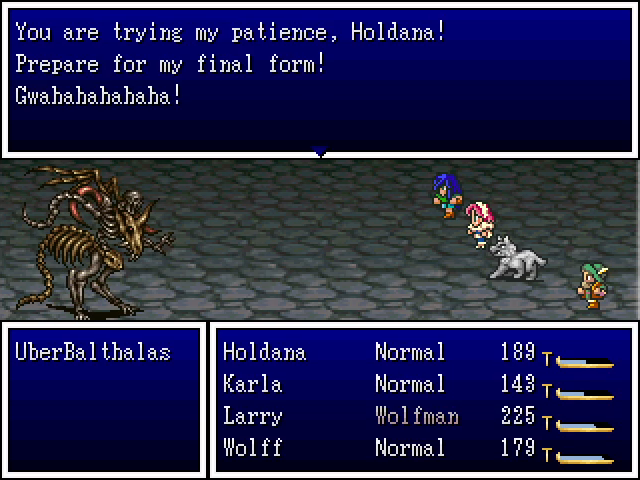
After taking enough damage, Balthalas switches into his second form, UberBalthalas. Luckily, he's not too dangerous, mostly attacking with Firebreath for moderate damage.
I suspect his HP carries over from his first form, because this one went down very quickly. And with that, we've defeated one of the demon lord's four generals and nearly wrapped up the first chapter!
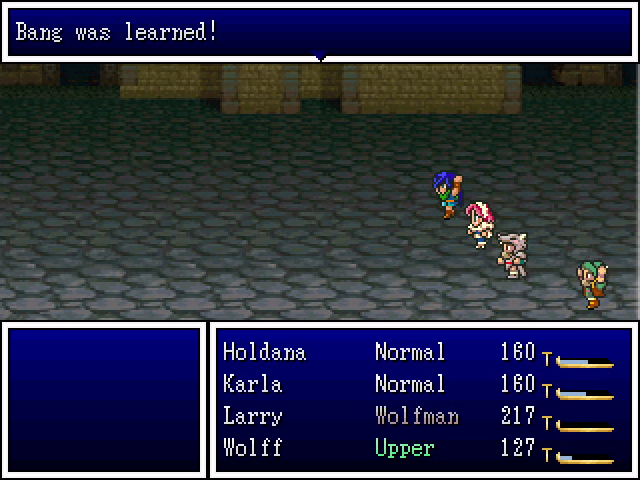

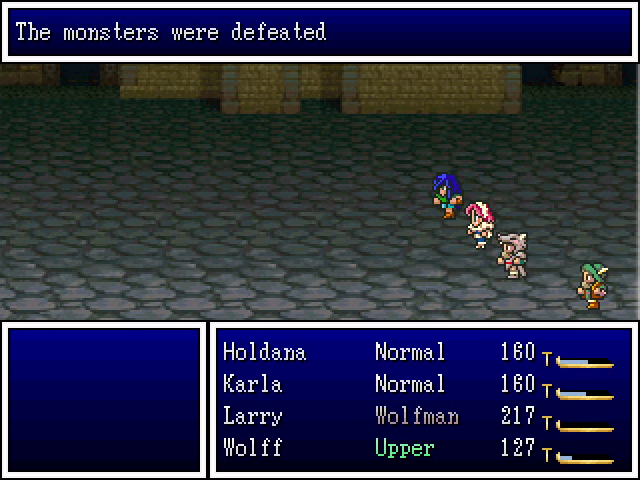
Appropriately, this also earns a level for everyone except Holdana (whose EXP requirements are actually fairly high), and earns Karla the Bang spell. Bang is a stronger version of Puff, and will certainly be useful for whatever future challenges this party may face.
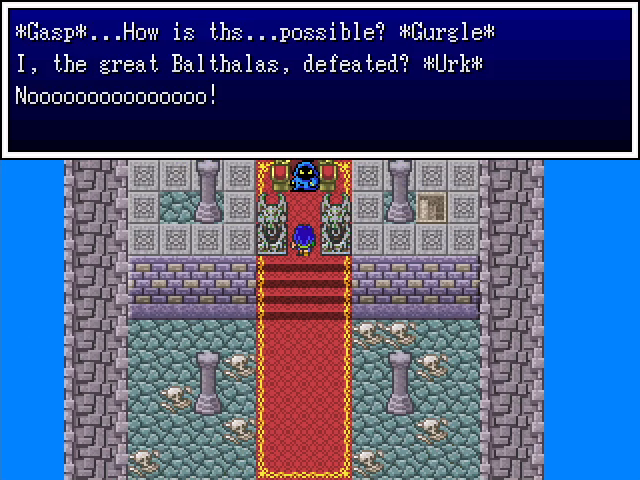
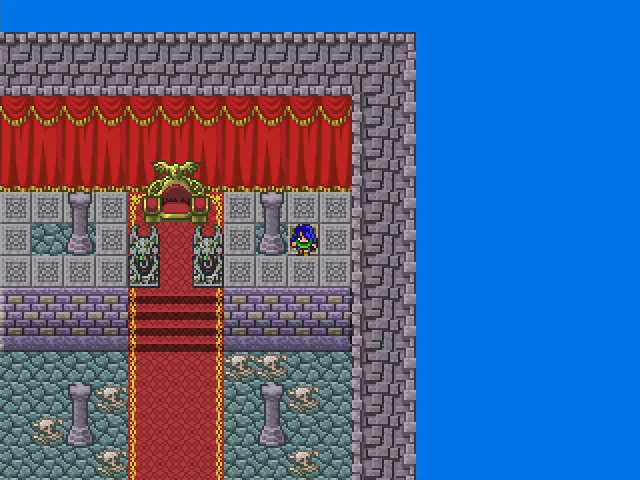
Balthalas gives on final exclamation before exploding in a wave of black energy, and we head down the nearby stairs.
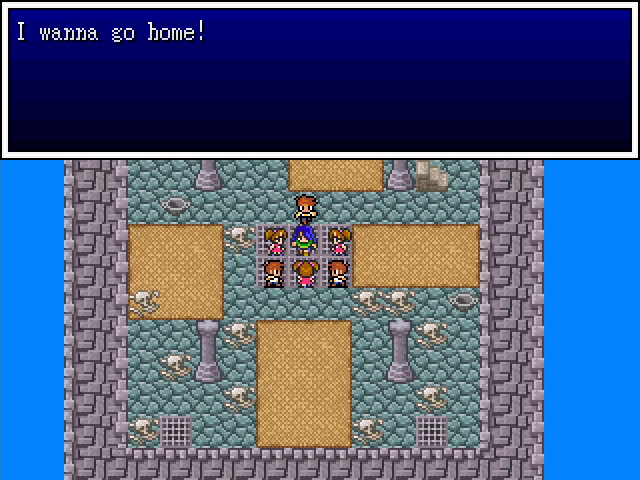
Yeah, I'm definitely going with the conclusion that Balthalas is a dumbass, since he didn't even kill the kids he abducted.


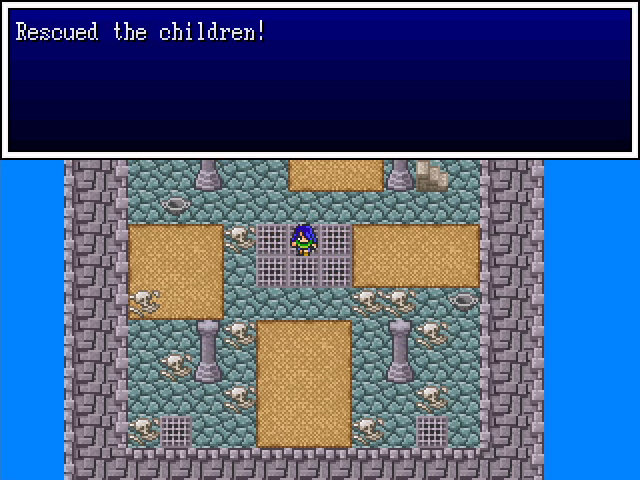
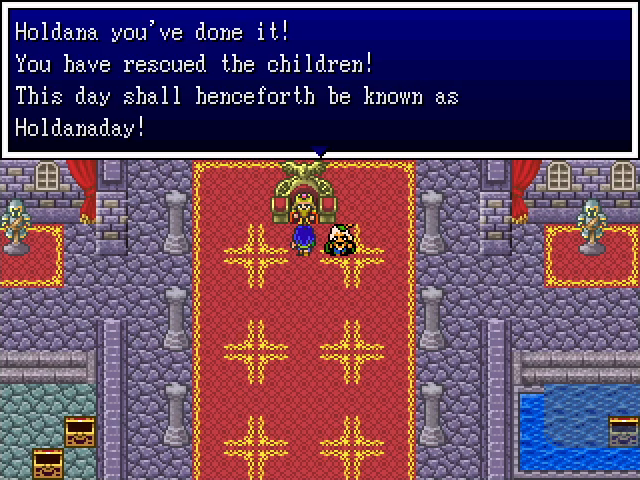
Mission accomplished!
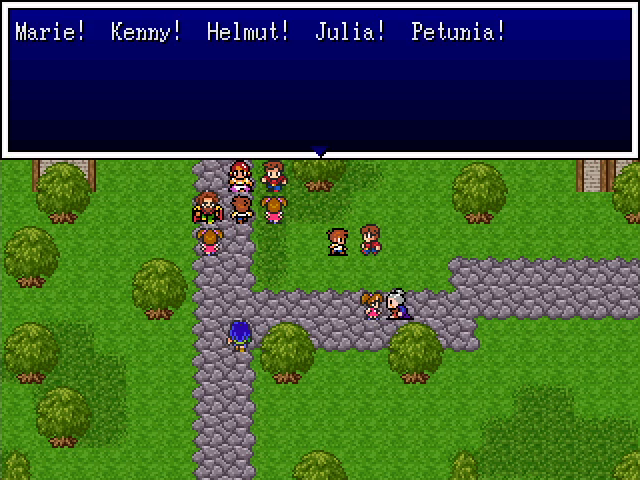
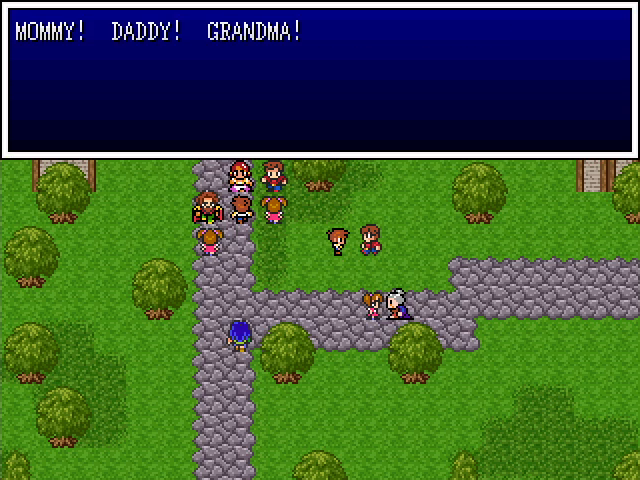
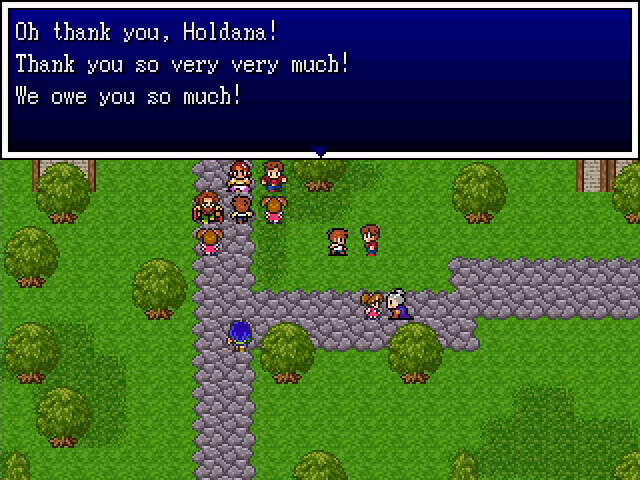
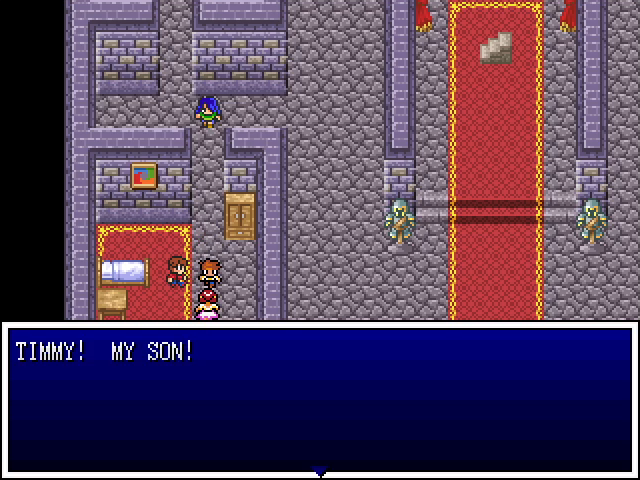
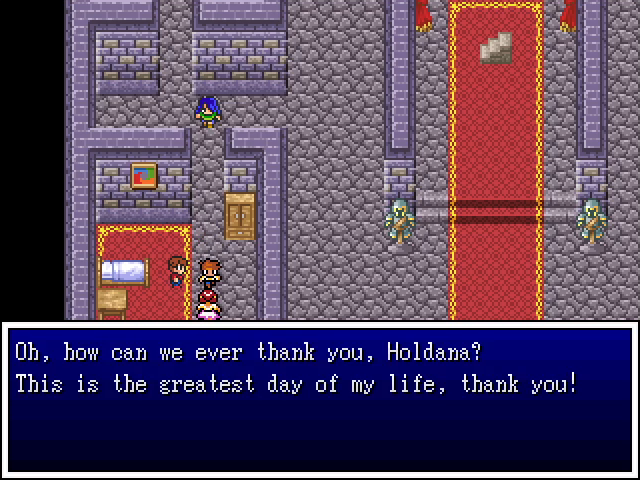
We get a little montage of returning the children to their parents. It's rather heartwarming and a satisfying conclusion to this story.
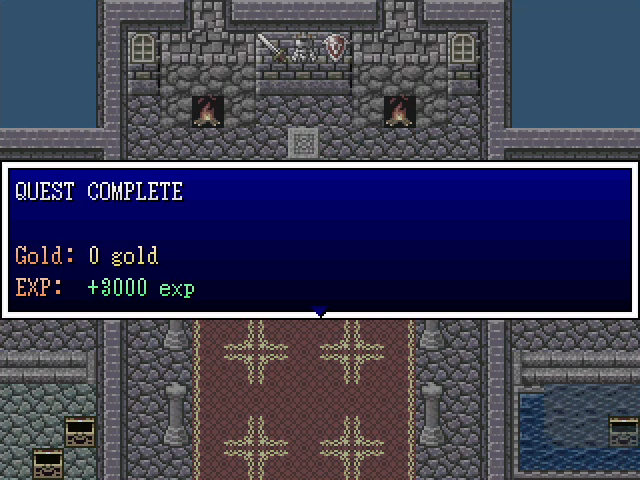
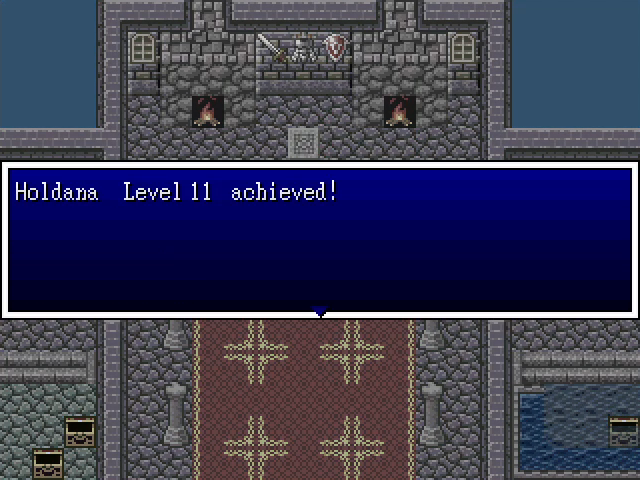
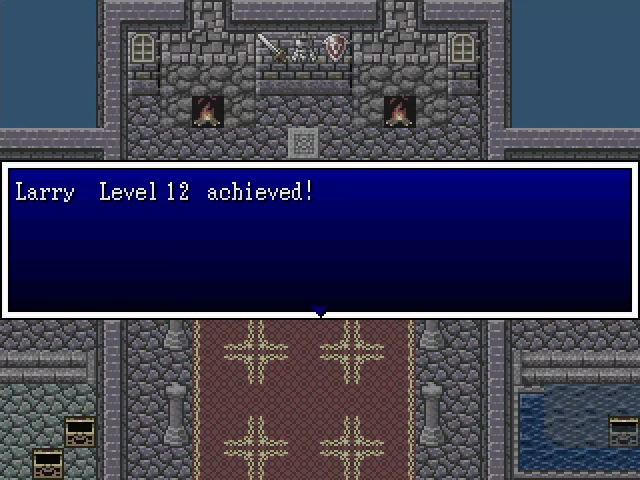
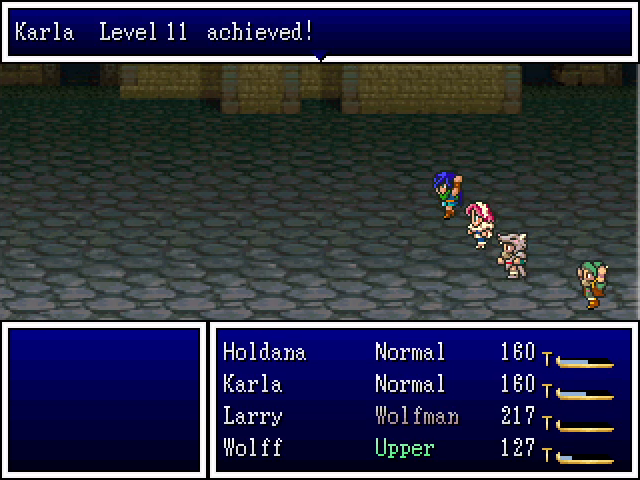
As a reward, Holdana gets her own holiday, and finally hits level 11 - but Larry is hot on her heels and hits level 12. But Holdana's work isn't done yet.
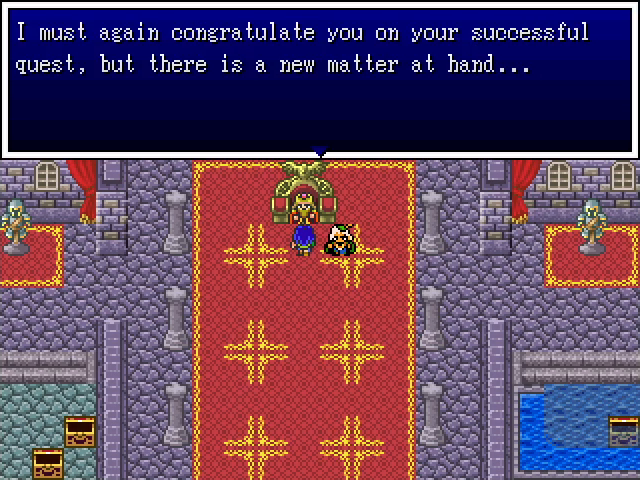

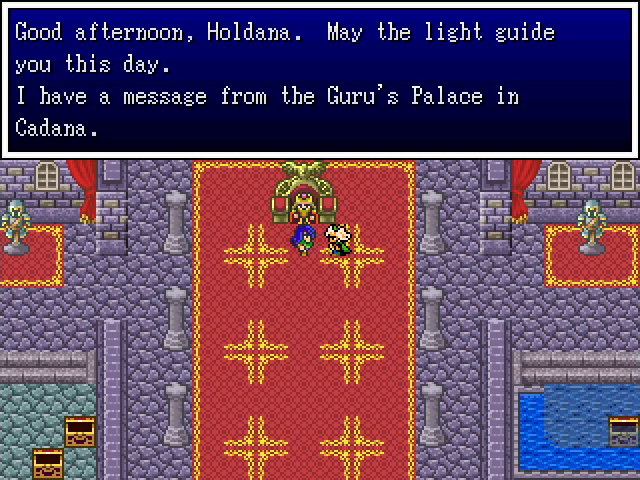
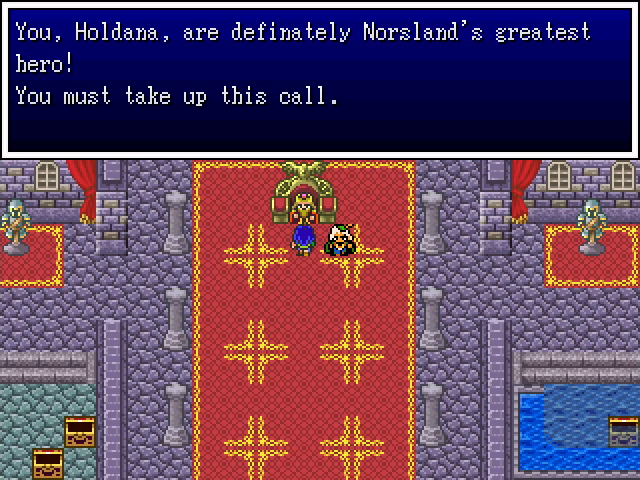
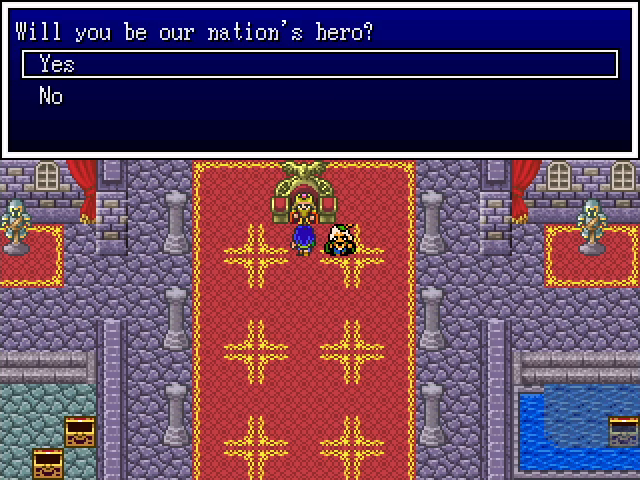
With this, Holdana and her allies are set on the path to the main story. The woman who saved all those children would naturally be drawn to an even more important mission.

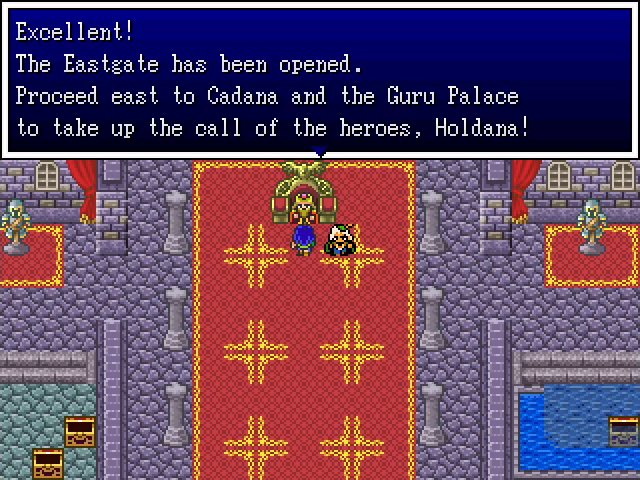
The Eastgate is east of Stromholm, as you would expect. It can be visited any time, but there's very little reason to do so apart from a seed hidden in its guard house. (EDIT: Yes, this is the same Eastgate mentioned by the boy previously. I completely missed it because I am a dumbass.)
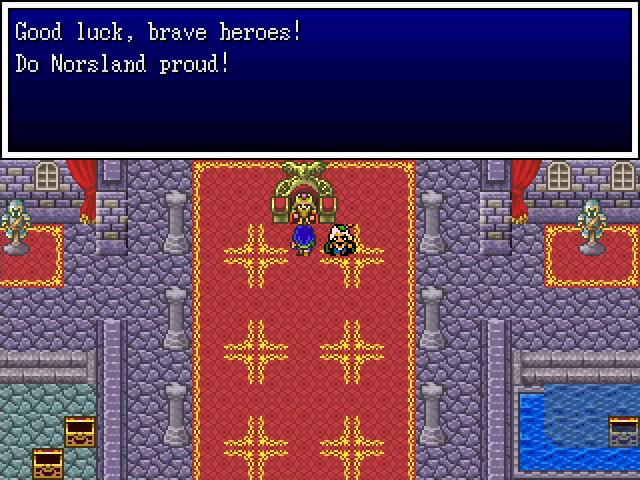
And so Holdana leaves behind her homeland, heading out to help save the world.