Part 9: What the Fruit?
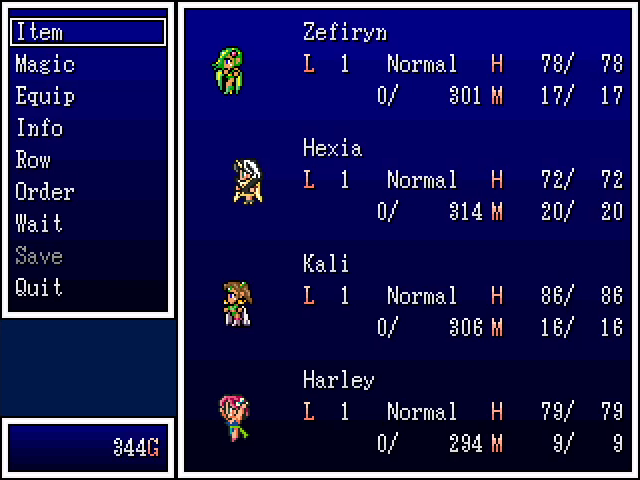
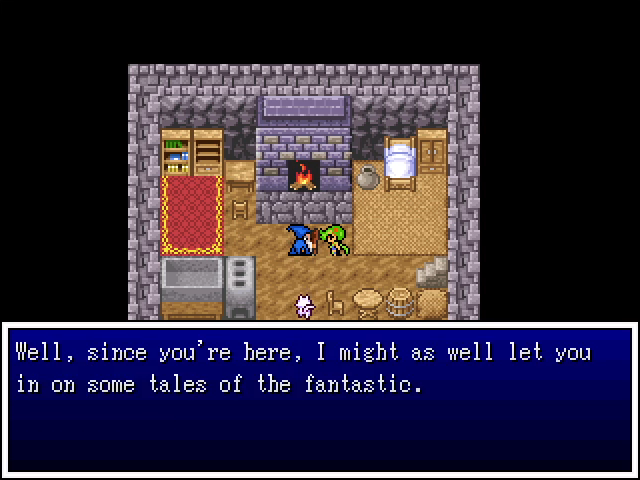
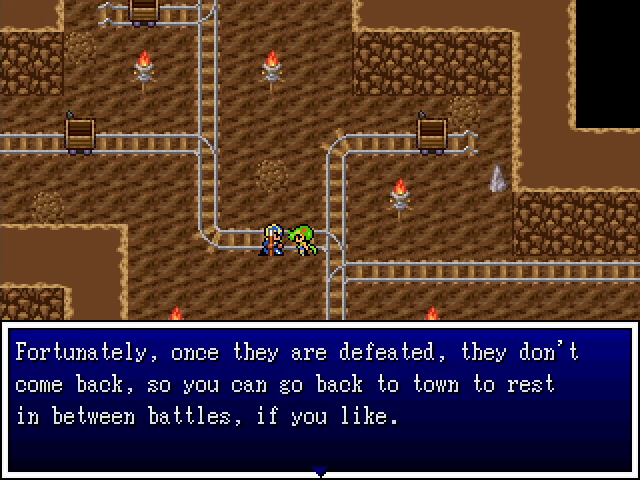
The goons have spoken, and Team Magical Girl is a go. This team is a little heavy on the healing, but should still be plenty effective.
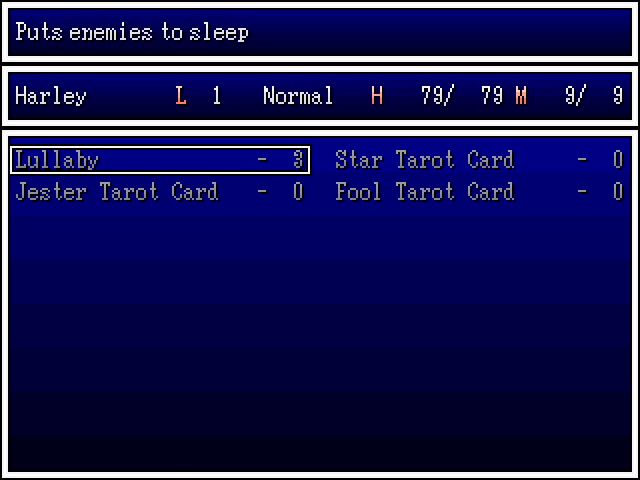
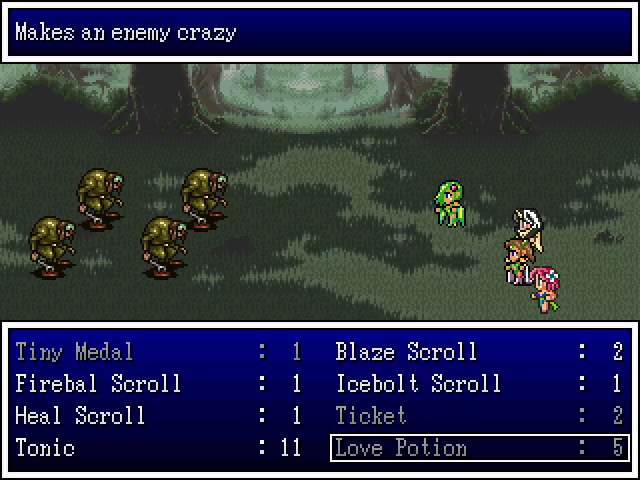
Harley the Harlequin starts with Lullaby, which puts all enemies to sleep (for a very short time), as well as three basic Tarot card abilities. Jester can either use another random card power or cause everyone to laugh uncontrollably, Star gives her one of four buffs, and Fool normally does nothing, but may give the party either a big buff or confusion.
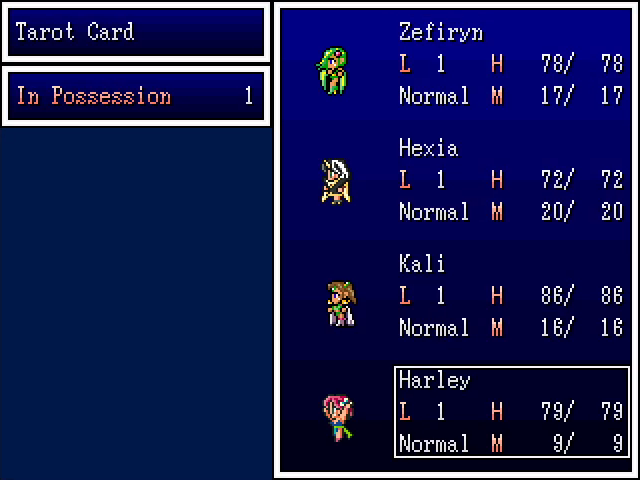
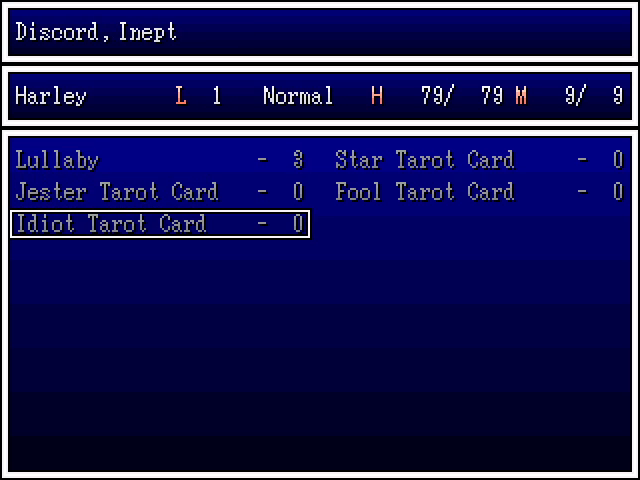
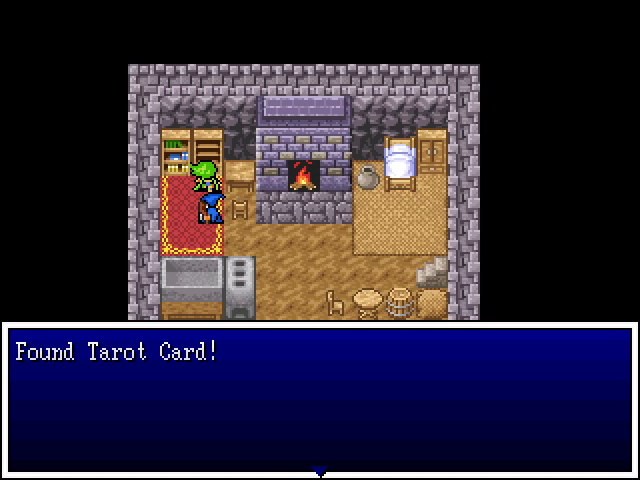
We have a Tarot card in our inventory, though, and it turns out to be the... Idiot. The description of its effects is vague, but odds are it can inflict either of its debuffs on either enemies or the party.
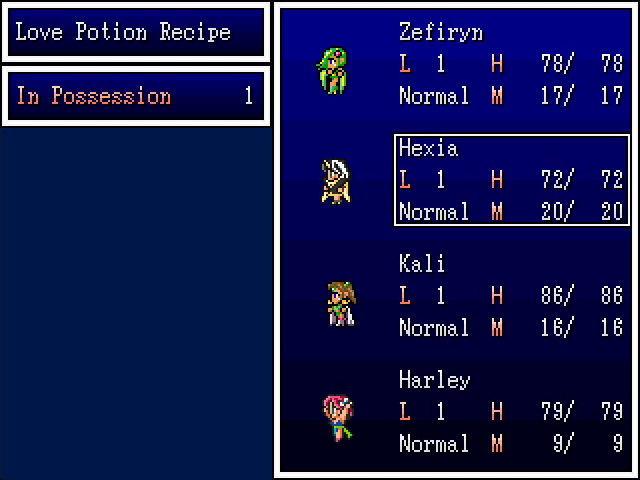
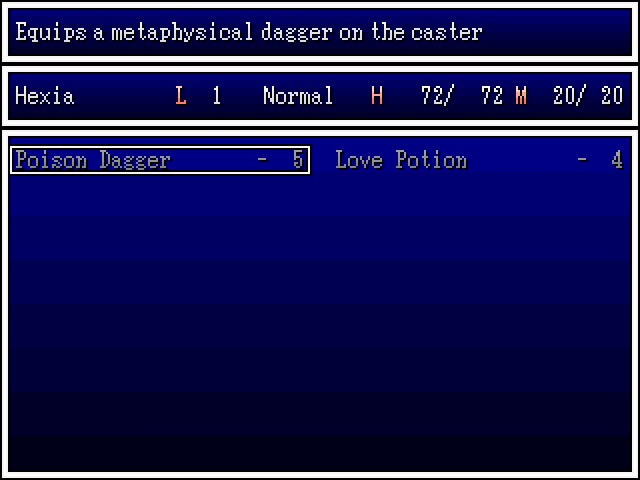
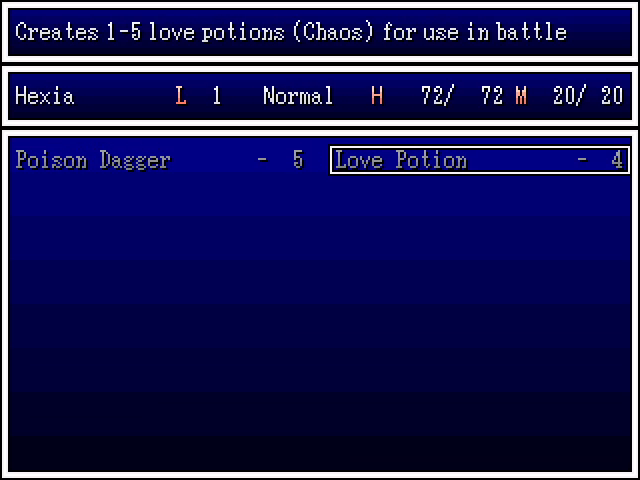
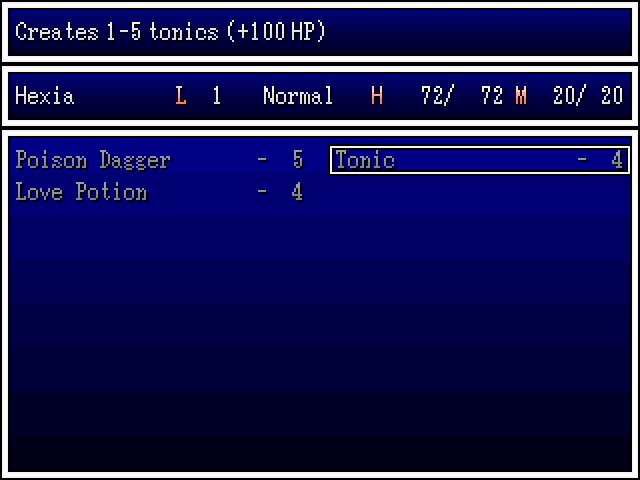
We also have the love potion recipe, which we give to Hexia. She can now make love potions in battle, supplementing her ability to create a poisoned dagger. No actual damage spells yet, but she'll get there.
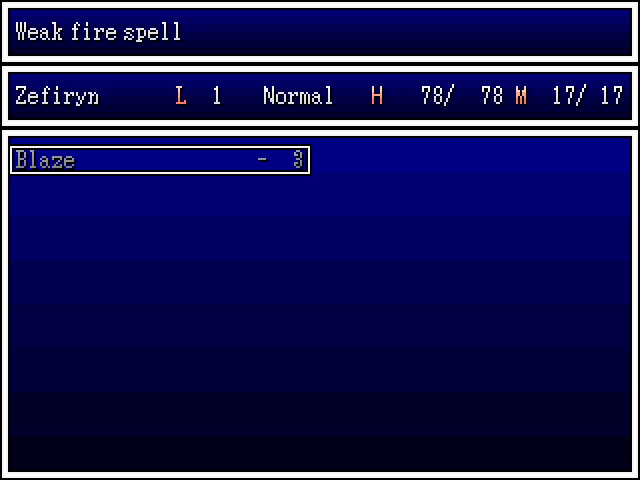
Zefiryn, meanwhile, starts only with Blaze, but that'll be vital for dealing with the mine.
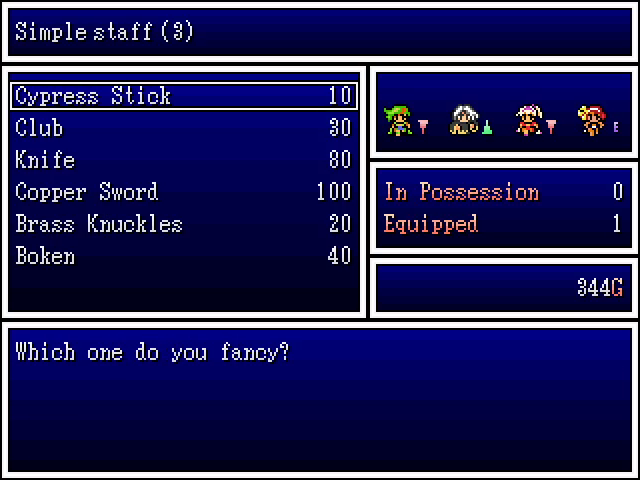
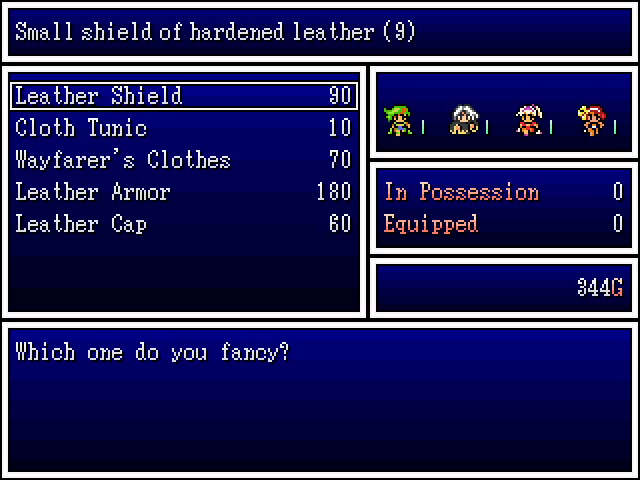
The weapon and armor shops in our starting city of Dracoma are the same as in Stromholm: the most basic equipment in the game.
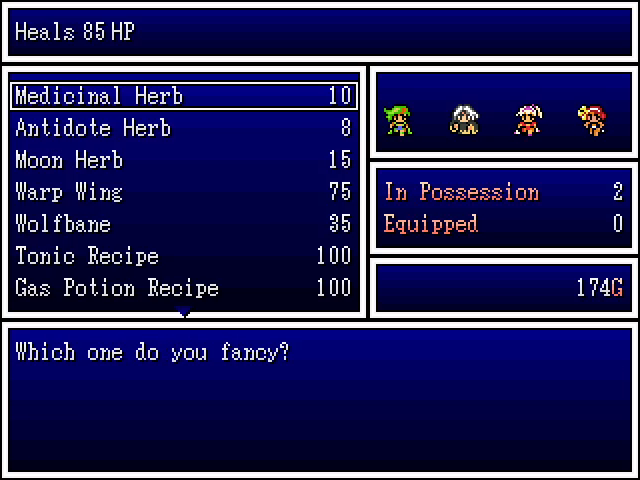
The item shop is the same. Tonic recipes, gas potion recipes, and bioblaster tools (not shown here) are also available in most starting towns. We get a tonic recipe for Hexia, because being able to make healing items is fantastic. They'd probably be our primary source of healing for a good while if Kali weren't in the party.
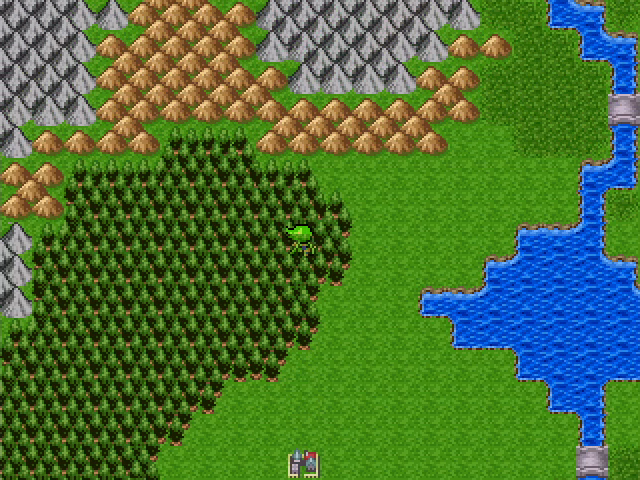
And with that, we step outside to grind up to level 2.
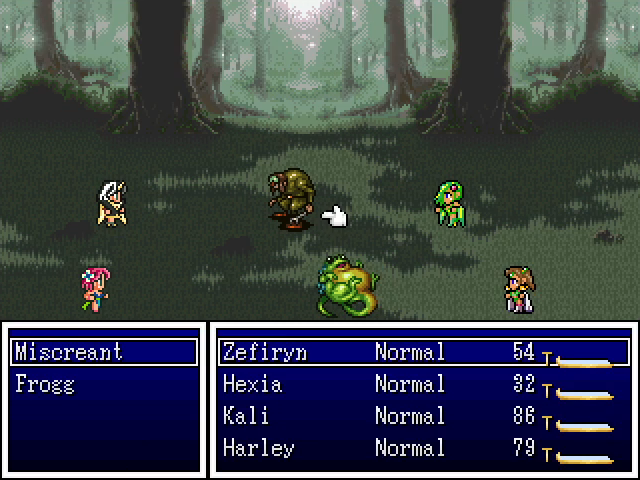
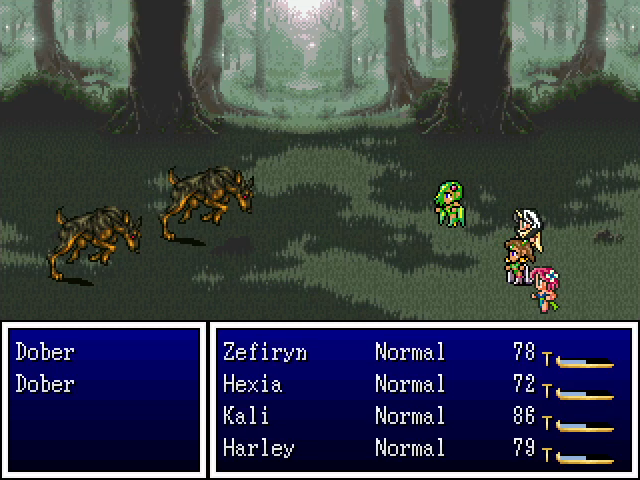
Froggs are the basic enemies around here, doing nothing but attacking. Miscreants occasionally switch it up by defending, but it doesn't make them terribly durable. Dobers are functionally the same as the Greywolves in Norsland; they're tougher than the Froggs but don't do anything except attack.
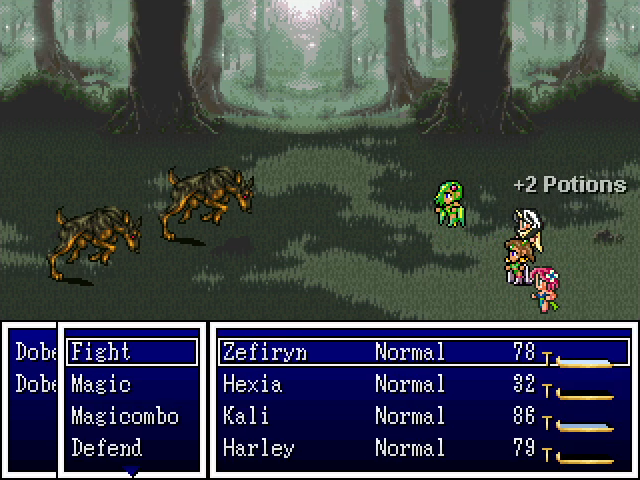
Hexia spends most of this time making potions rather than attacking. She's not strong, and building up a good supply is not a bad idea.
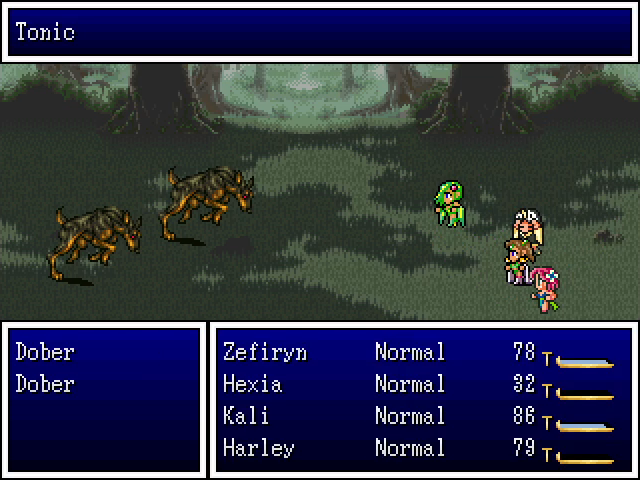
This is Zefiryn's turn. Note that while most potions are only usable by Hexia herself, tonics can be used by anyone.
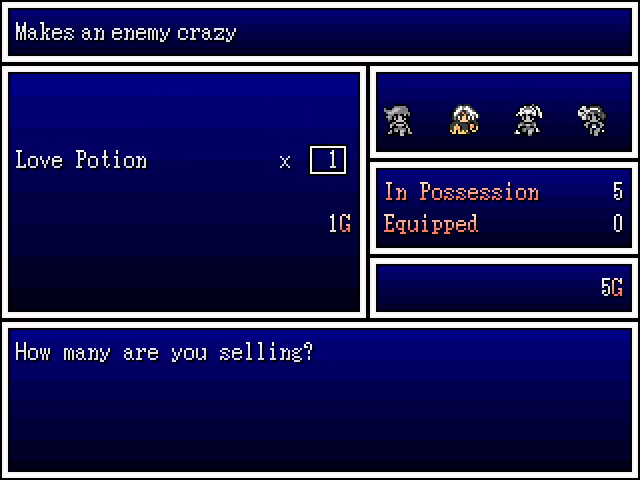
Also worth mentioning is that potions sell for 1 G each, so they're not worthwhile for making money.
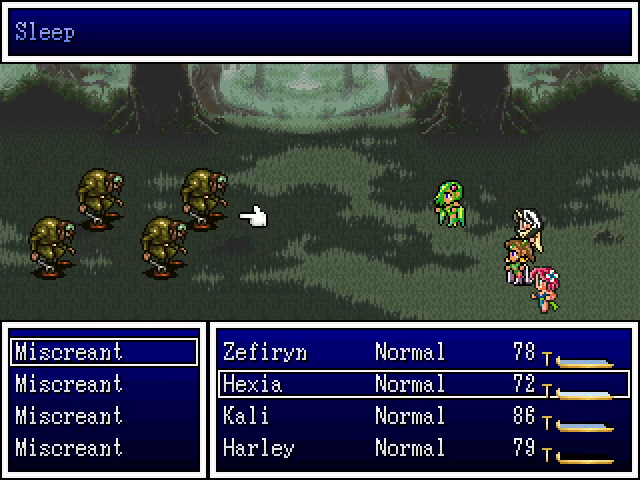
One nice feature in the game is that, when targeting enemies, the game will list what status conditions are affecting them.

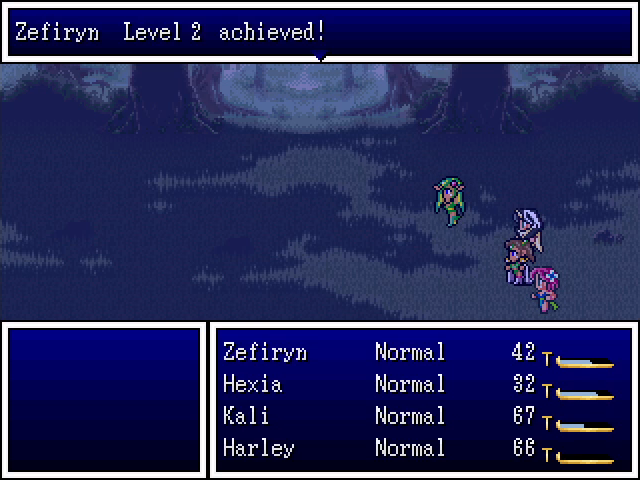


Soon enough, everyone reaches level 2. Kali learns Heal, while Hexia learns to raise an undead minion.
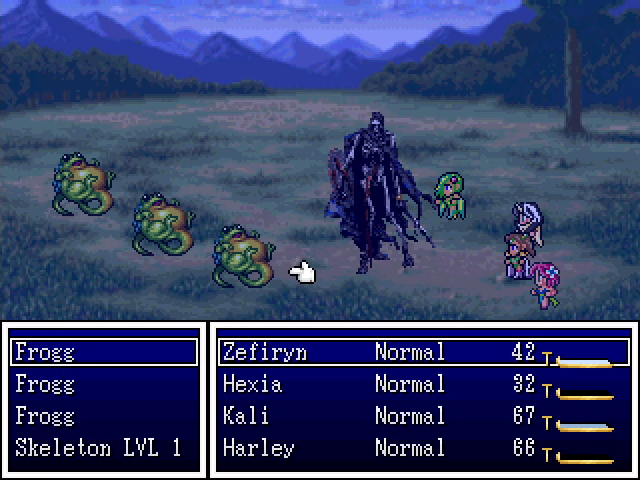
A summoned skeleton appears as an enemy and occasionally makes weak attacks against random foes, potentially including itself. Enemies won't target it, but the player can, which is good because fights won't end while it still stands. It's helpful for longer fights but pretty useless in most encounters.
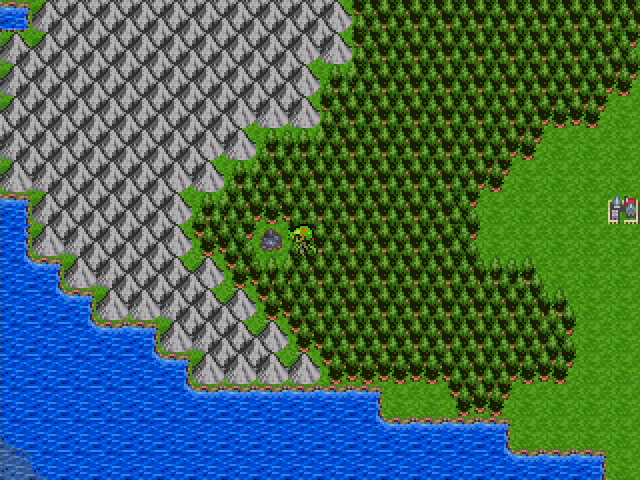
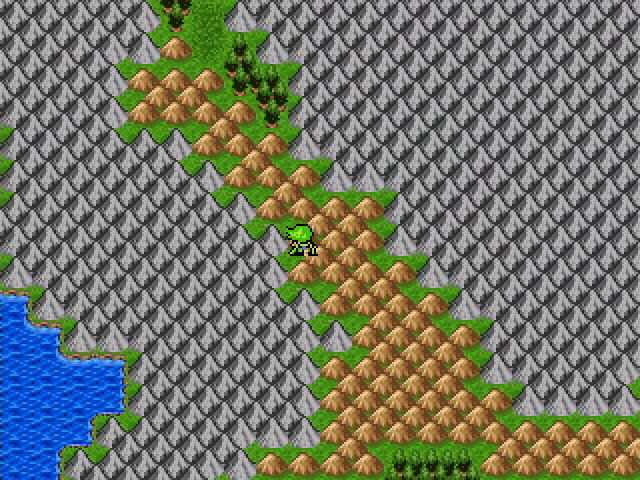
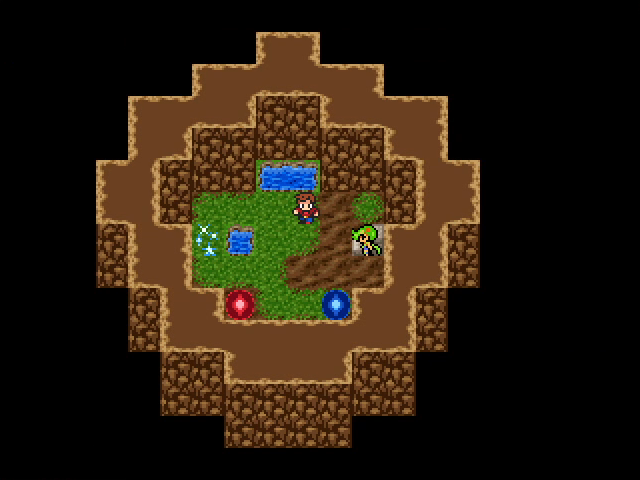
Once we rest up, we head west, to this patch of swamp. This is probably what the kid in town was talking about.
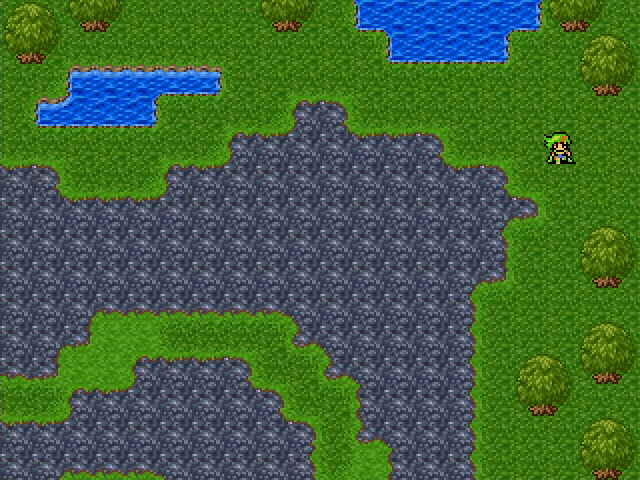
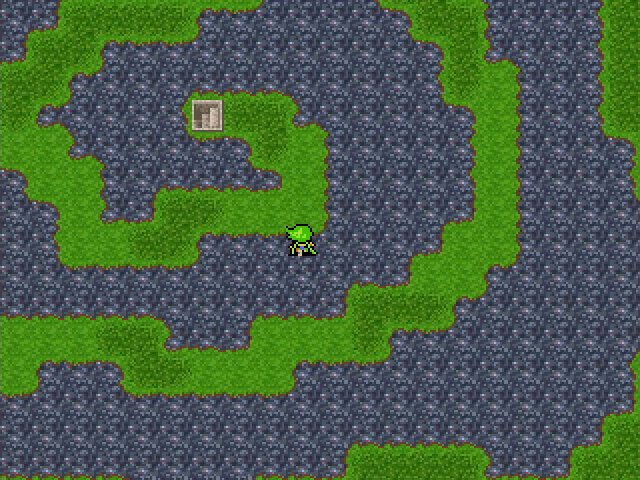
There's a grassy path that spirals into the center, but walking across the swampy parts is much faster.
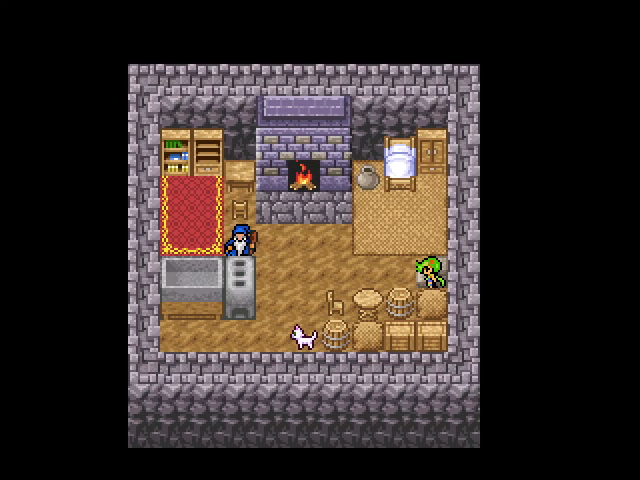
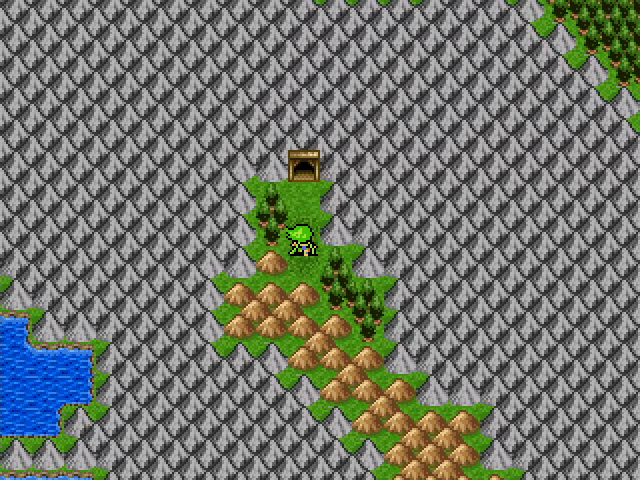
An old man lives here. I wonder if he's related to the guy in Helminsk's monster-infested well.
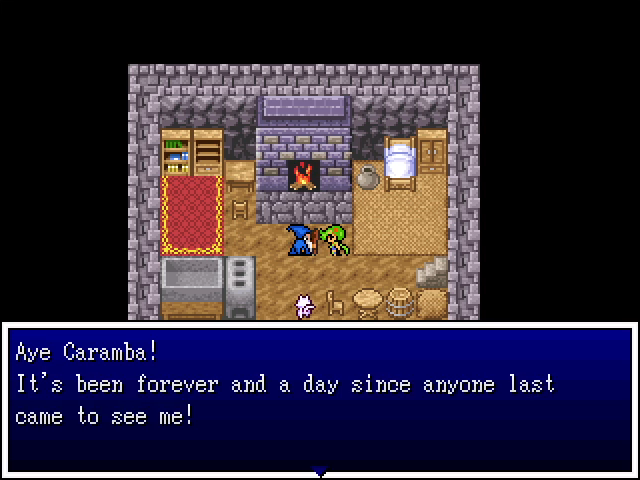
This is good to know but won't be relevant for some time.
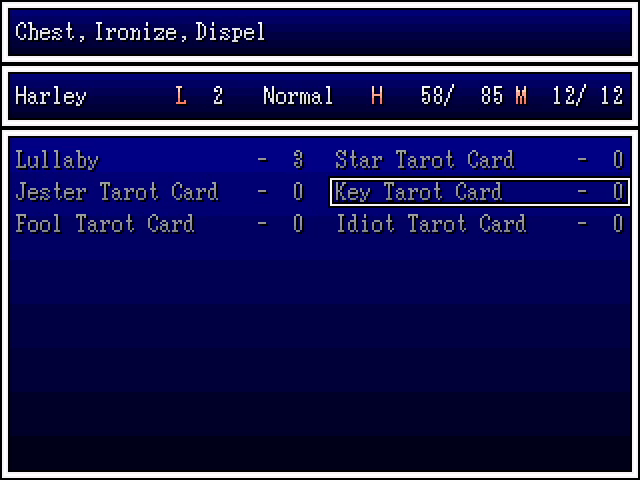
He has a tarot card, which is revealed as the Key. This is neat for its ability to create chests in battle, though the odds are a bit low.
Well, that was fun. Let's head to the mines.
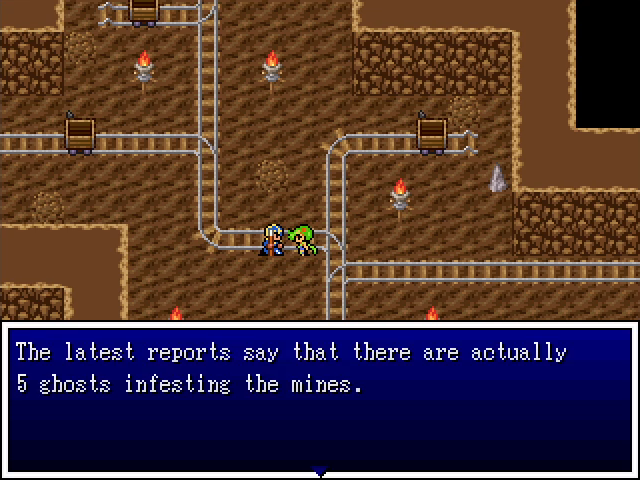
I have no idea how this guard knows this, considering that all five ghosts are still around, but it's helpful information for a new player.
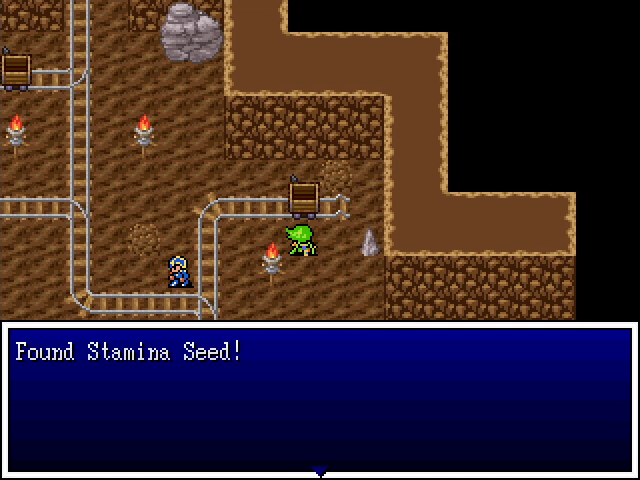
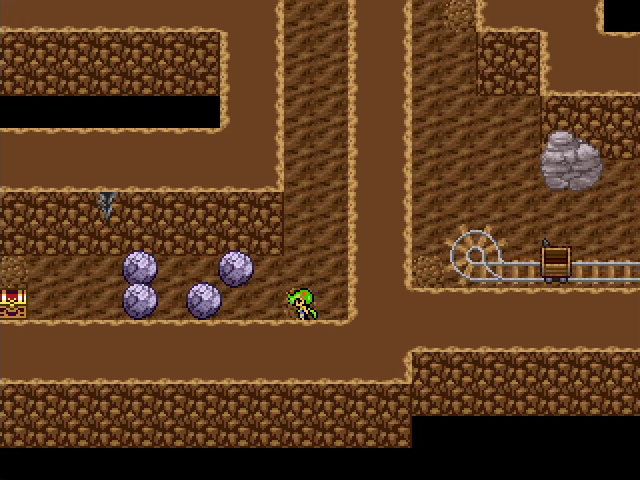
The minecarts here are searchable and occasionally have decent treasure.
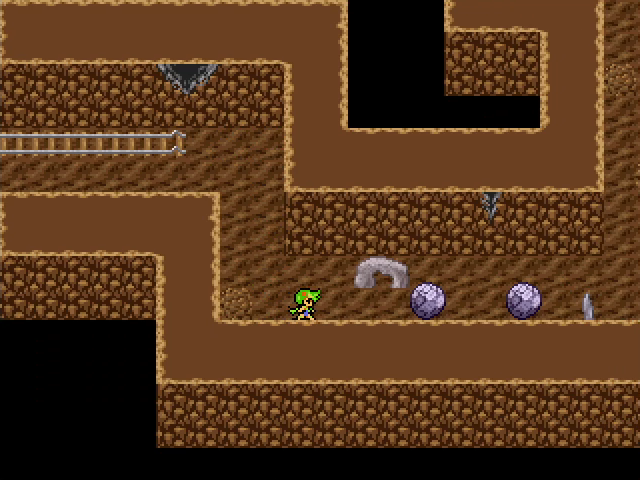
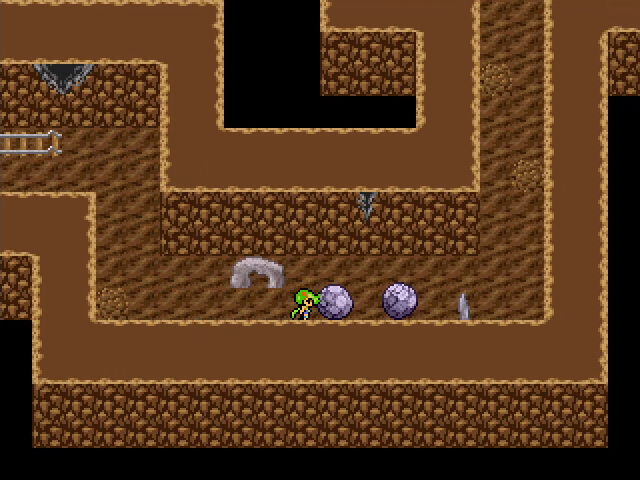
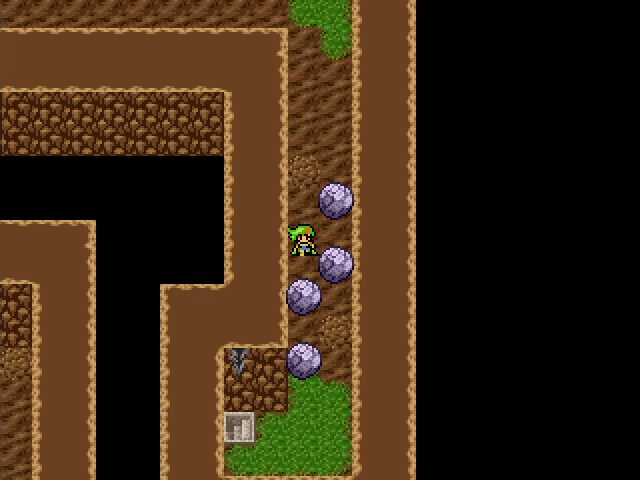
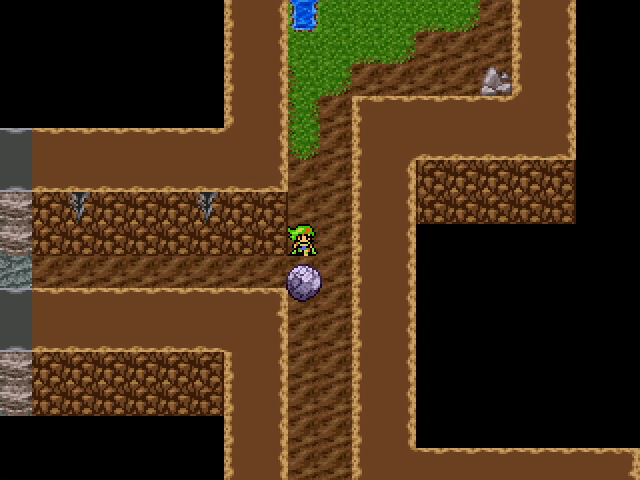
To the west, we encounter another rock-pushing area. This isn't really a puzzle, but it does signal that this mechanic is getting used in the dungeon.

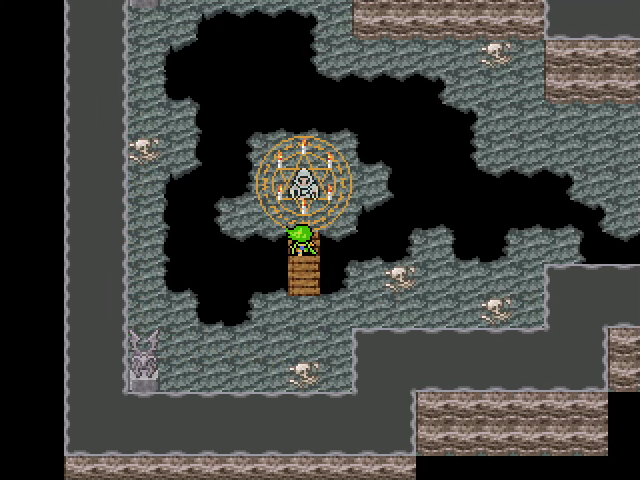
North of that is a treasure chest surrounded by corpses. We're trained, and we know what that means.
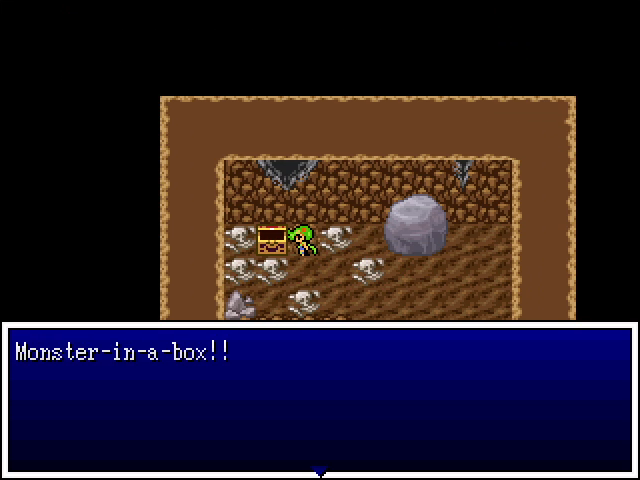
Yep.
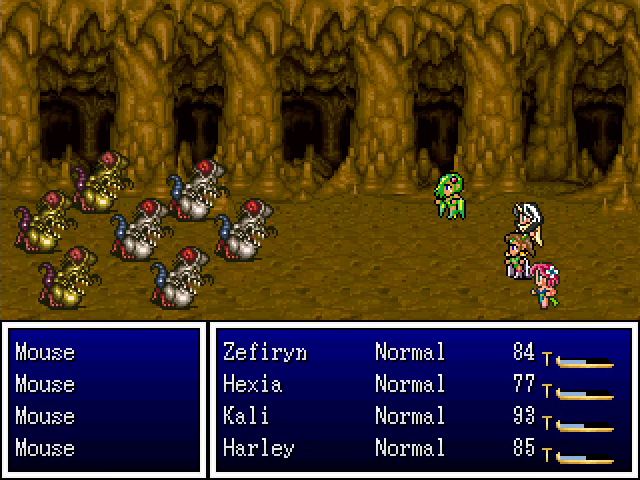
This fight is the same as the one in the Stromholm basement. We're level 2, though, so we have a better chance to handle it.
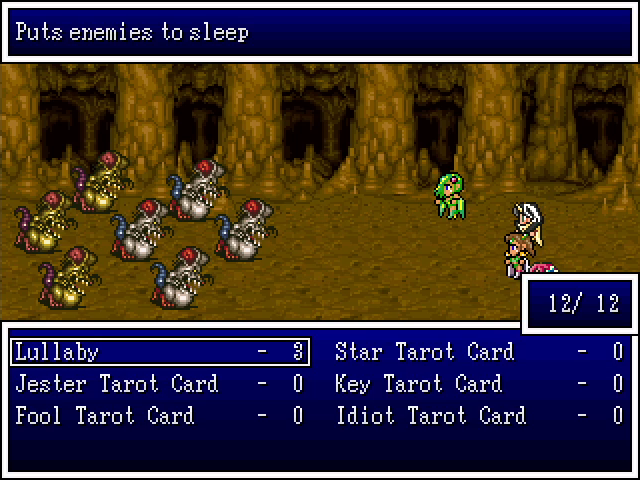
Also, we can have some minor crowd control here, which helps a lot.

Our reward is a ring of the sky, which raises all stats by 3. Almost anyone in this part could benefit from such a spread, but Zefiryn takes it for now, since she's the protagonist and all.
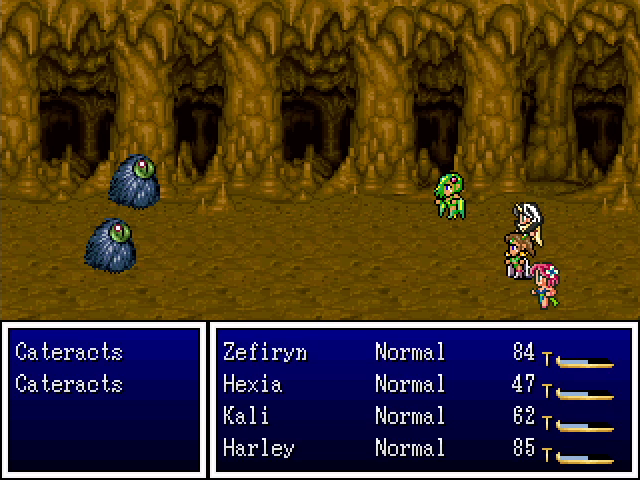
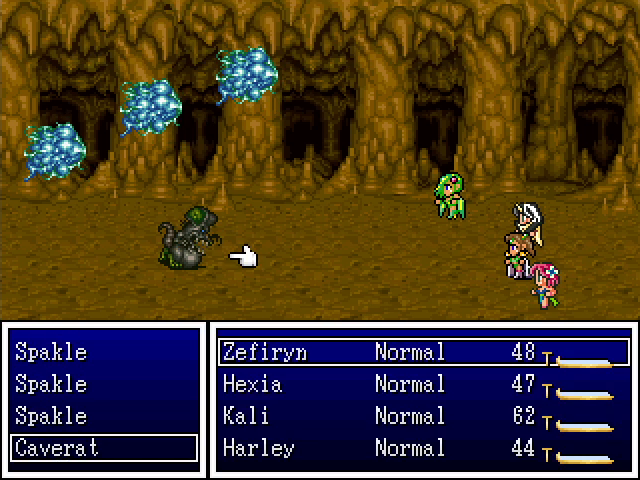
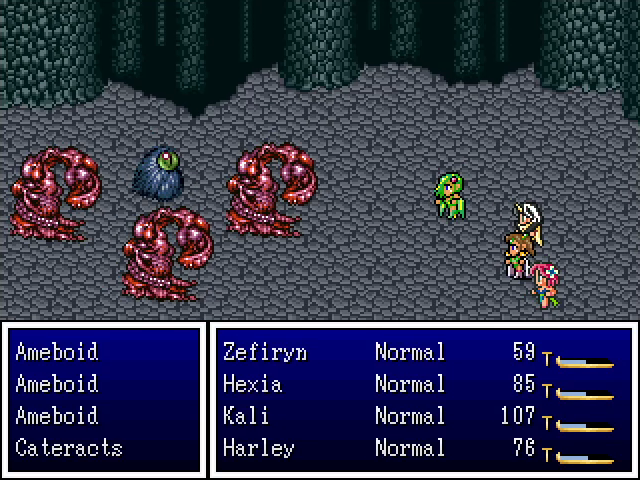
Cateracts are spellcasting critters. They use Heal, a single-target version of Balthalas' Evil Flame, and Surround. Spakles are encountered much earlier in this chapter, so their Shocker attack is actually quite dangerous, and I discovered that they can also put characters to sleep. Caverats are similar to standard rats, including their poisonous Plague Bite attack. Ameboids... I have no idea. They probably do something besides attack, but I only encountered them once and never saw anything else.
Heading east from the main room, we spy a side path that's conspicuously discolored.

Yeah, that bears investigating.
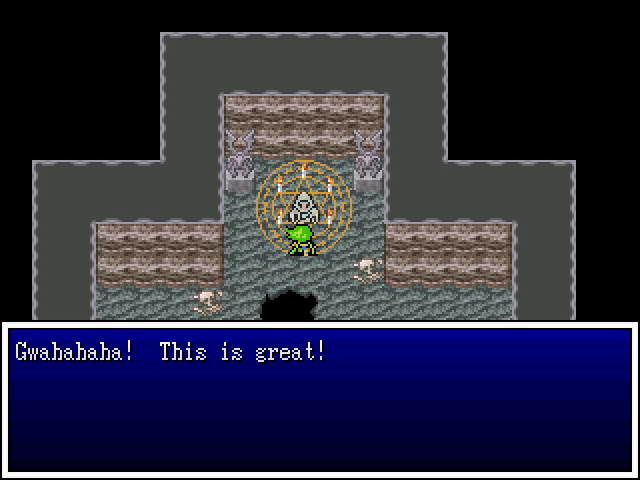
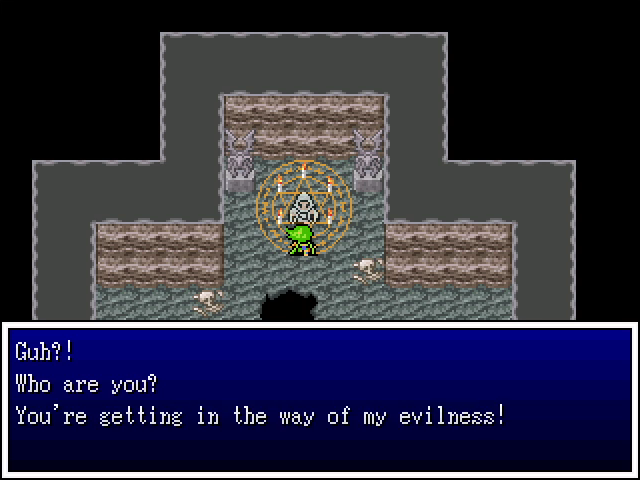
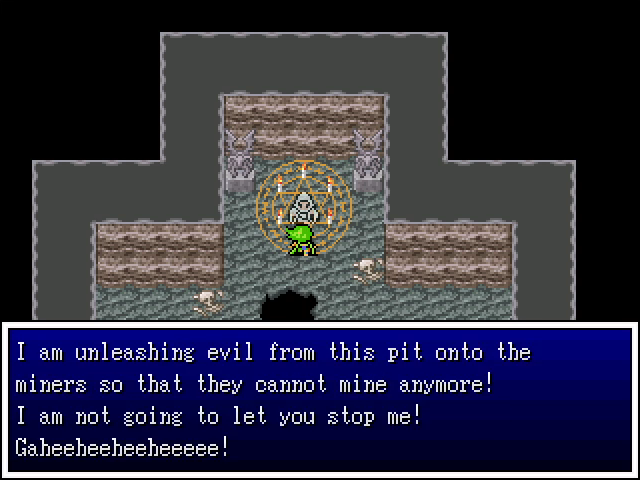
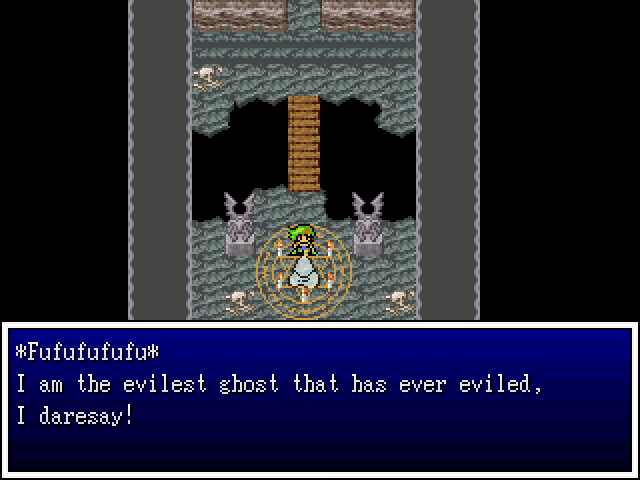
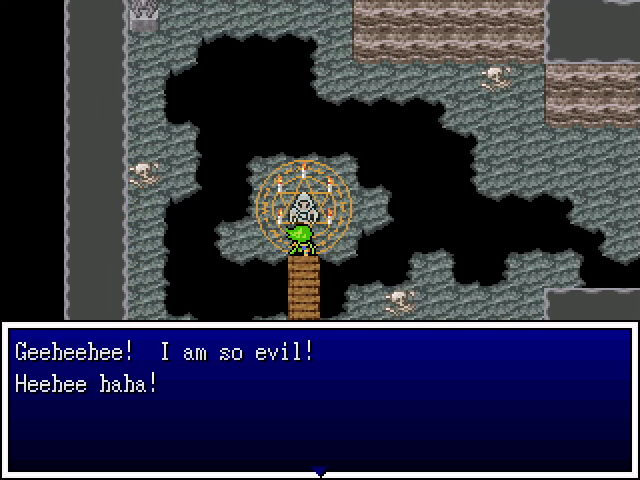
I'm not sure I really communicated how much I enjoyed the dialogue used by the imps in Merchant's Pass, but its bears saying because I enjoy the ghosts even more. This one actually seems pretty similar to the imps, but the others have their own personalities and I find them very charming for throwaway enemies.
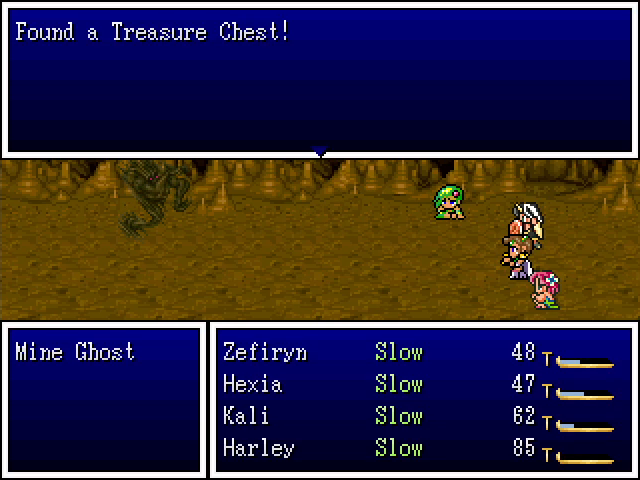
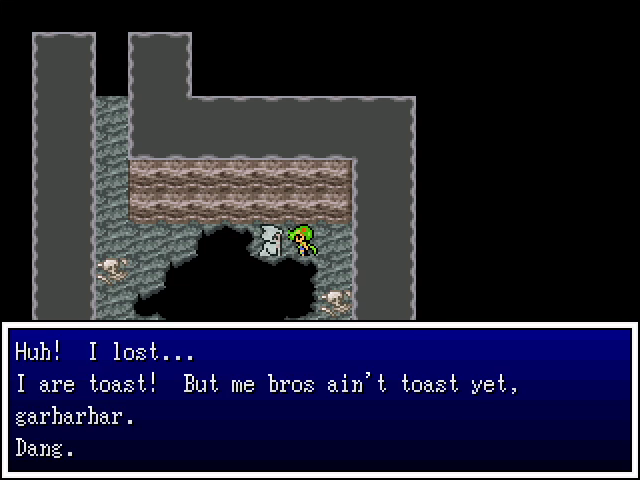
Showing off here that yes, the Key tarot does sometimes give chests. It's also the only shot I took of the forgettable fights against the ghosts. They attack and use Slowall, which is obnoxious but not really dangerous. Three Blaze spells and they're done.
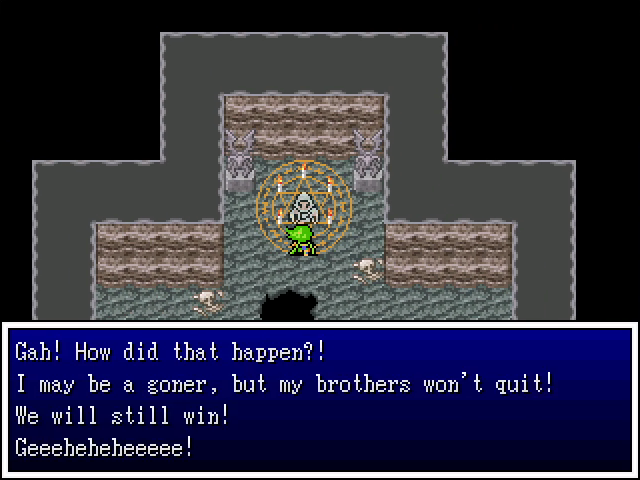
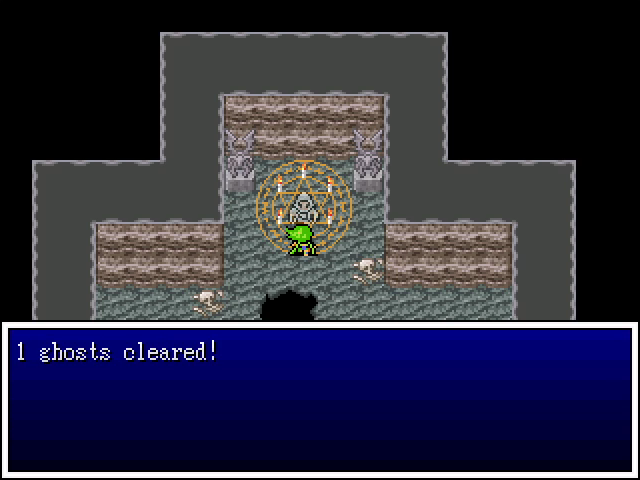
As with the imps, the ghosts let us know that we have more work to do, and this time the game also gives a running counter of our victories. Yes, this quest is very similar to that one, albeit more involved.
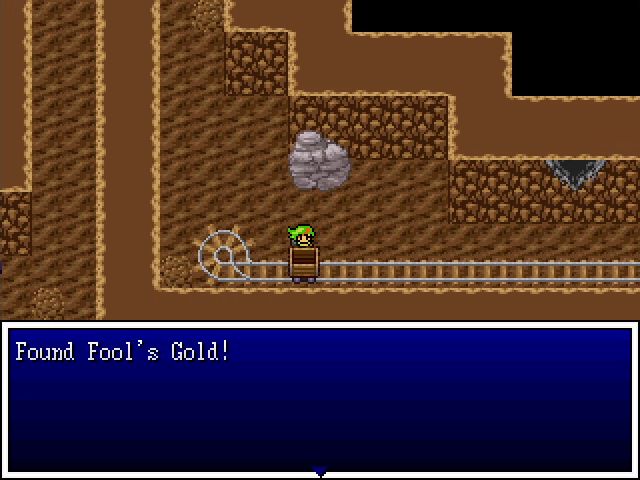
This thing sells for 1G and has no other value. I feel cheated.

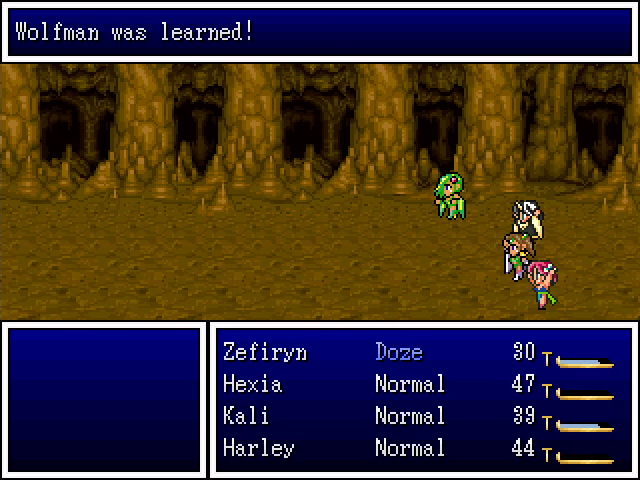
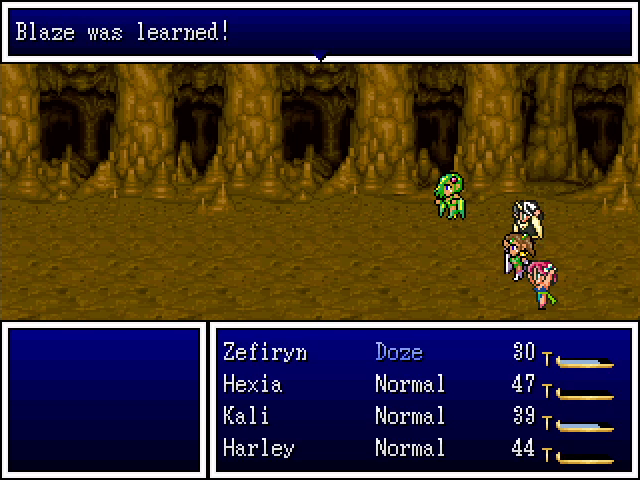

More leveling. Zefiryn learns Wolfman, the basic Shapeshifter spell, which can be handy against magic-resistant enemies. Hexia, meanwhile, learns Blaze, which means we have double the firepower (ha) against the ghosts.

Further west is a simple rock-pushing puzzle with some gold as the reward. That's all there is to do in this tunnel, so we return to the main room, then head north and east.

Looks like we've located another ghost.
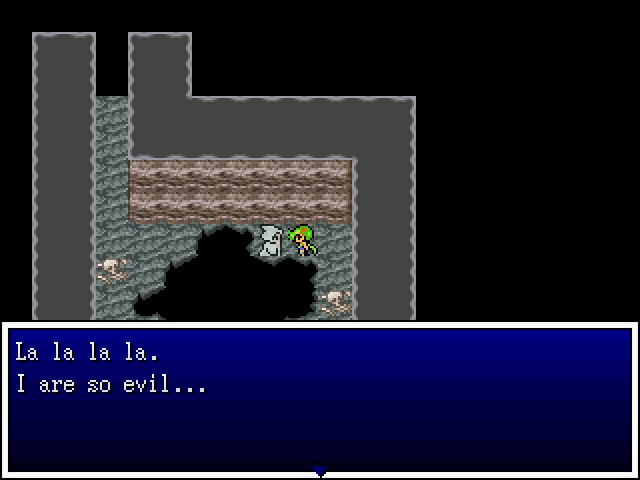
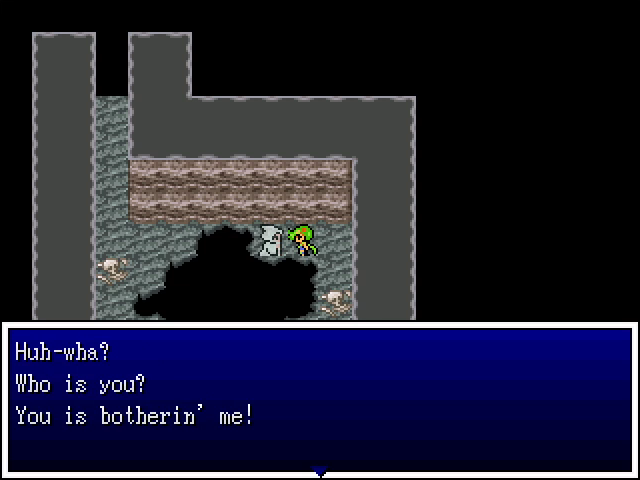

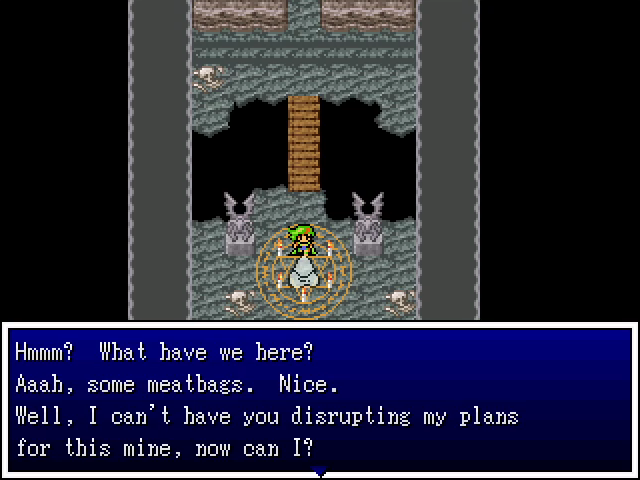
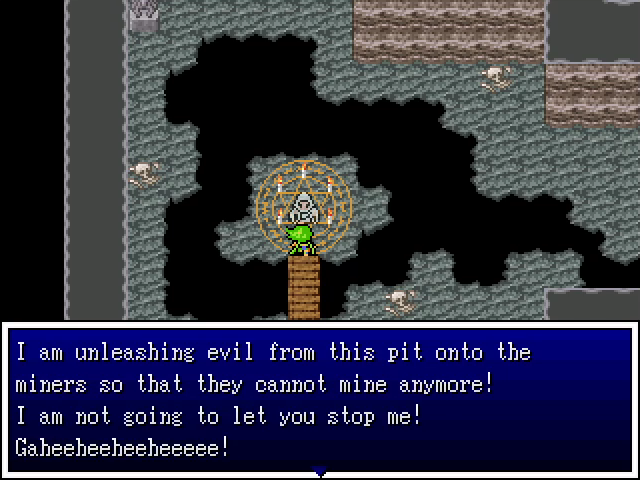
The first ghost seemed a bit dumb, but this one's on a whole other level. I love it.

Dang.
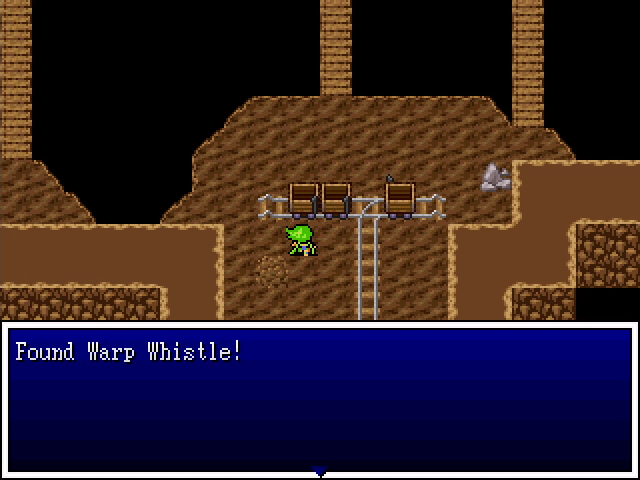
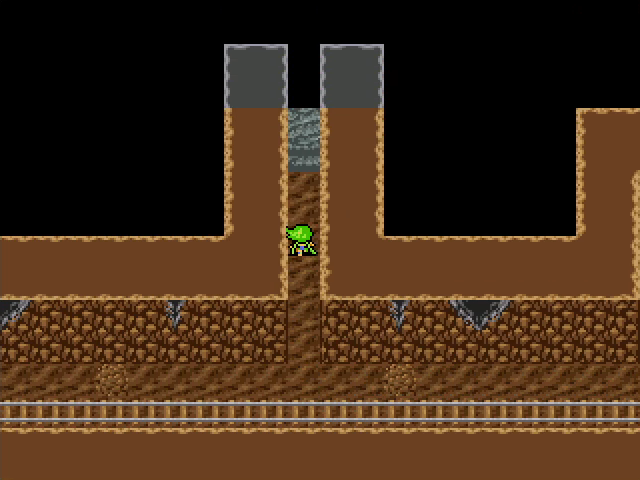
Heading north, we find a warp whistle in a mine cart. This is important.
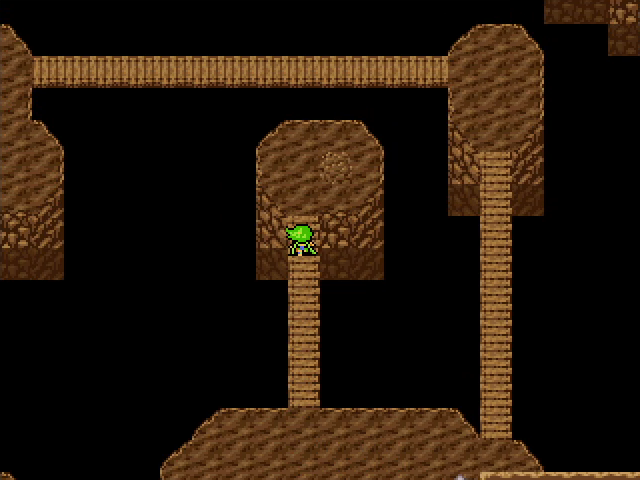
Oh, that looks suspect.
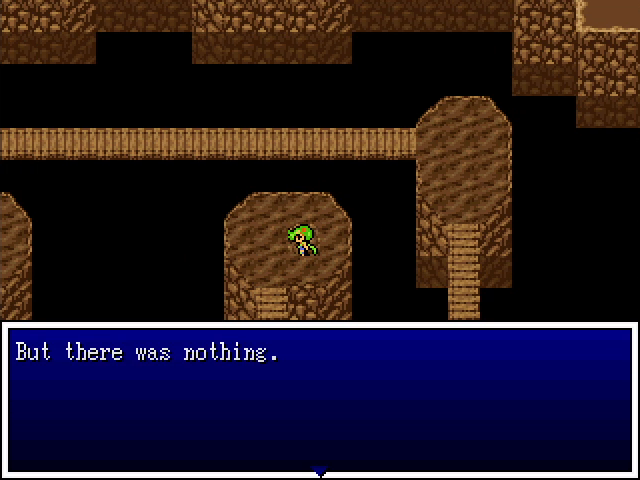
...I feel cheated again.
Crossing the bridge and heading north, we find another rock-pushing puzzle blocking off some stairs and another ghost room.
I seriously love this dialogue.
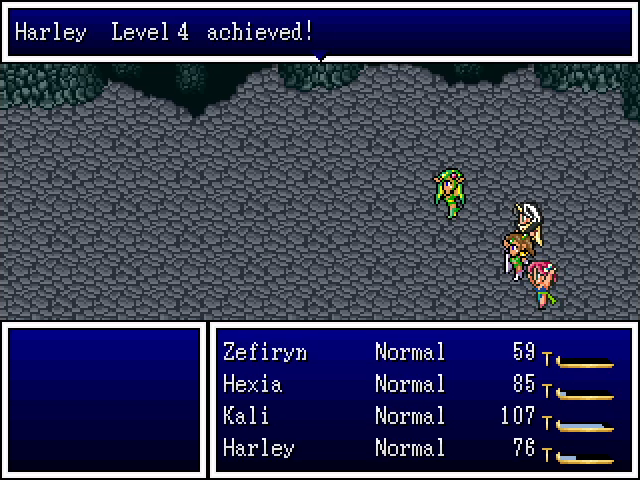
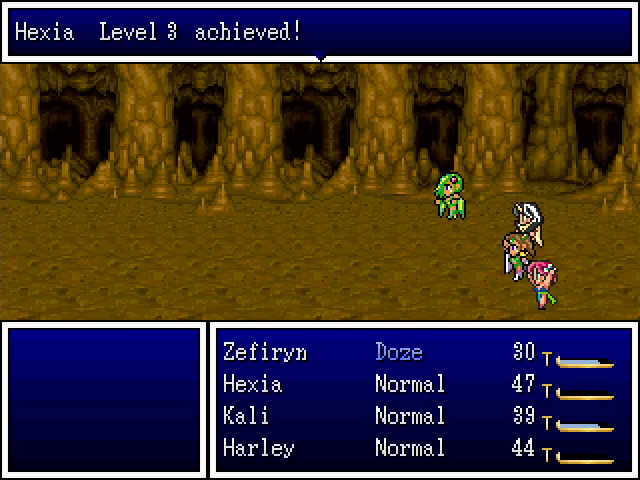
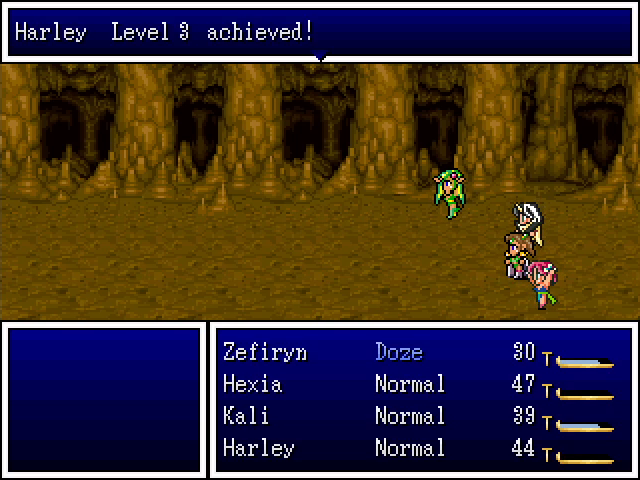
The ghost gives Harley her next level up.
Three down, two to go.
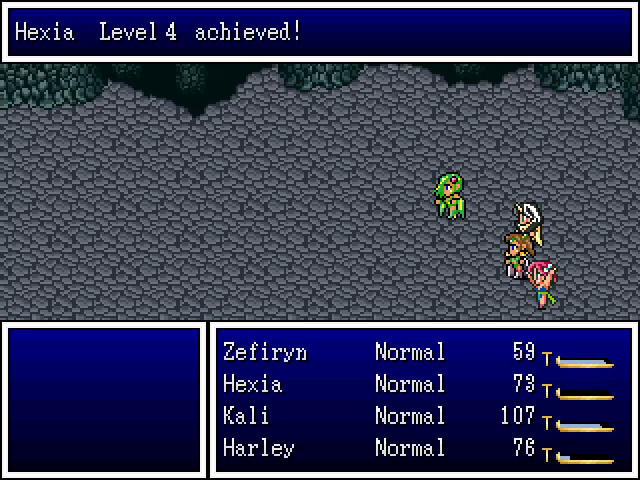
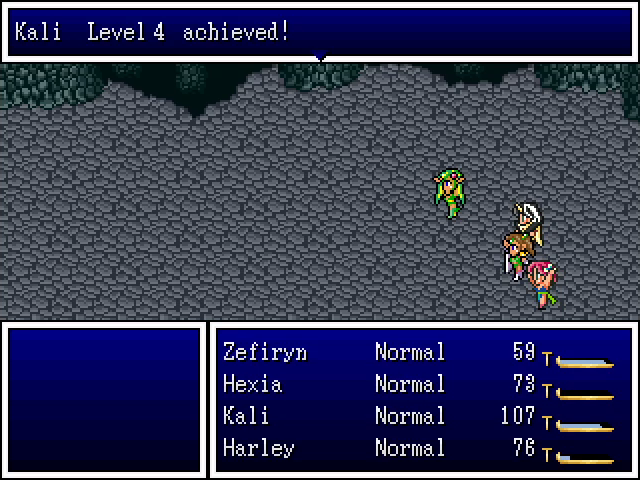
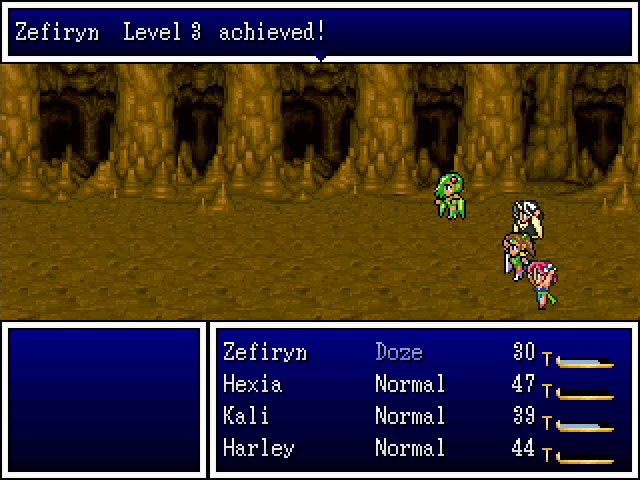
More levels. This place has been pretty manageable, and I should be good to-
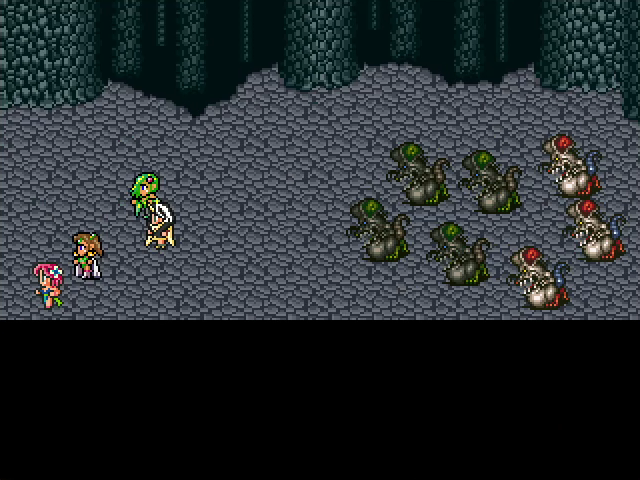
FUCK.
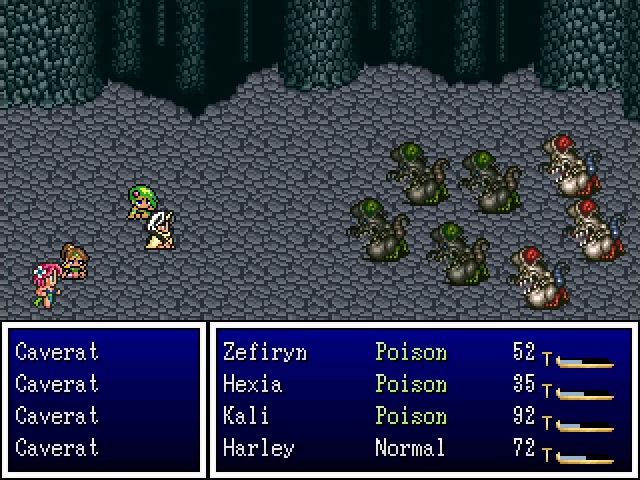
I... may have forgotten to bring antidote herbs.
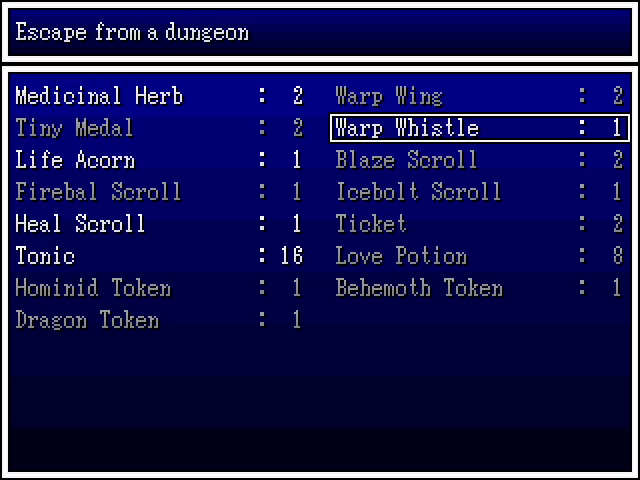
Good thing I found that whistle. I doubt I could have made it out with poison eating away at three of my characters.
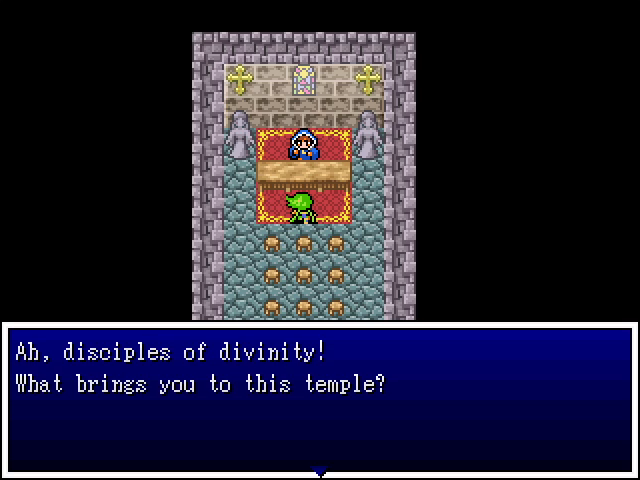
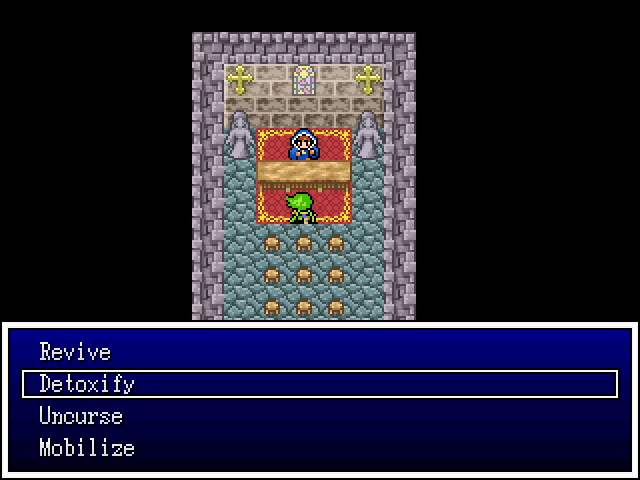
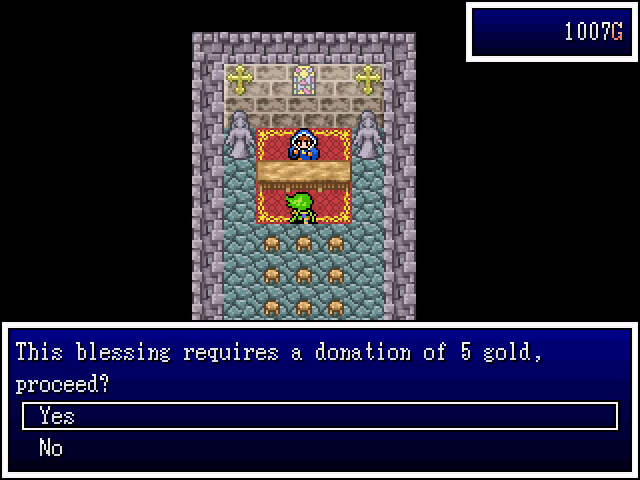

The town church offers the cleansing of poison for a very reasonable fee - 5G for the whole party. Antidote herbs, by comparison are 8G. Still, we do buy a few for the trip back. Don't want any more blunders like this one.
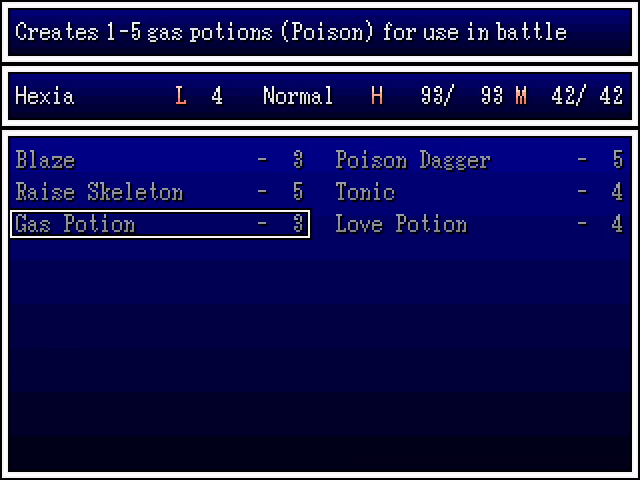
We also grab a gas potion recipe for Hexia, allowing her to make toxic grenades.

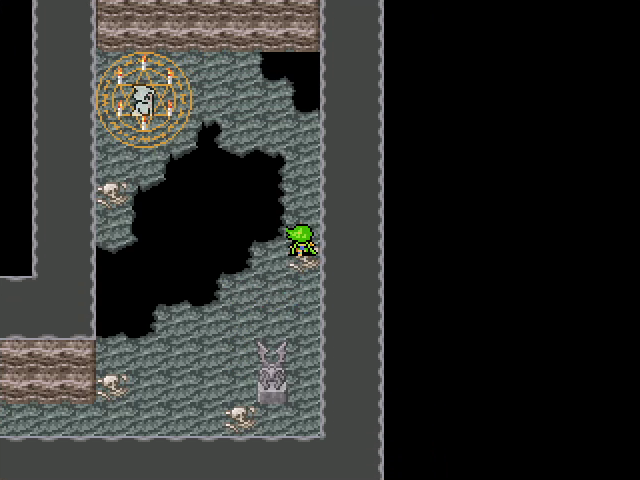
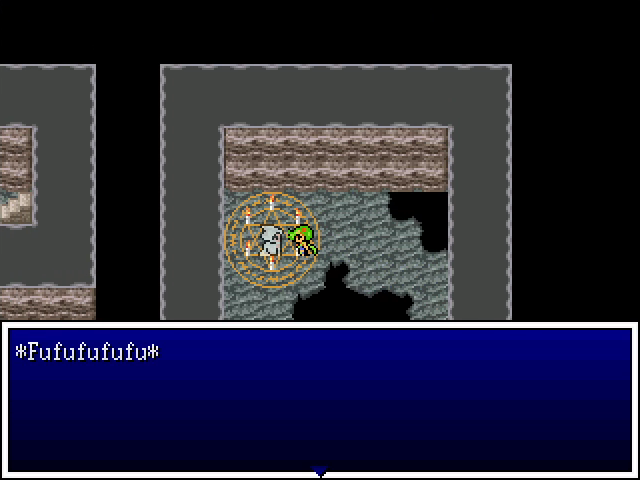
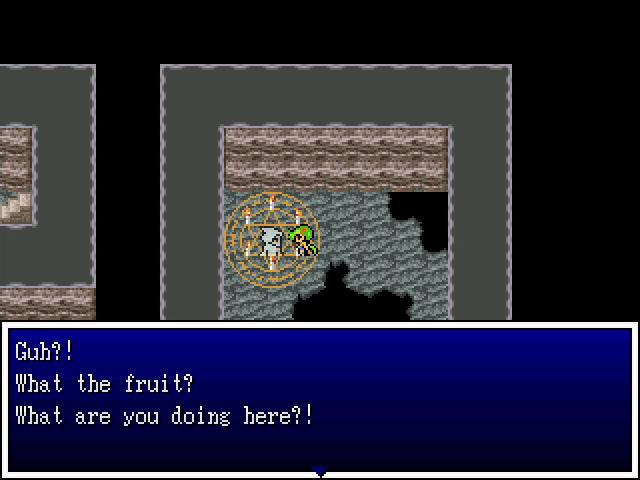
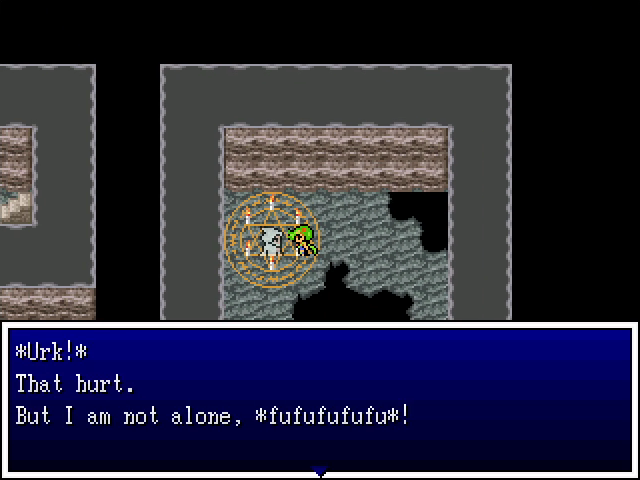
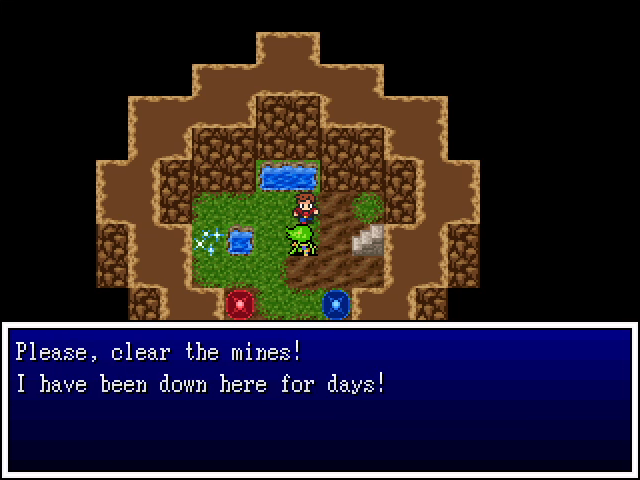
Returning to our place in the mines, we reach yet another ghost.
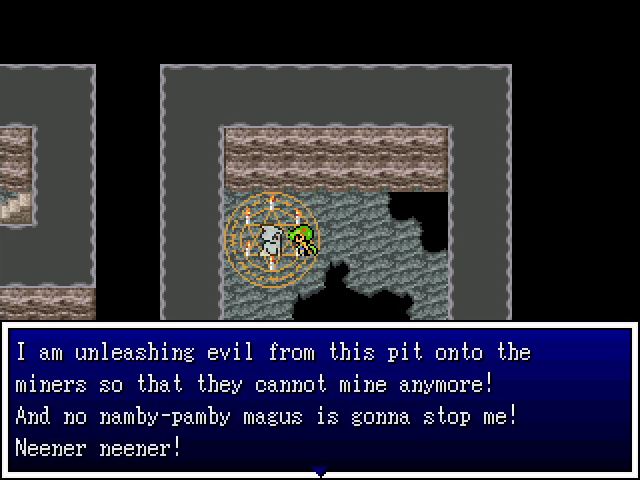
This one's really reminiscent of the imps, and it seems likely that they might have been summoned by the same person or group. But who summons a bunch of dumbass imps and ghosts?
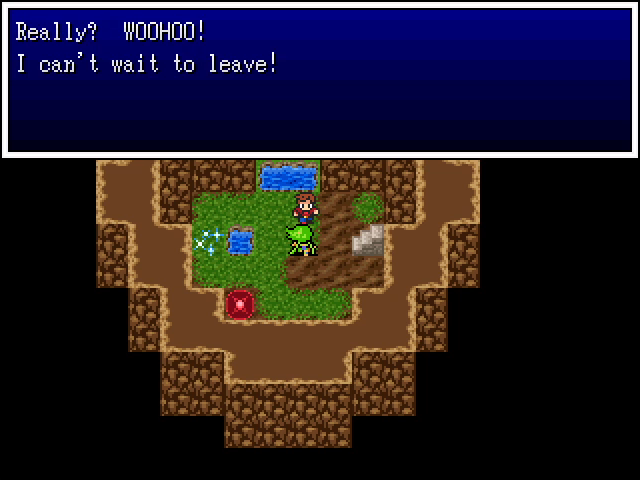
This actually looks inviting.
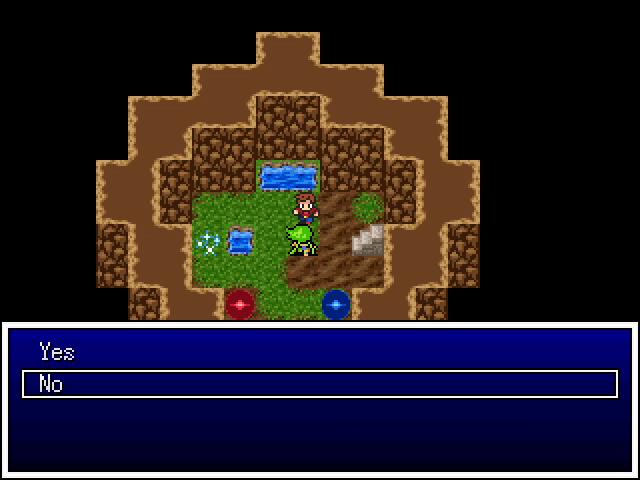
I'm not sure what happens if you say yes before killing all the ghosts, but I'm in no mood to test it. At least we can get some restoration here.
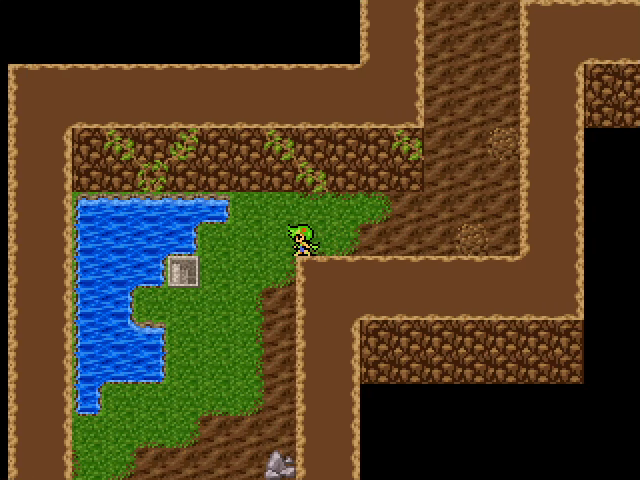
Fortunately, the last ghost is just south of Kristoff's hideaway.

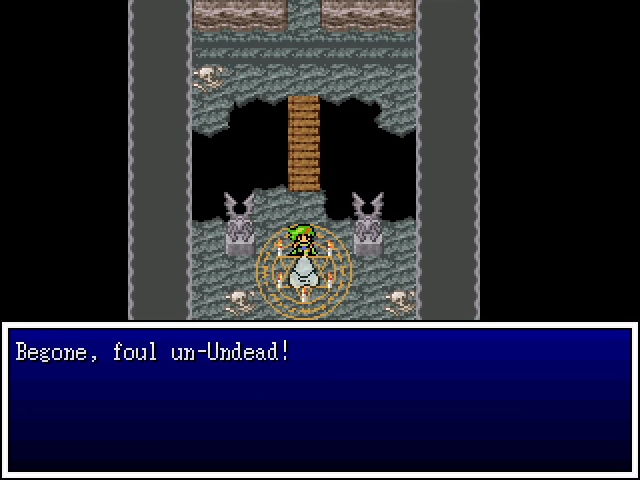
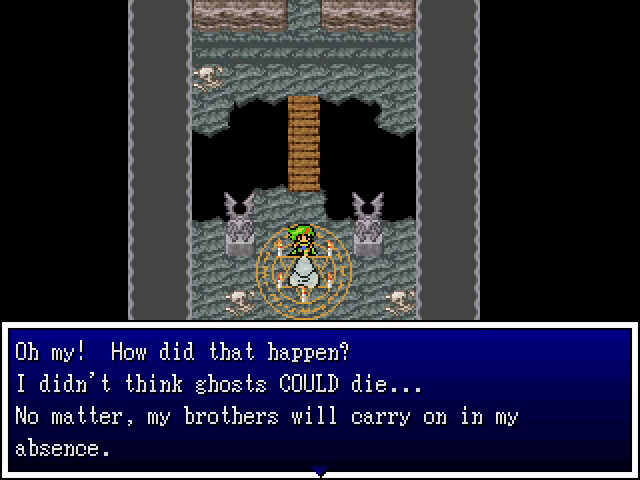
This is probably the most straightforward and therefore least entertaining of the ghosts.
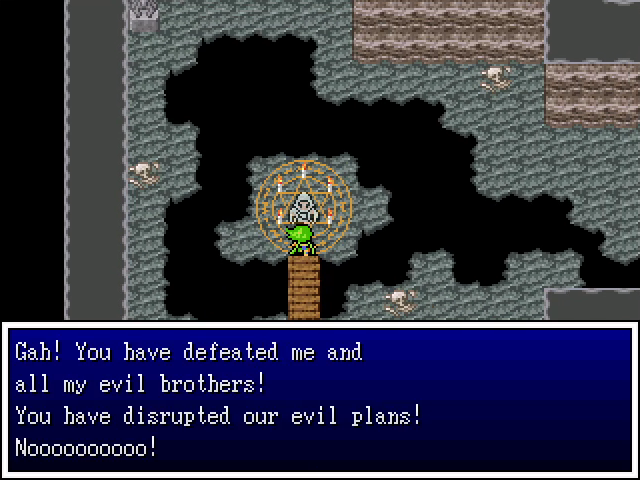

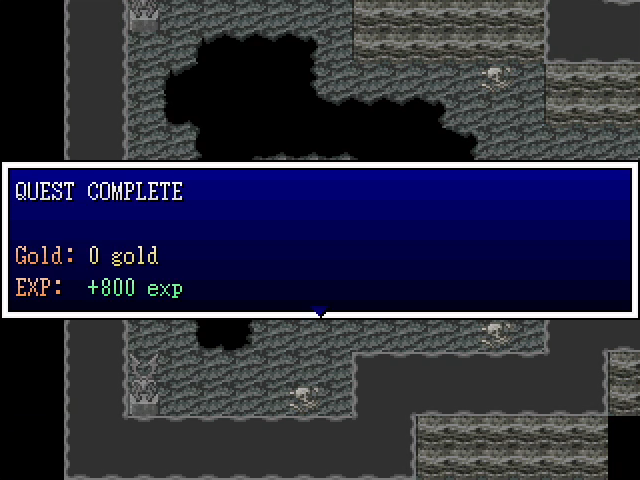
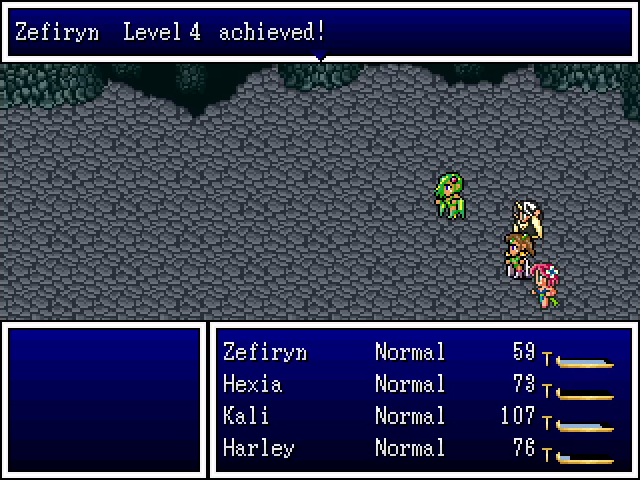
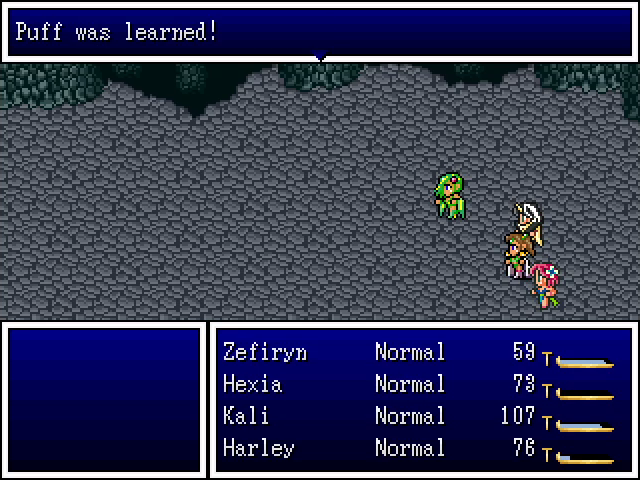
Victory is ours!
As are some great levels. Zefiryn can heal, Kali can deal with the undead (good timing), and Harley learns a healing skill. It's weak, but hits the whole party, so it's pretty useful.
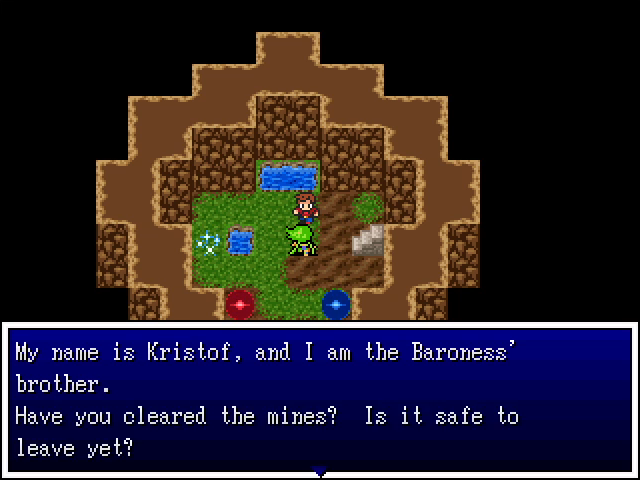
We head back and tell Kristoff that the way is clear. I guess he's not worried about the random battles, which are still present.
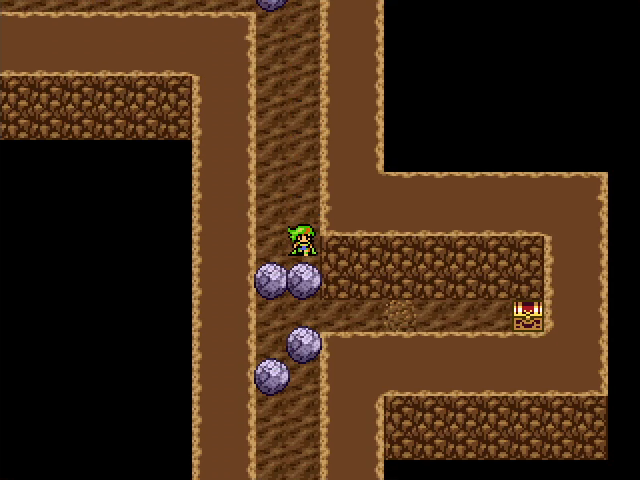
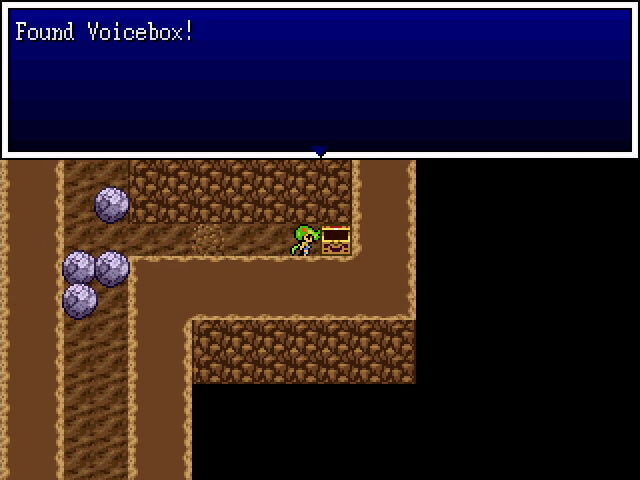
South of the last ghost room is an actual puzzle, if an easy one. The reward is a voicebox, which is fine. Hexia can equip it for now since she has nothing better.
And with that, we can return triumphant to Dracoma. Let's go tell the baron and baroness the good news.
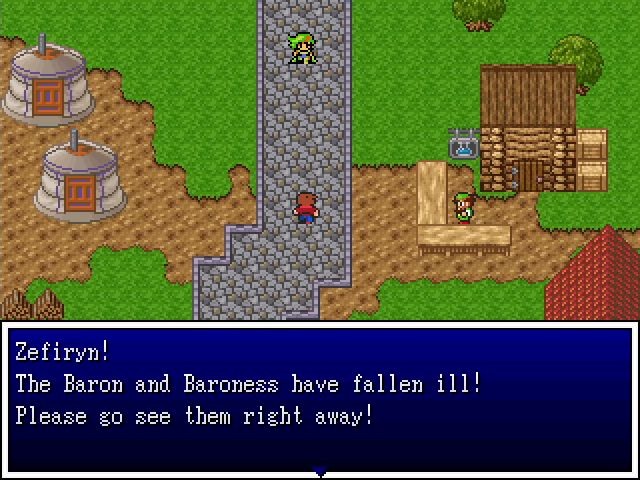
Well, shit.