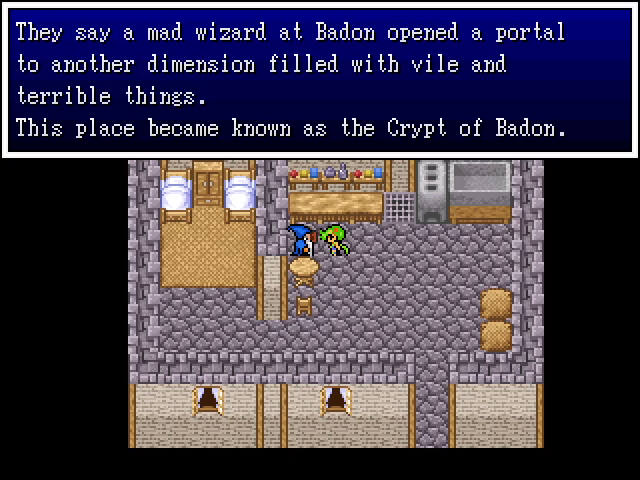
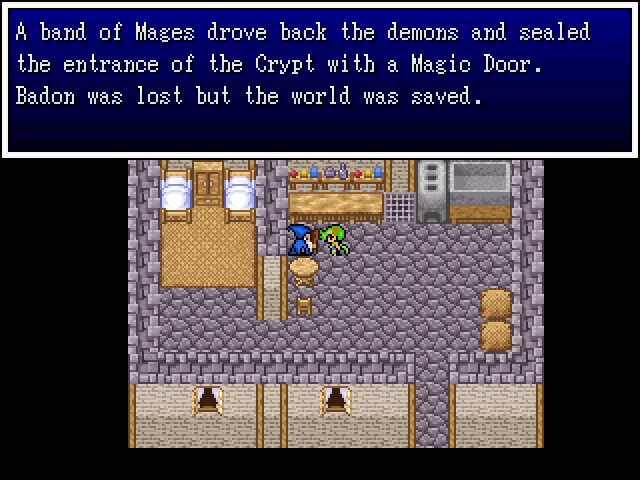
Part 10: The Adventures of Bessie the Wondercow
Welcome back! Last time, we cleared out the Dracoma Mines. What's next?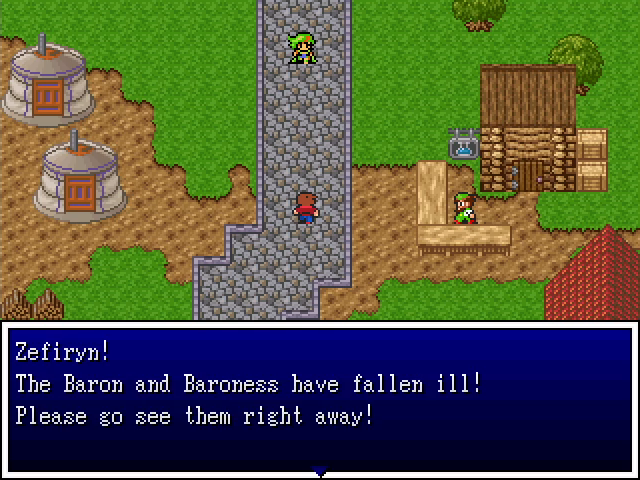
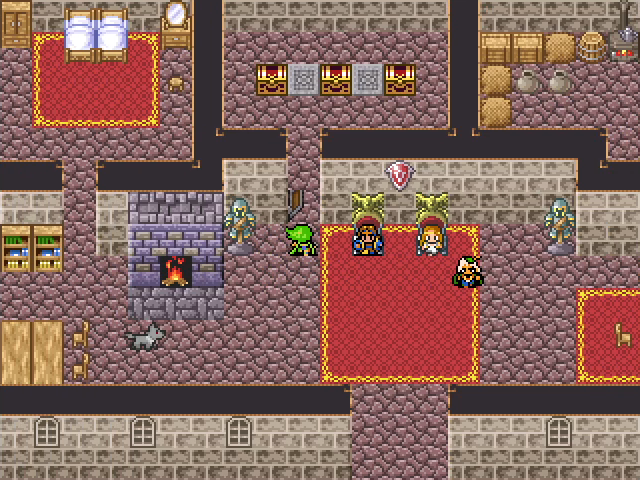
Oh, right, that. Let's head for the Baron's home.
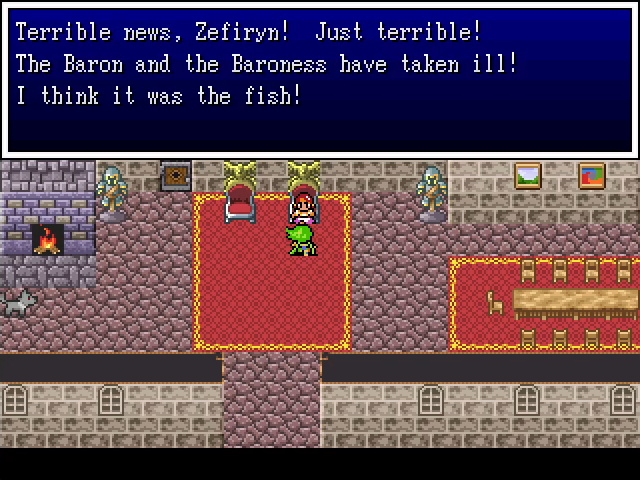
How unexpected! This was definitely not foreshadowed by any dialogue or the chapter title!
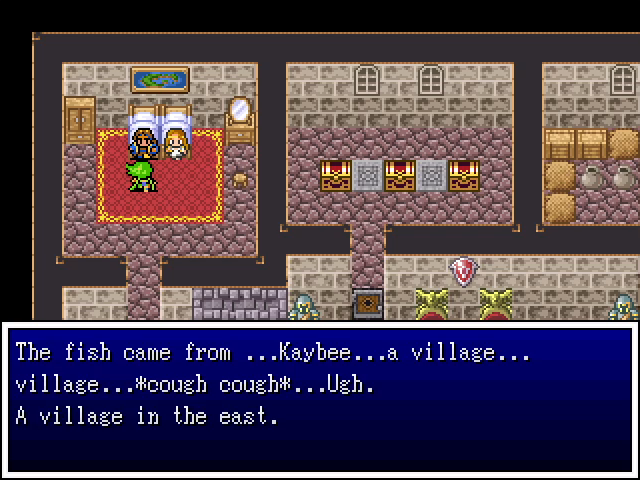
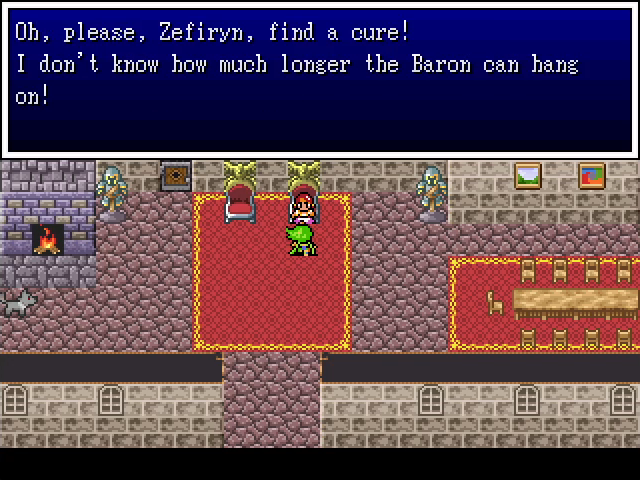
The Baron, at least, gives us a destination. The Baroness is less helpful.
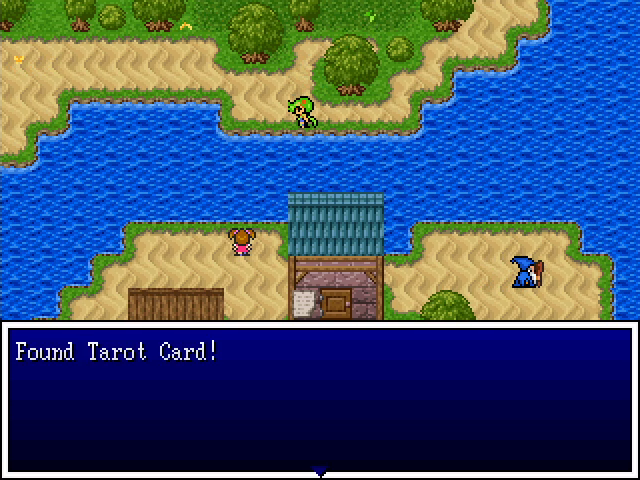
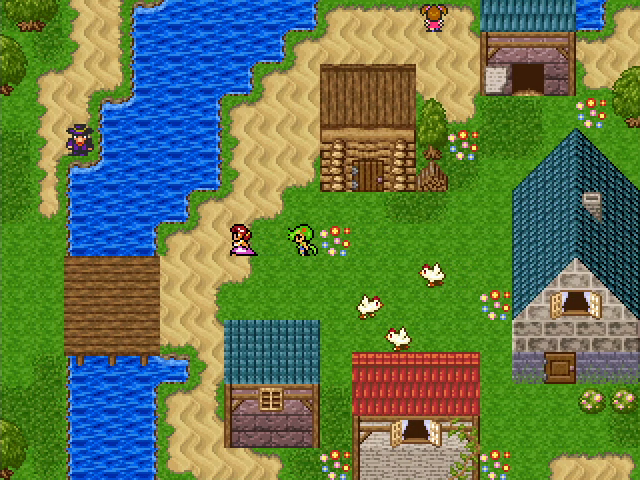
We head out to investigate Kaybee, but while in town, we spy something of interest.
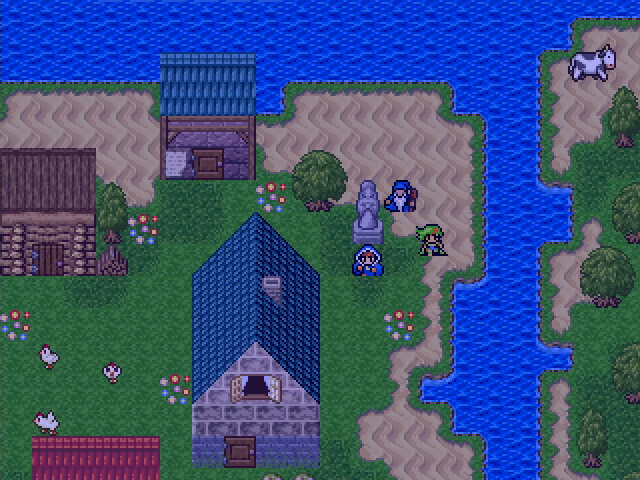
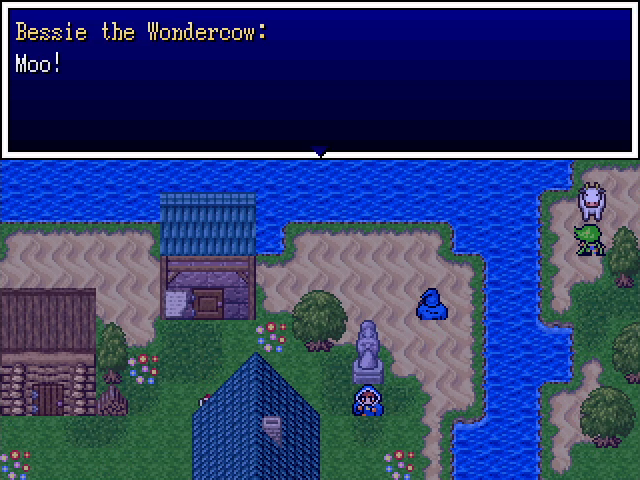
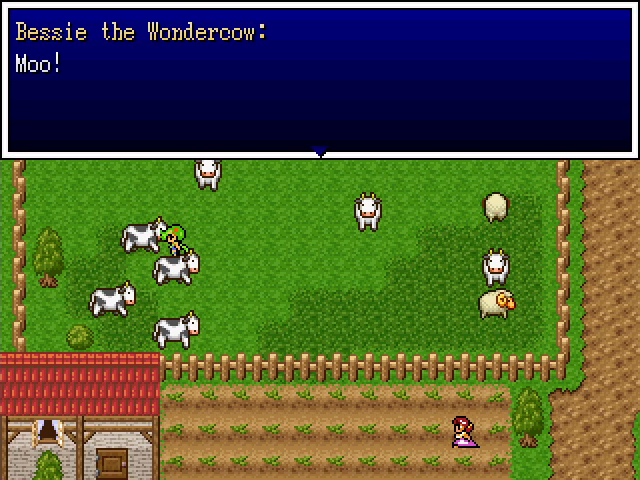
Is that..? Could it really be..?!
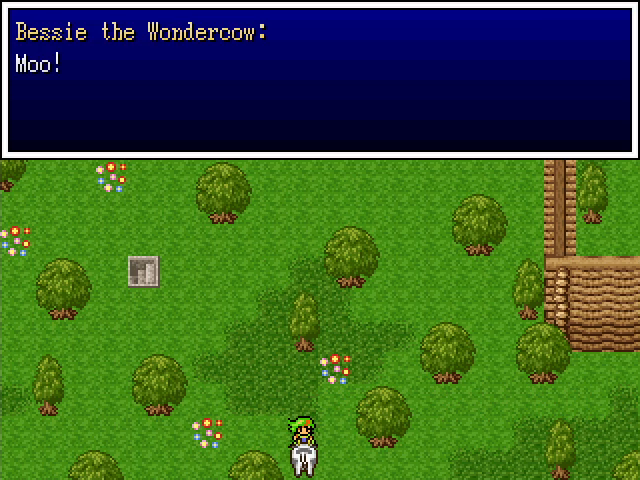
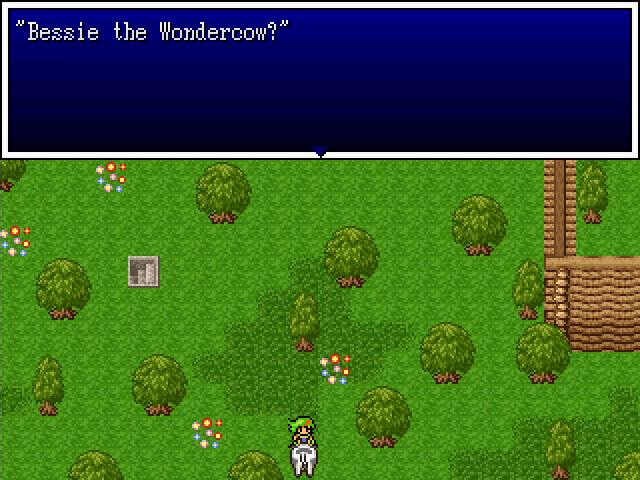
It is! It's Bessie the Wondercow!

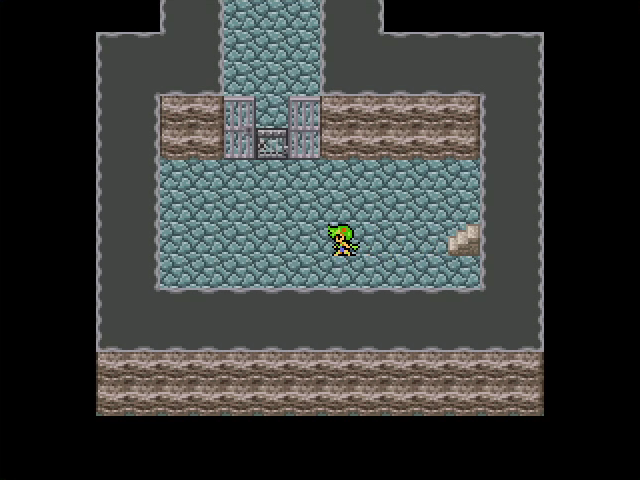
Oh, and there's also a stairway here, but all that's within is a locked door we can't open. But who cares, we found Bessie the Wondercow!
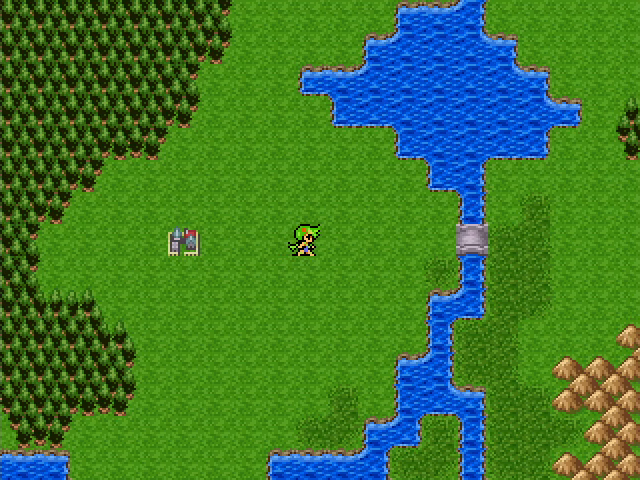
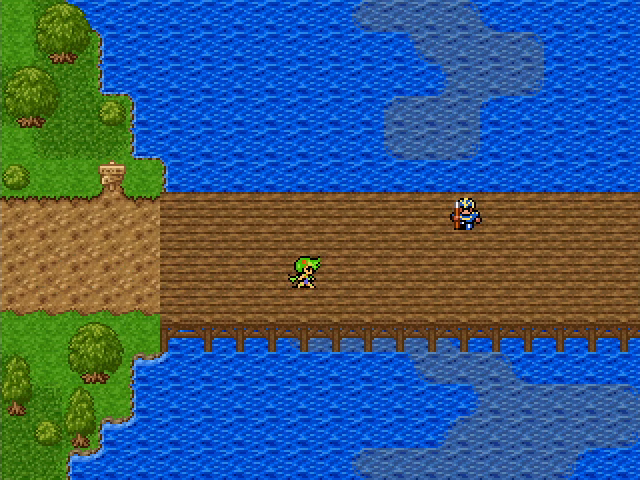
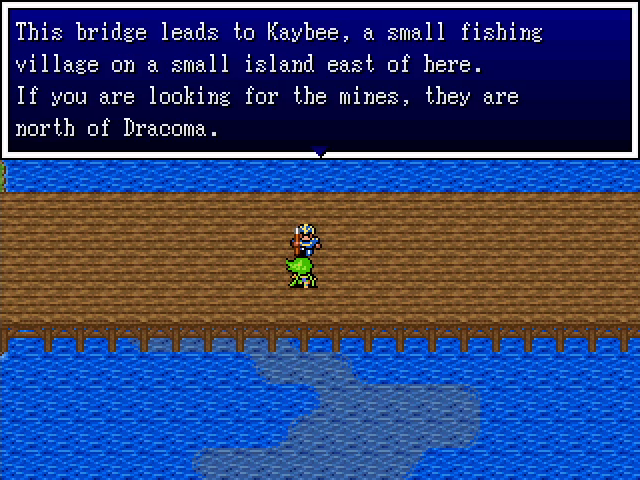
A bridge east of Dracoma leads to Kaybee. A guard here helpfully tells us where the mines are, in case we'd come here before clearing them out.
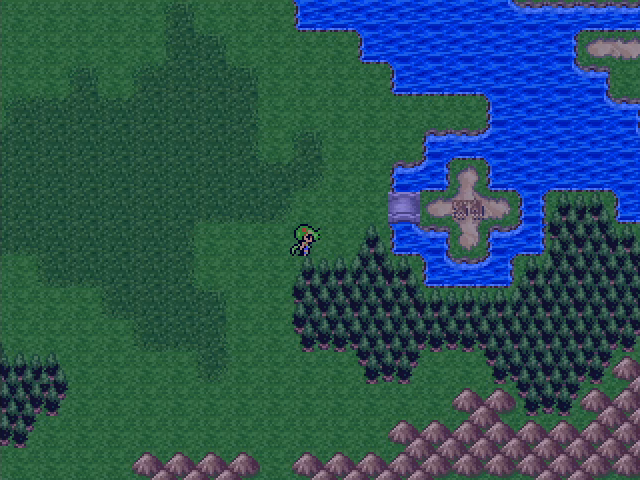
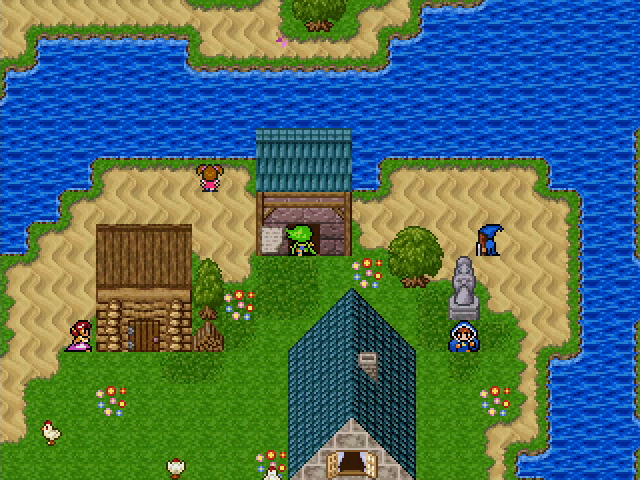
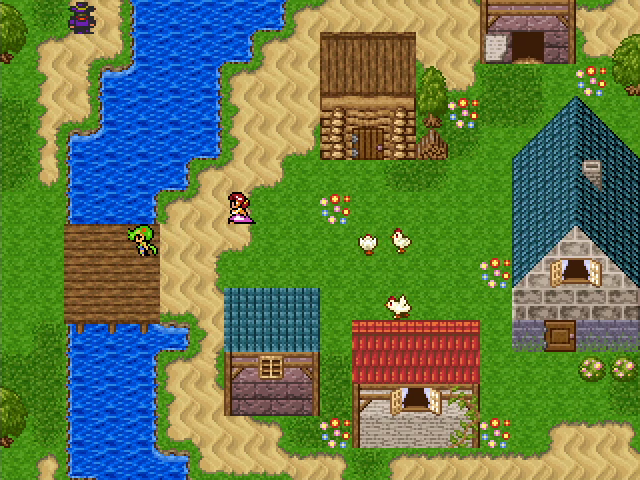
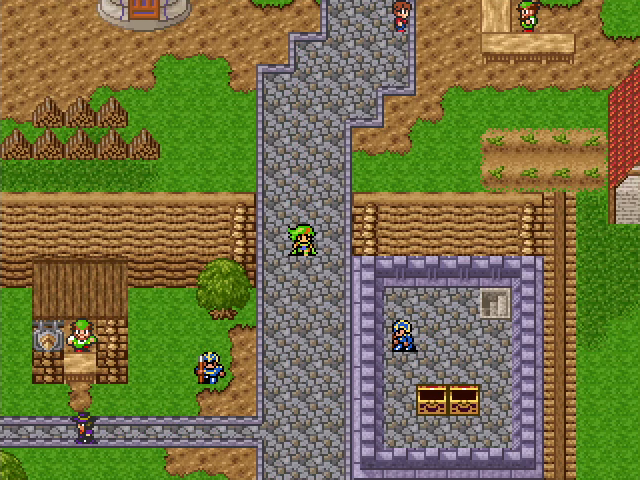
The town itself is just a bit further east, on a small island.
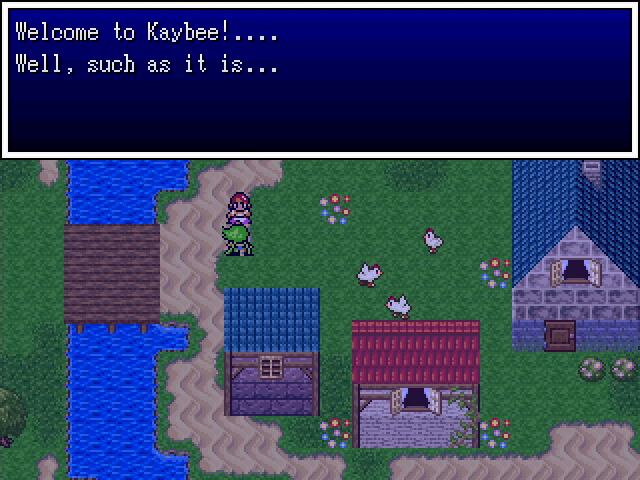
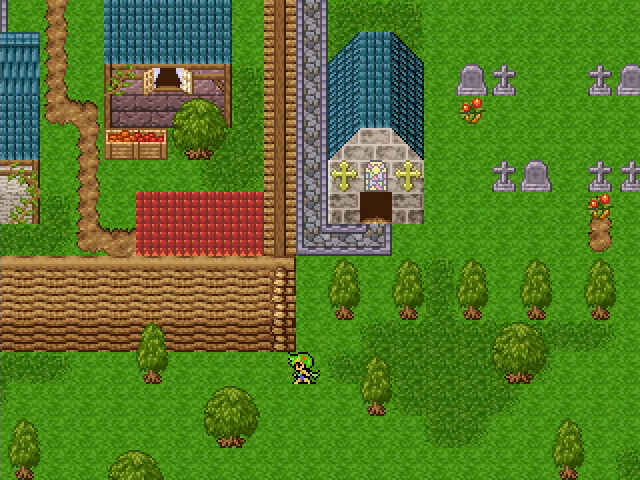
Given that the entire town probably subsists on fish, this place cannot be in good shape.
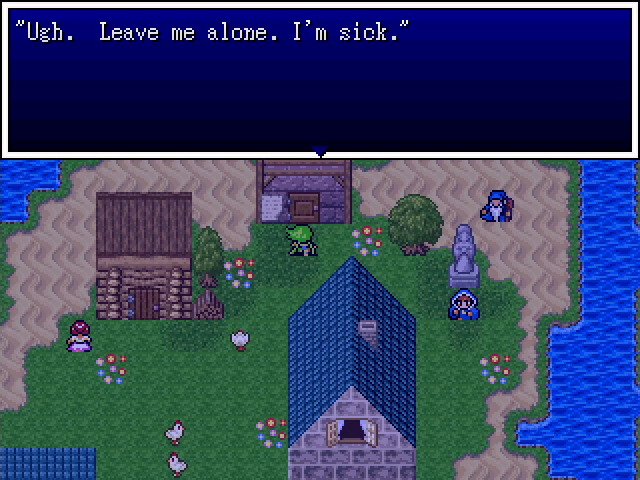
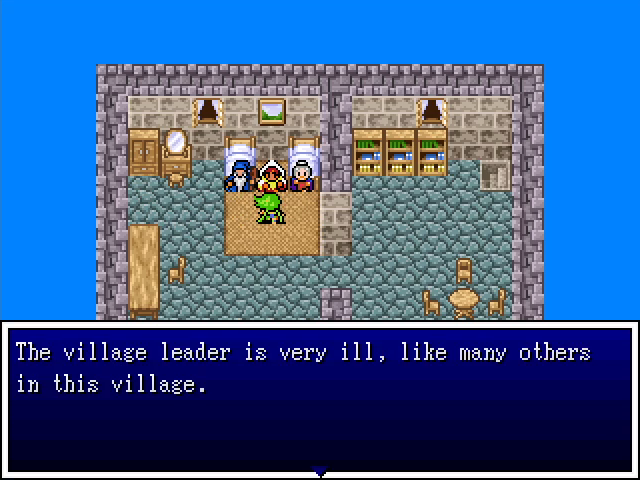
The sign on the door indicates that this house is quarantined.

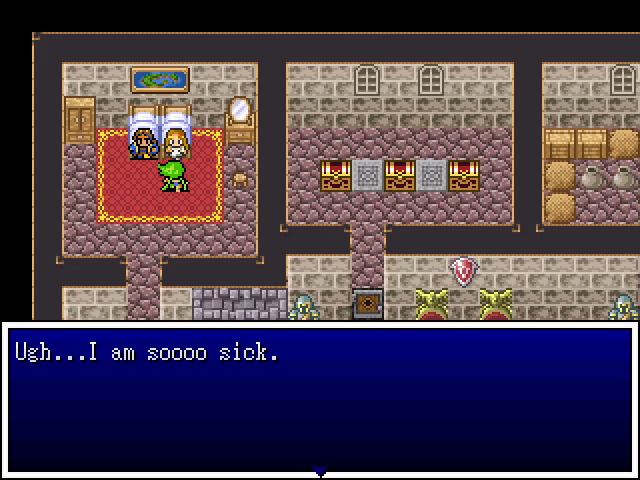
Talking to more people confirms that the whole place is stricken with illness. What's more, it's not an illness native to this region, which raises the obvious question of how it got here.
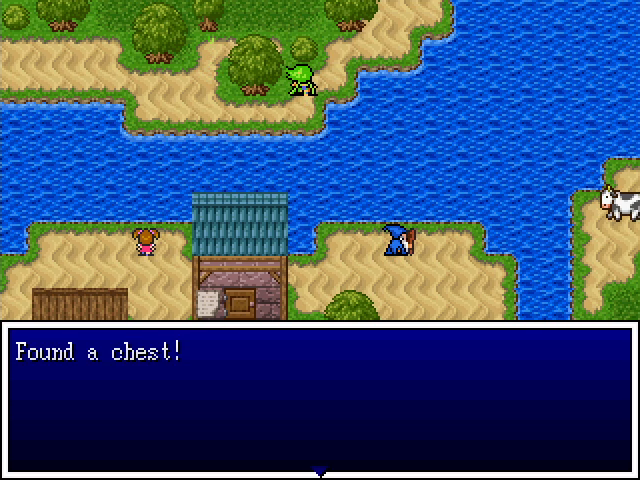
There is some good news though.
Bessie's here too!

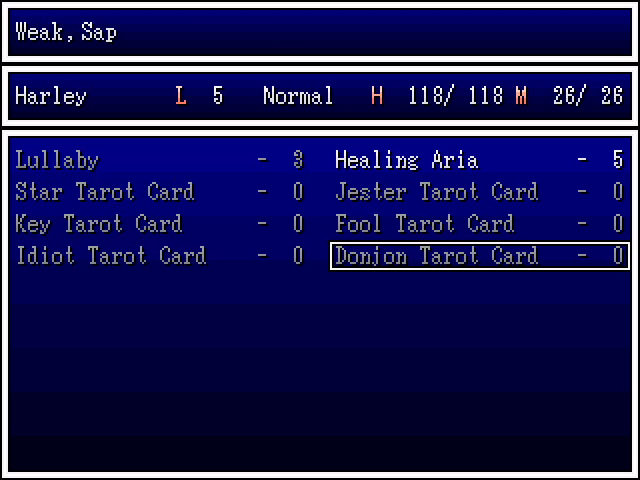
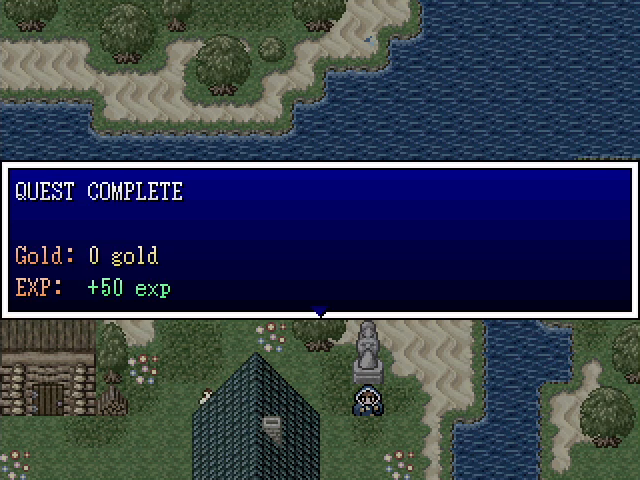
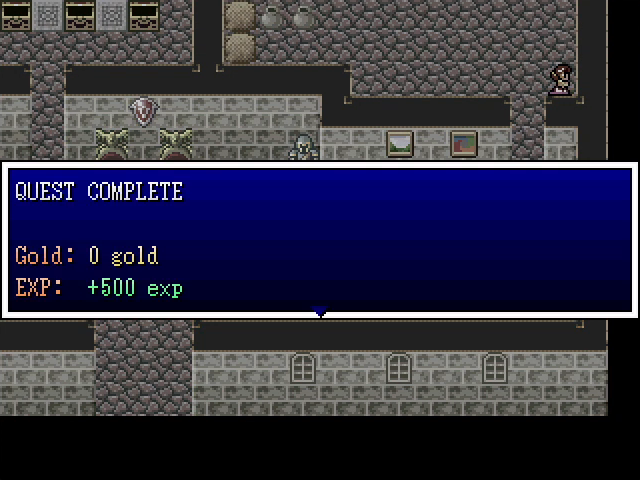
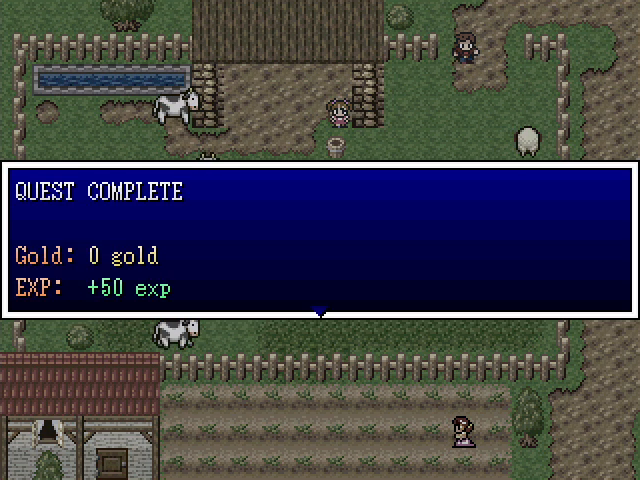
The town is a little more active by day, and there are a few people (mostly children) who are still healthy. This little girl gives us a clue to a small treasure, which ends up being a new tarot card for Harley: the Donjon, which debuffs a random group (enemies or allies).
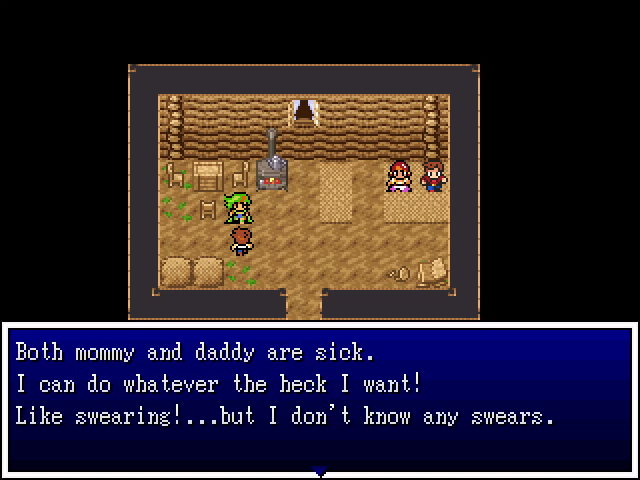
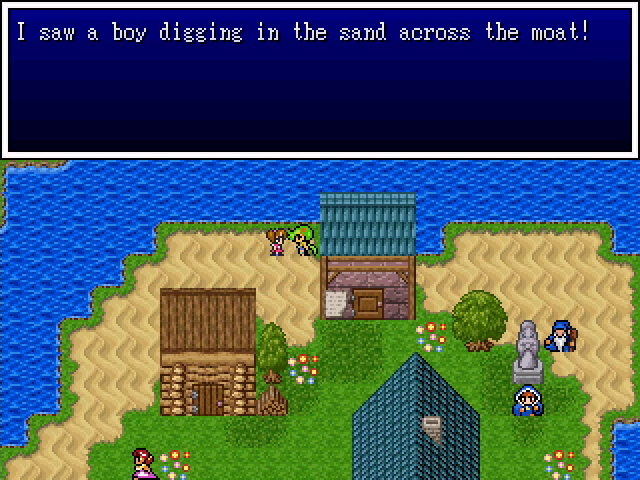
This random boy isn't relevant, but he is amusing. This feels like very on-point writing for a child.

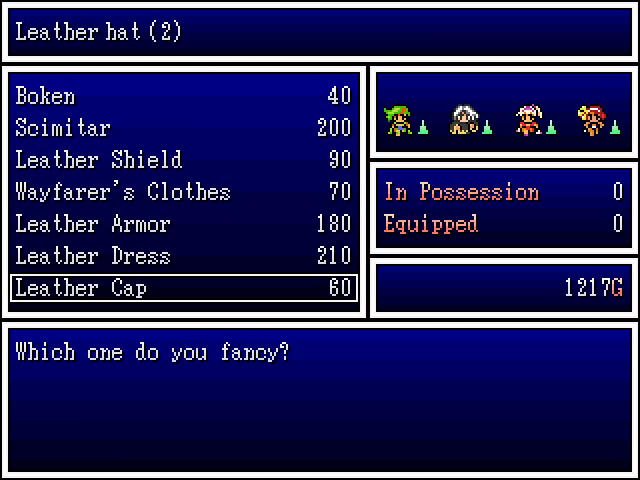
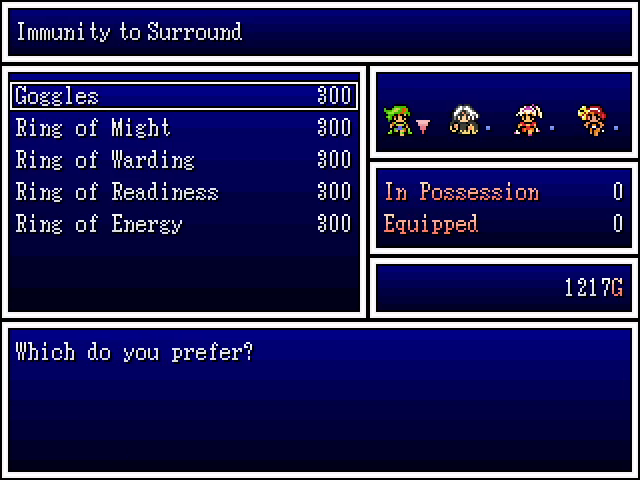
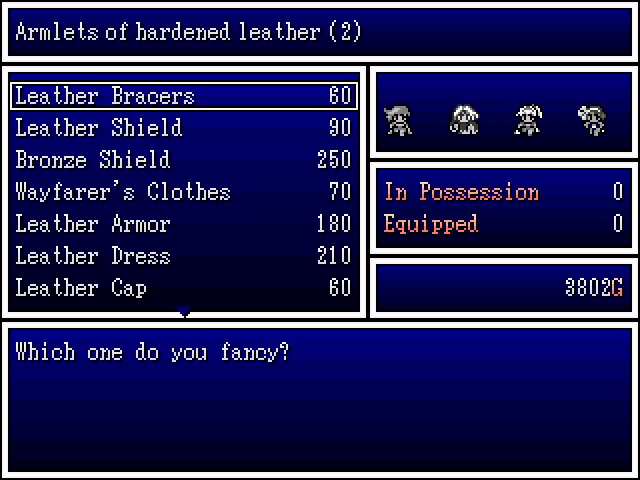
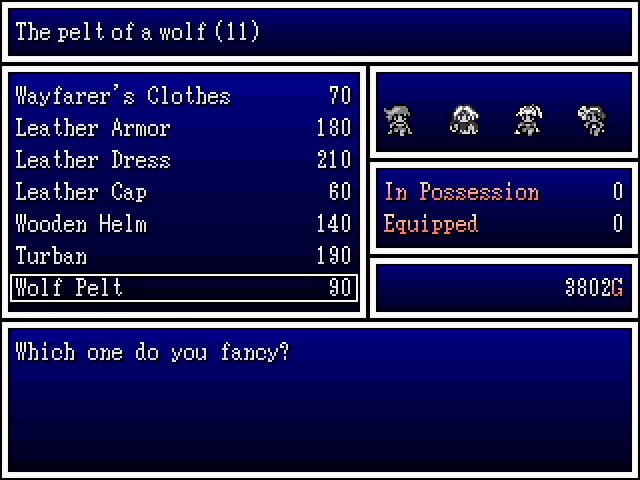
Kaybee's shops have a few new items for us to buy. The leather dresses are an excellent choice for everyone except Hexia (who can't wear one), and the scimitar is a considerable boost to Harley's attack power. The minor stat-boosting rings in the accessory shop are fine, but not really worth spending money on.
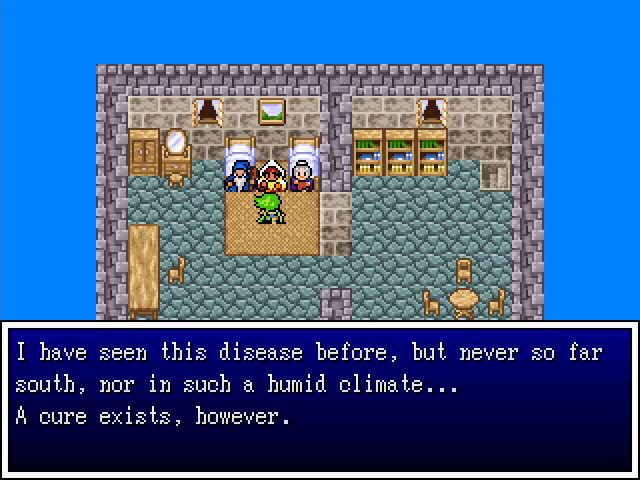
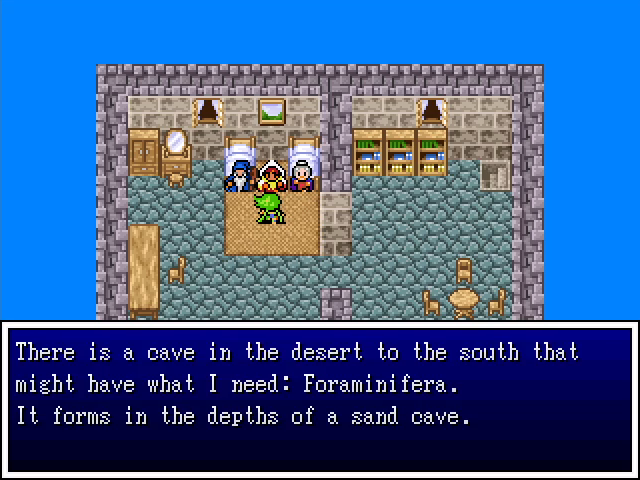
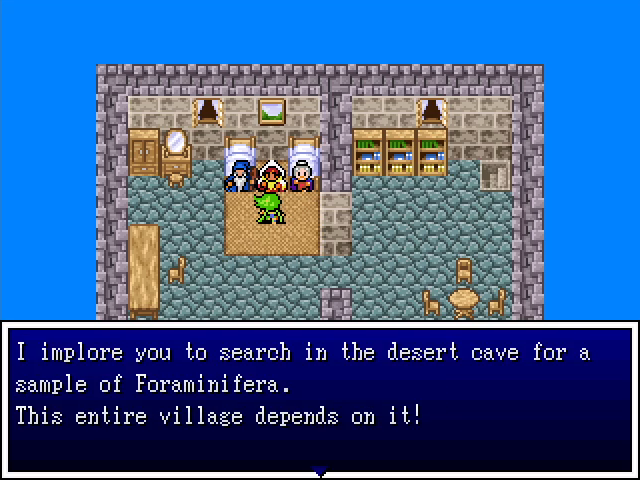
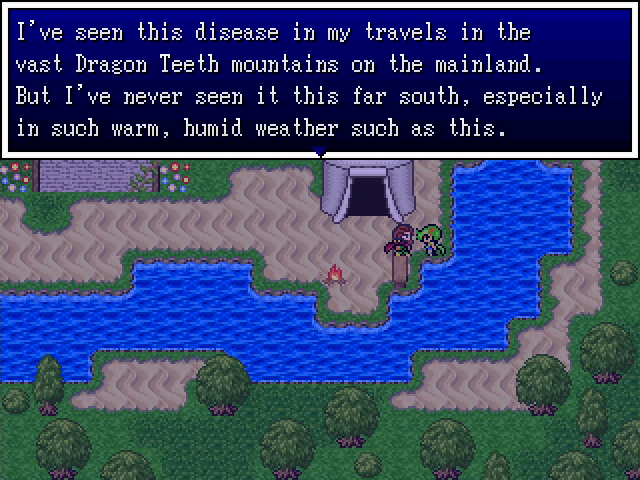
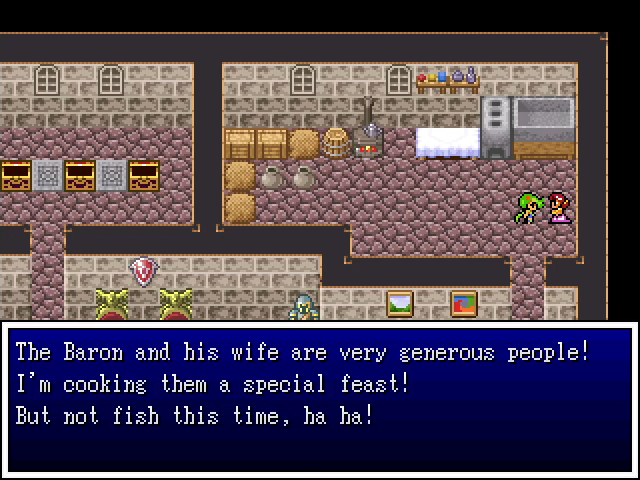
In the central building of the town, we find the headman and his wife, being attended to by a medic. She gives us a little more information on the disease and, more importantly, its cure. At this point the game has shifted from Dragon Quest IV to Final Fantasy IV.
Fun fact: Foraminifera is a real word, though it's a type of single-celled organism and not the cure to a disease spread by tainted fish.
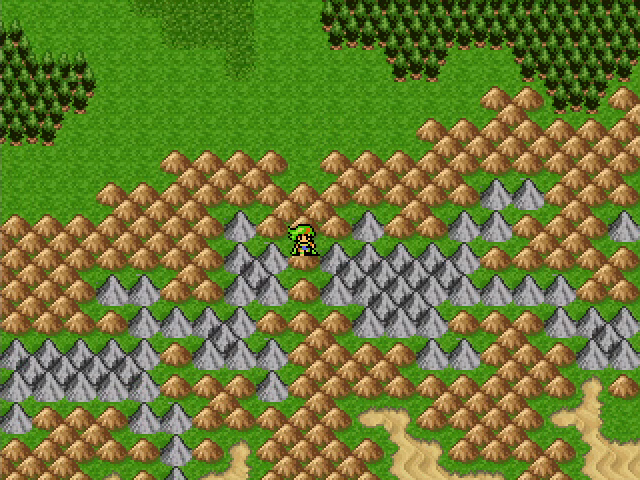
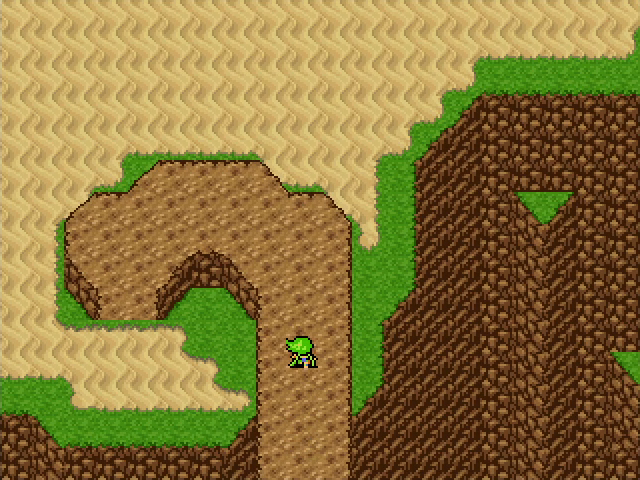
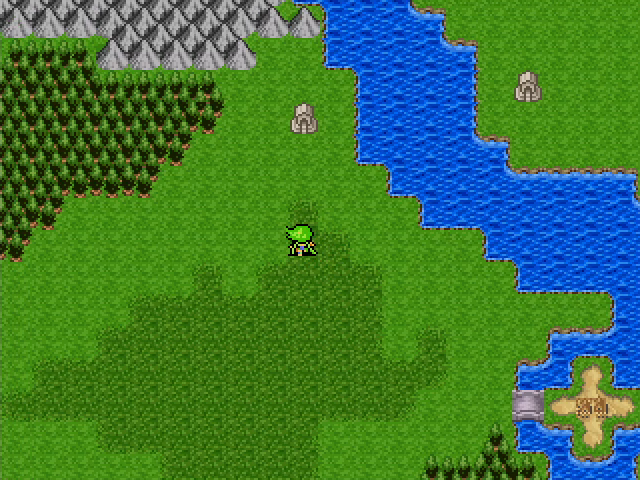
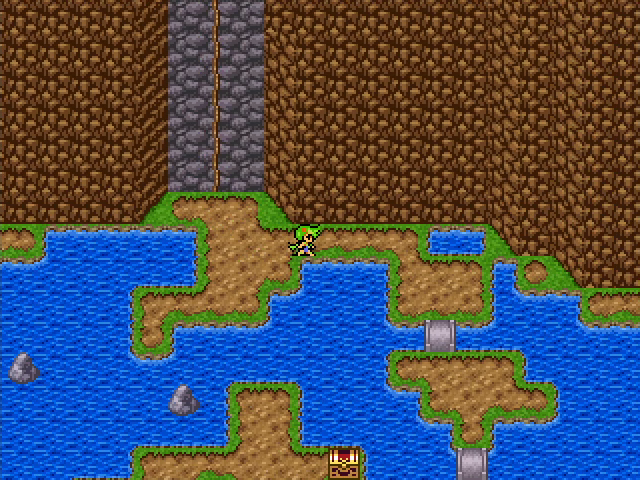
If we head south, there's a gap in the mountains we can cross to get to the desert.
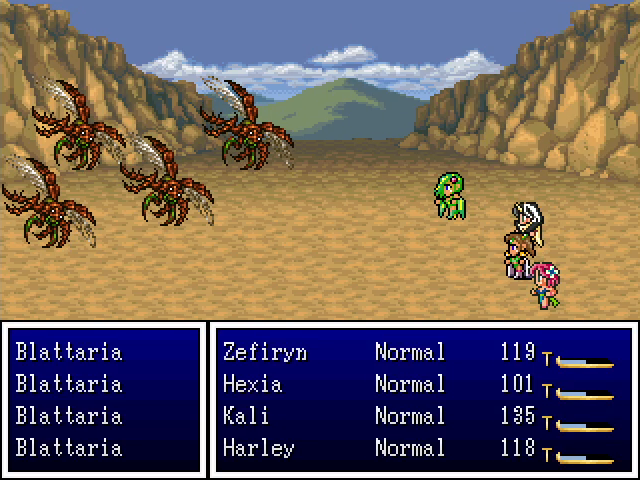
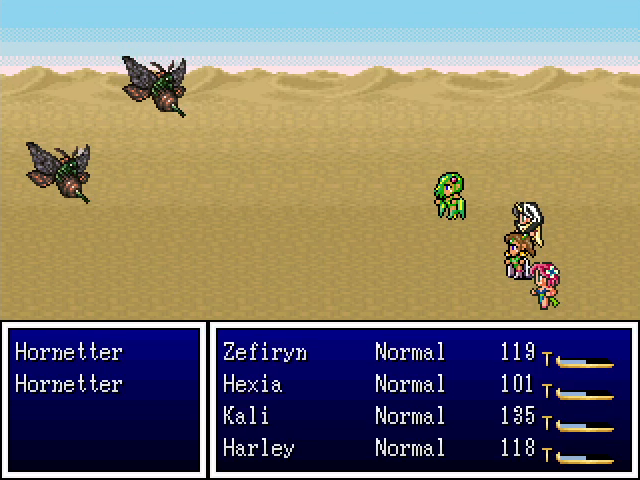
A couple new enemy types patrol this area. Hornetters are basic enemies; I didn't see them use any special attacks, but I wouldn't be surprised if they can inflict poison or sleep. Blattarias are much nastier; they have an attack called Numbing Thorns which inflicts Numb (paralysis). Numb does not wear off naturally, meaning we need to bring a supply of moon herbs with us to cure it (or hobble back to town and pay the church to do it).
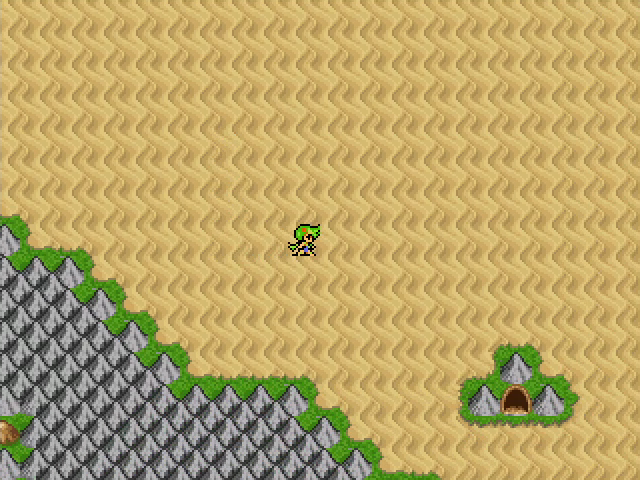
At the south end of the desert is the cave.
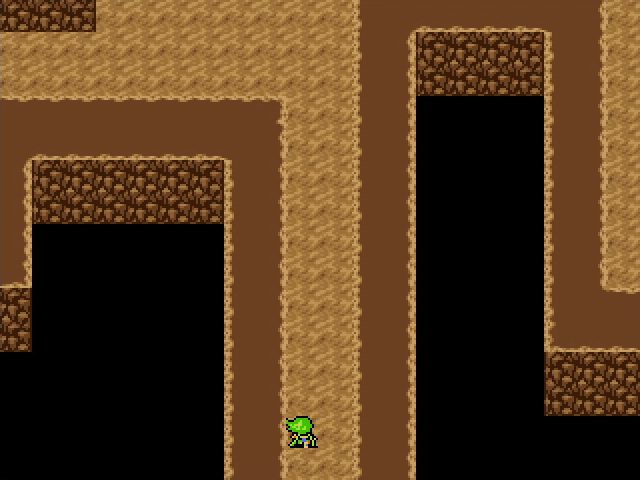
The Desert Cave is the toughest dungeon in the game up to this point, and by a pretty large margin. The monsters here can be rough, the layout is more confusing than previous dungeons, and it's quite long. It's not an unreasonable challenge, but it's a fair spike in difficulty.
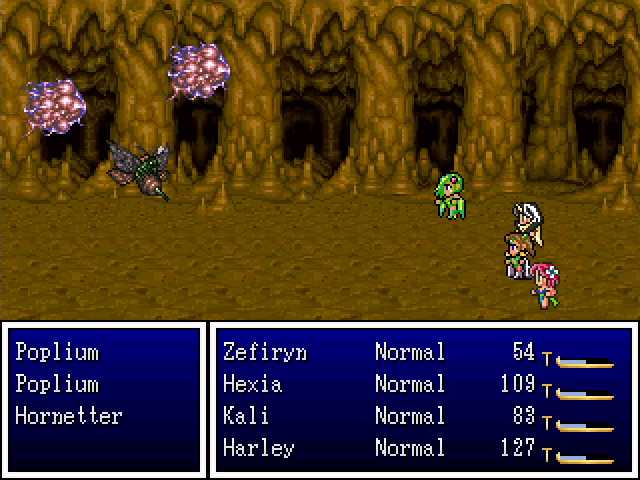
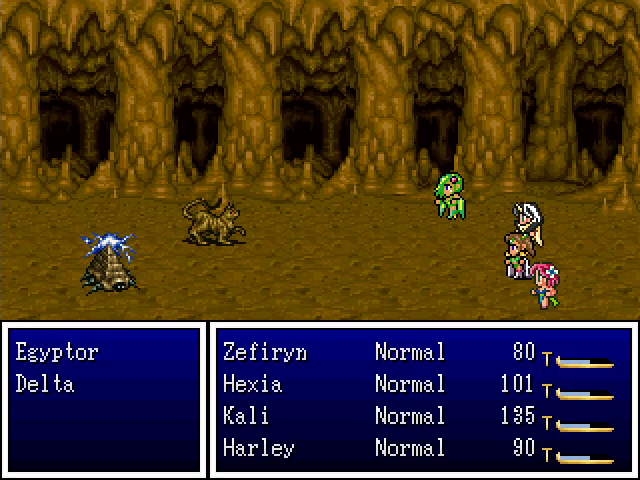
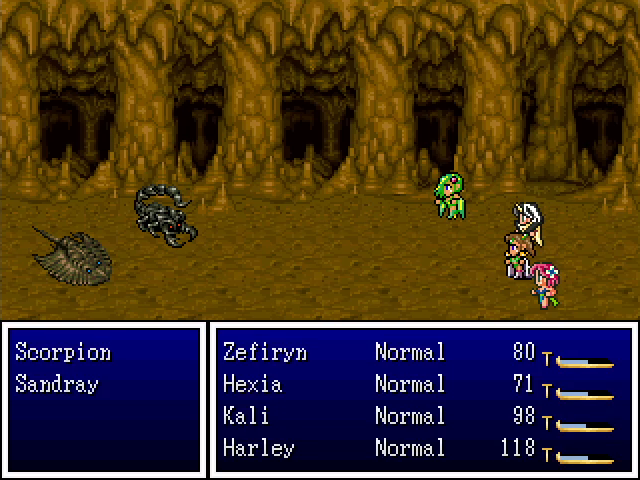
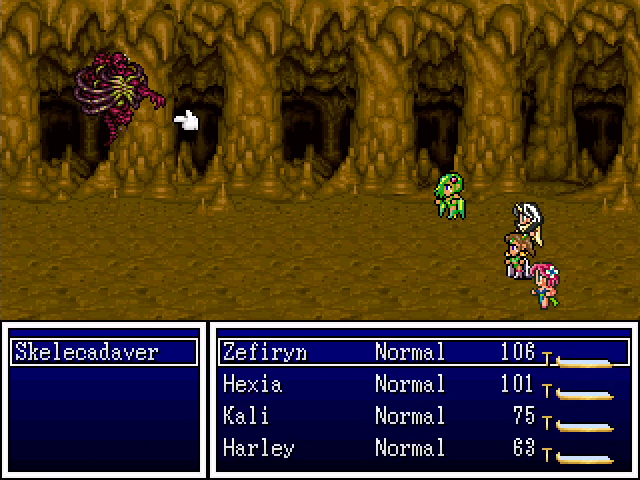
The cave is inhabited by several new kinds of monster. Poplia we've seen before, and we know how dangerous they are. Deltas follow their lead by using Shocker, which can ruin your day if you're unlucky. Egyptors focus on status ailments by casting both Stopspell and Sleepmore, the latter of which is especially annoying. Sandrays don't do much but are fairly tanky. And Skelecadavers are basically just weaker versions of the Karkasses from Balthalas' tower.
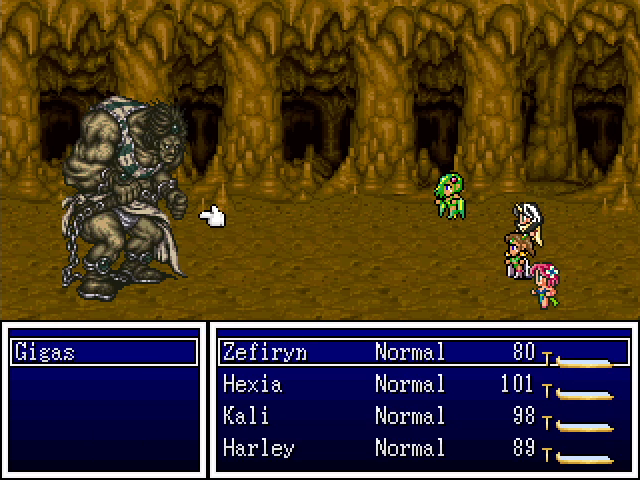
And finally, there are Gigases. These are by far the most dangerous things in the Desert Cave. They have enough HP that our party needs a full round of attacks to take one out, and they hit pretty hard in return. They also sometimes use an attack called Light Tremor, which deals roughly 60-120 damage to the whole party. It's extremely nasty and can lead to a game over if one of these beasts gets a surprise attack.
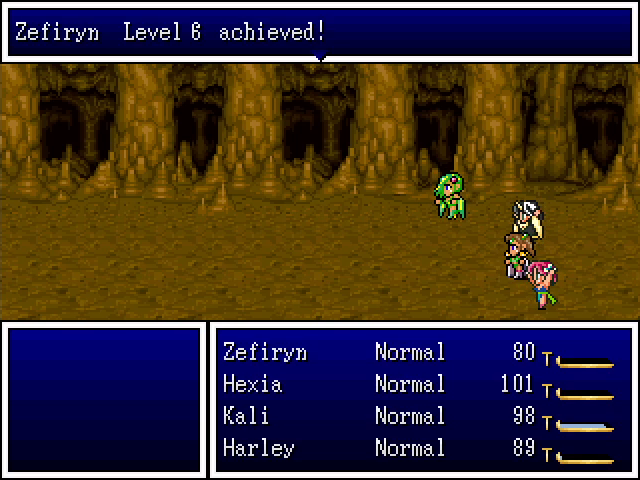
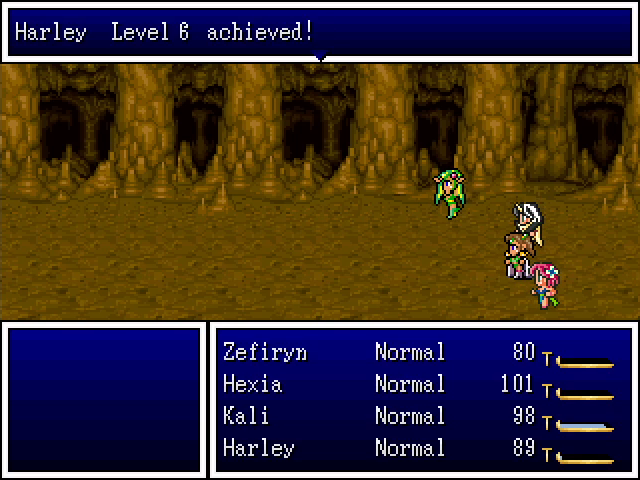


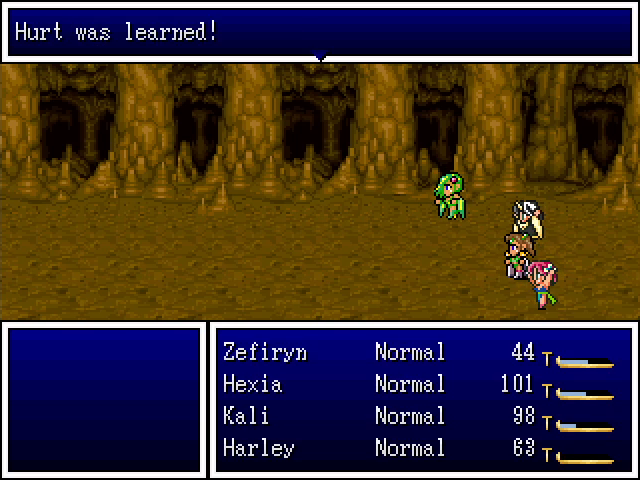

Luckily, the critters here are still good for money and experience, and we hit level 6, gaining a couple new spells. Harley's Faint Echo inflicts Weak on all enemies, which helps against monsters that primarily use physical attacks, while Hurt deals pretty good damage to a single target, though it doesn't work on the undead.
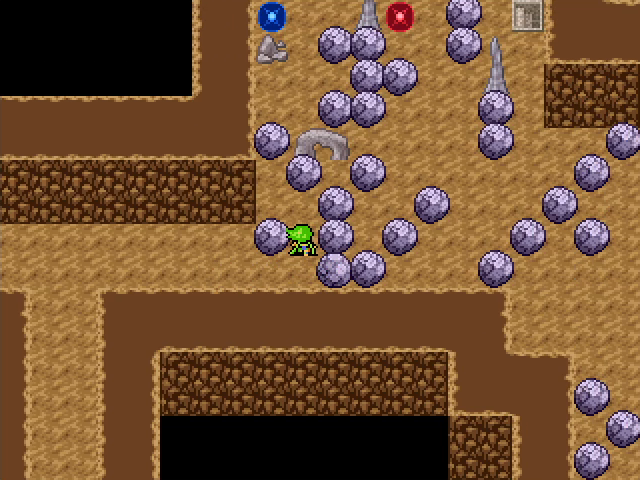
Deeper into the cave is this room with a ton of rocks. It may look intimidating at first glance, but there's plenty of room to push stuff around. Besides the free heals, there's a stairway leading to a small chamber with a save point.
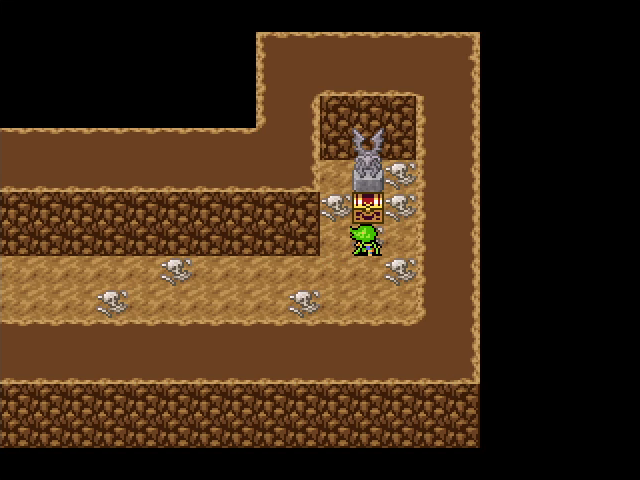
At the end of another hallway is the familiar sight of a treasure chest surrounded by corpses. It's exactly what you already know it to be.
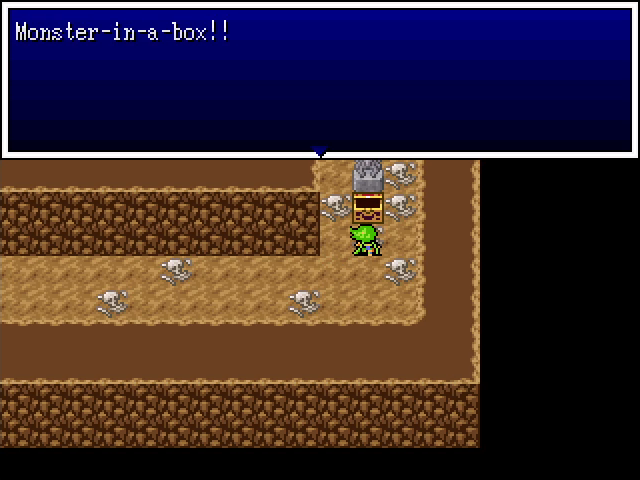
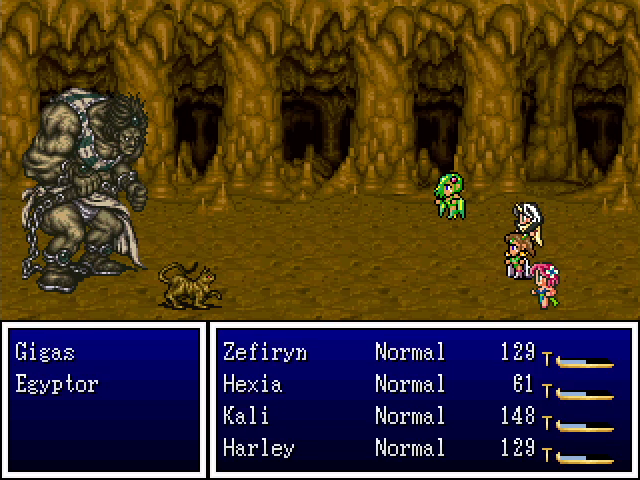
It's a Gigas and its pet cat, the only time a Gigas is accompanied by any other enemies. We're forced to choose between focusing on the Egyptor, which can disable us, or the Gigas, which has more HP but is also way more dangerous. I tend to go for the former, but forcing hard decisions like this is the mark of good battle design.
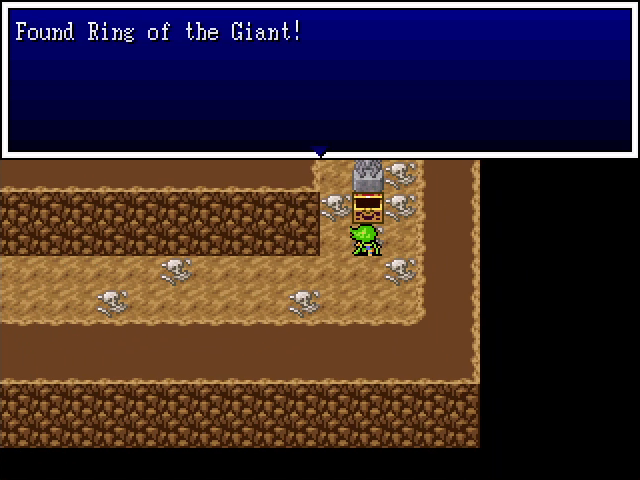
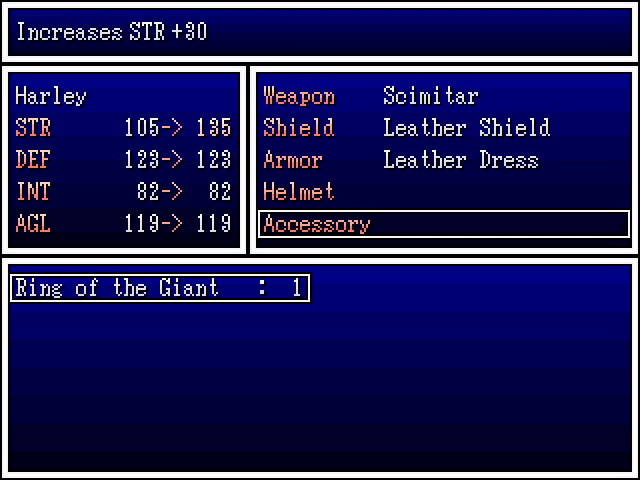
Our reward for victory is a Ring of the Giant, which boost Strength by a whopping 30 points! Harley is our fastest character and spends a lot of time attacking, so she's a good choice to wear it.
The cave eventually leads into an open desert plateau, which makes for a nice change in scenery.
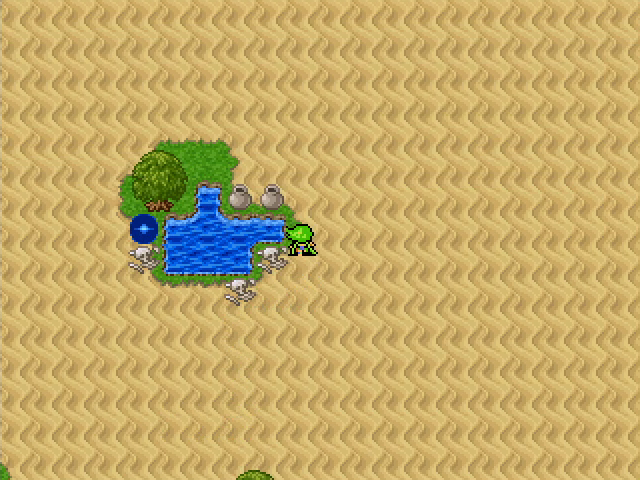
There's an oasis here with an MP refill and a couple pots. But why is it surrounded by corpses?
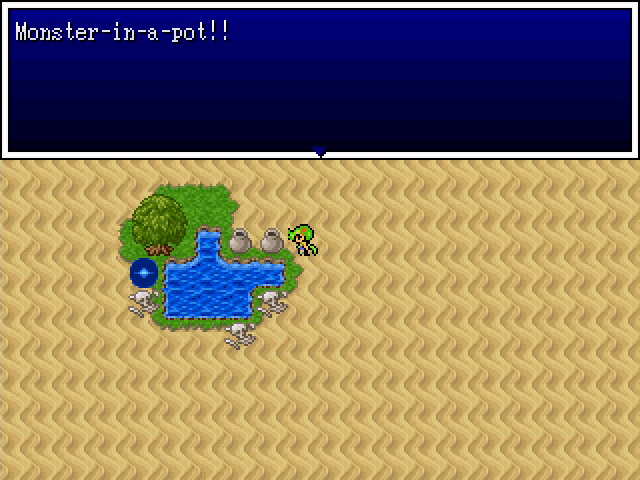
Oh, that's why.
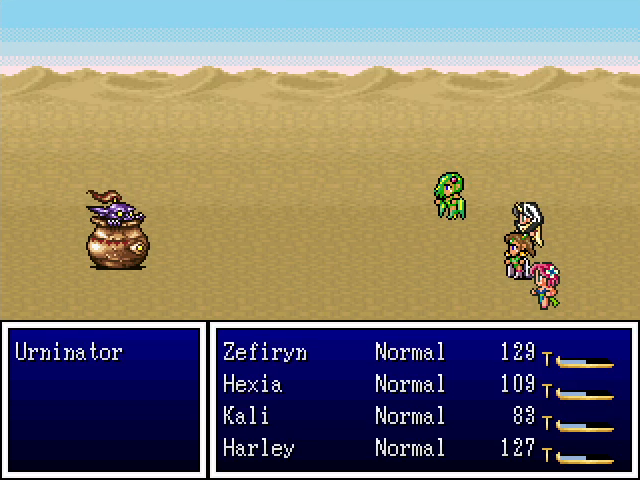
Urninators (please do not misread that name) aren't really too scary. They don't have much HP and I didn't see any of them do more than attack before they died.
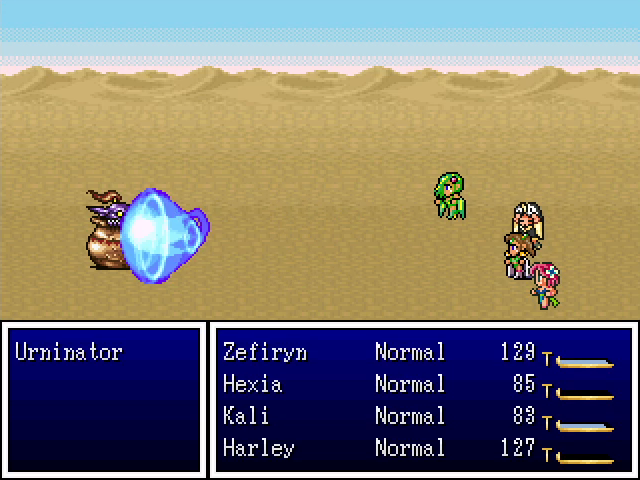
Hurt works well on them. Did I mention it's a Hadouken? It's a Hadouken.
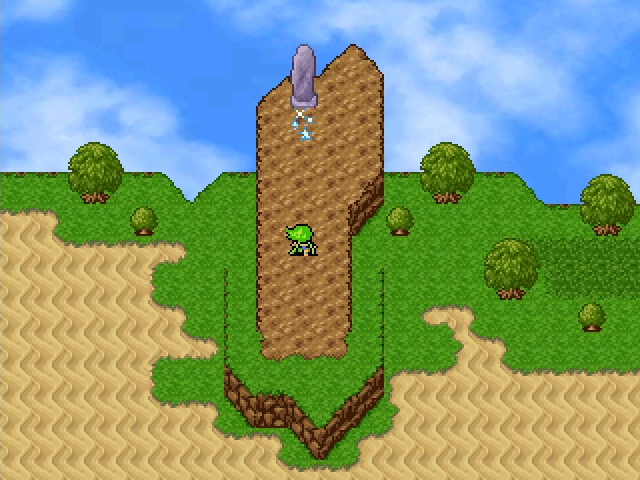
At the north part of the plateau is a second save point.
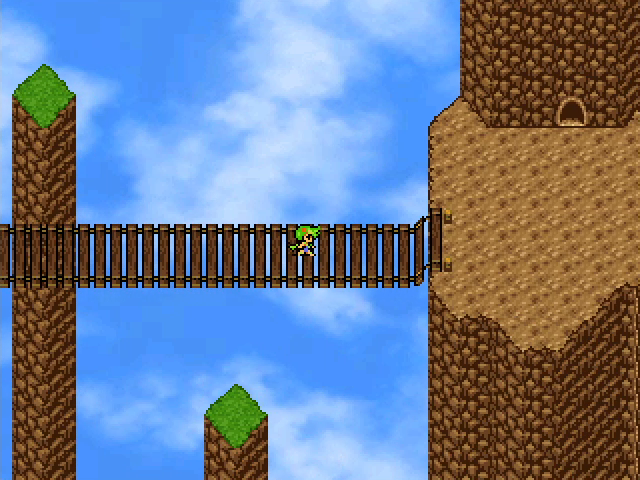
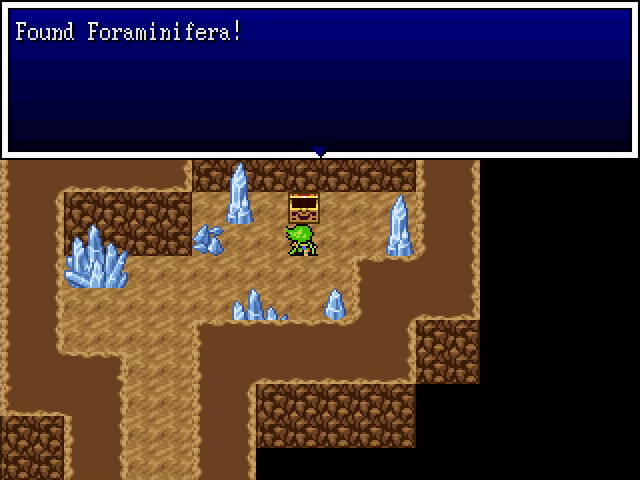
At the east end of the plateau is a bridge leading to another, smaller plateau with a cave. Inside is the object of our search, the Foraminifera. We found a warp whistle earlier and could use that to get out, but the party's in good shape, so I decide to save resources and walk.
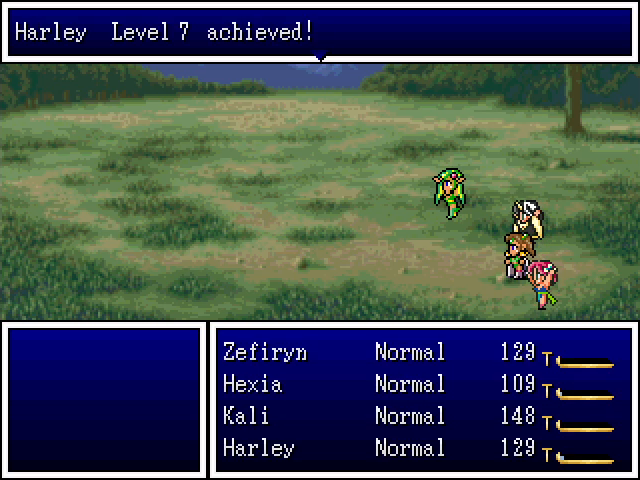
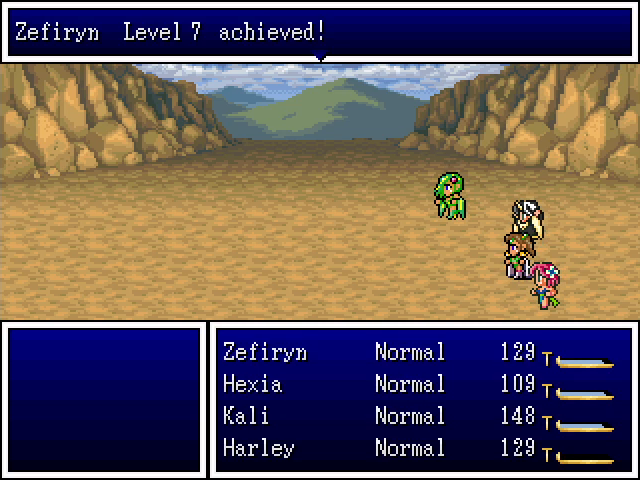
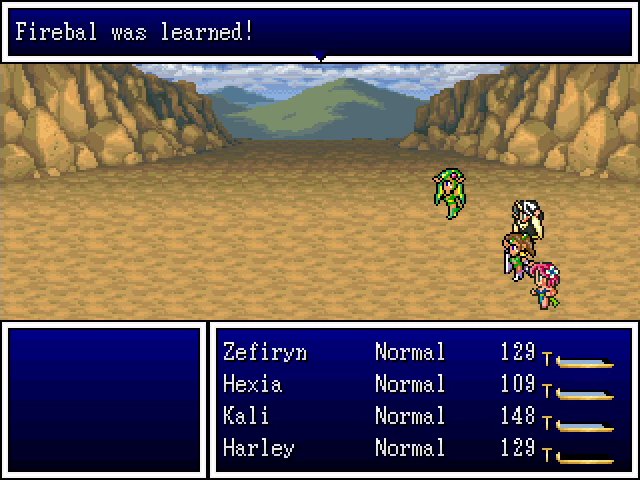

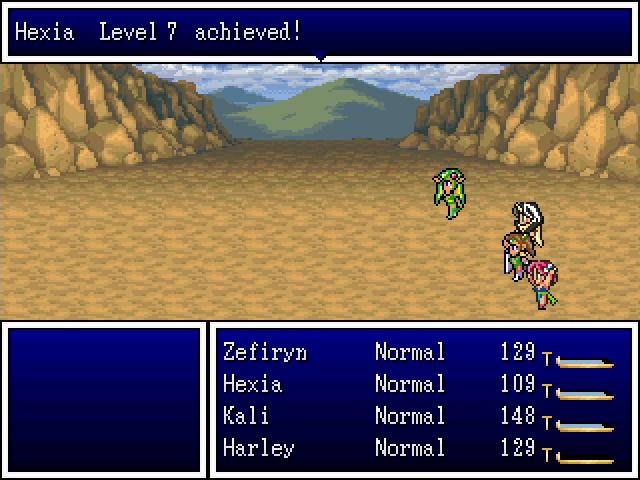

We got some more levels on the way out. Firebal will likely be a very useful spell in the events to come.
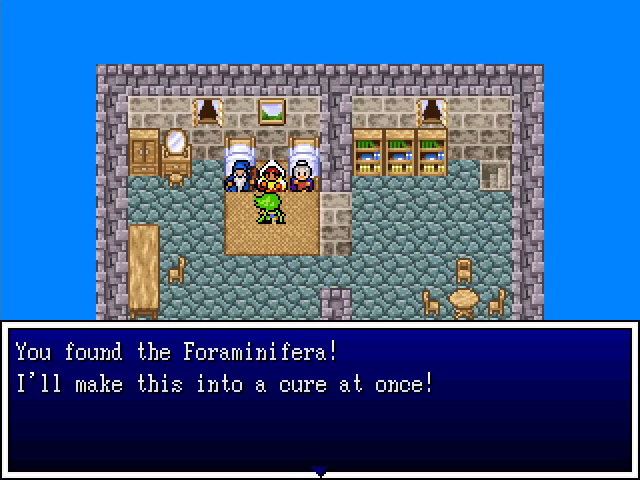
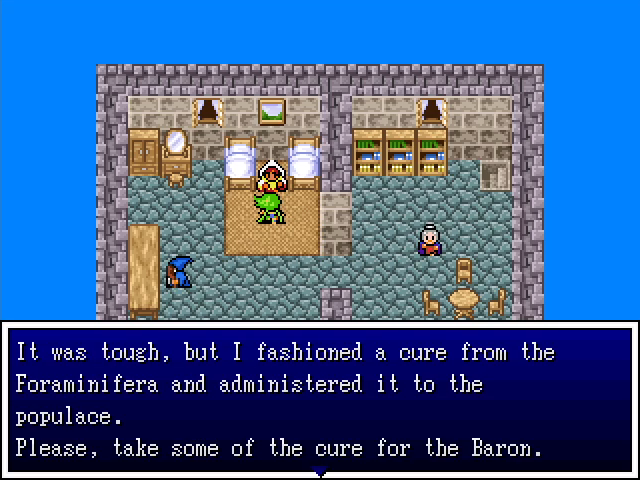
Back in Kaybee, we hand in the Foraminifera, and the medic makes a cure from it. Kaybee is now out of the woods, but we still need to go cure the Baron.
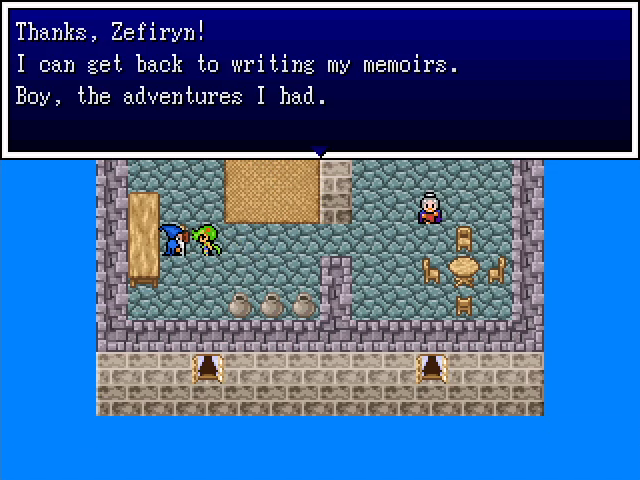
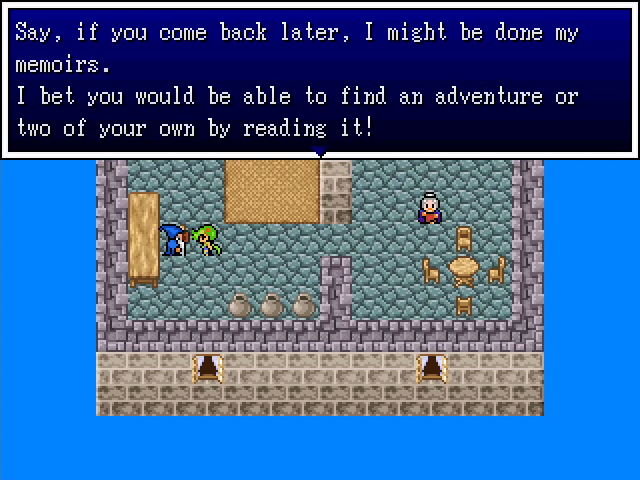
The village leader seems like a nice old guy. We'll get back to him eventually.
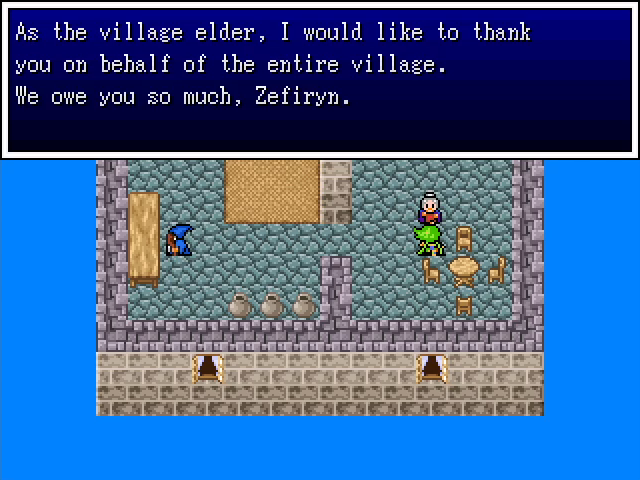
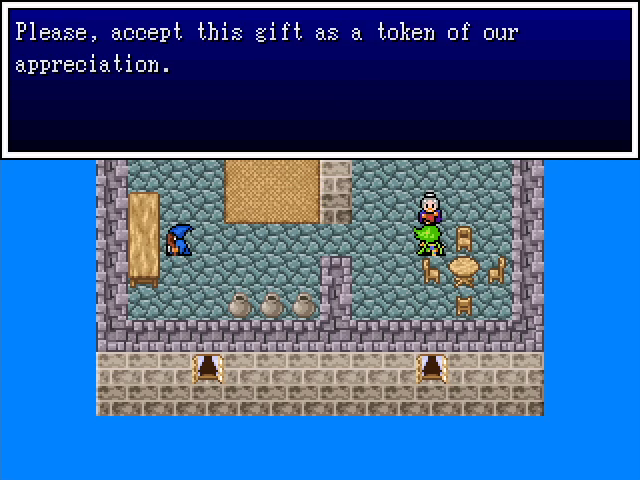

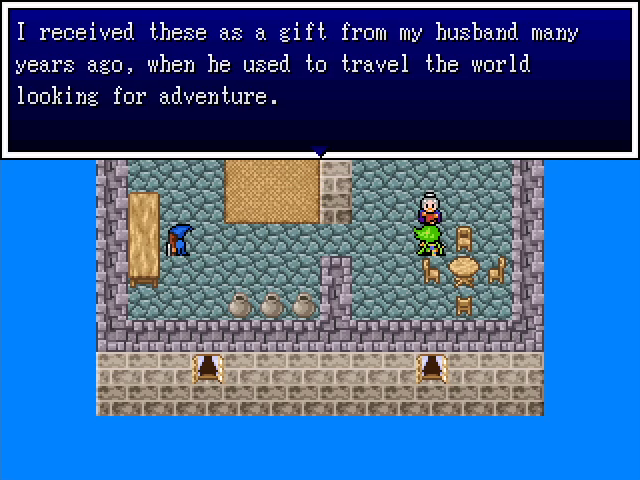
His wife is also quite nice, and even rewards us for our efforts. The silk robe is a great acquisition for Hexia, who badly needs some better armor.
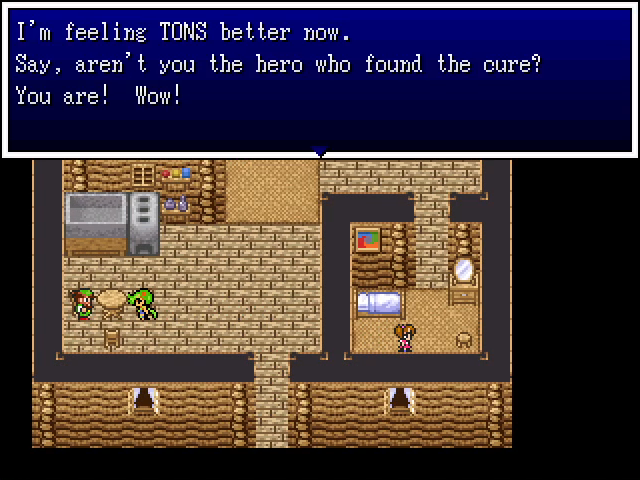
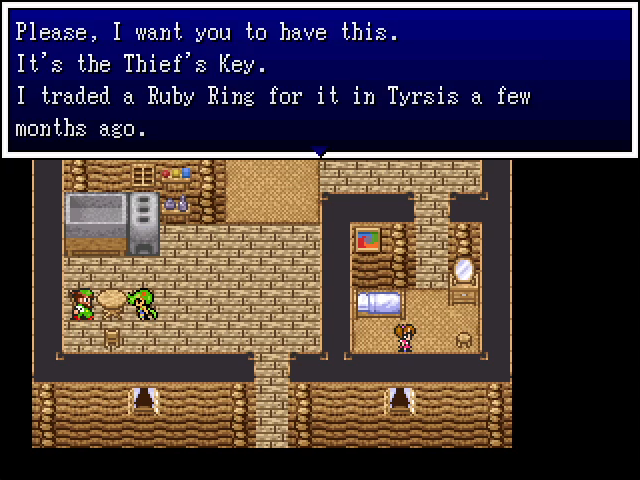
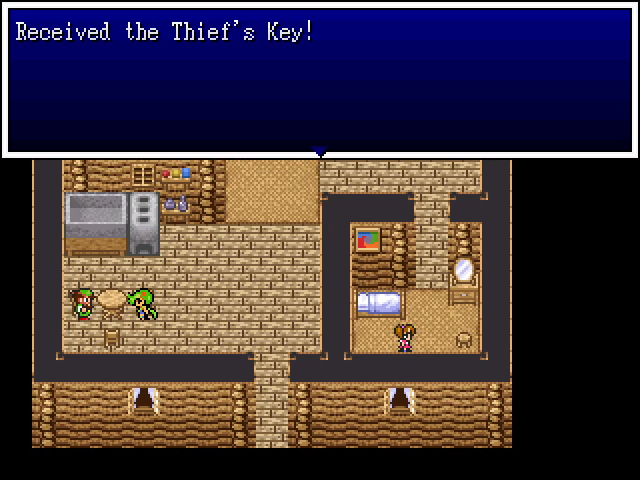

The quarantined house is open now, and the man inside gives us an excellent prize: the Thief's Key. This opens the brown doors we've seen in various areas, including the Baron's home.
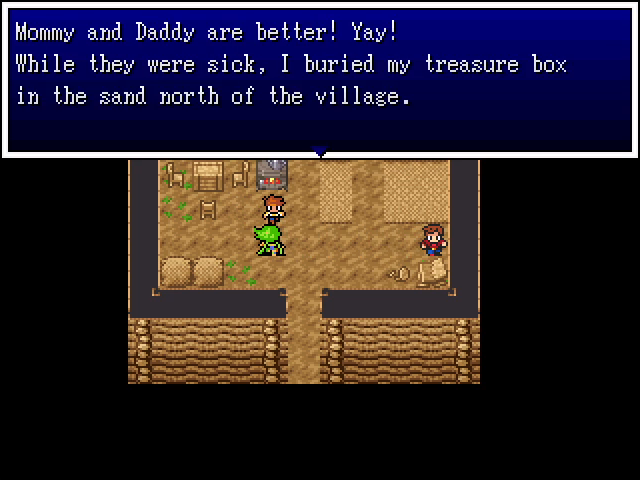
I know kid, I already found it. I'm a hero, after all.
Wait, who's that man in the suit and pork pie hat?
He jumps and runs off before we can talk to him. Oh well.
He's also in Dracoma. Who is this guy?
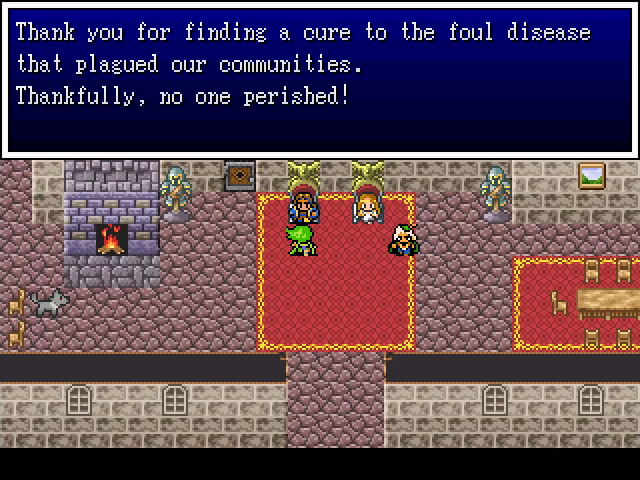
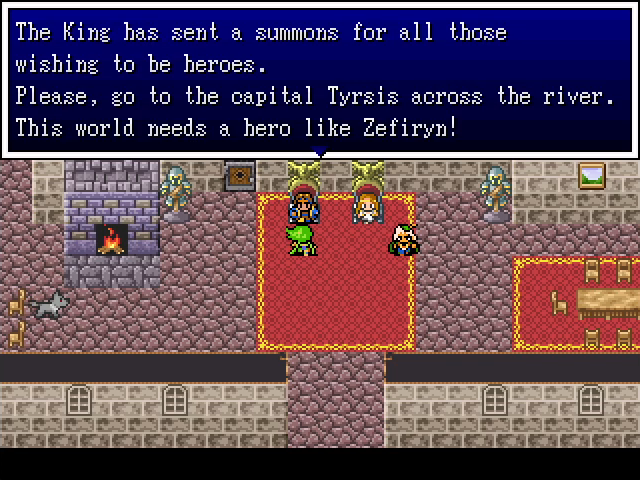
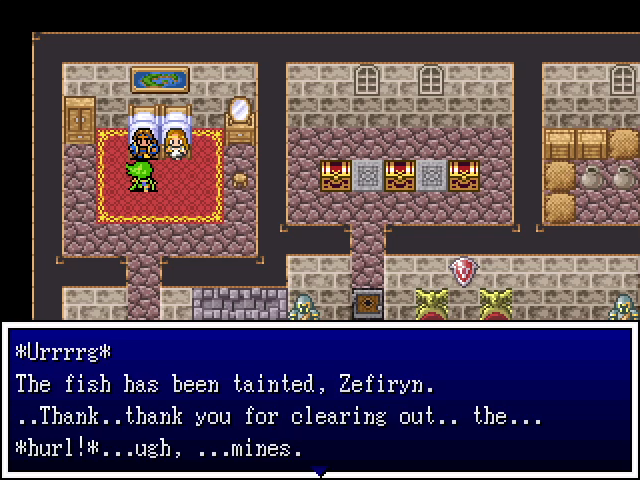
In any case, the Baron and Baroness are already back on their feet when we walk through the door, so I guess the cure somehow made it here before we did. As with Holdana before her, Zefiryn is asked to answer the Gurus' call.
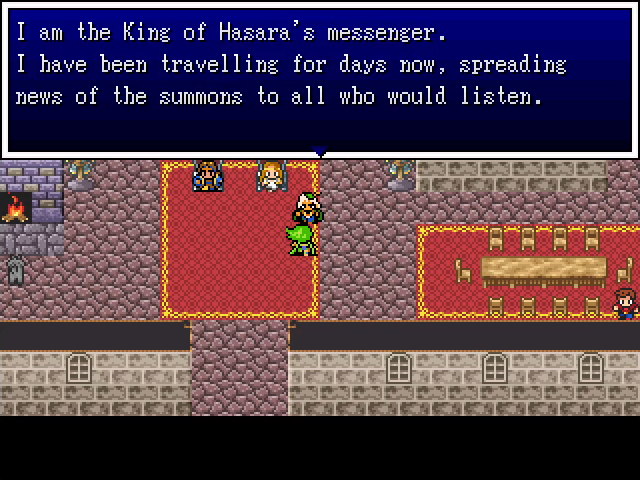
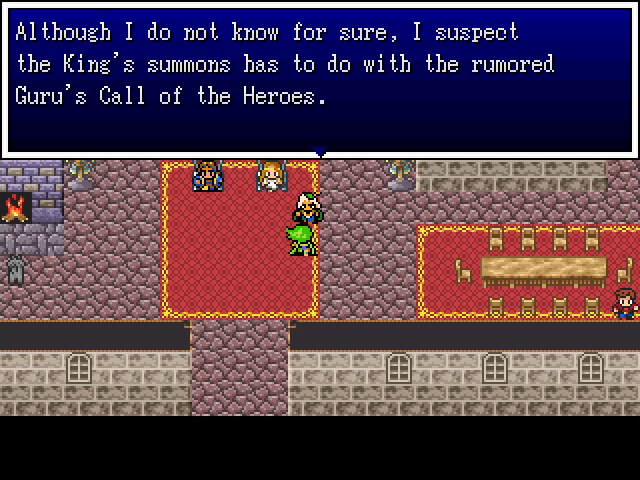
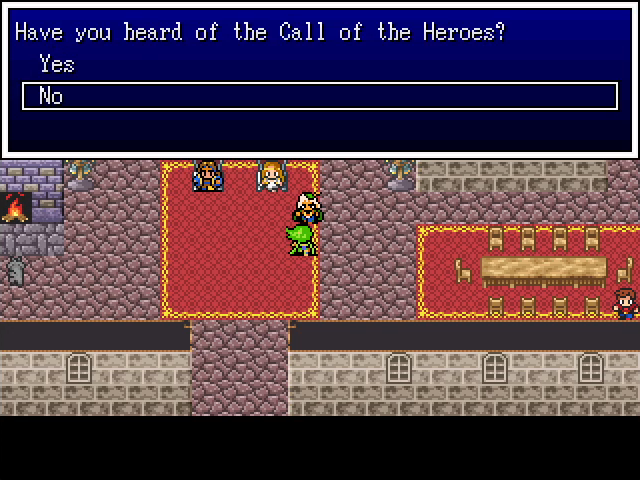
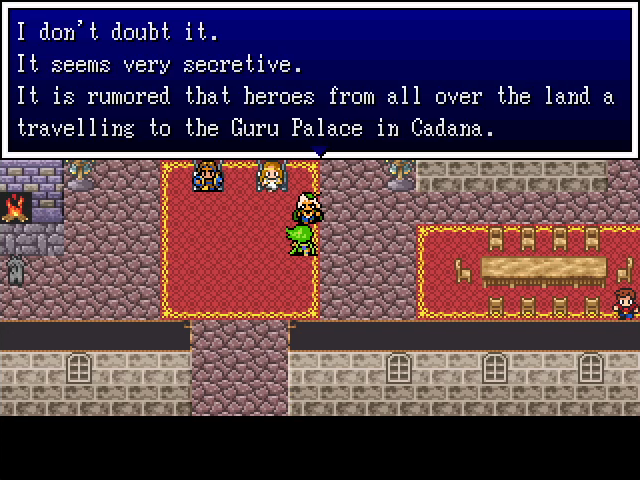
The messenger doesn't tell us anything we didn't know from Holdana's story, but now Zefiryn has a reason to know as well.
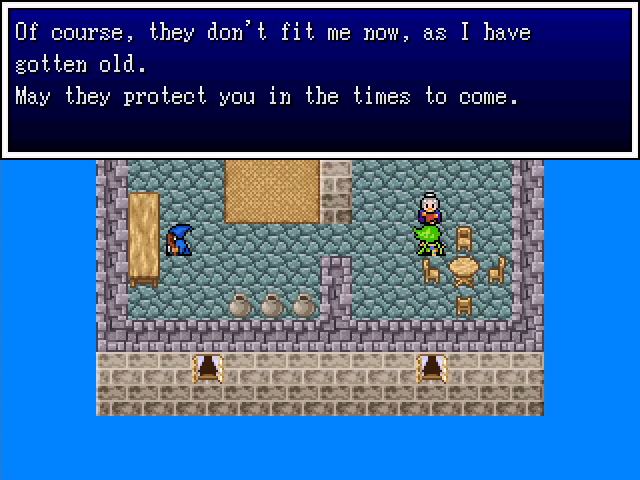
The Thief's Key opens the Baron's treasure room. Inside is some money, a seed, and a long sword, which we'll give to Kali.
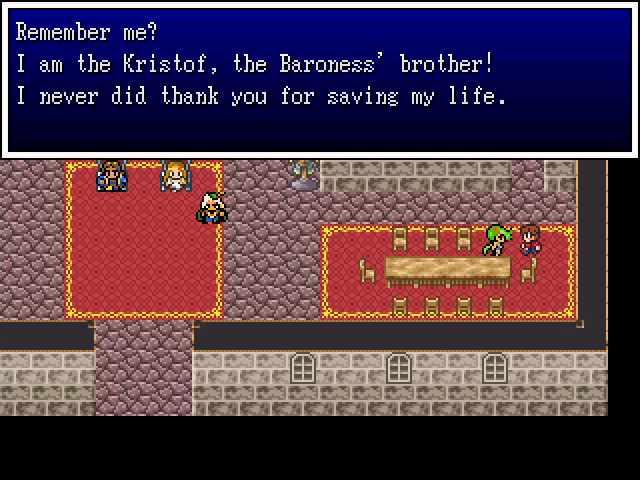
I'll be honest: I totally forgot about Kristoff before now. It's probably possible to get this when first returning to Dracoma.
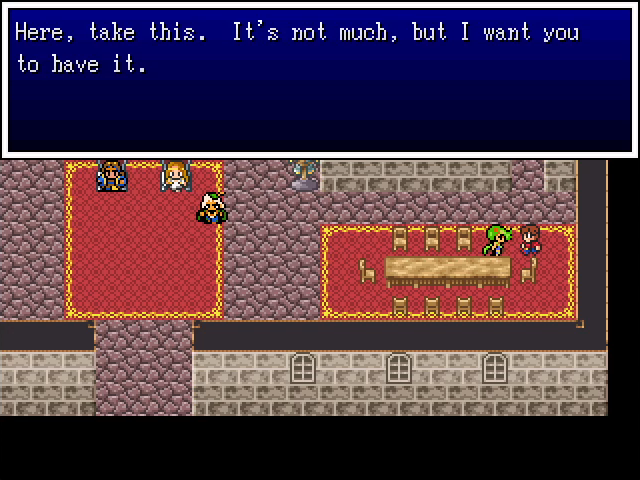
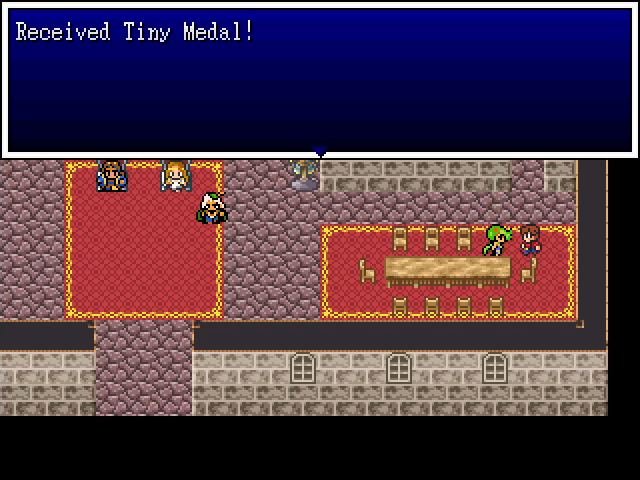
Haha, yes, the fact they they almost died makes for an excellent joke!
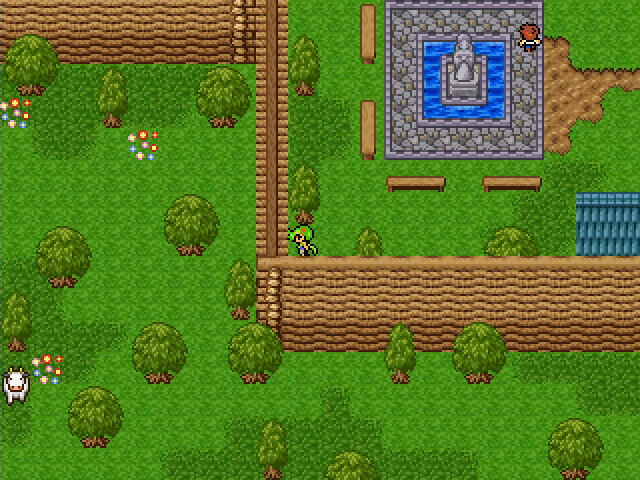
North of Kaybee is a pair of shrines on opposite sides of a channel.
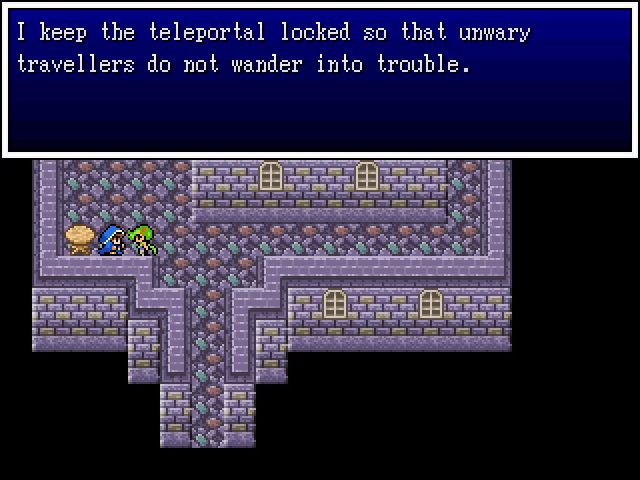
The priestess inside has locked away the teleportal, which ensures that the player doesn't leave the Thief's Key behind. Luckily, we have it already, so we can cross.
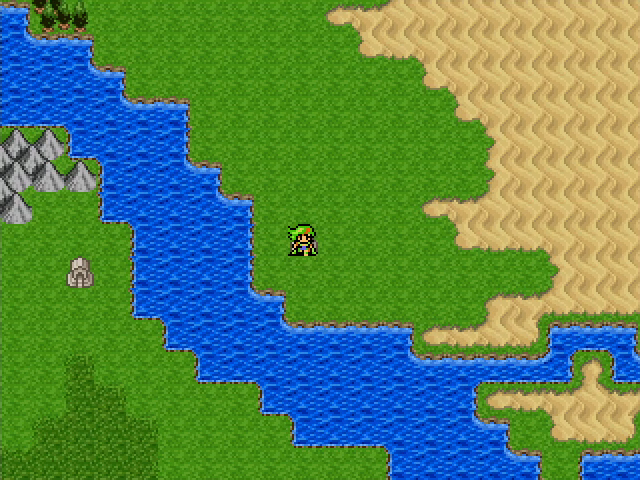
The lands here are covered in desert and swamp.
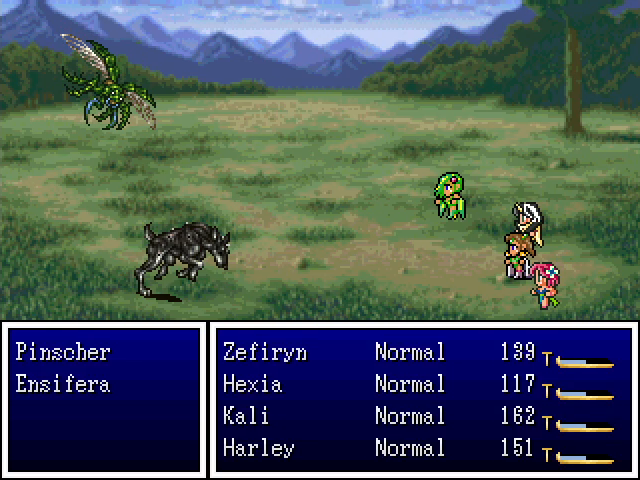
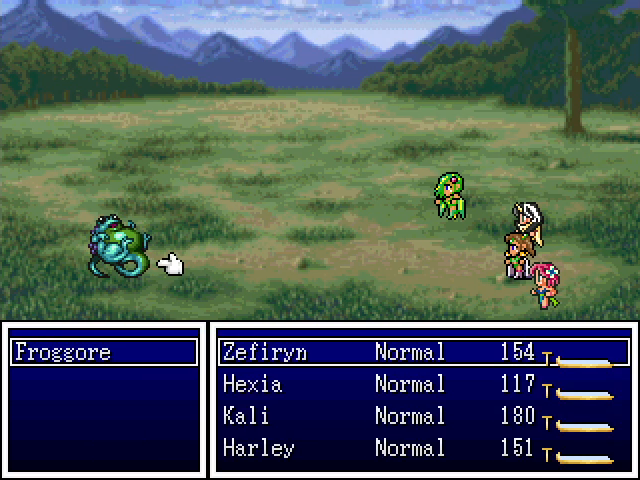
And also new monsters. Pinschers continue the canine tradition of not having any real tricks, while Ensiferas hit twice with Double Attack. They don't have much strength, though, so it's not especially dangerous. Froggores like to inflict Slow and sometimes show up in large numbers.
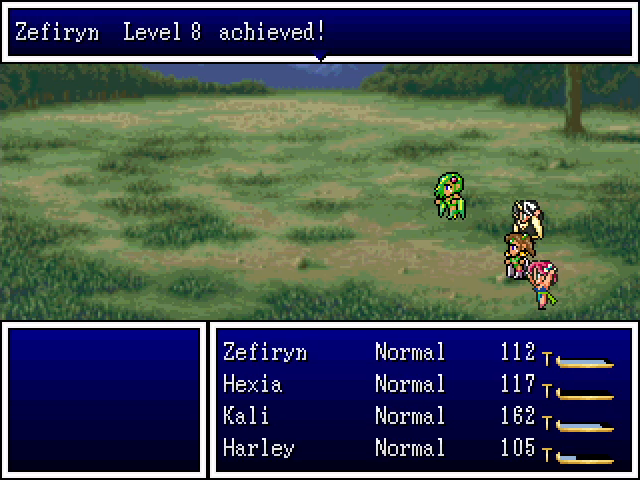
Another level.
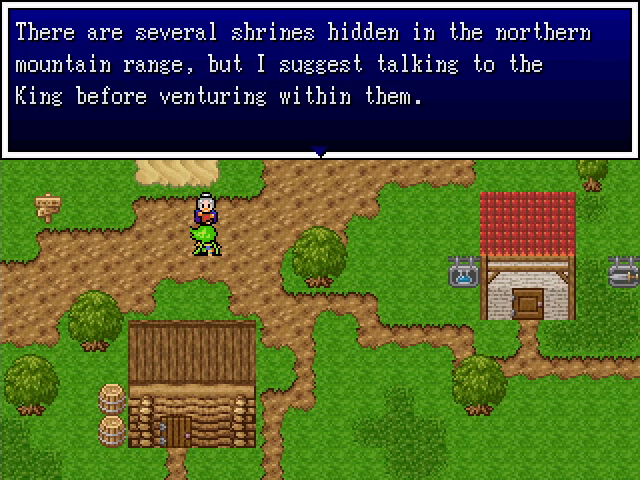
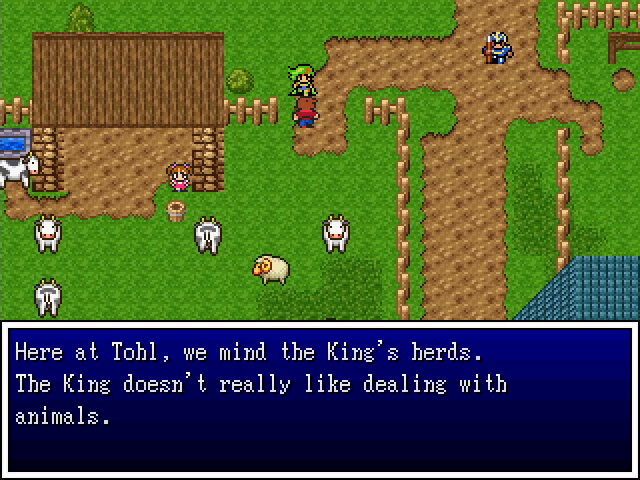
Eventually, we arrive at the village of Tohl. One of the residents informs us of some shrines to the north, but also says we should leave them for later. I'm fine with doing so.
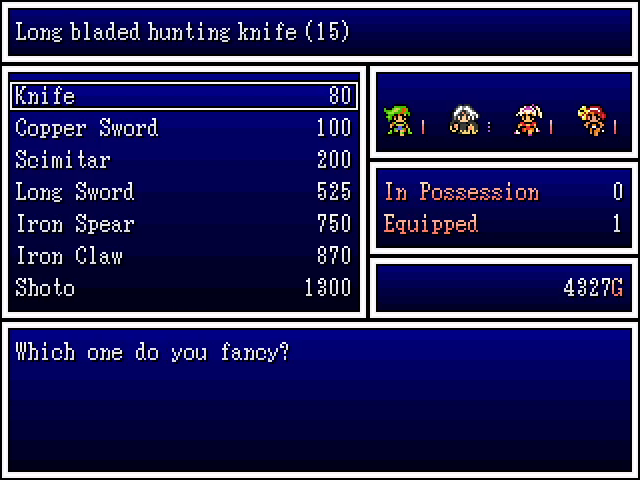
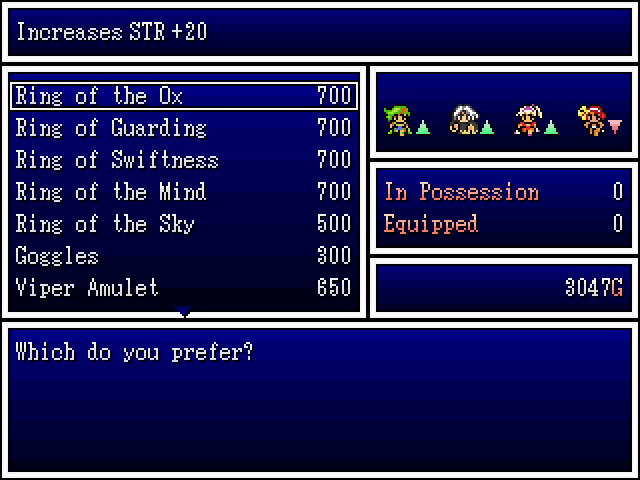
The shops here have a few new items of interest to our party. Zefiryn can get her own long sword, and the front-liners can upgrade their leather shields to bronze. The wooden helm is also a decent upgrade for Kali. There are also new stat-boosting rungs here, but again, I don't think they're really worth the money.
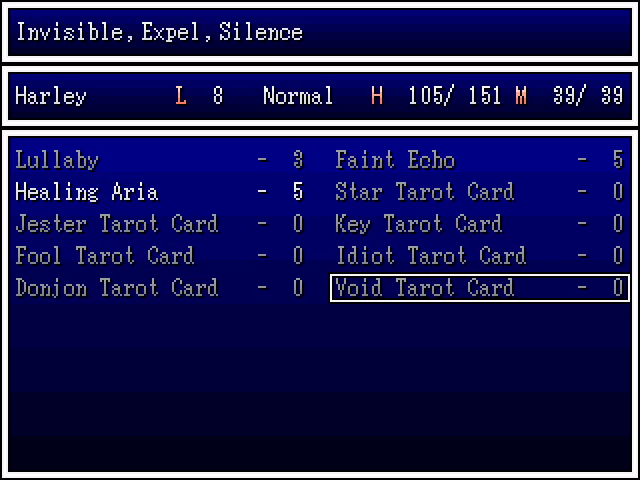
We also get a new tarot card in town, the Void.
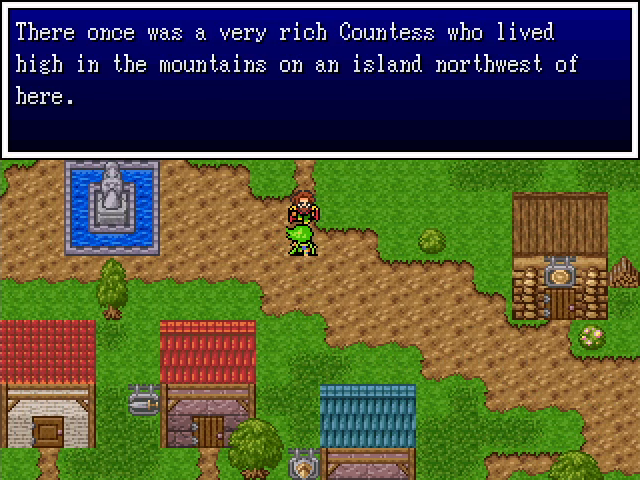
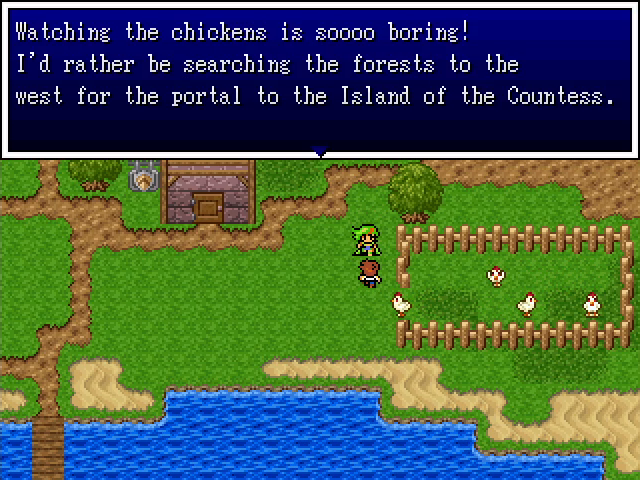
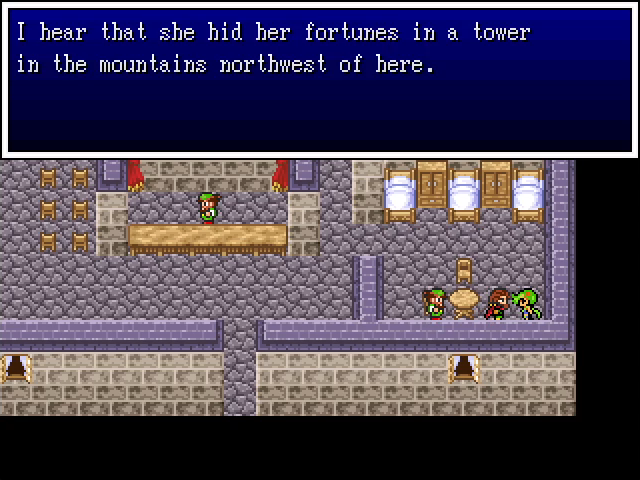
A couple people in town mention "the Countess", who was reclusive and wealthy. Maybe we should look into that.
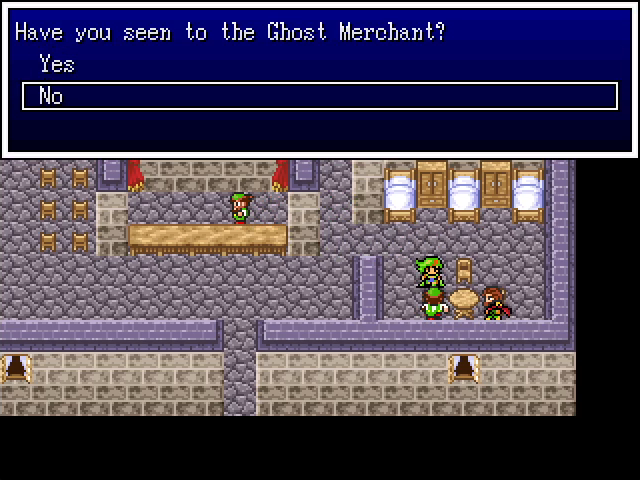
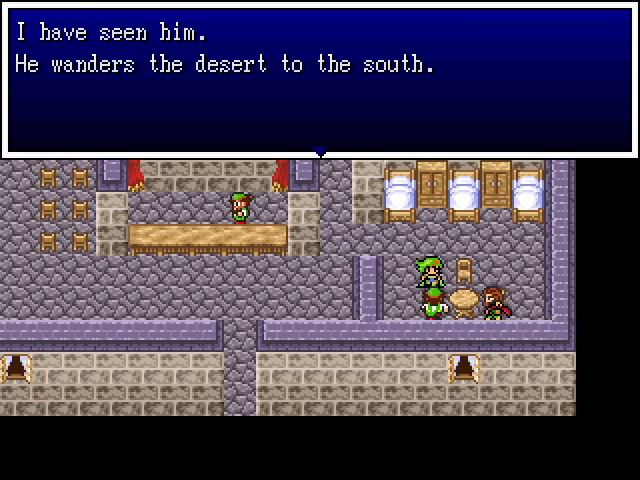
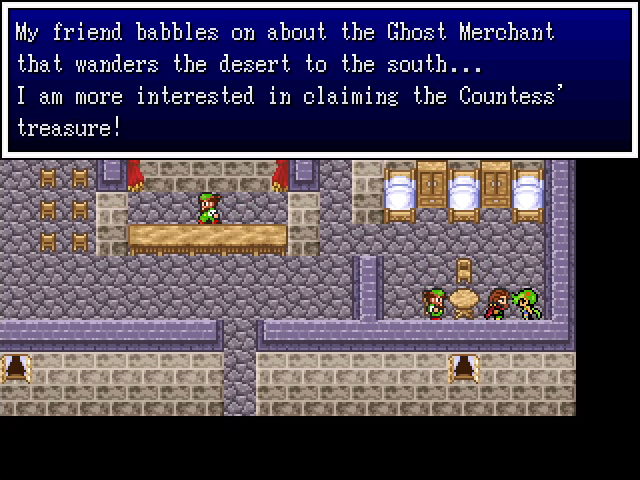
We also hear rumors of a ghostly merchant that haunts the desert south of Tohl (the one near the teleportal shrine).
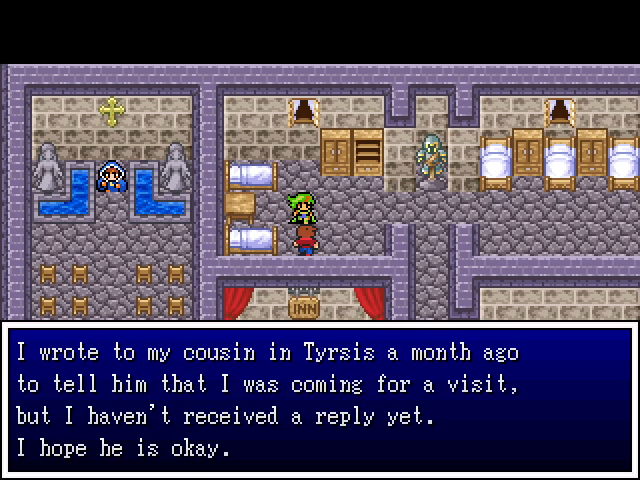
I'm sure he's okay. It's not as though there's been a recent rash of strange and unfortunate goings-on.
This is definitely being shown here for no reason, because it is not in any way relevant. Not at all.
That said, there is something suspicious here...
BESSIE!
We'll file this away for later.
The well in Tohl is a one-room affair with a chest containing a piddly, if amusing, amount of gold (42).
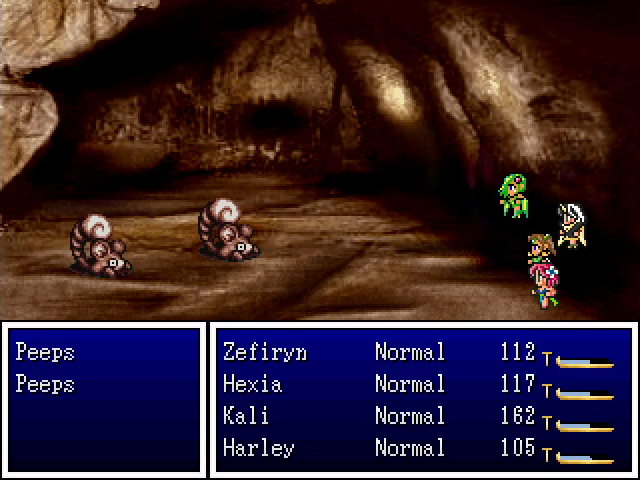
It also contains Peeps, the same worthless enemies that lived in Holdana's well.
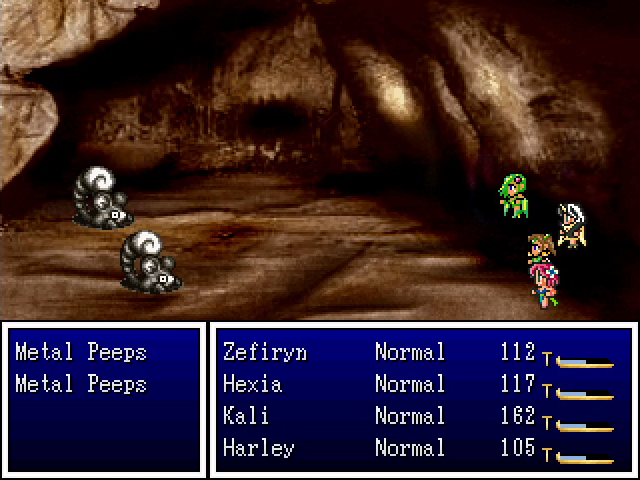
But it also contains Metal Peeps, which are basically metal slimes: fast, hard to hurt, and prone to fleeing. We basically can't hurt them without scoring a lucky crit, so they're not worth the time, at least not right now.
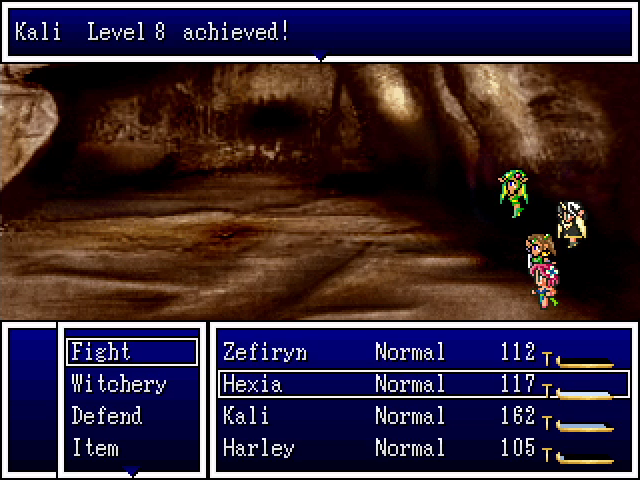

Kali does get a level from fighting Peeps, at least. Bonebane does a solid amount of damage to all undead enemies.
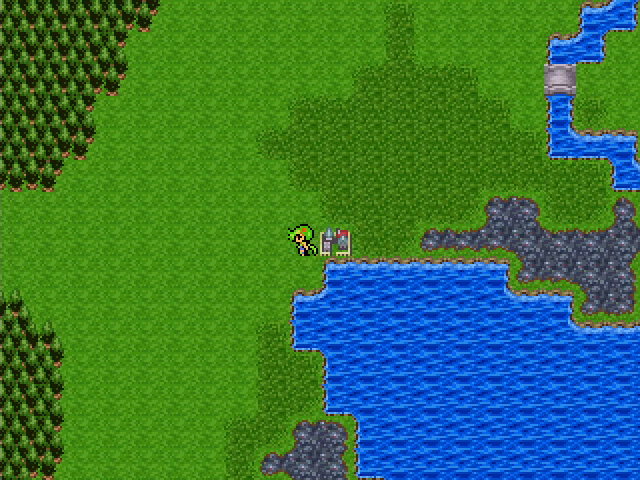
So, we've heard a few rumors in town. Let's look into that ghost merchant.
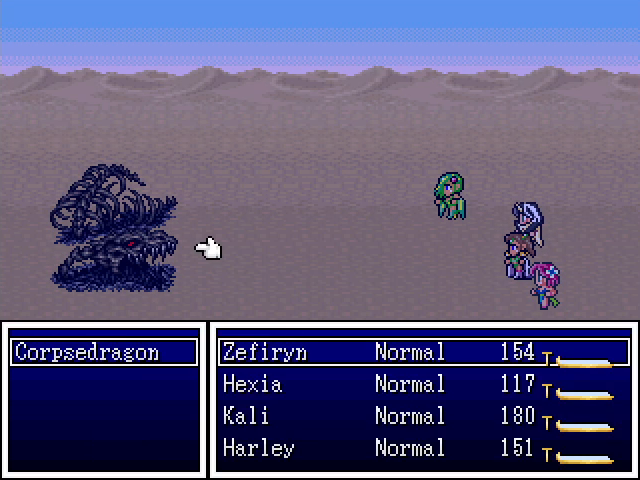
The desert south of Tohl is populated mostly by Corpsedragons, which inflict Demi. A character with Demi almost immediately loses about help their HP, then the condition ends. It's weird, and probably used as a workaround for the engine not allowing attacks to deal direct fractional damage or something.
I recognize this reference.
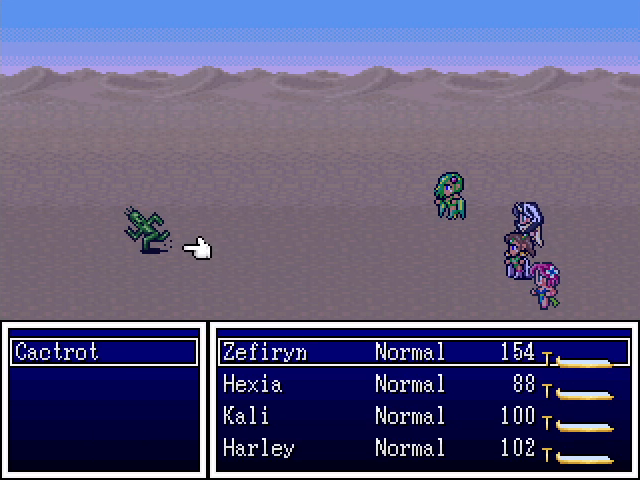
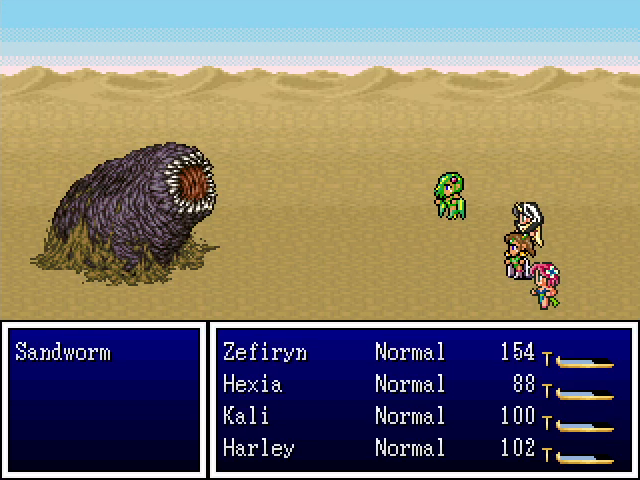
 Cactrots are really rare, and I don't know what they do because I only found the one and took it by surprise. They drop wizard potions when slain. Sandworms hit like trucks, and drop chests when killed.
But of course, none of these are why we're here.
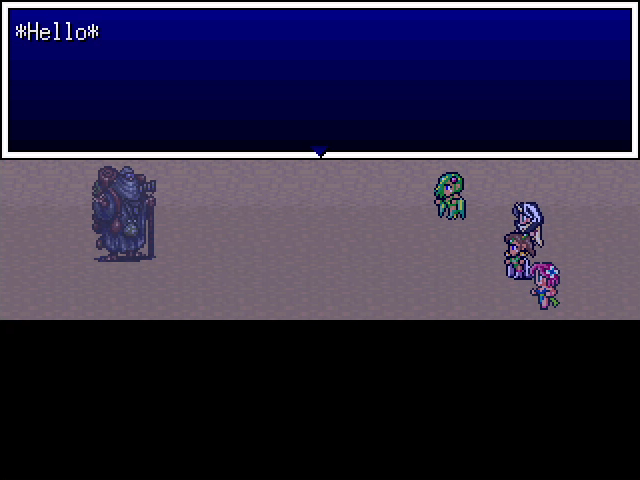
The merchant is actually another rare encounter here, though he doesn't fight.
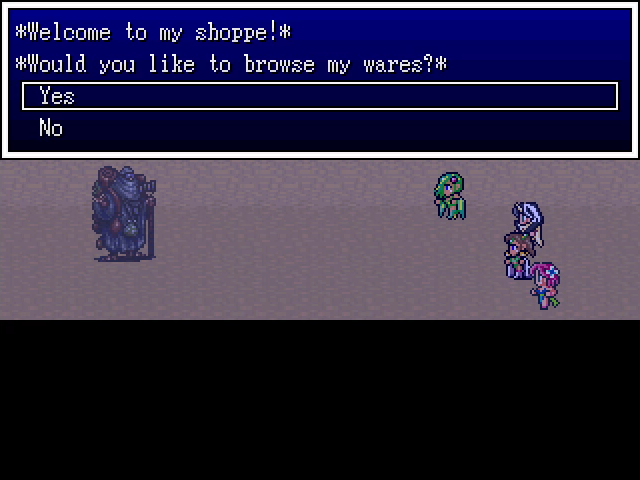
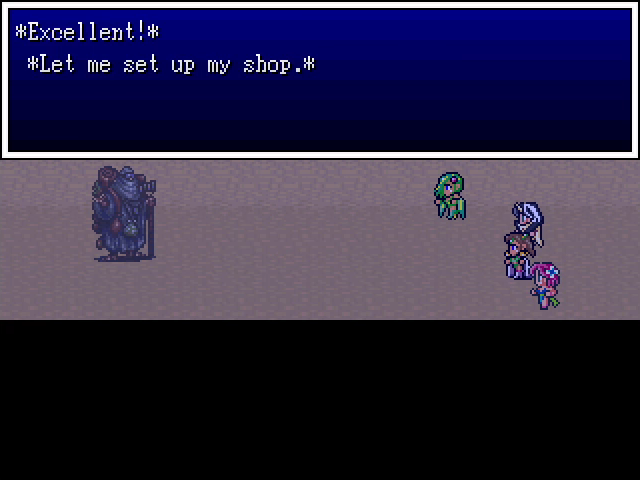
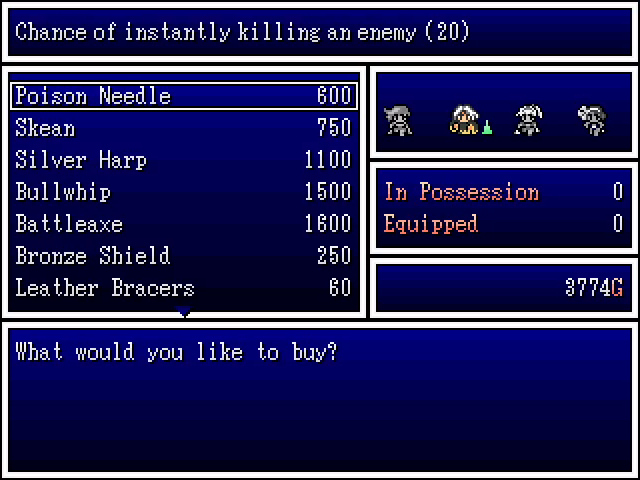
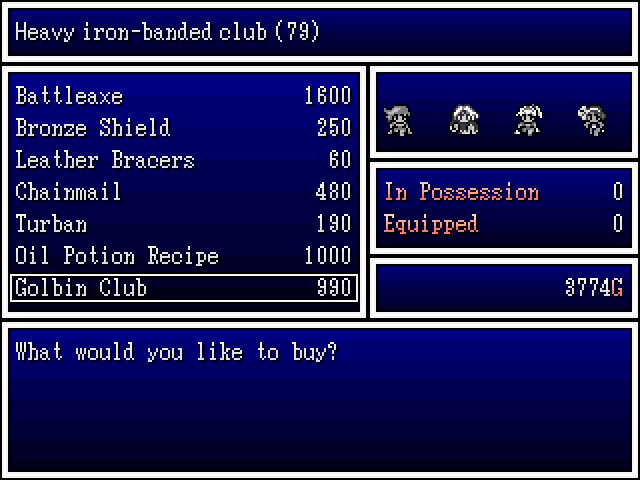
Instead, he sets up shop and lets us buy stuff. He has a lot of good items, and I grab a poison needle, a bullwhip, and three sets of chainmail. I'd love the Oil Potion recipe, but unfortunately, after buying everything else it's out of our price range. We'll have to find one elsewhere, since finding the merchant is a pain and I don't plan on doing it again.
Next time: we go treasure hunting.