Part 11: A Transformative Experience
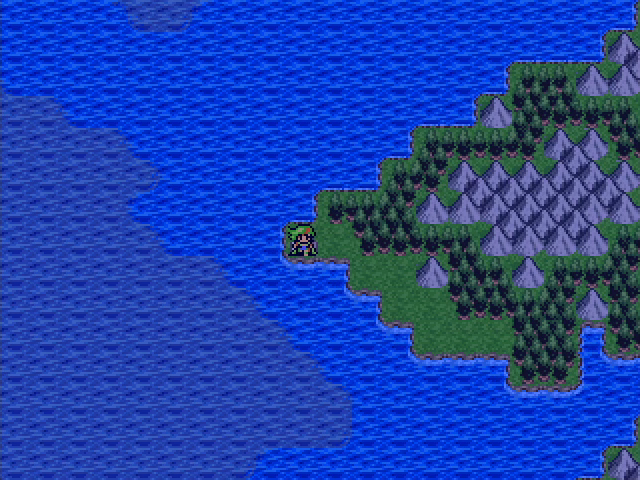
We've mostly finished our business in Hasara and we're on our way to the capital to see about answering the Call of Heroes. But let's forget about that for now and go do some treasure hunting!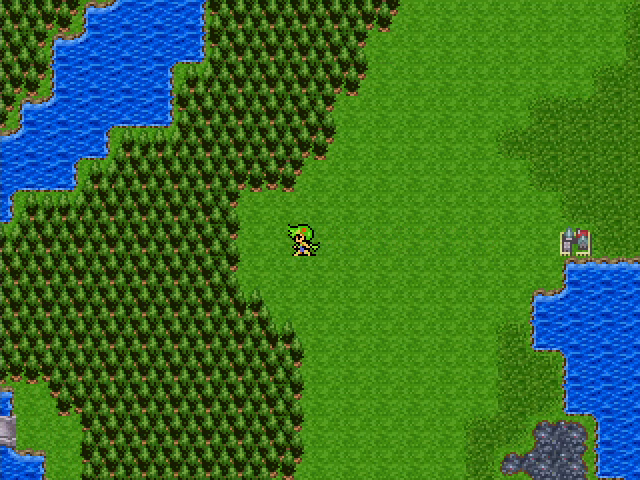
A few people have mentioned the tower of the Countess, which is somewhere to the west, so that's where we're headed.
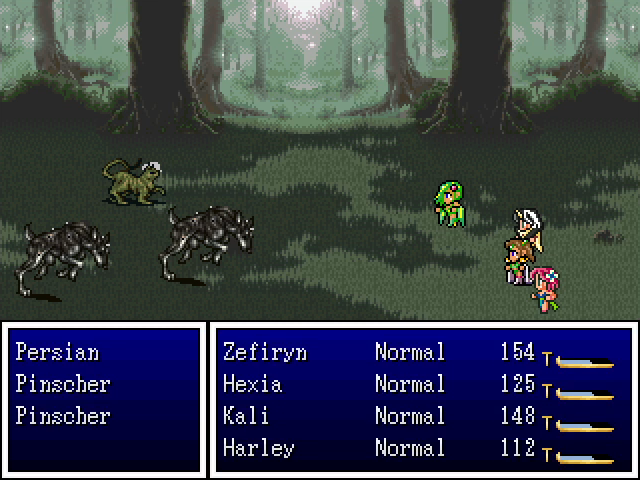
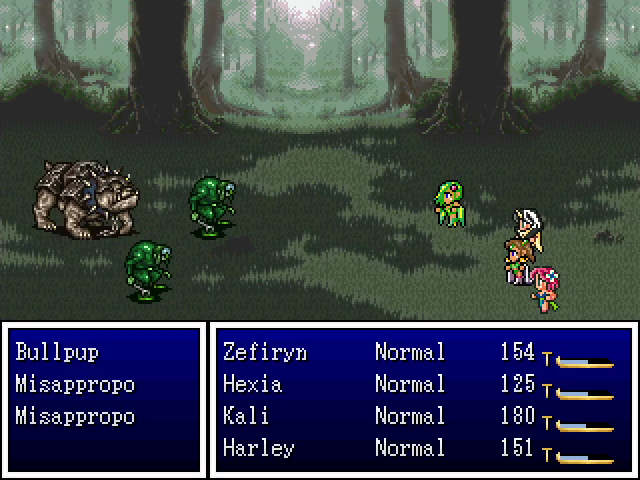
There are a few critters in this area that we haven't seen yet. Persians are similar to Egyptors, using Evil Flame and a few condition-inflicting spells. Bullpups are much like the other dog enemies, with decent HP and power but not special tricks. Misappropos are the most annoying things here by far; they don't have a lot of HP, but they use an attack called Wrench which never misses and heals them for whatever damage it deals.
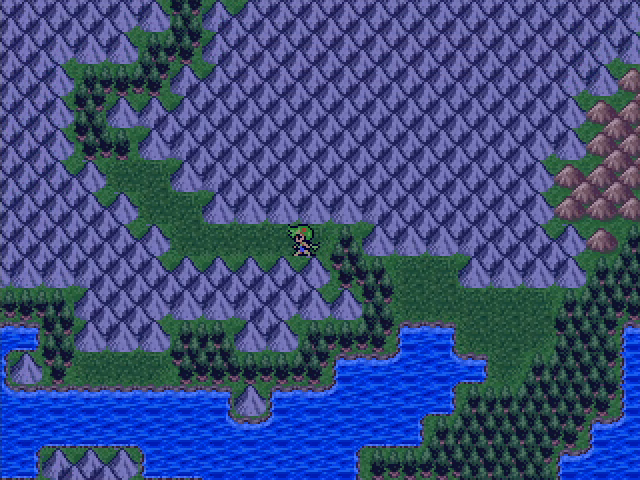
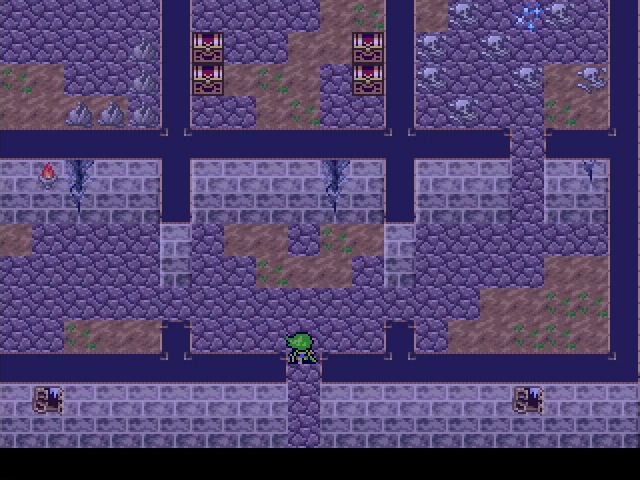
After crossing a couple of bridges, we wind up in a forested area dotted with clearings. If you're thinking that one of them holds a secret, your instincts are good.
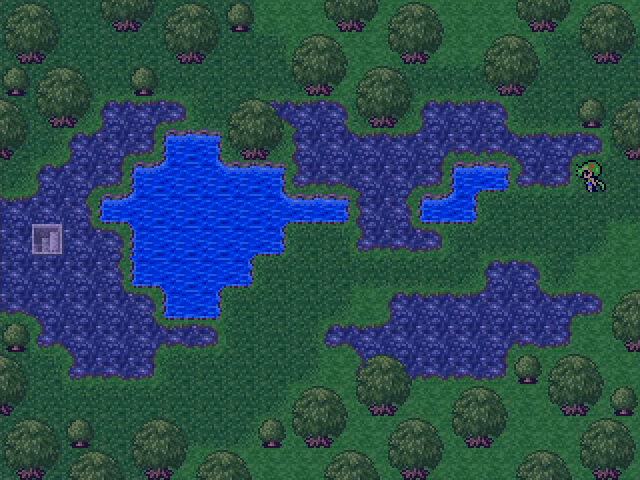
This patch of land in the southwest leads to an area with swampy terrain and, more importantly, a set of stairs.
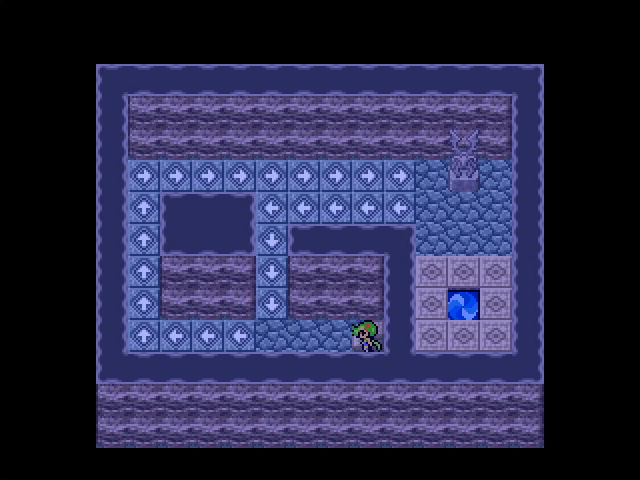
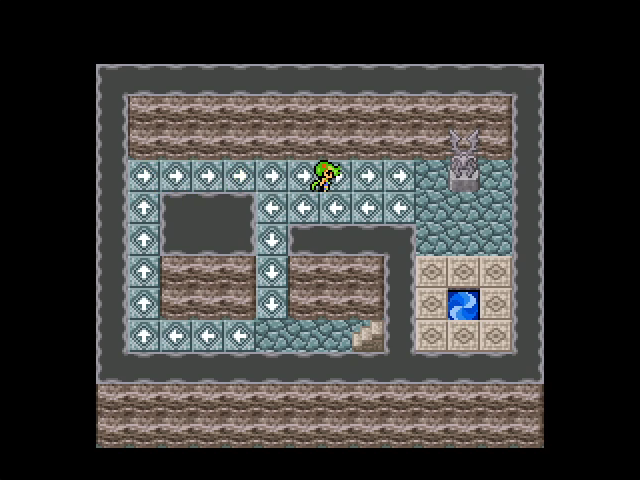
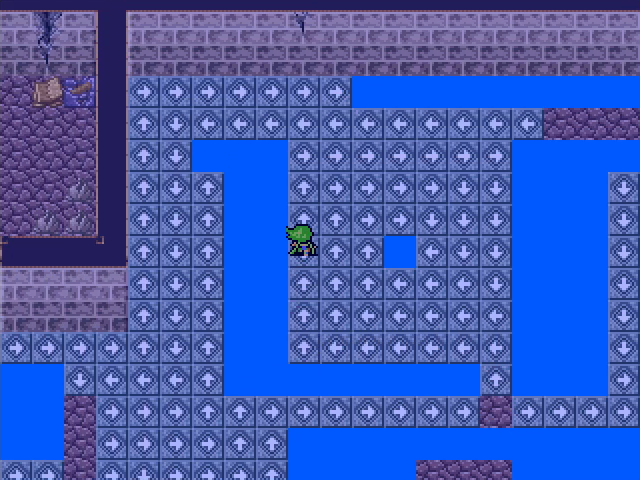
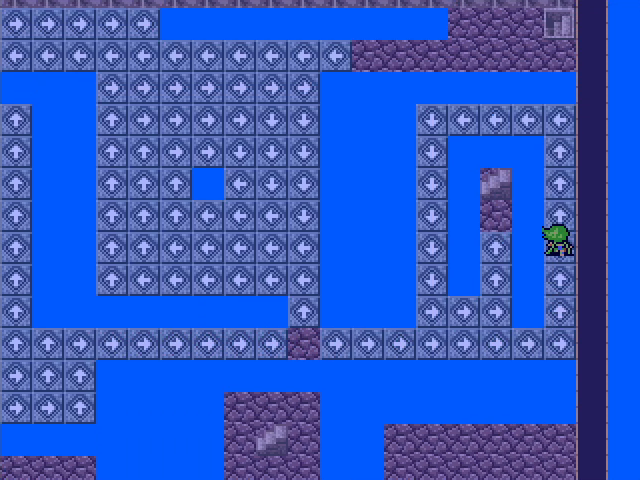
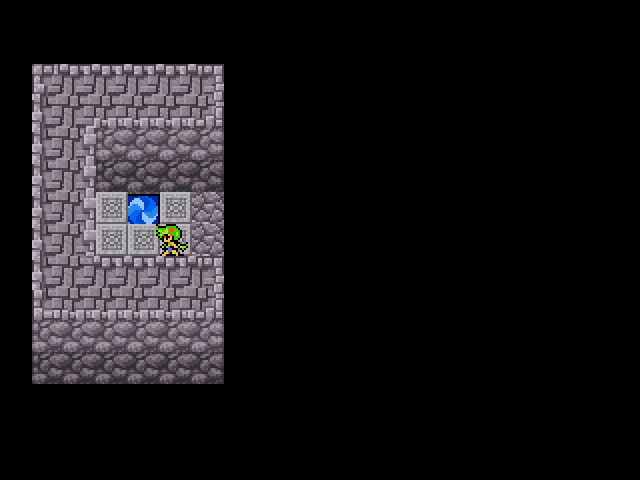
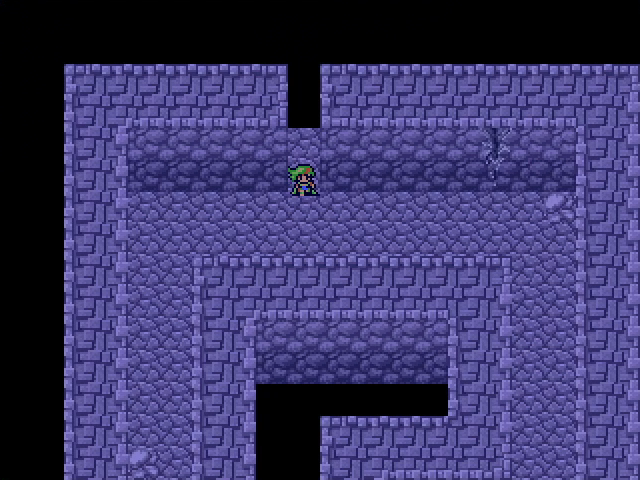
This small room serves as a tutorial for something we'll be seeing a lot of very soon. Stepping on an arrow tile automatically pushes us in the direction it's pointing. It's very basic in this room, but it's going to get much more involved.
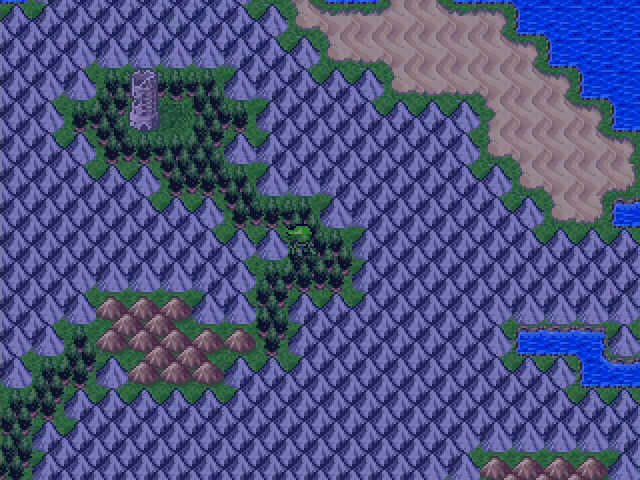
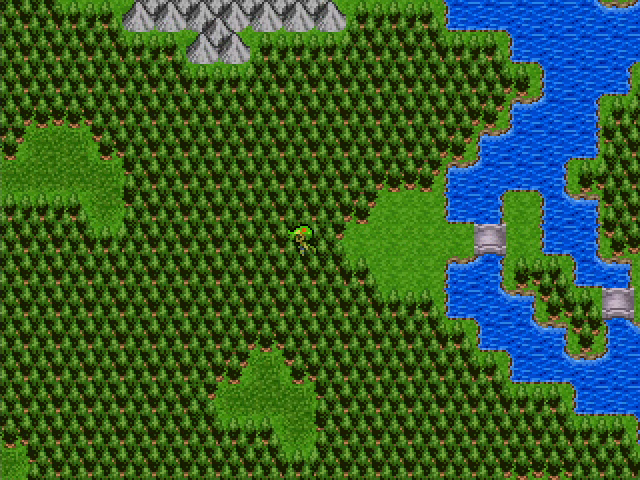
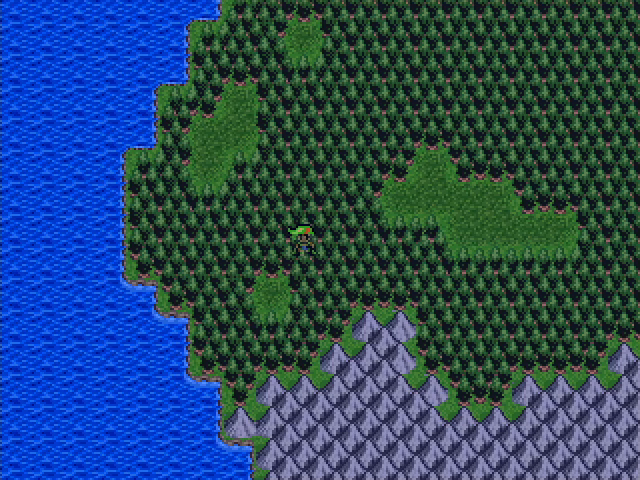
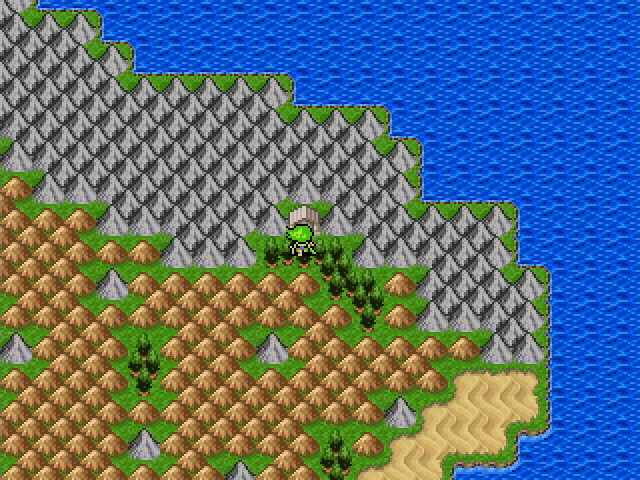
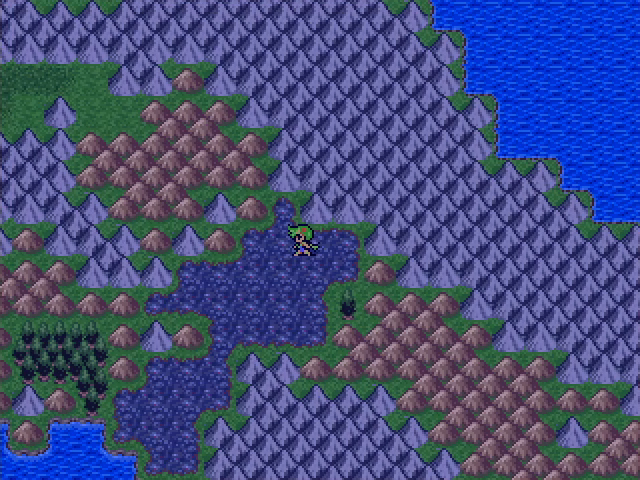
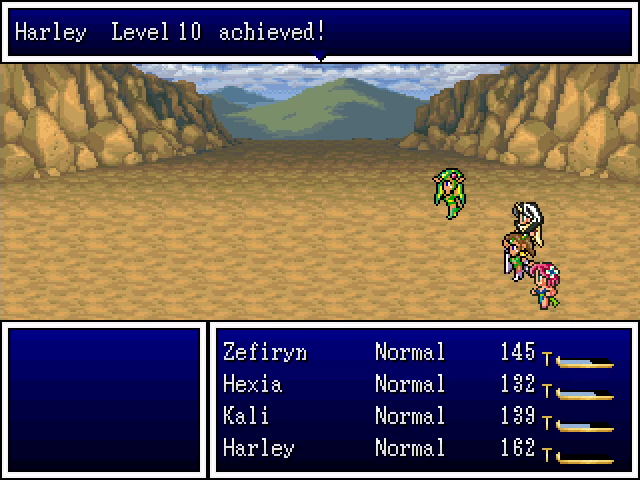
We wind up on a mountainous island. It's quite obnoxious to navigate, since forest and hill terrain have high encounter rates, and some of the monster groups can do serious damage if they take us by surprise.
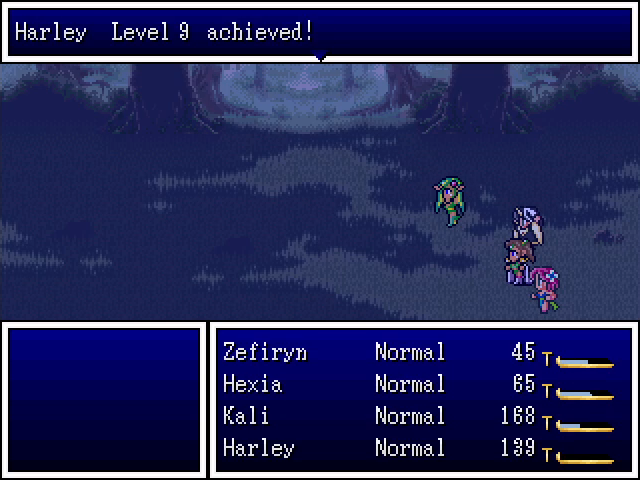
At least it gives Harley a chance to level up.
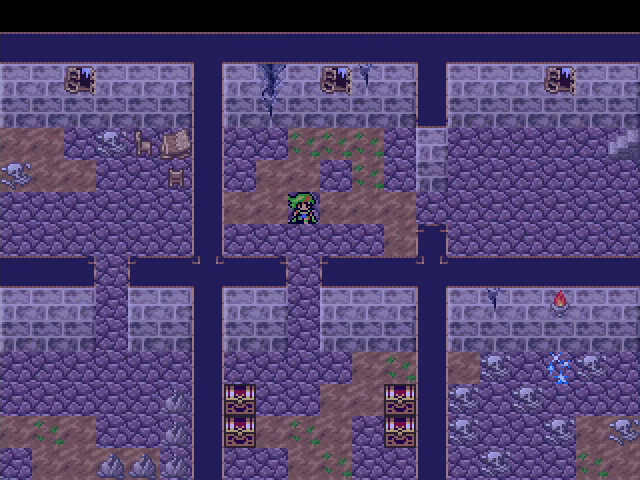
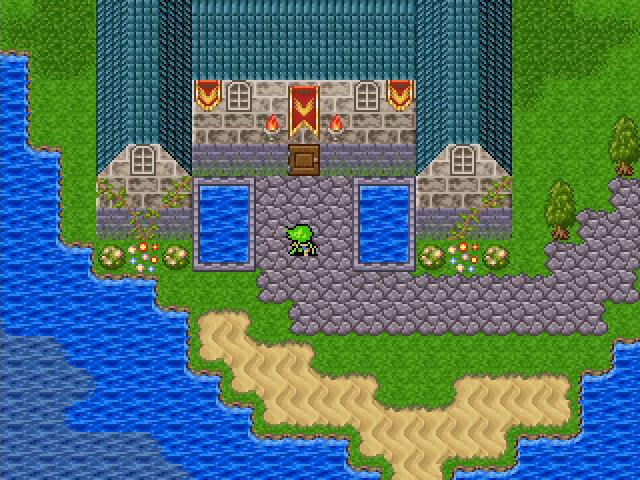
The entrance of the tower is a series of square rooms. There's a save point in the corpse-filled room on the left, but I'm not sure why since saving is as easy as just leaving the tower.
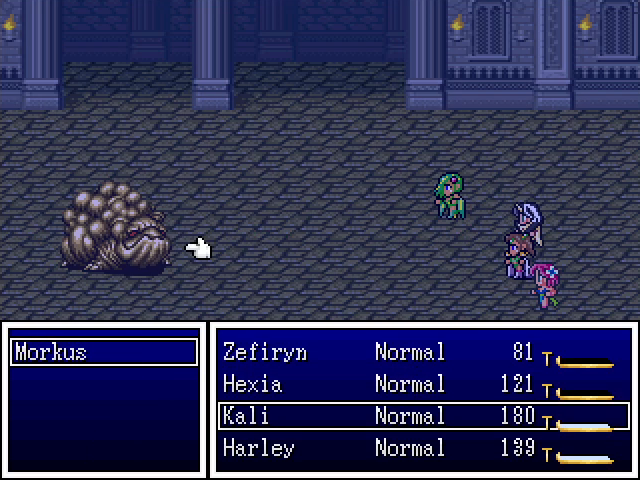
There's not much to say about the monsters in the tower. Morkuses make a return here, but everything else is stuff we've already seen in this chapter, and the overall encounter rate is pretty low.
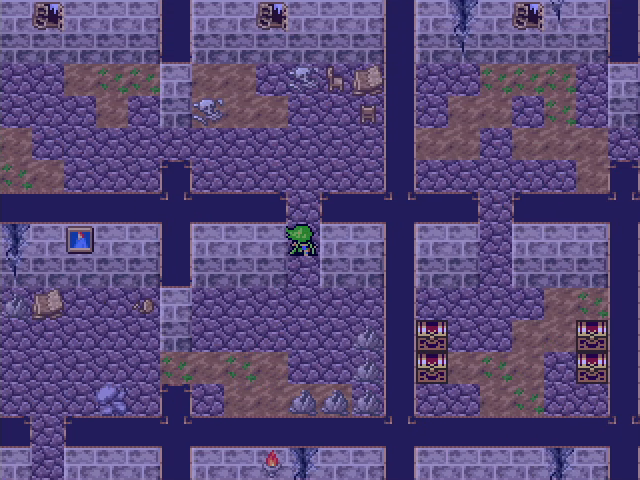
Heading west from the entrance lets us reach the stairs in the northwest room, but there's no apparent way to access the center, north, or northeast rooms.
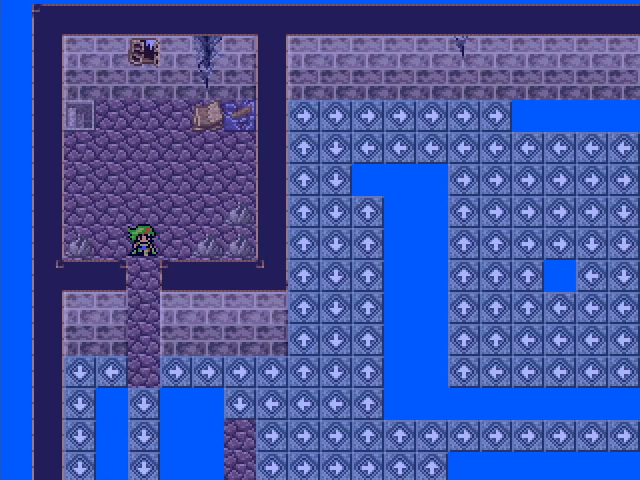
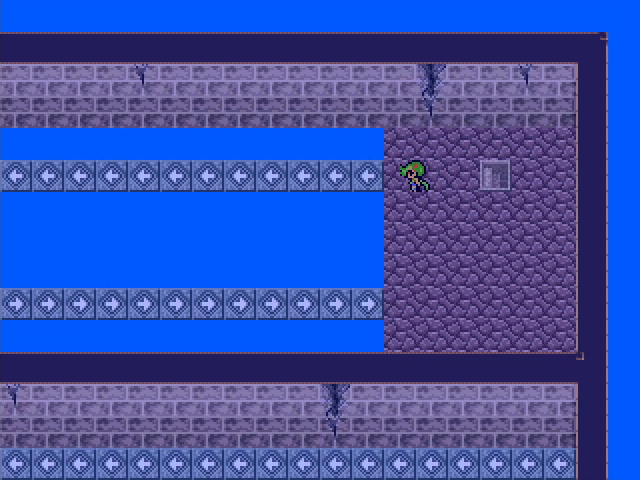
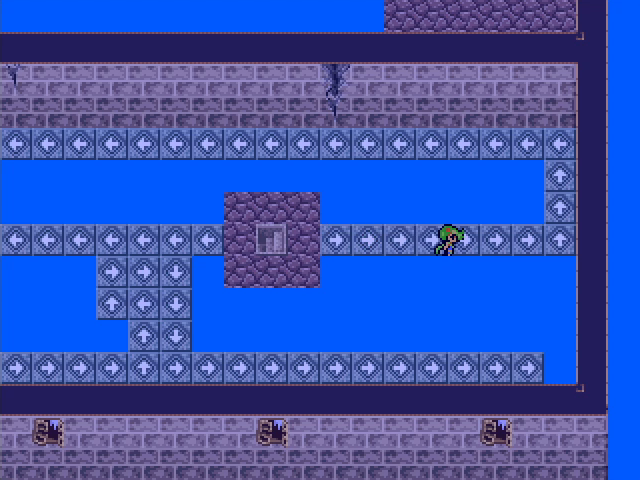
The second floor is where we start to see the tower's gimmick in action. These moving walkways are everywhere here and will frequently drop us into holes if we're not careful.
In some case, however, that's actually the goal. This spiral leads to a hole in the floor...
...which drops us in the cordoned-off area on the ground floor.
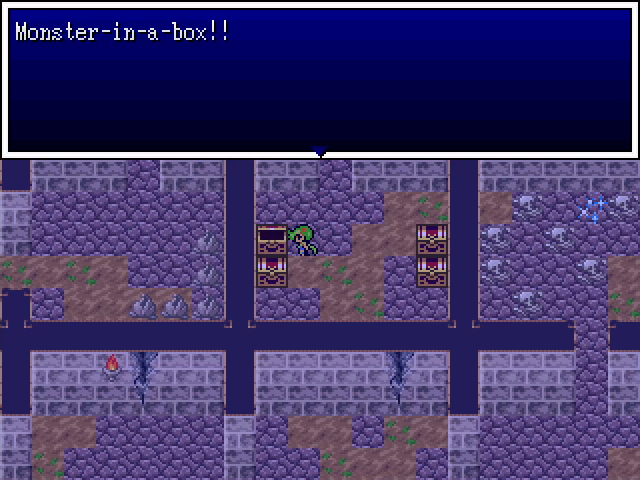
Of course.
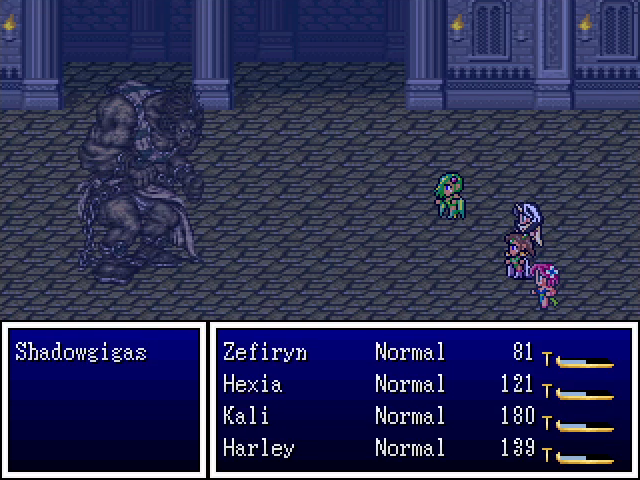
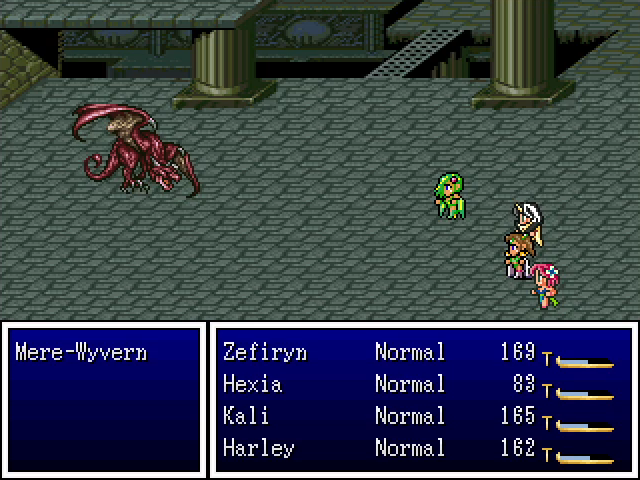
The Shadowgigas is a big, beefy enemy that is no threat to this party.
 Being incorporeal, it's immune to physical attacks, but between Zefiryn, Hexia, and Kali, we have enough magic to burn through its HP before it can do more than hit us with one Evil Flame.
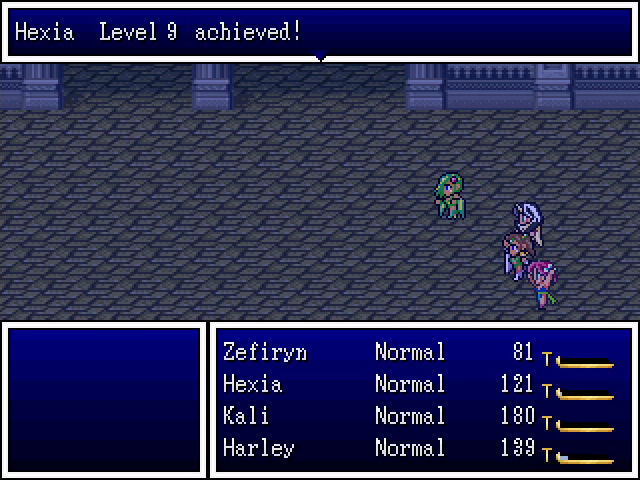
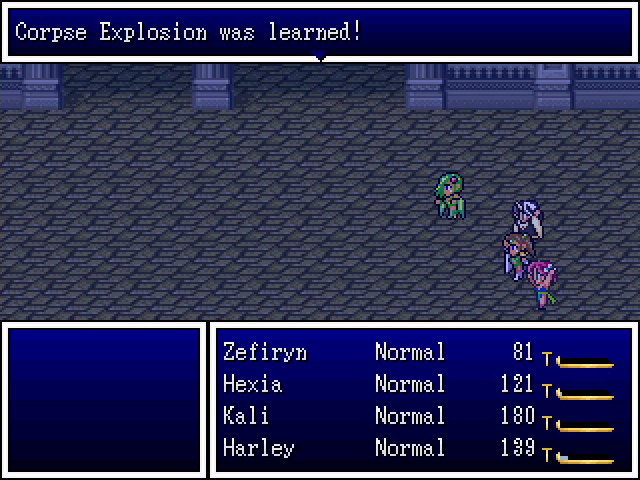
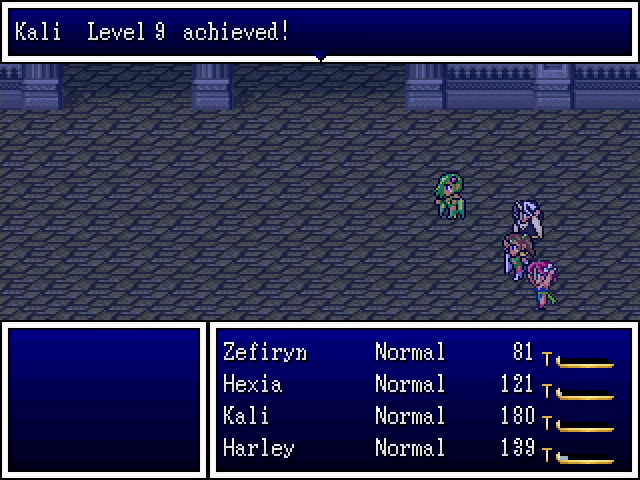

Besides its treasure (a helpful but not amazing set of silk robes), it also brings the rest of our party to level 9. Corpse Explosion damages all living enemies based on the maximum HP of Hexia's summoned skeleton. It can be helpful in some cases, but bosses seem to be immune to it and the setup time means that it's not especially useful in most random battles.
Back on floor 2, we head to the eastern staircase.
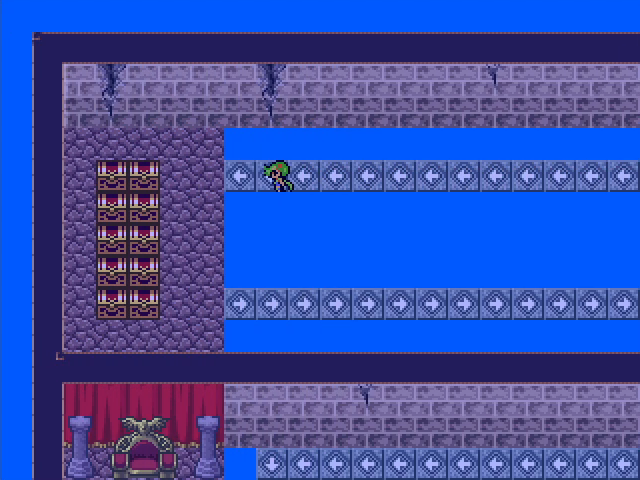
This puts us on a pretty direct path to the Countess' treasure room. Most of these chests contain gold, though there are a few other goodies (a mystic acorn, a turban, and a totally useless cypress stick).
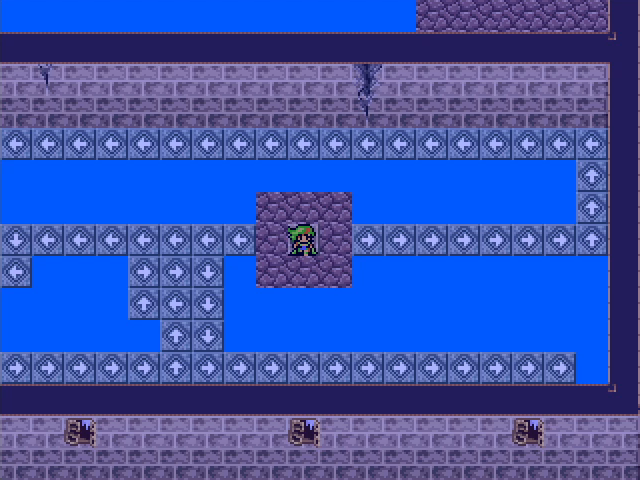
Taking the southern staircase on floor 2 leads to an area with a choice of 2 walkways.
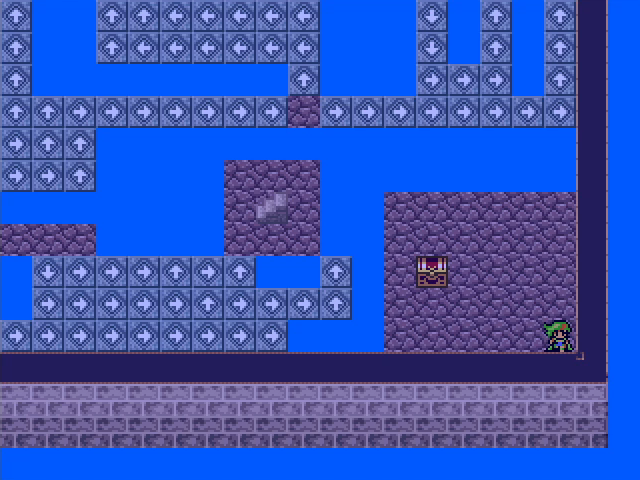
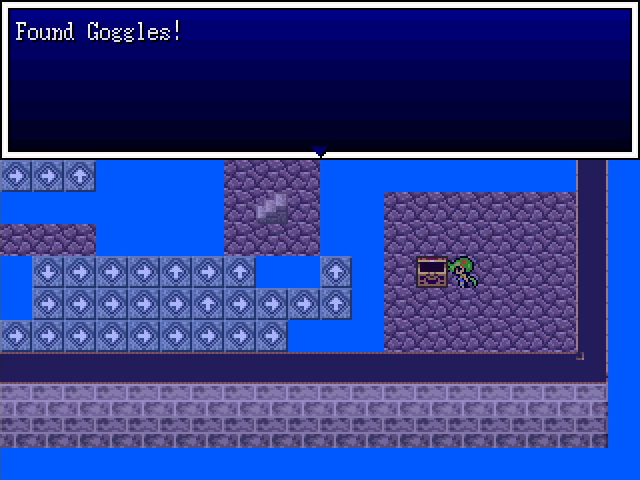
The one to the left dumps us on floor 2 next to a chest containing... some Goggles. Not useless, but not worth the time, really, especially since we now have to drop back to floor 1 and climb back up.

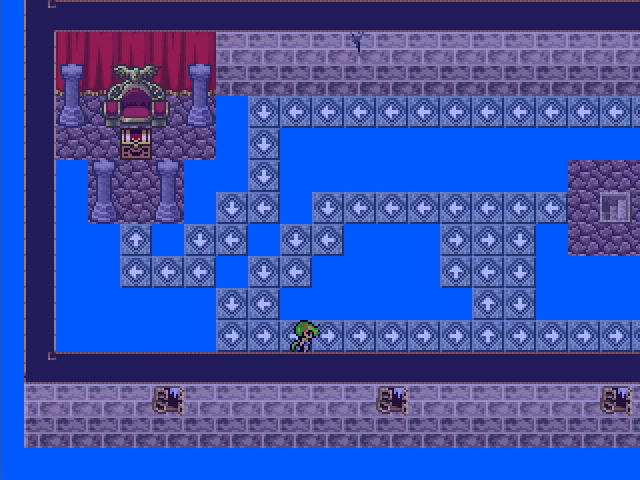
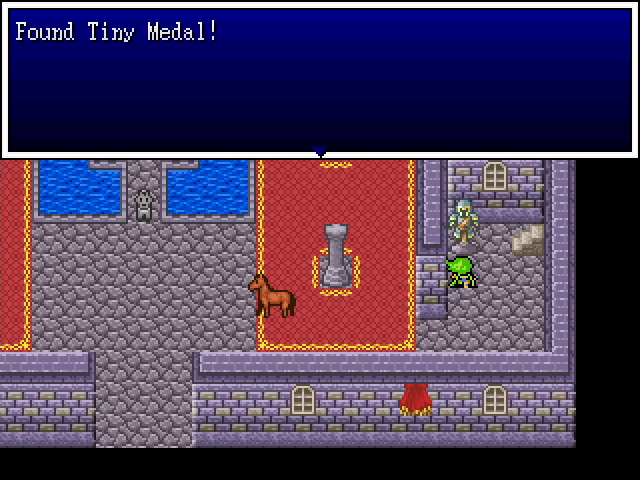
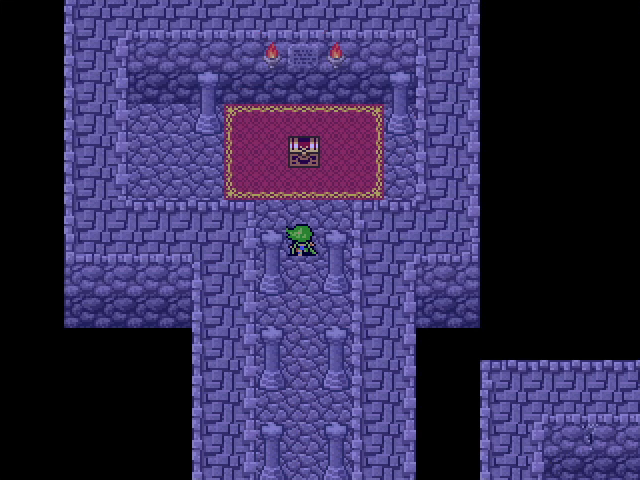
Taking the right-hand walkway leads us to a treasure chest in front of a throne. I WONDER WHAT THIS COULD BE.

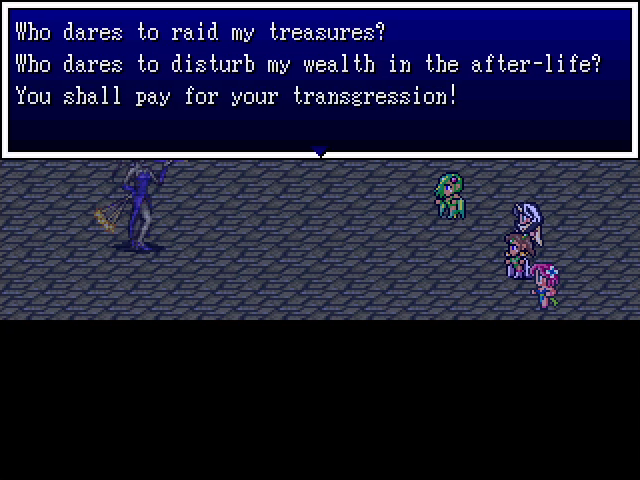
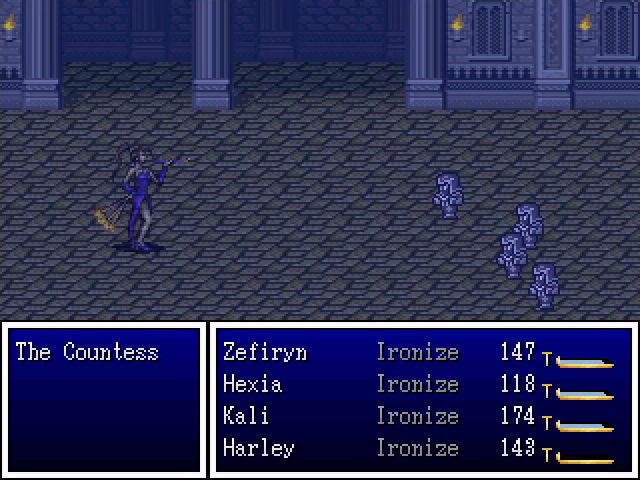
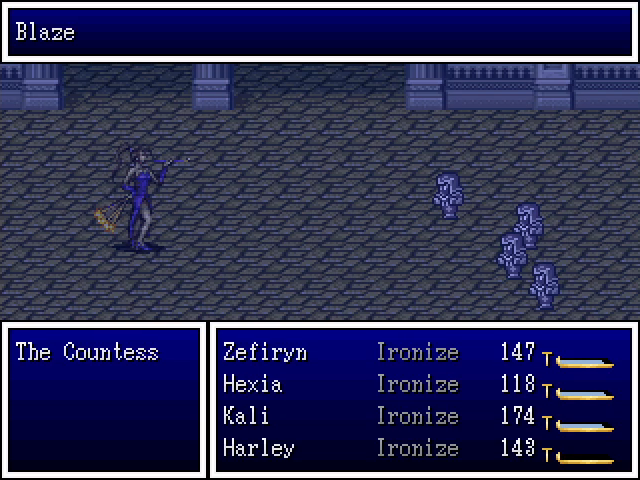
Yeah, no surprise here. The Countess (or at least her ghost) is really annoyed with all our looting. She's a reasonably tough opponent, since not only is she incorporeal, she also uses the group version of Evil Flame, and casts both Blaze and Mutespel (a full-party Stopspel).
This fight was actually a learning opportunity for me.
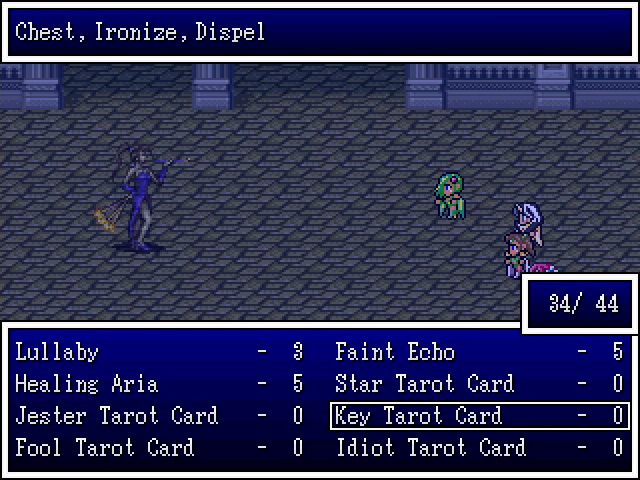
You see, I got the Ironize result from the Key tarot. Ironize makes our party invulnerable for several rounds, but prevents them from acting. But it turns out that's not all.
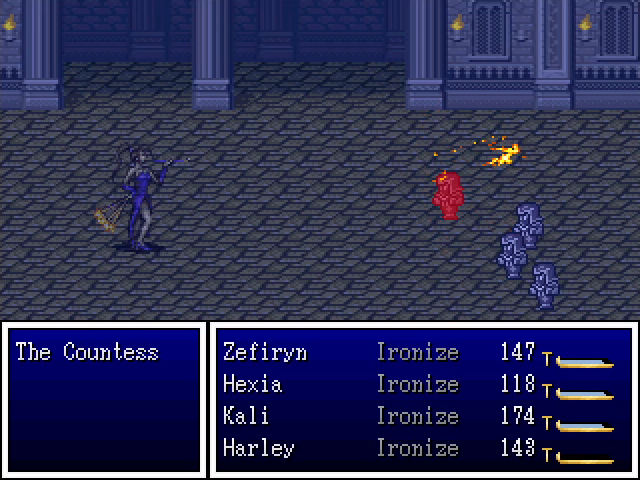
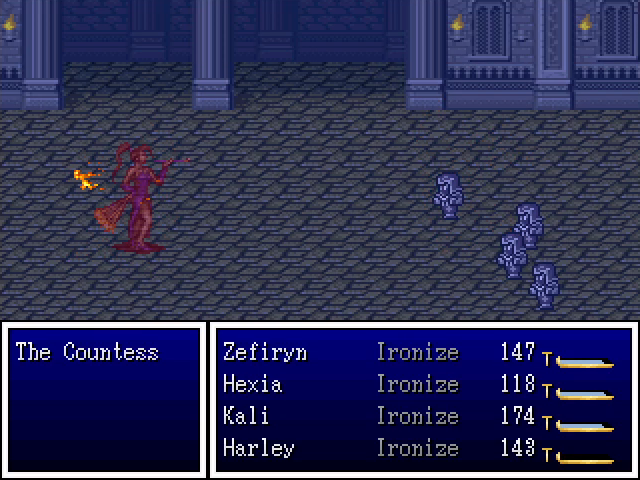
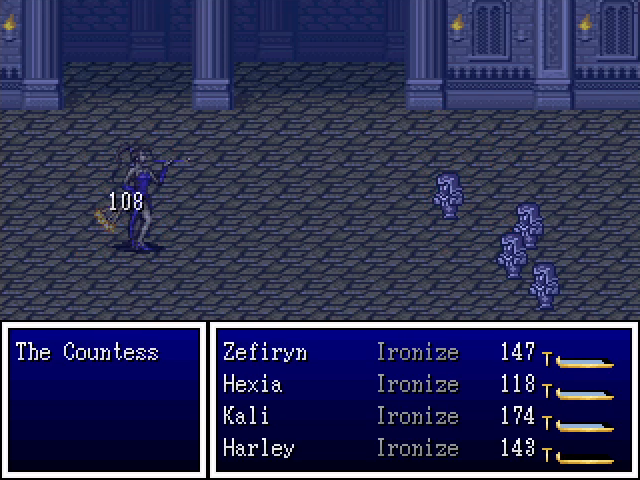
As it happens, Ironize also reflects any attacks sent the party's way. This makes the effect way more useful than simple invulnerability. And I managed to get it twice here!
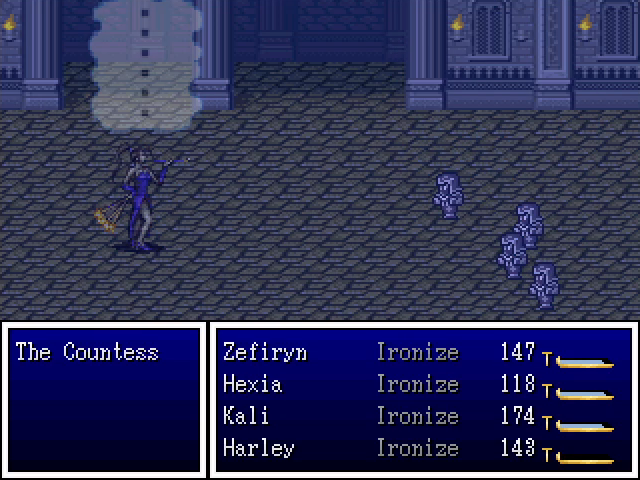
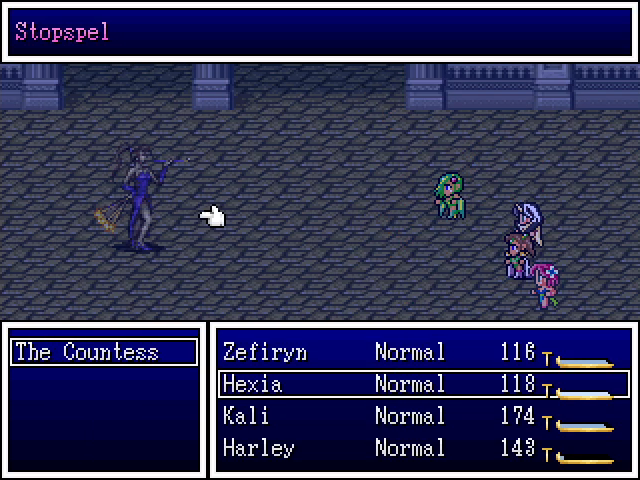
She even managed to mute herself for us, which was considerate.
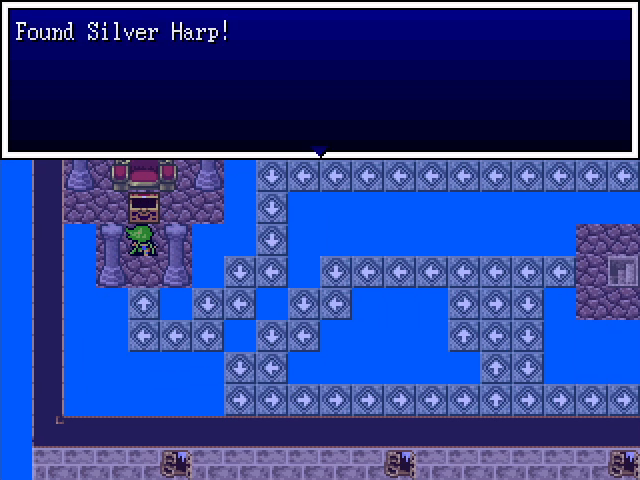
Once the Countess goes down, we're given our prize, a silver harp. This is only usable by Harlequins, so we can actually take advantage of it!
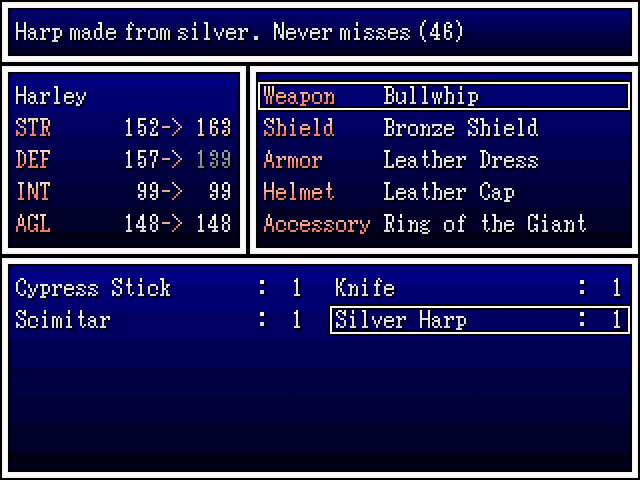
Harps are like bows in that they're two-handed and never miss (which also means they can be used from the back row with no penalty). However, the attack power isn't much higher than Harley's bullwhip, which also hits twice and allows the use of a shield, so ultimately we don't really have much use for it. Oh well.
That's all the tower has to offer, so let's head back to Tohl for a rest before making our way to Tyrsis.

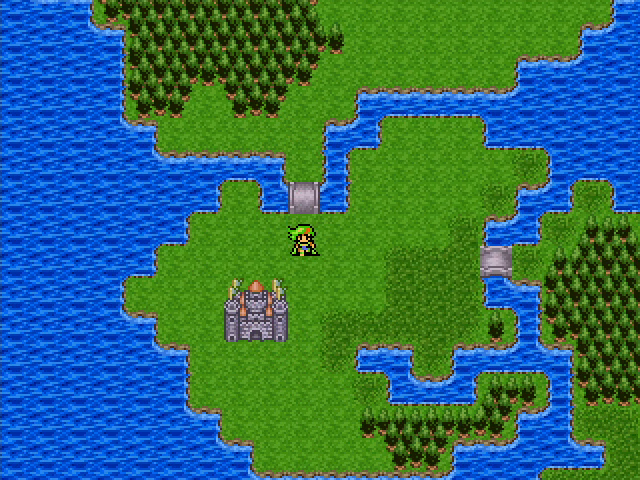
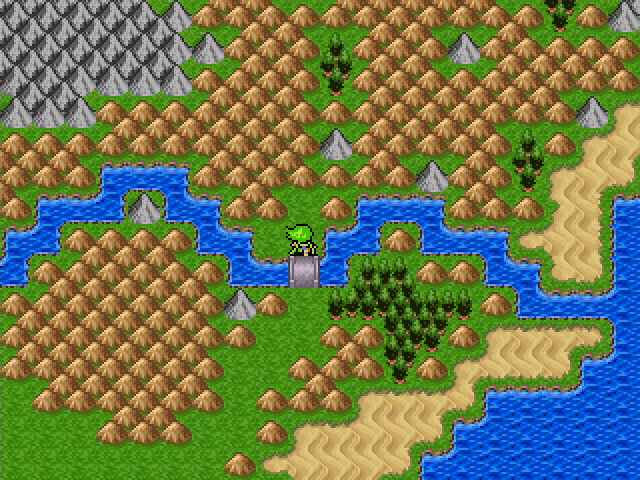
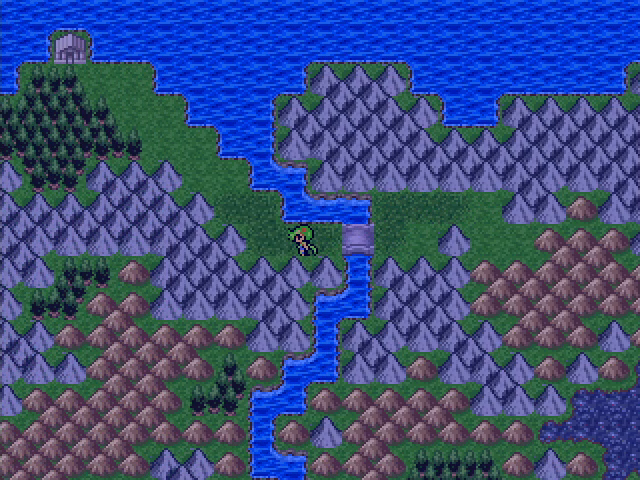
This little section is actually a bit of clever design. Both paths around the lake lead to the same place, but we have to pick between the high encounter rate of the hills and the step damage of the swamps.

That doesn't look like Tyrsis. In fact, it looks like...
Yeah, it's Hasara's Amazing Funhouse.

I'm not going to spend much time talking about it. This Funhouse's maze has a different layout and aesthetic, but otherwise it's essentially the same experience as the one in Norsland, down to the prizes. I did notice that the music in the main room is a midi cover of Stayin' Alive, which I found amusing.
Anyway, with that done, we can finally head south and reach the capital. End of chapter, here we come.
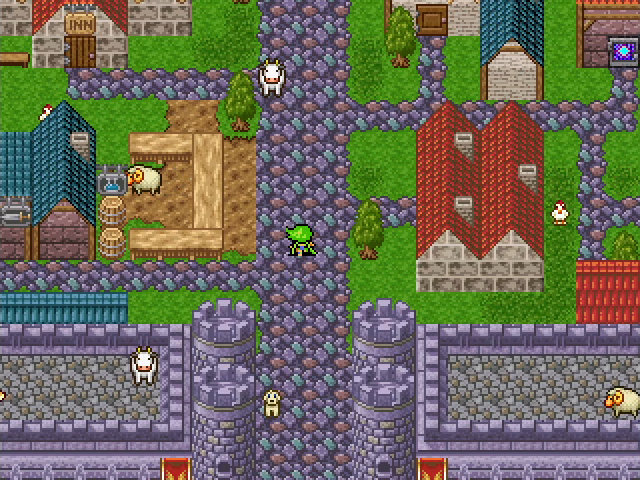
...Oh, what the hell?
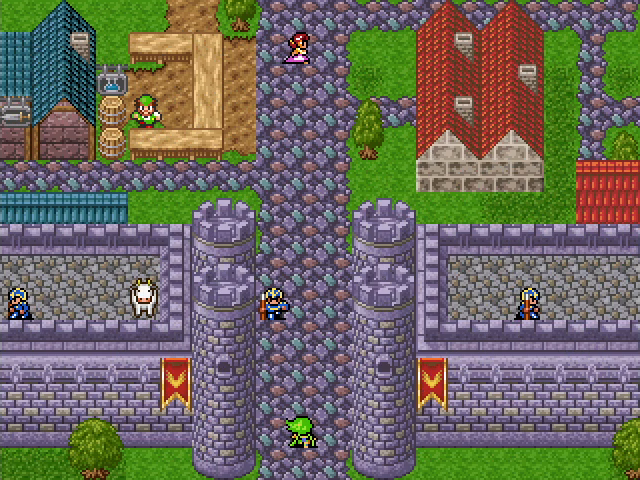
No humans in sight, just animals.
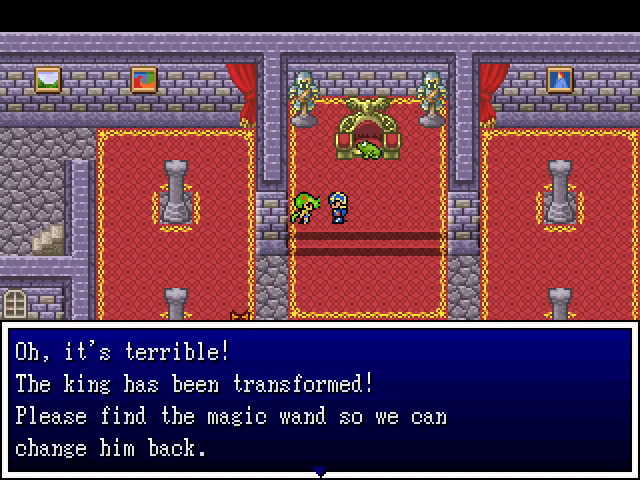

No, I don't know how this guard was spared. Maybe he was out of the city when it happened?
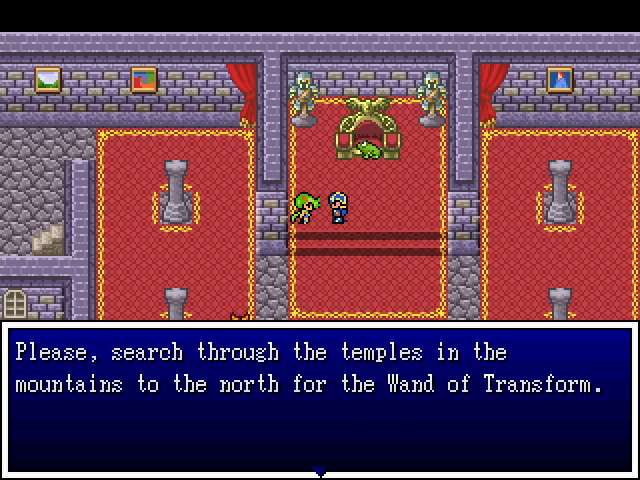
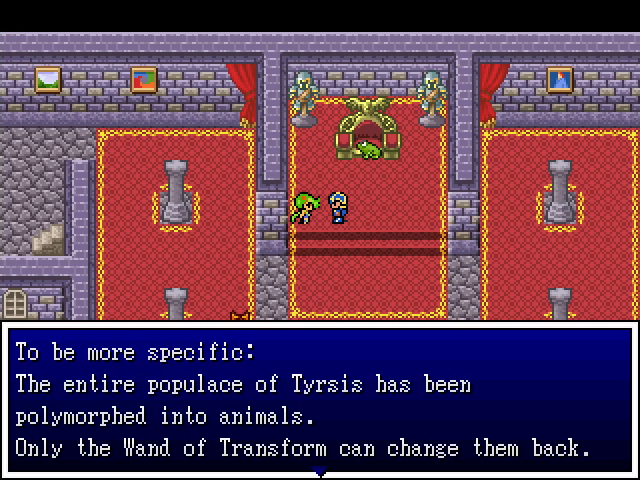
So we have another mission: finding the Wand of Transform to save the people of Tyrsis. Smart money says this was done by whoever summoned the mine ghosts and poisoned the Baron.
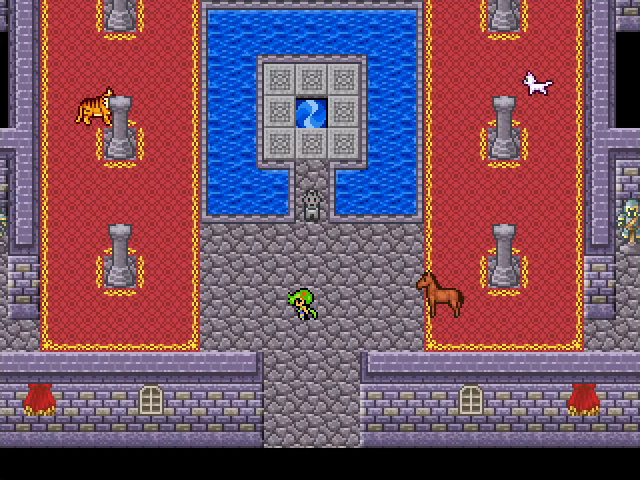
In any case, we can take some time to check the castle and town for items.
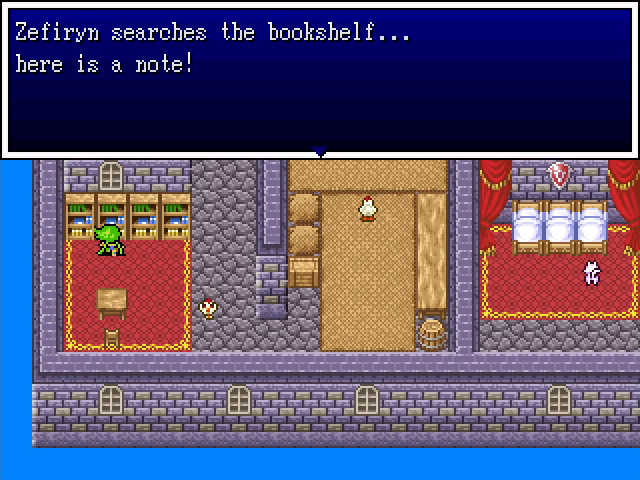
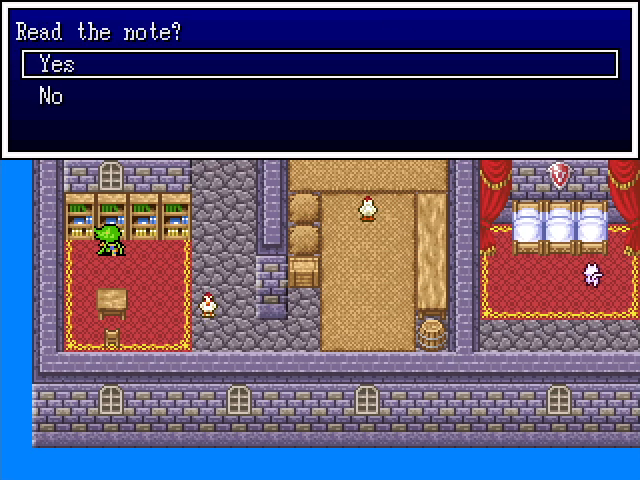
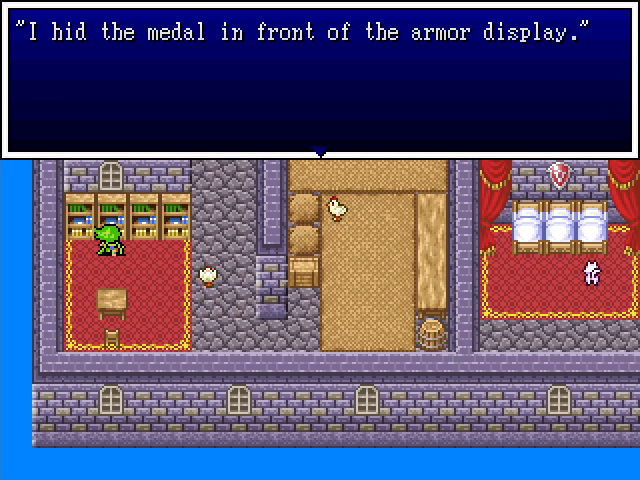
We come across this note, which is a pretty obvious clue.
Yeah, there it is.
The castle's priestess also seems to have been spared from the curse, so we wouldn't be screwed if we'd gotten here with a weakened party. The city's innkeeper was transformed, but the inn is still usable too.
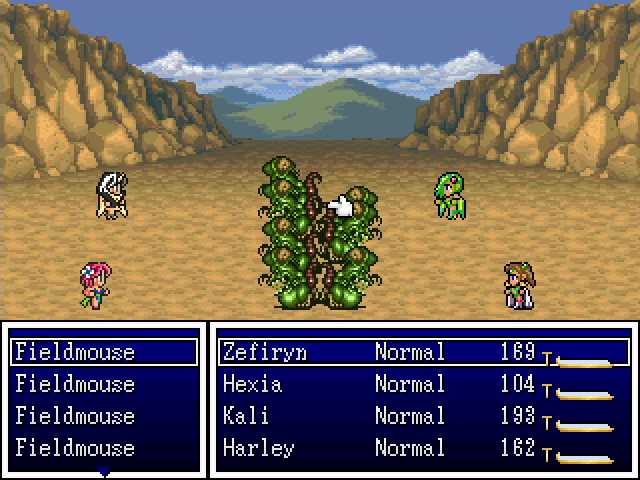
We run into one new enemy type populating the northern hills: Fieldmice. They're a lot like other rodent enemies, able to inflict poison. With a group of seven, that outcome is quite likely.
The first temple we're checking is essentially due north of Tyrsis.

This is the smallest of the four temples, with six side rooms branching off the main one.
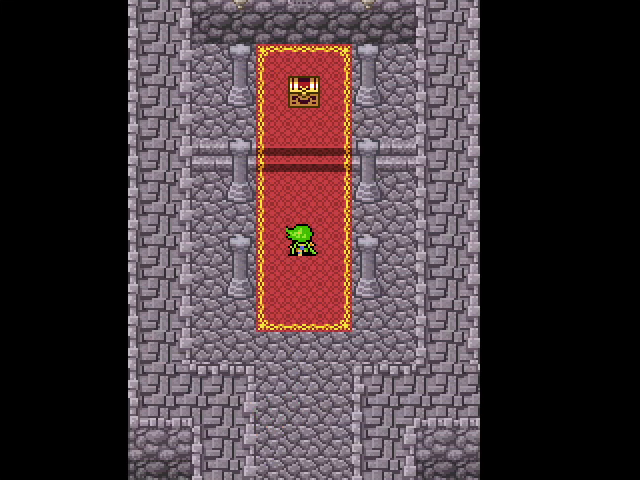
Each side room has a teleportal. Most of them take us to another room, but if we find the right one...
...we end up in the middle instead. That chest looks pretty important - maybe it has what we're looking for?
Nope. Guess we'll have to look elsewhere.
The next shrine is to the northwest, past a path of swamp.
The remaining three shrines are much more traditional mazelike dungeons, albeit relatively short ones.
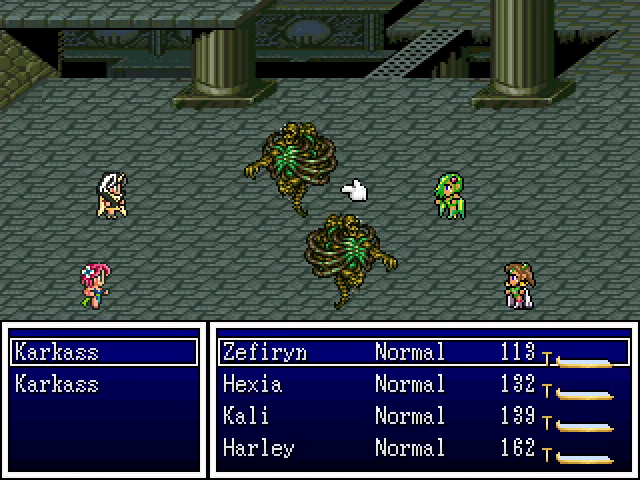
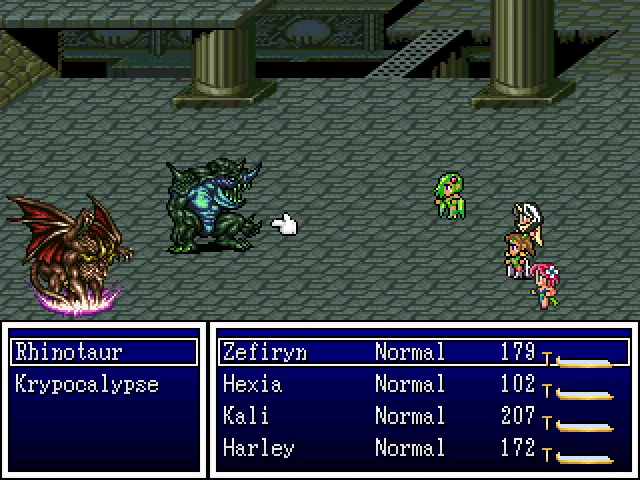
The monsters here are all things we've seen before. I did discover two new things about them though. First, Krypocalypses can use Numbing Thorns, which makes them even more obnoxious.

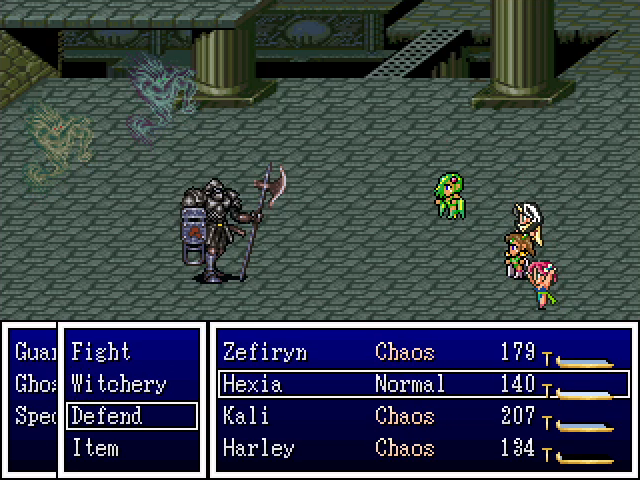
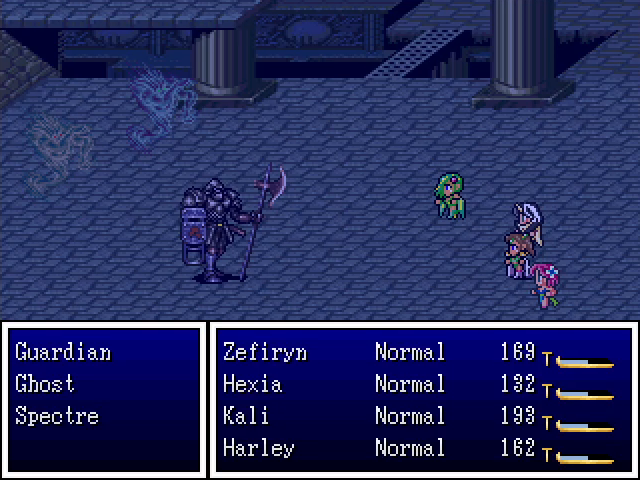
Second, Spectres can use Wail, which inflicts Chaos on the party. It doesn't have a 100% success rate, but still, this can be really bad!
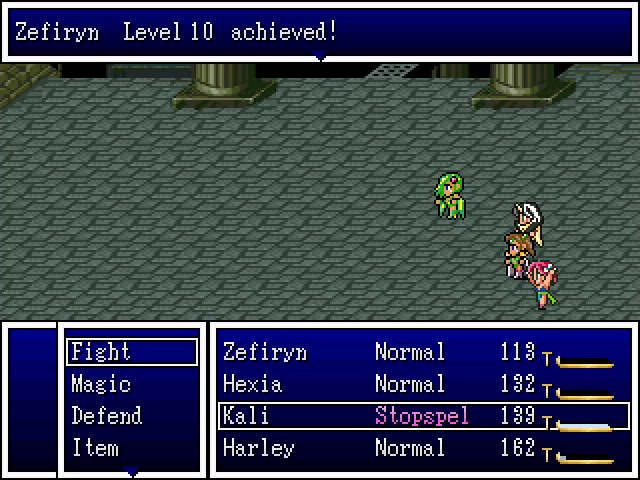
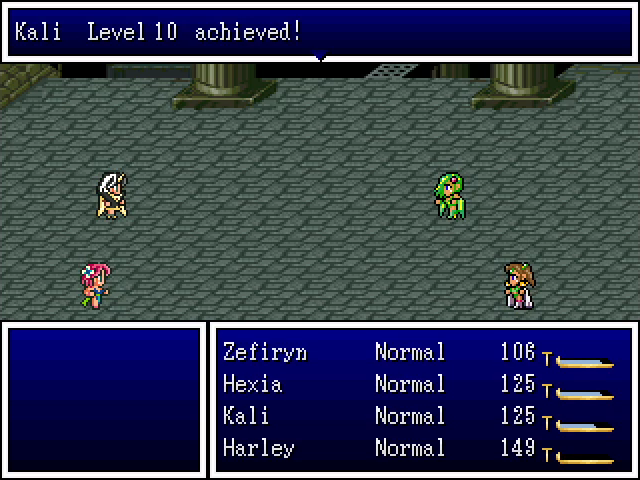
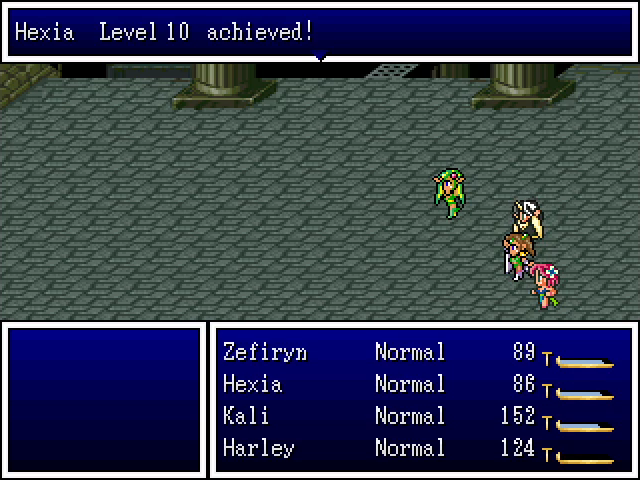
At least we managed to reach level 10 between all the battles.
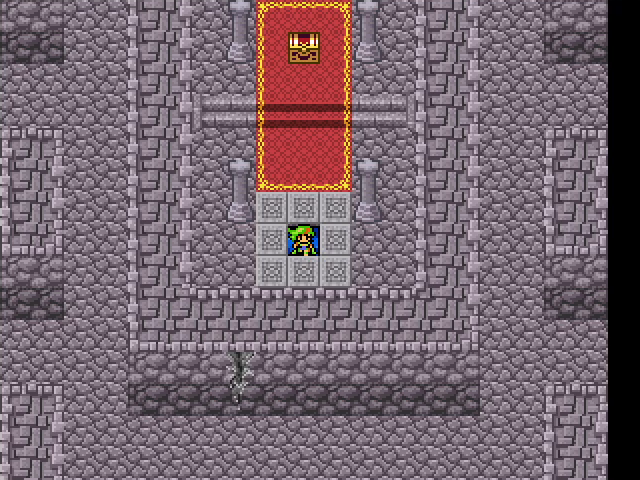
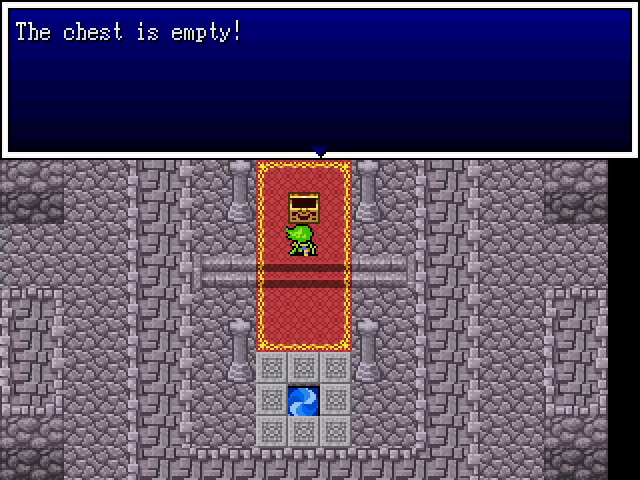
Anyway, there's not much to say about the second temple itself. There are a few treasures, an HP-restoring point, and of course, a conspicuous chest.
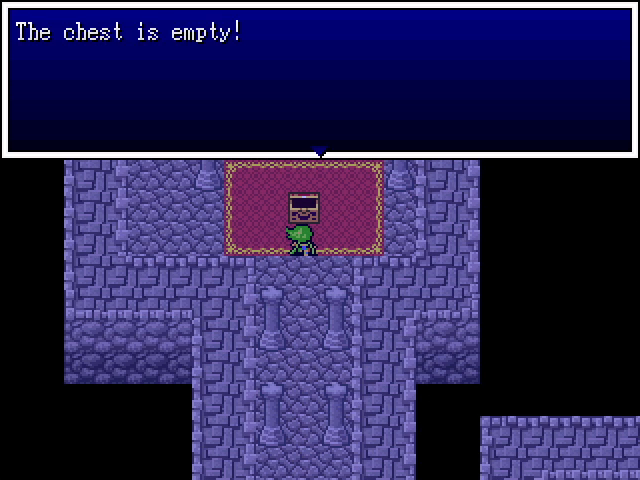
It's empty, though.
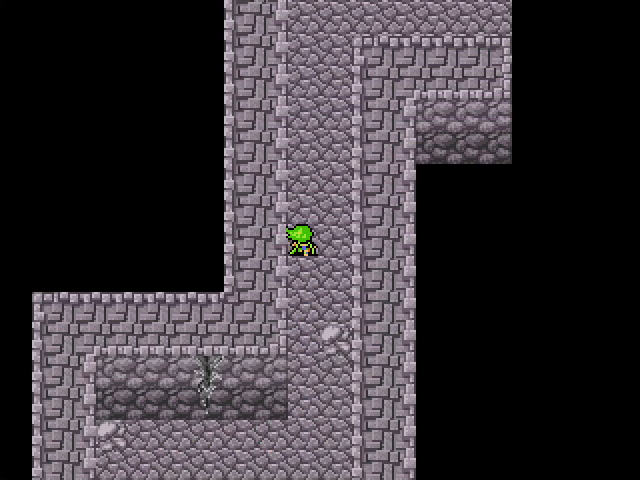

The next temple is north of Tohl, and it's another standard dungeon with not much worth mentioning. There are some decent treasures in these things, but nothing better than an iron claw and this noiseblaster that we can't use due to a lack of an Engineer. Even the main chest is empty.
This is the last temple. The Wand had better be here.
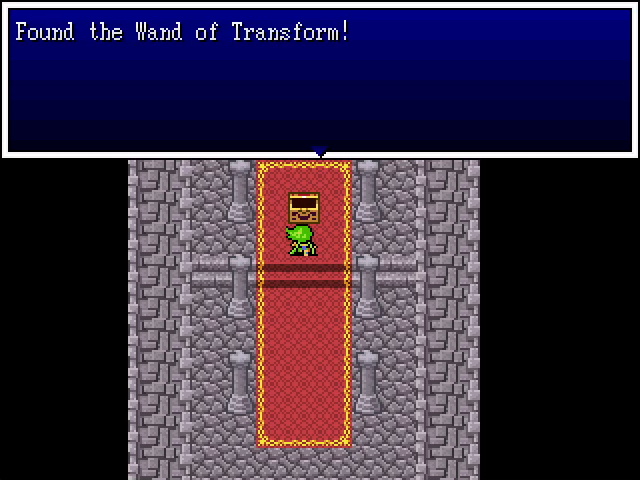
Why are these things always in the last place you look? (Answer: Because the game is programmed that way. All four temples are mandatory.)
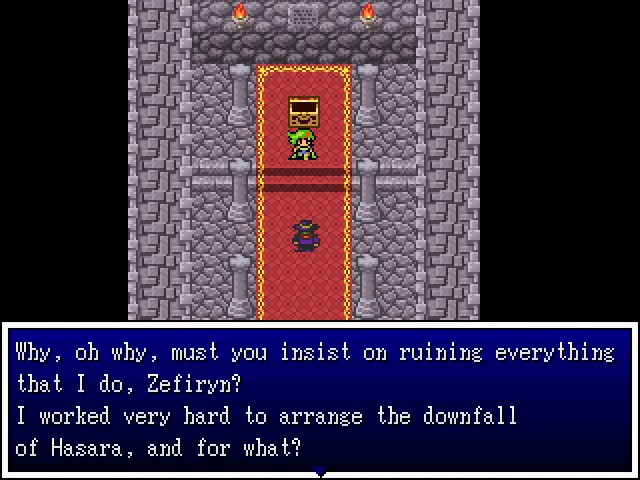
We can't leave yet, though. That weird guy we saw in Kaybee and Dracoma seems to have followed us here.
It's not clear who his boss is, but it's a safe bet that it's one of Mephistocles' generals.
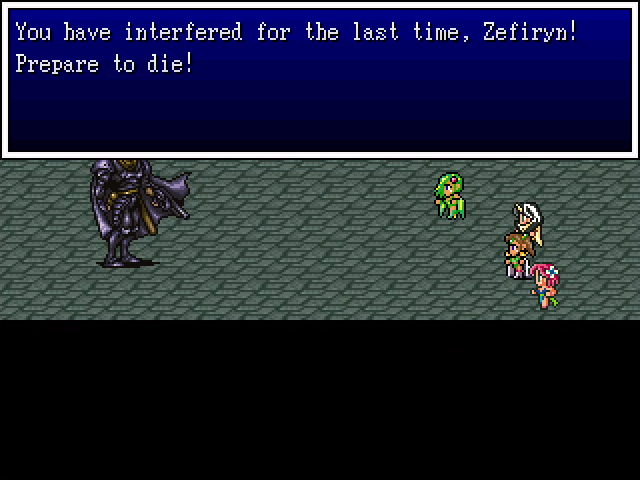
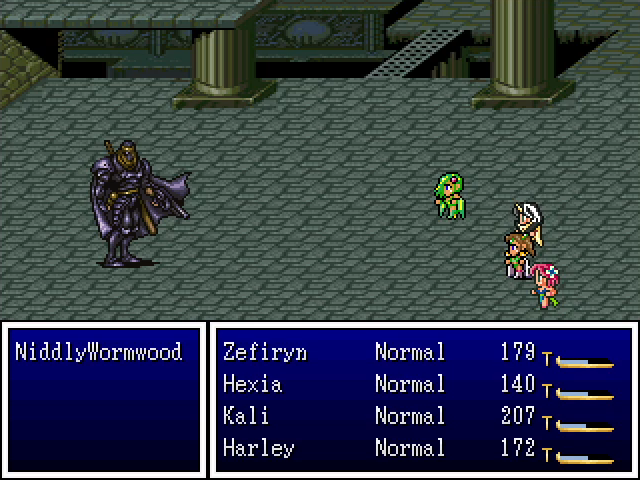
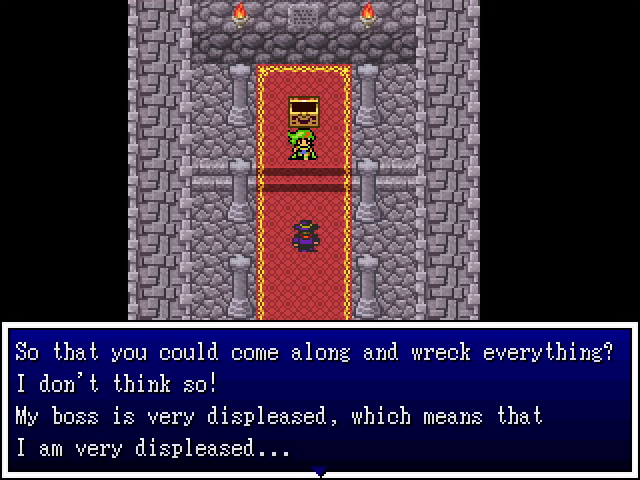
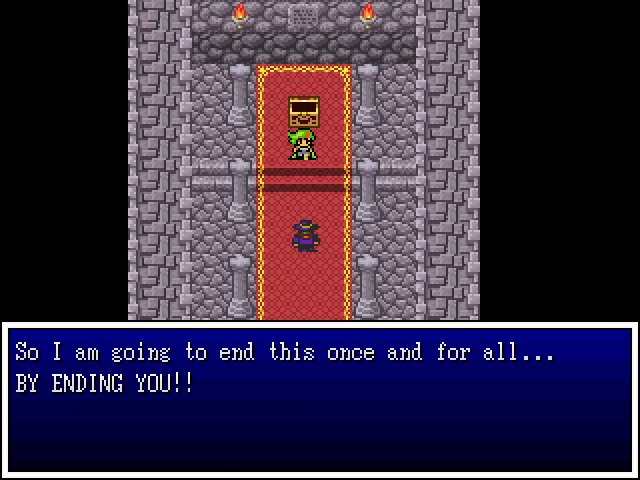
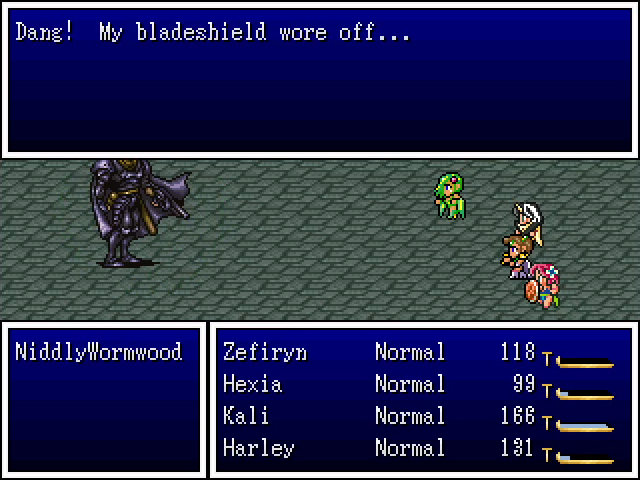
Meet Niddly Wormwood. My memory says his name is mentioned earlier in the chapter, but if so I completely missed it. Niddly is the one responsible for the dumbass mine ghosts, for the exotic fish-borne disease, and for the mass polymorph incident in Tyrsis. He's behind everything in this chapter, and beating the shit out of him is kind of cathartic.
Niddly's fighting style is as annoying as you'd expect from someone who's done all this. Besides attacking, he can also use a Warlock's Love Potion and Sleep Potion to inflict Chaos and, well, Sleep, respectively. He also has one other trick.

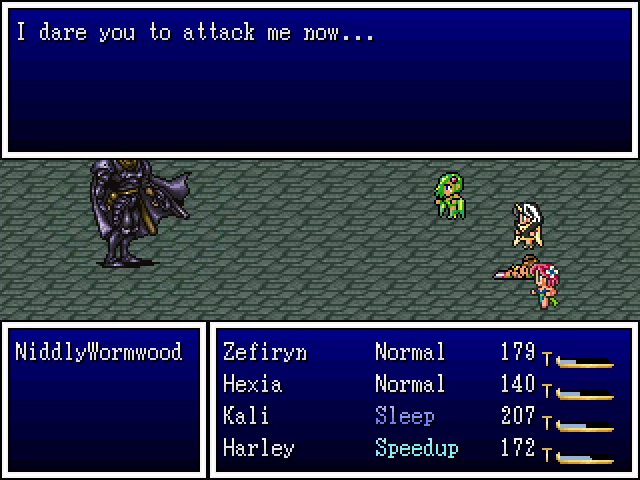
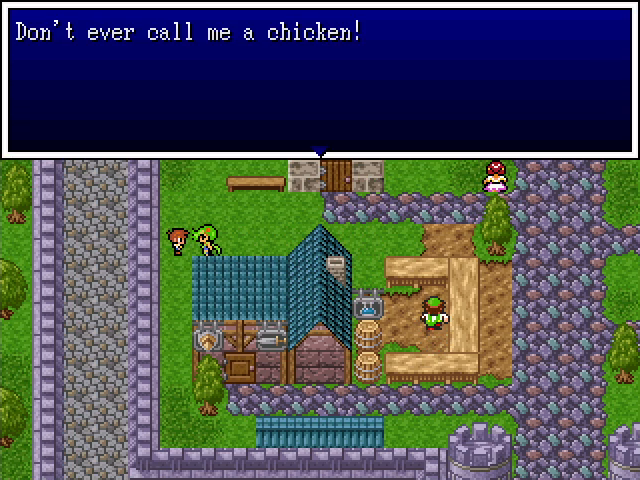
He has Bladeshield, the effect of which should be pretty clear based on his dialogue.
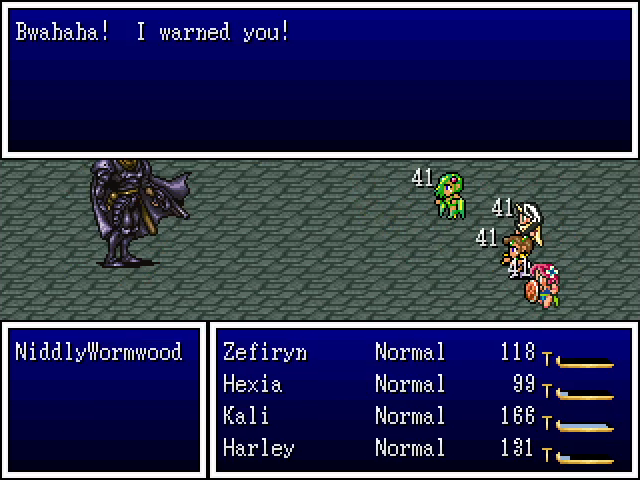
You hit him, he hits back.
Luckily, he's pretty clear about letting us know when it wears off.
This fight is a huge slog and not really well-designed. The big problem here is Bladeshield: Niddly can and will use it while it's already up, which refreshes its timer. This forces the player to sit for long stretches not doing anything, since eating the counters is an excellent way to lose the fight.
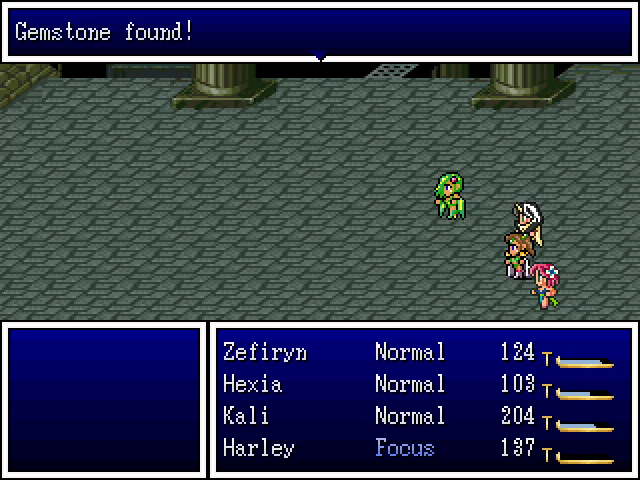
Still, we eventually come though, and we even get to claim a valuable gem from his corpse. Eat shit, Niddly!
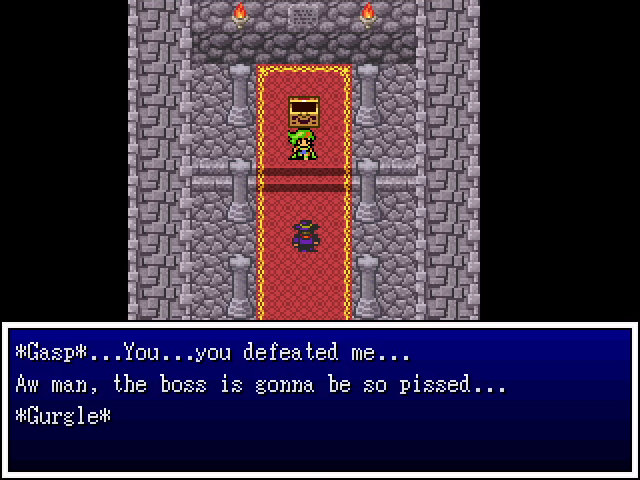
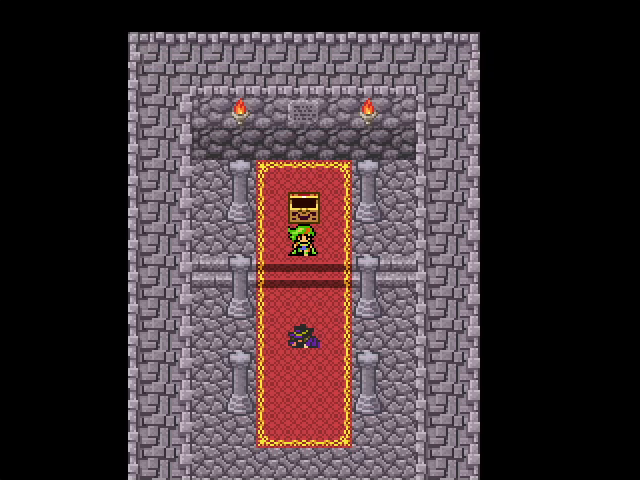
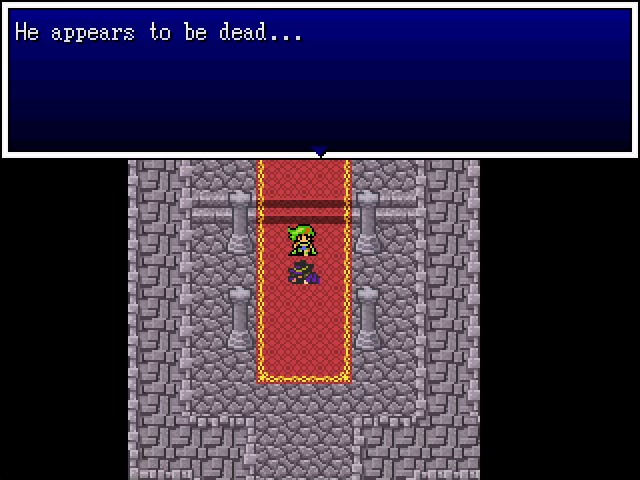
He's definitely dead, no ambiguity, no chance that we'll ever have to beat the shit out of him again. Let's go back to Tyrsis.
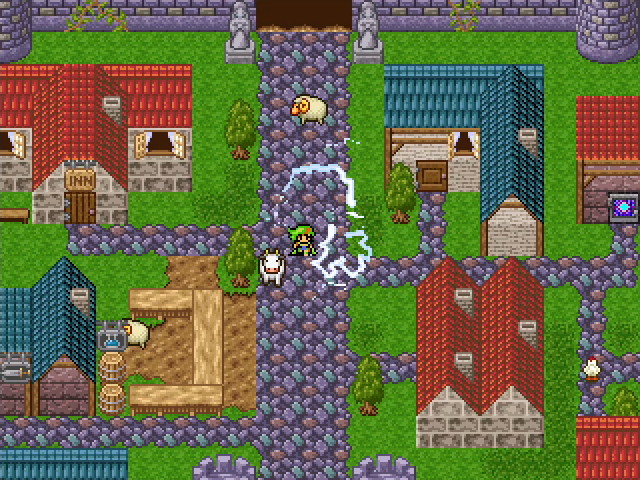
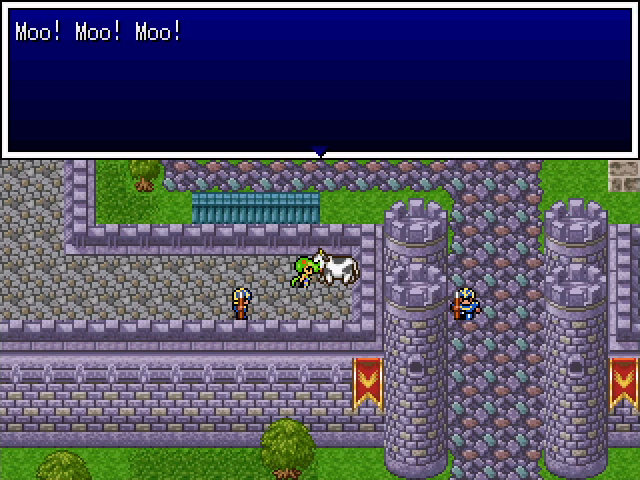
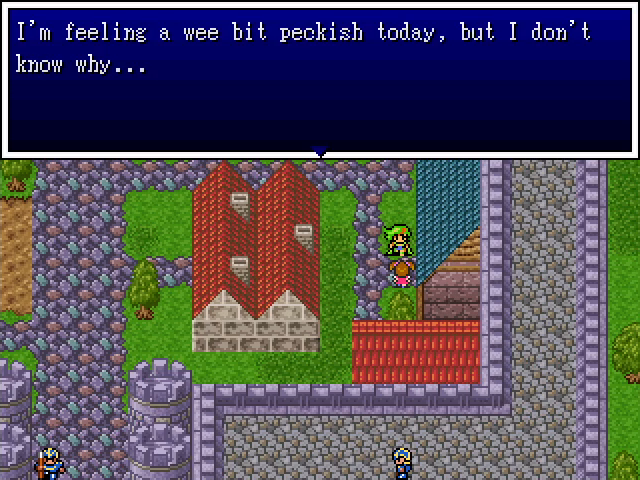
After some fancy visual effects, the city is restored. Well, mostly. There still seems to be a cow on the ramparts. Wait...

BESSIE!

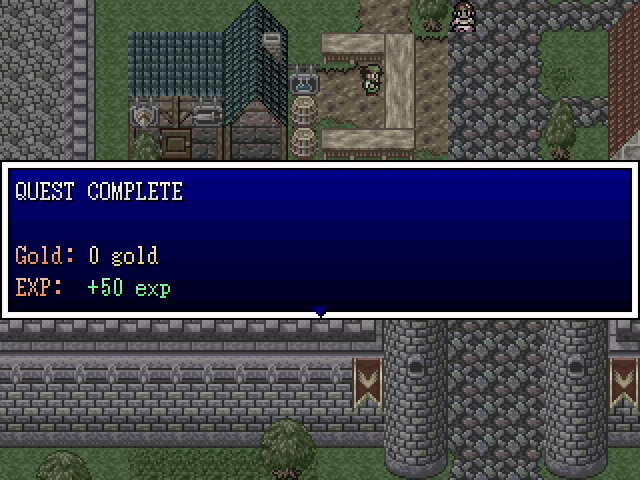
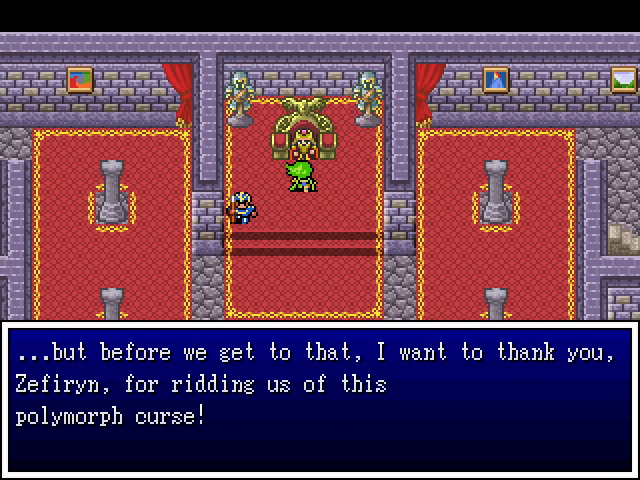
What's this?
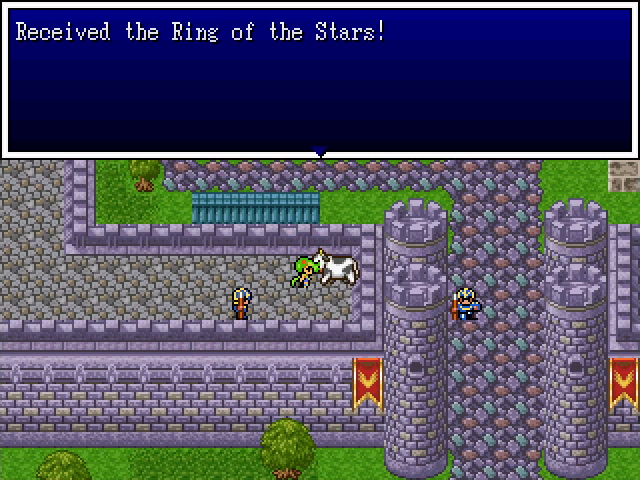
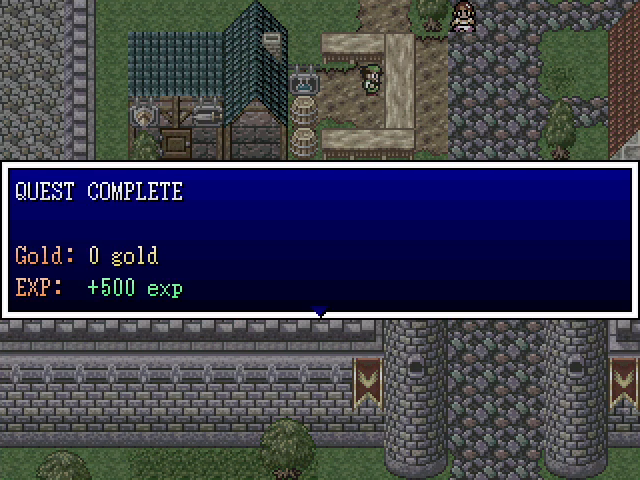
Thank you Bessie! Granted, it's past the point in the chapter where we need a boost, but +8 to all stats will be quite nice when we get back to Zefiryn.
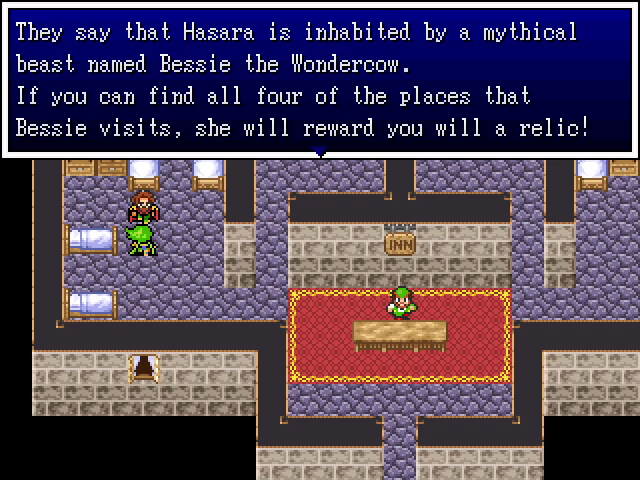
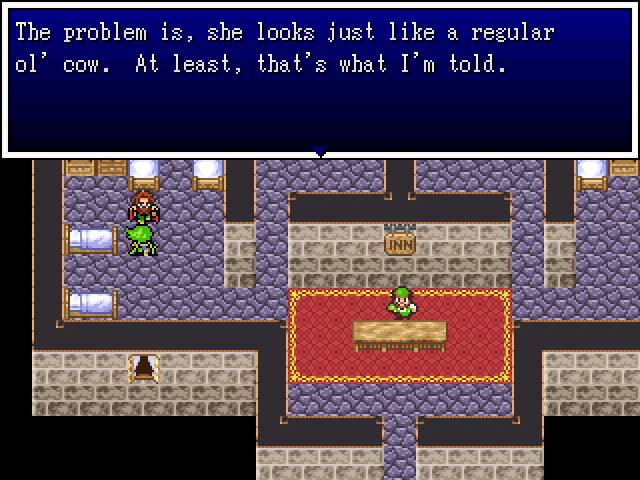
In case any of you were wondering, yes, there is an in-setting explanation for Bessie the Wondercow. It's pretty random, but I'm okay with it. It's a nice little sidequest.

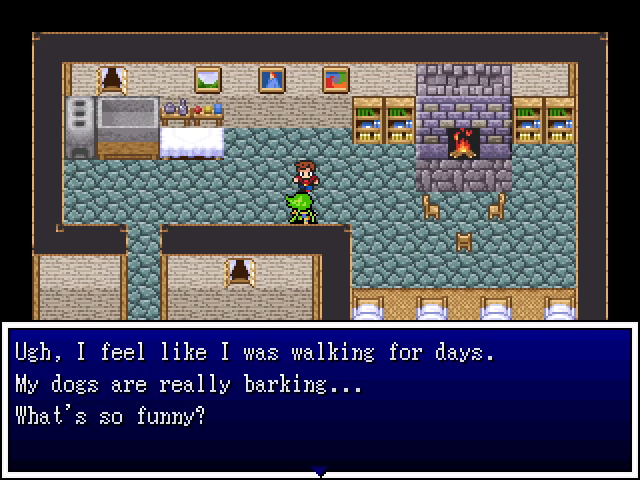
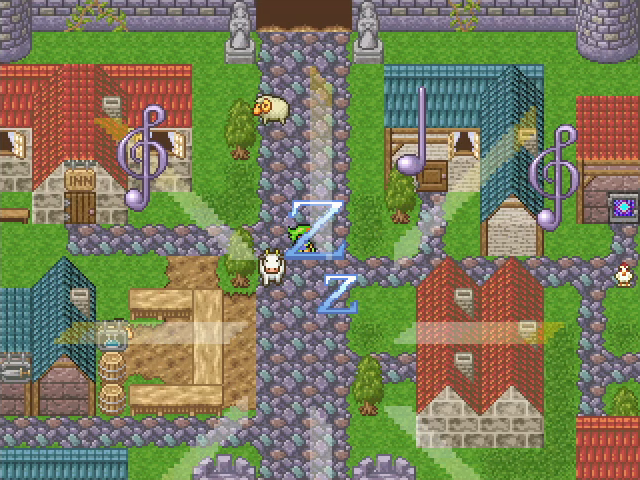
Almost all the people of Tyrsis have some reference to make about their ordeal. I'm not going to show off all the dialogue in town, but this should give you some idea. Hope you enjoy puns.

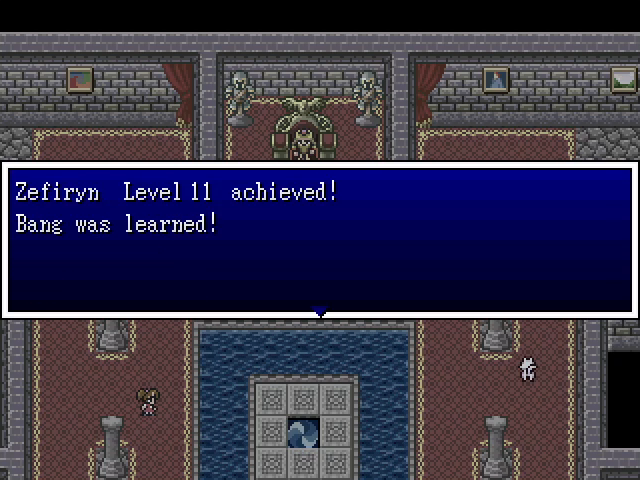
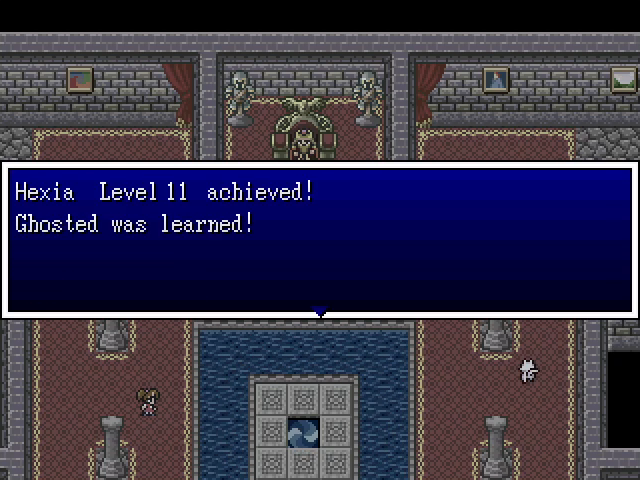
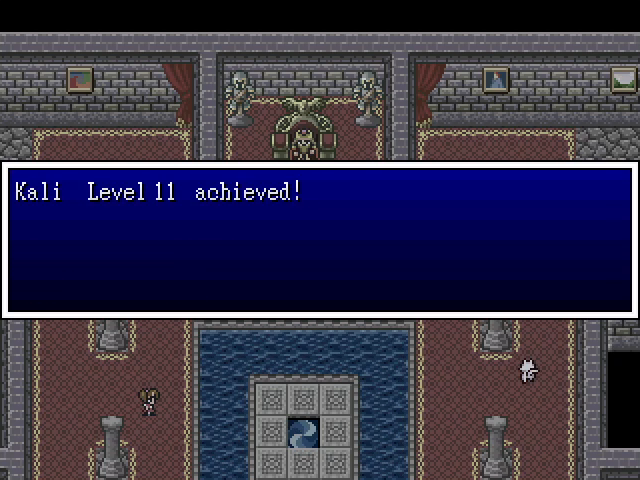

We hit level 11 at the chapter's end, with new spells for Zefiryn and Hexia. Ghosted... turns a character into a ghost. This is similar to a Shapeshifter's transformative effects, making the target berserk but allowing them to inflict much more damage, but it also makes the target immune to physical damage. This can be quite a powerful boost!
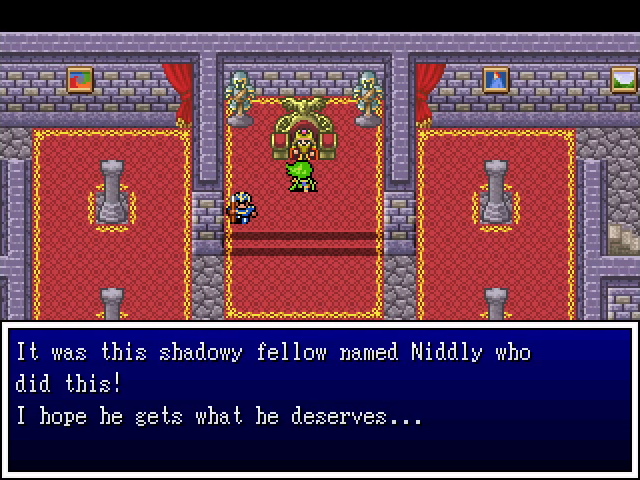
No worries, we killed him dead.
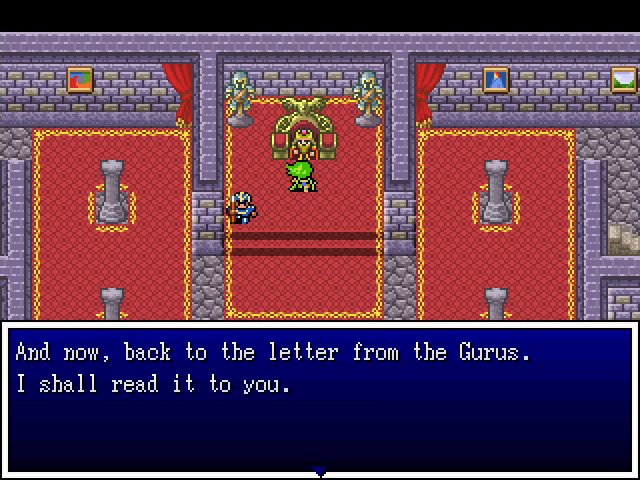
I'm skipping over the letter here since it's the exact same speech Holdana heard.

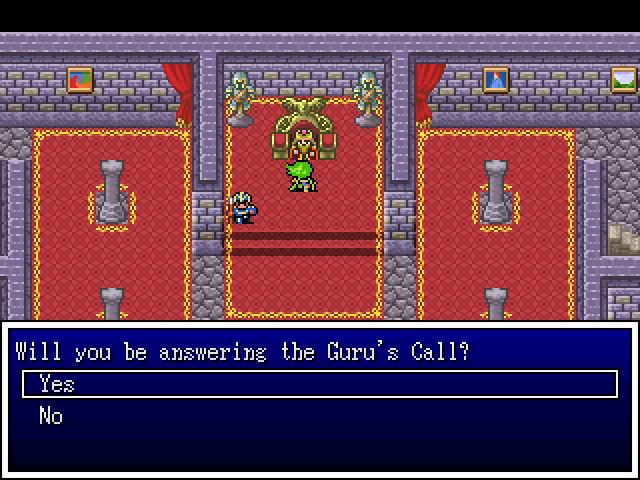
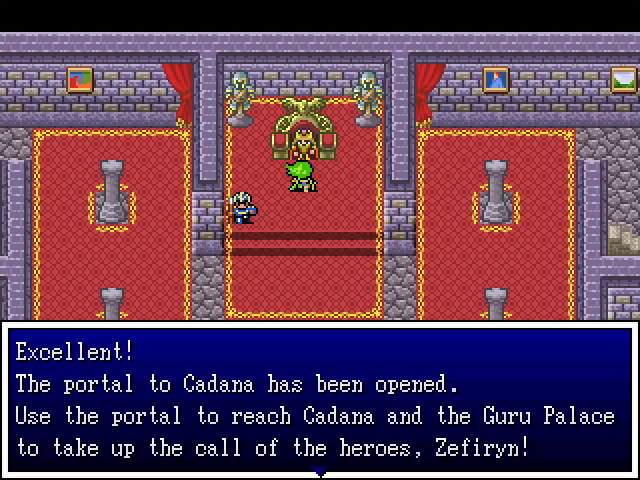
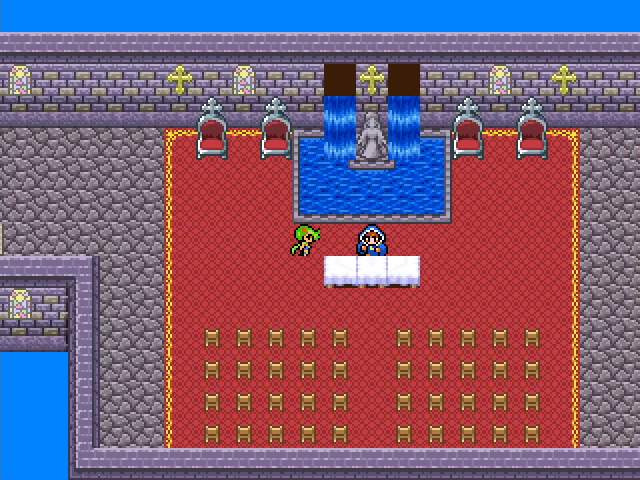
And with that, Zefiryn's work in Hasara is done! We head to the castle's main hall and jump in the teleportal.
So, where are we headed for Chapter 3, you ask? What hero will we have, and what dangers will they face? Find out next time, on