Part 14: Frogs are Assholes
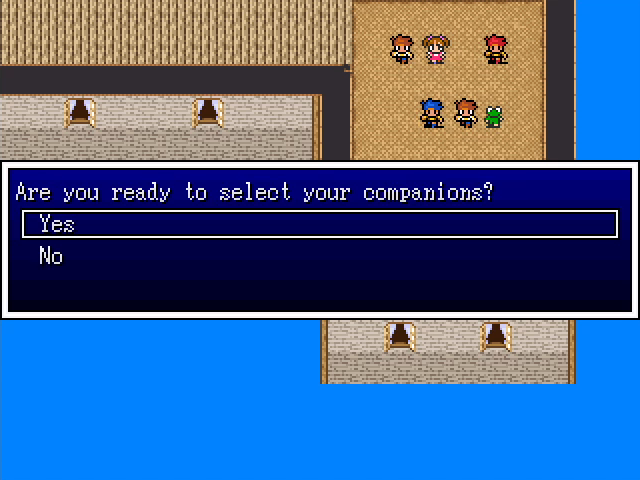
Oh yeah, I'm ready. As my readers suggested, I'm picking my own party here, one that fits the theme of a shonen series.
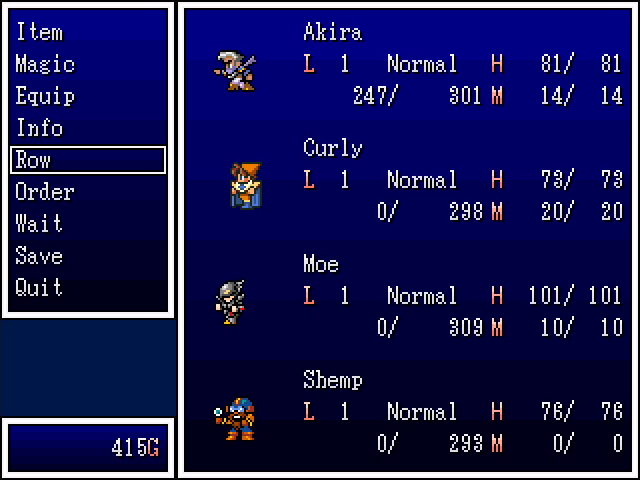
So this is what I went with. This is a shonen story, so obviously they're all male. We have the quirky Mesmer sidekick (Curly), the brooding Black Knight loner (Moe), and the wise Engineer mentor (Shemp). Plus, at least one person should appreciate the naming scheme.
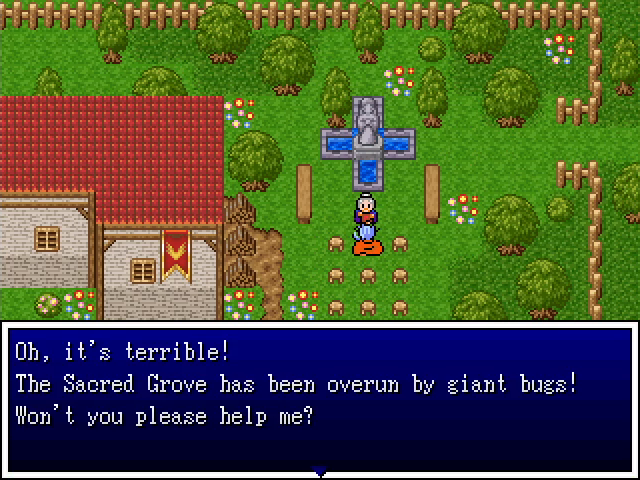
Before we leave, we'll take care of a brief side activity.

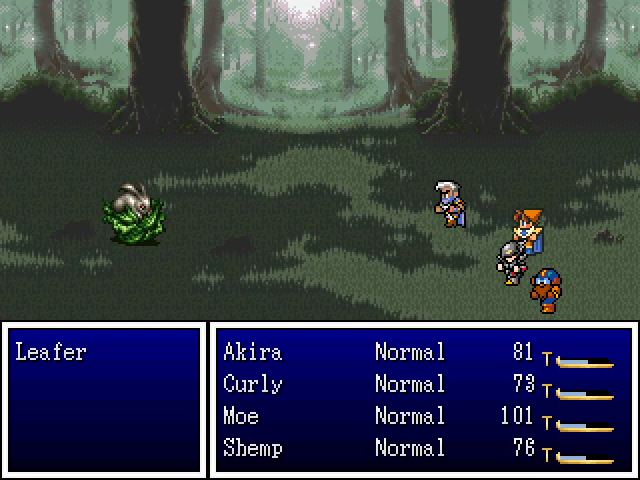
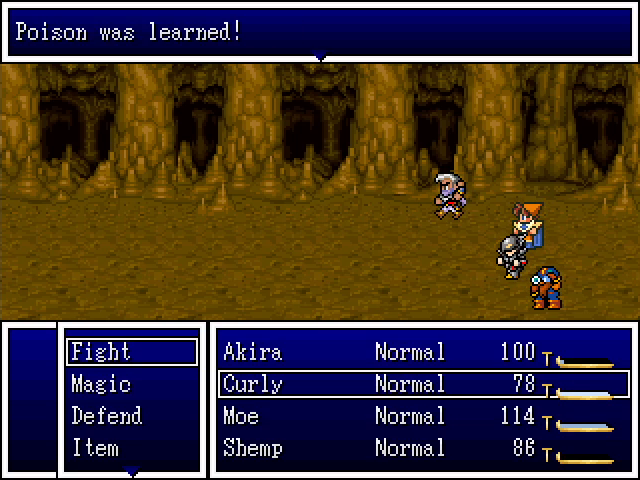
It's pretty straightforward: walk up to the bugs, win a simple fight, and leave. The giant bugs can inflict poison, but are otherwise quite weak, as they're intended as a way for Akira to gain some prestige.
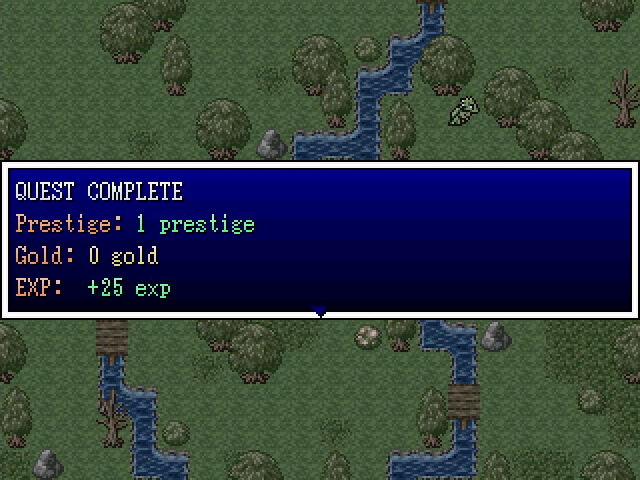
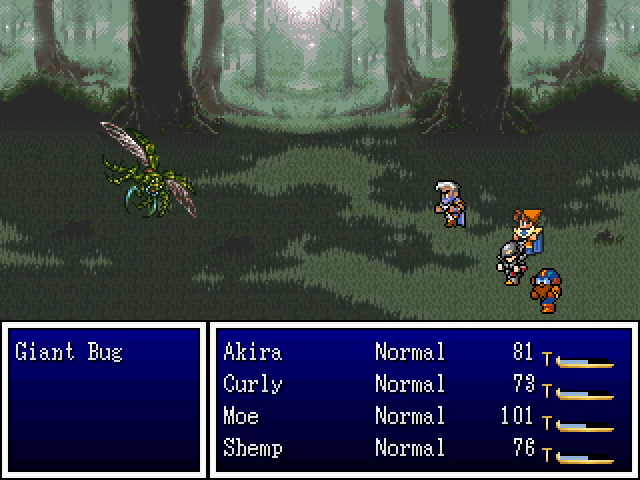
Defeating them yields 1 prestige (which we no longer need) and a token amount of XP. I avoided this area because I don't need Akira gaining even more XP that he doesn't share with his allies.
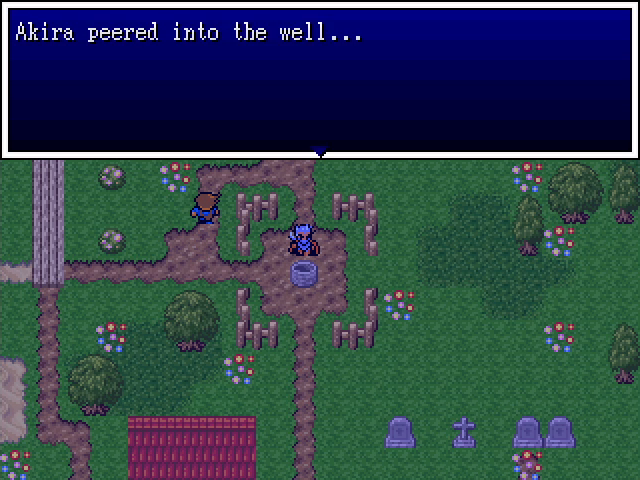
The Vegeta well has a tiny medal house, as you'd expect.
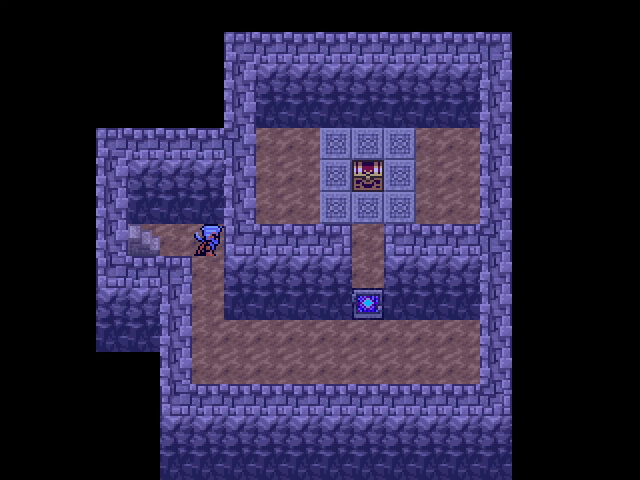
To the side of the dojo is a basement area containing a chest. We've seen this type of locked door before and still cannot open it.
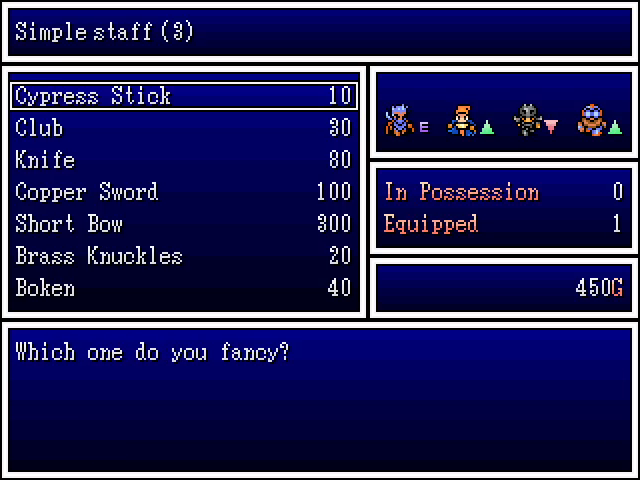
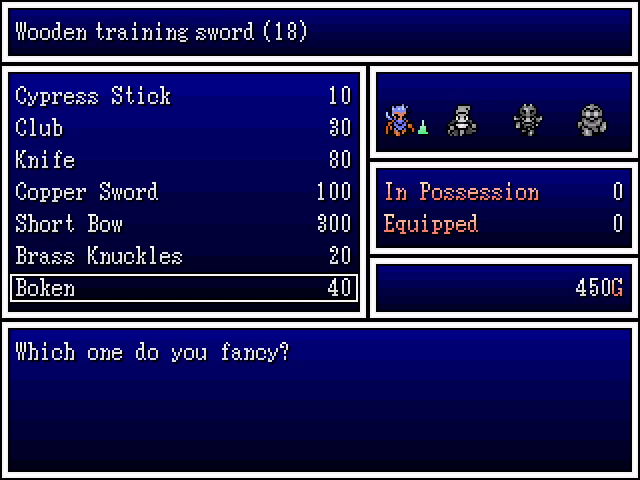
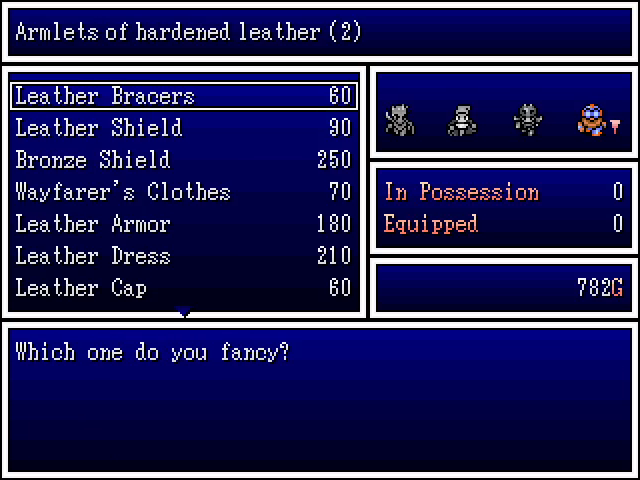
The town shops don't offer anything new, but with Akira in our party we can actually make use of the boken. It's a pretty powerful early-game weapon, especially for the price, and a no-brainer purchase for our current hero.
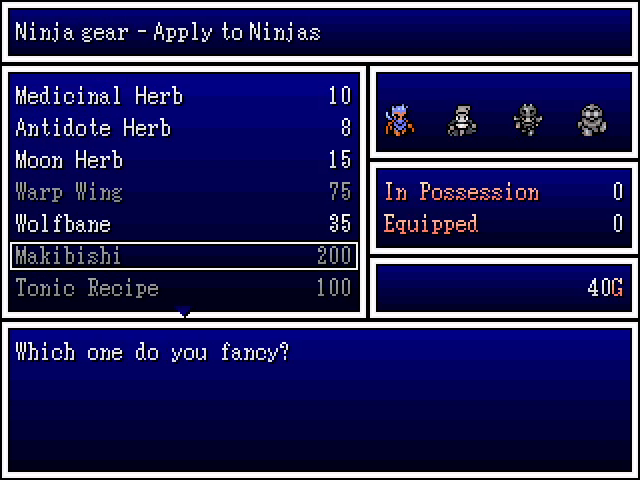
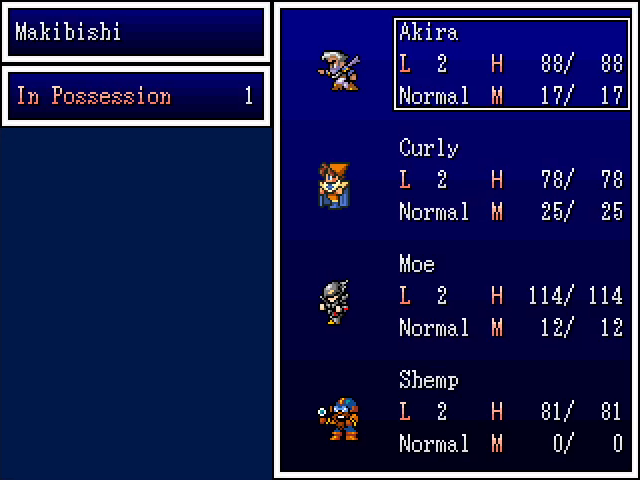
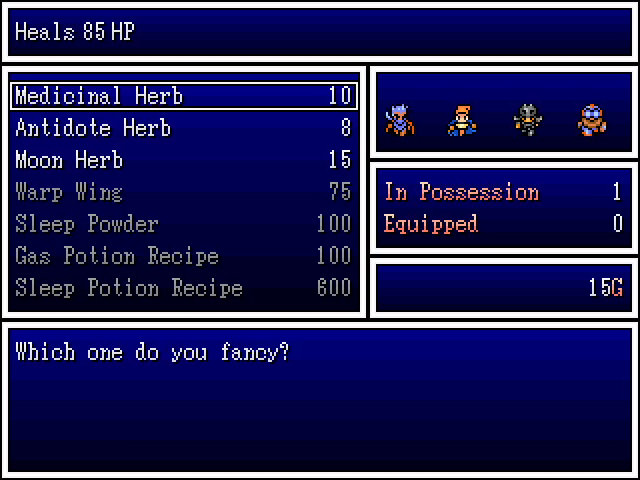
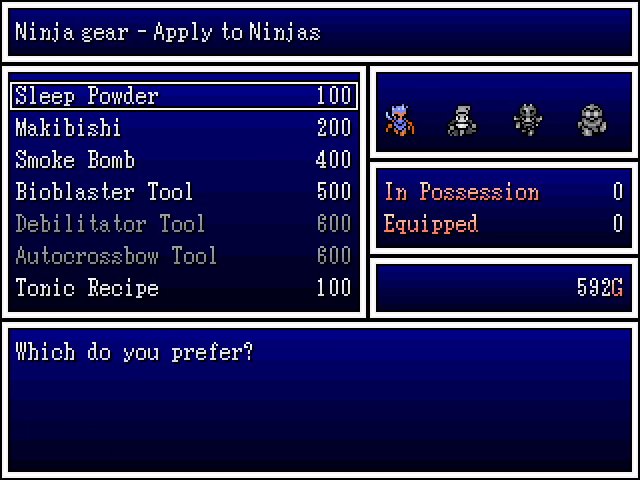
The item shop has a couple of usable items for your party. Like Hexia, both Akira and Shemp can use tiems to learn new combat abilities. The Makibishi in particular is really useful for the early game, though we can't afford it yet.


As usual, I leave town to do a little grinding before departure. The enemies here are all things we've seen before.
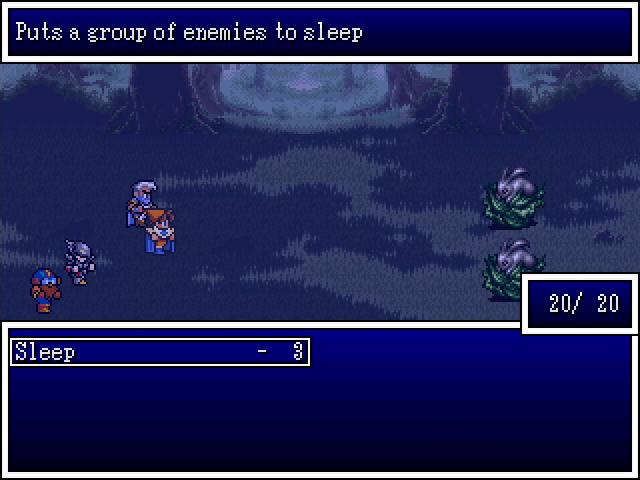
Curly's only spell for the moment is Sleep. It's not bad, but it'll be a bit before he starts getting good stuff.

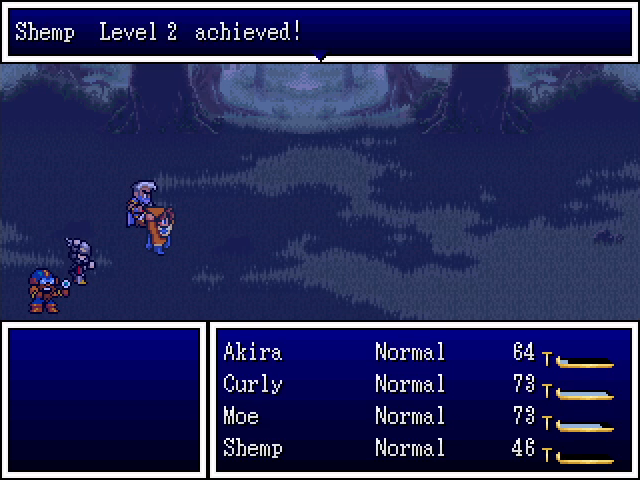
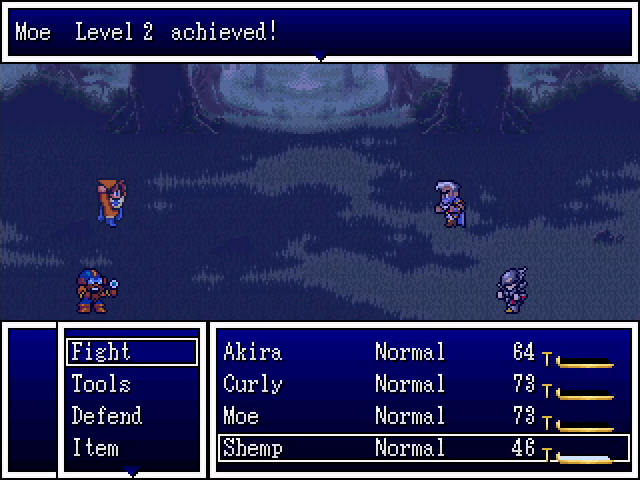
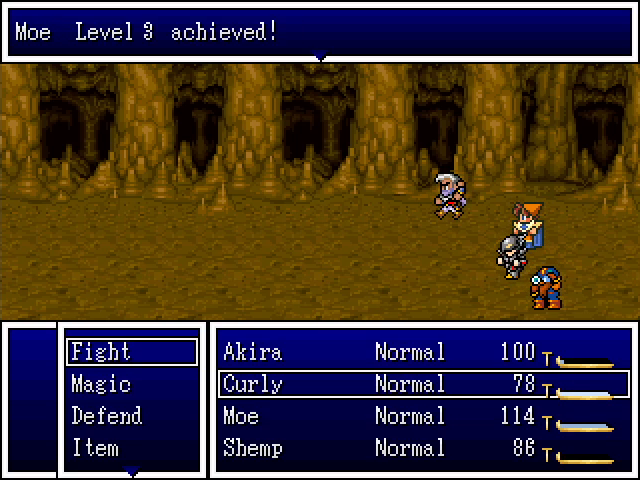
Grinding gets our heroes to level 2.

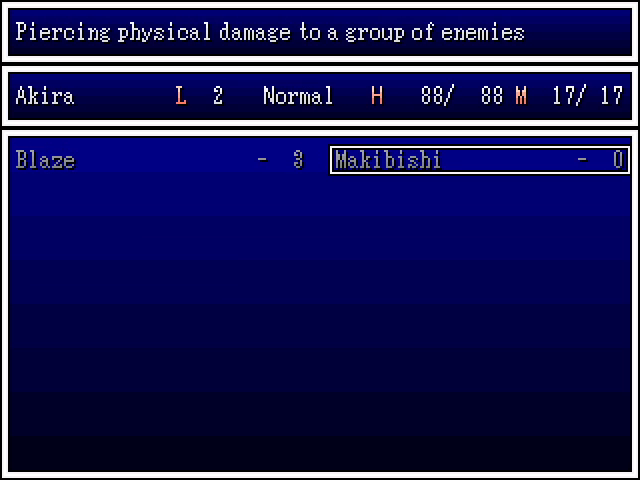
The money we got still isn't enough for the Makibishi, so we sell of a Blaze scroll to make up the difference. Being able to hit all enemies is a huge advantage at this stage of the game and will trivialize a lot of random battles.
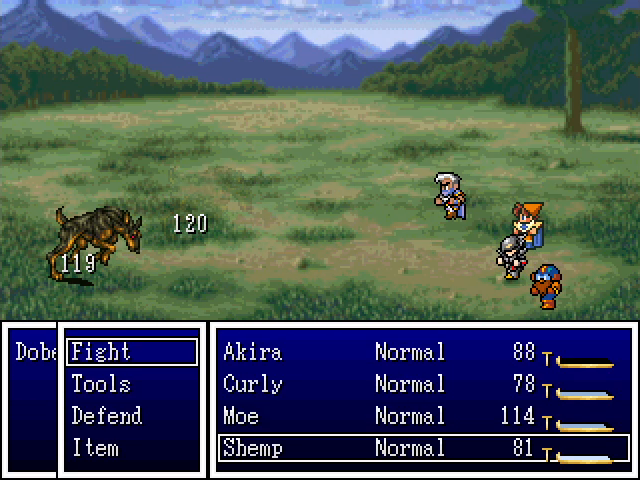
Like so. This is significantly more damage than Akira can deal with a standard attack.
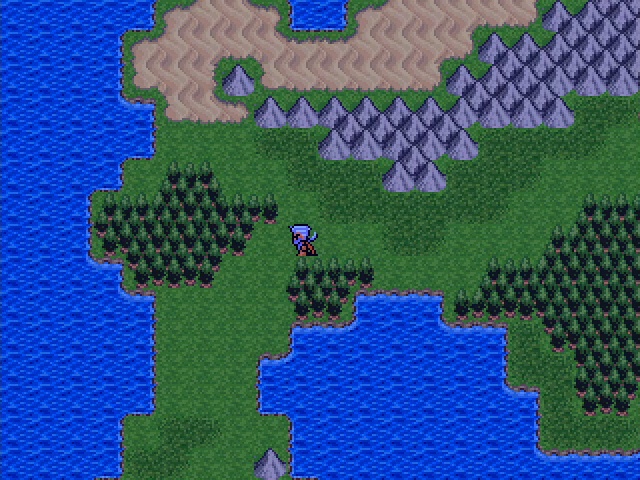
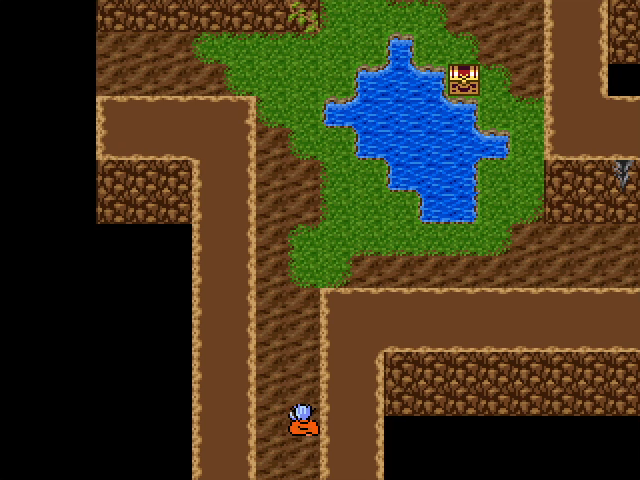
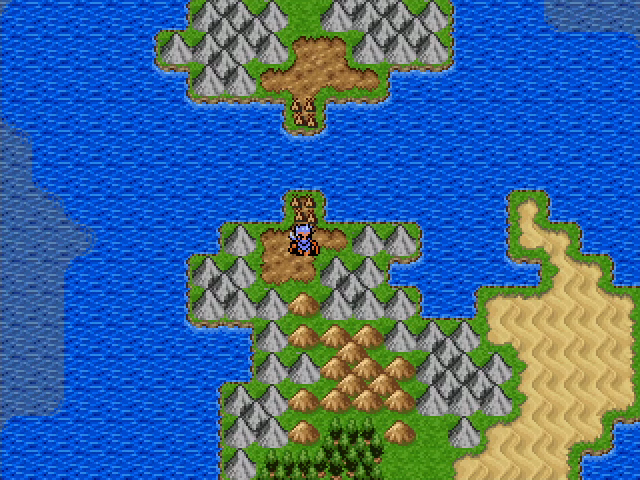
Leaving Vegeta, we make our way east into the hills, then south and back to the west, and south once more, bringing us to our next town.
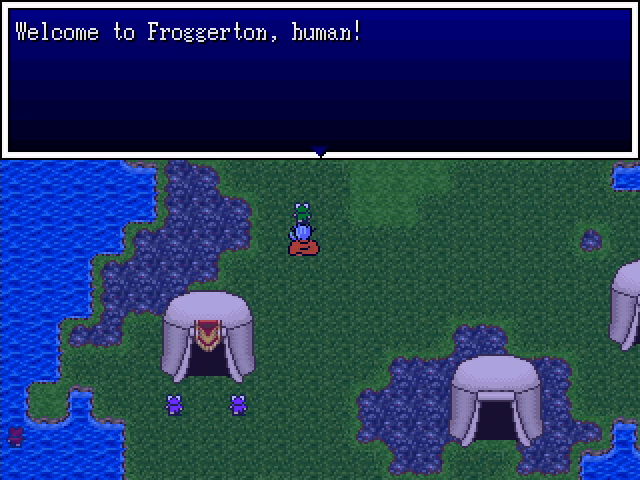
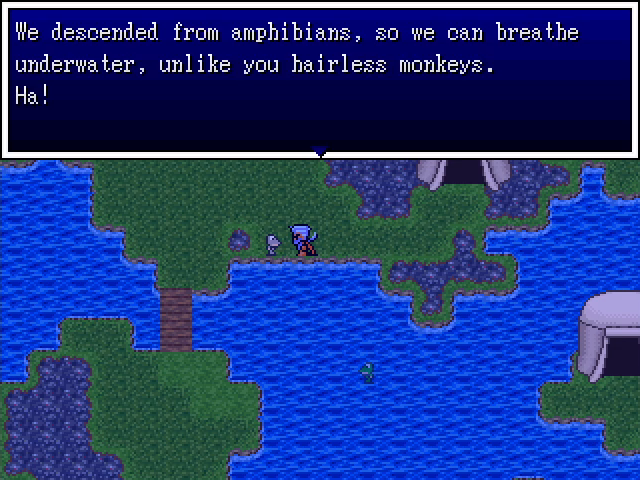
It's a town full of frogs. The frogites are fairly common in Jumongu, so this isn't too weird. They also love swampy terrain, which damages us when we step on it. This down sucks.
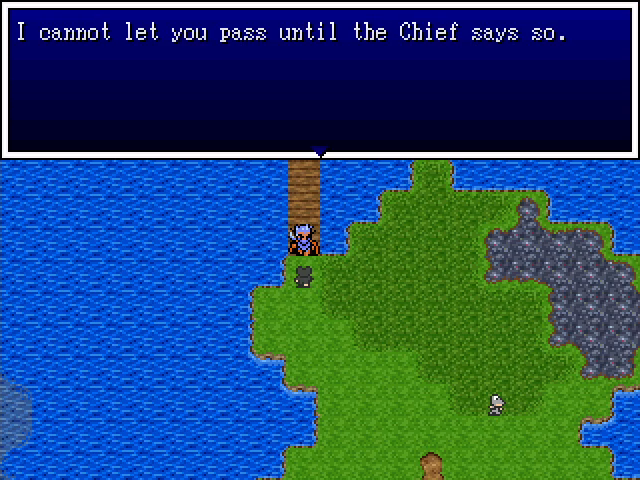
Inside the important-looking tent is the frogite chief. His subordinates are very serious about him.
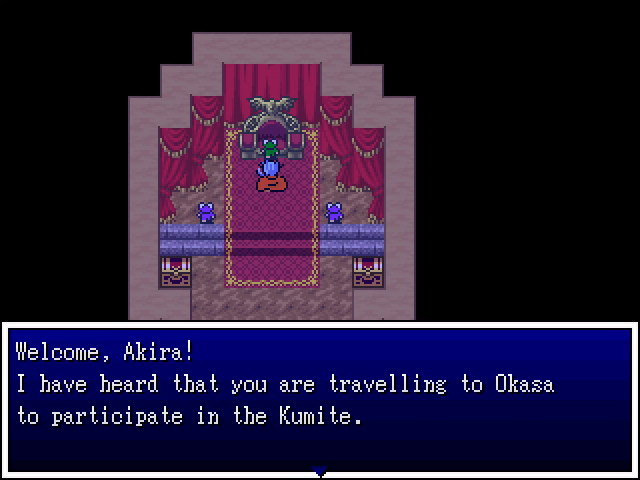
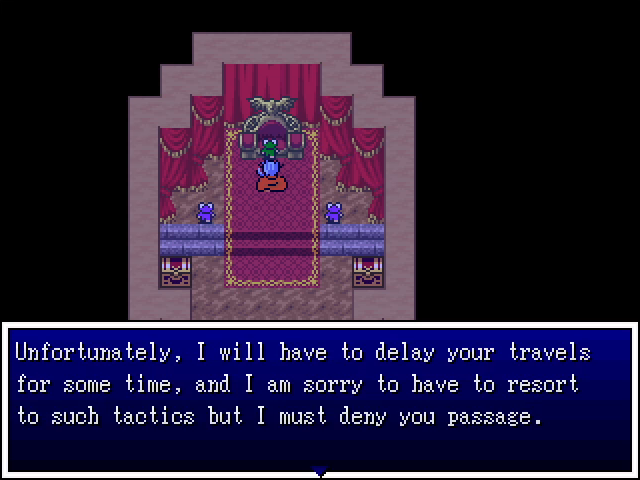

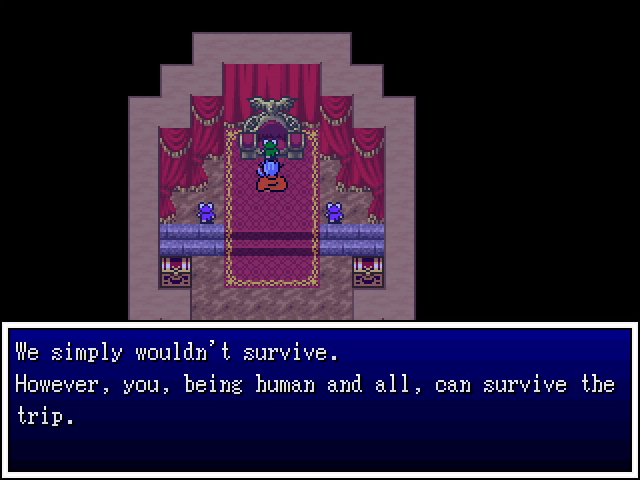
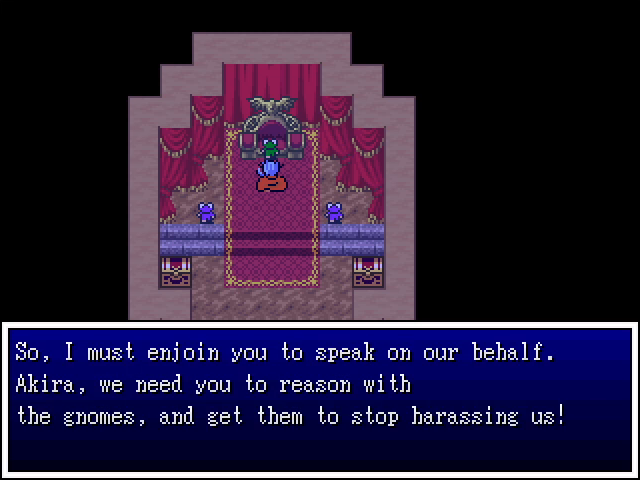
Of course it can't be a simple matter of walking directly to Okasa.
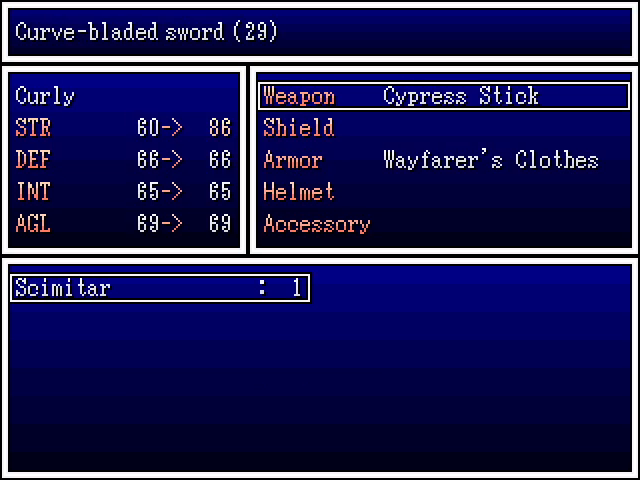
One of the chests in the chief's tent contains a scimitar. While this would be a mild upgrade for Akira, I opt to give it to Curly, for whom it is a significant improvement. Mesmers have somewhat lackluster magic, but make up for it with a surprisingly good set of equipment options.
Fuck you, frog.

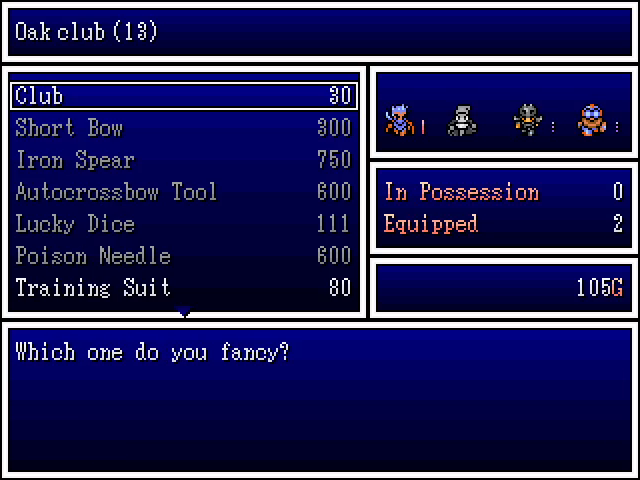
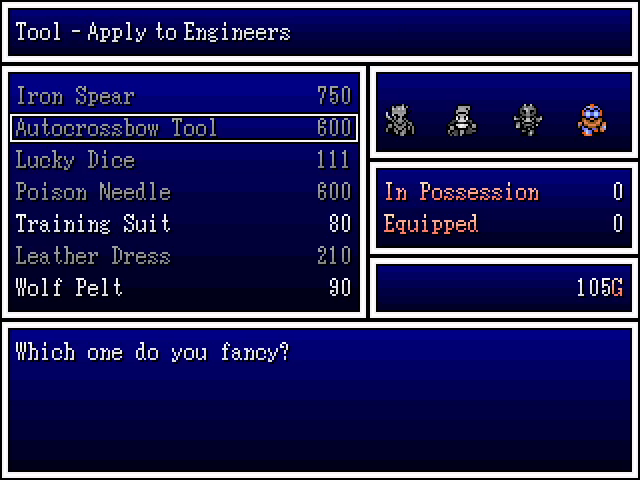
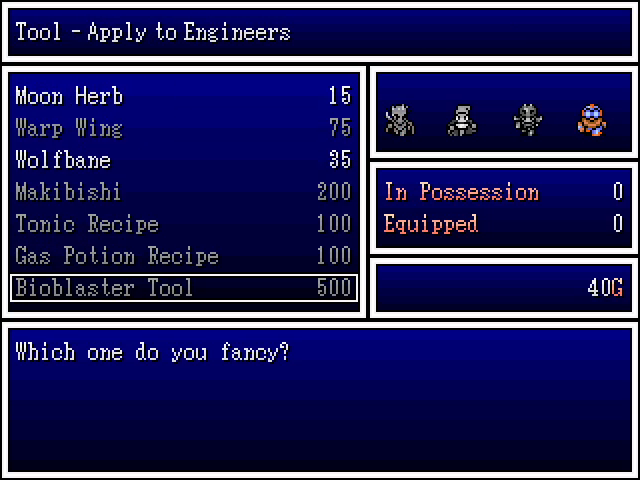
The items sold in Froggerton aren't a huge improvement, all things considered. The Autocrossbow tool is definitely appealing, but like the Bioblaster, we really can't afford it.
At the south edge of town is this frog. I do not know why we can't step on him and move on, but oh well.
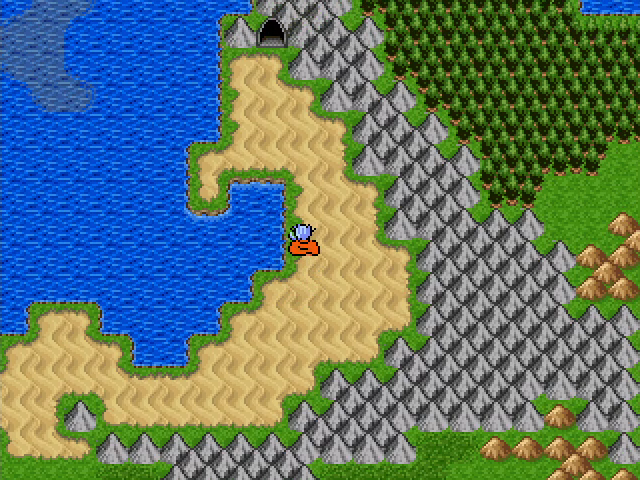
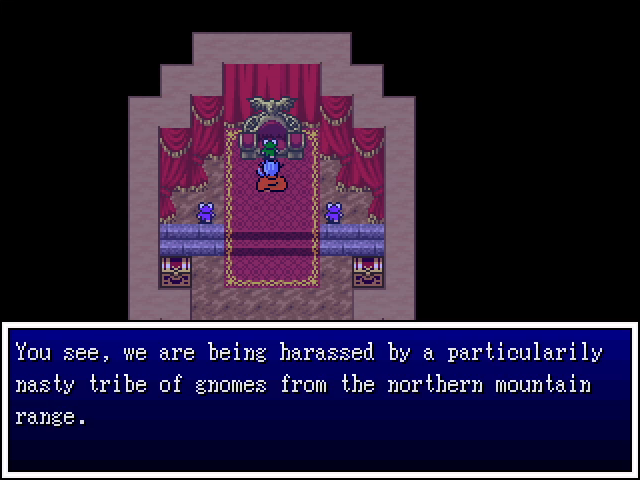
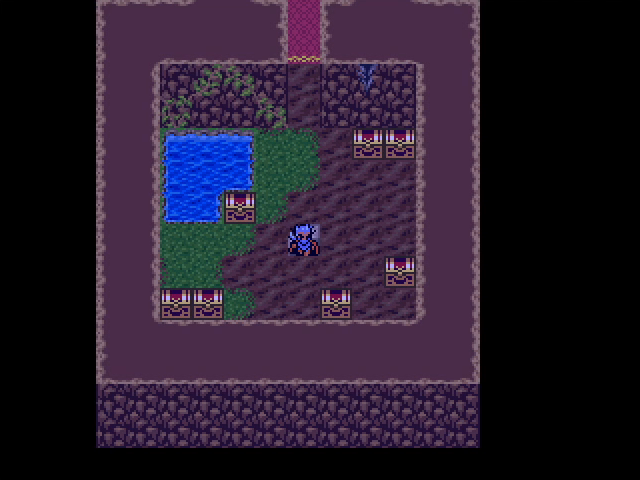
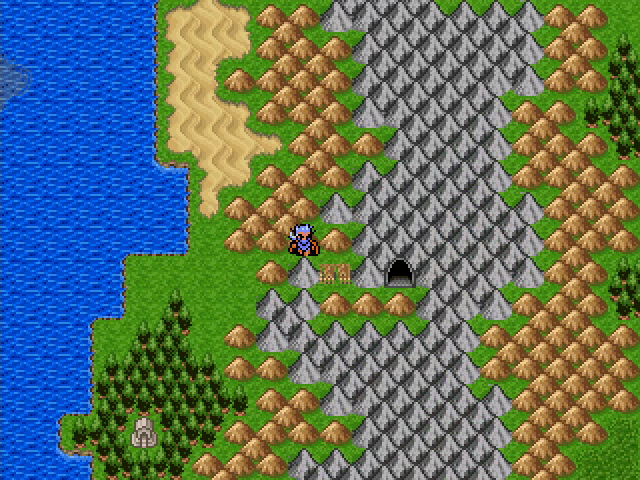
The Gnome Cave is north of Froggerton, though the desert. It's actually visible from Vegeta.
The cave itself is pretty complex, especially for the first dungeon of a chapter. It has two floors and multiple switchbacks, making it far more complex than Merchant's Pass or the Dracoma Mines. Getting to the gnomes is fairly easy if you know how, but it does mean missing most of the treasure.
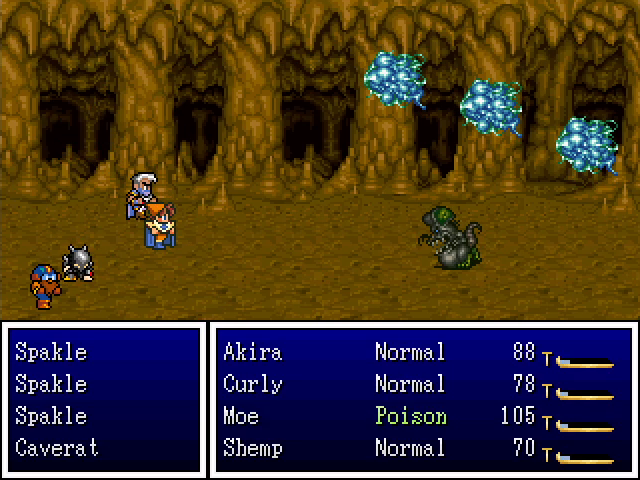
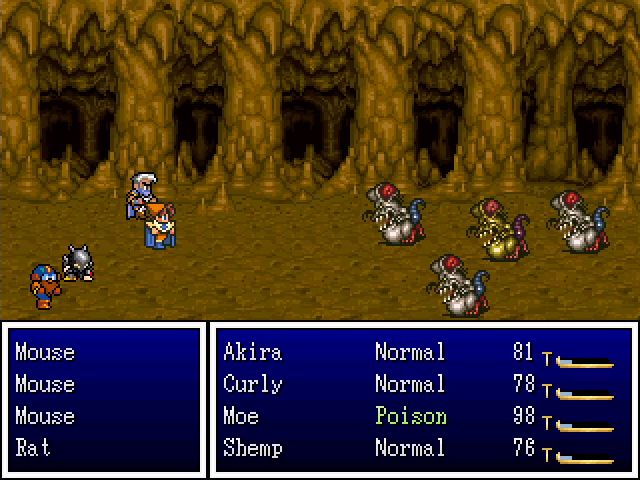
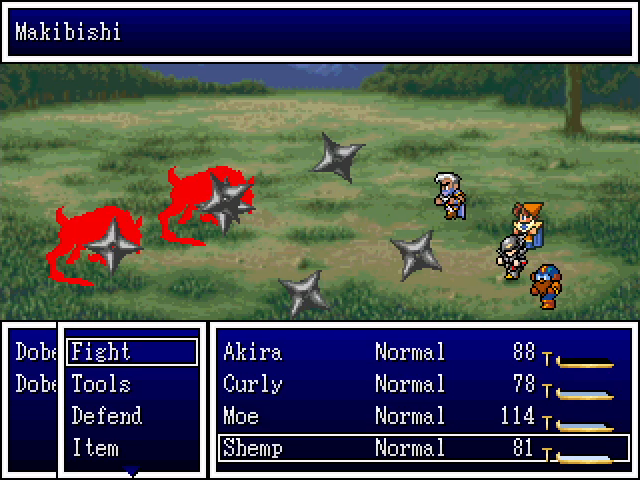
The enemies here include more familiar faces, which can be fairly dangerous due to poison and sheer damage.
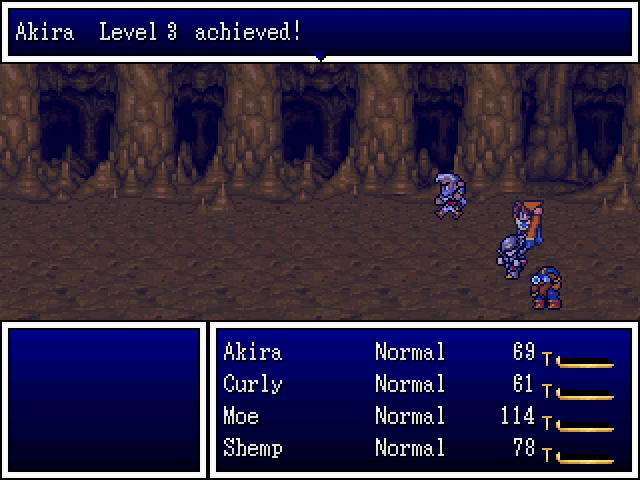
Akira hits level 3 fairly early.
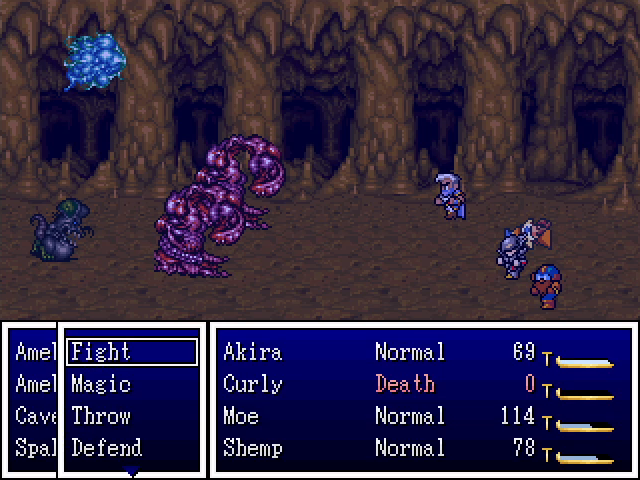
Unfortunately, Curly was dropped by an especially nasty random encounter, forcing us to head for the exit.
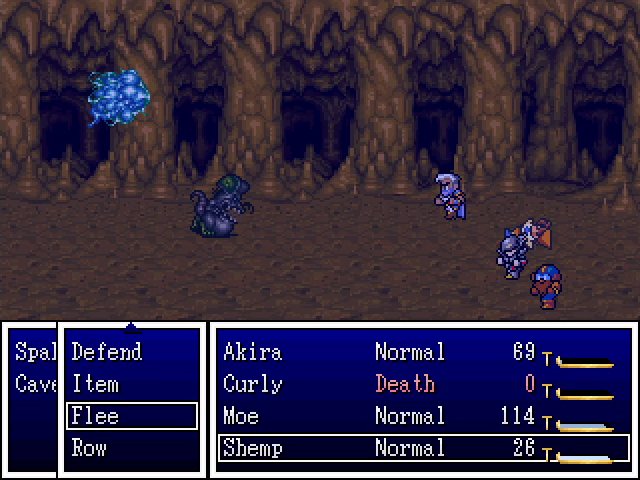
Luckily, Shemp's Escape command is replaced by Flee, which is a guaranteed success in escaping battle (unless such success is impossible). Combined with his speed, this makes getting back to Froggerton fairly painless.
Unfortunately, Froggerton lacks a church. I had to use a warp wing to get back to Vegeta to get Curly raised. Fuck those frogs.


With that done, we head back to the caves to fight a few battles and get everyone else to level 3. More finally picks up an offensive spell, which is nice.
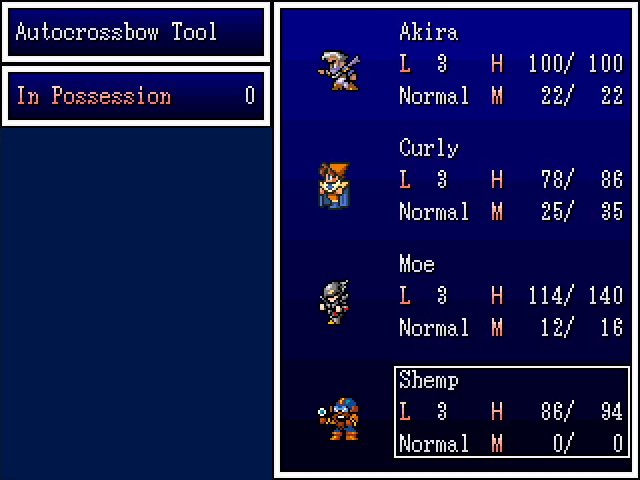
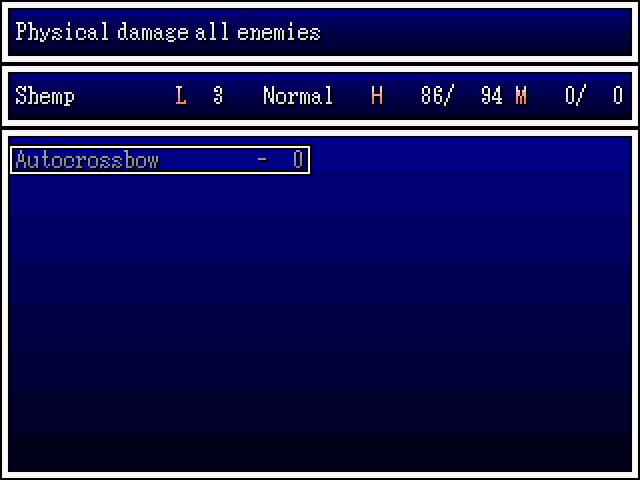
Afterward, we head back to Froggerton to rest up. Since we have a decent amount of money, we grab an Autocrossbow for Shemp. With this and Makibishi, most random encounters will be quite simple for a good while.
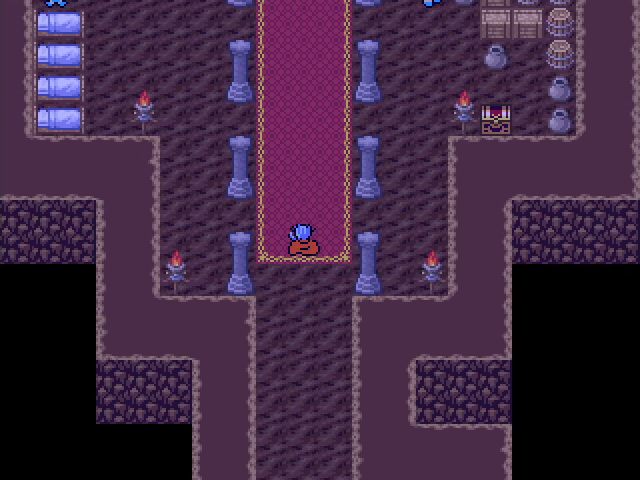
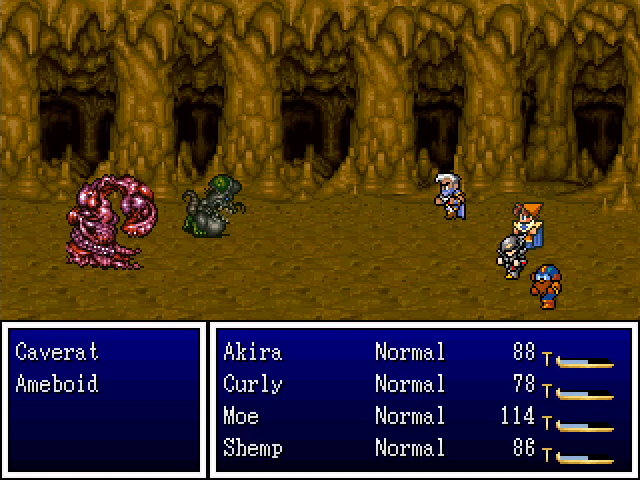
Deeper in the cave, we find the gnomes.
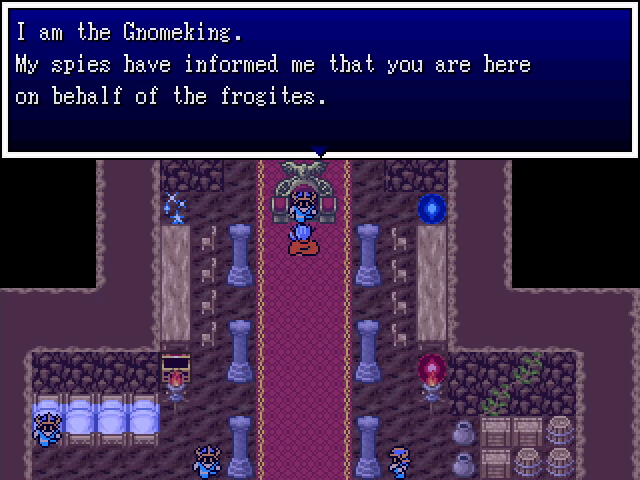
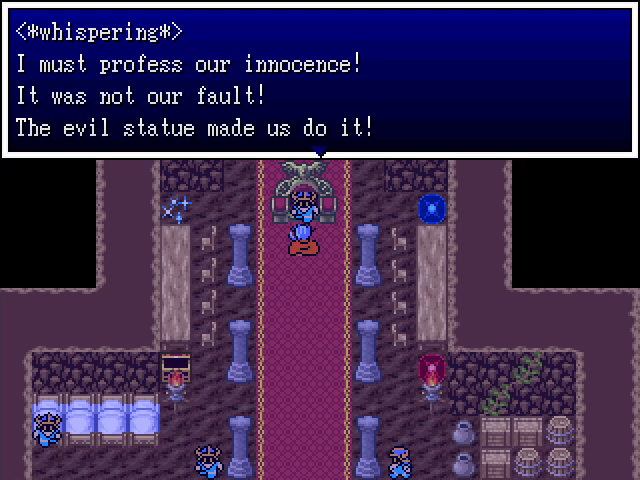
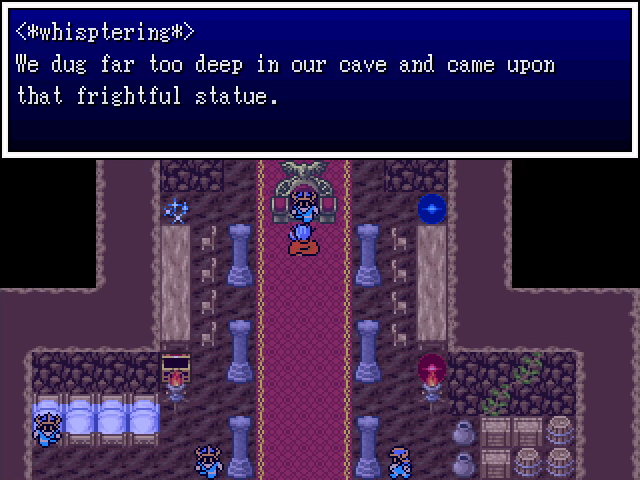
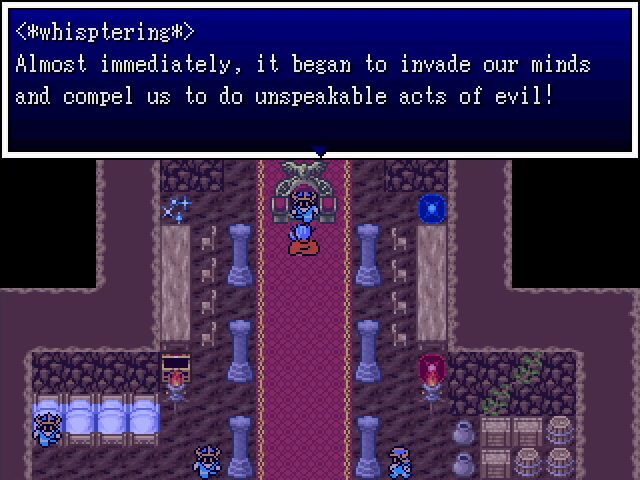
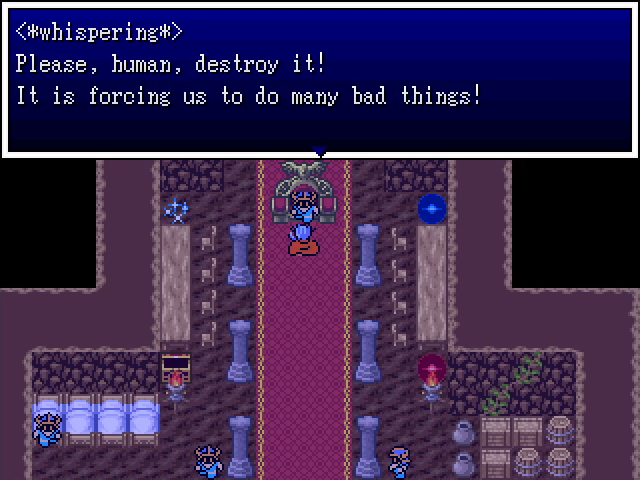
The Gnomeking tells us what's up. They delved too deeply and too greedily, and found a statue that controlled their minds. Obvious Lord of the Rings reference aside, this also gives me flashbacks to Earthbound.
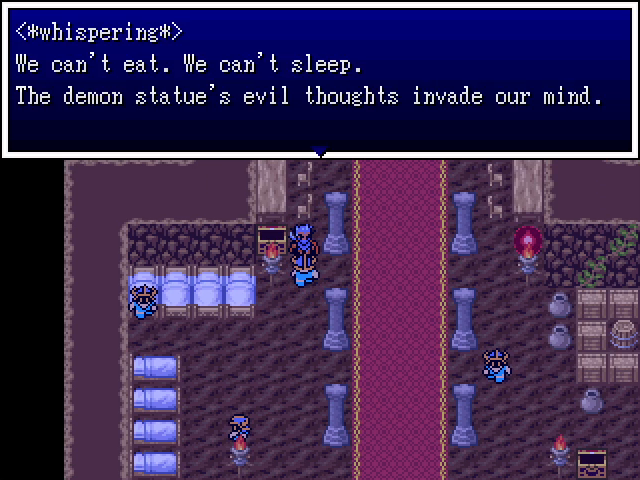
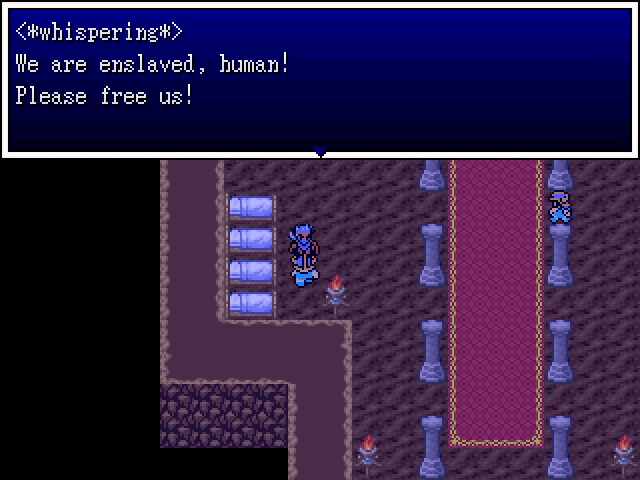
The other gnomes seem to be suffering even worse.

Well, let's go kill this statue.
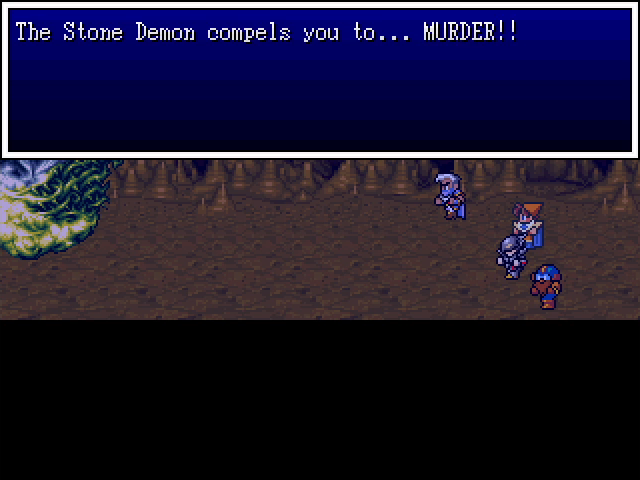
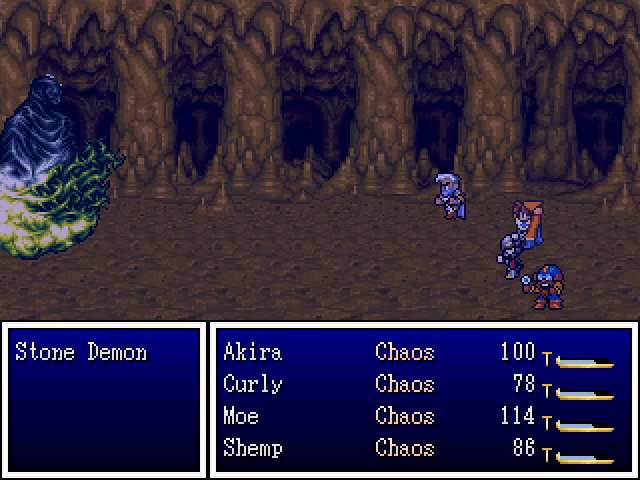
Right off the bat, this boss hits the entire party with Chaos, after which it spends a lot of its turns using Observe Battle, waiting for us to kill each other. Joke's on him; their attacks can't hurt each other. The boss does occasionally use a couple of attacks (Firebreath and Evilish Flame), but with a decent supply of medicinal herbs it's not too dangerous.
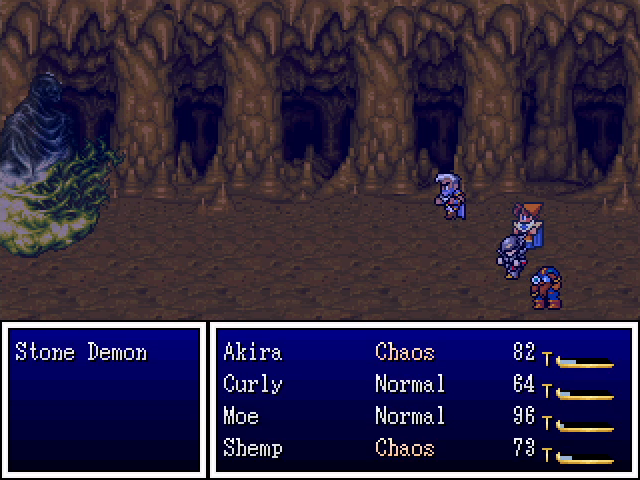
Its main gimmick, besides confusion, is turning incorporeal. We've seen this trick before, and we have two characters who can cast Blaze, and it doesn't seem to attack in this form, so it's not really a problem. Once the initial bout of Chaos subsides the rest of the fight is fairly simple.
The Stone Demon vanishes in a flash of light, and a hole opens in the wall behind where it stood.
Inside is a treasure, room! It's mostly consumables, but there are a couple of pieces of decent armor in here too.
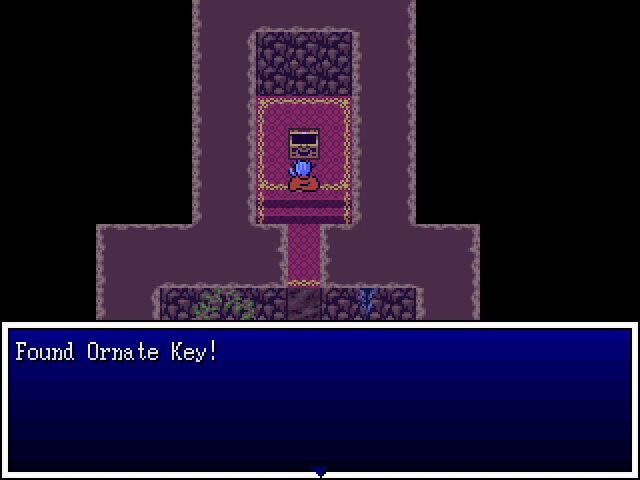
In the back is the real prize: the Ornate Key. You might be noticing a pattern with keys in the game.
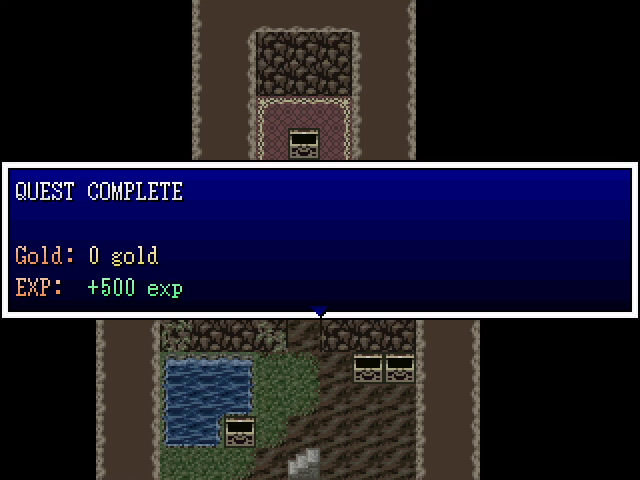
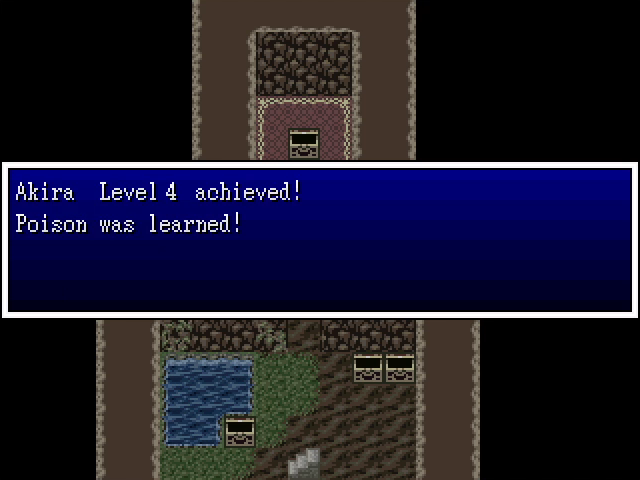
This is a sufficiently important find to be worth experience, which gives Akira a new level and the Poison spell.
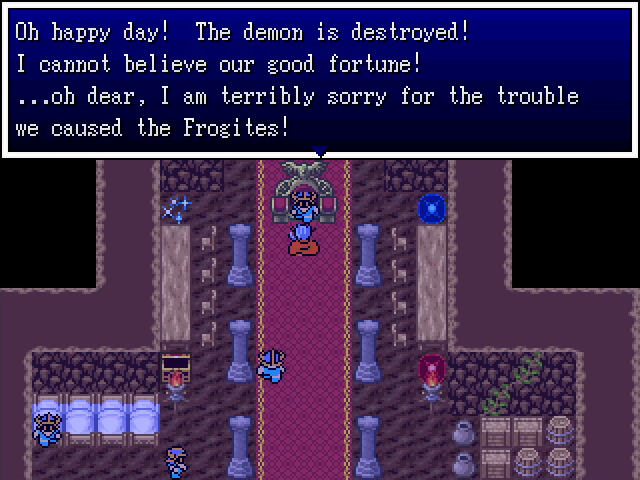
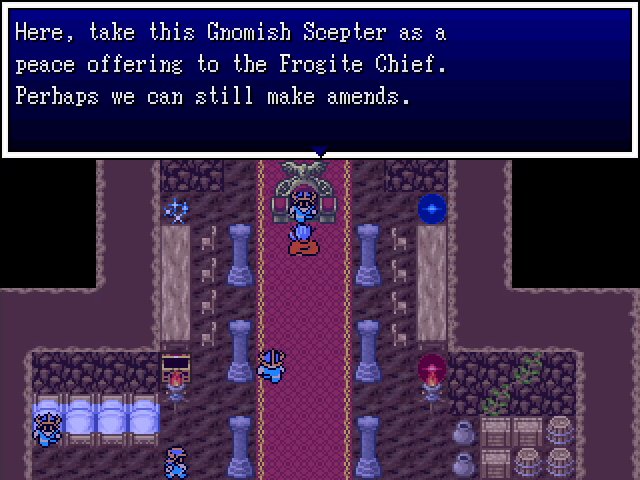
The Gnomeking is understandably thrilled to no longer be in the thrall of a demon statue, and gives us his scepter as a peace offering for the frogite chief.
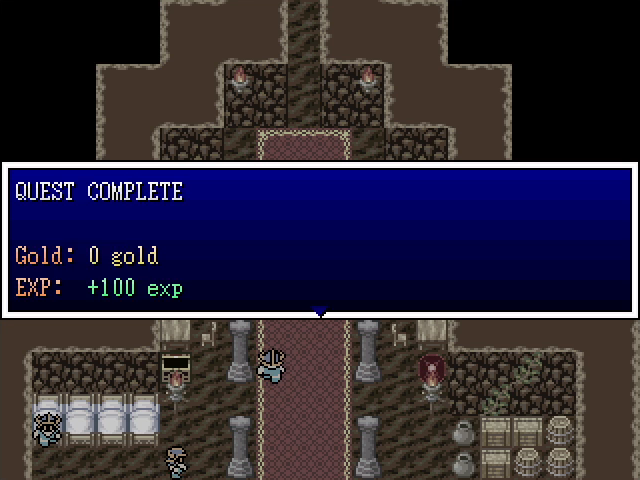

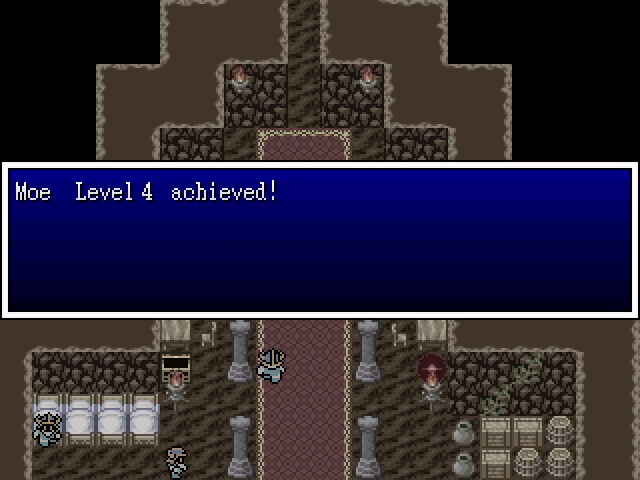

This is also worth some EXP, and it's just enough to push our remaining three party members to level 4. This is particularly beneficial for Curly, who learns both Regen (heal over time) and Upper (increased defense). He's starting to actually feel like a proper utility caster.
The rest of the gnomes are suitably glad to be free of the demon's influence.
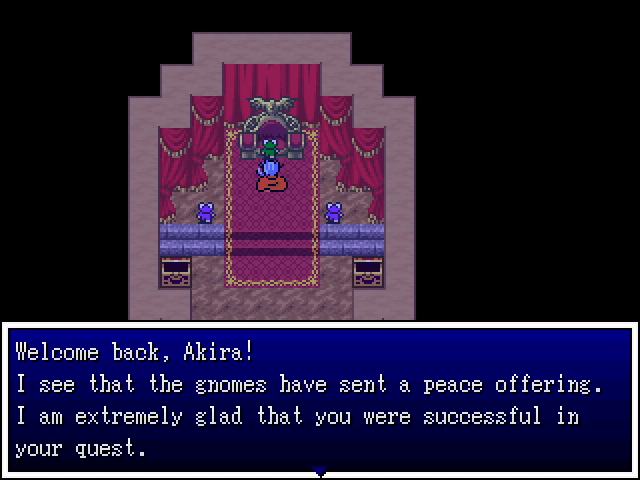
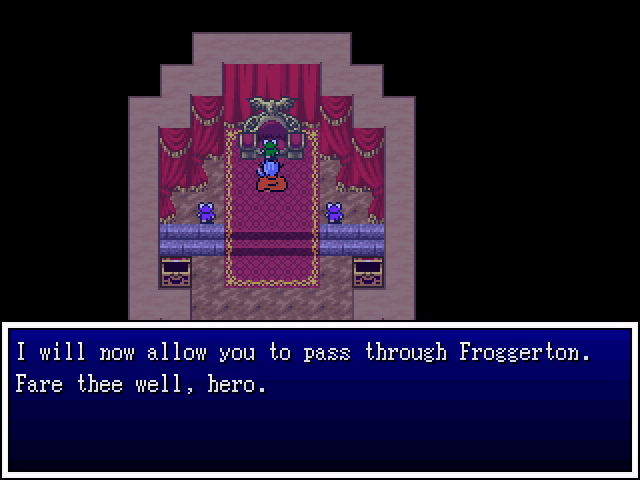
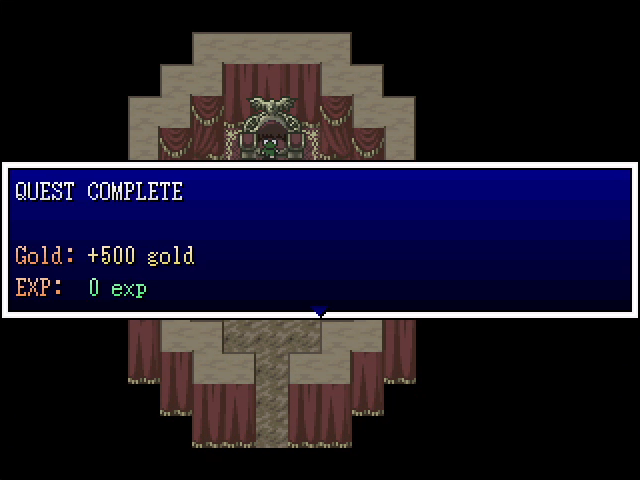
We exit the cave and make our way back to Froggerton, where we give the gnomish scepter to the chief, who in turn allows us to pass through the town. We don't get any EXP for this, but gold is always nice.
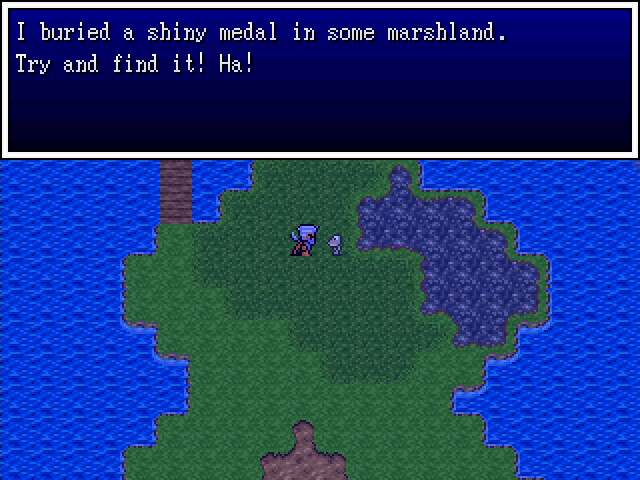
At the south end of town is this frog, who taunts us with a shiny medal buried somewhere in the town's damaging marsh tiles. No, he does not give any other hints. Once again: Fuck you, frog!
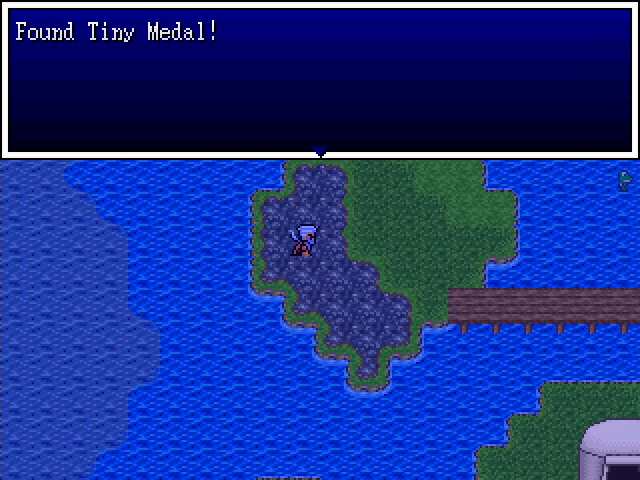
Yeah, it's just buried in this random spot. The town has an inn, so the damage really isn't a big deal, but it's just a pain to locate. Frogites are assholes.
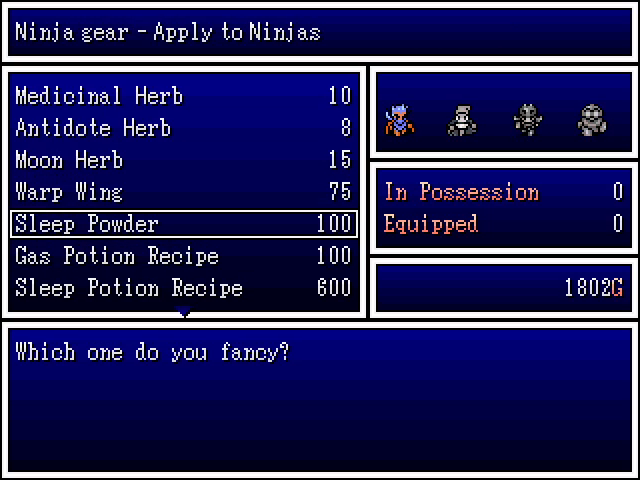
Before we head out, we buy some sleep powder for Akira. This gives him a new move that'll be very useful later, even with Curly knowing Sleep.
Leaving the frogs behind, we head south.

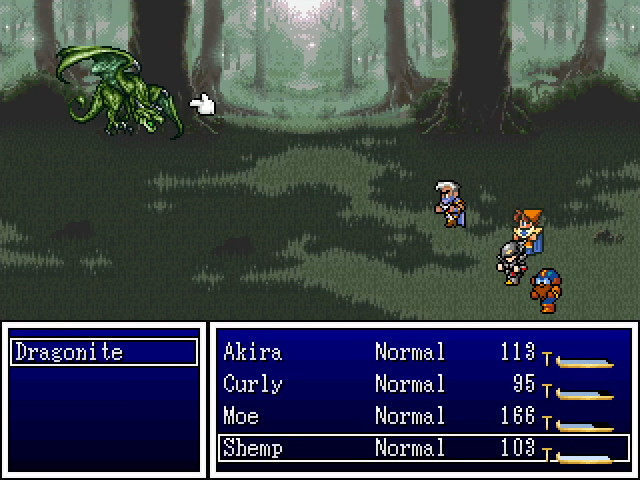
This area is home to a couple of new enemies. Grubs have an unusual gimmick of summoning other enemies for help, while dragonites use firebreath.
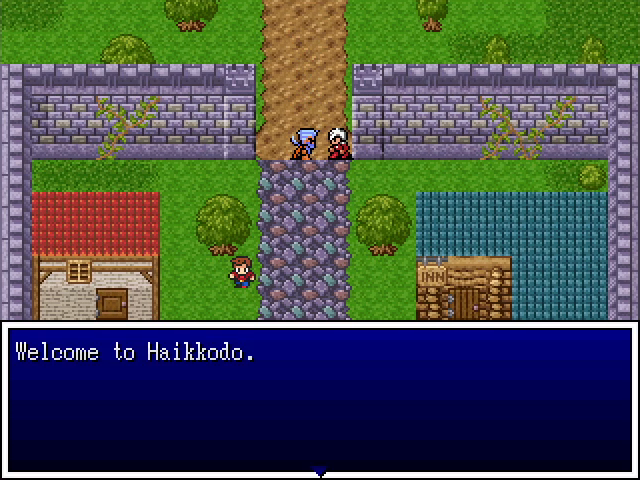
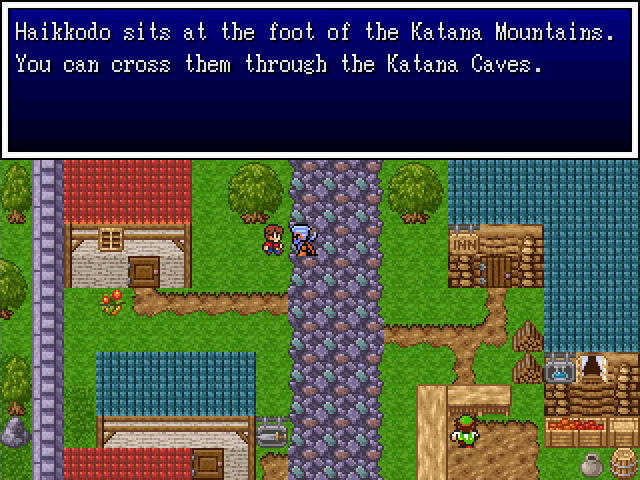
Further south, we find another town, a shrine, and a cave leading into the mountain.
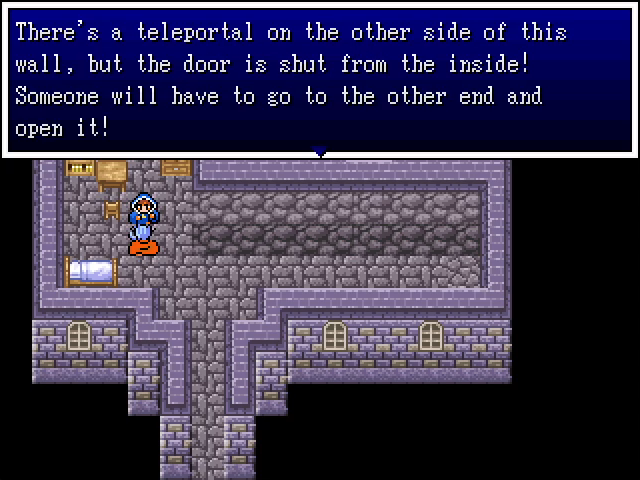
The shrine is fairly uninteresting: there's a teleportal, but we can't access it yet.
I'm definitely noticing a pattern with these town names.
Makes sense. I'm not even going to comment on the name at this point.

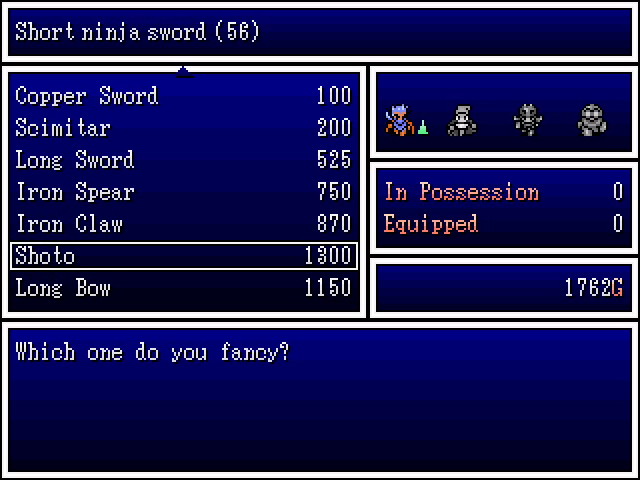
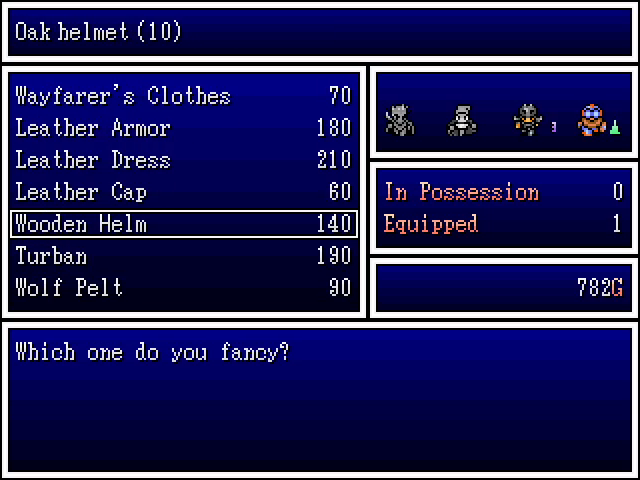
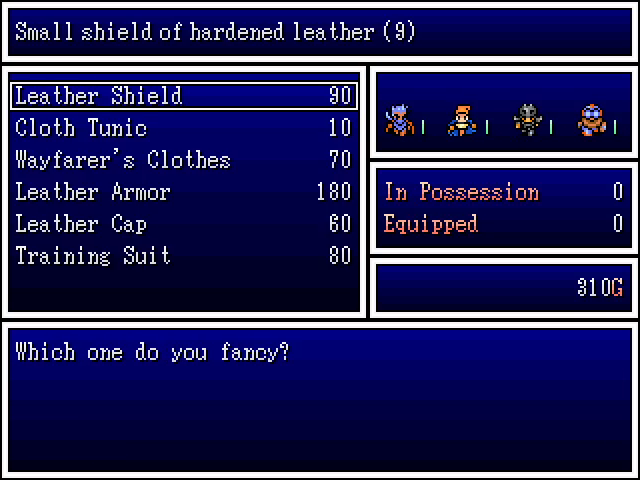
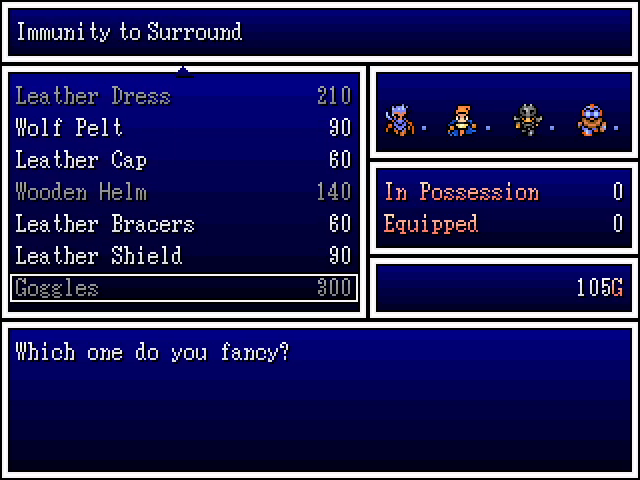
The town's stores have some nice upgrades. The shoto would be a great improvement for Akira, but it's too expensive to justify, especially since Moe and Shemp are still carrying clubs. On the armor side, leather bracers and turban are both engineer-only pieces. The bracers are hilariously awful (a strict downgrade from the leather shield he's already using), but the turban is a good value for the defense it offers.
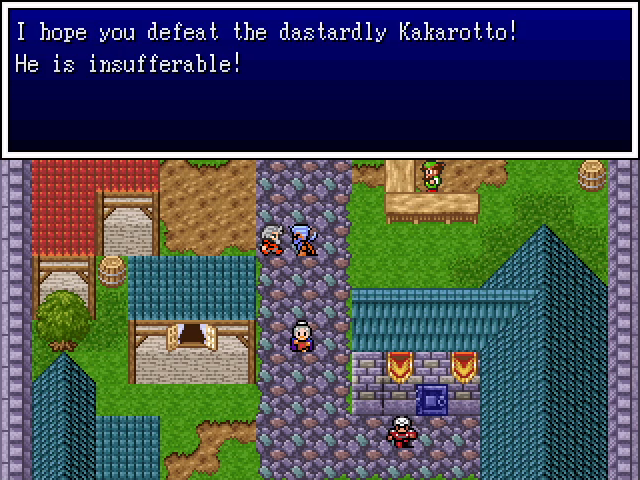
Absolutely nobody in this country likes Kakorotto. Seems like he's an even bigger asshole than the frogites.
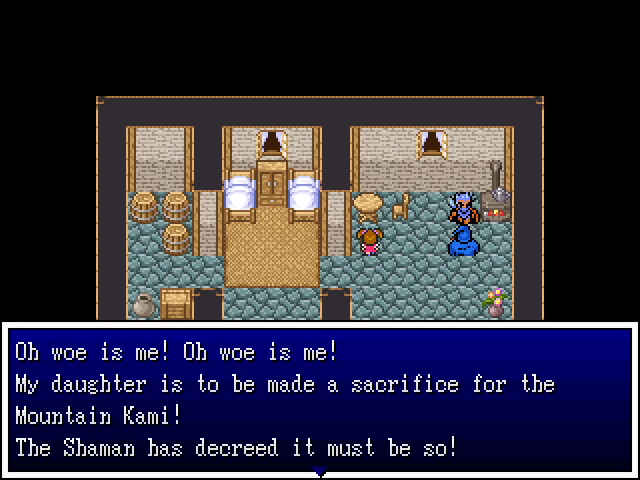
Speaking of assholes, it seems the local god is demanding human sacrifices. That's probably bad.
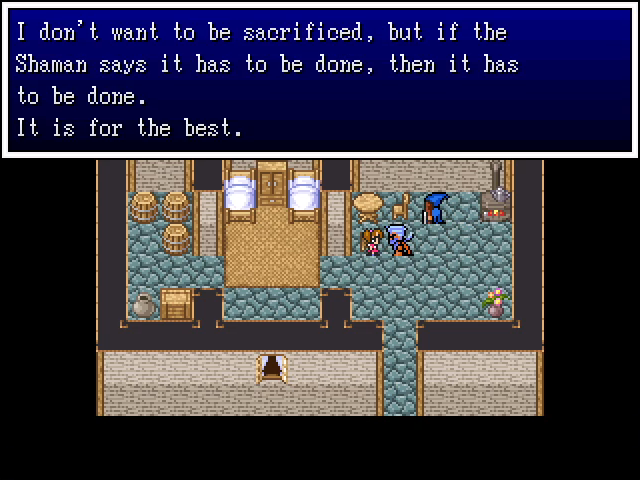
The sacrifice herself seems remarkably calm about this.
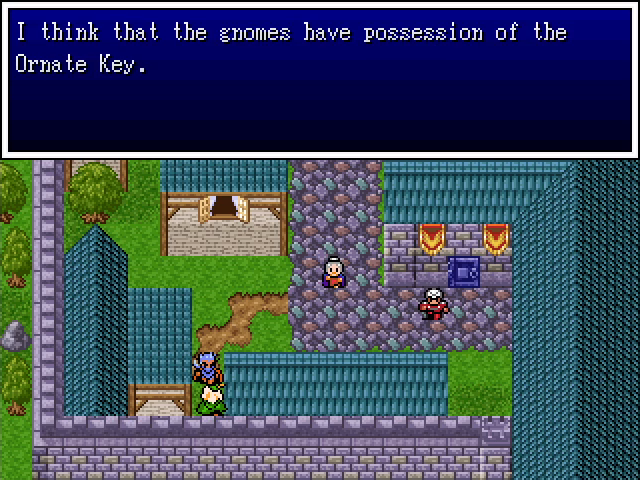
We already got that, but this is potentially critical information. That bluish door on the right is the type that requires the Ornate Key, and we have to open it to progress the story.

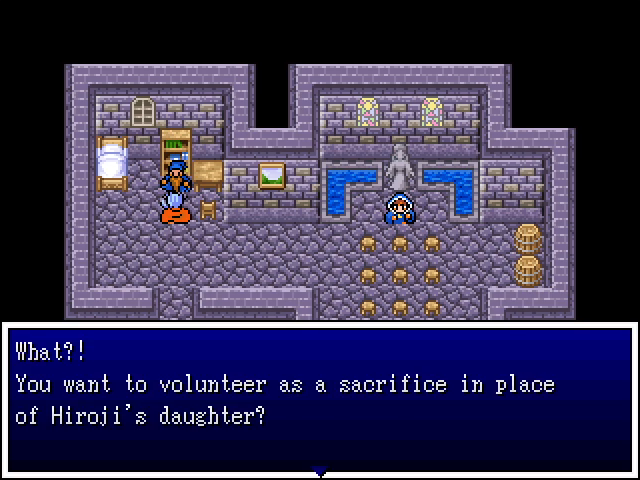
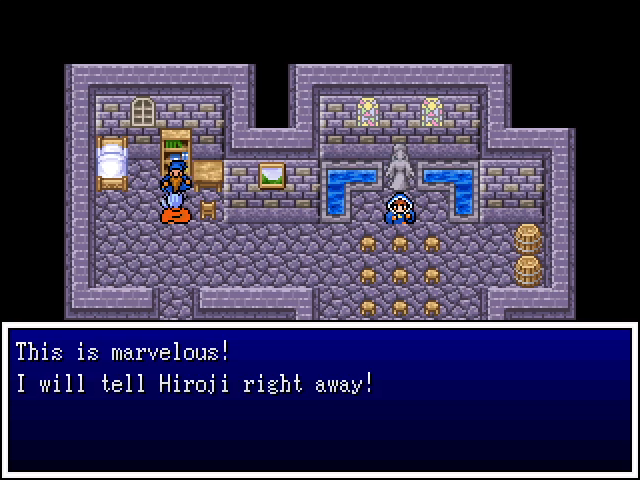
Inside the building is Haikkodo's shaman. He's clearly distressed about having to sacrifice a little girl, to the point that he even gets Hiroji's name wrong at one point. Being true shonen heroes, we're happy to help.
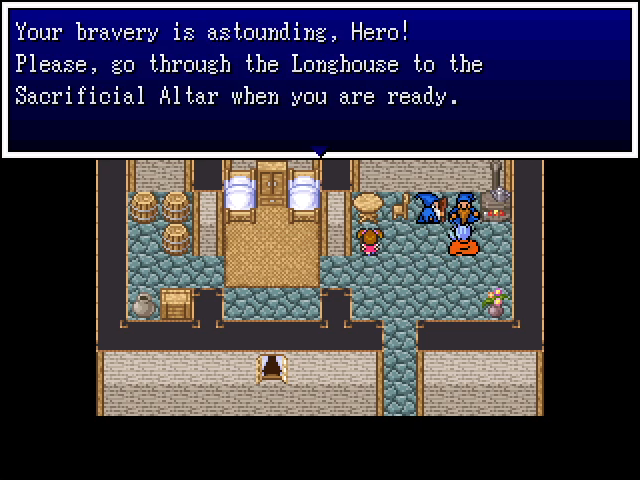
Look, we're JRPG heroes. The only astounding thing about us killing a god is that we're doing it before the end of the game.
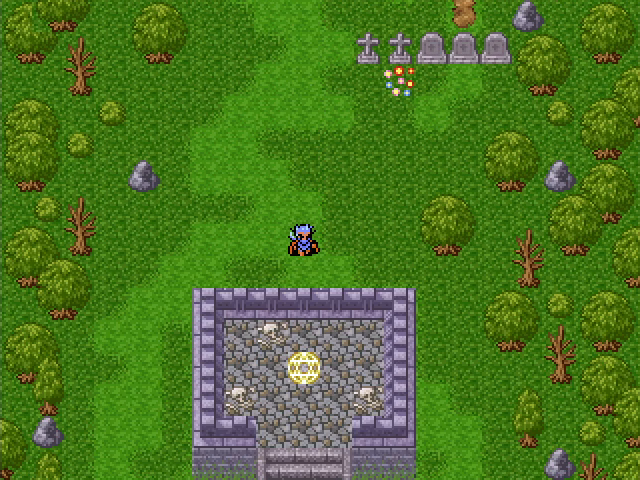
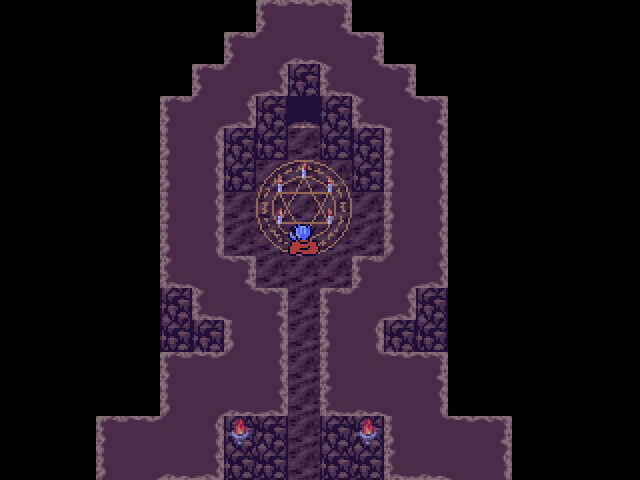
Here's the altar. Let's do this.