Part 16: The Power of Friendship
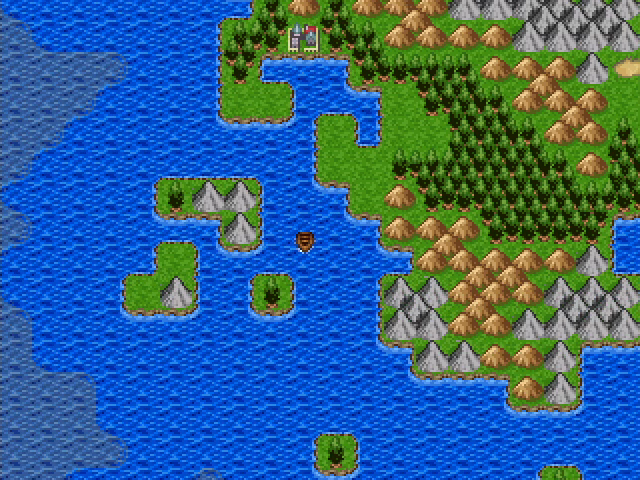
Last time, we got a boat!
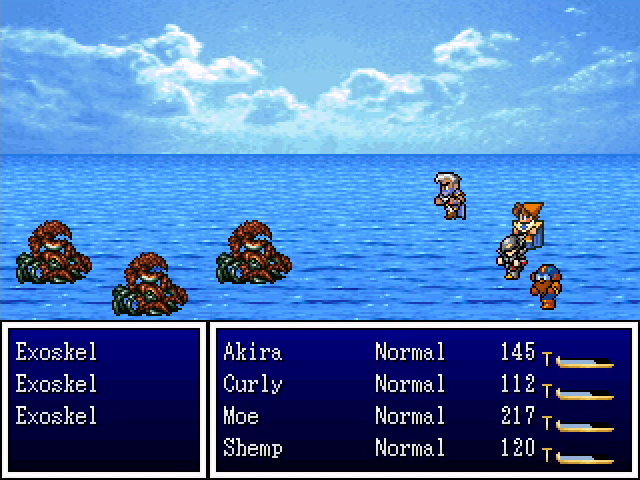
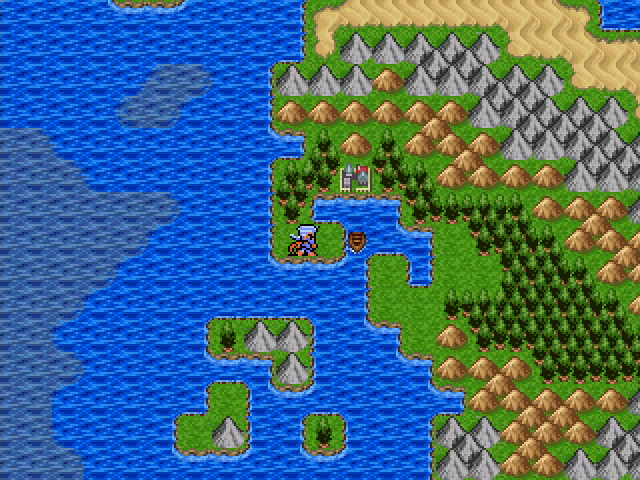
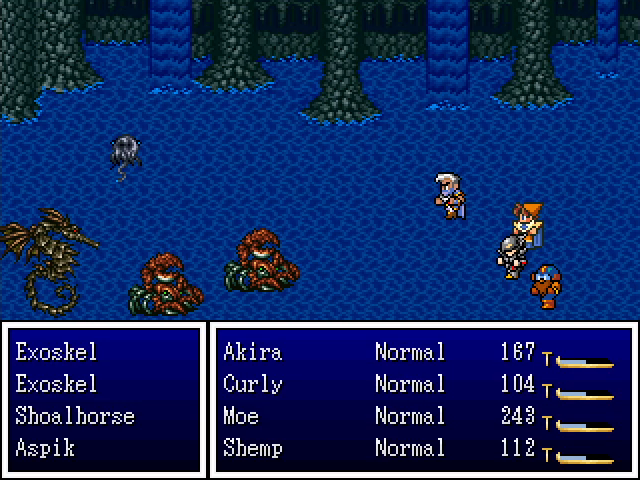
As you'd expect, the seas have their own set of monsters. Exoskels are tough critters with a solid amount of HP and high defense. Curly can't even scratch them with basic attacks. Piranz are fairly weak monsters that use Double Attack. And corals... drop like flies to Makibishi.

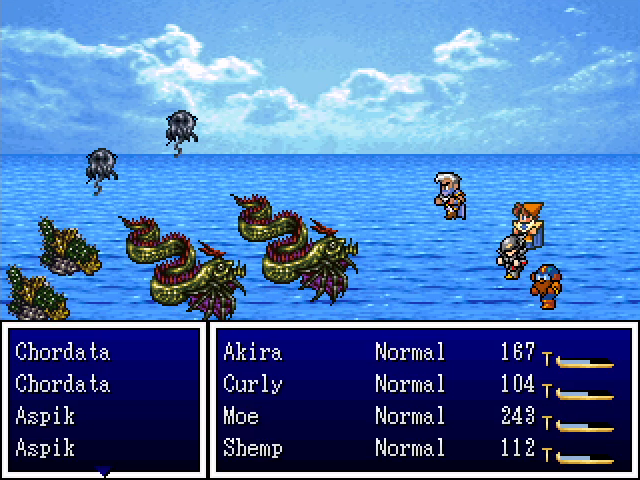
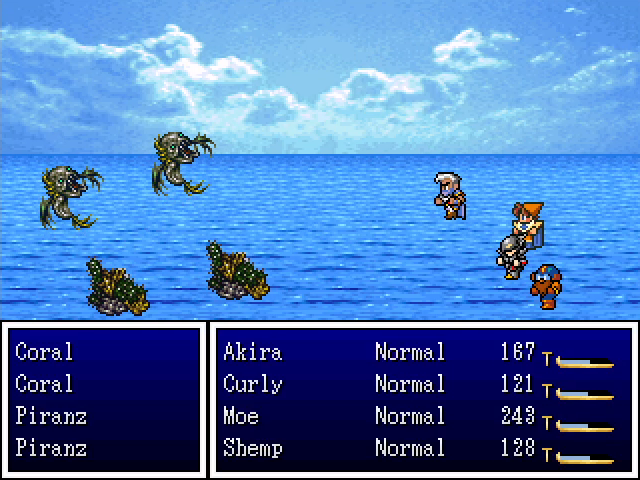
Chordatas are the most dangerous ocean-bound enemies by far. Their special attack, Agua, deals moderate damage to the whole party, and they're durable enough to survive a round of attacks from our group. Alone they're not too bad, but in pairs they can easily start dropping more fragile characters like Curly and Shemp. Aspiks use Charge Up, presumably in preparation for something big, but they have so little HP that a single Makibishi can bring them down.
Sea battles are a bit odd, possibly due to how the skiff is coded. It's actually possible to finish a fight and immediately end up in another one.
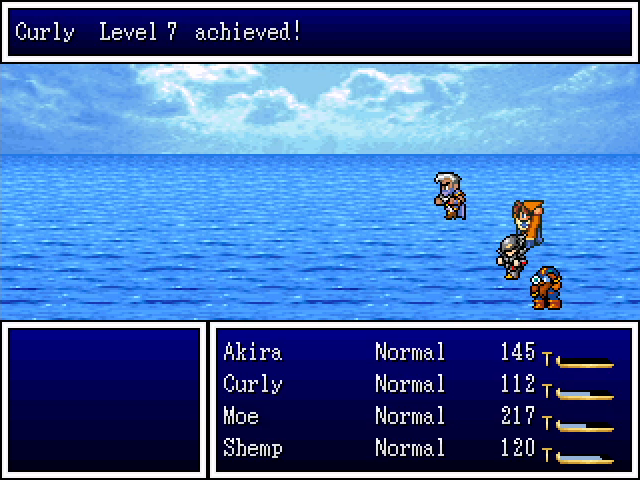
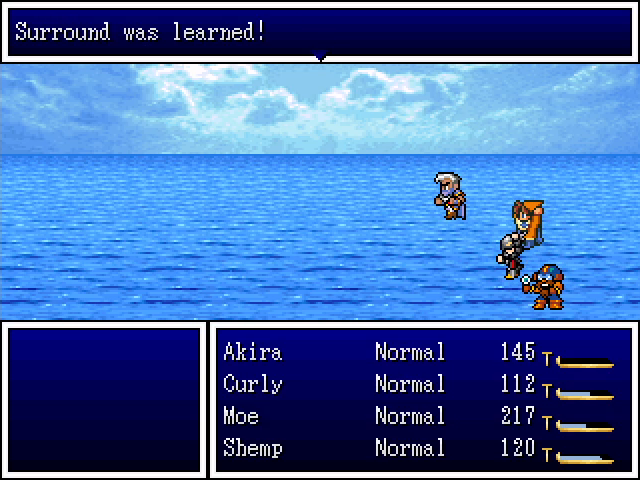

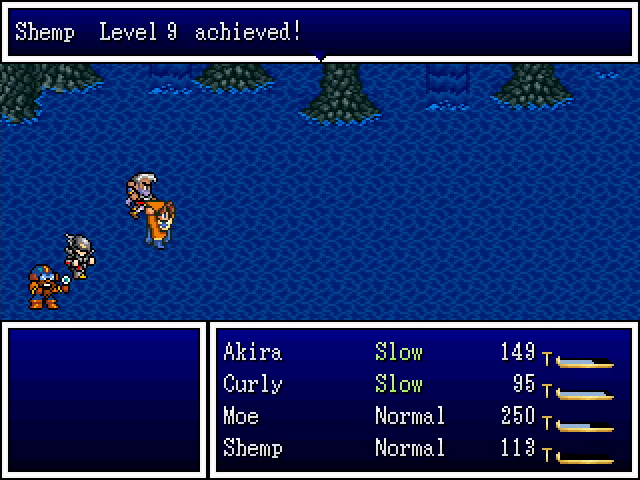
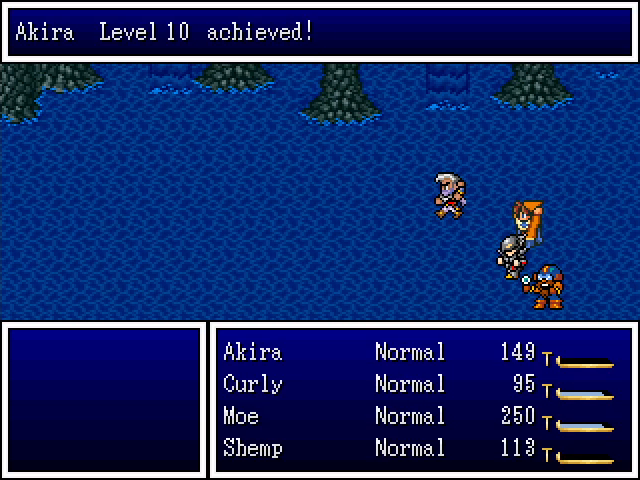
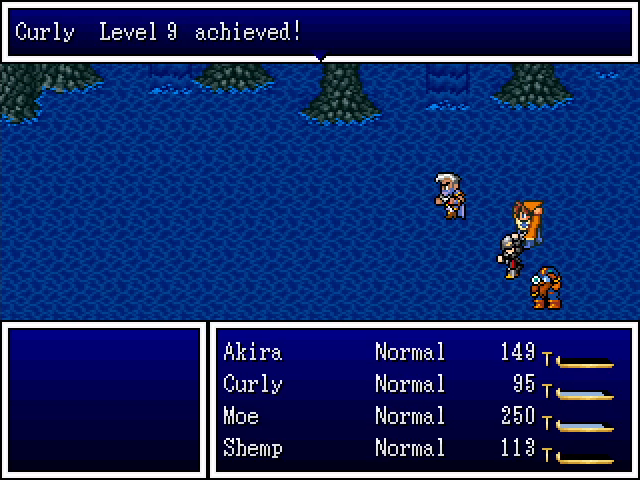
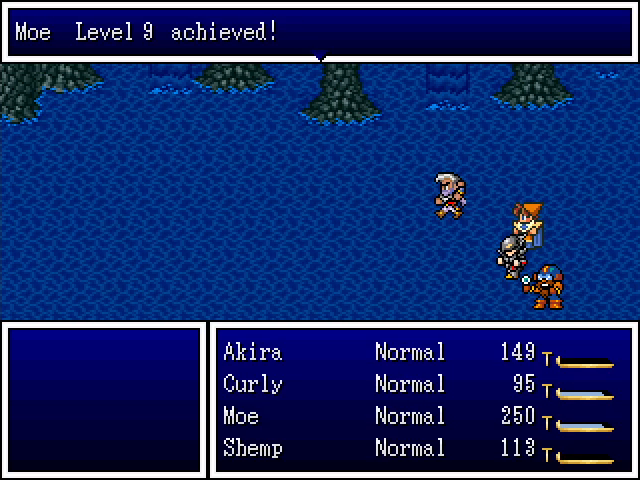
Sailing the seas gives us enough EXP for some levels. Surround targets all enemies and inflicts Surround status, which we've seen some enemies use and is basically blindness.
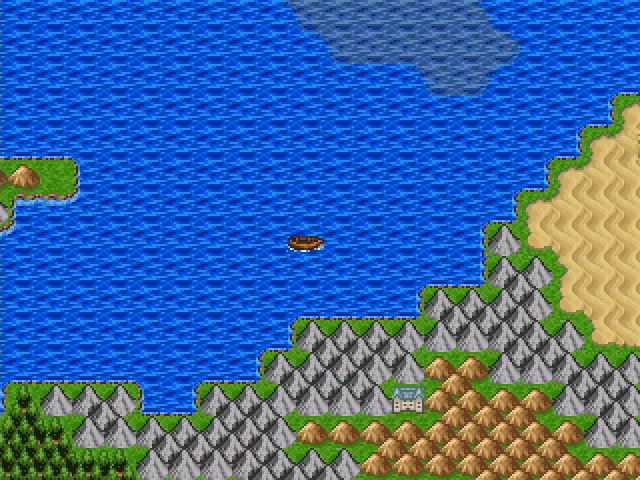
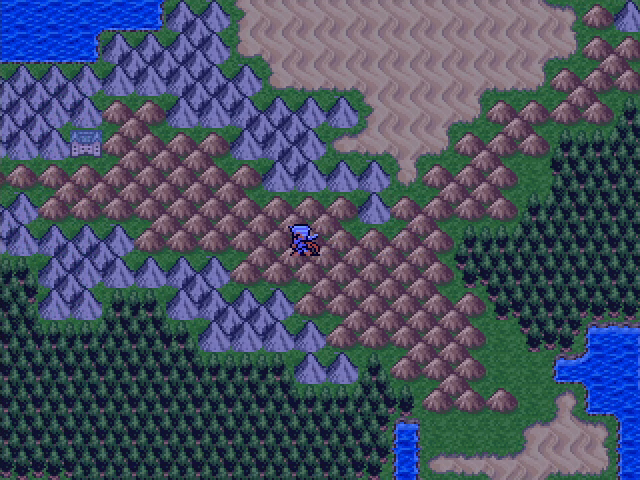
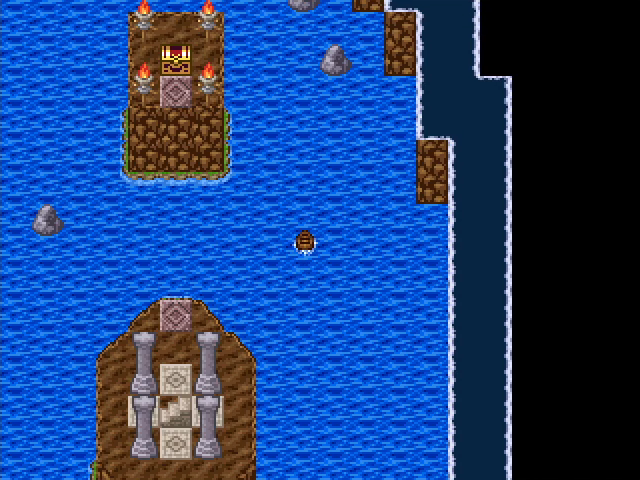
We head north from Ichiban, passing a lot of coastline we saw on our way to Okasa. We also spy a certain building we'll have to check out later.
We casually flip the bird at Froggerton as we pass by.

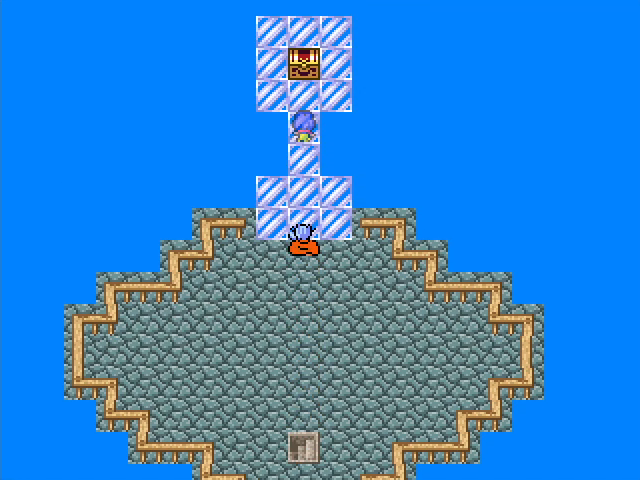
And here, about as far north as we can go, is the lighthouse that was mentioned in Okasa. Vegeta is visible to the southeast, at the edge of the screen.
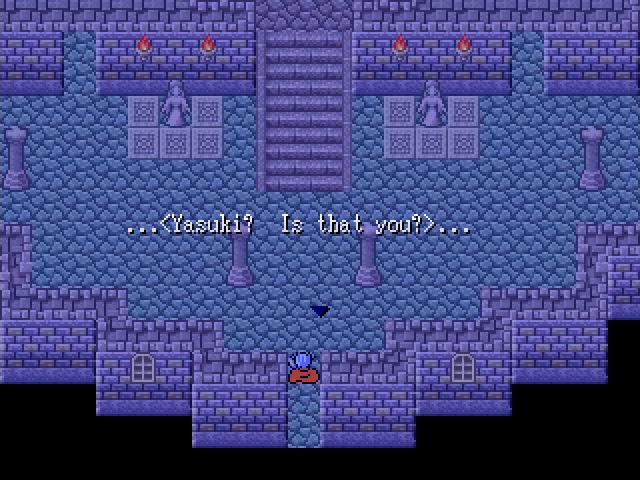
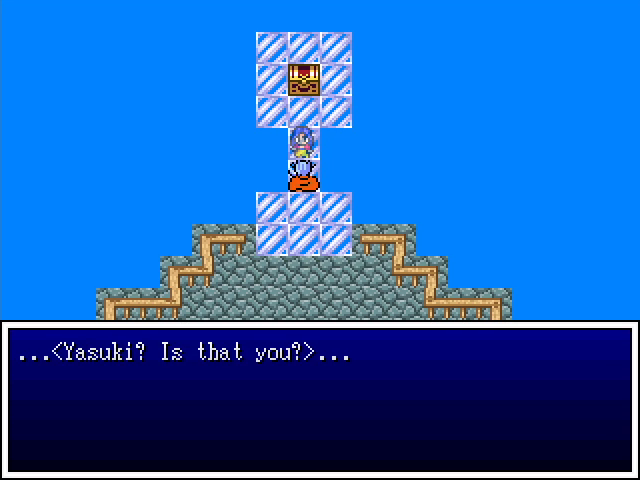
Immediately inside the lighthouse, we hear a mysterious voice asking if we're Yasuki. We are not.
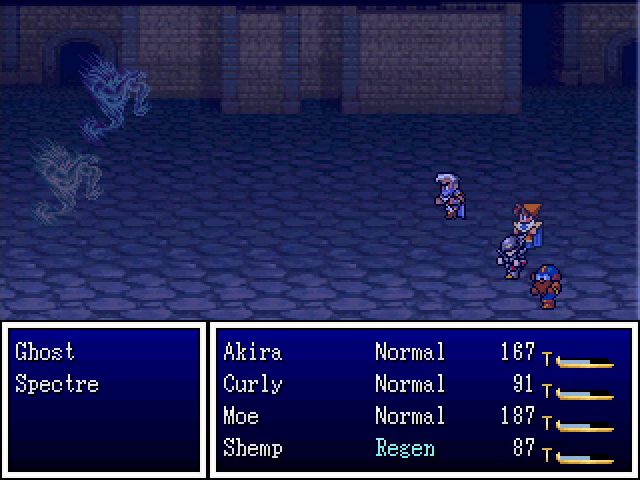
The lighthouse is mostly populated by ghosts and spectres, with the occasional karkass. Nothing we haven't seen before.
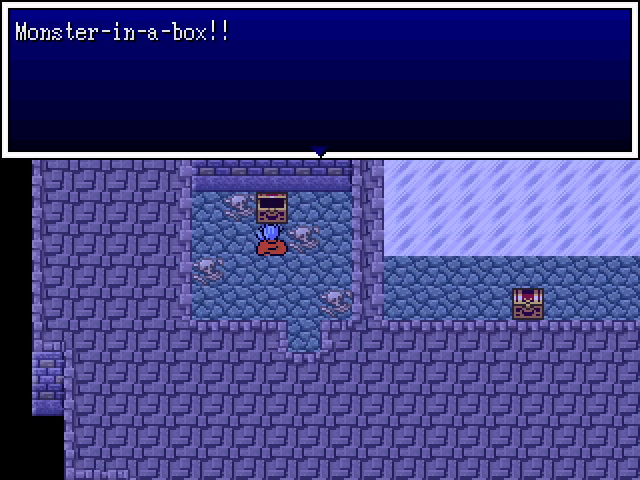
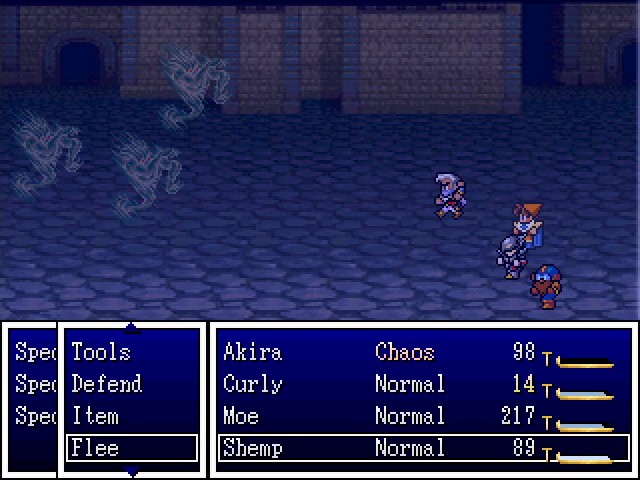
In the door on the west side of the stairs is another corpse-strewn room, with another monster-in-a-box. Spectres are incorporeal and can inflict Chaos on the entire party, but luckily Shemp can get us out of the fight without trouble.
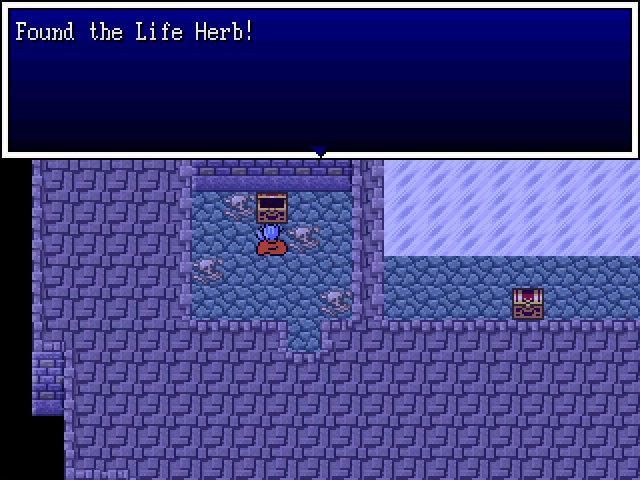
Even better, we still get the item for it. I feel like this is not an intended exploit.
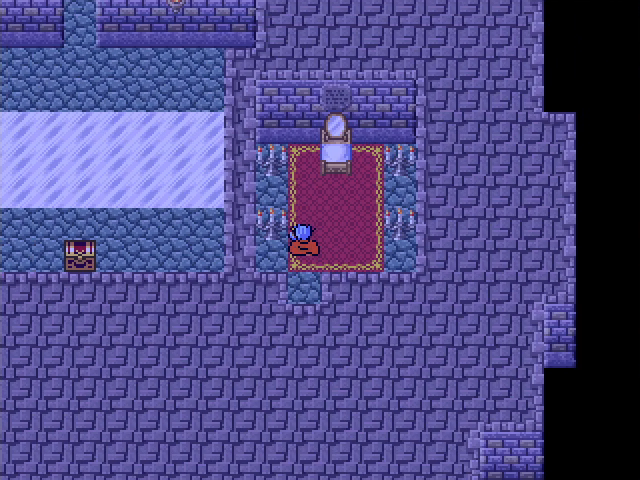
East of the stairs is what appears to be a bedroom. As far as I can tell, there's no way to interact with it.
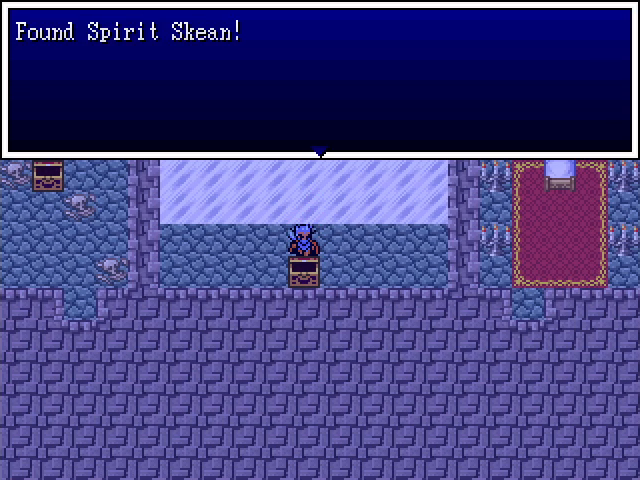
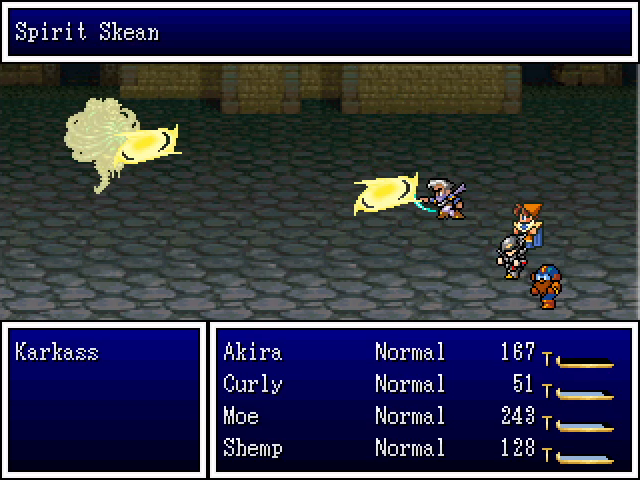
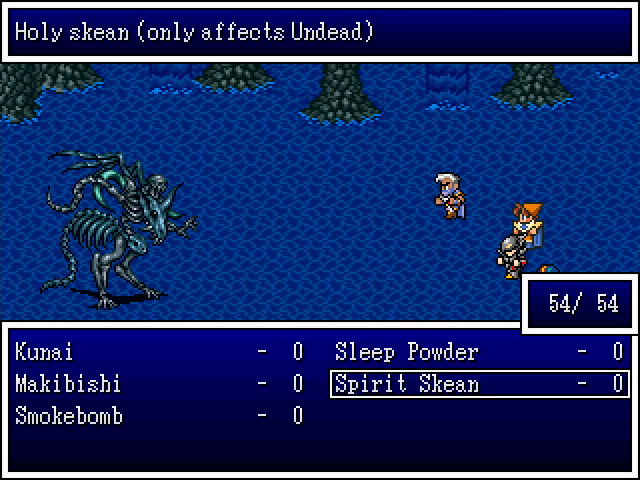
And of course, both rooms showed that there's more to find. Behind the stairs is this room, containing a Spirit Skean, which gives Akira a new Throw ability.
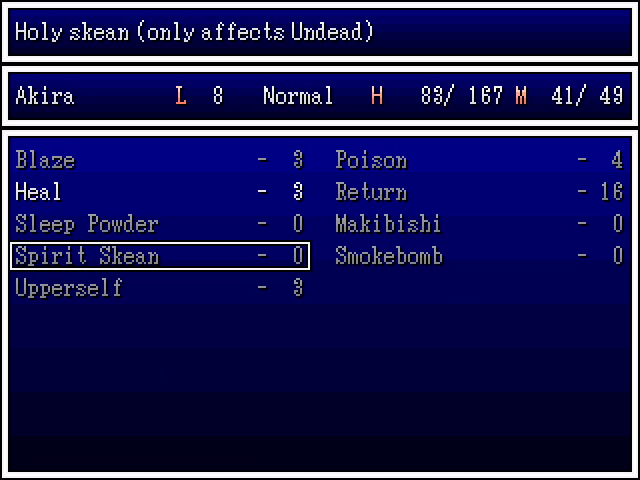
Spirit Skean only affects undead, but its damage is considerable, as you'll see.
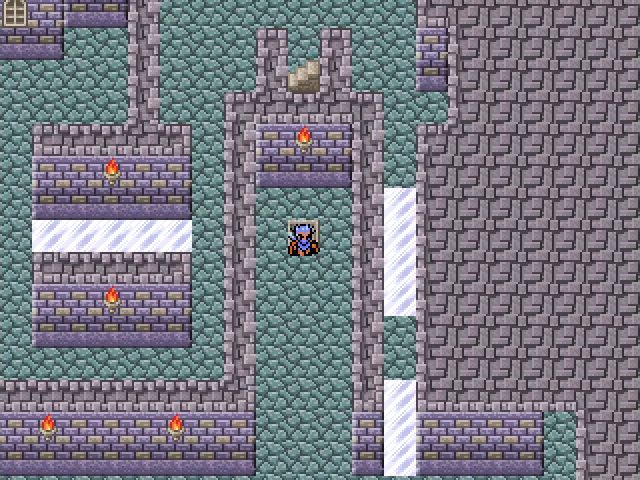
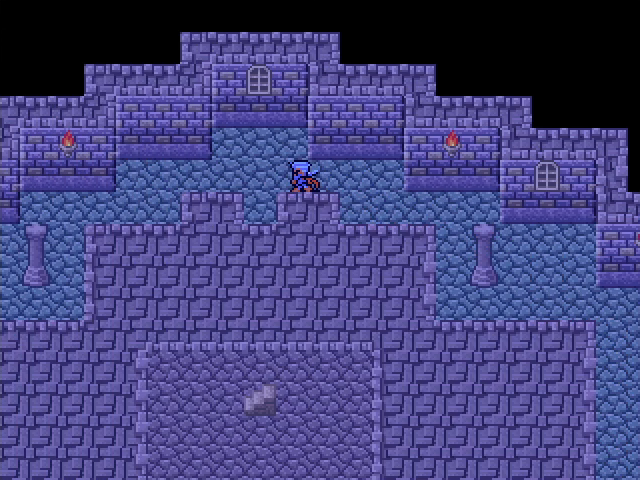
Floor 2 features branching paths to its exit, all but the longest of which contain damage floors. (If you're wondering why it seems lighter here, it's because we're closer to the light source and definitely not because I retreated to sleep at an inn and came back during the day.)
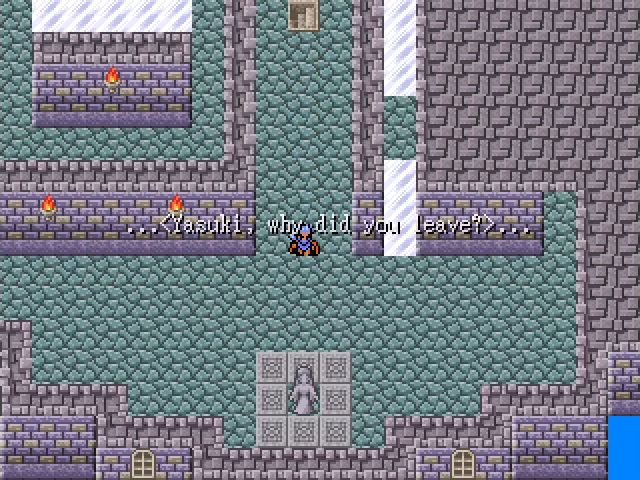
As we move to explore the floor, the voice calls out to us again.
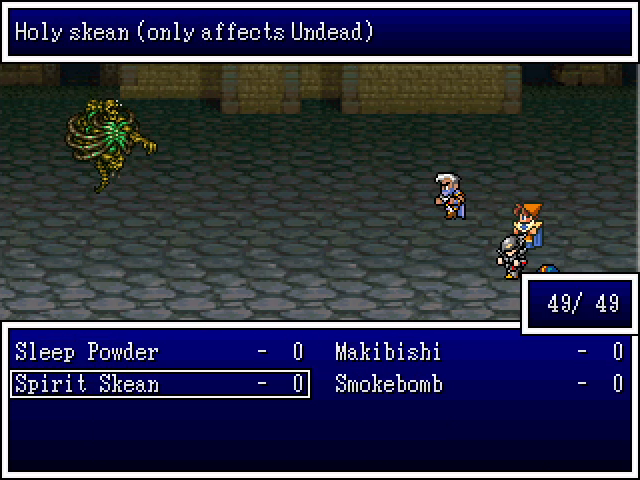
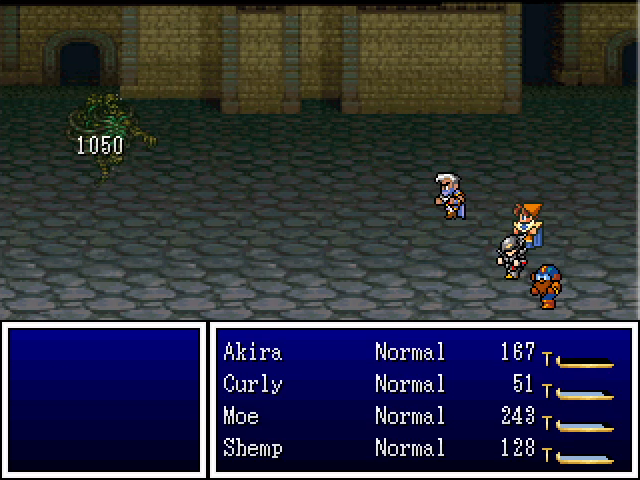
I was not kidding about Spirit Skean's power. Kali's Bonebane spell (from back in Chapter 2) cost a decent chunk of MP and didn't do this kind of damage.
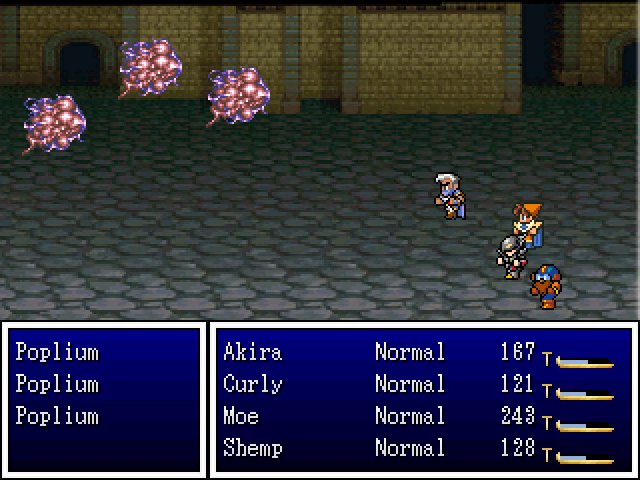
Poplia are here too, and this is where I learned that they're actually undead.
On floor 3 is a save point and another appearance by the mysterious voice.
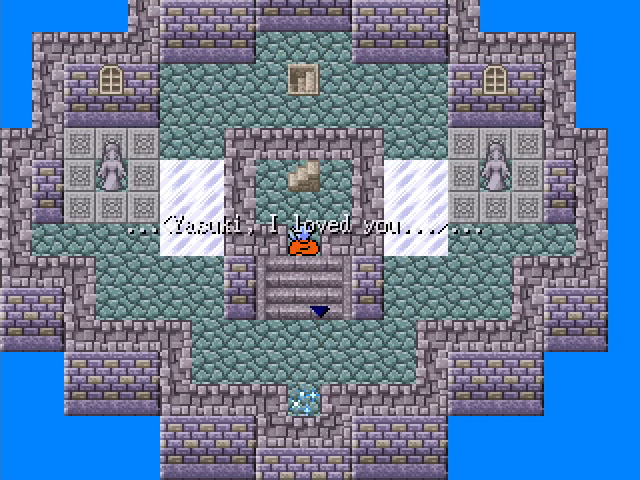
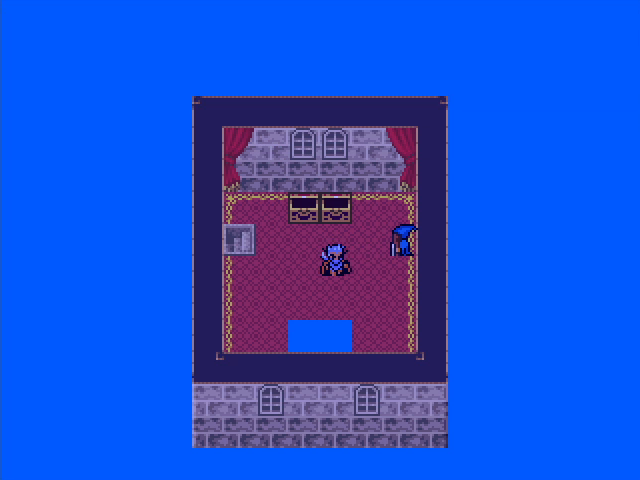
Finally, on the top floor, we find the source of the voice. (If you look closely, you can see that the woman's sprite is transparent.)
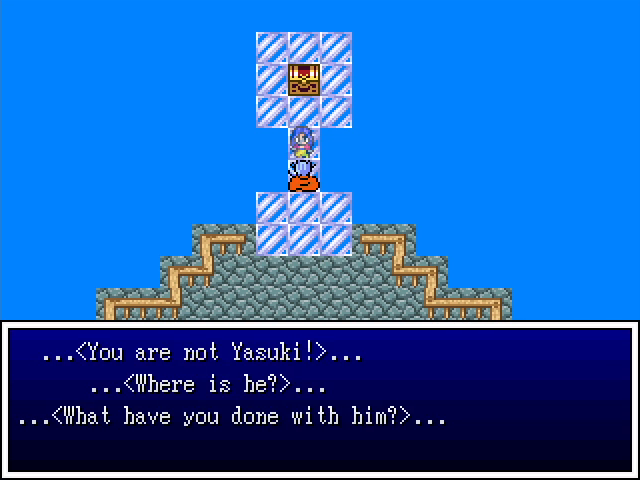
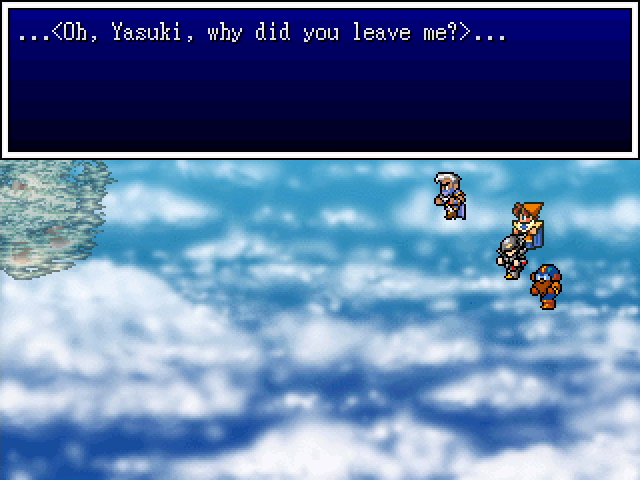
She berates us for not being Yasuki and attacks, still lamenting her loss.
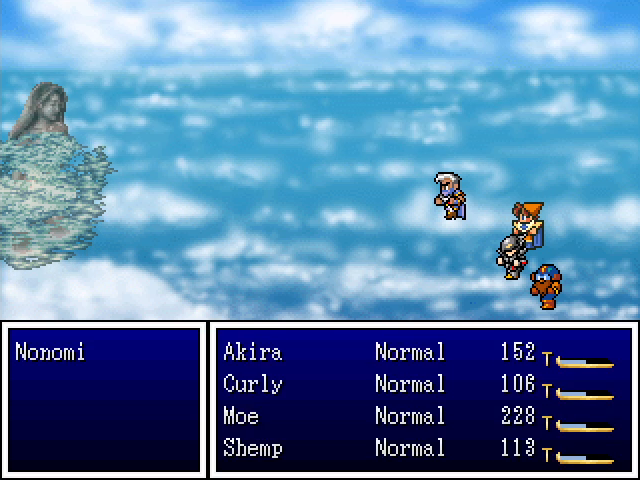
Nonomi is the lighthouse boss, and um... Okay, look, I fucked up my recording and this image is all I have. What I remember is that she went down in two rounds because Spirit Skean is exceptionally powerful against her.
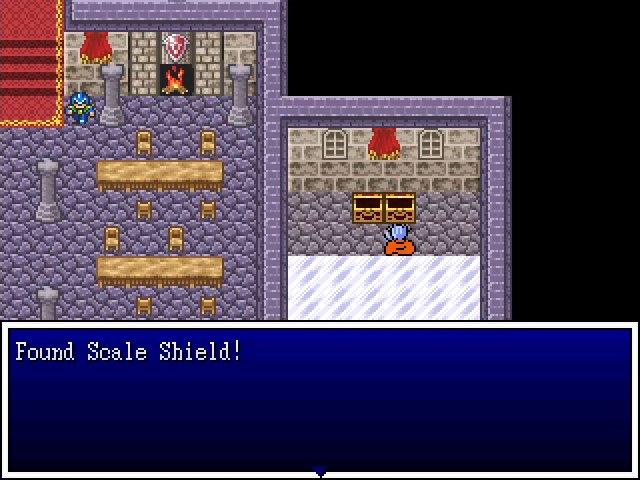
Once the ghost is laid to rest, we can loot the chest behind her, which contains a Fur Coat, which Curly will end up wearing for the rest of the chapter.
With the lighthouse completed, it's as good a time as any for this quick detour.
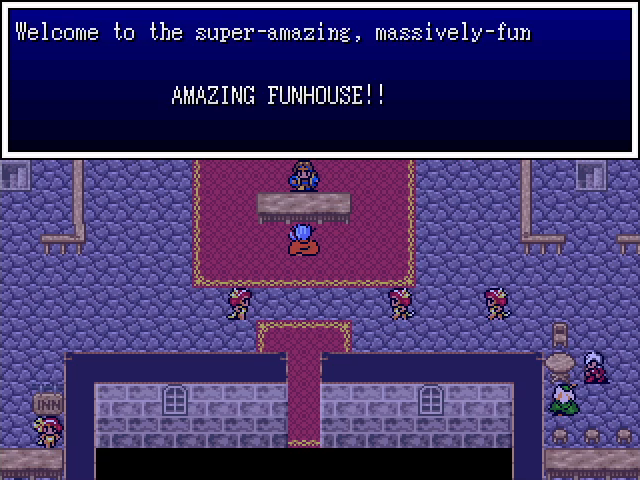
Yeah, it's the Jumongu Funhouse.
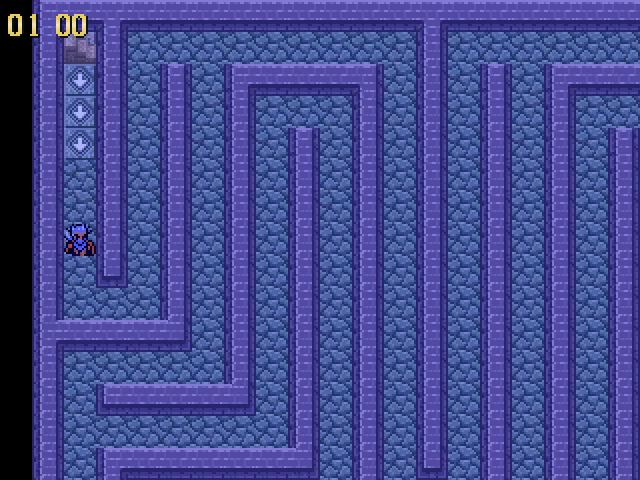
There's not really anything worthwhile to say about it at this point. It's a different maze, but otherwise identical to the other Funhouses.
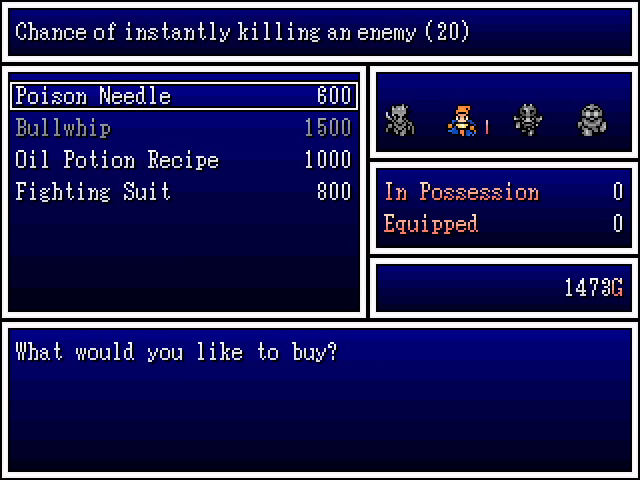
It has a shop, but none of the offerings are terribly interesting.
We reach the end, grab the prizes, and head out.
After a quick trip back to Ichiban to rest up, we head out to get on with the main plot.
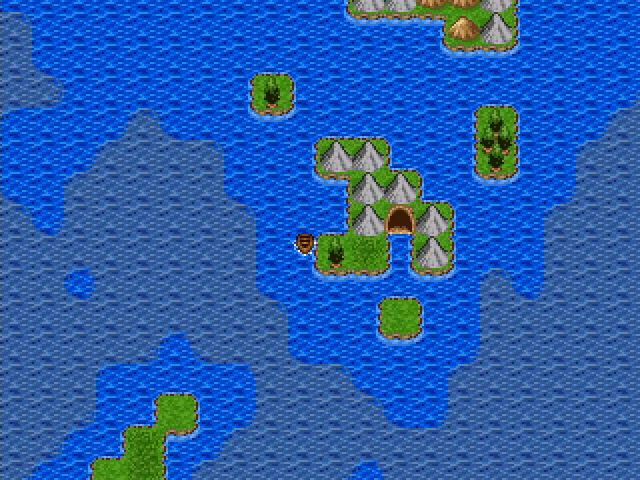
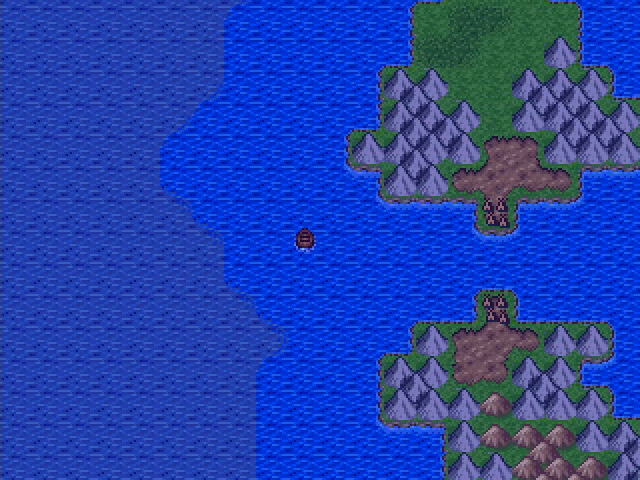
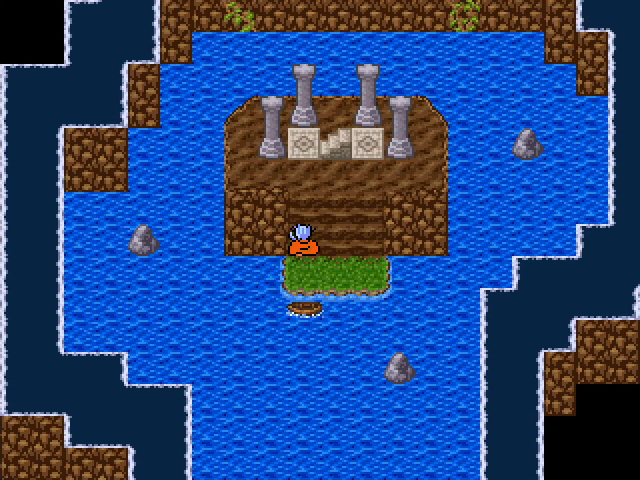
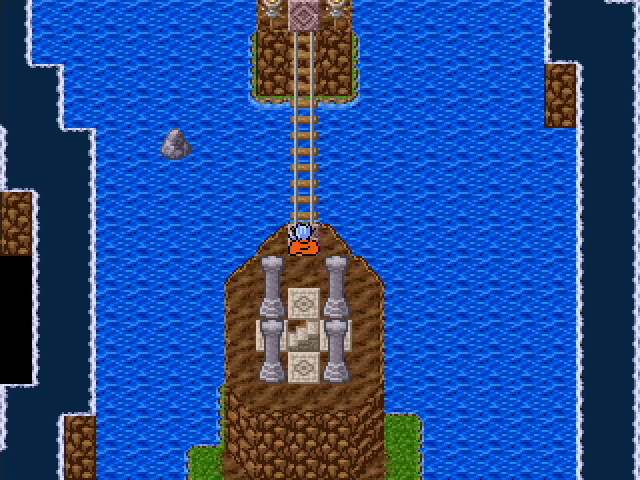
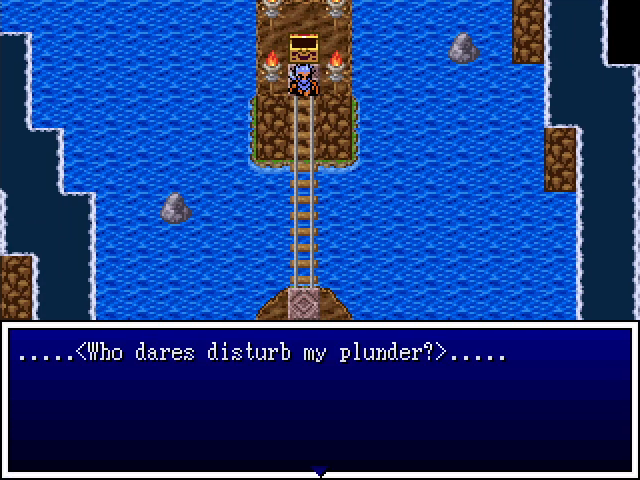
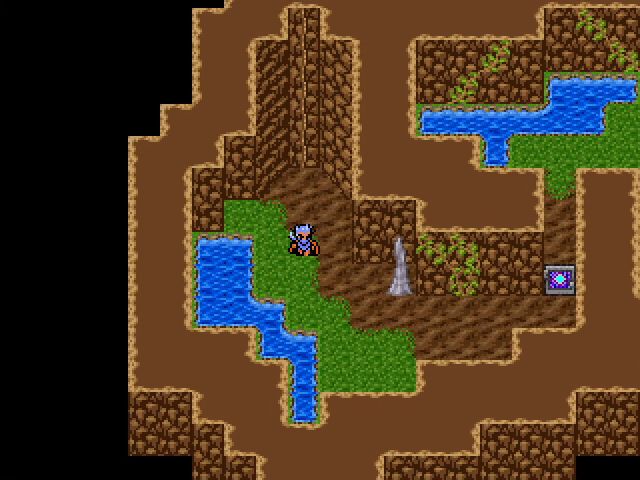
Dow Jones' Locker is a short way south of Ichiban.
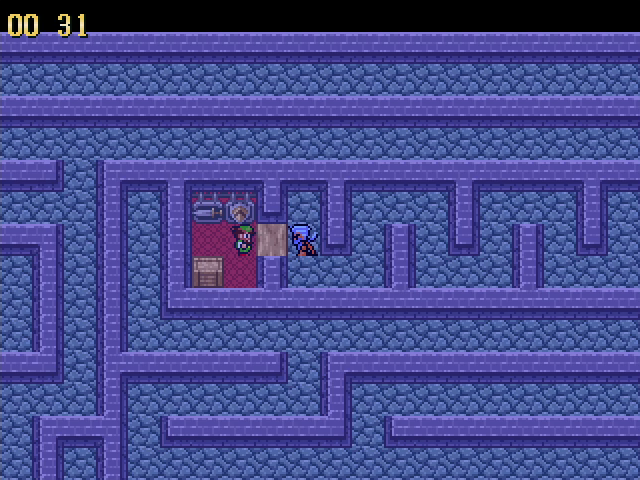
The Locker is an interesting dungeon in that it's navigated largely by boat. It's two floors, with the lower one flooded by seawater. There are a few islands here and there, but the skiff is our main method of getting around.
The enemies here are the same as those on the sea outside (even on land), though this is the first place we've seen shoalhorses. They use an attack, Bubble, that causes Slow, which makes them annoying if they survive for any length of time.
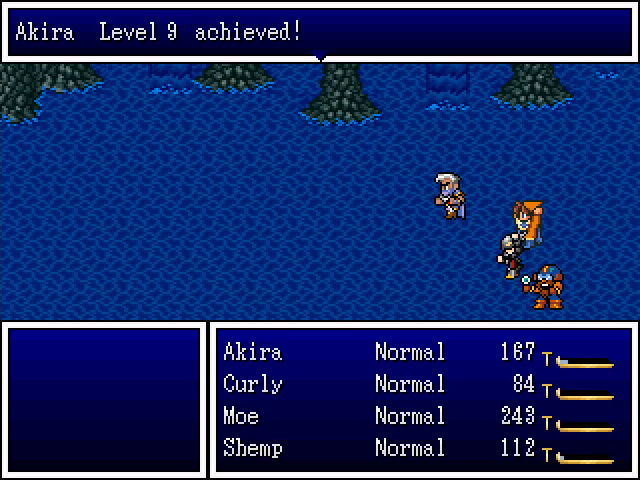

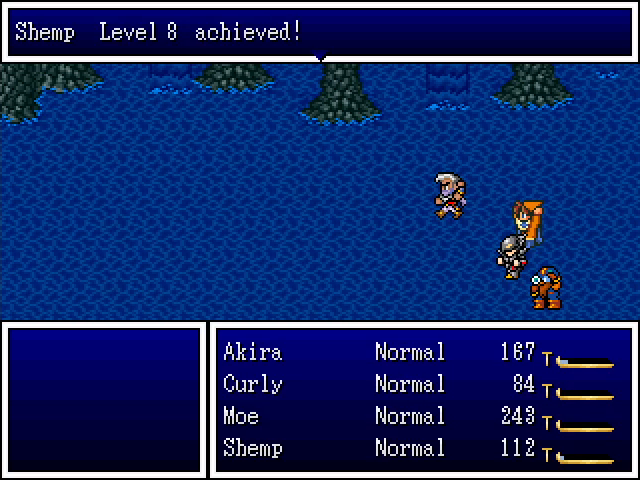
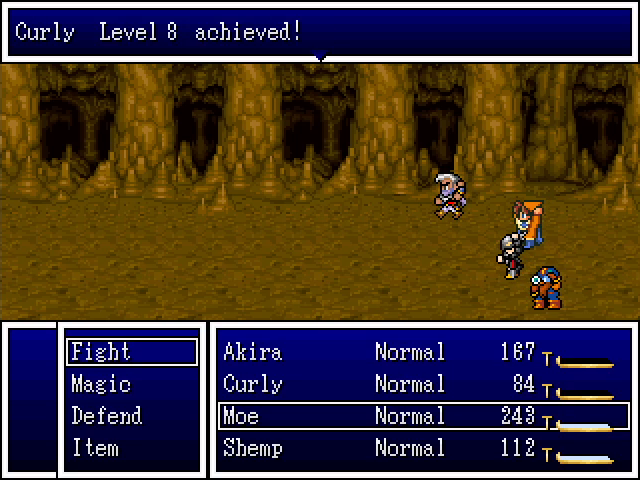

More levels for our crew. Surround is going to be an especially valuable spell for Akira.
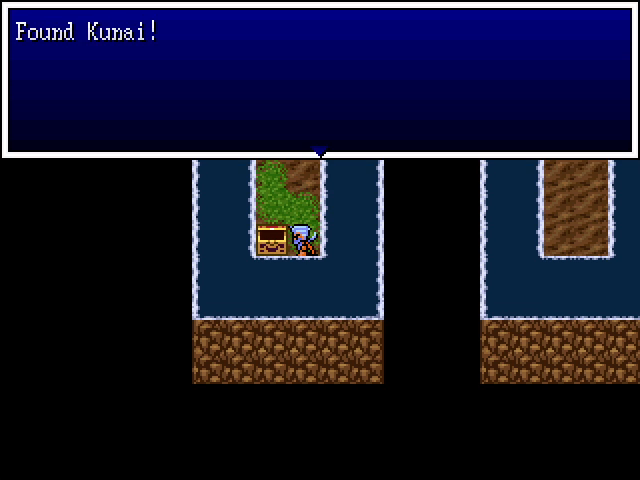
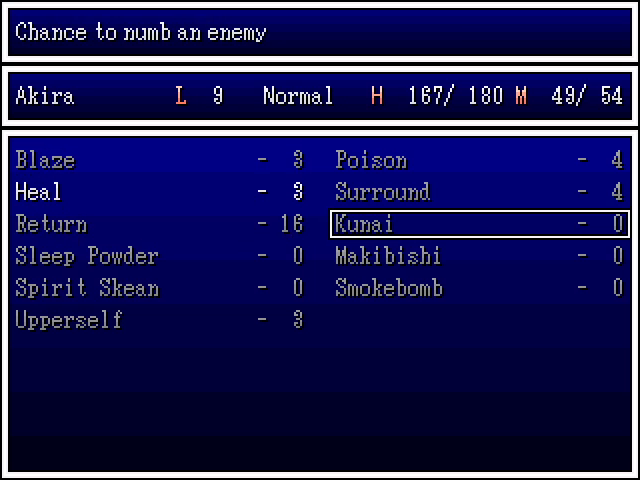
Not far from the entrance, we locate the Kunai, another throwing weapon for Akira. It inflicts Numb, which is theoretically quite powerful, but its accuracy is so low that it's mostly worthless.
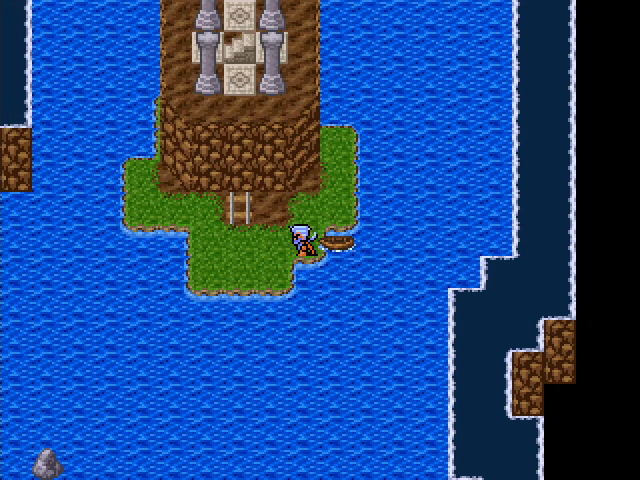
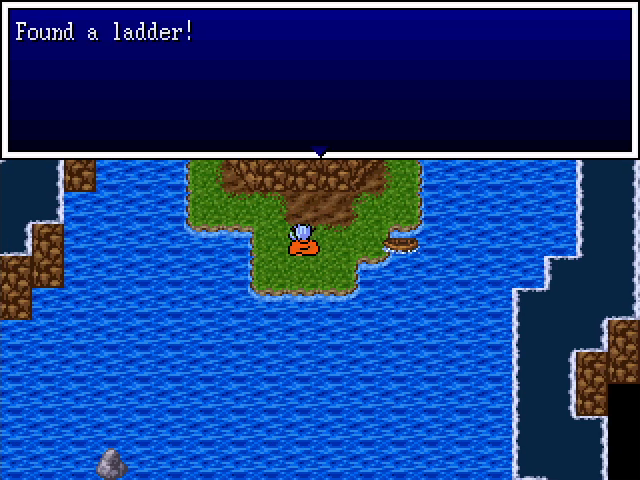
On the east side of the first floor is a small island containing a ladder, which is required to complete the dungeon.
The spot where it needs to be used is right next to it, though currently out of our reach. It's convenient design, though, because if you were to reach that spot without it, you could at least see the ladder's location.
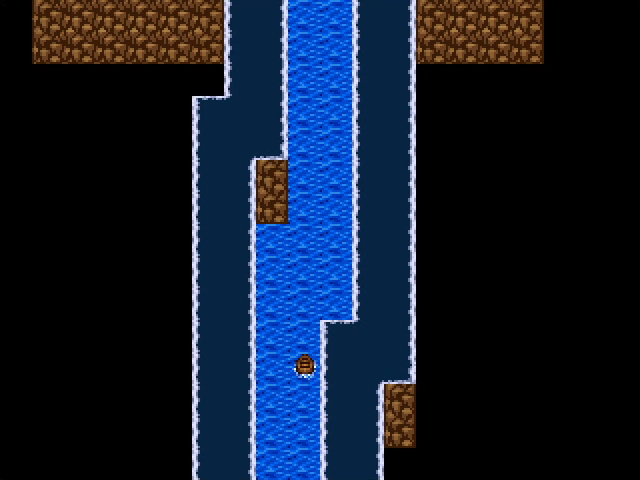
After more boating, we find the stairs up to floor 2.
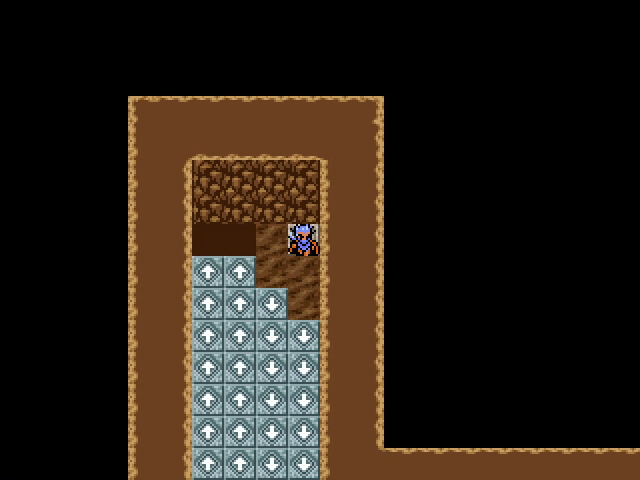
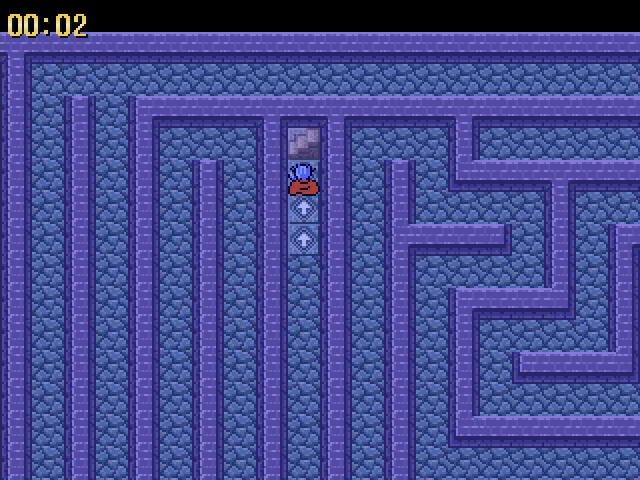
The second floor is a maze of arrow tiles, which will drop us back to the first floor if we're not careful. (Fortunately, the boat is always nearby, which sidesteps the possibility of getting stuck.)
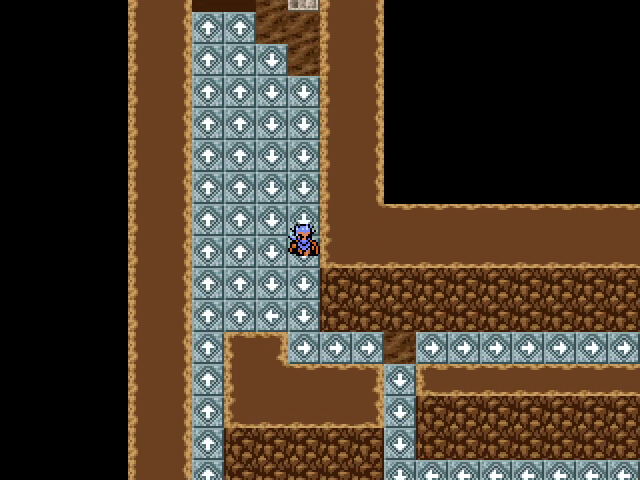
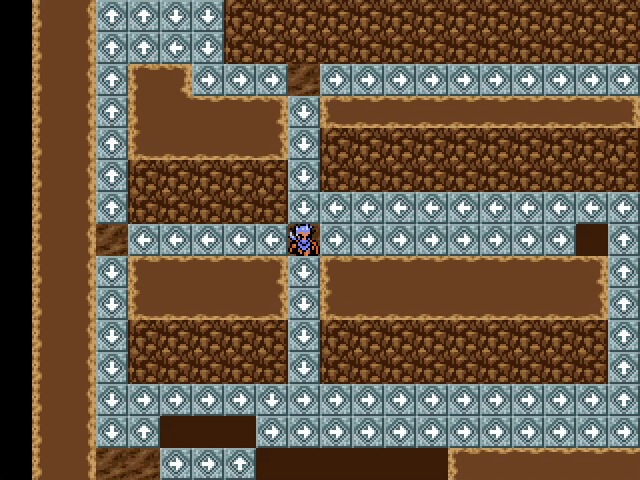
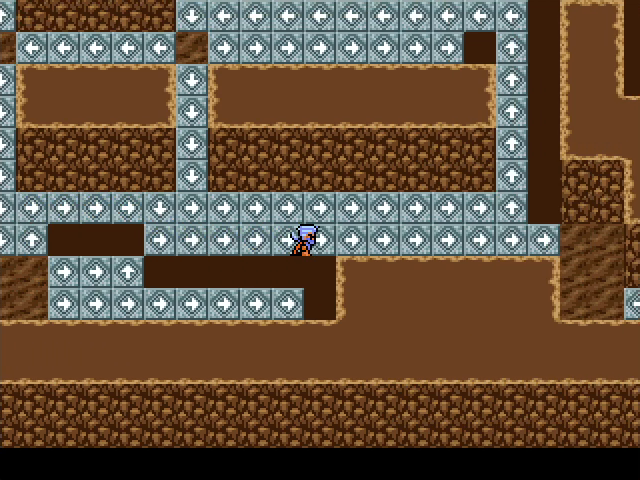
The maze isn't especially difficult, but it's more complex than what was in the Countess' tower in Chapter 2, and there are a couple of spots where you have to pick your path blindly and hope for the best.
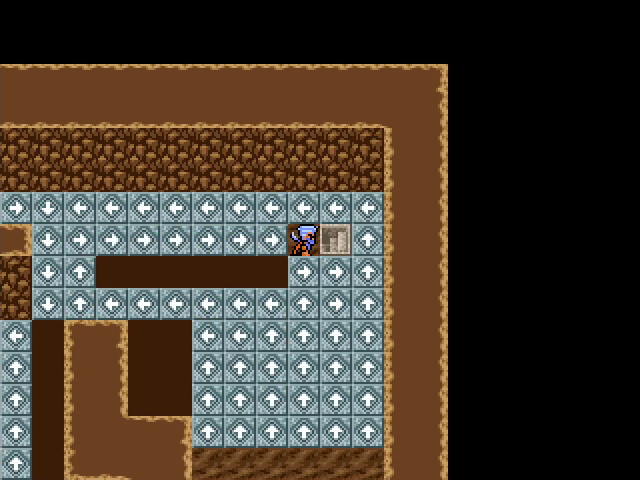
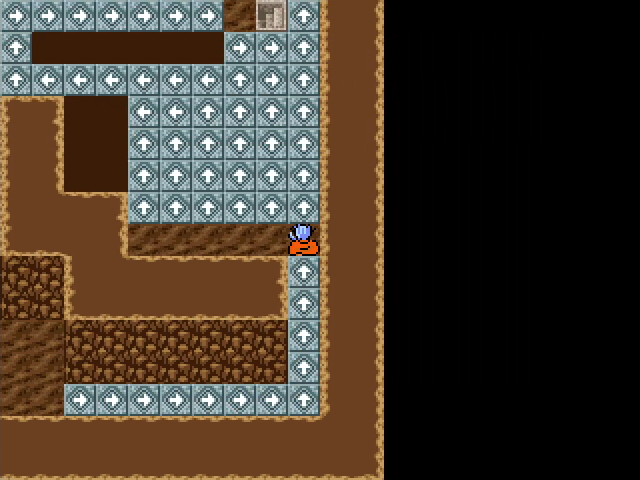
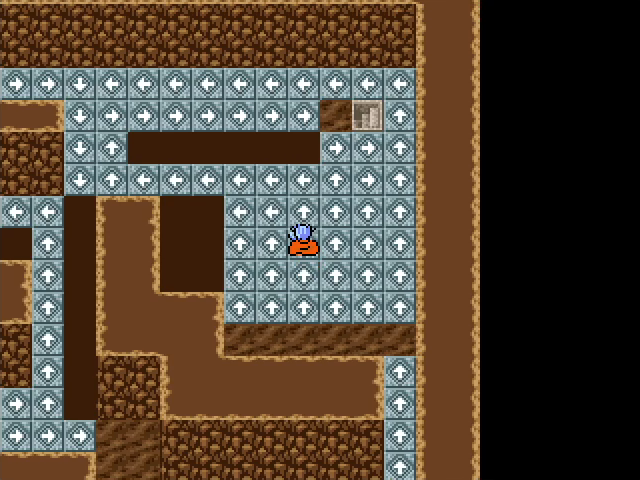
But eventually we find the stairs back down, winding up on the ledge overlooking the spot where we found the ladder.
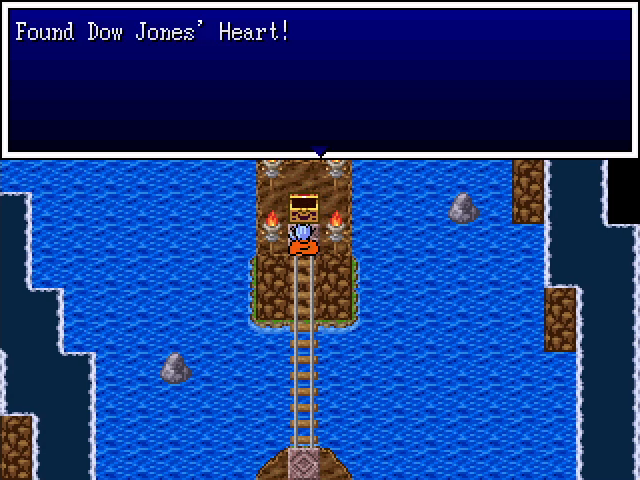
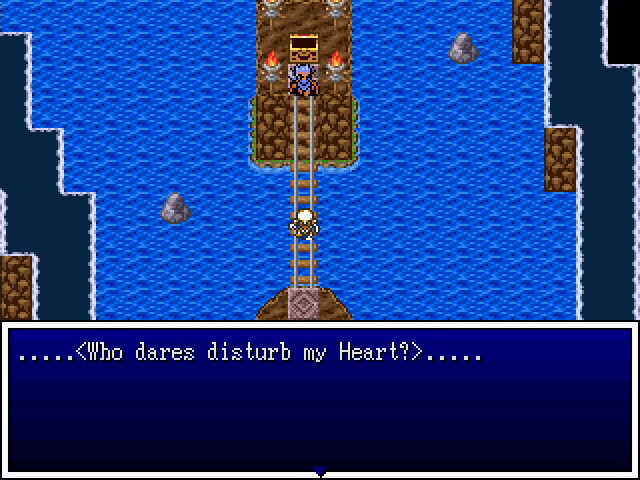
On the other side is the chest containing the Heart. And we didn't even have to fight a boss for it.
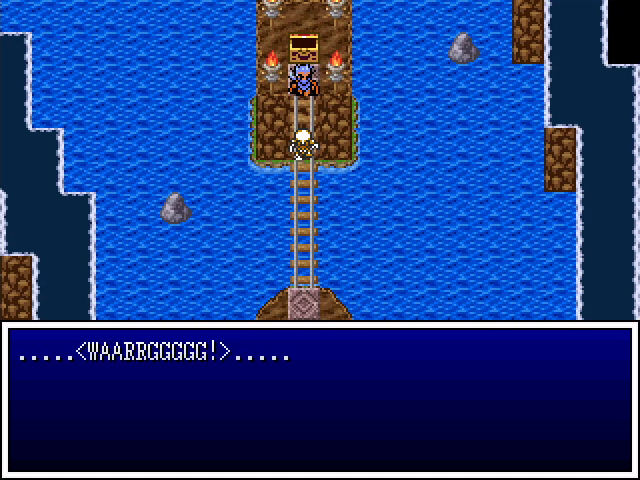
Oh.
Well.
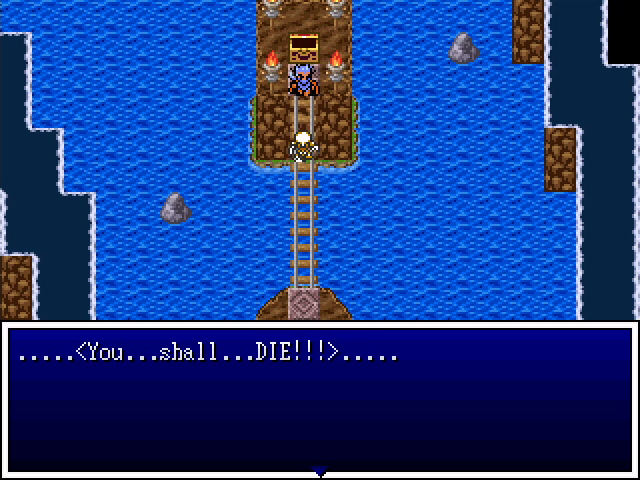
I guess I spoke too soon.
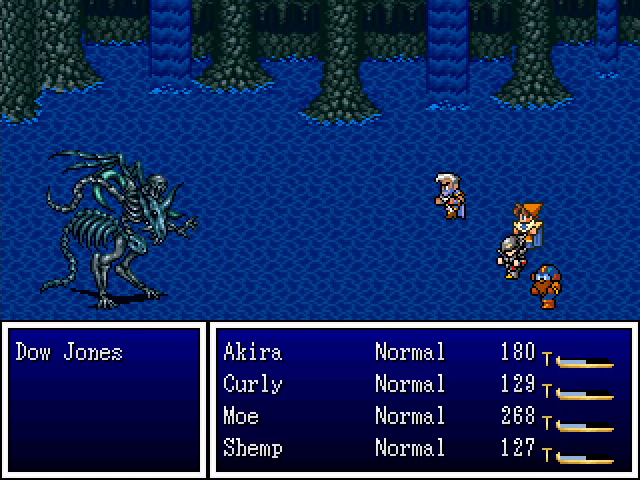
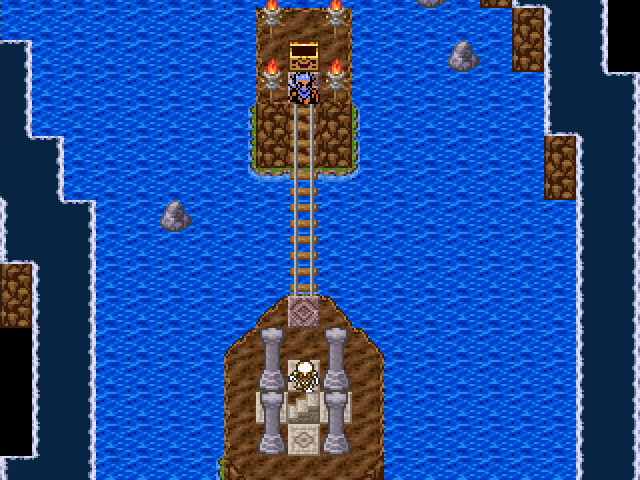
Dow Jones' locker is, not surprisingly, protected by Dow Jones. He's... a boss. He uses Evil Flame, and...
Well...
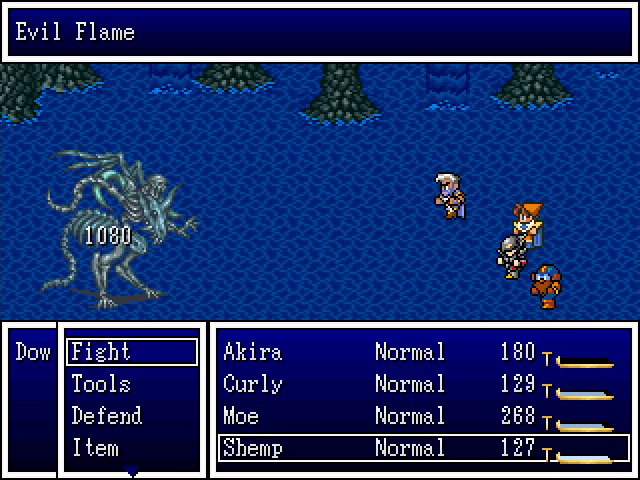
Being undead, he's weak to Holy Skean, and he went down in two shots, so that's all he got to do.
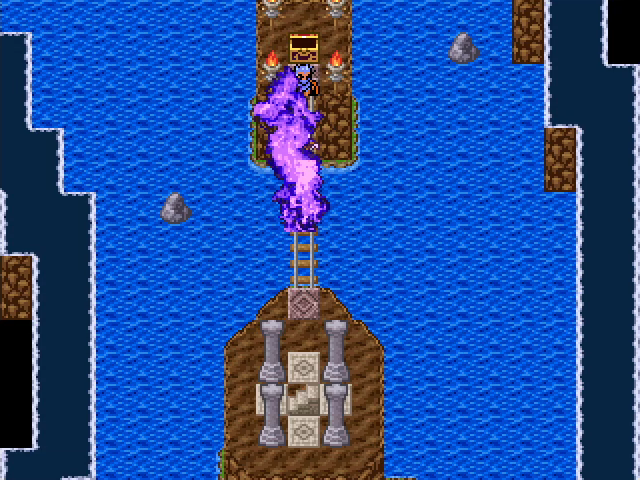
Dow Jones explodes in a burst of purple fire, and we head for the exit.


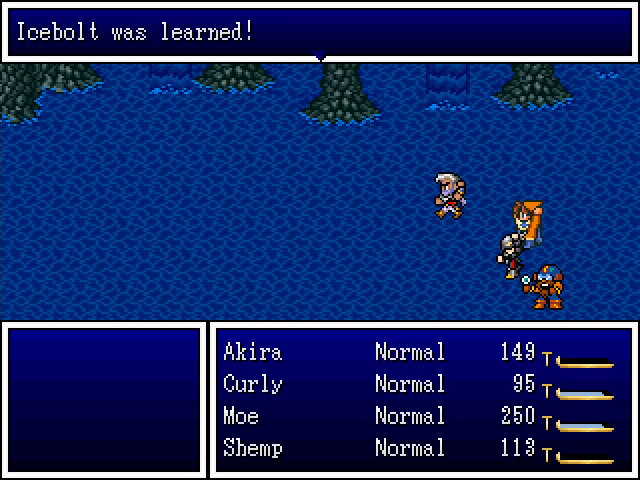
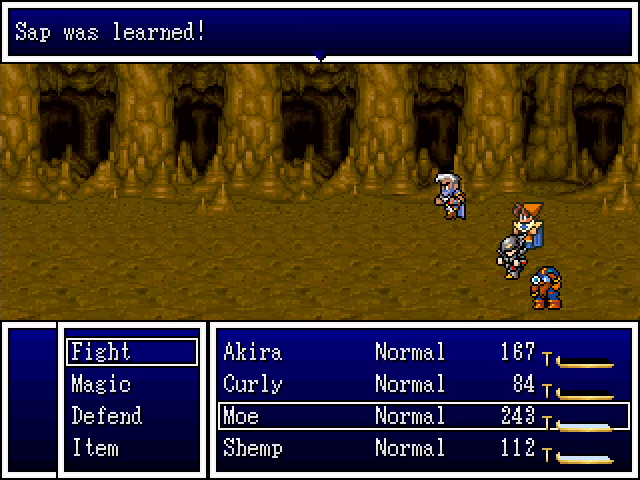
We get a whole suite of levels on the way out, and they are good ones. Akira gets Fireball, giving him a way to hit all enemies when Makibishi won't cut it, Moe gets a stronger offensive spell in Icebolt, and Curly learns both Outside and Increase. Outside takes us out of dungeons and is a huge convenience, while Increase grants Upper status to the whole party, which is great for boss fights.
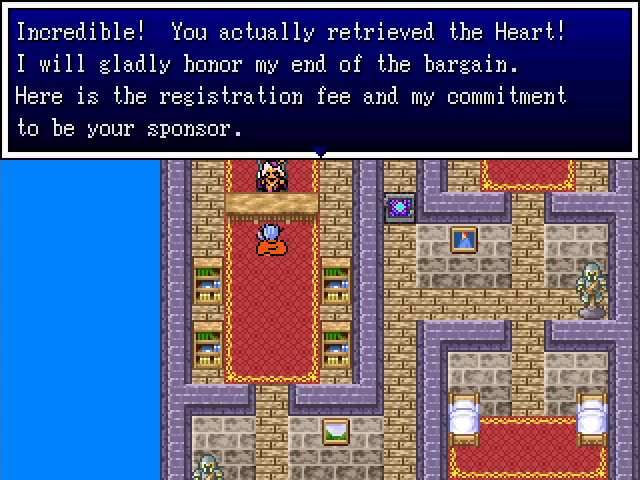
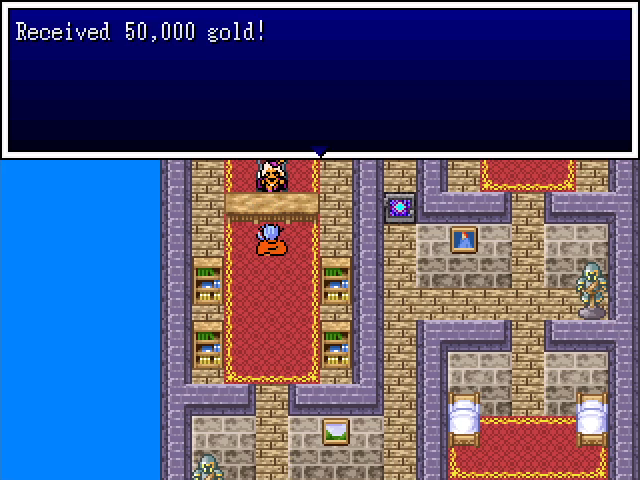
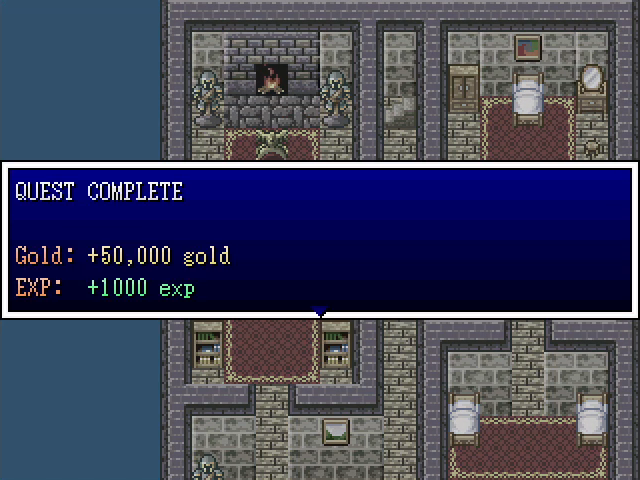
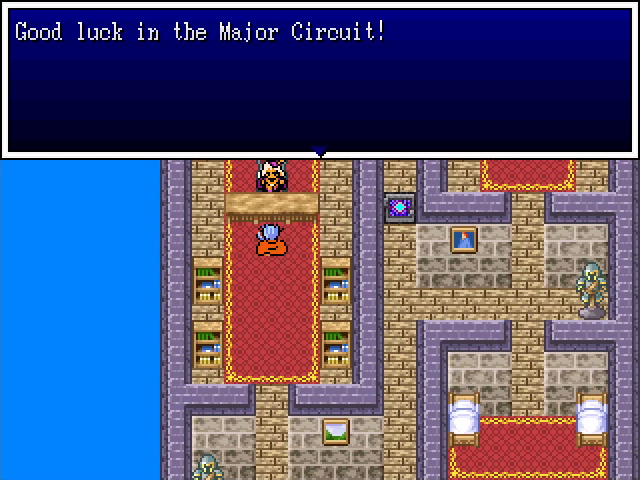
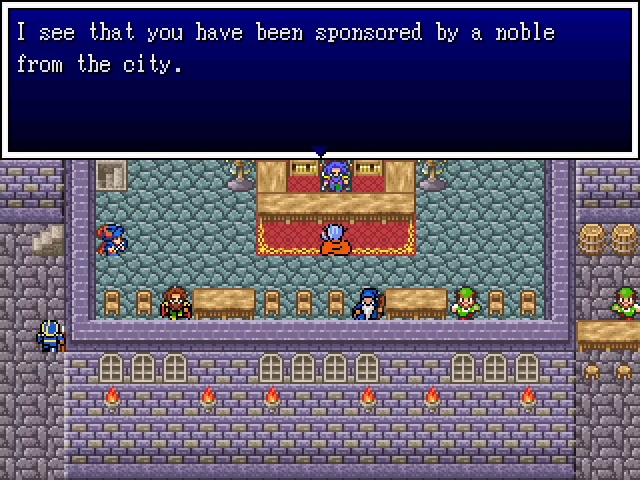
Back in Okasa, we turn in the heart, and out patron makes good on his promises before wishing us well in the upcoming fights.
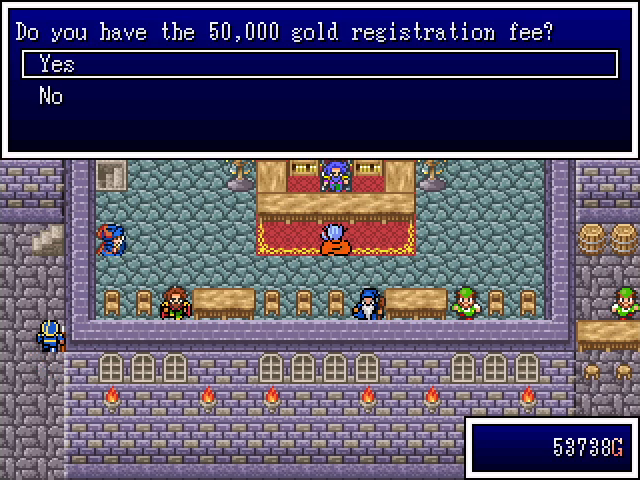
The 50,000 GP is real money, too - it can be spent just like any other cash, though it's obviously not wise to do so unless you feel up for a ton of grinding to replace it.
That is... certainly a name.
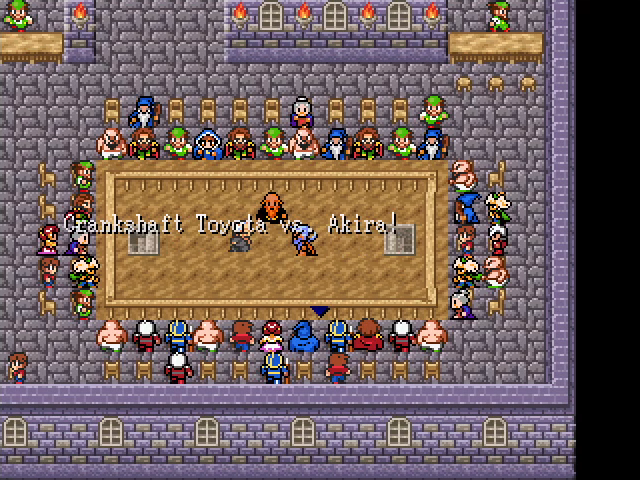
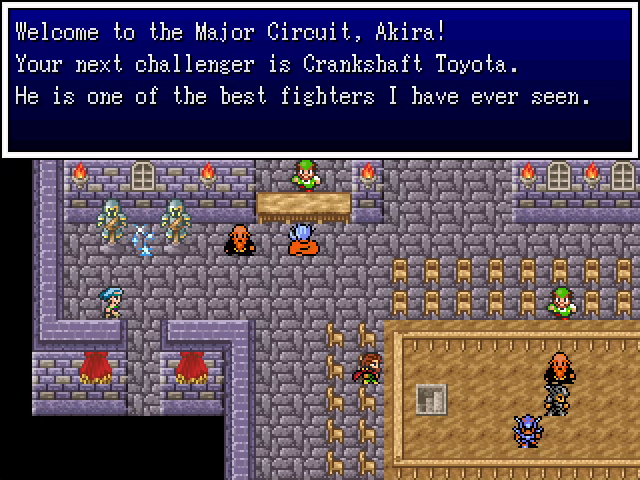
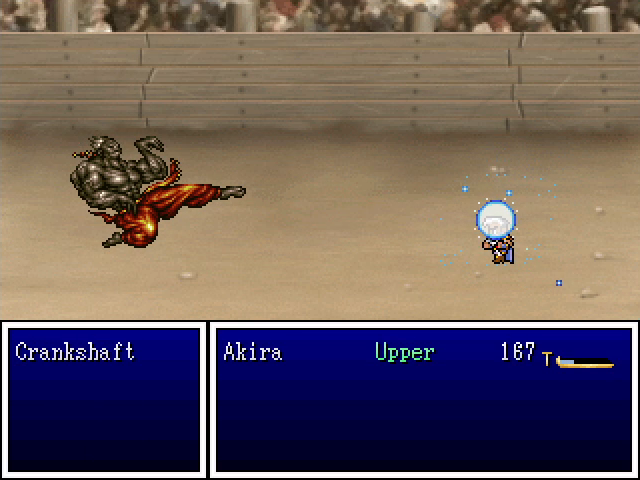
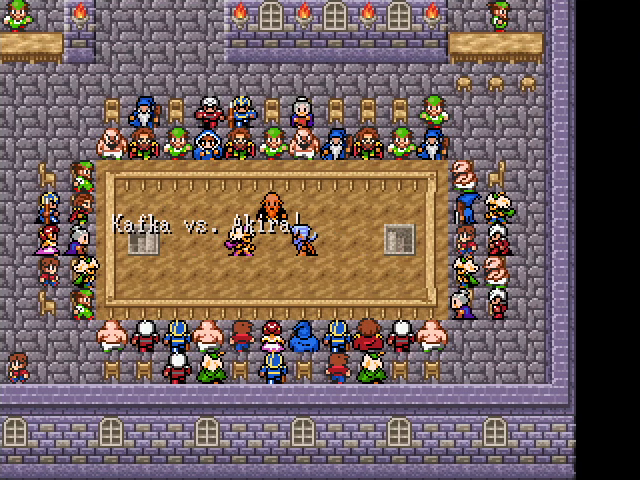
And here we are in the first battle of the Major Circuit. It was at about this point that I noticed that each successive Kumite match has a larger audience to reflect the increasingly impressive level of Akira's victories, which is a nice touch.
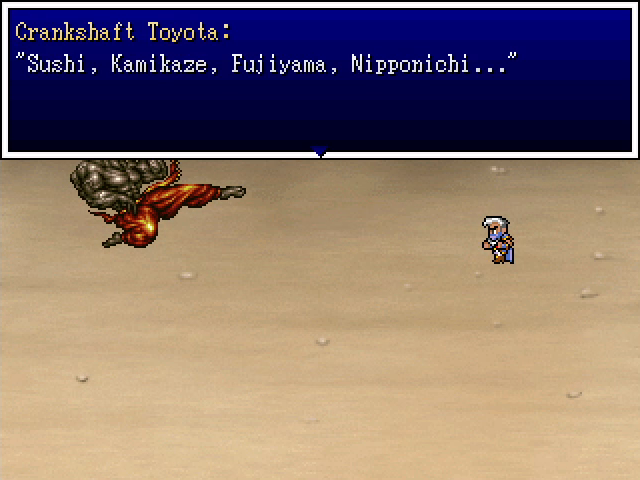
Crankshaft Toyota feels... a little racist.
Crankshaft is pretty irritating to fight. He uses Akira's own Sleep Powder to put him to sleep, but luckily our Insomniac Headband prevents that.
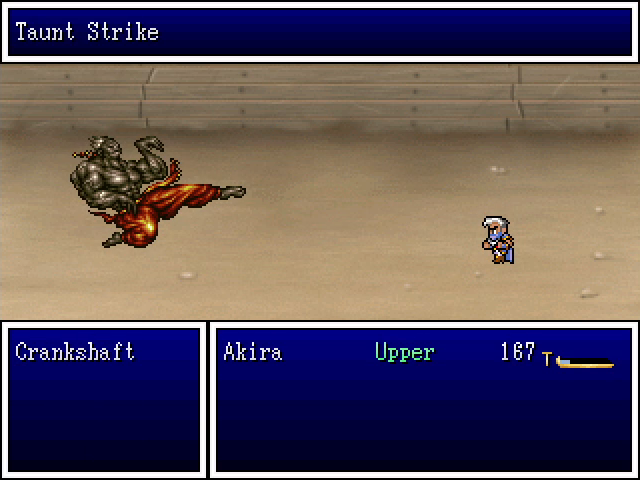
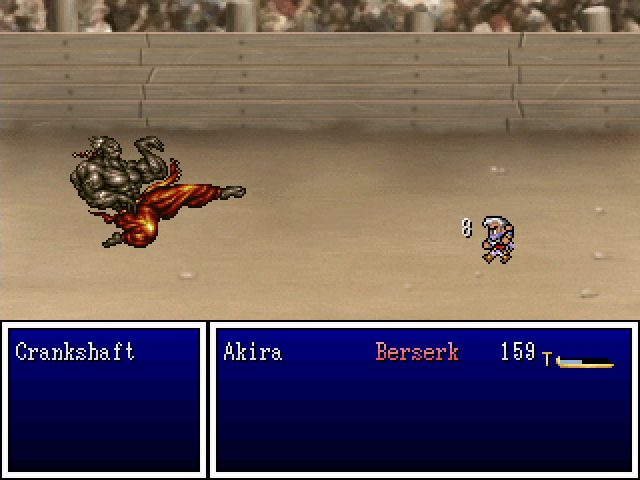
He also uses Taunt Strike, which inflicts berserk. Between this and Sleep Powder, he can shut you down for a large chunk of the fight. He also uses Caltrops (a Bandit ability that deals damage to all foes) and the Witch/Warlock's Tonics for healing.
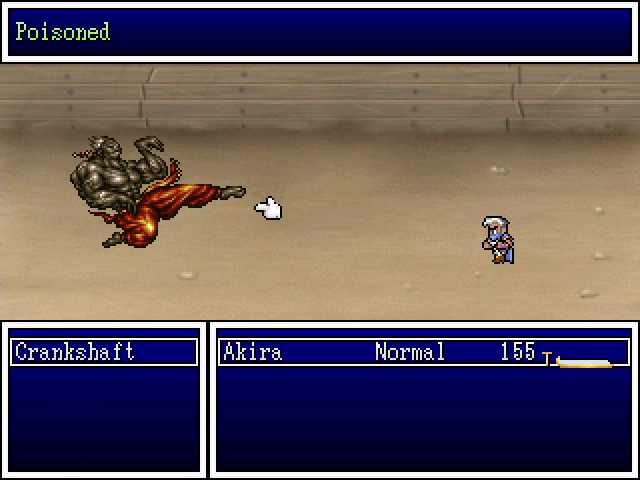
Unfortunately for him, he can be poisoned, which makes him go down much faster.
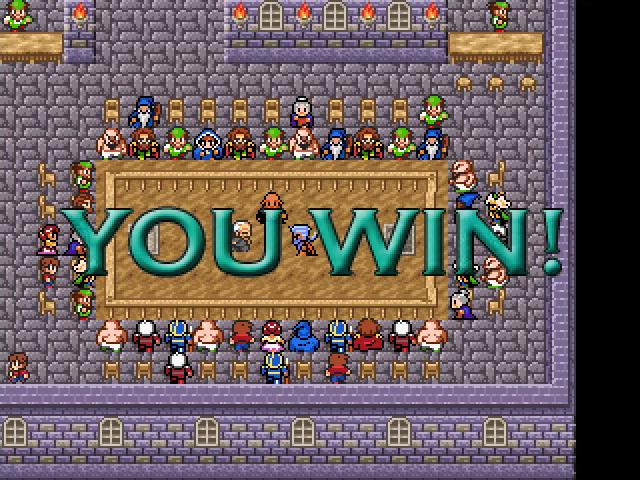
With the headband equipped, this is not an especially difficult match.
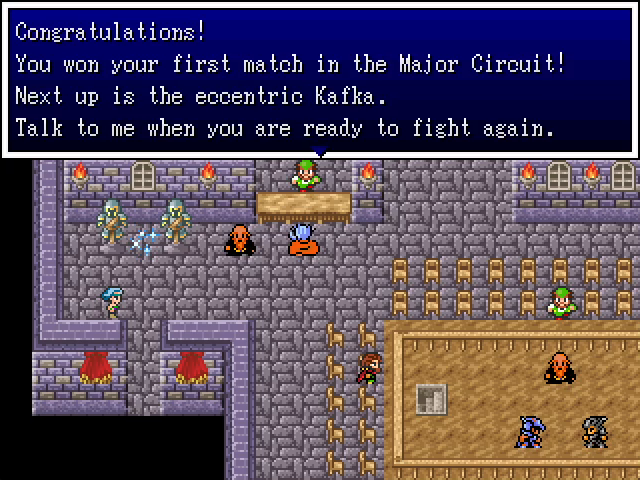
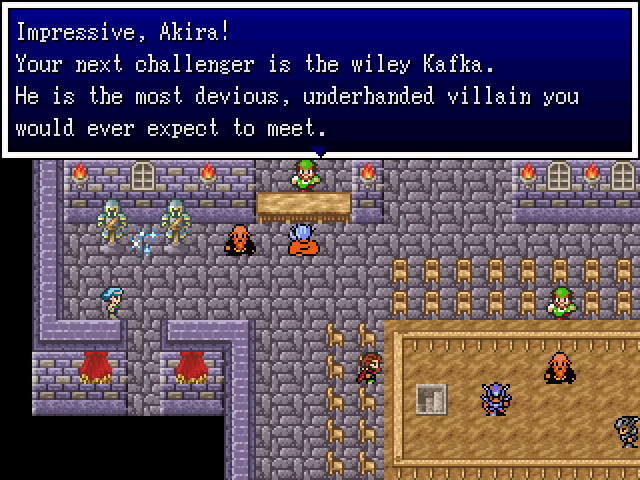
Our next opponent is Kafka, whose name you have have misread if you're a long-time JRPG player.

That's not a coincidence.
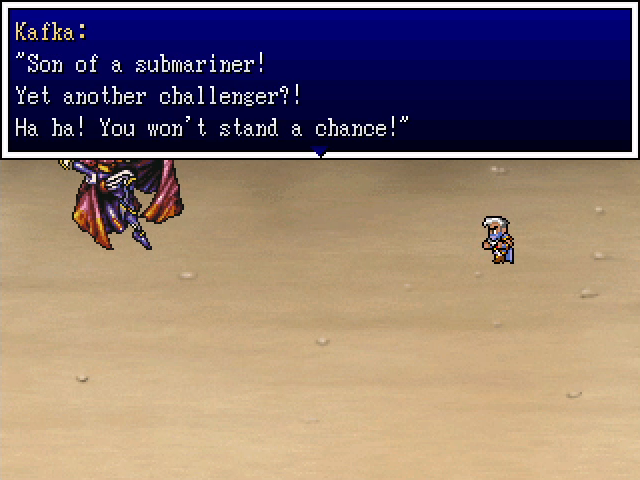
Despite his appearance, Kafka doesn't fight like his namesake. He does have plenty of tricks up his sleeve, though, and he was easily my least favorite Kumite opponent.
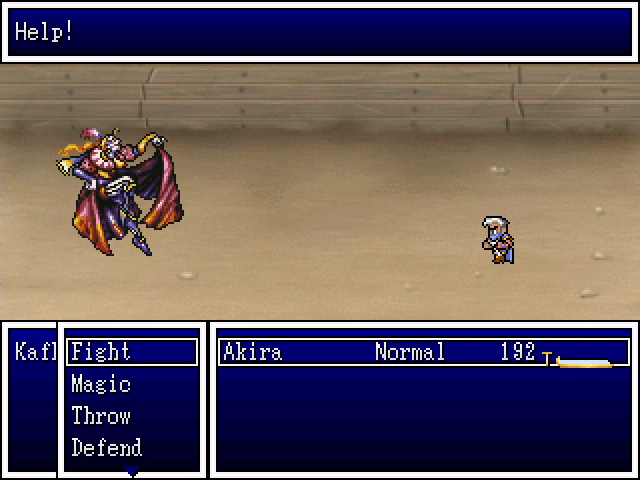
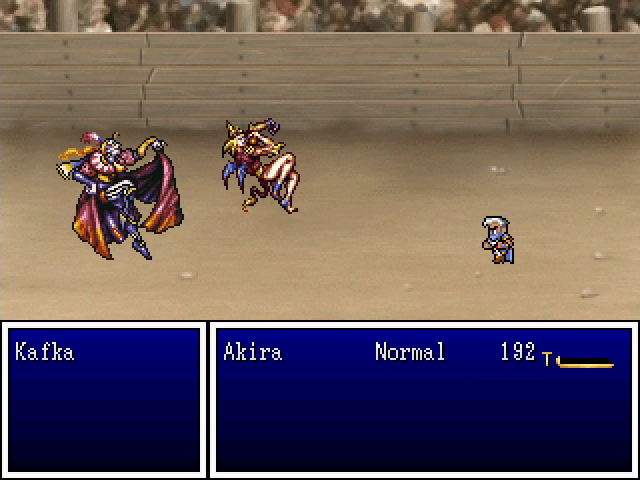
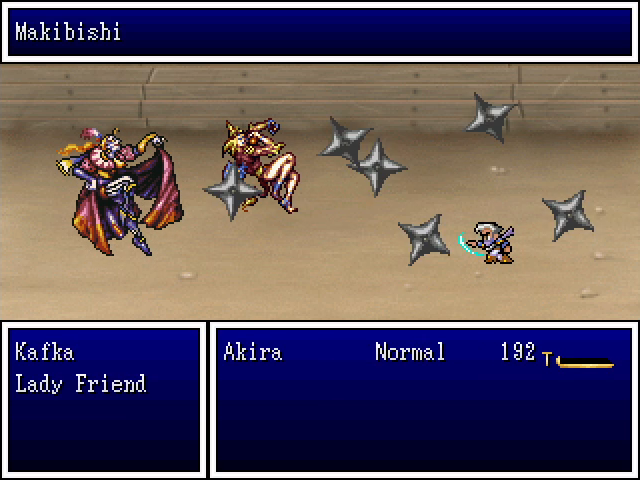
Kafka spends his first three turns calling for help, which causes one of his lady friends to join him in battle.
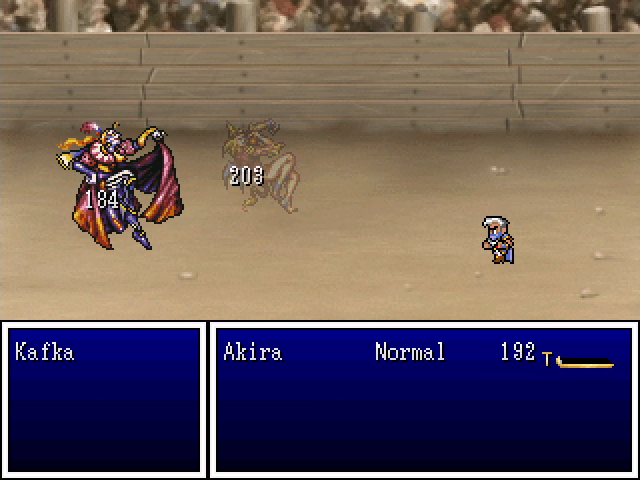
They don't get to do anything, though.

He also calls for help on his fourth turn, but at this point his fans have apparently decided that getting murdered with pointy objects isn't a desirable outcome.
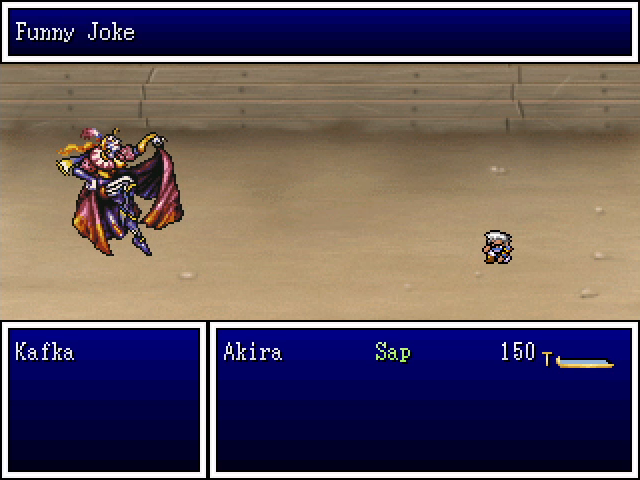
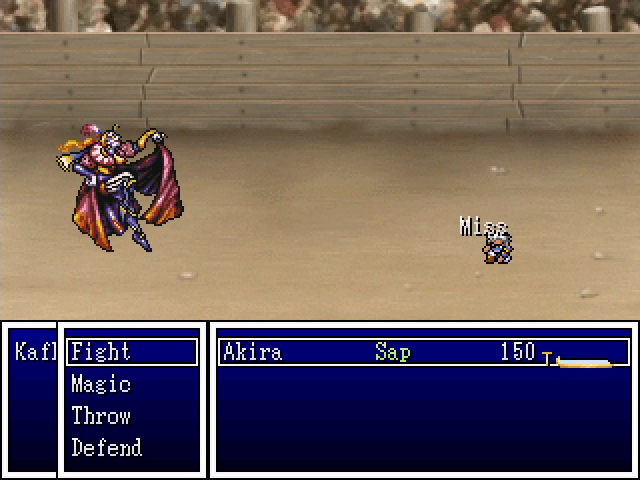
He resorts to telling jokes, but Akira is not amused. He also uses Burgle to steal our cash, because he is an asshole.
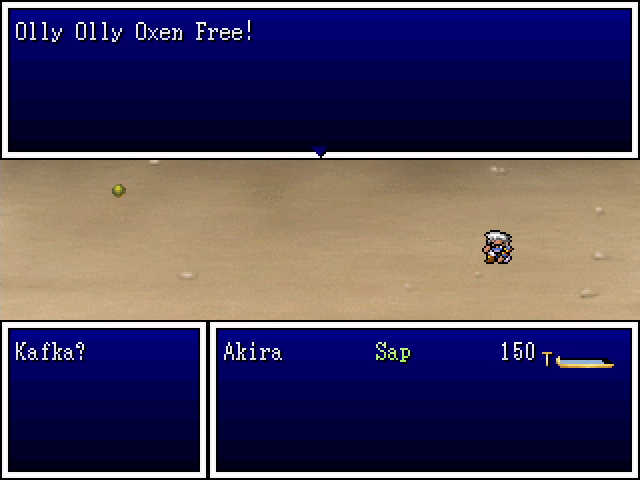
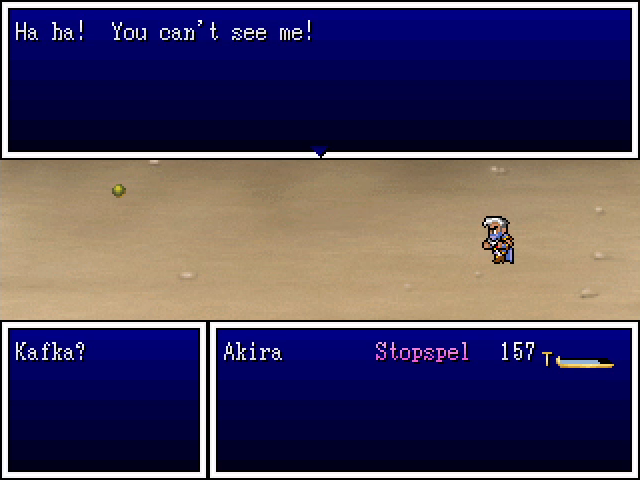
Unfortunately, he then does this, disappearing from the battle. At this point he cannot be injured in any way, and switches to casting spells at us - mostly direct damage, but he also throws in Mutespell just to be a dick. The only thing to do is heal when necessary while waiting for him to come back.
We eventually get the win, but there's no joy in it. The long waiting periods make Kafka more of a pain to fight than anything else. At least we're done with him.
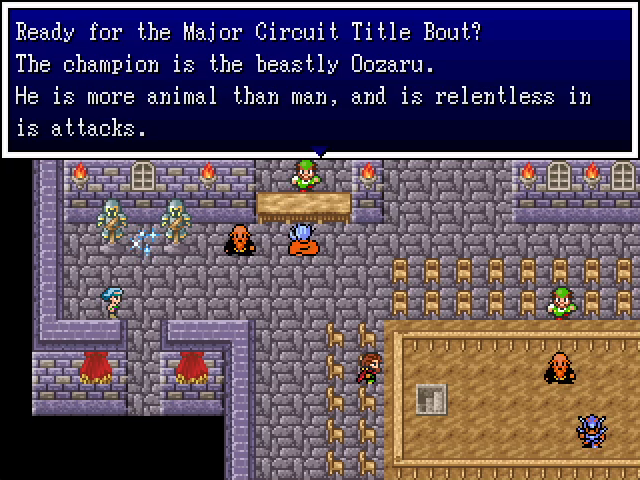
In a surprise twist, Dragon Ball Z Land's version of Oozaru isn't an alternate form of Kakarotto.

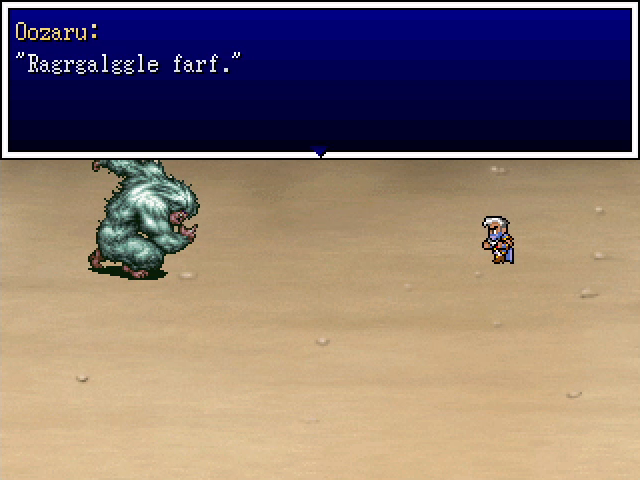
Oozaru's opening dialogue says everything you need to know, really. He's a high-strength warrior who made intelligence his dump stat. His attacks deal considerable damage, though, so he remains dangerous.


Oozaru Smash, in particular, does a ton of damage, and it's quite visually impressive.
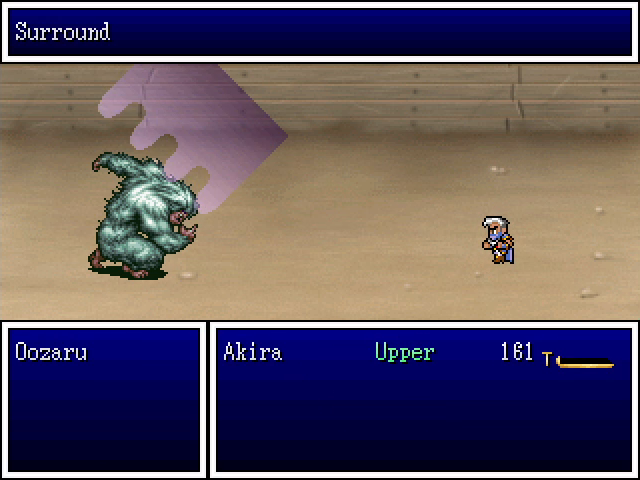
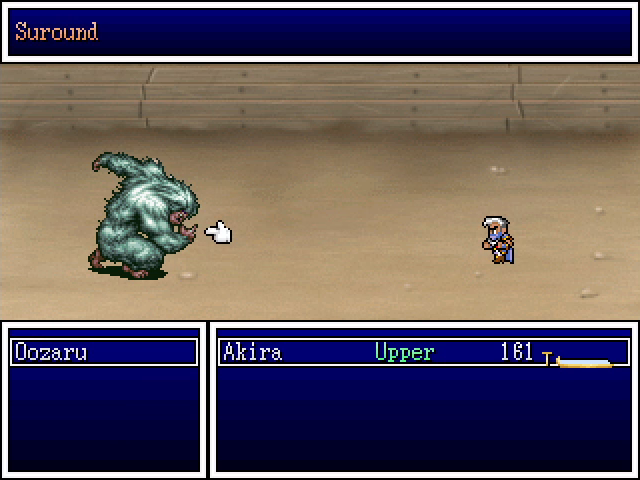
Unfortunately, since all he knows how to do is attack physically, Surround almost entirely neuters him. He might land a single lucky hit, or score one after the condition wears off, but if you play it right this fight is absolutely no problem.
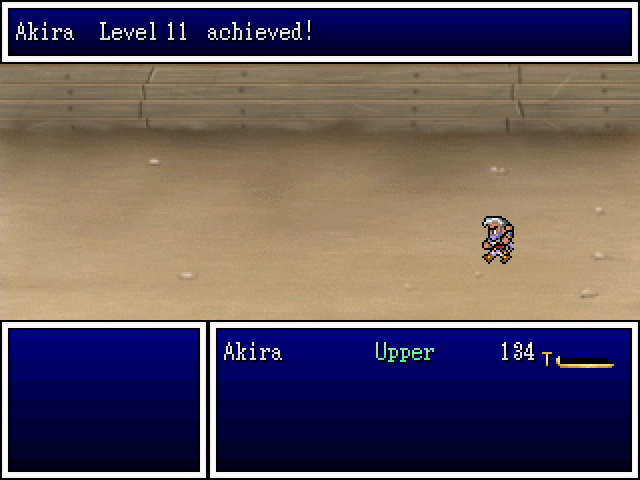
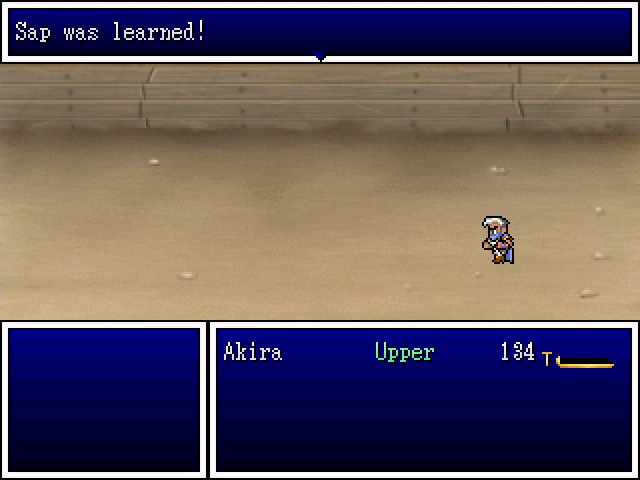
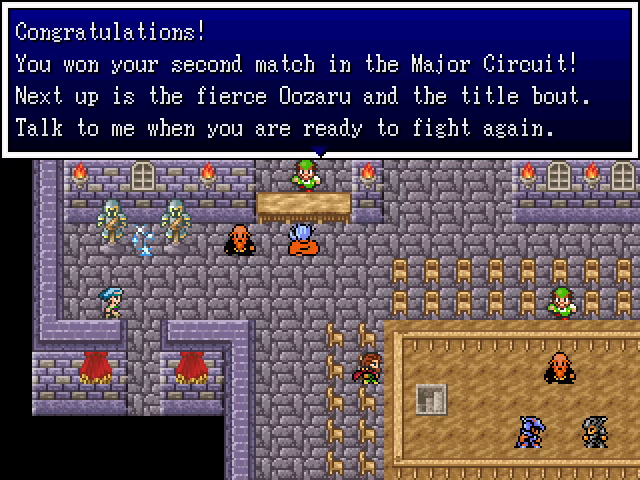
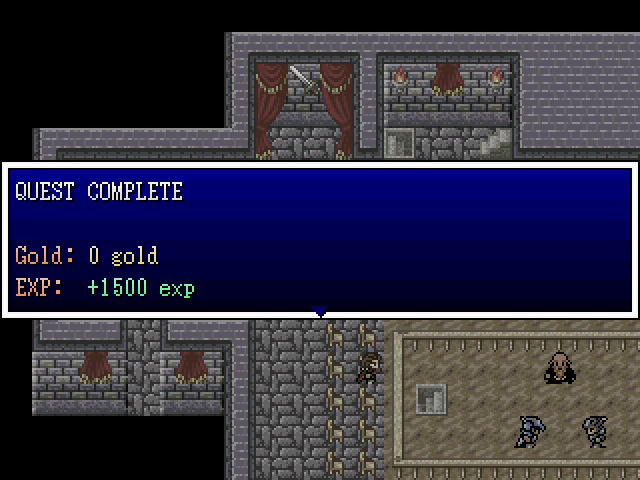
Our victory earns Akira another level as he continues to leave his comrades in the dust.

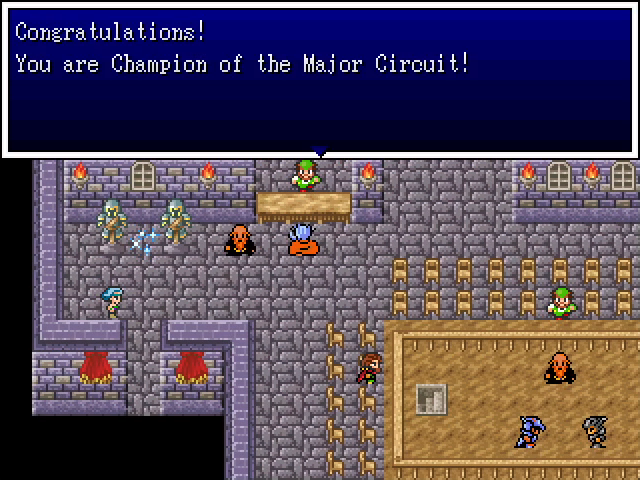
Having won the Major Circuit, we're told we can challenge Kakarotto, but we actually can't yet.
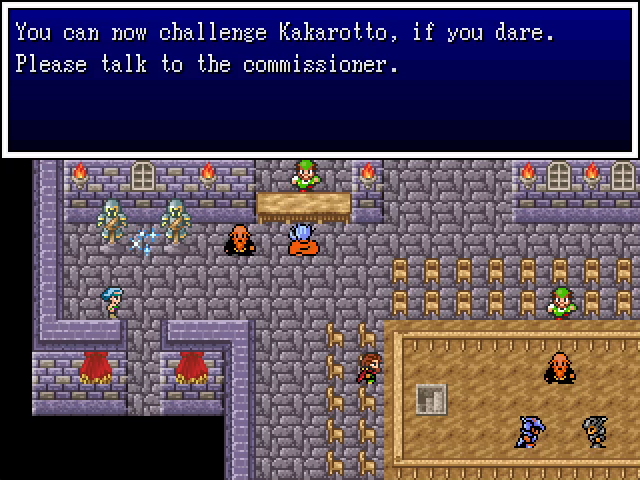
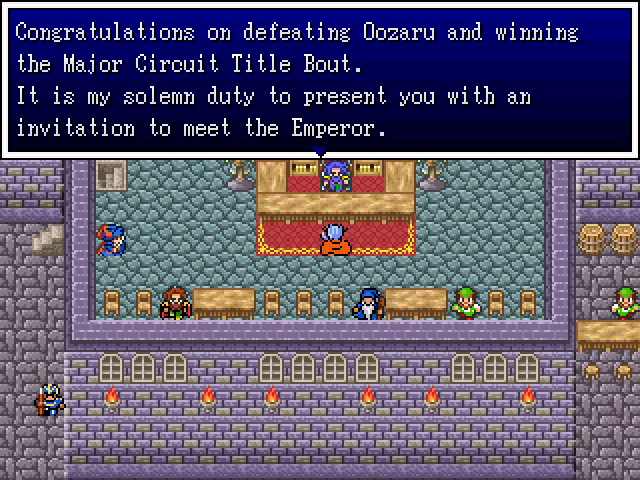
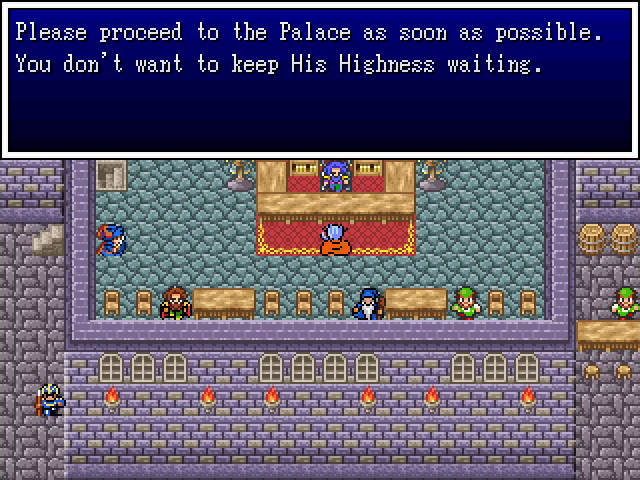
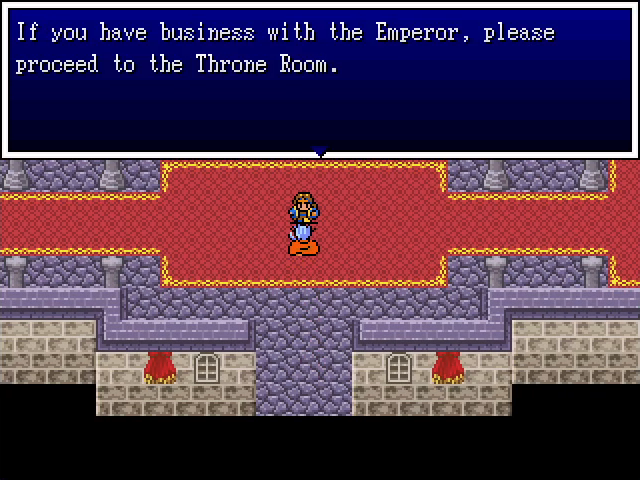
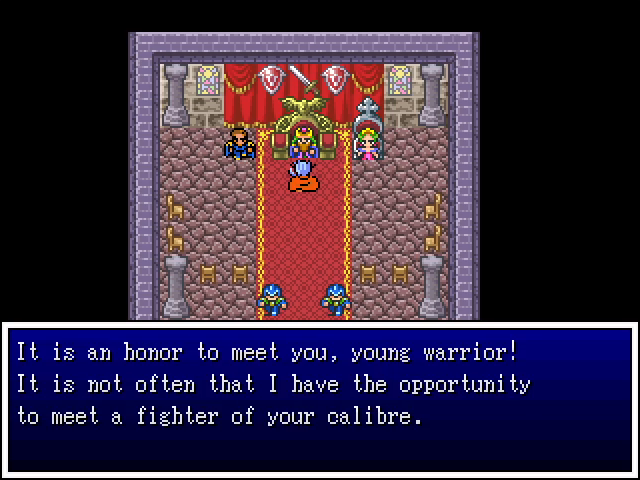
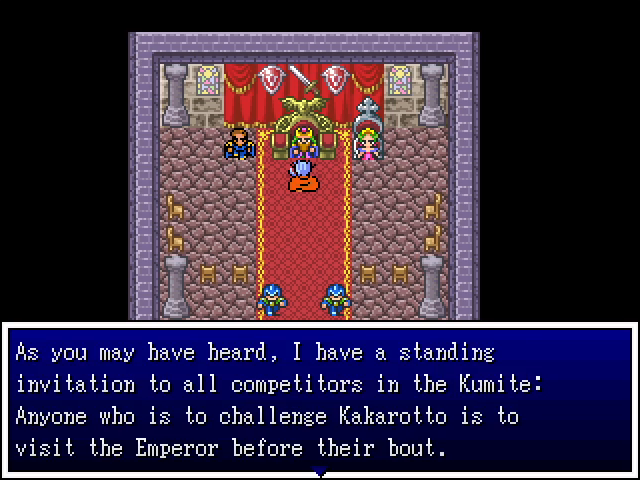
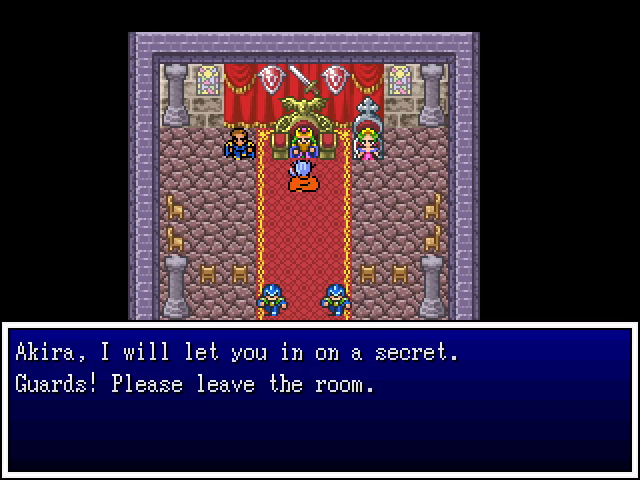
We first have to see the commissioner, who gives us an invitation from the emperor. And we can't exactly turn that down.
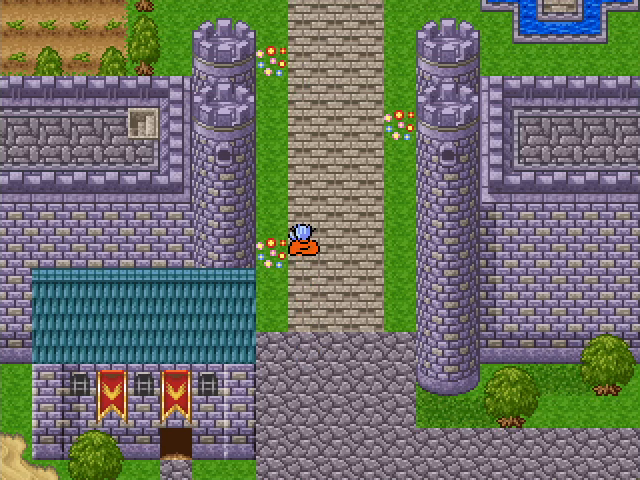
The guards are gone, allowing us to enter the palace.
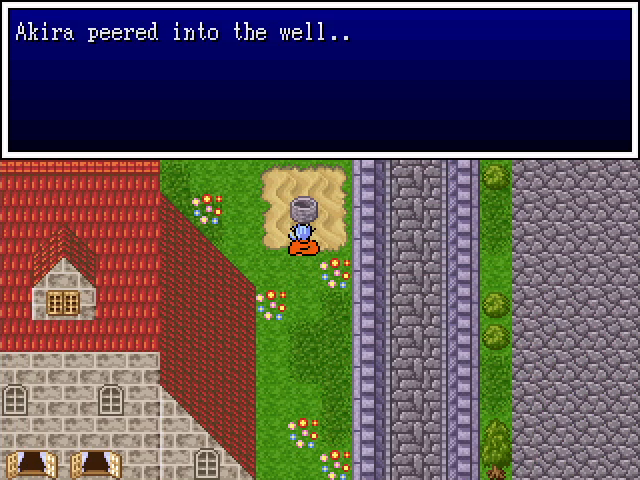
before entering the palace proper, we check out the well. This what that weird door is blocking: a back entrance to the palace. Maybe the prince like to sneak out and go slumming at night?
Yes, yes, but first I need to loot all the valuables I can get.
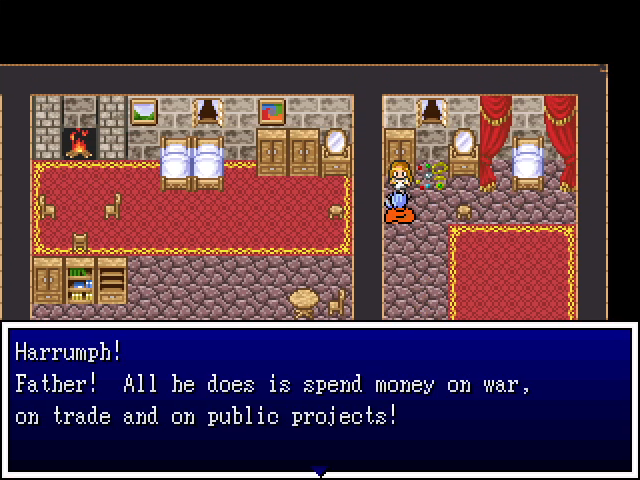
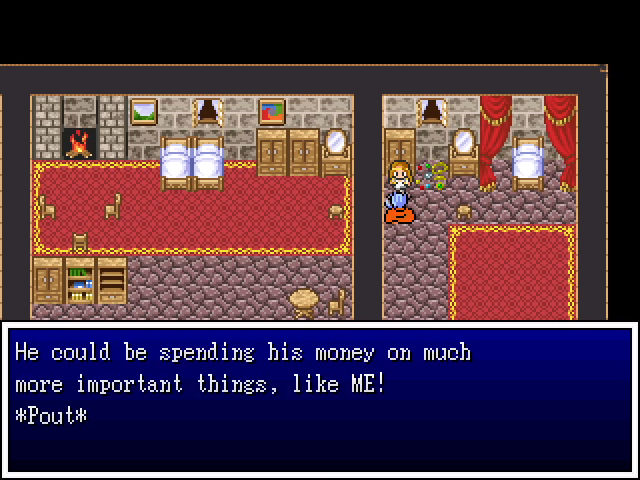
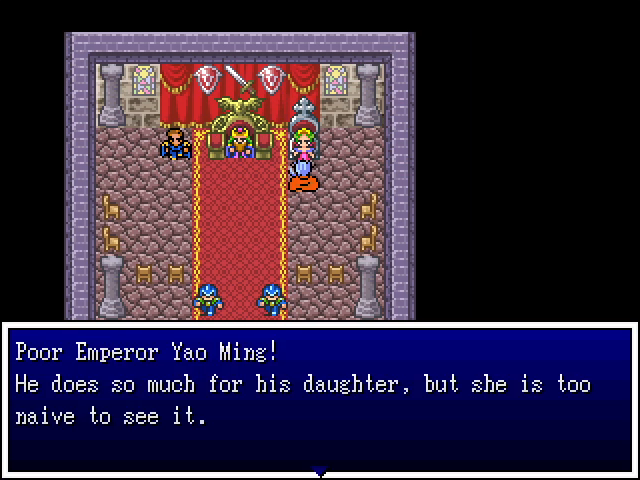
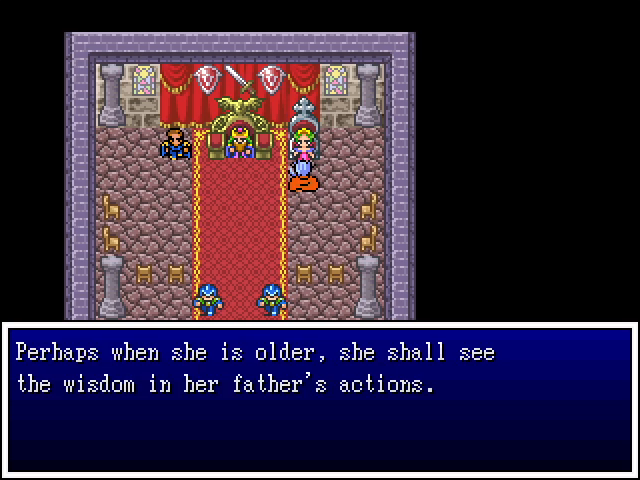
The emperor's daughter is upstairs and is the very picture of a spoiled brat.
You know what? I respect that. It's not a very shonen ideology though.
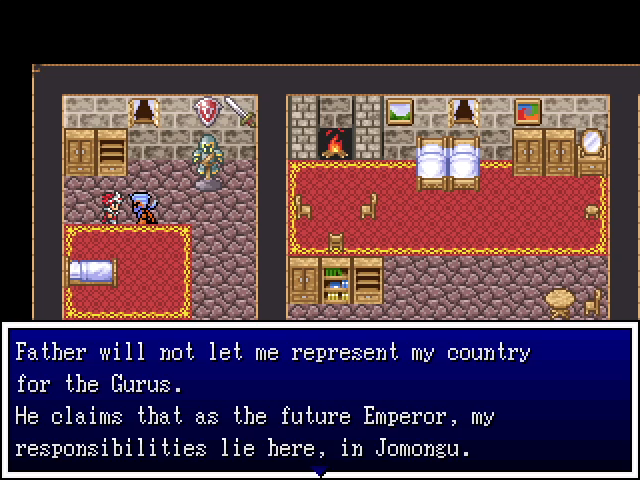
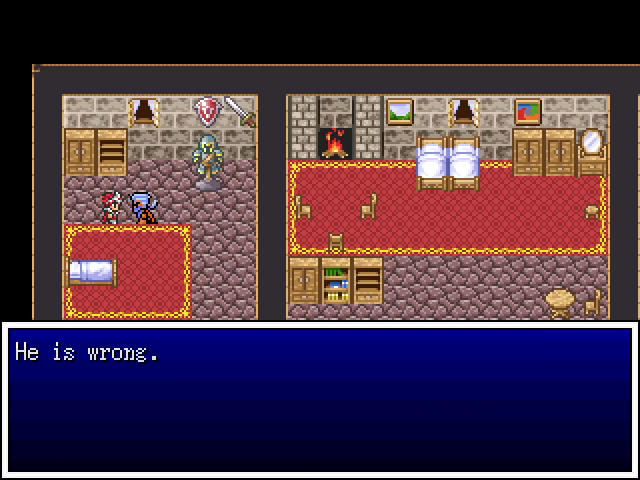
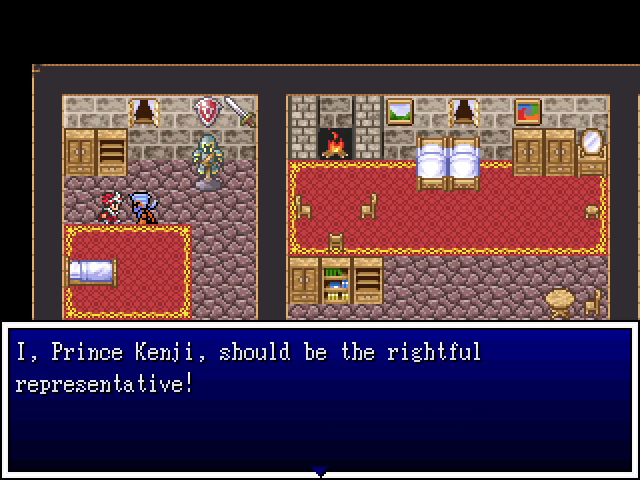
The prince is a much better example of the genre.
The empress is worried about the princess (her wording makes it ambiguous whether the girl is actually hers), but I'm more interested in learning how a basketball player became emperor of Dragon Ball Z Land.
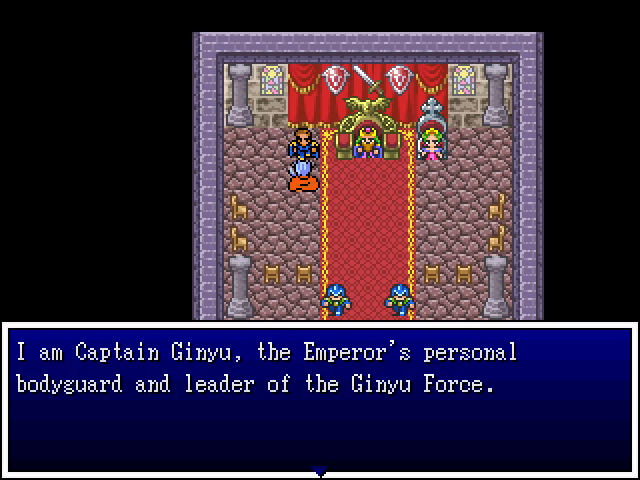
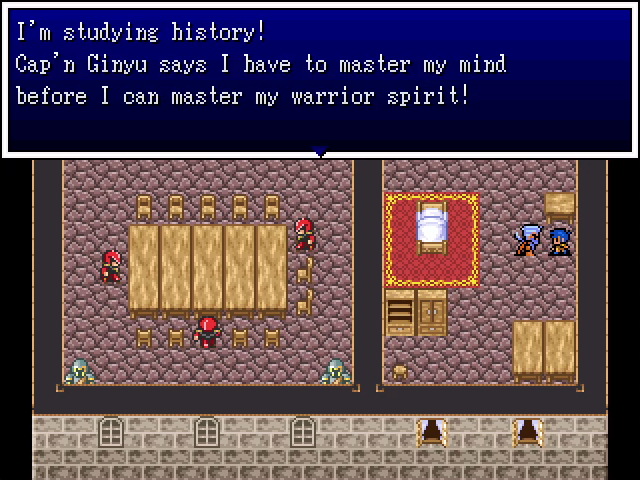
So it turns out that the soldier is the barracks wasn't Captain Ginyu; he was just some jackass. This is Captain Ginyu.
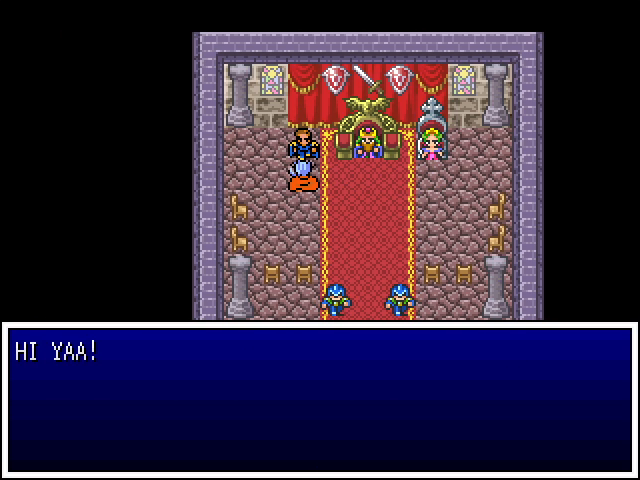
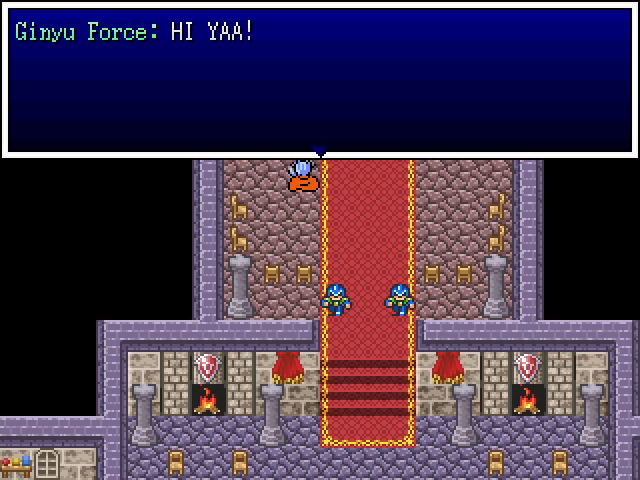
Okay, yes, I like him.
All right, enough playing around. Let's do what we came here to do.

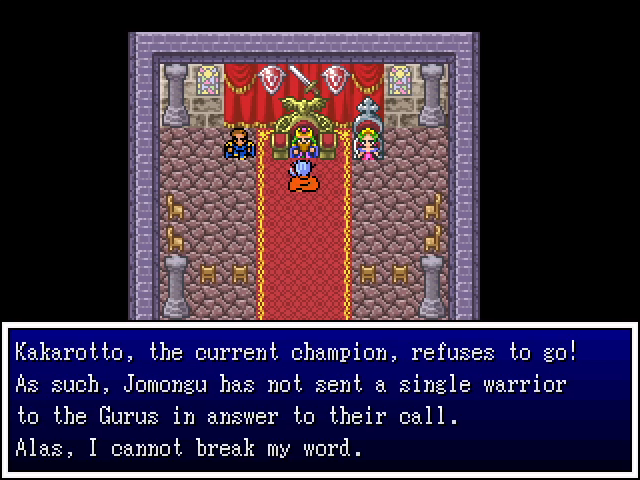
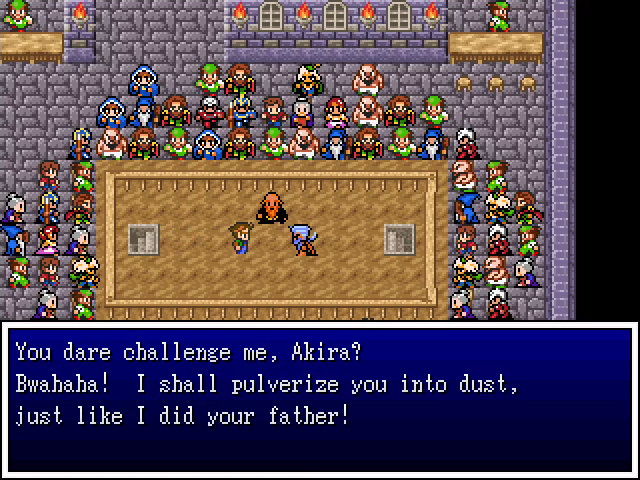
Surprising no one, Kakarotto is a huge asshole to everyone, even his emperor.
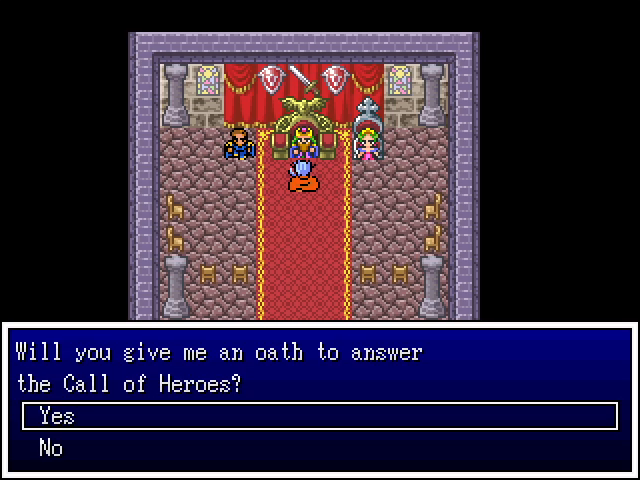
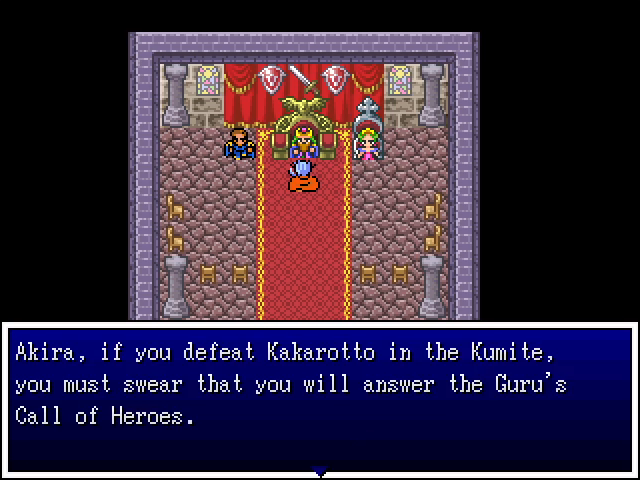
Obviously there's no way we can say no.
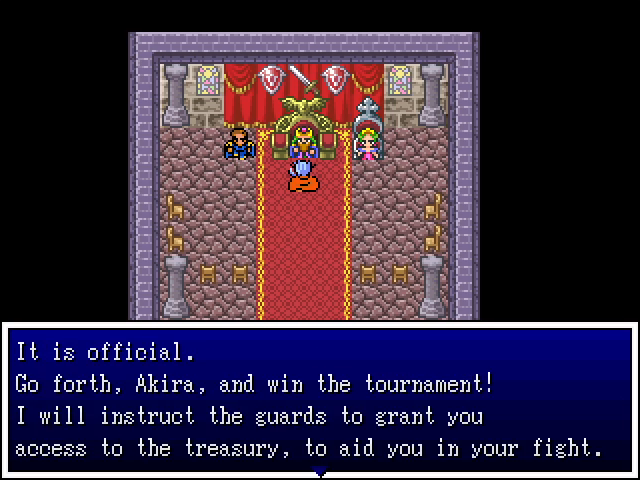
I always appreciate it when well-off NPCs actually help you do the thing they want you to do.

These are both solid prizes, especially the ring, which replaces the one Shemp is currently wearing.
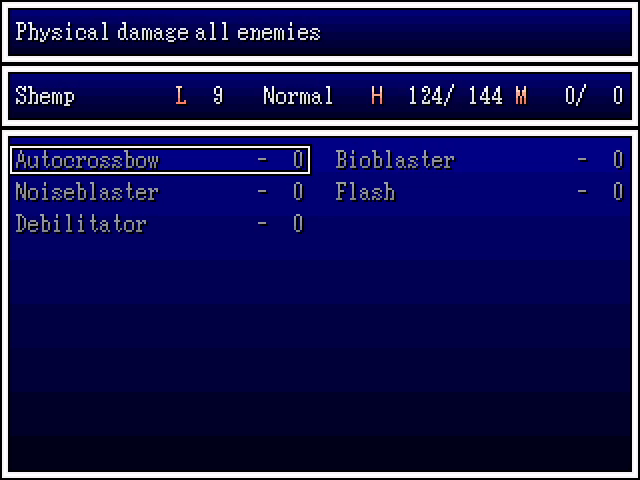
Before the finale, I use all the cash we've earned to fill out Shemp's list of tools. He won't get much use out of these in this chapter, but they should be useful in the future.
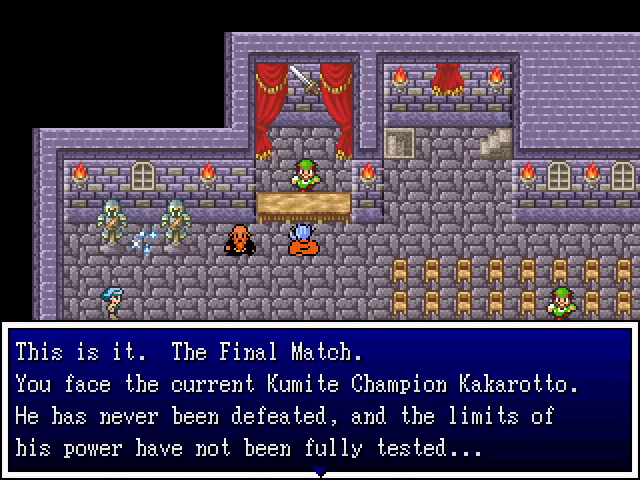

Well, this is it. Let's avenge our dad.
Oh, it is on.

Let's do it.
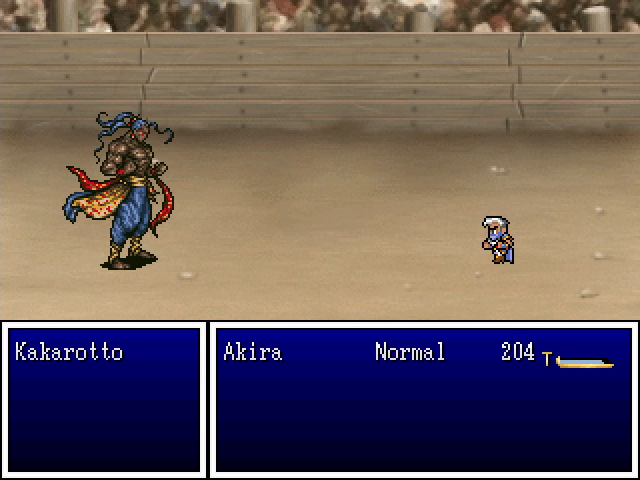
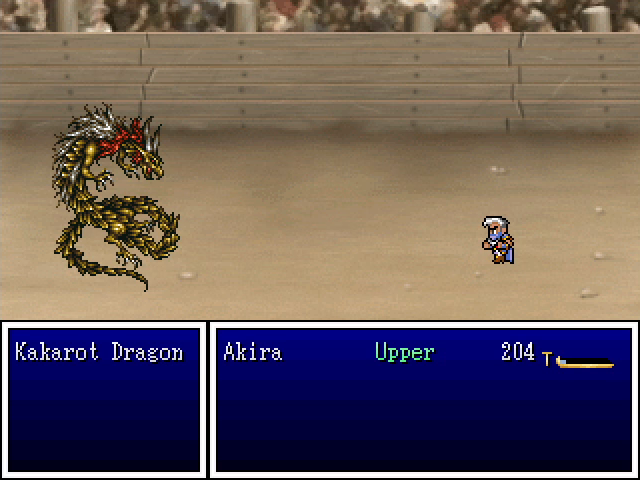
And here we are: the final fight of Chapter 3. Kakarotto is... remarkably easy. He does nothing except use weak physical attacks and Charge Up, the latter of which doesn't seem to be followed by anything except more attacks.
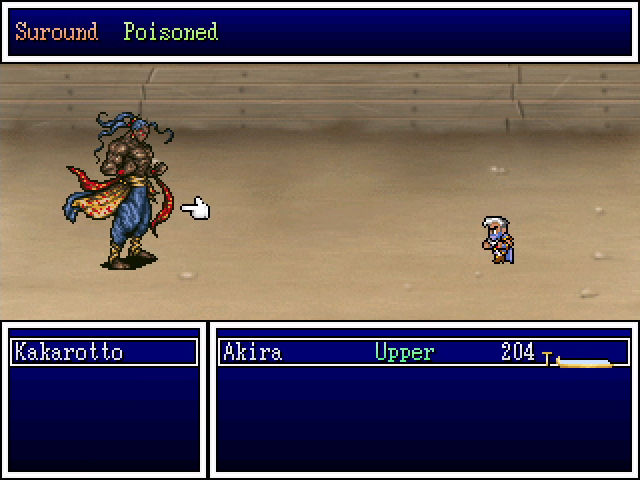
He's also susceptible to both Surround and Poison. It's embarrassing. I have no idea how he became the undefeated champion when he fights like this.
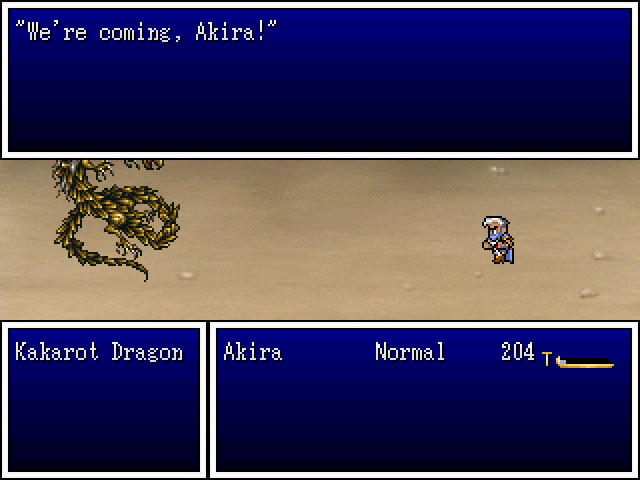
But of course, that's just the prelude.
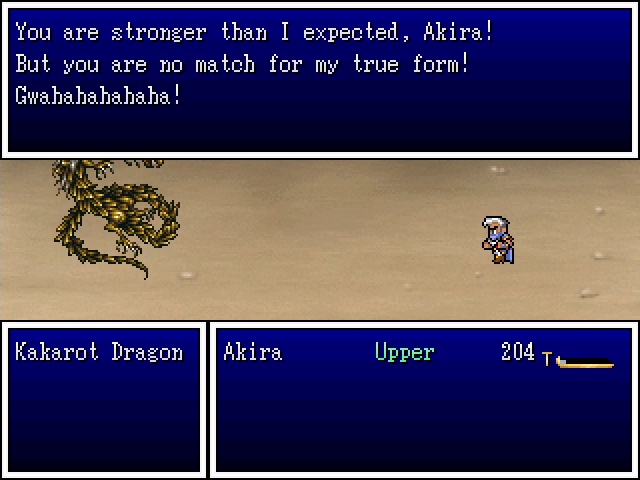
Kakarotto's true form is the Kakarot Dragon, which promises to be a much tougher fight. Is this the same dragon supposedly beaten by Son Goku 500 years prior, or another bronze dragon that showed up out of nowhere? It's not clear, and probably doesn't matter, but it bothers me that there's no stated connection.
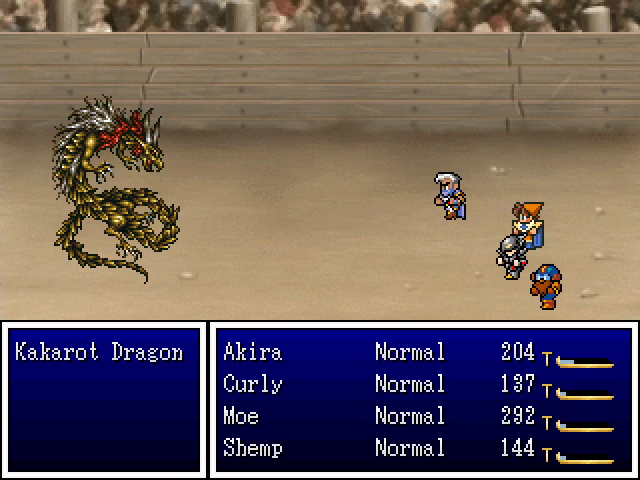
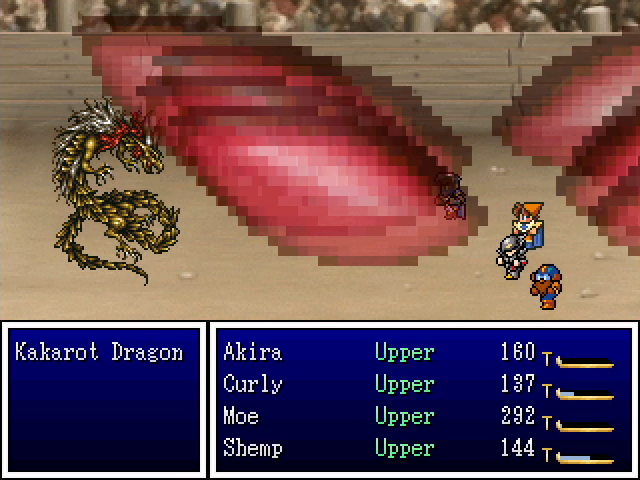
Luckily, we don't have to do this alone. Now that Kakarotto has shown himself to be a horrible monster, the rules go out the window and we can fight him together, with the power of FRIENDSHIP. We're going to need it too, because it's a pretty strong boss.
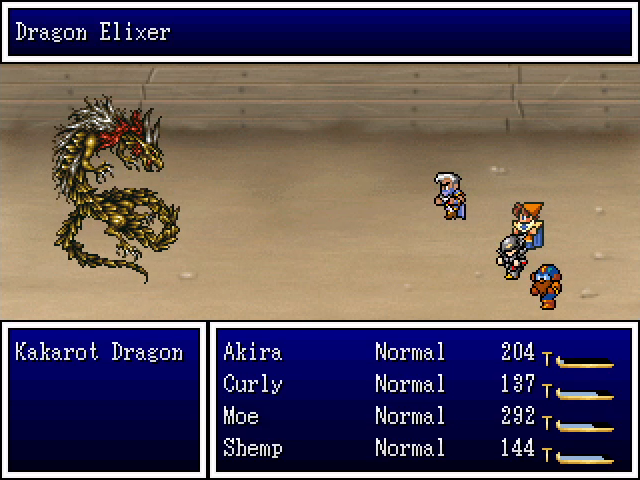
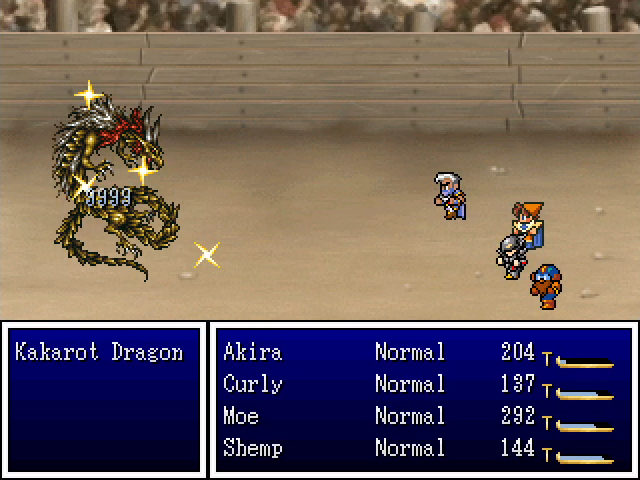
The Kakarot Dragon opens this phase of the fight by healing itself, presumably because it shares Kakarotto's HP pool.
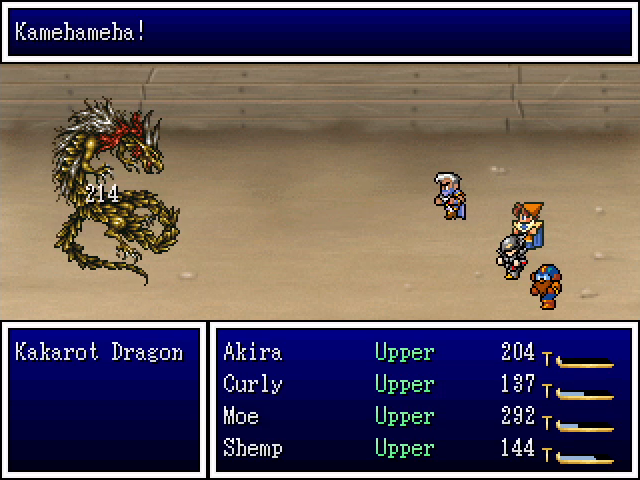
Obviously, we can't go through all of Dragon Ball Z Land without a Kamehameha somewhere. This hits a single character for around 100 damage, which is quite dangerous.
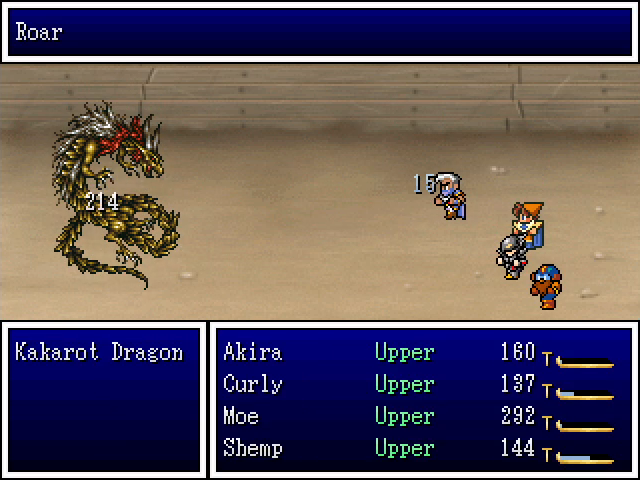
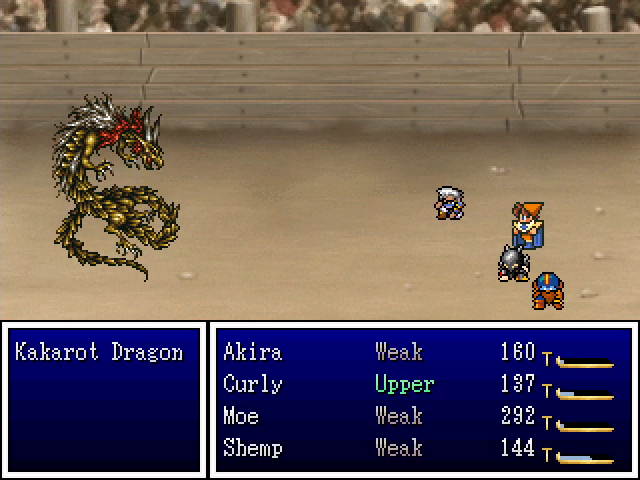
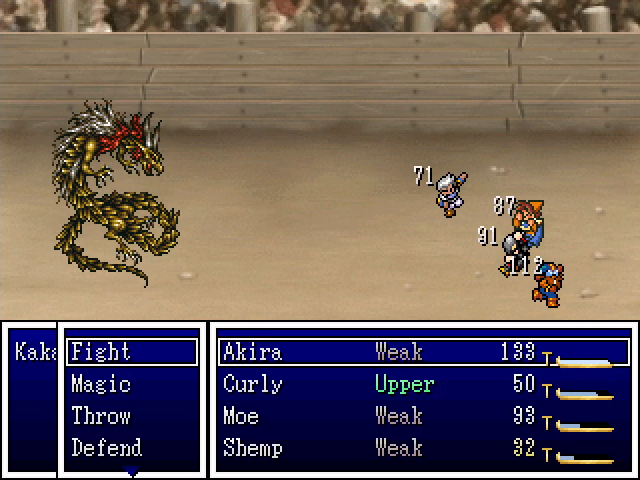
Its terrifying Roar renders our party Weak, reducing their ability to fight back.
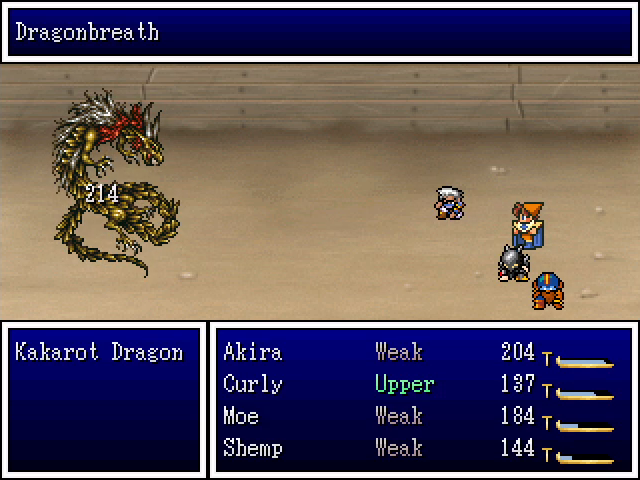
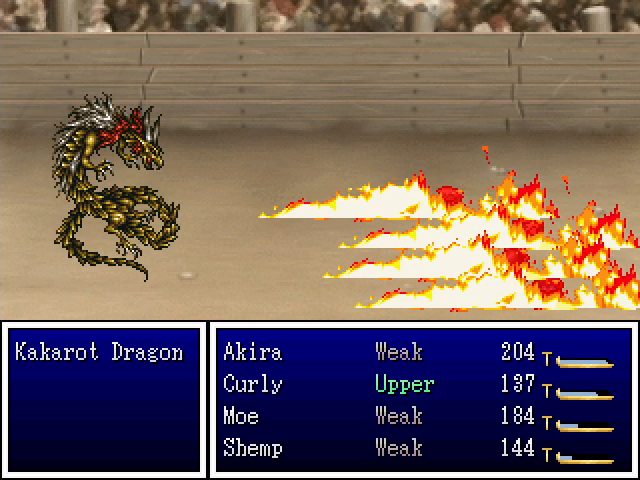
It can, of course, breathe fire, which does a pretty big chunk of damage to the party.
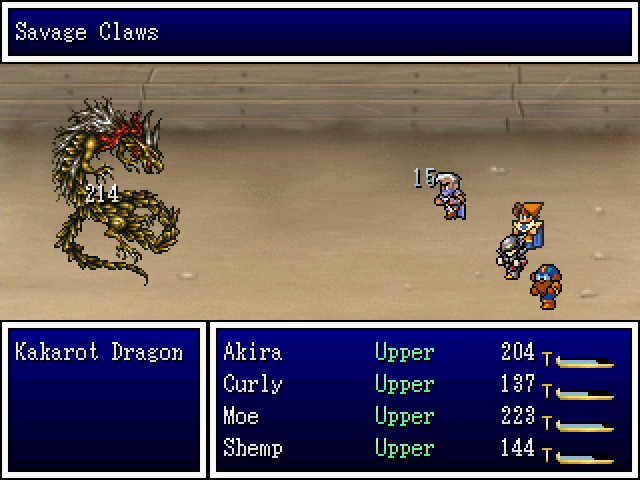
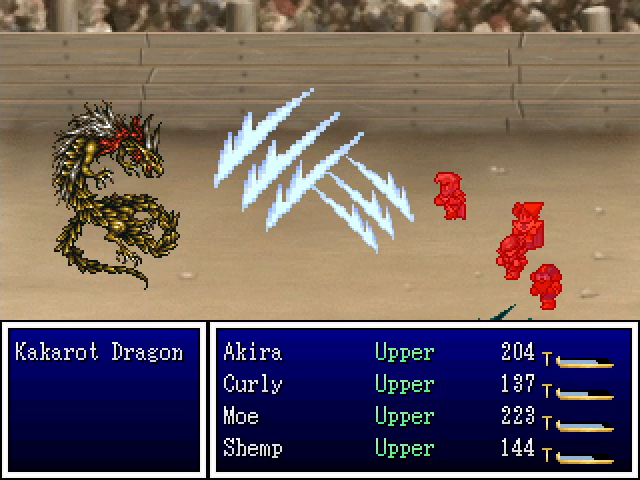
And finally, its Savage Claws attack also hits the whole party, but since it deals physical damage, the increased defense we get from Curly's Increase spell helps mitigate it.
Oh and sometimes it just sits there.
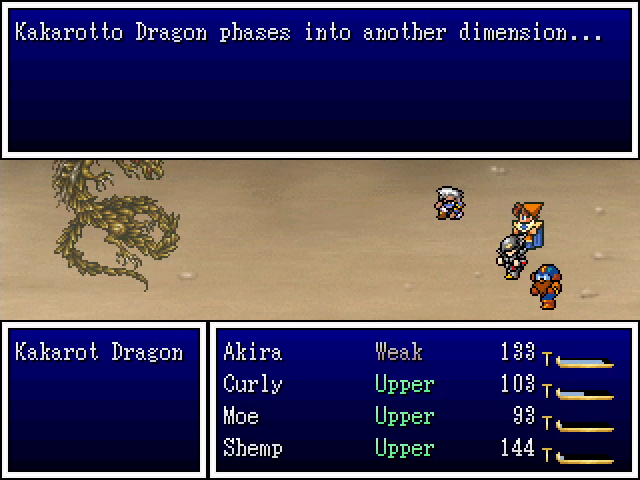
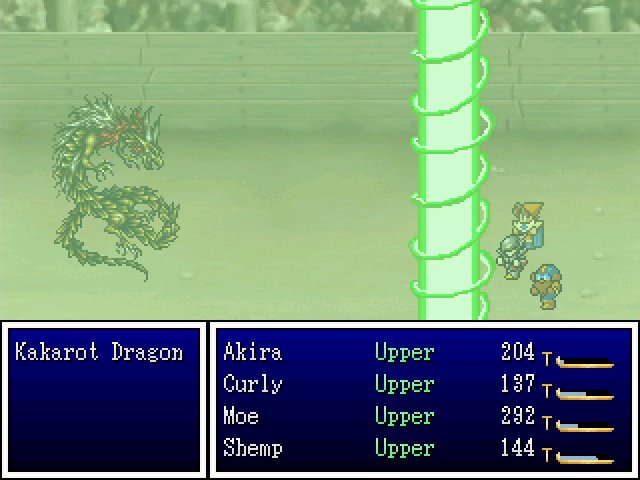
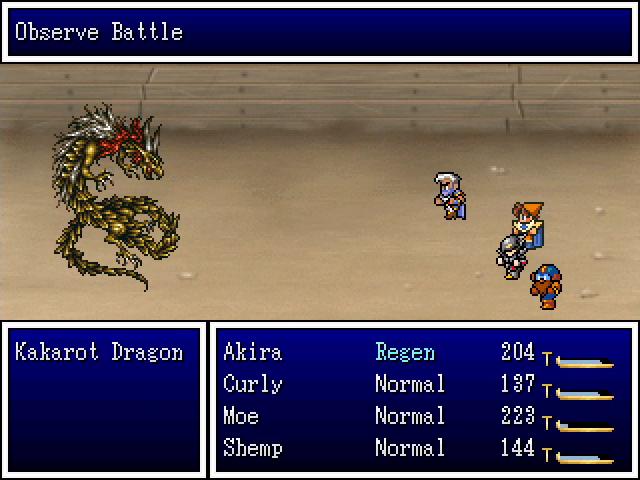
After a while, the dragon "phases into another dimension," but unlike in DBZ this isn't a euphemism for death. It just becomes invulnerable, which is annoying, but since it doesn't do anything in this form, we can use it as a chance to heal up and wait for it to phase back in.
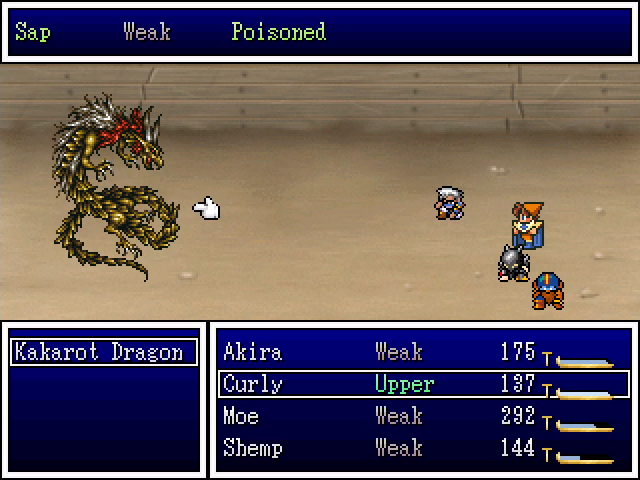
By the way, bosses aren't immune to status effects. Poison in particular does a good chunk of damage.
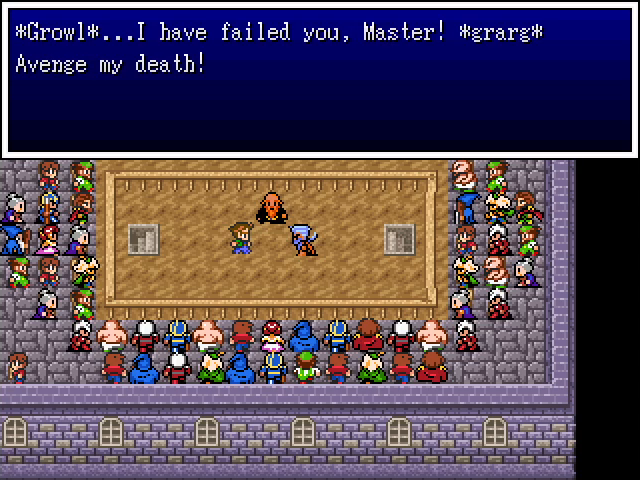
Eventually, we take the win, and Kakarotto reveals that he's been serving someone (probably Mephistocles or one of his generals) before exploding dramatically.
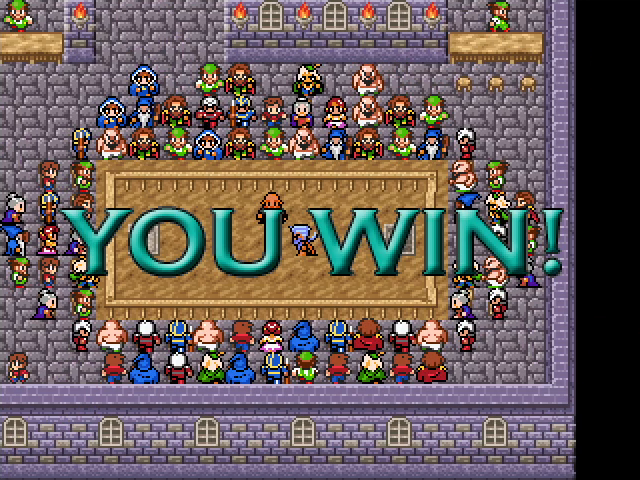
Hell yeah we do.
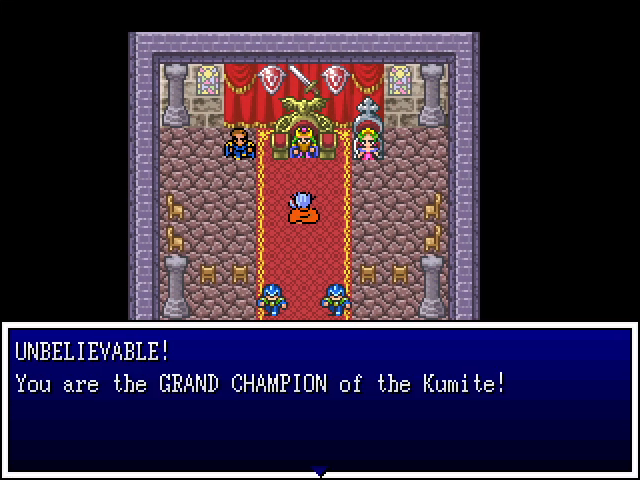
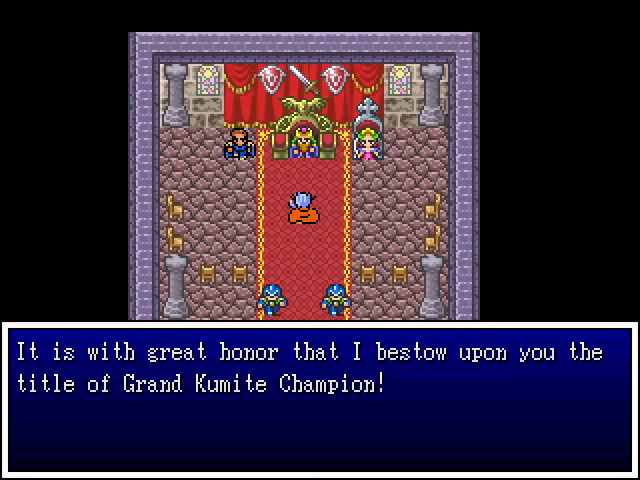
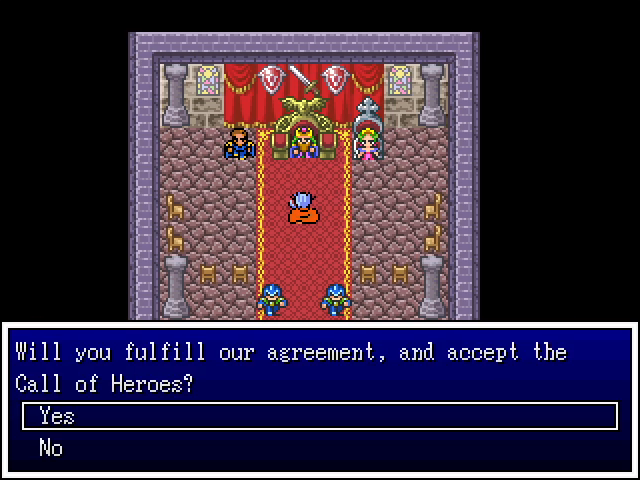

With Kararotto slain, the emperor congratulates us on our victory and holds us to our promise to go fight on behalf of the gurus.
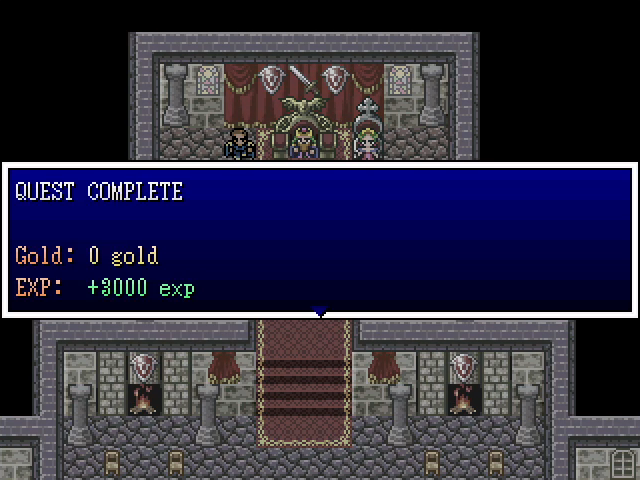

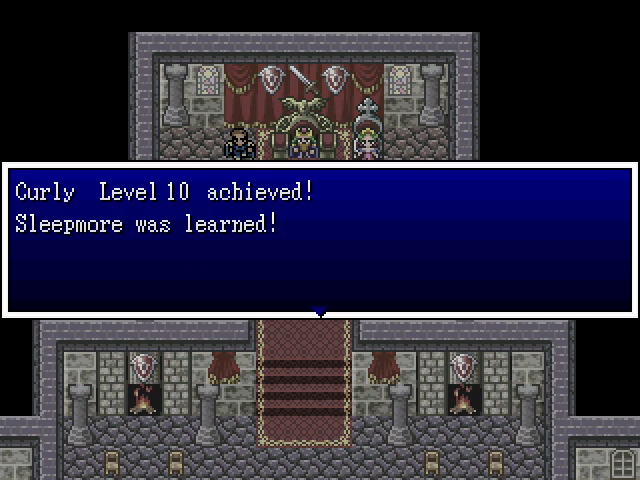

We also get a since chunk of EXP and a final round of levels for everyone. Sleepmore inflicts a version of Sleep that lasts more than one round, making it a much more useful tool.
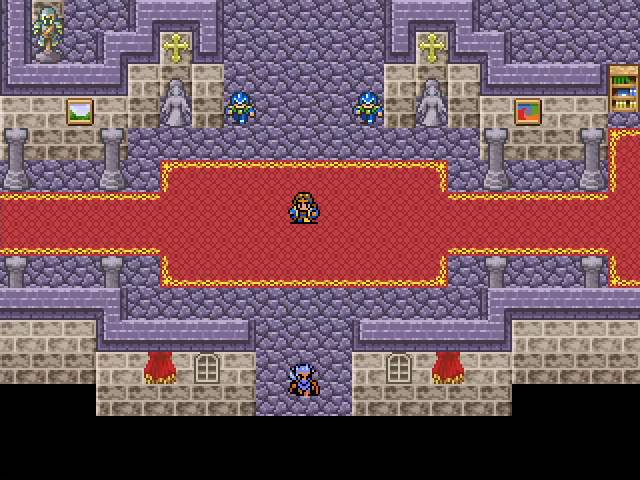
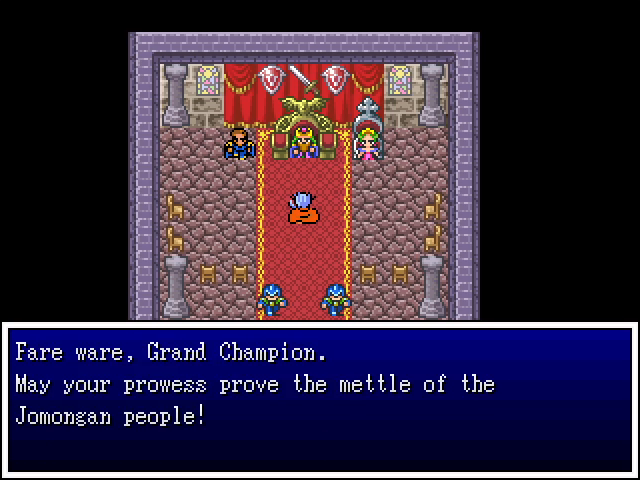
And with that, we are done here. Let's go to Cadana.
Next time: A lovely morning.