Part 22: The Mirror of Truth
Well, the Sultan's dead, the demon Murzhor has taken his place, we need to find the Mirror of Truth to unmask him. But first, let's take care of a minor side task. When the (fake) Sultan told us to find the Cave of Wonders, he mentioned that it was in a desert near the town of Larak, but we never actually visited that town.
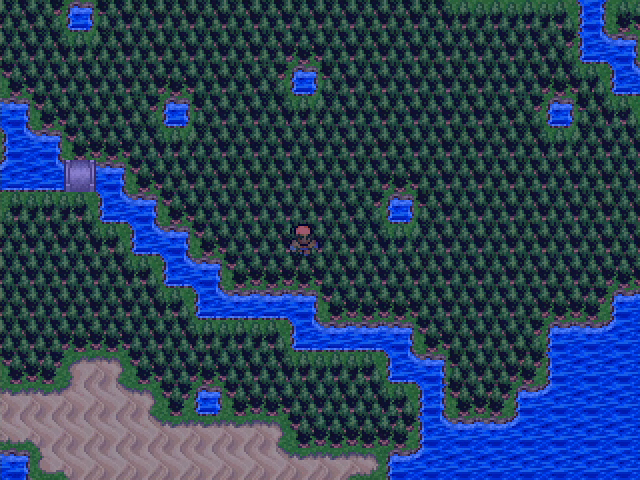
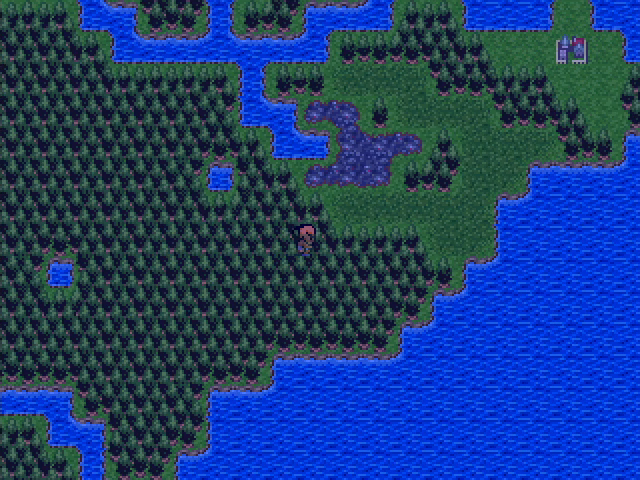
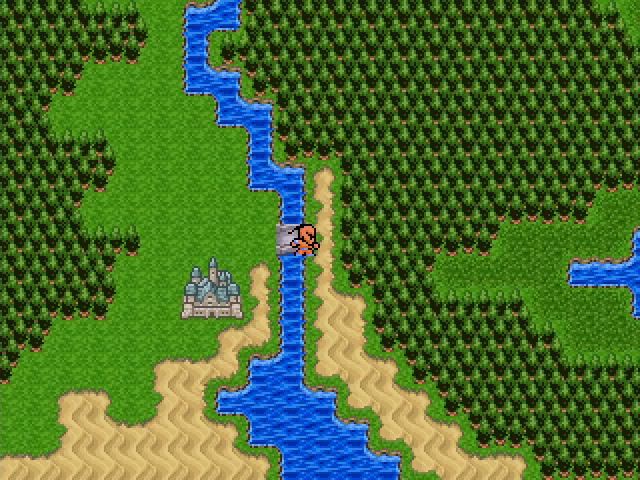
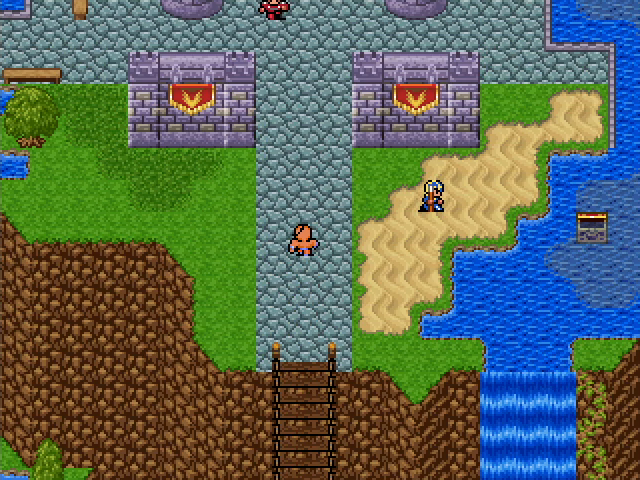
So we head back to the desert where the Cave was found, then head east.
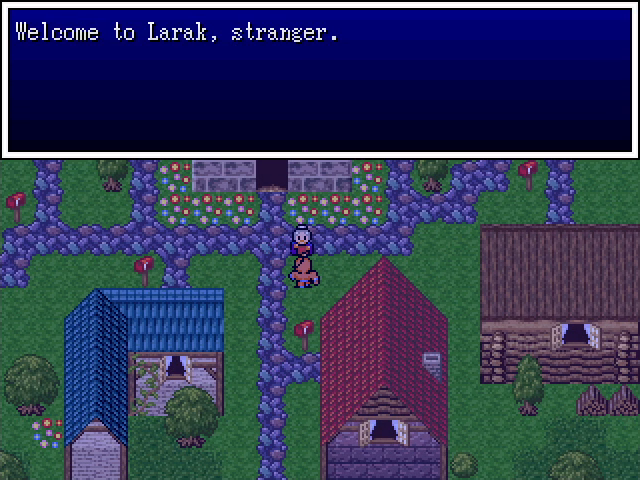
Yep, this is it.
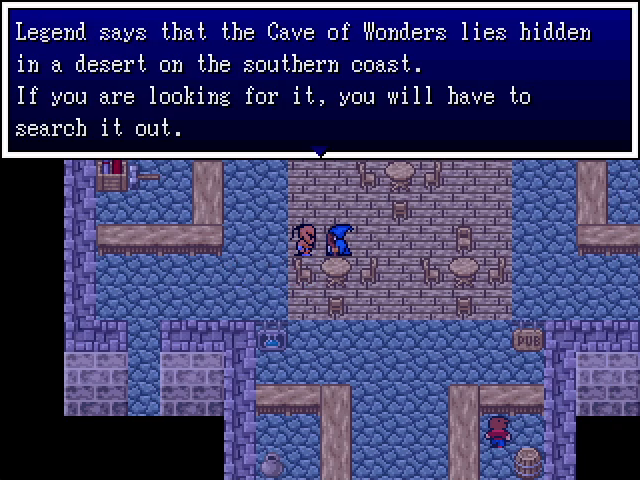
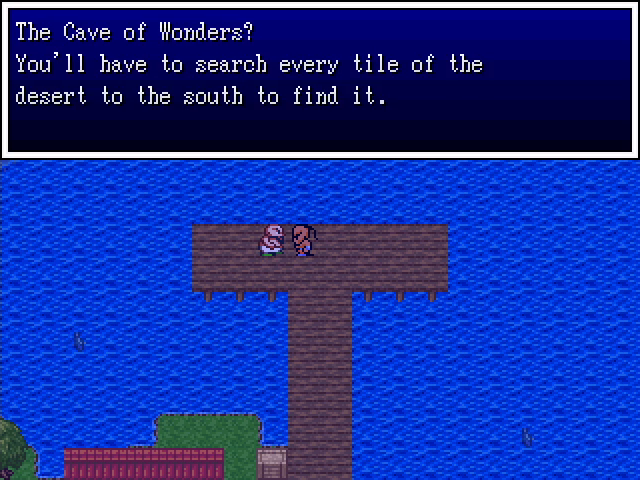
A few people in town tell us how to find the Cave of Wonders, but it's still pretty mean to give the player that entire desert to search.
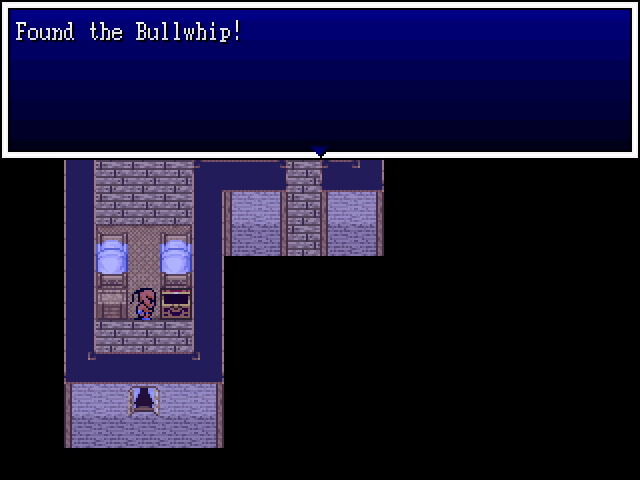
One of the buildings in town has a chest containing a bullwhip. This is a solid upgrade for Alibaba and makes this trip well worth it.
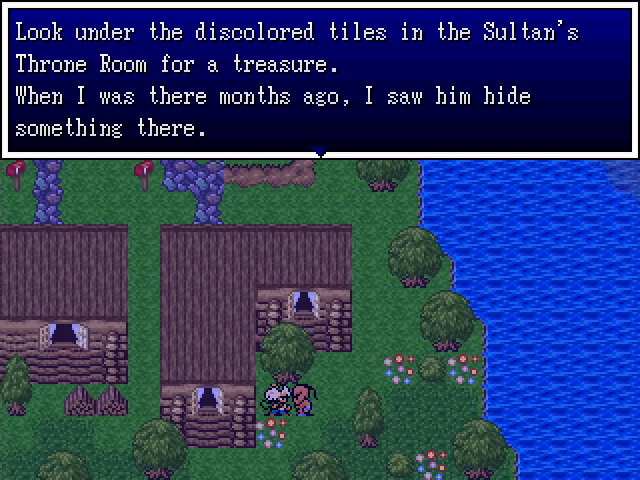
This is an interesting bit of information, and worth remembering.
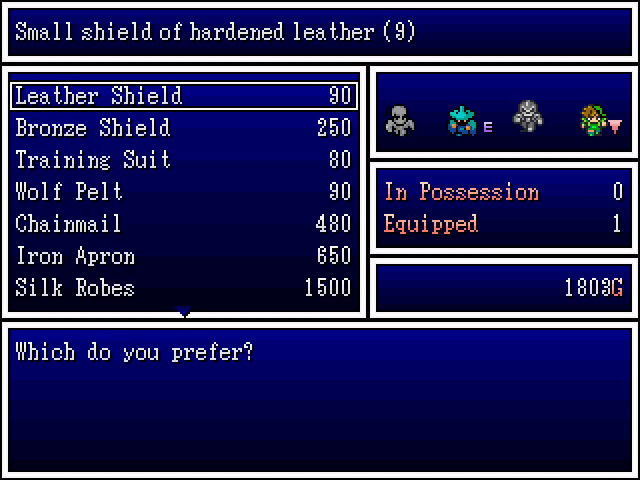
Larak's shops are nothing amazing, but we can at least grab some chainmail for Yajirobe. His defense is kind of lacking and he needs the protection.
All right, enough messing around. Let's go get the Mirror of Truth.
We saw this cave at the start of the chapter, but couldn't do much at the time.
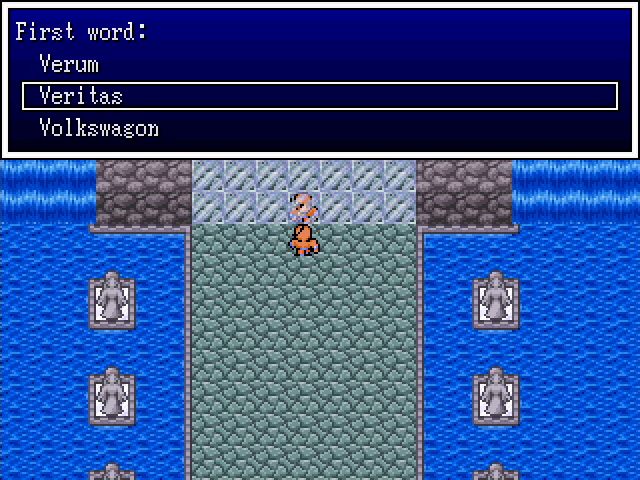
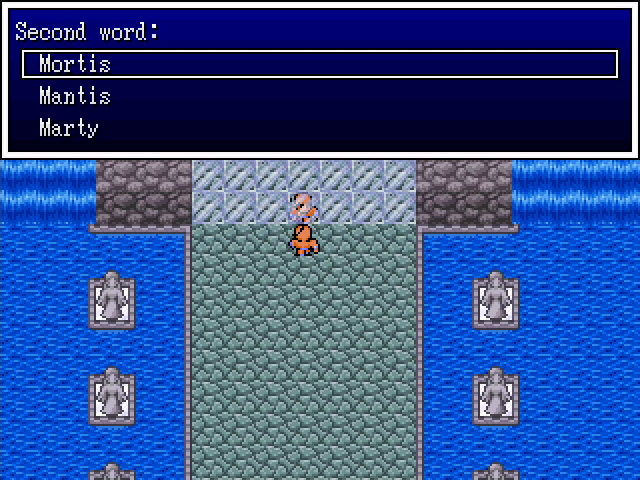
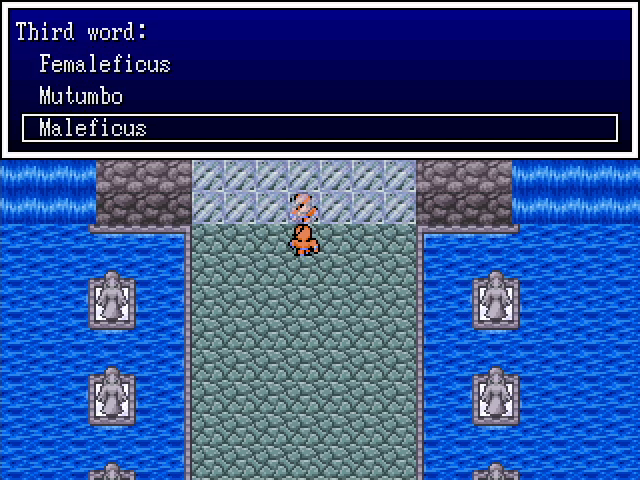
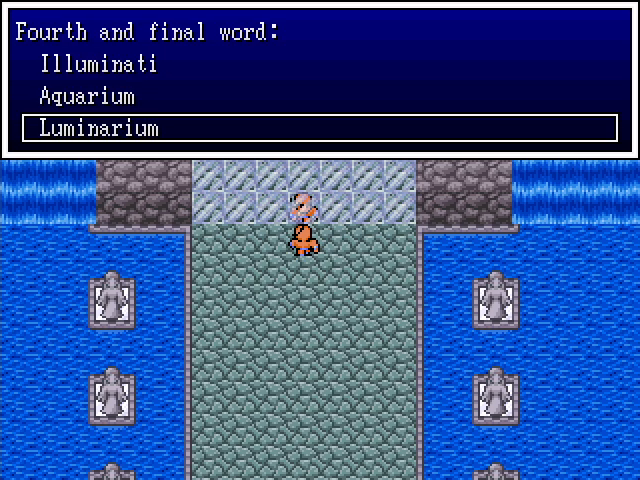
I do like the silly options here. It gives me distinct Army of Darkness vibes.

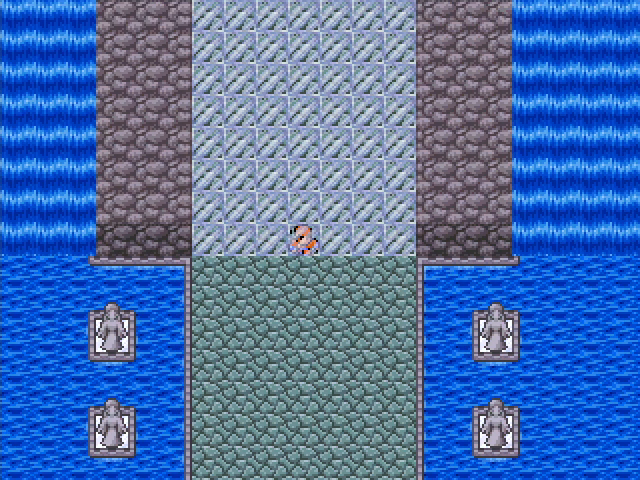
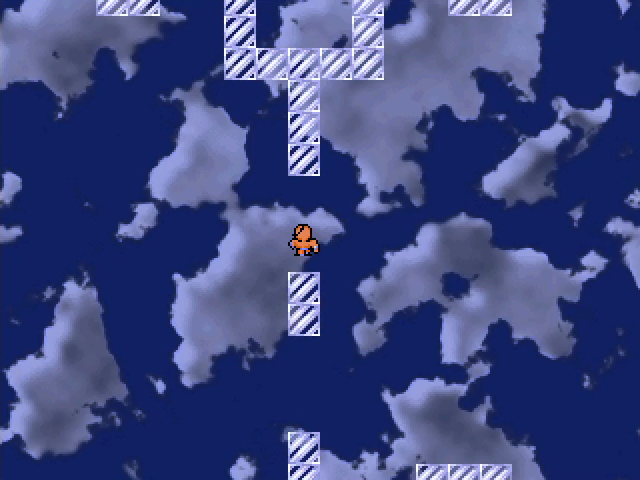
Upon speaking the correct words, we're teleported into the reflective wall. We head north...
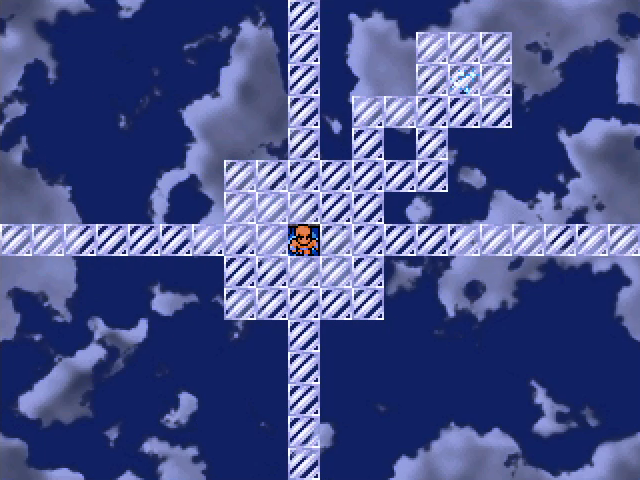
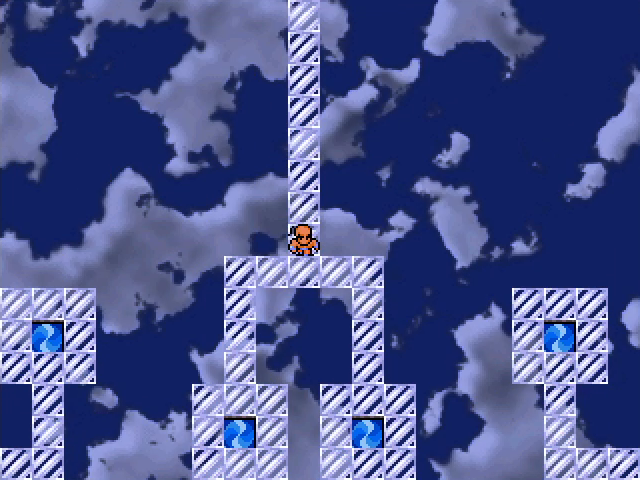
...and find ourselves in a strange realm. The background constantly scrolls here, which can be distracting, especially with the partially transparent walkways. The mirror realm has four branching paths, each leading to a different area. Though it's a bit hard to see, there's also a save point on that peninsula to the northeast, which eases the exploration process.
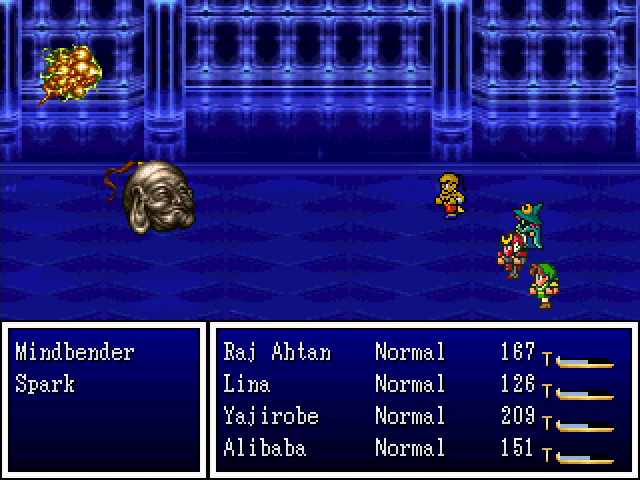
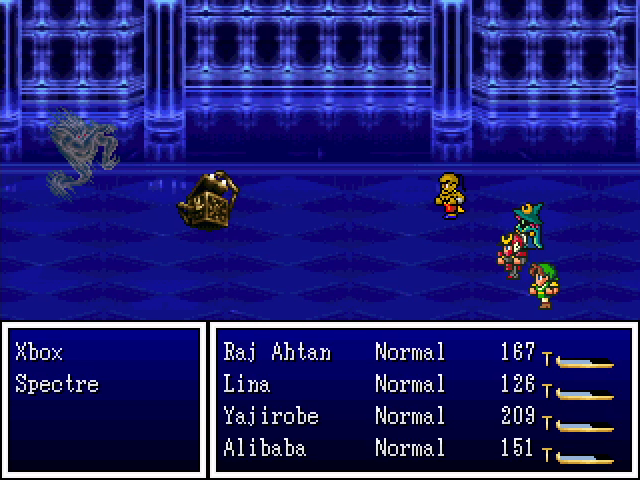

The monsters here are a mix of old and new. Ghosts and spectres have been quite common up to now, and we saw Xboxes in the Cave of Wonders. We also have the monster-in-a-box mindbender here as a normal enemy. For new threats, we have sparks, which are similar to spakles and poplia (right down to their Shocker attack), and Burning Souls, which use Shadow Flame and a moderately damaging version of Firebreath.
We also have a blatant reference to another game.
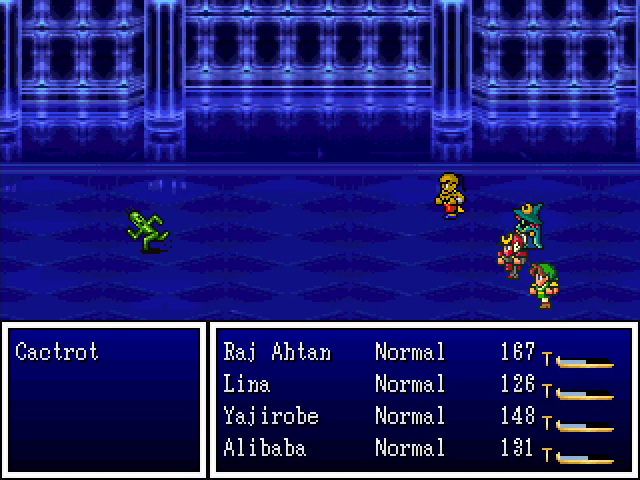
 Cactrots have very high speed and often run away. When they stand and fight, they use Slasher, though it doesn't do much damage. They go down pretty quickly, and while they don't give much EXP (50) or G (1), they are guaranteed to drop wizard potions, which is quite nice.
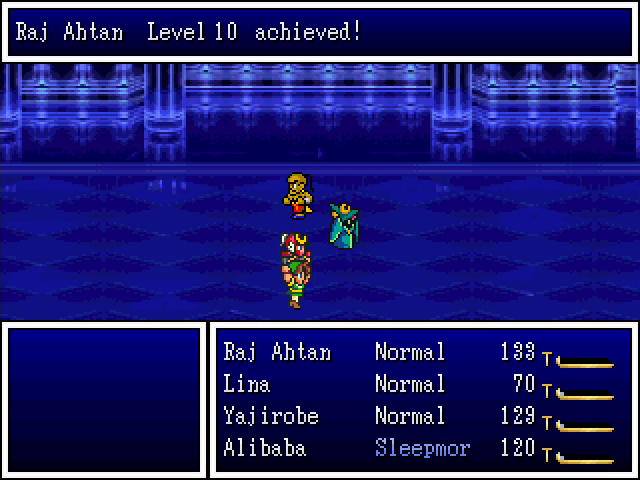
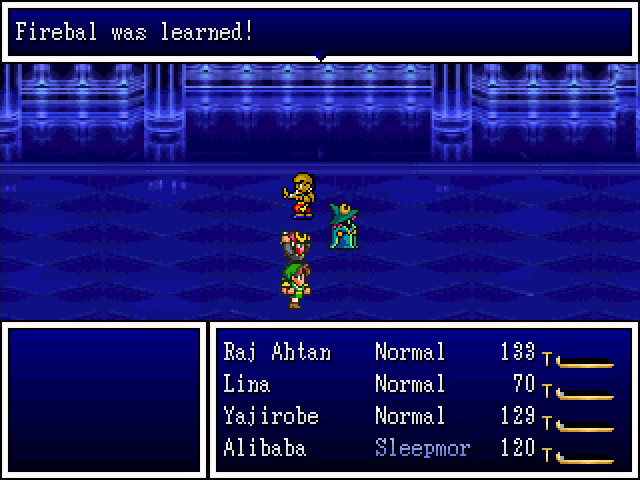
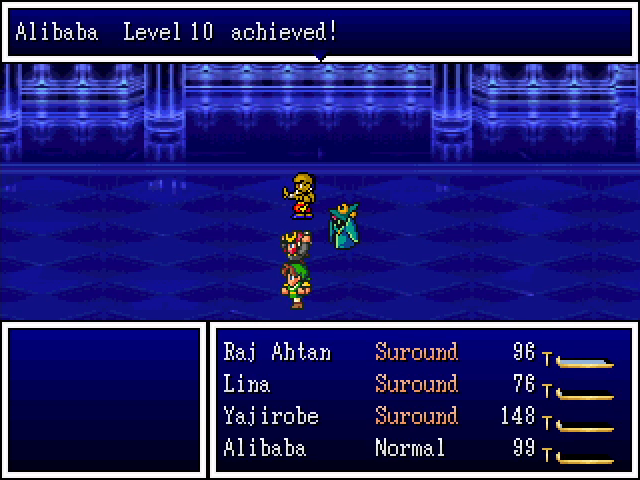
Encounters are uncommon enough here that we don't gain many levels, but we get a few. Raj Ahtan getting Firebal is certainly nice.
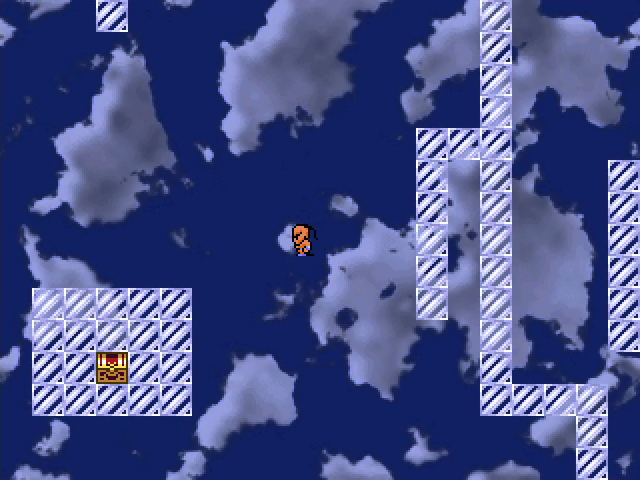
South of the entrance is a teleportal maze, though calling it a "maze" is probably giving it too much credit. There aren't many branches and the teleports are predictable once you've gone through a couple.
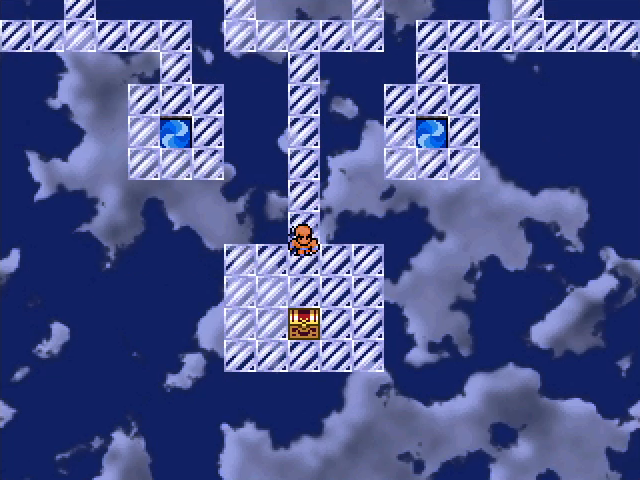
And the end of the maze is a chest, but it only contains a warp wing. It's not what we need.
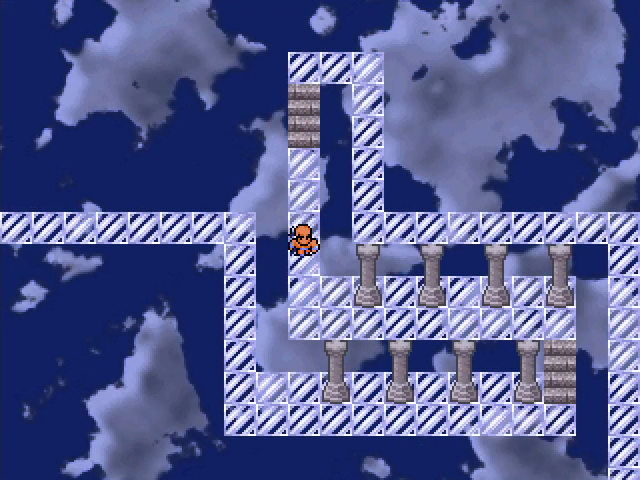
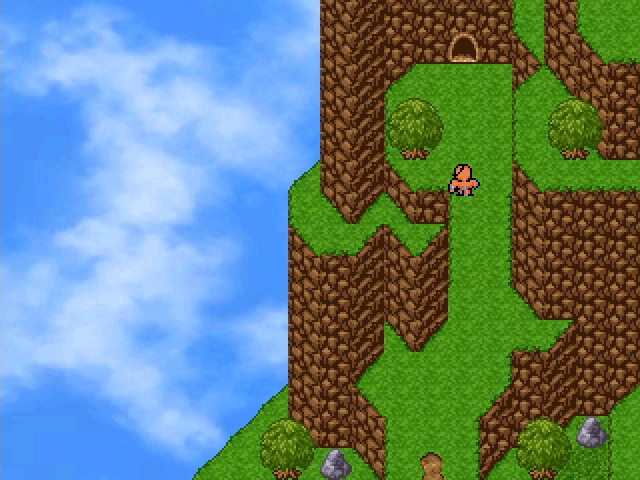
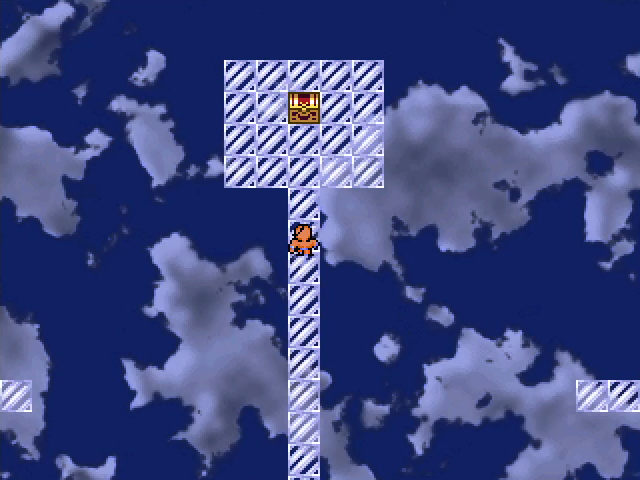
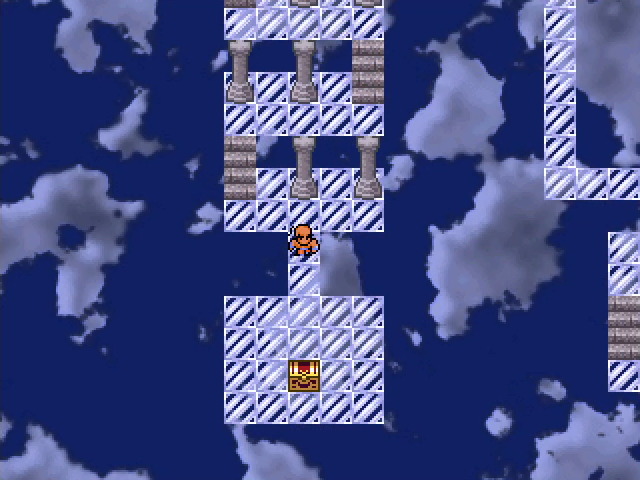
West of the entrance is a curving path lined with stone pillars.
There's another chest here, but it contains a moon herb.
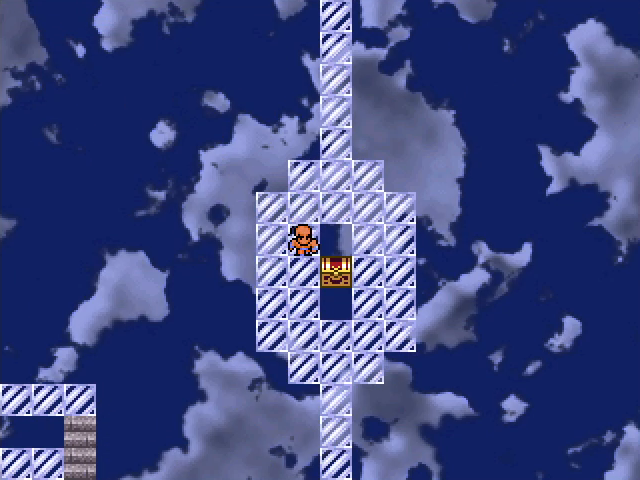
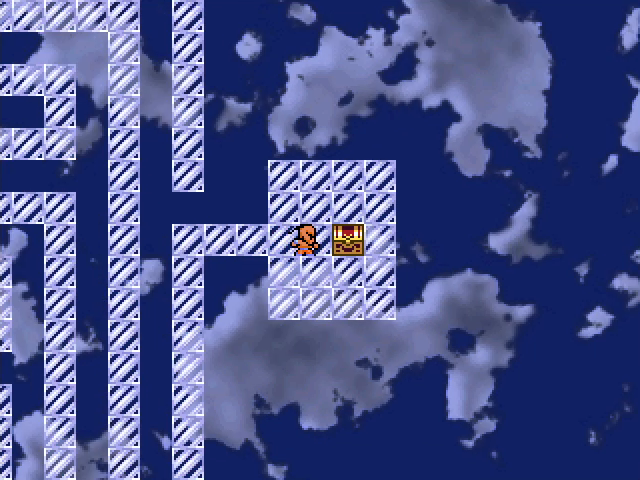
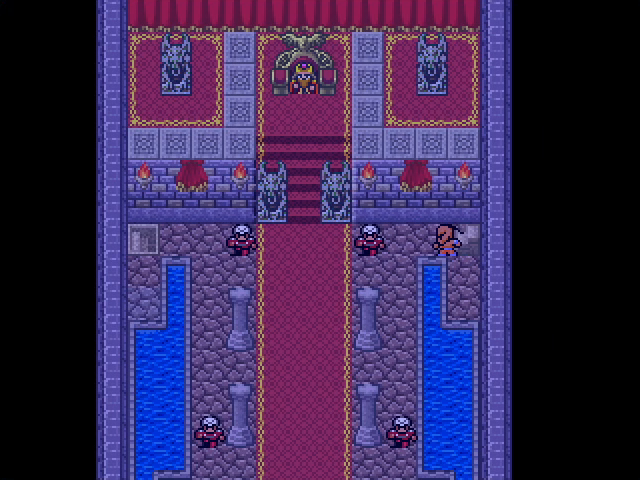
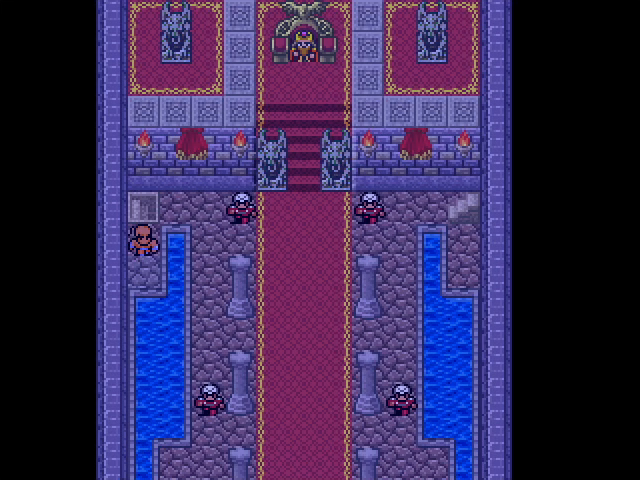
North of the entrance is a set of "islands" connected by invisible paths. They aren't always straightforward, so this area can be a pain to navigate.
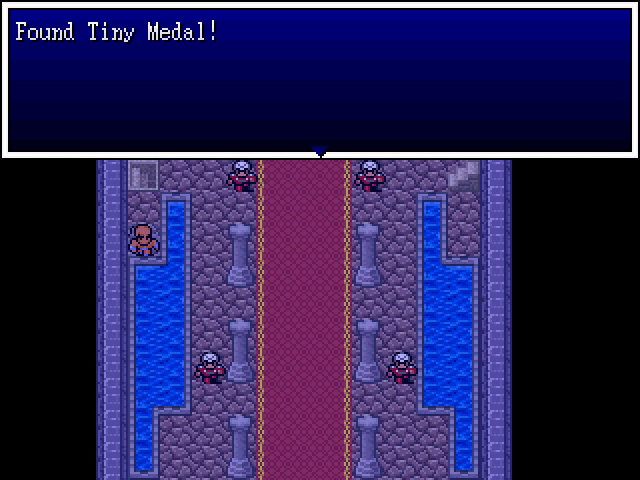
There's a somewhat hard-to-reach chest here containing a Tiny Medal.
The "main" chest at the end, however, just has a warp wing.
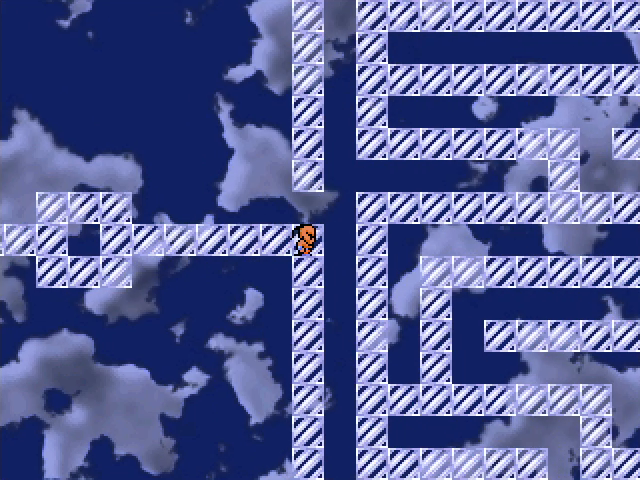
And finally, to the east, we have a bit of a maze, though it's much smaller and simpler than the Funhouse mazes.
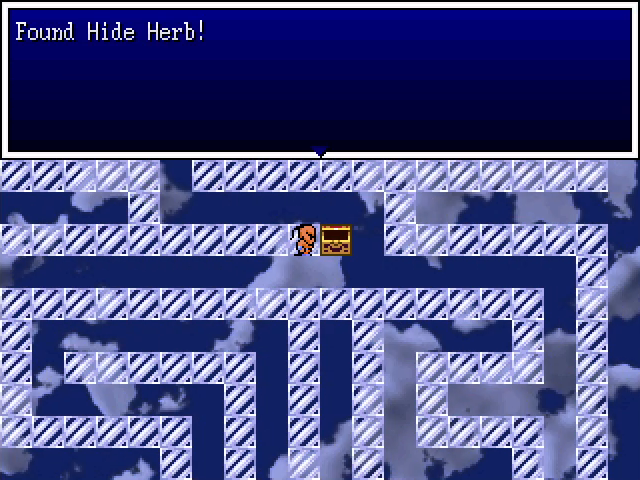
There's a chest in the middle of it containing a hide herb.
And there's another chest at the end, of course, containing... a warp wing. Wait, did we miss something?
Yes, yes we did. Being a bonehead, I completely missed a path in the western section on the first pass.
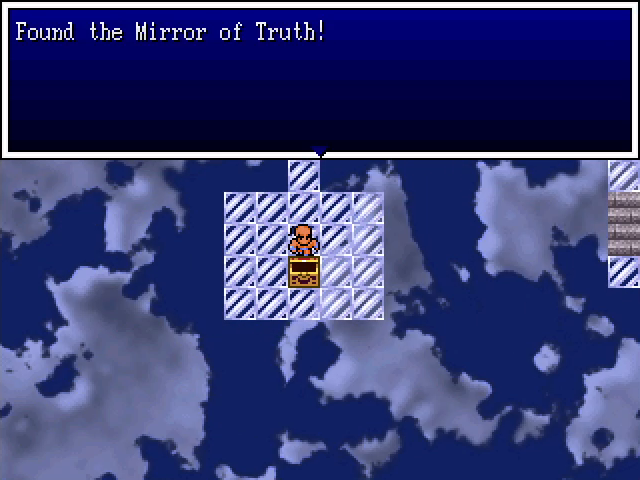
Inside is the actual objective of our quest.

We get some EXP and a handful of uninteresting levels for it.
We return to the entrance and leave the way we came. Curiously, the wall no longer shows a reflection. Perhaps its magic is spent now that the Mirror of Truth has been claimed?
We return to Bombomb to confront the fake Sultan, but we're stymied by the guards. We'll have to return at night.
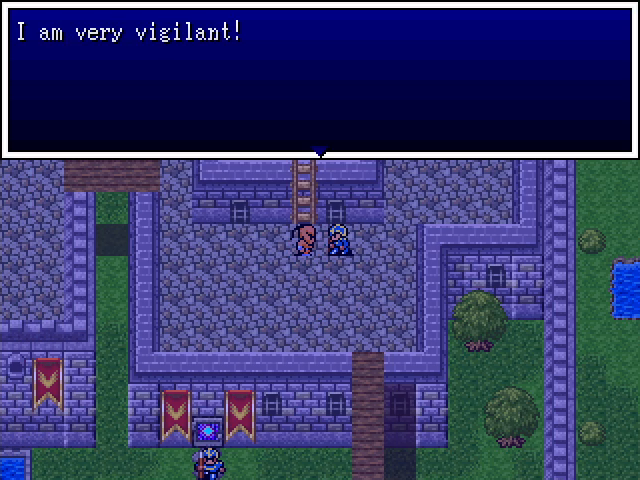
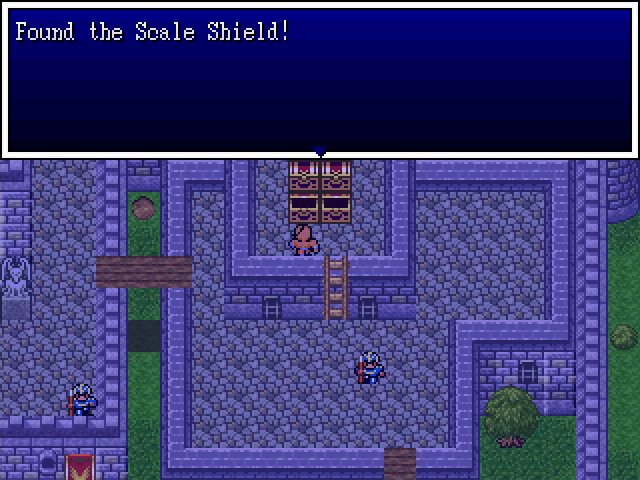
The extra vigilant guard has apparently gotten restless in the last couple days. He now paces back and forth, letting us access the chests he was guarding. The scale shield is the most valuable item here and a nice boost to Alibaba's defenses. There's also a voicebox, which prevents Stopspell; that goes to Lina.
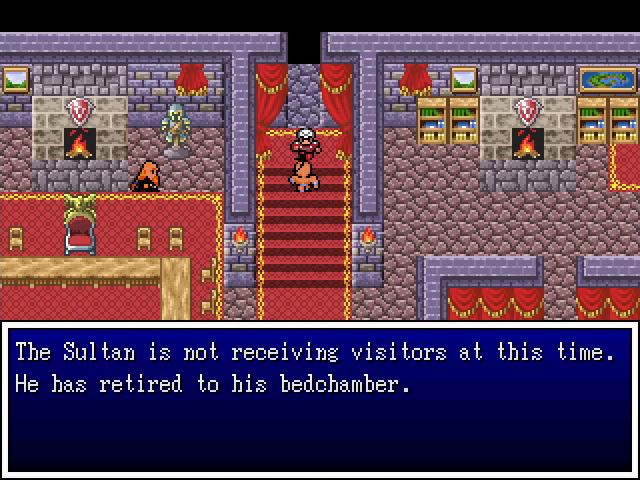
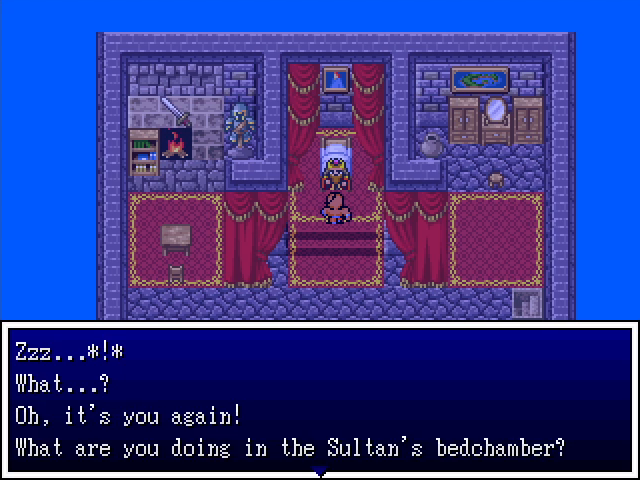
Fortunately for us, the guard in front of the Sultan's bedchamber has vanished, giving us access.
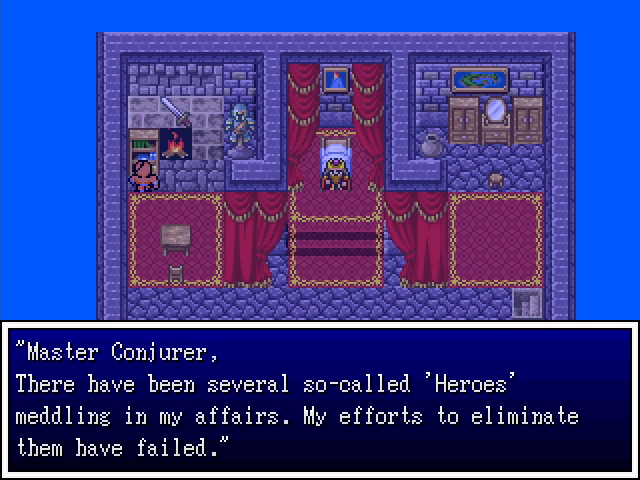
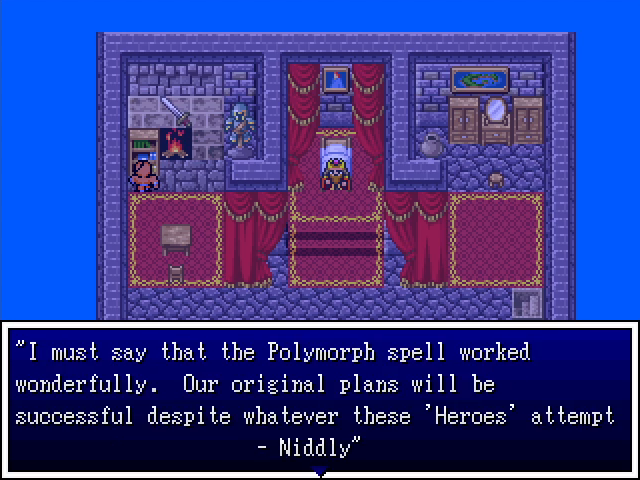
Before confronting the Sultan, we check out his room, and find correspondence from, of all people, Niddly Wormwood. Based on the wording, he must have sent this shortly before Zefiryn took him out.
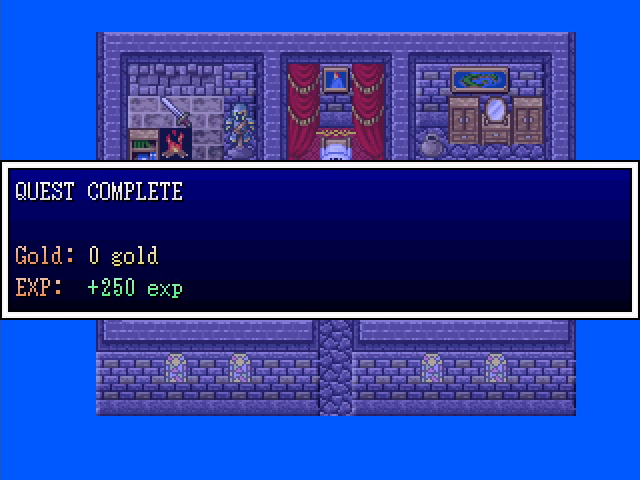
Finding the letter is worth a token amount of EXP, though I'm not sure why.
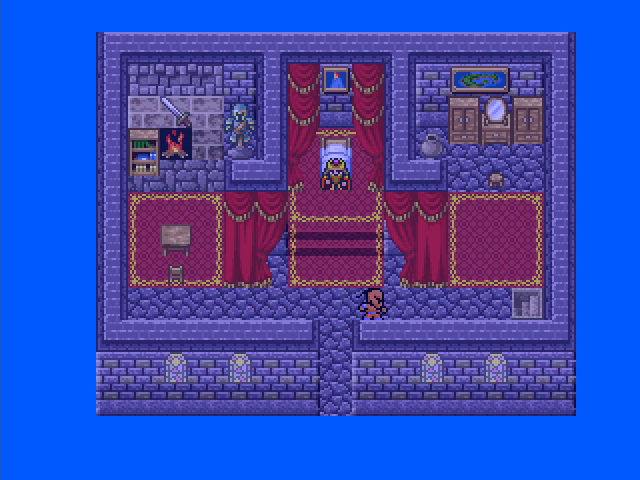
Now, we could confront the Sultan, but a man in Larak told us about hidden treasure in his throne room. Since the room should be empty at this time of night, let's go see if we can find it.
Um.
Okay, it looks like this is a bug, possibly related to story flags not working quite as they should. As long as we don't talk to anyone, though, we're fine.
The discolored tile is easy enough to spot once we know what to look for, and we're rewarded with another Tiny Medal. Once we have that, we can head back upstairs to confront Murzhor.
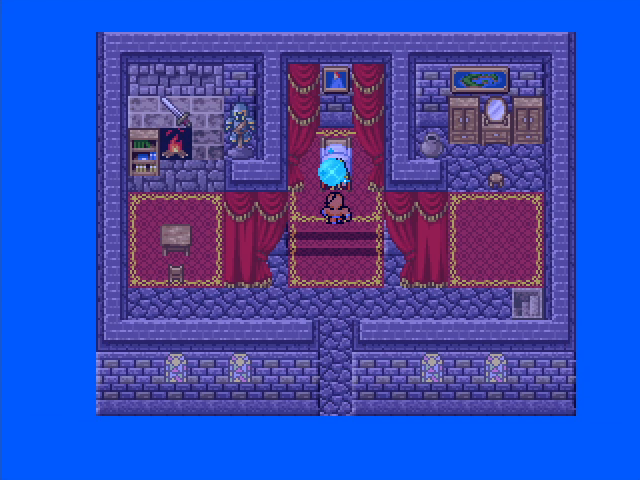
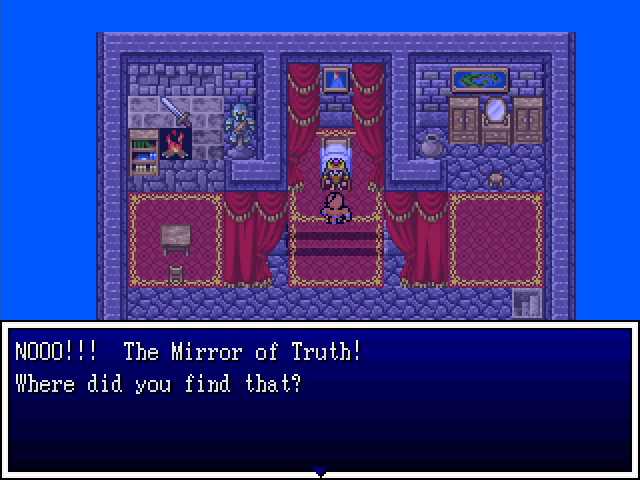
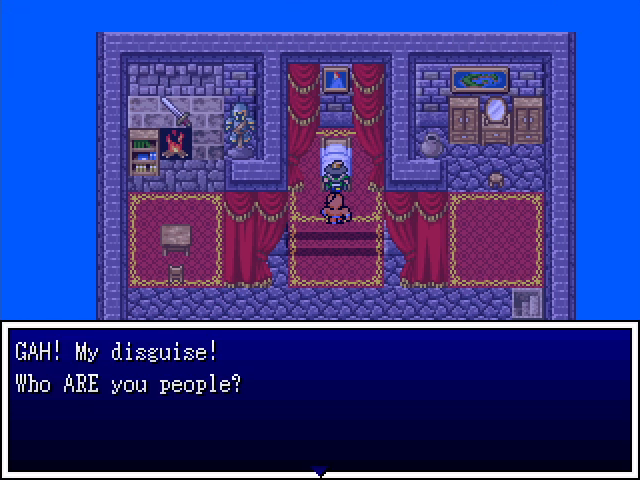

Unsurprisingly, Murzhor reacts quite badly to being unmasked.
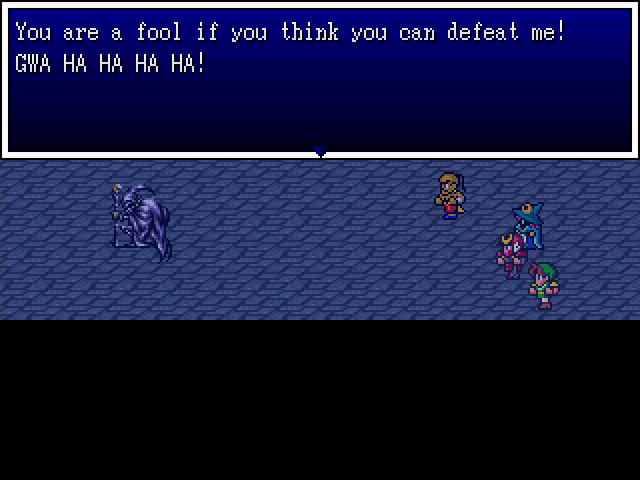
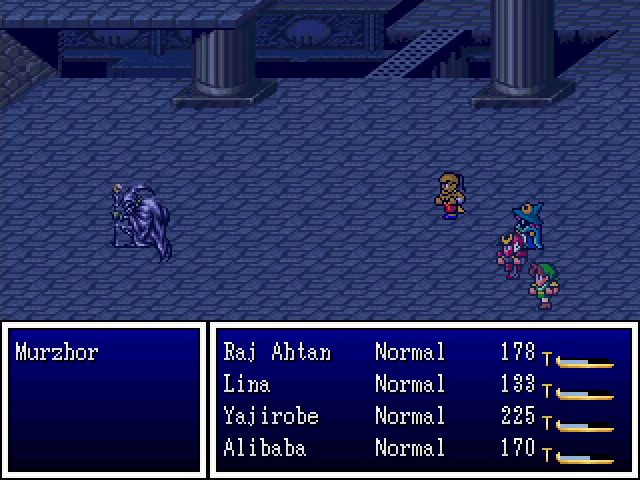
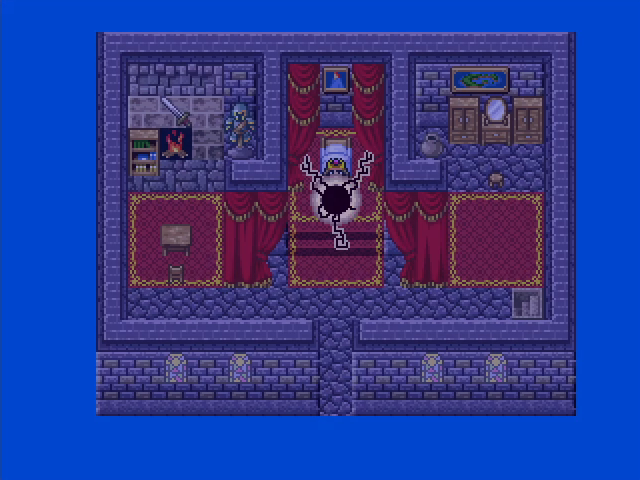
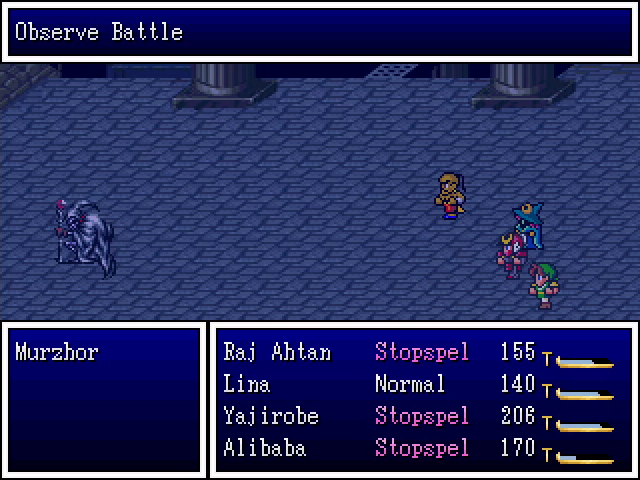
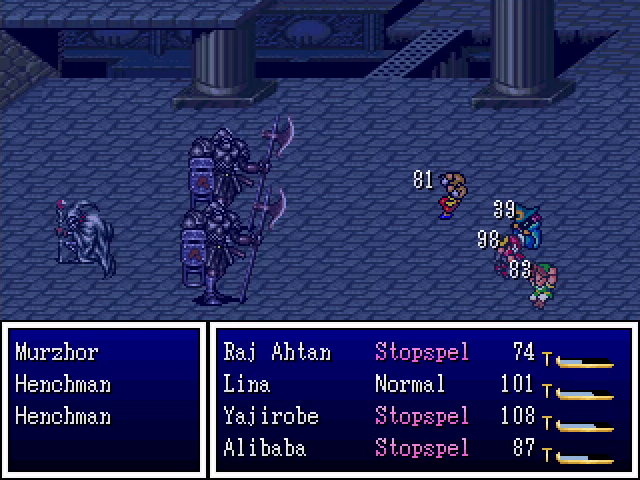
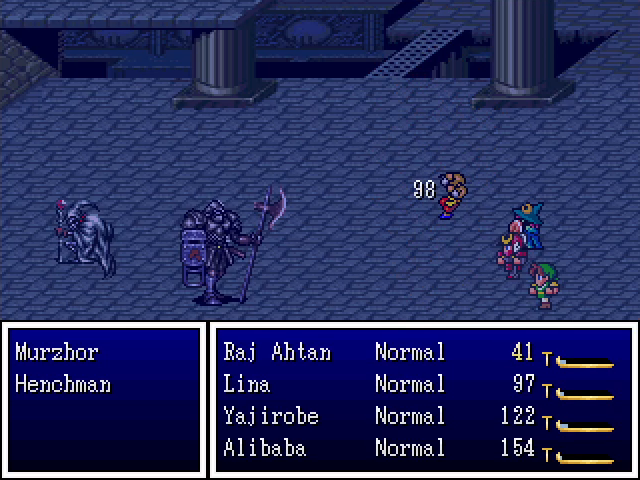
Finally, we get to take on the mastermind behind, essentially, everything that's happened so far.
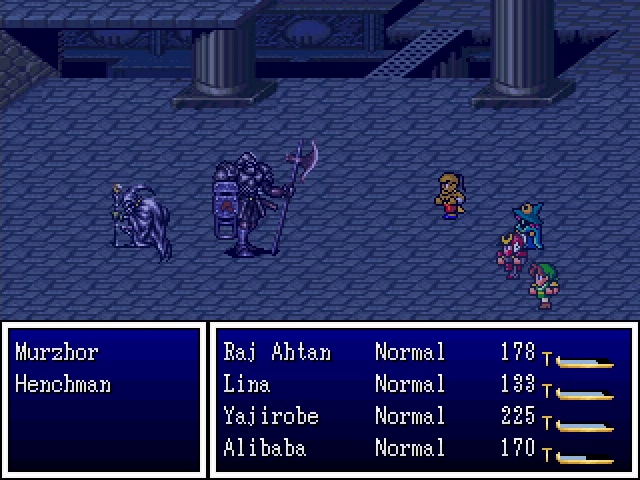
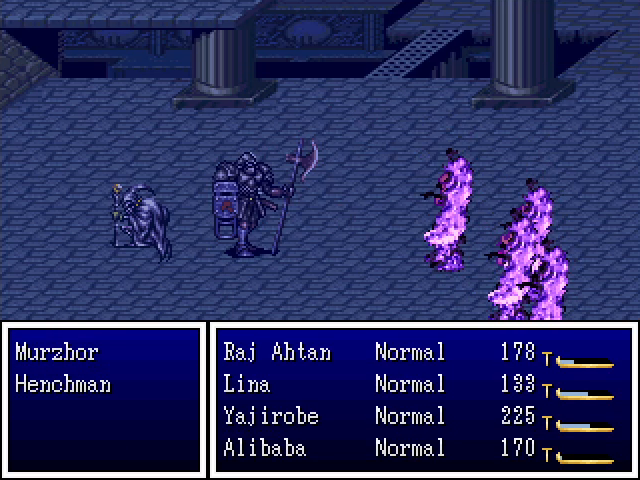
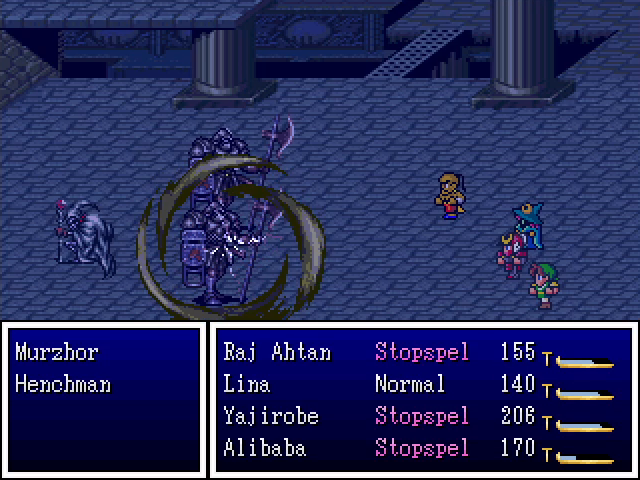
Murzhor is, first and foremost, a coward. He never fights alone if he can help it, and will summon a henchman to aid him almost immediately. He'll also summon another if the current one is killed. Lina is, unfortunately, not as helpful for dealing with this as you might hope, since henchmen are immune to magic.
While he has a meat shield, Murzhor will use a little magic, but nothing really dangerous: just Evil Flame and Stopspell. He takes a bit of time to kill, but isn't terribly difficult.

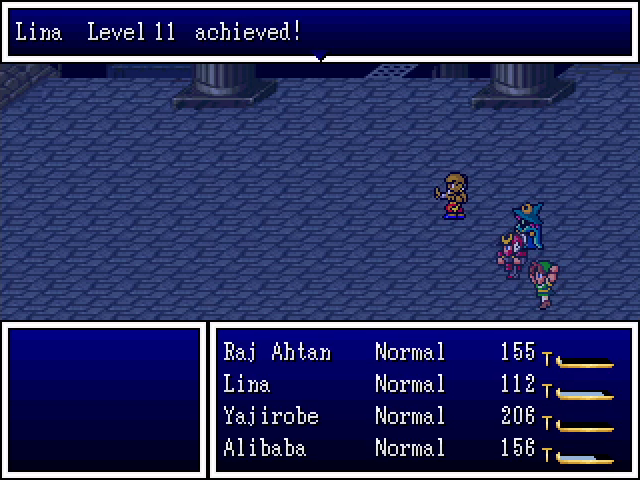

And we get a few levels for our troubles.
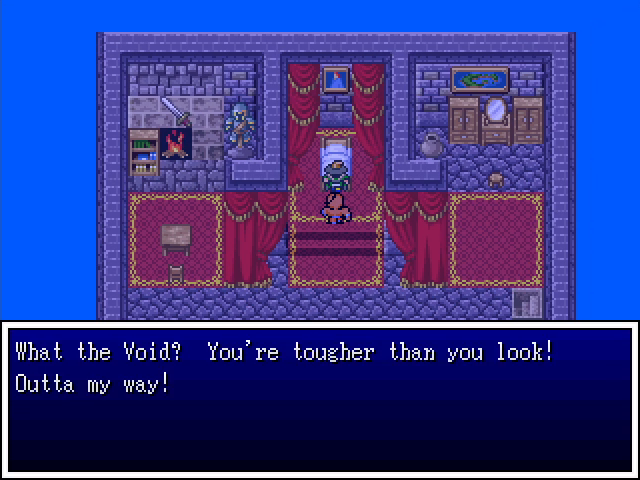

Unfortunately, he's not dead. He shoves us out of the way and runs downstairs, prompting us to follow.

The throne room is properly empty now, at least.
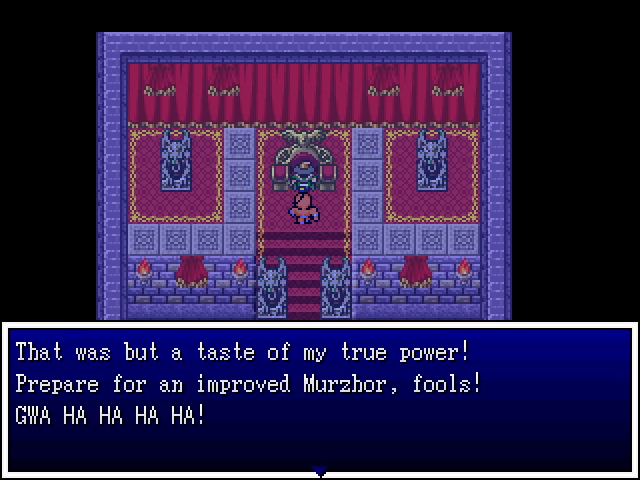
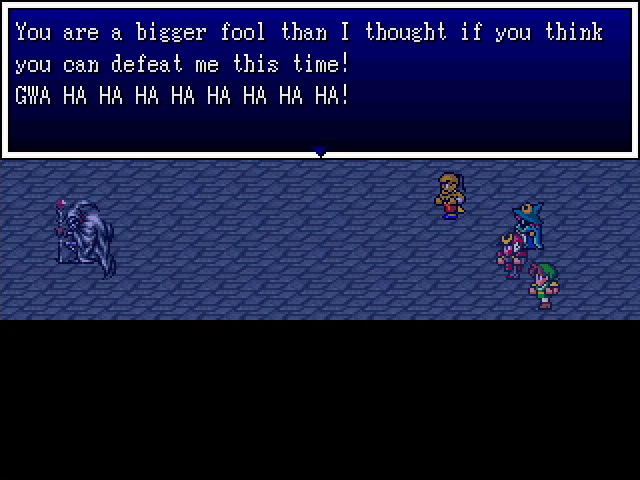
This guy really likes his evil laughs.
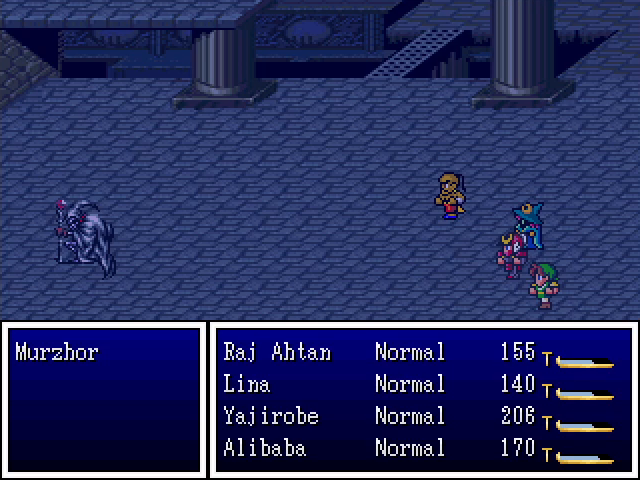
Murzhor's second phase is a similar to the first, but significantly tougher.
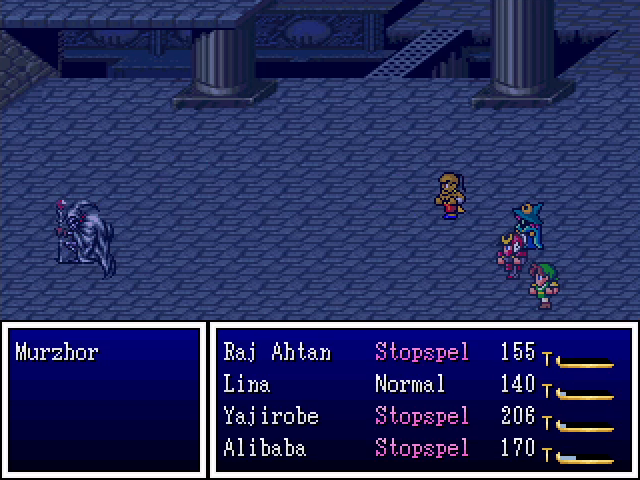
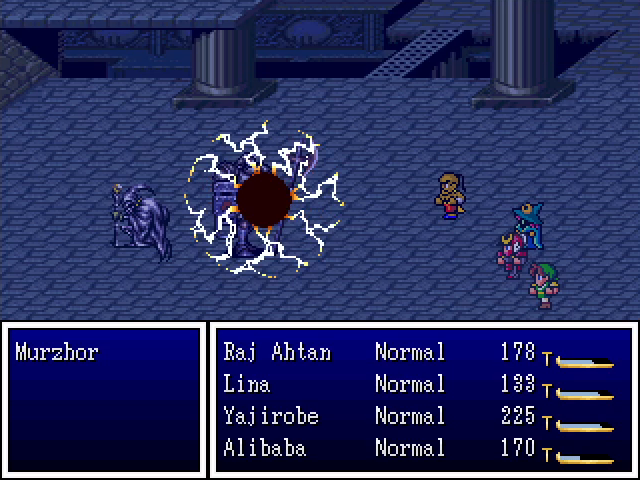
He opens the fight with a special ability, Stopspell Omega, which silences everyone (except Lina, since she has the voicebox we found).
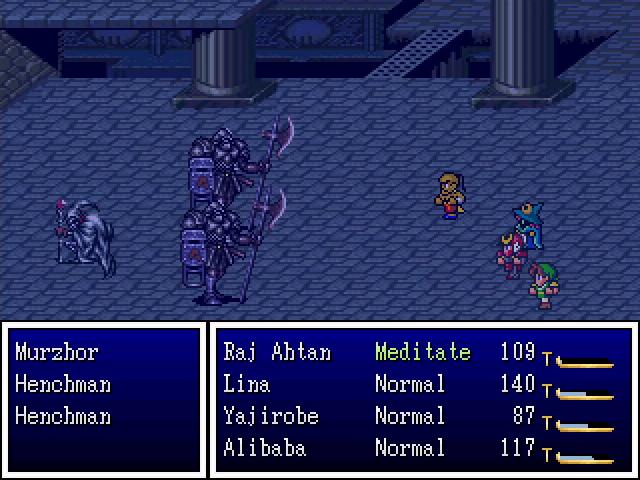
After that, he goes into a henchman-summoning routine. This is similar to his first phase (he summons when there are no henchmen present), but he summons two instead of one. The henchmen themselves aren't terribly dangerous, but the extra meat shield means Murzhor himself will have more chances to use his spells. And this time around they are nasty.
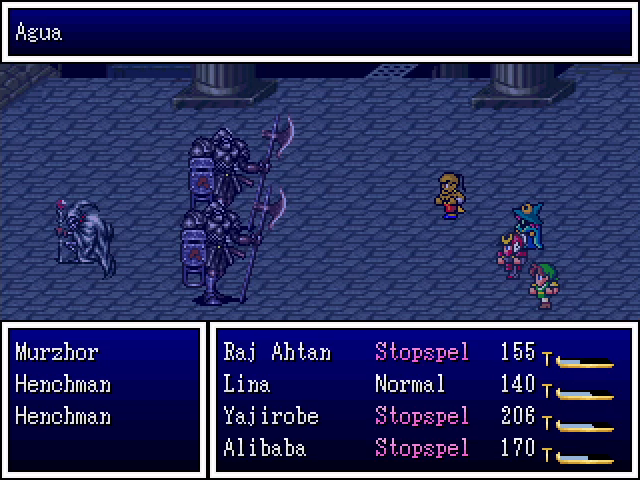
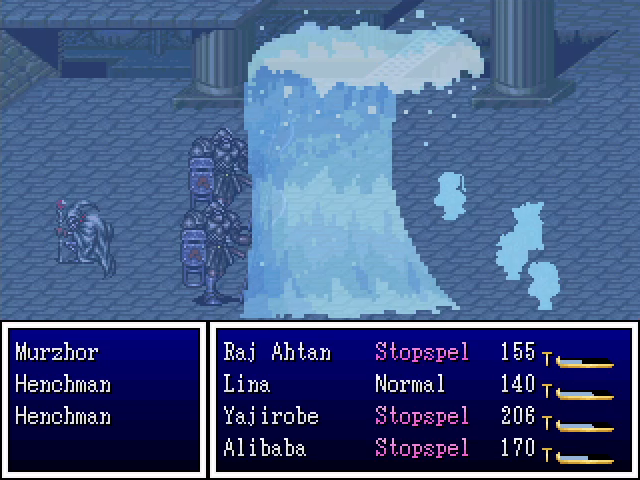
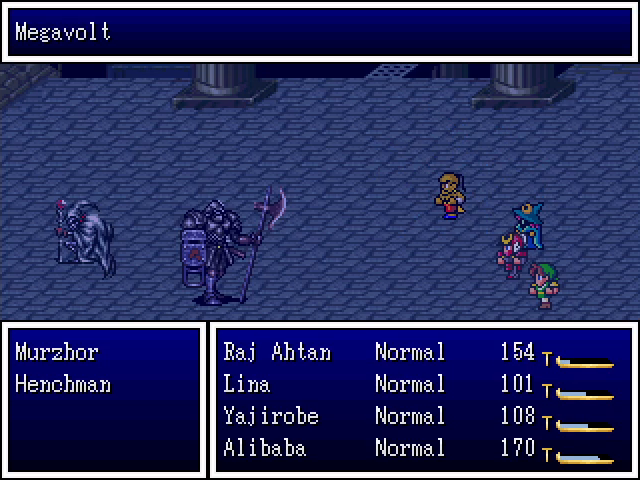
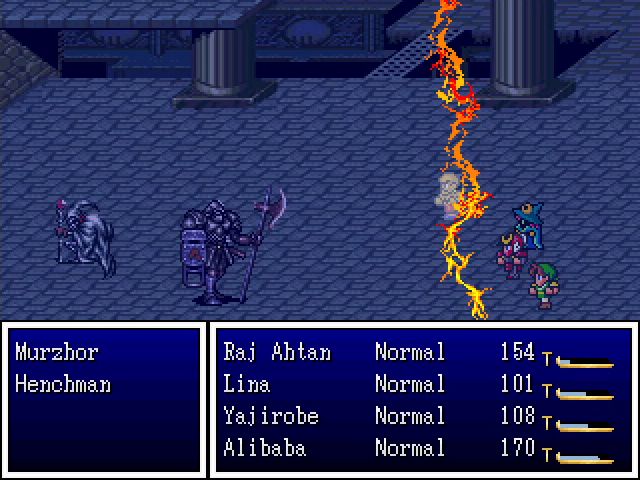
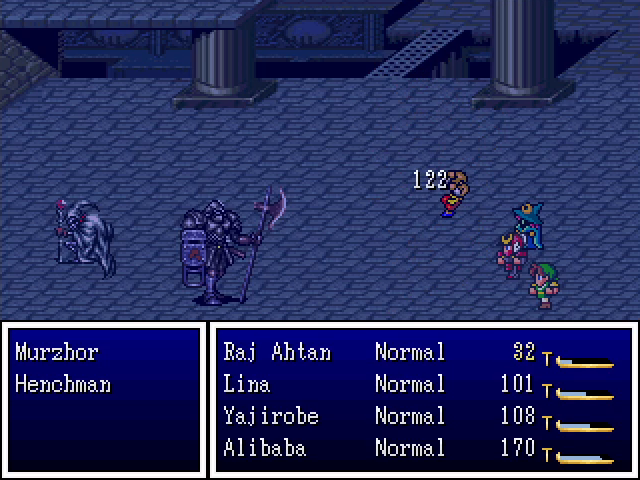
His two favorite attacks are Agua, which hits the whole party, and Megavolt, which hits one character. Both deal significant damage and are quite dangerous. Lina's fur coat helps mitigate the damage she takes from Agua, but everyone else has to suffer. He also uses Evil Flame, which is frankly a mercy.
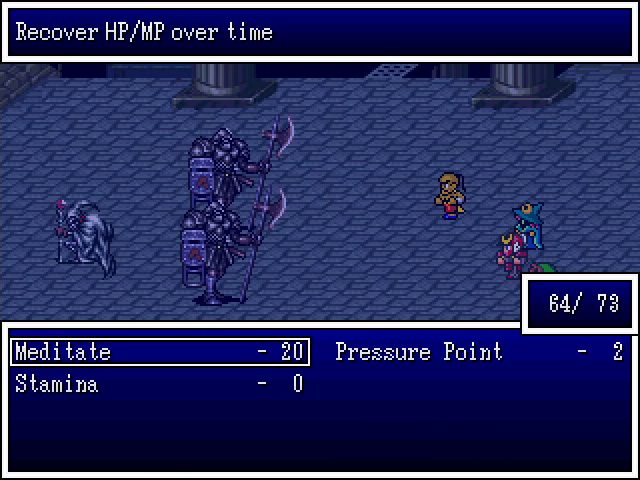
This fight is a perfect time to use Raj Ahtan's Meditate ability. He actually starts the chapter with it, but it costs 20 MP, so he has to gain a few levels before he even has the MP to use it. It gives him a temporary buff that regenerates his HP and MP, which is super useful for long fights.
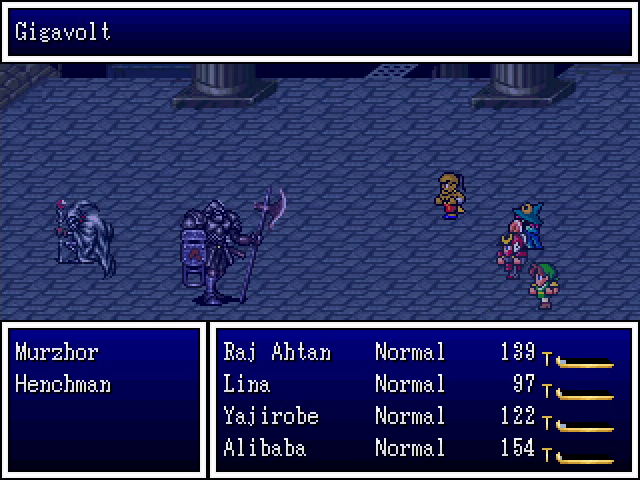
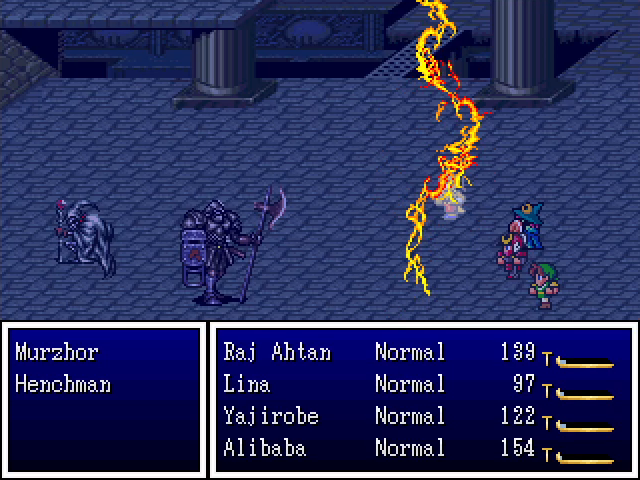
When his HP gets low, Murzhor switches to using Gigavolt, which is essentially the same as Megavolt, and Charge Up followed by a moderately-strong physical attack. He's actually much less dangerous at this time, and not long after, he finally goes down.
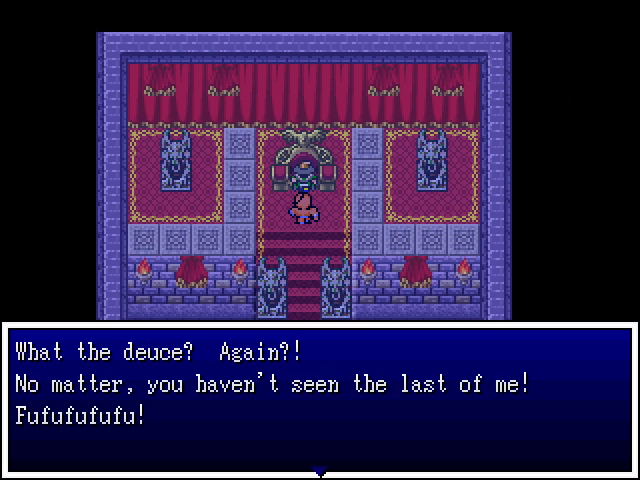
Wait, what?
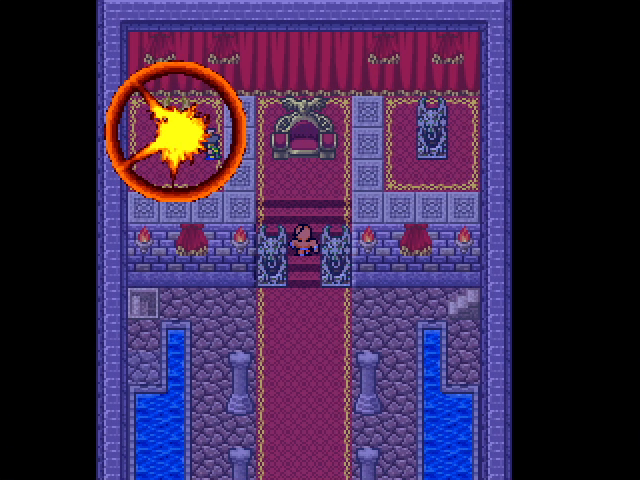

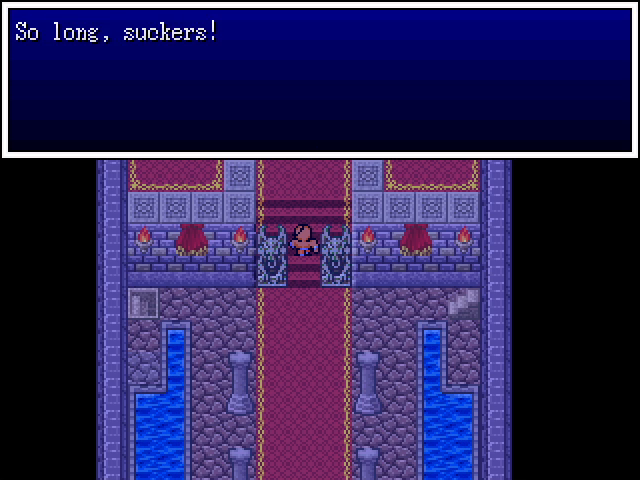
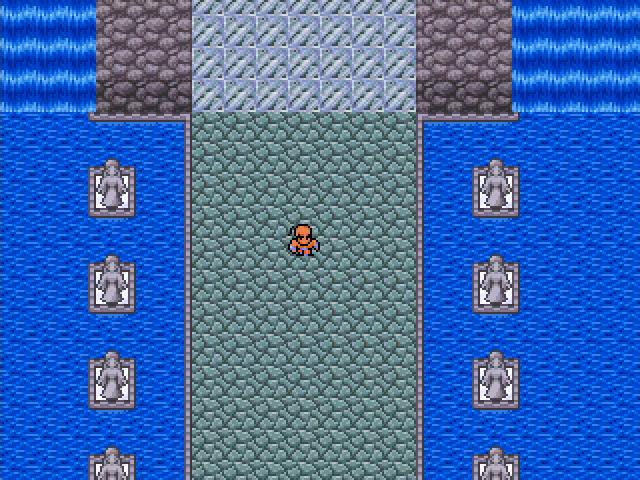
Rather than have the decency to die when he's beaten, Murzhor reveals a hidden teleportal under a statue and flees. Unfortunately, we'll almost certainly be seeing him again.
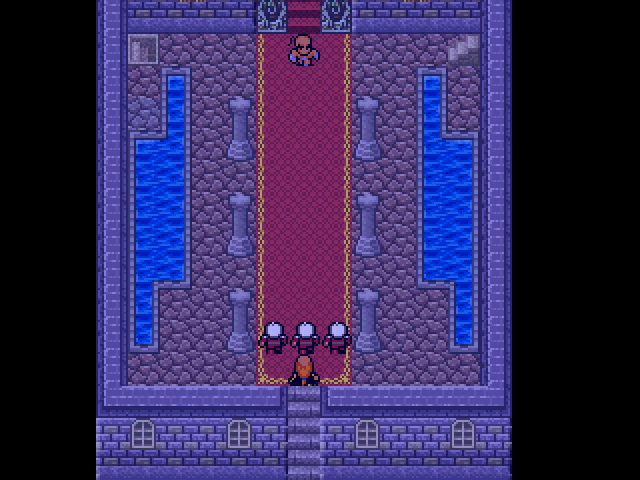
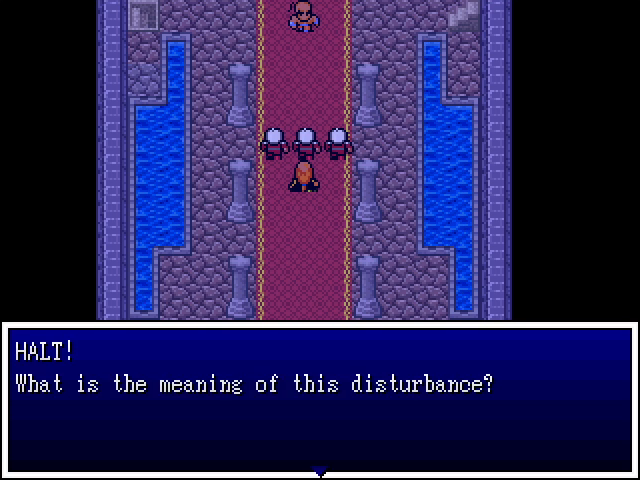
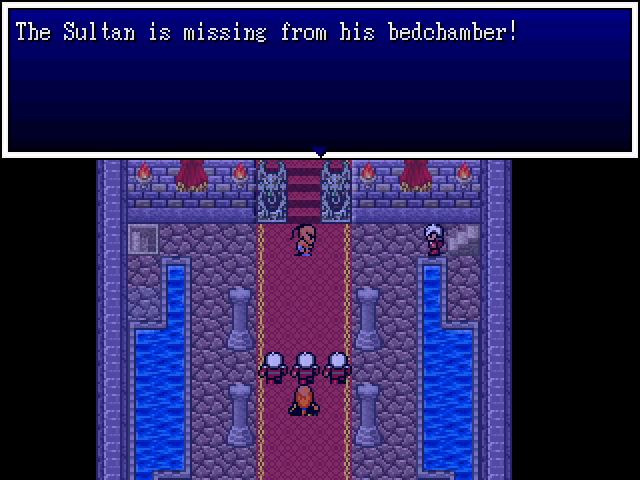
Oh, and a bunch of guards show up, apparently drawn by the commotion. They're probably wondering how we got into the palace at night.
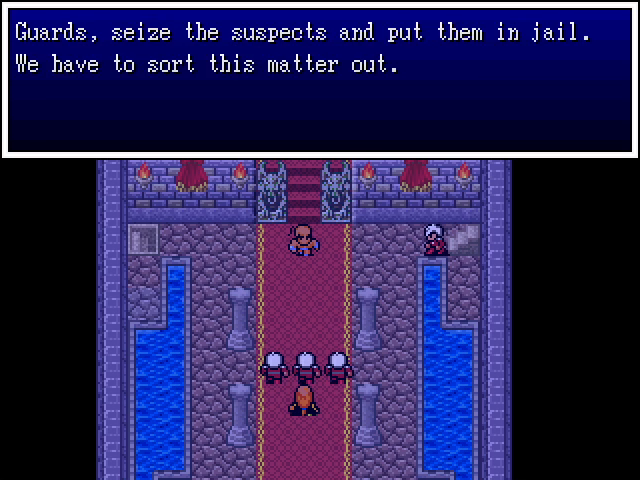
As a reward for exposing Murzhor and foiling his plans, we're arrested.
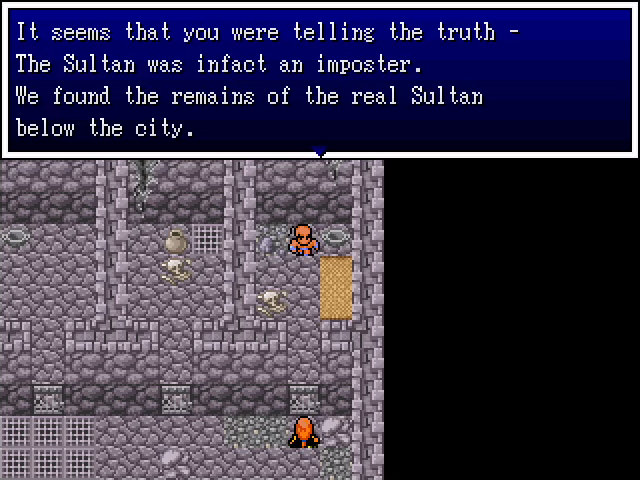
While we rot in our cell, the late Sultan's advisor comes to visit us.
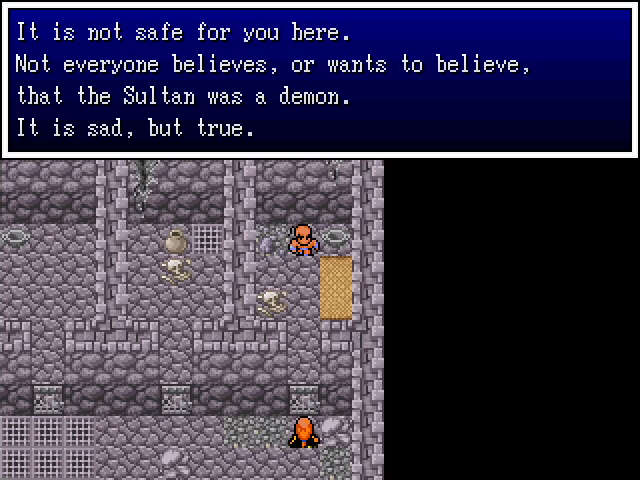

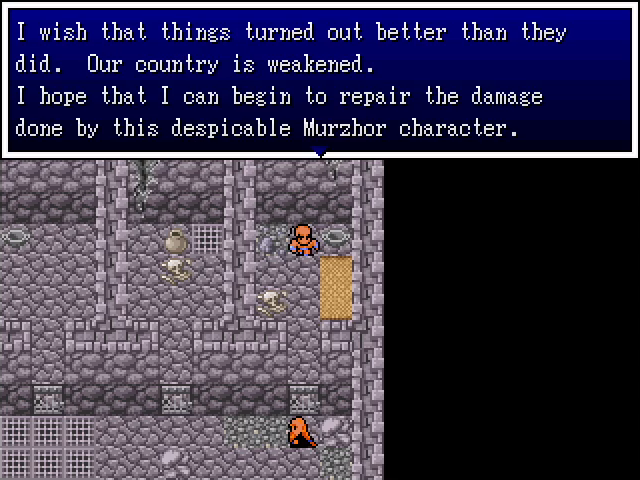
Although the guards still don't seem to believe us, the advisor is at least canny enough to understand what's going on.
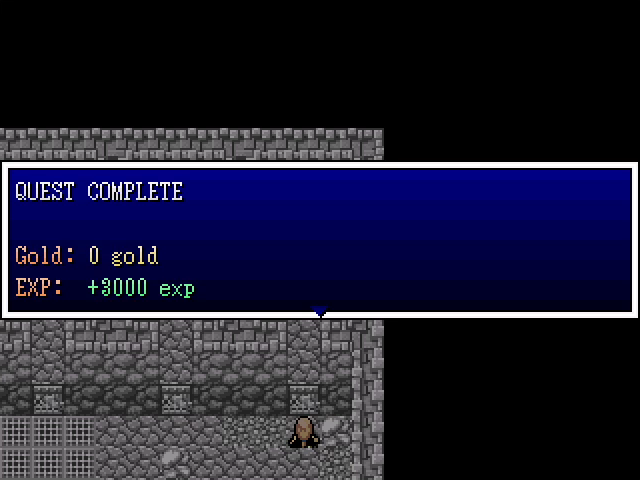
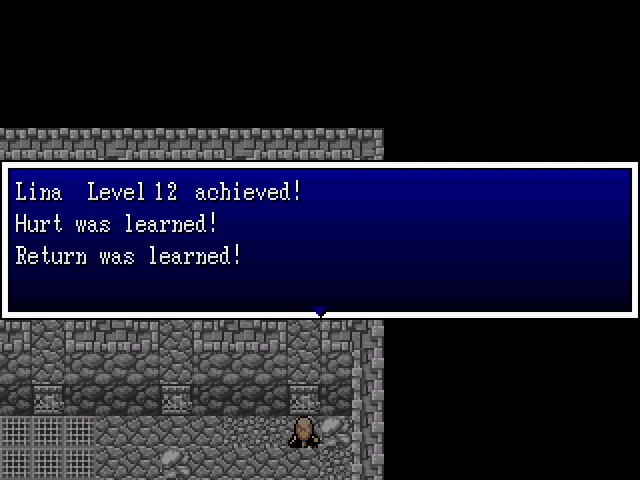

For completing the main objective of the chapter, we gain a huge chunk of EXP and levels for everyone.
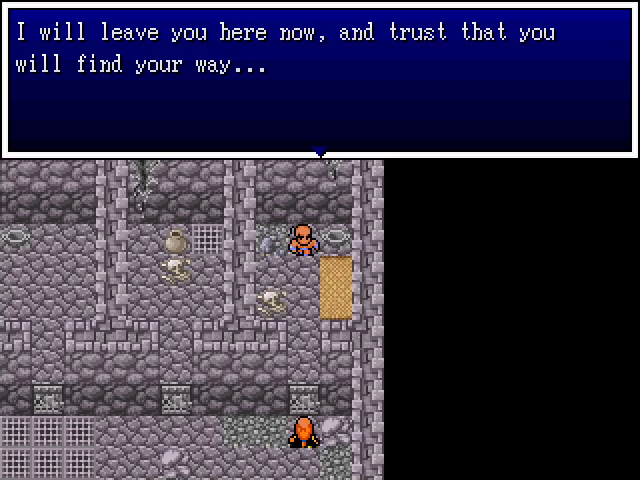
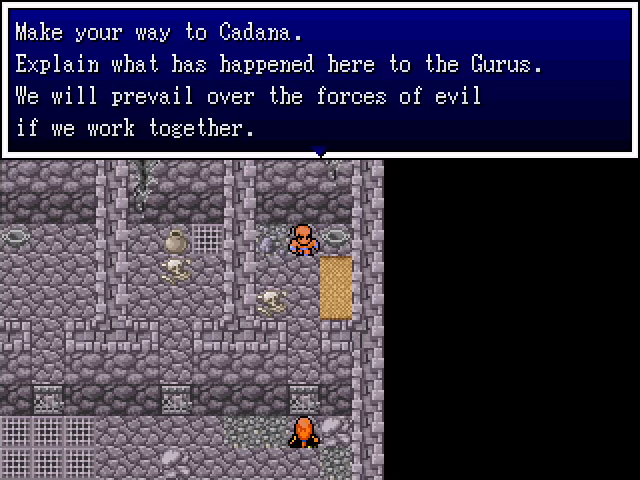
And with that, the advisor leaves.
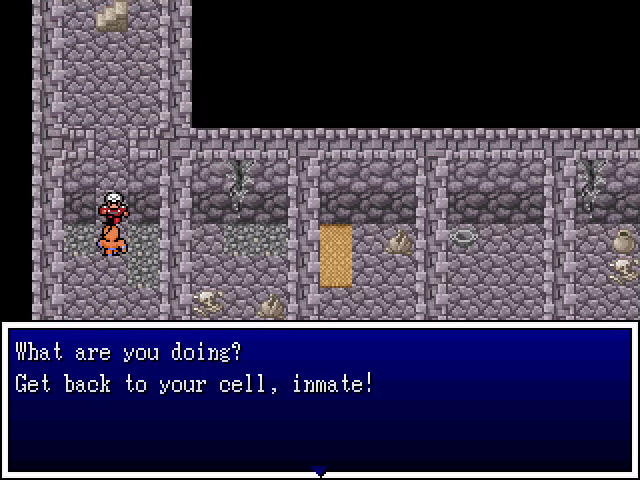
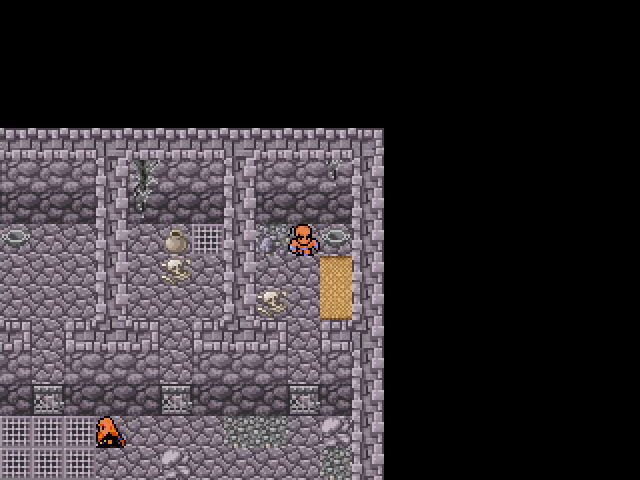
Obnoxiously, there's no easy way out of here. The guard is surprisingly blase about us not being locked up, but we can't get past him. We have to complete the entire vermin-filled dungeon a second time.
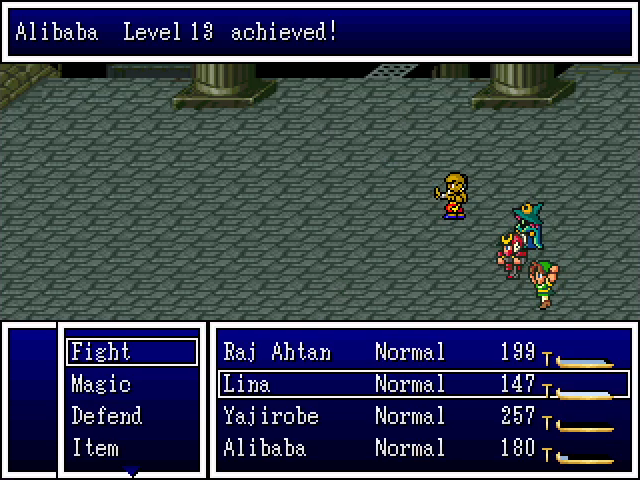
At least Alibaba gets another level out of it.
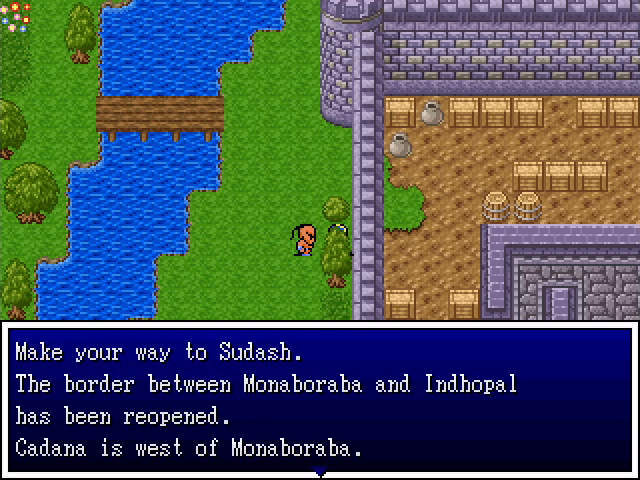
There's a guard at the exit, but it seems he's on our side. He reminds us of where we need to go, in case we forgot in the last ten minutes.
The border separating the two halves of Sudash is now open, as promised.
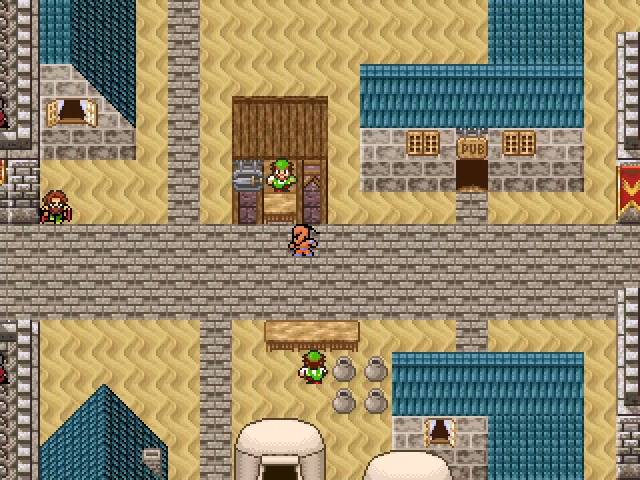
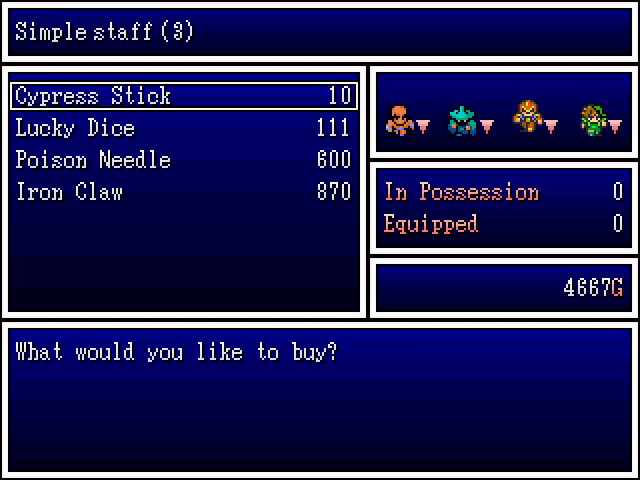
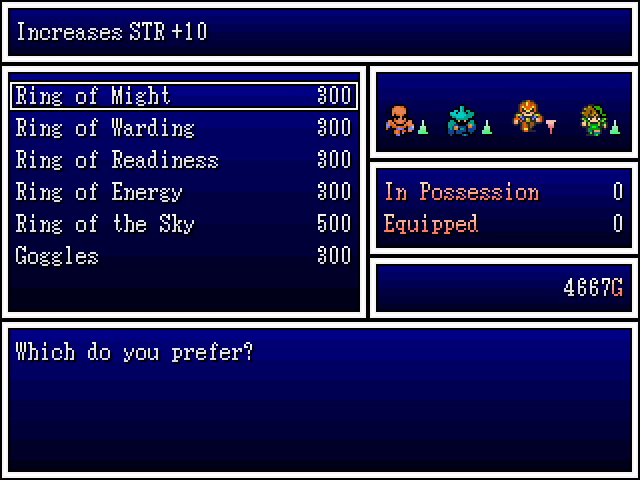
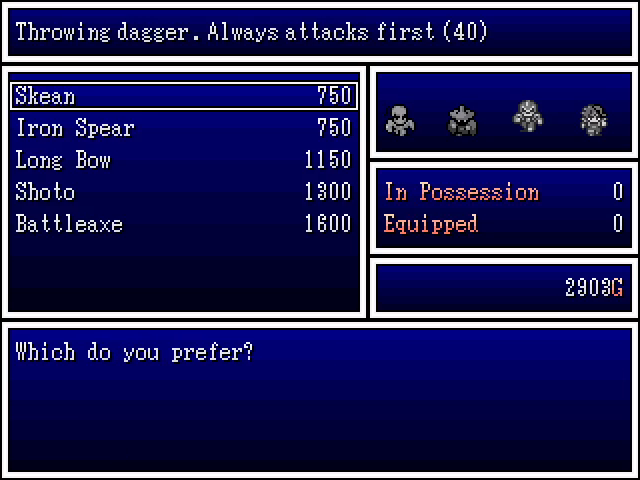
The first time we were here, it was at night, so the shops were closed, and I completely forgot to come back during the day to show them off. There's not a whole lot that's worth buying, although there are iron claws available for anyone who didn't get them at the Funhouse.
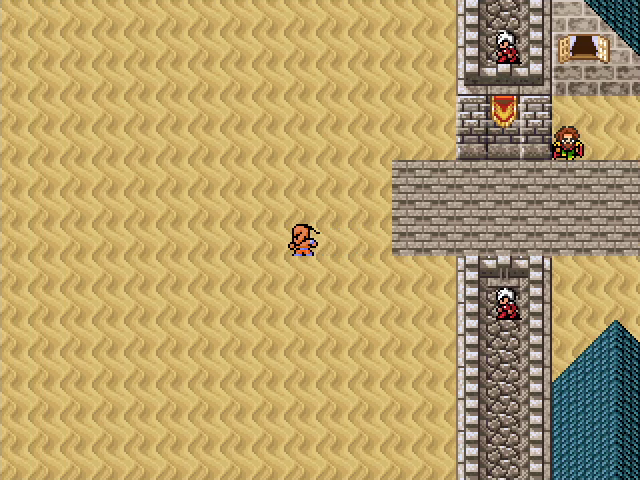
There's nothing more for us to do here, so we head out into the desert. Luckily, nothing stops us this time, and the screen simply fades to black.
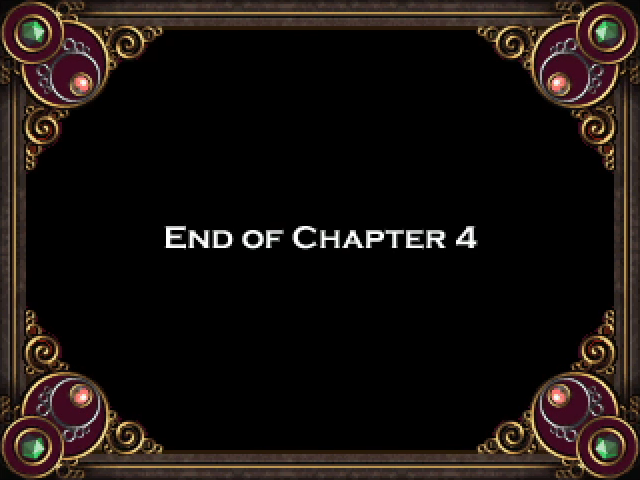
Next time: The real Hero's Realm starts here!