Part 25: The Four Towers
Welcome back, everyone. Last time, we finally got our hands on the Magic Key.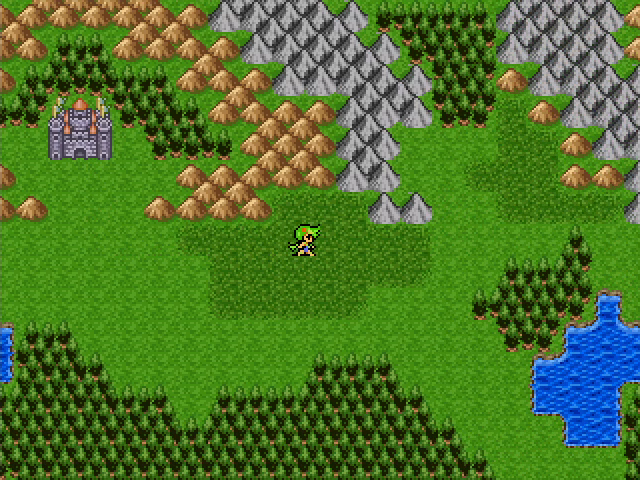
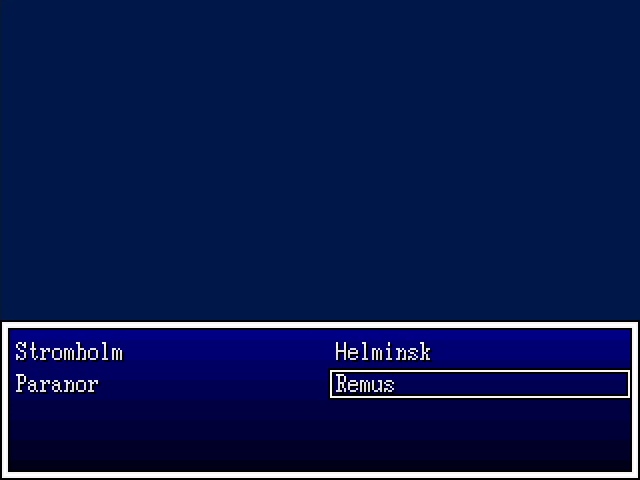
So now let's go to Helminsk. Why? I dunno. For some reason it felt like a good idea to add it to our Return destination list, but I don't think it'll actually be relevant. I might have been a little out of it when I played this segment.
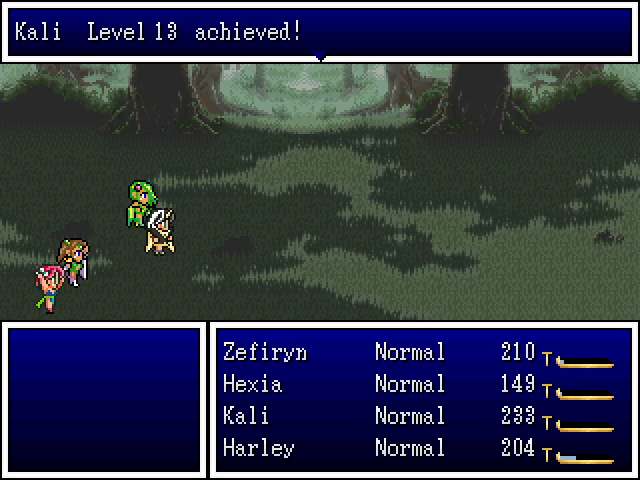
At least we get a level for Kali out of it.
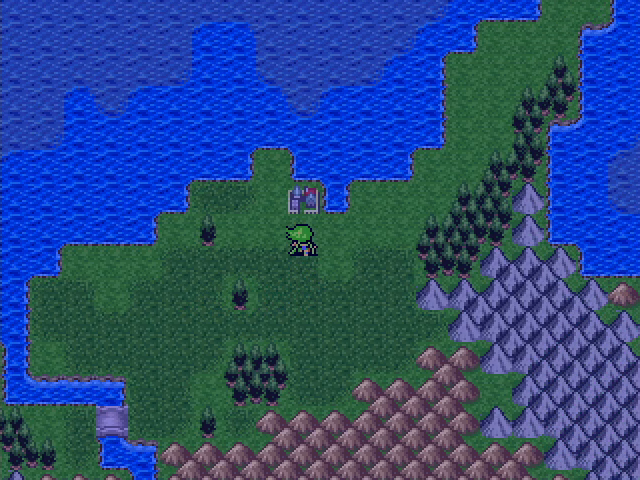
Well, that was fun. Let's head back to the University.
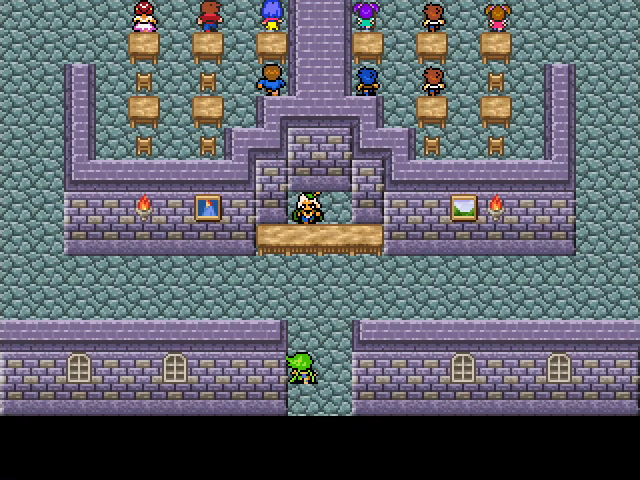

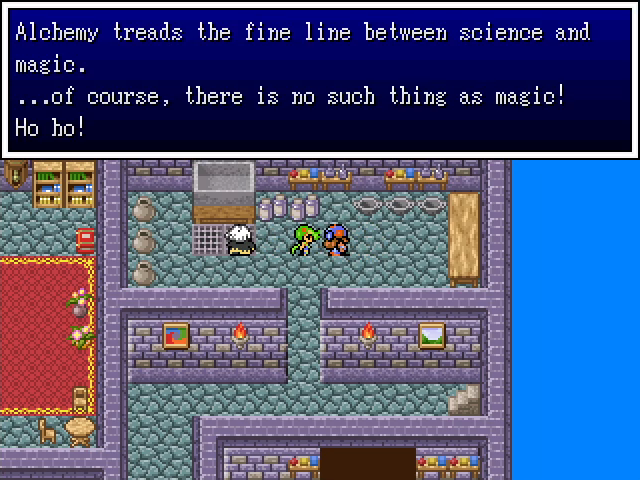
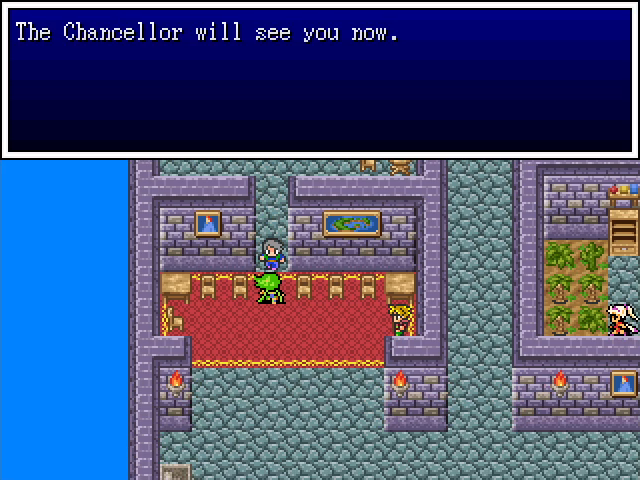
By day, the University is pretty bustling.

I feel like this is a hair away from being biting social commentary.
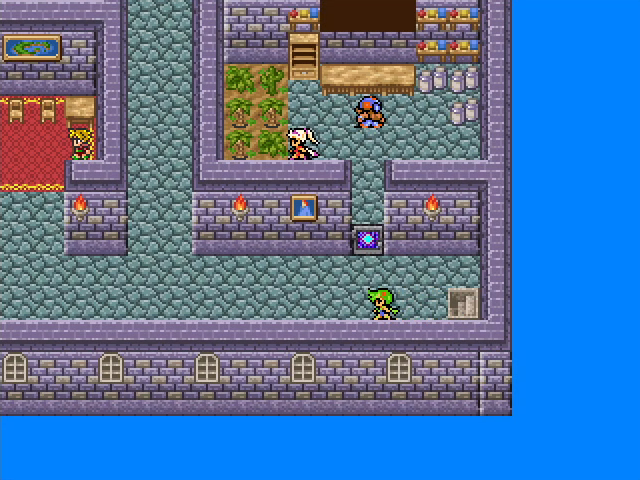
Now that we have the Magic Key, we can get into these doors on the 2nd floor.
We've noticed. This would be a legitimately valuable accomplishment.
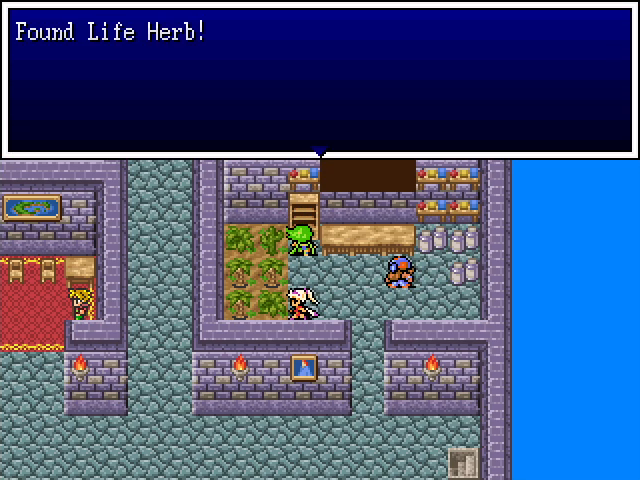
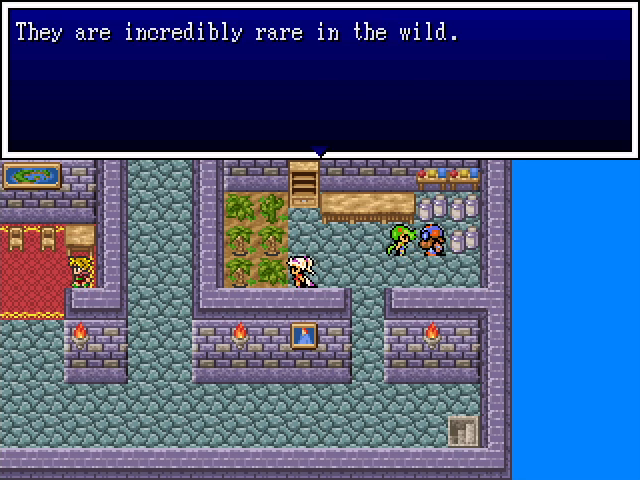
Of course there's one in the cabinet.
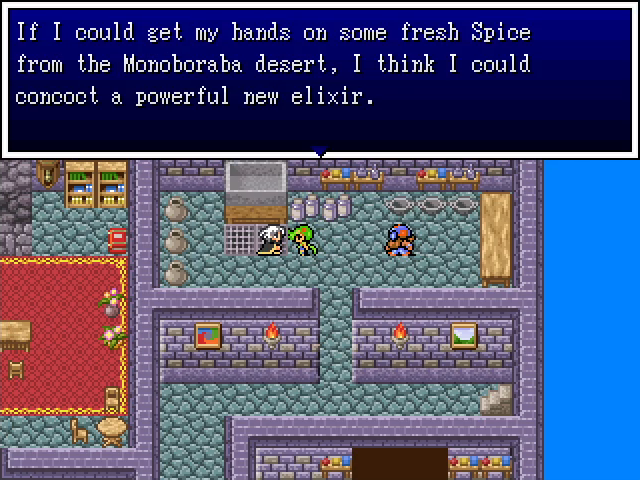
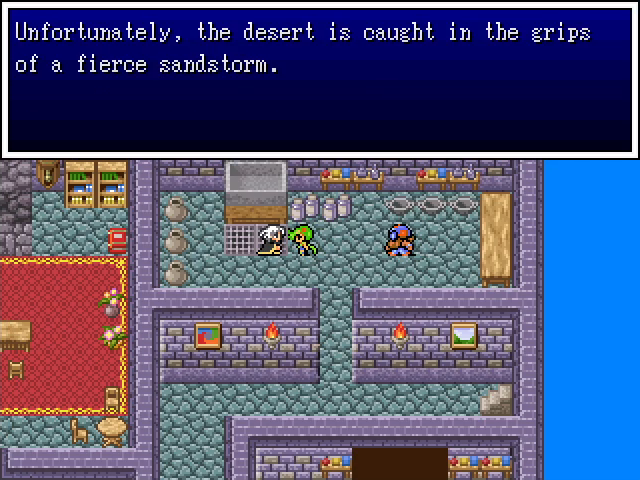
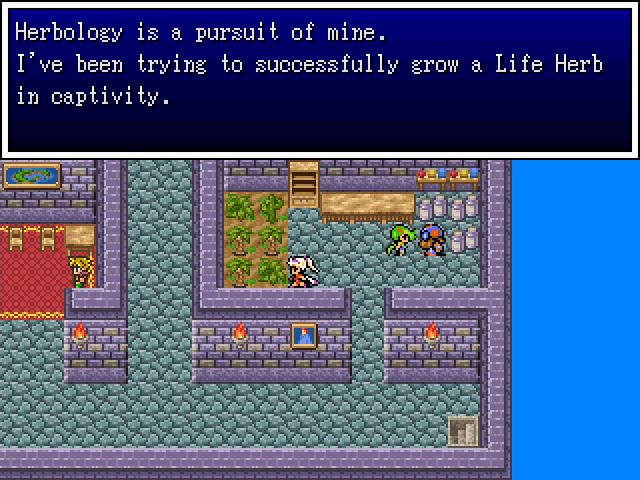
This also sounds pretty intriguing. Something to keep in mind when we finally get done with Monoboraba.
And yes, that's almost certainly a Dune reference.

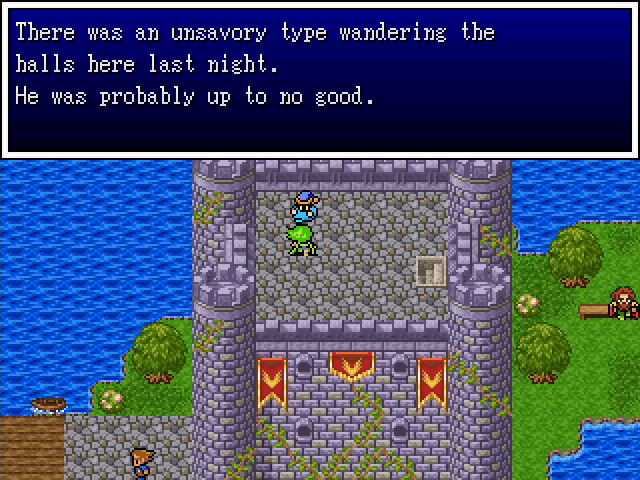
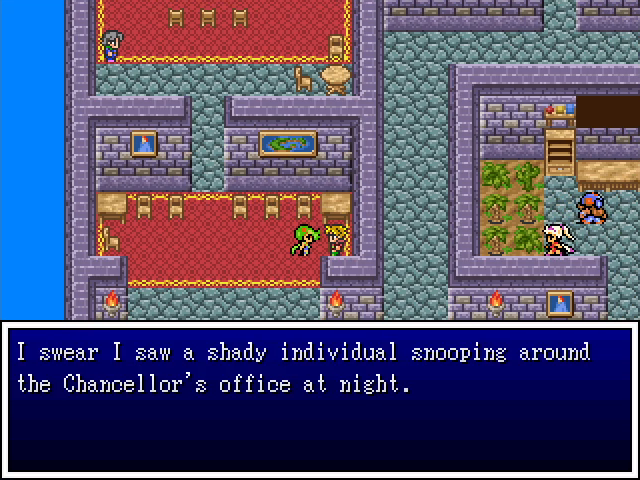
The game is nice enough to drop a hint about the guy who hangs out on the roof at night, which points the player toward the Magic Key quest.
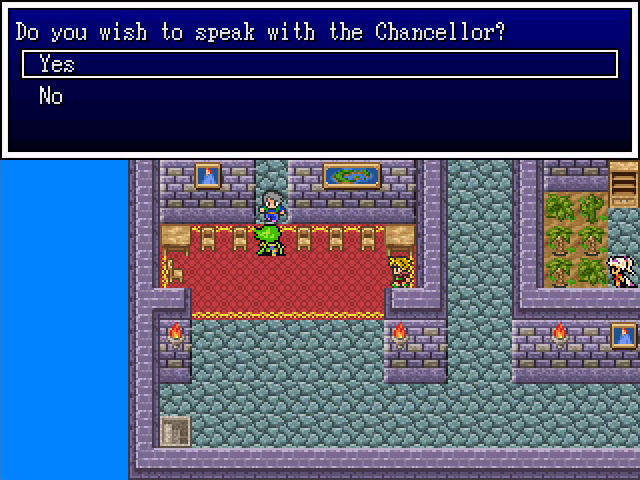
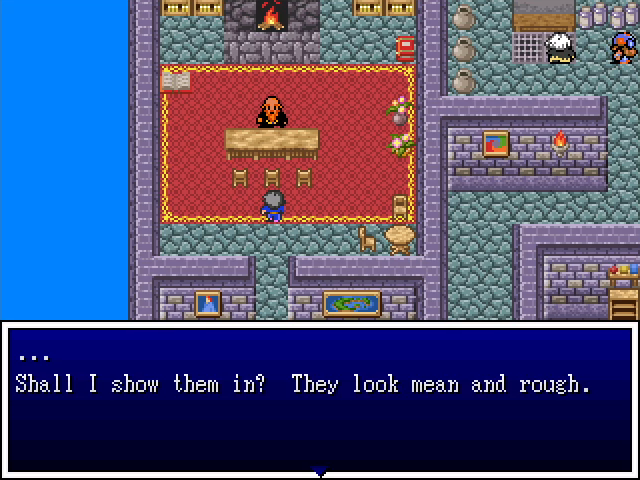
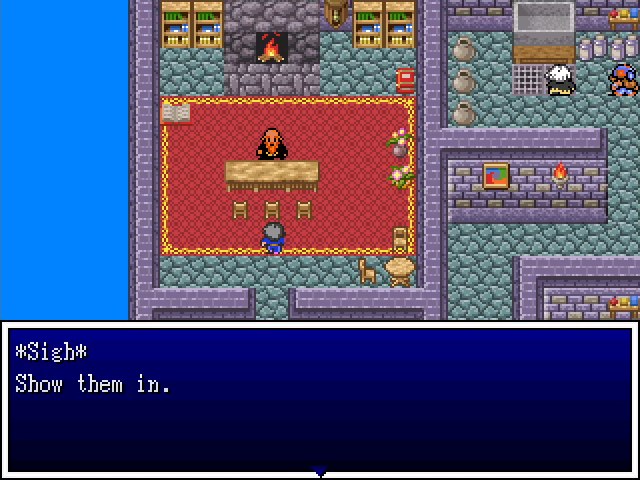
Sure, why not? We don't need his key any more, but maybe he'll have something else of value to offer us.
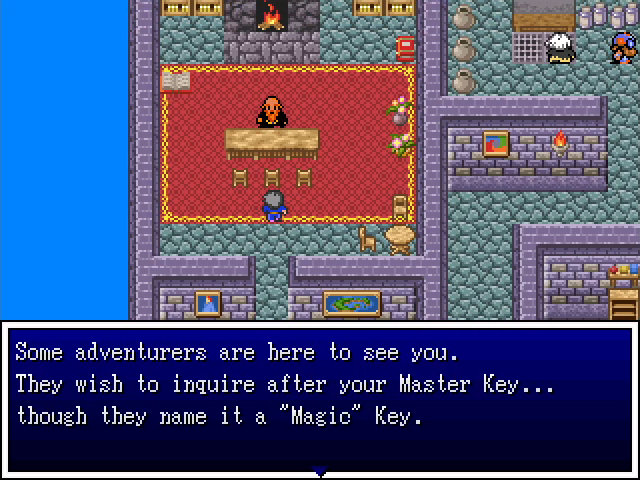
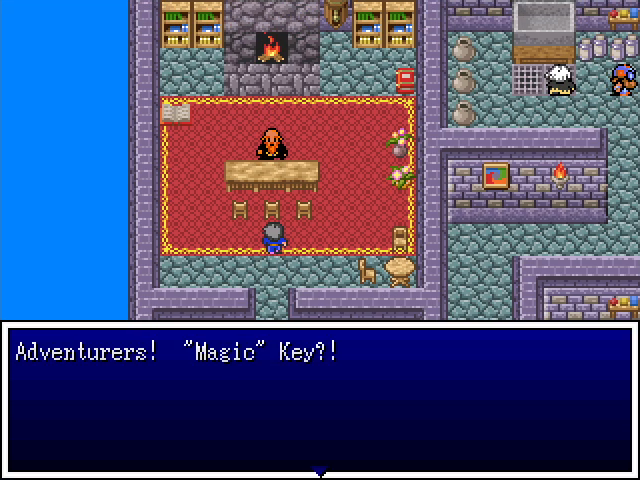
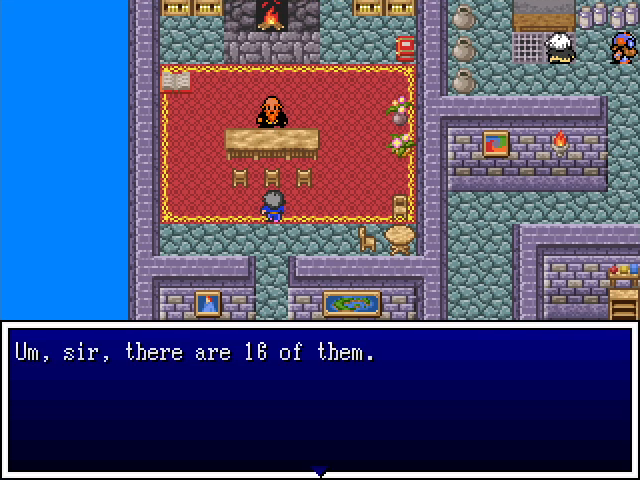
You should know exactly what joke the game is about to make.
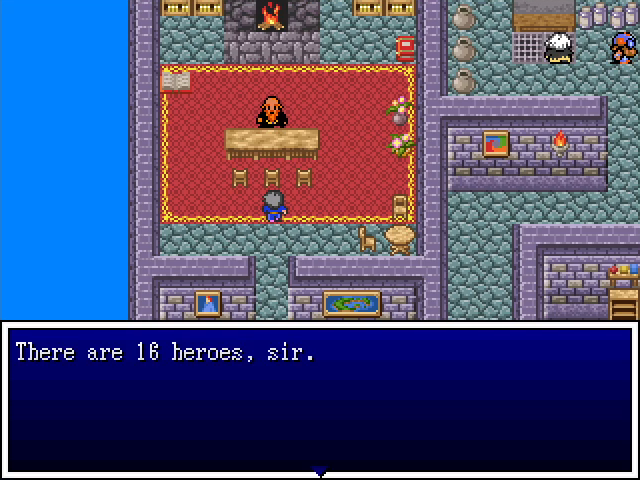
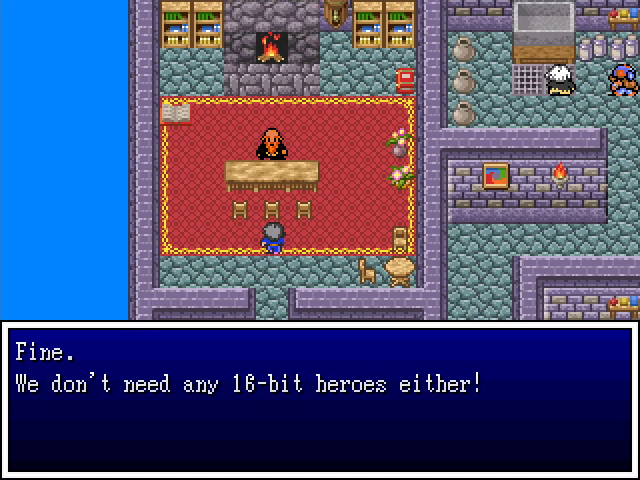
Eeyup, that's the one.
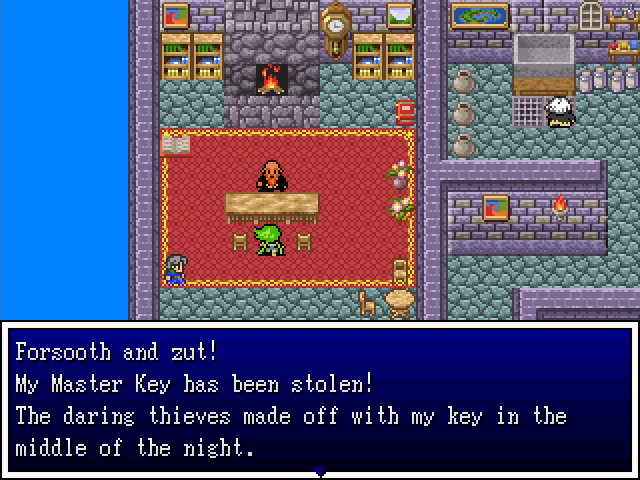
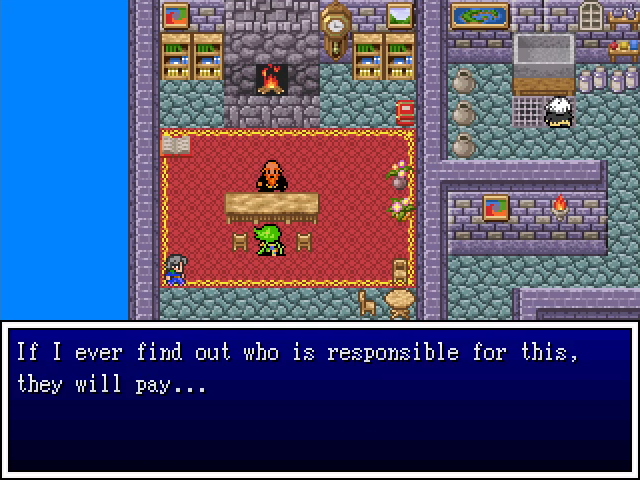
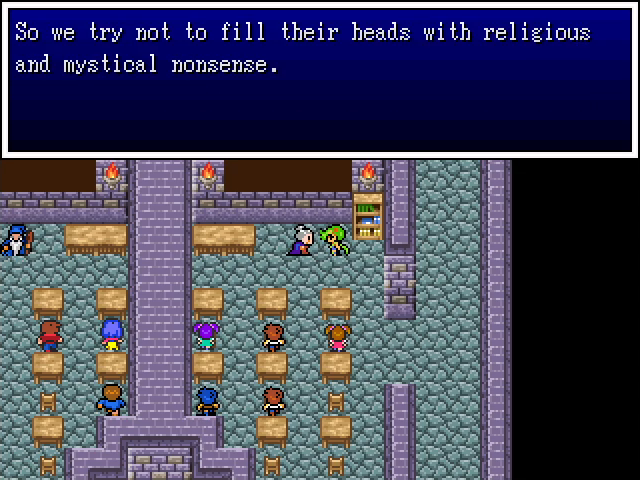
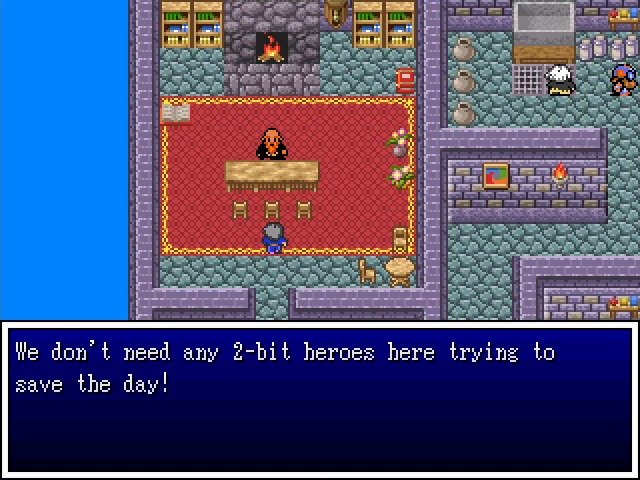
I'd feel bad for him, but these people are denying reality and we need the key to save the world.
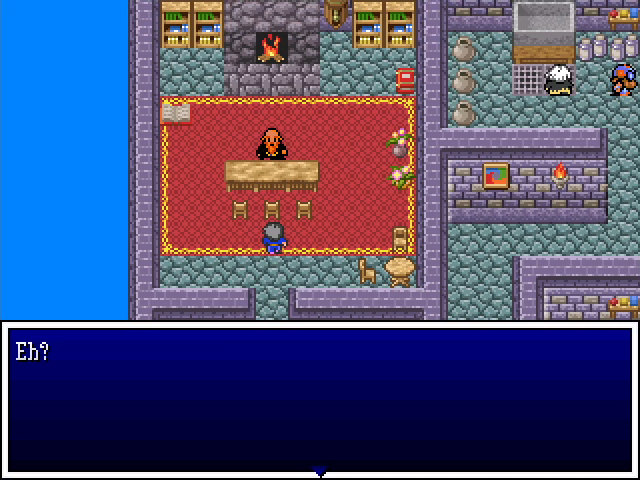
I'm sure we have no idea what that was about.

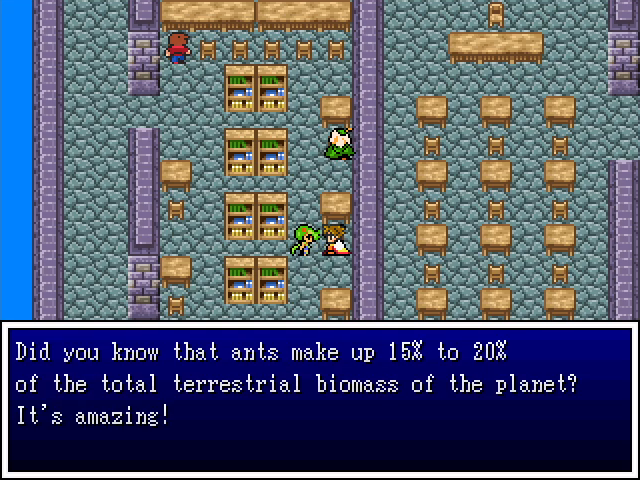

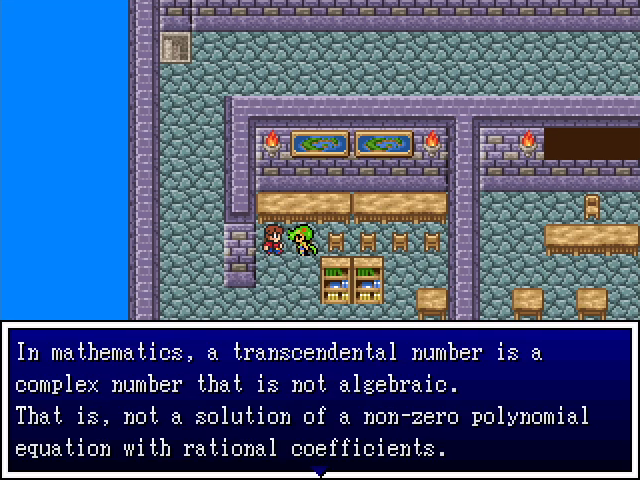
Some of the students in the University rattle off unnecessary but interesting facts.
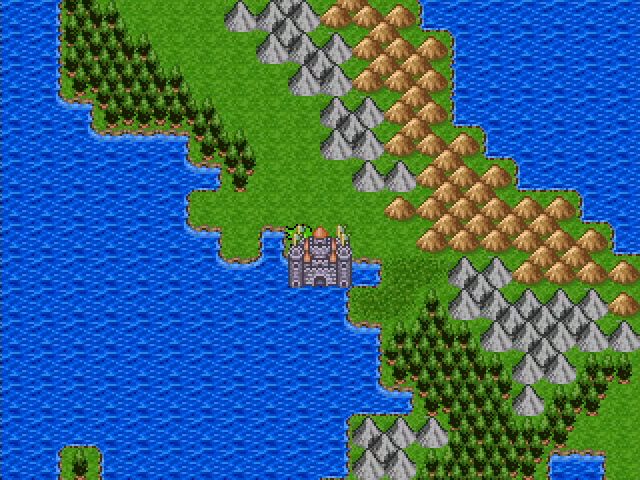
All right, enough faffing around in town. Let's head for the Four Towers.
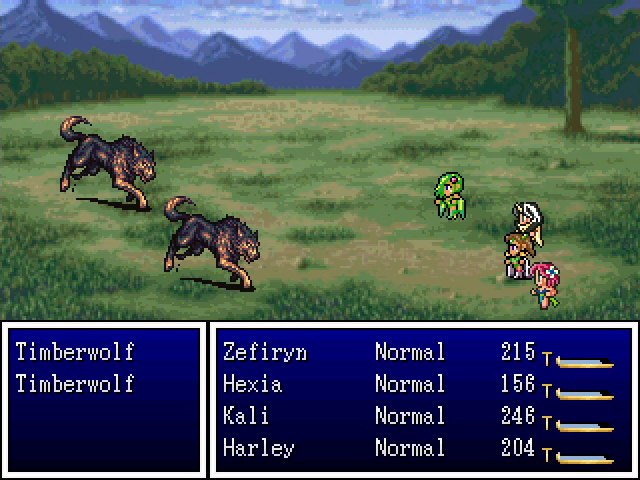
We encounter a couple new foes en route to our destination. Timberwolves usually open fights with Howl, inflicting Sap on the party, then start attacking to take advantage of our lowered defense.
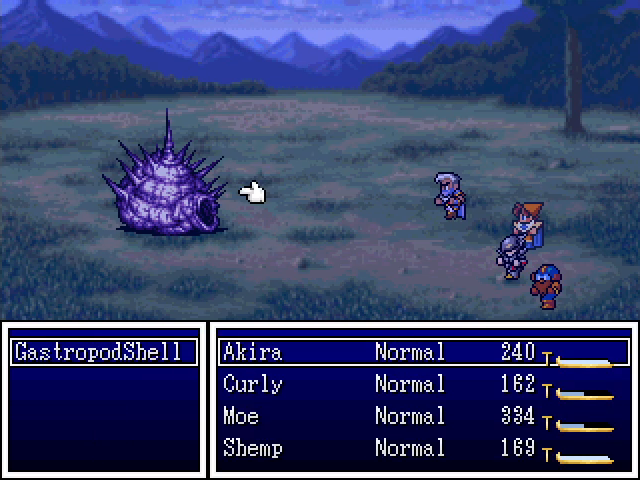
Gastropod shells are more interesting, employing a strategy derived from the creature whose sprite they're using. Attack them...
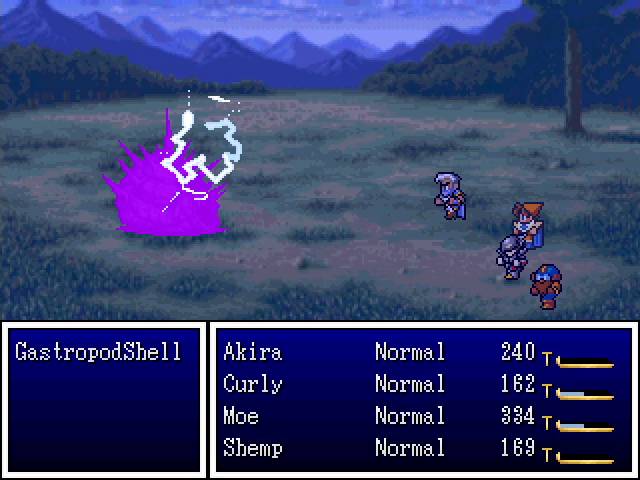
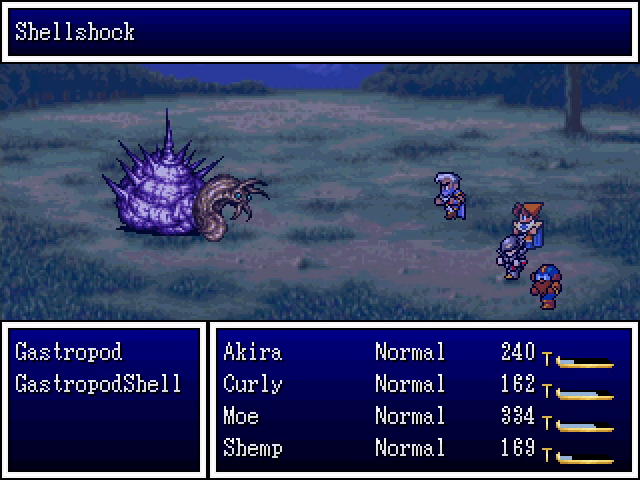
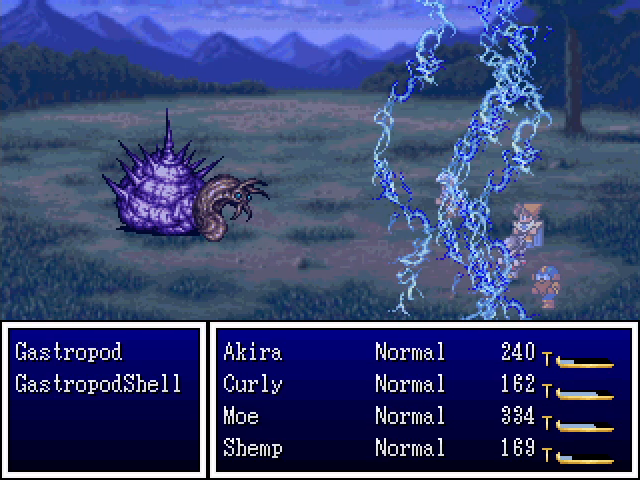
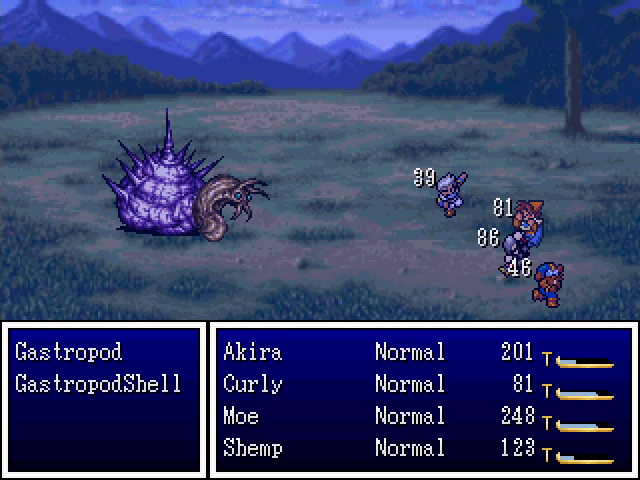
And they counter viciously. The head pops in and out over the course of the fight, and is the real target. Unfortunately, it has the irritating habit of retracting right after an attack command is entered, causing us to attack the shell and eat another counter.
This walk also taught me that parapluies (first encountered in the previous update) are offensive casters, throwing around stuff like Firebal, Hurt, and Icebolt.
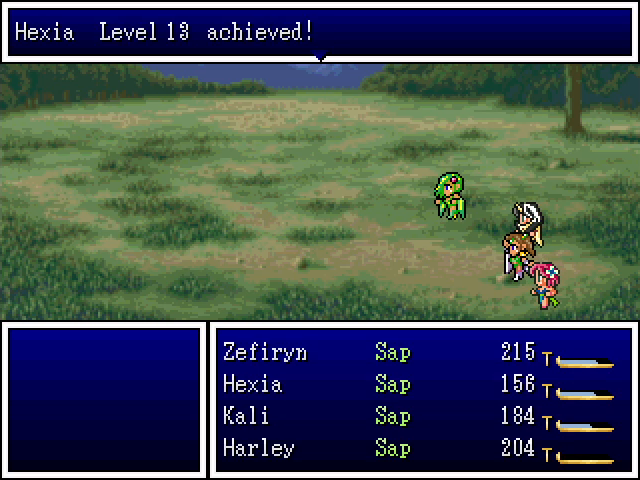
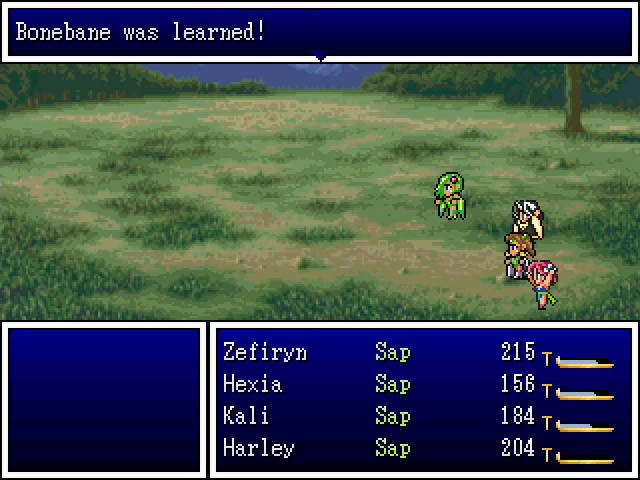
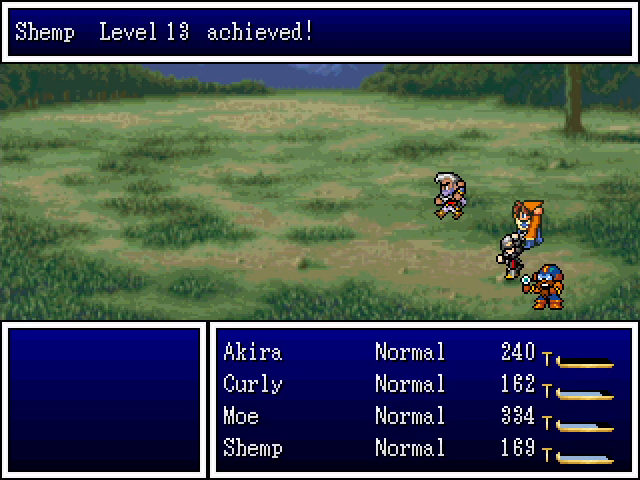
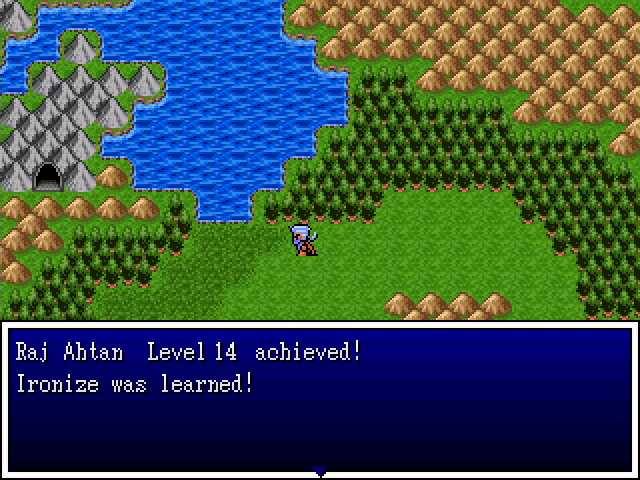
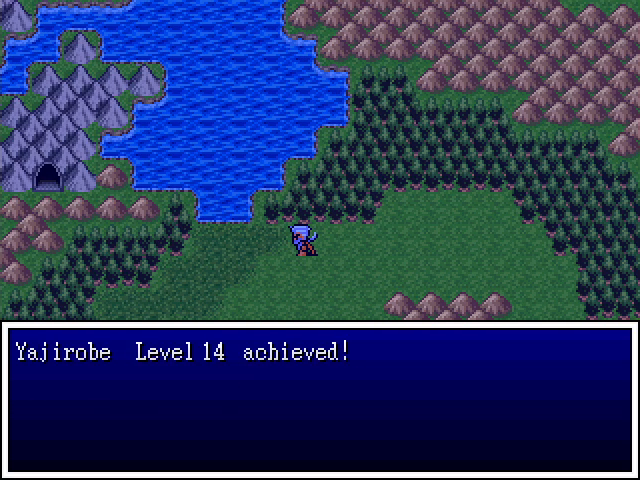
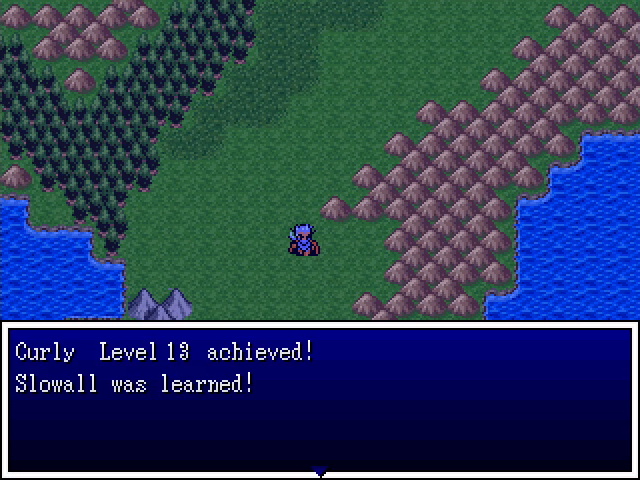
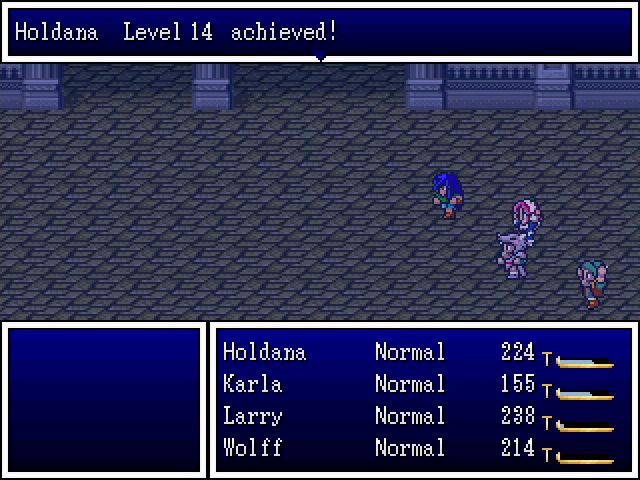
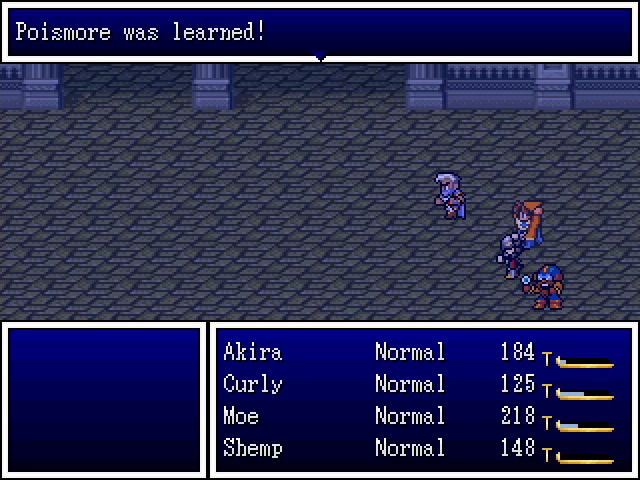
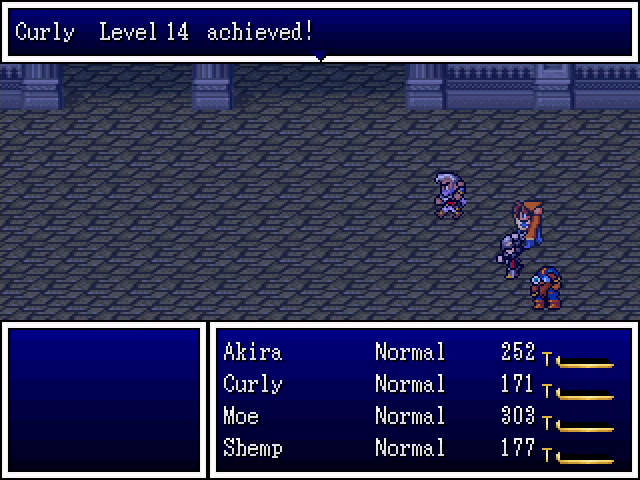
We get a nice set of levels from these fights. Our protagonists start learning Ironize, and Curly gets a very useful debuff.
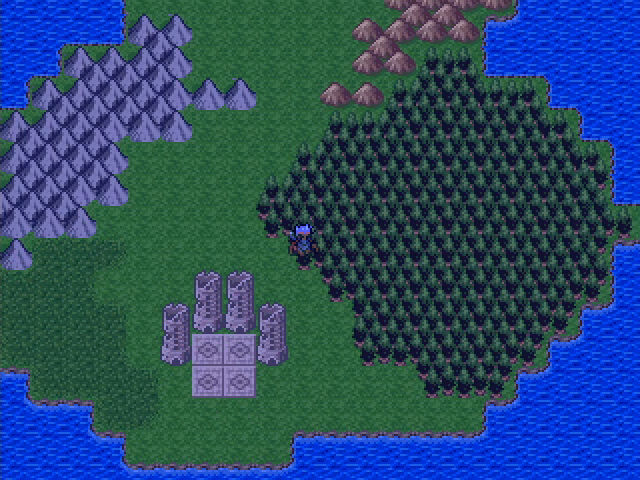
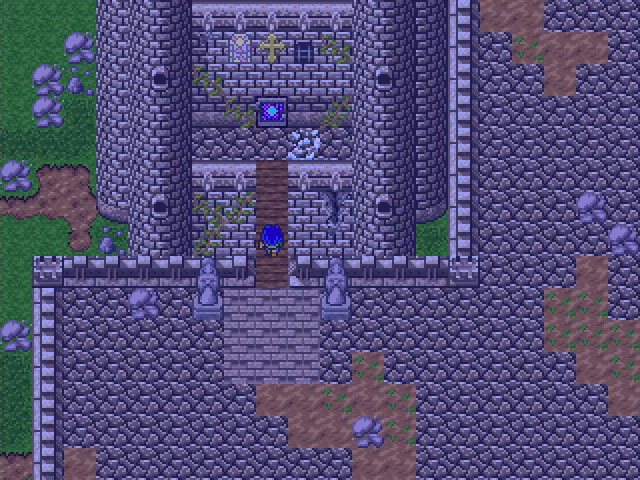
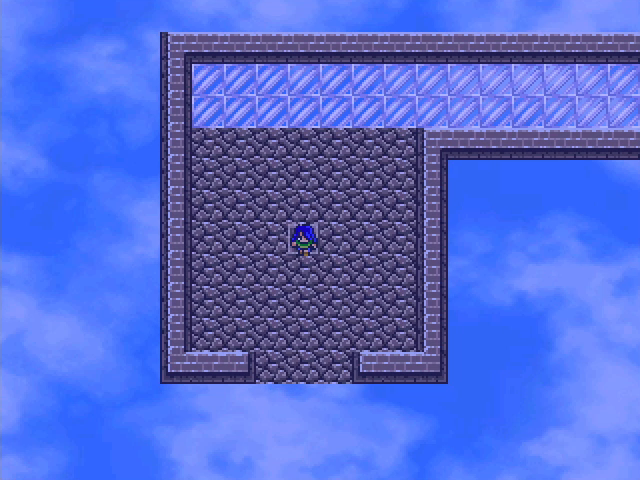
At last, we arrive at our destination.
It shouldn't come as much of a surprise that the Four Towers are a multi-party dungeon, with each party intended to enter one of the four. It's also a puzzle dungeon, which is unfortunate since my brain was really not working when I recorded this.
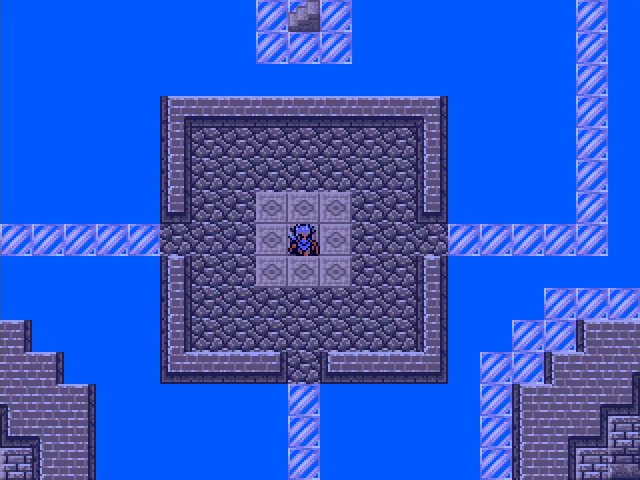
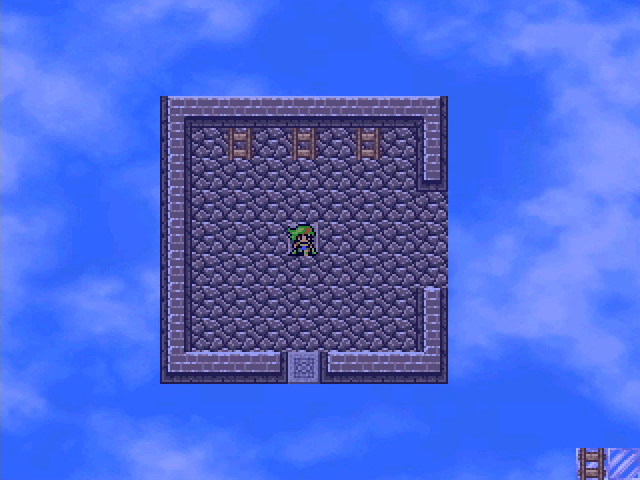
Akira is our currently active party, so we may as well send him in first. He goes to the third tower, since that makes logical sense to me.
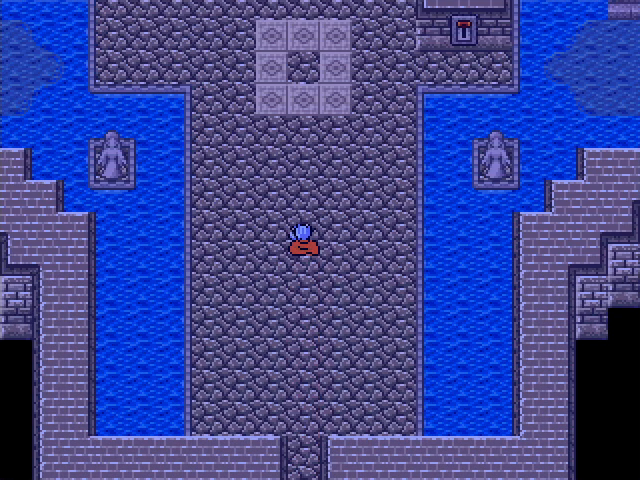

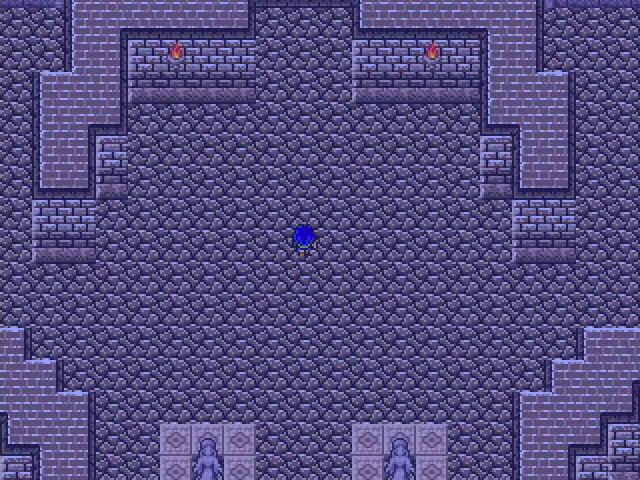
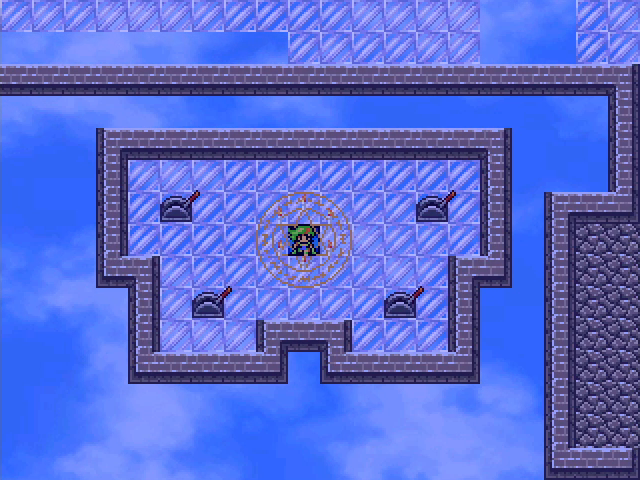
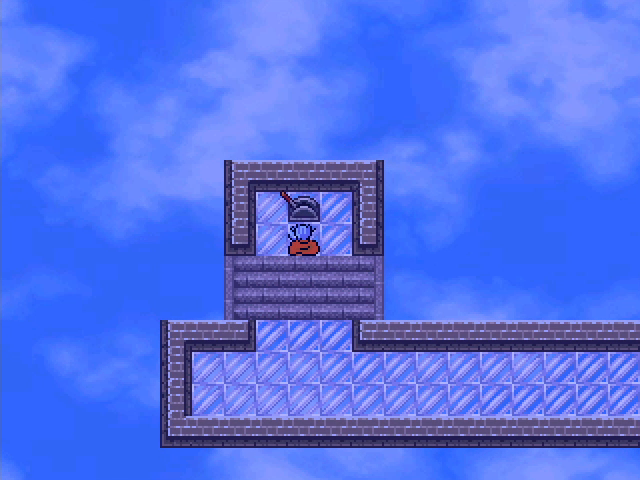
The ground floor of the tower has a series of levers and a pool of water. The water leads nowhere and has nothing interesting. The levels seem to be worth messing with, but who knows what that might trigger? Let's explore a bit more with the other characters.
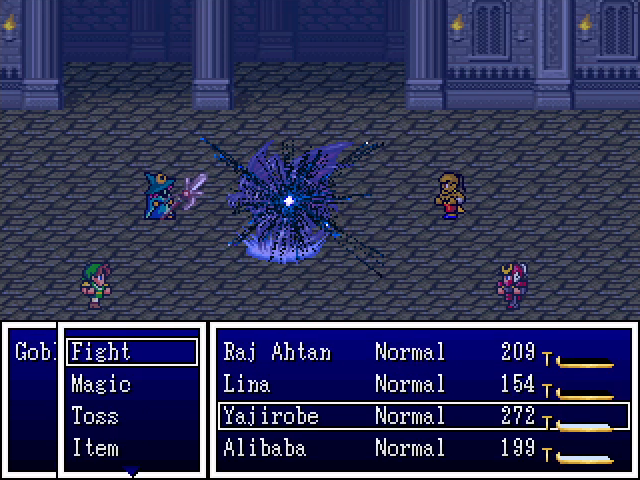
This screenshot is here just because I thought the animation was really neat.
But first, let's talk about the opposition. The enemies here are no joke, and my biggest takeaway from running the dungeon was that I should have bought more equipment upgrades.
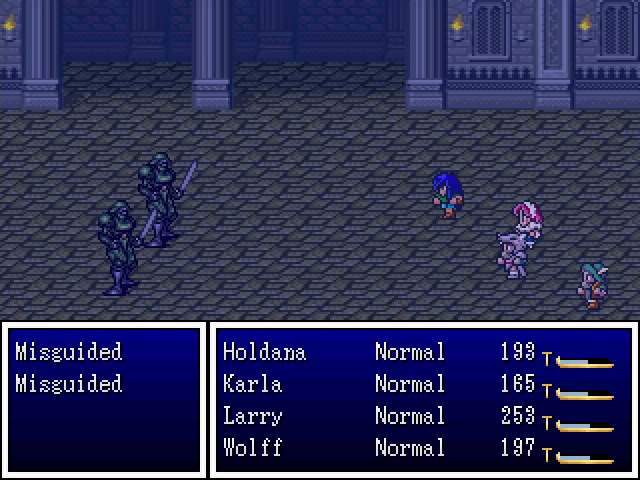
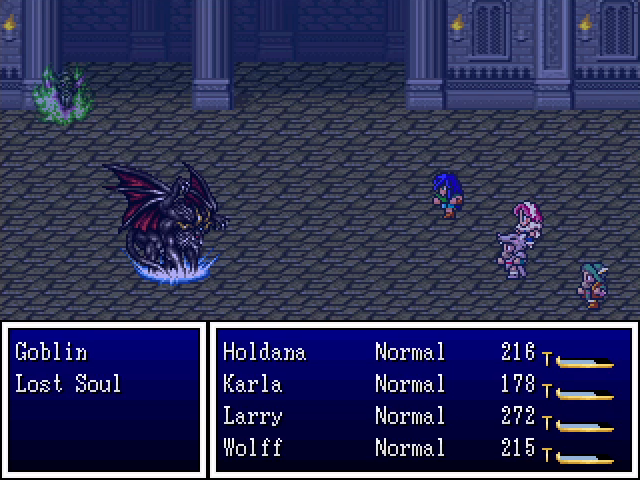
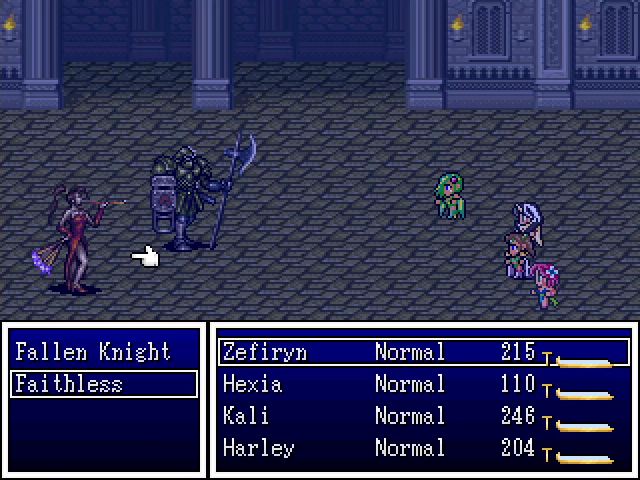
Misguided have fairly basic physical attacks and not a lot of endurance, but they like to use Alibaba's Caltrops ability, and can do a lot of damage with it. Lost souls can use Shadow Flame, but it's their physical attacks that are their real threat; they can two- or three-shot a mage if given a chance. Goblins use Slasher and Numbing Thorns, which can be mildly dangerous, but they're only really threatening in numbers. Faithless are tricksy enemies that use Silencio and Love Potion, but their lack of durability means they tend not to get much done. And Fallen Knights seem to be bugged: they don't take any actions, ever.
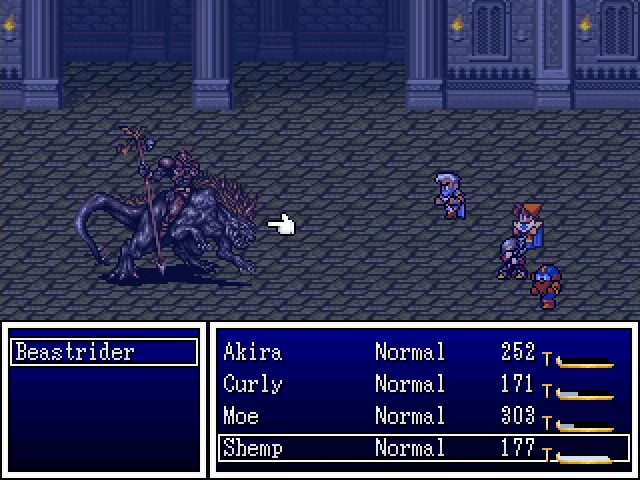
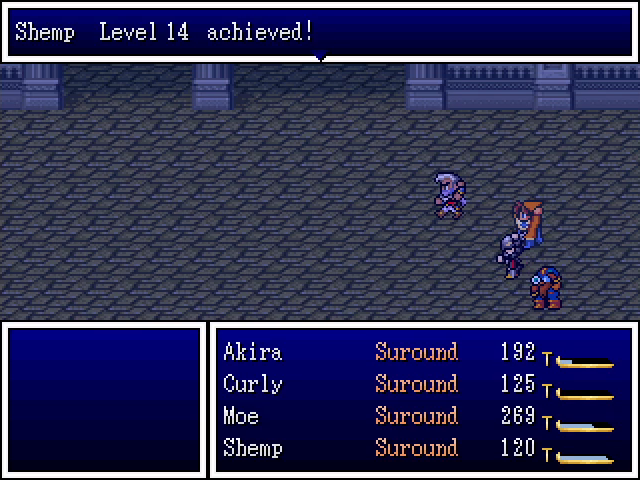
Finally, we have the beastriders, which deserve a special mention. They have a ton of HP and open fights by casting Surround twice, which is almost guaranteed to blind anyone not immune to it. And that's problematic, since they follow it with Ravage, a more powerful version of Slasher. Once they get going they can be quite difficult to handle, and fighting them is always a risk. Luckily, they only show up on the upper floors of the Towers.
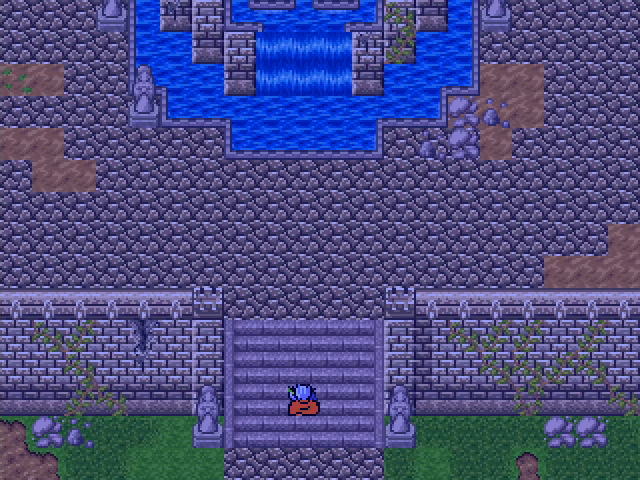
Holdana's team enters tower 1.
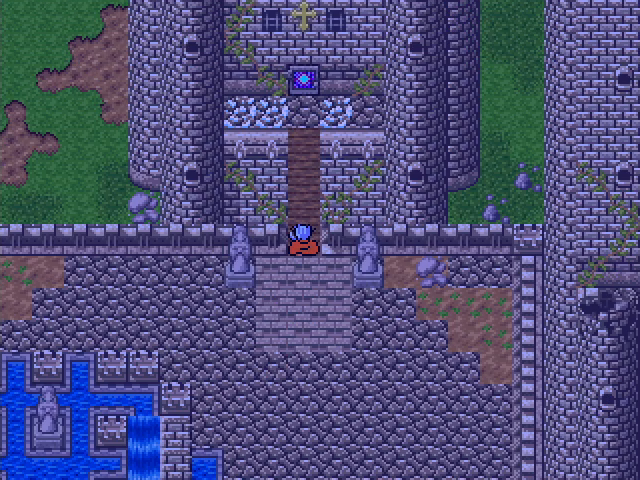
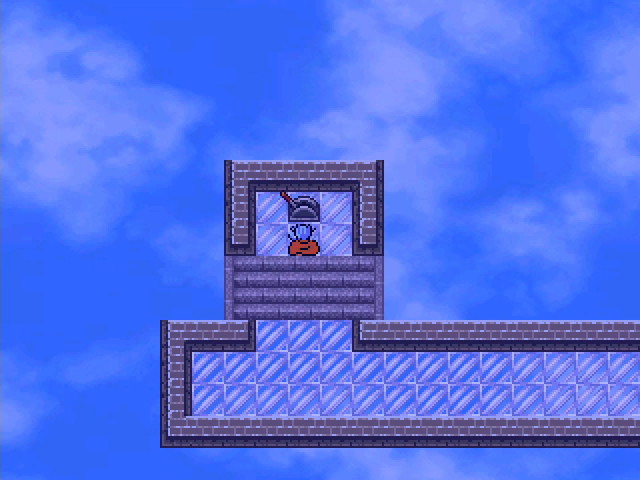
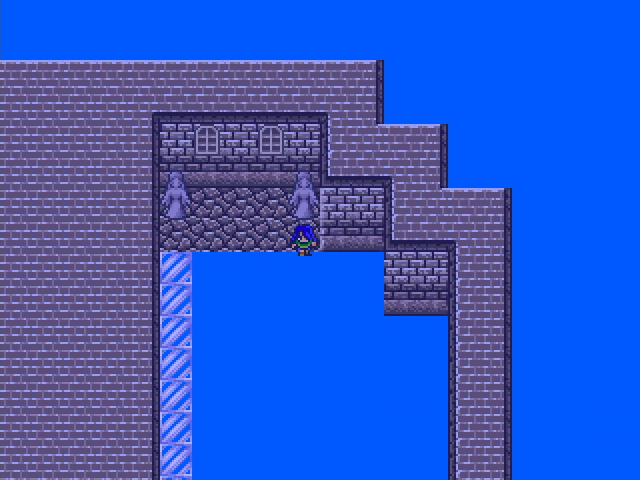
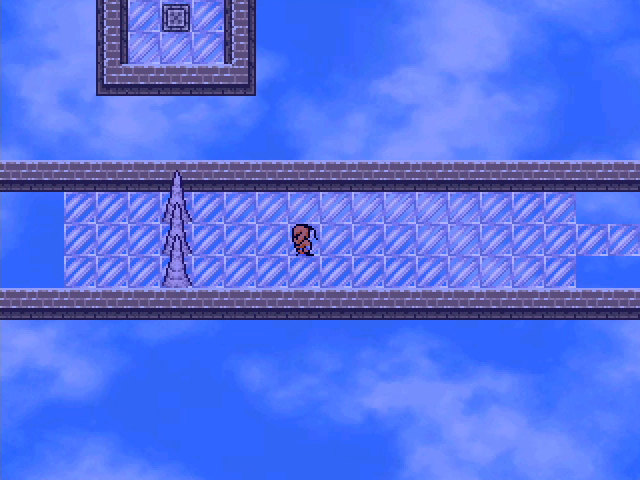
The first floor has some large spikes on either side, but a passage straight ahead leads to some stairs up.
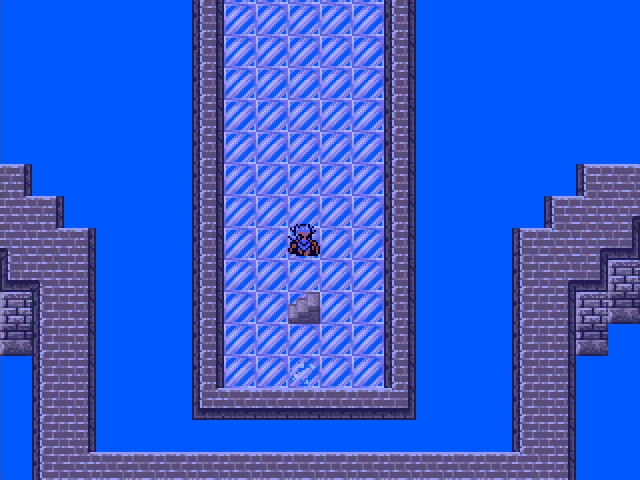
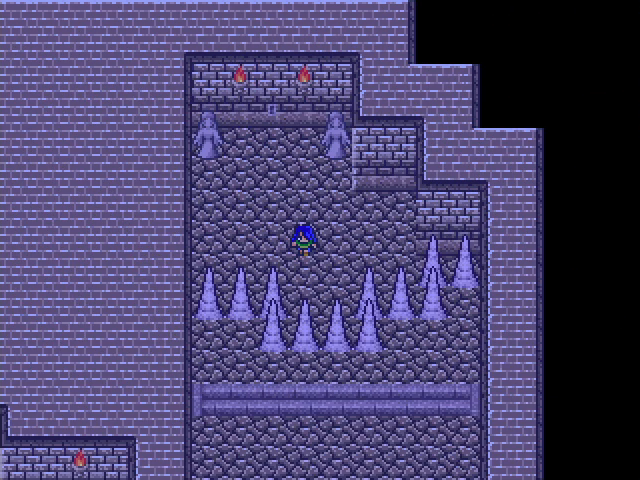
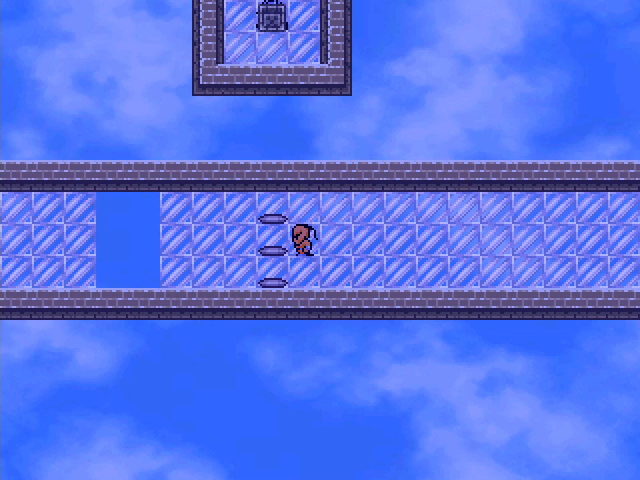
The second floor is a room filled with small spikes. Taking a little damage to shorten our route is worth the pain.
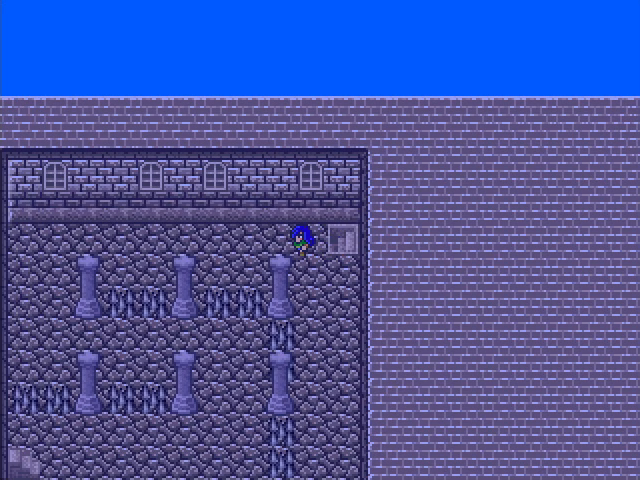
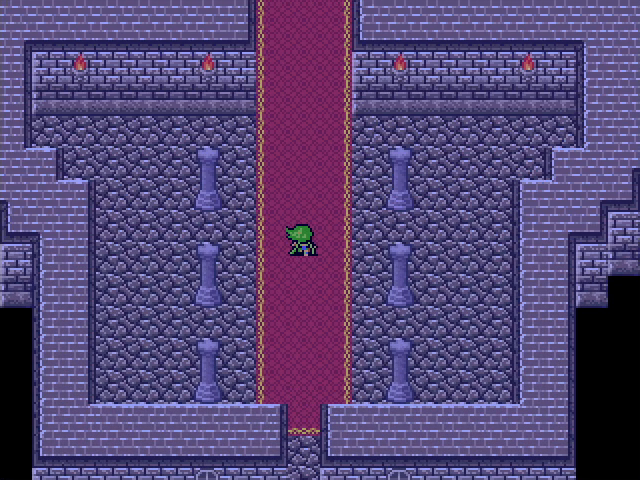
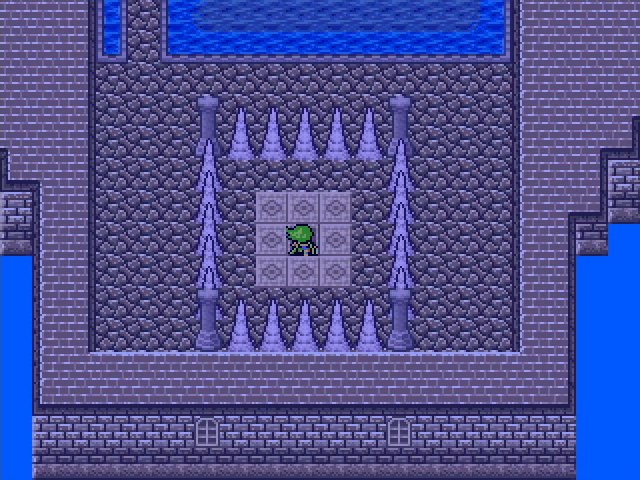
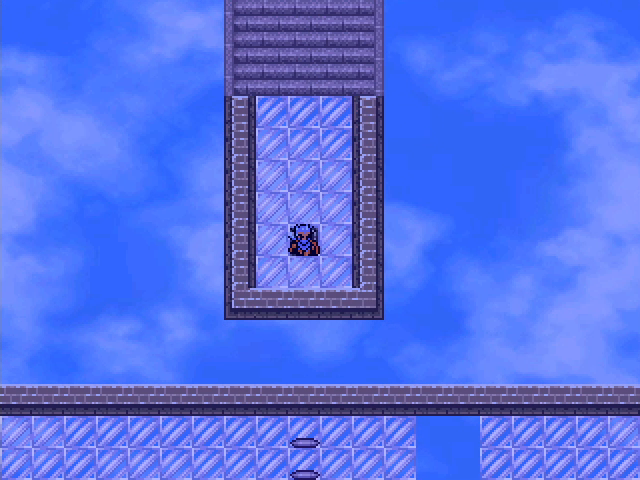
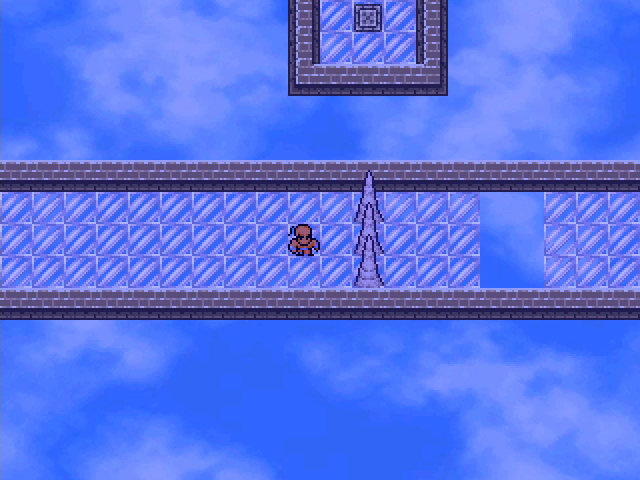
The third floor opens into a small area with pillars, a save point, and more large spikes blocking the way up.
The obvious walkway on the right leads to a dead end. You might have already guessed what's up with this. But with no obvious way forward, we switch to another team for now.
Zefiryn's party enters the second tower, which seems to have been pretty lavishly appointed back in the day.
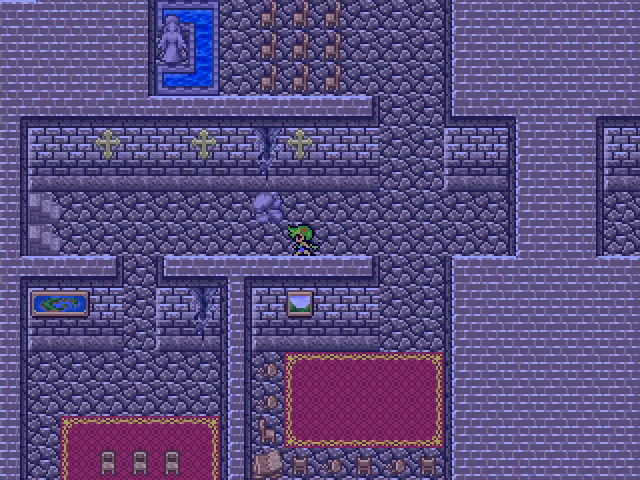
Stairways on either side lead up to the second floor and a library. One of the regulars here back in the day must have been an occultist because there are no fewer than three tarot cards hidden among the shelves.

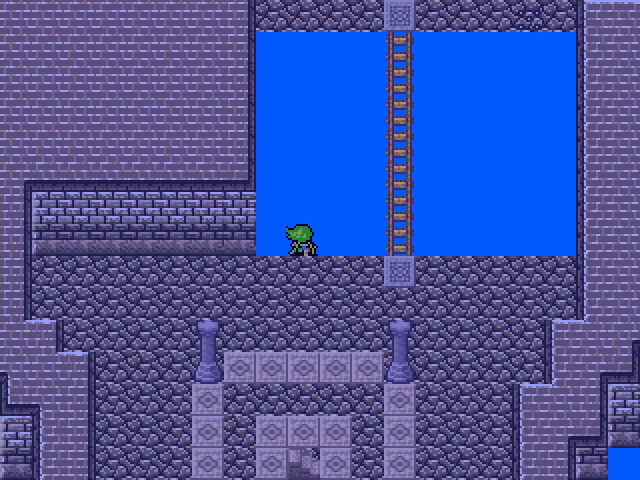
The next floor is another spike maze, but with a do-it-yourself bridge. (The ladder is in the northeast corner.)
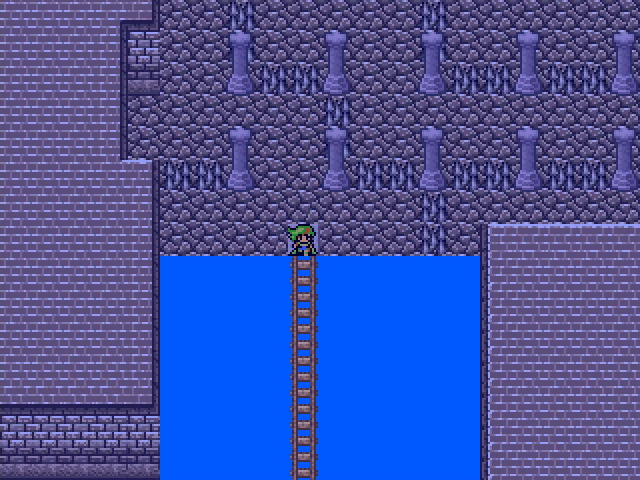

After setting the ladder, we cross it and come to more stairs.
These promptly lead us to more large spikes, which is as good as a dead end.

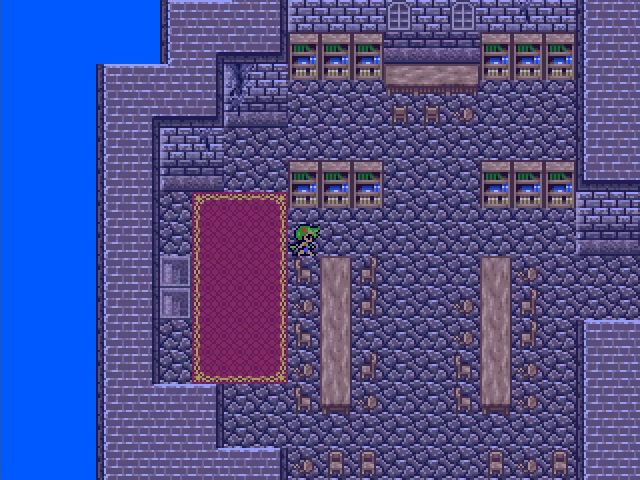
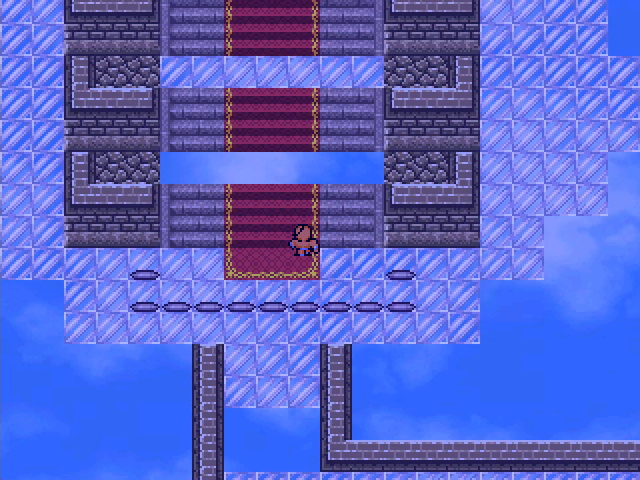
Raj Ahtan's party heads into the final tower, which seems to have been an auditorium of some kind.
The second floor is a balcony boasting even more seats. Also a bunch of large spike barring the stairs.
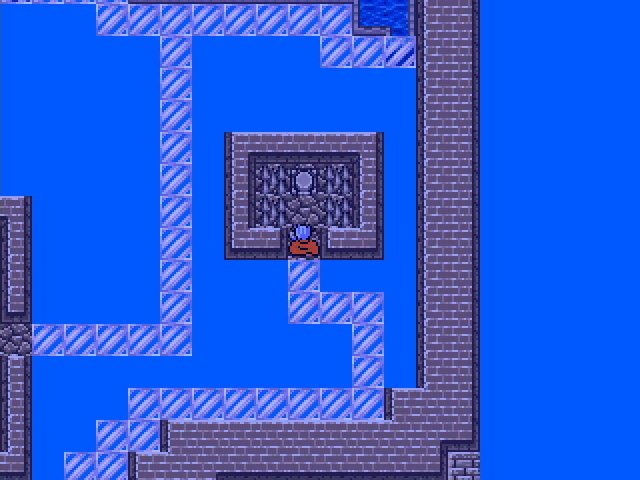
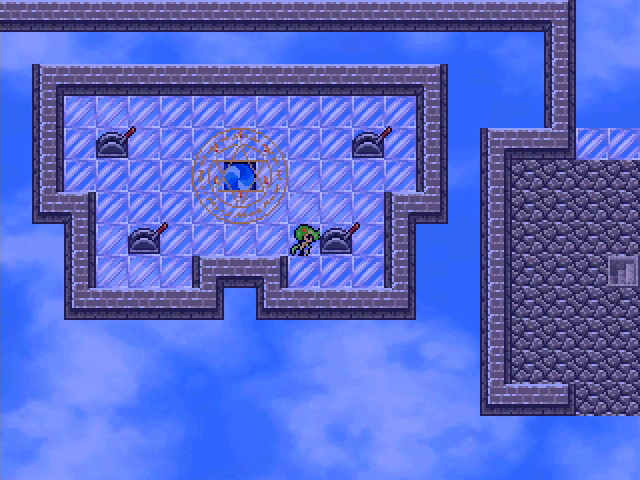
With no one else able to do anything, we switch back to Akira and have him play with the levers. Flipping one also flips the lever or levers adjacent to it.
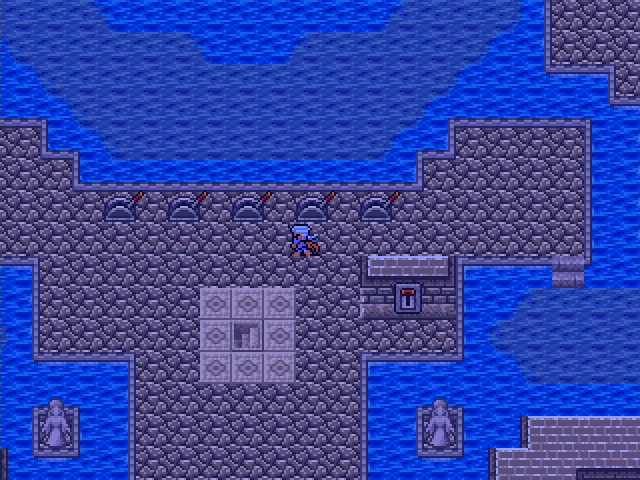
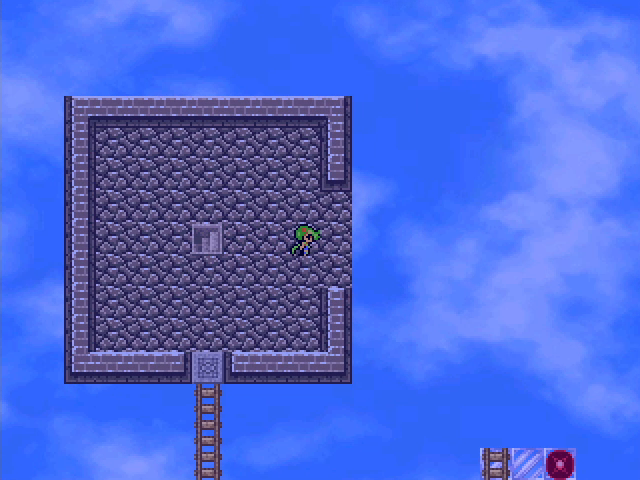
With all the levers pointing right, we unveil a set of stairs leading down.
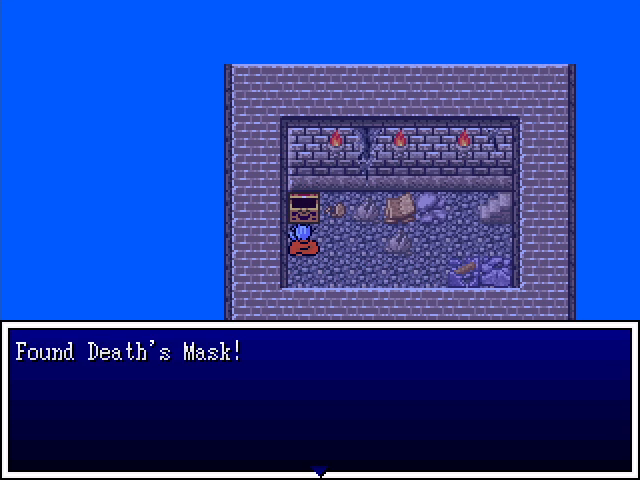
Inside is a small room with a chest containing Death's Mask.
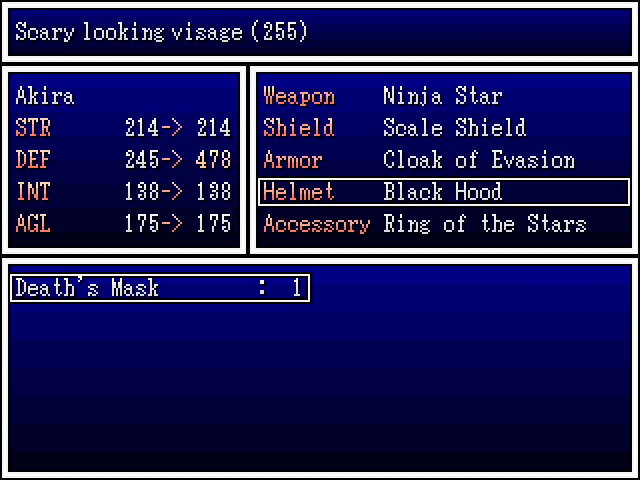
It boasts a ton of defense and you'd better believe it's cursed.
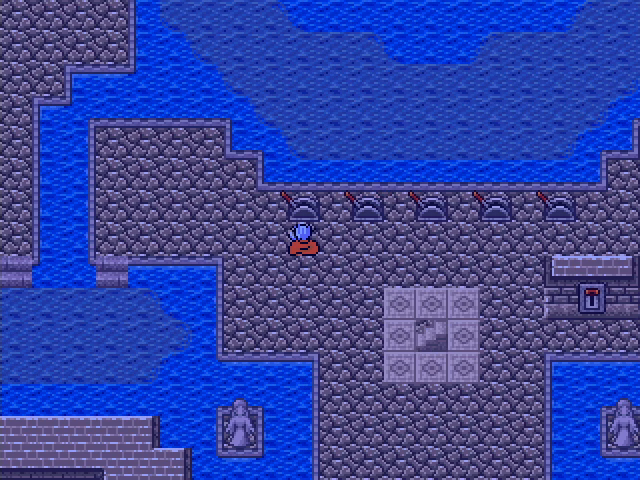
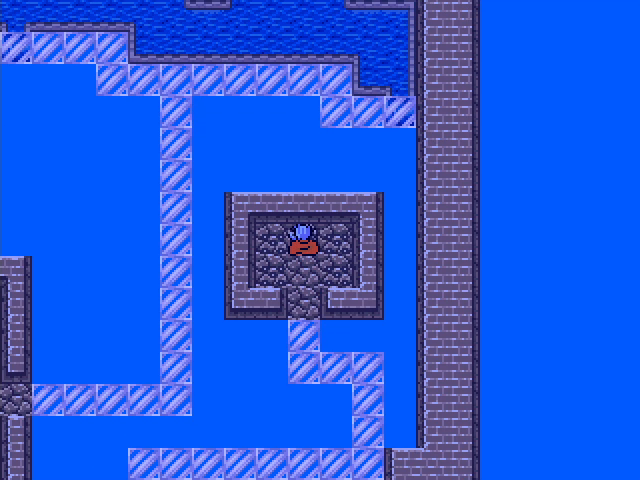
We go back up and flip the levers to the left instead, which reveals stairs leading up.
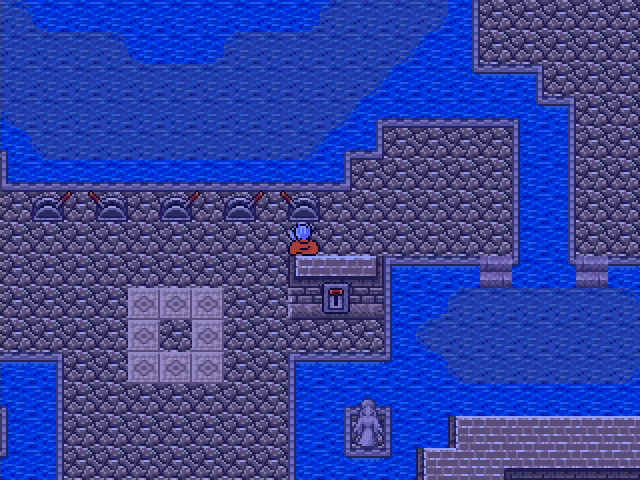
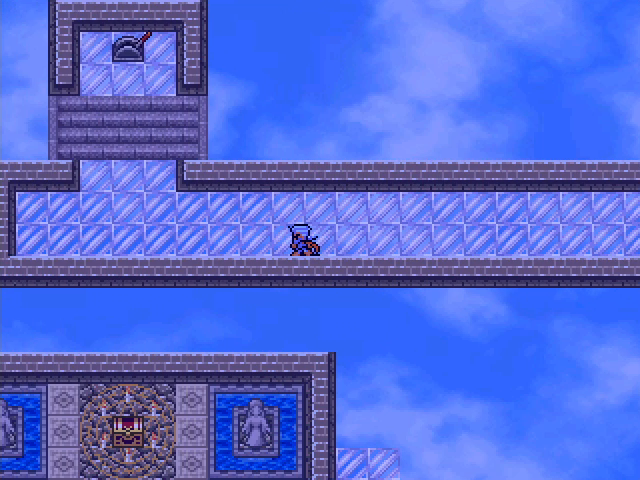
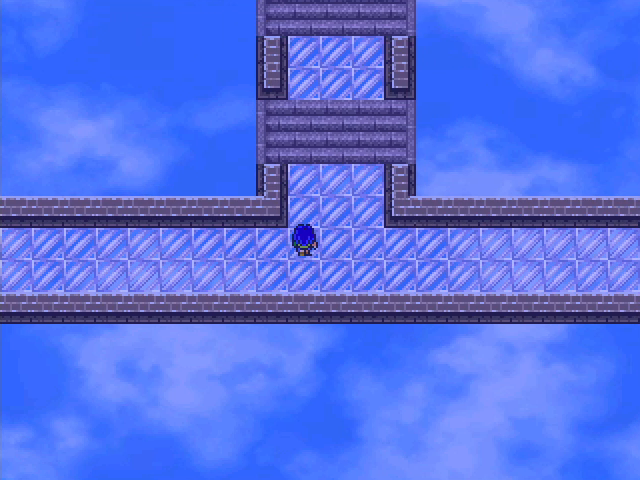
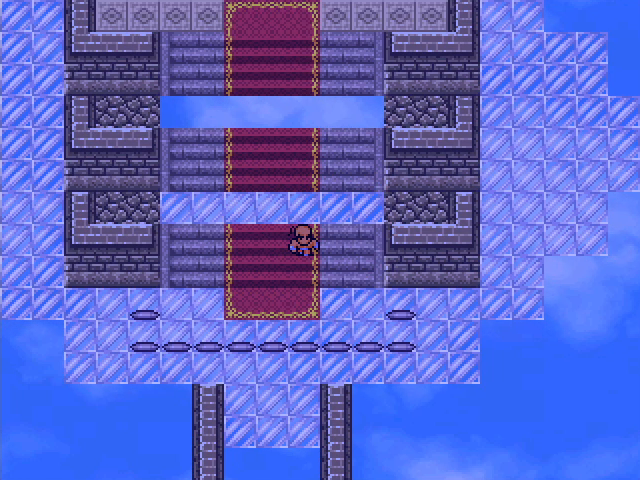
Floor two is a set of narrow walkways. Oh boy do I love having to move slowly to avoid falling.
The eastern path leads to a floor button that lowers the small spikes. This affects all four towers, so we can move around a bit more freely. The western path leads to a chest containing a Healmost scroll - decent, but not an amazing prize.
The southern walkway circles the room and leads to the stairs.
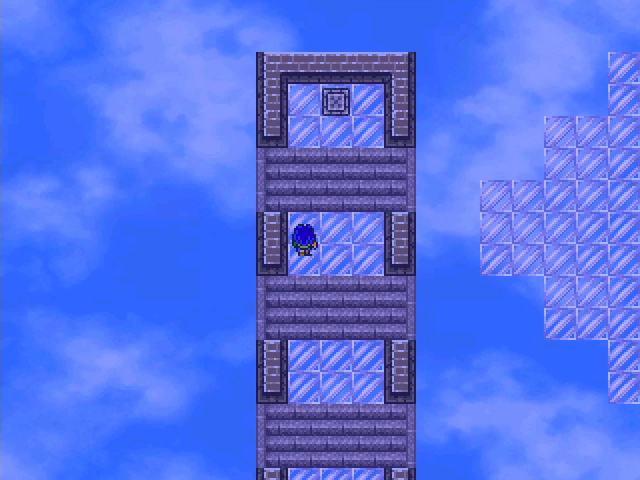
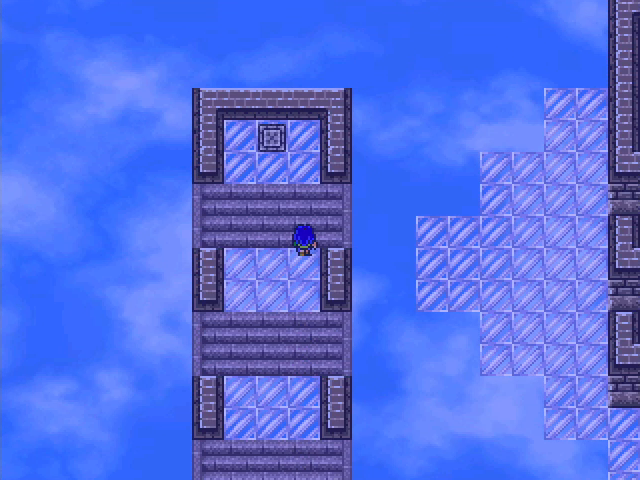
Floor 3 is a straight hallway leading to more stairs and a save point (barely visible against the south wall).
Floor 4 gives us a choice of two directions, but it's not much of a choice.
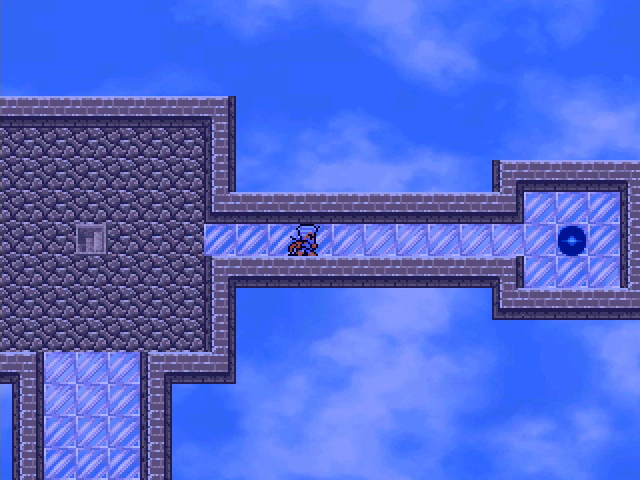
To the east is an MP-restoring blue blob. A nice find, but not really what we need.
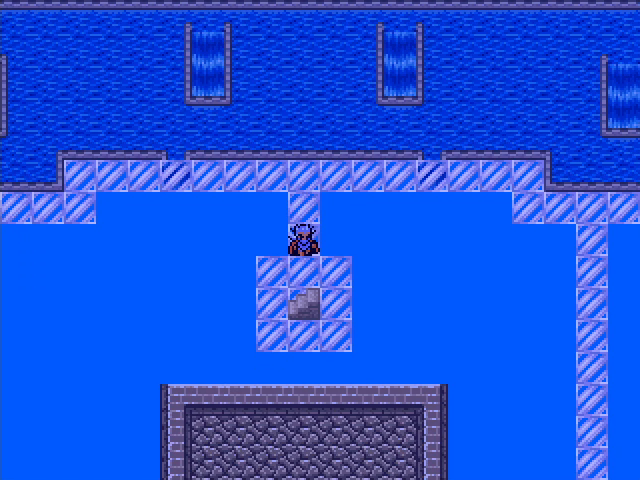
To the south is an intersection, and further south of that is a floor switch.
Stepping on the switch retracts the large spikes to the south, but only as long as someone stands on the switch.
West of the intersection is a lever that has no apparent effect.
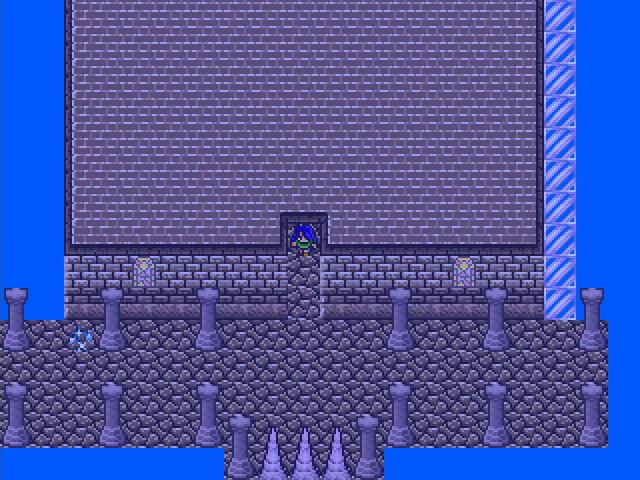
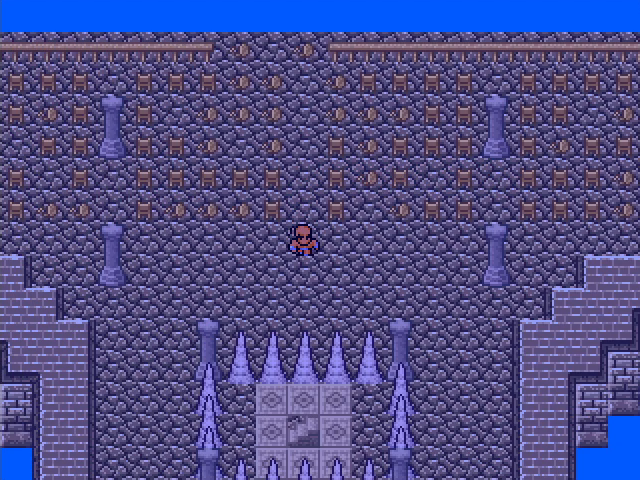
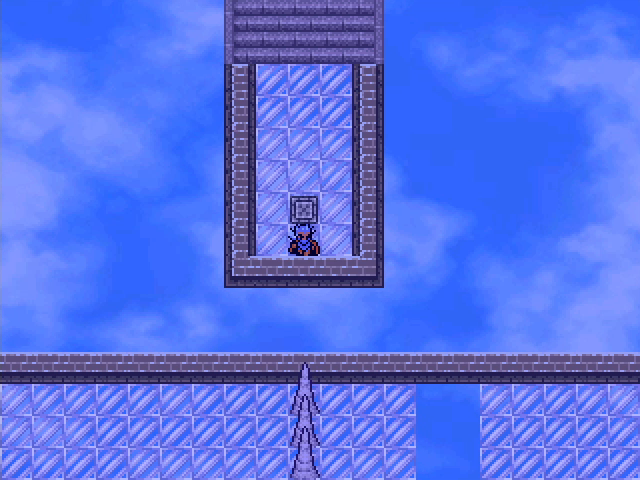
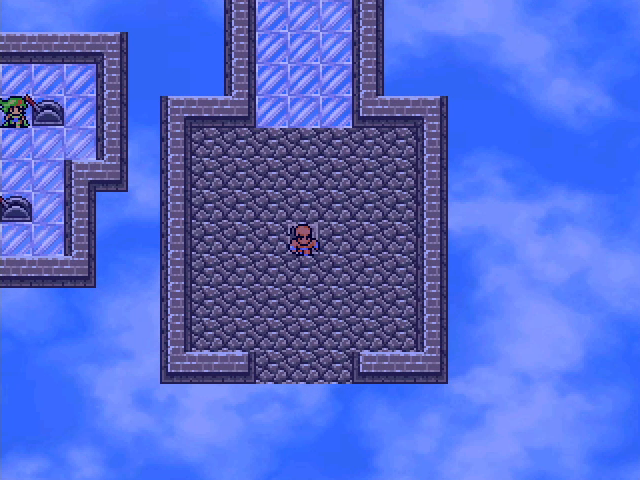
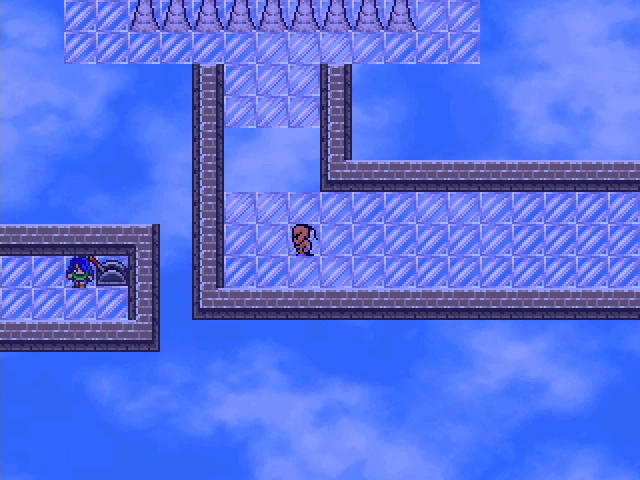
With Akira stymied, we switch back to Holdana and take a leap of faith.
And our faith is rewarded as we land behind these large spikes on the ground floor.
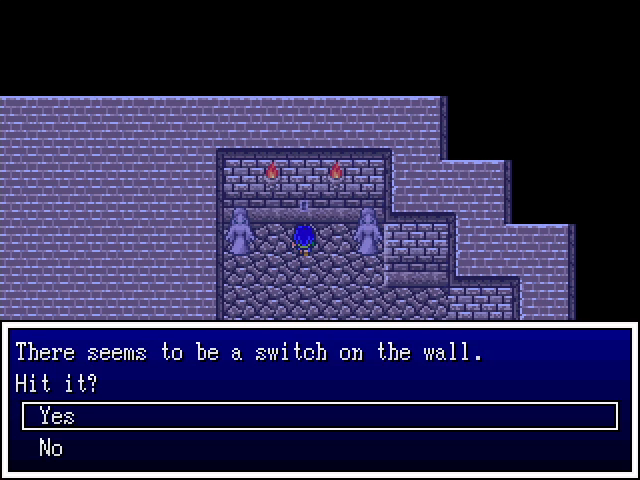
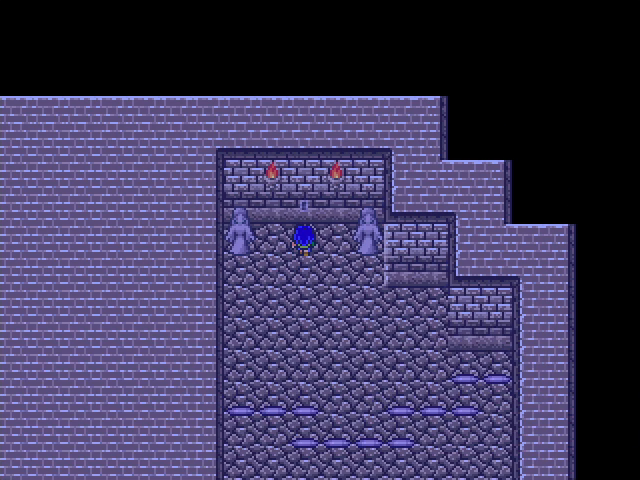
As you'd expect, the wall switch causes them to retract. Like the small spike button Akira pressed, this affects all four towers, though not all the spikes. The ones controlled by the other button Akira found are exempted.
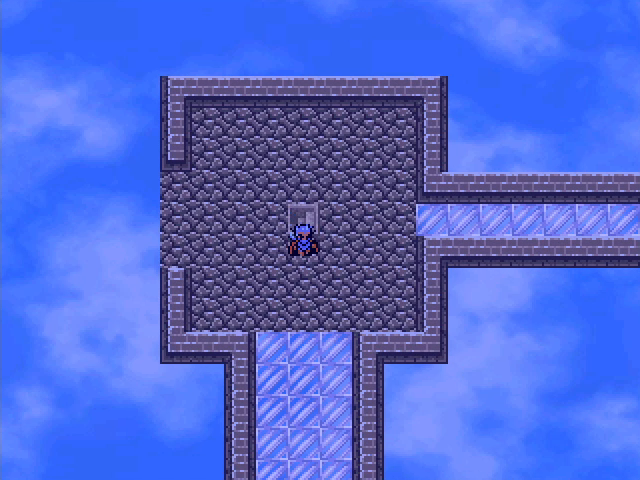
With the spikes retracted, Holdana can head up to floor 4, which gives us only one way to go.
It leads to an intersection. To the north is another button that only stays down when stood on, but it has no clear effect.

To the east is a level that changes the floor in a nearby hallway. You can probably see where this is going.
Holdana has nothing more to do for now, so we switch to Zefiryn, who can move on thanks to Holdana lowering the large spikes.

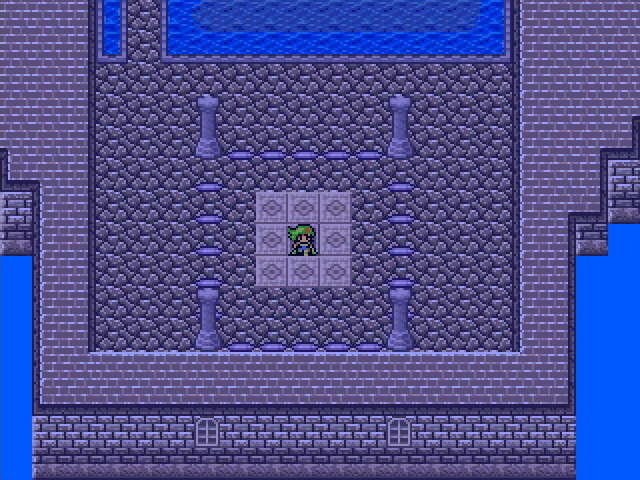
Her third floor has a big pool of water in front of a throne, with a convenient save point nearby.

Her fourth floor is... pretty terrible.
There's a red blob here, but it's not really worth the time.
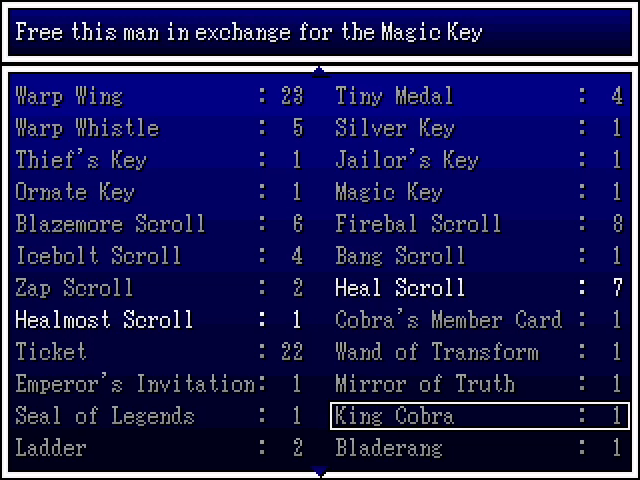
Side note: while checking on my ladder situation is discovered that I still have King Cobra in my inventory. This raises several uncomfortable questions.

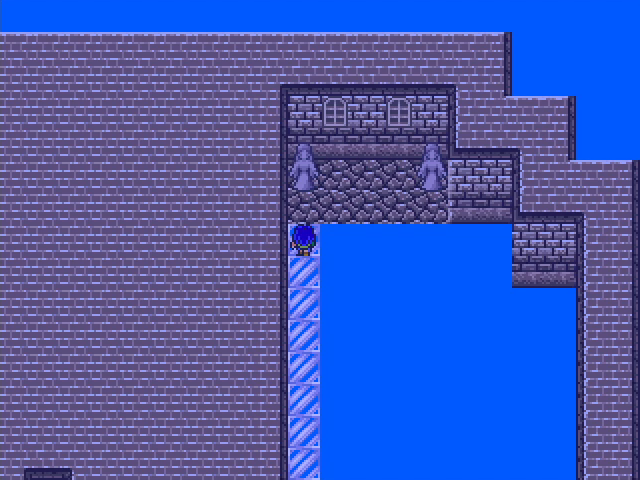
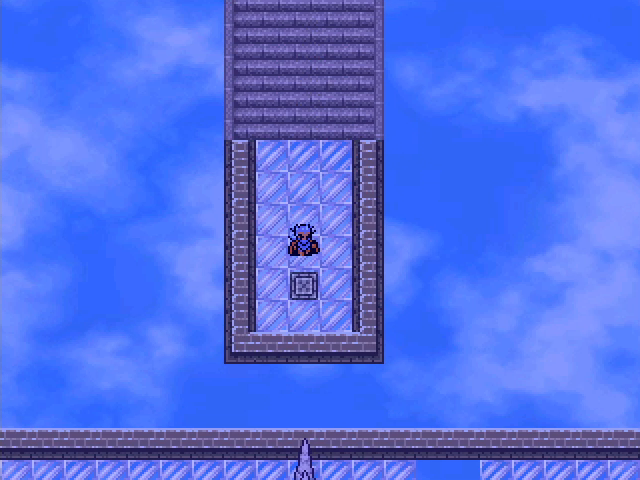
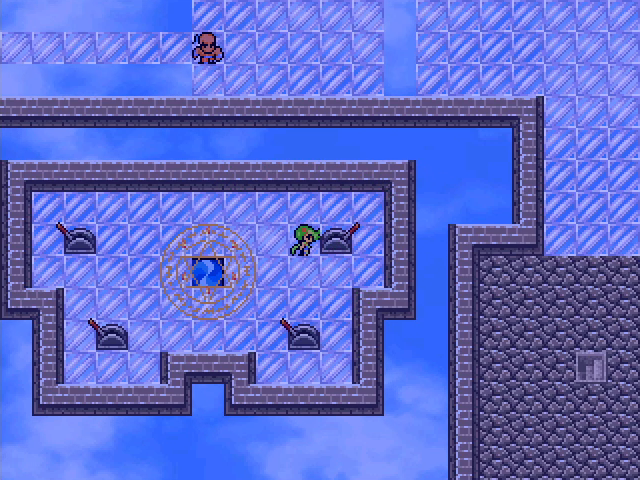
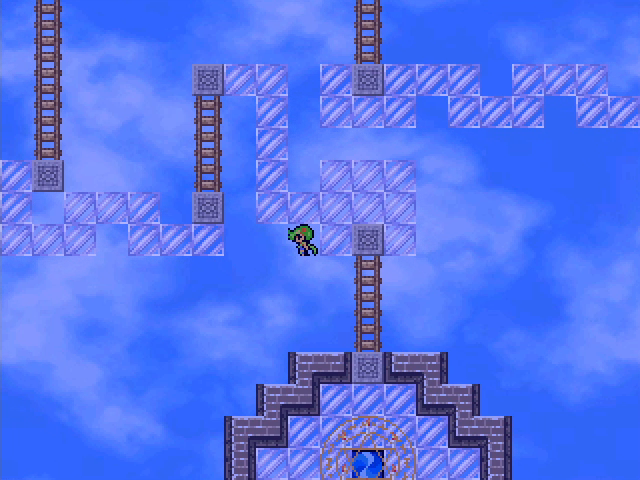
Finally, we reach the end of this mess, and find a teleportal.
it takes us to a small platform containing four levers.
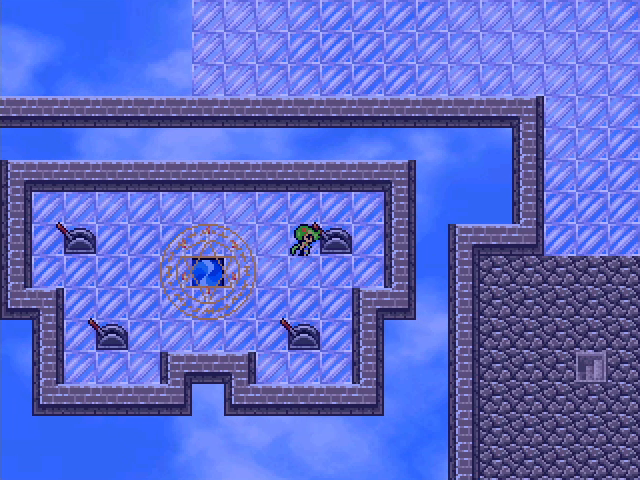
The northeast lever changes the floor, similar to the one Holdana found, but the others don't do anything obvious.

Finally, Raj Ahtan heads up to his third floor.
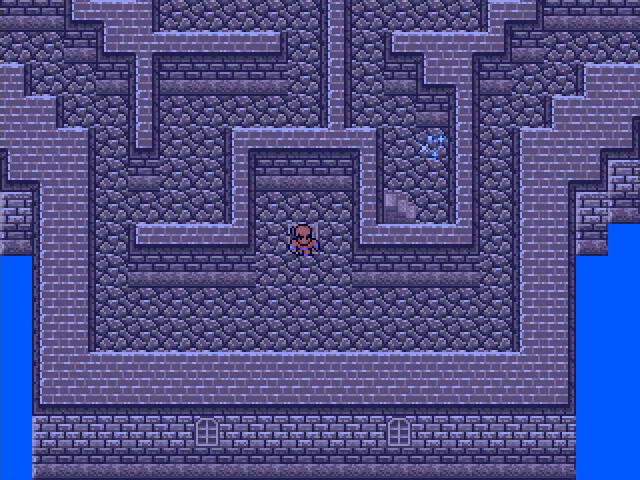
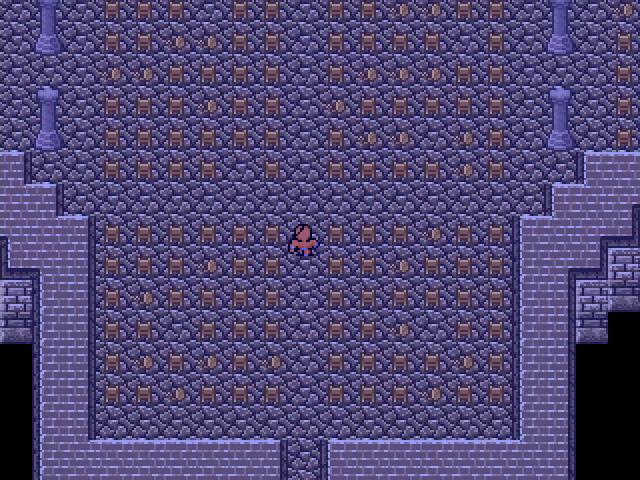
It's a bog-standard maze.
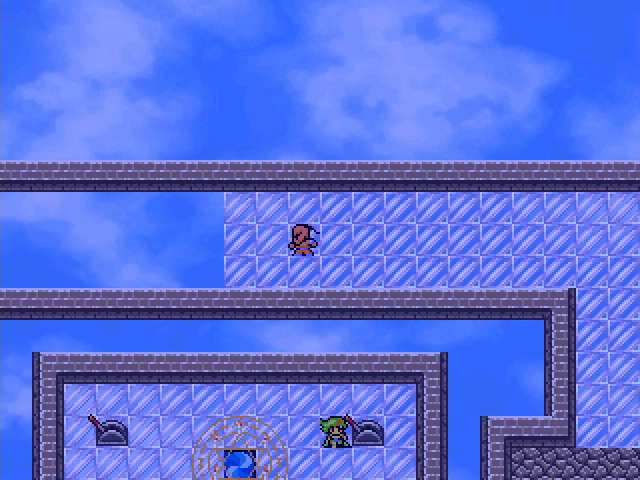
Finally, our monk and his allies ascend to floor 4. We've finally found that mystery hallway, as evidenced by the appearance of Zefiryn to the left.
She uses the levers to provide Raj Ahtan with a path.
Akira steps on the button to let him past the spikes.
Zefiryn uses another lever to allow him to continue.

Holdana uses her lever to let him get to a blocked-off stairway.
She then moves to her button and uses it to retract the spikes.
And finally, Akira uses his lever to allow Raj Ahtan to climb the stairs. Phew!
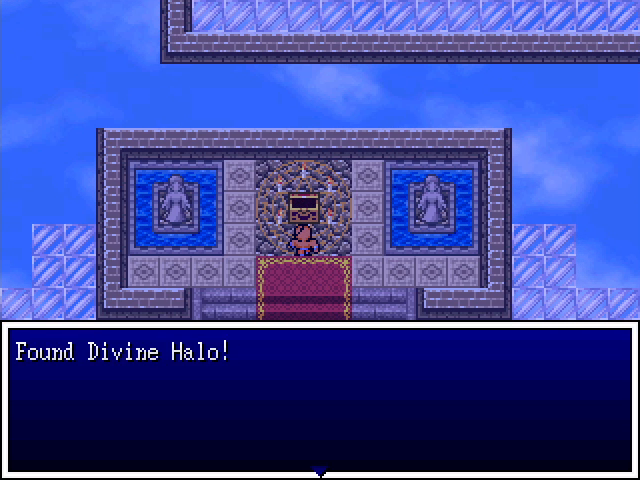
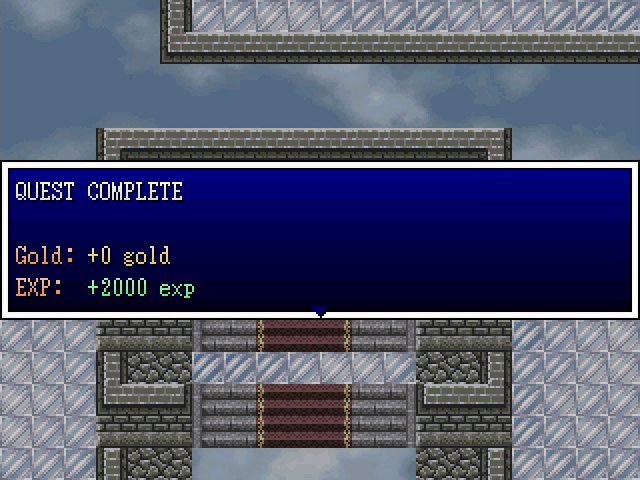
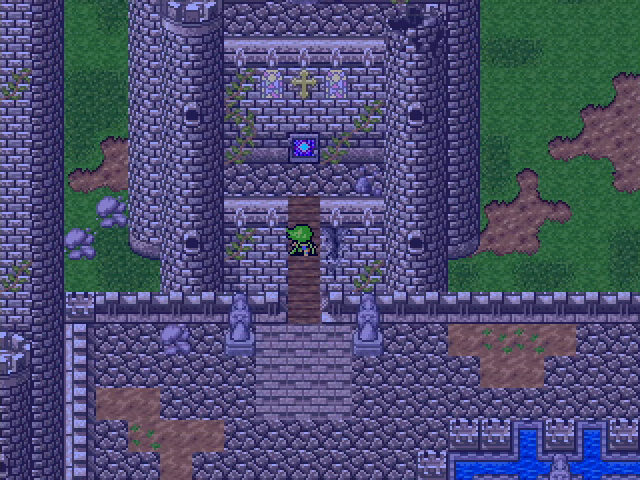
Our reward is the Divine Halo, along with a nice chunk of EXP. Which makes this a convenient time to share all the levels we gained while navigating this place.
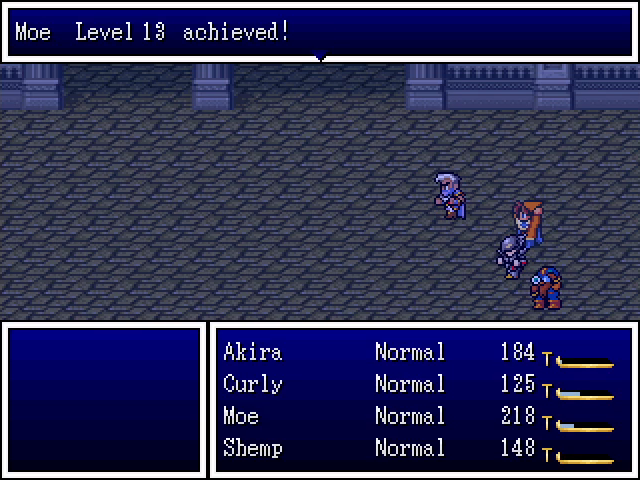

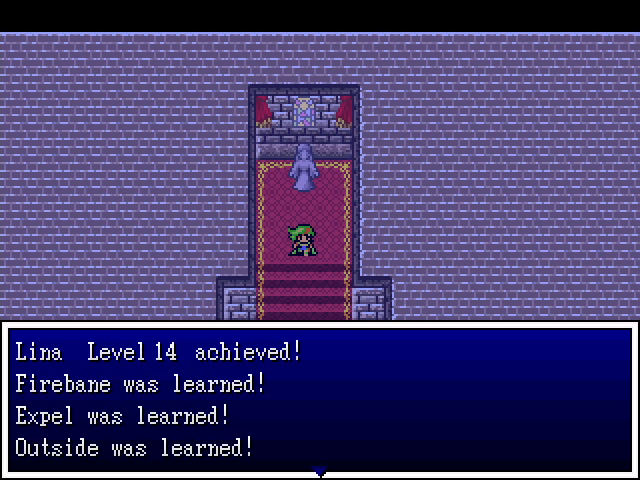
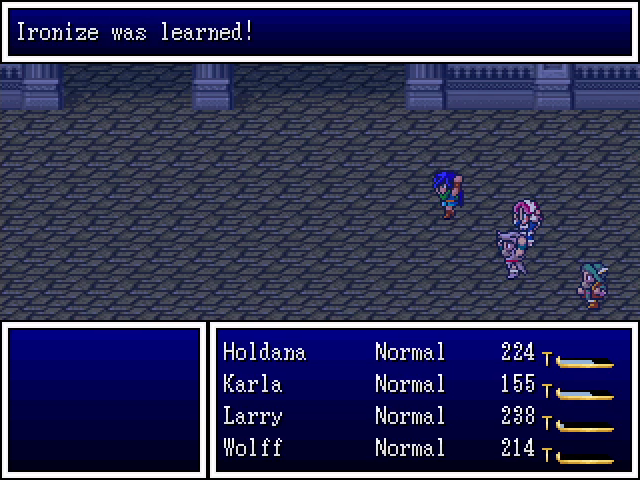
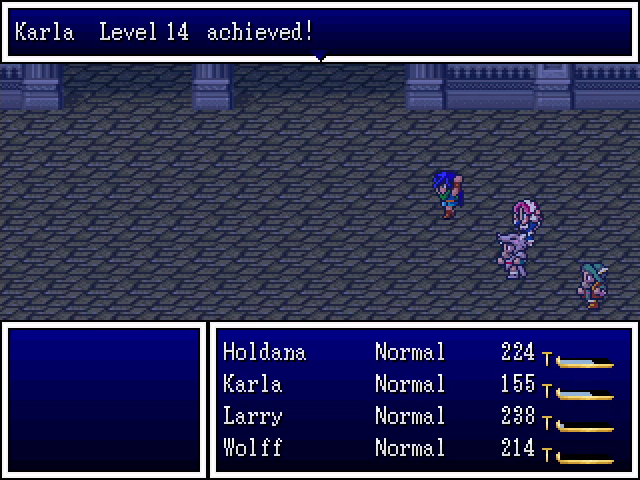

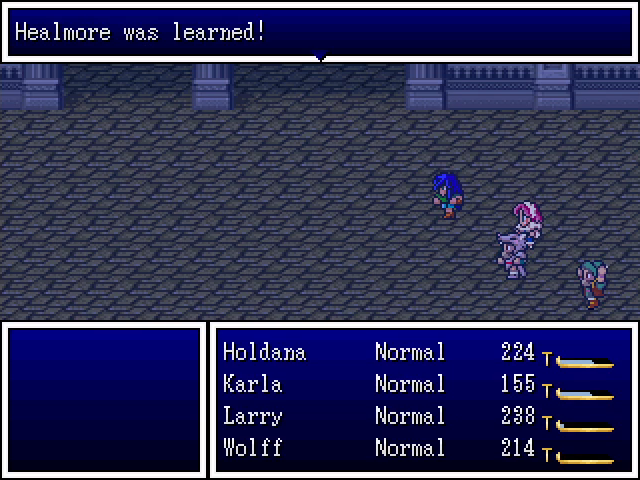
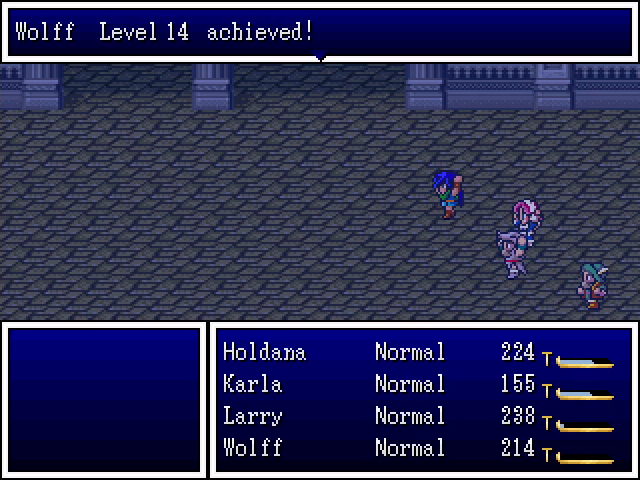
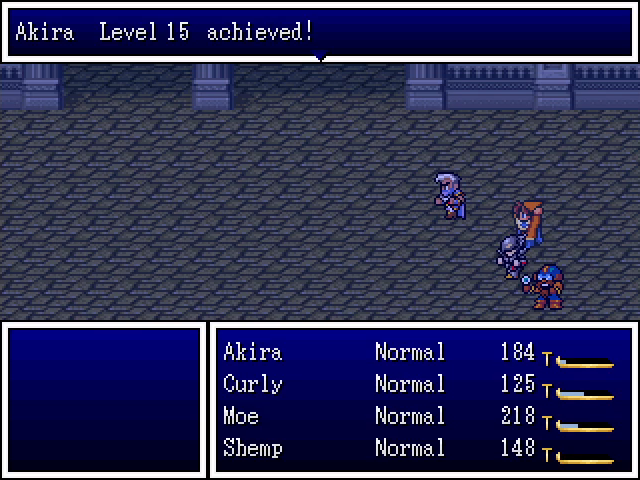
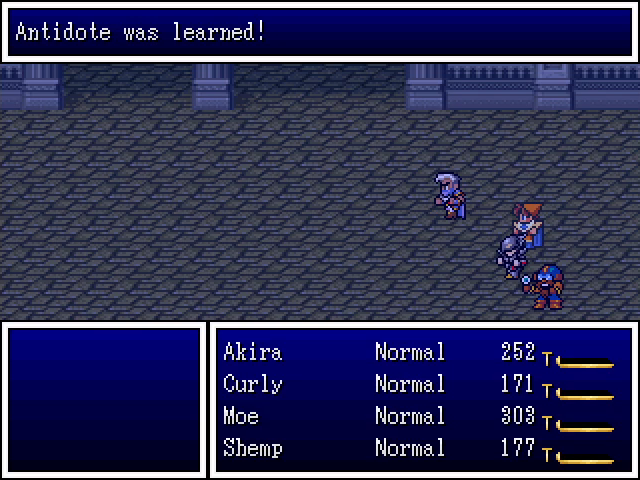


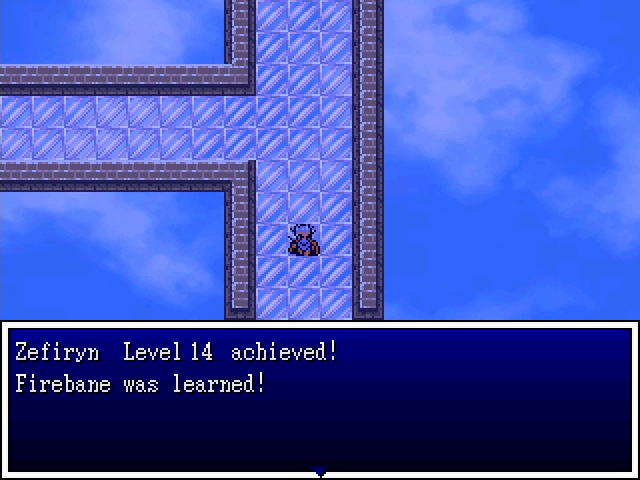

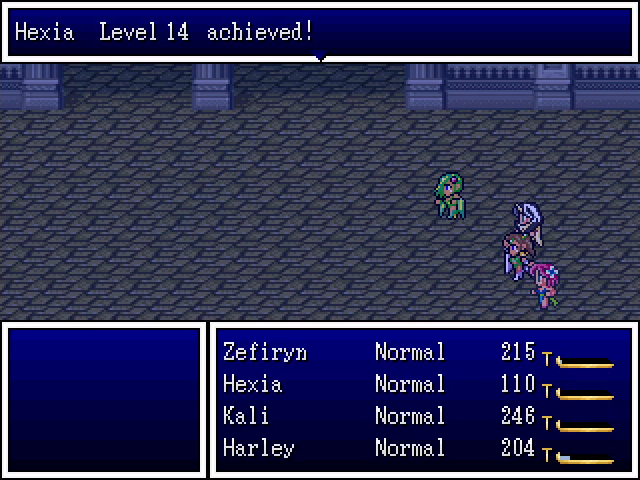

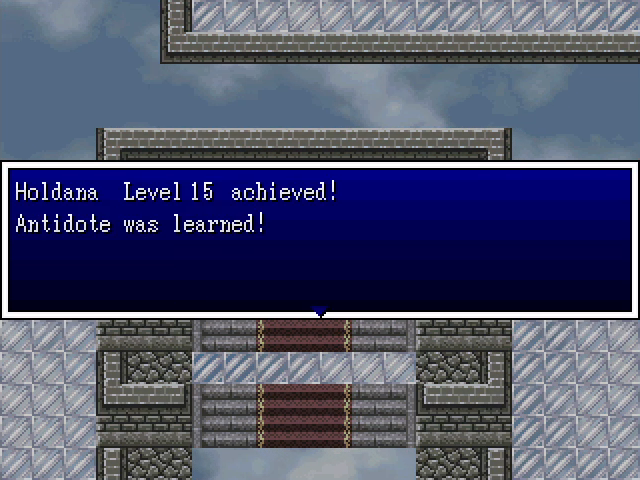
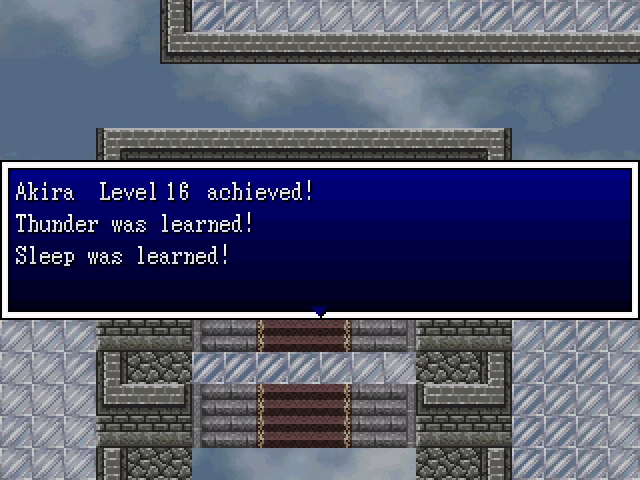
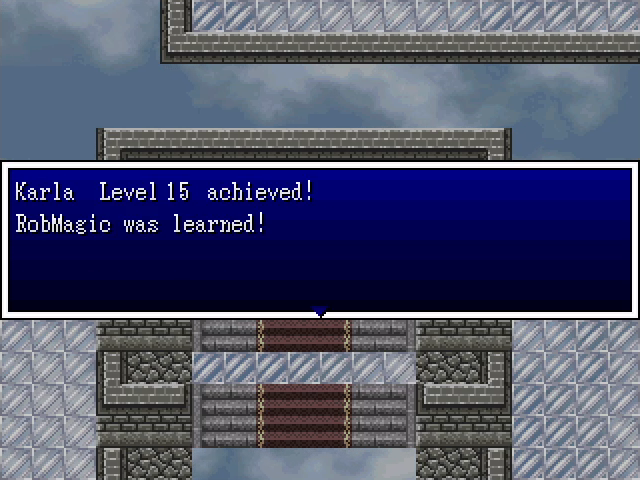
Yeah, we got a lot of stuff here! Notably, the heroes learn Ironize, and a few of the casters learn Firebane, a more powerful version of Firebal. Probably the most significant, though, is Lina and Hexia's RobMagic spell, which steal enemy MP. I had originally attributed this effect to Expel, but this tells me I may be mistaken - I'll have to do some experimenting with them.
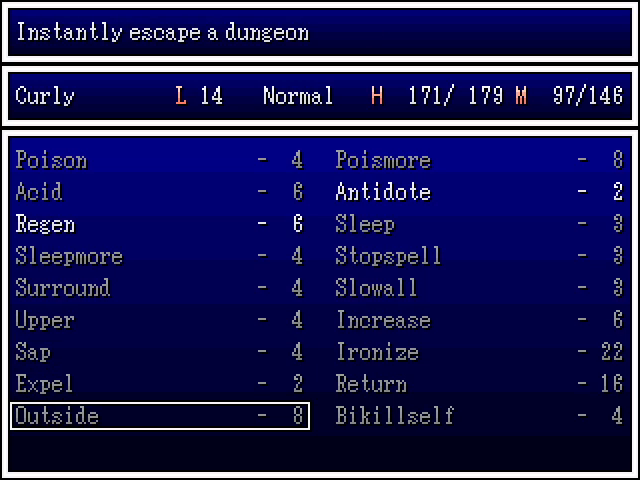
One last hitch: the Outside spell doesn't work in this dungeon. We'll have to walk out.
At least it's quick.

The Divine Halo is, technically, a piece of armor. And, like other armor, it has its defense listed at the end of its description. Yes, it has over 12,000 defense. Unfortunately, even our heroes aren't worthy of it - none of them can actually equip it. It is, after all, meant for the Child of Light.

And with that we've finished a third of our goals on the mainland!