Part 29: The Colossus and the Inverted Tower
Welcome back, everyone. Sorry again for the long wait on this update - the season has not been kind to me, and the update itself took a long time to actually record.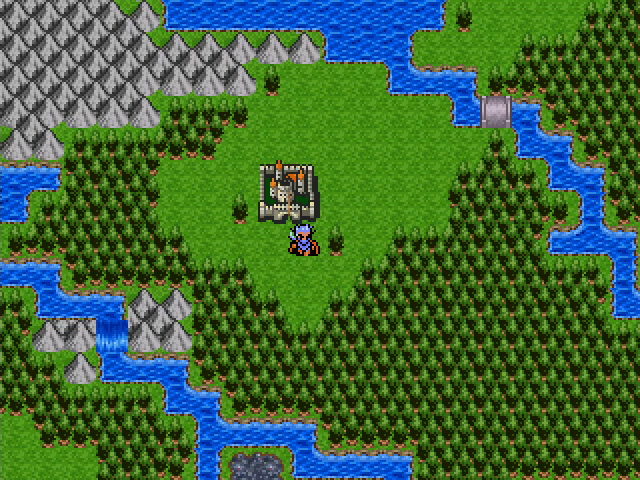
Last time, we restored the lost city of Paranor and retrieved the Divine Scales. There's only one artifact left on the continent, located near the city of Jardin.
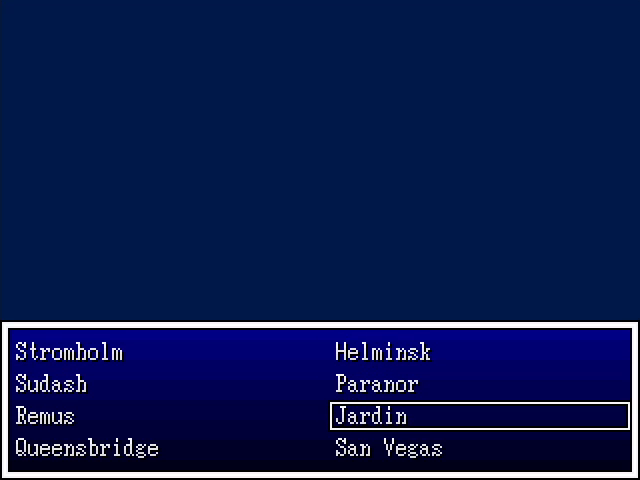
Happily, we found Jardin earlier, so we can simply Return there.
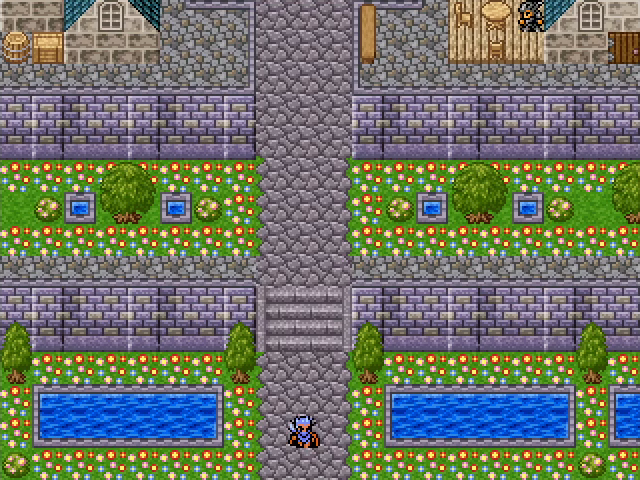
Jardin's shops don't have anything new to offer us, which isn't too surprising since we could have come here any time after the Trial of Heroes.
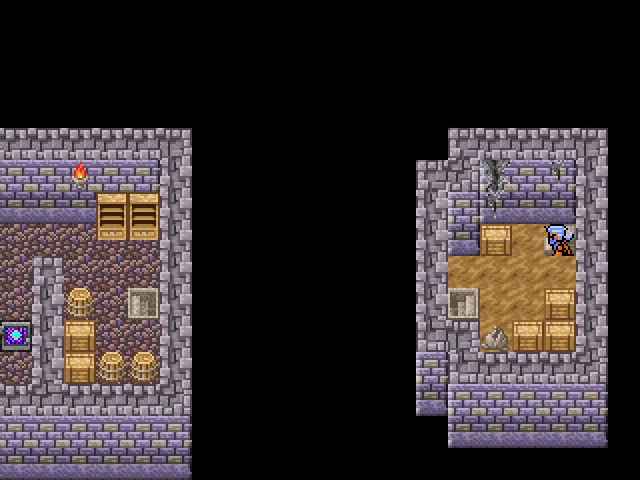
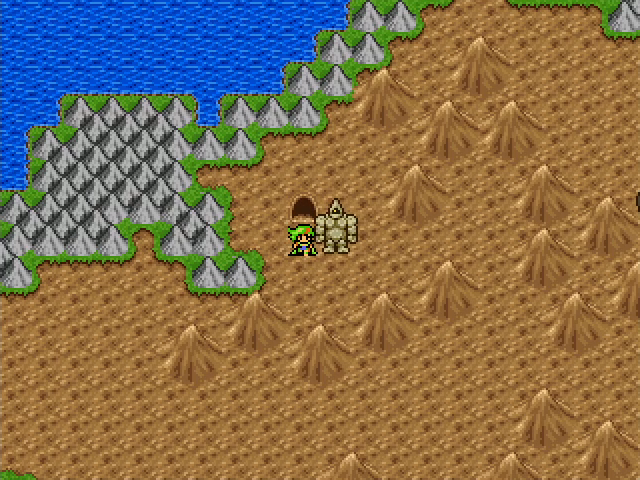
In the basement of one of the city's buildings is a passage leading to a magic door. That's curious.
It's... a bar? Well, we have the Magic Key, so let's check it out.

Oh, that makes sense. King Cobra did mention that his organization had a hideout in Jardin.
Really? We met the guy, and he seemed more taciturn than anything else.
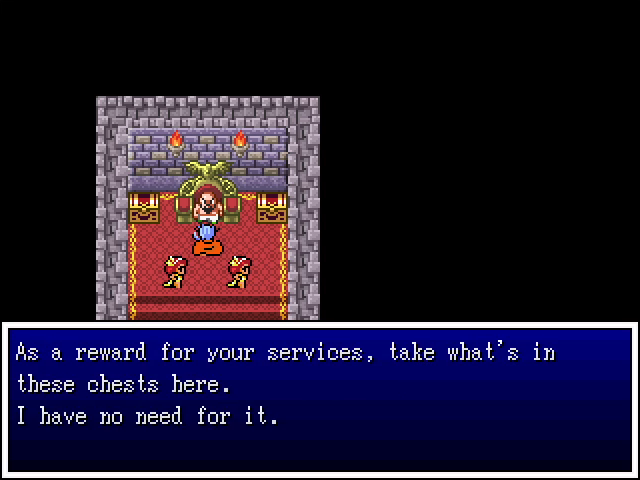
Hell yeah, this is what I like to see. It's always nice when NPCs actually show some real gratitude for helping them.

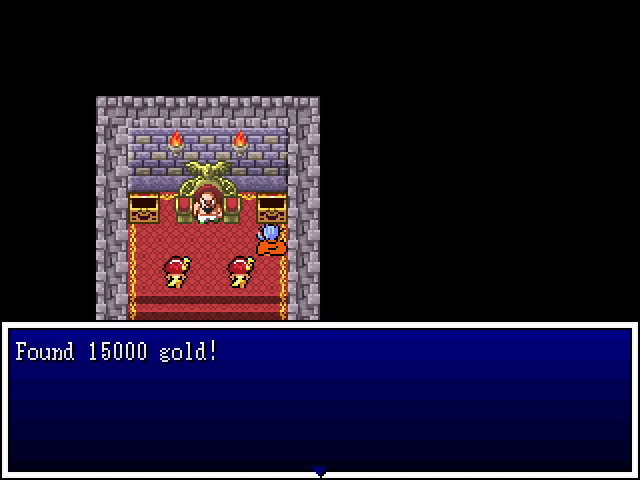
It's good stuff too! Besides a good chunk of cash, we also get a unique weapon.
The thief blade is a surprisingly strong weapon that also gives its wielder a decent agility boost.
Well, isn't that convenient!
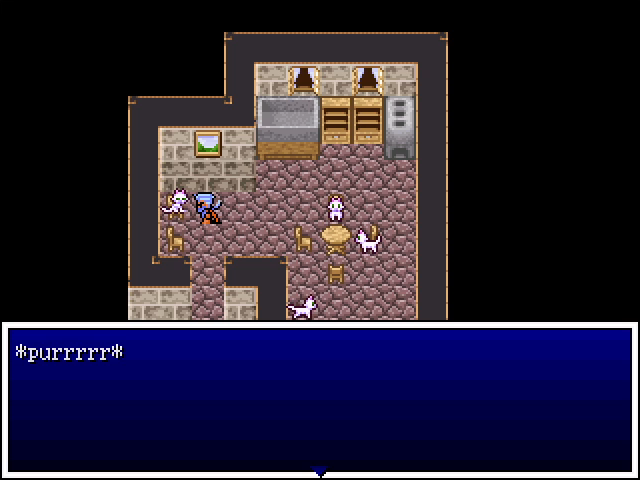
One of the houses in the city just contains a bunch of cats. If there's anything significant about this building I haven't found it, but it is amusing.
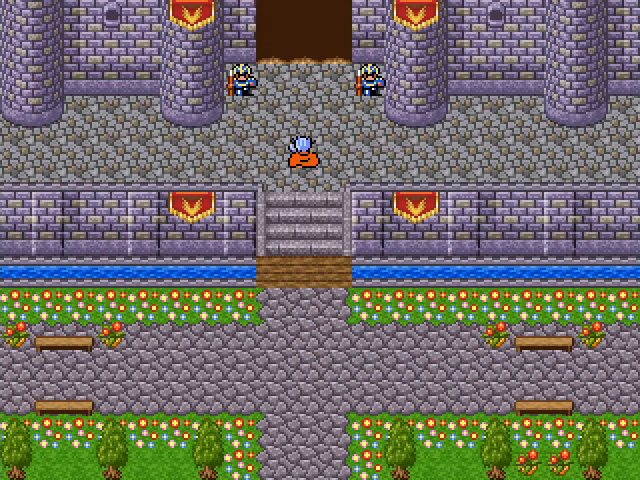
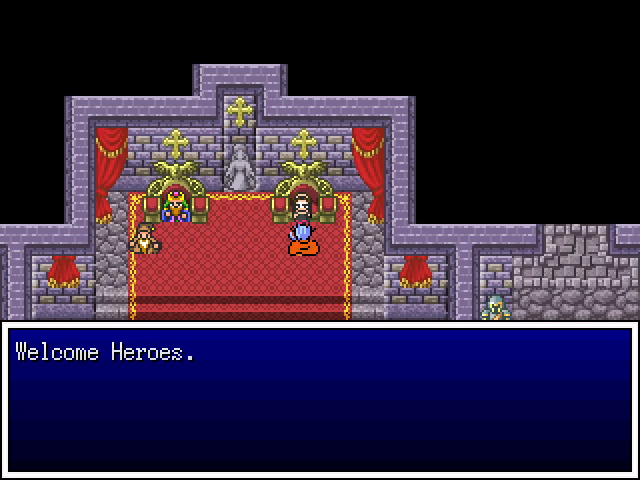
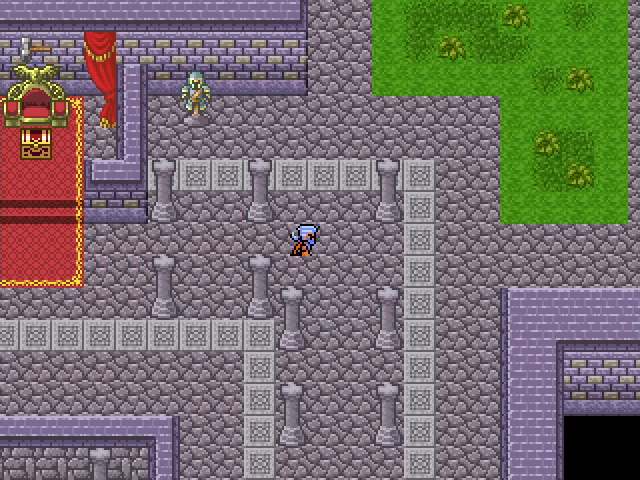
That's really all there is to see in the city. Let's check the castle.
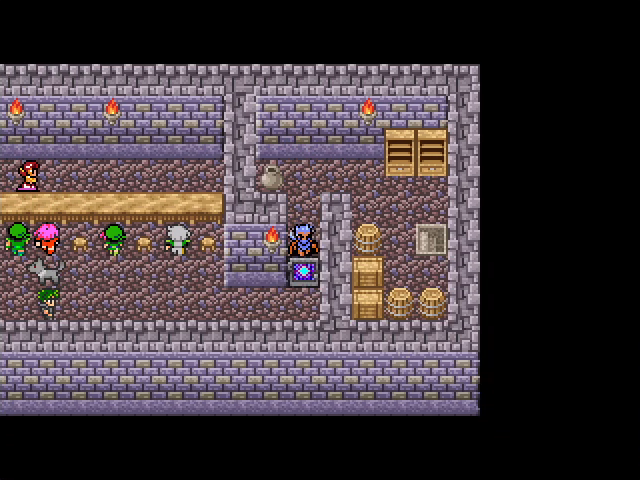
There's a treasury near the entrance, which is always enticing.
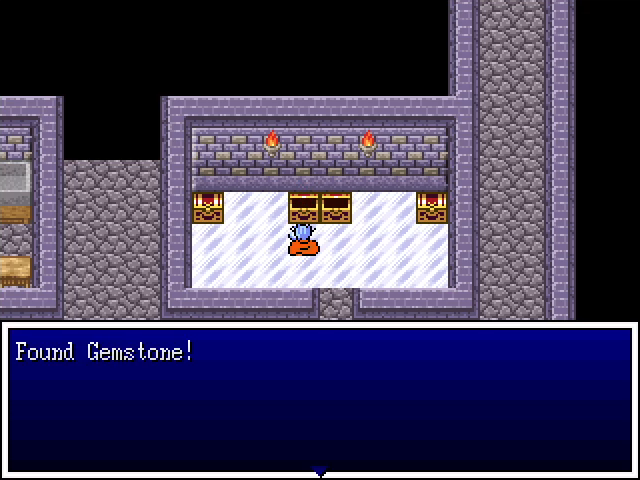
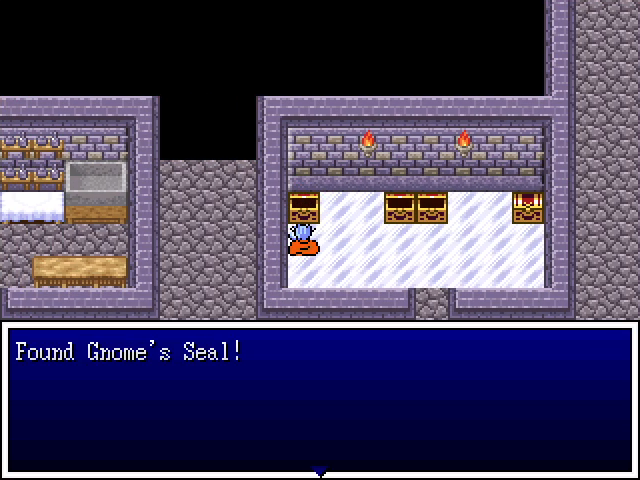
Besides a life herb and some gold, the treasury also contains a gemstone we can sell for a ton of cash, as well as another seal accessory.

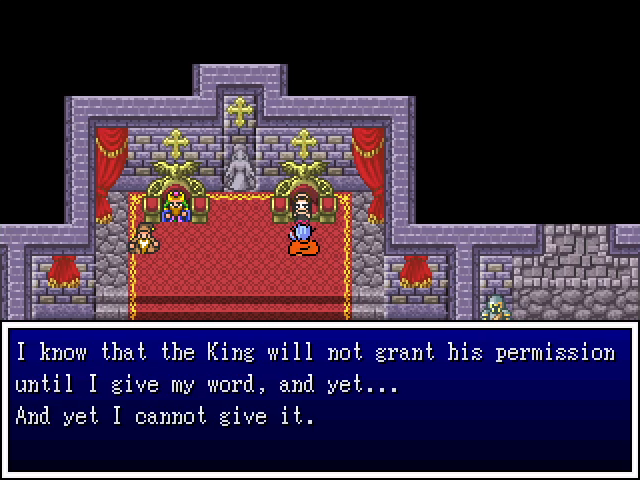
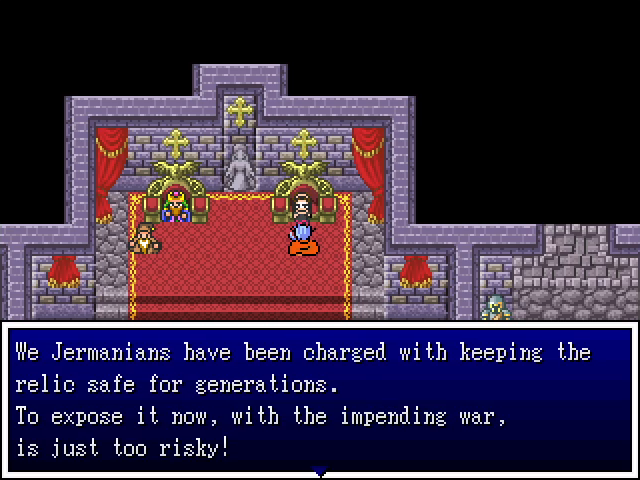
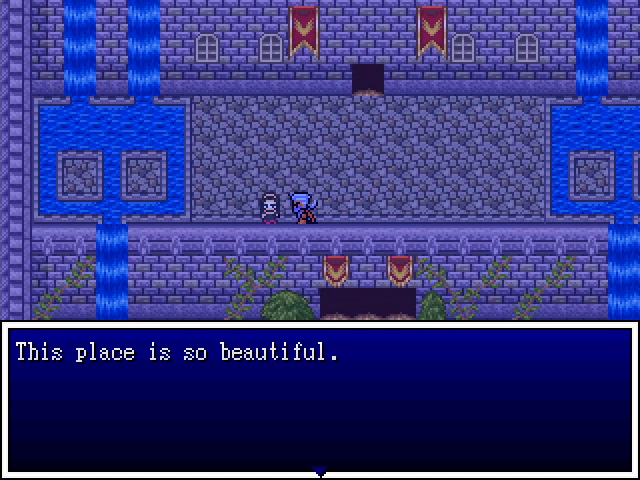
This isn't promising, but let's see what we can do.

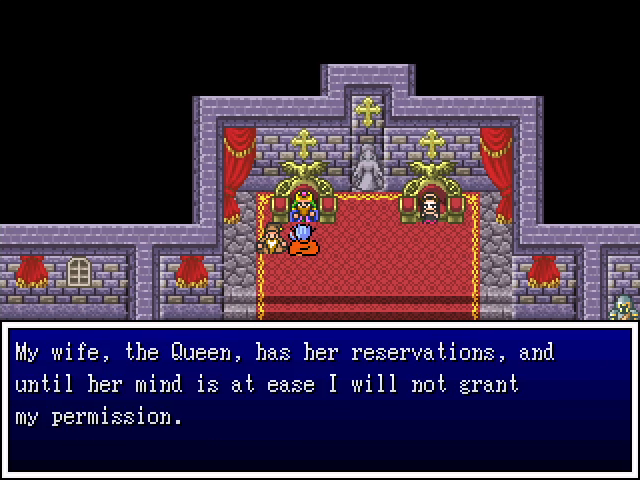
This seems like a surprisingly healthy and reciprocal relationship, though it's a bit of a problem for us.
The queen, at least, seems to be wavering. We'll have to pick up on this very obvious clue and come back at night.
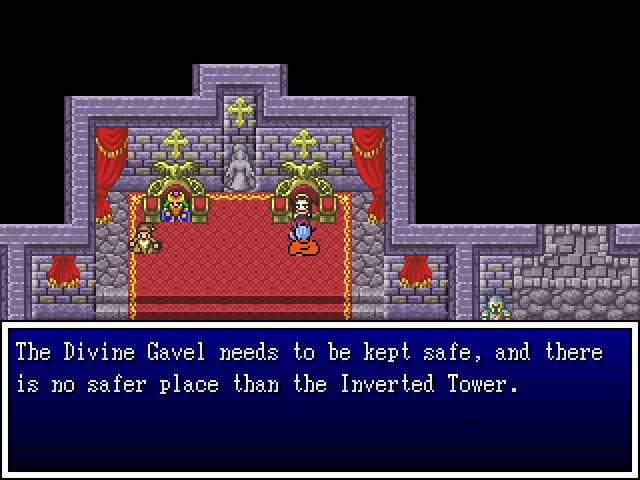
Upstairs, a group of Gurus offer a few scattered pieces of advice, most notably the location of the Inverted Tower.
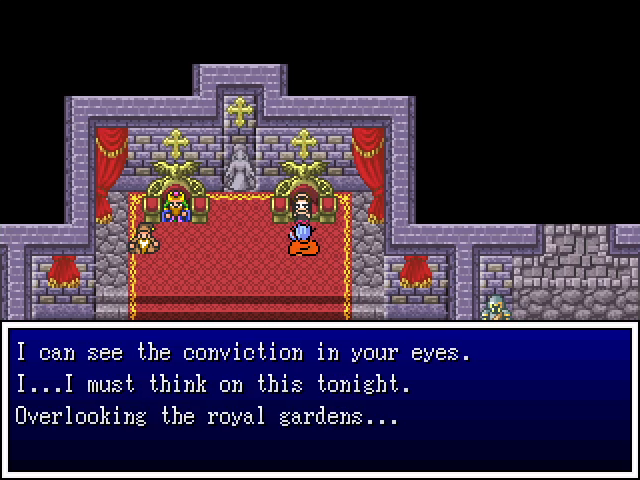
There's not much more to do here, so we leave the city, wait for nightfall, and return to see the queen. She is, as promised, on the balcony overlooking the garden that dominates the center of the palace.
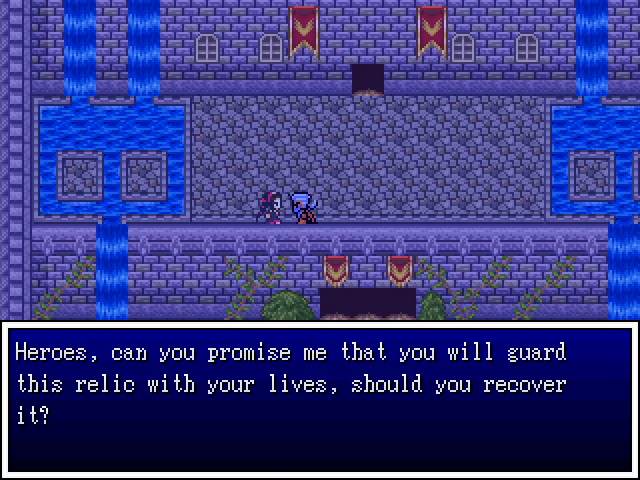
I mean... there's not really much to think about here. It's pretty much the entire reason we're here.
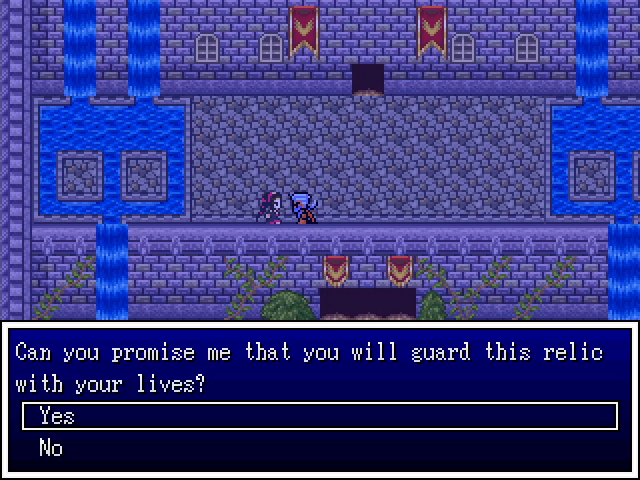
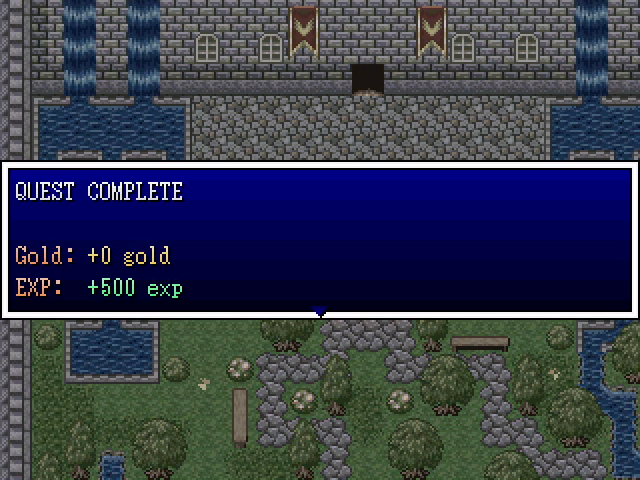
At least we get something for having to go through this rigamarole.
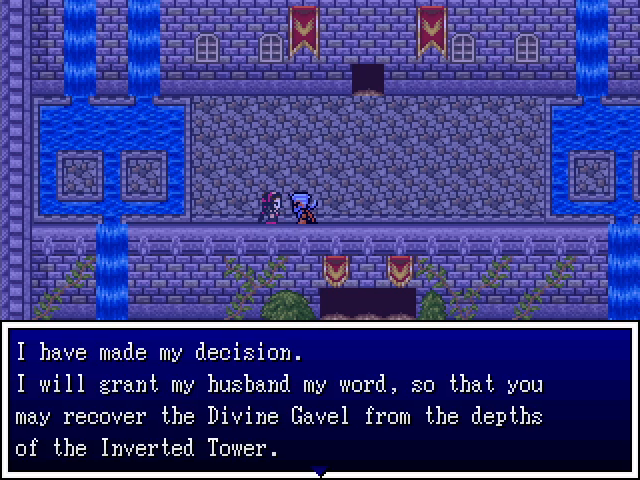
And with that, the queen heads back inside. We changed her mind with a single word.
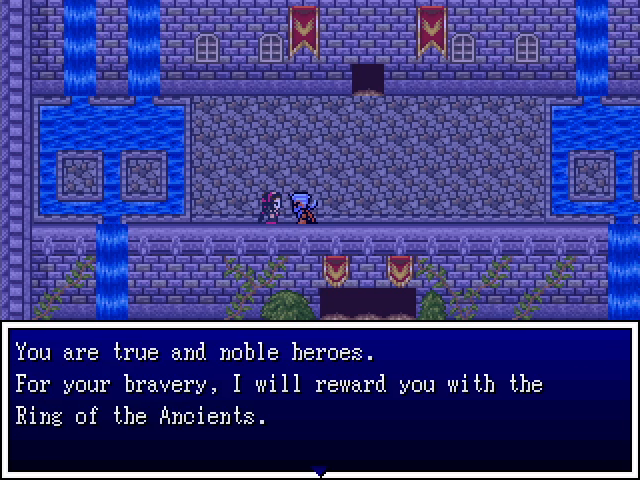
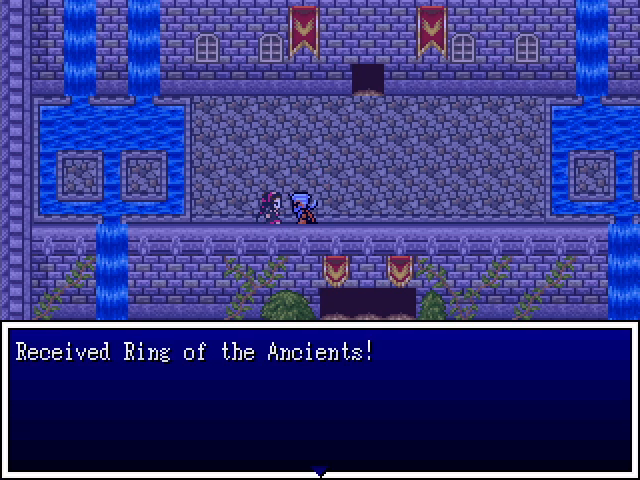
Anyway, let's see whether this ring she gave us is actually decent.
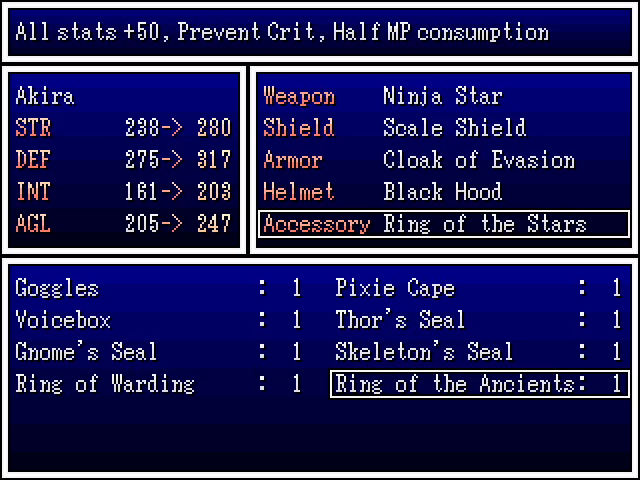
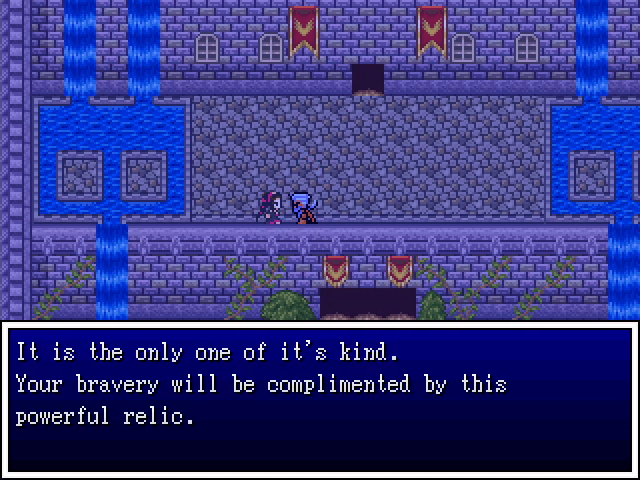
 Yeah, that's pretty good. The Ring of the Ancients is an absolutely stellar accessory and worthwhile for literally anyone. After much deliberation, I give it to Zefiryn, since she's our most well-rounded party member.
There's nothing else to do in the city at night, so we leave, wait again for day to dawn, and go back to see the king.
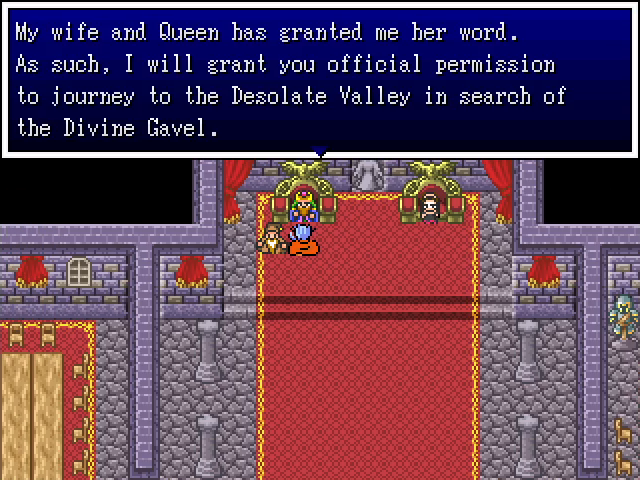
Finally.
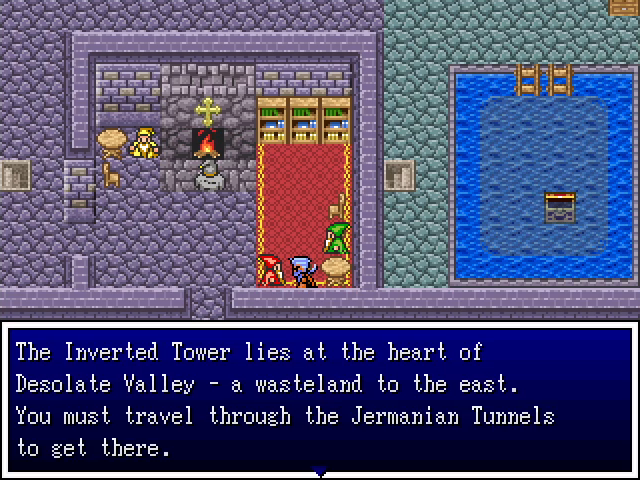
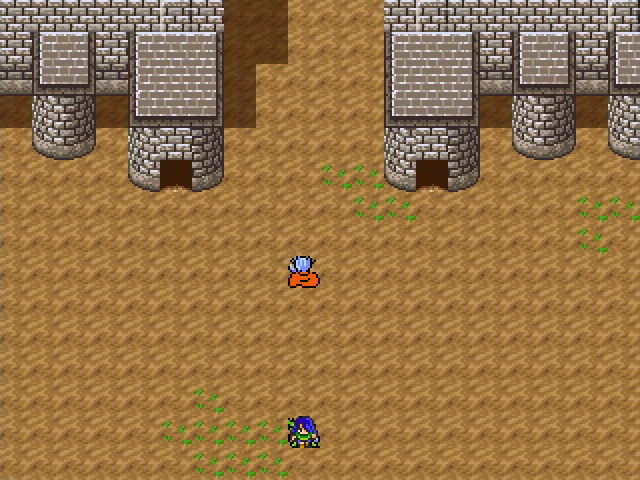
The passage to the Desolate Valley is a short walk to the east.
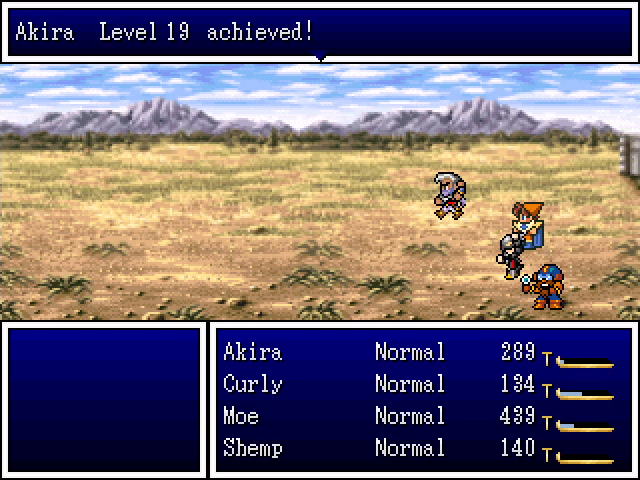
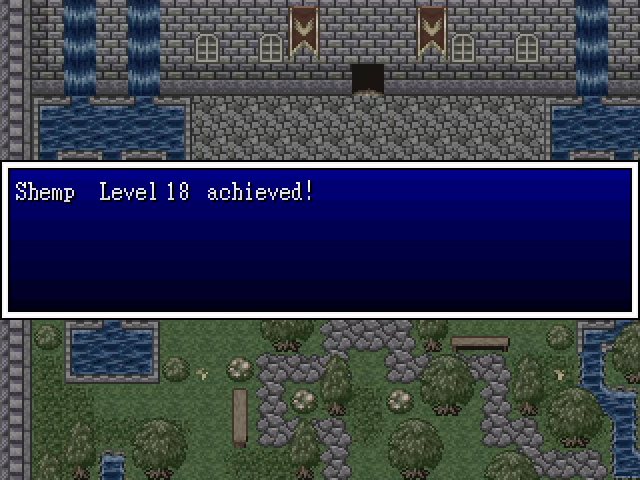
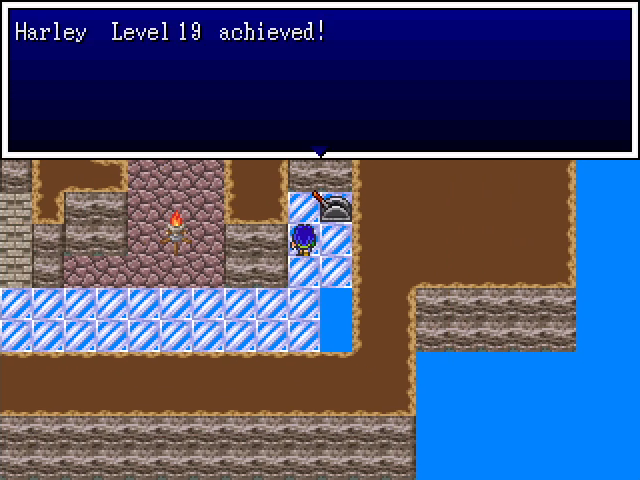
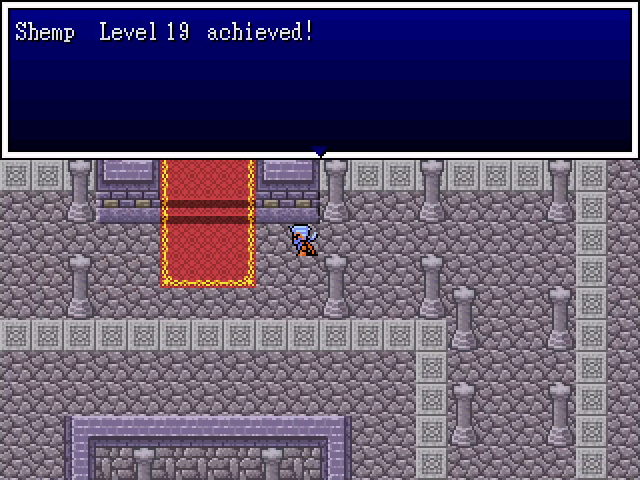
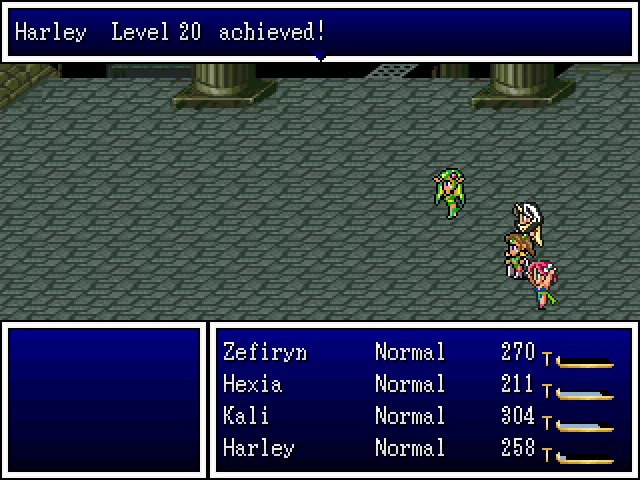
Akira gets a pretty good level-up.

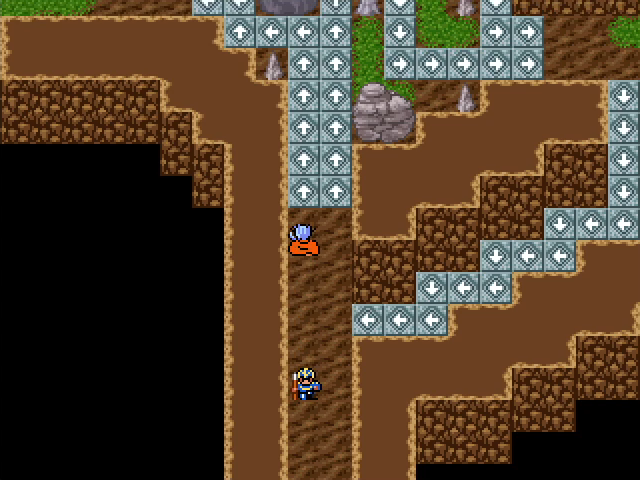
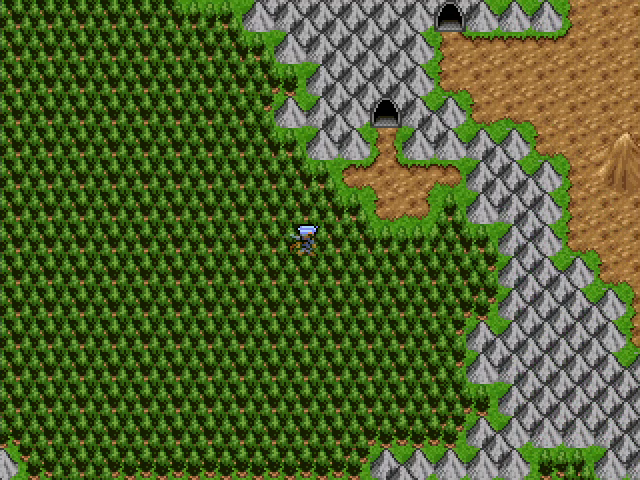
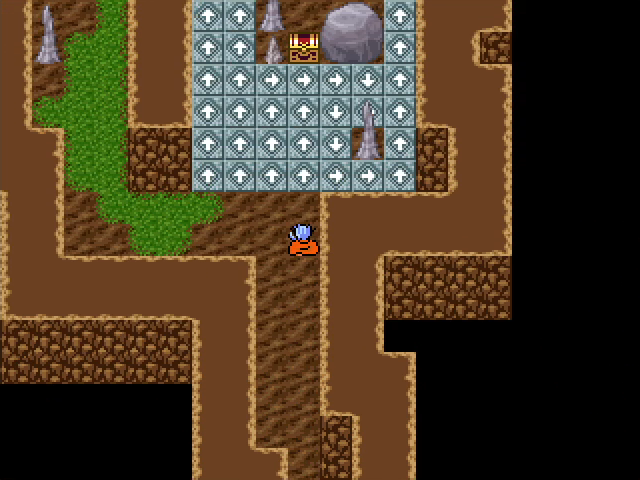
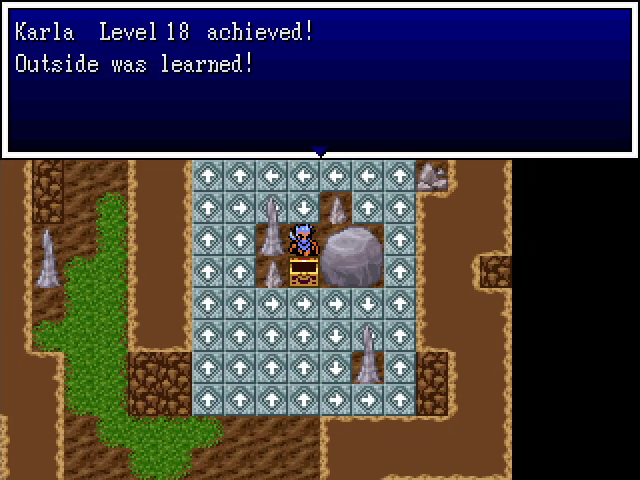
The Jermanian Tunnels are a short dungeon with a few conveyor belt puzzles. Fortunately, there are no random encounters here, so any failures just lead to lost time, not combat.
Like this treasure chest.
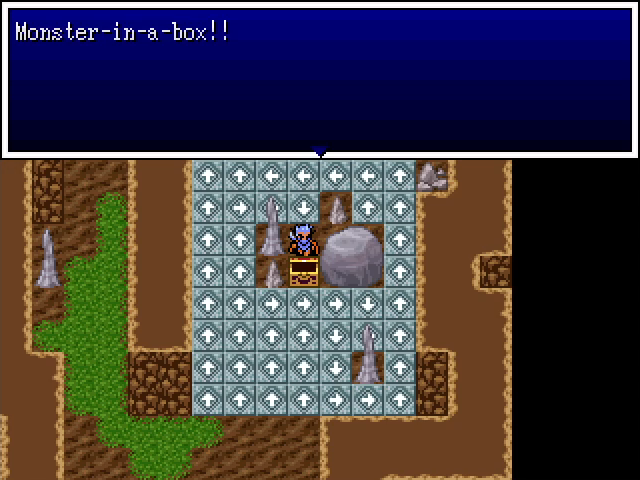
It's true that the Tunnels don't have any random encounters, but they do have this one fixed battle.
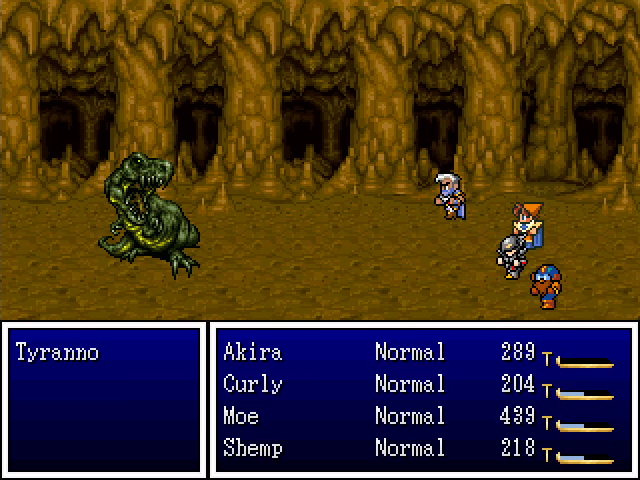
The tyranno hits pretty hard and has a solid chunk of HP, but doesn't do anything interesting.
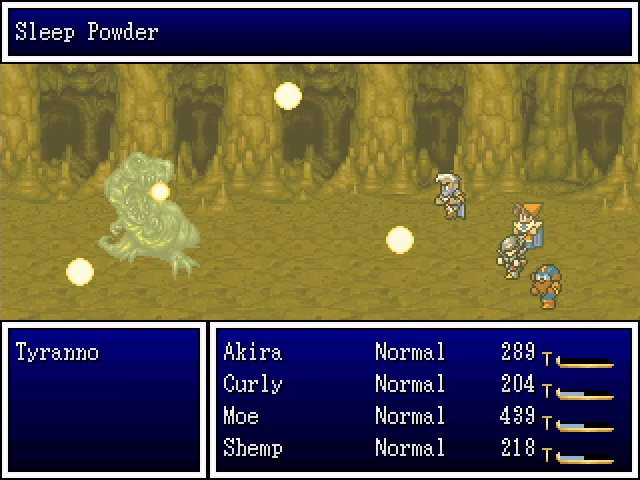
It's immune to Poison and Sap statuses, which make it harder to bring it down, but it's highly susceptible to Sleepmore status, which makes the fight a lot simpler.

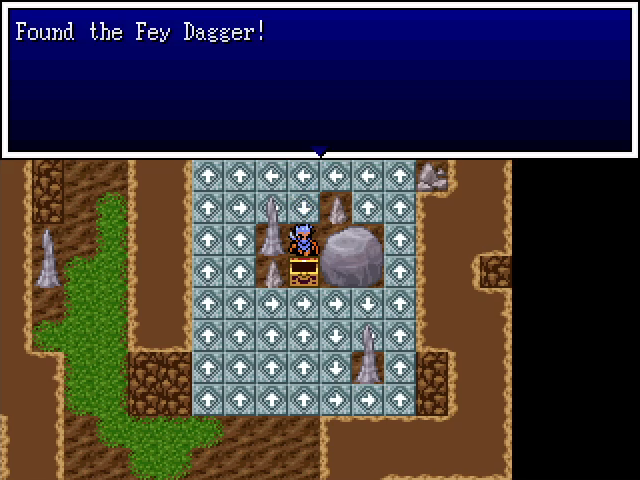
We're rewarded with levels for Karla and Wolff, plus a Fey Dagger, which is pretty underwhelming.
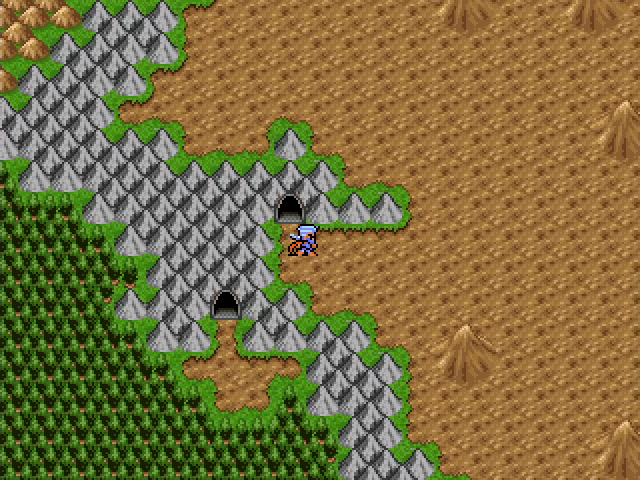
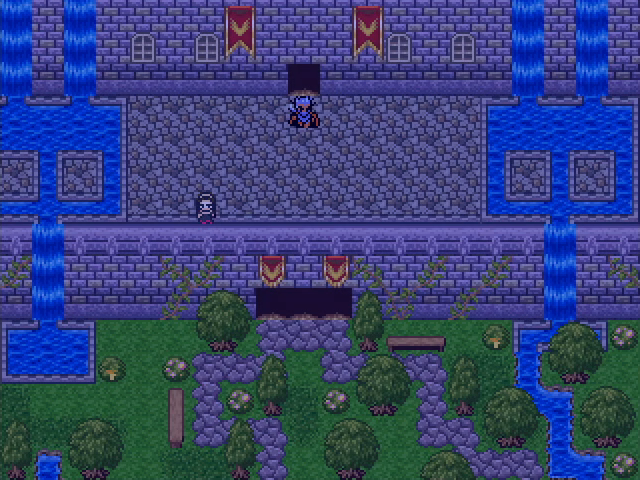
A few more screens, and we're through the Tunnels and into the Desolate Valley.
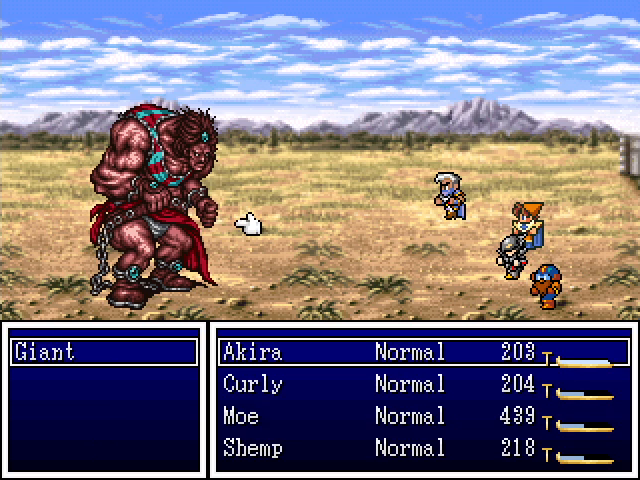
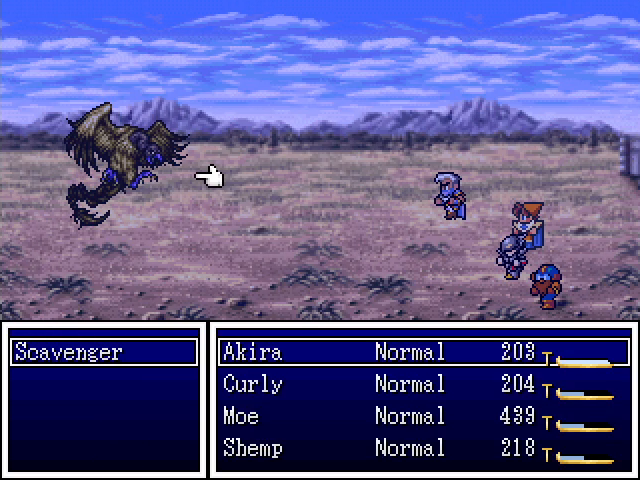
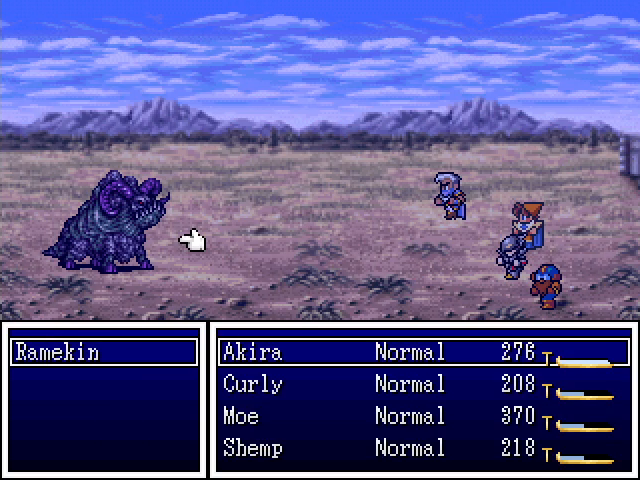
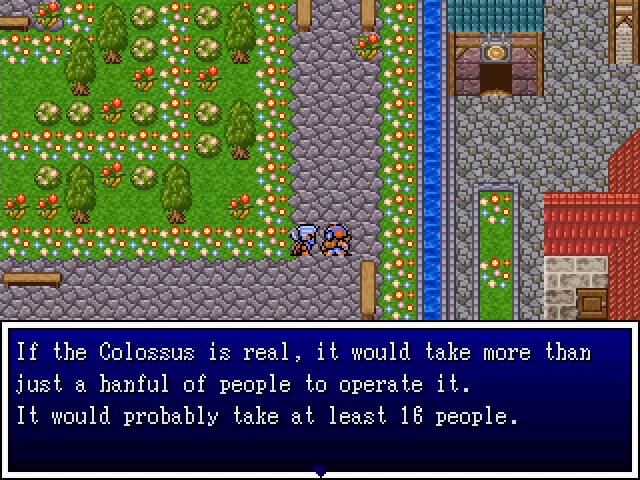
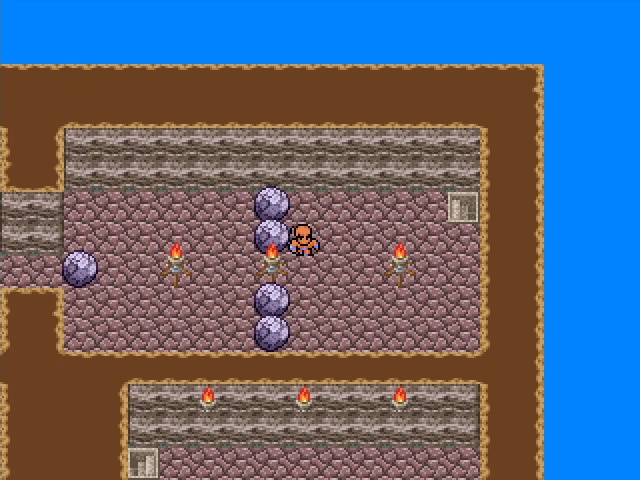
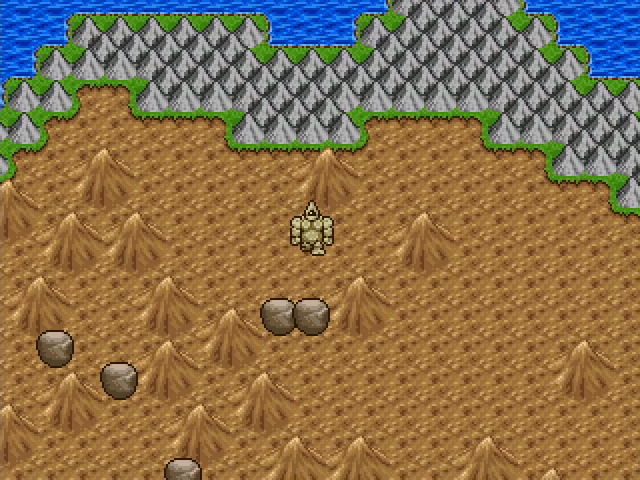
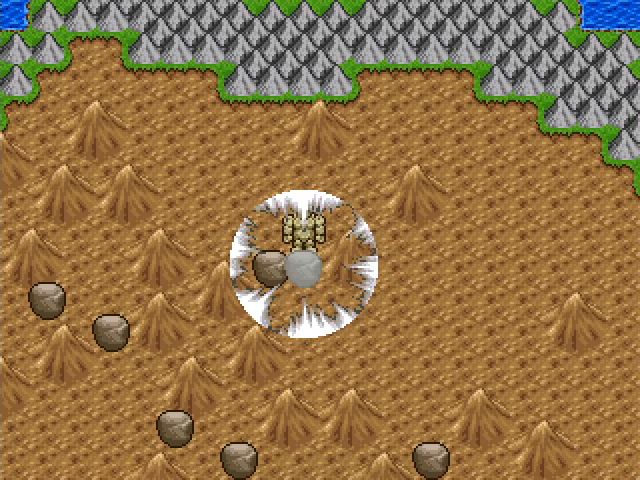
The Desolate Valley is home to more tyrannos, as well as a few new enemy types. Giants and ramekin are just physical attackers, though giants are extremely strong and durable. Scavengers are more frail, but use Windblade to attack the entire party.
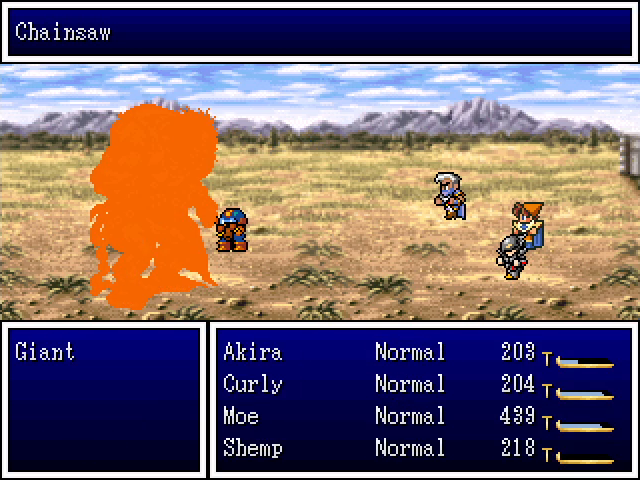
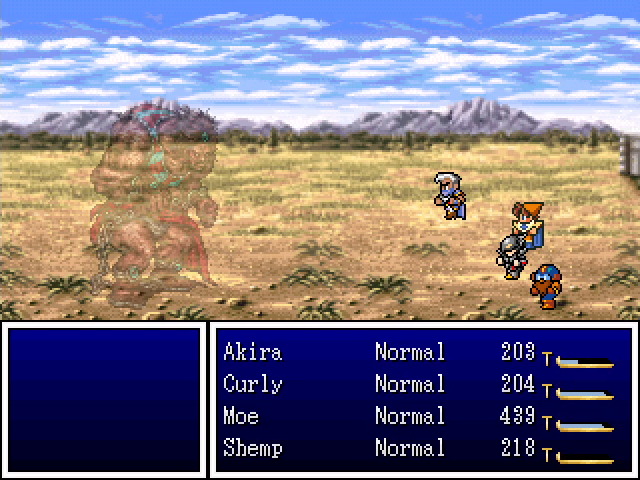
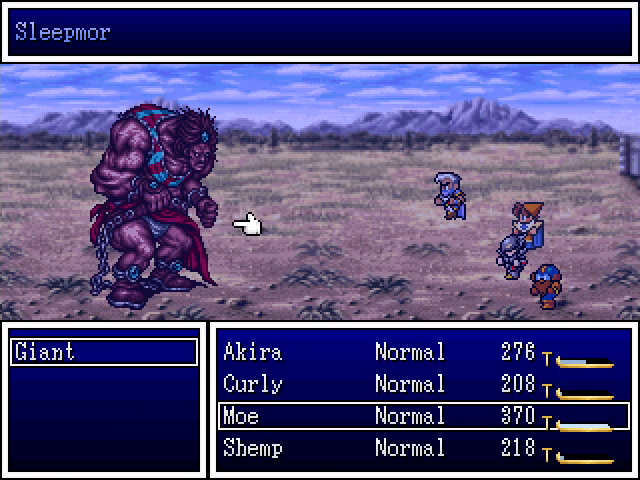
Giants are also fairly susceptible to sleep, and I was even able to get an instant kill with Shemp's Chainsaw.

The fights here give us a few more levels, and then finally...
...we arrive at the Colossus.
Before we can get the Colossus running, we of course have to traverse it. As you'd expect, it's a multi-party dungeon, but with only two doors at the entrance. Holdana and Zefiryn take the left, while Akira and Raj Ahtan take the right.
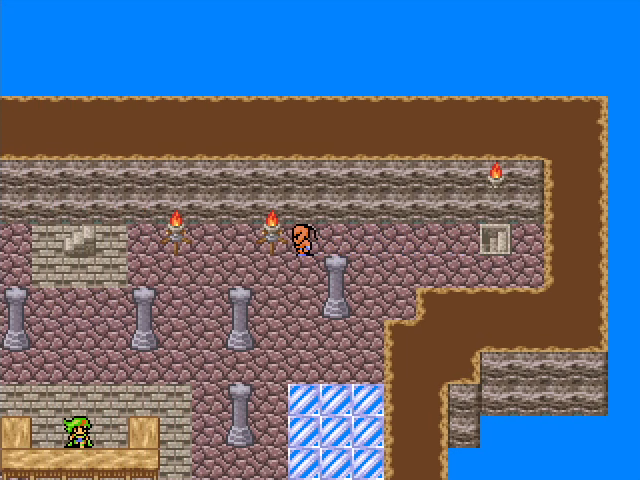
The interior of the giant uses a basic cave tileset, which feels a little boring to me. I feel like a brick interior would have matched the exterior better.
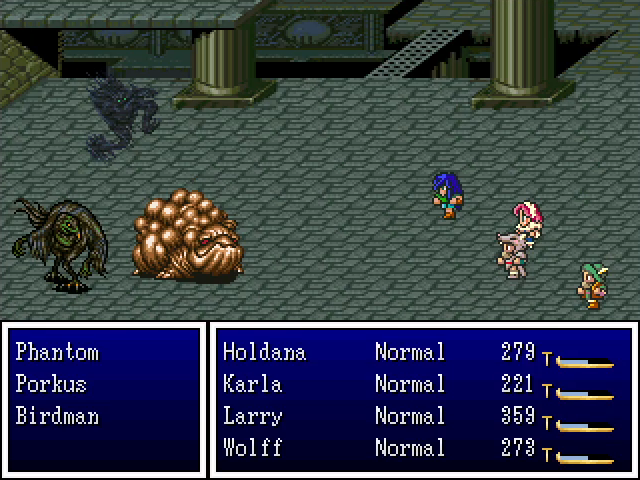
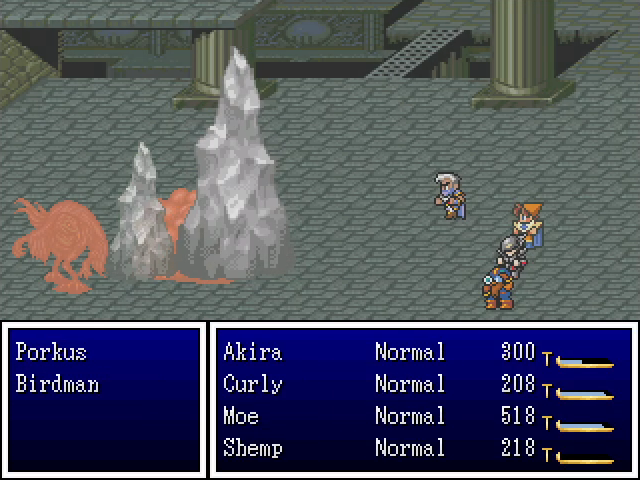
The dungeon is home to a small variety of enemies, all shown here in this one encounter. Birdmen can lower the party's defense by casting Sap, but are pretty frail and nonthreatening. Phantoms have the same pattern as other ghost-type enemies (decent physical attacks and occasionally hitting the whole party with Chaos), and porkuses we've seen before.
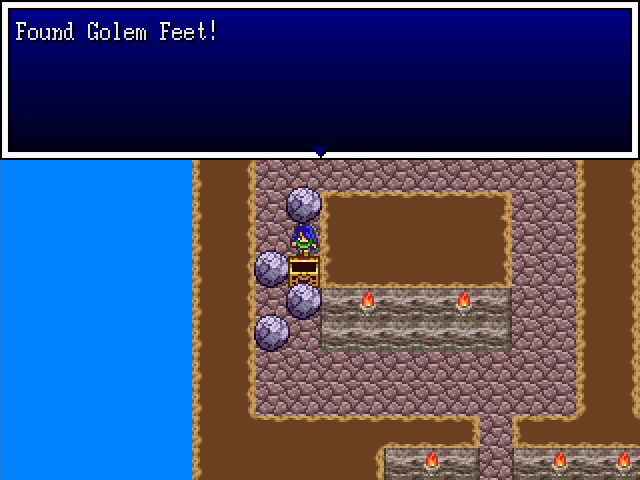
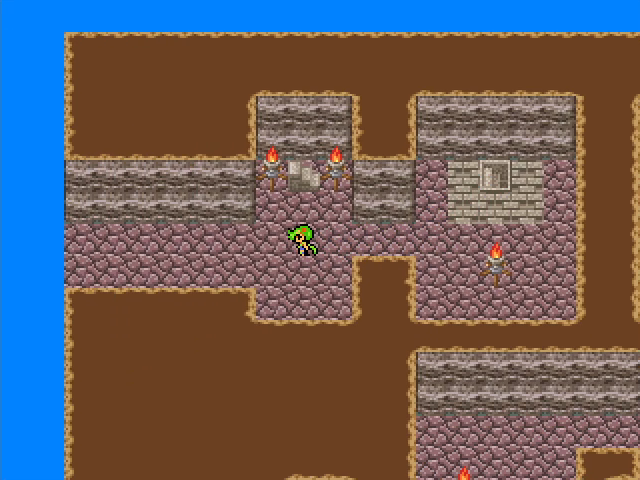
There are quite a few rock-pushing puzzles in the Colossus, including this one around a chest containing a unique accessory.
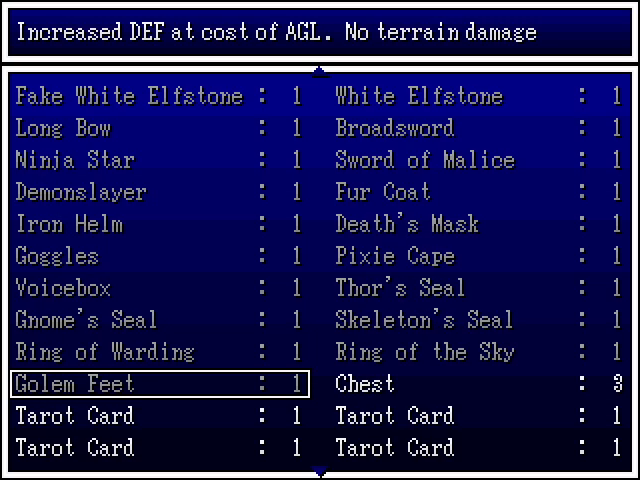
The golem feet are interesting, providing a big defense boost and protection from damaging floors in exchange for a steep reduction in agility. Unfortunately, since agility determines how often a character can act, this is almost always a poor trade.
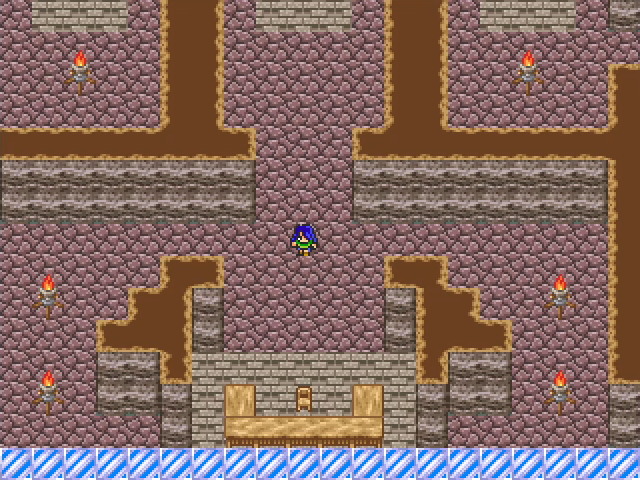
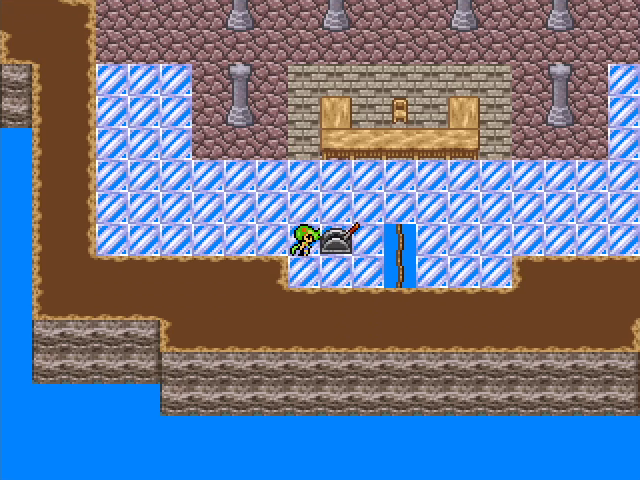
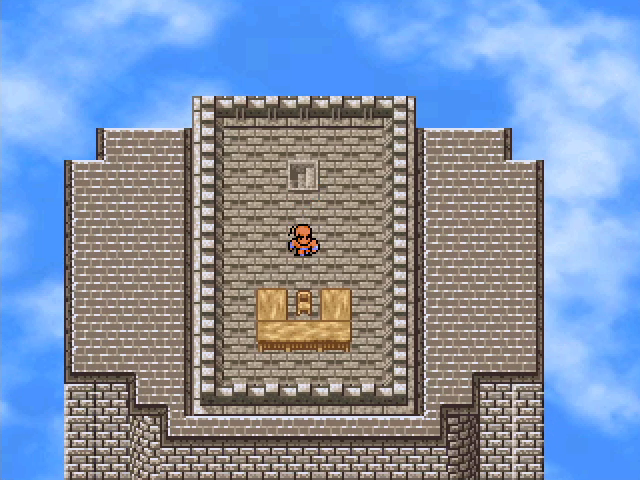
Several floors up, we encounter what looks like a desk in front of a glass floor.
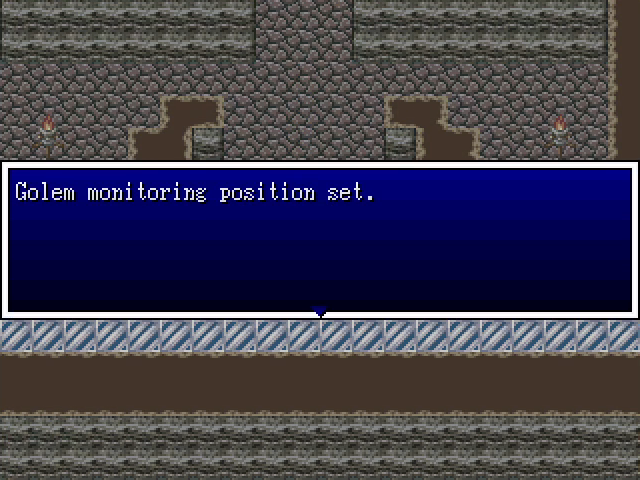
Stepping into the chair lets us know that one party is in position to control the Colossus.
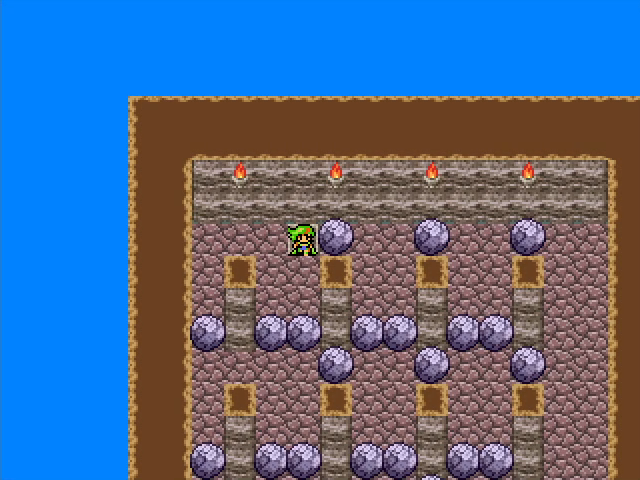
Zefiryn takes another route, coming to a floor filled with boulders.
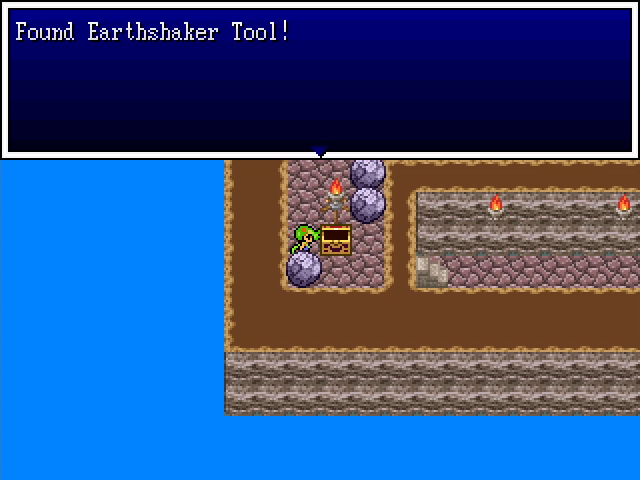
In the southwest corner is a chest containing a unique tool for Shemp.
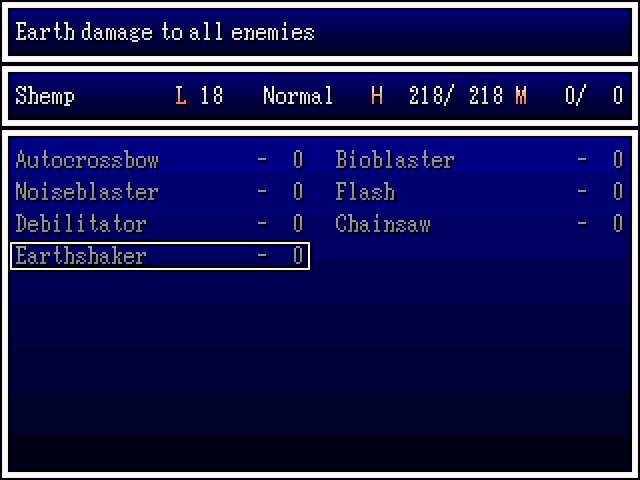
The earthshaker hits all enemies, though because it's earth damage it can't hit flying monsters. It's also somewhat inaccurate, but it does a lot of damage.
(It also looks pretty cool.)
Further up, we find a hole in the side of the Colossus, in case we want to jump out for some reason.

Zefiryn finds the next control station, as well as a lever.
Pushing it drops a rope down a hole in the glass floor, making for an easy exit.
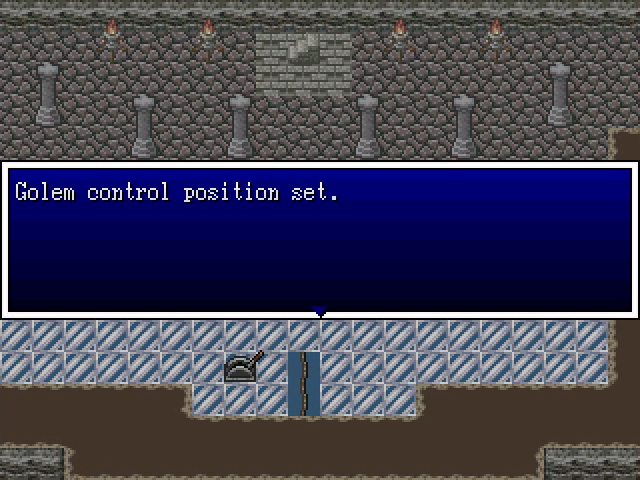
The magus' team steps into position.

There's nothing much to say about Akira's trip up the tower. He finds another control station and another lever.
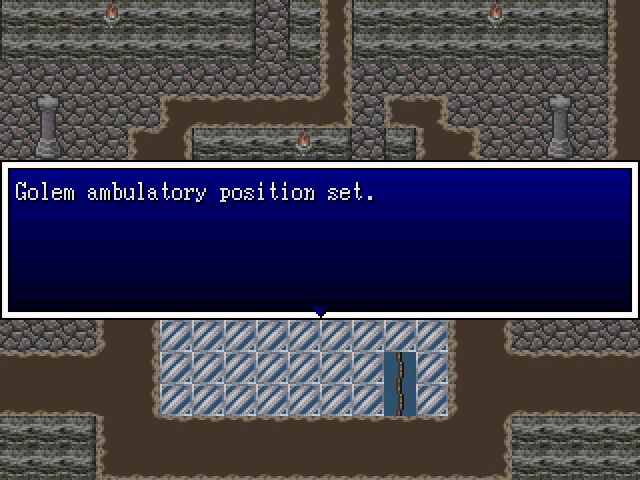
His team gets into position, leaving just Raj Ahtan.
After climb that includes a painfully simply rock-pushing puzzle, he finds himself in the same room as Zefiryn. The climb would have been a lot simpler if I'd known that.
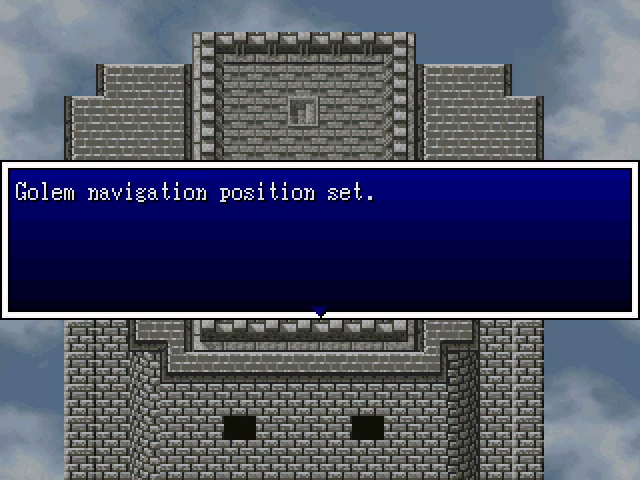
He takes the set of stairs behind her to the top of the Colossus and gets into the final position.
The construct lumbers across the wasteland, shaking the screen with every step.
Interacting with a boulder causes the Colossus to destroy it. This is... everything there is to controlling the Colossus. Walk slowly, destroy boulders. It's super boring and a huge letdown for what should have been a fantastic moment.
Finally, we come to the entrance to the Inverted Tower.
Pushing the menu button takes us back into the Colossus, and the ropes we made earlier let us leave quickly.
The Colossus is a pretty short dungeon, and we gained only a single level from the fights here.
But now we get to do something much nastier: the Inverted Tower.
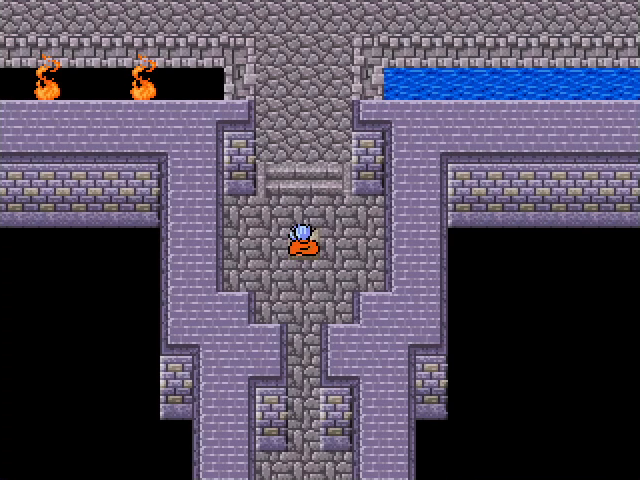
The dungeon's entrance certainly doesn't seem very tower-like. It's three pretty straightforward floors with the same enemy set as the Colossus.

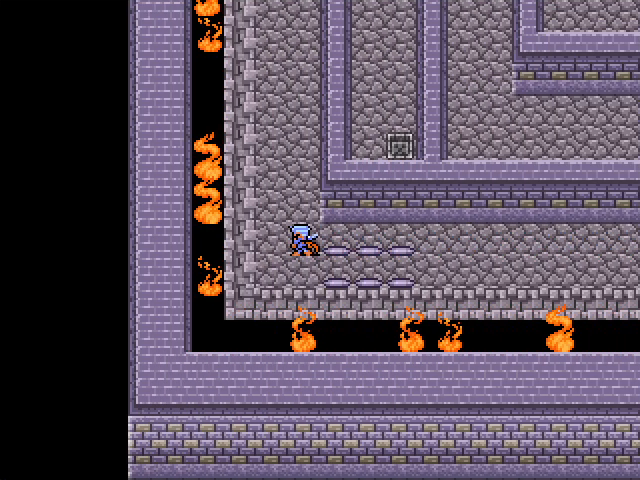
The fourth floor is where things change. This feels a little more tower-like.
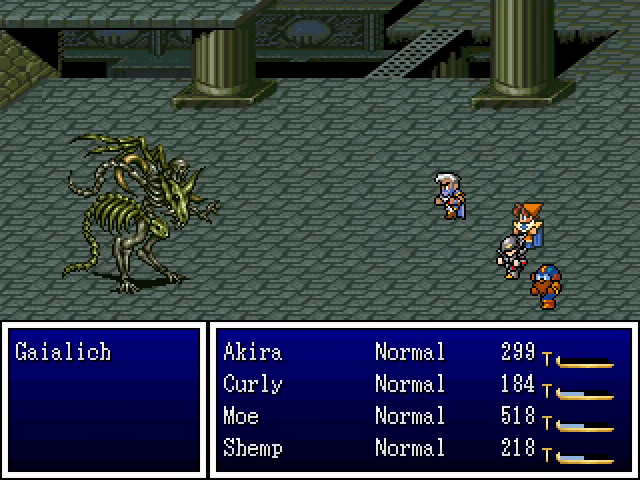
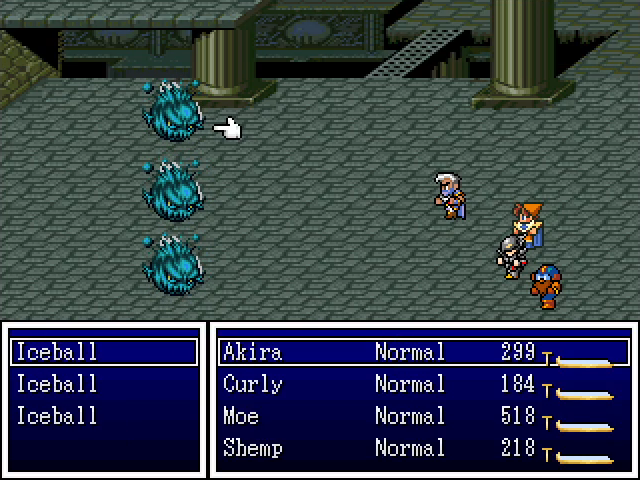
The tower proper has a different set of monsters, though not a very diverse one. We saw iceballs all the way back in the Cave of Wonders, but Gaialiches are new. They hit moderately hard and have enough HP to survive a shot of Akira's Spirit Skean, but only barely.
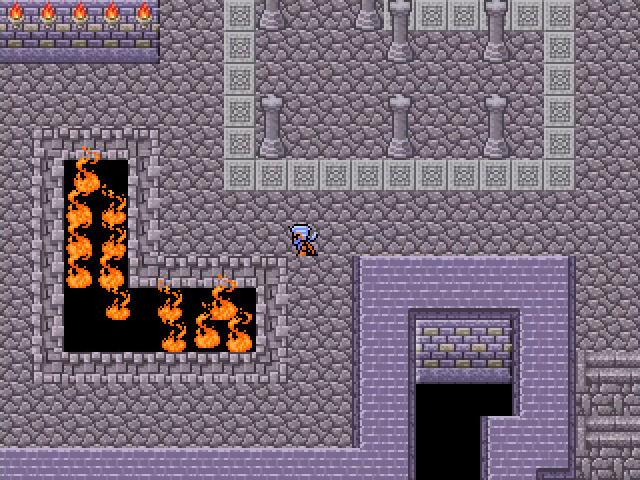
The four corners of the room each feature a contained area of one of the four elements. It doesn't really tie into anything, but it looks neat.
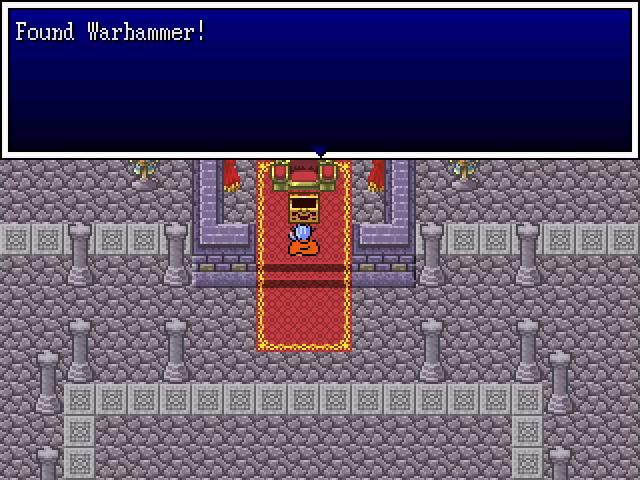
The chest in front of the throne seems like it should be something really interesting, but it's just a warhammer. We've been able to buy these for ages.
The next floor down has a save point just south of the stairs, which I missed on my first pass. Luckily this did not come back to bite me.
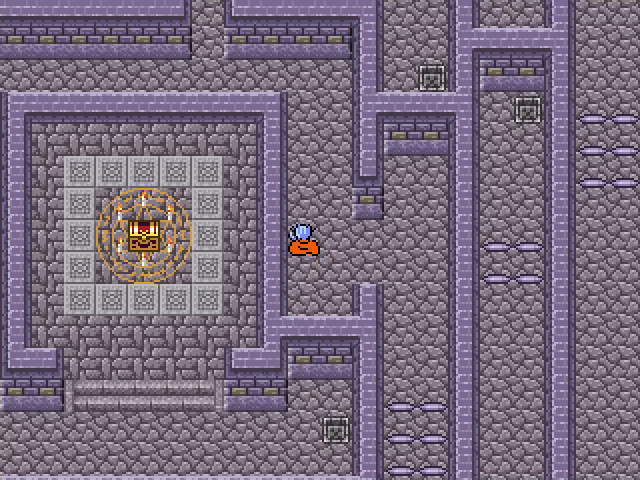
This whole floor is a maze with the obvious prize at its center. Suspiciously, all the large spikes are down and the floor buttons can't be pressed.
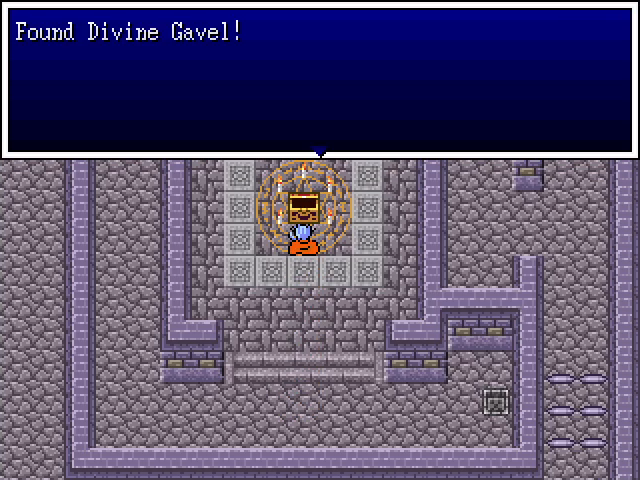

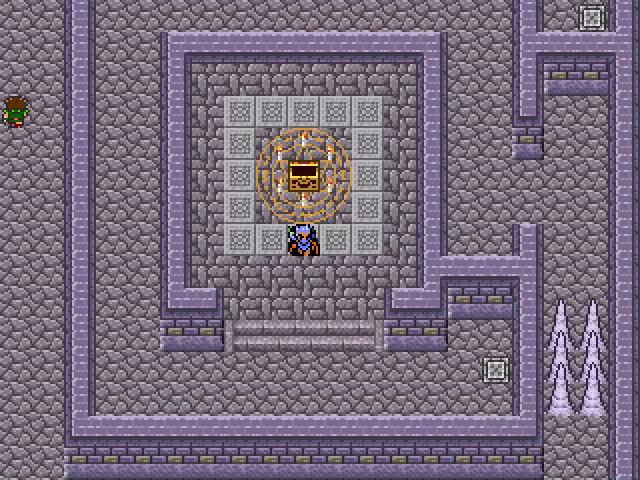
Still, there's no reason not to open the chest and claim the Divine Gavel.
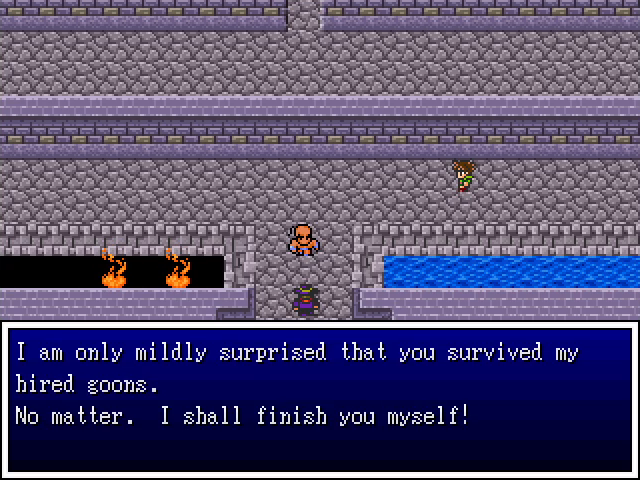
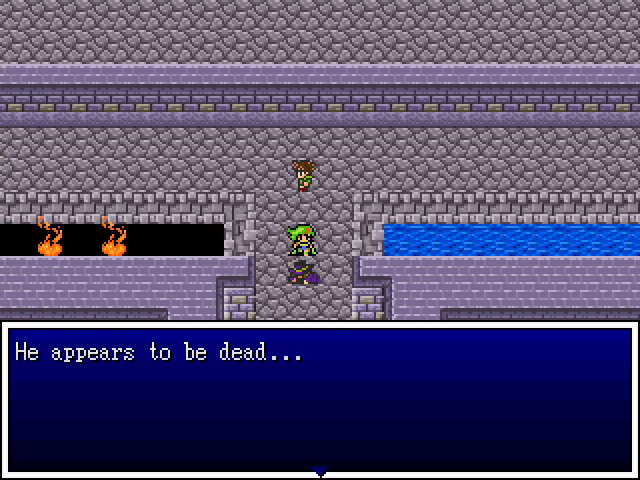
But when we do, the camera pans south to reveal a familiar sprite.
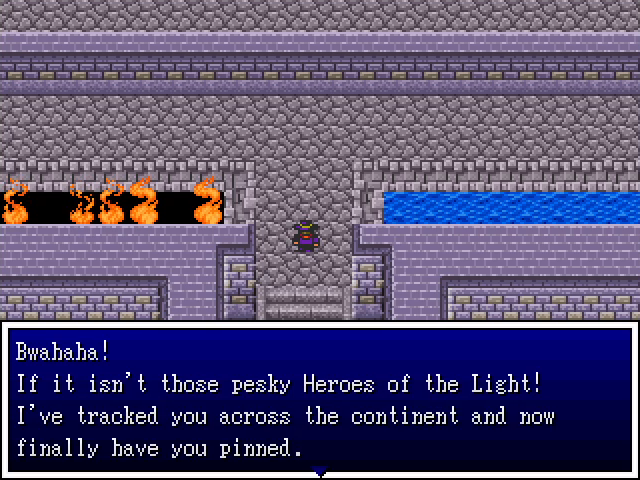
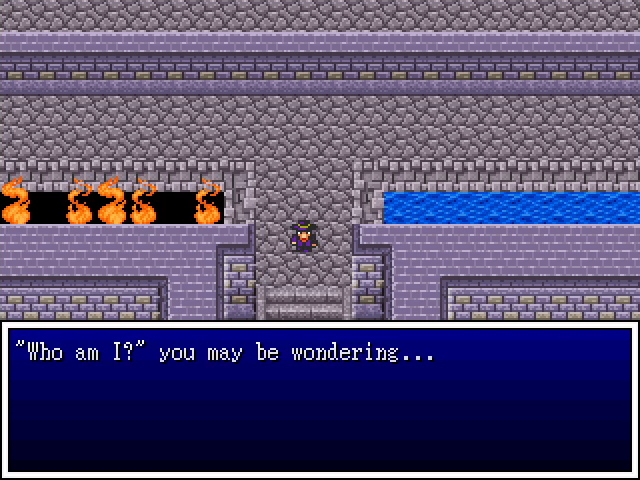
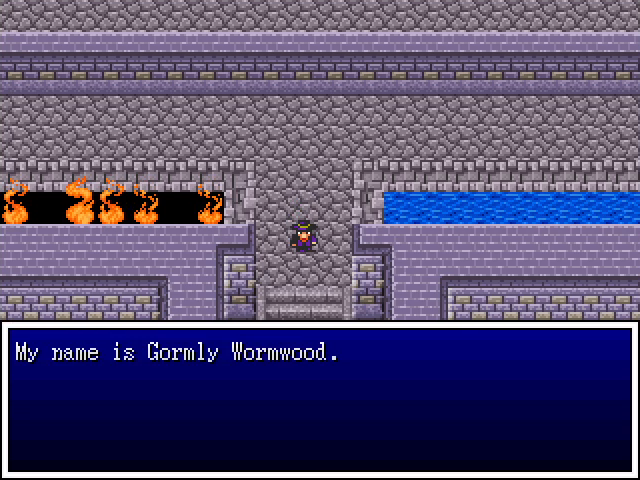
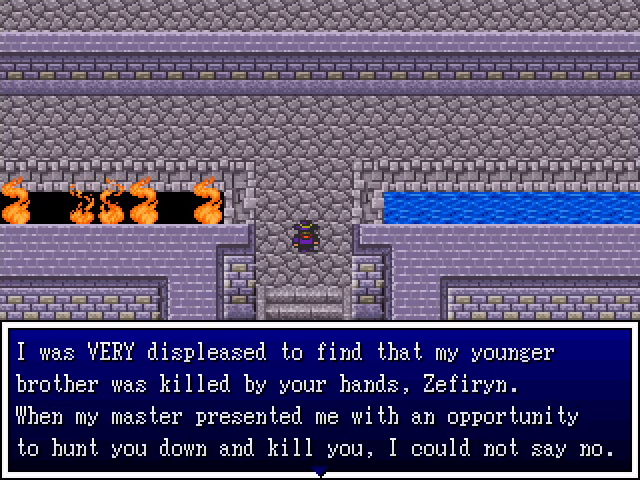
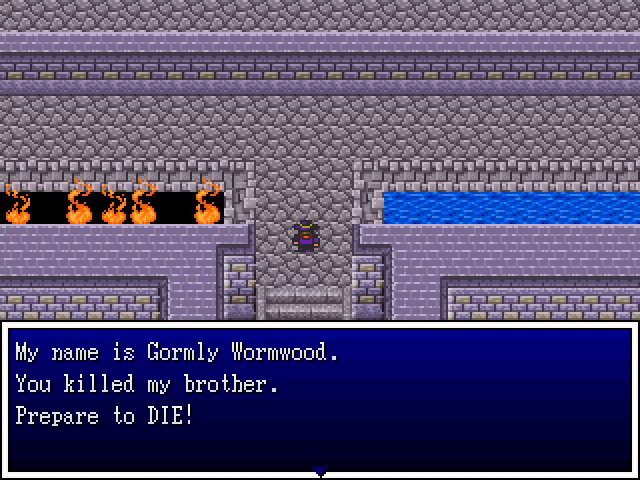
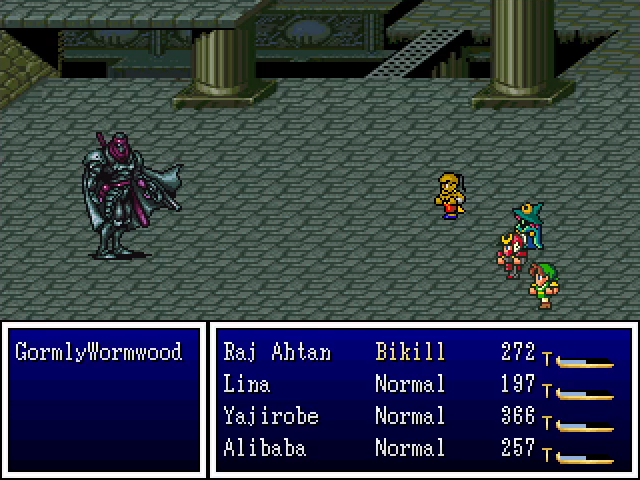
In a genuinely surprising twist the vague "He appears to be dead" message we got when examining Niddly's body back in Chapter 2 was accurate. We now have an angry brother out for vengeance.

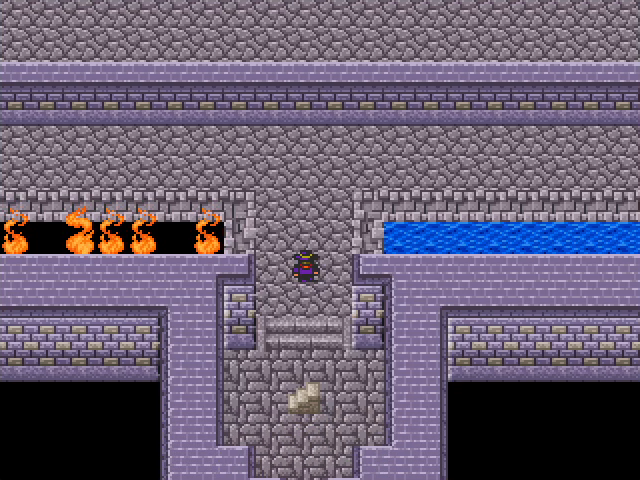
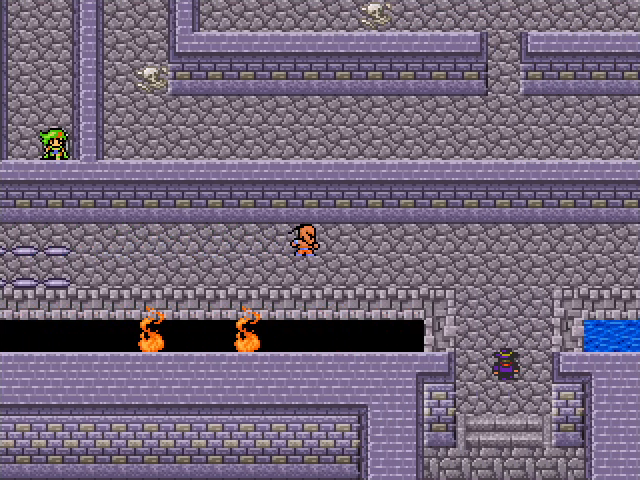
This is where things get... complicated. All the large spikes have come up, so we have to use our four teams to drop them using the floor buttons and make their way out of the maze, all while dealing with Gormly's goons. It's a pretty complicated maze and it took me longer than I would have liked to complete. Logically, we should be able to ignore all of this using Outside, but it's disabled on this floor (because of course it is).
The enemies themselves appear as sprites rather than random encounters. This is good since it limits the number of fights, but it's bad because, well, this whole room is super buggy. Sometimes characters will enter battle with enemies through walls. If an inactive party stands on one of the corpses the enemy groups leave behind, they'll get into continual random battles with that group. And sometimes the game will just forget that a character is standing on a floor button. It's weirdly messy given how relatively well most of the game works.
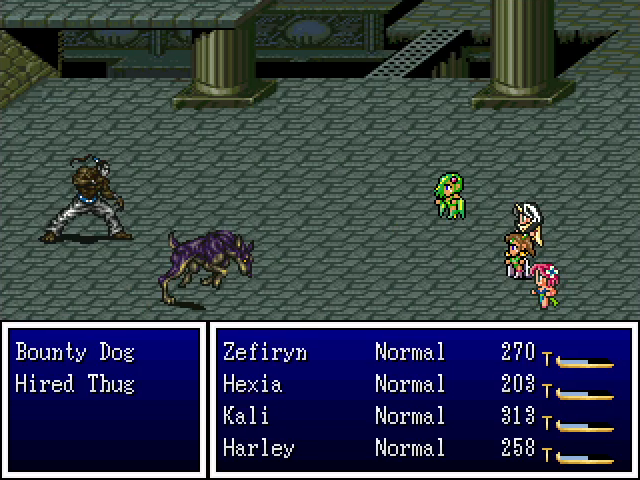
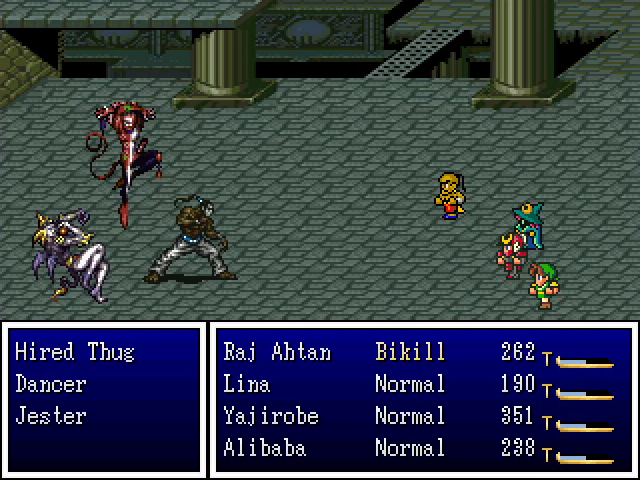
The goons themselves range from laughably easy to quite dangerous. Hired thugs and bounty dogs both use weak physical attacks, and the former also use a weak version of Alibaba's Caltrops trap. Neither is especially deadly. Dancers use Lapis, a full-party heal, which isn't dangerous by itself but does prolong the lives of other enemies. This is especially bad in the case of jesters, who use an array of tarot cards to inflict damage and status effects (including poison and laughing) on the entire party. They're easily the nastiest enemies here and definitely should be the highest-priority targets.
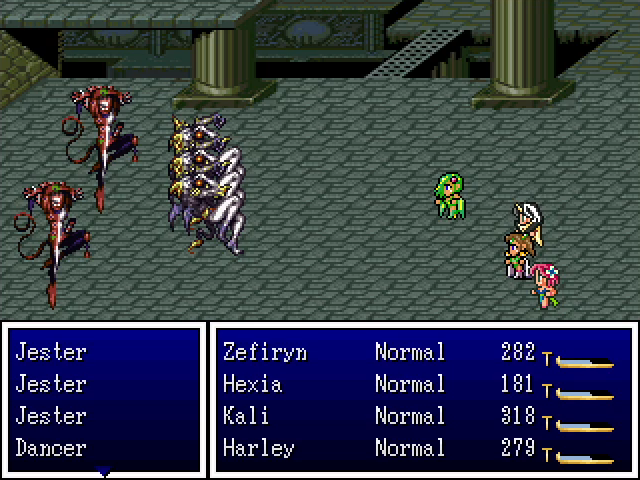
The final enemy group before reaching Gormly is this nightmare, which has the potential to lock down and kill the party if it wants to.
But we push forward and reach the villain.
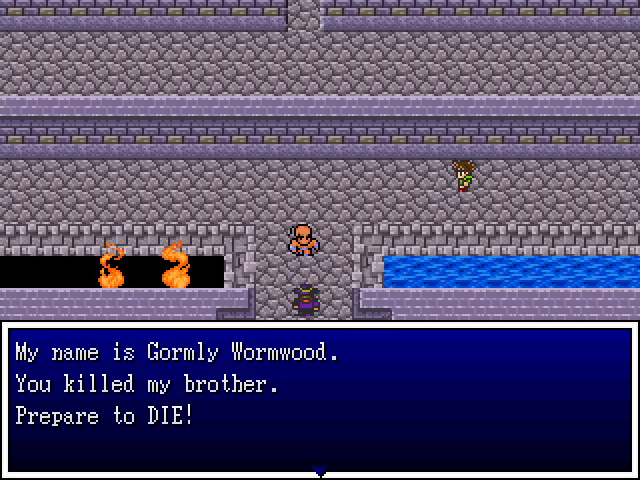
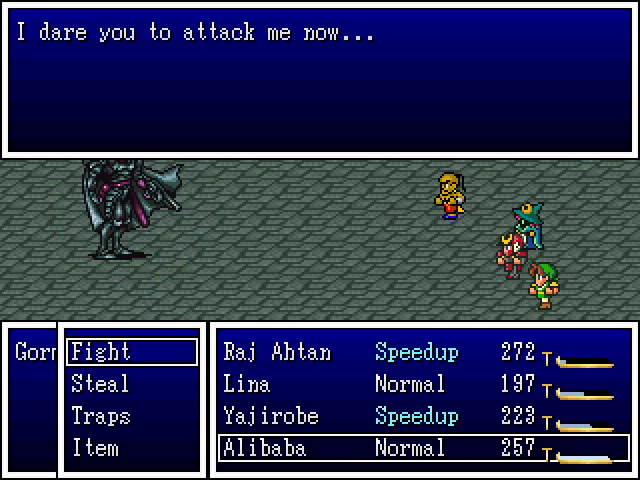
You said that already.
I agree to your terms.

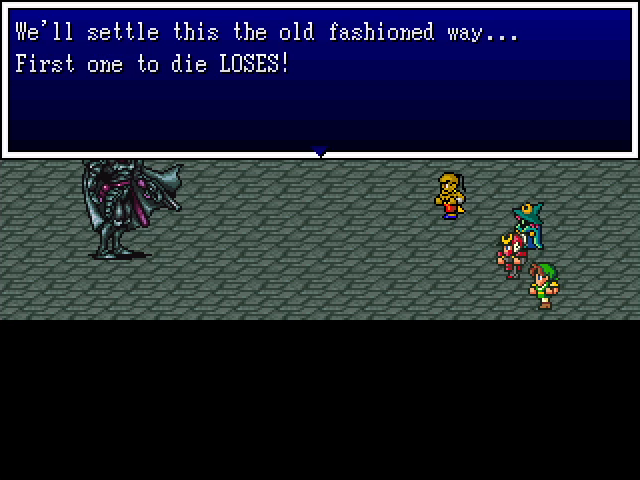
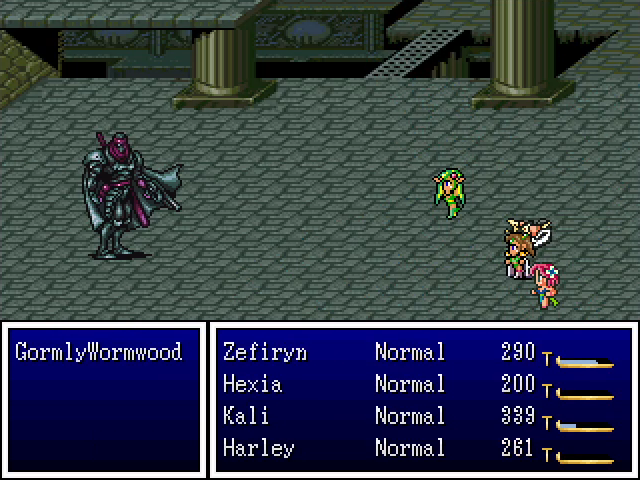
The logical worry going into this fight is that it's going to be a repeat of the Niddly fight. Unfortunately, this worry is entirely founded. Gormly fights exactly like Niddly did apart from having one new attack, Chainwhip, which hits the entire party for moderate physical damage.
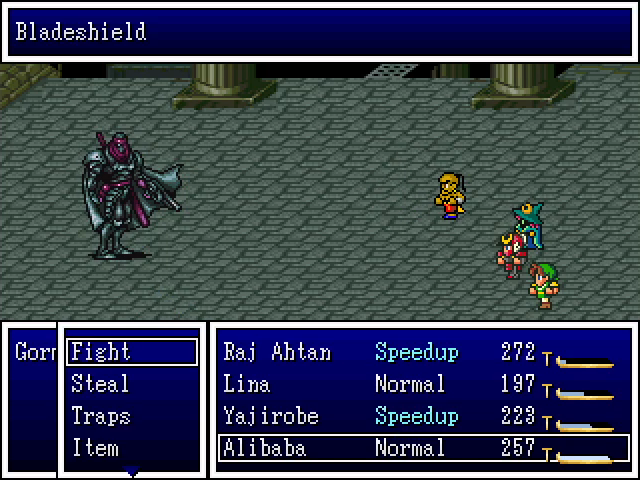
And yes, that includes using Bladeshield. In this respect I was sort of lucky though: he kept the damn thing up for ages, but he only ever used it once and never refreshed it.
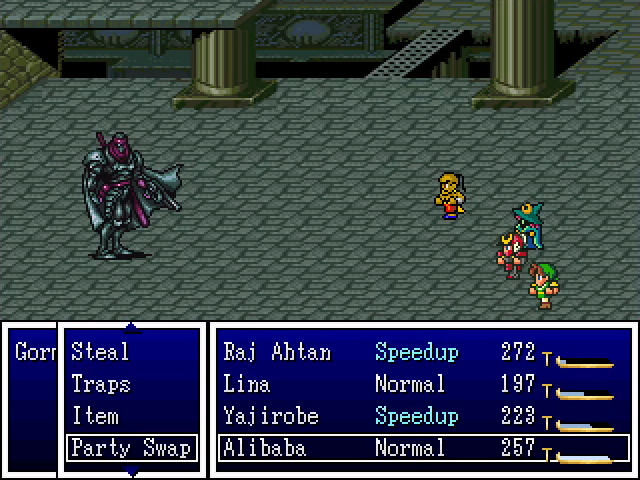
This fight is, as near as I can tell, the first to use a new and unexplained mechanic: Party Swap.
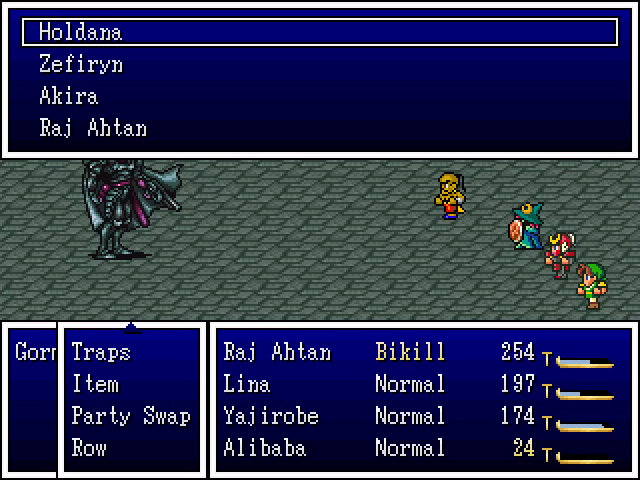
It's exactly what it sounds like. I'm not sure exactly what the conditions are for making it available, but I suspect it's boss fights in multi-party areas. In this case, I felt is would be appropriate to have Zefiryn take down the boss.
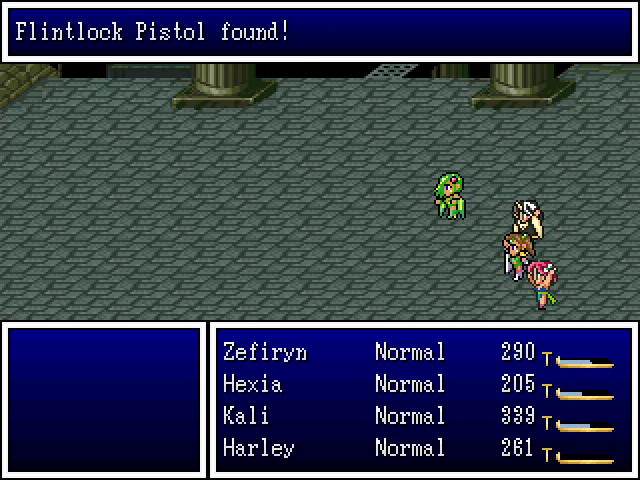
Eventually, Gormly goes down, dropping his flintlock pistol when he does. (Niddly used it as an attack but didn't drop it.)
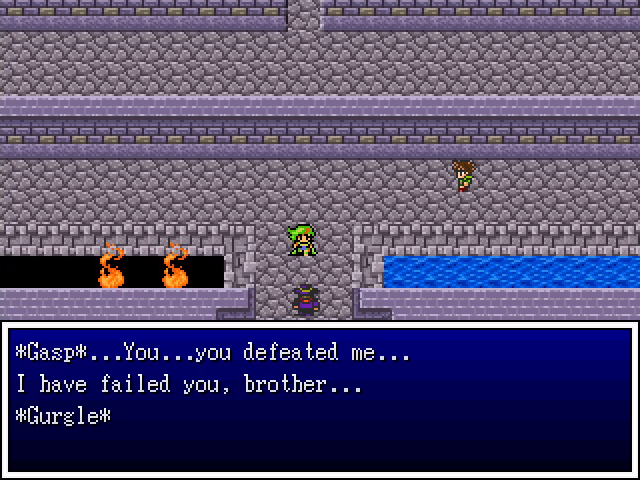
And good fucking riddance.
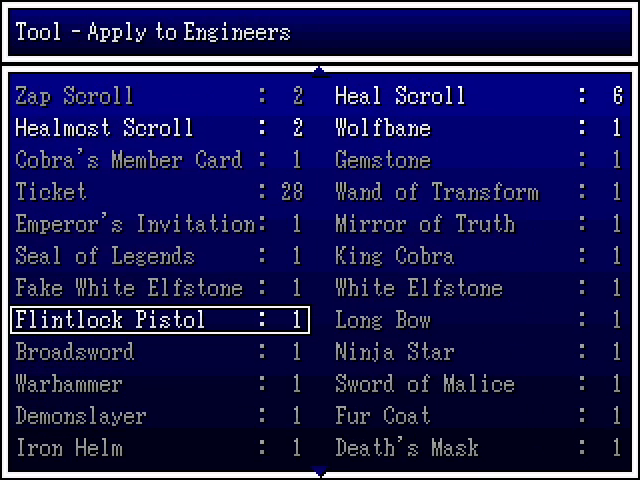
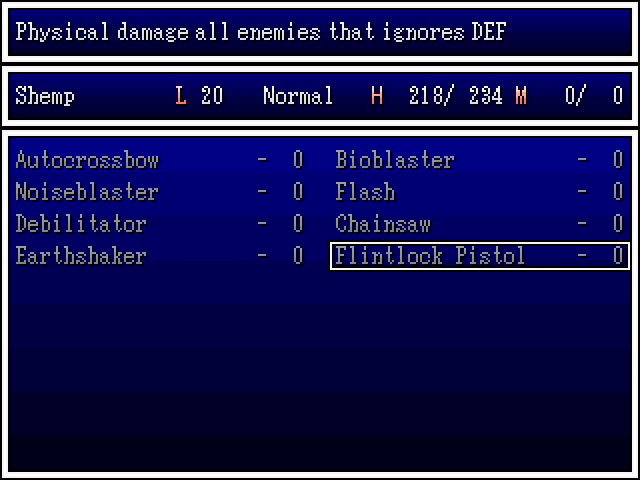
As you may have guessed, the Flintlock Pistol is an engineer tool. It deals defense-ignoring physical damage to all enemies, which is pretty solid.
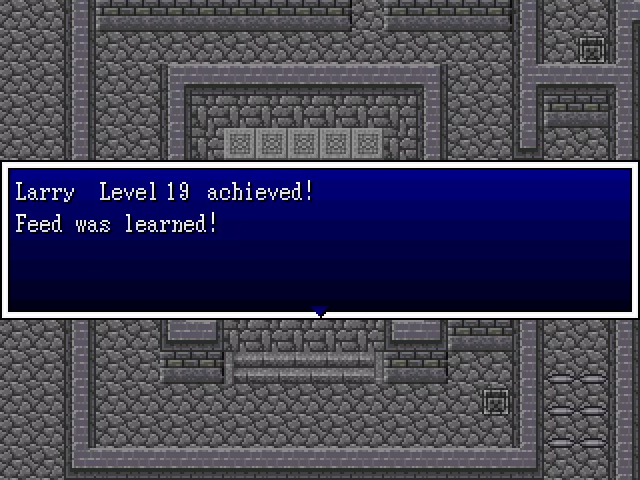
Feed drains an enemy's HP and MP. It's not too useful for a character who should be spending his turns attacking constantly.


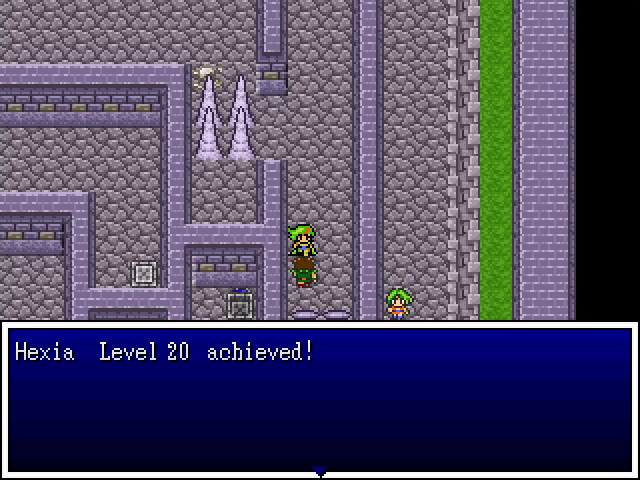
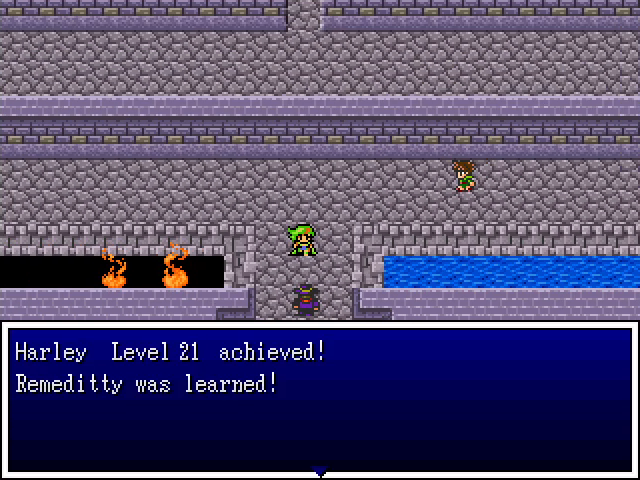
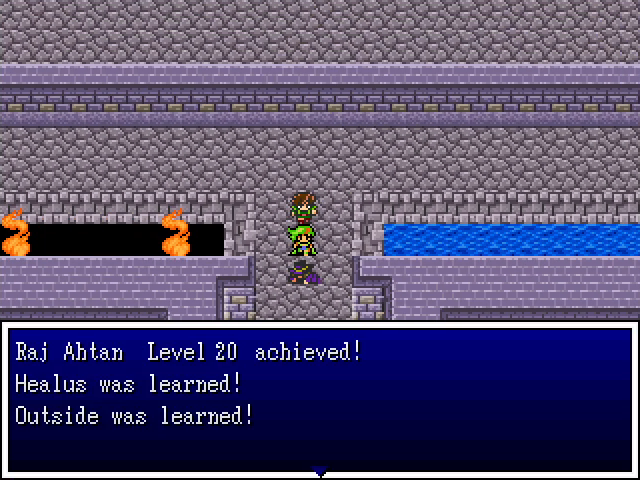
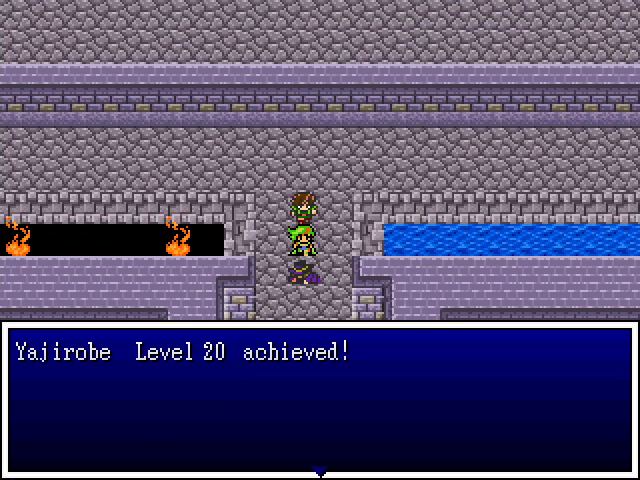
By the way, we gained a shitton of levels here. About half of them were from finding the Divine Gavel.
Once we're back on the previous floor, w e can use Outside normally to leave the tower. Now that we have all three continental artifacts, it's time to return to Paranor.
Next time: We do not return to Paranor.