Part 31: The End of Machin Shin
Welcome back, everyone! We've collected the Divine Gavel, Scales, and Halo, and are ready for the next leg of our journey.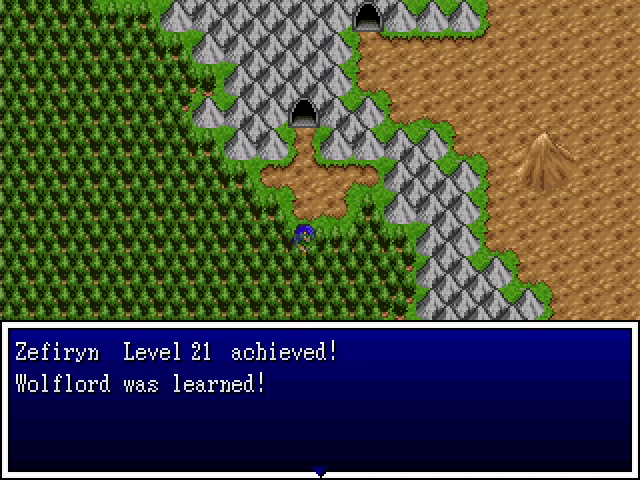
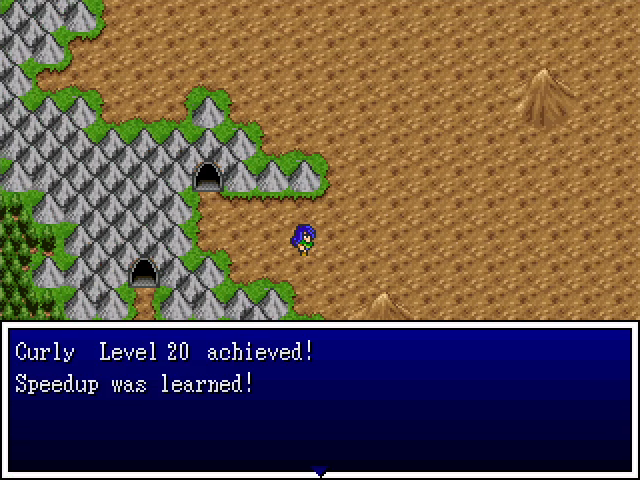
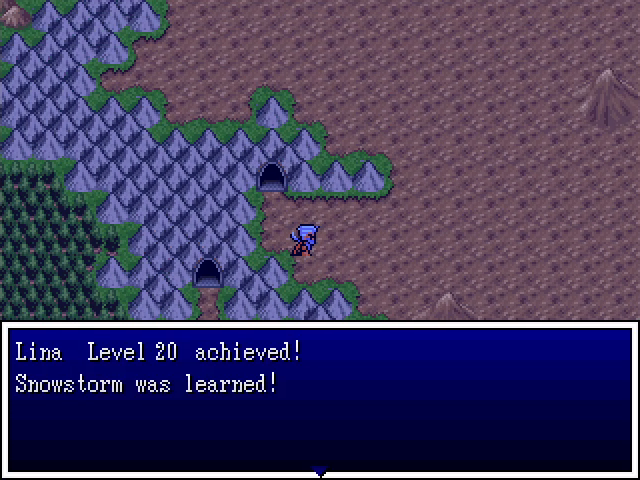
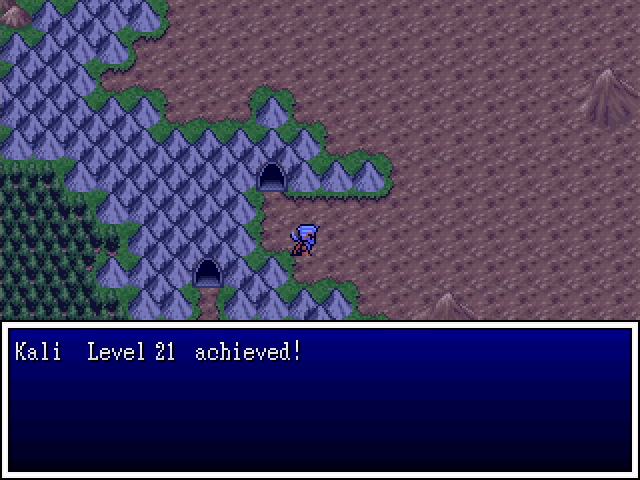
Between updates, I spent a little time getting everyone up to level 20, in case there were any surprises in the voting for who got a class change. Lina got the most notable level up with her access to Snowstorm, a medium-strength ice spell that targets all enemies. Honorable mention goes to Curly, who got a spell for boosting his entire party's speed.
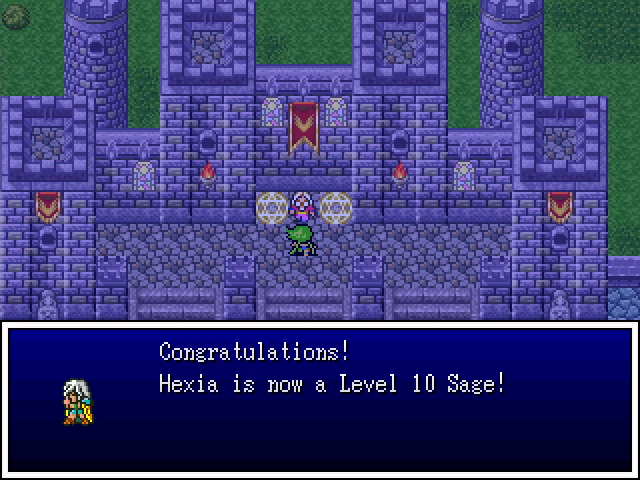
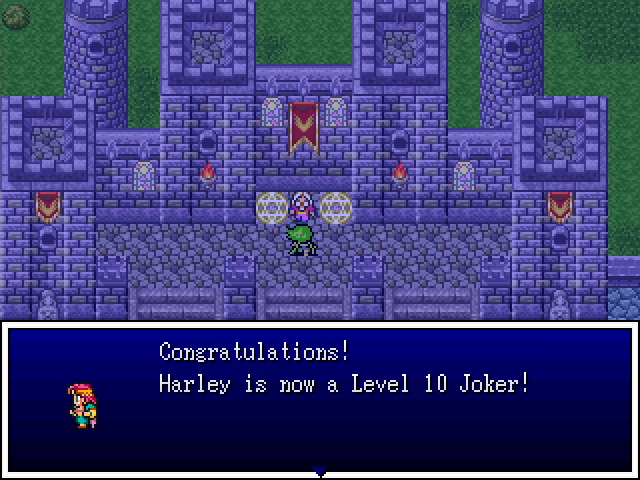
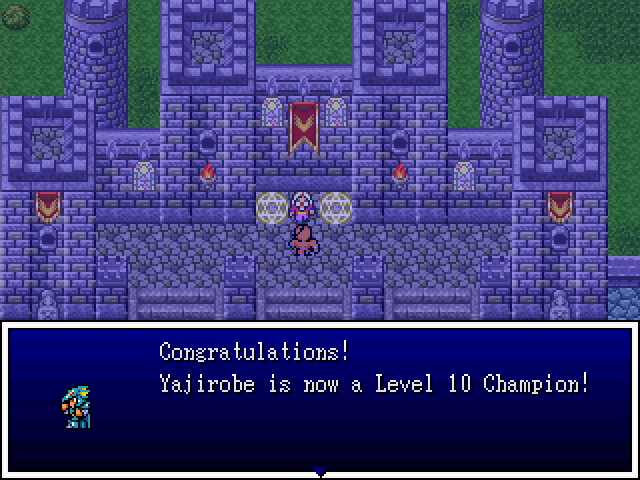
But there were no surprises. Hexia, Harley, and Yajirobe have now been promoted to more advanced classes, though with their levels cut in half it'll take a while for them to start showing what they can really do. Zefiryn's party also didn't get much use during this session, but I'll make an effort to show off Hexia and Harley next time.

Back at Paranor, Grand Poobah Pablo has the exact same dialogue as before. There's clearly something more we have to do before he points us toward our next destination.
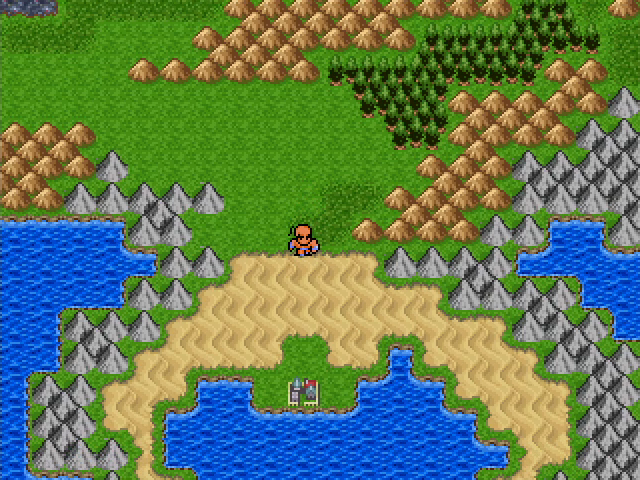
So we head to a little town on the south end of the continent.
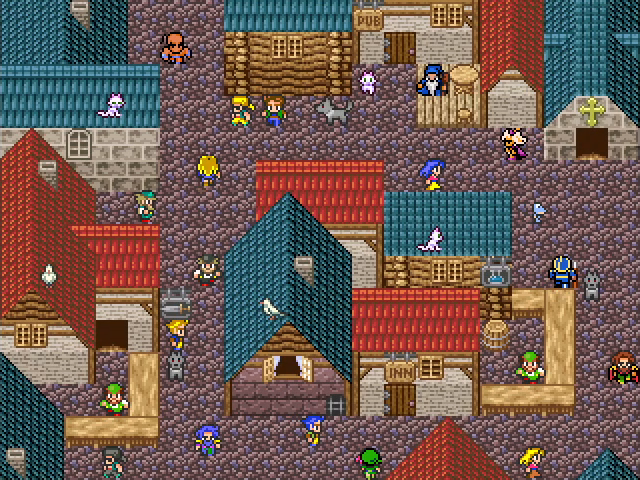
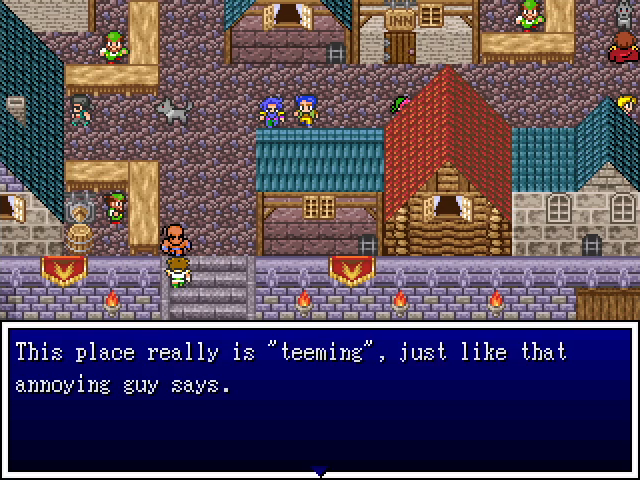
It's obnoxiously crowded. It does a good job of creating the appearance of a bustling city, but it makes navigation annoying.
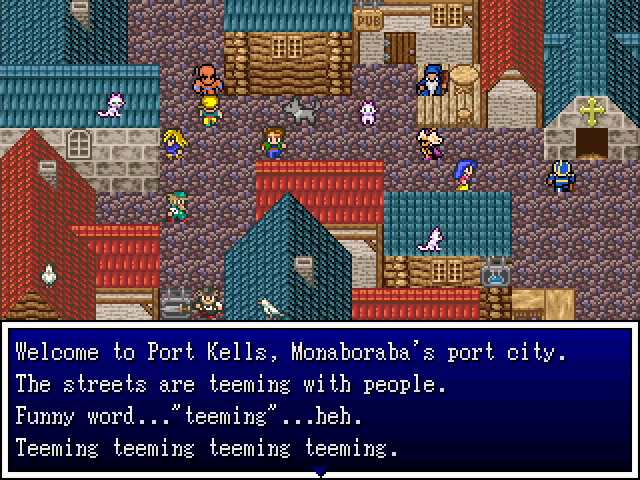
Weirdo.
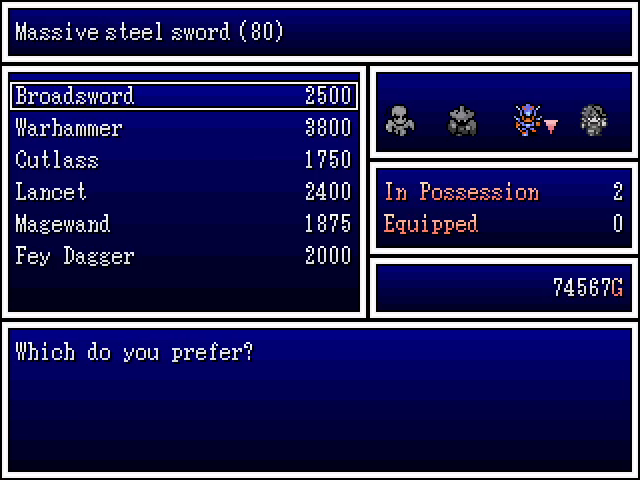
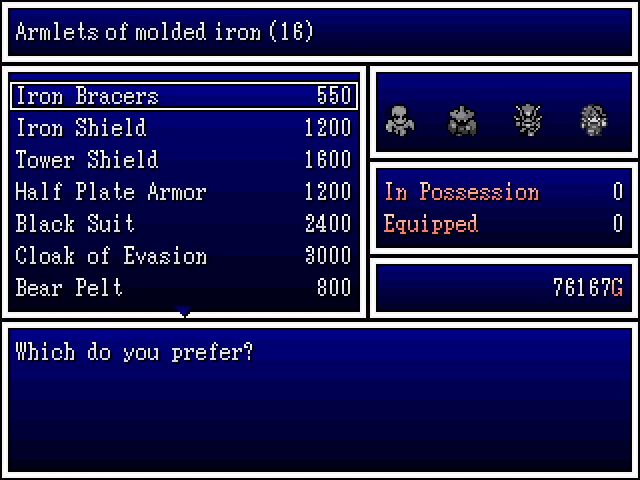
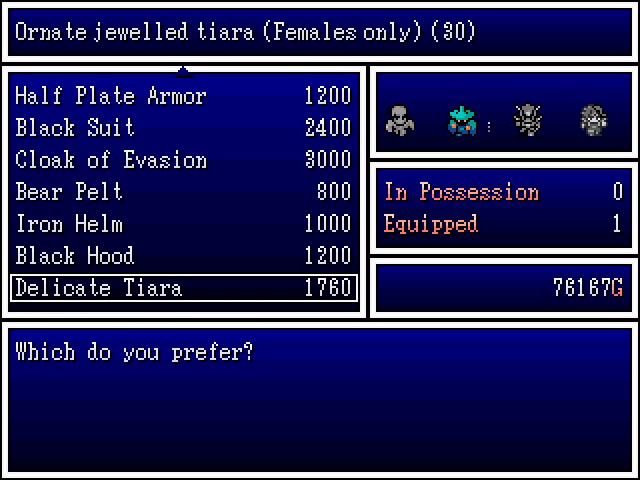
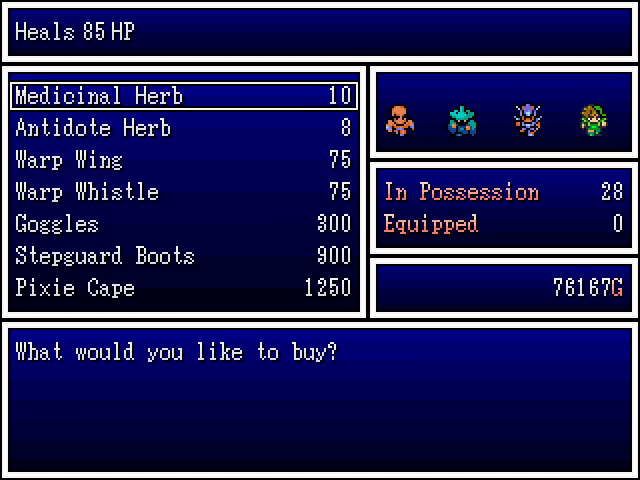
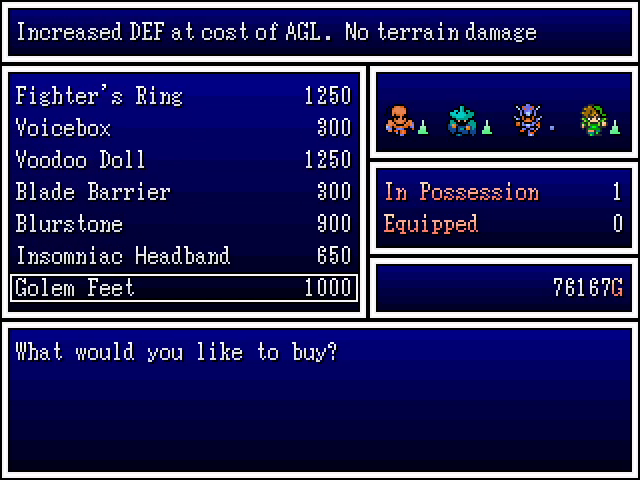
The shops in Port Kells are mostly more of the same. The available accessories are good but nothing we haven't seen before. We do grab a couple of delicate tiaras for Hexia and Harley, though, since they can no longer use the headwear they previously had equipped.
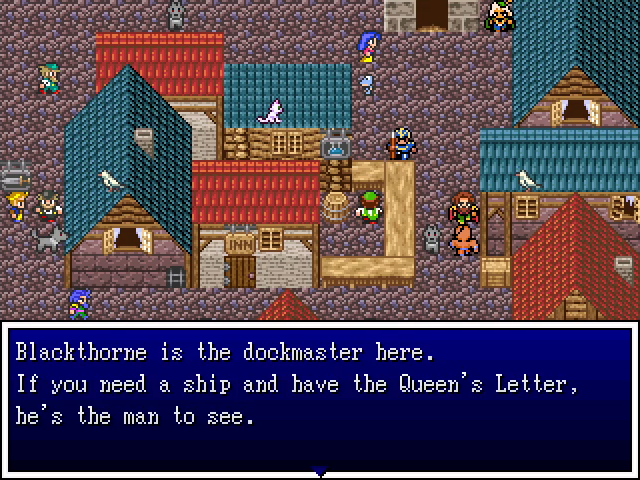
A ship would be great, but we don't have the Queen's Letter.
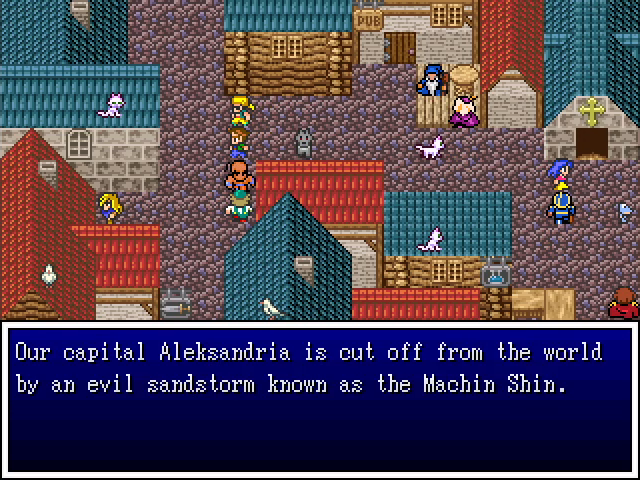
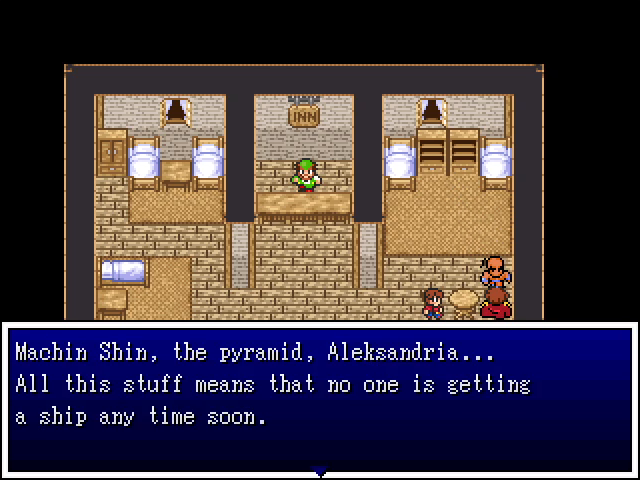
Quite a few people in town talk about Machin Shin, making it pretty plan where we're supposed to go next. This goes double since the sandstorm is preventing us from getting to the queen in Aleksandria, and thus from getting a ship.
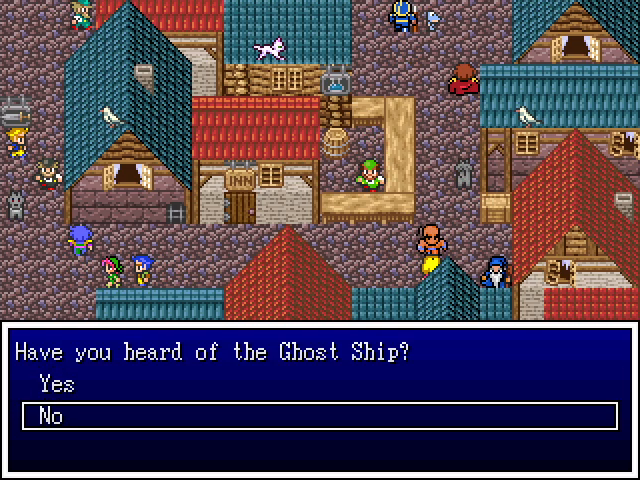
We have, but let's pretend we haven't and see what this person has to say.
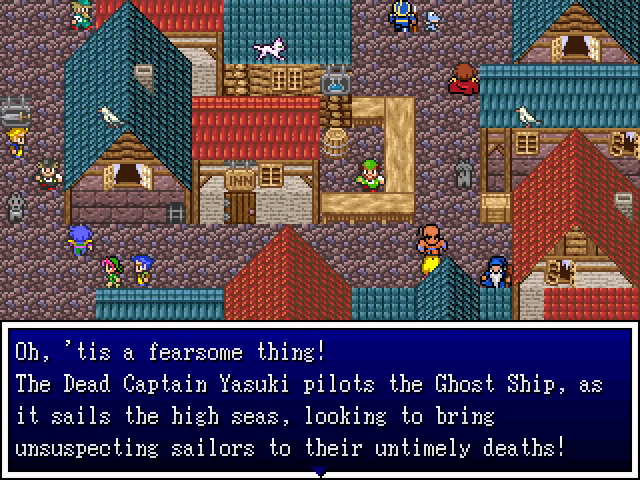
Wait, Yasuki? We've heard that name before. There's a story here and we're not seeing all of it yet.
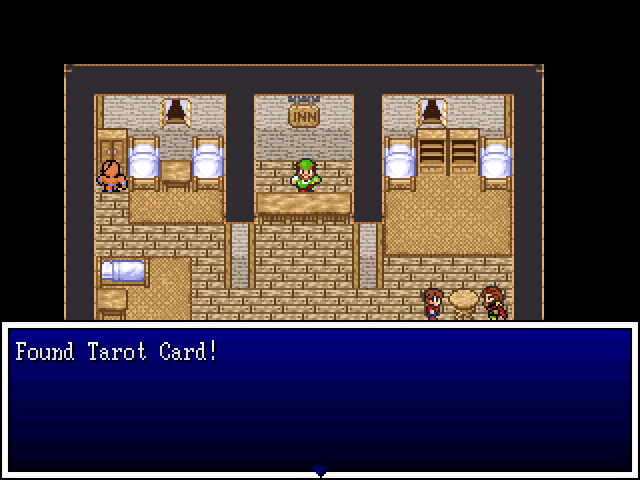
This isn't a notable find except to note that we can no longer use it. Harley has moved on.
This also isn't notable; I just find it amusing.

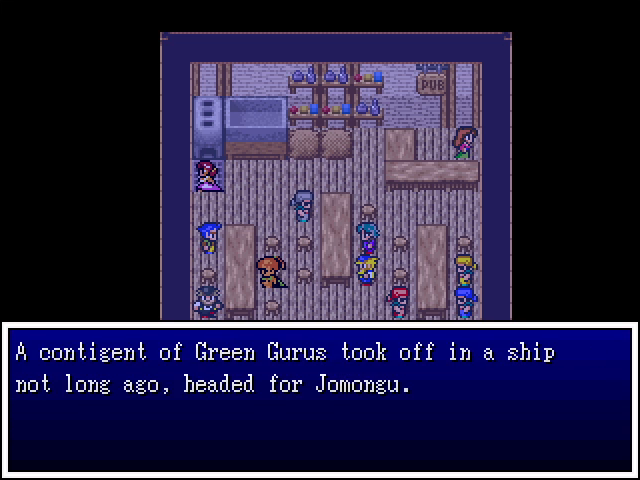
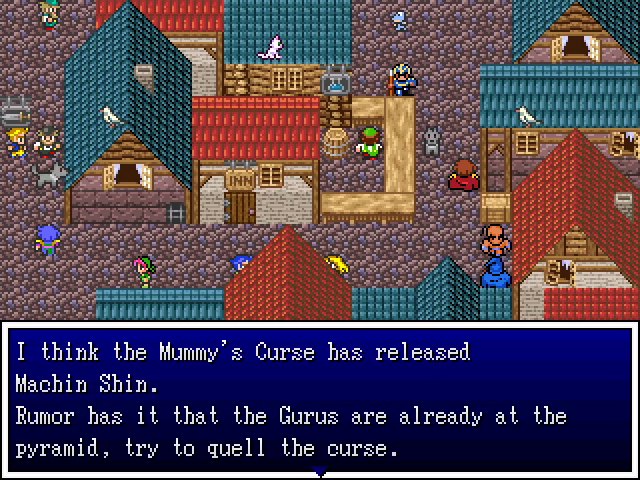
Oh, this sounds bad. We need to get to Okasa as soon as we can.
There's nothing else for us to do in Port Kells at the moment, but we have a pretty clear destination.
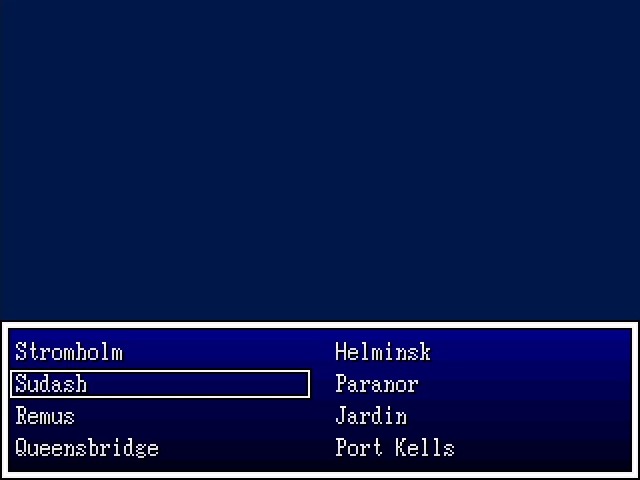
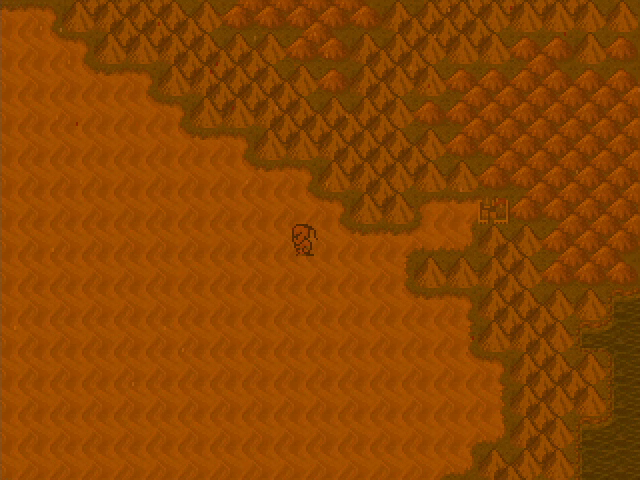
We Return to Sudash and head west into the desert.
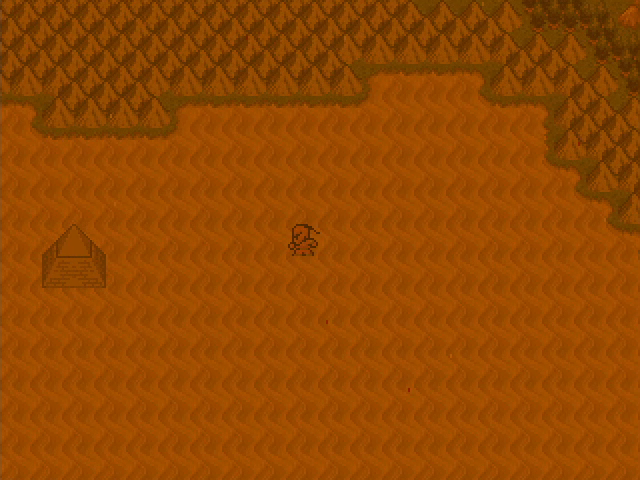
Soon enough, we find the pyramid.
That's incredibly convenient!
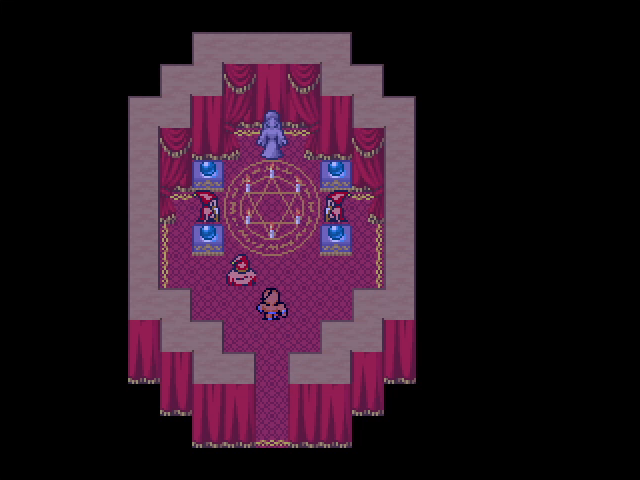
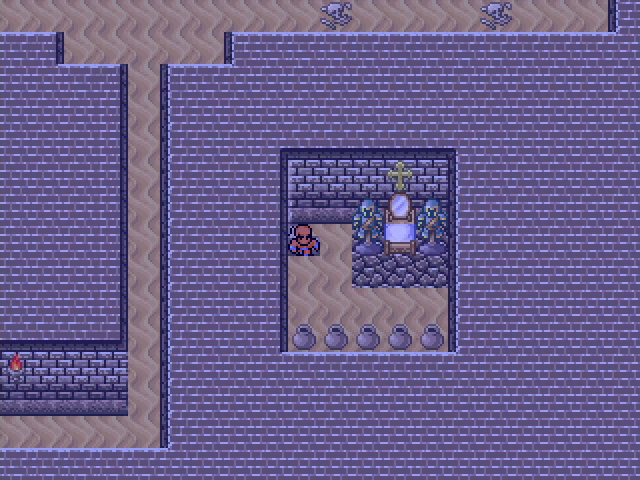
There are two tends at this encampment. One contains a priestess and a place to rest, while the other has this setup.

We step into the circle and are treated to a teleport effect.
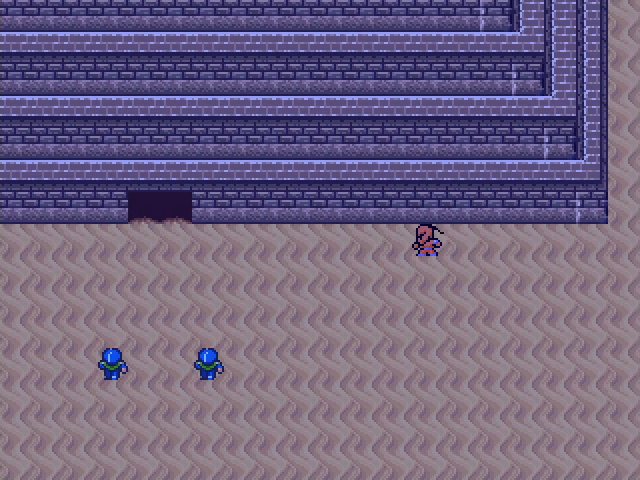
We reappear right outside the pyramid. The sandstorm doesn't blow here, thankfully.
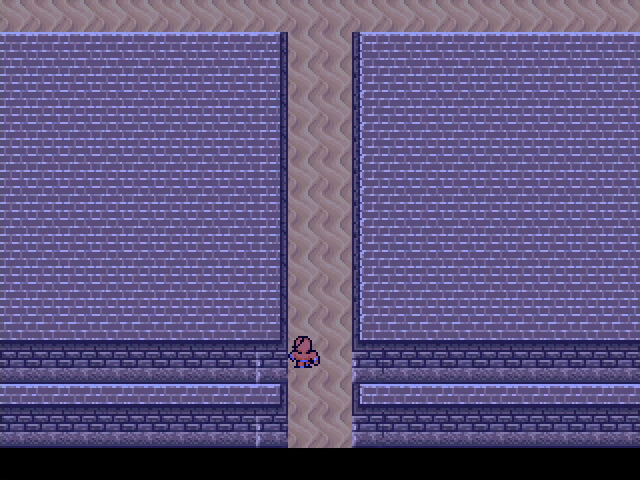
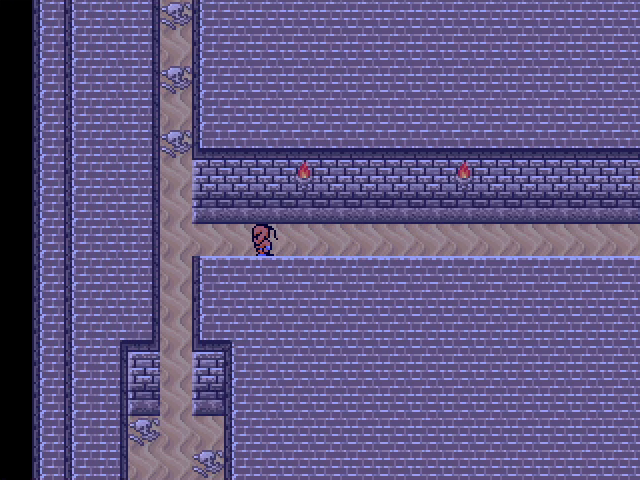
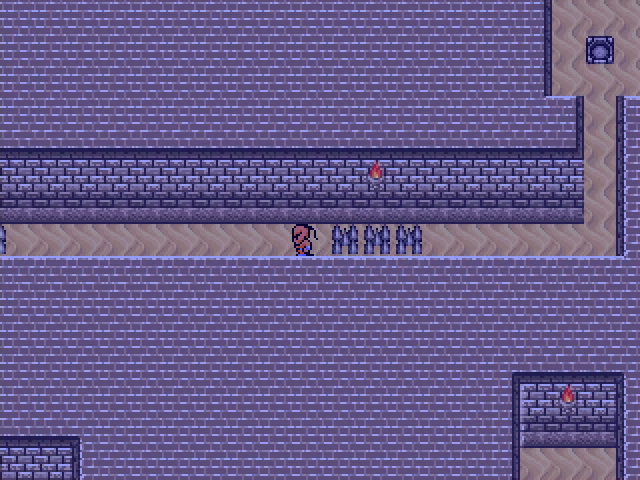
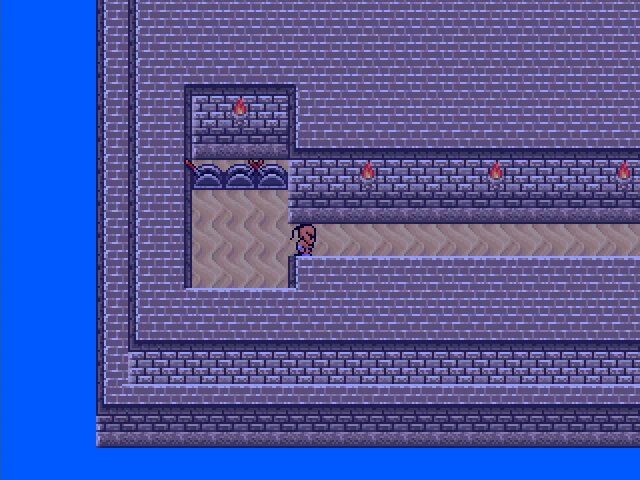
The interior of the pyramid is brick walls and sandy floors, as you might expect.
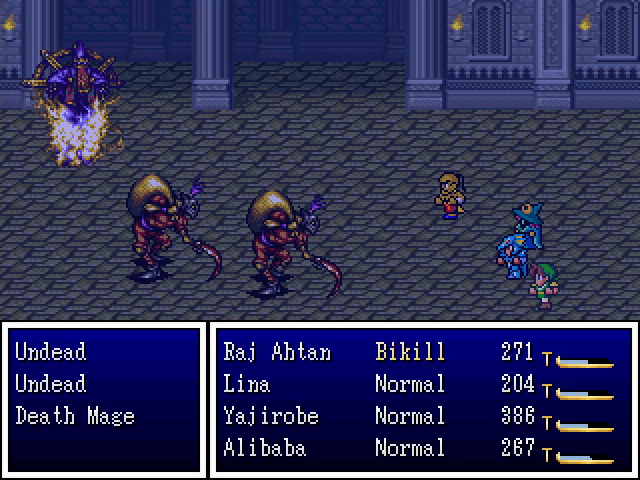
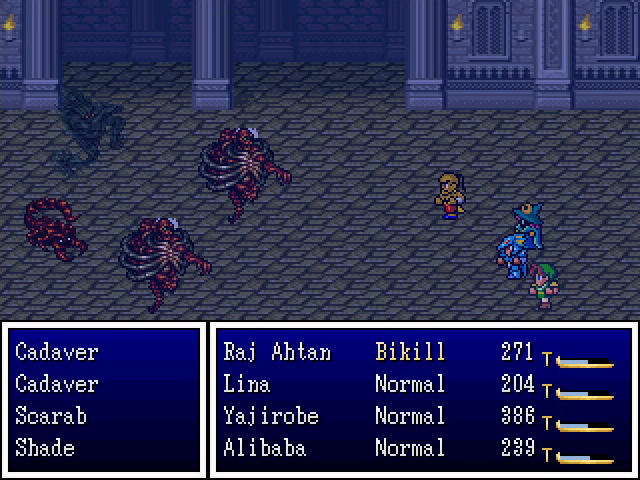
The monsters here are all new and mostly undead. Undead are average warrior-types with no notable traits. Shades are exactly the same as other ghost-type undead we've encountered, occasionally hitting the party with Chaos. Scarabs are fairly fragile but hit remarkably hard; their attacks can do over 100 damage to lightly-armored characters like Lina. Cadavers have moderate physical attacks; if they can do anything else I never saw it. And finally, death mages very likely have something extremely nasty available, but they're incredibly frail and as with the boulders I wasn't going to take any chances.
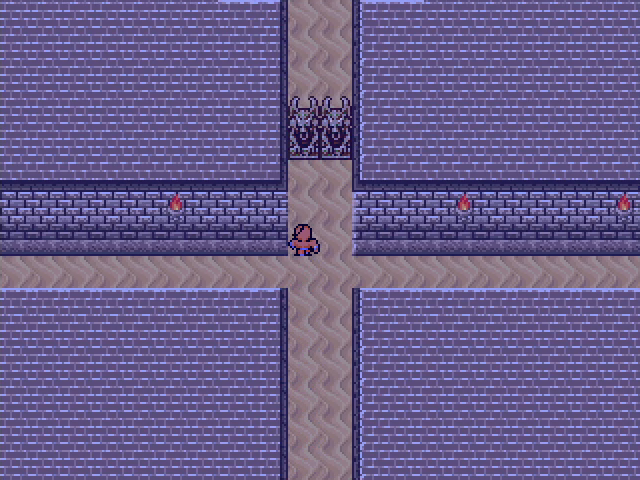
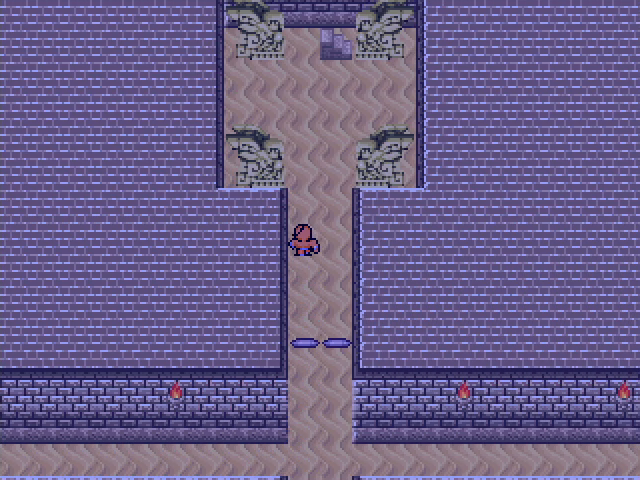
Directly ahead, two gargoyles block our path.
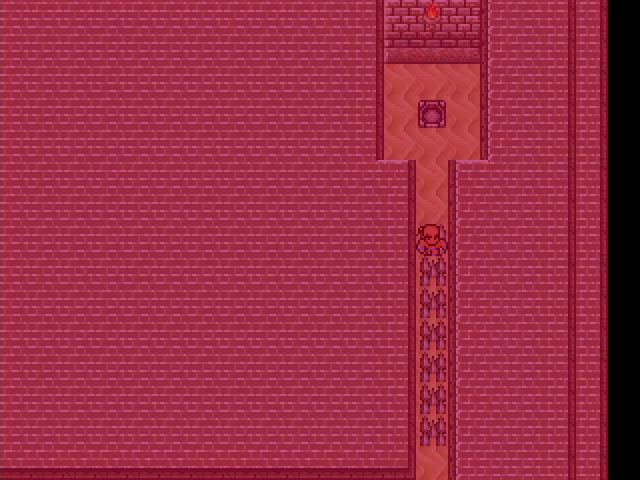
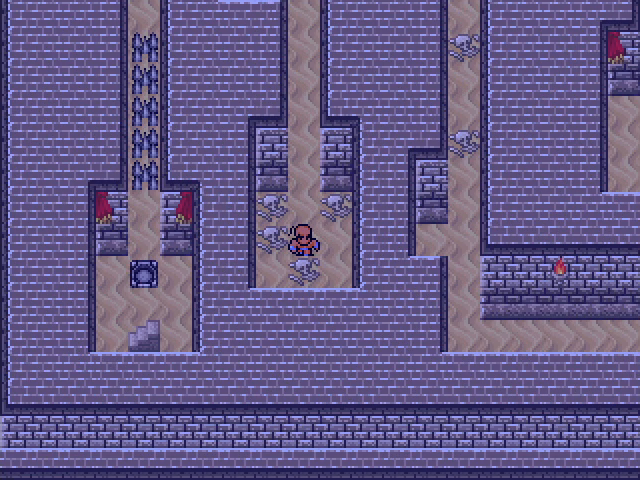
Heading west, we come to a hallways strewn with corpses.
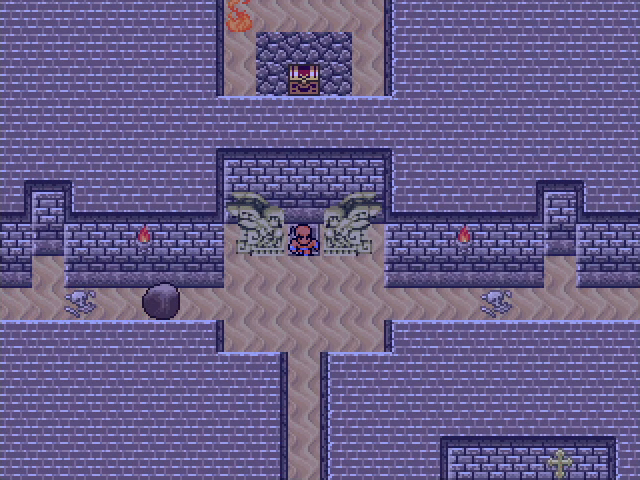
As we head into a it, a boulder comes rolling toward us. I'm not sure whether it inflicts damage or an instant kill, since I wasn't interested in risking a game over to find out. Regardless, we'll check out the east side of the floor first.
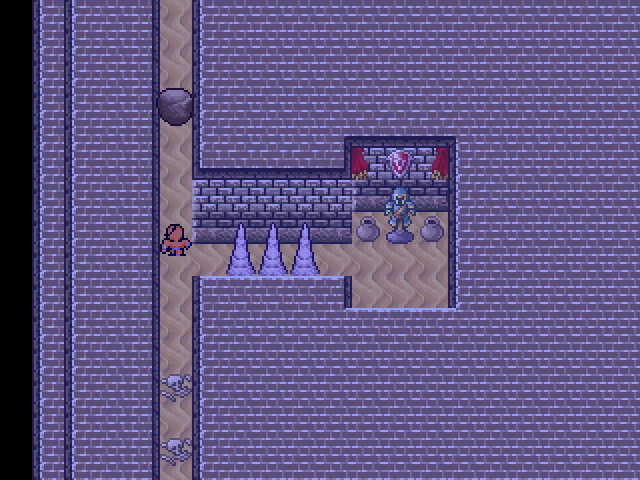
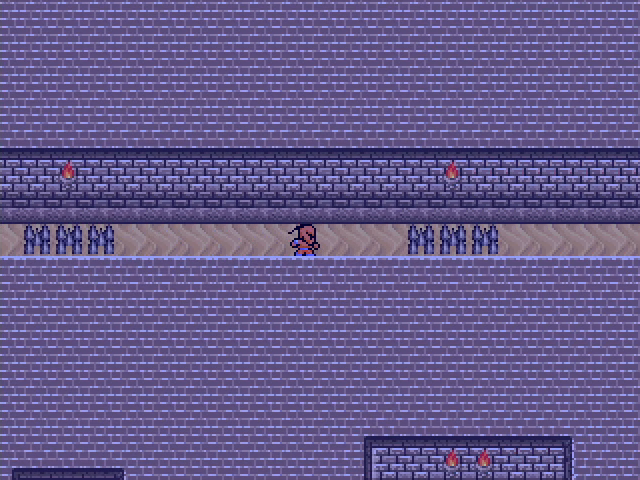
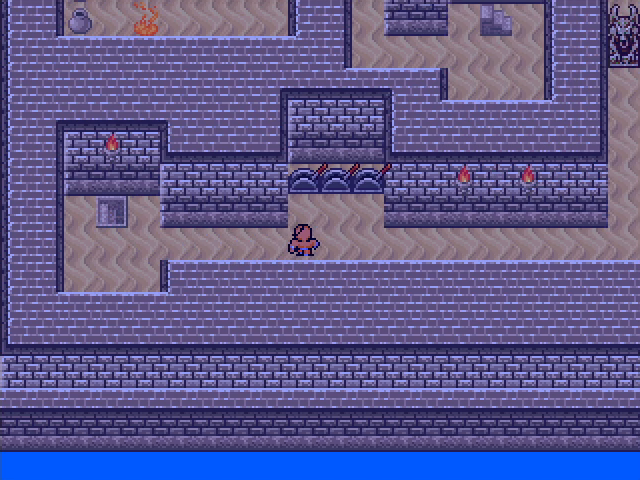
To the east are some protruding large spikes and retracted small spikes.
We all know that this switch is going to raises the small spikes, right? The only question is whether it will also lower the large ones to the south.
No surprises here, just pain.
Well, shit. Yeah, the pyramid is full of traps because that's the classic stereotype.
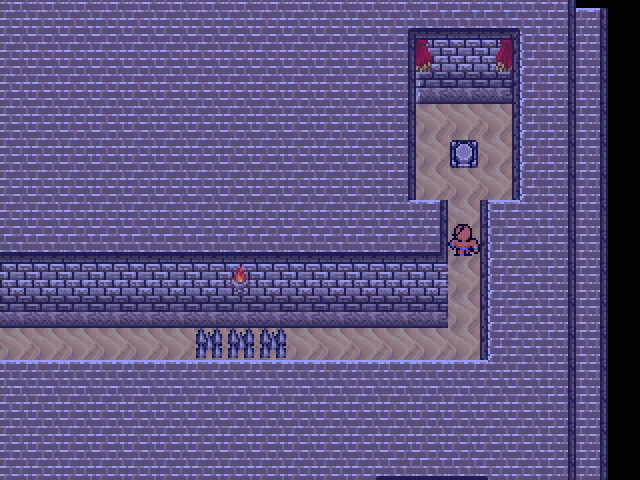
We head back west to face the boulder. Luckily, it's easy enough to avoid. It rolls north and south through the hallway continuously, so by waiting outside its path we can sneak in and bypass it.

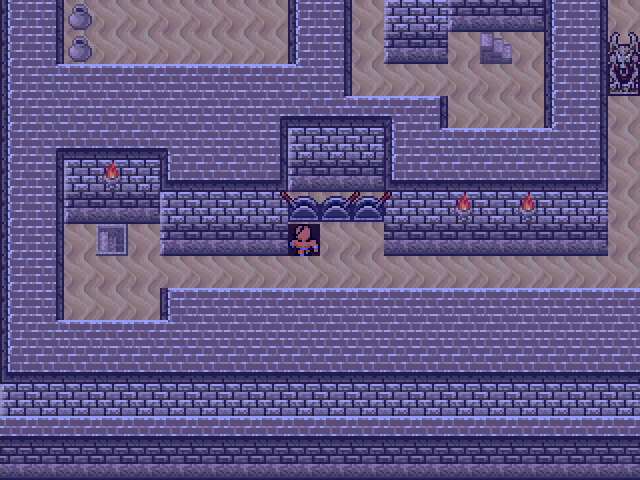
Another switch! Maybe this one will be nicer.
Yeah, there we go.
Oh, come on.
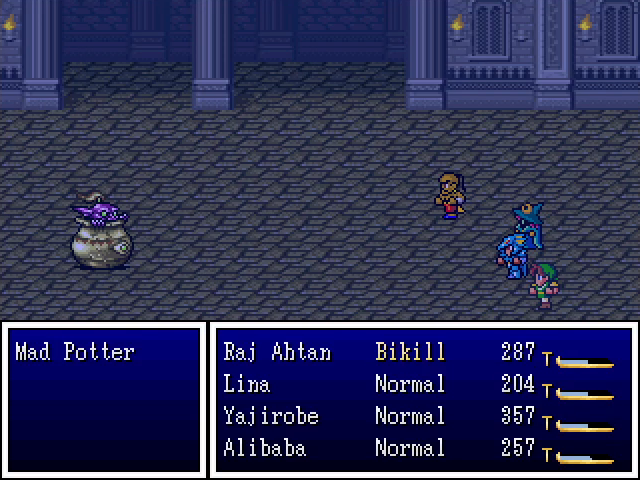
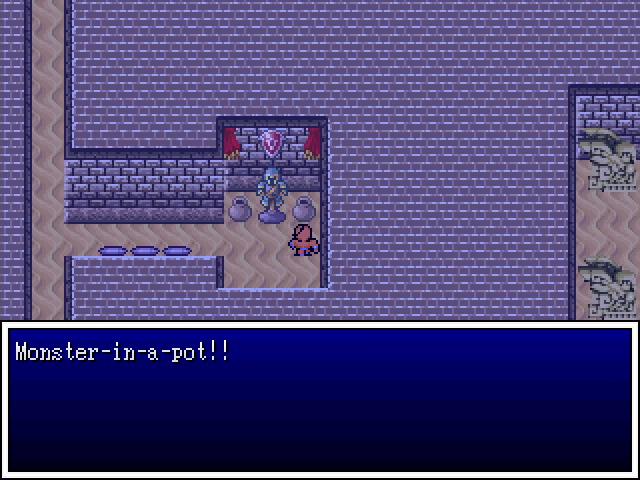
Mad Potters show up in a few pots in this dungeon. They cast Sleepmore and Blazemore, but die pretty quickly and aren't all that threatening.
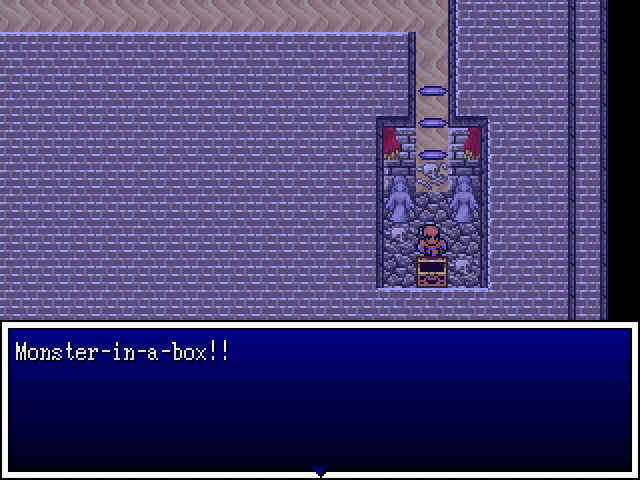
With the large spikes down, we head back to the southeast room and suffer another ambush.
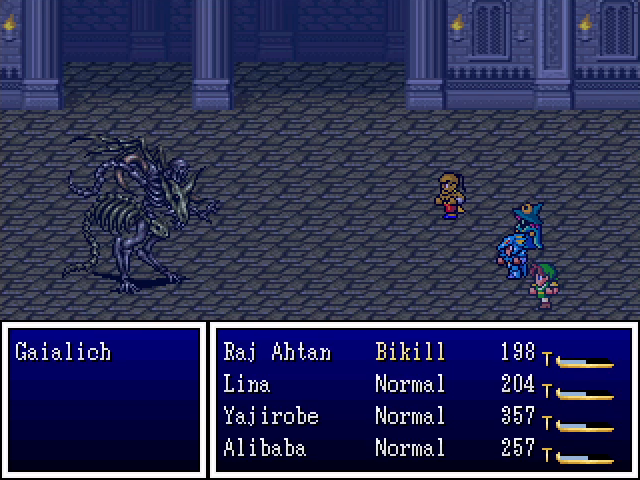
It's just a gaialich though. We've fought them in the Inverted Tower, and while we don't have Akira to auto-win this fight, it's not really dangerous.
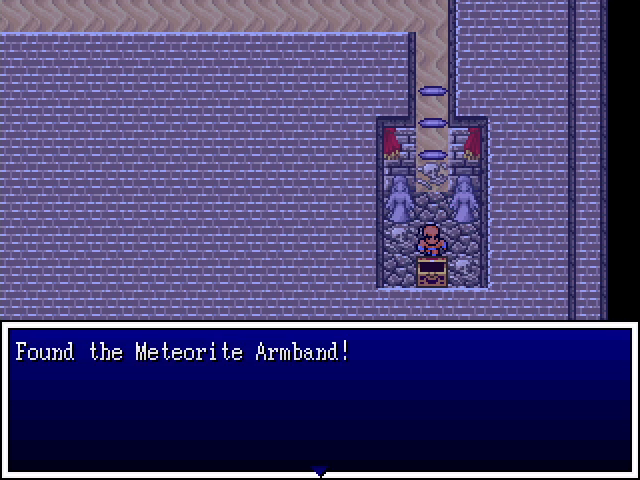
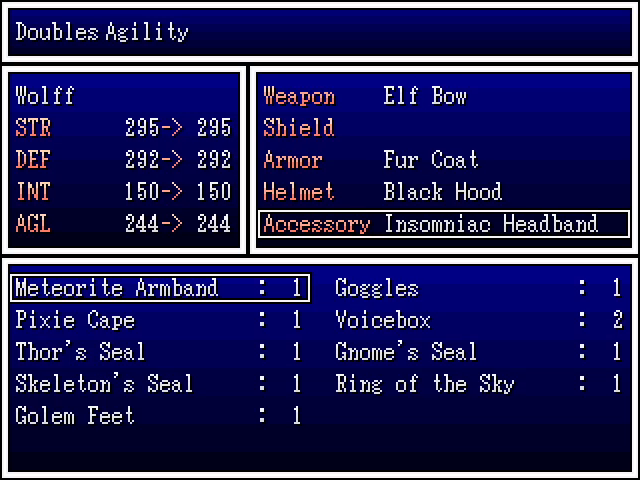
Our prize is the Meteorite Armband, a unique accessory that grants Speedup to its wearer. This excellent treasure goes to Wolff, to better boost his damage output and support abilities.
With that taken care of, we head back west, then north, then east along a spike-filled hallway, where we find another button.
We then have to head back out through the spikes. I sure am glad we pushed that first button...
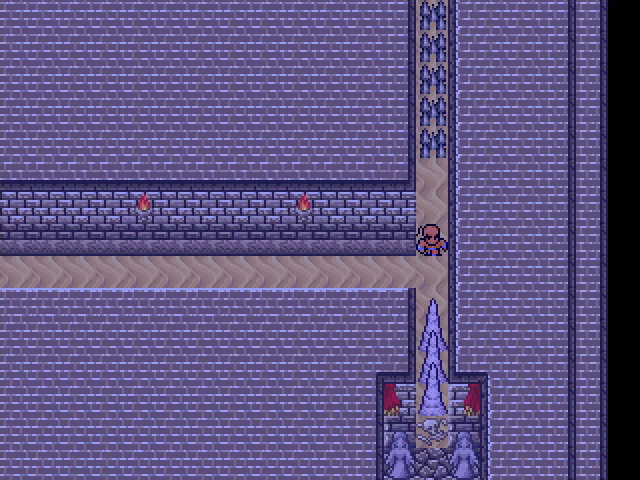
Finally, the statues at the entrance are gone and we can head upstairs.
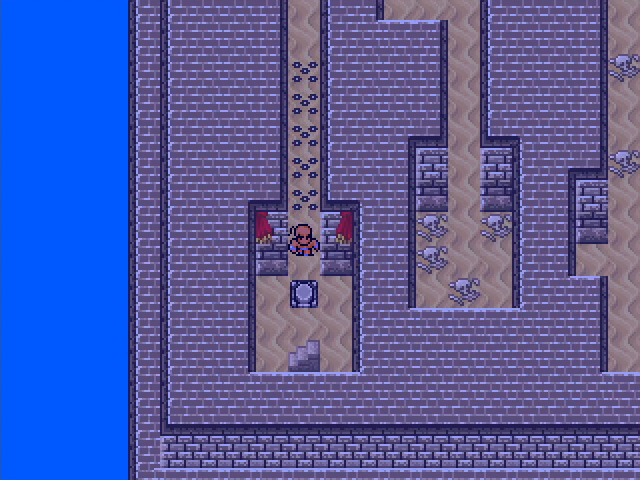
We are immediately greeted by another boulder here. We can also see a few rooms that aren't connected to the rest of the floor - they can only be reached by taking stairways from floors above. Yes, in addition to all the traps, the pyramid is also a maze. Luckily it doesn't wear out its welcome.
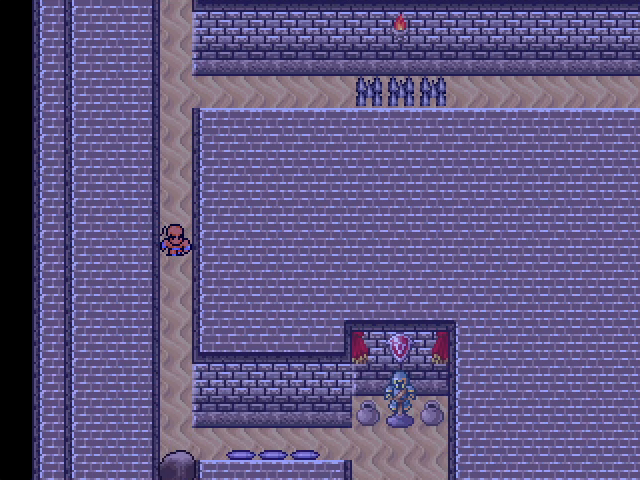
To the southwest, we find three levers. We pull the ones on the left and right, which is coincidentally exactly what we're supposed to do - it lowers more statues on the east and west sides of the floor, allowing us passage.
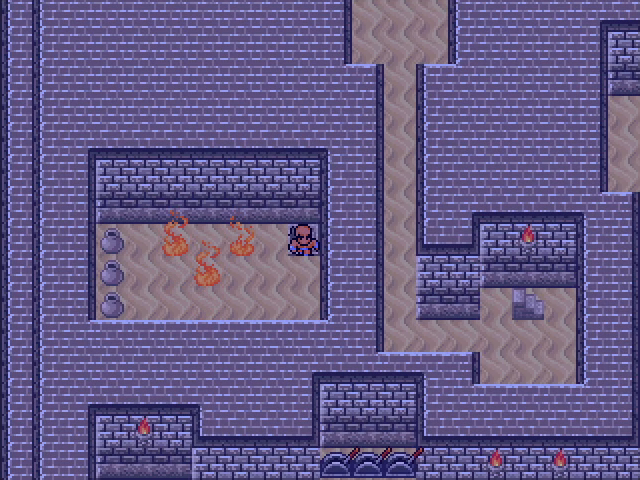
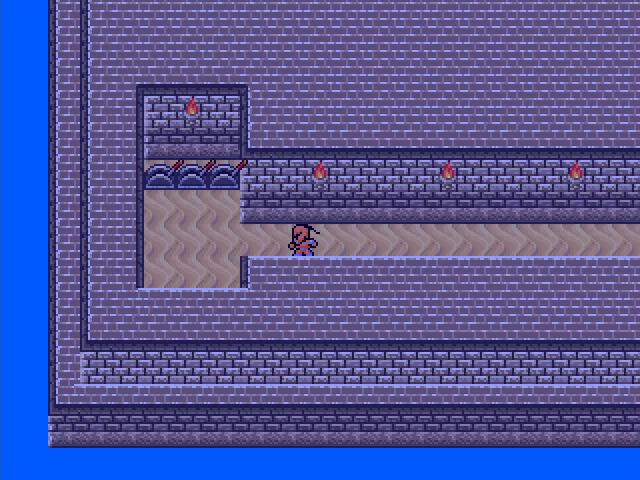
On the west side of the floor, we find a set of stairs leading up into an isolated room. The flames here move up and down at different speeds; touching one damages the party but removes the flame. Besides a Tiny Medal in one of the pots, there's nothing exciting here.
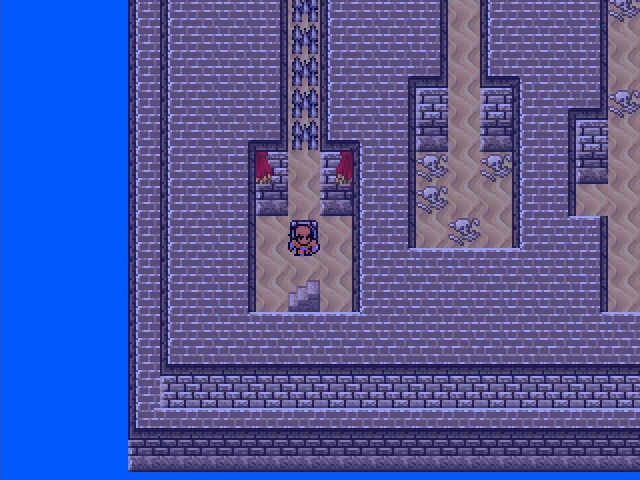
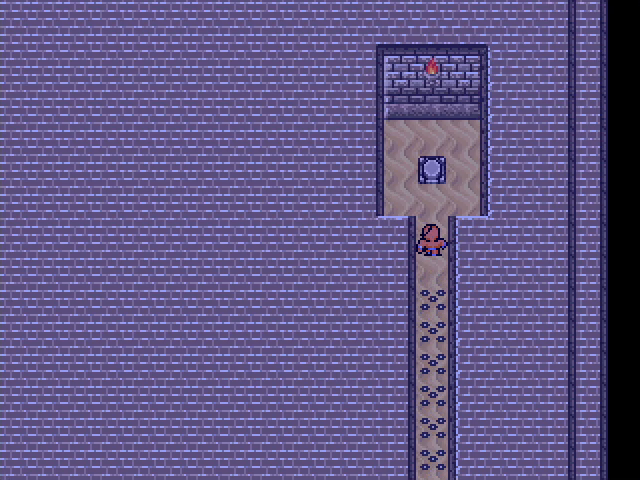
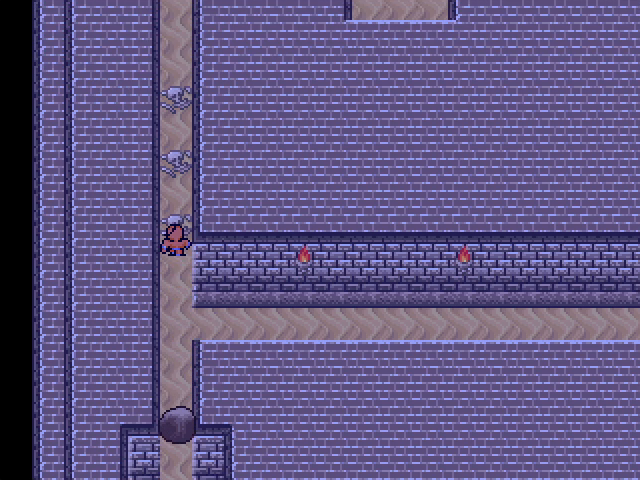
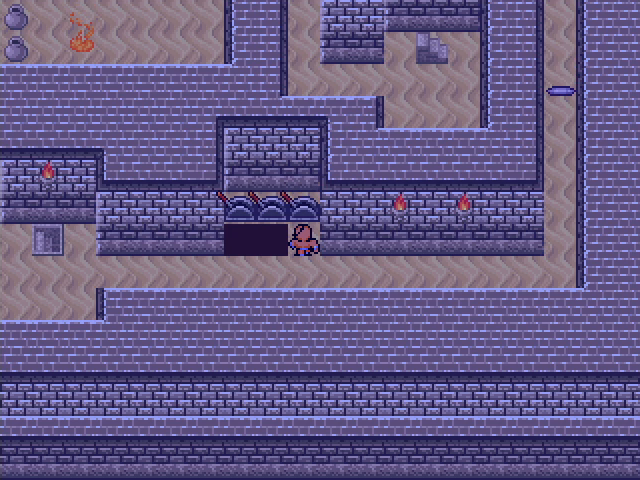
Further up the pyramid, we find this familiar setup. The unavoidable button raises the spikes, but only after we've passed.
Immediately above, we encounter three levers.
We hit the one on the left, but that's incorrect.
We're dropped back to the previous floor, and now we have to cross the spikes we raised earlier. This is actually kind of a clever setup, I have to admit.
After falling down again, we hit the last lever, which lowers another gargoyle statue.
There's not much else to say about the pyramid's design, but there are a couple more areas of note before we get to the end. The first is this weird bedroom, which contains both a Mad Potter and a Tiny Medal.
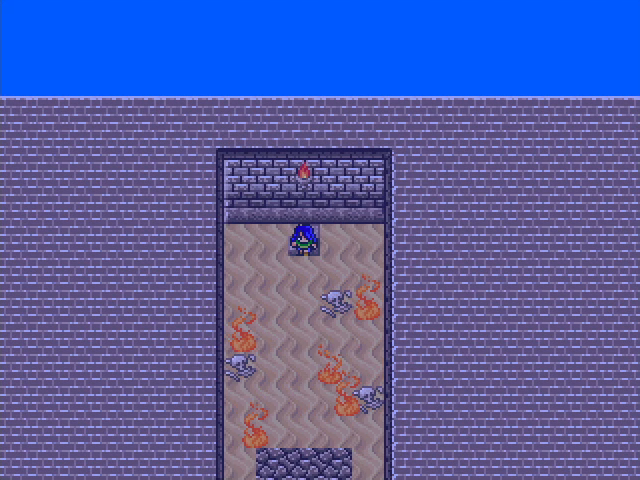
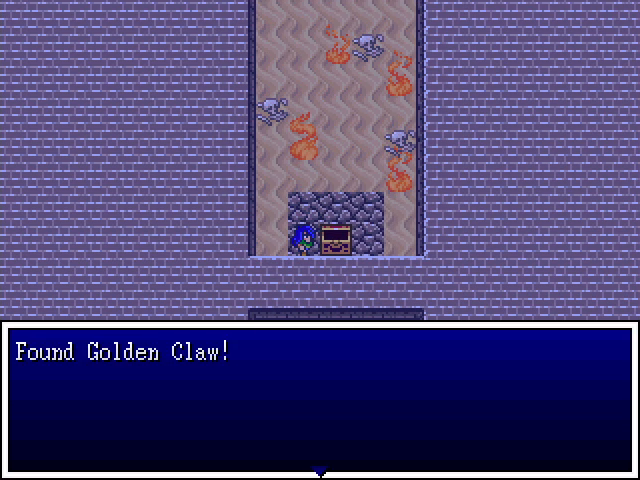
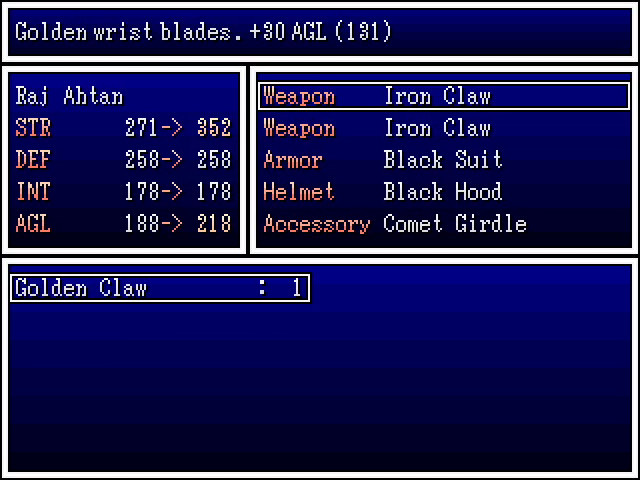
The other is this flame-filled room. The flames here protect a chest containing the Golden Claw. This is a powerful weapon that also raises Agility. Larry can use it, but Raj Ahtan is the better choice.
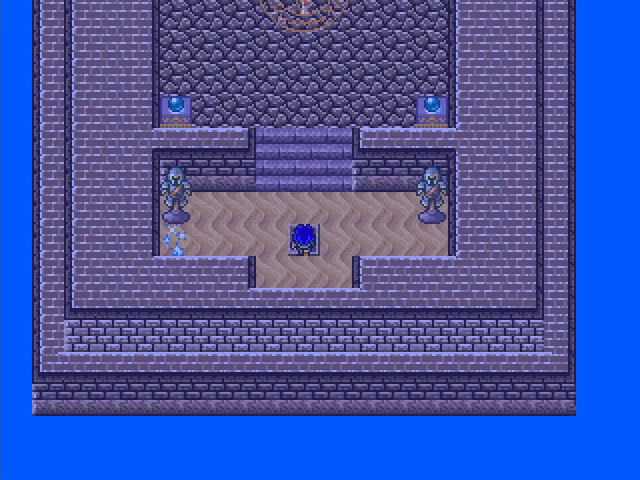
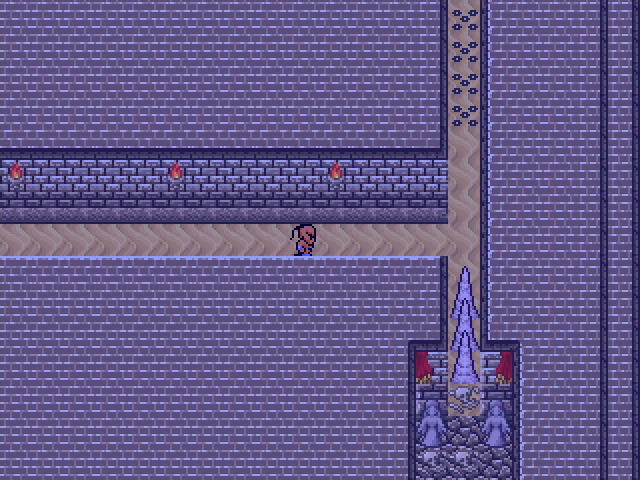
Finally, we come to an important-looking floor with a save point.
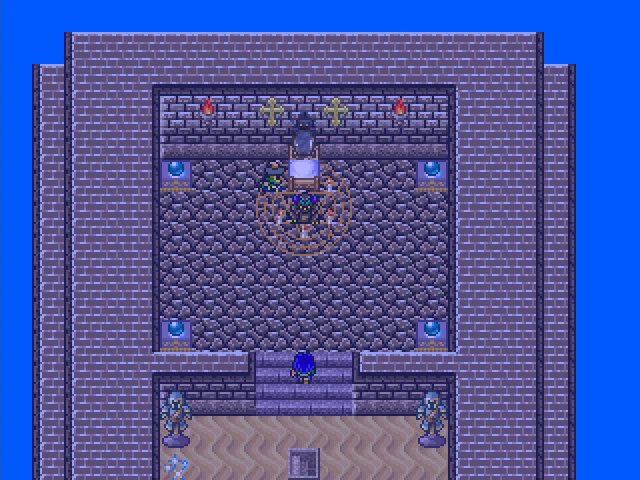
Is that..?
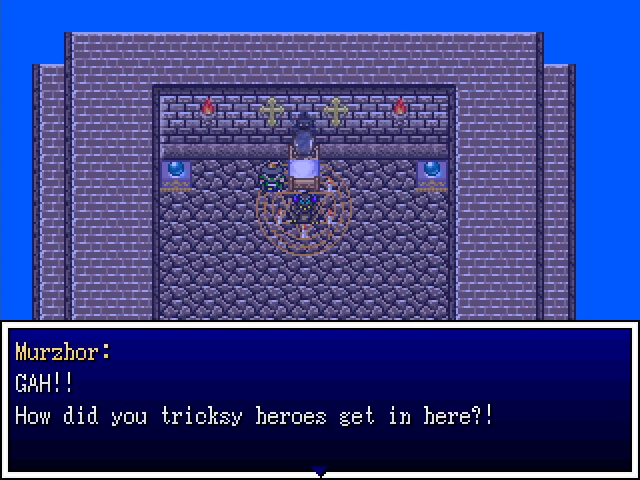
It is. Fuckin' Murzhor.

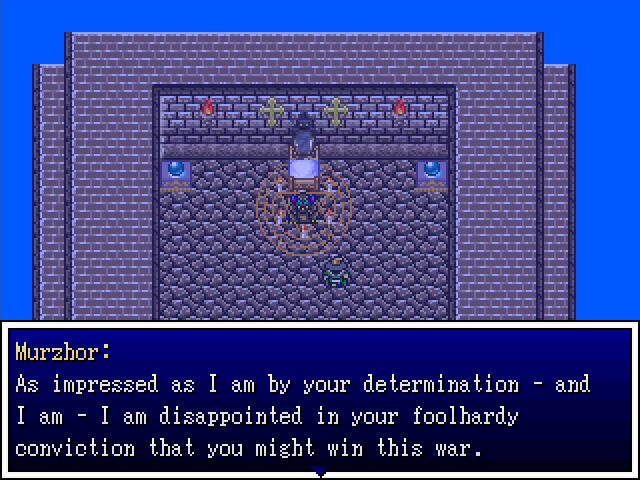
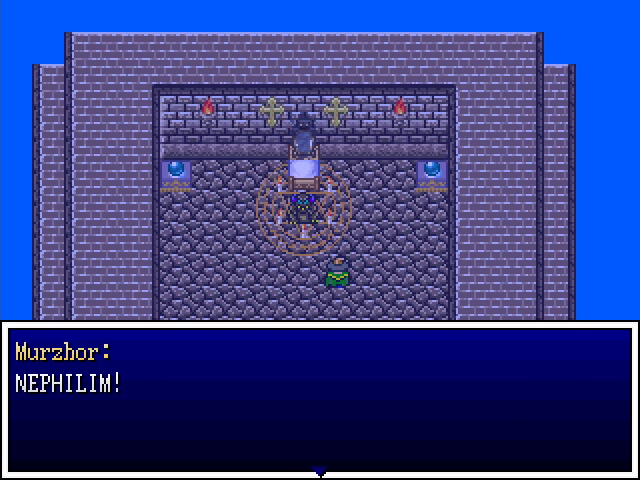

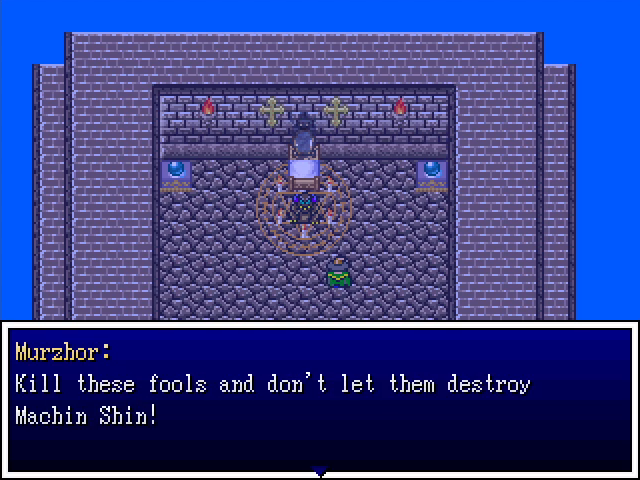

The demonic general vanishes in a flash, leaving his henchman to deal with it.
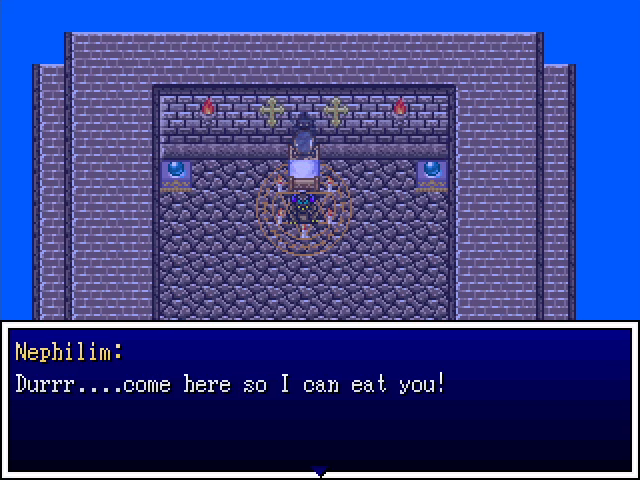
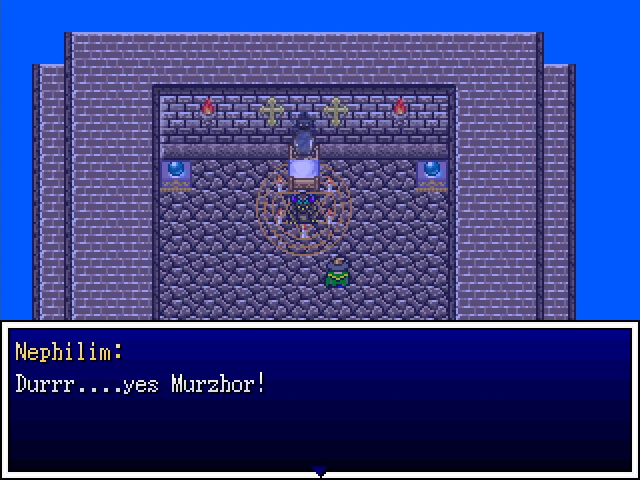
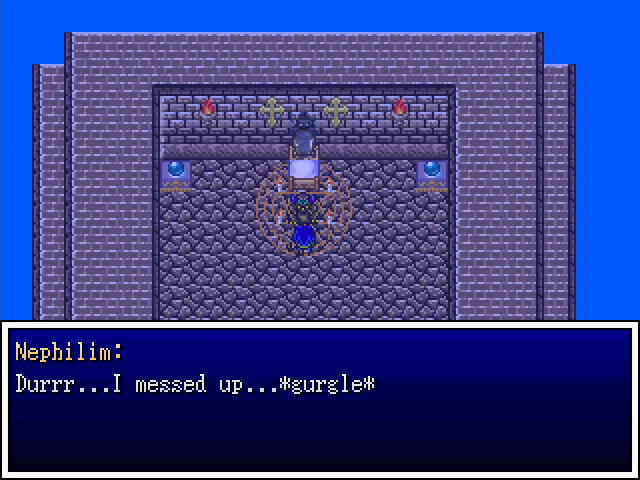
Conveniently, Nephilim is too lazy and/or stupid to move, giving us to to go save before we fight him.
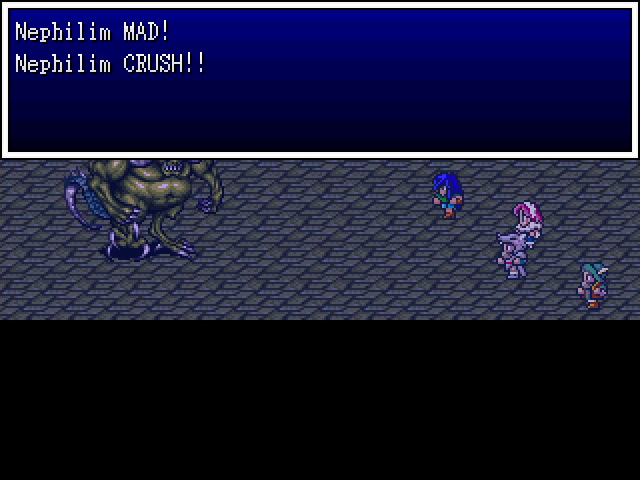
Nephilim is the big boss of the pyramid. As his sprite and dialogue suggest, he's a big bruiser with strong attacks and not much else. Of particular note is Ravage, which can deal pretty nasty damage to everyone, but luckily he doesn't use it much.
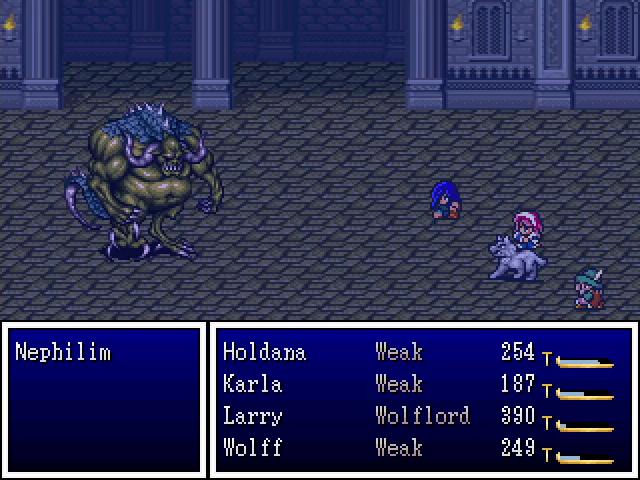
He does have one non-attack, Weakness, which inflicts Weak on the party and is pretty annoying.
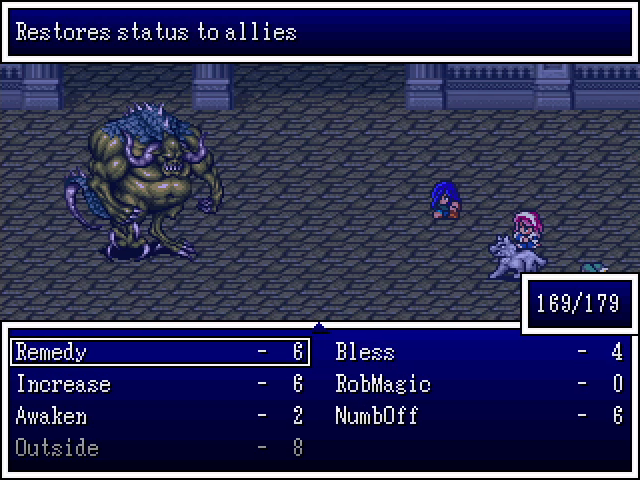
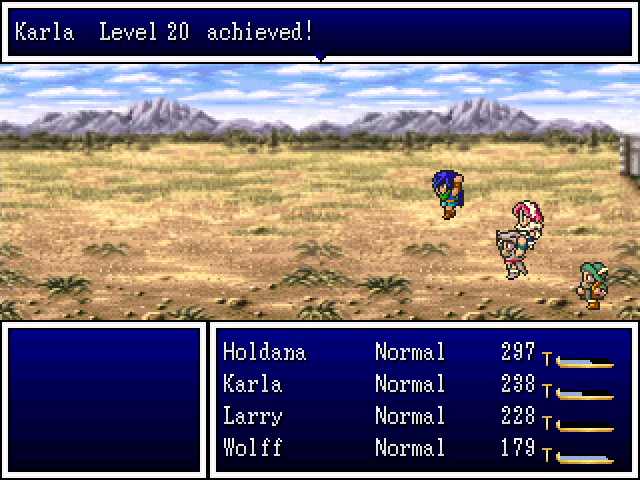
Luckily, Karla can remove that from everyone in one shot. Tricks like this are why I love dedicated healer classes.
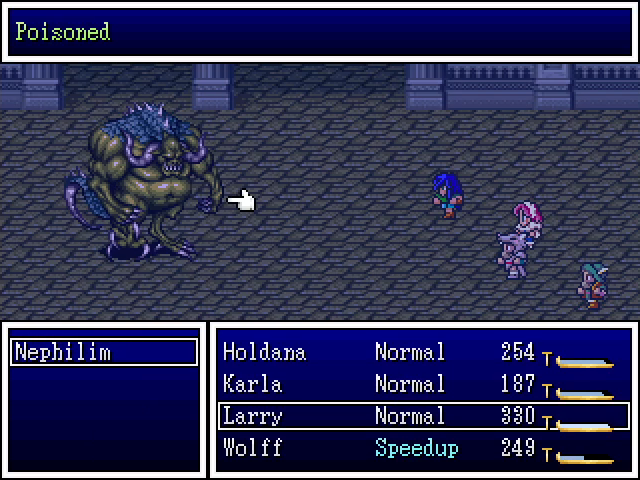
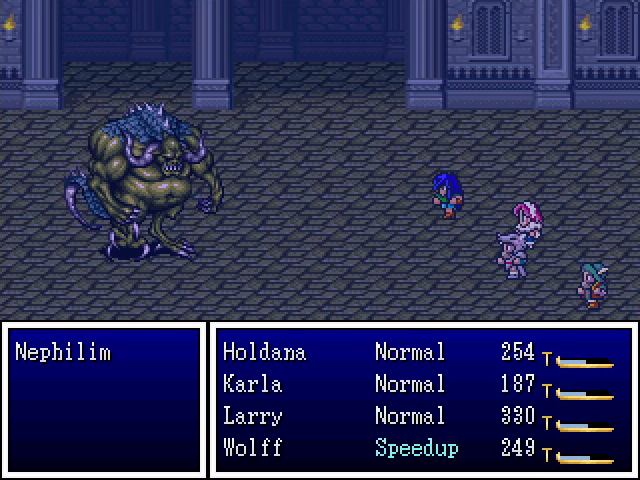
Nephilim's biggest weakness is that he can be poisoned. This inflicts over 1000 damage a pop, which seems to coincide with anyone taking a turn. Larry can exceed that damage while in wolf form, but only barely and not nearly as often. Even better, Nephilim will sometimes Defend, which just gives the poison more time to do its thing.
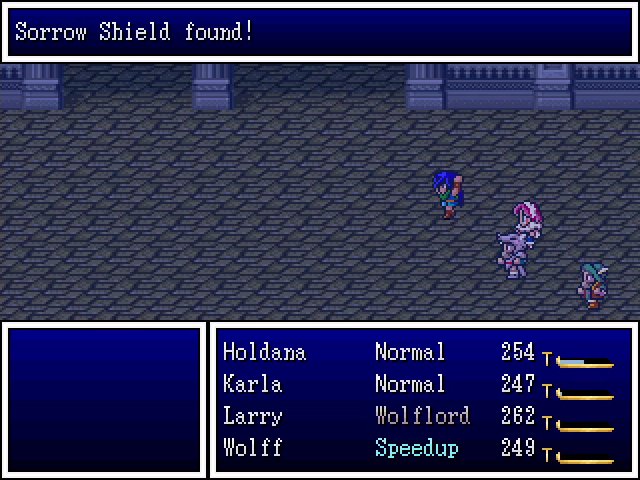
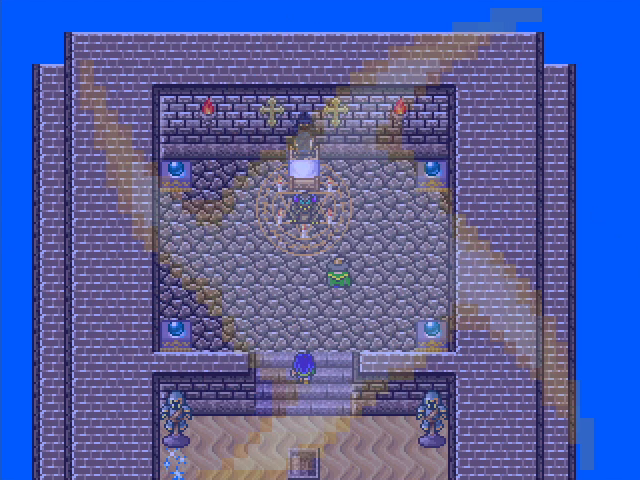
Nephilim goes down without much fuss, and drops a unique shield.
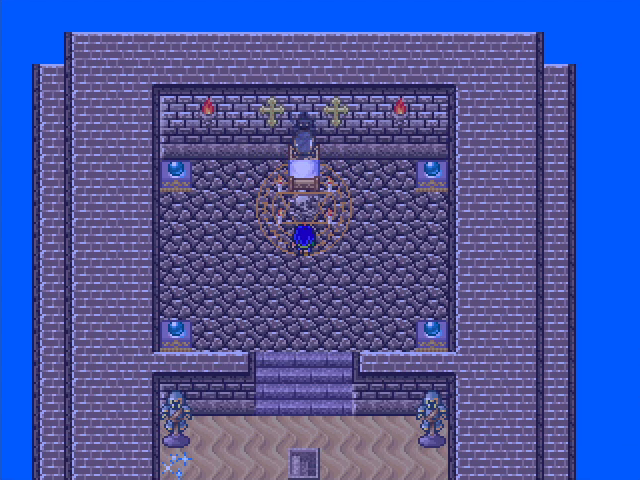
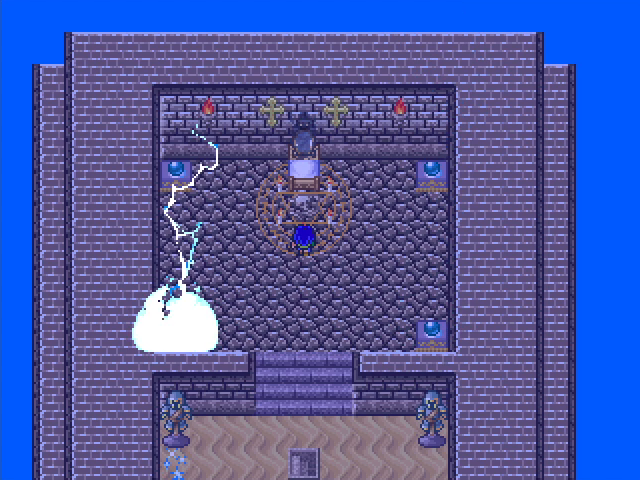
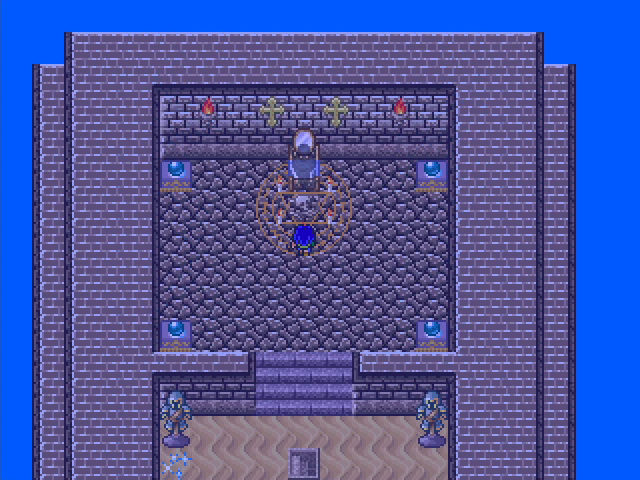
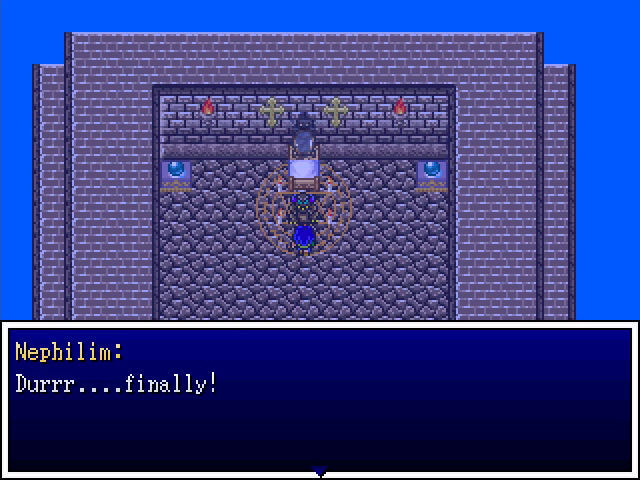
As he falls, lighting strikes the four orbs in the corner of the room, and the ghostly figure above floats toward us.
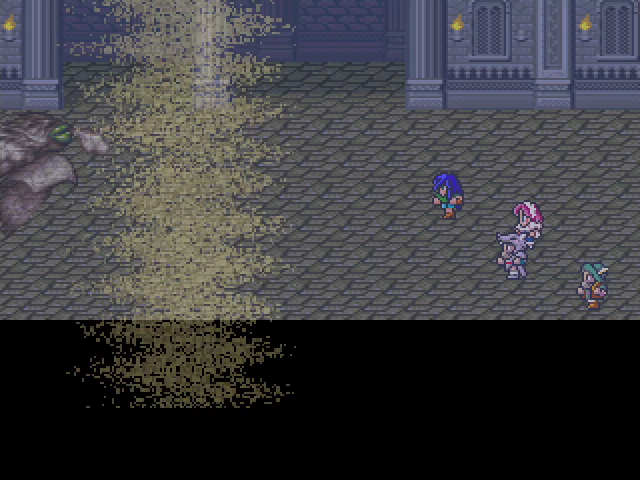
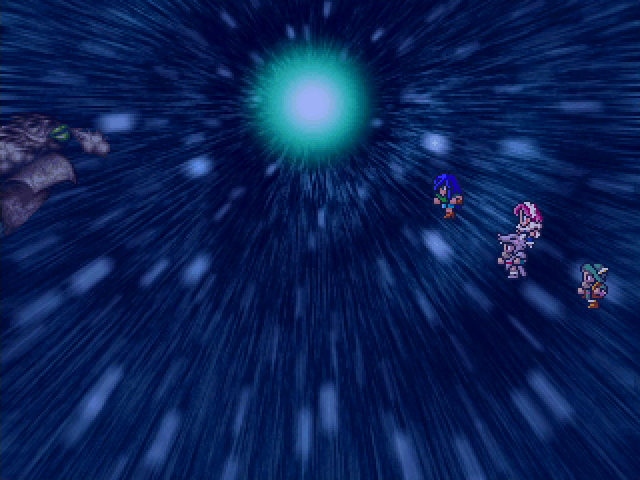
Did I say Nephilim was the boss of the pyramid? I meant that he's the first boss of the pyramid. We now have to fight Machin Shin itself, and without a rest break. At least we get a rad battle background.
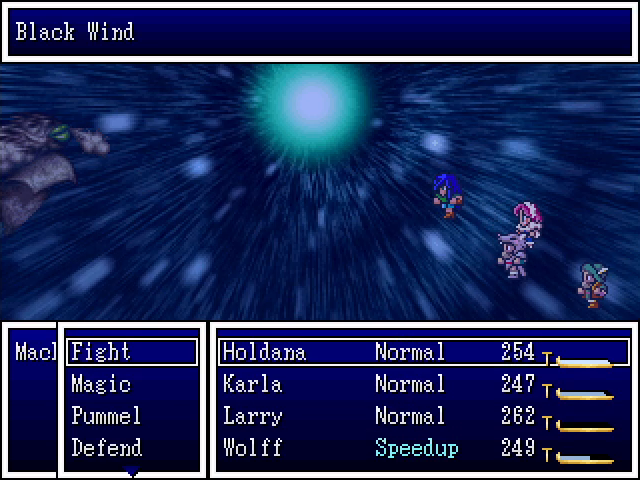
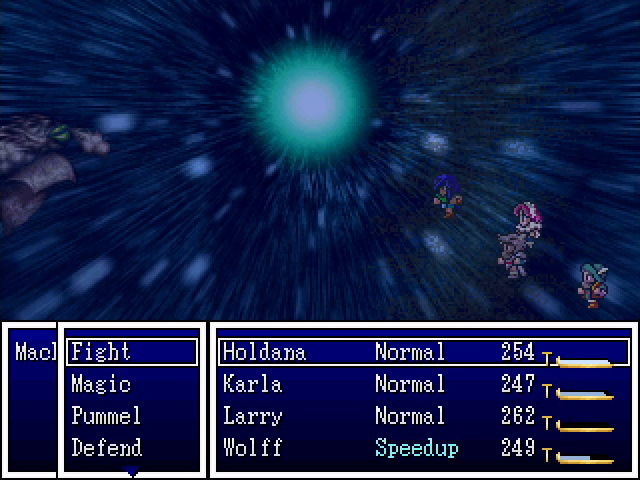
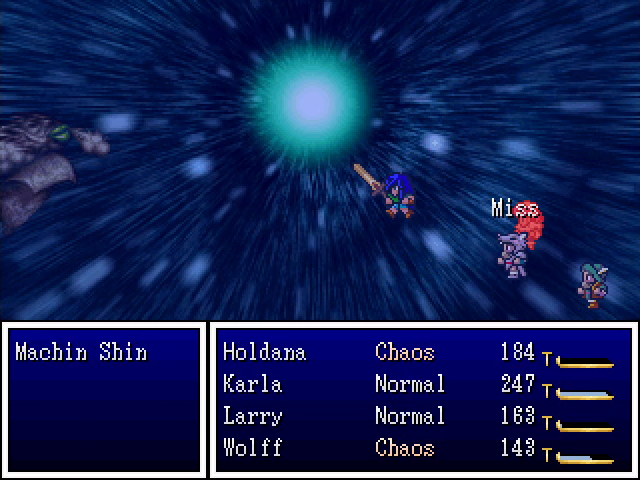
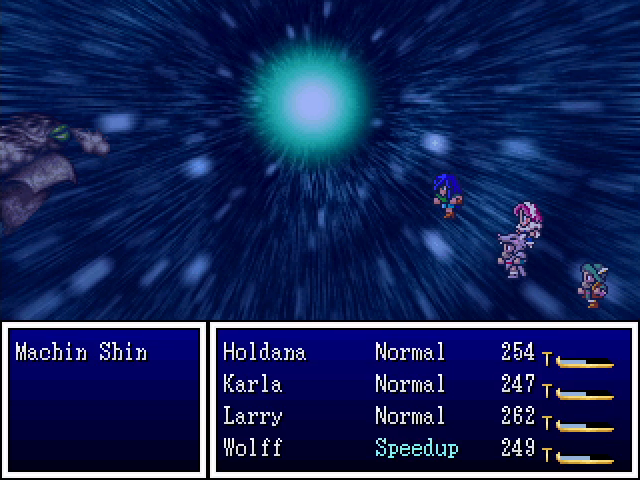
Besides a basic attack that hits all of its enemies, Machin Shin only has one attack, Black Wind, which damages the whole party and can inflict Chaos. This is pretty annoying. It's also immune to physical damage, so Holdana's mostly-physical party is at a huge disadvantage.
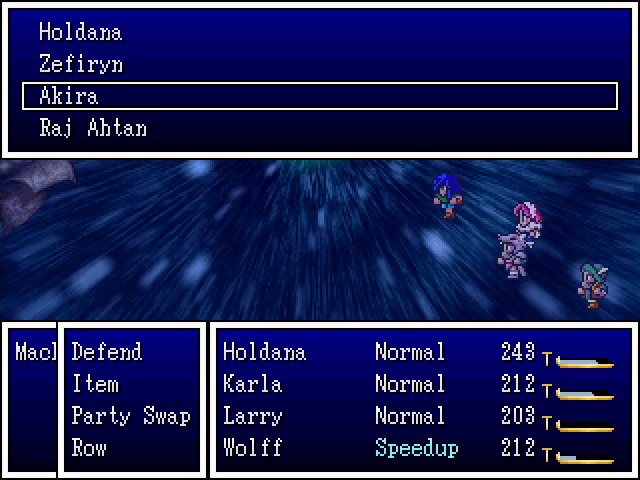
Luckily, Party Swap is available, so we can bring in Akira's team.
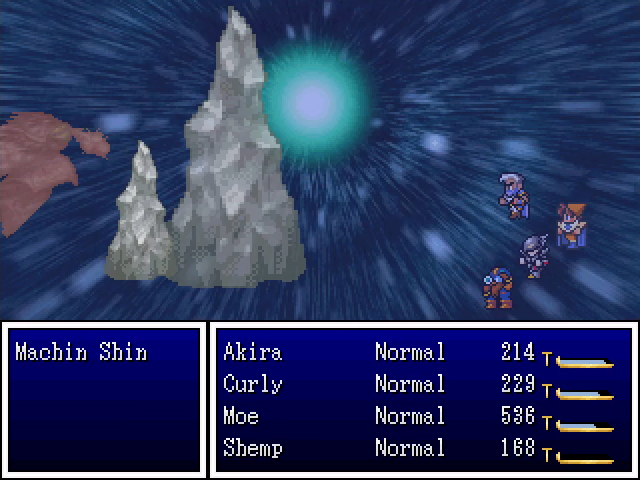

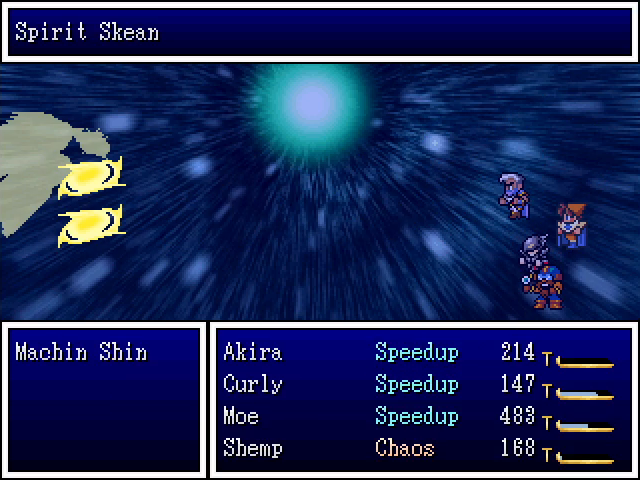
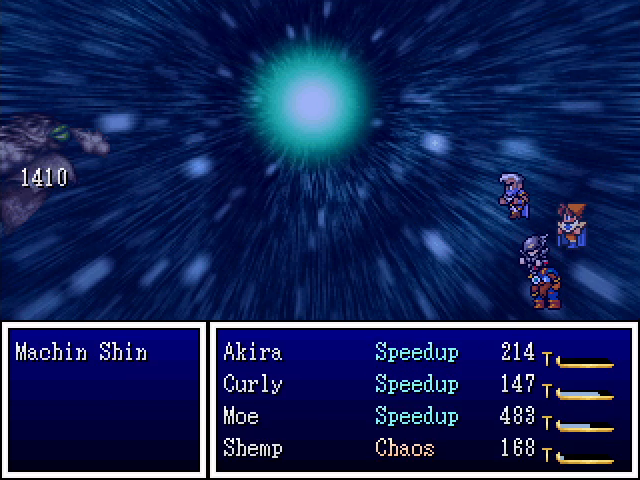
Between Spirit Skean, Earthshaker, and Moe's spells, we have some actual offensive options here. Curly can't hurt the boss, but he can be put to better use anyway by casting buffs, debuffs, and Regen. Chaos still makes it a bit touch and go in places, but overall we win without too much difficulty.
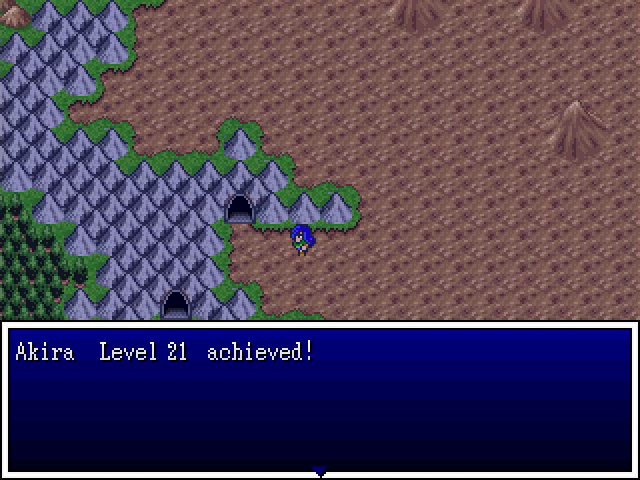
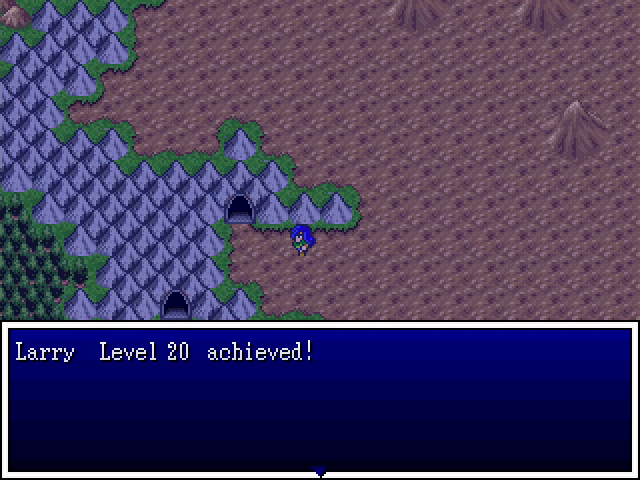
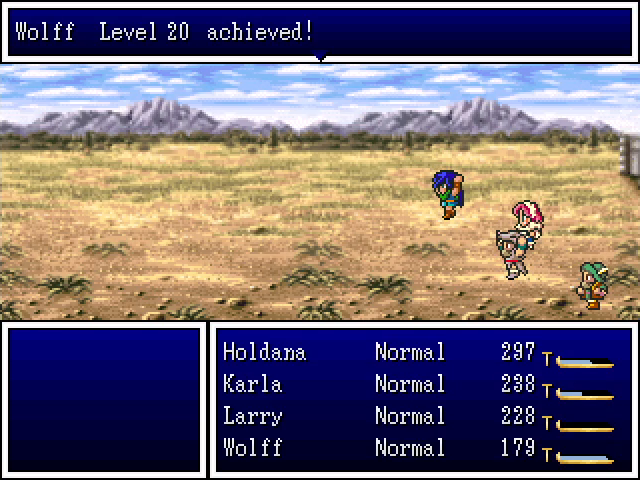
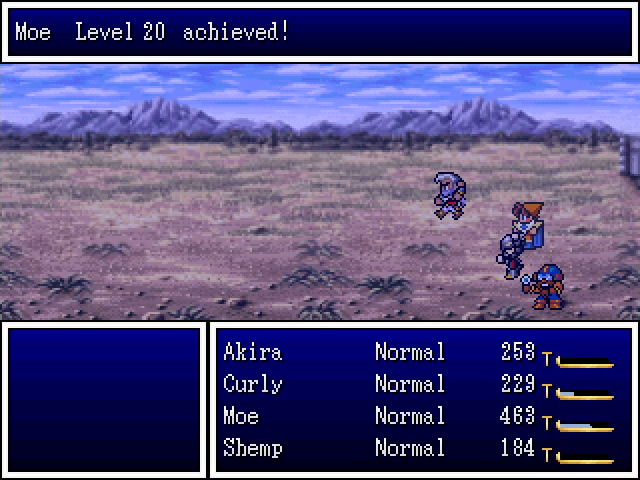
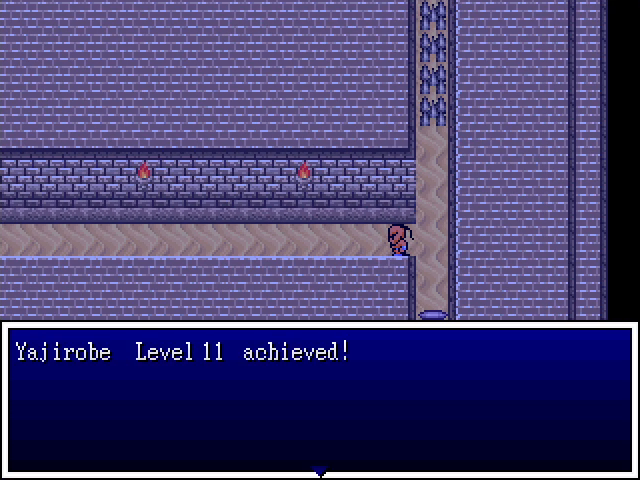
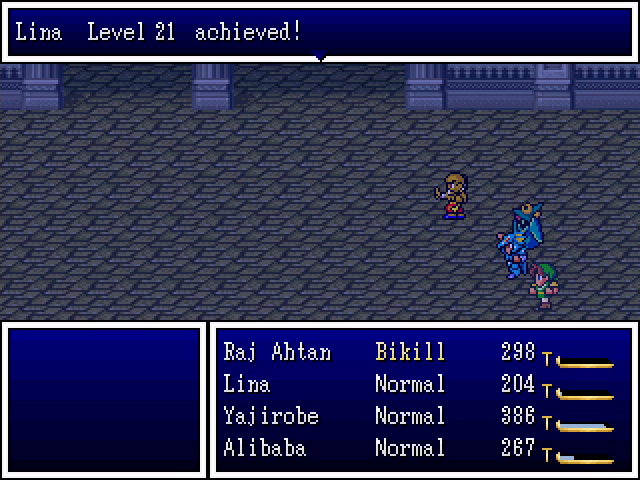
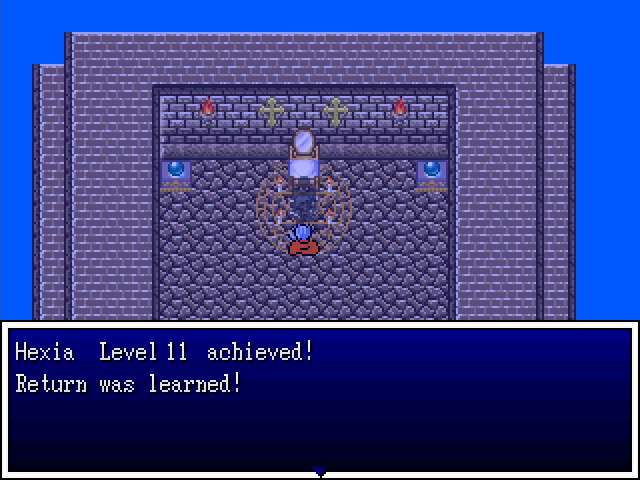
For killing Machin Shin and finally ending the sandstorm, we get a moderate amount of EXP, which still results in a bunch of level ups. Speaking of...
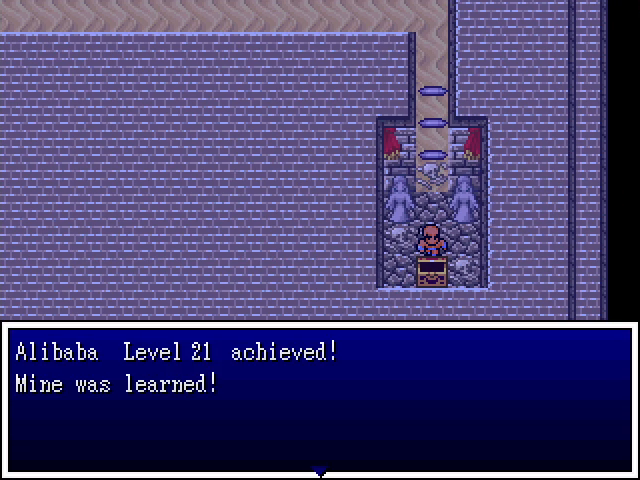
Mine damages a single foe. It does more damage than a regular attack, but only barely. It's kind of worthless.


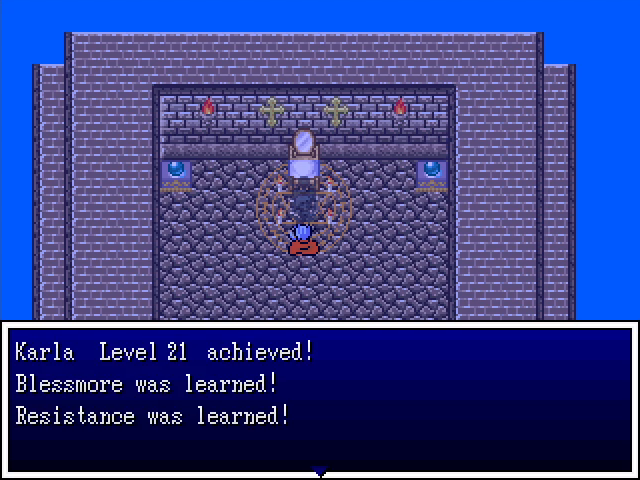
Blessmore is obviously a stronger form of Bless. Resistance raises the caster's defenses against elemental damage, which I can see being super useful in some fights.


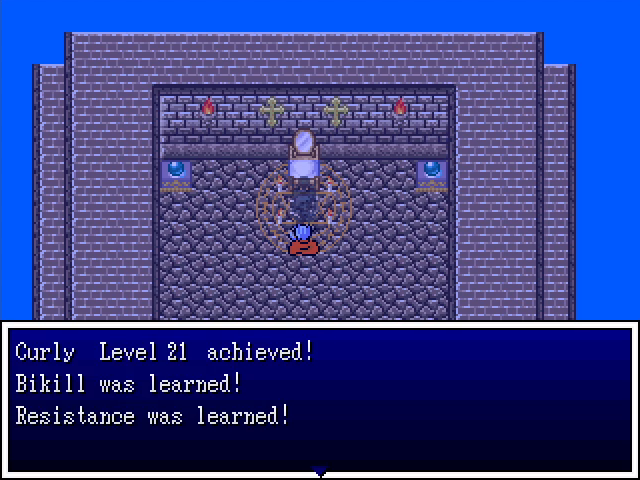
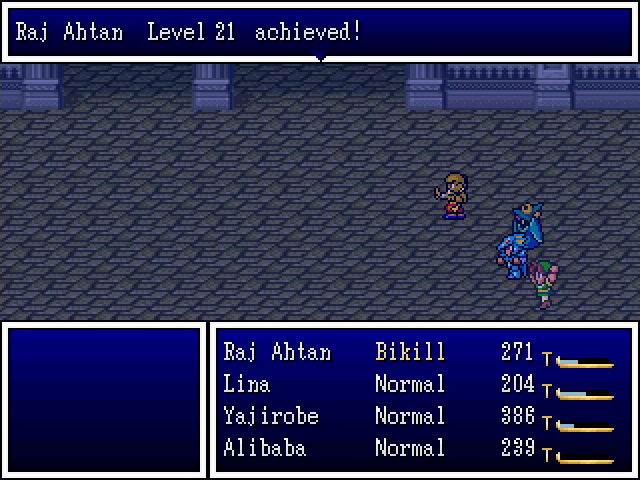
Bikill doubles a character's damage and is amazing on physical fighters.

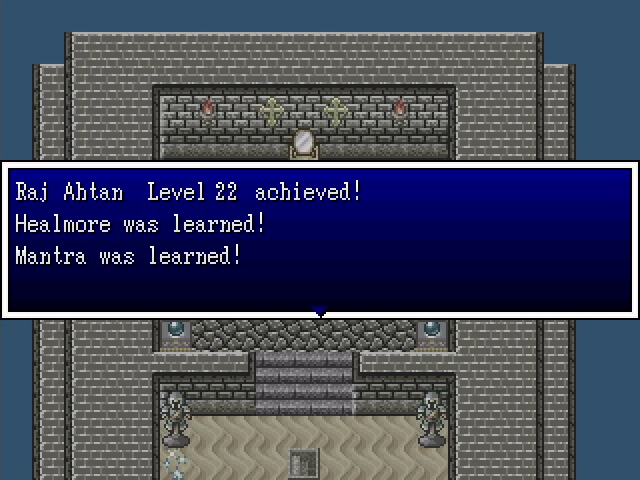
Raj Ahtan continues to be the best healer hero. Mantra doubles his intelligence, which I guess means better healing? It's free to use, but still seems pretty niche.
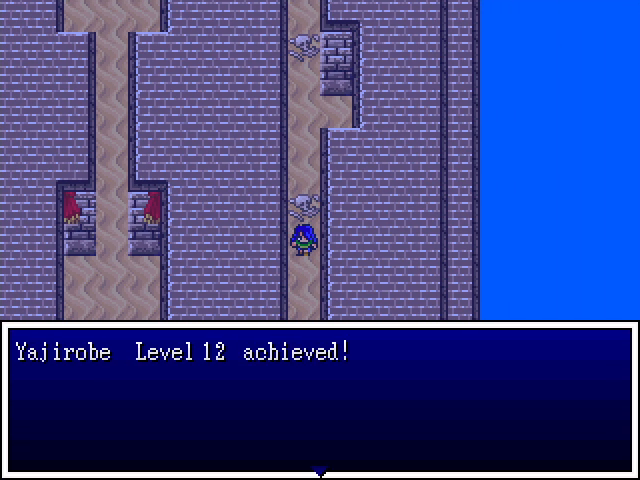
We got a lot of levels in the pyramid, though that's in large part thanks to Hexia, Harley, and Yajirobe making up for their lost EXP.
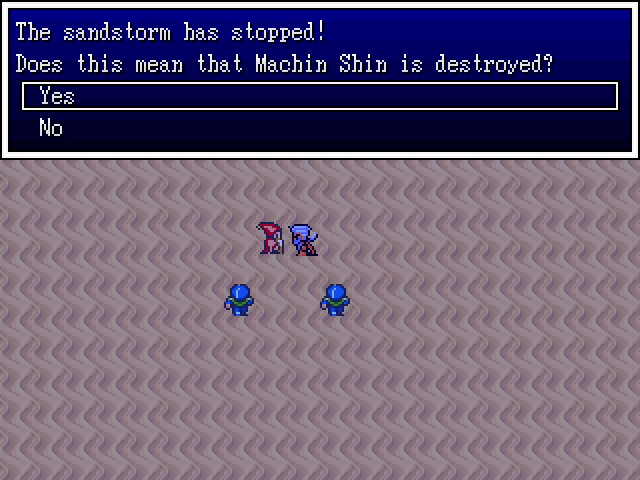
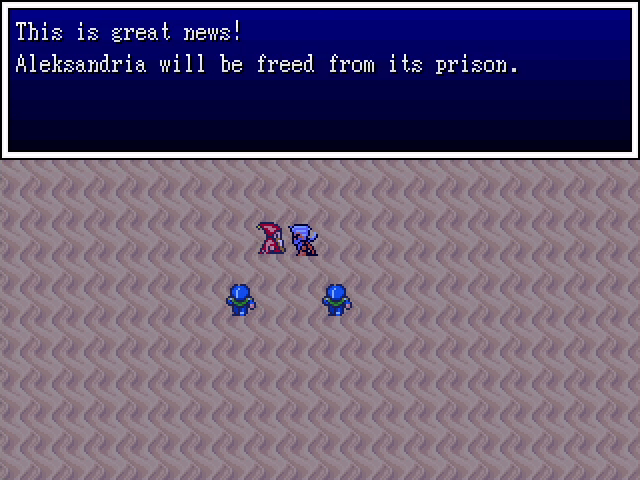
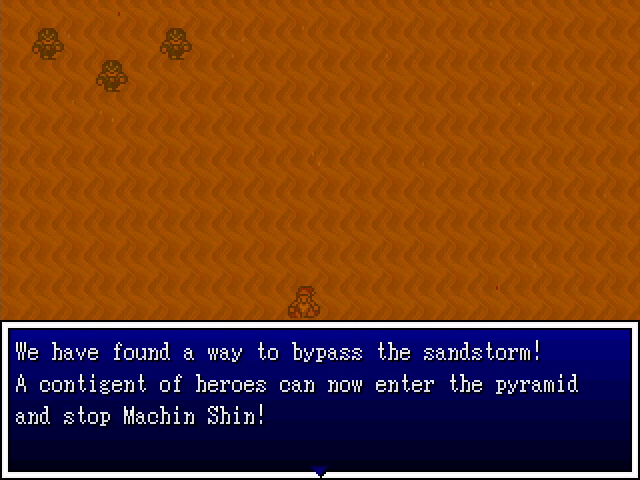
Outside the pyramid, we deliver the news that Machin Shin has been defeated.
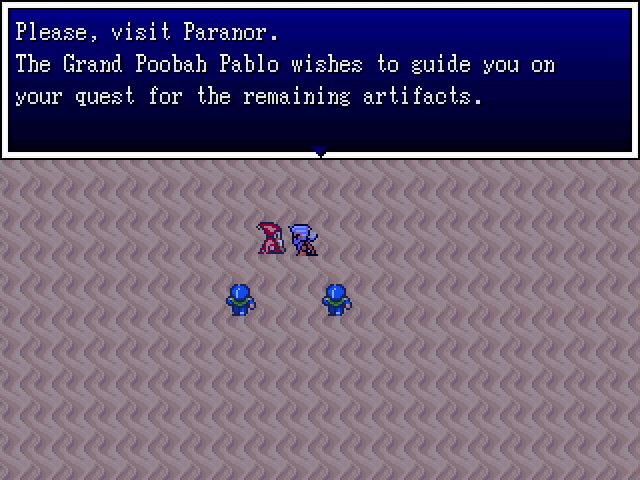
We're told to visit Paranor, but that will have to wait.
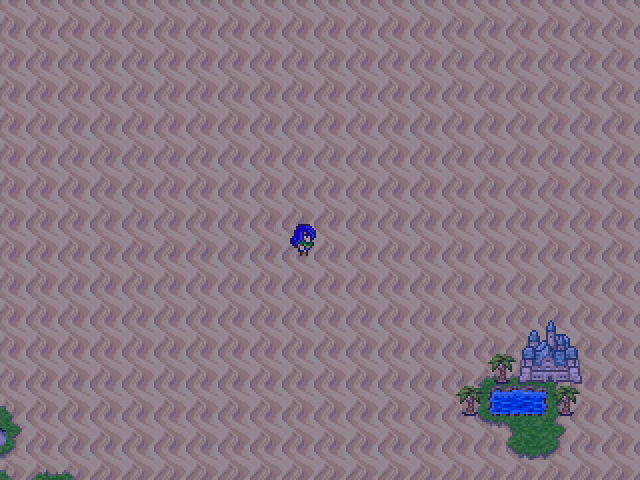
Now that we've freed Aleksandria, we're going to pay it a visit.