Part 33: The Siege of Okasa
Welcome back, everyone. We're finally done with the Funhouses, but there's one more thing we need to take care of before we proceed with the story.
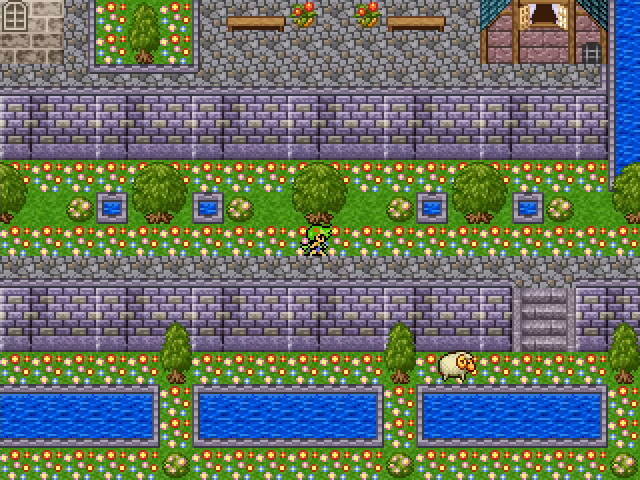
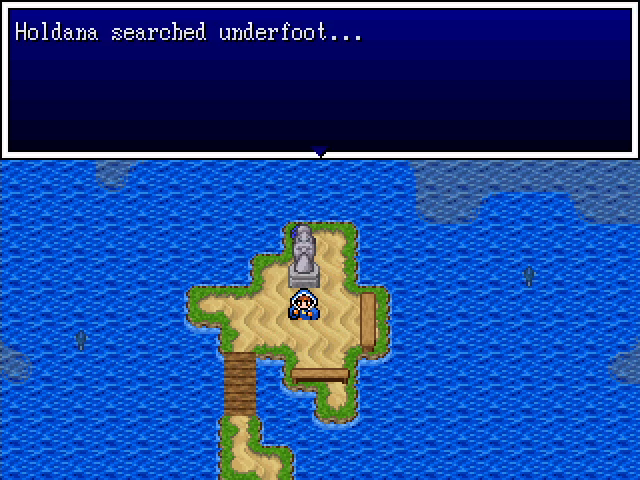
We missed just one of Shelby's hiding spots. It's actually embarrassingly easy to find.

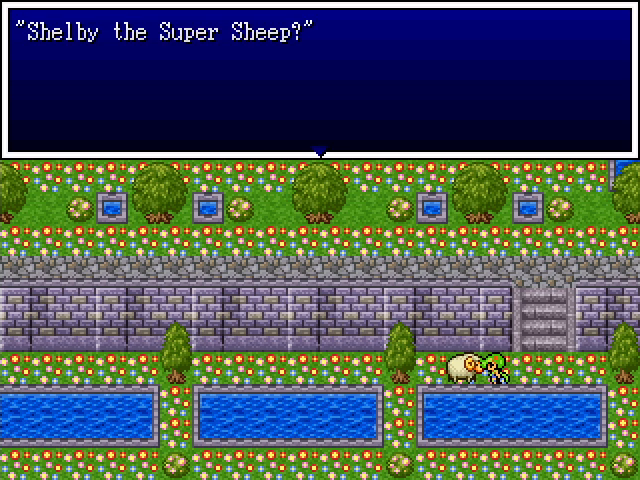
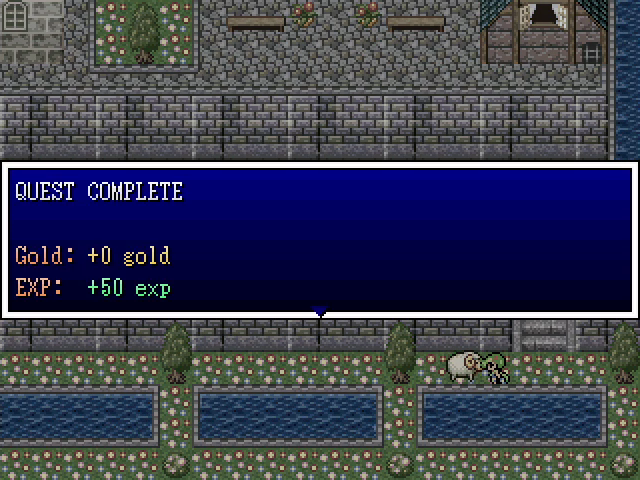

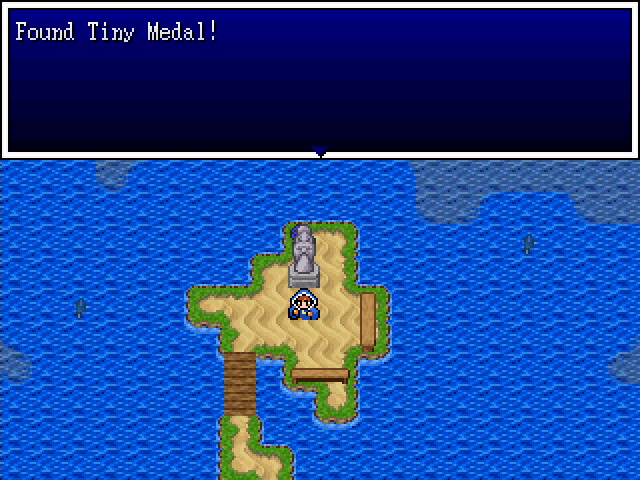
If I'd known this would be the reward I probably wouldn't have bought another ring at the Monoplo game, but oh well. What's important is that we finished the side quest.
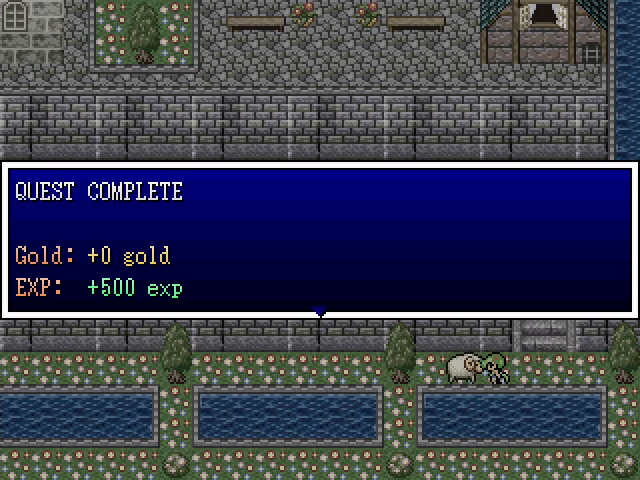
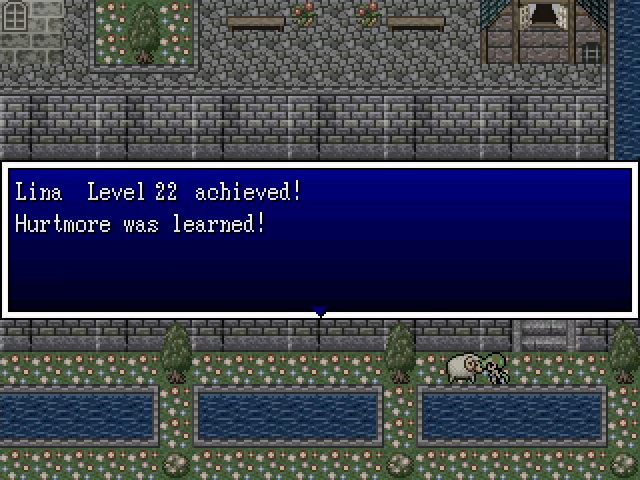
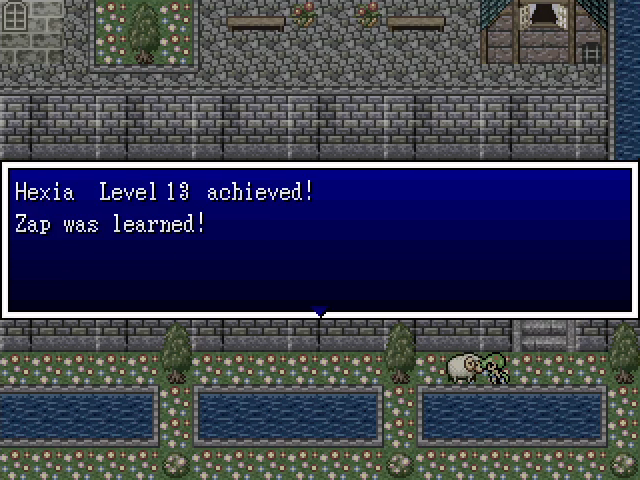
Oh, and we got a few levels from it too. Zap is a single-target lightning spell that's reasonably strong - a good acquisition for our newly-minted Sage.
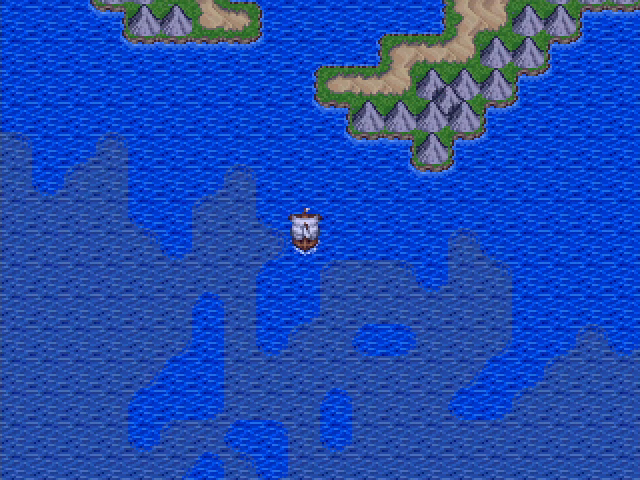
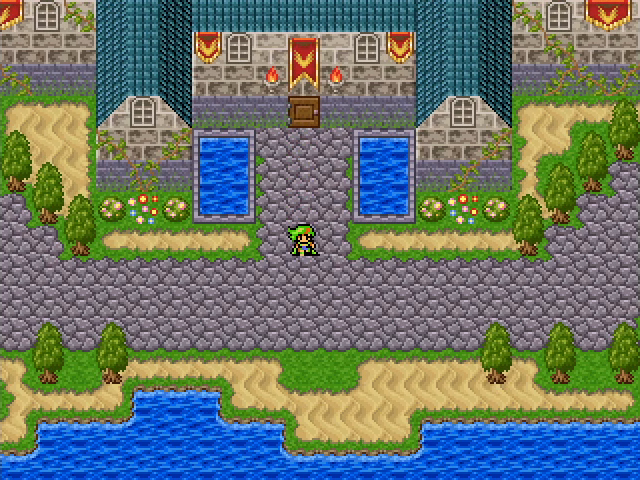
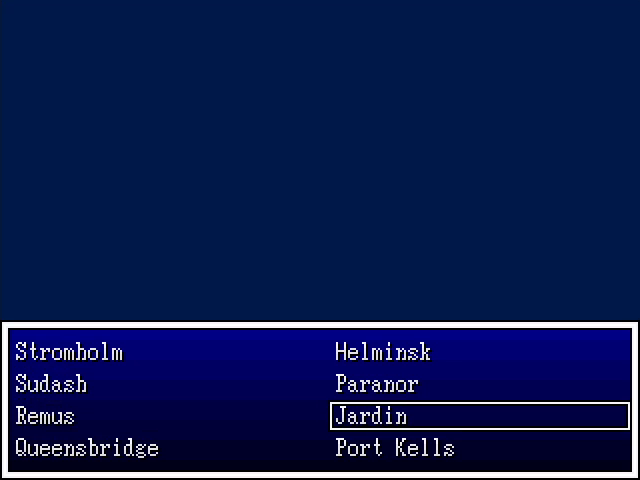
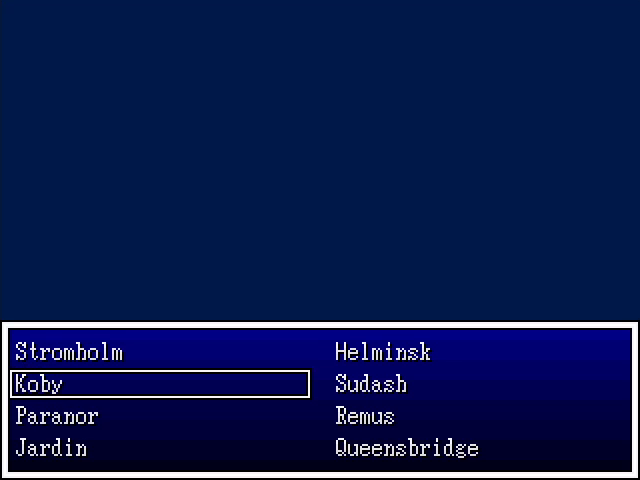
Now that we've done that, we can head for Jumongu. There's a town there we need to visit.
What, Okasa? No, we're headed to Koby to see the pirates.
They're all out during the day (sailing, presumably), but we can still loot their treasury. They've got some good loot too: about 5000 gold, a gemstone, a delicate tiara, and a golden harp (which we can't use since Harley is no longer a Harlequin).
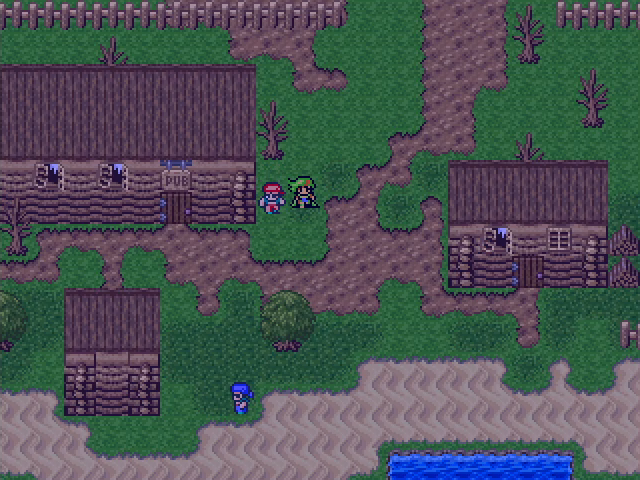
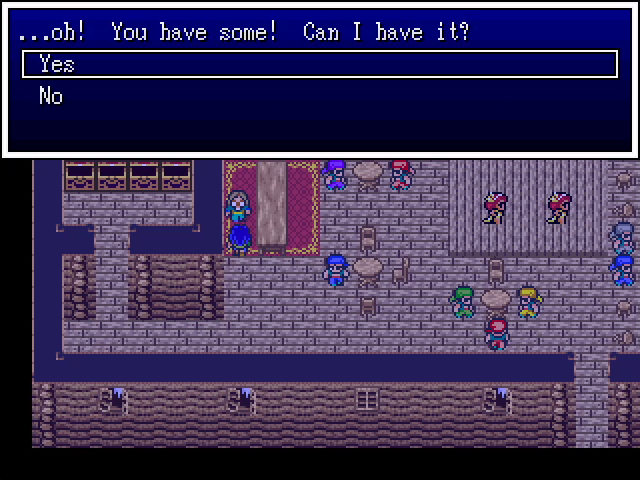
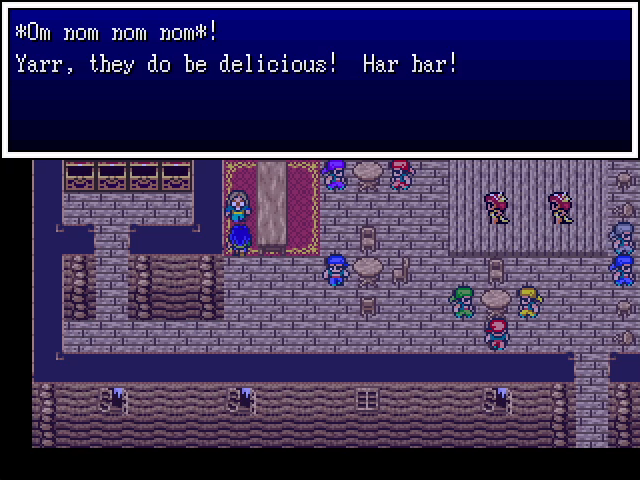
Come nightfall, the pirates return home to carouse.
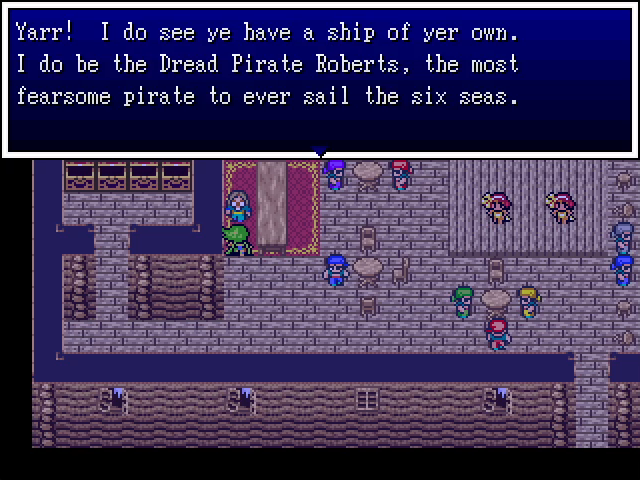
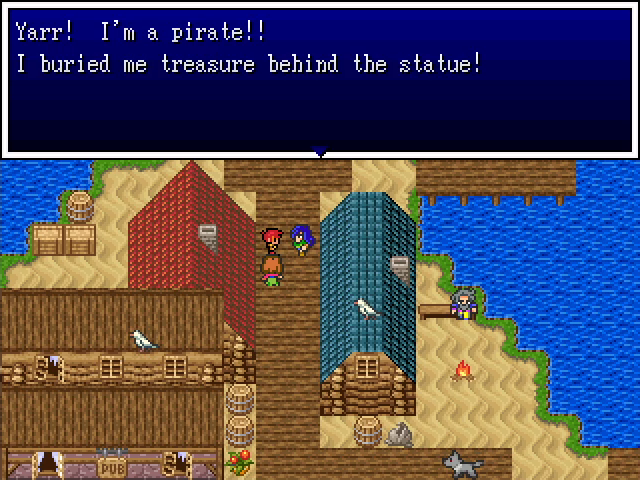
When Akira first visited this town, the Dread Pirate Roberts was totally silent. We later learned that it's because he only speaks to those who have a ship.
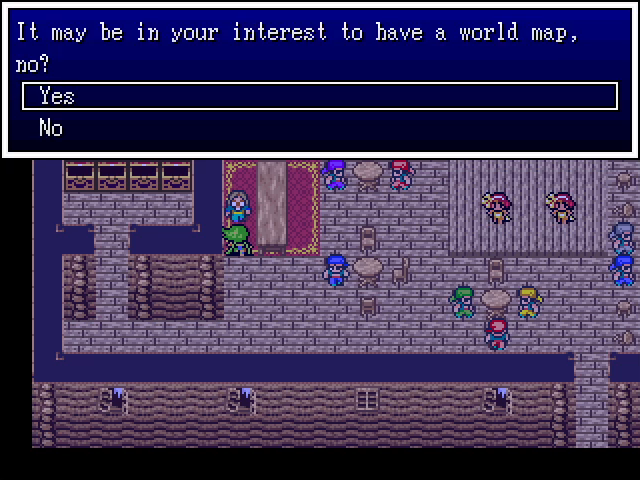
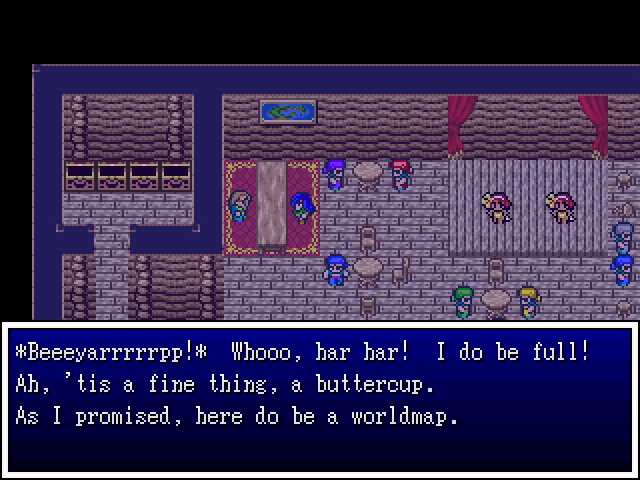
We also found out that he has a world map, which would be really nice to get our hands on.

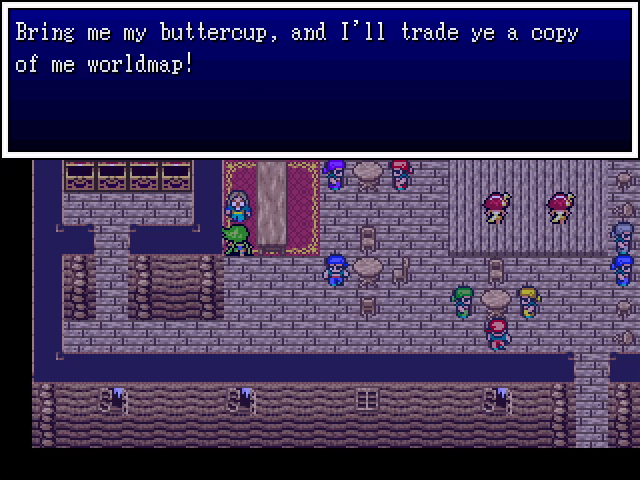
Seems simple enough, especially since Ozland is due south of Jumongu.
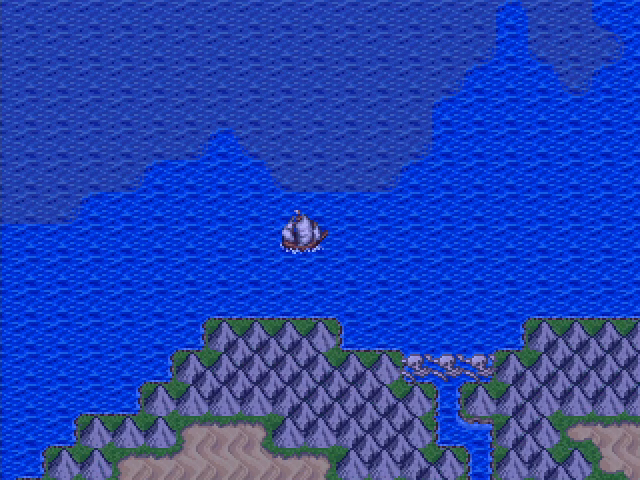
When we arrive at Ozland, we find that something it's ringed by mountains, and the only way onto the island is blocked.
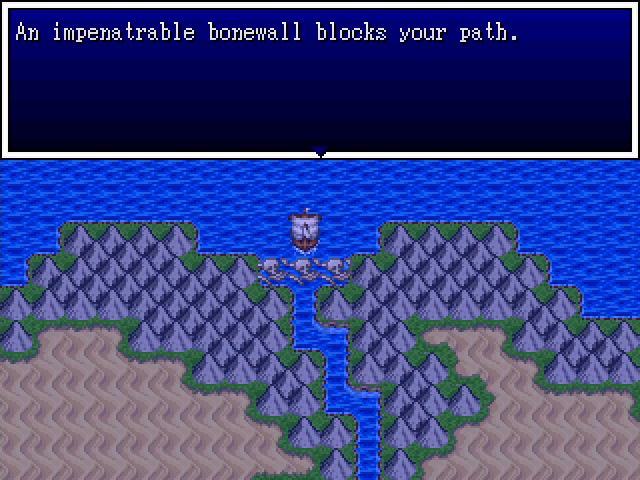
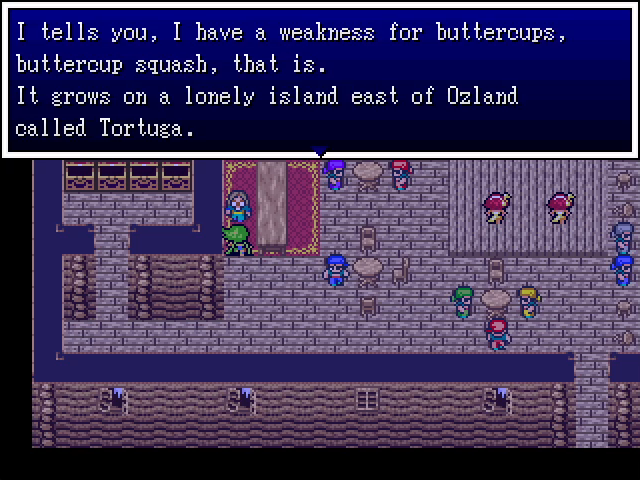
I'm not even going to make any jokes about where this came from, since it should be pretty obvious.
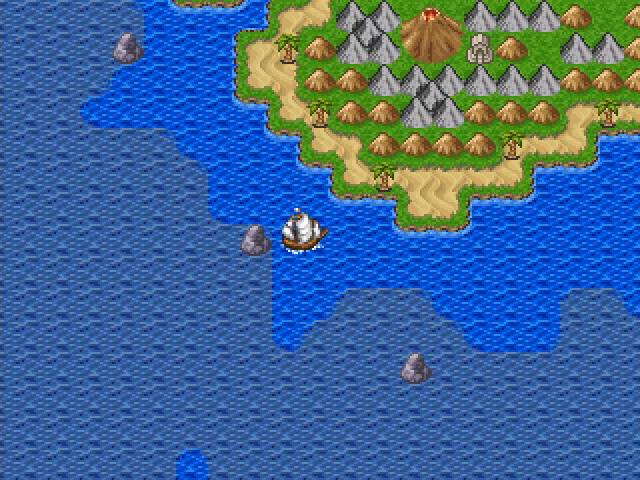
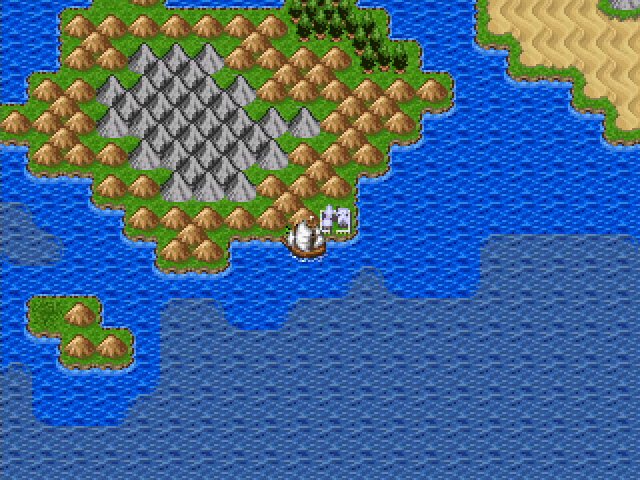
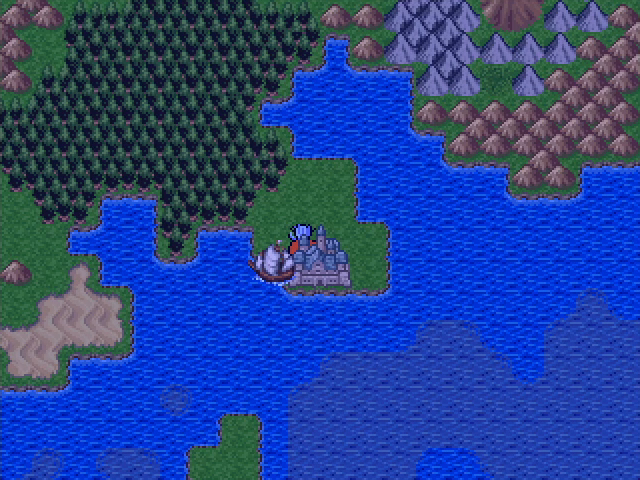
Sailing further east, we come to a small island with a volcano at its center. Like Ozland, it's surrounded by mountains, so we can't get to it.
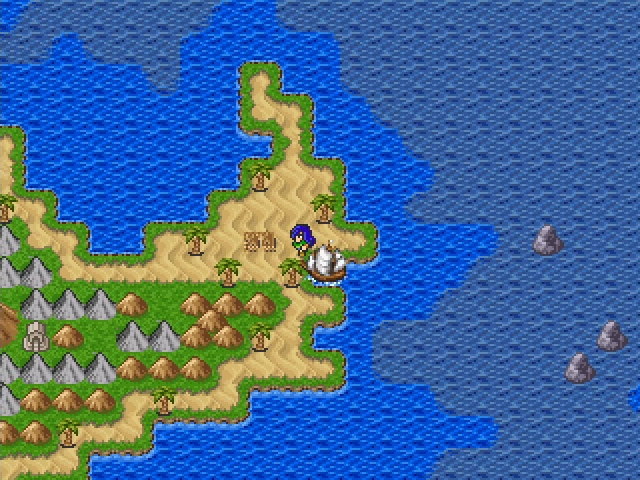
We can get to this small town at its eastern tip though.
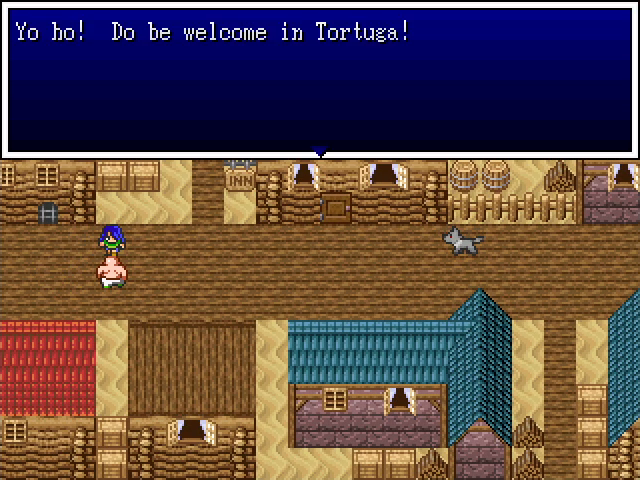
Yep, this is the place.
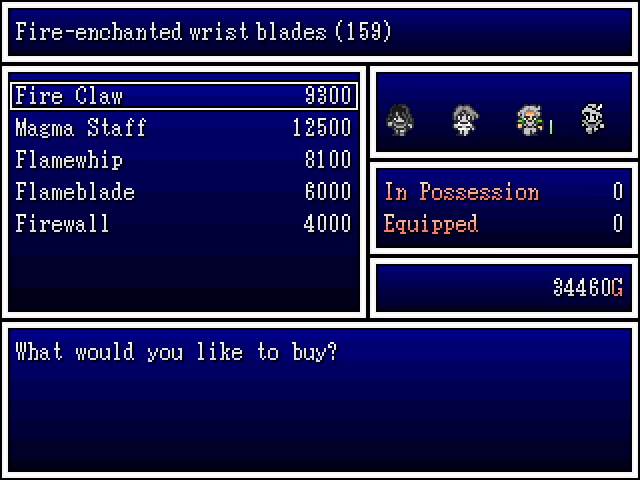
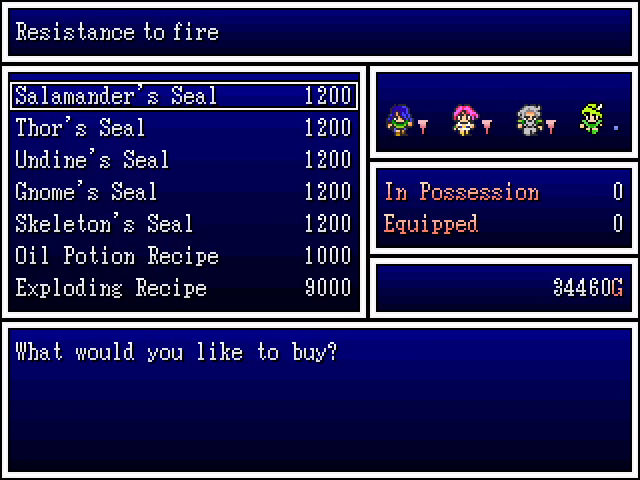
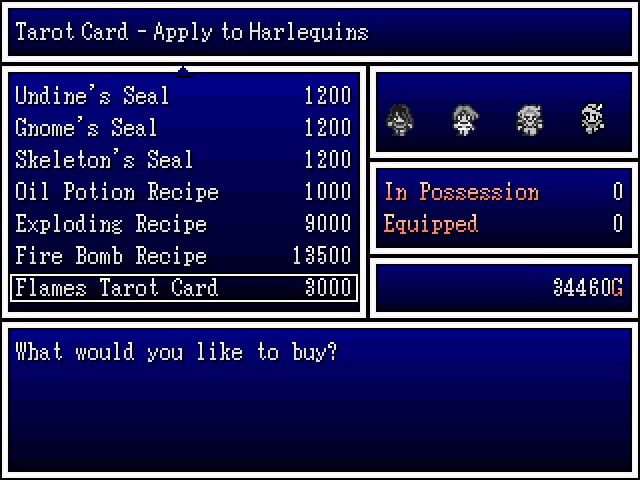
Tortuga doesn't have many shops, but what shops it does have (besides the basic item shop) follow a definite theme.

Meanwhile, the pots and barrels around the town contain various tokens used for trading at the Funhouses.
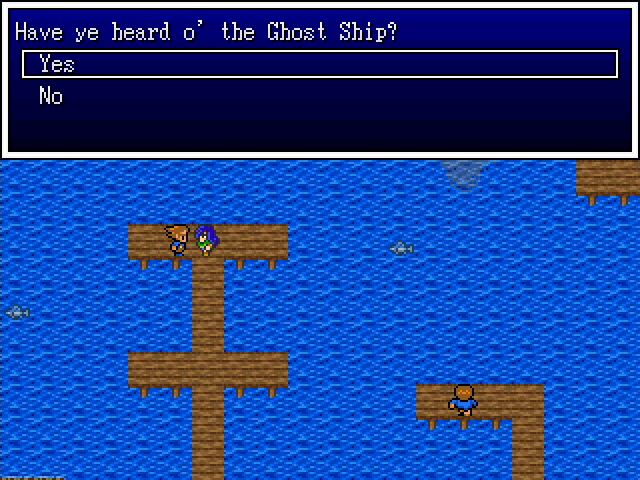
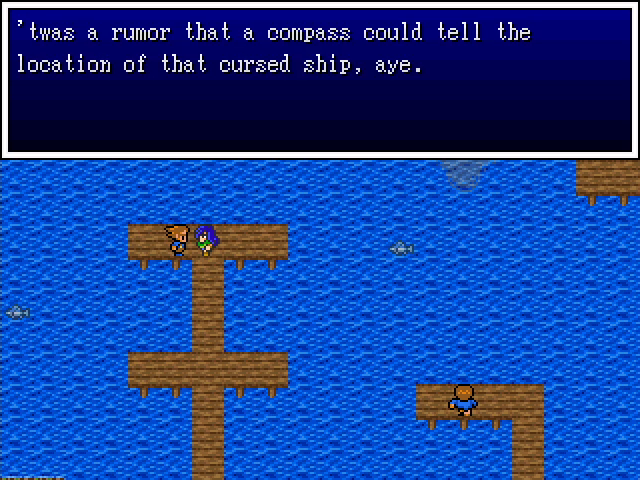
Considering that we'll undoubtedly need to find the Ghost Ship eventually, this is valuable information.


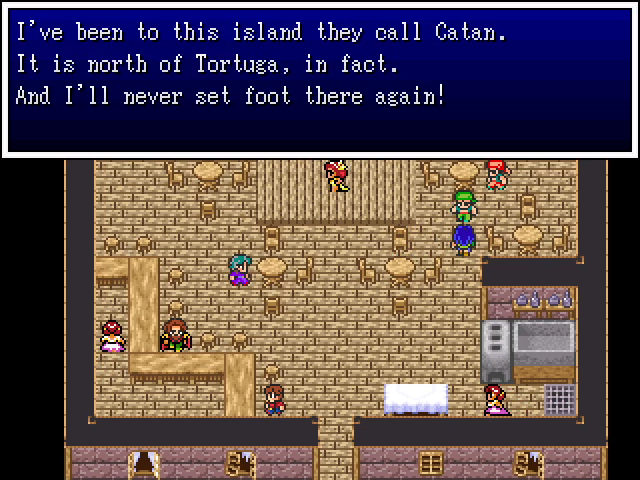
This sailor in the bar has some information about Catan, an island we've only heard of in passing.
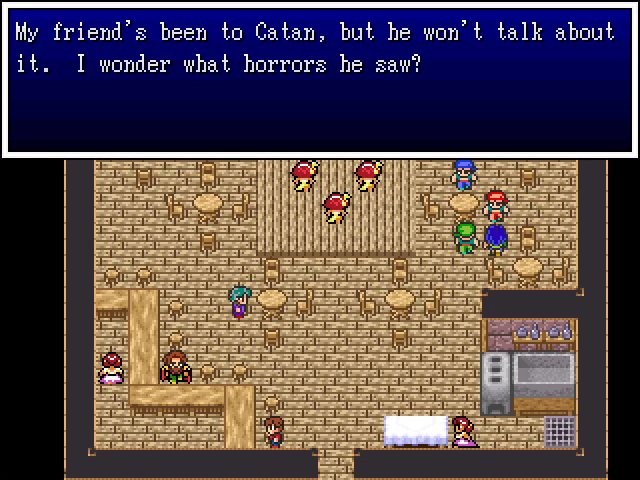
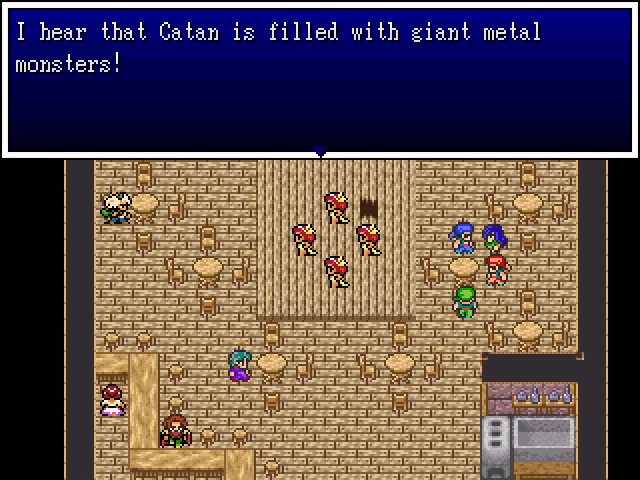
Sounds fascinating. I wonder if they have anything to do with the robot that plagued the Rovers.
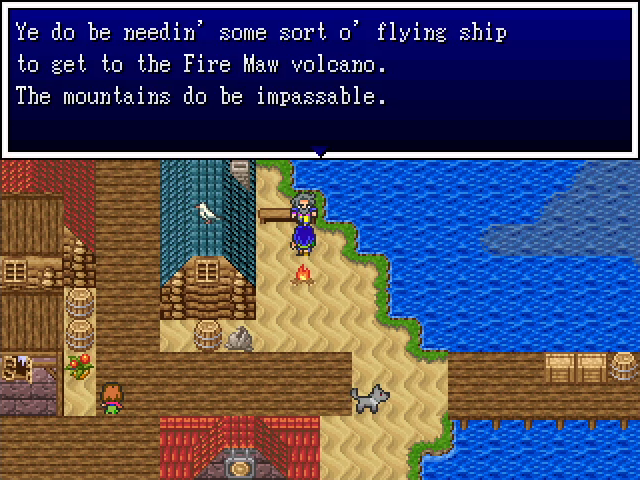
We're finding more and more things that require an airship to reach. We know where to get one, but not how to get there.
Why is it that so many children bury Tiny Medals?

Sorry old man, but the Chapter 1 title card already asked us to do that.
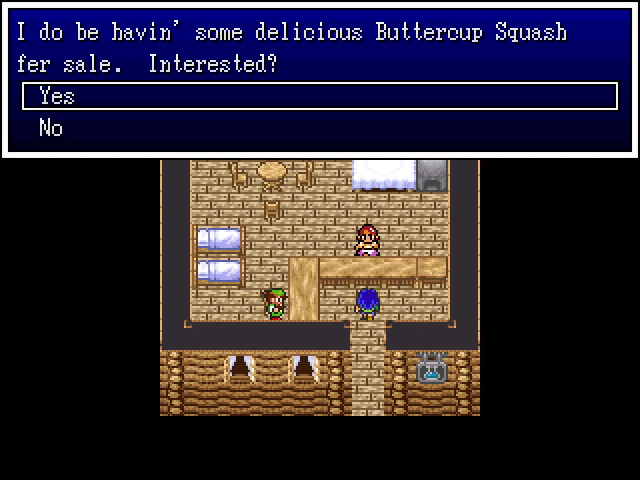
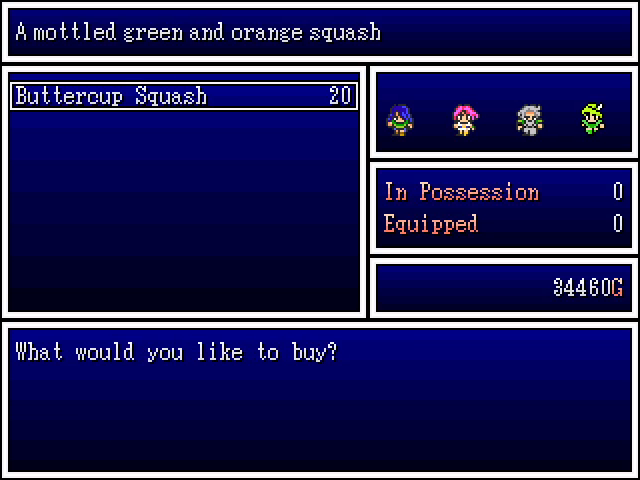
Aha! Here at last we find the object of our search. It's quite inexpensive too.
Back to Koby, and...

 Should've known it was too easy.
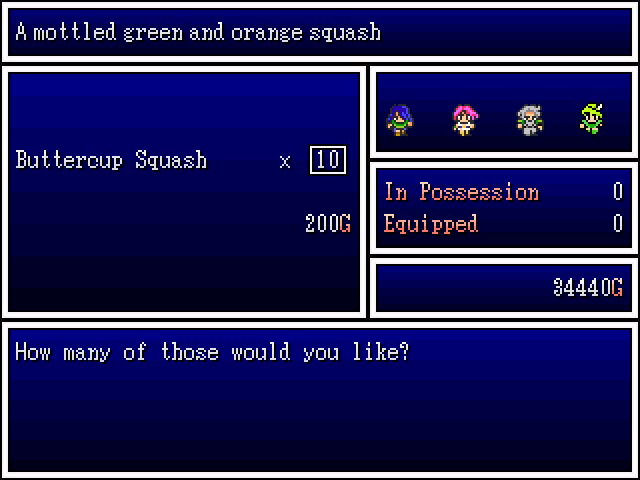
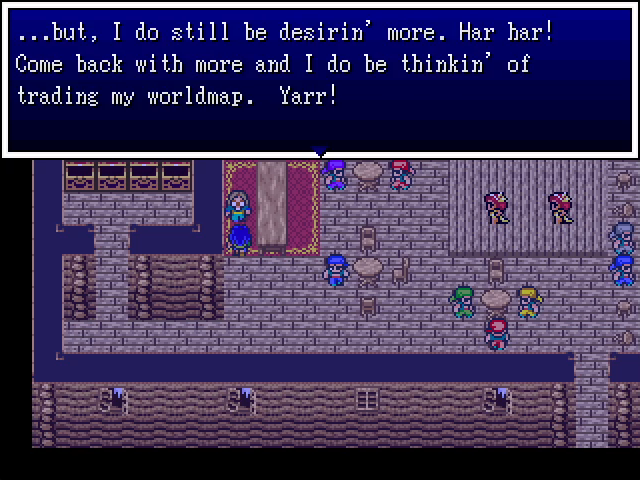
So we Return to Tortuga and buy ourselves 10 of the things.
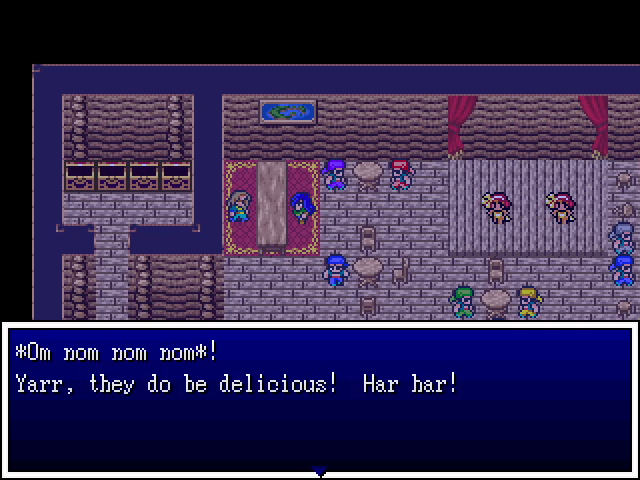
That seems to be enough.
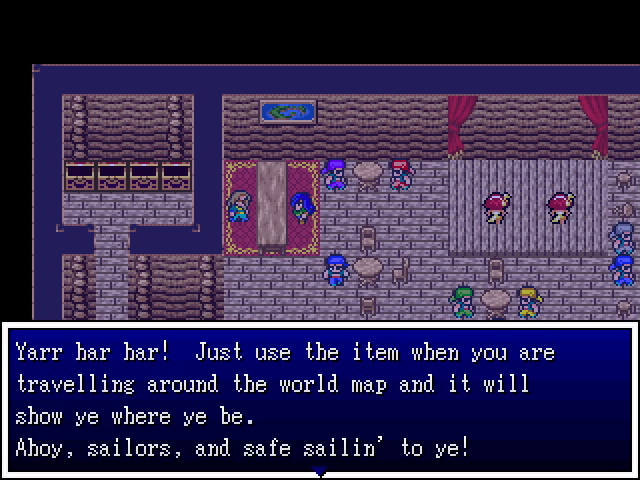
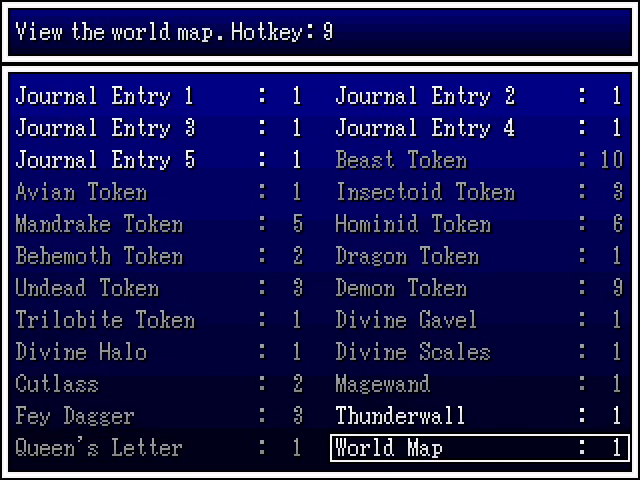
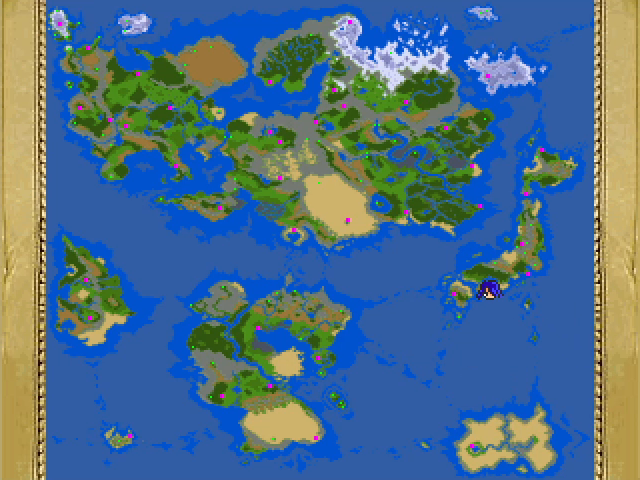
The World Map isn't strictly necessary for completing the game, but it's a huge convenience. Geting it ASAP is a smart idea.
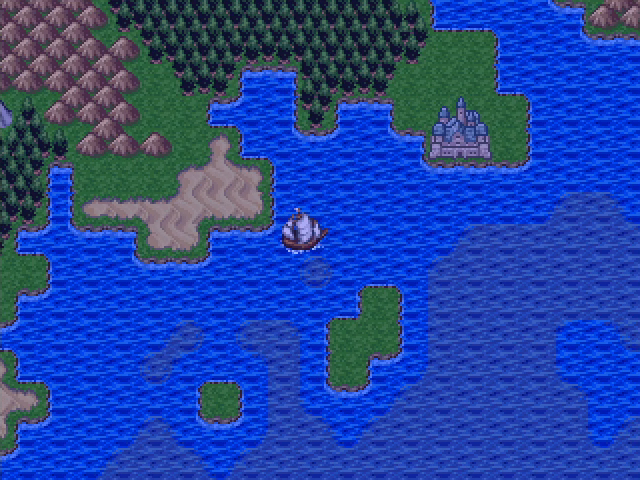
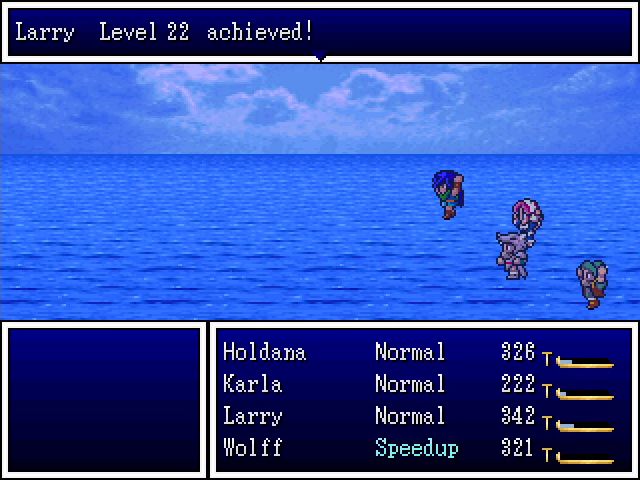
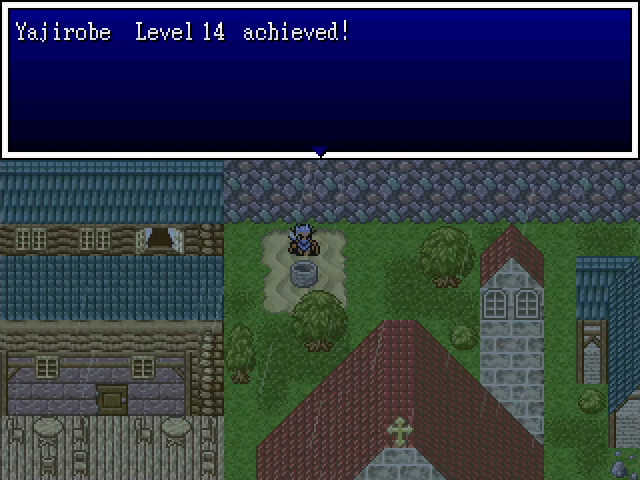
Finally, we can head northeast to Okasa. Larry gains a level from a random sea encounter on the way.
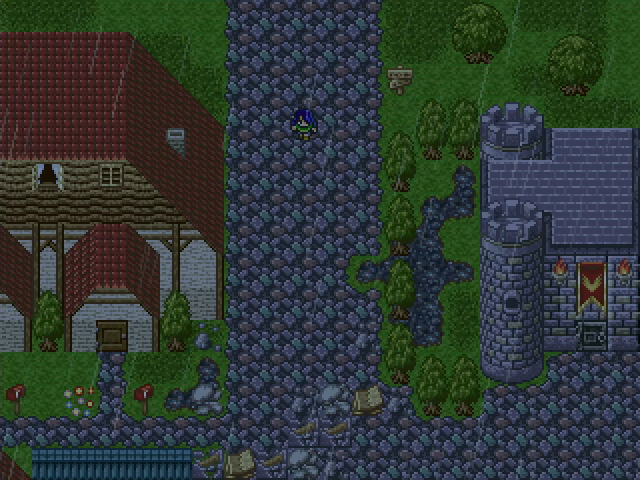
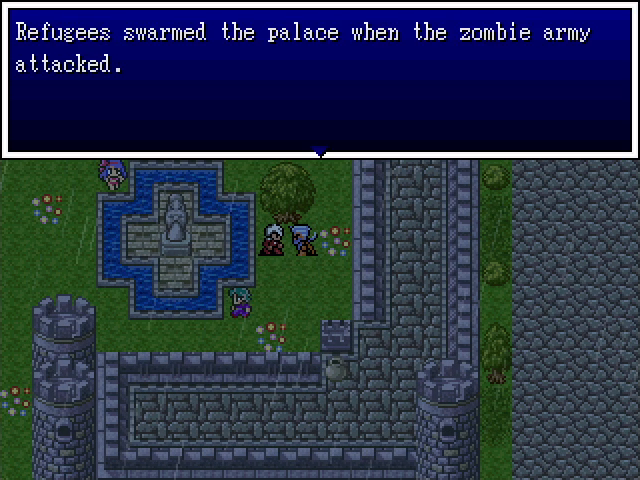
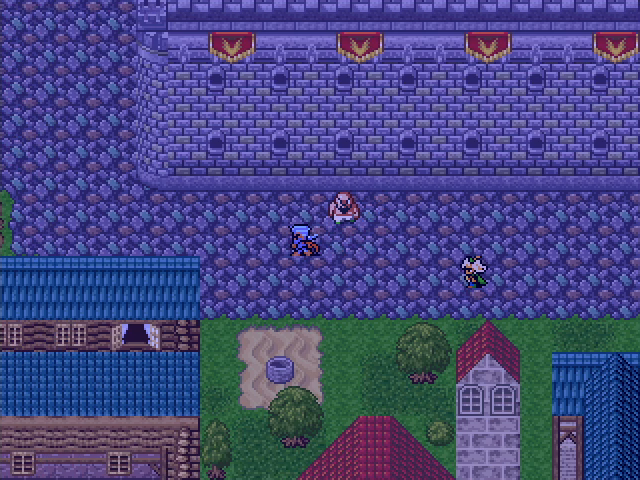
The city is... not in great shape. I guess an undead invasion will do that.
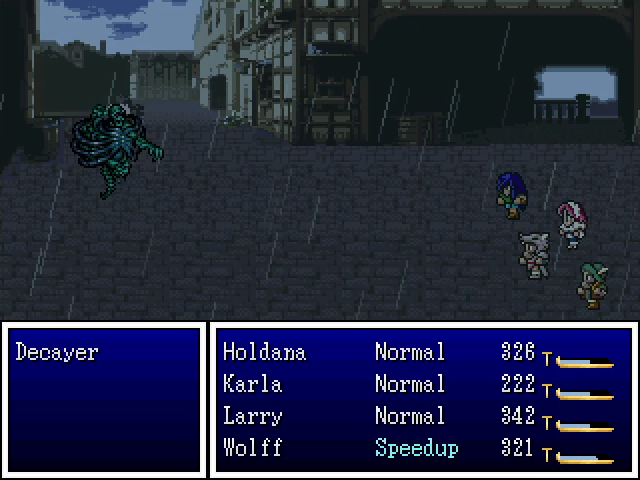
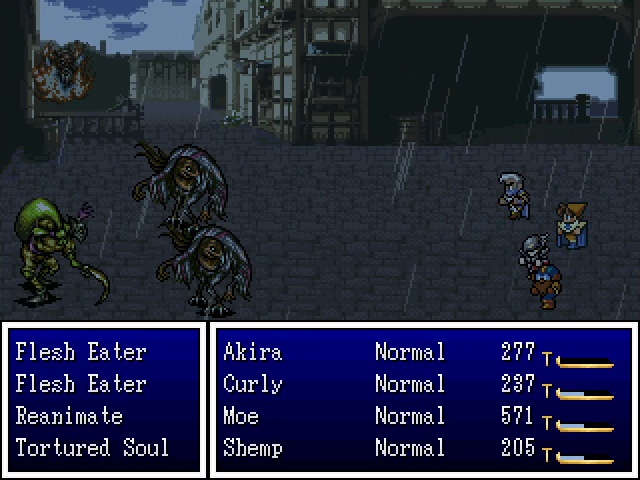
Monsters also roam the streets. Decayers may have some kind of special trick, but this was the only one we encountered and it fell pretty quickly. Tortured souls are similar - this one died to a single Spirit Skean, and no others showed up. Flesh eaters are the sole non-undead enemy here; they have high speed and evasion but are pretty fragile and don't hit too hard. Finally, reanimates also don't do much damage, but they have several thousand HP, making them incredibly tanky.

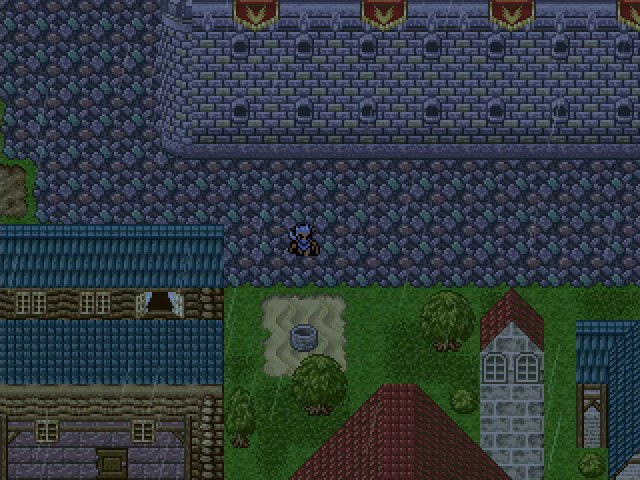
The locals are all holed up indoors, making the buildings inaccessible.
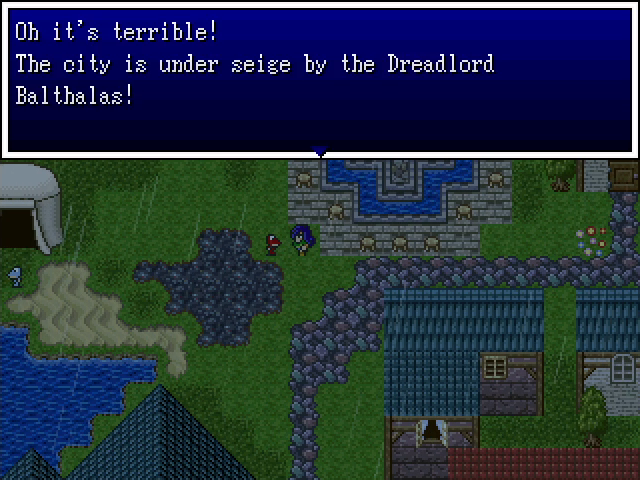
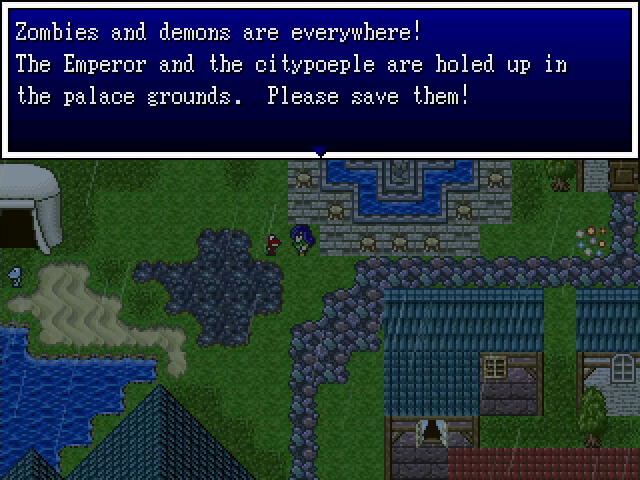
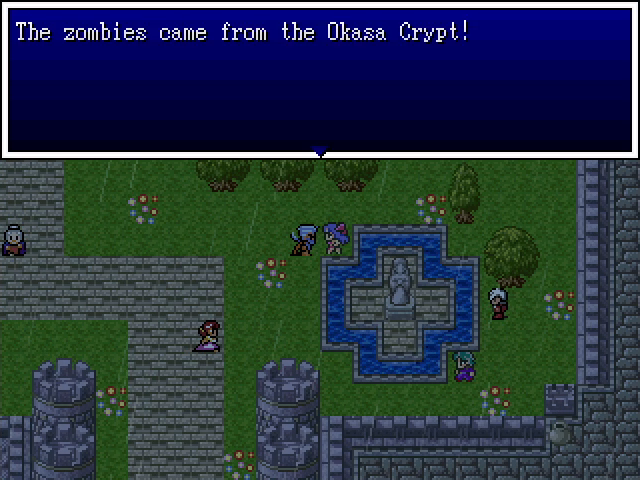
A local asshole gives us the lowdown, in case we didn't already know.

This is also good to know. Luckily, you may remember that we do, in fact, know of another way into the palace.
Down we go.
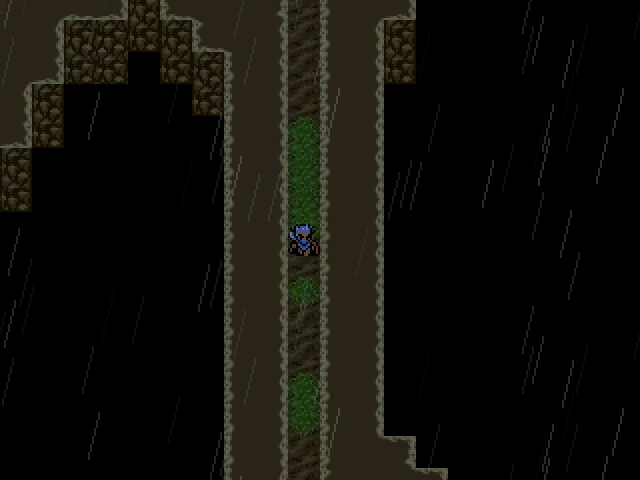
Likely due to a missing event trigger, the rain continues to fall even in the well.

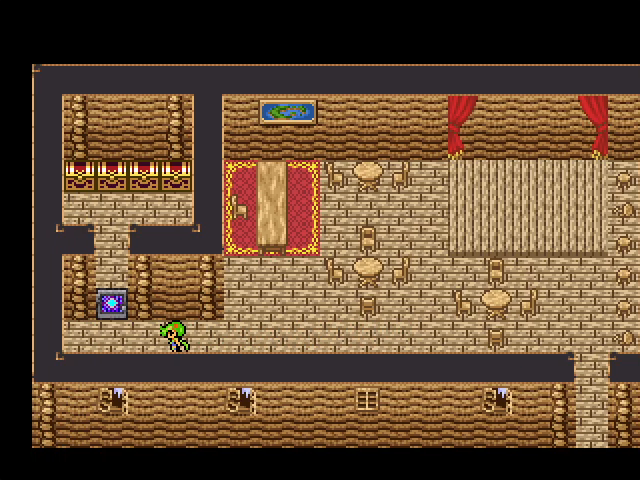
We open the magic door and climb out of the well, finding ourselves, as expected, on the palace grounds.
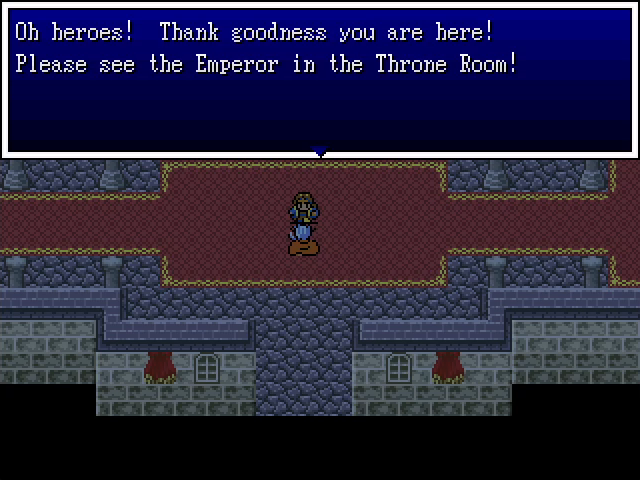
The citizens here are upset and a bit panicky, but otherwise unharmed.
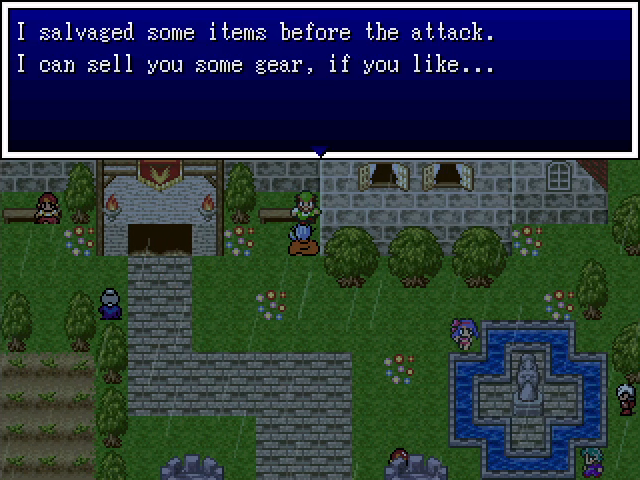
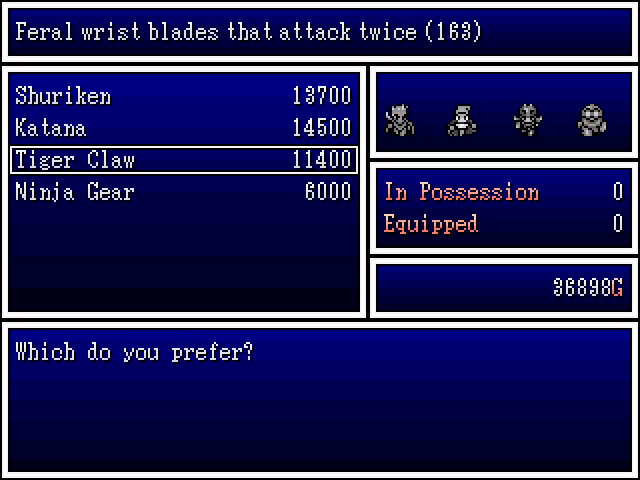

There's also a merchant here who sells a small selection of amazing gear. I didn't feel justified in throwing all the party's money at a few upgrades, but in retrospect I should have at least bought a tiger claw for Raj Ahtan.
Luckily, the emperor still seems to be okay.
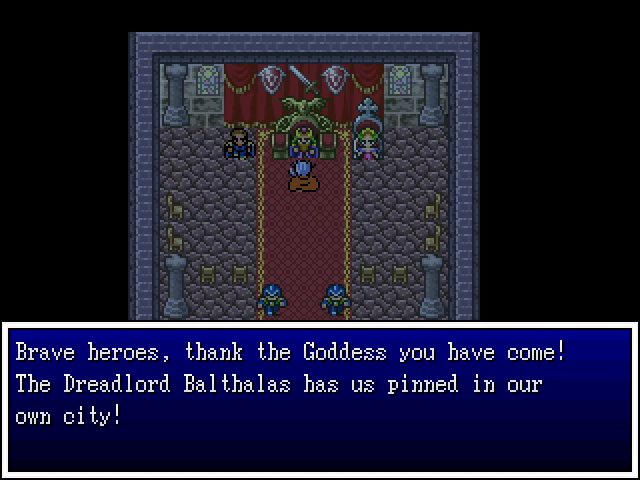
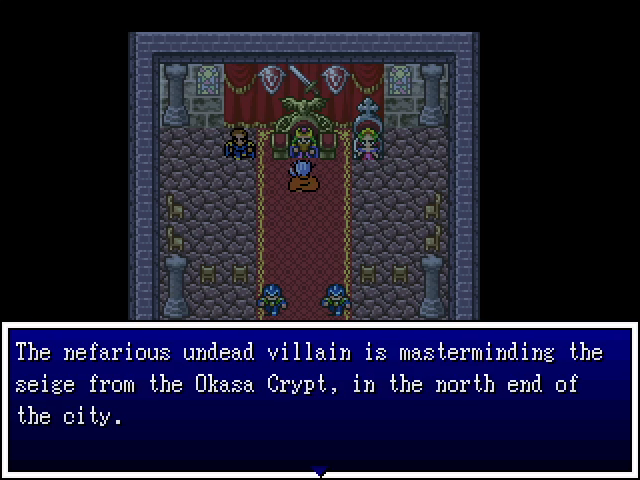
He doesn't tell us anything we didn't already know, and in fact visiting the palace is totally optional, but it's an obvious destination that provides all the necessary information.
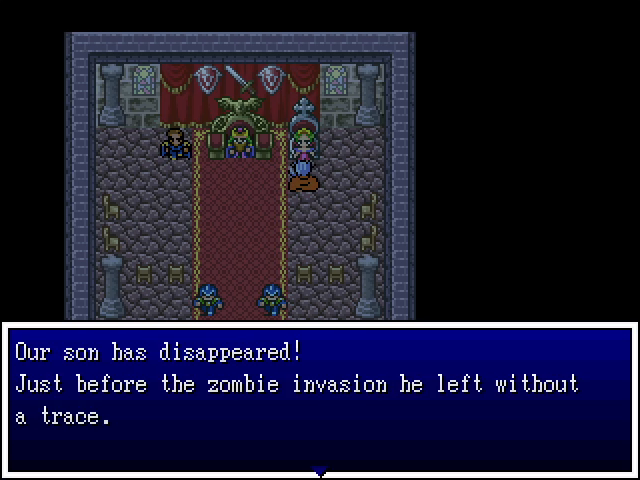
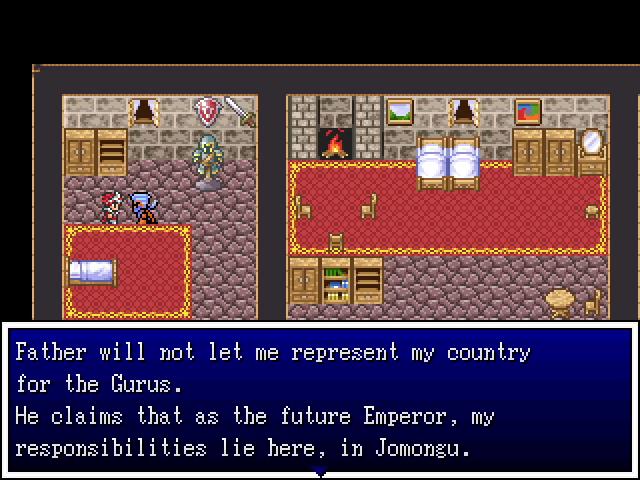
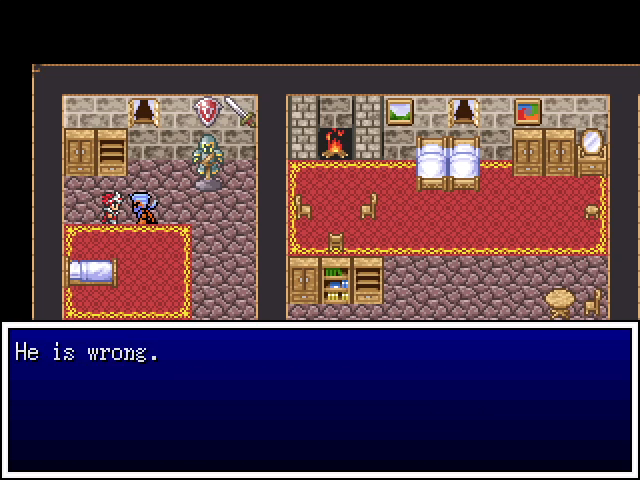
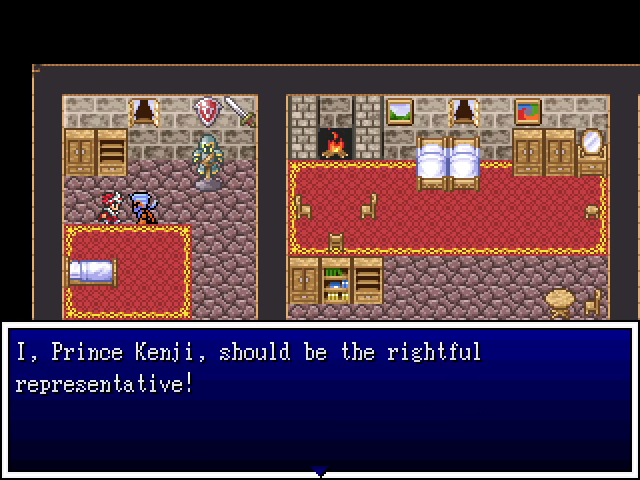
It also provides us with some new information. First the prince of Aleksandria vanished, and now the prince of Okasa? What's going on? Wait...
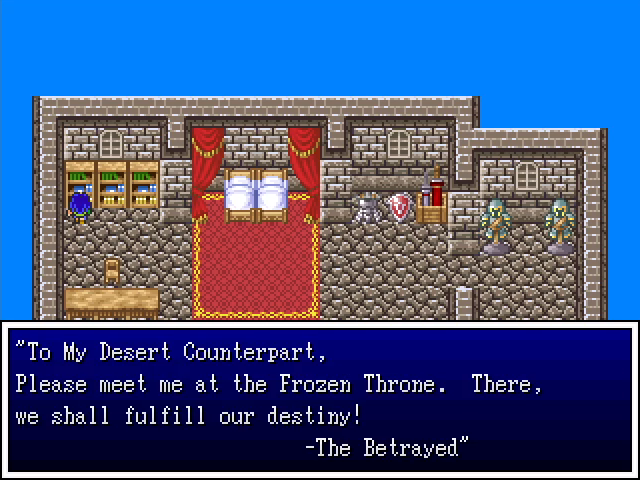
Perhaps the letter we found in Aleksandria wasn't addressed to the queen, but the prince? But then why would Kenji refer to himself as "the Betrayed"?
...I have a bad feeling about this. Unfortunately, there's nothing we can really do about it at the moment. For now, we need to focus on finding Balthalas and ending his assault.
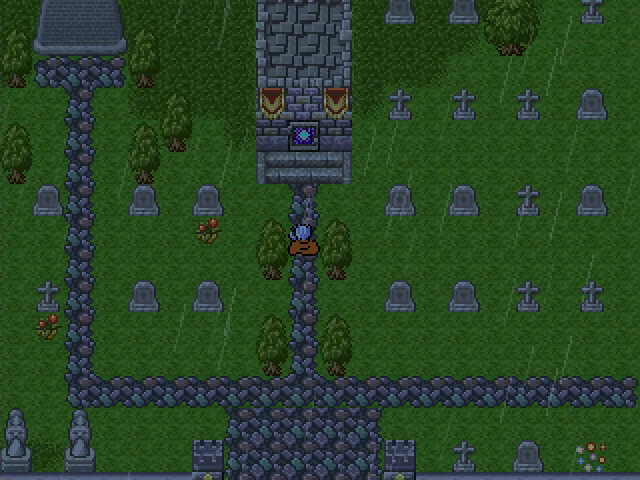
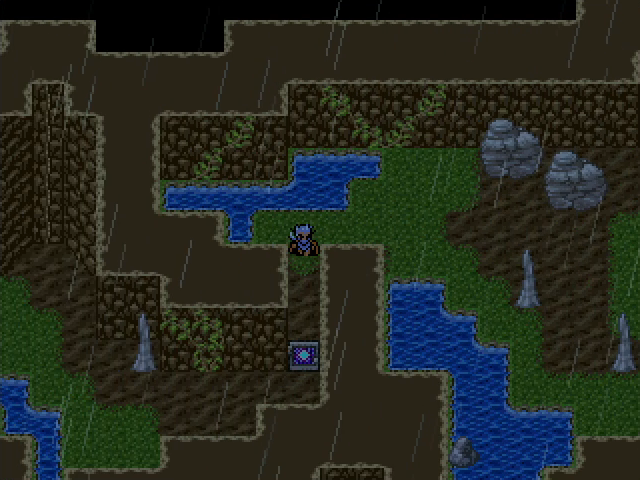
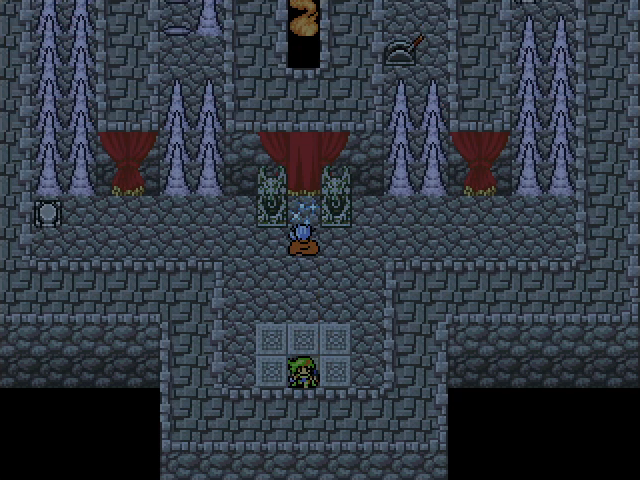
After returning through the well, we head east and then north to find the crypts. Once again, our Magic Key gives us entry.
The crypts are appropriately spooky.
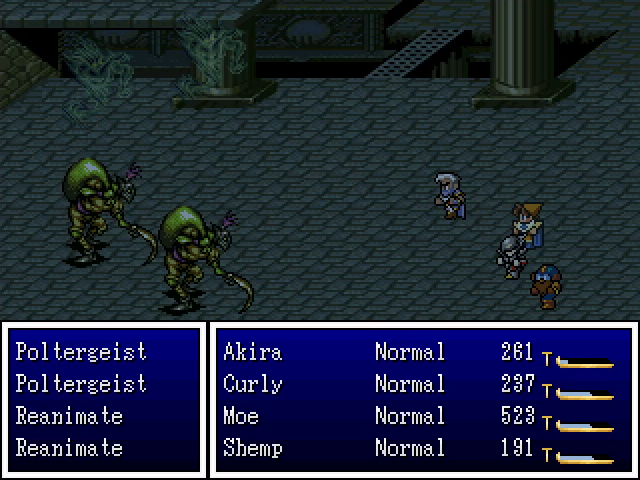
The monsters here include everything that roams the town, plus poltergeists, which do the usual ghostly undead trick of confusing the party.
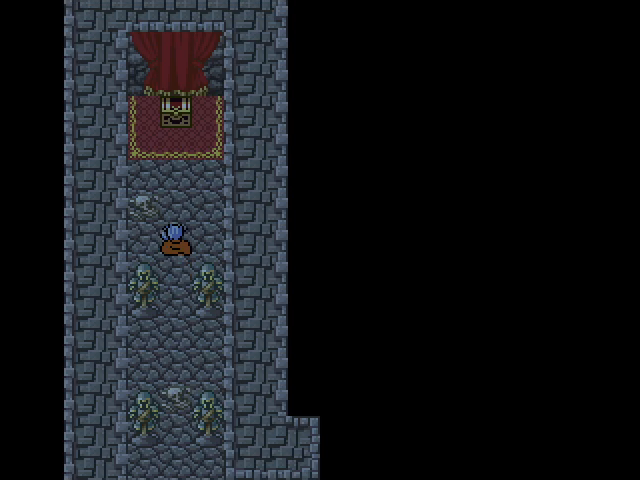
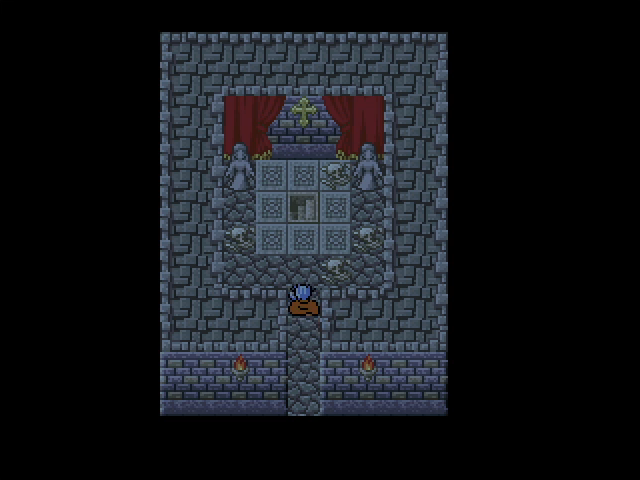
Once down the stairs, we head west and find a treasure chest surrounded by corpses. This is a crypt though, so it probably doesn't indicate a monster-in-a-box.
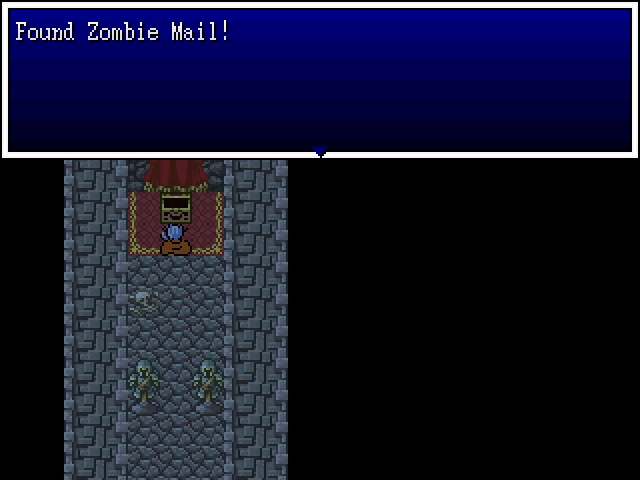
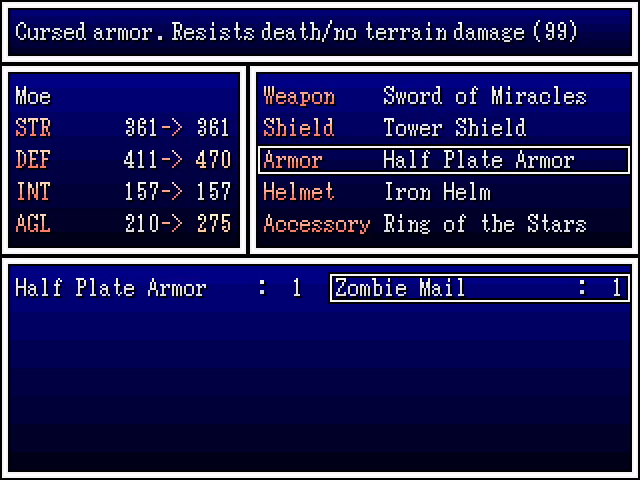
Indeed, the chest is entirely safe to open. The armor inside is actually pretty strong; it offers good defense and some solid bonuses. It's cursed, though, which means it probably comes with some nasty drawback not mentioned in its description. We're not gonna risk it.
On the lower level of the crypts, we find a multi-party area containing another puzzle revolving around buttons and levers. I'll spare you all the details.
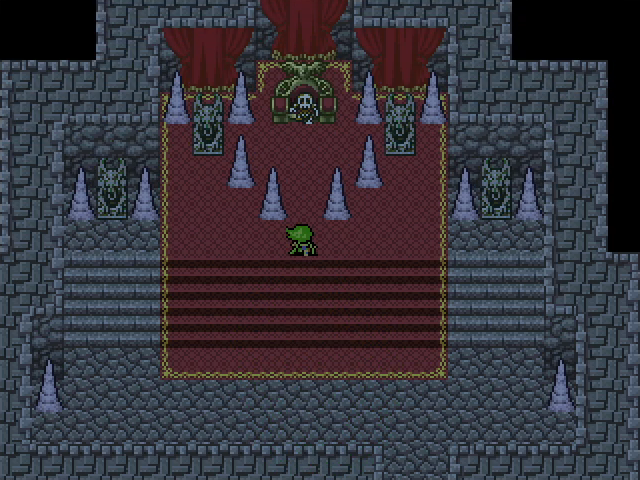
Suffice it to say that Zefiryn's party is the one that reaches Balthalas.
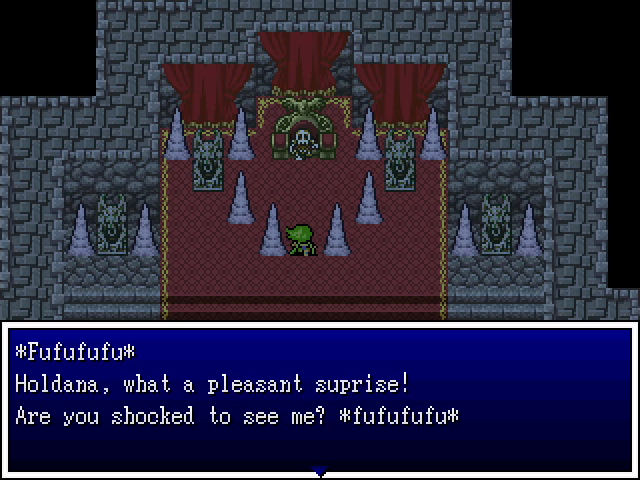
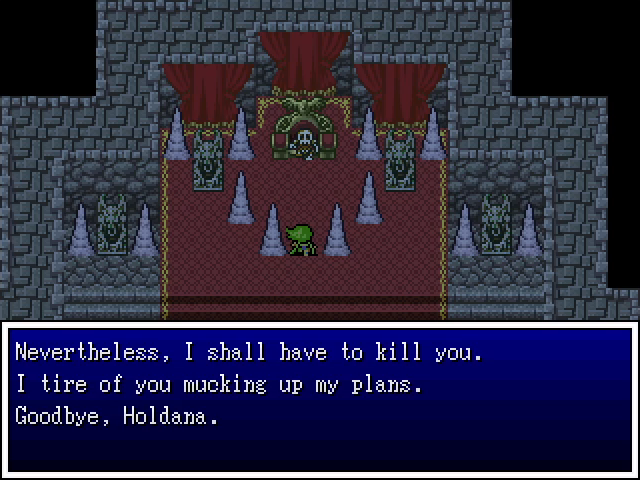
He greets Holdana instead, presumably shouting at her through the walls.
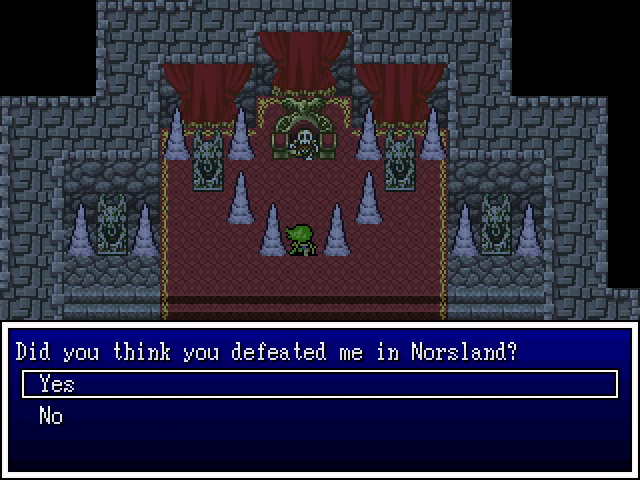
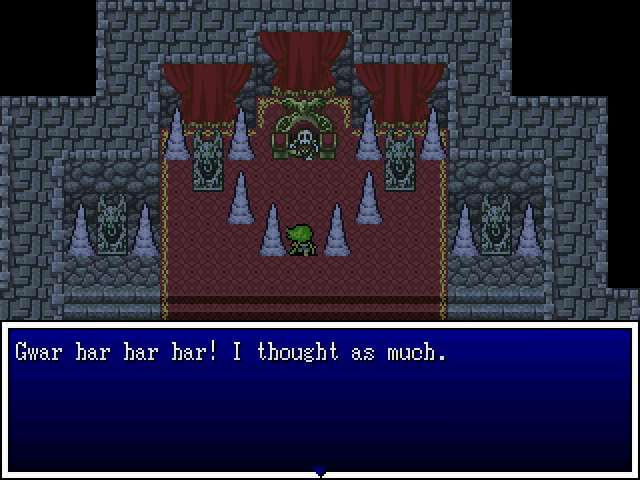
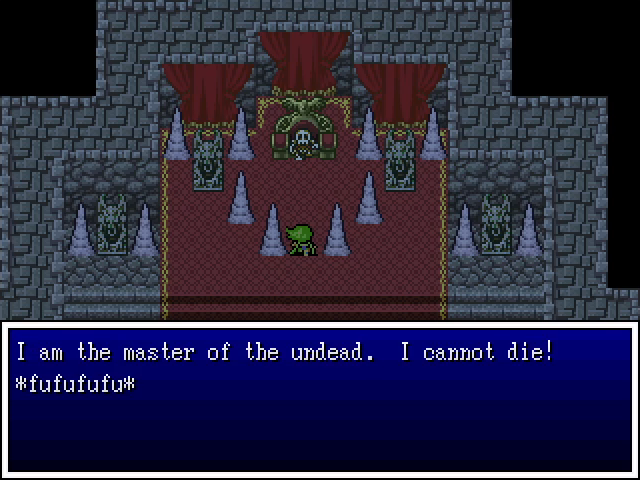

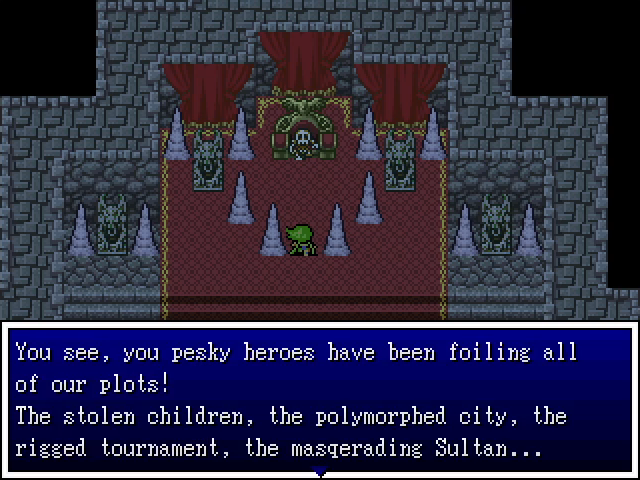
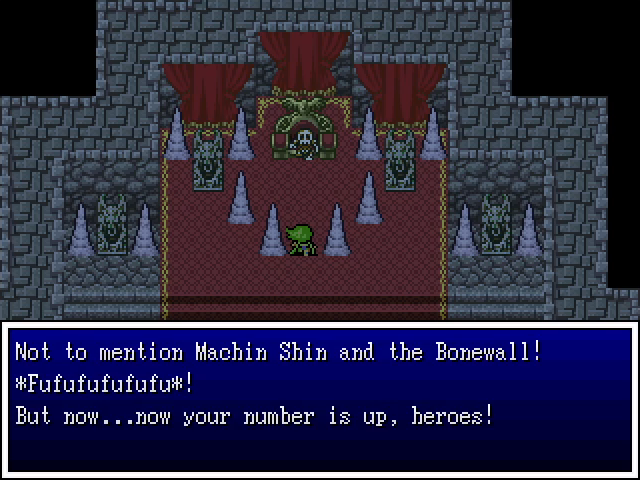
Balthalas is a classic villain in all the best ways.
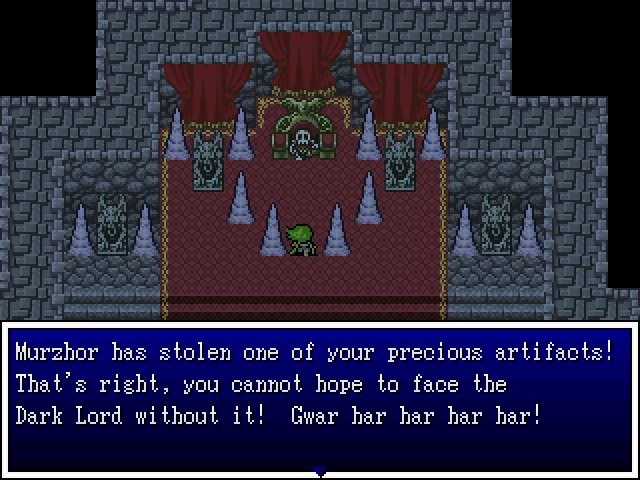
Fuck. Murzhor continues to demonstrate his savvy by beating us at our own game and stealing one of the Divine Relics. Another problem we'll need to resolve.
But for now, we have an undead mage to destroy.
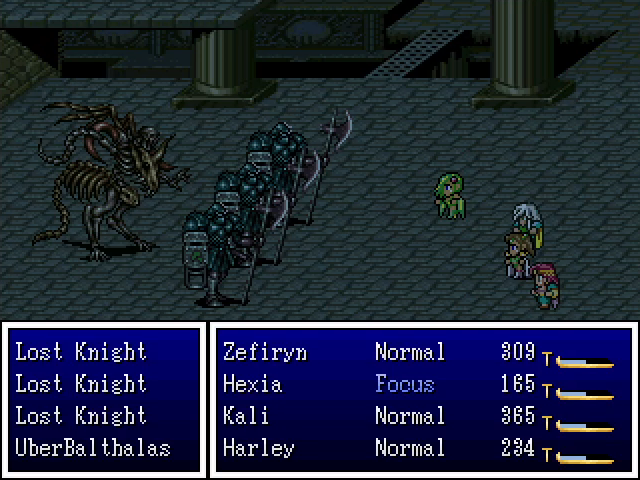
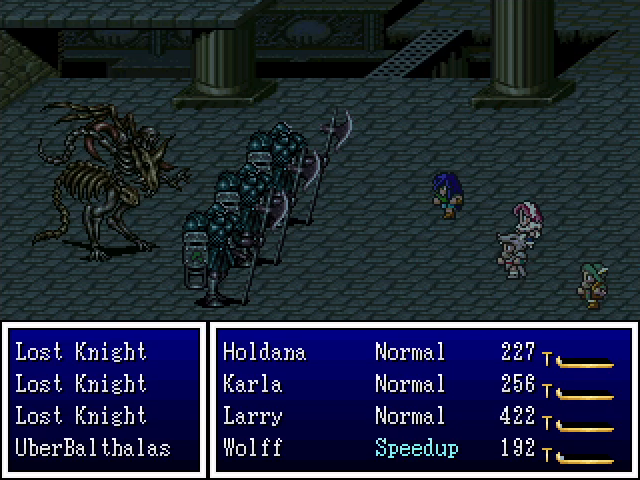
So, here we are again. Balthalas starts the fight in his true form, apparently having learned from his previous mistake. He also comes with three lost knights, which are totally immune to magic. Given that, Team Magical Girl isn't likely to have much success. Luckily, we can-

Ah, fuck. Hero's Realm has some stability issues when it comes to the Party Swap mechanic. It'll sometimes just crash when you try, which can be really annoying. Luckily, I had the presence of mind to save before confronting Balthalas.
Okay, take 2.
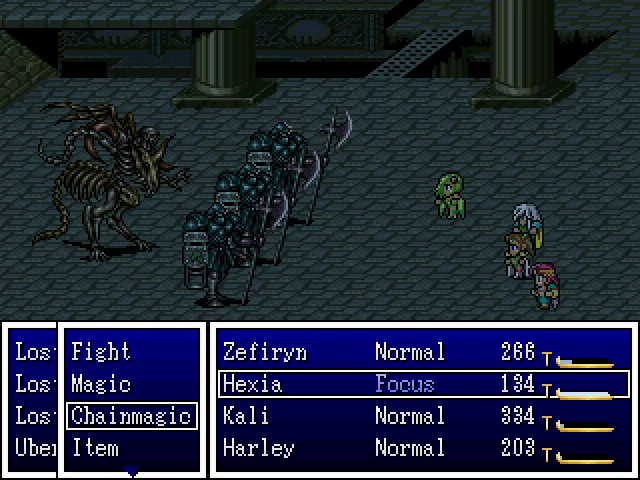
Before switching out the party, I also wanted to show off that Sages have a special command, Chainmagic. This allows them to pick any spell and cast it twice at a time, on the same target. This makes them amazing boss killers once they get to decent levels.
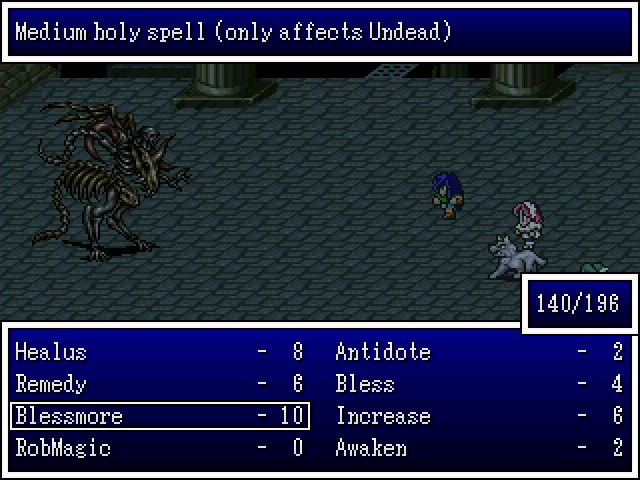
Anyway, Holdana's party has strong physical attacks, not to mention a grudge against Balthalas, so they get to take this one. The fact that Holdana has the Ghostblade, which does extra damage to undead foes, is also a big bonus.
As for Balthalas, he switches between highly dangerous and laughably harmless. His most dangerous attack by far is Tail Smash II, which can deal over 300 damage to whoever it hits. He also uses Sleepmore and the amusingly-named Eviler Flame. On the other hand, he often uses Defend or even Observe Battle, making him way easier than you'd think.

Once the lost knights are dealt with, we can focus on Balthalas himself. Even Karla can deal some solid damage when she's not busy healing. Holdana is the real star, though: Pummel now gives her three hits per attack, and with the Ghostblade, each hit can do upwards of 1000 damage. On a critical, that rises to a little over 3000. Larry, by comparison, is dealing about 1000 per hit in wolf form.
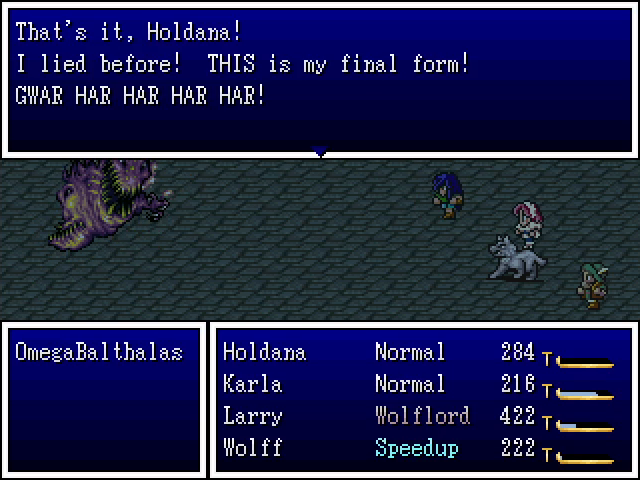
Oh wait, turns out that wans't even his final form. OmegaBalthalas is the true final boss here.
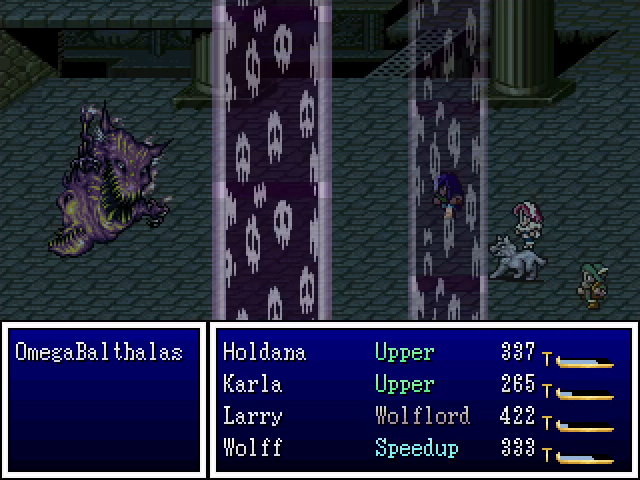
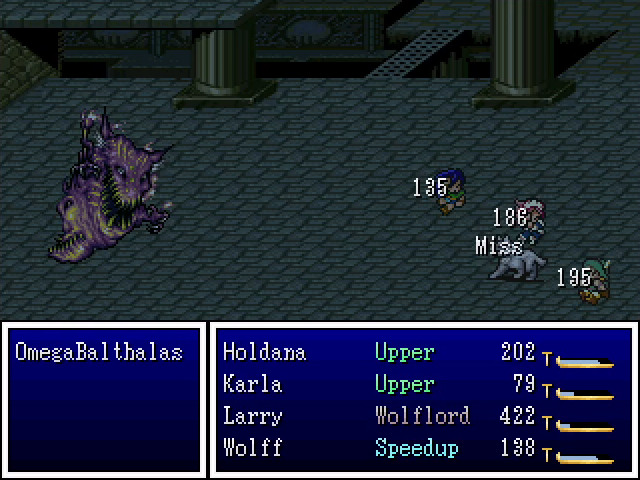
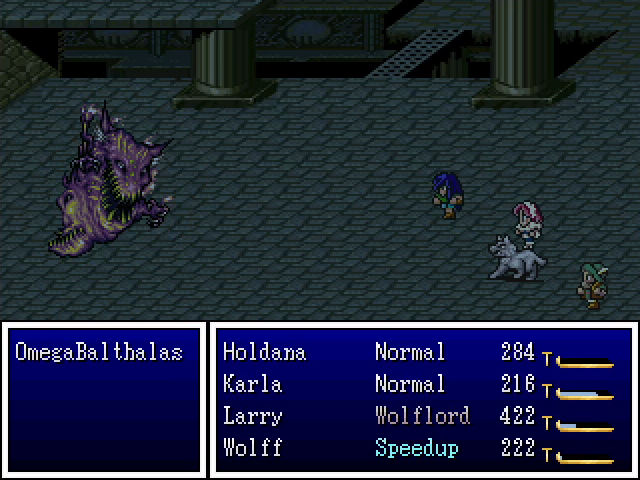
Besides Icebreath, he has a new attack, Greater Black Death, which deals considerable damage to the whole party. Astoundingly, he'll also spend turns using Observe Battle. He goes down without a lot of trouble.
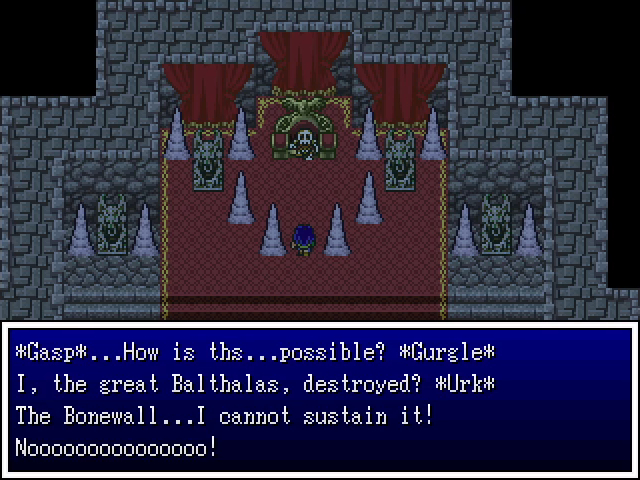
In case we hadn't already guessed it, Balthalas reveals that he was sustaining the Bonewall that blocked off Ozland.
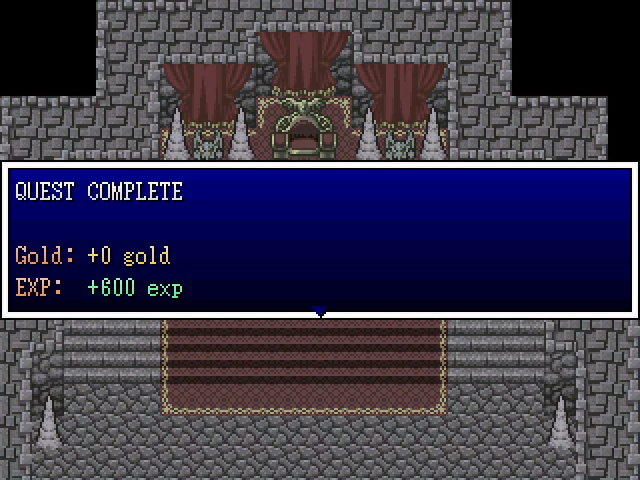
Balthalas is finally dead for real, and we claim a surprisingly small amount of EXP for making it happen.
Back in the city, things have returned to normal.
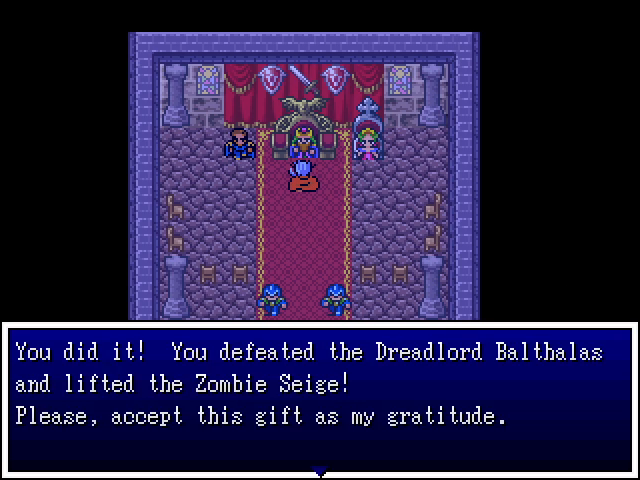
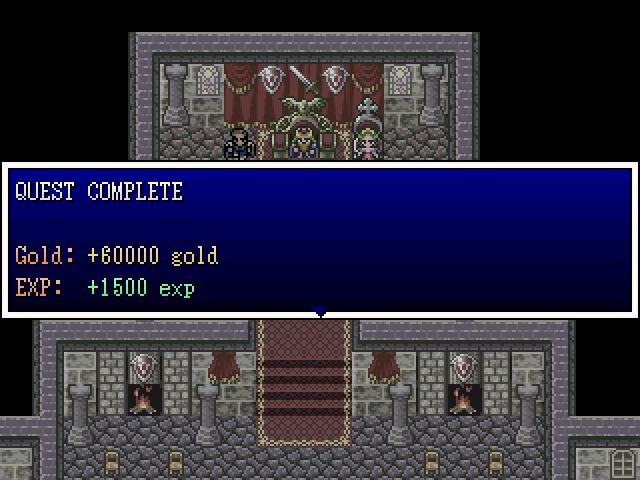
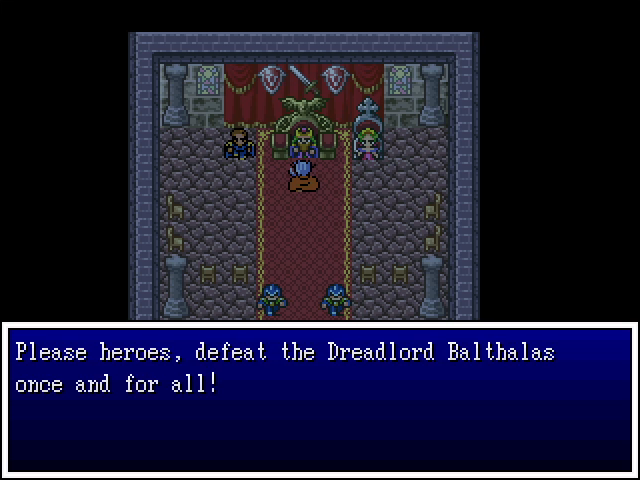
The emperor is duly grateful for our efforts, and gifts us with the princely sum of 60,000 GP - not to mention a much more generous amount of EXP.
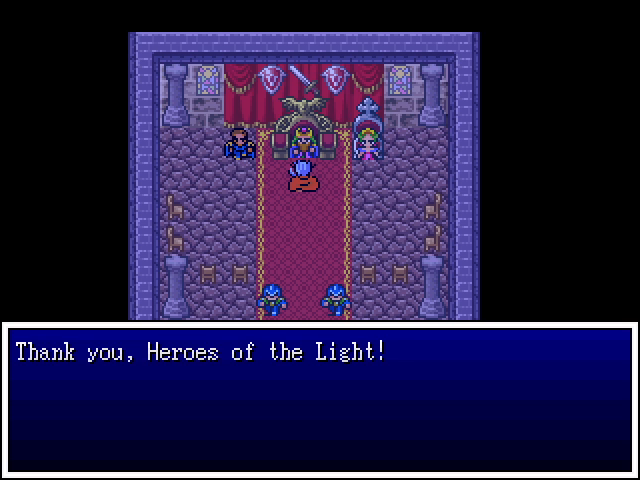
Hey, we finally got to take out Balthalas. It was our pleasure.
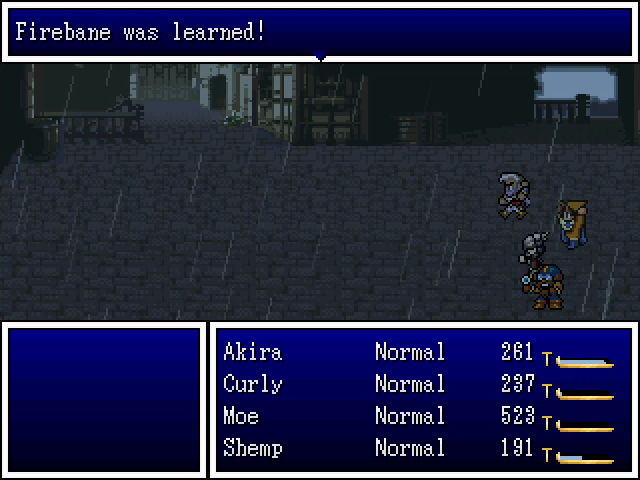
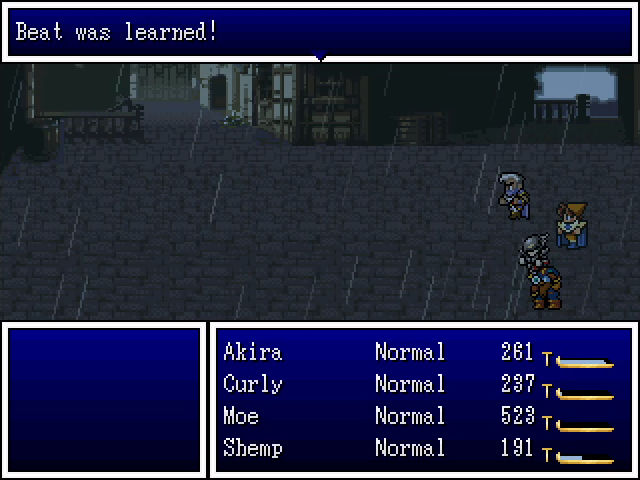
Beat is our first instant-death spell.
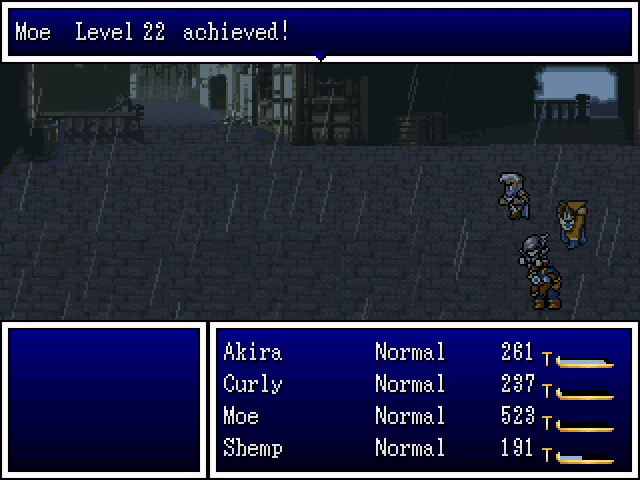
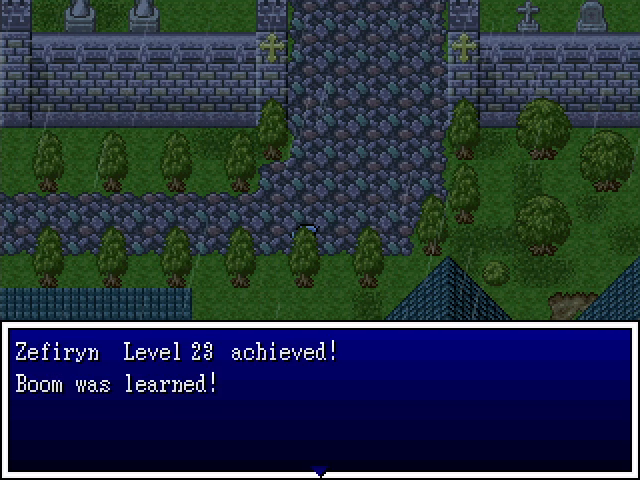
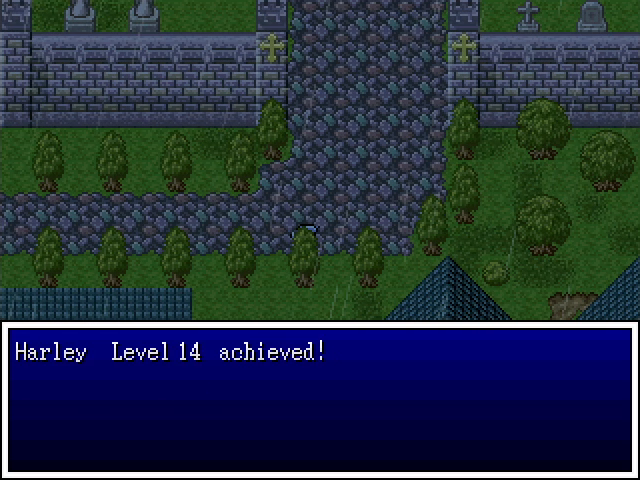
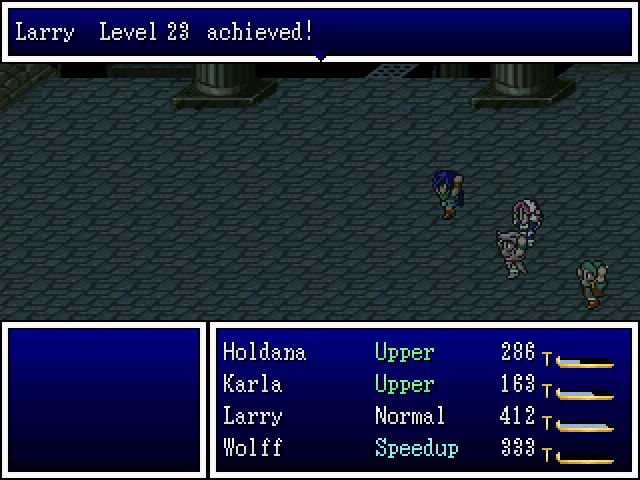

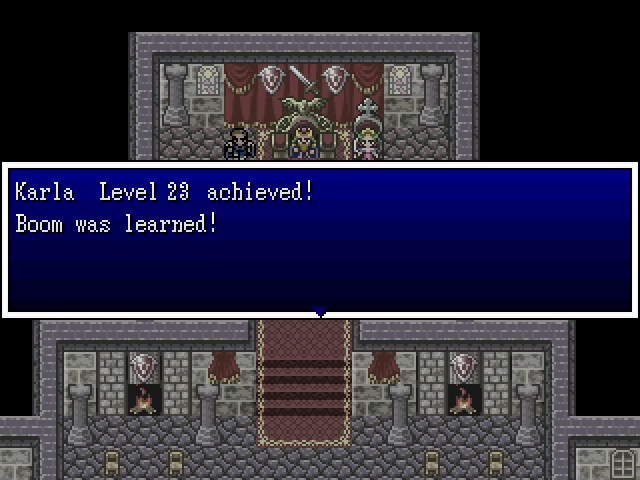

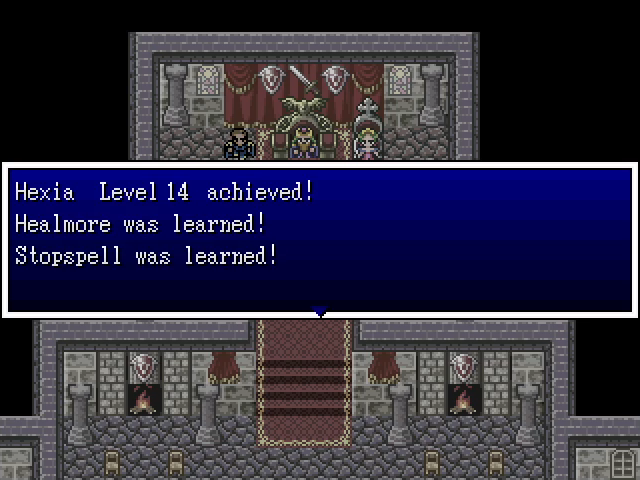
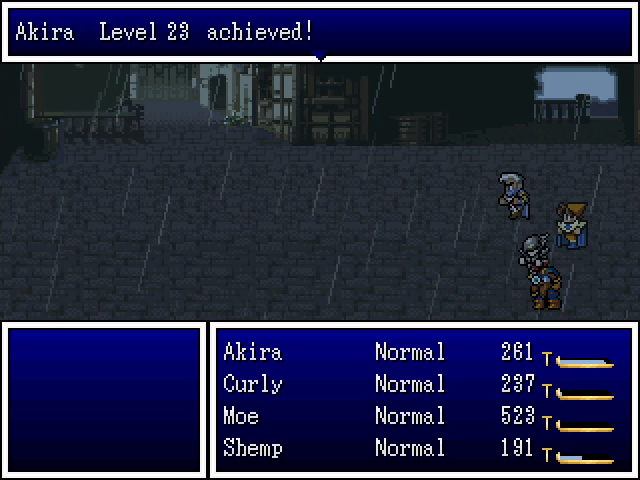
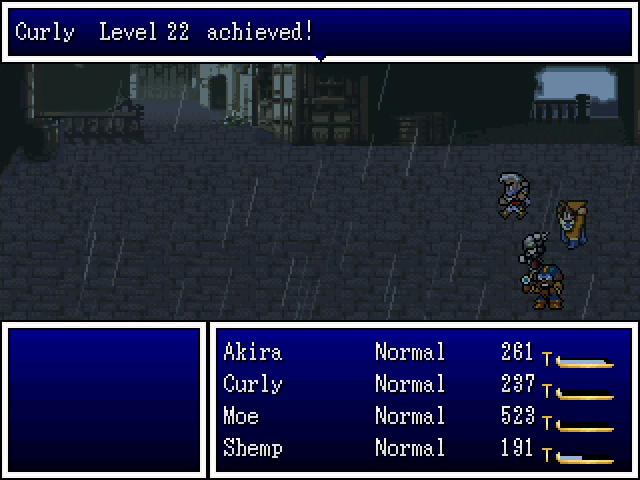
Our level ups in Okasa. Not a huge amount to say here, but more levels are always good.
And so Okasa is saved. Next time, we could go after the next two Divine Relics, or perhaps head to Ozland to try and get the airship. Decisions, decisions...