Part 35: Hunt for the Elfstones
Well, I'm home sick. May as well get an early update for you all!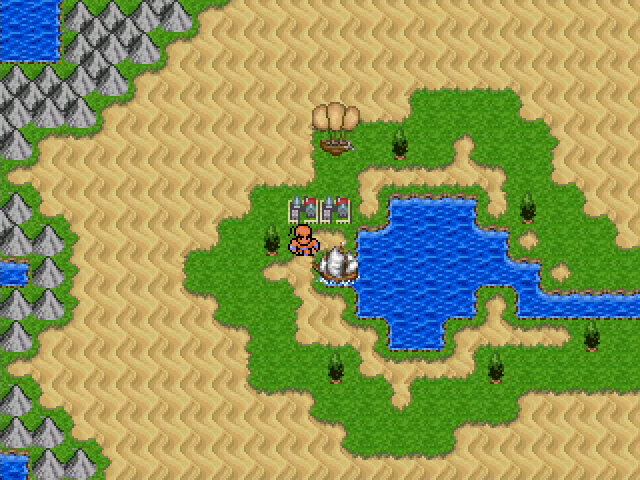
Welcome back, everyone. Today's update is going to be a short one: it's nothing but three dungeon crawls, and while they're important, there's not a whole lot to say about them. Feel free to skip to the end if monster descriptions and my personal irritation aren't your thing.
We could actually have done these dungeons quite a bit earlier in the game, but my faulty memory kept telling we needed the airship first. As a result, we're pretty overpowered for this content.
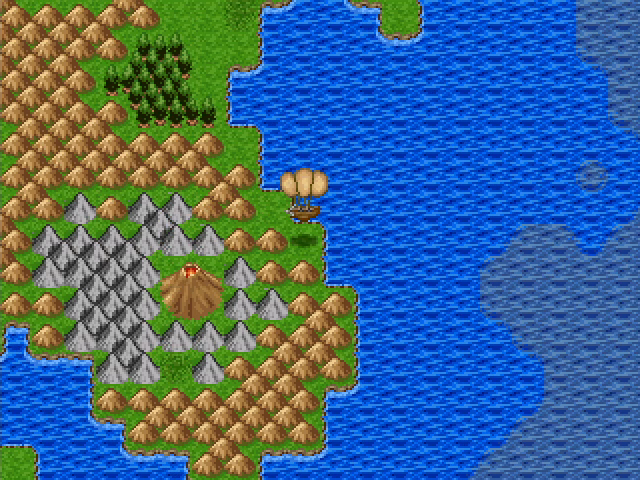
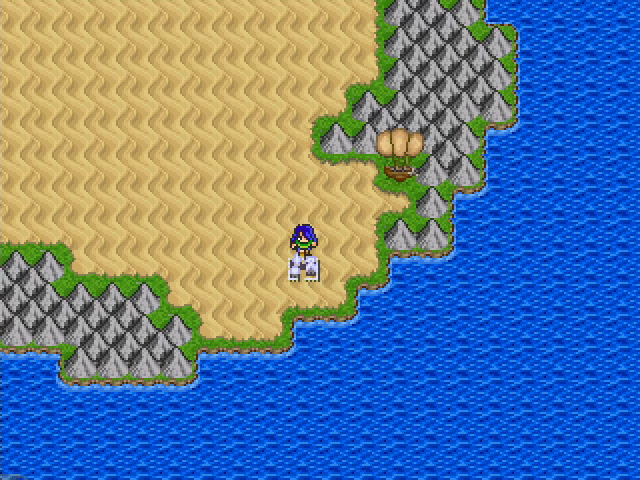
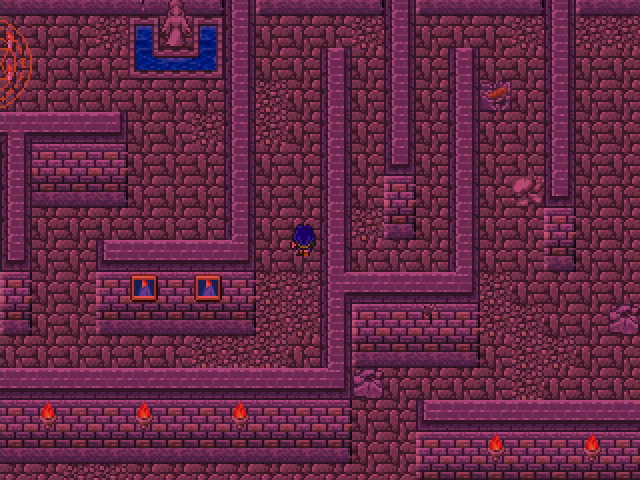
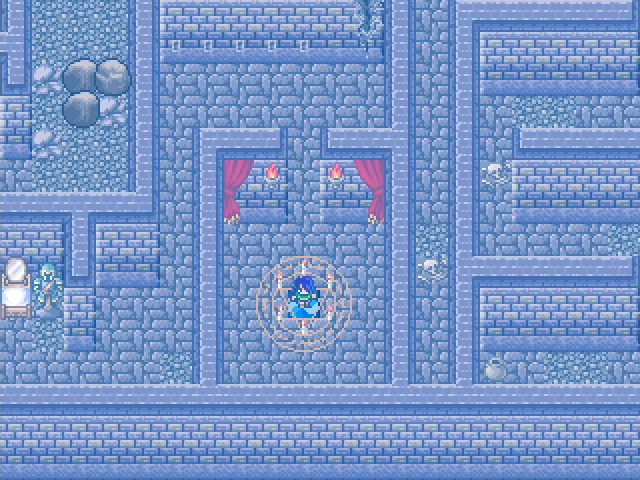
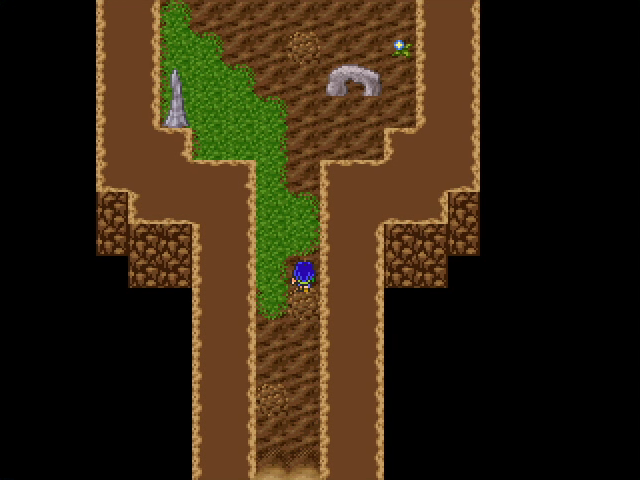
Our first destination is Mount Neverest, a short distance northeast of Okasa. We could have come here during chapter 3, but like all these dungeons, access is blocked by a magic door.
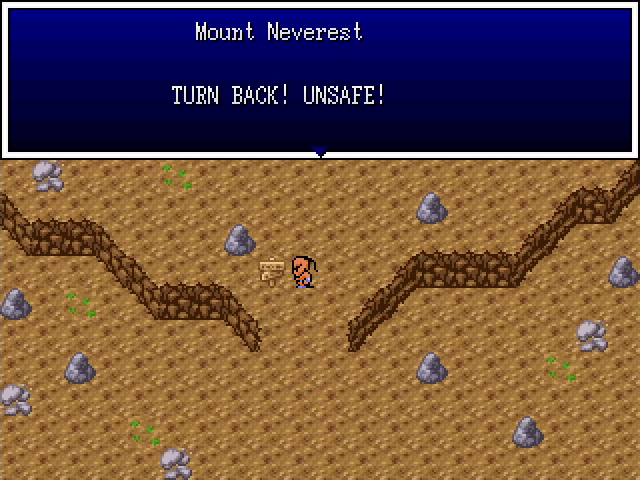
A sign at the entrance warns us that the place is dangerous, but we're more than prepared.
We unlock the door and head in.
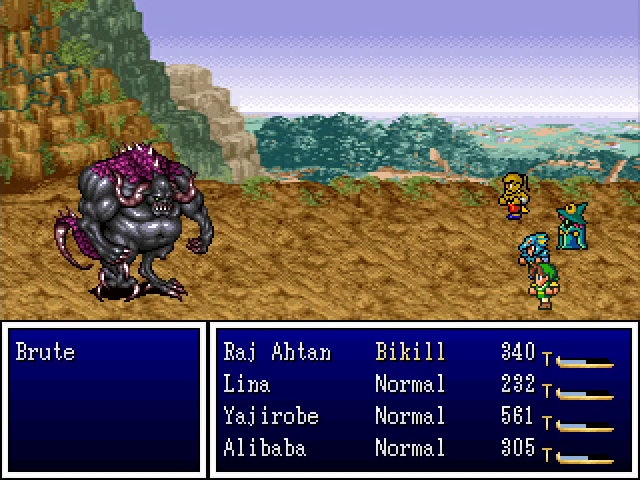
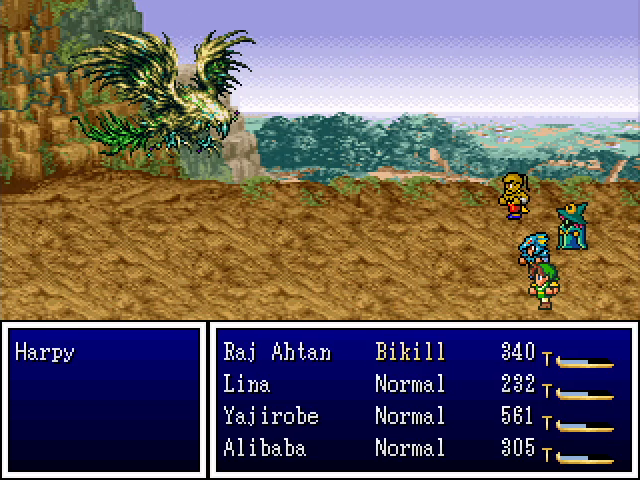
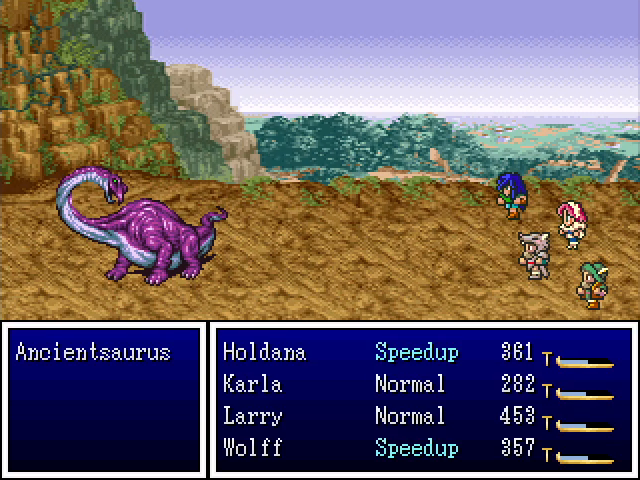
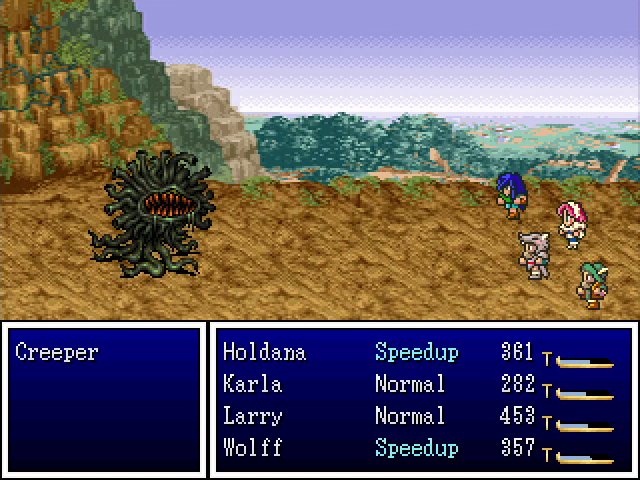
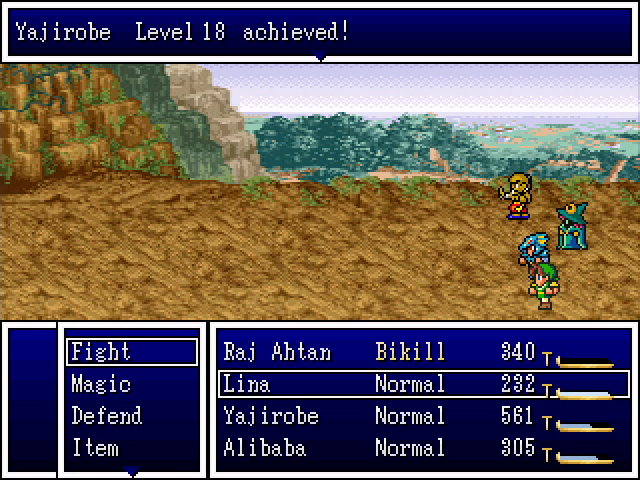
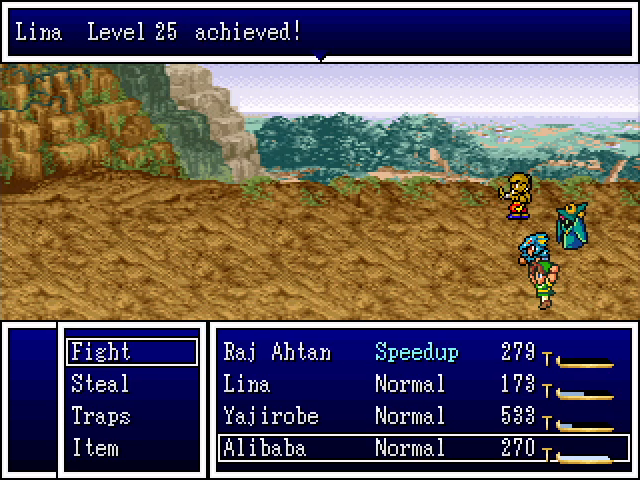
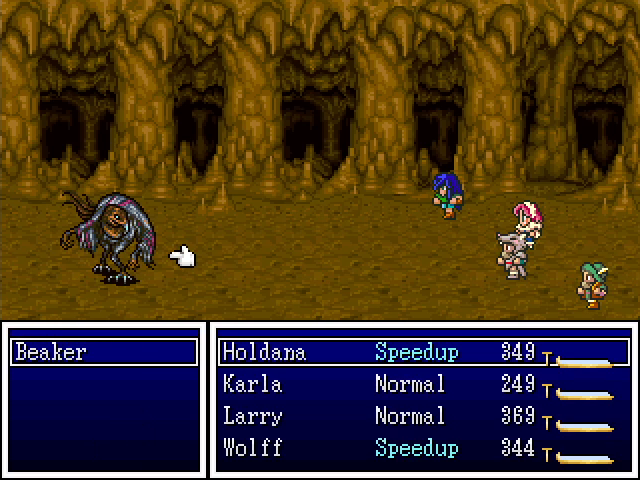
Mount Neverest is somewhat unique in that, with one exception, its battles are all against a single monster. Harpies and creepers can hit the whole party with Windblade and Poisonbreath, respectively, while ancientsauruses are big bags of HP that like to Defend. The others critters here dies too quickly for me to see anything beyond a basic physical strike.
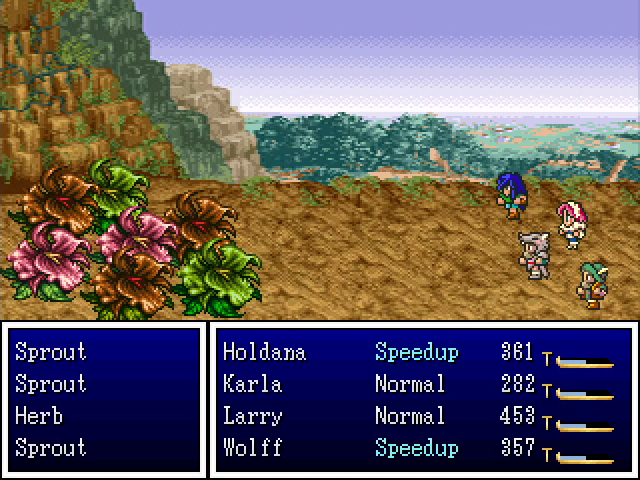
But here's the exception I mentioned. Sprouts and herbs are both incredibly weak and are guaranteed to drop antidotes and medicinal herbs, respectively, when they die. Flowers (the pink ones) are incredibly fast and like to run away, to the point that I was unable to kill one. I strongly suspect that they drop life herbs.
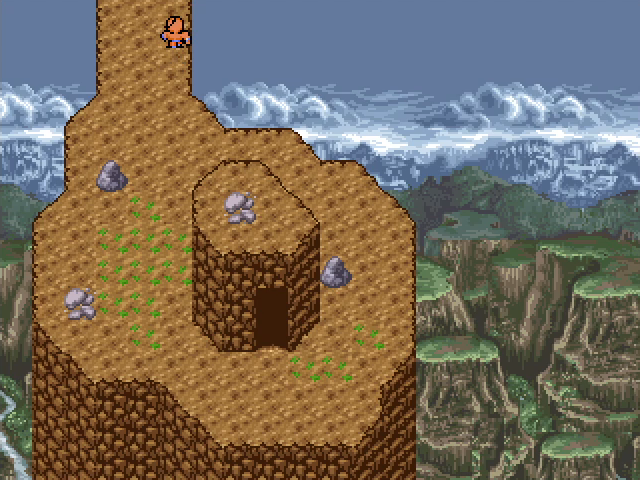
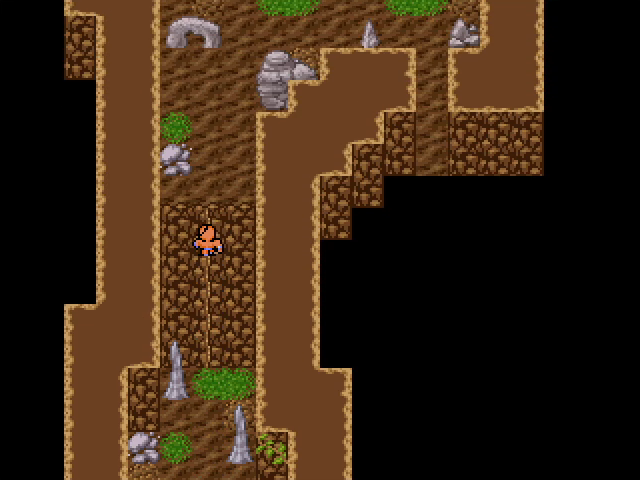
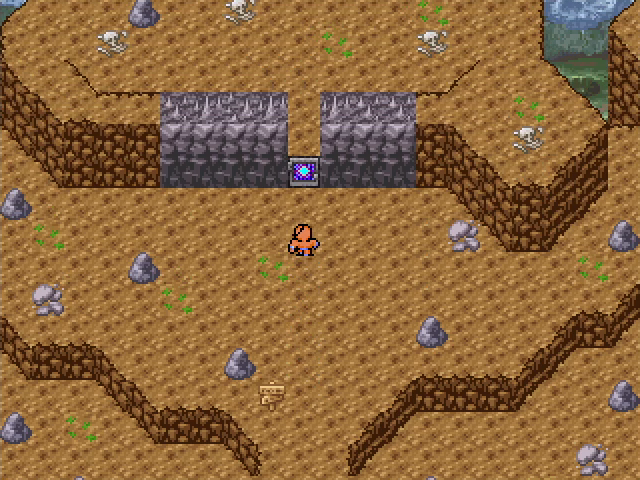
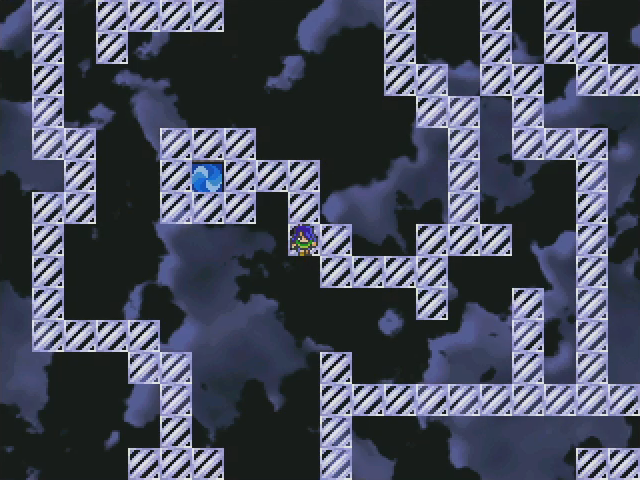
The dungeon itself is a series of small screens, turning it into a bit of a maze. Generally, heading north leads to the end while paths to the left and right lead to treasures.
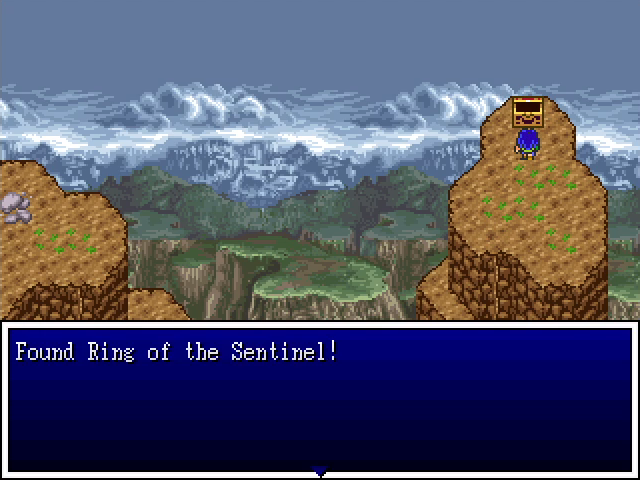
This ring of the sentinel is probably the best treasure here, offering a solid +60 Defense. It's a good fit for Larry, who has to stand on the front lines with poor armor.
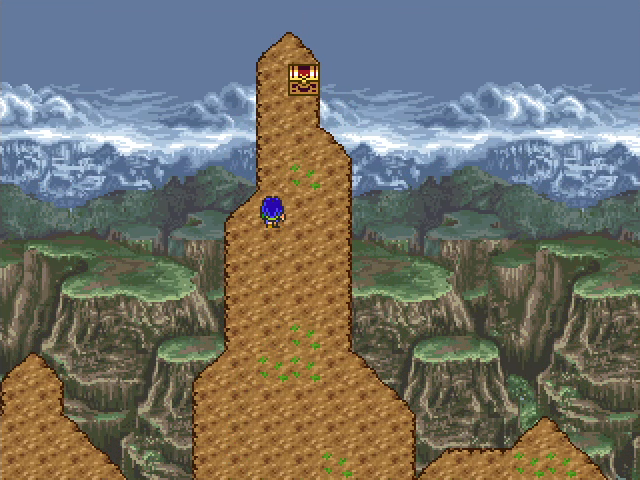
Eventually, we reach the peak, where a lone chest awaits us.
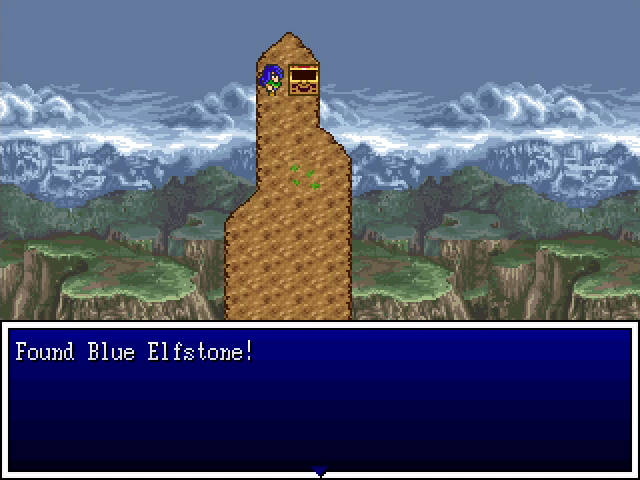
Inside is the Blue Elfstone, which we were told about in San Vegas. With that in hand, our business here is done.
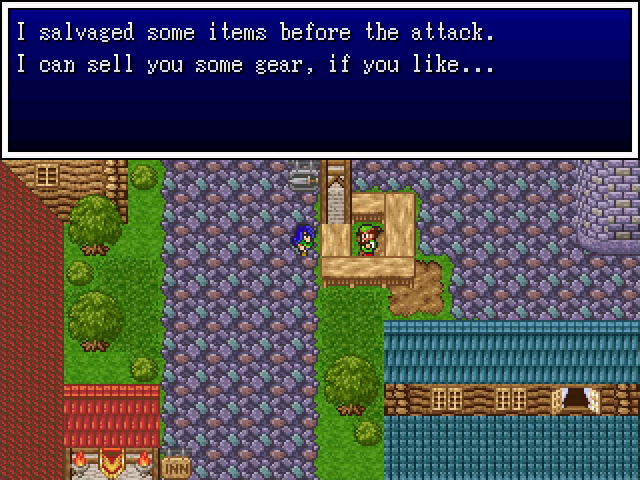
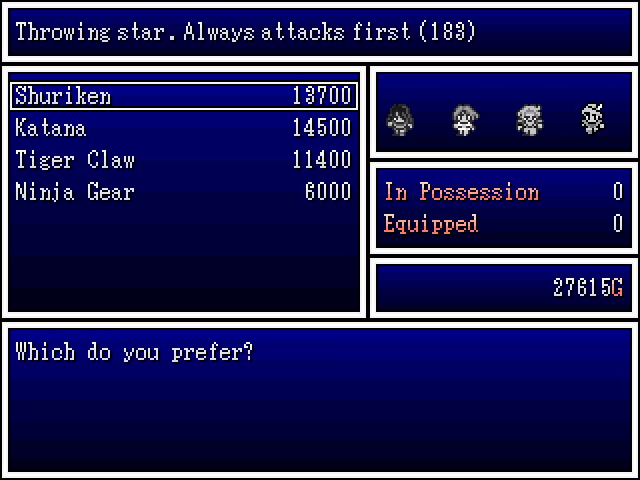
While visiting Okasa to rest up, I happened to talk to this merchant, who sells the weapons that were available outside the palace during the siege. It's nice that they're not missable.
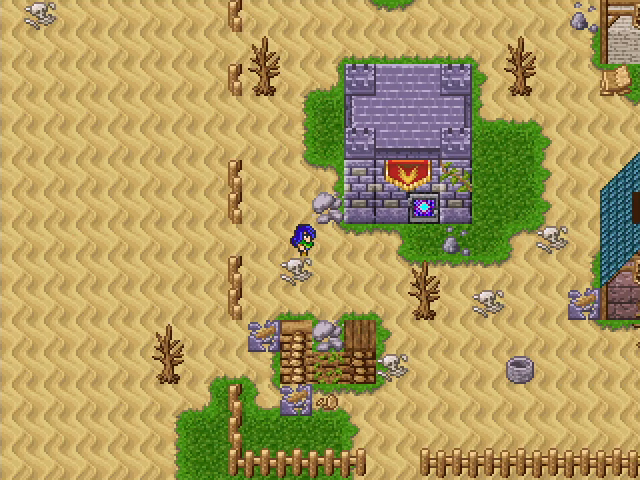
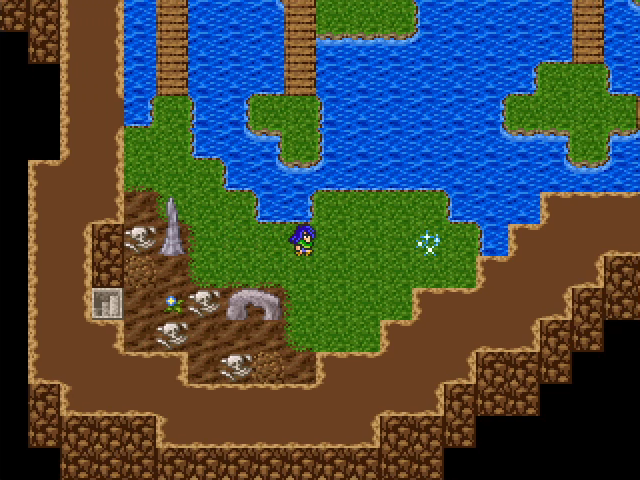
Our next destination is the ruined town of Badon, located east of the desert cave in Hasara. Zefiryn can visit this area during chapter 2, but the only prize is a Tiny Medal, and the monsters are all types found in the endgame of the first four chapters: guardians, krypocalypses, etc. It would not have been worth the trip.
There's also a door here locked by the magic key. Due to the teleportal linking Paranor and Tyrsis, we could have come here as soon as we got the key.
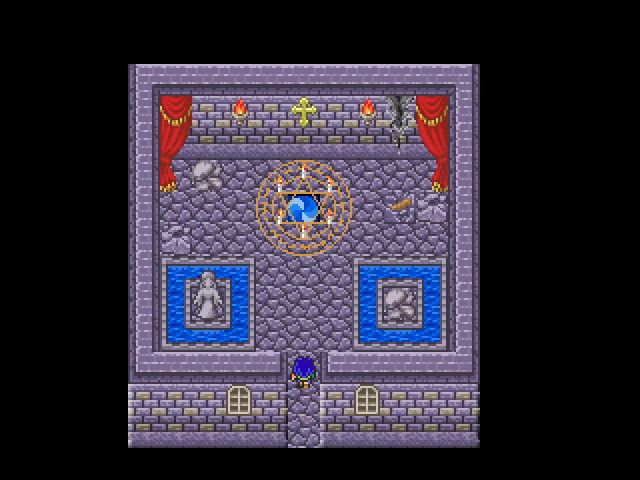
speaking of teleportals, there's one inside the building that takes us to the dungeon: the Crypt of Badon.
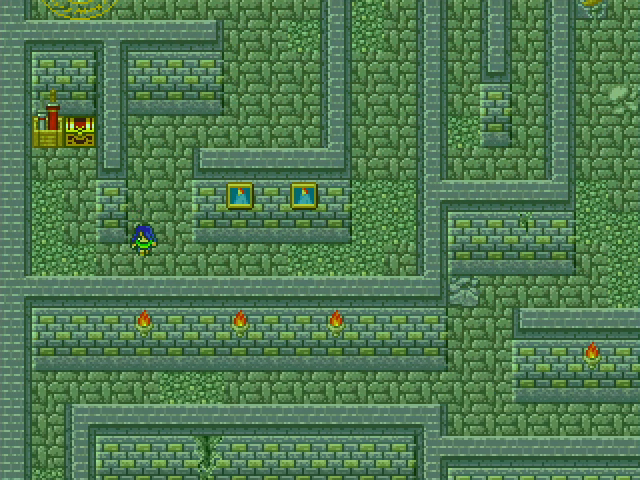
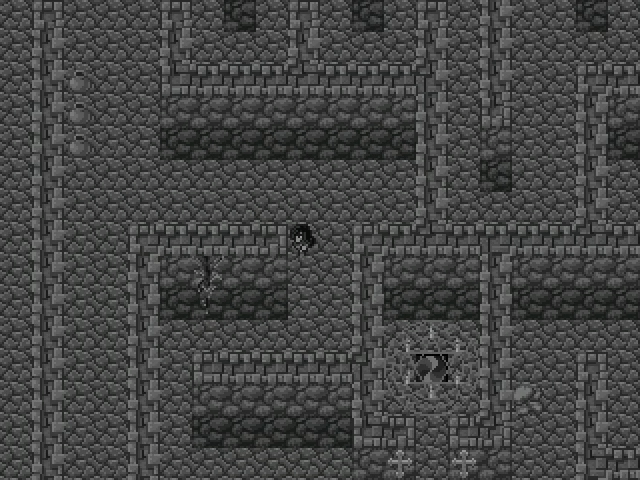
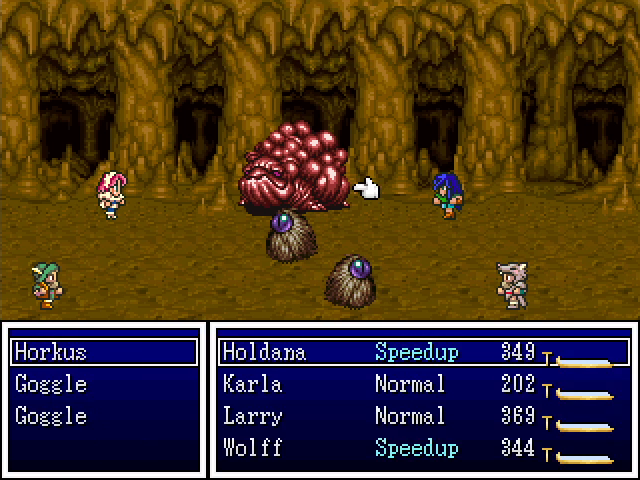
The Crypt is easily the worst of the three dungeons in this update. It's a maze with a ridiculous random battle rate and a weird aesthetic that causes it to shift colors. This first floor changes between green and red, which... isn't the worst set.
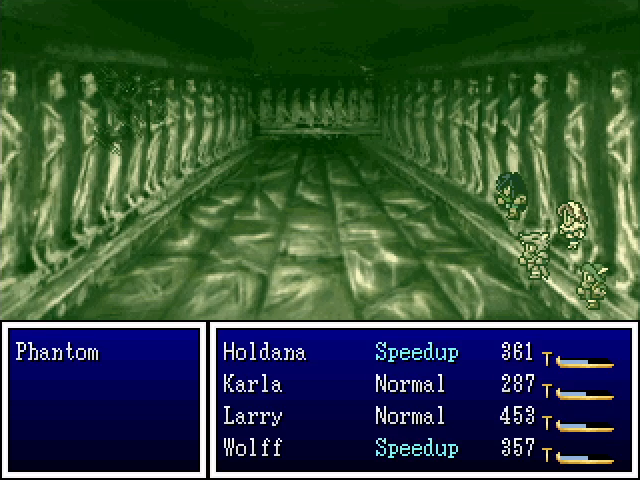
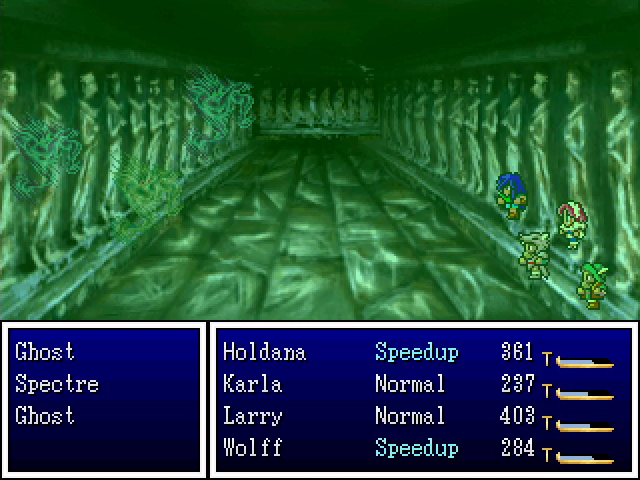
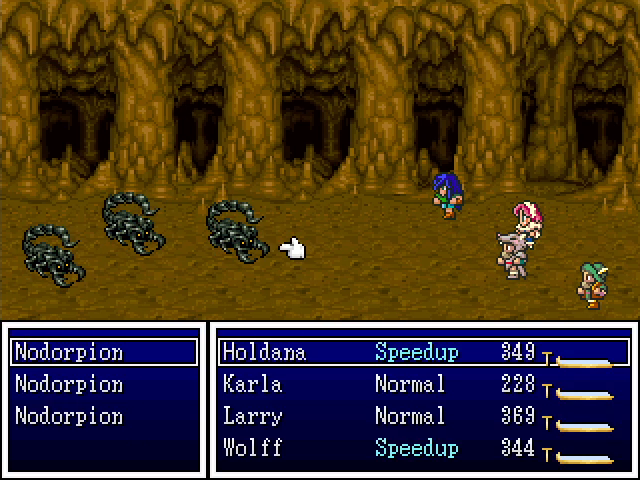
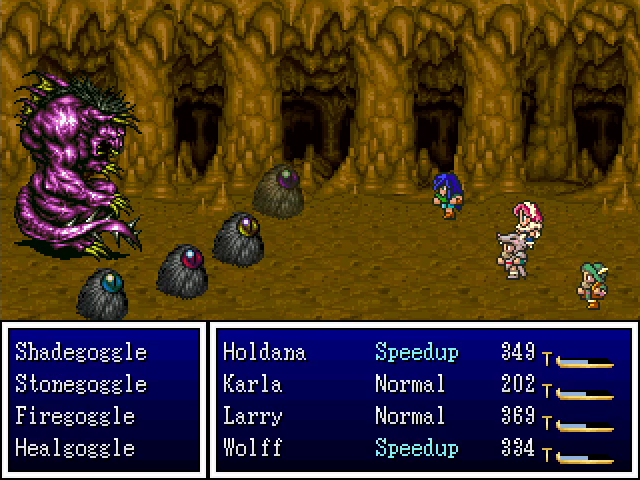
The monsters in the dungeon are universally incorporeal undead (phantoms, ghosts, and spectres). All of them can potentially inflict Chaos on the entire party, though they're otherwise incredibly weak. Holdana, wielding the ghostblade, can one-shot any of them, as can Bless and similar spells. They're not threatening, but due to the high encounter rate, they are incredibly annoying.
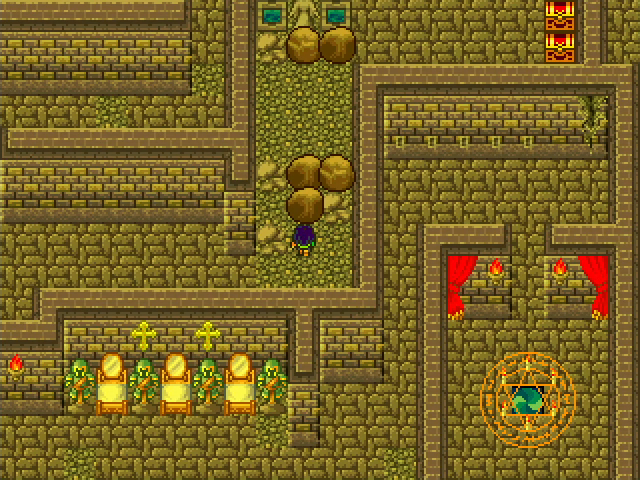
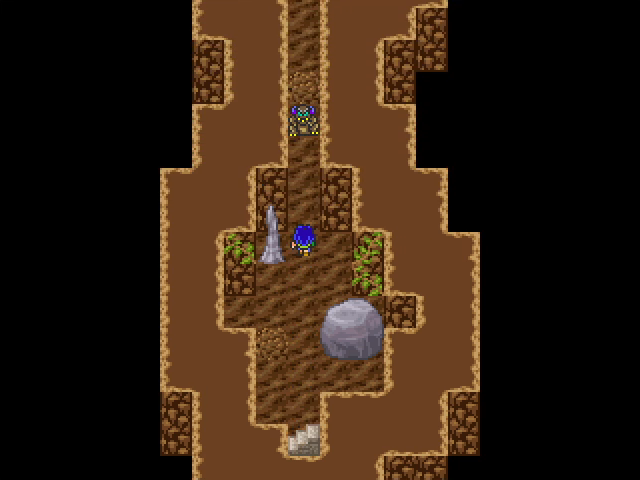
The second floor shifts between yellow and blue. There's a rock-pushing puzzle here, but I wasn't able to see any way to actually solve it, and I really wasn't in the mood to stick around.
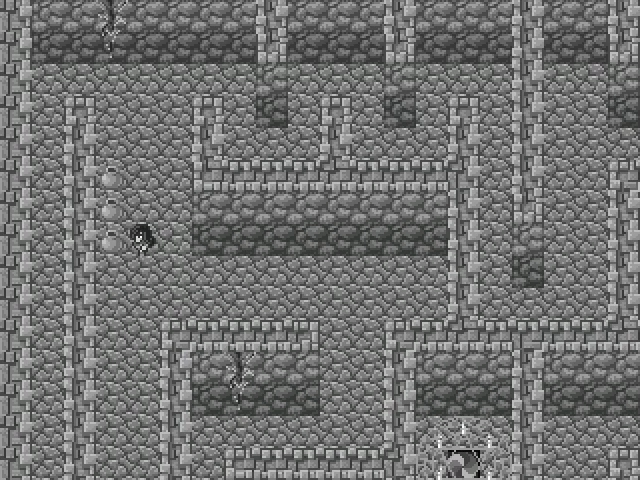
Floor 3 shifts between dark gray and light gray. That's... all I have to say about it.
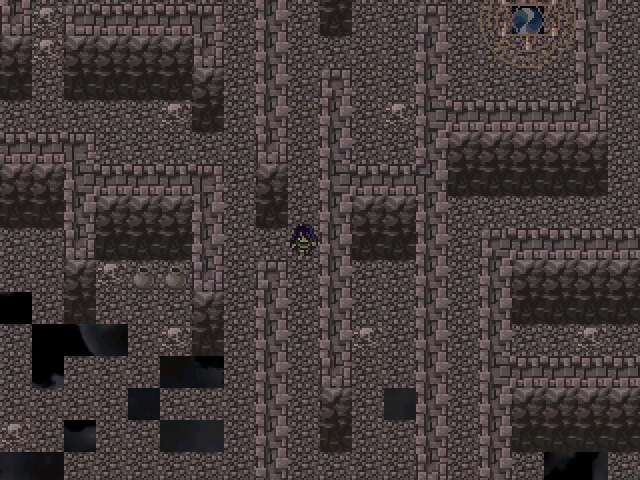
Floor 4 ditches the color-switching gimmick in favor of holes in the ground. What do they do? Honestly, I wasn't prepared to find out, as it would have involved spending more time in this dungeon than I already was.

Oh, and lightning flashes on this floor as well. This is foreshadowing for the last floor.
Floor 5 is nothing but narrow walkways, requiring very precise steps to navigate without falling off. This is made tougher by the return of the color-changing gimmick.

The screen fades entirely to black and doesn't fade back. Instead, lighting flashes illuminate the floor at random intervals, bringing back the light for about 3 seconds. So we have to move when we can see and stop and wait when we can't. The only mercy here is that this floor has no monsters.
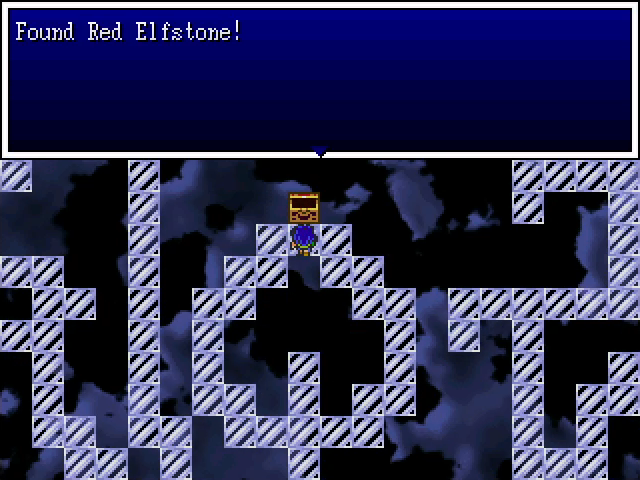
Finally, we reach the end and claim the Red Elfstone.
We cast Outside and get the fuck out. Good riddance.
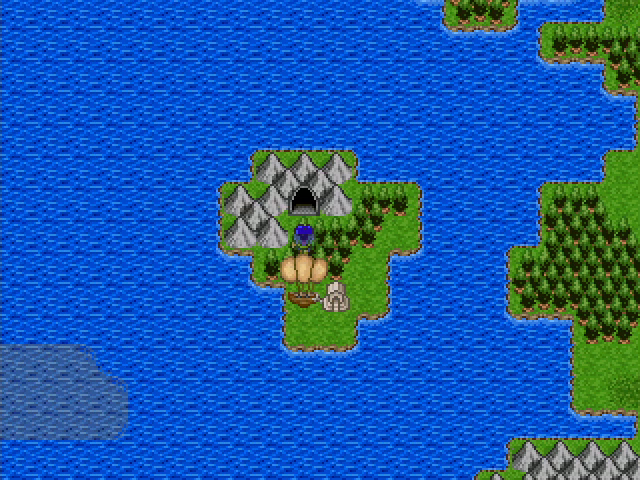
Our final dungeon is on this tiny island west of Norsland. The shrine Holdana took to the small northern island has a second teleportal leading here, blocked off by a magic door. So we could have come here at the same time as the Crypt of Badon.
Welcome to the Pit of Peril. It's... a cave.
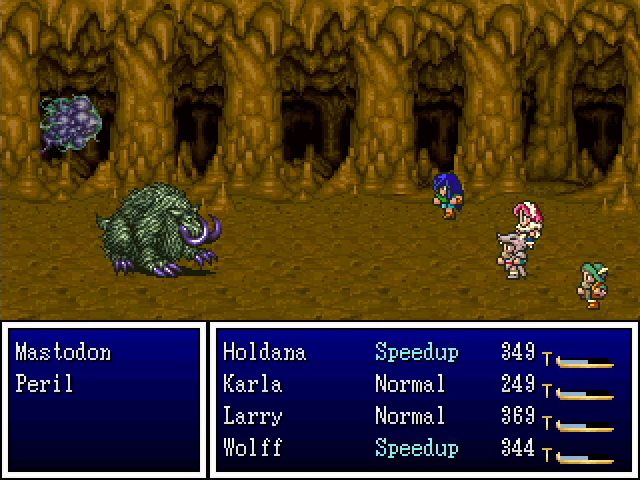
The monsters here are a complete nonissue at our levels. Only the mastodons and horkuses live long enough to do anything, and it's nothing threatening. The most noteworthy thing about these monsters is that there's one literally named "peril".
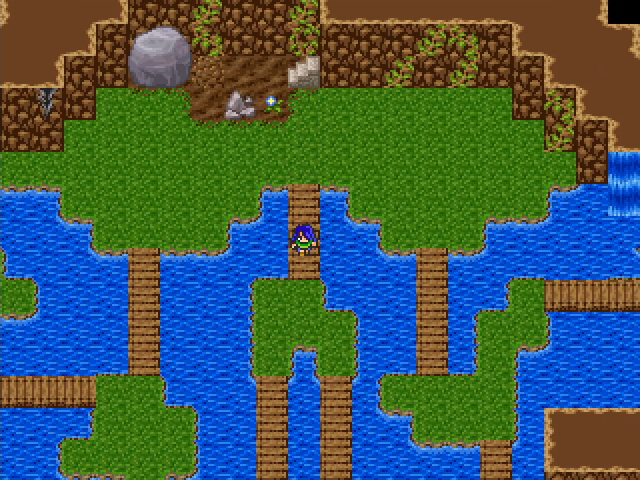
The penultimate floor of the Pit is a maze of islands and bridges. It's just a maze, but at least it's more visually interesting than most.
At the end of the maze is a save point, which is unique among the three Elfstone dungeons.
Wait, isn't that..?
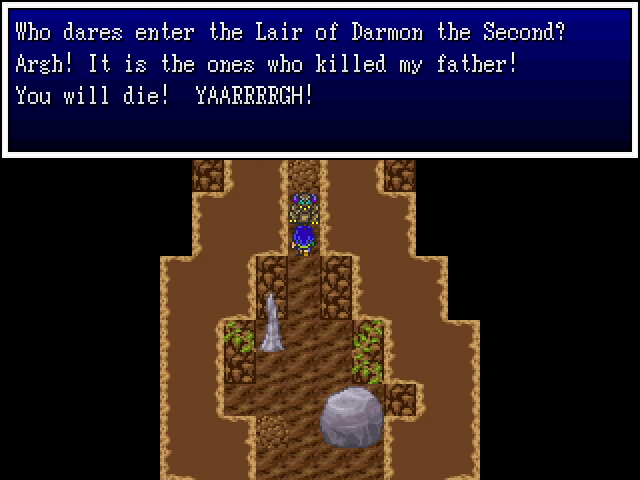
You might remember that Darmon the Great protected the golden pickaxe in chapter 1. (I wonder what his son here says if he was never fought.) Darmon was kind of a roadblock boss, so this is actually a bit scary.
Or, well, it would be if we'd come here earlier. As it is, us being overleveled makes the battle a complete joke.
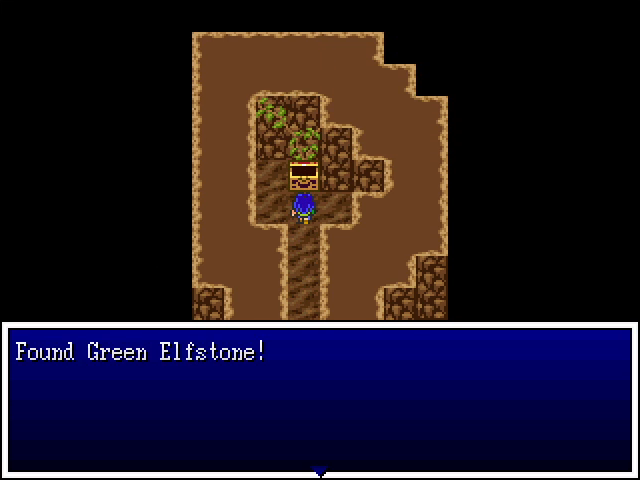
In the chamber behind Darmon is the Green Elfstone, last of the three.
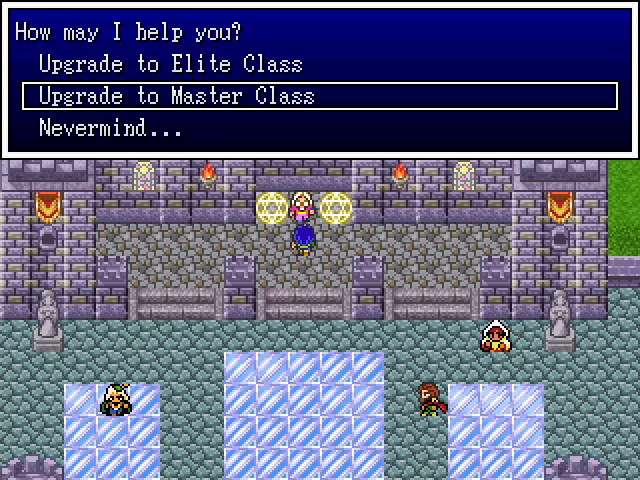
And now we have some decisions to make.
Level Up Roundup