Part 38: The Lost City of Tritonis
Thank you for your patience, everyone, and welcome back. Last time, we explored the ghost ship and defeated its spectral captain, Yasuki. Now we need to get off and return to our quest.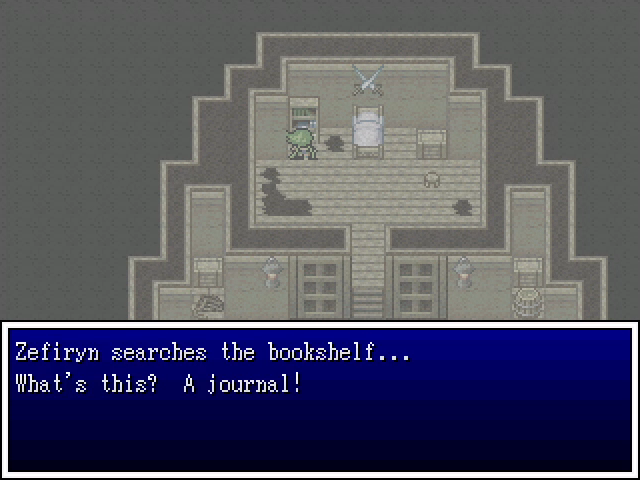
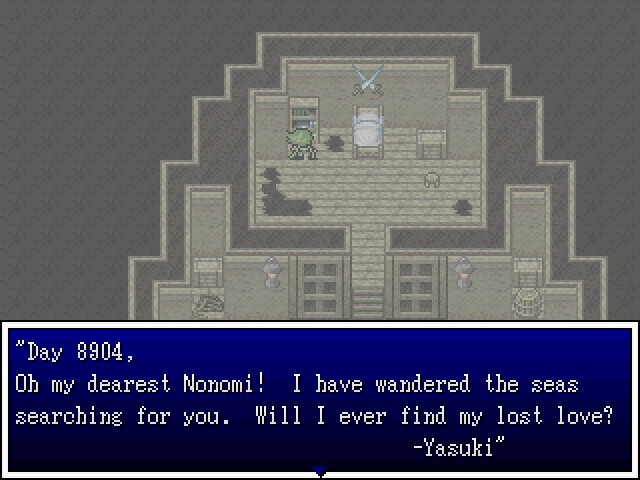
On the way out, I found this journal, which I missed on the first trip. It's not important, but it adds a little flavor.
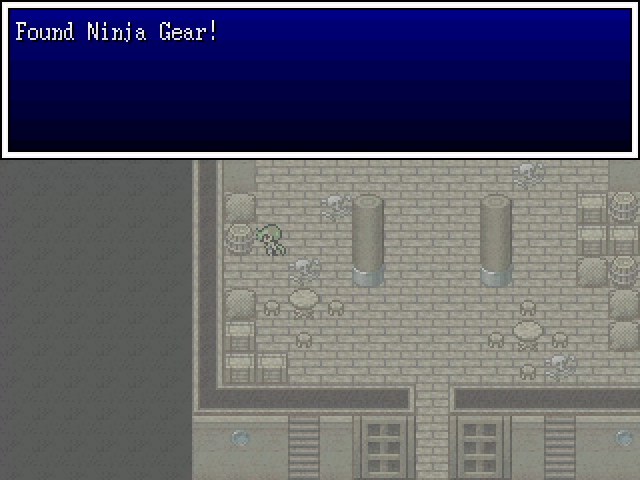
I also found this suit of ninja armor Yasuki seems to have owned in life. It's a good fit for Shemp, who could use the extra protection until he gains some levels.
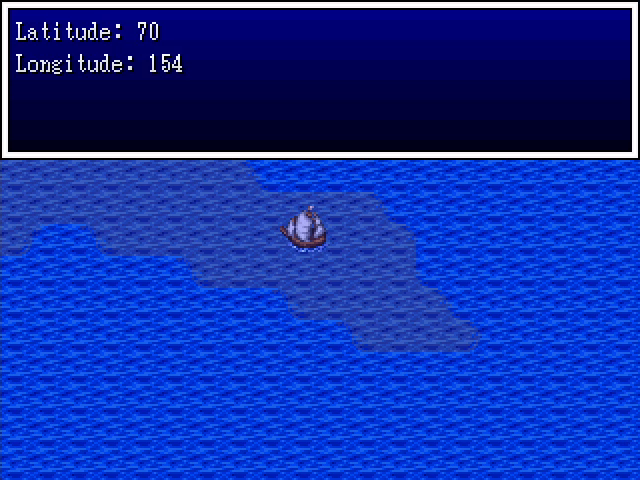
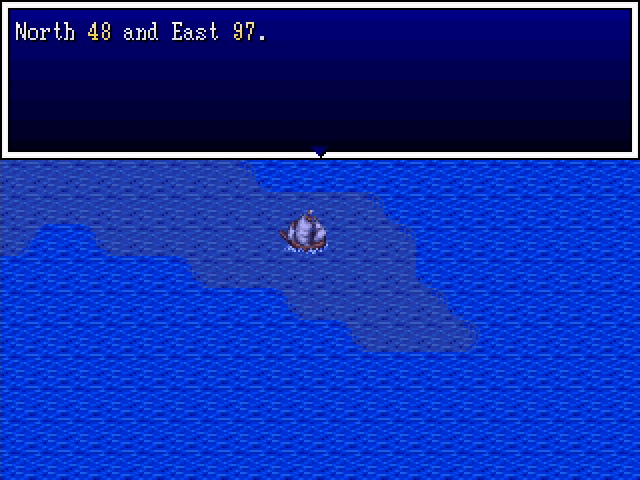
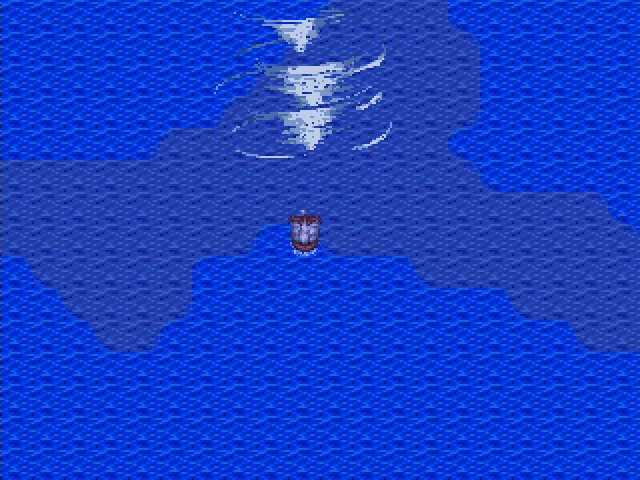
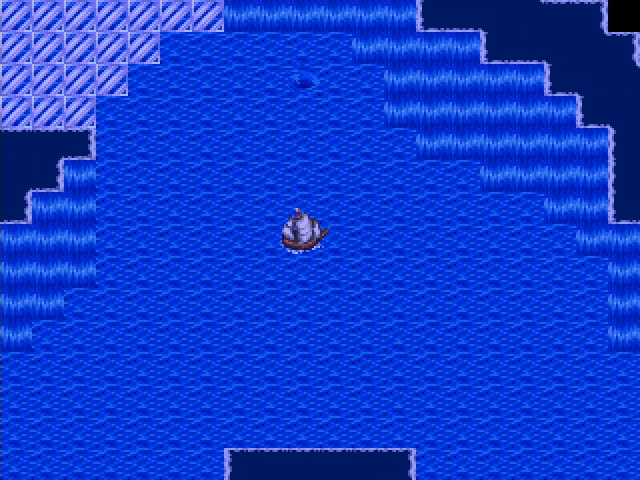
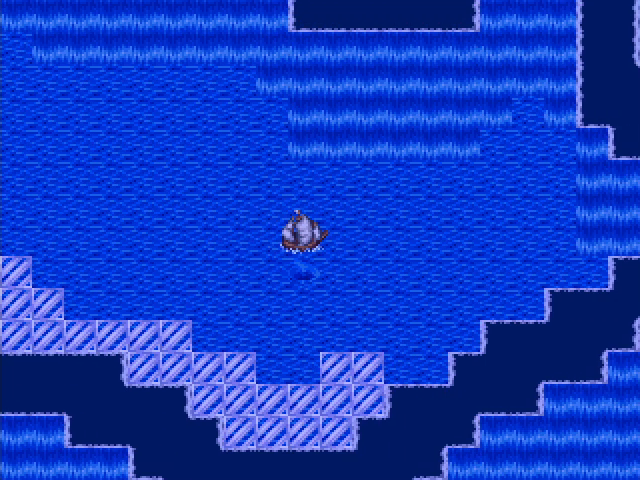
Back out on the sea, we try out the compass, which gives us our latitude and longitude, as promised.

And, as the hunter's journal said, it also gives us a second reading. This is probably worth investigating later.
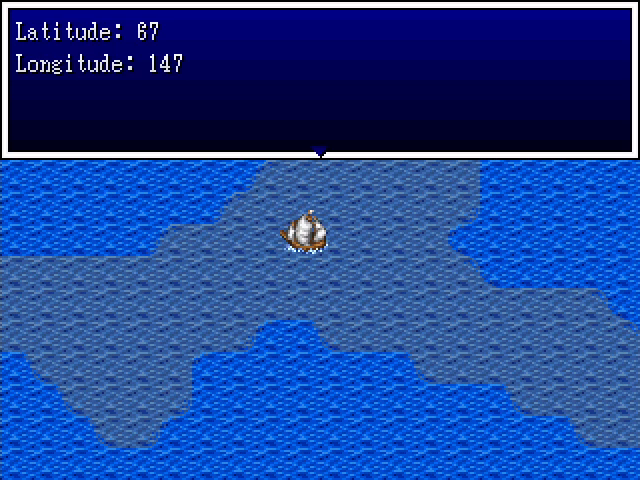
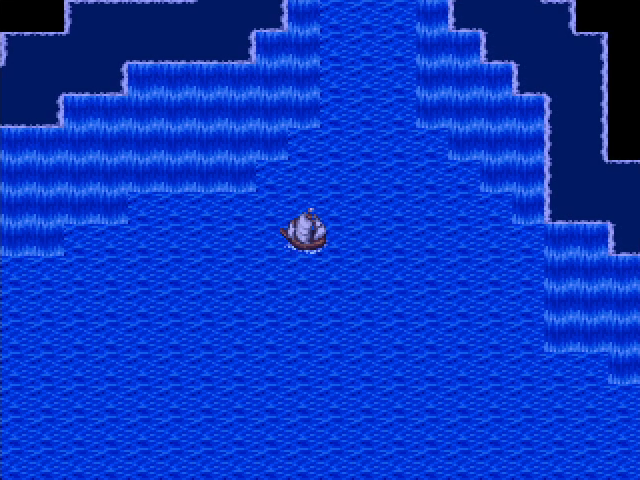
For now, we adjust our position a bit and find the spot.
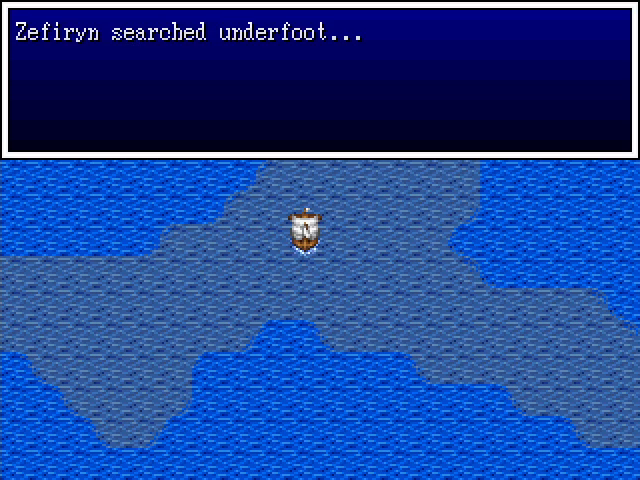
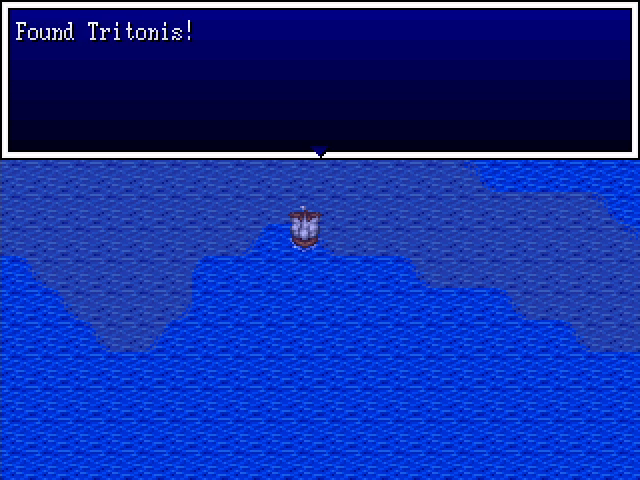
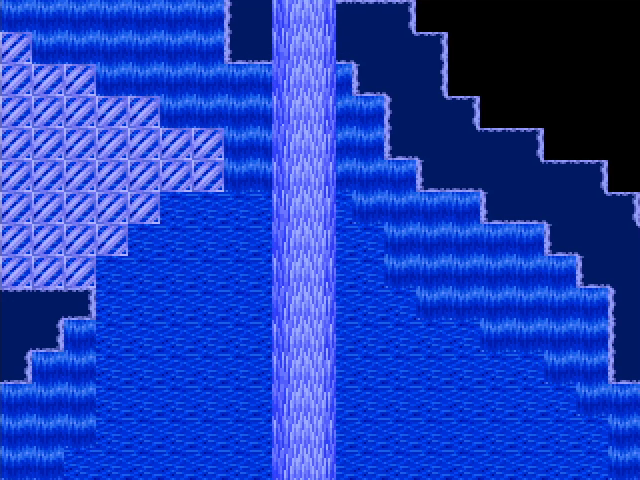
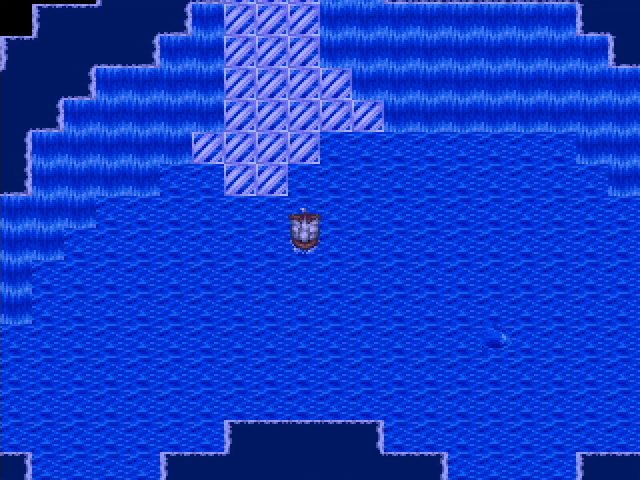
I'm not sure how we check the sea while on a ship, but let's not worry about that and instead revel in our success.
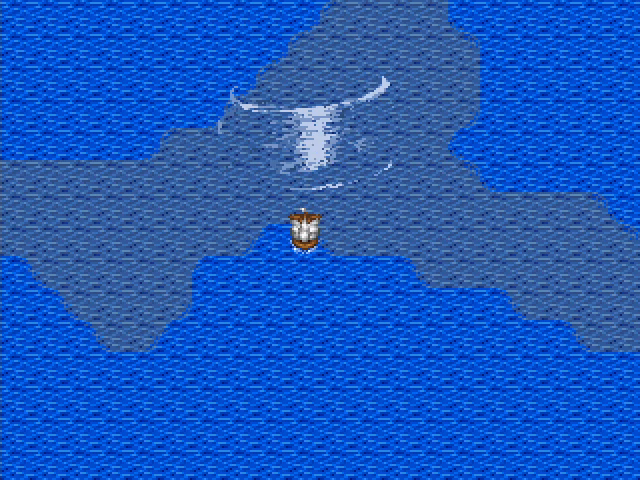
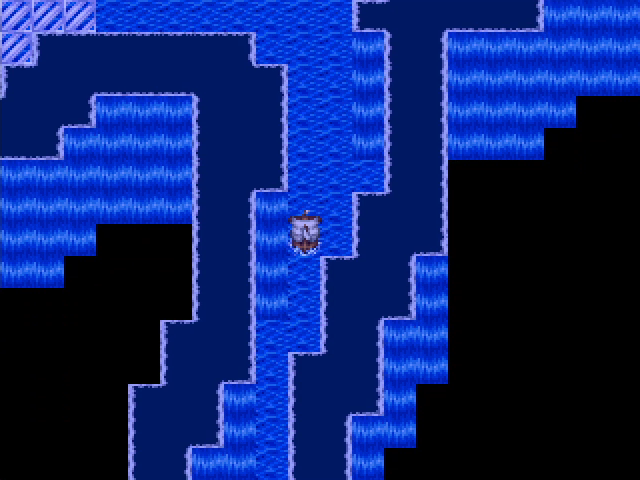
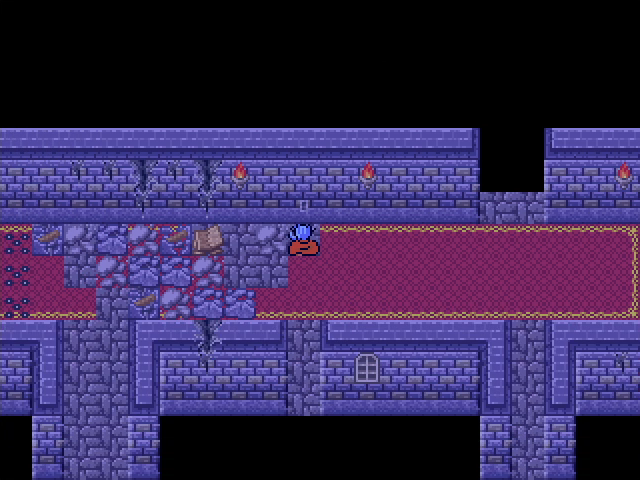
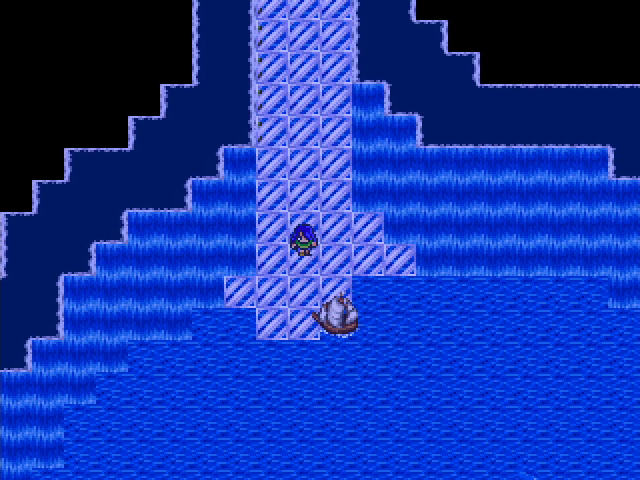
Sailing onto the glowing spot in the ocean takes us to a vast underwater cavern.
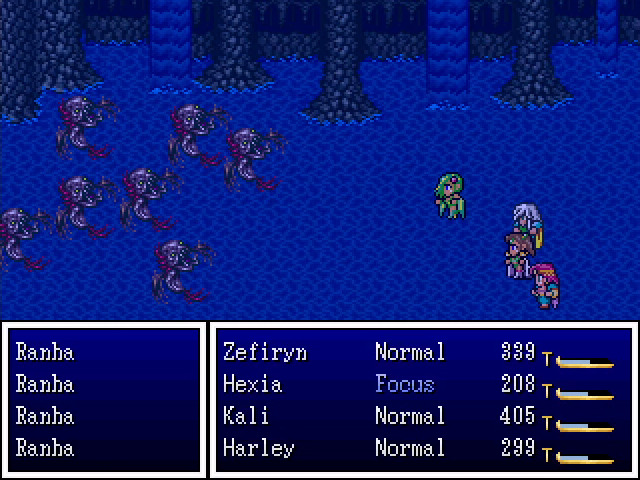
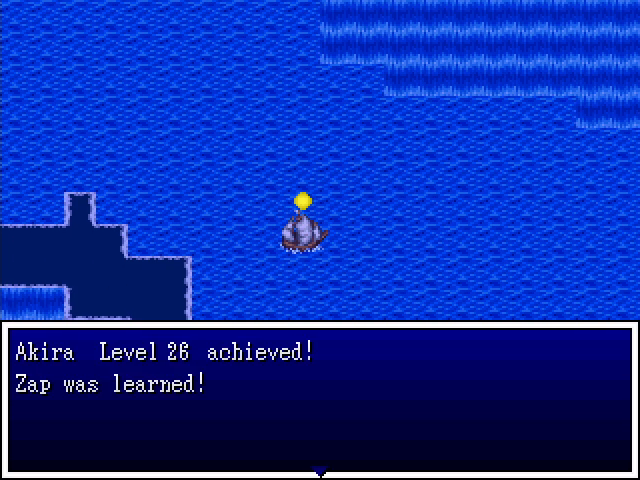
The encounters here are the same as on the ocean, except for the numbers. But numbers don't mean much when we can fry them with Thunder and Zap spells.
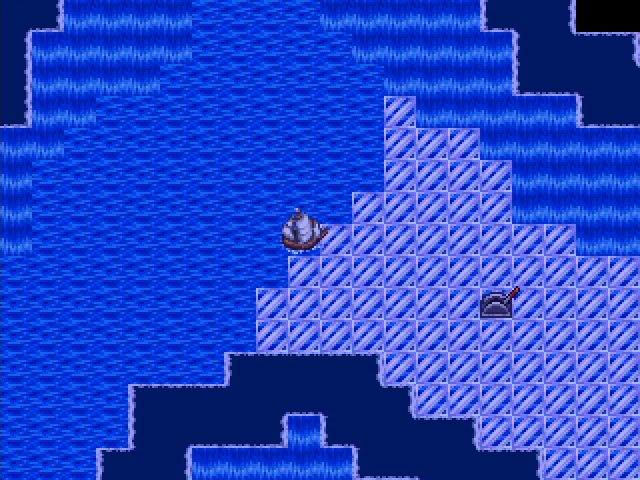
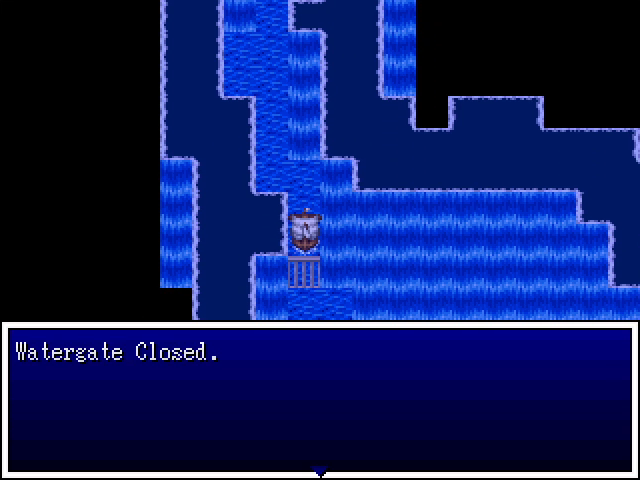
Exploring a bit, we find a lever, which seems to be a control for some kind of gate.
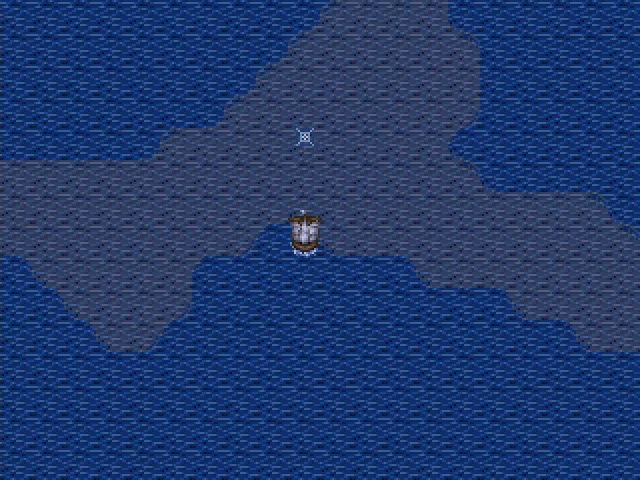
Besides the exit, there's another whirlpool.

It takes us to a small room with a treasure chest.
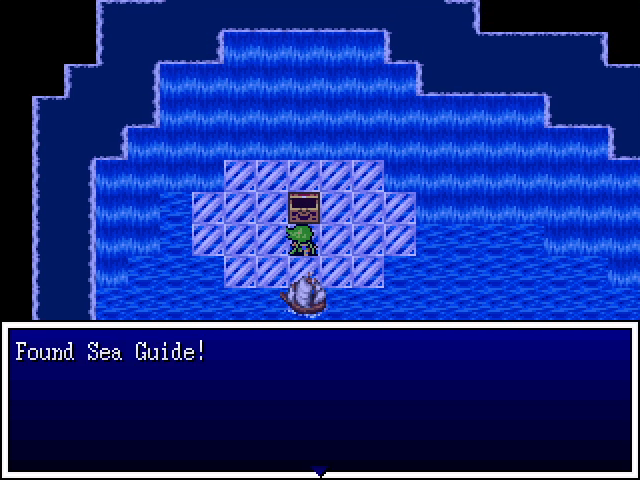
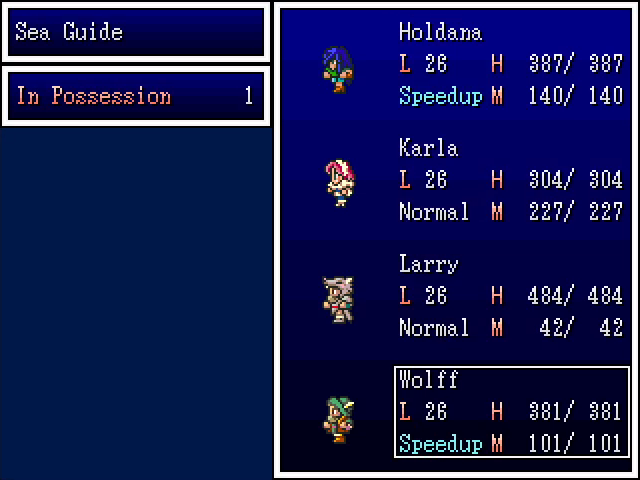
The sea guide is a really nice find - arguably the best thing here apart from the Divine Robes. Wolff's arsenal continues to grow.
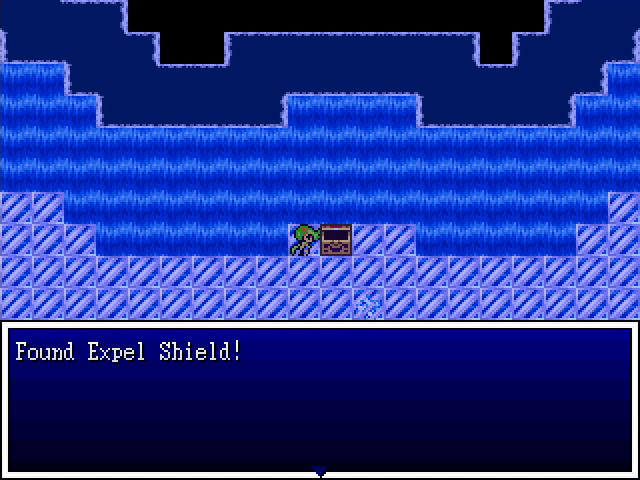
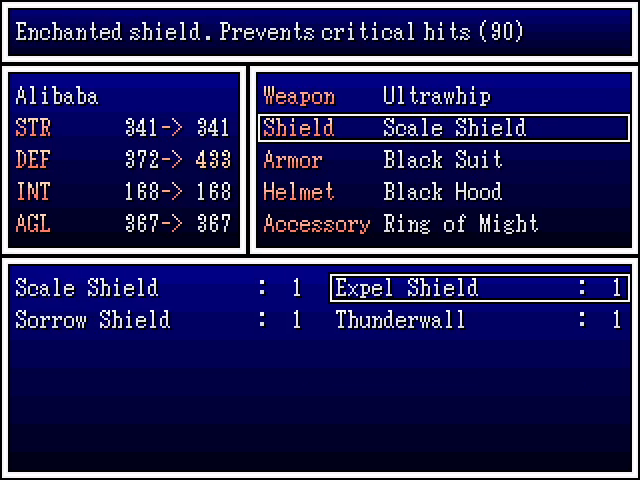
We also find a chest containing the expel shield, another excellent find. Alibaba takes it, since the heavier frontline warriors can't use it.
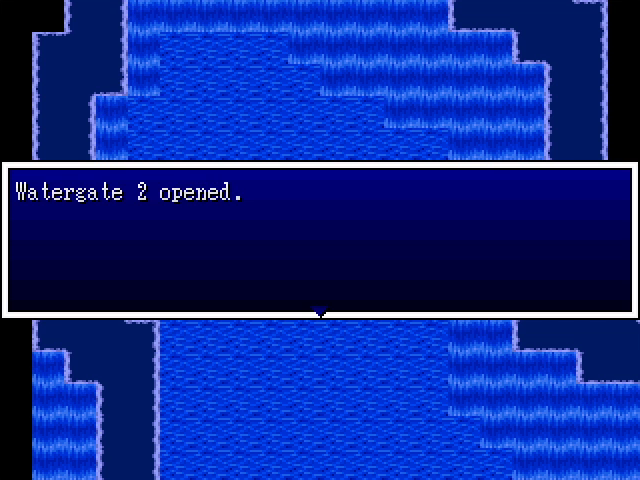
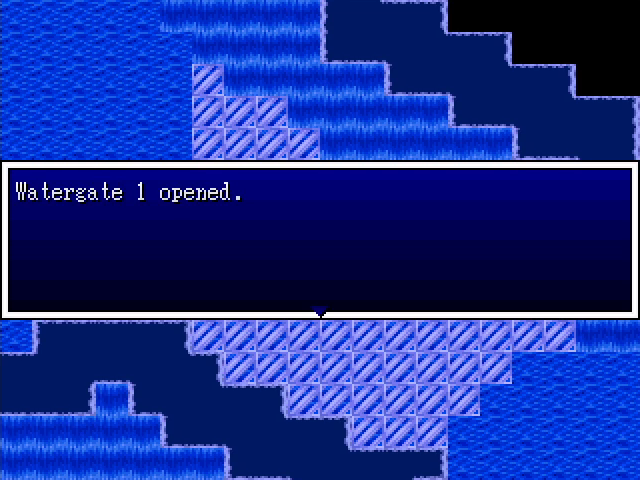
The second watergate is open. No sign of Nixon anywhere.
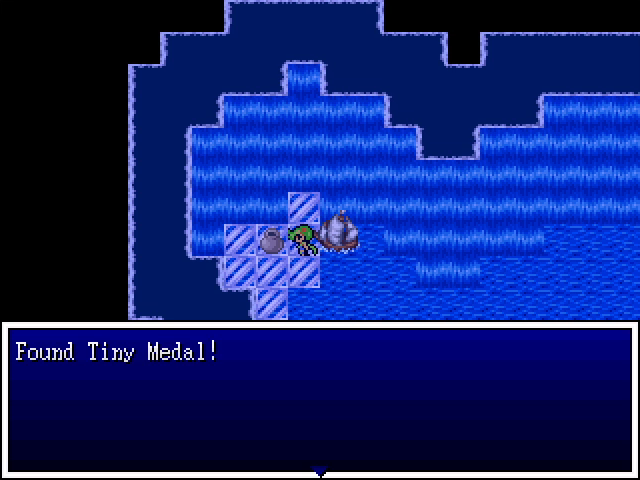
There's a Tiny Medal hidden down here too. It's not the last one we'll find in this place.

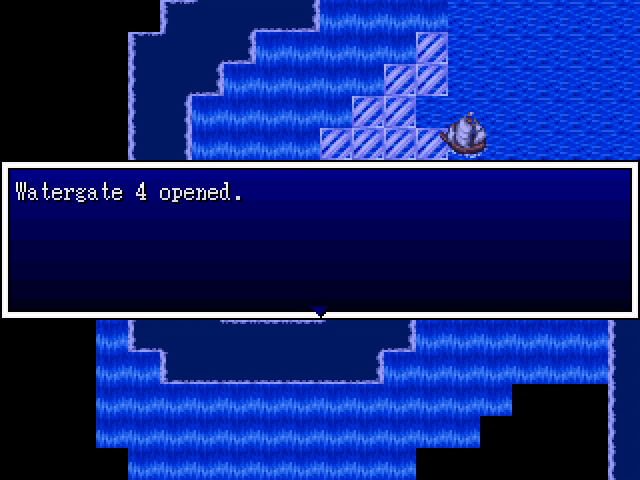
Third watergate down.
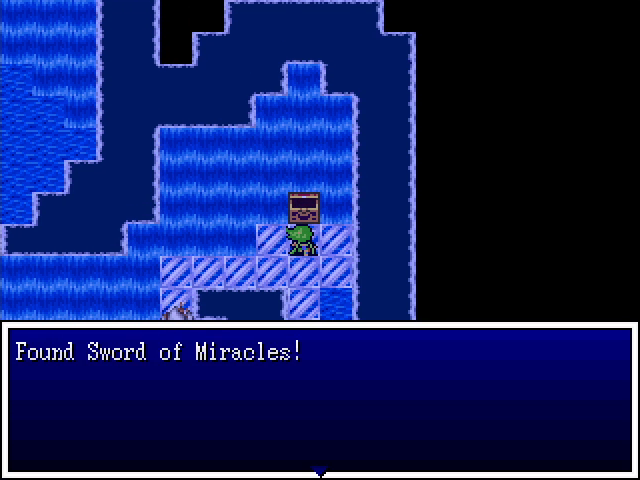
There's a sword of miracles hidden down here too. It's not as nice as the sea guide or expel shield, but it's an upgrade for Moe, at least.
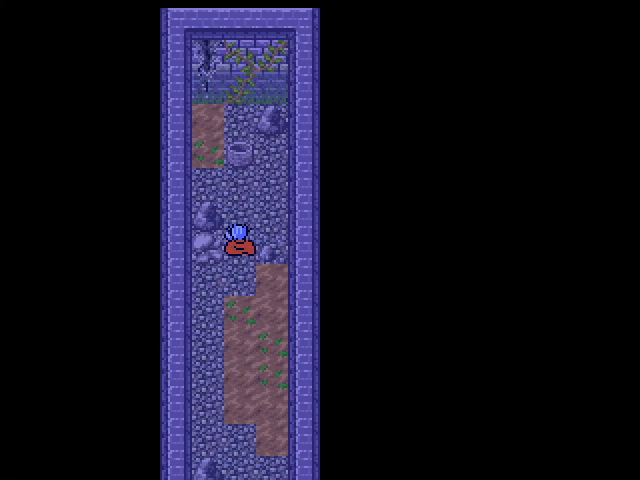
As we continue, we head into a narrow passageway.
Unfortunately, we can't get through. Seems we have to find another switch.
Luckily, it's not far away.
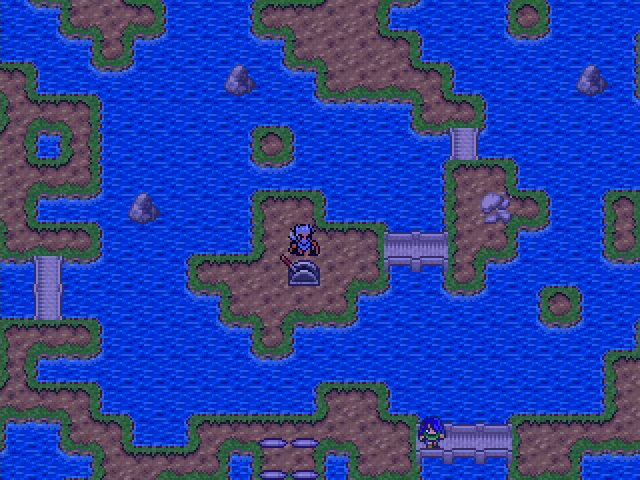
A third whirlpool brings us into another cavern with a walkway leading north.
Following a screen transition, we find ourselves in another multi-party area.
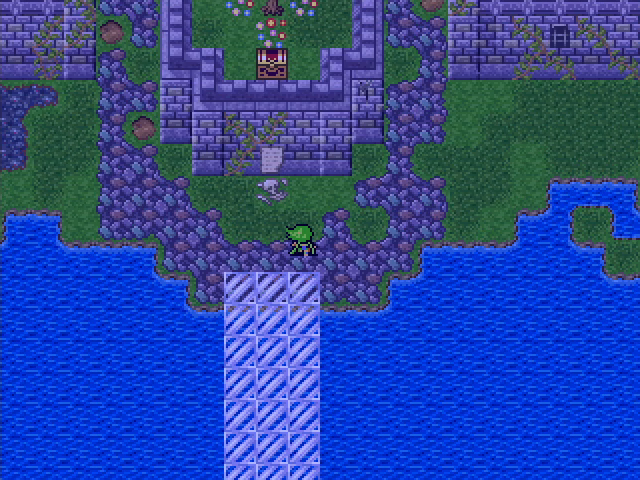
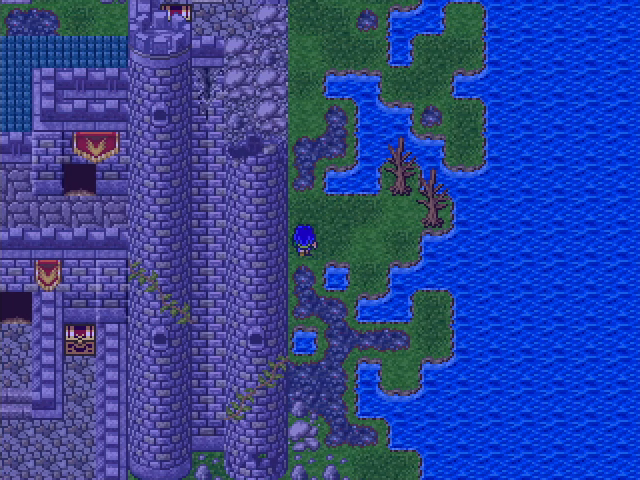
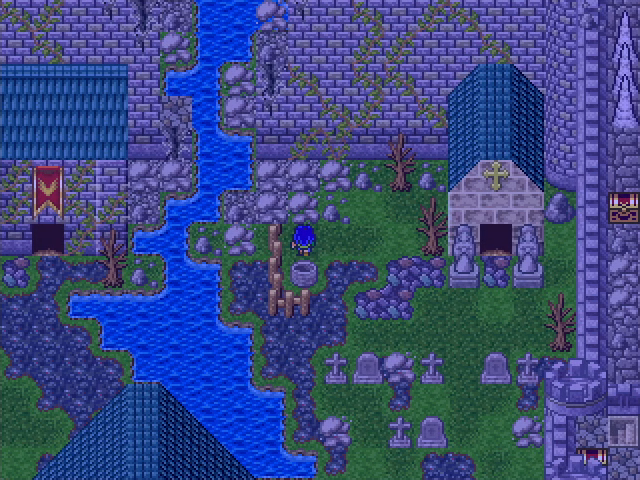
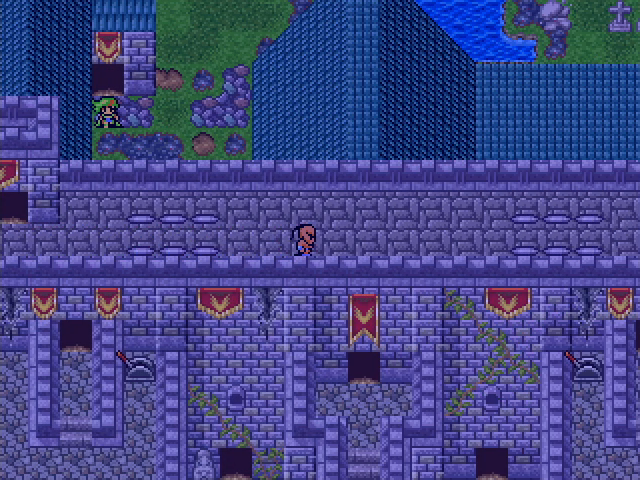
We shouldn't be surprised to find a ruined castle here, I suppose.
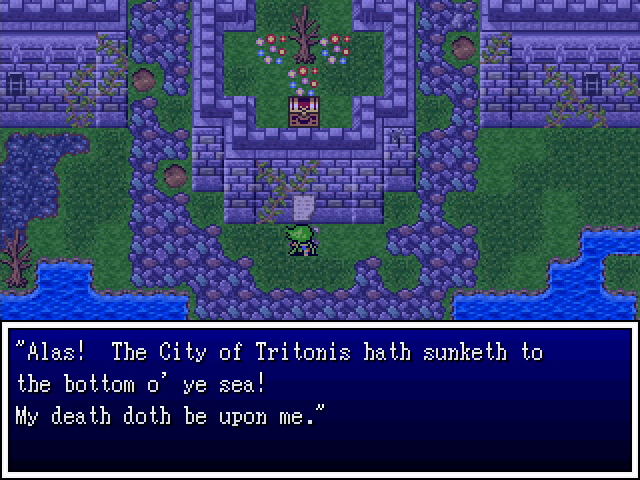
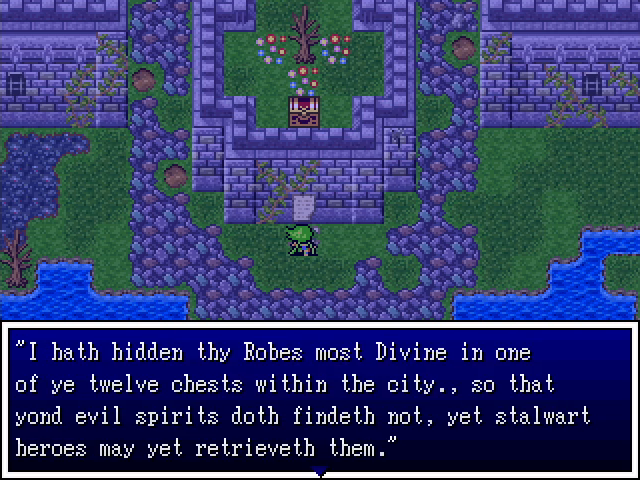
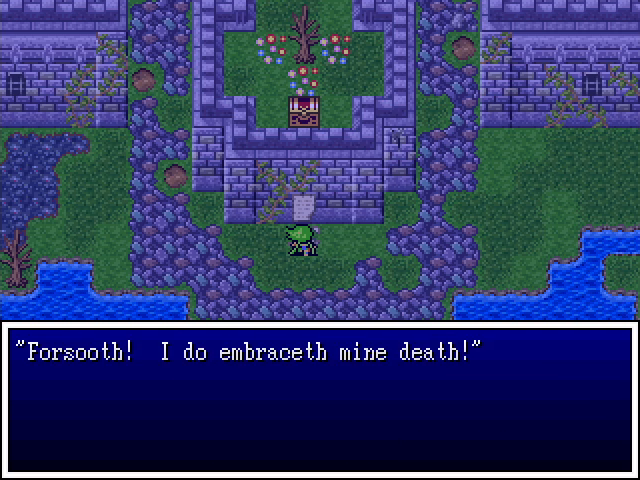
Boy, that is some tortured English.
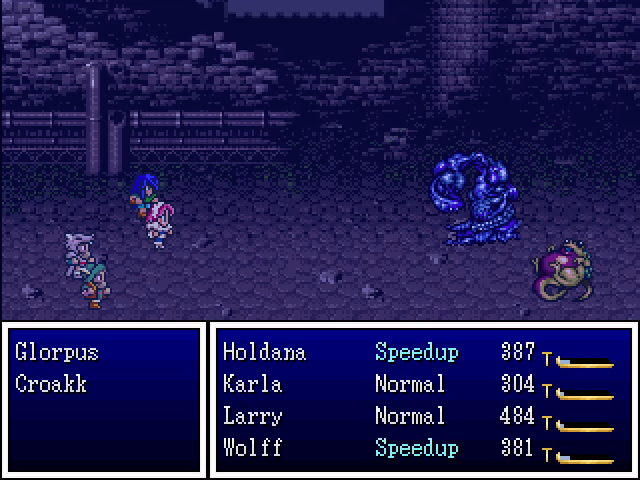

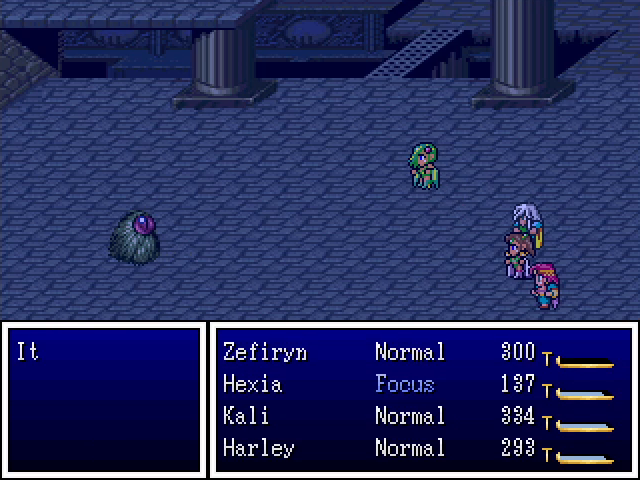
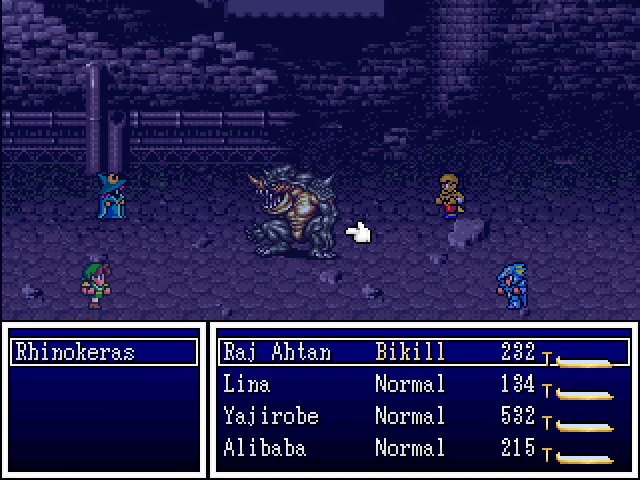
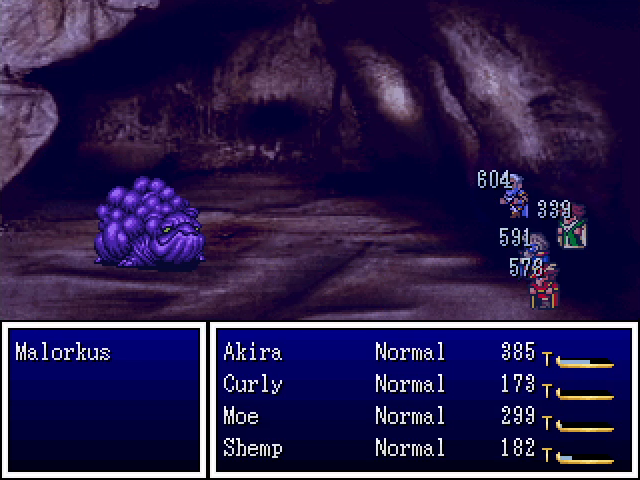
The monsters here are nothing special. Glorpuses seem to be immune to magic, but don't have much HP. Croakks can cast Healmost, which would be a pain if they also didn't have low HP. Malorkuses are just a more durable iteration on monsters we've already seen, using the usual Pus and Charge attacks. Its are presumably named for a certain Cousin; they don't have enough HP to survive even one attack, so I never saw what they might do. This rhinokeras is likewise the only one I ever saw, and didn't survive long enough to do anything.

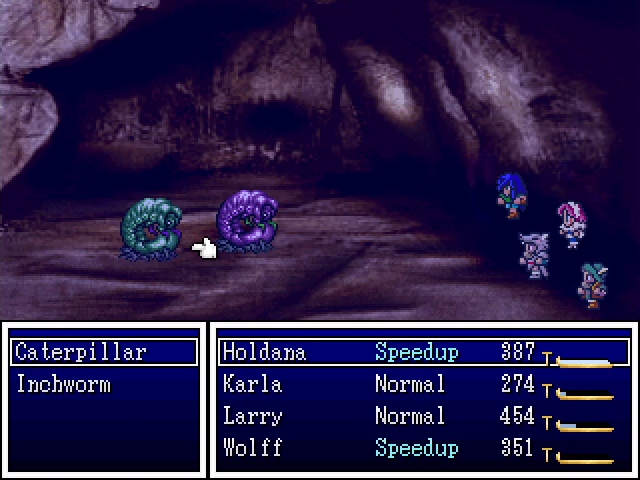
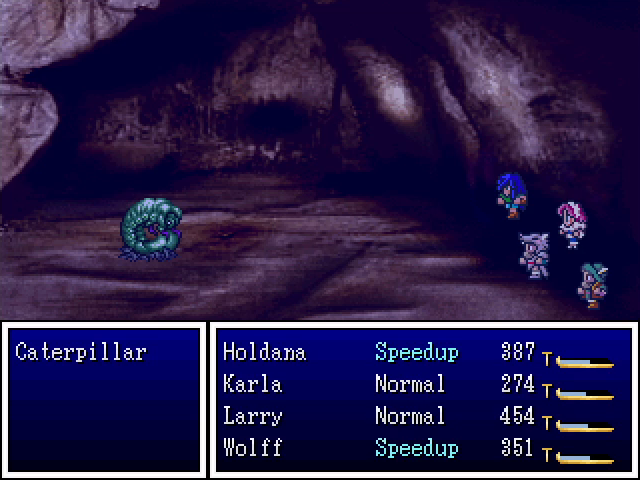
Caterpillars are a bit annoying, as they have quite a bit of HP and like to call for backup. They don't do much else, though, and the inchworms the summon are super fragile.
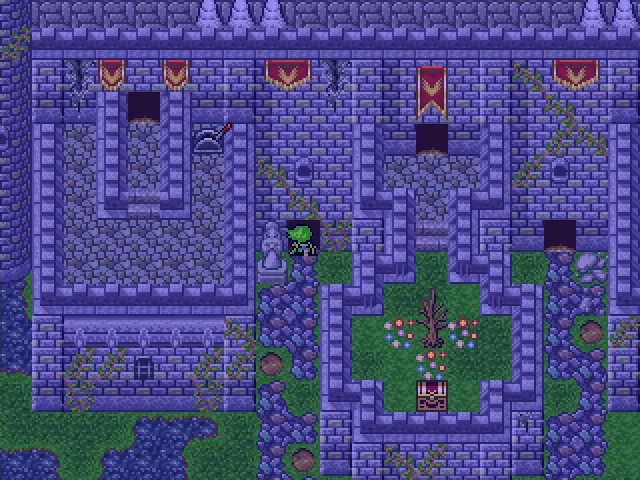
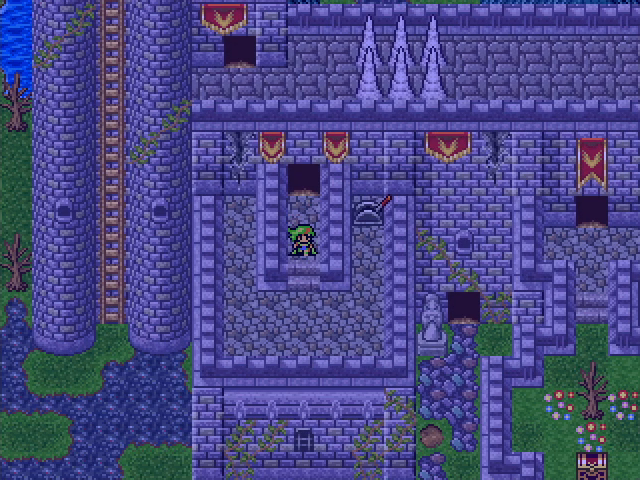
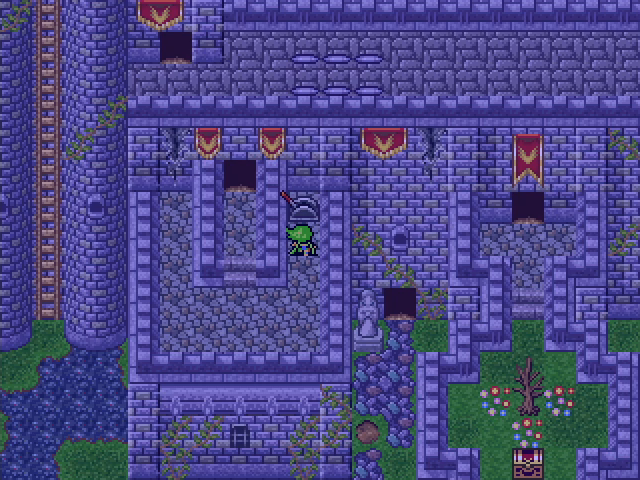
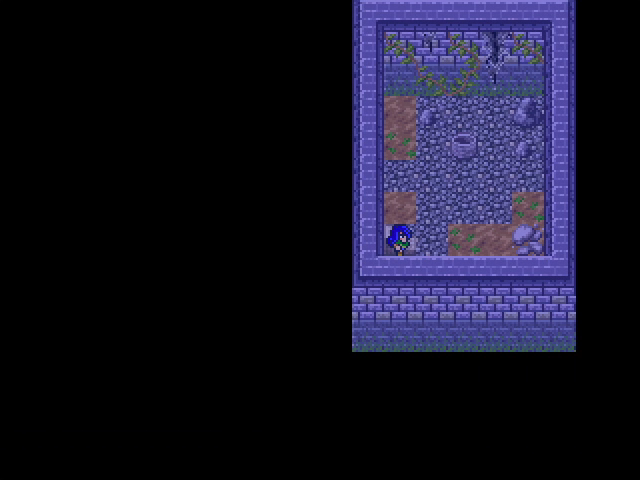
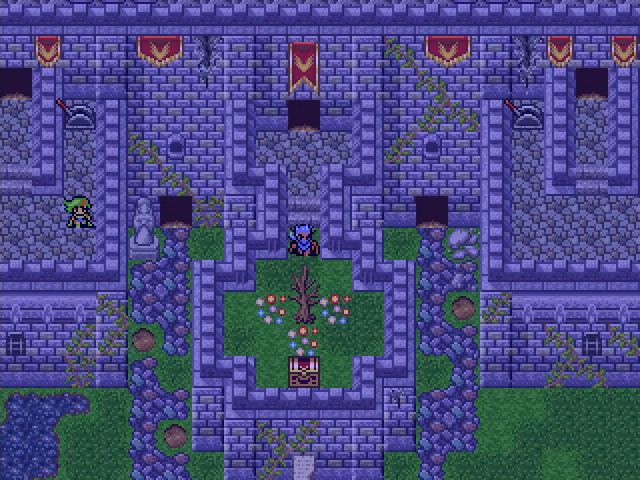
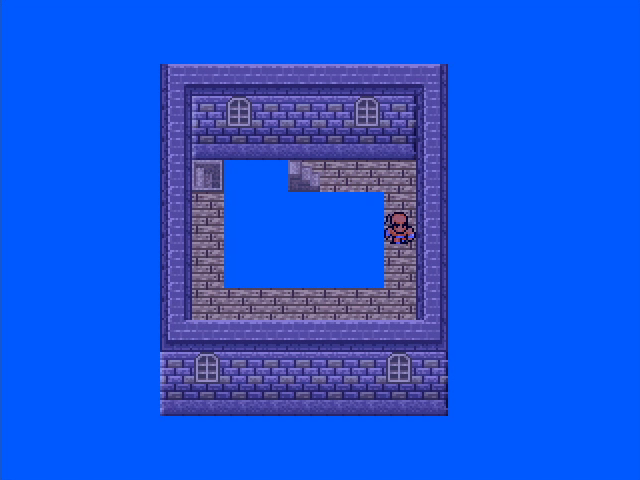
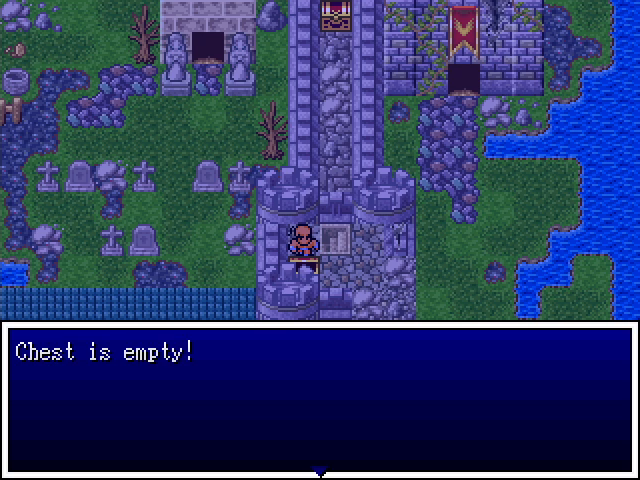
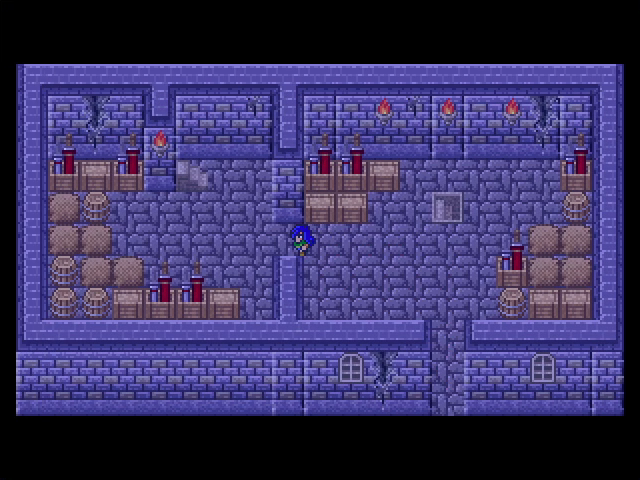
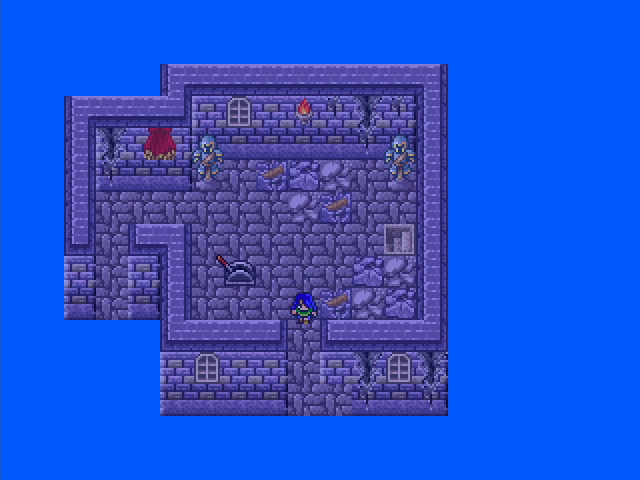
Anyway, we head inside to find a mazelike castle, full of rubble, with spikes sitting in many strategically annoying places.
We head out back and, finding more spikes, head inside the small building nearby.
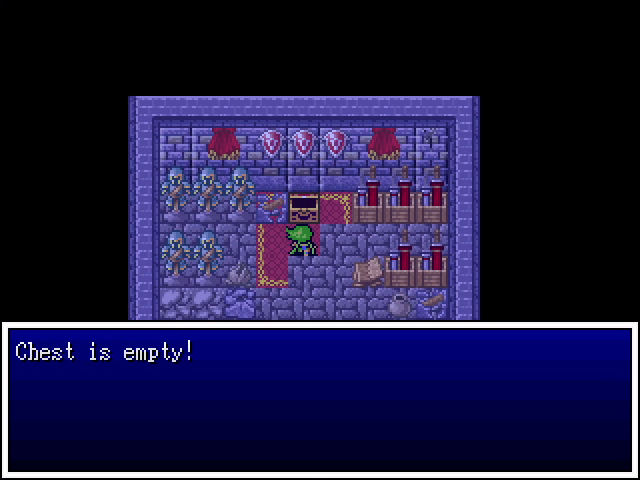
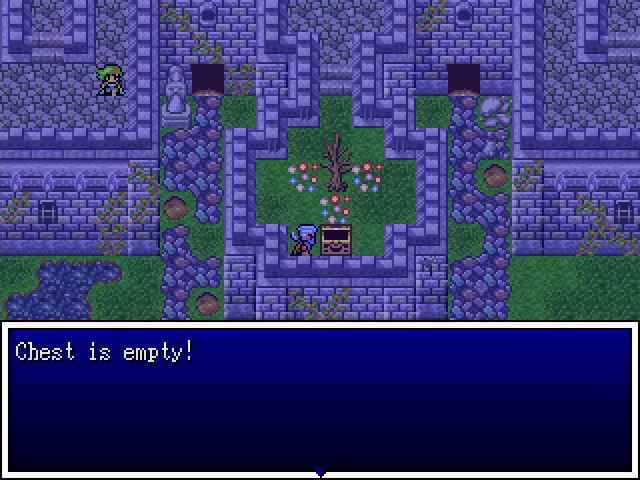
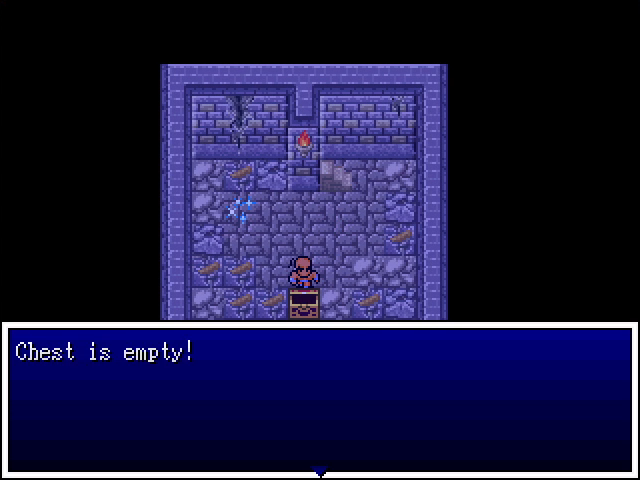
Naturally, the chest within is empty. I'm about 95% sure that the Divine Robes show up only in the last chest searched, necessitating a sweep of the whole dungeon regardless of how it's approached.
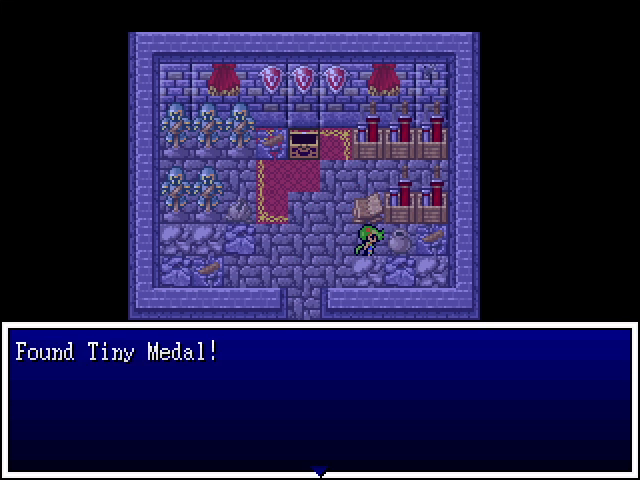
At least there's a Tiny Medal nearby. This castle is absolutely lousy with the things. We should probably see whether we've hit the next reward threshold next time we have a chance.
On a balcony in front of the castle is a level, which lowers the large spikes on the ledge above. (Sorry if this feels disjointed, but the whole place is a maze and I can't really give a good feel for its layout in screenshot form.)

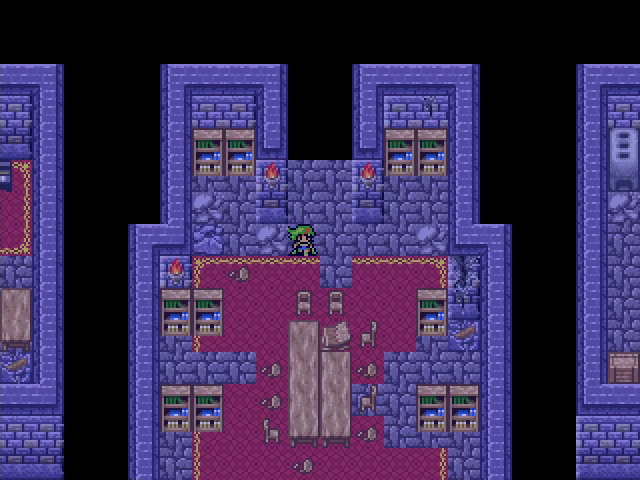
Holdana's team heads around the east side of the castle and finds a storeroom.
I suppose it makes sense that the well would be here.
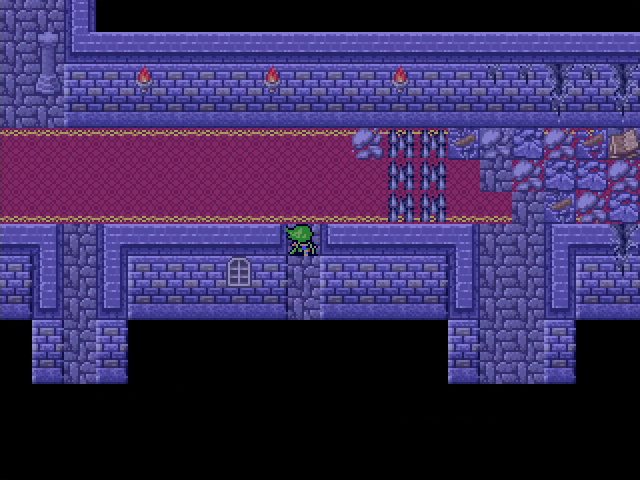
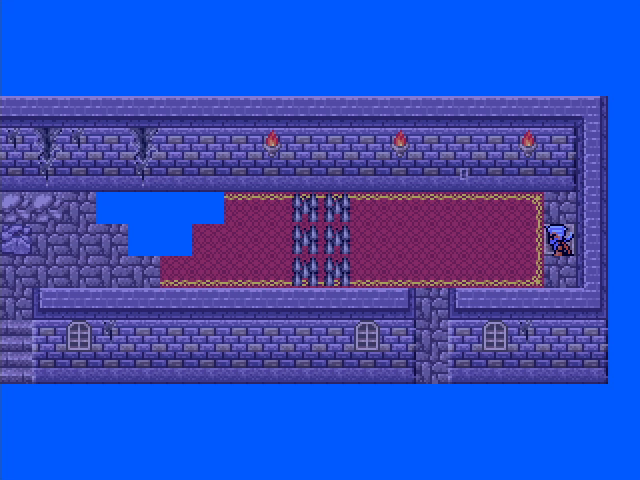
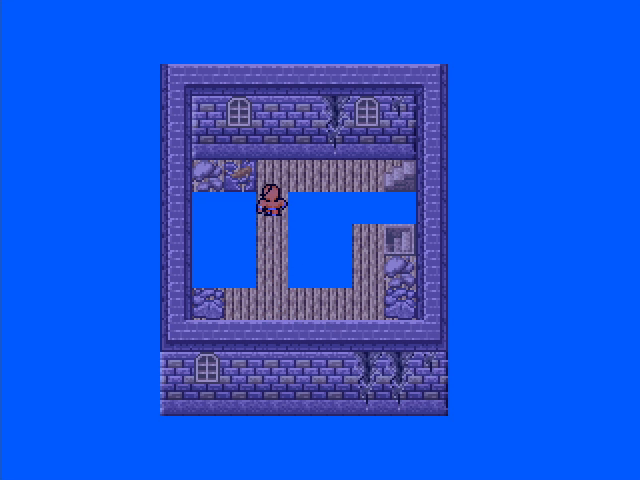
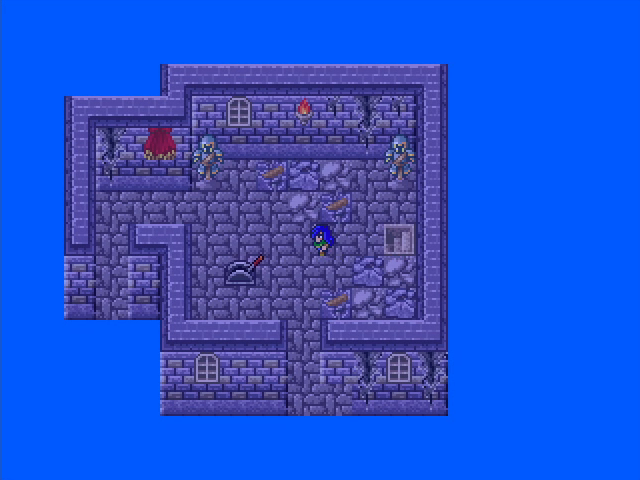
Oh boy, another maze! At least it's not too bad.

Well, except that we're blocked off.
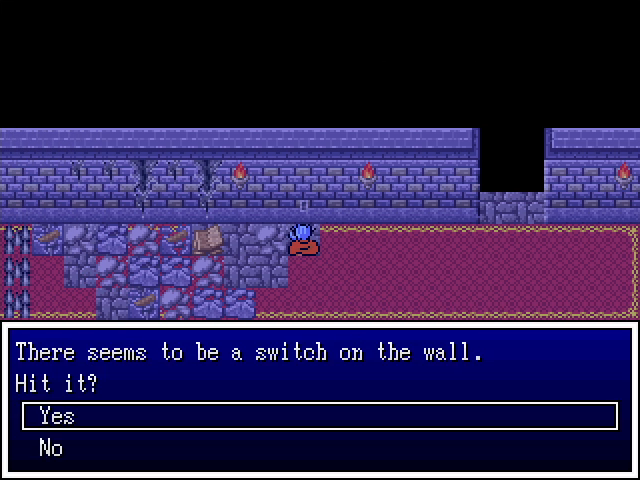
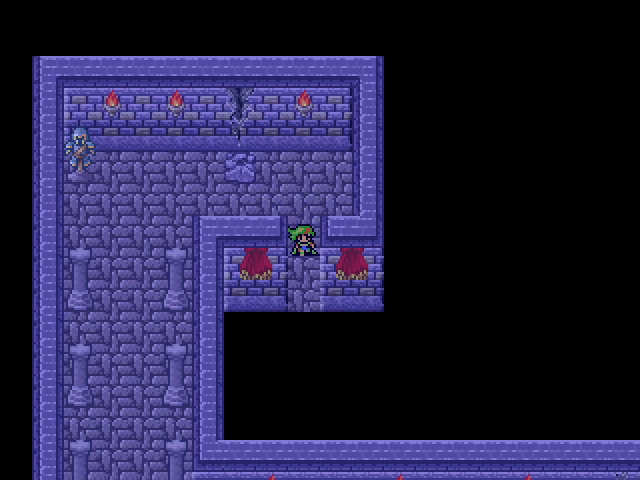
We switch to Akira, who head in and hits a switch on the wall. This lowers the spikes on floor 1 but raises the ones on floor 2. Small spikes don't do much damage at this point, so this isn't a huge deal.

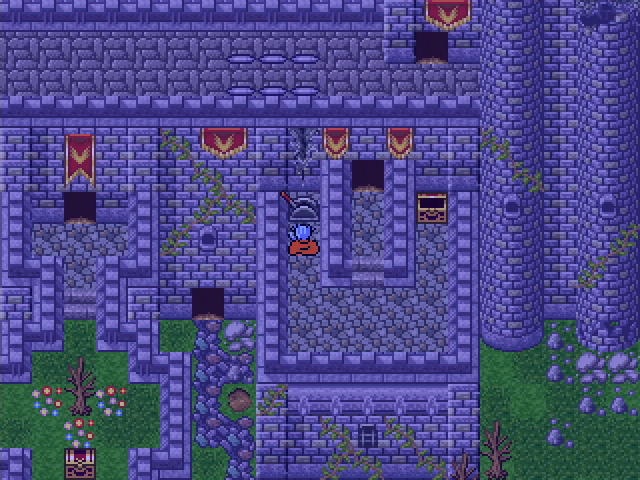
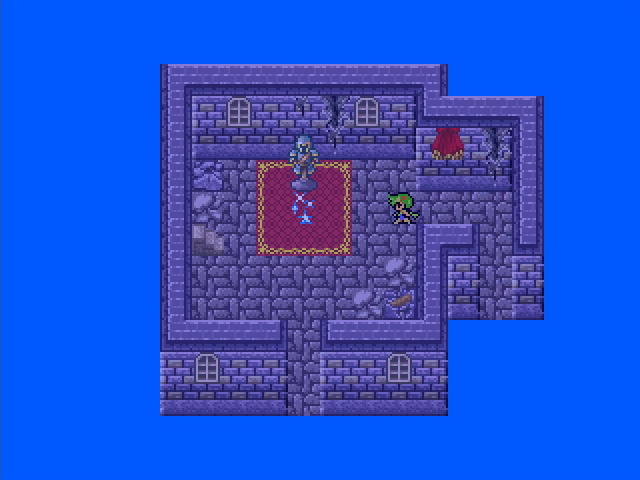
The ninja and his bad come to the throne room, which contains a save point and another chest. It's empty, of course.
He does, however, find some stairs nearby the lead to another well.
As expected, this leads to the lever that lowers the spikes blocking Holdana's way.
This seems like a good time to mention that Team Shonen didn't have any real issues with the monsters here. Despite the Stooges' low levels, they have good gear, and their classes are crazy powerful. This is the healing from Curly's Curaga spell (which, as you may recall, costs him nothing to cast).
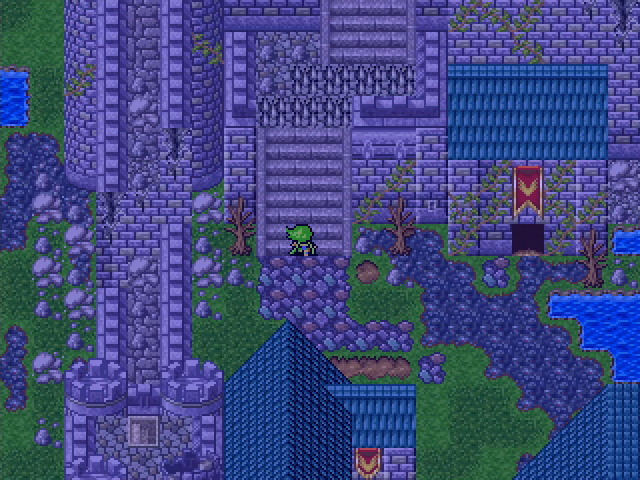
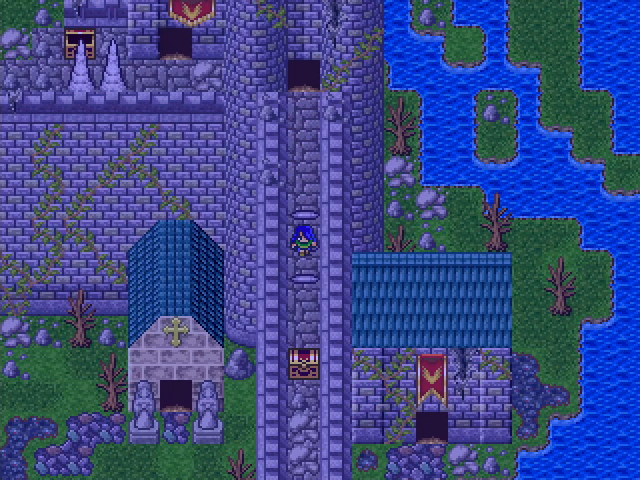
Holdana continues on and exits the well near a church.

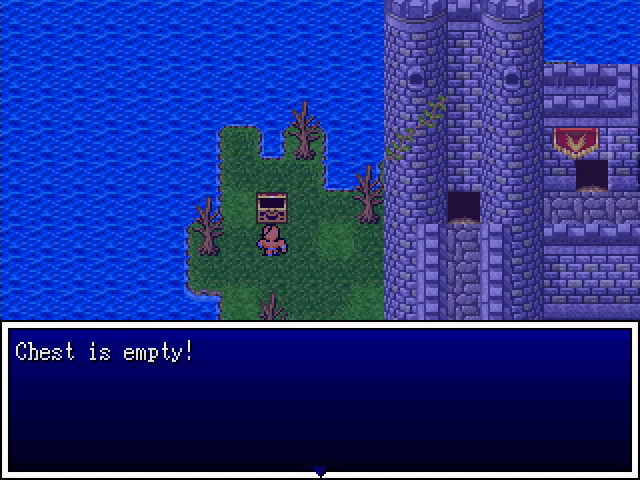
Of course, there's a chest inside, and of course, it's empty.
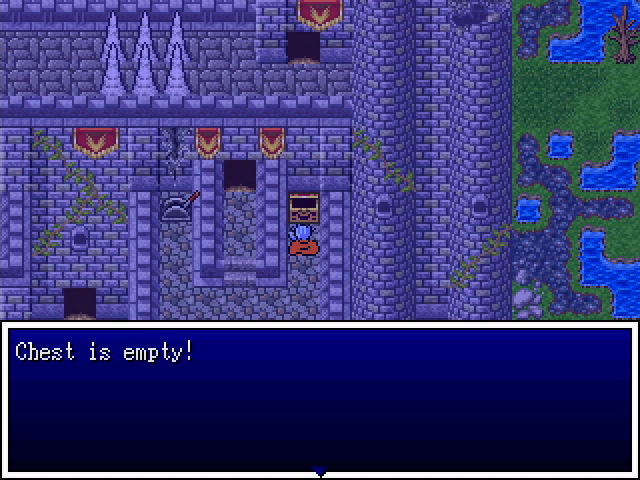
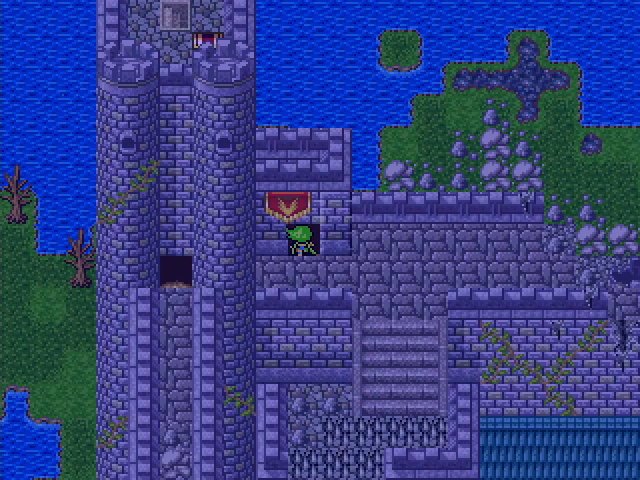
Akira heads back into the castle proper and out to the other balcony. No surprise, the chest here is empty.
He does get to lower the second set of large spikes on the walkway above, however.
He also has easy access to this third ledge containing a tree and another empty chest. How have the plants here survived, anyway? There's no sunlight!

Zefiryn finds the library downstairs and oh? What's this? Why yes, it's another empty chest!
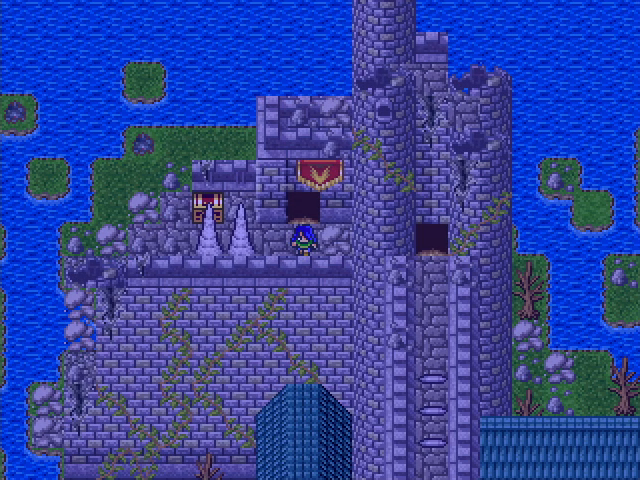
Finally, Raj Ahtan heads to the western side of the castle.
I could have dropped down the hole here to save time, but uh... I didn't think of it until I was climbing back up.

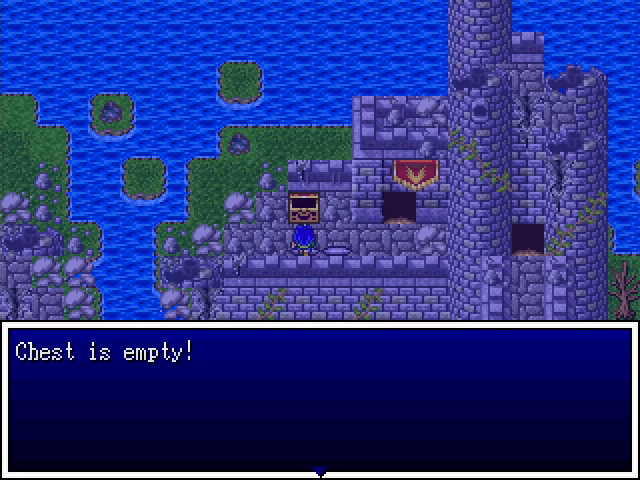
At the bottom is an empty chest and a save point.
One floor up from there, however, is a door leading out to the ledge with all the big spikes we lowered earlier.
Up another tower, and...

There's also a chest randomly sitting out on the grass on the northwest part of the island.

Zefiryn crosses the small spikes she saw earlier, climbs another tower, and opens yet another empty chest.
Finally, Holdana heads back through the well and up the last set of stairs I can find.
She comes to a room with a lever and two exits, with large spikes blocking both. No points for guessing what the lever is for.
If you've been counting, you know this is chest #11. The Robes had better be in the next one.
She hits the lever again, heads out the other door, and...
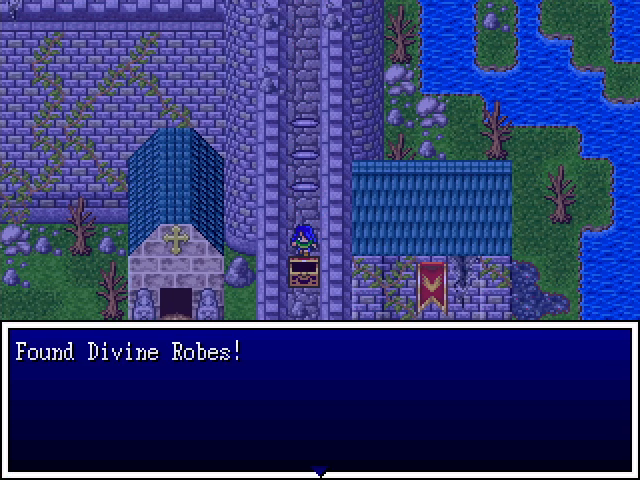
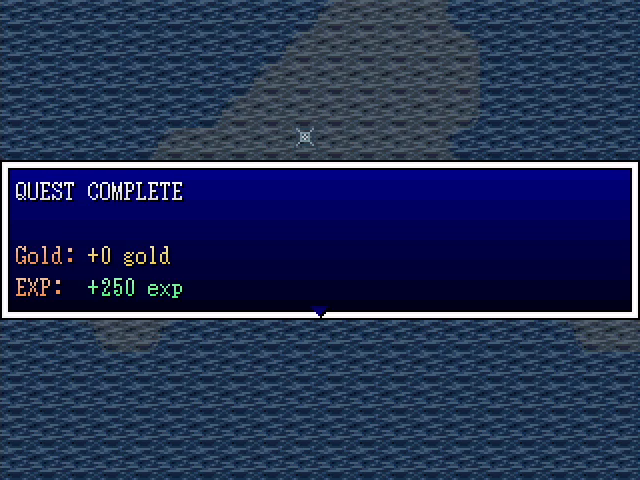
Success! Finally.
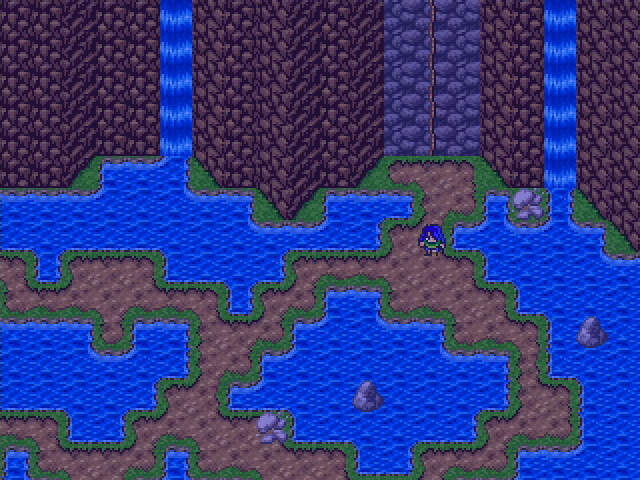
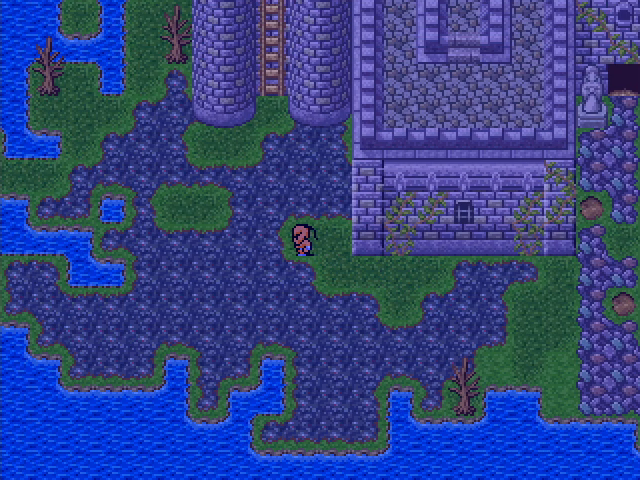
Annoyingly, casting Outside takes us to the exit from the castle area, but we still have to navigate the flooded cave to get out.
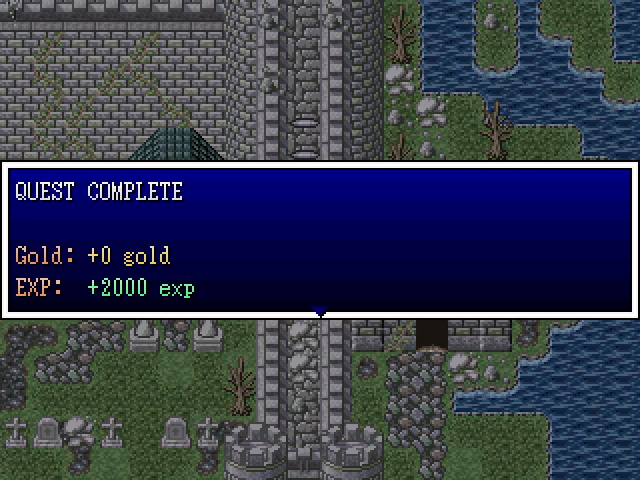
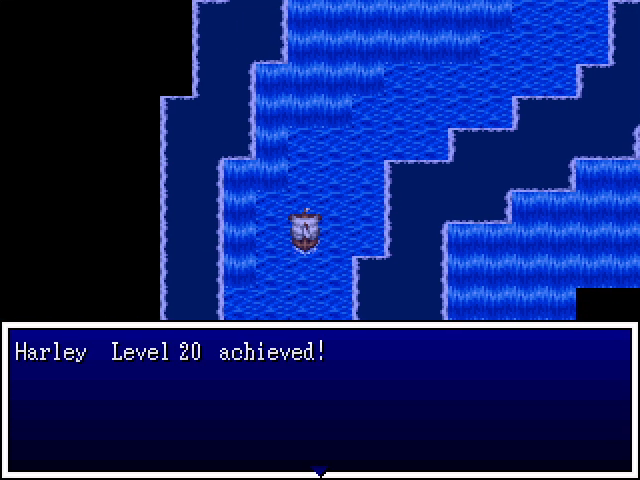
Now, this would be an ideal place to stop, except for one factor: Harly reached level 20 during this update. And I promised that that milestone would be significant.
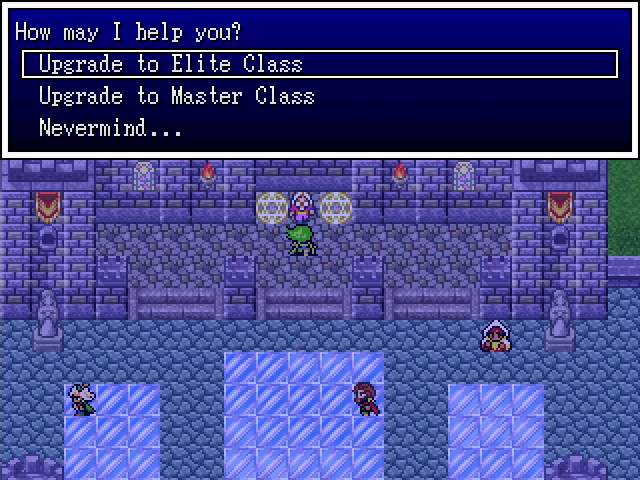
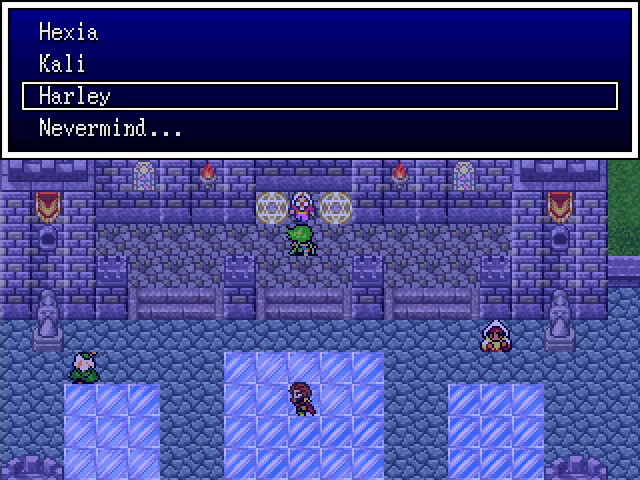
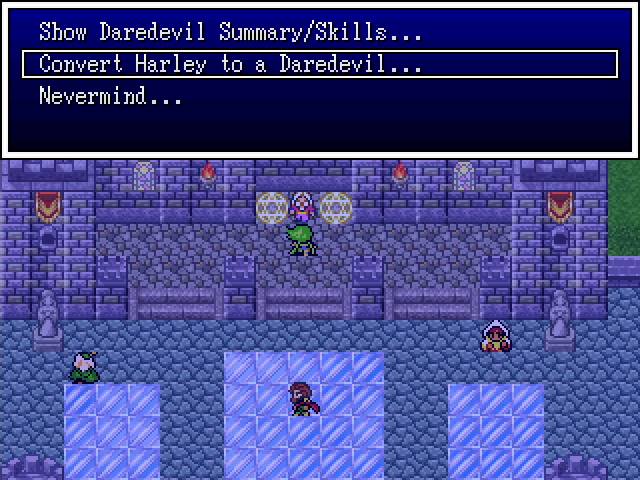
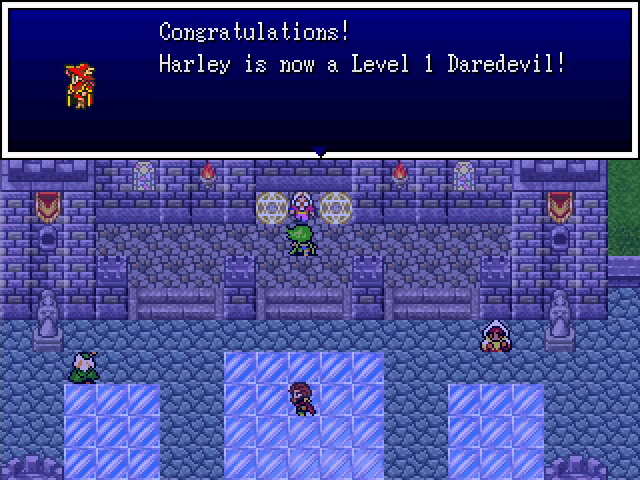
This is our prize for getting a Joker to level 20: free conversion to one of the best classes in the game. Even with a reset to level 1, this is still a huge power boost for her.

And that's all for today. Next time... I'm not sure! We could check out the weird compass directions, explore some hidden location in the world, or just continue with the main story. Any preferences?
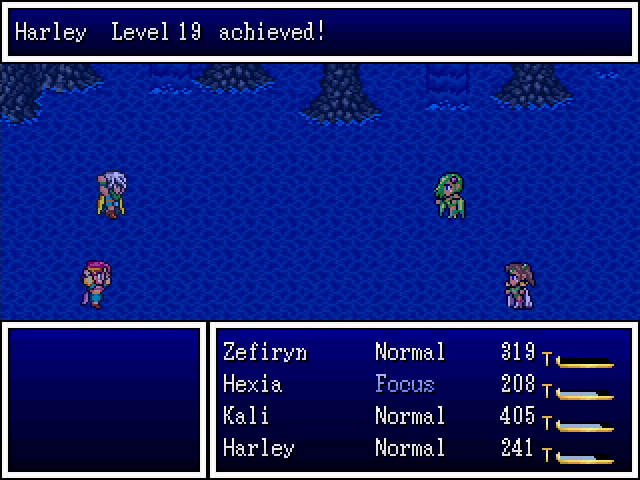
Level Up Roundup
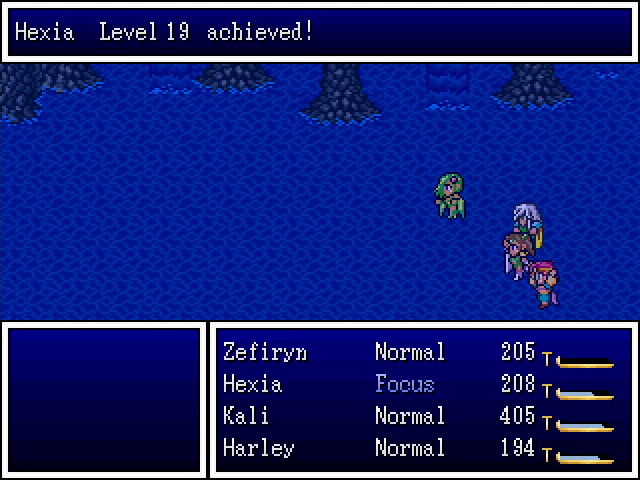
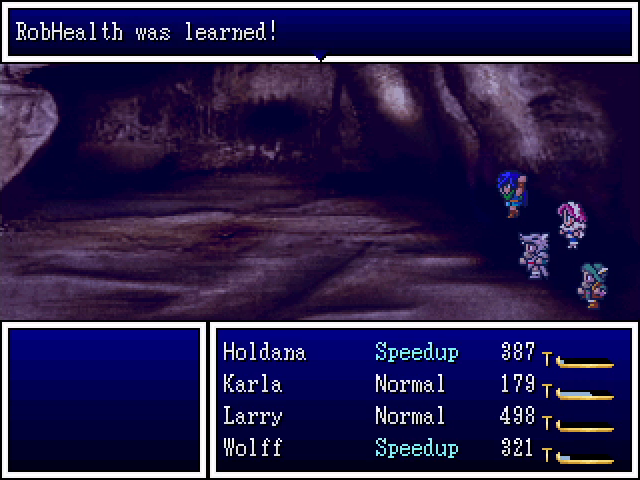
So... we started this update with three low-level characters. There are a lot of levels here. Fair warning. There's nothing really interesting either, so don't feel compelled to check it out.


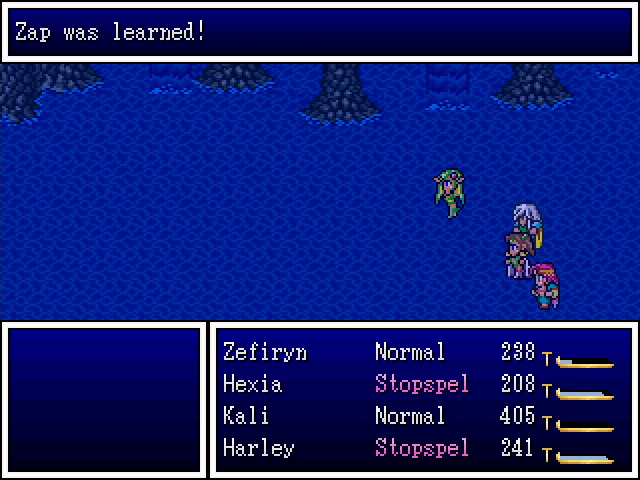

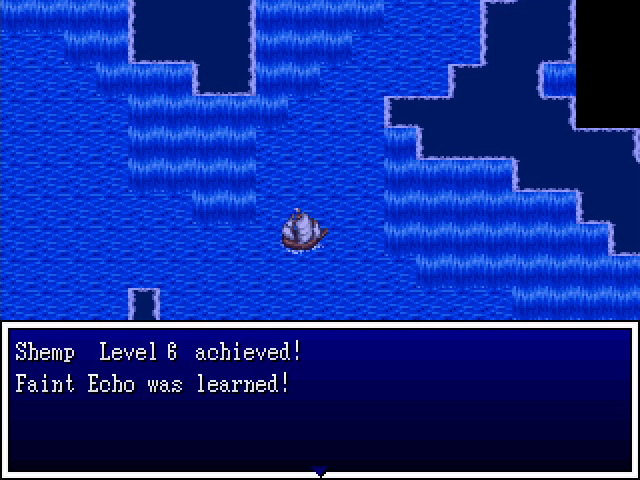
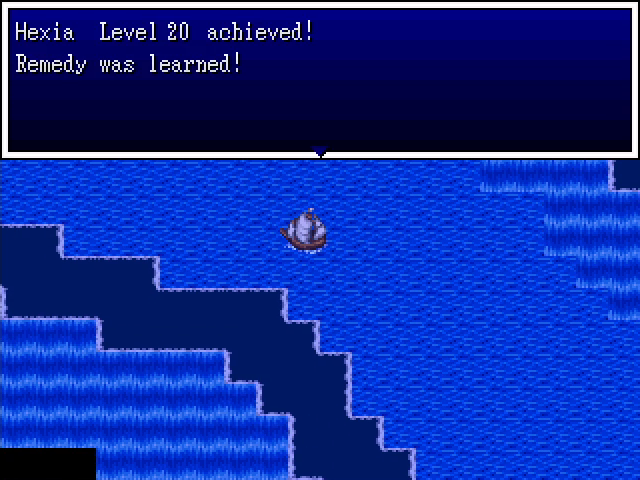
Being able to drain HP from enemies is never a bad thing.


This is actually really nice now that Harley has become a Daredevil.