Part 39: Anticlimax
Welcome back, everyone! Today's update is fairly short, as I fucked up my recording and had to redo a good chunk of it.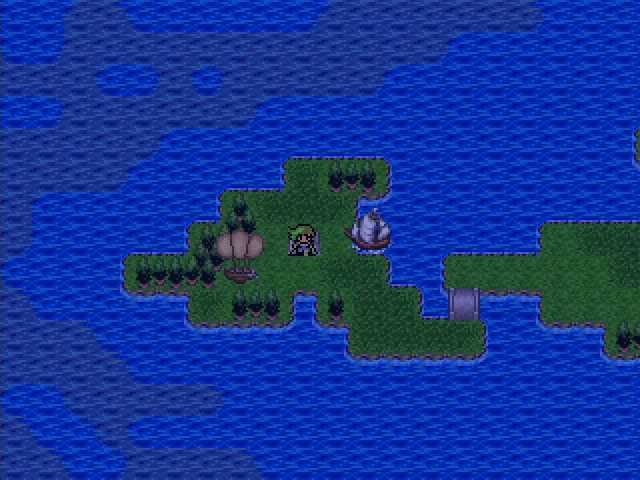
Having explored Tritonis and found the Divine Robes, we're once again taking a break from the pain plot to check out the strange readings our compass has been giving us.
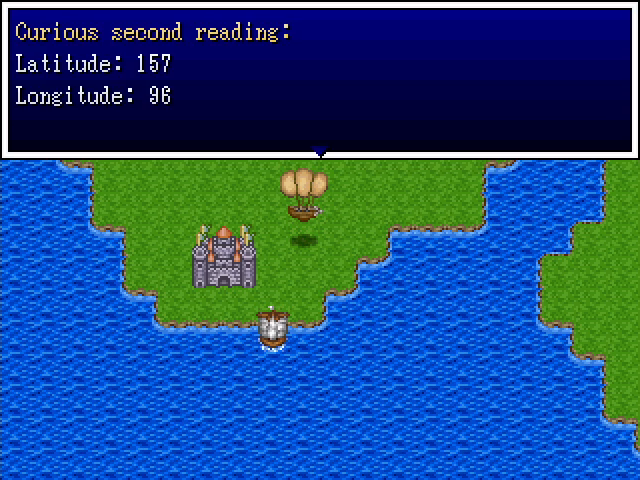

Helpfully, this second reading comes with directions, so we can ignore the actual coordinates and just head southwest. We do so, and...

Oh.
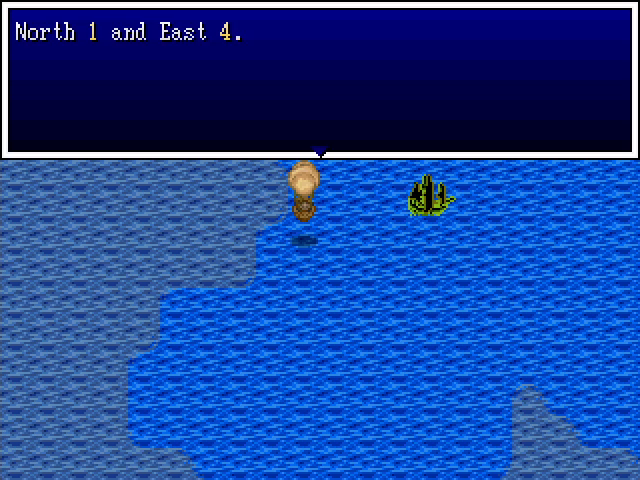
Yep, it turns out those mysterious alternate coordinates are just a way to quickly locate the Ghost Ship.
Well, I hope you all enjoyed today's update! Come back next week for...
Okay, fine, we'll go do something else.
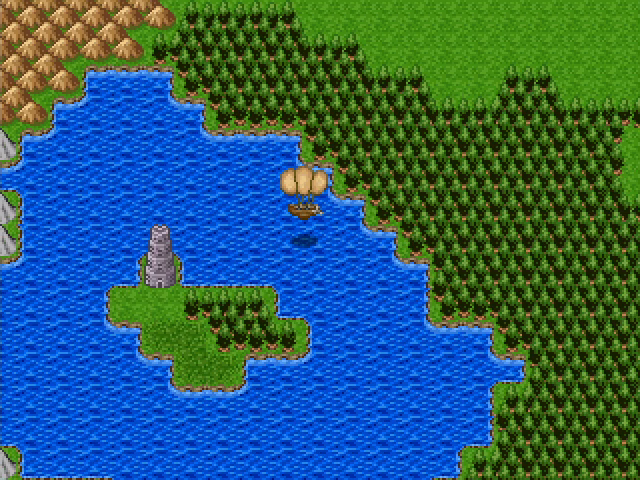
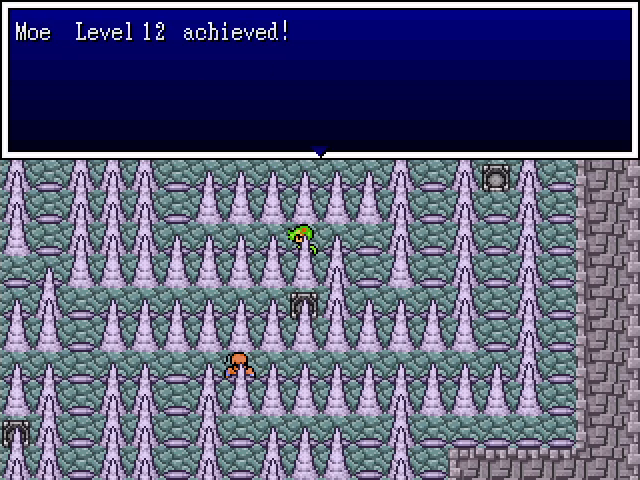
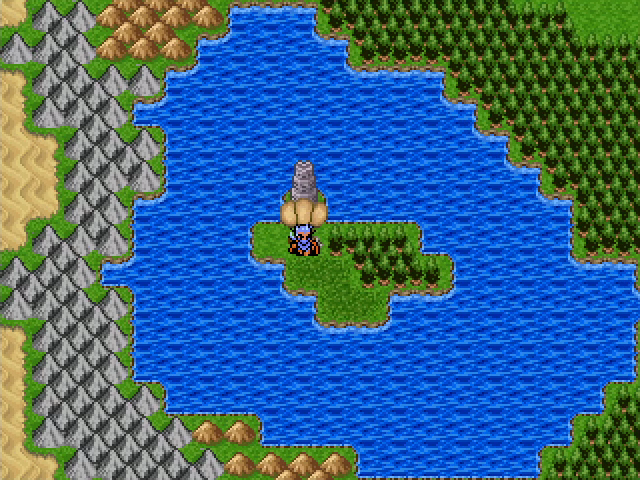
You may remember that we saw a tower in the middle of lake back in Chapter 4. Why don't we check that out?
The lake tower is another multi-party dungeon. It's not an especially complex one, but it uses the gimmick well enough.
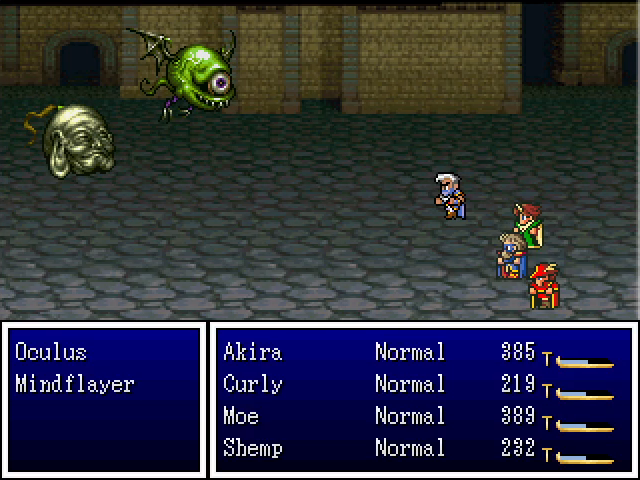
This is easily the worst fight in the tower. Oculi can use Stonegaze to inflict Numb and have a pretty strong standard attack, while mindflayers like to shut down physical fighters with Surround and spellcasters by draining their MP using Rasp. Even full casters like Karla lose all their MP to one shot of Rasp, making it a serious asshole move. RobMagic is good for getting it back, but barring that, wizard potions are a must-have item here.
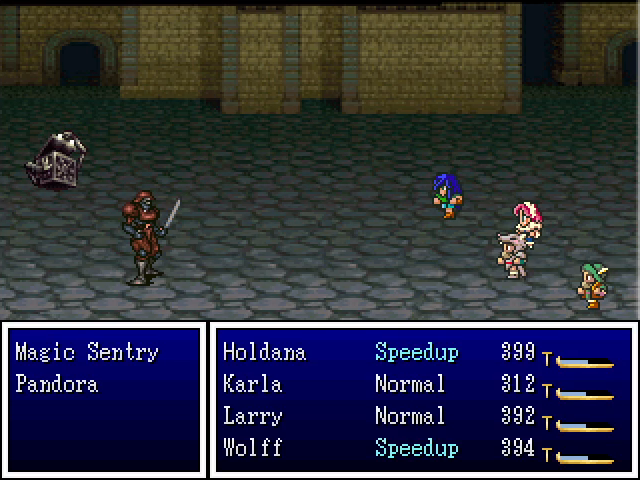
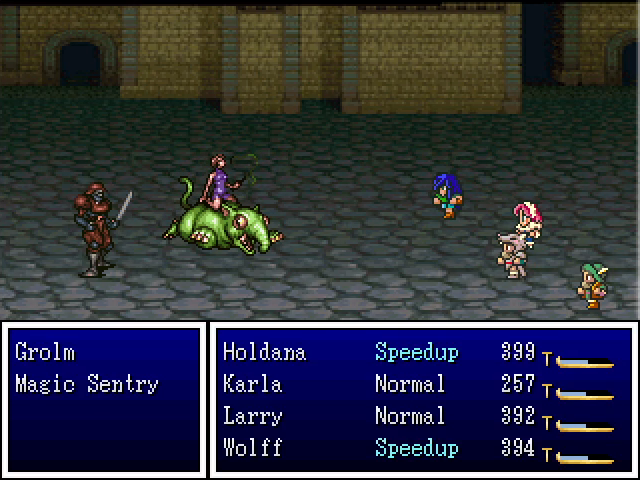
The rest of the enemies are more manageable. Pandoras can use instant death, but are fairly fragile, magic sentries are immune to magic damage but don't have any real offense, and grolms use Build Up before unleashing strong attacks but can usually be killed before that becomes a problem.
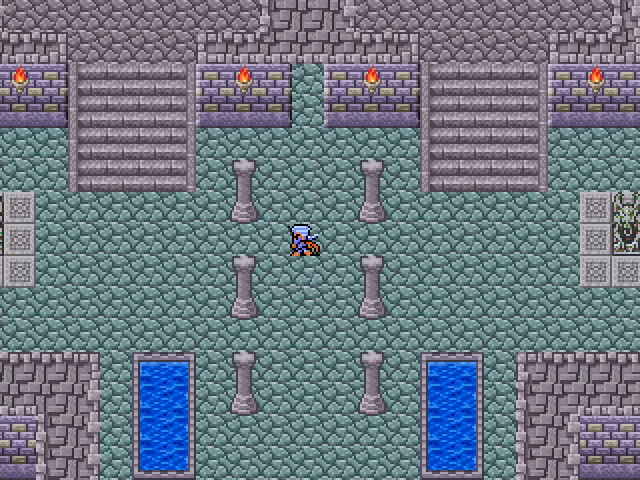
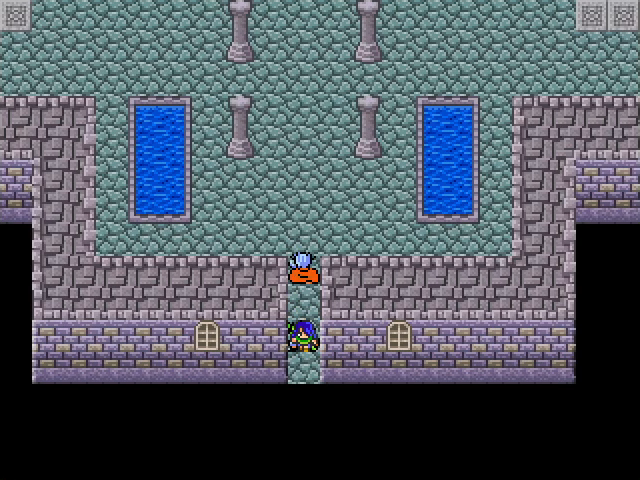
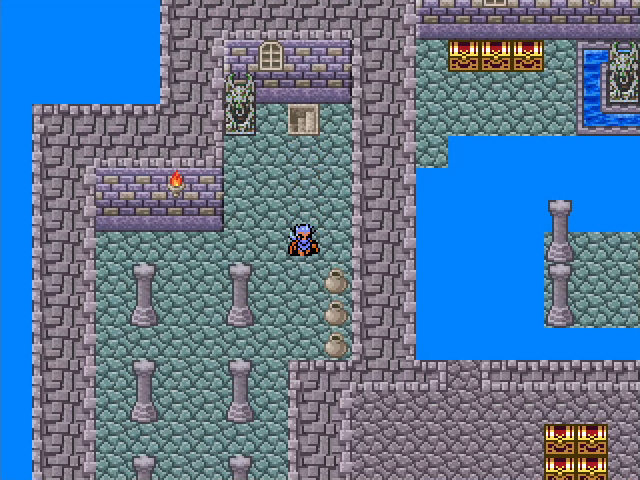
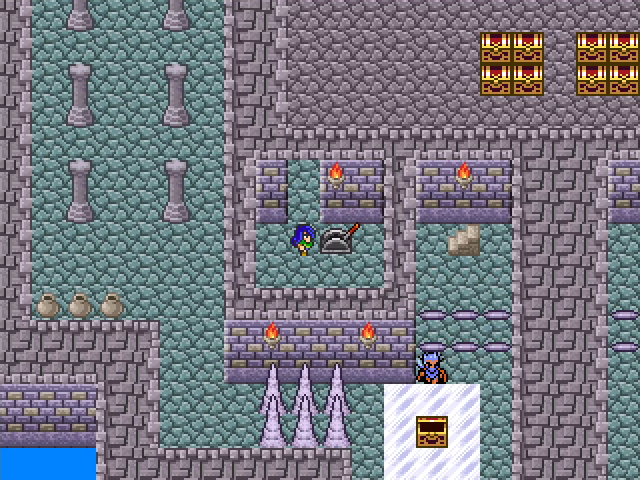
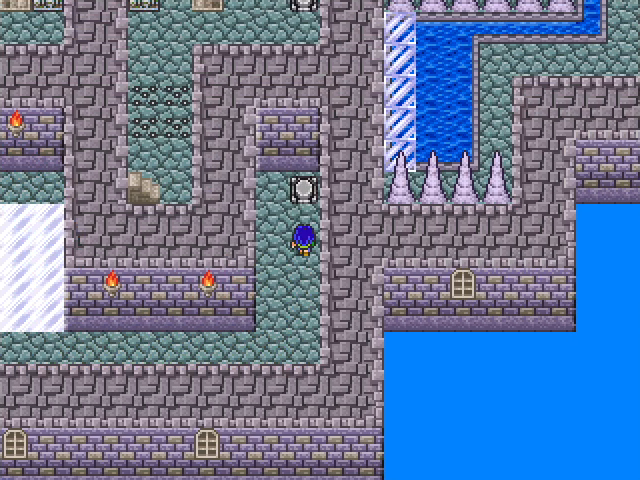
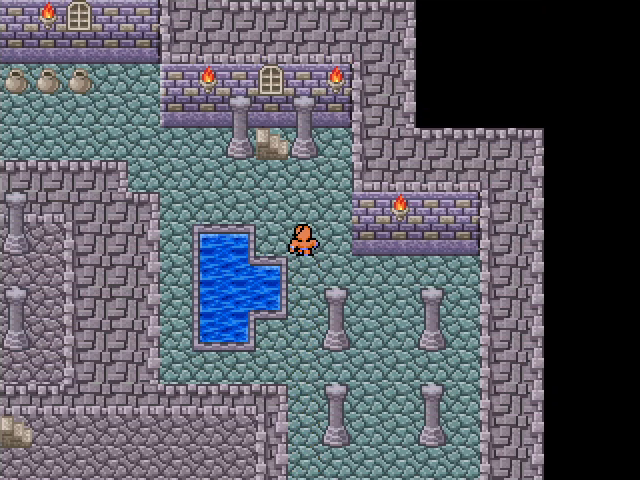
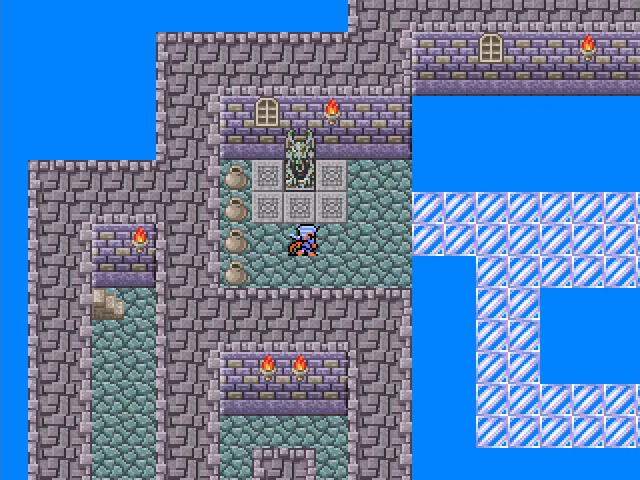
On the ground floor we're treated to a door and two stairways.
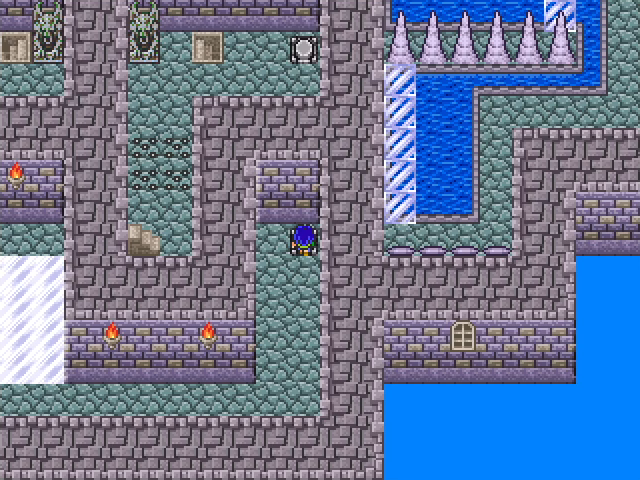
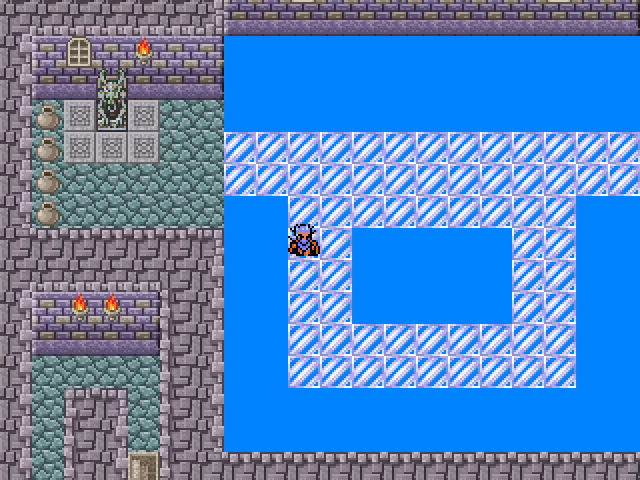
Further north are an additional two stairways. You can also see some pots in this picture; they are all over the dungeon and many of them contain stat-boosting seeds.
The middle room is empty, apart from more pots.
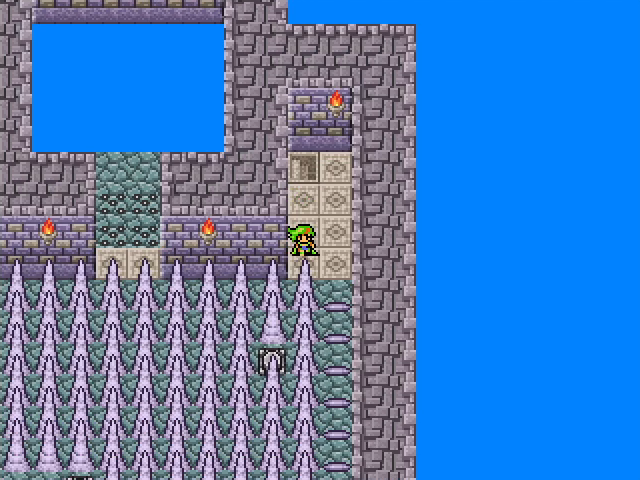
Akira takes the northwest stairway up to the next floor.
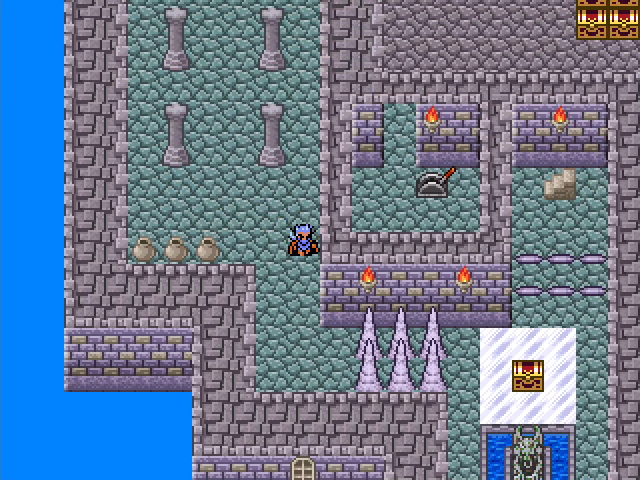
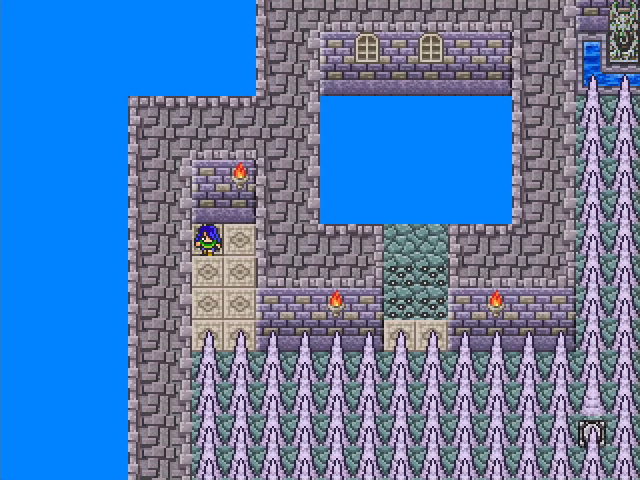
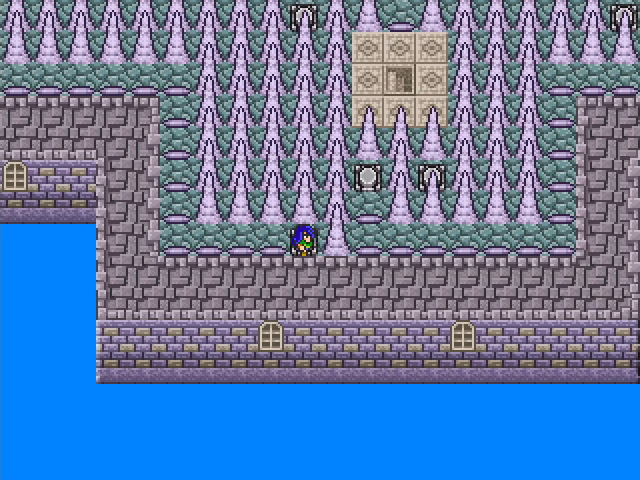
He is quickly stopped by large spikes sticking out of the floor.

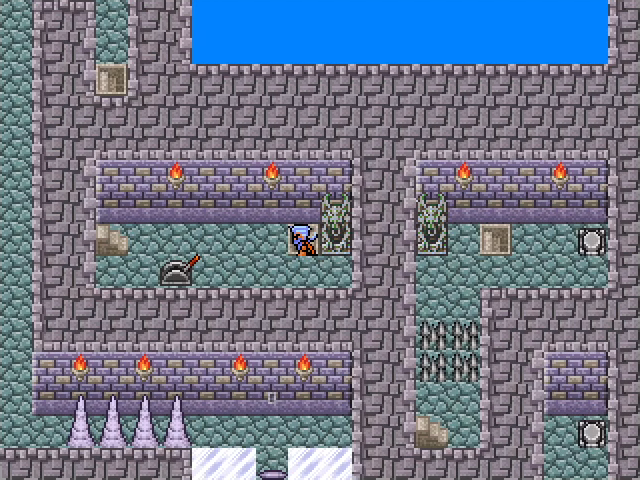
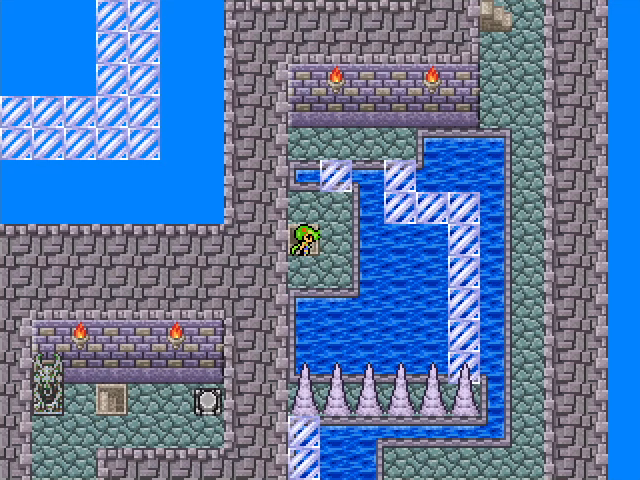
Holdana heads up the southwest stairway, which brings her to the adjoining room.
A complicated puzzle this is not.
It is worth noting that she can't just hit the switch once and move on, though. This could be considered a trap for careless players.
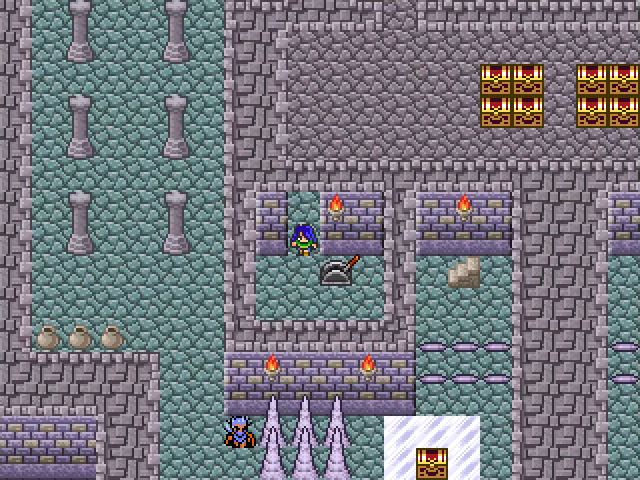
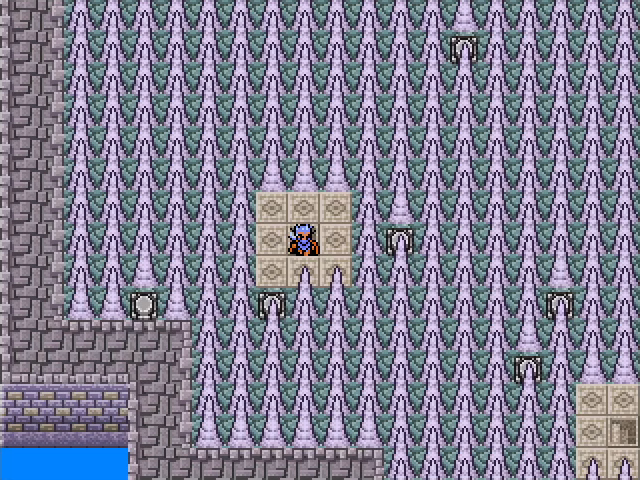
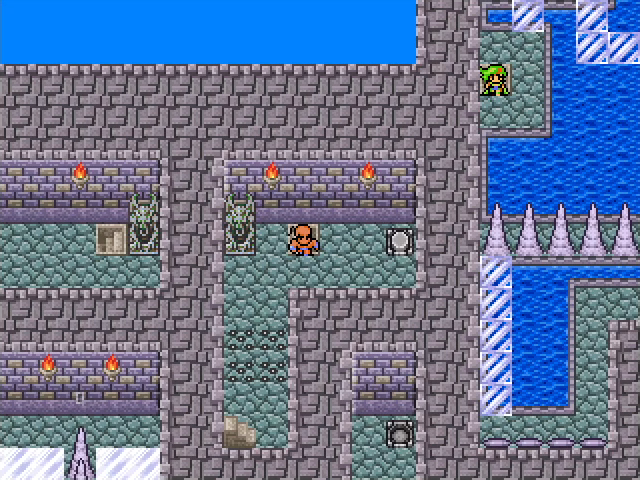
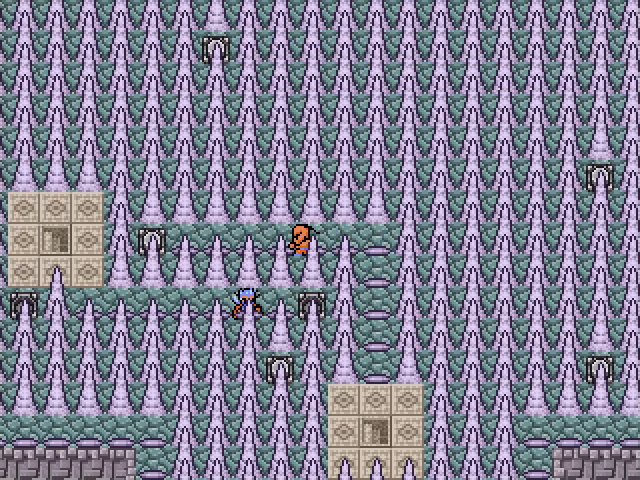
Akira heads up to the next floor and finds himself in the opposite position.
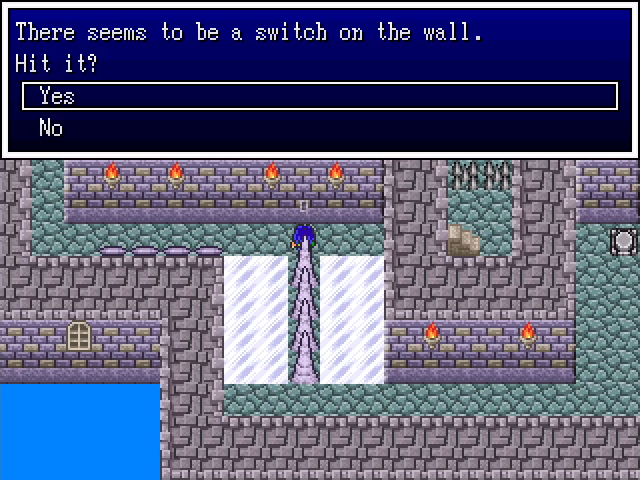
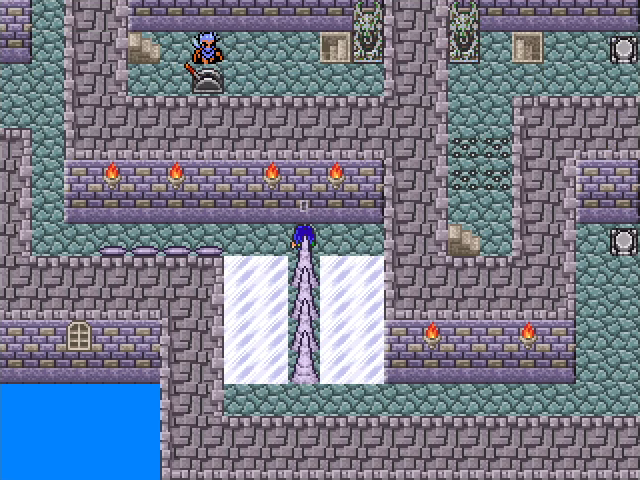
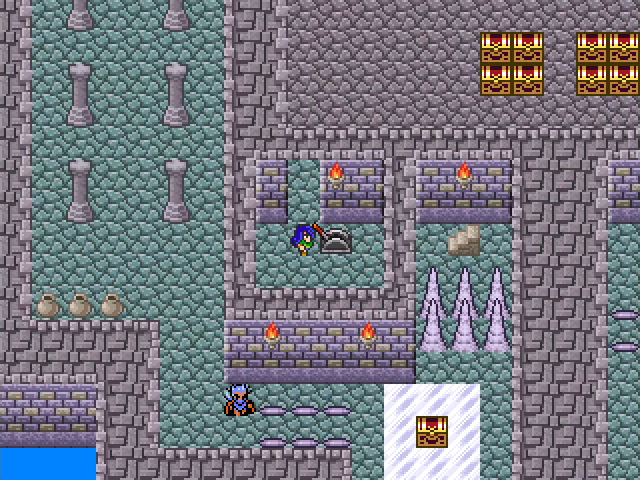
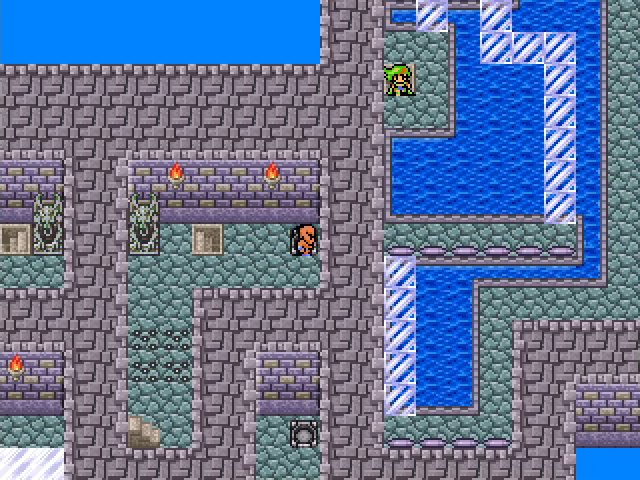
Holdana climbs up to that floor, bypasses the spikes with Akira's help, and hits a wall switch, lowering some small spikes in a nearby room.
She then steps on a button, lowering large spikes in a different room.
Heading back the way she came, Holdana climbs up to the fourth floor and finds herself in a room that looks a lot like the final chamber on the Trial of Heroes.
Akira continues up and finds himself in the same room, but with access to a floor button.

I don't have to explain how this works, do I?
There's only so much Holdana and Akira can do on their own, of course, so Raj Ahtan heads up next.

The right side of the tower has a smiliar setup to the left.
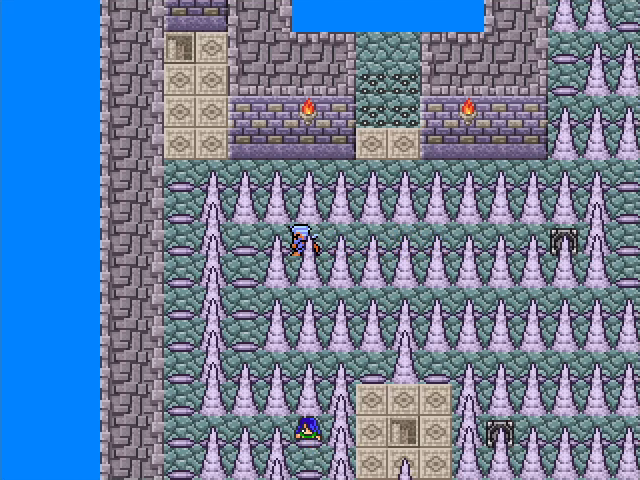
Naturally, Zefiryn takes the last of the three staircases and lets him through.
She then continues up only to be stopped by more spikes.
Raj Ahtan continues up, steps on another button to allow Zefiryn access, after which he can continue up.
With all four heroes on the top floor, the button pushing continues.
Eventually, we clear enough spikes to reach two holes in the floor, one for each pair of heroes. (Or, if you're a dumbass like me, you miss a button and have to make the climb a second time to get everything.)
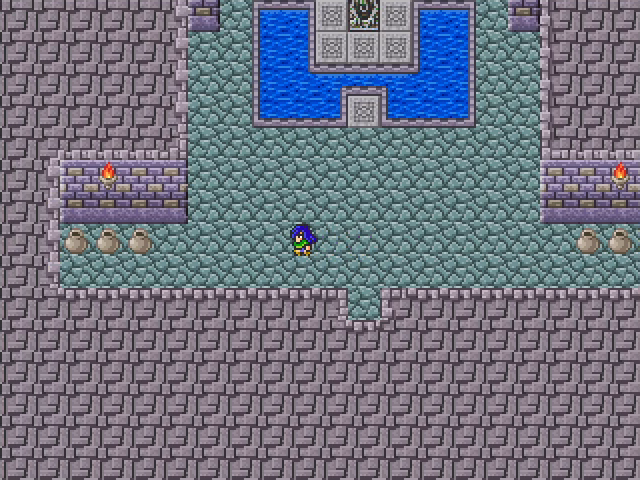
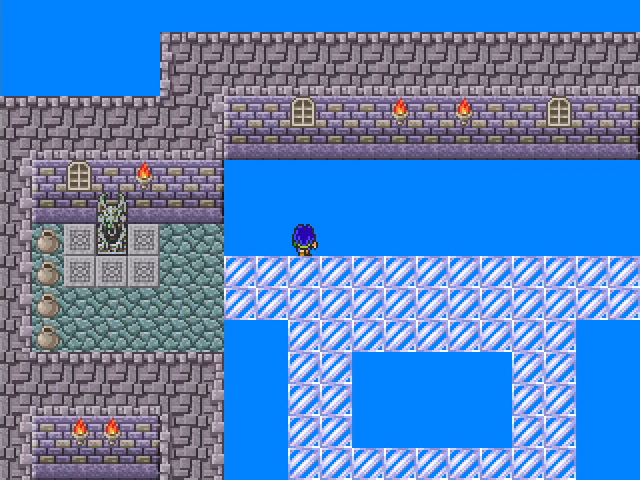
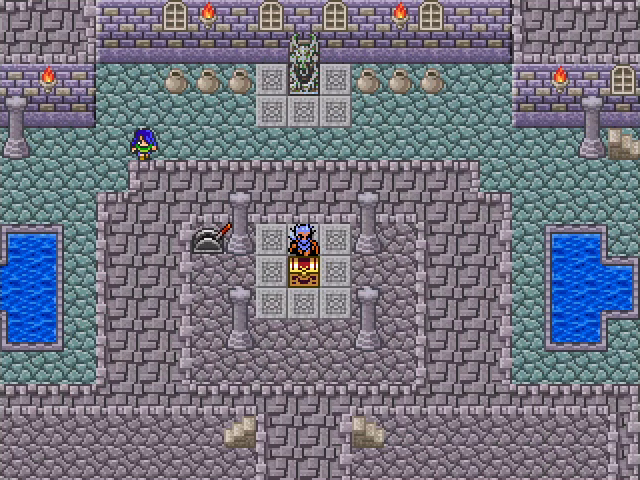
The holes deposit us on one of two small platforms connected to a walkway.
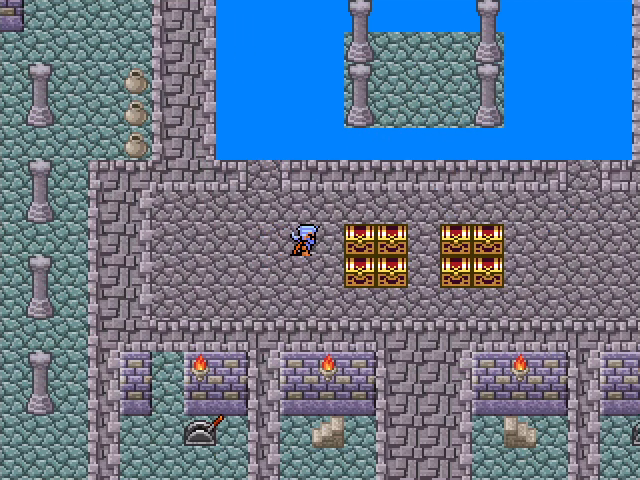
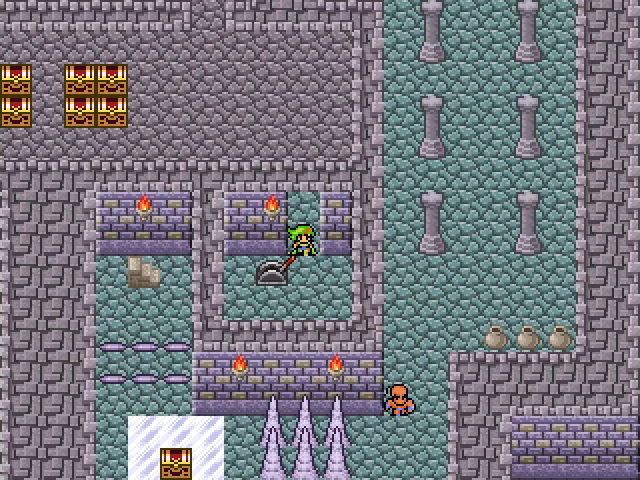
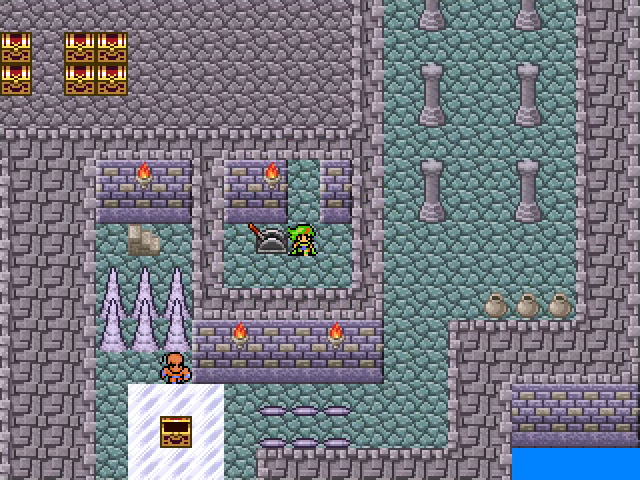
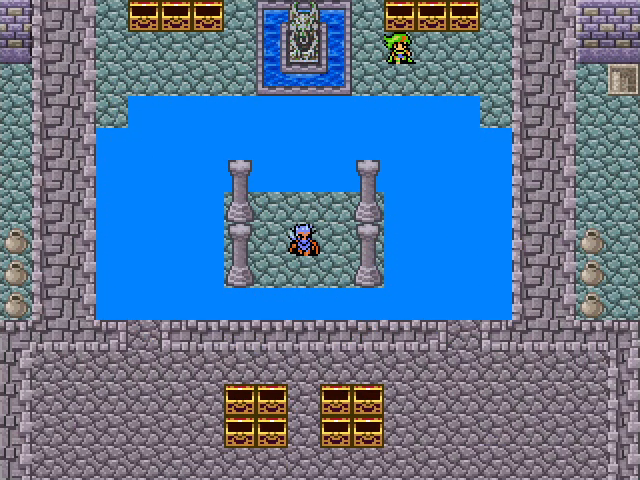
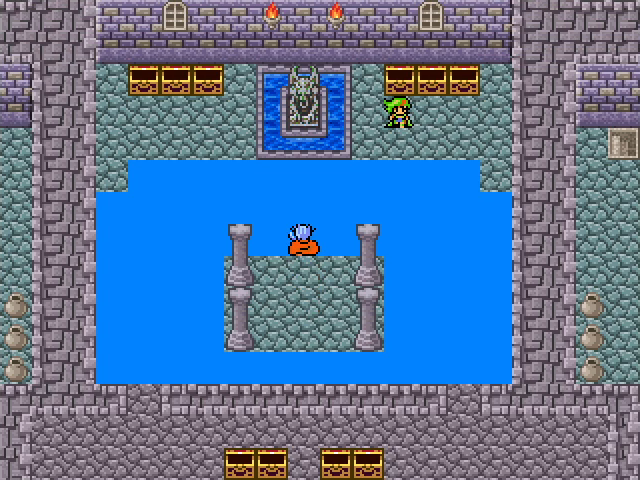
Dropping from the southern part of the walkway deposits us on this ledge containing eight treasure chests.
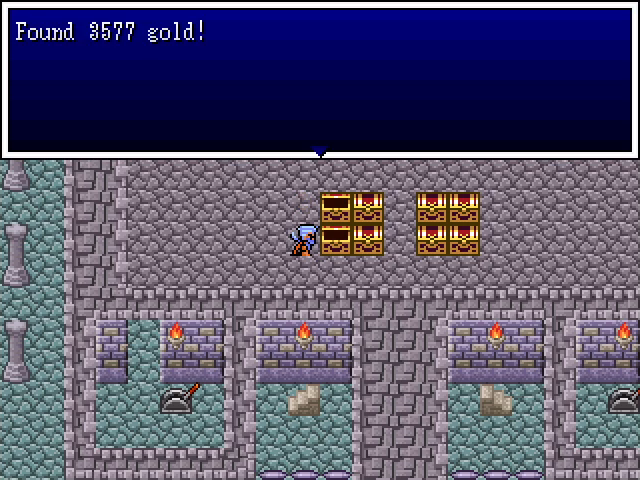
They all have between a few hundred and a few thousand gold. Nothing exciting, but money is always good. Once we get it all, we can drop off this ledge back to the ground floor.
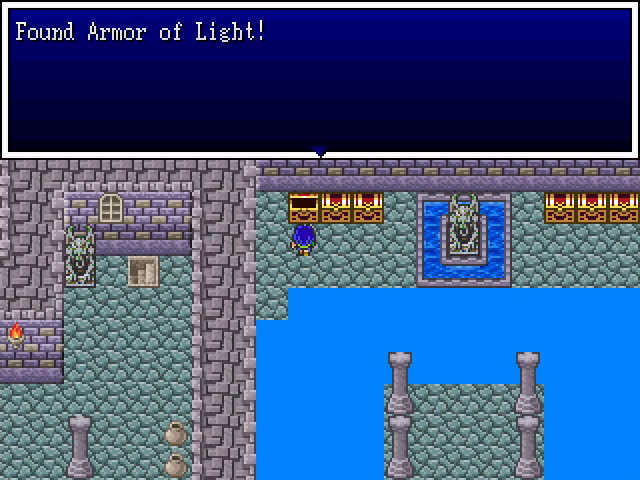
Dropping off the northwest part of the walkway puts us on a small ledge with three treasure chests, one of which contains the excellent armor of light.
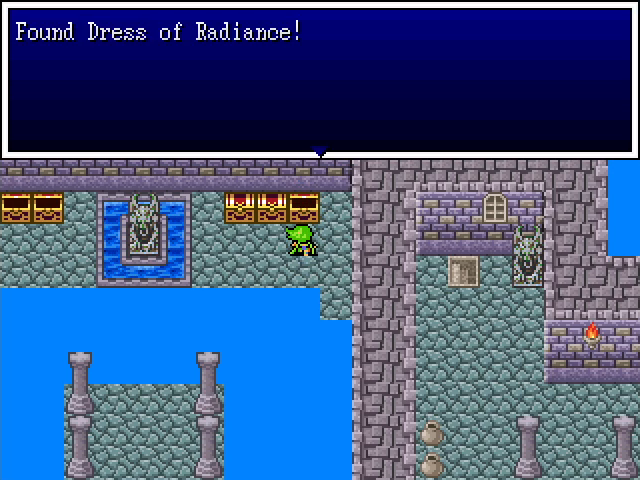

Likewise, dropping off the northeast part of the walkway nets us three more chests, with treasures including the female-only dress of radiance and the hero's diadem, powerful head armor usable only by the four protagonists.
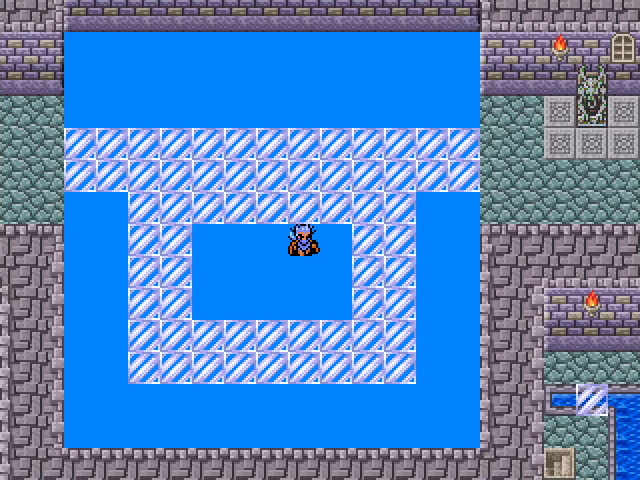
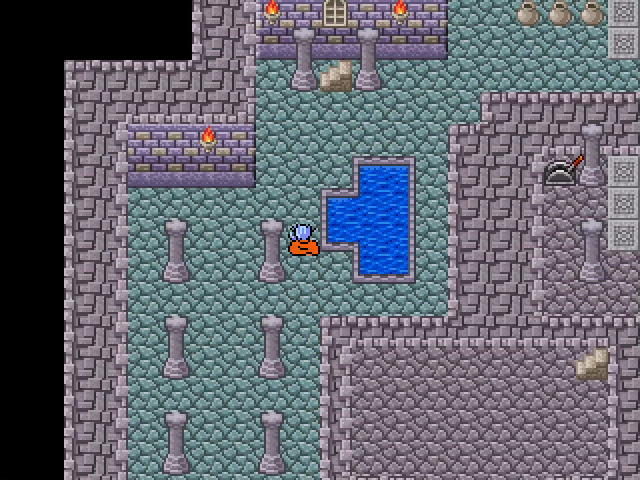
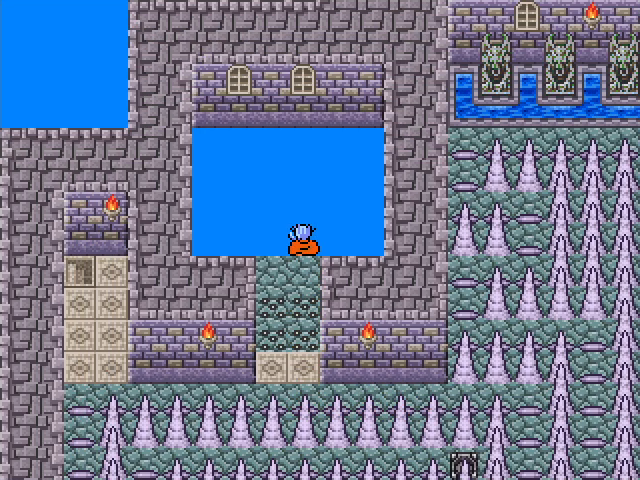
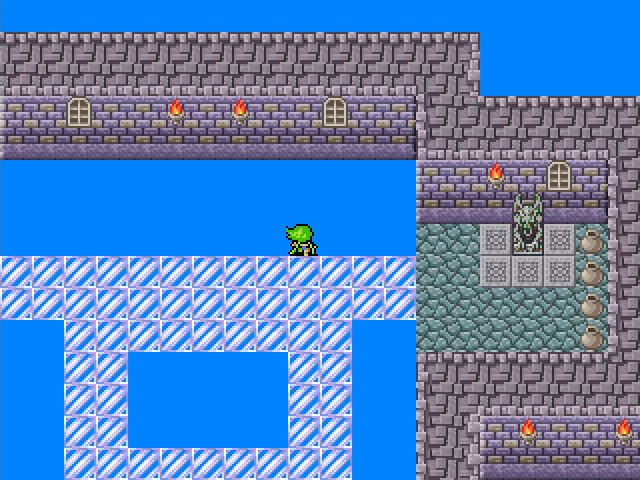
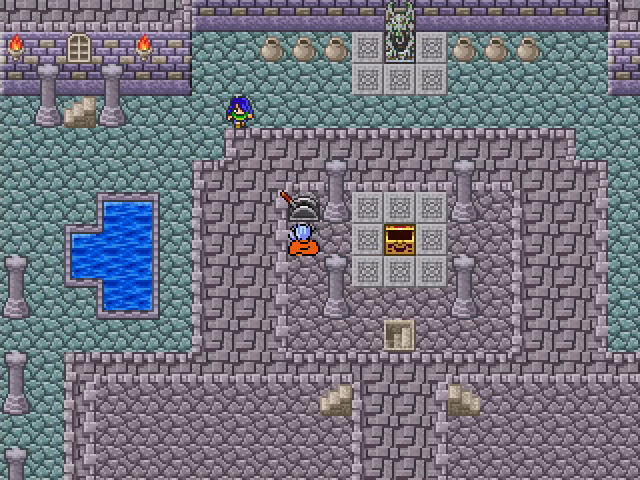
Finally, dropping through the hole in the walkway puts us on a small, floating ledge.
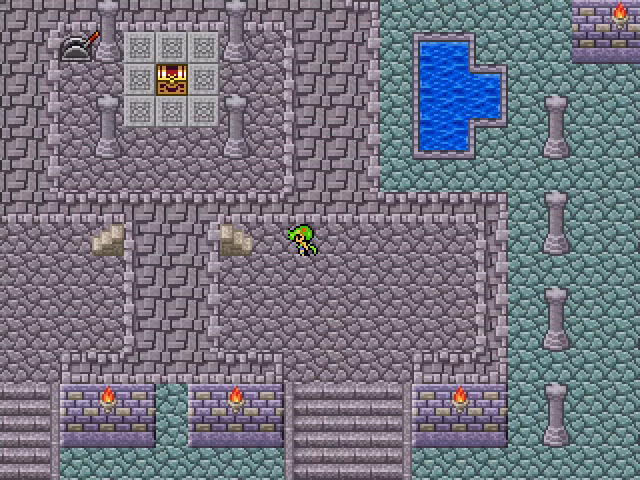
Dropping off of that puts us in this sequestered area on the ground floor.
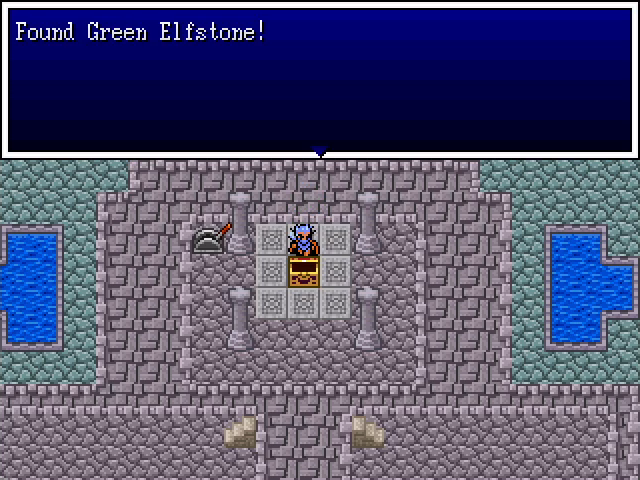
Inside the chest is a second Green Elfstone! What's interesting about this is that in my first run (the one where my recording got fucked up), the chest contained a Blue Elfstone instead. I'd guess it randomly picks one of the three when the chest is opened, which gives each playthrough some variance.
As it is, we already have two Daredevils, so unless y'all really want to see my take a third one, I'm inclined to let this stone go unused.
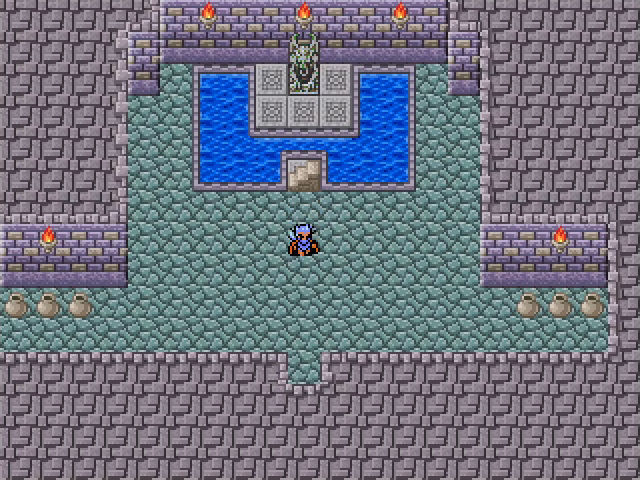
Pulling the nearby lever creates a stairway which leads into the otherwise empty room near the entrance.
And that's it for today! Next time we'll continue with the main story unless there are requests to do otherwise.
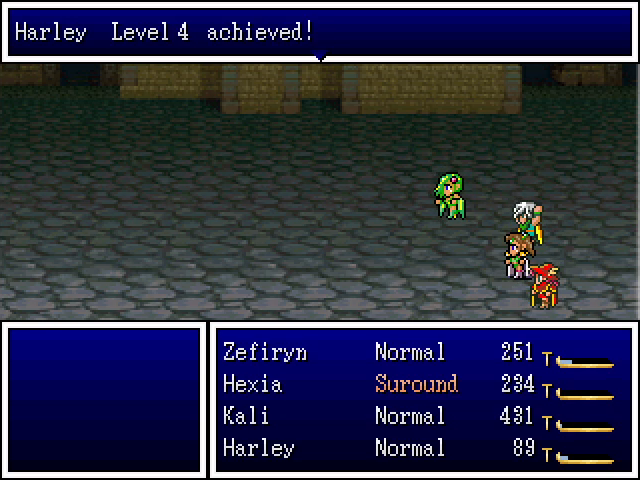
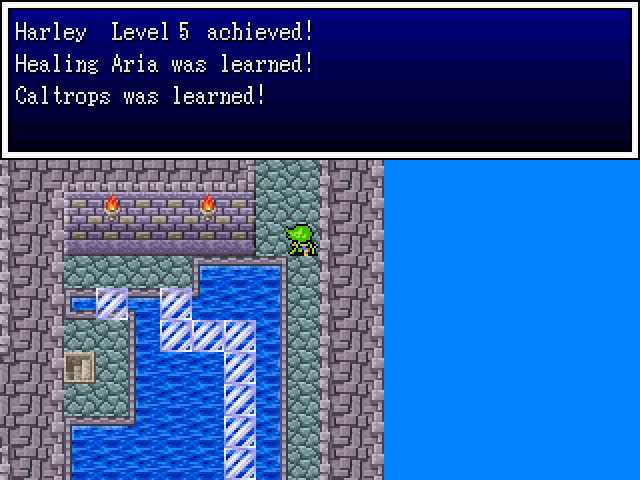
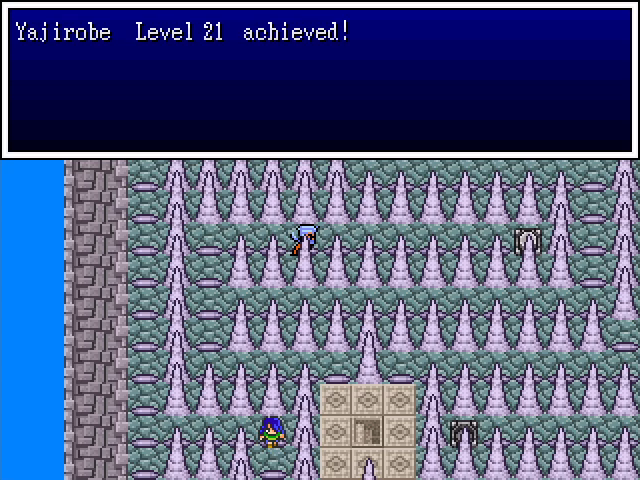
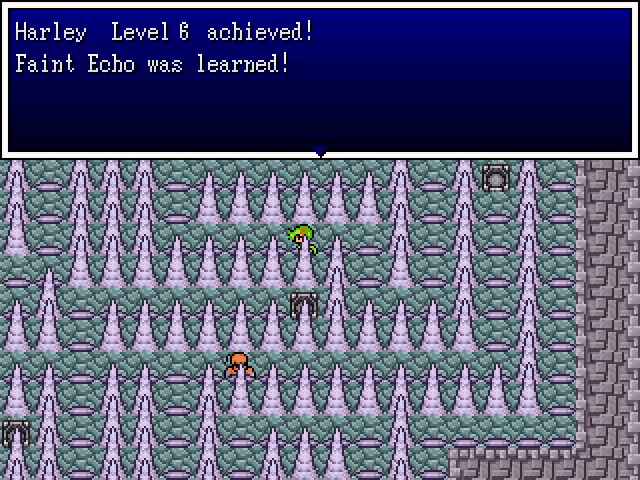
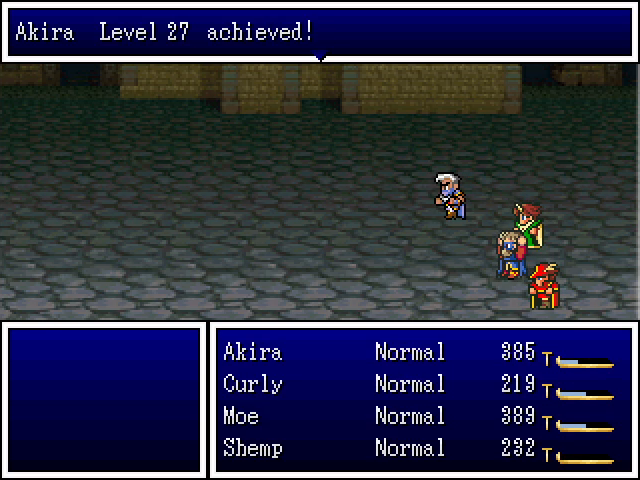
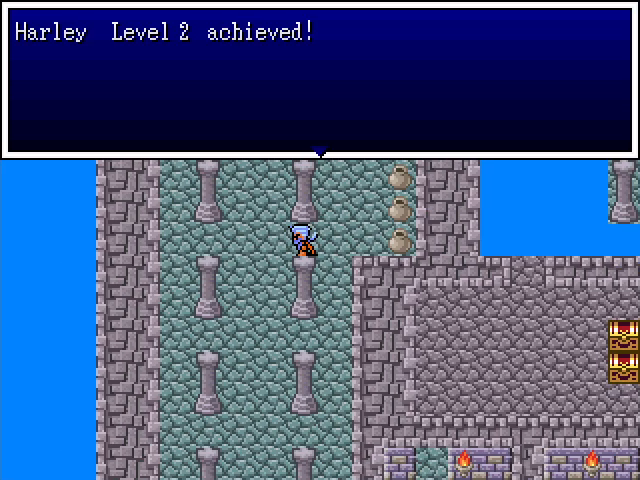
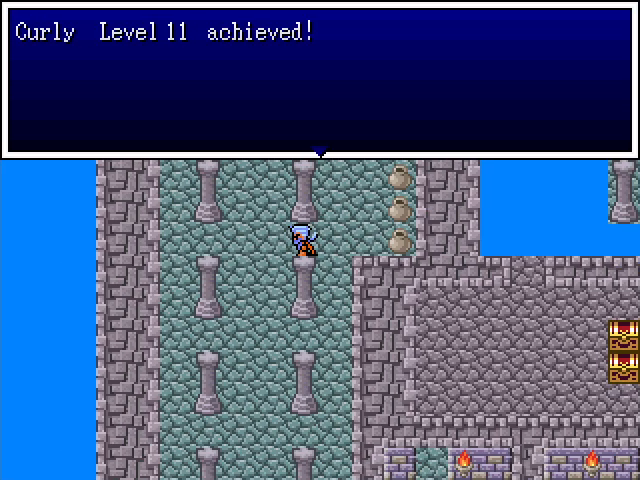
Level Up Roundup

Chaos inflicts confusion an all enemies. Not super useful.

In addition to the usual shapeshifter benefits of doubled power and HP regeneration, Werewolf doubles the user's agility, meaning they hit twice as hard, twice as often. It's real good.