Part 2: Episode 2: Making it to safety
When we last left our hero, Number Five, he had been transported into the world of "Perfect". And, thanks to his lazy coworkers, he's given essentially no information to understand what he's supposed to do.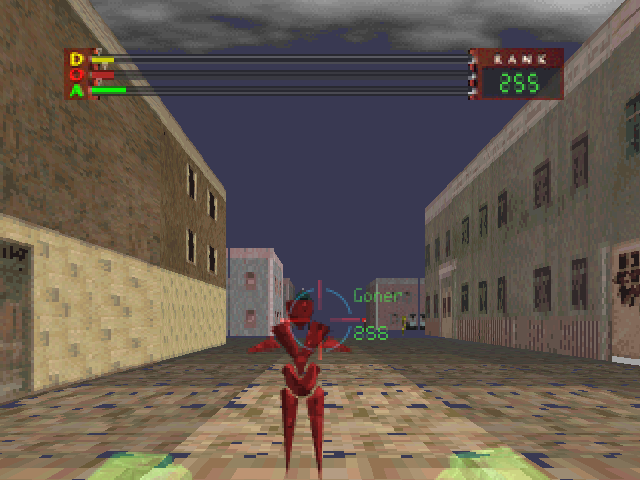
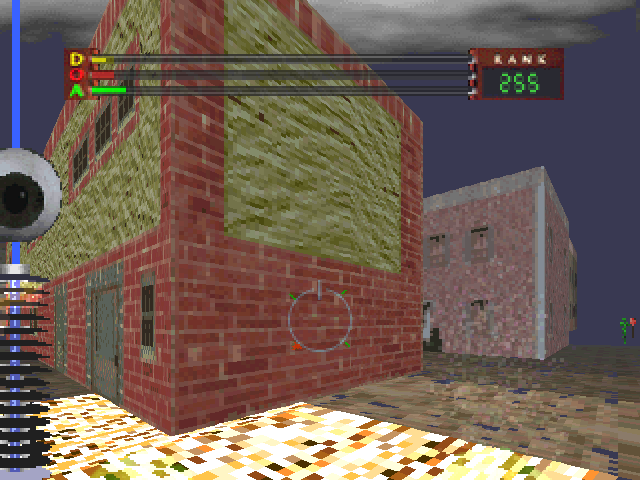
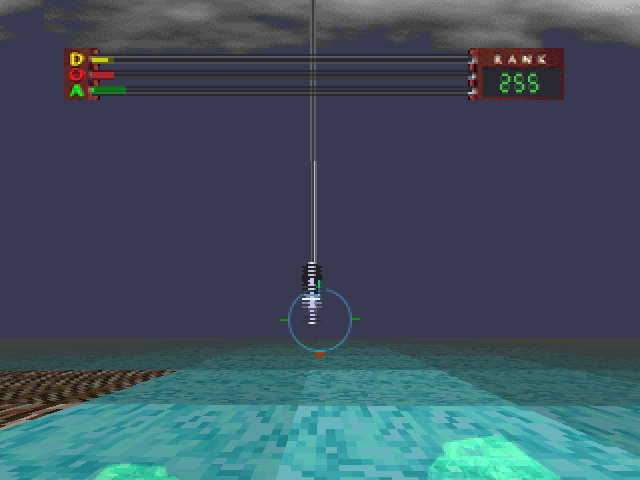
Here's our first view of "Perfect". It's a typical scene in Immercenary. There's a considerable amount of this game that I'll explain at some point. This isn't a GameFAQs, so I'll just be explaining things as they become either interesting or relevant.
Currently we're somewhere in the city of "Perfect". The starting location is random. You almost always spawn in with some easy low-level enemies around called Goners. Goners are a dime-a-dozen and we'll be seeing them a lot.
Character Stats
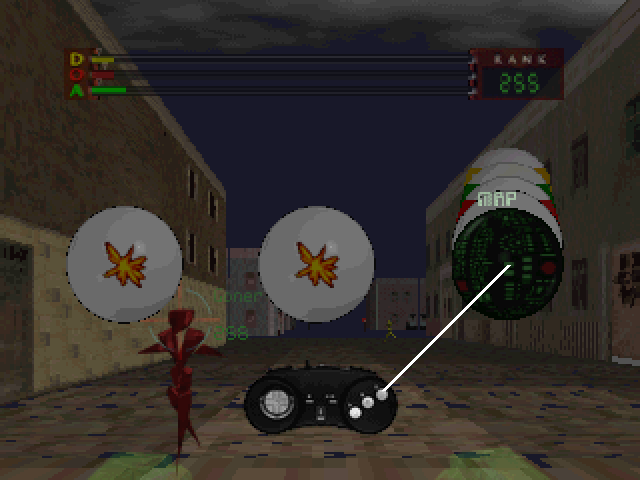
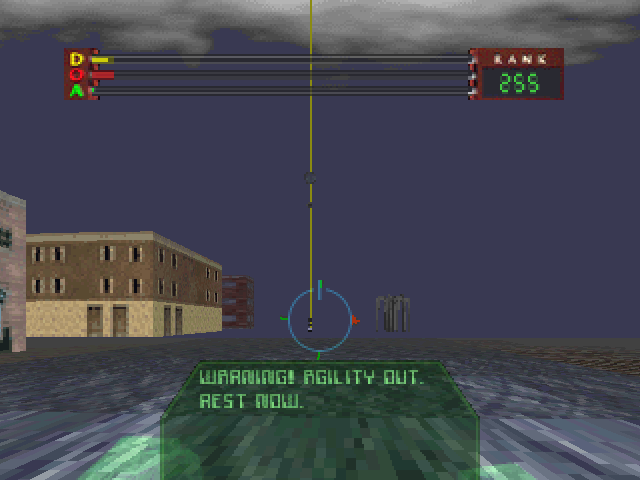
Probably the first thing any gamer like you or me will notice is the HUD. These are your characters stats:
D = Defense (yellow). All damage impacts Defense.
O = Offense (red). All attacks you do cost Attack.
A = Agility (green). Moving around costs Agility.
Running out of Agility really sucks. Your character moves very slowly when this happens. It happens a lot until you get your stats up.
Your player has a maximum value to these statistics. You build these stats in the process of killing enemies. The maximum for each is
Rank
Rank = Some number (255 to 1)
Rank 1 is "best", but not for any reason you really care about. Your rank goes up by 1 if you kill an enemy with a higher rank. Improving your rank doesn't technically increase your stats, but they usually go hand-in-hand. I think raising your level changes what enemies spawn. I think you also have to be at a certain level to face certain bosses. I've never run into this problem; getting levels is pretty easy at some point.
Currently, all of our stats are at their maximum available value.
But, there are white tags on the stat bars. These indicate the stats of whatever enemy we have a "lock" on. You lock on just by putting the crosshair over an enemy for a second (this is actually pretty hard with the abysmal framerate you can sometimes get).
By the way, usually the crosshair is merely in the center of the screen, and it also acts as a compass. The red arrow points north. Knowing this might help you make sense of the action on the screen.
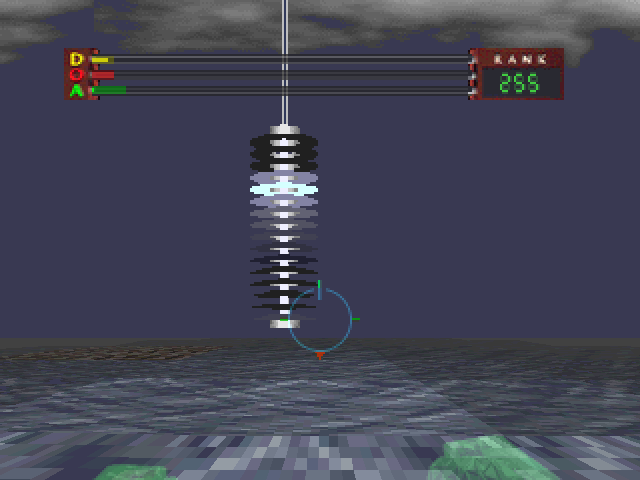
Right now we have a lock on a Goner and we can see his stats...
Notice that his Offense is highest. Not all Goners are this way; Goners are color-coded! They're the only enemies like this, and it makes for some fun trivia.
Red goners have higher offense, yellow goners have higher defense, green goners have higher agility. There are also blue goners, with balanced stats. This is only somewhat important, since they're all very easy to kill. However, if you were to hunt only green goners, you would raise only your green (Agility) stat. I usually go for green (Agility) Goners, because running out of Agility makes you move so tediously slow.

Okay, so there are some Goners buzzing around and now we've learned what the stats are. What now?
We could always start killing guys, but I always start by changing the default controls, and with good reason!
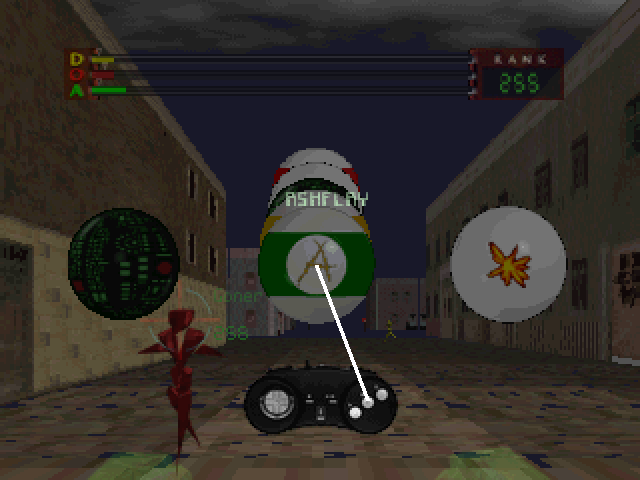
Here we are at the control setup screen. The world is paused right now, even though that doesn't really make sense as far as the story goes. Luckily for us, the video game industry hadn't taken this calming mechanic away from gamers until Resident Evil 5.
The only reason I came in here was to change the middle button (B). By default, it's set to use a single-use item known as Ashflay! Ashflay will give us a temporary Agility boost. This wouldn't really be a bad time to use it, since we're going to be running a lot and we do have places to go.
But, screw that. I'm frugal.
And here we are. This is how I roll for the majority of the game. Buttons A and B will be our weapon (called default). I can mash both A and B to fire shots with both of the characters' hands at once! Meanwhile, I can press the C button to bring up the map.
Now we jump back into the game and...
Ow! The screen blurs because someone hit us!
It's pretty easy to die right at the beginning of the game. I think it would only 15 shots or so for a Goner to kill you, and they shoot about once a second (if they've decided to attack you at all). Dying is not a game over, but my pride won't let that happen.
Goners seem to stop attacking for no reason at all, so we're safe for now. We might as well figure out where we are.
So, I'll check the map.
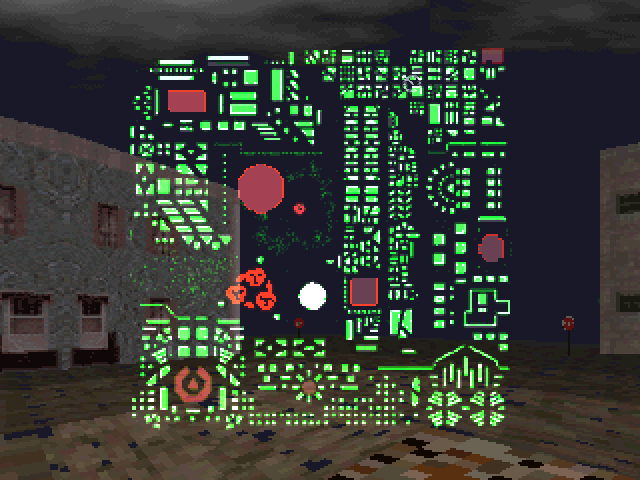
This is one of two views of the two maps. There's a smaller, hero-centric map which is good for avoiding dangerous enemies.
Our hero's indicator here is flashing on the screen, but it's a little hard to make in the screenshot, so I'll point it out:
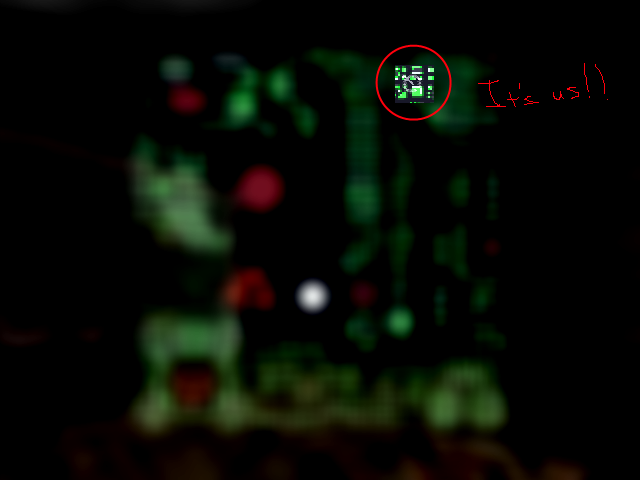 ]
]Here we are.
Where do we go? Well, honestly, that's not very obvious. Technically, you could go anywhere. However, there is one particular location that seems like the obvious place to go once you know it exists.
This is the DOASys. It will heal you completely when you enter. It's also the only location where enemies won't harm you. I'm not sure how I found it the first time, but the game is pretty hard without it.
I'll bet you could beat the game without going here, but that would be like playing through Zelda without a sword. To be sure, I'm not above these silly challenges, and I've only allowed myself to brag about them once I ensnared my wife and was able to fill her in on just how much of a nerd I am. I'm definitely going the obvious and easy route to start this Let's Play.
Unfortunately, we're pretty far from the DOASys. In fact, the game picked one of the furthest locations for us to spawn in! But that's also not really much of a problem if you know about one additional game mechanic.
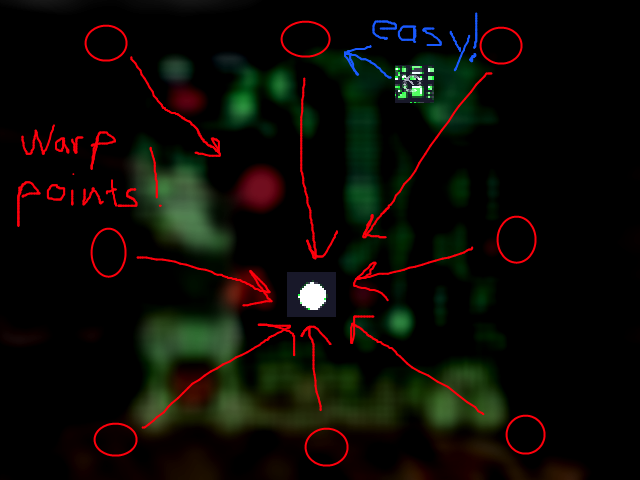
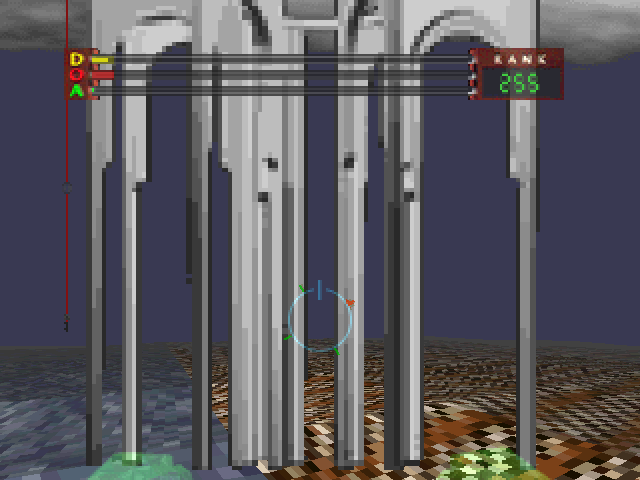
There are locations on the perimeter of the map that will warp you directly to the DOASys. They look like pretty run-of-the-mill structures, actually, and I'd beaten the game several times without knowing about them. They're going to serve us quite well to get us started.
I'll be headed to the northern gate and get us to the DOASys pronto.
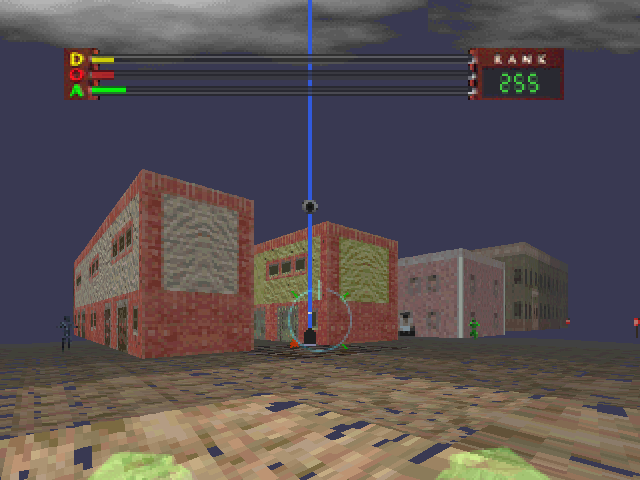
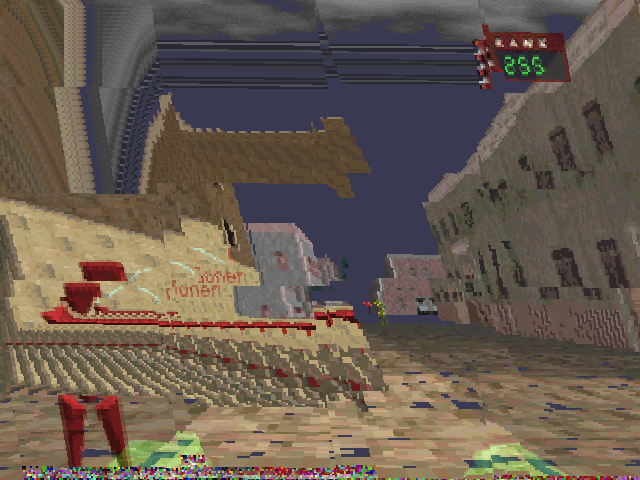
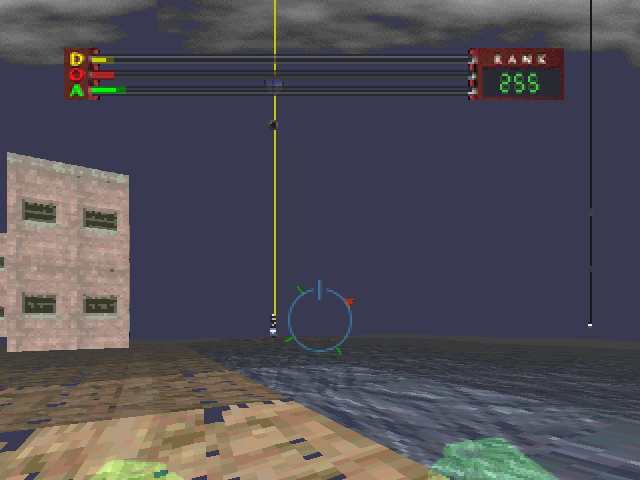
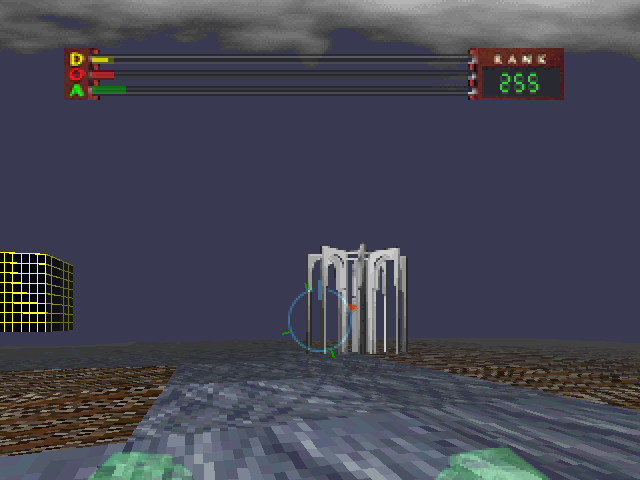
On the way we see things called spires. The one on this screen is the blue beam reaching towards the sky, with the eye on it.
These spires are everywhere at somewhat regular intervals. They have a few uses.
The most obvious use is that they will slowly refill your stats. I use this a lot, and enemies can use it too, but their AI isn't really all that sophisticated.
There are only three spire colors: Red refills Offense, Yellow refills Defense, and Blue refills both Offense and Defense. No spire refills Agility, you simply have to stand still to refill Agility (ugh!).
To give you an idea on how long it takes, it would only take about 5 seconds to fill our current stats to maximum. Agility refills at maybe 1/3rd of that rate when you stand still. You could also use an Ashflay to get Agility back, which I prefer to do.
When you stand on the spire and let it refill your statistics, the base glows and the eyeball on the spire slowly falls. In this screenshot you can see that I'm draining the spire and the eyeball is almost to the base, so it's just about out of juice. These spires recharge on their own.
Time to march to our warp point!
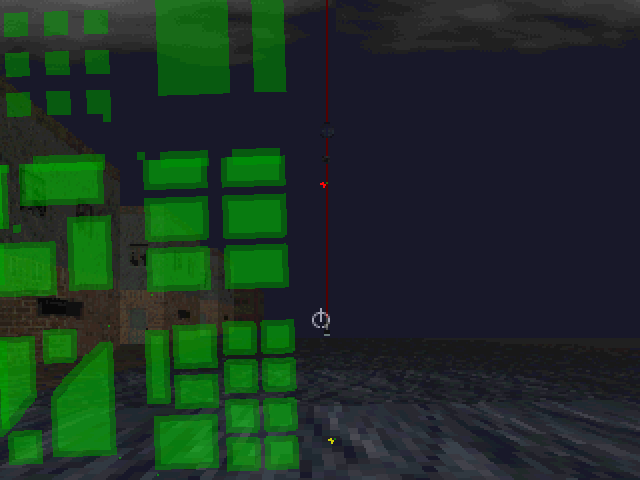
I check my map occasionally to see if there are any enemies to avoid. I'm at the perimeter of the map, and all the the buildings are showing up as green blobs on the left. The red dot and yellow dot are both spires.
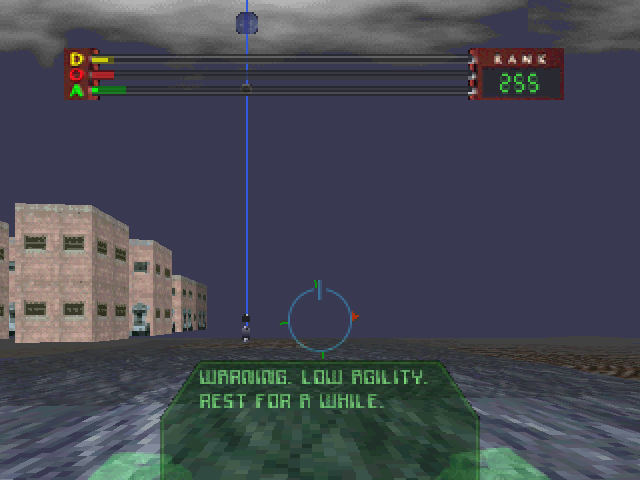
Gah. Already low on agility! From my diagram earlier, you saw that we're taking a huge shortcut. Even so, I run out of agility twice on my way to the warp point! So, I just let my character stand still for about 30 seconds to let it recharge. That can sometimes be dangerous, but usually it's just boring.
Had I tried to make it to the DOASys normally, I probably would have run out of agility at least a dozen times!
When you run out of agility, you can still move, just slowly...
Hey! That's the warp point on the right!
Made it!
And so, the game puts us on the fast track to the DOASys. It takes only about 10 seconds from point A to point B in this segment...
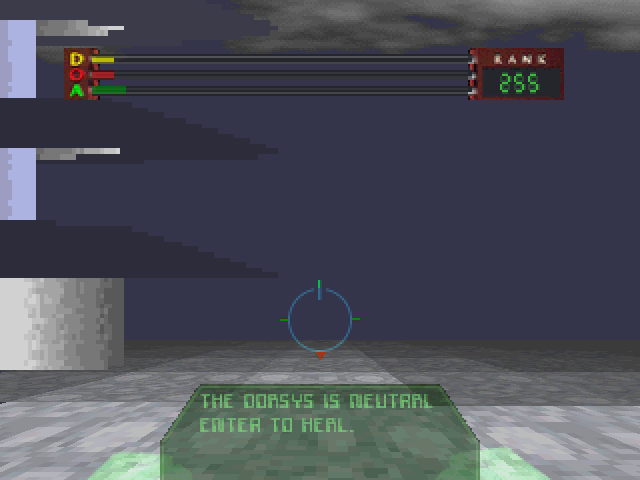
As you enter, a newbie-friendly notification tells us exactly why the DOASys is pretty sweet.
As a kid I thought it said DORSYS. Can you blame me? I don't believe a single bit of dialogue says it! Eventually it dawned on me that DOASYS started with D-O-A, or Defense-Offense-Agility.
And no, I didn't read the manual. I was raised by Funcoland's second hand games, do you think I had game manuals? If you ever played Startropics, then you might know what horrible plight that caused me.
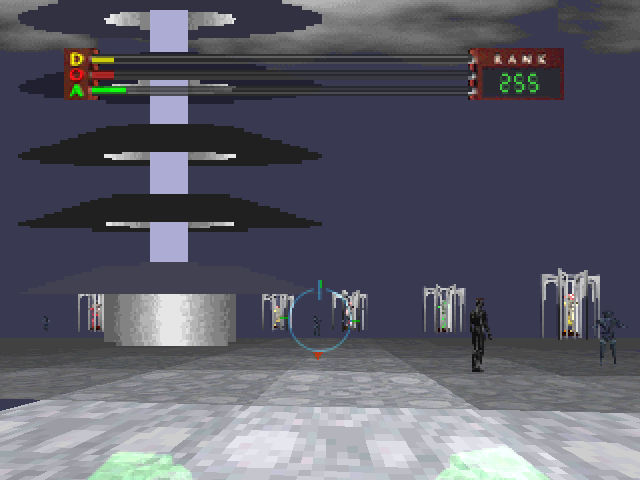
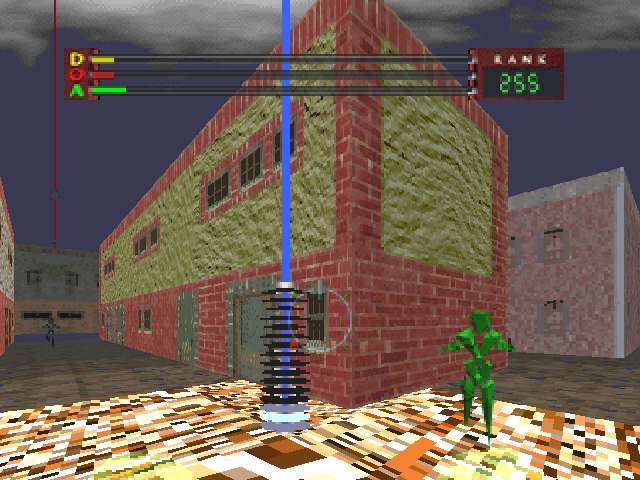
Peaceful music flares up, of course, and nobody can attack within the DOASys. There's our old buddy Goner off to the right!
The darker fellow is an enemy called David. I assume this is because there are also enemies like Venus and Picasso.
Anyway, David is pretty high level (level 4 I think), which is higher than most bosses. Most bosses have a lair, but Davids roam around like any regular old creature. If we run into a David outside the DOASYS, I'm running!
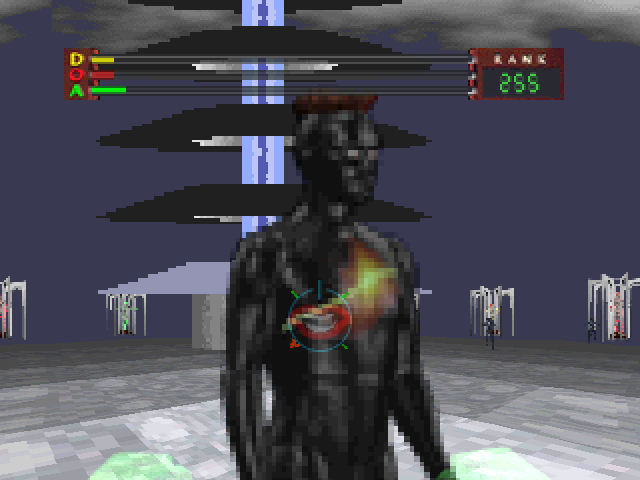
When you approach these enemies, this mouth icon shows up.
By the way, all types of enemies show up randomly in the DOASys, including bosses. This also includes the invisible boss, Chameleon. I bumped into him on accident once, where the mouth icon gave him away. Neat!
So we can talk to enemies? You bet! This sounds necessary!
Next update: Let's Play Larry King Simulator