Part 5: This Game Has A Lot of Poison
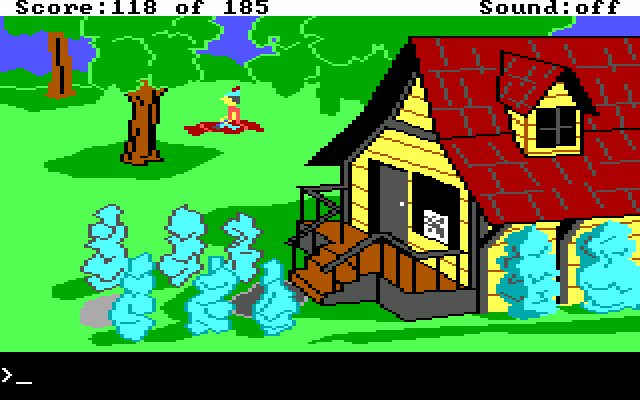
Hello everyone, and welcome back to King's Quest II. We rejoin Graham as the carpet drops him off outside of the antique shop. With two out of three keys accounted for, let's not waste any time. Off to the bridge!
You probably shouldn't approach the bridge from the south side. In my test run for the game, I died probably five or six times alone doing this.
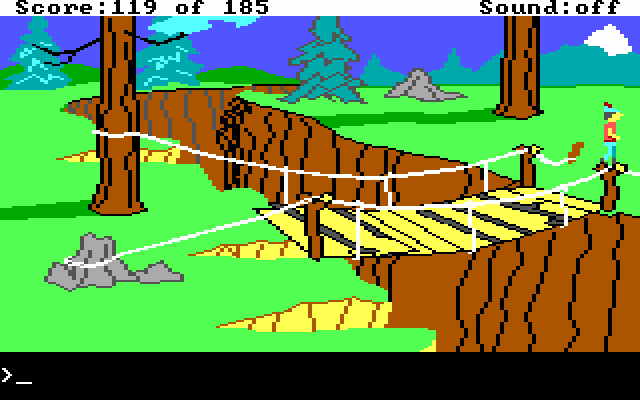
For those of you keeping track at home, this is the fifth crossing of the bridge.
>unlock door
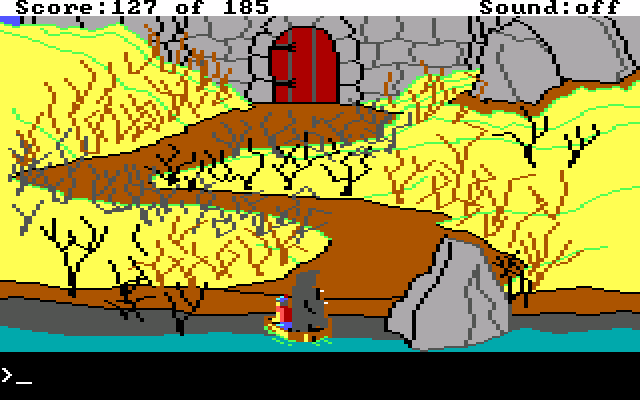
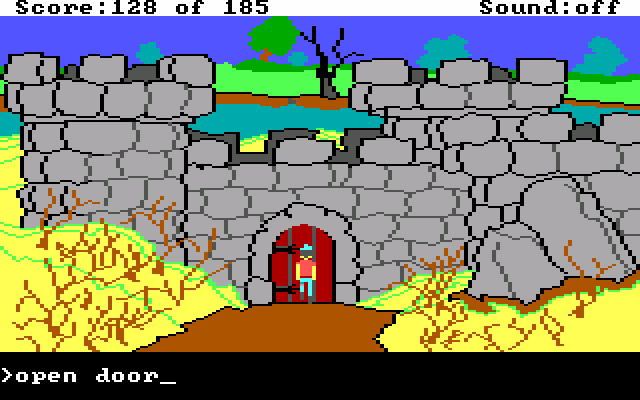
 : The key to the second door fits easily into the keyhole. Graham turns the key and, SHAZAM, the door opens, and the second gold key disappears... revealing a third door with yet another inscription!
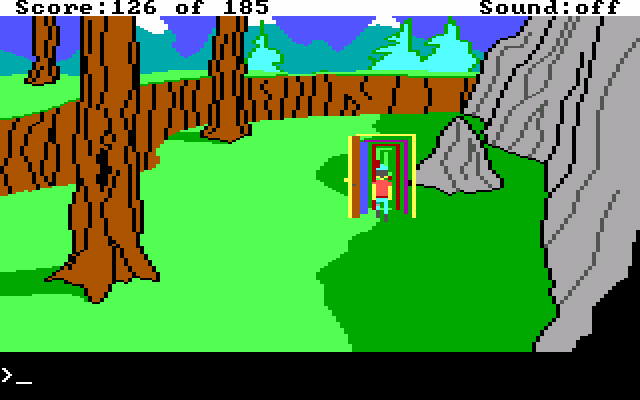
These doors are getting awfully small.
>read door
: Whosoever chooses to seek the last key must have a stout heart.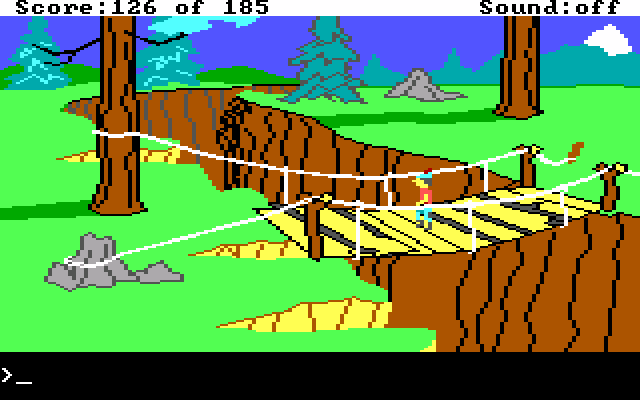
Six times now. What the game never points out is that the bridge is held up by silly string. The bridge can support Graham's weight seven times in total. Take a wild guess how many times you need to cross it.
So yeah, hope you wrote those clues down because you have exactly as many crossings as it takes to do everything perfectly. Sierra caught a lot of shit for this, and rightfully so. They also have a sense of humor about it, as every time you have to cross a bridge in future titles of theirs, they call back to this bridge here.
We'll be seeing a few instances of that in this thread here.
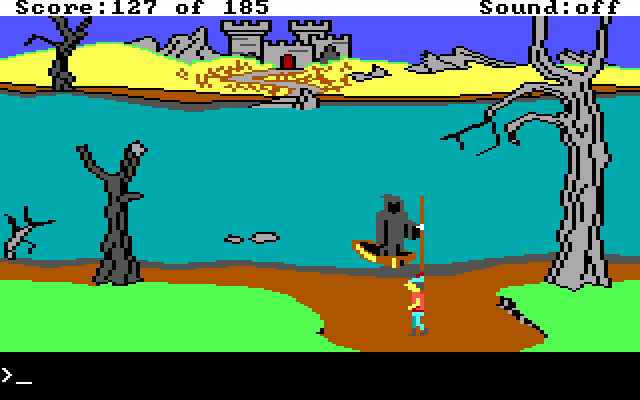
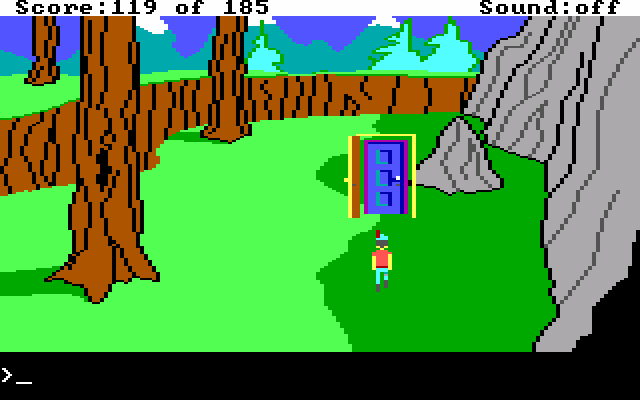
Screen E4 is the bottom middle edge of the lake. I haven't really shown it off, because until this moment there's been nothing worth showing here.
This is what the screen looked like in the middle of the last update.
Anyway, this is the point where you need to be wearing both the ring and cloak from Grandma's house, as well as the silver cross from the monk.
>climb in boat
: The shrouded ghoul looks at the ruby ring on Graham's finger and the black cloak around his neck. It motions for him to enter the boat, which he does. Graham must have fooled it into think he was someone else.
The boat man doesn't care if Graham is wearing the cloak and ring or not. Though wearing them both is a hint that they're important.
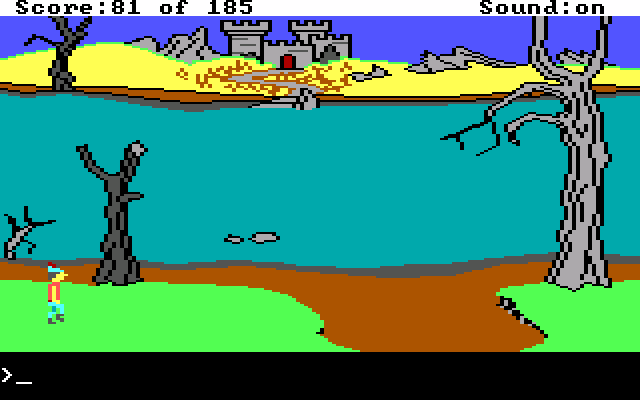
>leave boat
This screen looks nice and foreboding, doesn't it? The scraggly plants look like they might hurt if they brush past you, so let's be extra careful...

So remember last update when I mentioned that failing to guess the "bridle on a snake" puzzle would make your life harder in the near future? Welcome to exactly why. These thorny bushes are all poisonous, or venomous, or whatever. The point being just one bite, one scratch is sufficient.
So how do you get past? There's two options. One is to be extremely specific in how you walk past the brambles, in what I hope wasn't a prototype for Space Quest II's maze of death. The other?
quote:
: Thank you, kind sir, for saving me. An evil enchanter turned me into a snake when I refused to be his steed. To repay you, here is a magic sugar cube that will guard against poisonous brambles.
>eat sugar
: After swallowing the magic sugar cube, Graham gets a feeling of invincibility.We're now completely immune to poisonous brambles. We can walk as closely to them as we like and we won't so much as slow down.
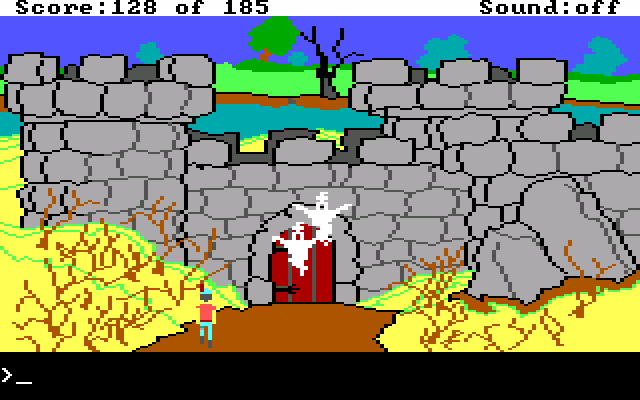
To the north we come to the castle gates. There's a few ghosts hanging out.
: There are two spooky ghosts guarding the door of the gloomy castle. This situation looks bad.And if you approach them..
: The two spirits are fooled by the black cloak and large ruby ring that Graham is wearing. They slowly float away... maybe he reminds them of someone else.Alternatively, if you aren't wearing the ring and cloak...
: The two spirits are afraid of the silver cross that Graham is wearing around his neck. They slowly float away and disappear.So as long as you have the ring and cloak, or the cross, you're safe here. The ghosts are one-time guards.
But what happens if you aren't wearing any protective equipment and you approach them?
: Oh, no! The two spooks float toward Graham and enter his body. In a trance, he walks toward the thorn covered brambles.A beat later...
: Graham feels a sudden tingling sensation. Could it be that the effects of the sugar cube have worn off?
While it's not unlikely you'll see this death, you do have to somewhat go out of your way to get it. I do like that possessed Graham turns zombie green.
Anyway, back in the world where we didn't die a horrible death...
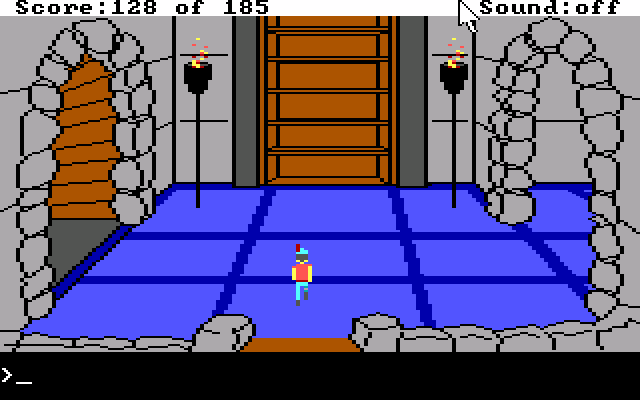
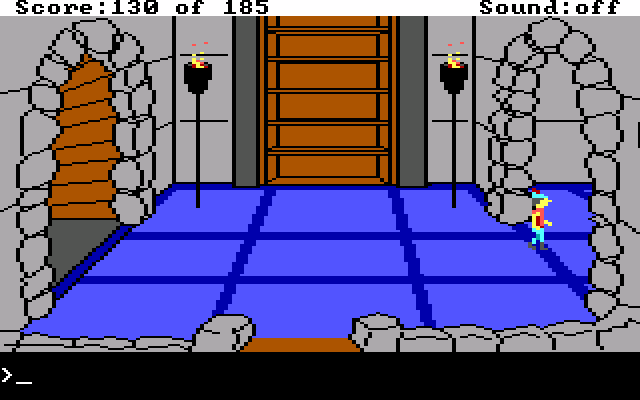
Welcome to yet another reason why you play with the sound off. Do you know the famous tune, Toccata and Fugue in D-minor? The answer should probably be yes. If you think "generic halloween music" or "generic spooky music" it's the first tune to come to mind.
Anyway, imagine that famous piece of organ music, but in "glorious" PCSpeaker. And it's just the opening bit over and over. So yes, for the thousandth time, let me reiterate: do not play this game with sound on.
Anyway, we want to go to the left first. Despite the giant bookshelf in the middle looking important, it's just scenery. So let's throw on some more appropriate music and get to investigating.

So, think back to one of the first things I said in this LP. About how Graham moves. He keeps moving until either he collides with a solid object, falls off of something, or you press the same direction in which he's already moving.

Early Sierra games were absolutely lousy with precision movements for some entirely unknowable reason. Mercifully, if you turn off NumLock, you can use the numpad to move Graham around the screen. 7, 9, 1, and 3 can be used to make Graham walk diagonally. There's only a handful of places in the game where it's useful to do so, but it's good to keep in mind regardless.
Almost every place where it's useful to walk diagonally is here in the second half of the game.
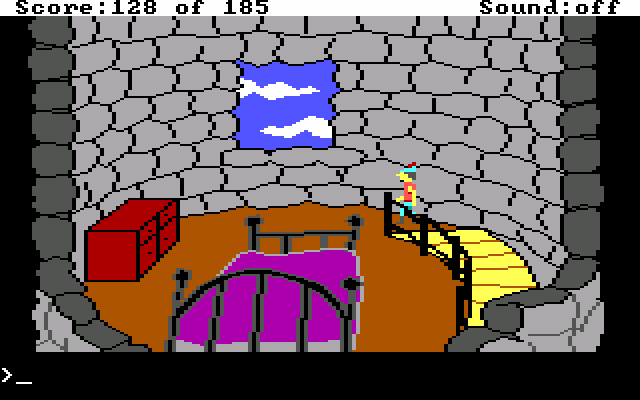
Anyway, the reason we need to go left first in this castle, is the drawer in this tower has something useful.
>open drawer
: There is a candle lying in the drawer of the old dresser. Graham picks it up and carries it with himThat's it. That's all we needed from over here. Now we need to walk back down the spiral staircase.
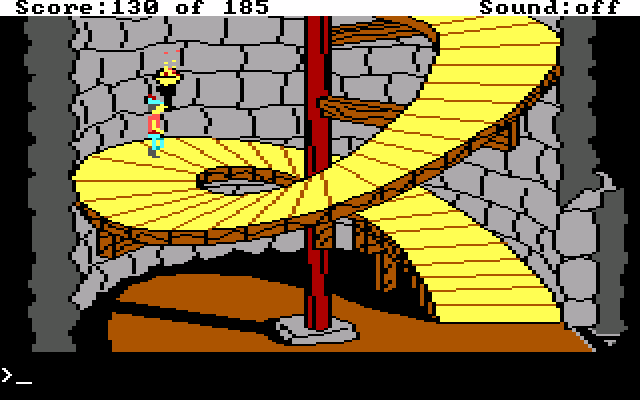
I can't tell you how easy using diagonal movement makes this.
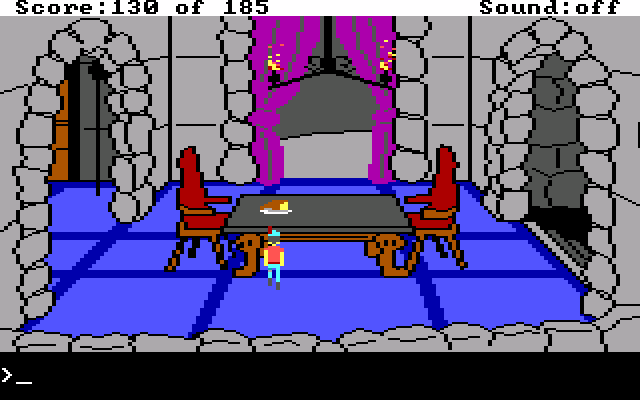
Over to the right, we come across a massive dining room. Graham is not a short man, and the table is taller than he is.
>look
: This is the dingy dining room of the drafty old castle. Ants crawl among old bits of food. Dust covers a dilapidated table top. A delicious-looking smoked ham is on the table. Graham takes it.We'll need this ham in a while.
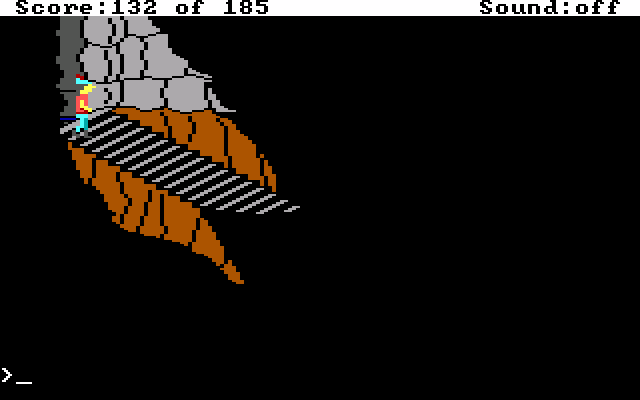
Continuing to the right, the light runs out.
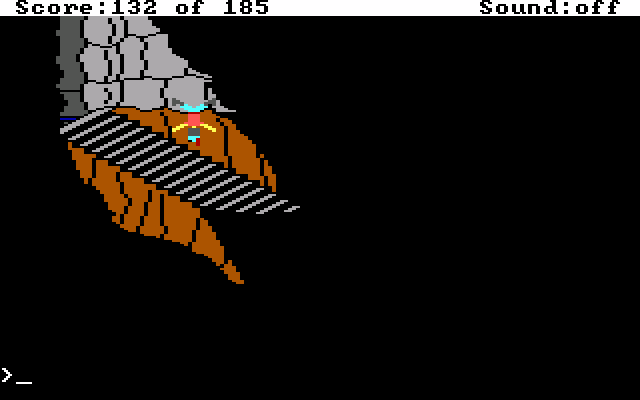
It's fully possible to get down these stairs without the benefit of light. It's simply nearly impossible to get back out.
I'm going to leave here for now. Next time, we'll illuminate these stairs and finish our business in the castle. After that, it's to the endgame.
List of Points
+1 - Crossing the bridge
+7 - Unlocking the second door
+1 - Crossing the bridge yet again
+1 - Graham has a sweet tooth
+2 - Getting a candle
+2 - Handling the ham
Total: 132/185
Register of Deaths
Falling into the chasm
Poisonous brambles x2
Who needs handrails... or light? x2