Part 52: Truly A Hero (Part 1)
Welcome back. Last time on Last Scenario, we continued making our way through the post-game content. We were judged in the Hall of Judgment, we investigated a containment breach at the Entalar seal southeast of Lawshire, we destroyed the specter of death hanging over the ruins of Cromwell, and most importantly, we discovered the secret of Hex. And then beat him up. Now that we've done all that, only two challenges remain to us: the tomb of the ancient king, and the Gate to Elysium. We'll be taking care of both of those this update. Let's get to it.
Music:


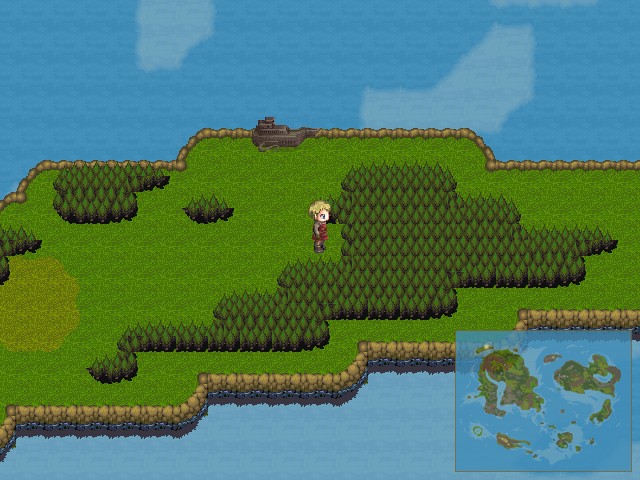
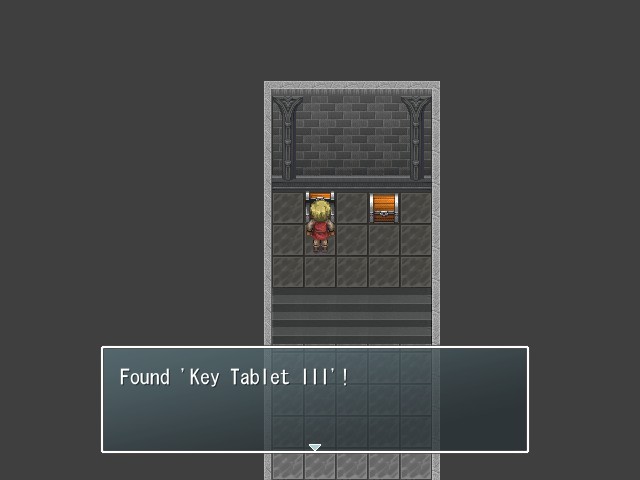
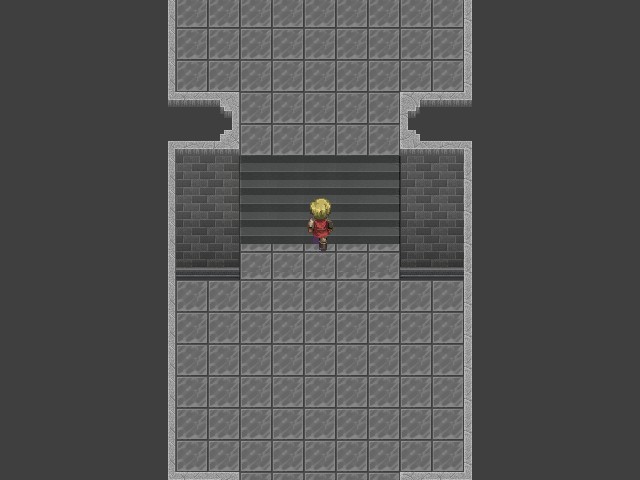
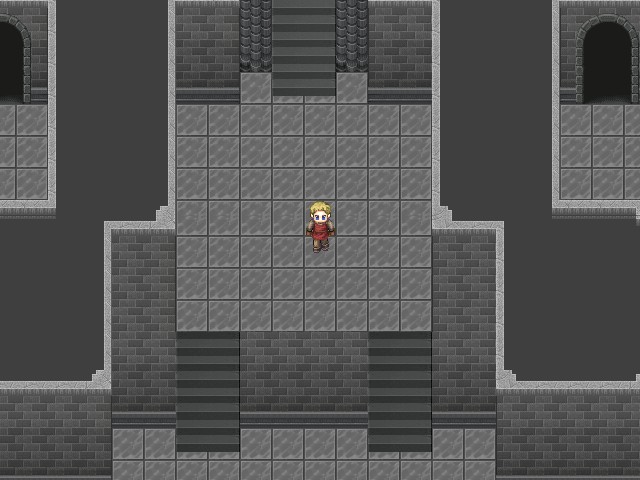
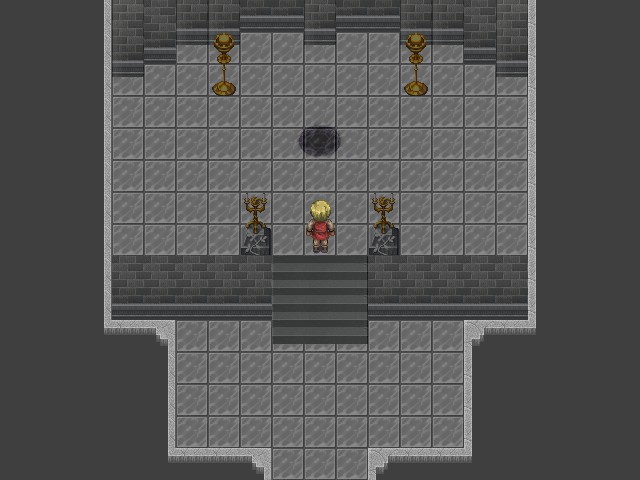
Back when we were investigating Condor, we received five torn-out pages from Zagaro, which he claimed showed the locations of the five tomes required to open the tomb of the ancient king. The pages are a usable item in our inventory, and when we select them...

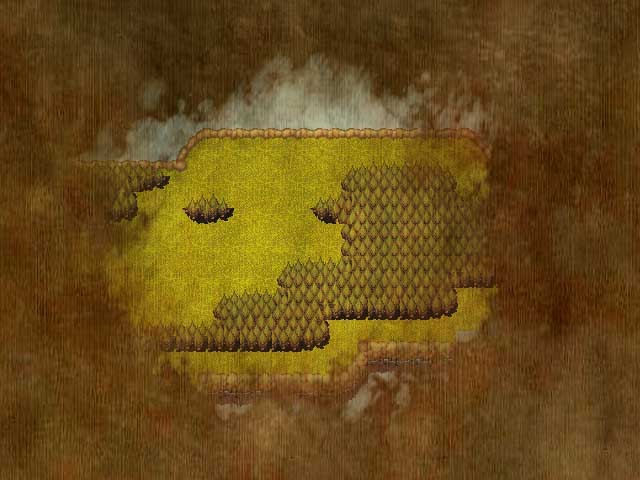
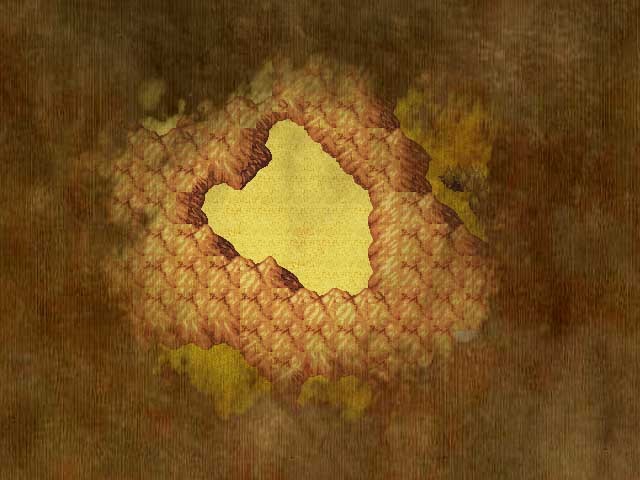
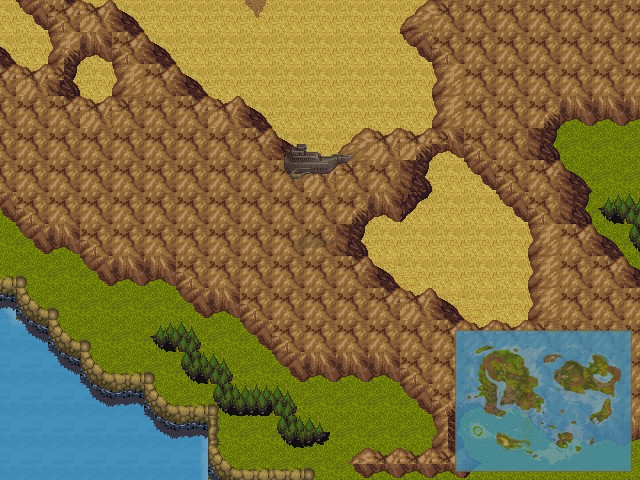
... we're shown five different locations on the world map. In order to find the tomes, we need to head to these locations and line up the screen so that it's exactly in sync with the locations shown in the picture.

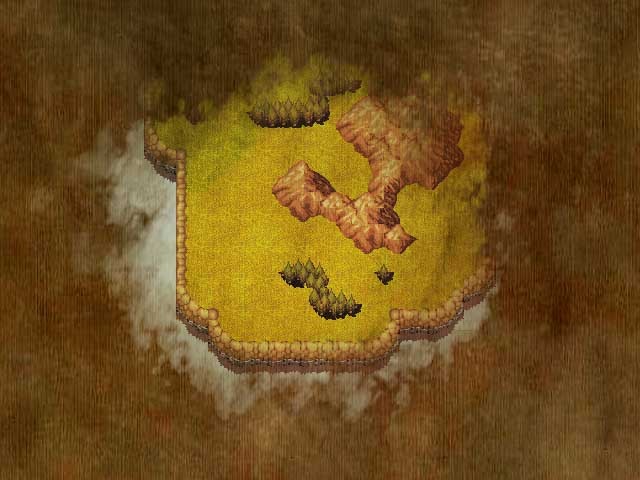
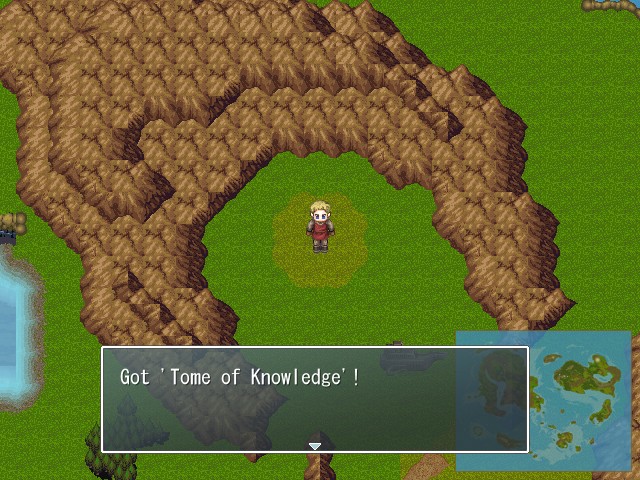
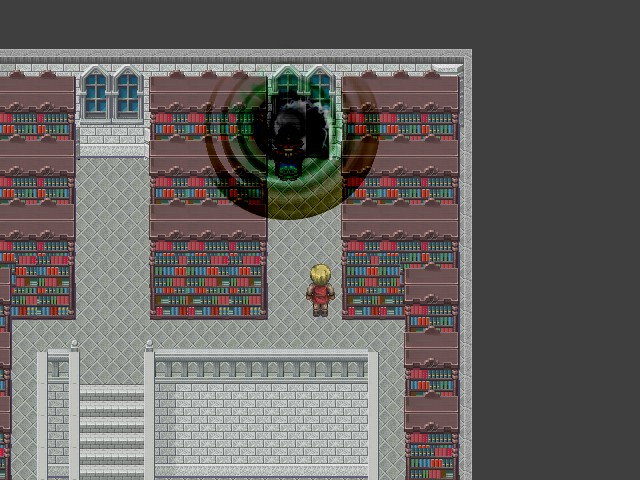
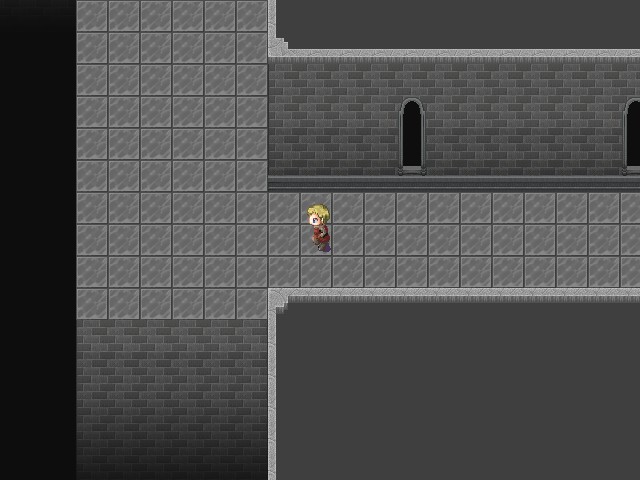
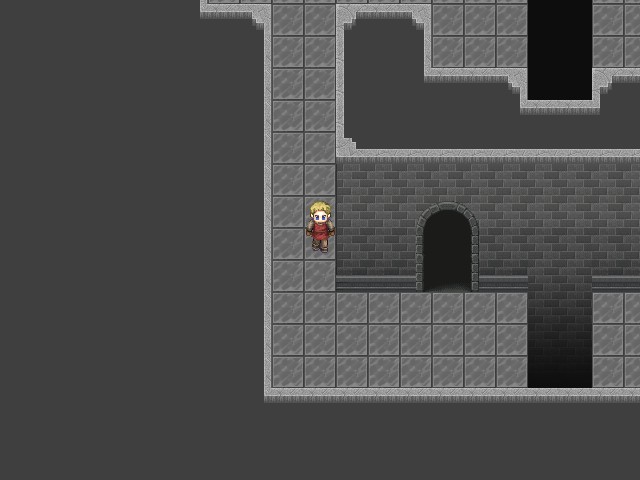
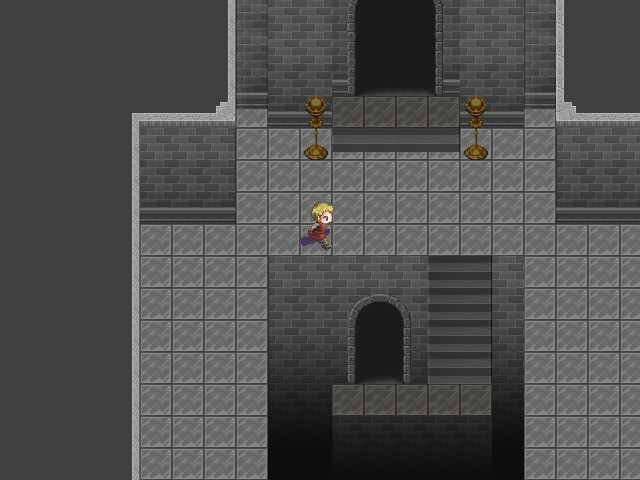
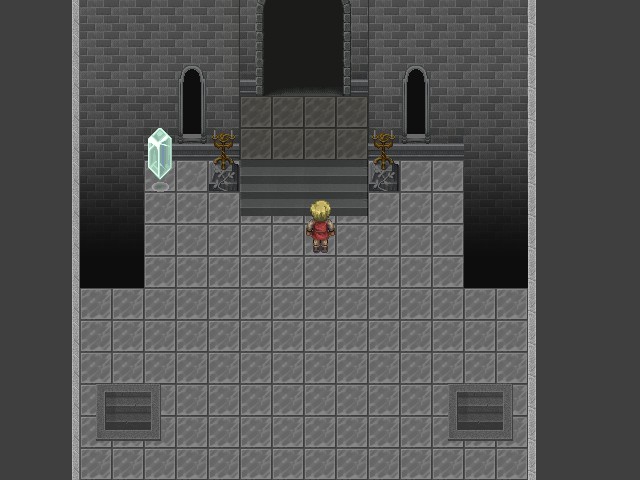
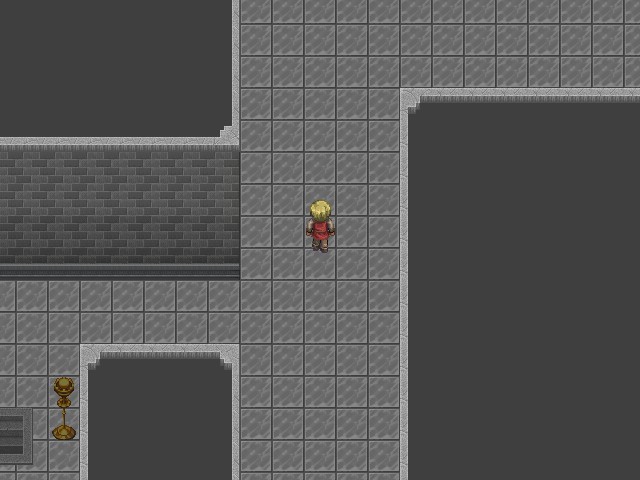
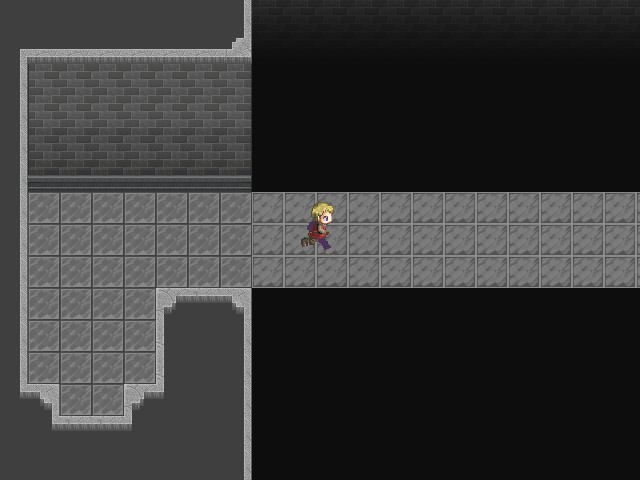
However, it's not as simple as simply heading to the location and walking away with the tome. We find the first location across the lake to the north of Condor, but when we interact with the spot...
Music:

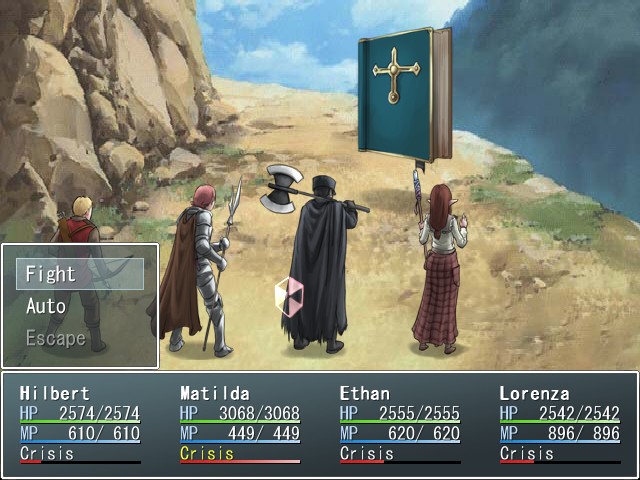
... it turns out the tome is a little more than just a plain ol' book. This is the Tome of Knowledge, and it's kind of like a boss fight, but the regular battle music still plays. The tomes themselves aren't particularly difficult: each one has about 25,000 HP (it varies slightly) and a different elemental immunity. They also only have two attacks, which they alternate between.
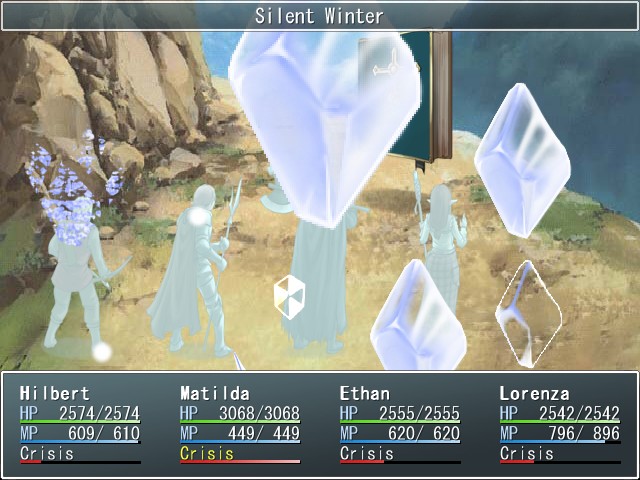

The first attack is unique to each tome, and carries a status as well as the element the tome is immune to. The Tome of Knowledge's unique attack is Silent Winter, and its effects should be obvious from the name.
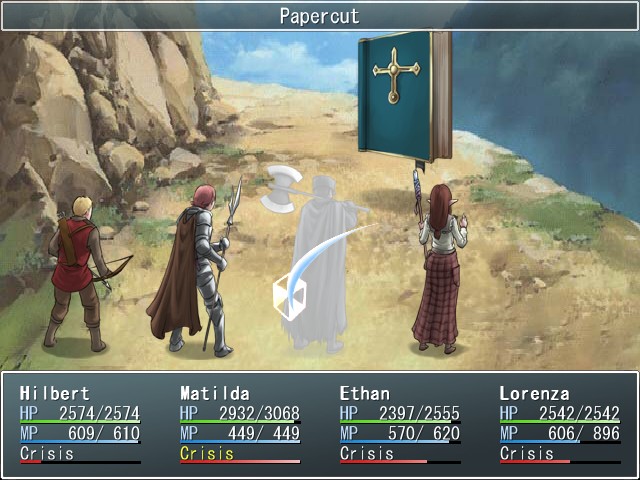
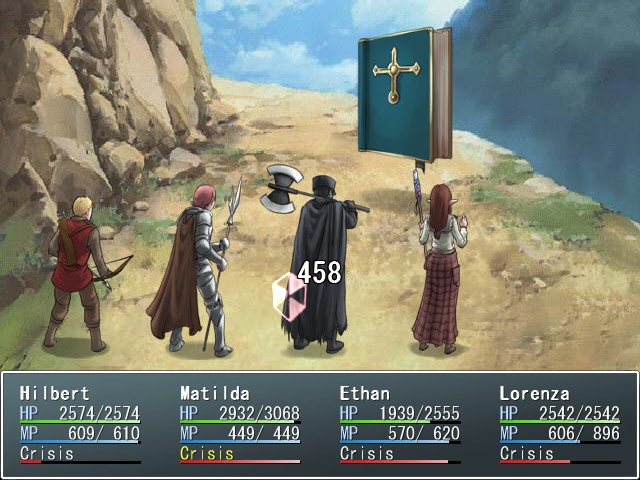
Apart from that, every tome can also use the physical attack Papercut. It's not too much of a worry.
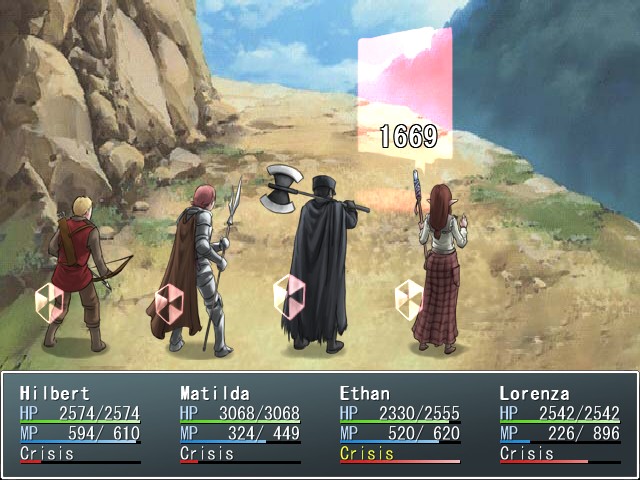
25,000 HP may sound like a lot, but it really isn't all that much this late in the game. Each tome goes down in just a few rounds.
Just as with the Keys, defeating each tome adds it to our inventory. Time to find the rest.
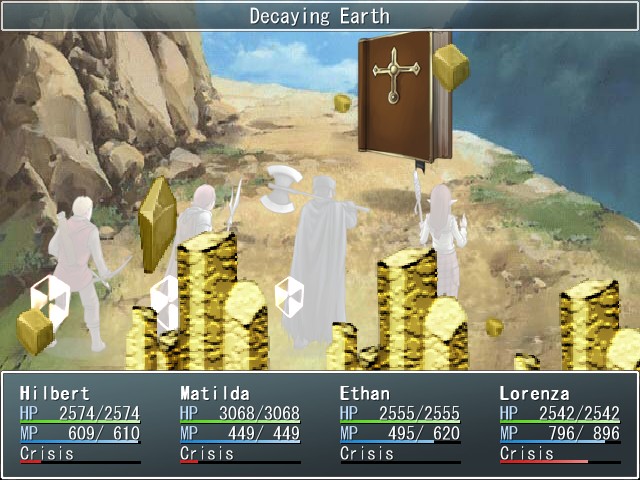
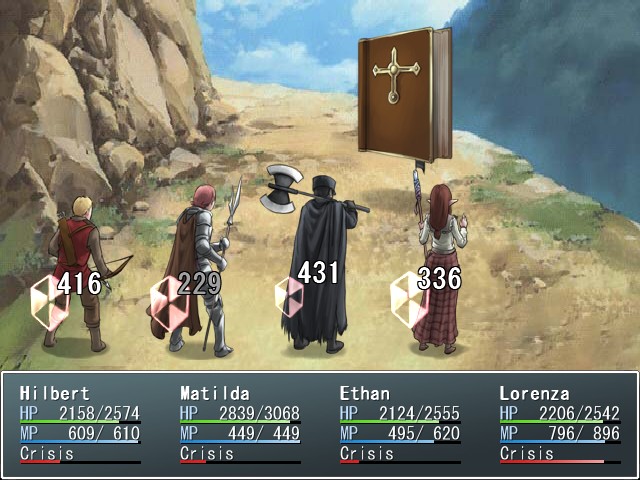
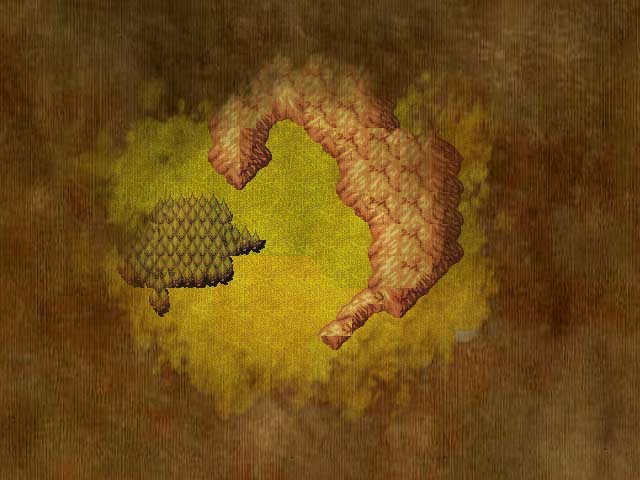
The second tome is the Tome of Fortitude, and it can be found on a small island to the northwest of the Empire. Its unique attack is Decaying Earth, which inflicts poison.
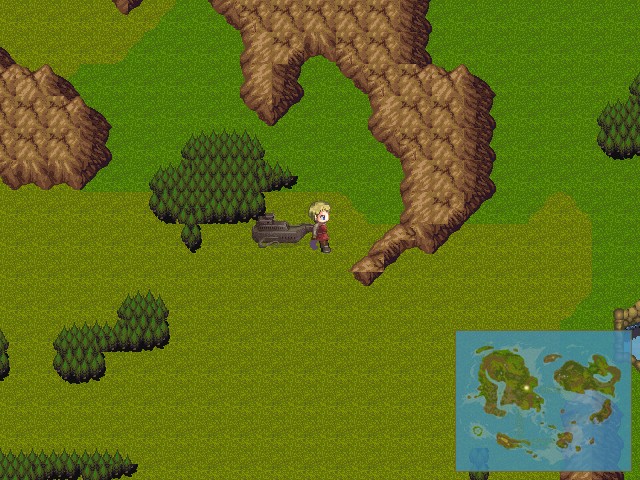
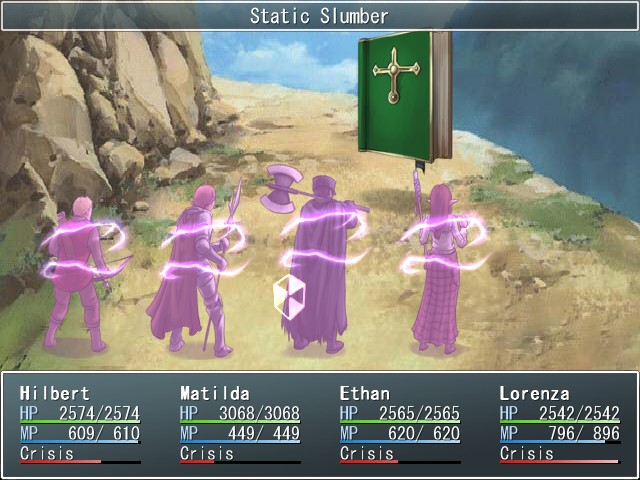

The third tome, the Tome of Vigor, is located in the middle of the Empire continent. Its unique attack is Static Slumber, which inflicts sleep and also makes no sense.
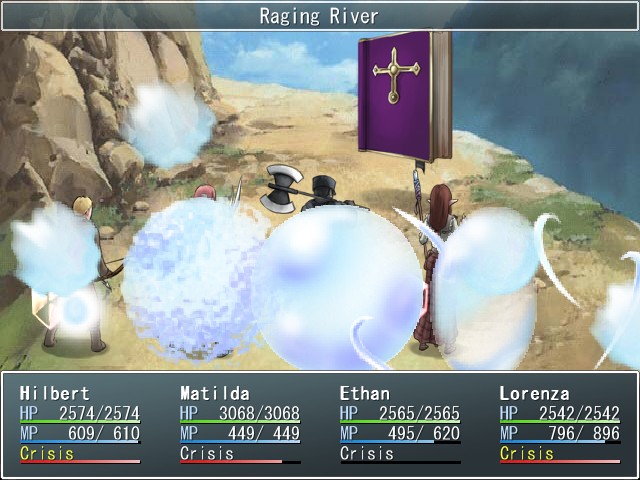
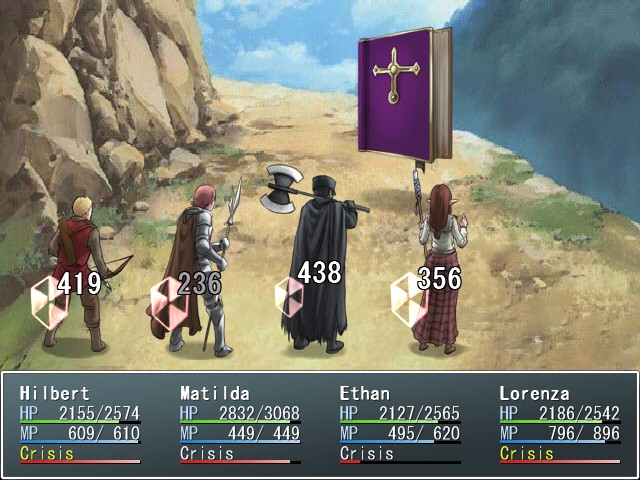
The fourth tome is the Tome of Wisdom, and it is buried in a small area southeast of Randipur that is completely enclosed by mountains. Its unique attack is Raging River, which inflicts berserk.
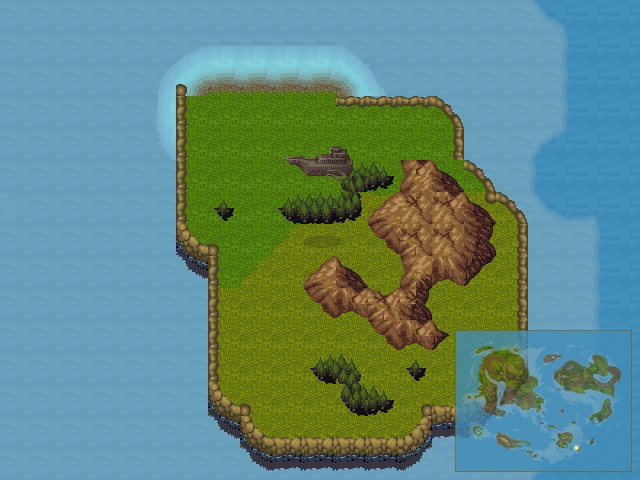
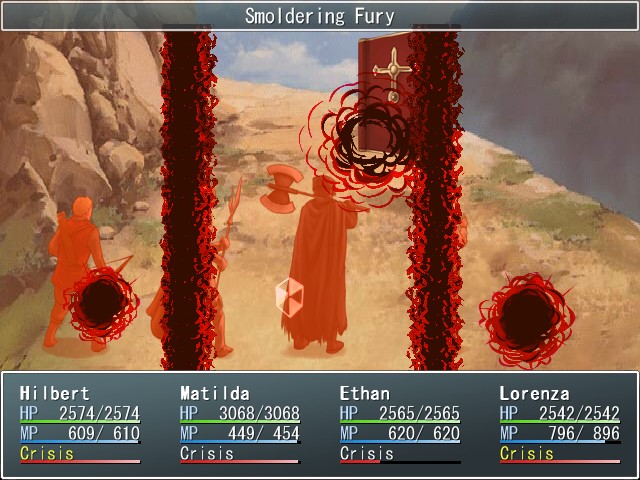
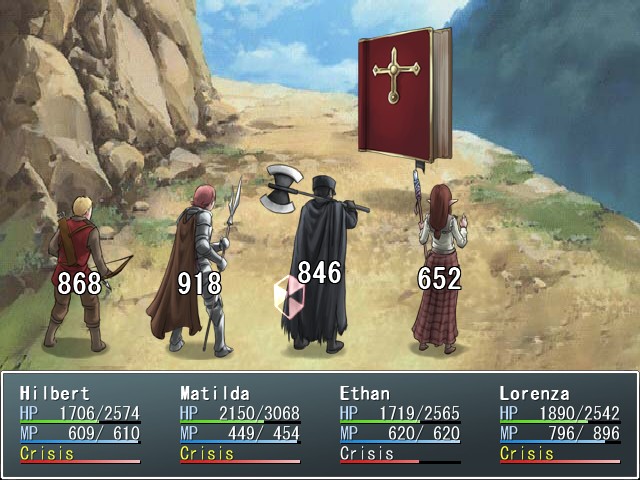
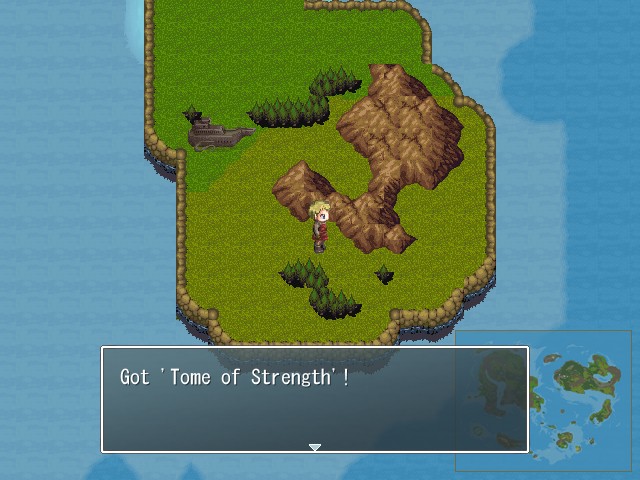
And lastly we have the Tome of Strength, found on a small island southeast of the Republic. Its unique attack is Smoldering Fury, which is a bit oddly named since it inflicts enfeeble.
Music:

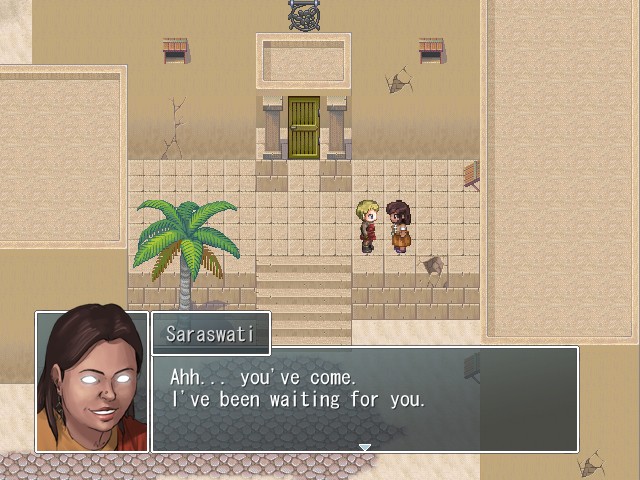
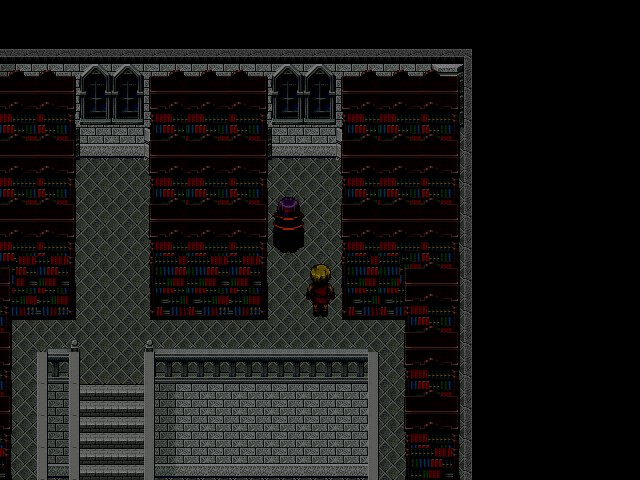
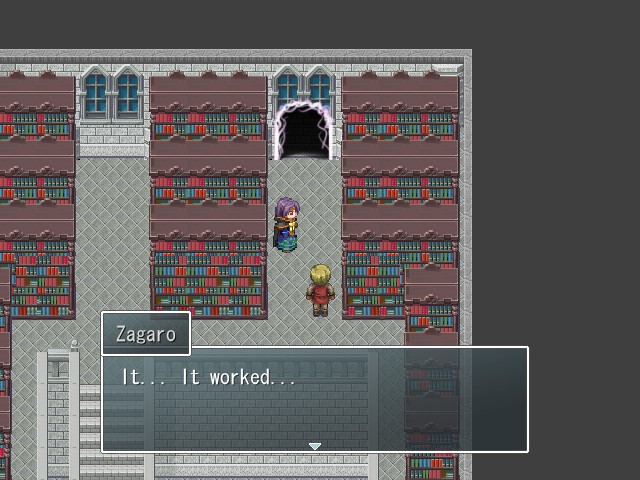
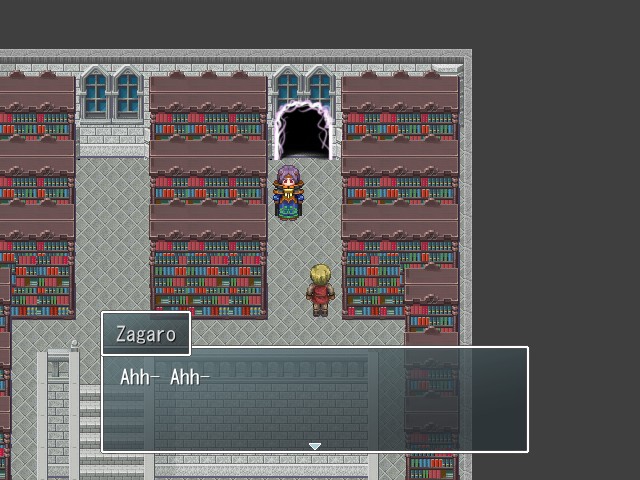
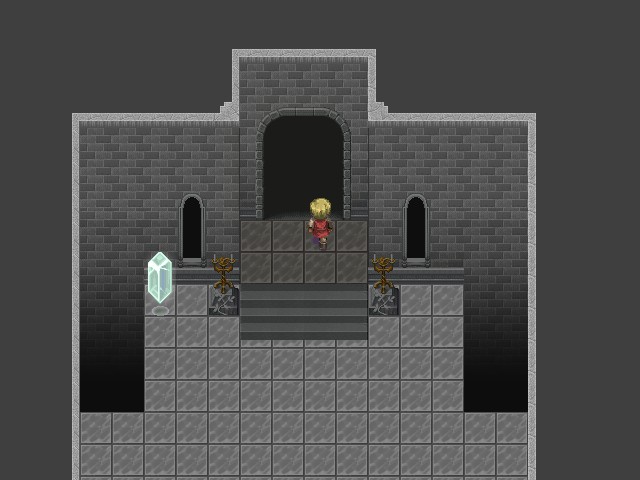
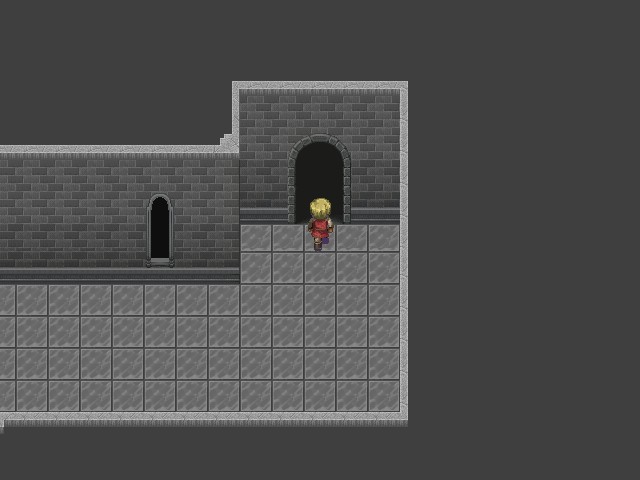
Once we have all five tomes, it's time to head back to Condor and see Zagaro.
 You... You found them all! Amazing! I-I'm going to study them right away! Please hold on!
Fade to black...
 If I recite the words in order, the portal should open up. Stand back.
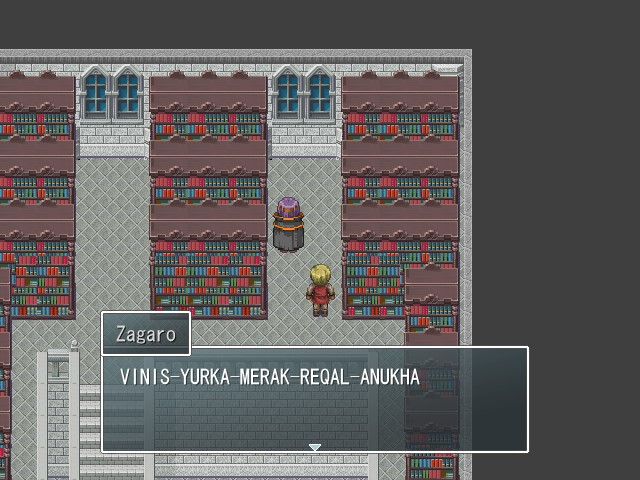
So, what, each of those tomes contained nothing but a five-letter word? Why weren't they just the five magical scrolls then?
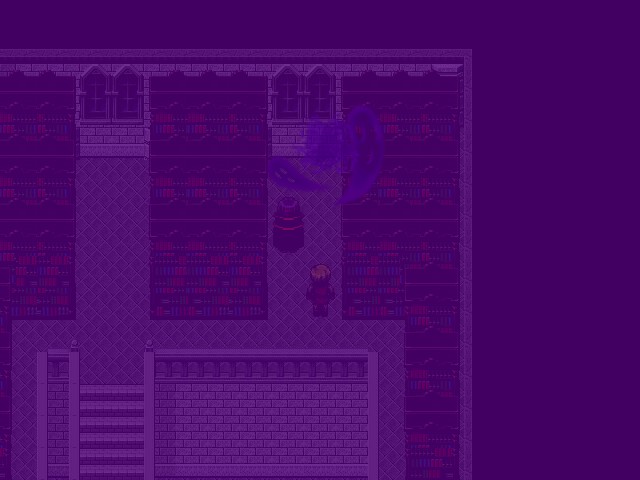
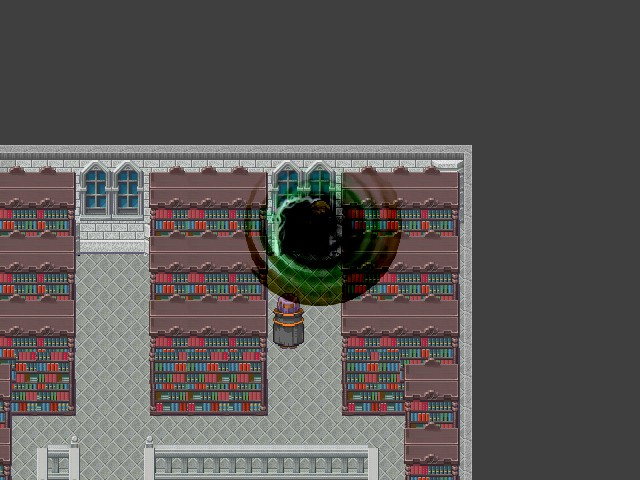
 But... there's no telling if that portal will really lead to the tomb. I'll step through it.
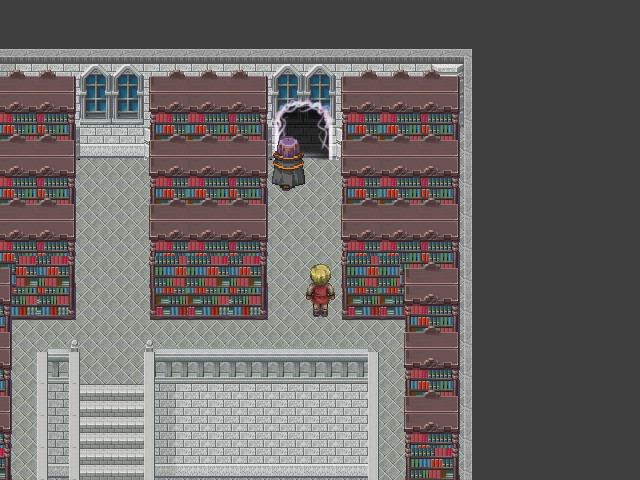
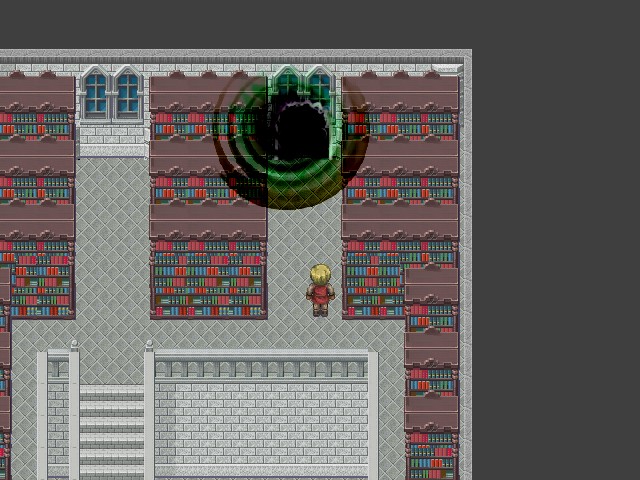
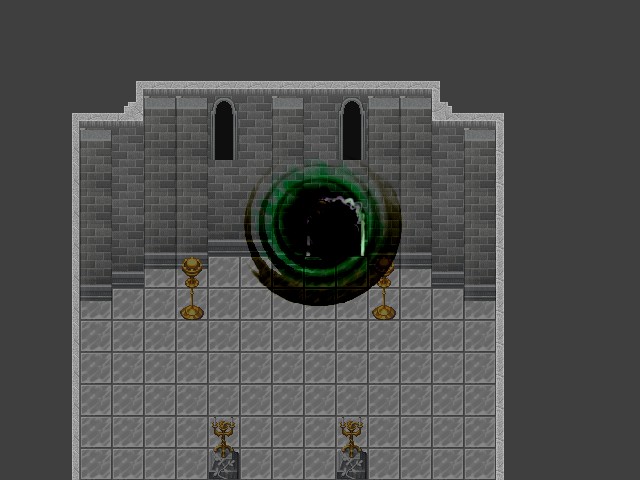
Zagaro steps through the portal, and nothing happens for a few seconds, but then...
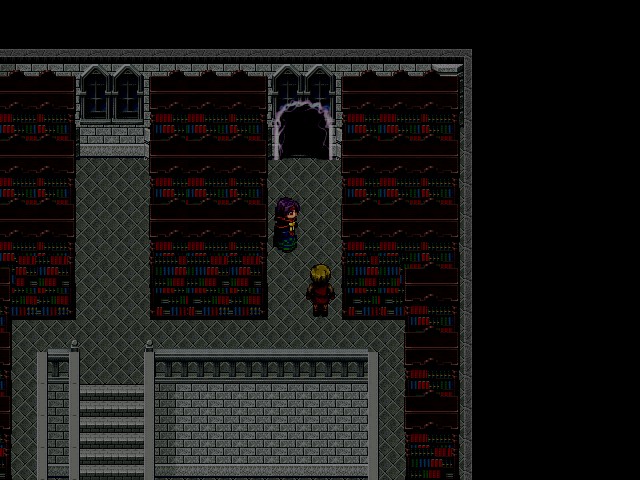
 It's worse than I expected. That place is full of monsters. I barely escaped with my life. Forget it. That place is not worth dying for. I'm going back to see if there's any other solution. If you want to try, be my guest. But I'm warning you, it's dangerous beyond that portal.
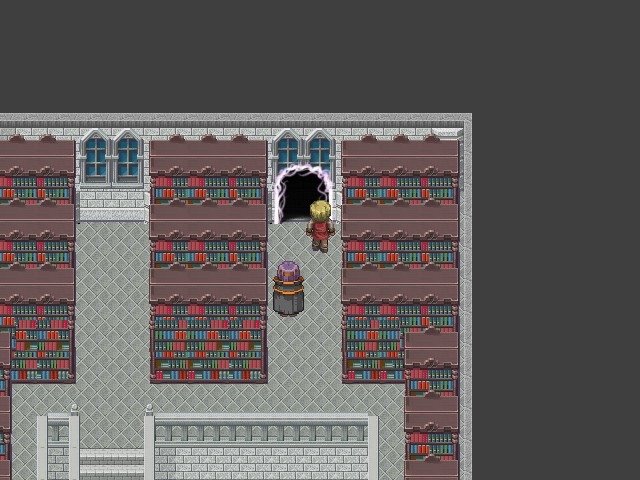
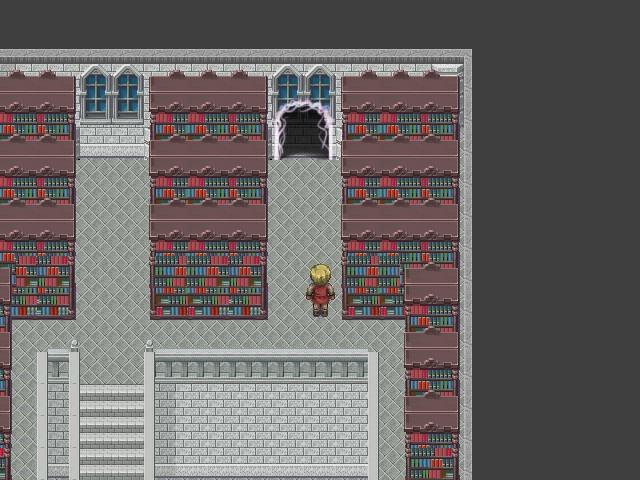
Yeah, whatever.
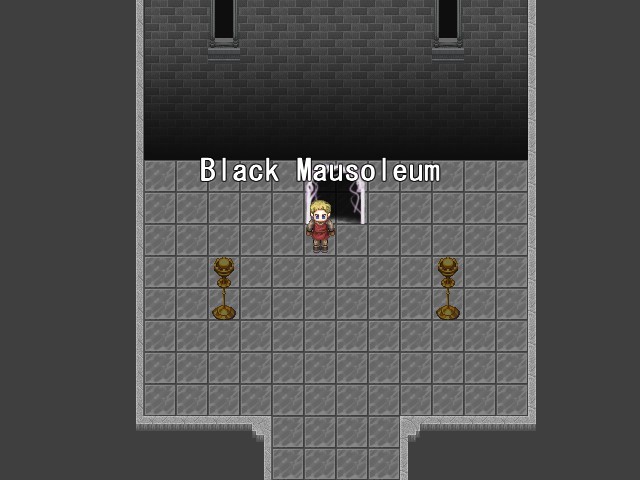
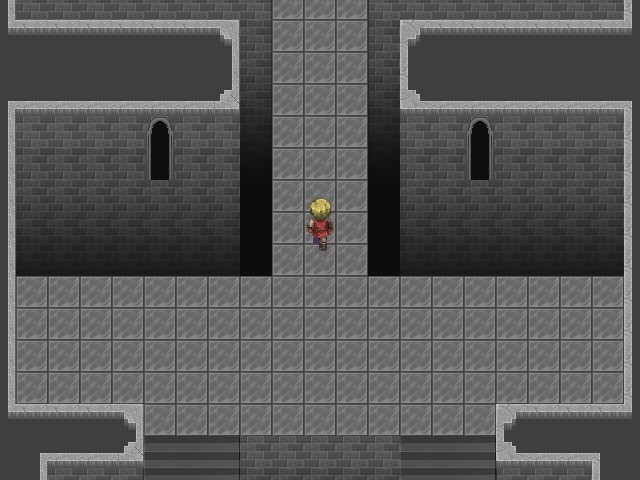
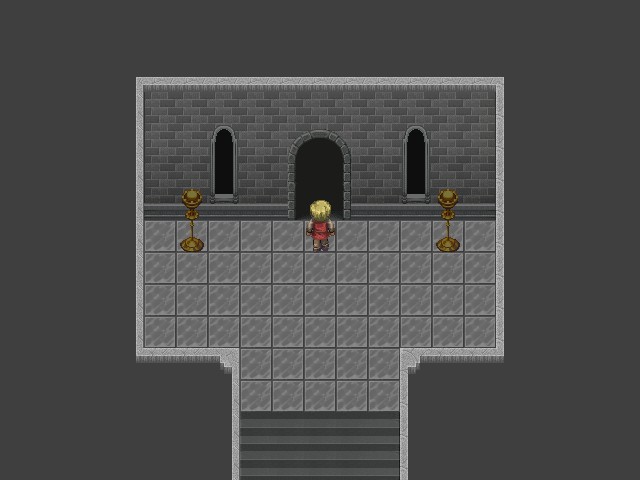
Music:

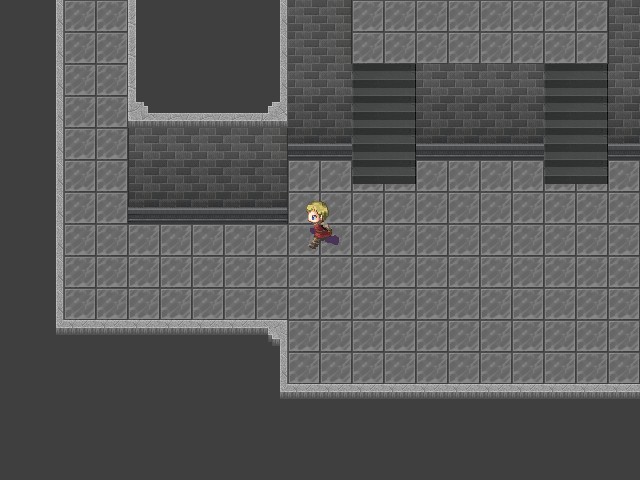
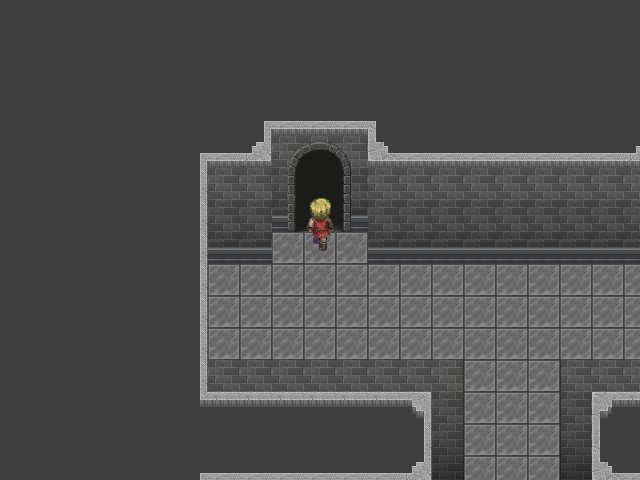
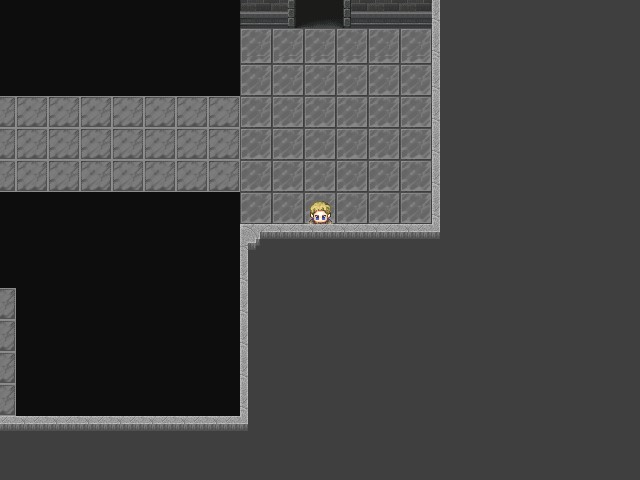
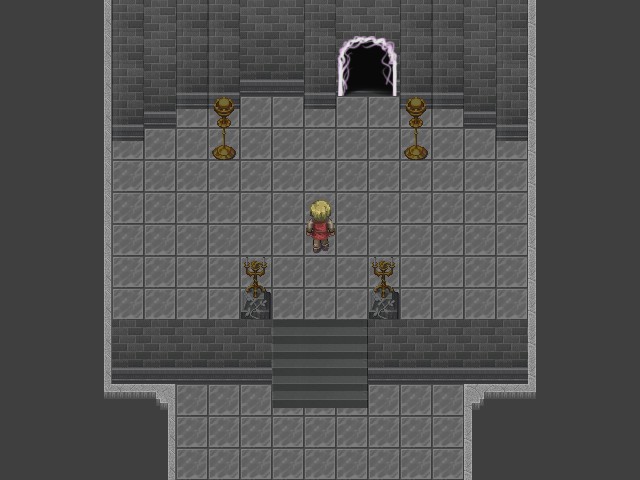
Welcome to the Black Mausoleum. This is Last Scenario's challenge dungeon, and it contains some of the most difficult enemies in the game. Although it can be opened at any point following the capture of Condor, this place is pretty clearly meant to be completed after we've done almost all of the post-game content. The gear and spellcards we've been finding elsewhere will be a huge help in this area.


The Mausoleum doesn't have any real gimmicks; it's just lengthy and designed to wear your party down over a period of time.
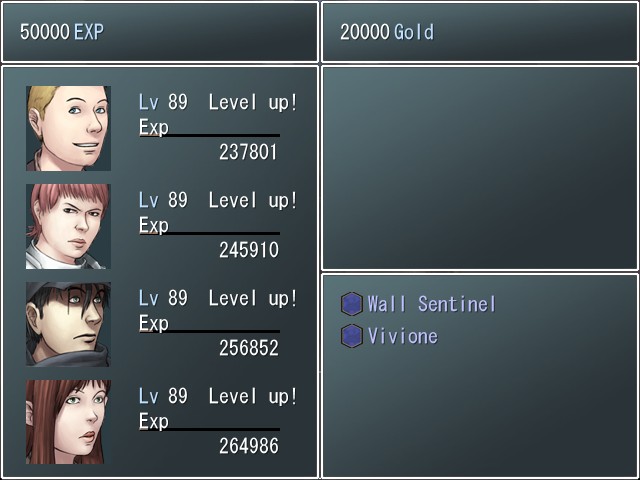
That said, I do have to make an admission: we're not going to be getting horribly murdered here, because we're actually somewhat overleveled, at least for the first part of this dungeon. Most of the enemies in this area have levels in the high 70s, but we're now level 85. That's not because I grinded, either--it's just a natural consequence of some of the rest of the post-game content that I'll be showing off at the end of this update. At this point we should be able to handle anything the Mausoleum throws at us.
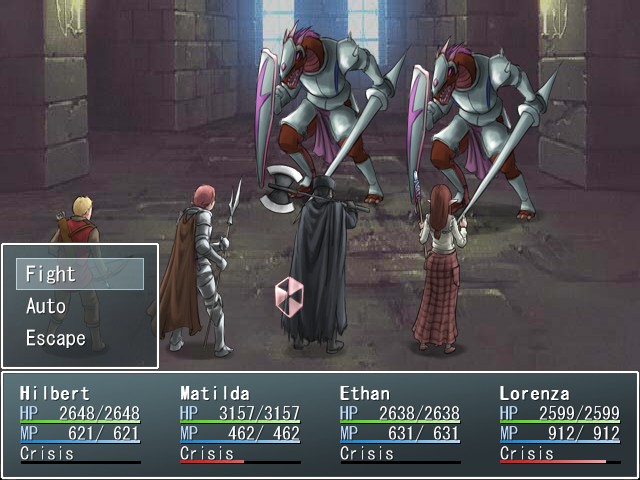
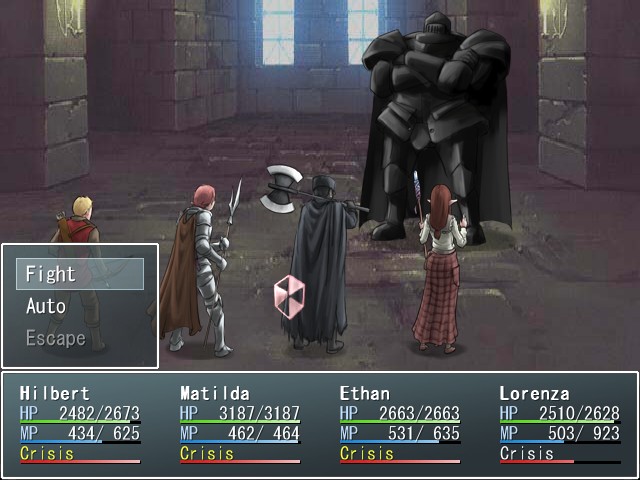
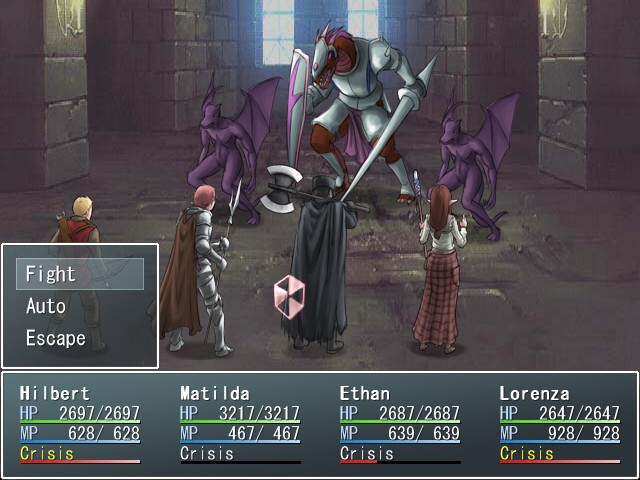
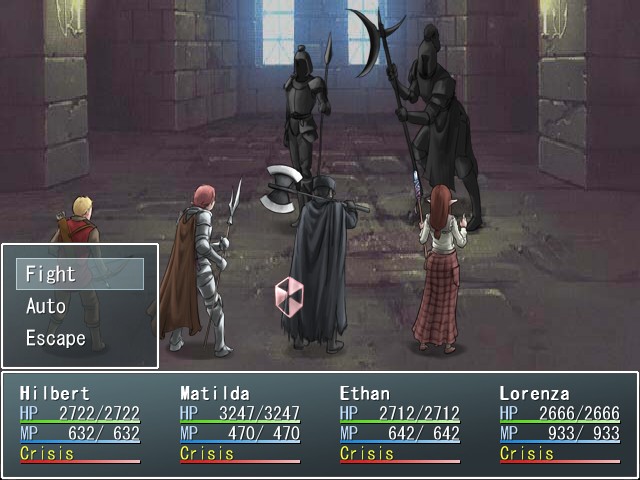
Anyway, our first fight here is against a pair of Red Dracoknights. Like their predecessors, Red Dracoknights have several powerful attacks: their regular attack deals about 1200 damage, they can use Scorching Heat to hit a single character for 900 fire damage, and they can use Shield Rush to deal around 900 damage to the entire party. But though that power is comparable to some of the enemies in the Entalar seal, the Red Dracoknights and other Black Mausoleum enemies have the major disadvantage of usually showing up alone or in pairs. With only two of them, we're capable of handling their damage.

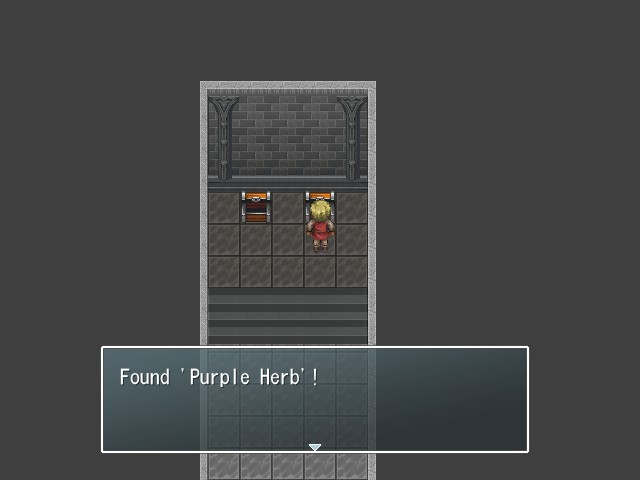
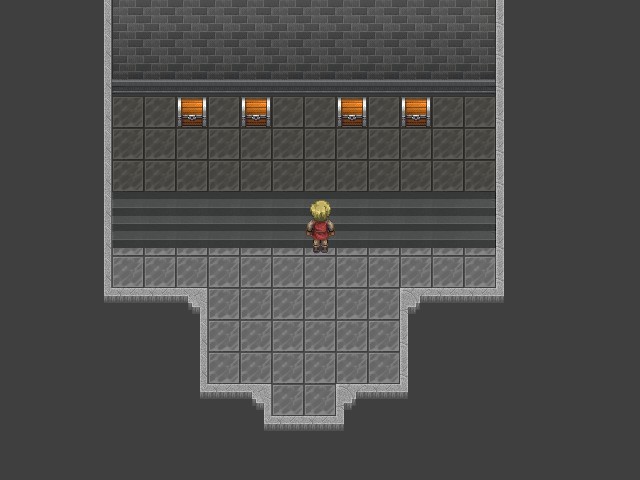
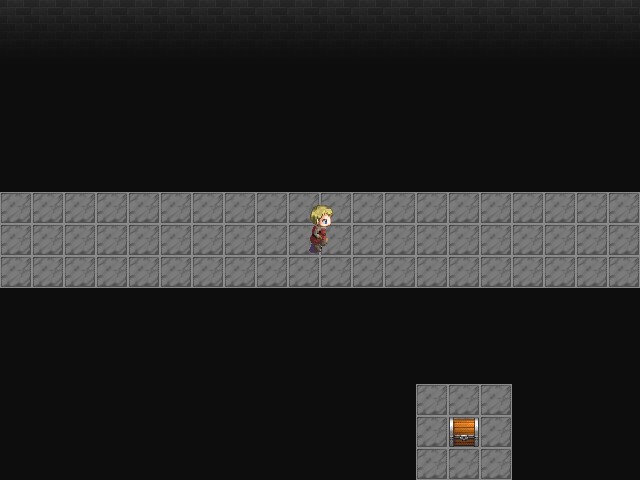
One of the other major themes of the Black Mausoleum is treasure. There is a lot of it here, and not surprisingly, it's the main reason why you'd want to visit.
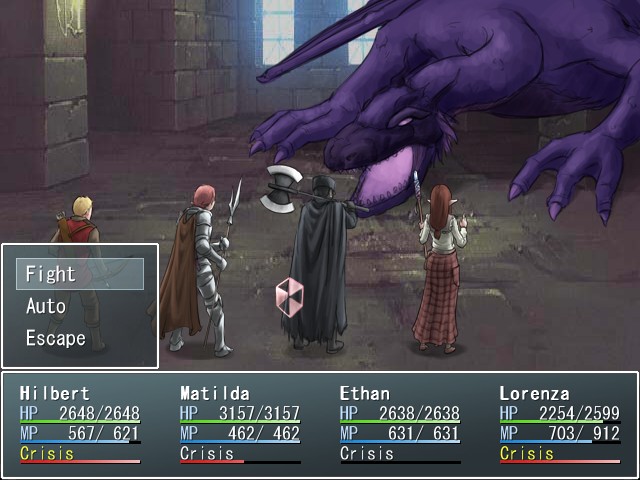
Once we loot the room, we're accosted by a Black Dragon on the way back to the entrance. Black Dragons are pretty similar to Red Dracoknights, to be honest: their regular attack deals about 1200 damage, they can use Dragon Claw to hit a single character for about 2000 damage, and they have Dark Breath to deal around 950 damage to the entire party. Their HP is quite high, but they only ever show up alone, so like most things in the post-game content, they're easily handled with Fury spam.

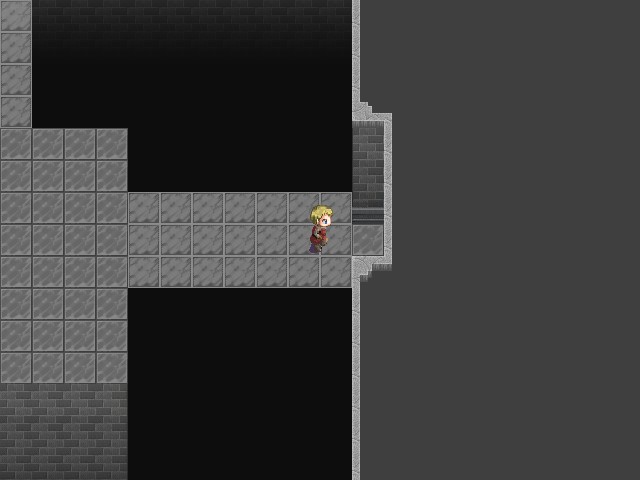
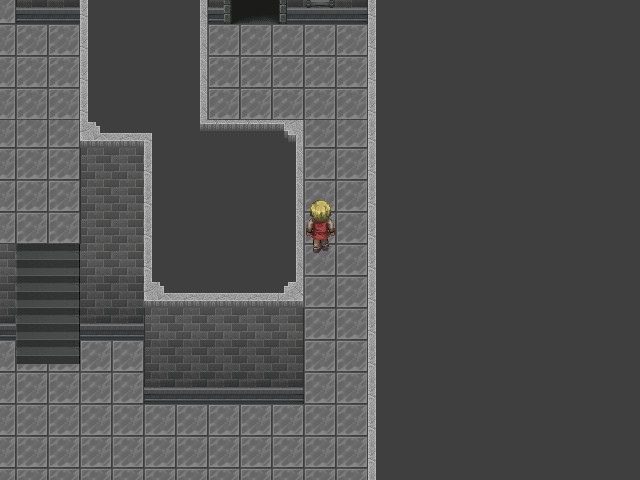
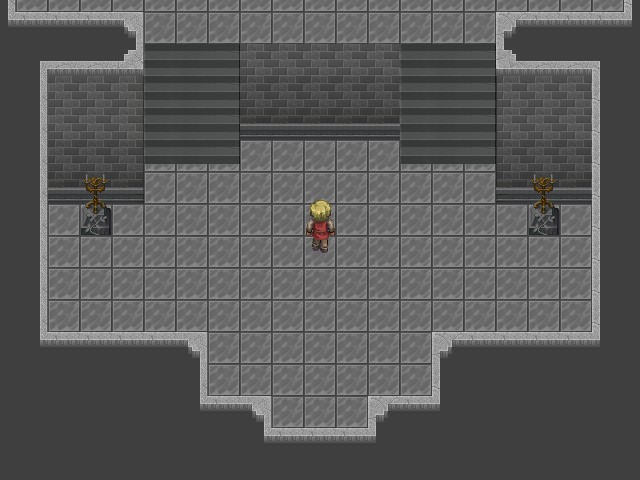
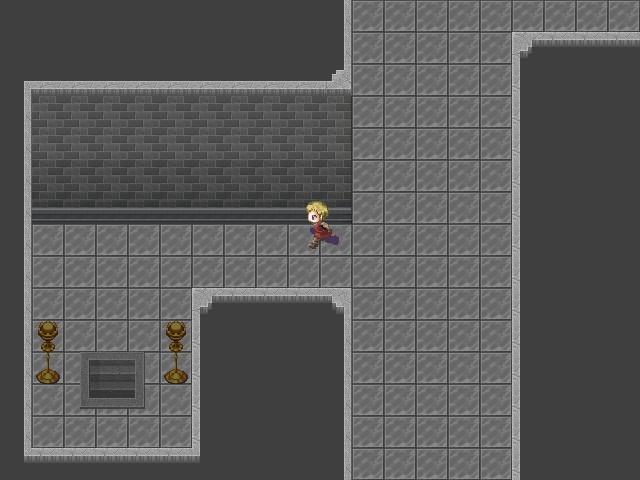
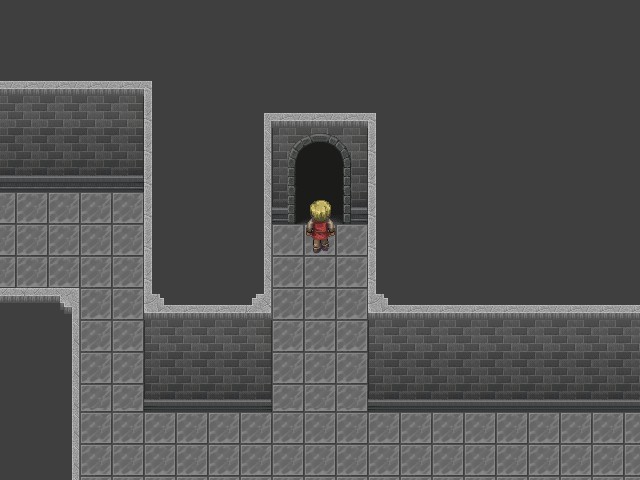
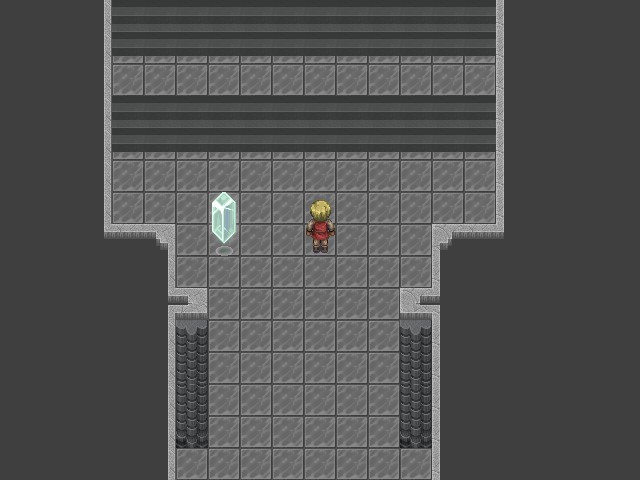
It's not long before we come across the first major obstacle of the dungeon. The way forward is blocked by two sets of pillars, and in order to remove them, we'll need to do something in the areas below the two nearby staircases. We'll be checking out the western area first.

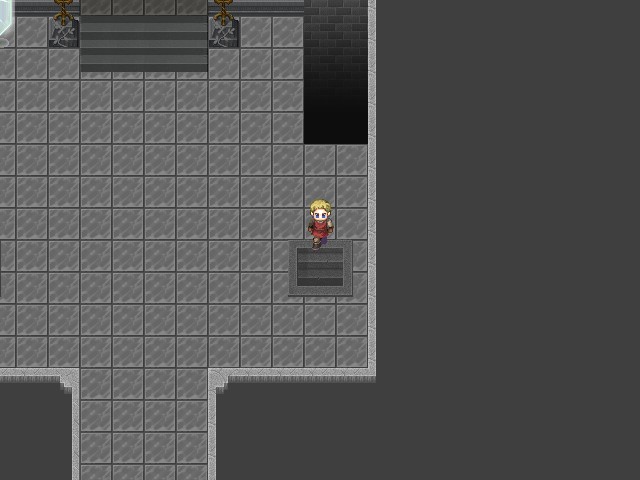
Down the left staircase we find a fork, and the western path leads to a room containing a whole bunch of Capsules. From left to right, the chests contain Life, Mind, Strength, and Intelligence Capsules respectively.
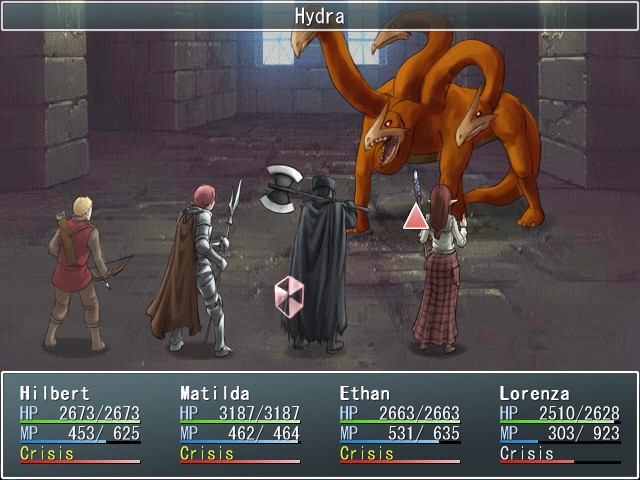
The eastern path is quite lengthy, and as we're following it we come across another new enemy, the Hydra. Hydras only have one attack, the aptly titled Hydra Attack. It deals around 1200 damage, but it's also capable of hitting anywhere from one to three times. They're not too much trouble though.

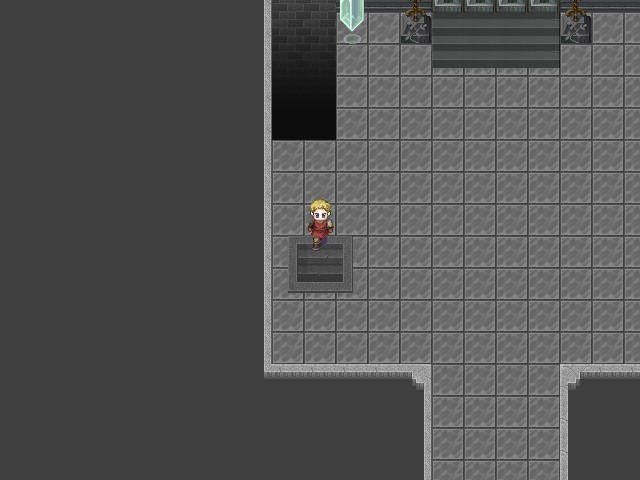
There's a side path in the next room, and it's one that you should definitely head down, as it contains another Warding Charm. If you've been playing along, this is the fourth one we've seen, meaning that we now have complete status immunity for our entire party.

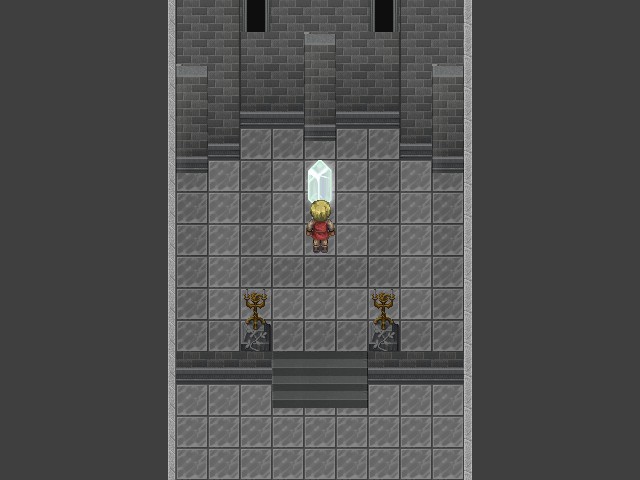
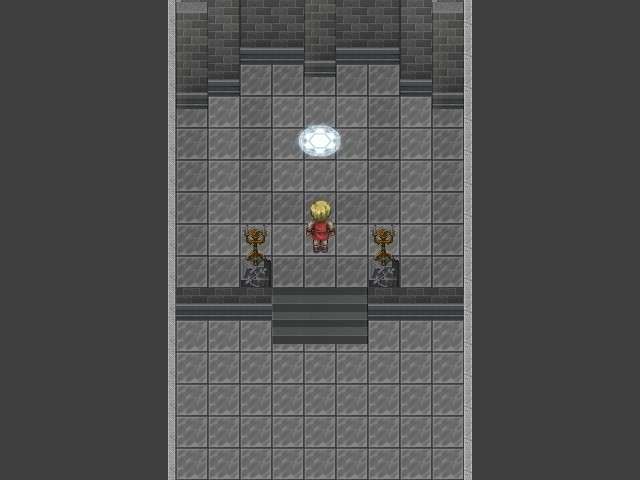
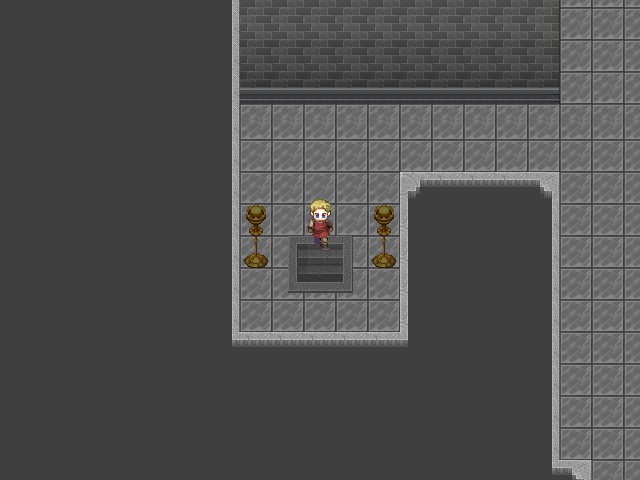
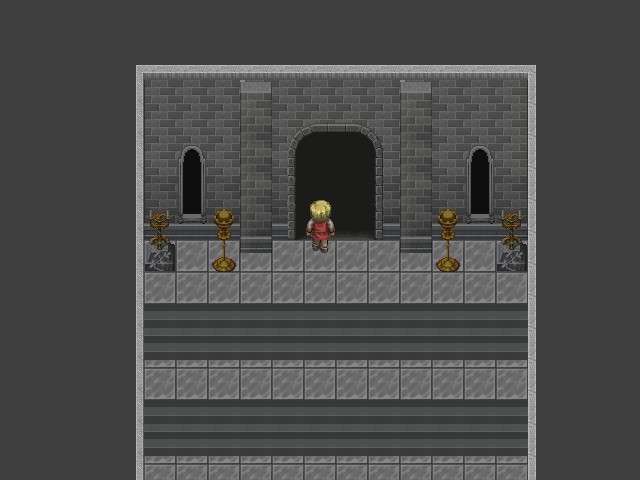
The path finally ends with a magic symbol. When we step on it...

BOSS FIGHT: Black Rook
Music:

Despite his imposing stature, the Black Rook is more akin to a tough regular enemy than a real boss. I'd say "miniboss" is the best way to describe him.
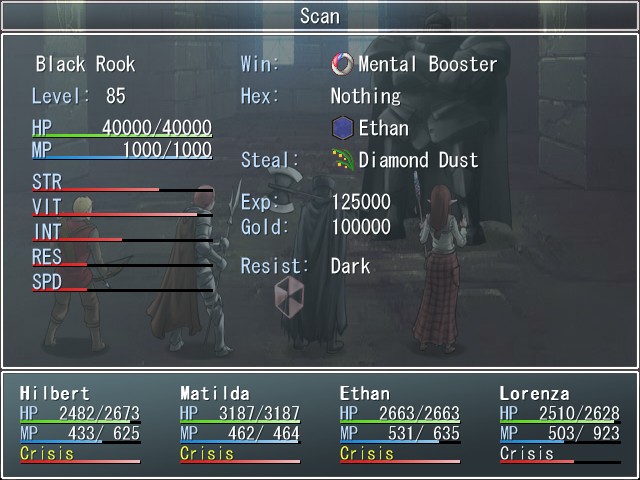
The main reason I say that is because, at least as far as post-game bosses go, his HP is quite low, only 5000 higher than the Black Dragons we've seen as normal enemies. Still, his VIT is immense, so this fight will still take awhile.
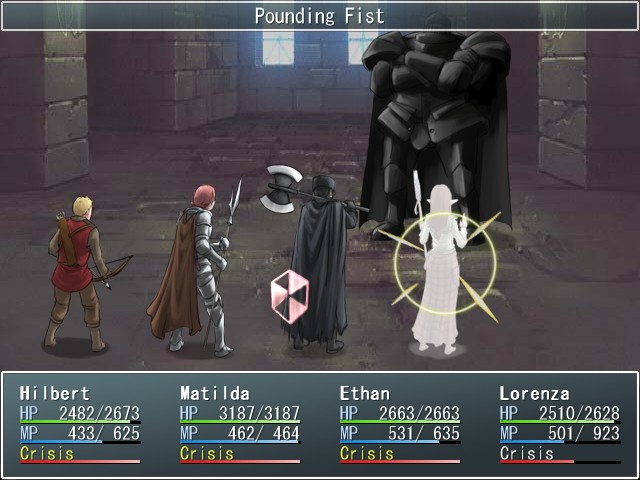
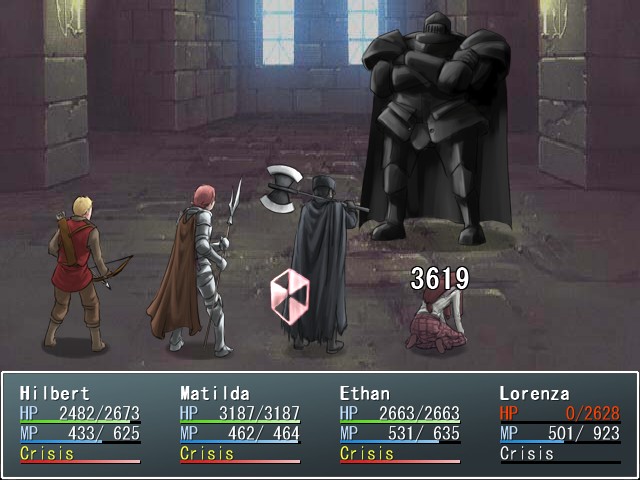
The Rook kicks off the fight with Pounding Fist, an attack with strength similar to Erdgeist's Massive Blow from way back when. This technique will immediately one-shot anyone without a P-Shield if it lands, but fortunately it's rather inaccurate.
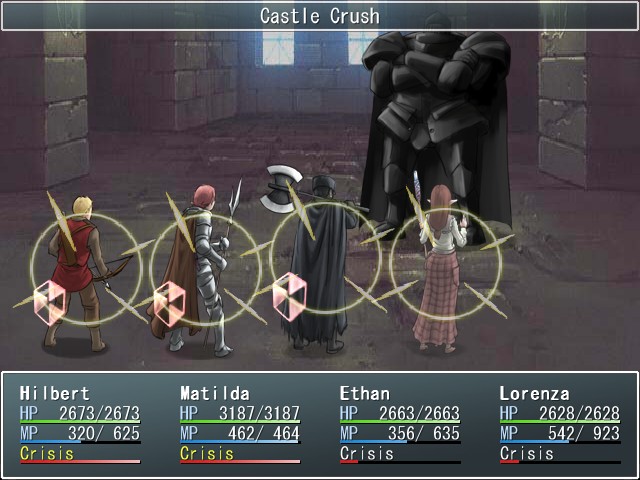

The same goes for most of the Rook's attacks, to be honest--the guy has serious trouble hitting our party. He follows up with Castle Crush, but everyone besides Lorenza evades it.
Aside from that, the Rook's only other technique is Massive Attack, a decidedly non-massive attack to the entire party. Even without P-Shields, this could be healed away with a single cast of Fury.
It takes a little while to burn through his HP, but he falls soon enough.
Music:

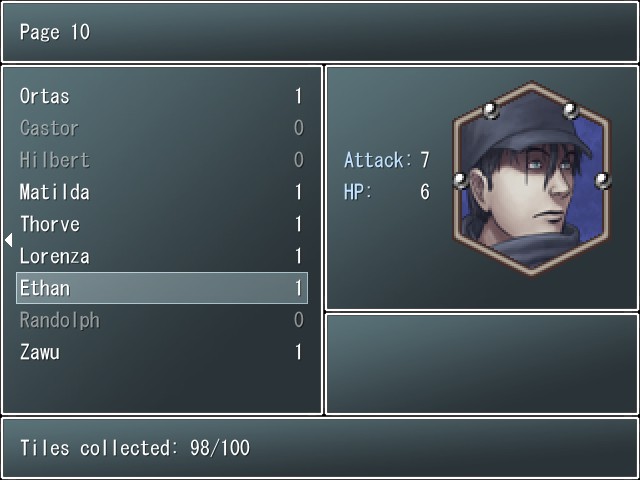
In addition to a Mental Booster that we don't need, the Rook drops the Ethan Hex tile. He trades for fifteen Dexterity Capsules.
Music:
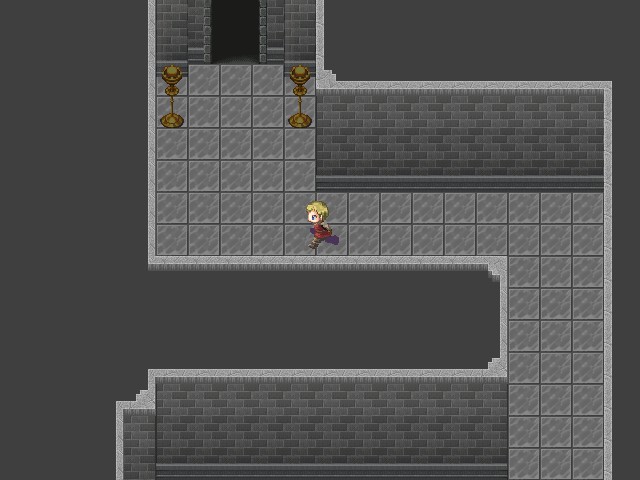
Following the battle, the magic symbol turns into a save point, and when we head back to the room with the blocked door...
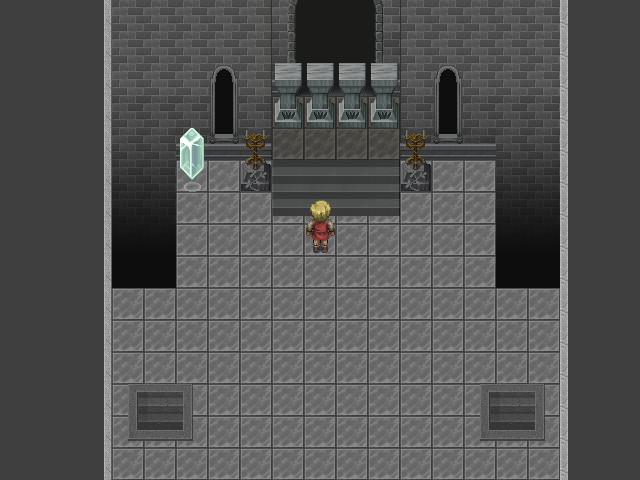
... one of the rows of pillars has vanished. Now it's time to check out the eastern staircase.
As we head downstairs we're immediately confronted by the final enemy type of this part of the dungeon, the Petriflier. Petrifliers are basically straight upgrades on the Gargoyles from Raka Mural: they can attack normally for 1000 damage, use Stone Claws to inflict 750 damage and petrification, and can also cast Harden to raise their own defenses. They're not too much trouble.
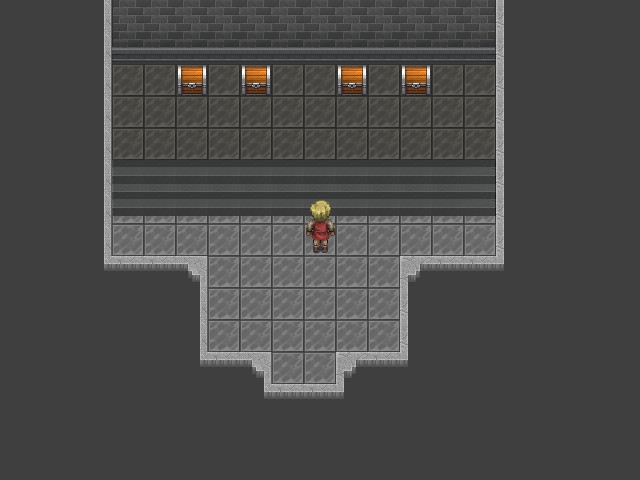
The eastern area is very similar to the western one. It also begins with a fork, one path of which leads to a room full of Capsules. This one contains Vitality, Resistance, Speed, and Dexterity.
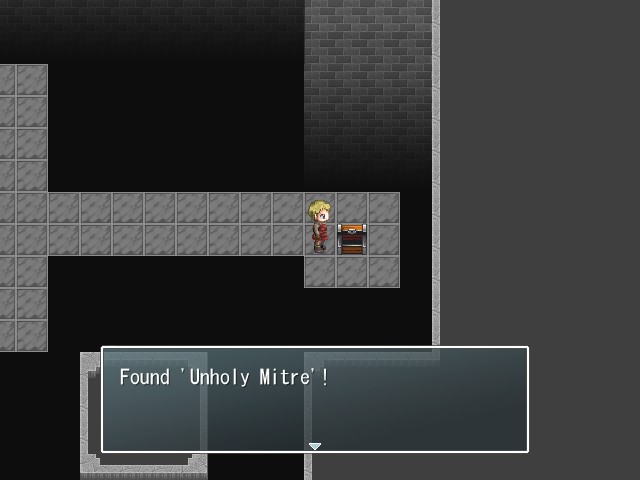
And again, the other direction leads to a lengthy path with a treasure along the way, though this one is much less useful.
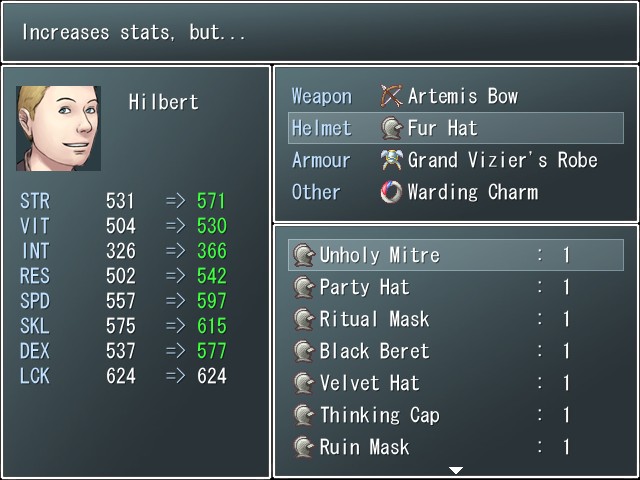
The Unholy Miter is a helmet that increases all stats except LCK by 40, but as you can see from the top of the screen, there's a "but." Unlike the Ruin items, the "but" isn't immediately apparent, but it's a nasty surprise when you do figure it out: while wearing the Miter, all healing spells cast on the character will damage them instead. So yeah, we won't be wearing this.
The lengthy path once again ends in a magic symbol. I wonder what could possibly happen this time?
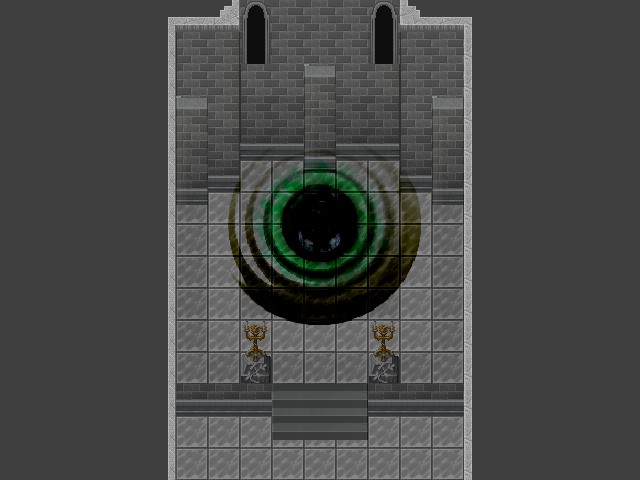
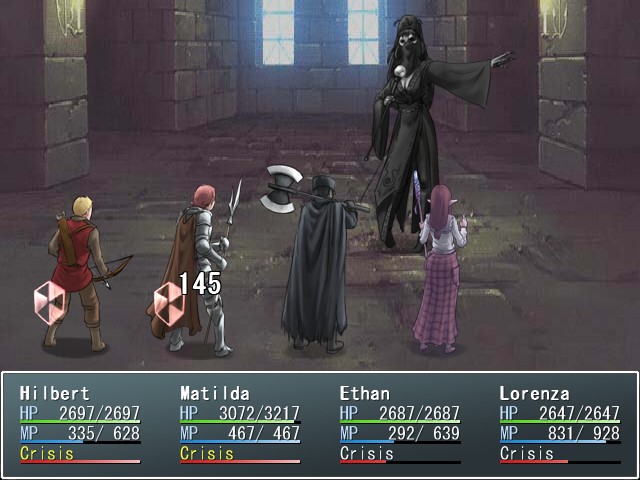
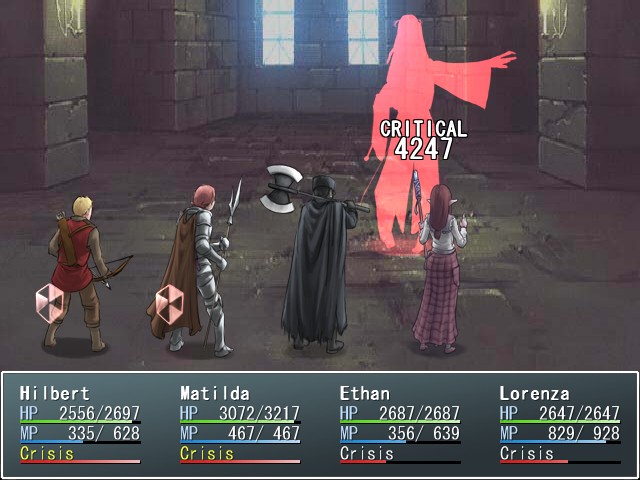
BOSS FIGHT: Black Queen
Music:
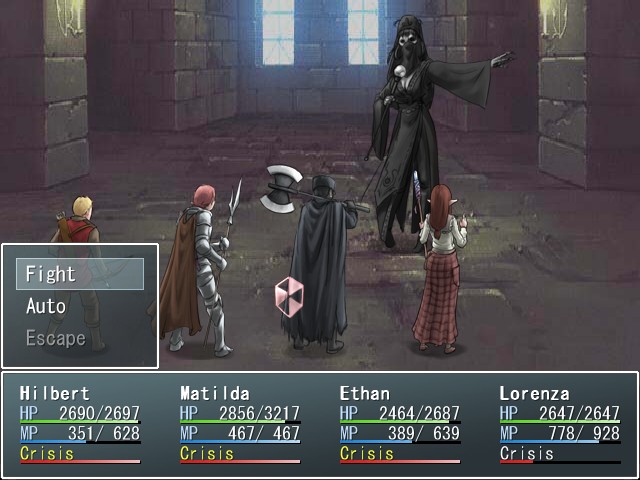
Starting to sense a theme here?
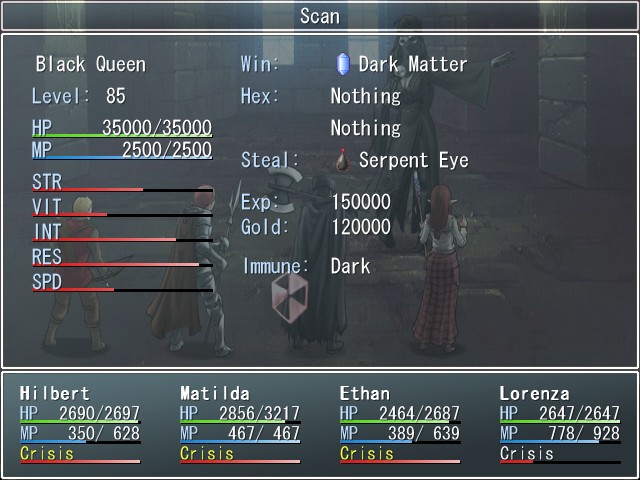
The Black Queen is another "miniboss" of sorts, and is essentially the opposite of the Rook we fought on the other path. Where he was focused on massive STR and VIT, the Queen has very high INT and RES.
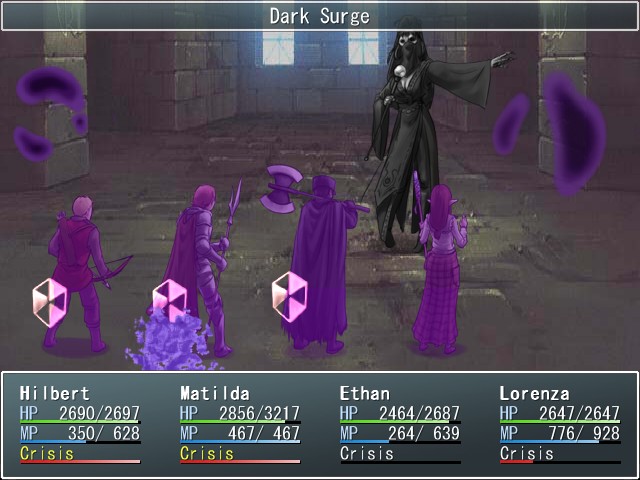
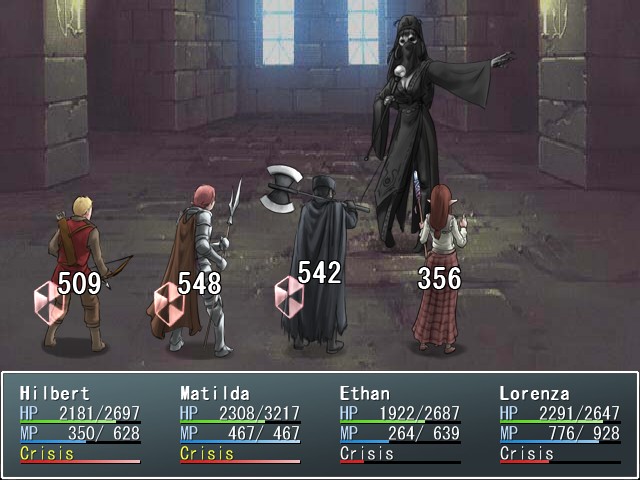
But much like the Rook, the Black Queen's techniques don't take full advantage of her high attack stat. She kicks off the fight with Dark Surge, dealing moderate damage to the party, but nothing huge.
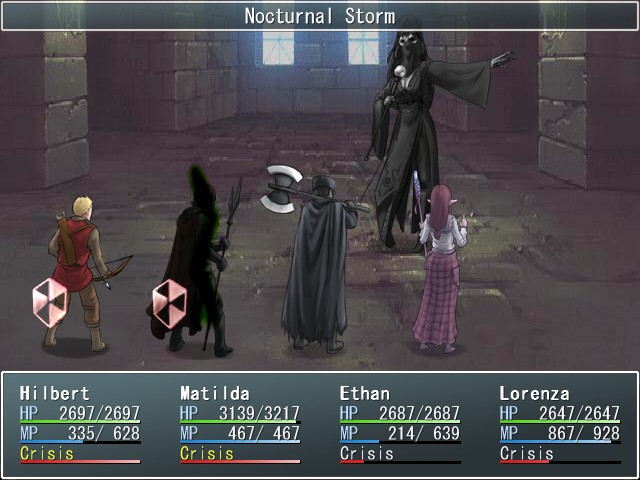
She also has a combo attack in Nocturnal Storm, which hits six times. Its damage isn't anywhere near high enough to be a threat though.
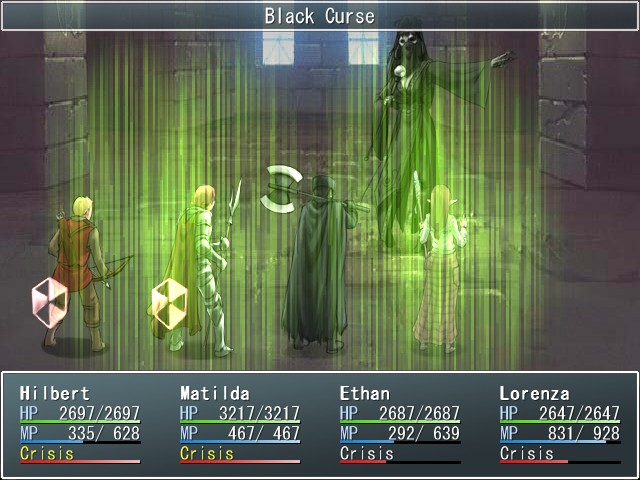
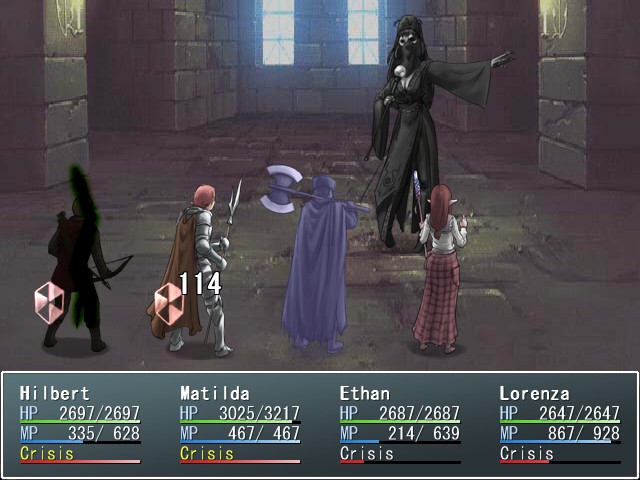
And lastly, she has Black Curse, which is just pitiful. I'm going to guess that this inflicts a whole bunch of statuses to make up for its atrocious damage. Too bad we're immune.
Next please.
Music:

Our reward for the battle is the Dark Matter, Thorve's ultimate weapon. Eh.
Music:
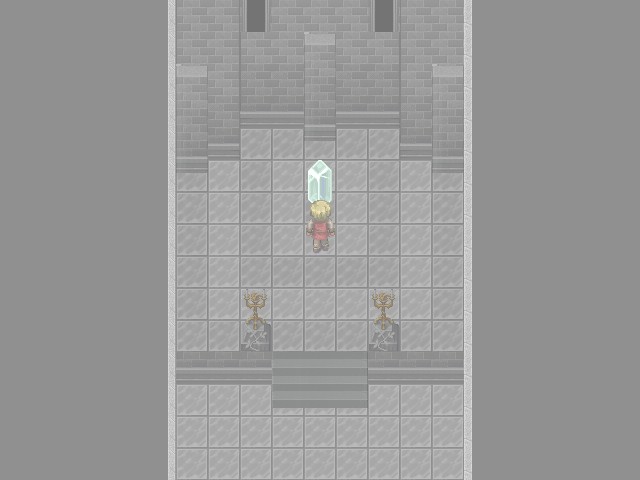
Like the Rook, the Black Queen turns into a save point following the battle.
And with both minibosses dead, we can now continue on.
Although there's no obvious change when we pass through the archway, we have now officially entered "part 2" of the dungeon. From here on out we'll be facing an entirely new set of enemies.
And here's a few of them now: a Black Pawn on the left and a Black Knight on the right. Pawns only have a regular attack for about 1200 damage, but they're faster than everyone except Hilbert and, although this one didn't, usually show up in groups. Black Knights are slower but stronger: their regular attack deals around 2000 damage, and they can also use Dual Strike to launch a two-hit combo for 1400 damage per hit. These guys can actually be a credible threat, but they're beatable.
Black Pawns also occasionally drop the Vivione Hex tile, and one of them is kind enough to hand one to us. Only one tile left.
The second half of the dungeon begins with another fork, but this time the paths aren't entirely divergent. This side staircase loops back around to the right-side door.
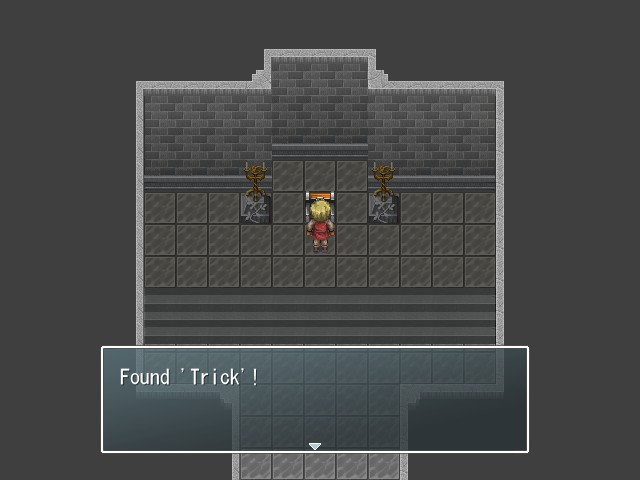
But it's still worthwhile to take a look down that path, because along the way we find... uhhh...
 Trick (1MP): Inflicts chaos on the caster.
Crisis: Suicide (0MP): Kills the caster. Yes, you read that correctly.
Stat changes: +10% max HP, +10% max MP, +10% STR, +10% INT, +10% SPD
Yeah, this isn't a spellcard that's ever meant to be used for casting, but we want it anyway, because those stat boosts are straight-up ridiculous. Matilda will be getting this since she barely uses the cards she has equipped anyway.
As we're leaving the room we run into the other new enemy type of this area, the Black Bishop. If they actually decide to attack, Black Bishops are dangerous: their technique Dark Slash deals 1500 dark damage. The problem is that they have two other techniques that are worthless at this point in the game: Chaos and Poison, which attempt to inflict their respective statuses but otherwise do no damage. That means they waste most of their turns, which makes them rather easy to defeat.
Also, Matilda + Trick =

As mentioned previously, the path from the side staircase just leads back to the fork, so we'll be heading the other direction now.
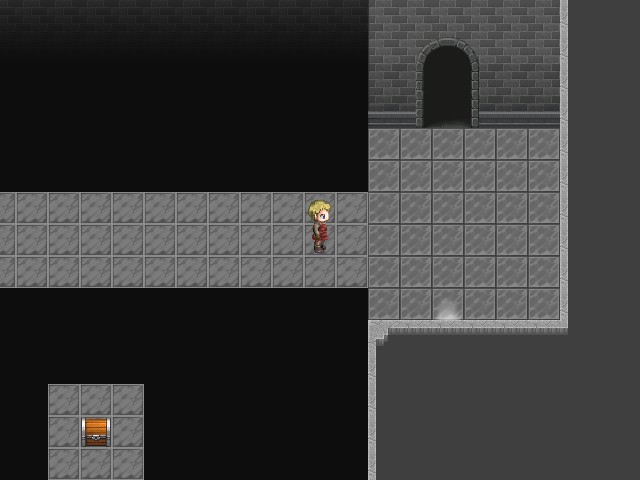
We continue on to find a very long bridge, with a glimpse of a chest at the end of it. There doesn't seem to be any way to reach it from here, though.
But as it turns out, there's a hidden path behind the bright spot on the wall.
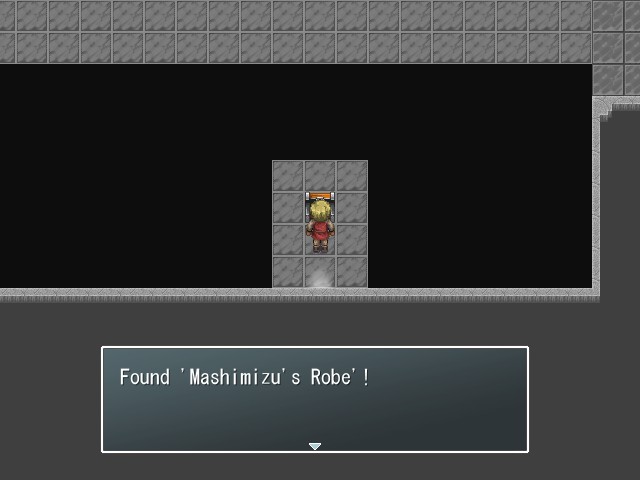
We follow the hidden path to reach the chest, and what a chest it is. Not only is Mashimizu's Robe a powerful armor, it grants its wearer a whopping +100 SPD and +50 DEX, as well as immunity to slow. And you know what? Trick isn't enough for Matilda; I think she'll be putting this on too. Even with it on she's still our slowest party member (just barely behind Lorenza), but the boost will allow her to move before most enemies.

Now then, we're just about done with this dungeon. There's only one thing left to do.
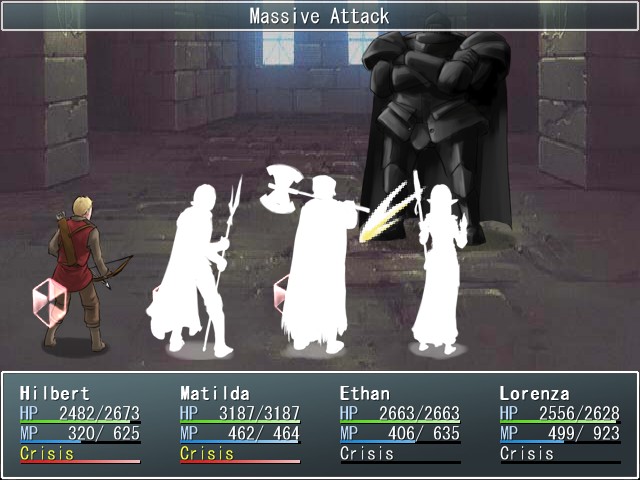
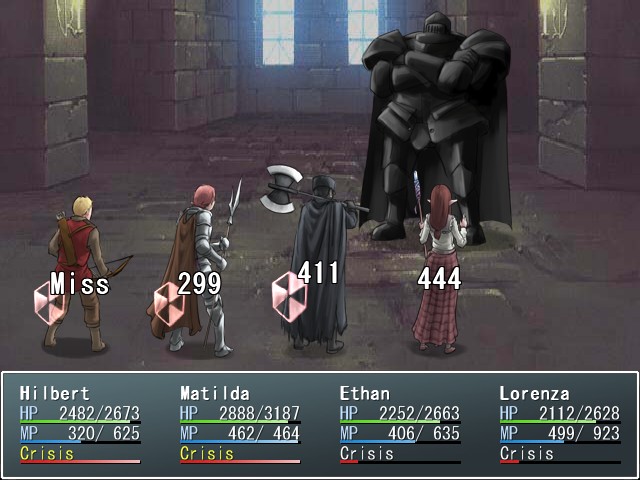
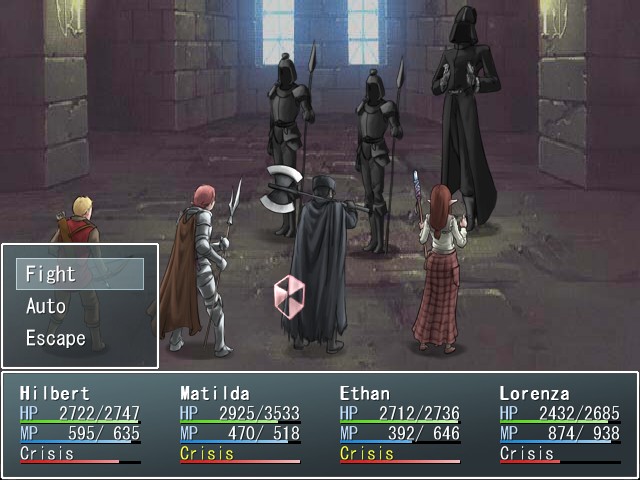
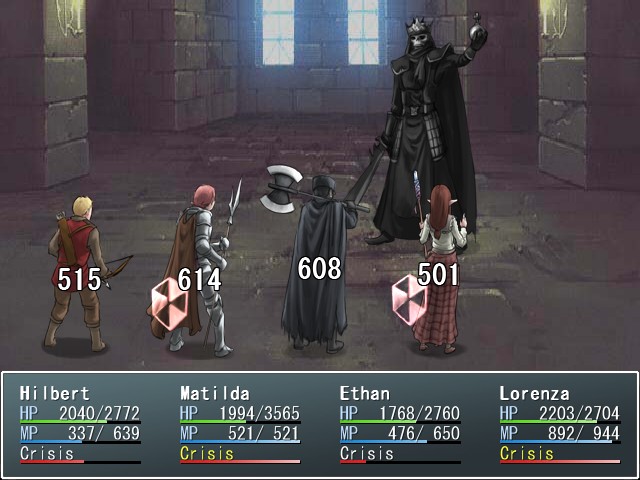
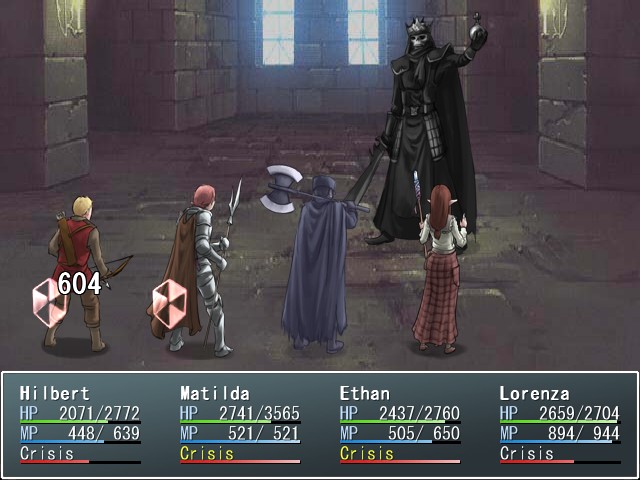
BOSS FIGHT: Black King
Music:
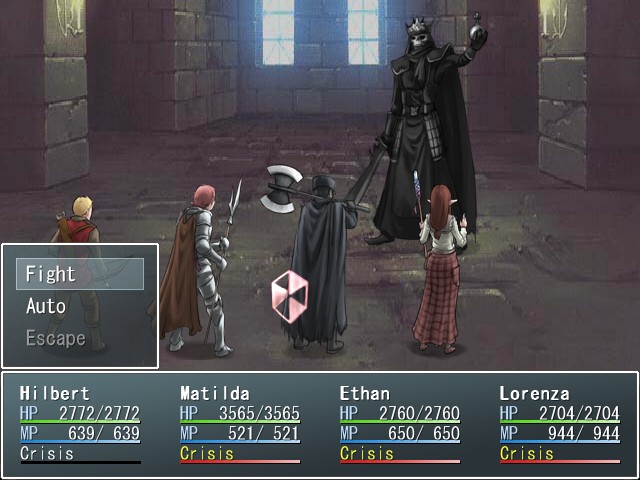
Check.

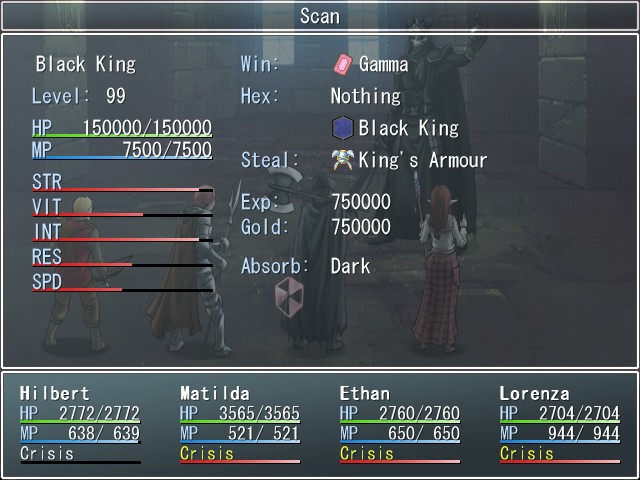
Like the Demilich fight, the Black King is another battle where full status protection is basically mandatory. Without it, you're going to be spending a lot of time trying to clean up the mess he leaves your party in, and if you're doing that, then you'll likely run out of resources before he runs out of his 150,000 HP.
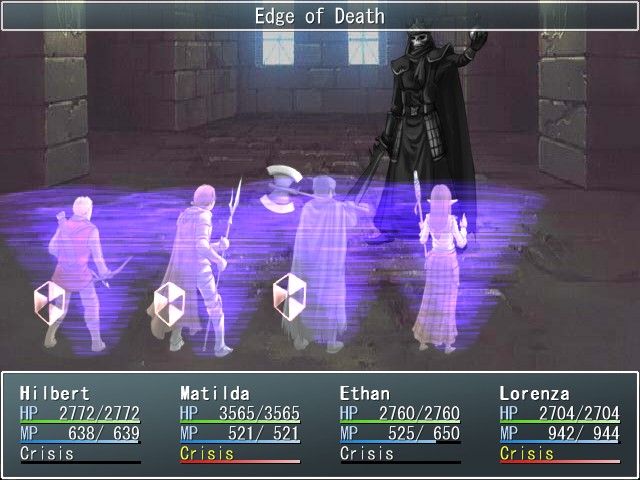

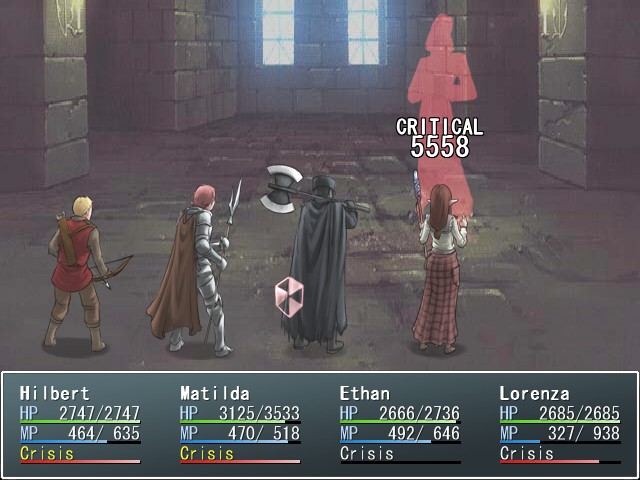
The King kicks off the fight with Edge of Death, which drops everyone's HP to 1. Because everyone's max HP is now so high, this is significantly harder to deal with than similar moves from earlier in the game. The King uses this every few turns, so it's not advisable to burn a Sacred Orb to undo it--instead, a spell like M-Renew or Contract combined with a lesser all-heal spell (Fury or M-Heal) should be enough to get everyone back to full health.
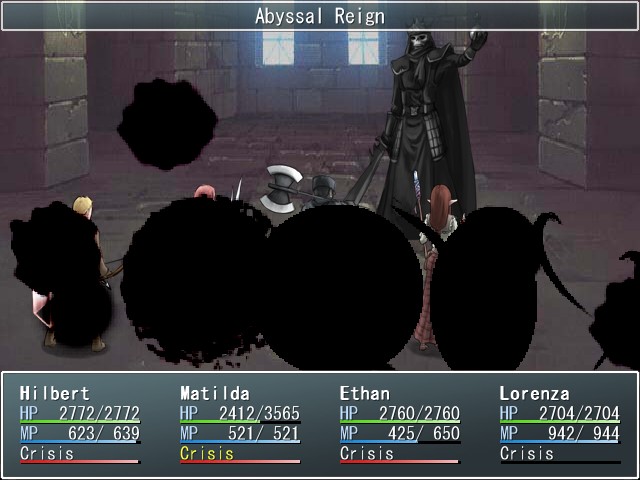
The King is also quite fond of Abyssal Reign, which inflicts a large chunk of dark damage on the party, though fortunately nothing else.
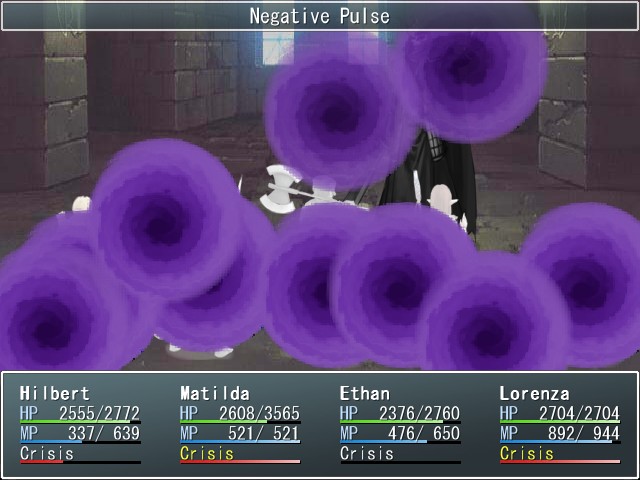
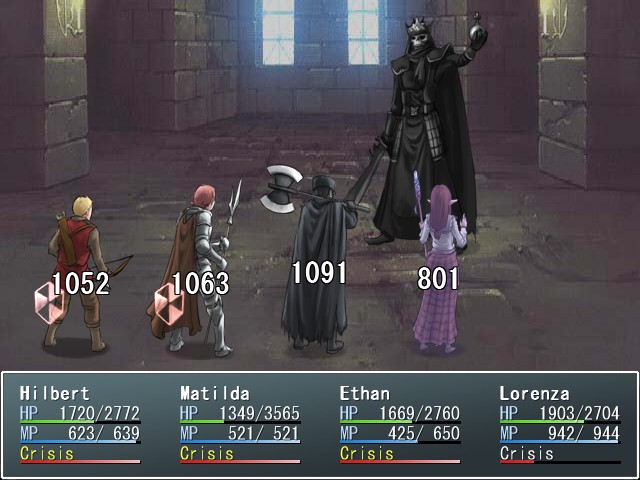
Negative Pulse is the King's most dangerous technique if you don't have proper status protection. Its damage isn't all that high, but it inflicts poison, and the King will spam the shit out of this technique so good luck trying to get rid of it. The constant damage from the poison can wear the party down quite easily.
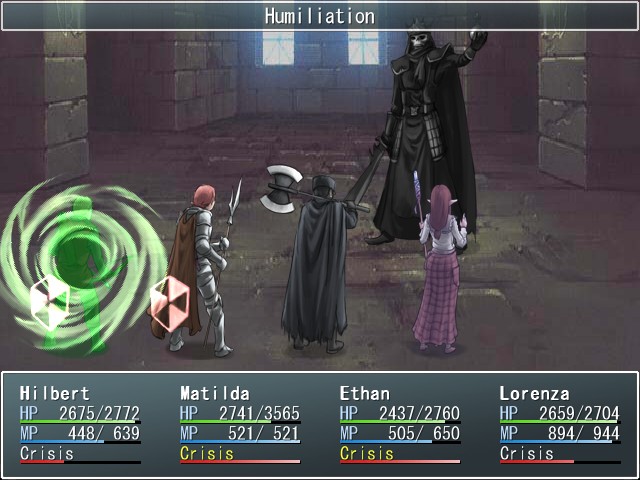
Occasionally, the Black King will give us a bit of a breather by using Humiliation. This inflicts enfeeble and blindness, but in our current state it's easily his least dangerous attack.
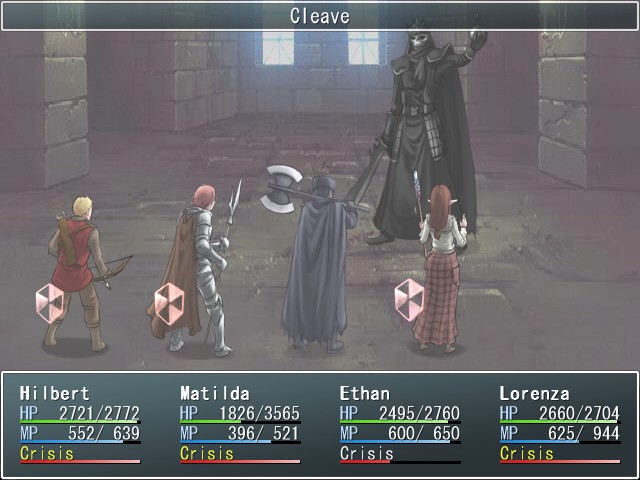
And finally, the King has Cleave, a technique quite capable of one-shotting anyone in the party if they don't have a P-Shield.
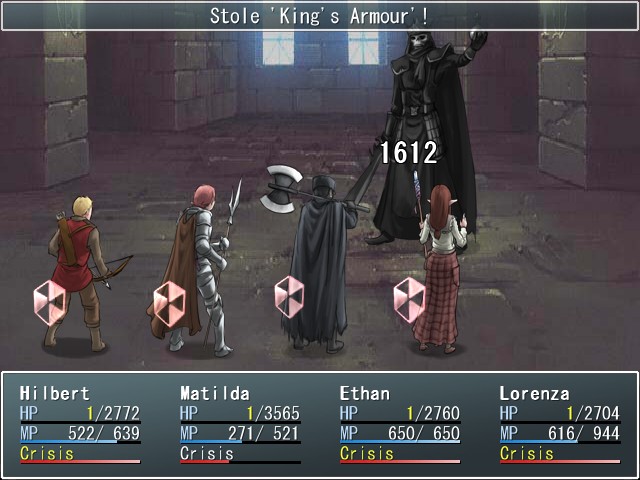
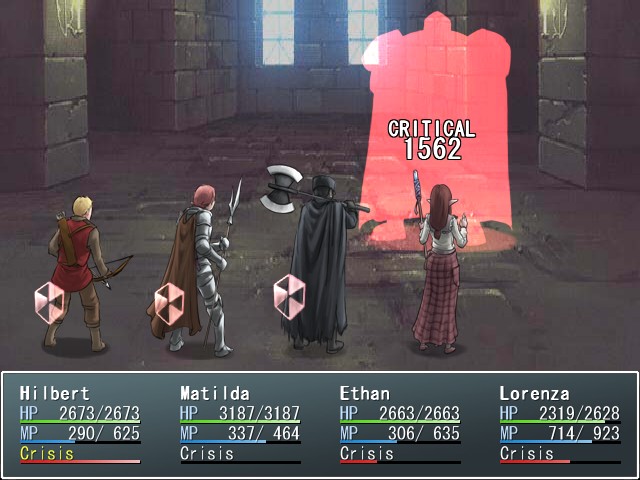
As you might expect, the Black King's steal is one you probably want to grab. It turns out I lied when I said that the Orange Saree was the only gender-locked item: the King's Armor can only be worn by men, and it provides dark absorption in addition to an enormous amount of VIT.

Really, if you're able to recover from Edge of Death, you should be able to recover from pretty much anything else the King can throw at you. Just make sure to make liberal use of Enlight, because with 150,000 HP you're going to be at this for awhile.
Music:
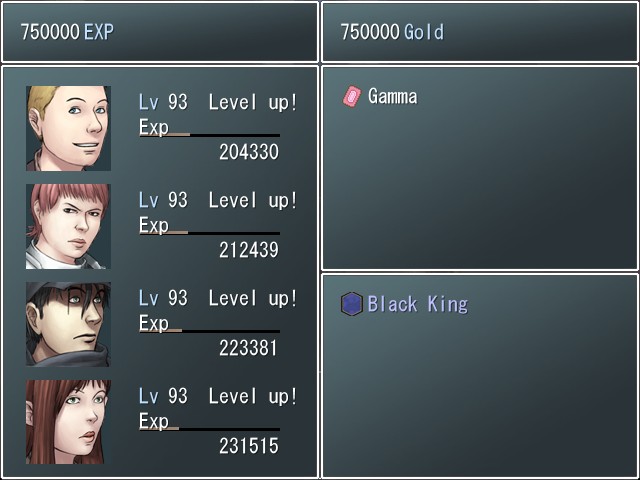
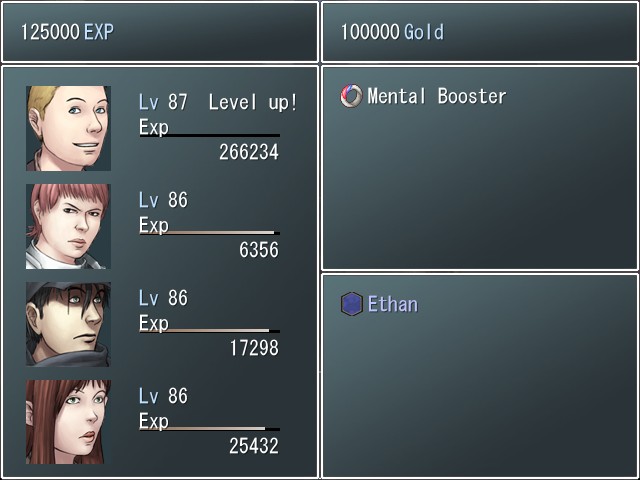
As a reward, we land ourselves the ultimate attack spellcard:
 Gamma (300MP): Deals a highly random amount of non-elemental damage to one enemy.
Crisis: Nuke (999MP): To quote the game, "causes unspeakable damage" to all enemies. And it ain't lying. 10,000 damage is just the floor for this baby.
Stat changes: -10% max HP, -5% STR, -5% VIT
I like to think that the stat penalties from Gamma come from the fact that the card itself is radioactive. In truth, though, I don't like it very much--Gamma's too inconsistent for its MP cost, and Nuke's cost makes it impossible to use with any kind of regularity. It can be fun to play around with, at least.
Music:
Once the Black King is defeated, a warp opens to take us back to the entrance. And with that, we're done with the Black Mausoleum--Zagaro doesn't have anything new to say to us once it's complete.
Continued in the next post...