Part 22: Episode XXI: The Climax
This is it, ladies and gentlemen: The final chapter of Limbo of the Lost. As it turns out it's even more of a non-chapter than Chapter 4. The entire thing (minus the final challenge) can be completed in about ten minutes give or take.
I am going to be heavily abridging this chapter since it is just mostly collecting seven of the same exact item and sticking them on item slots.
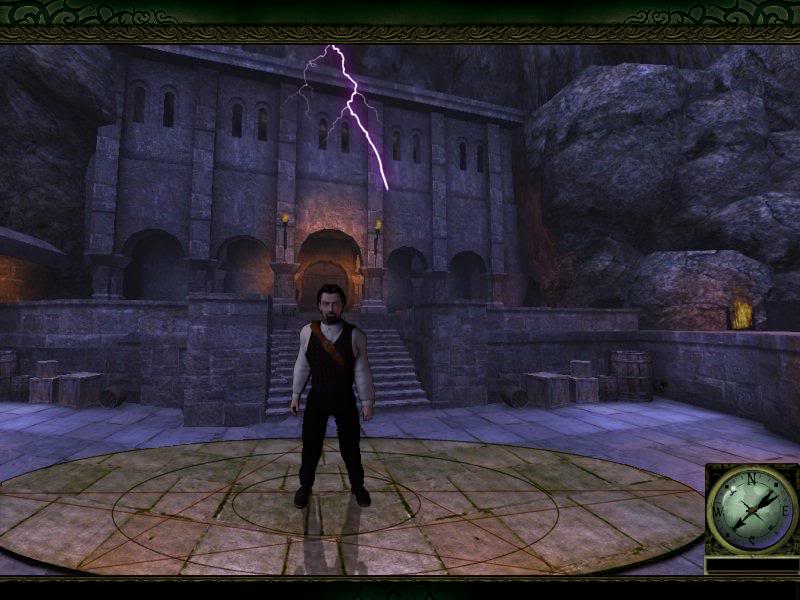
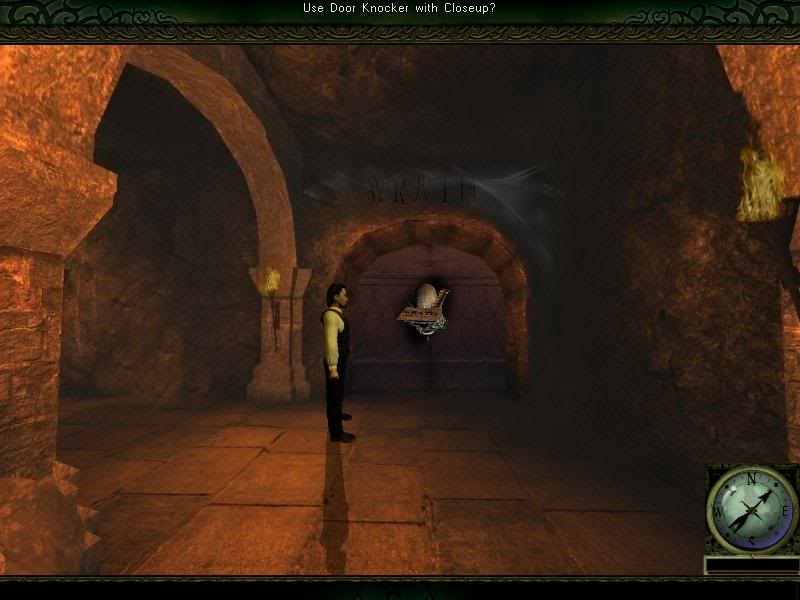
Captain Briggs begins this climactic chapter outside the titular citadel... I guess... It looks more foreboding manor than citadel, really. But who am I to judge? Anyhow, the first of the chapter's collect-a-thon is resting on the pile of boxes to the right of the stairs.
A
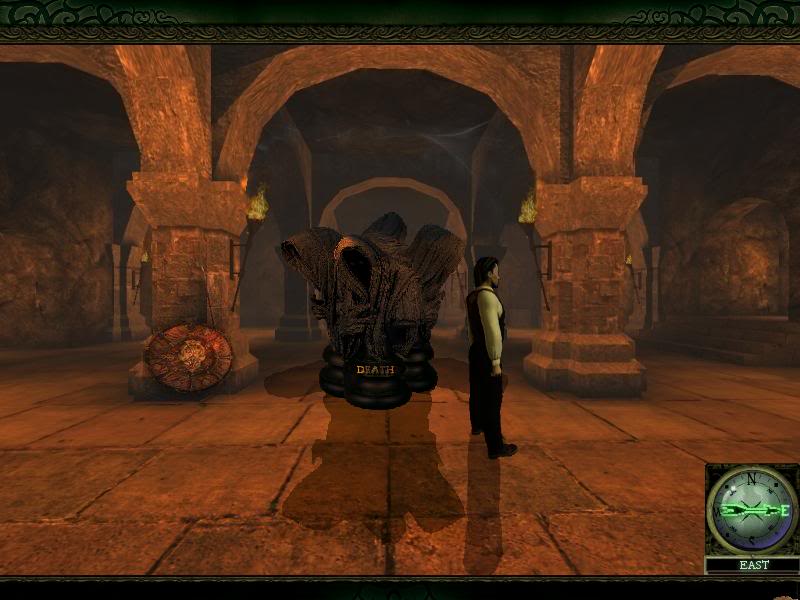
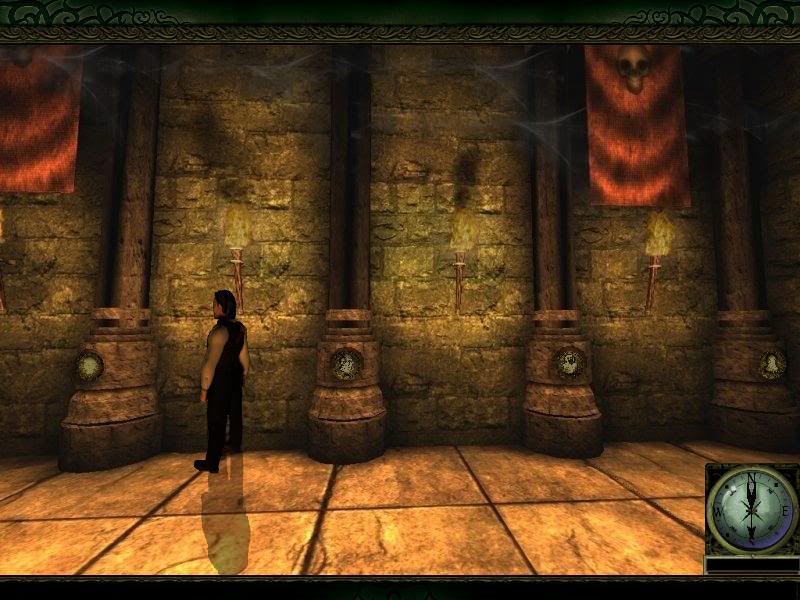
Heading into the Citadel, Briggs comes upon a lovely shrine to Nazguls. The owner of the Citadel must be a big Tolkien fan.
At the base of the Ringwraith sculpture are four slots of another set of as of yet collected items. Way to count properly there, by the way...
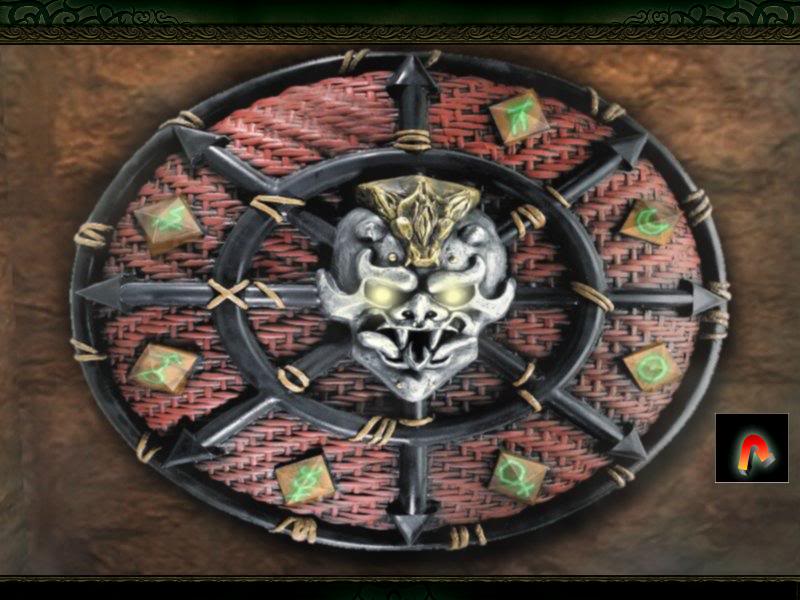
To the left of the Weta Workshop render is a shield adorned with seven symbols. Bust out a piece of paper and pen, kids. The game expects us to remember the order of these symbols.
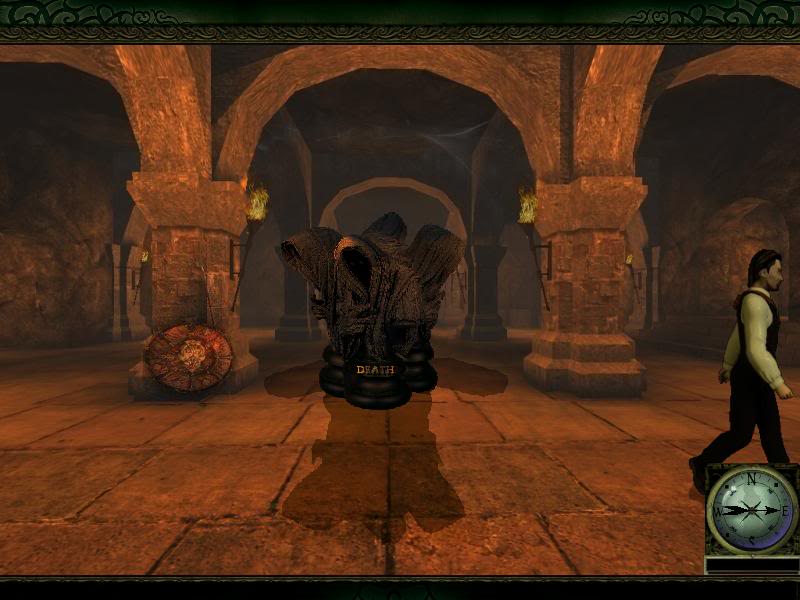
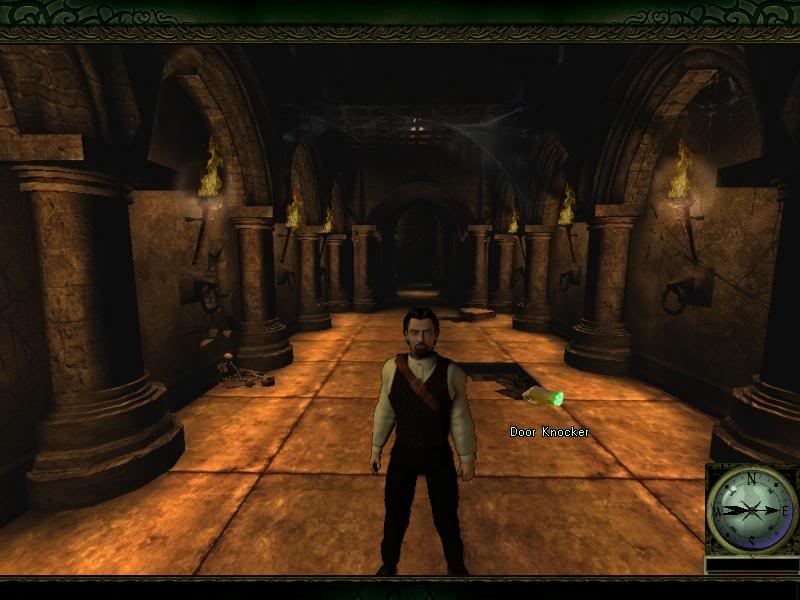
This central chamber leads to offshoot rooms in all four corners as well as another corridor upstairs to the east.
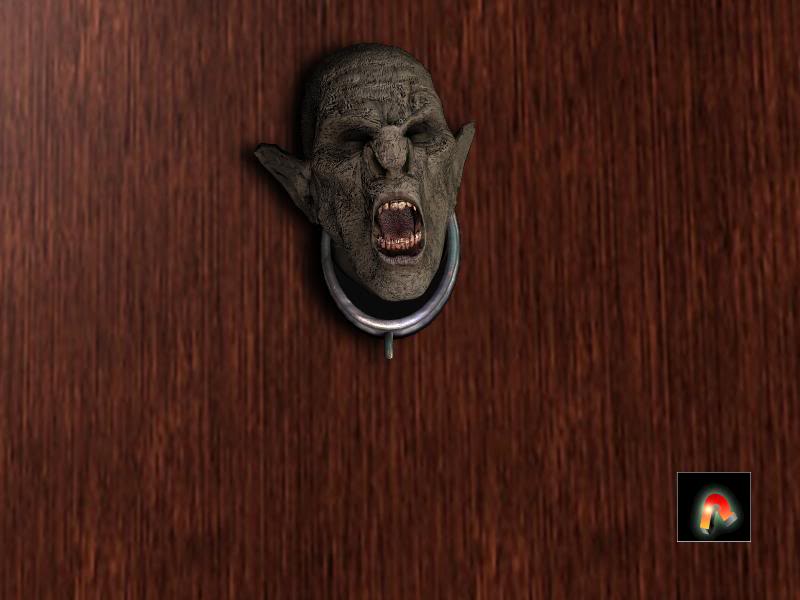
Each of the corner rooms holds court to doors with ugly goblin busts on their frame that are I suppose crude renditions of each of the sins. Each of them requires a knocker hammer to do...something or other... We'll get back to that when we collect all seven...
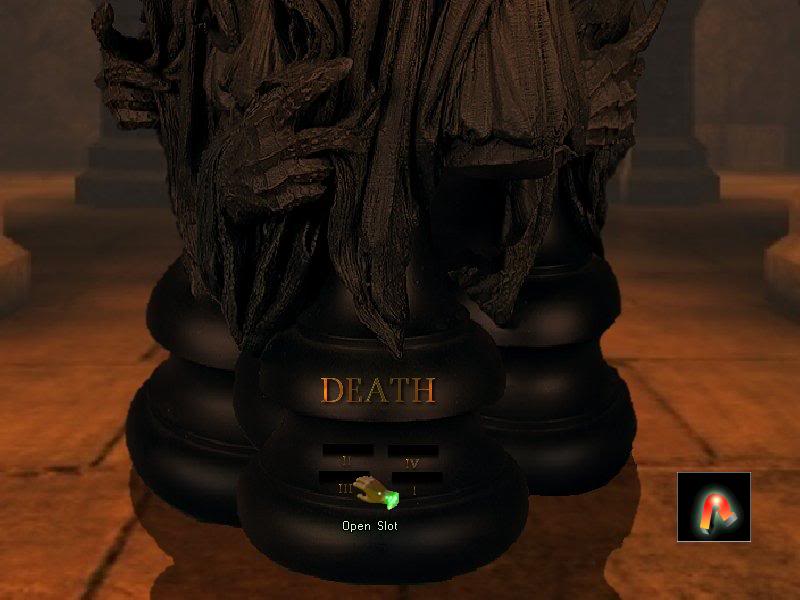
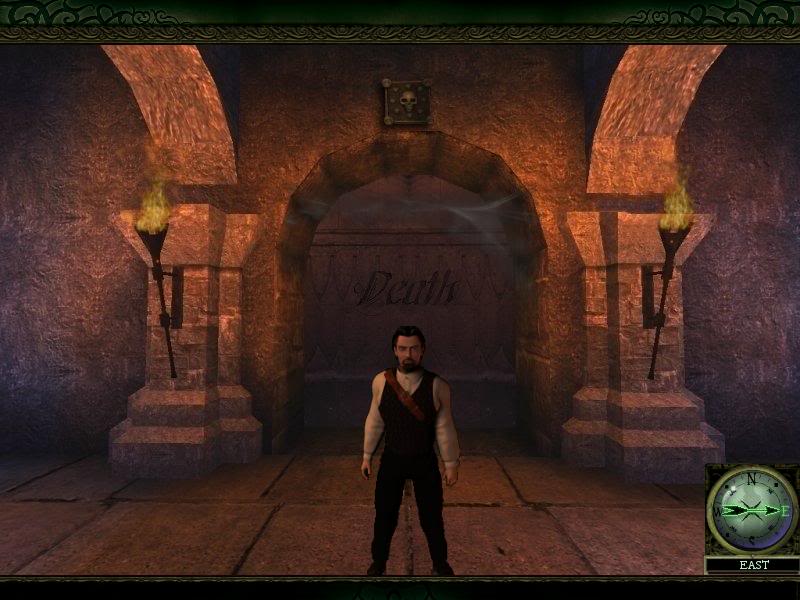
In the aforementioned upstairs corridor is...the four items we need for that DEATH wraith slot. Well...sort of... They are themed after the Four Horsemen of the Apocalypse. Remember how that was sort of kindly vaguely mentioned a while back...? Yeah, neither do I...
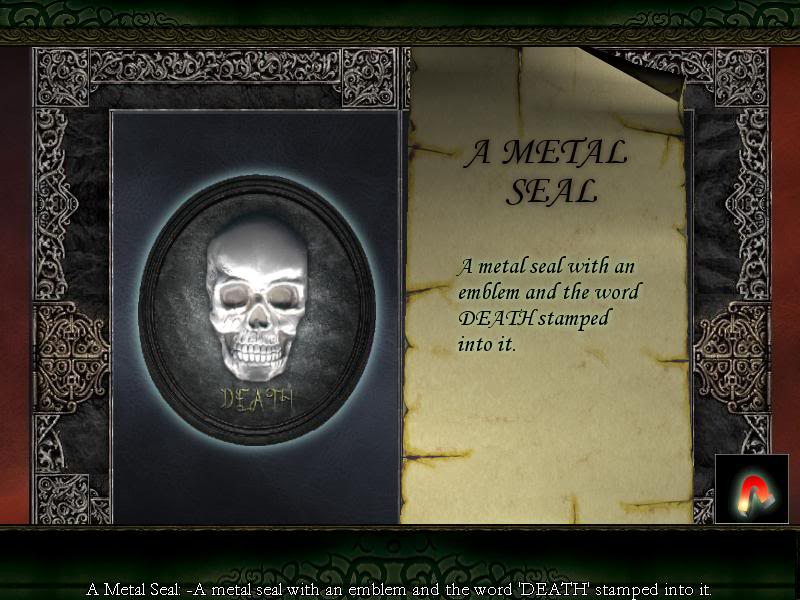
Death represented as a skull. Reasonable enough, if less than inventive.
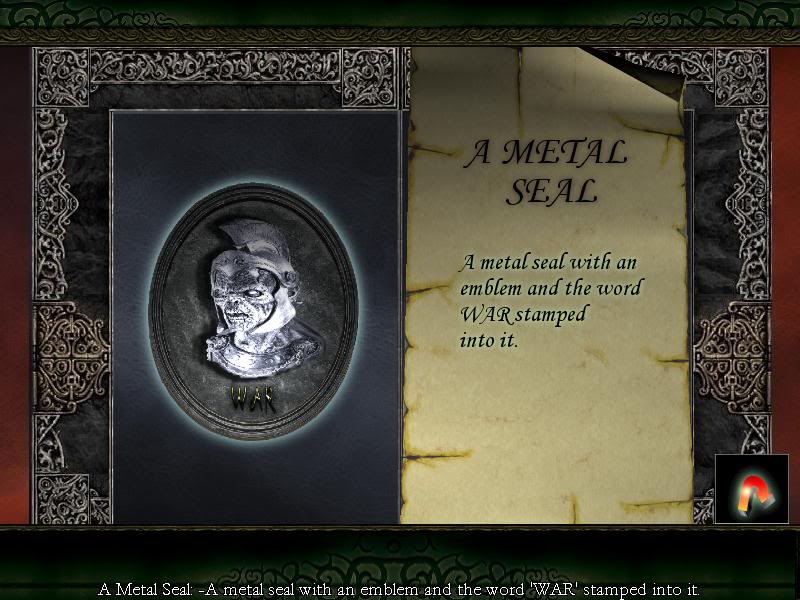
War represented a zombie Roman centurion. Oh, Limbo of the Lost...
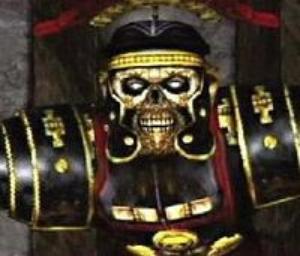
...don't remind me of far better games. That is just cruel.
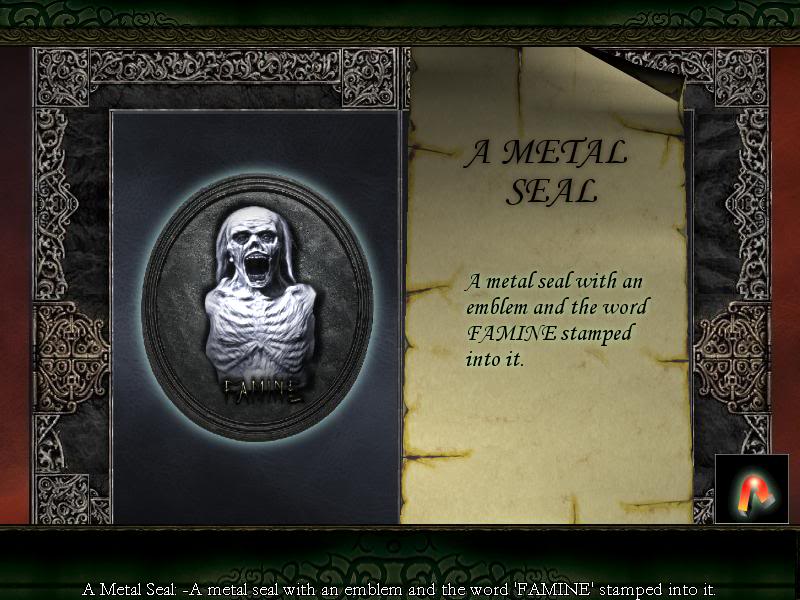
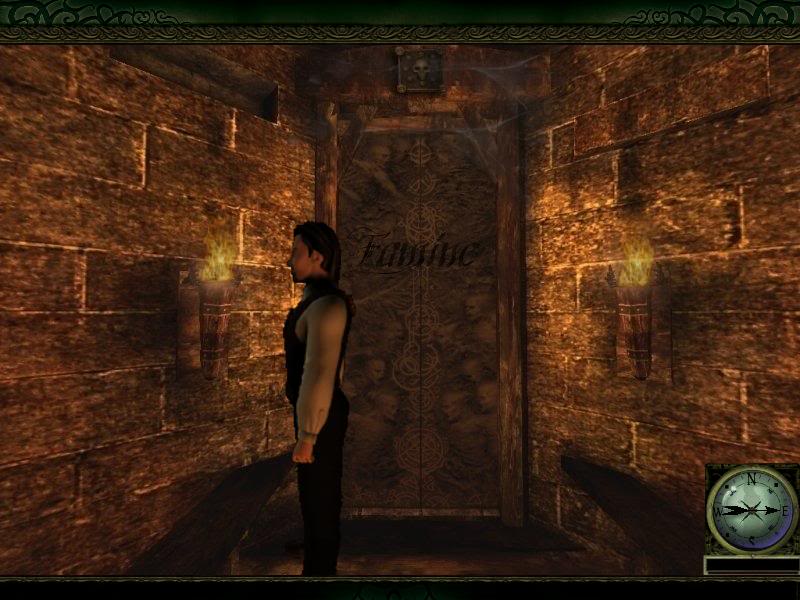
Famine is represented by an armless zombie shrieking. That is an...interesting...interpretation.
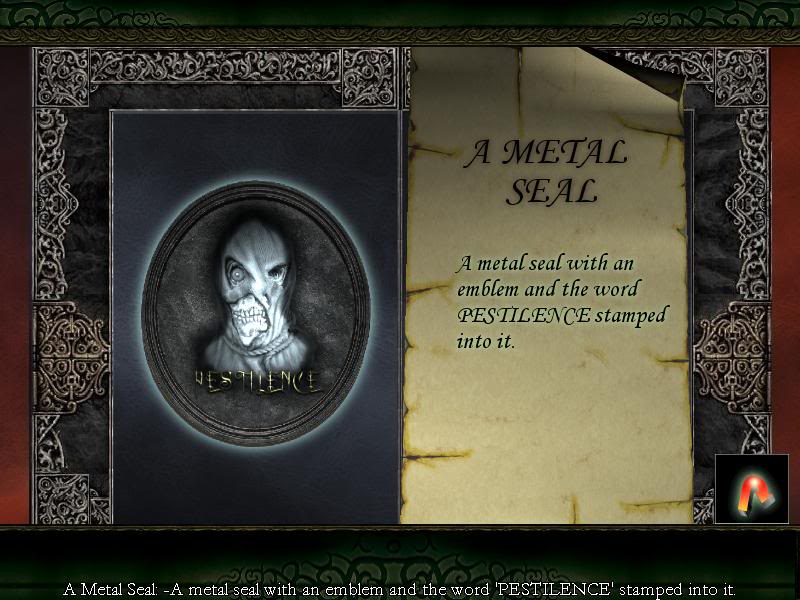
Pestilence is represented by Scarecrow from Batman. Sure, why not?
Now, these aren't actually the seals we need to stick in that morbid gumball machine or whatever the hell it was. In addition, we do not yet know what order they're supposed to go in and I'd prefer not to brute force that mess. Let's see if we can't shed some light on the situation.
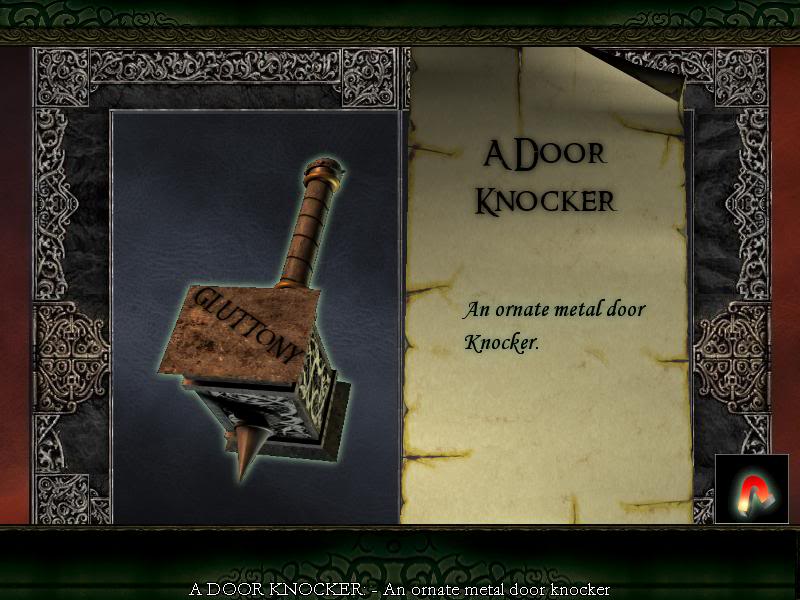
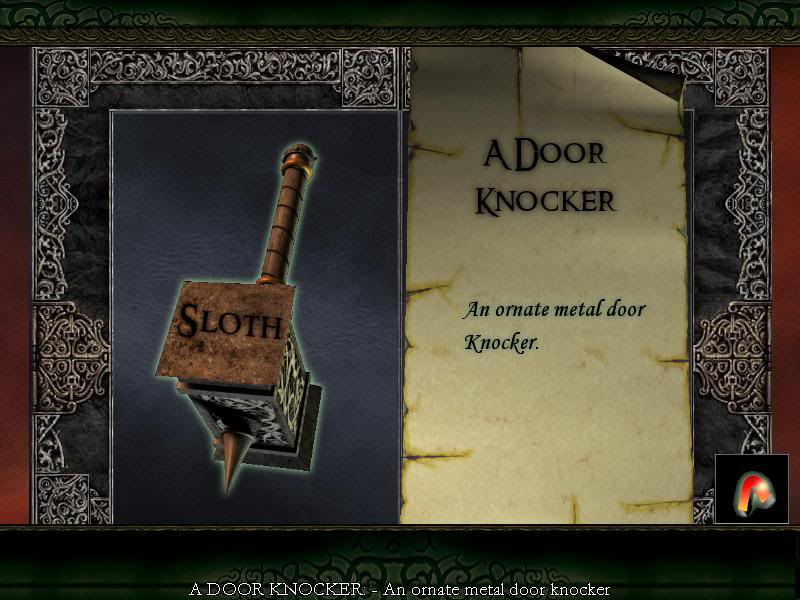
The next room has an invisible gluttony door knocker shoved in a crack. Someone really liked that generic hammer render, didn't they?
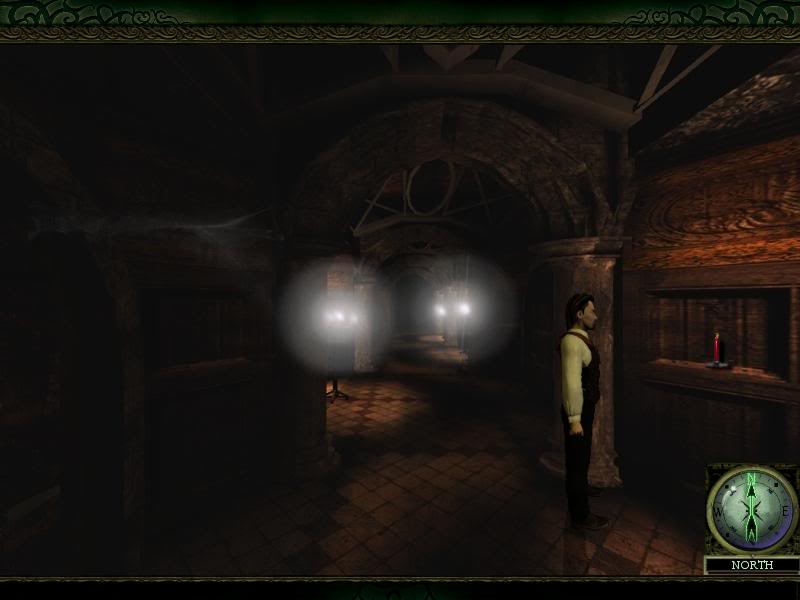
Further down the hall Briggs comes upon a dimly lit passage with a candle he feels compelled to steal. It's been nearly twenty minutes since he's stolen anything of mild value. Those fancy keys don't count.
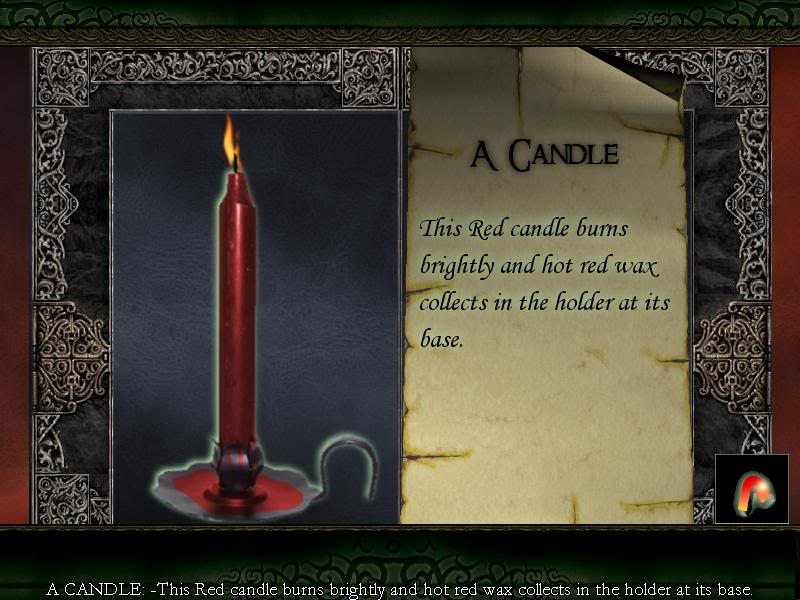
This candle has a very silly purpose that makes exceedingly little sense but we will get to that shortly.
Continuing down the linear path...

At the end of the hall Benny finds himself at a fork in the road. Sheesh, the Citadel has enough hallways to fit right at home in a Capcom survival horror game. Let's see what is on the left path.
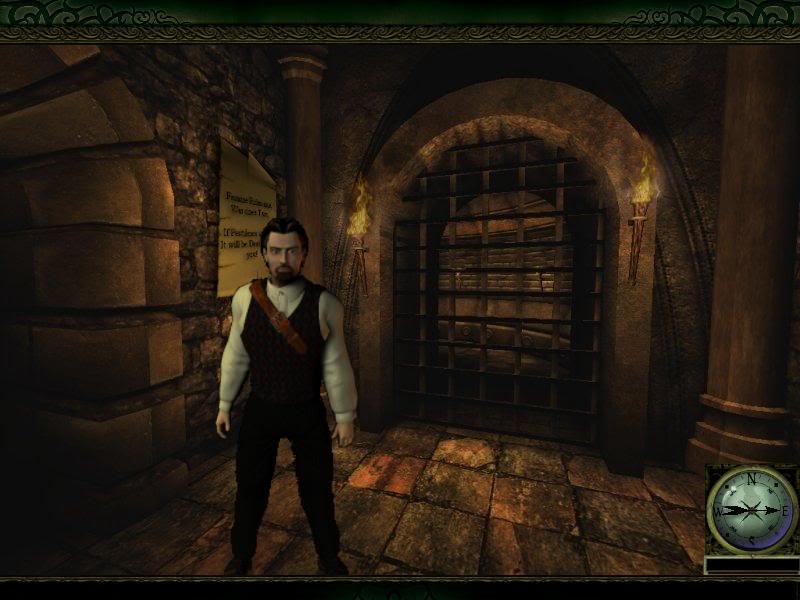
A locked gate that will never ever open. Never seen that one before in this game... In addition there is a parchment with some more inane instructions for this final slog.
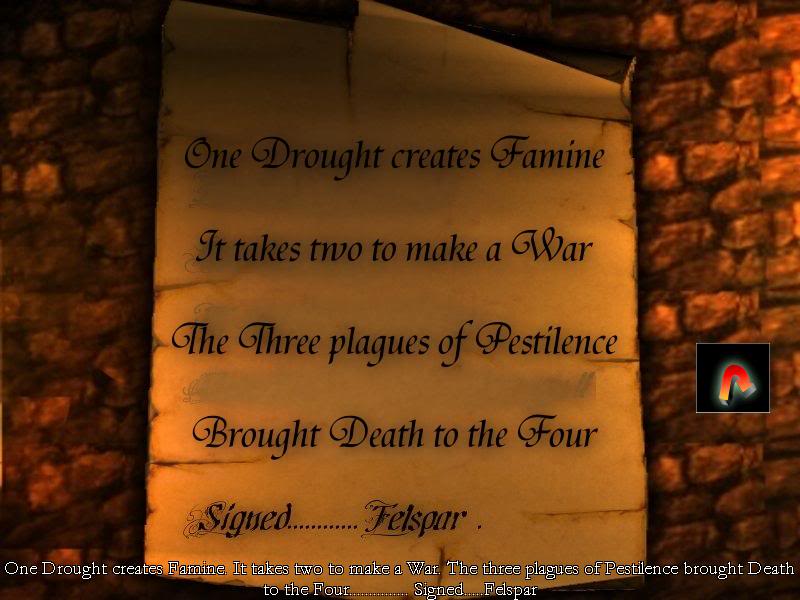
Right, so there is the order the Horsemen seals need to be used. Before we return to fiddle with that, let's check out what is in the opposite direction.
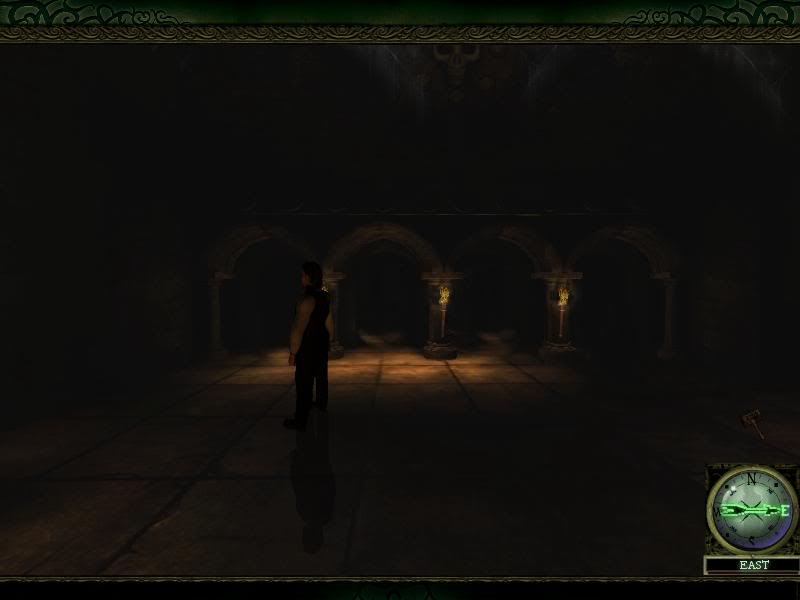
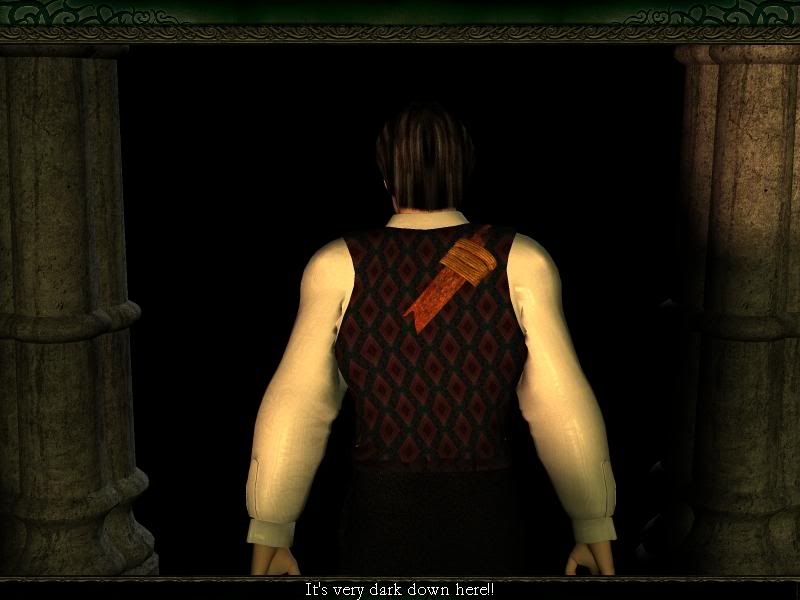
A dark as fuck room. Of course. Glad to see they went the Doom 3 route with the inspiration for final stage of the game. It's pretty hard to see but there's another knocker collecting cobwebs on the floor. Envy this time. I refuse to show it as there is nothing in this game that could convey any manor of envy.
The four paths in the back lot of the room of shadows lead to four locked doors adorned with the same Horsemen titles. Right then... Better get back and fuck around with those seals already. I'm getting the feeling they may wish us to hurry up with that business.
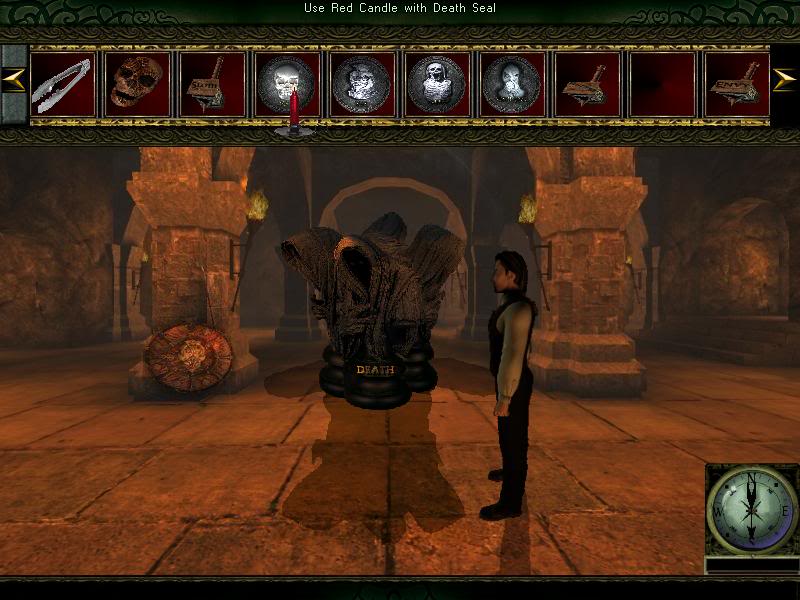
One might think we're just going to stick those medals into the slots and we're good to go. No...no that would make too much sense. Well...too much sense for an adventure game, at least... Remember that candle Briggs swiped and how it had wax pooling on the bottom of the candle holder?
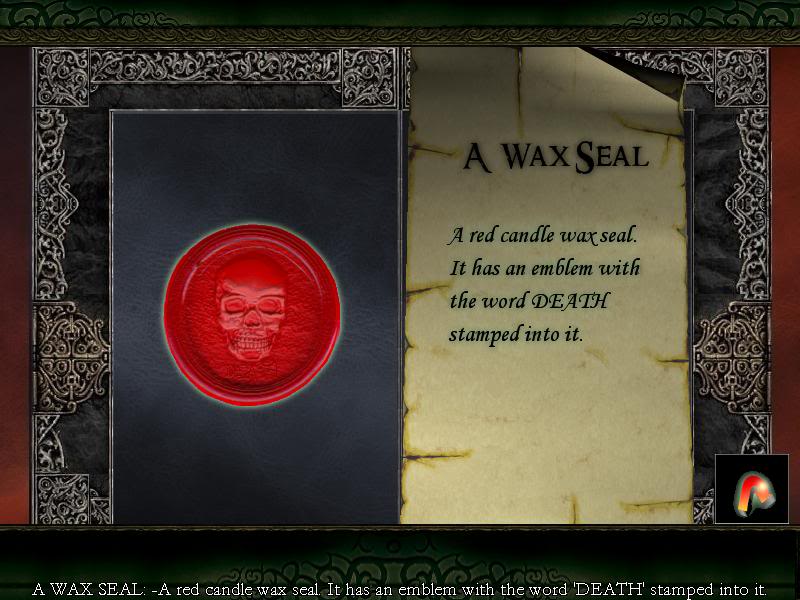
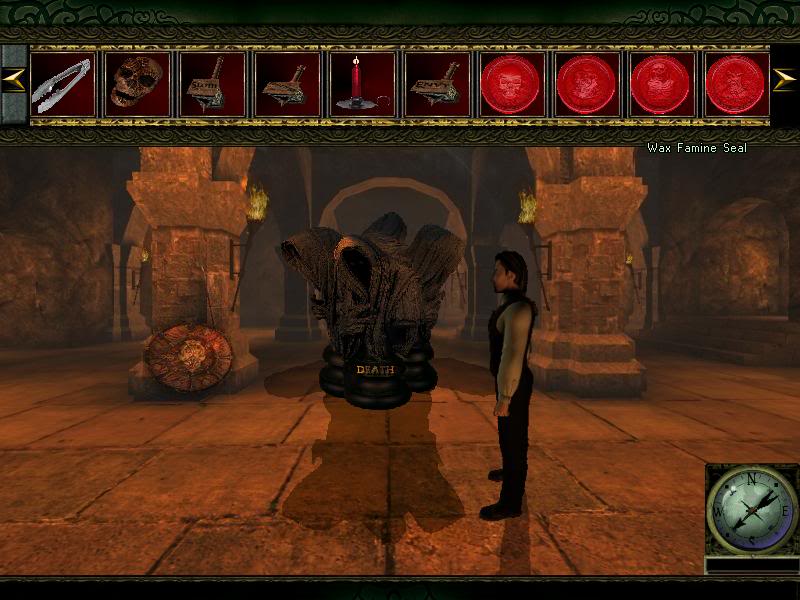
Yeah, so apparently there is some heavy time compression going on as Ben lets the candle slowly melt down enough to make a wax mold of each of the medals. We'll just ignore that there's maybe enough wax on that little candle to make a really terrible half assed mold for maaaaaaaaybe one of those head sized medallions...much less four... We'll also just ignore why this crude mock-up only work and not the genuine article... Details...
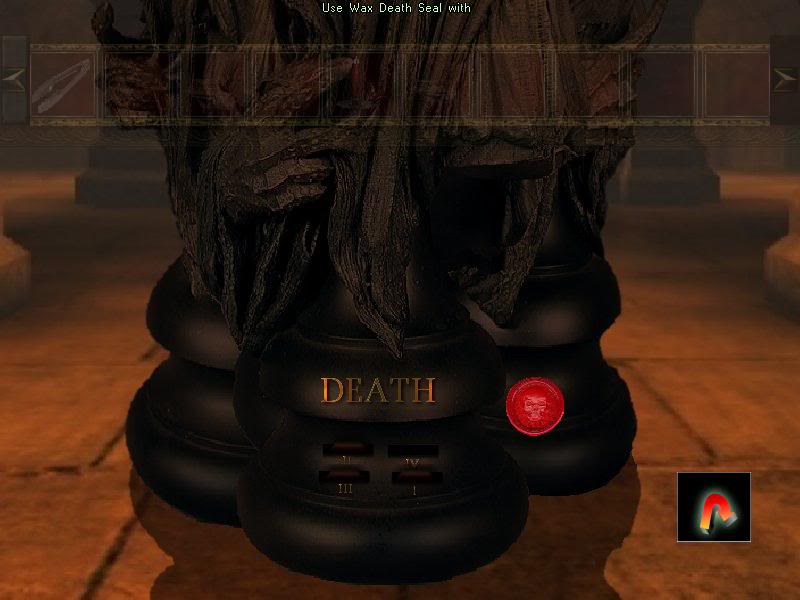
After that Briggs just needs to insert the medal molds in the order the flier from before suggested. This unlocks those four doors in the Doom 3 room. I am just going to skip that bit. There are four boring rooms. Each has another one of the non-tits knockers. Briggs now has all seven. Huzzah... That is three minutes of my life I will never get back...
With the seven door ornaments in hand, the fun filled task of taking each to their homes commences. Ladies and gents meet:
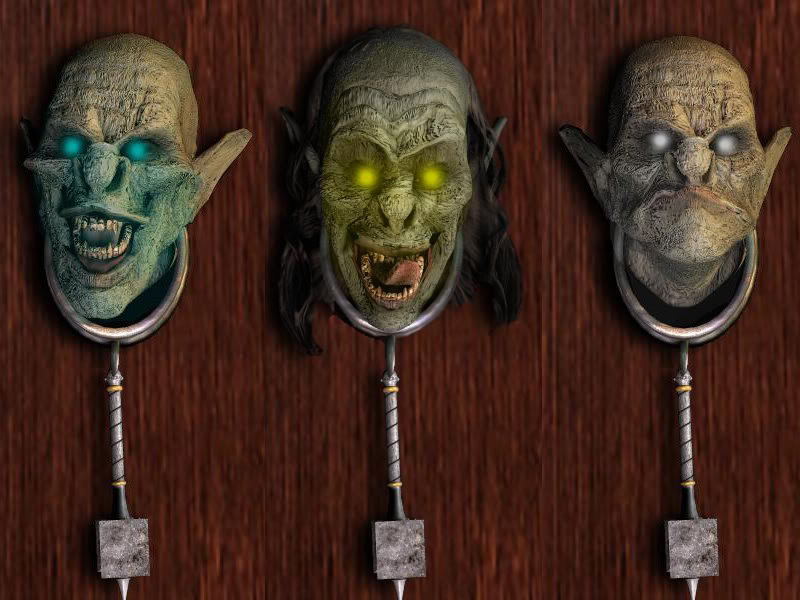
Greed... Gluttony... Sloth...
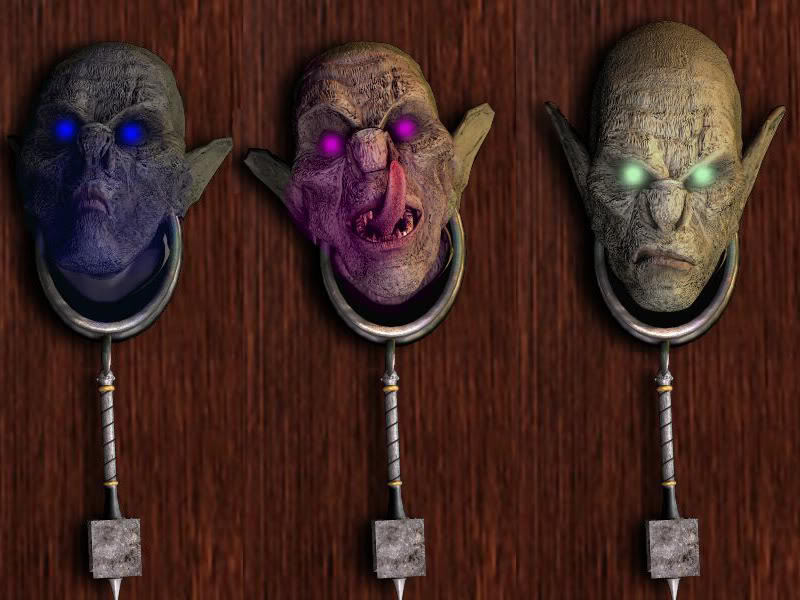
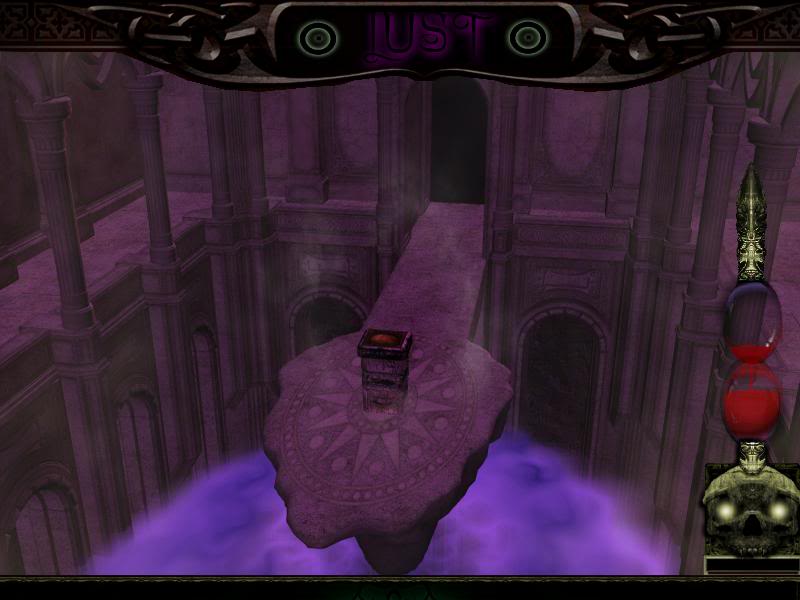
Pride... Lust... Envy...
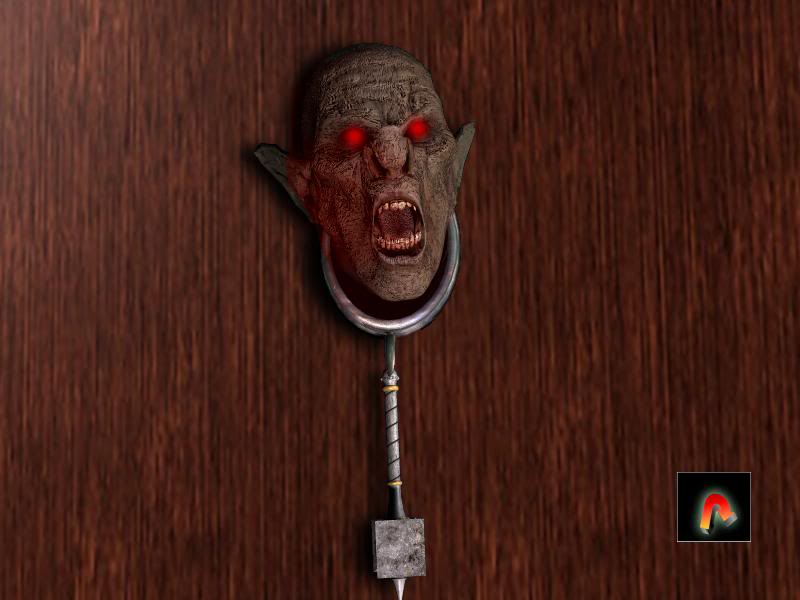
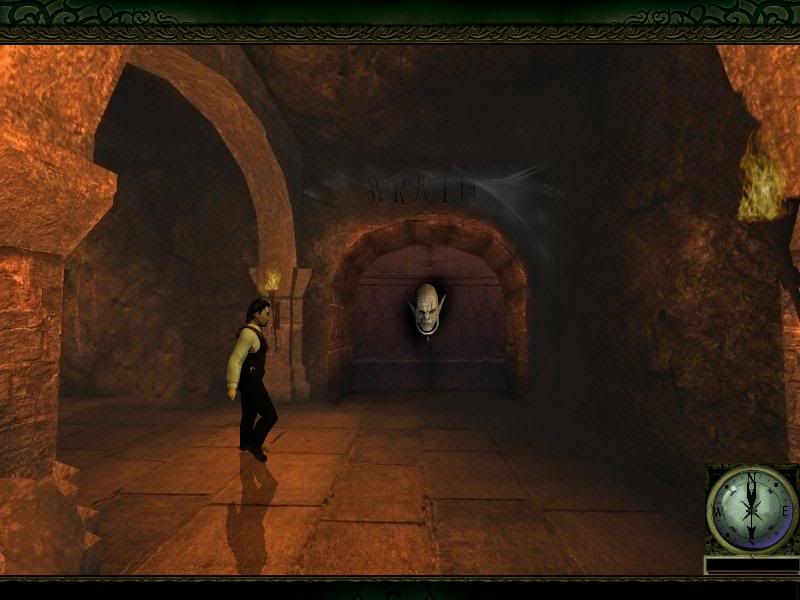
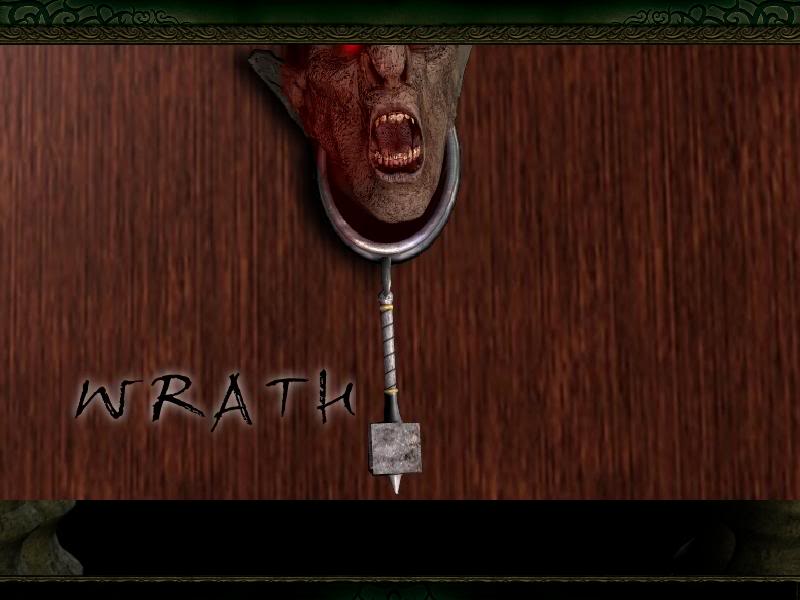
And our good friend Wrath...
Returning all the knockers to their rightful place opens all the doors. I...guess that is a good thing...? Who knows with this game.
Well maybe you shouldn't stumble in like a moron. What happened to that eternally wax shedding candle you just had?
Briggs shuffles in like an oblivious dope anyway.
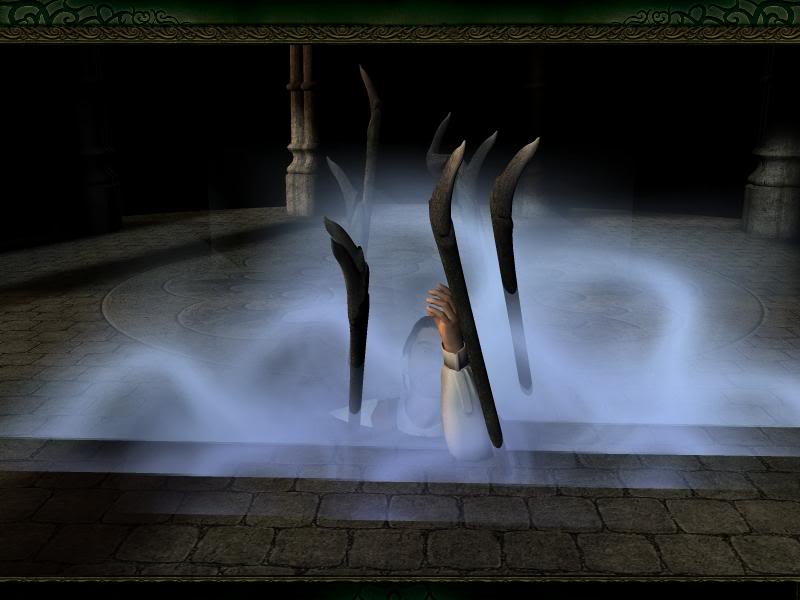
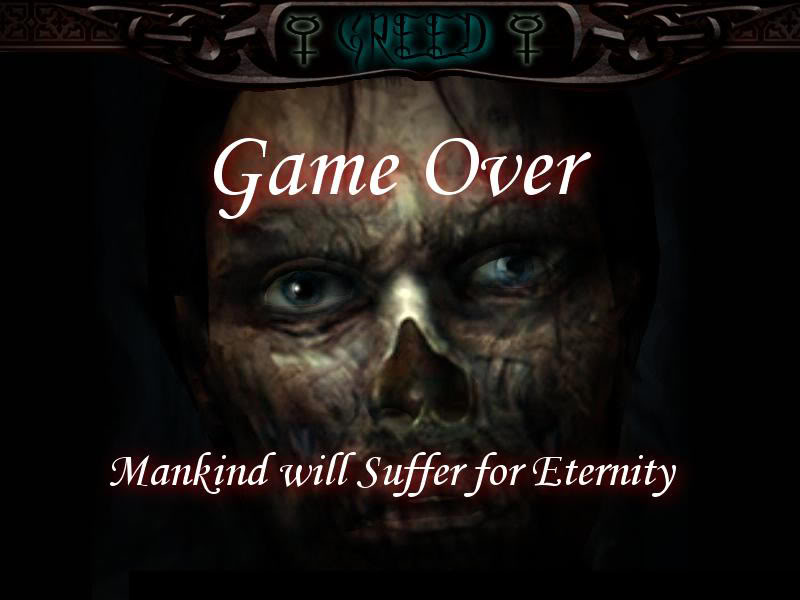
This goes about as well as to be expected. Honestly, it's about time Ben waltzing around like a ninny actually had some consequences.
Some time later...
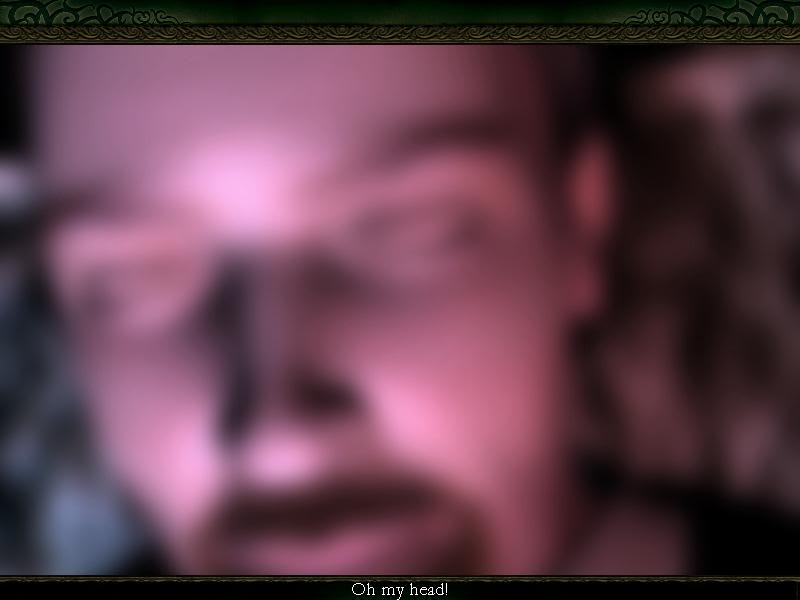
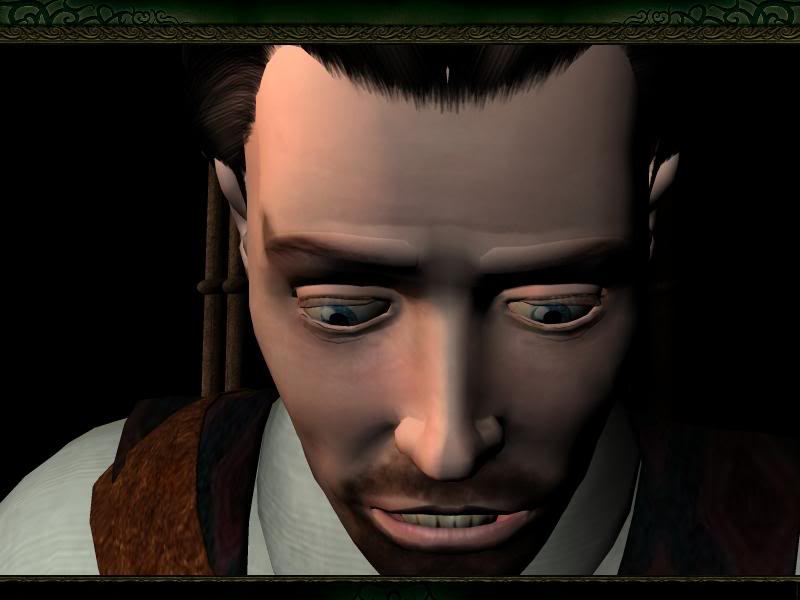
 "What? Where the hell am I?!"
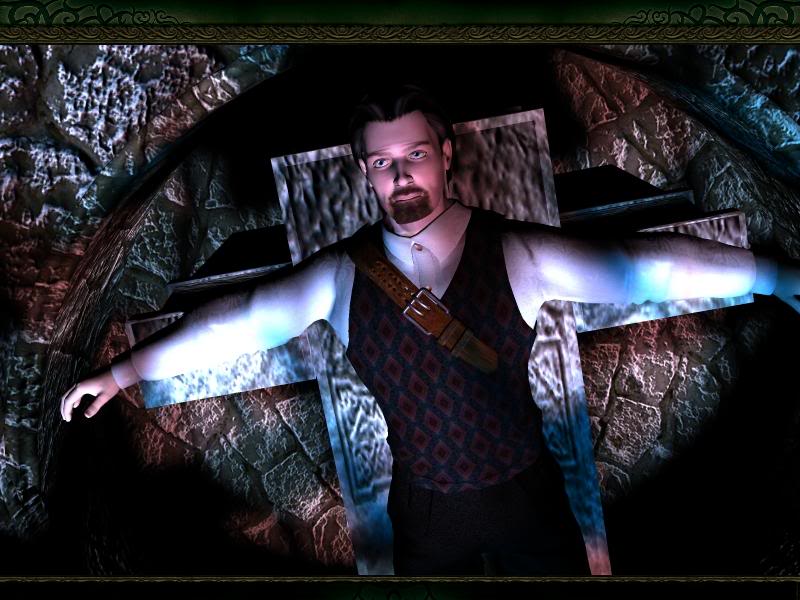
Well...this is different. And slightly dangeresque, I might add. I think that's a first for Captain Briggs' adventure.

This is true... He's a thief and murderer too, if we're letting it all out there. And whatever the technical term for someone who desecrates the dead; Briggs has some action on that too. Oh yes, and soul stealing. Don't forget the soul stealing.
 "You spilled wax all over the foyer. What the hell, man? That's hard to get out of cobblestone."
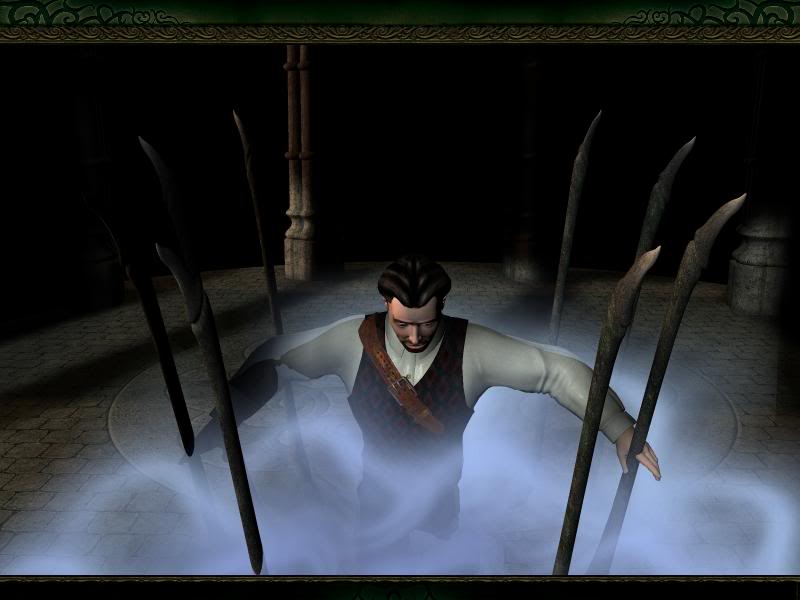
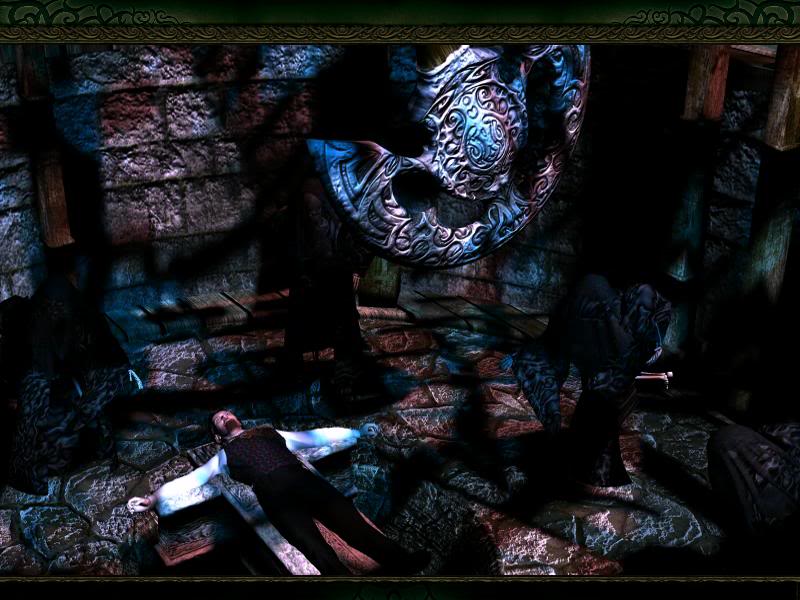
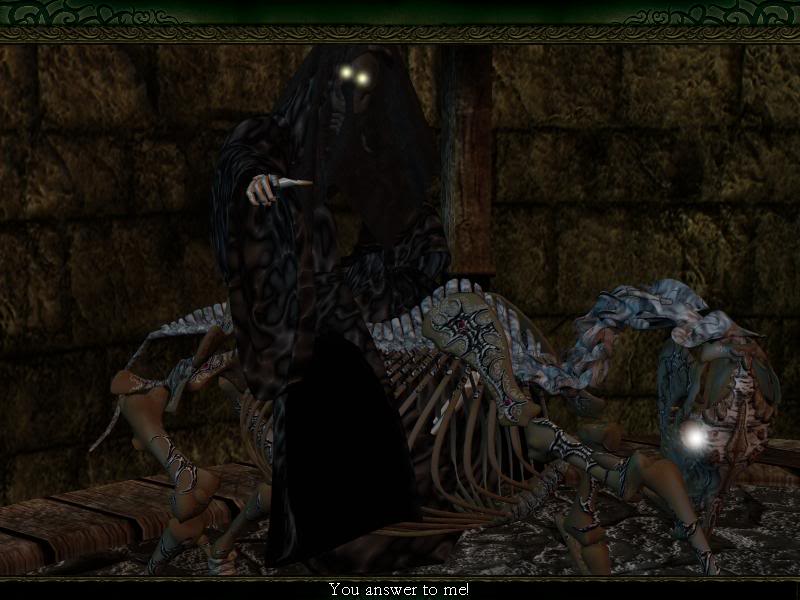
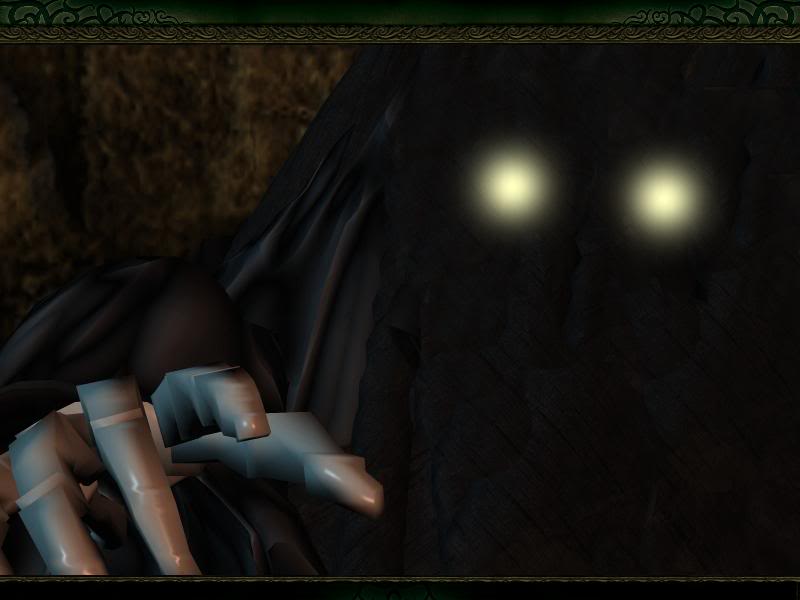
Have you... I don't know... Check his pockets? No? You didn't bother to search him. Just tossed him on a pit and the pendulum set-up and called it a day? He's not even tied down for Christ sake!
Yeah, take a hike already. You're eating up a gig and a quarter off my hard drive. How in the hell the game manages to be that large is a bit mystifying but there you have it.
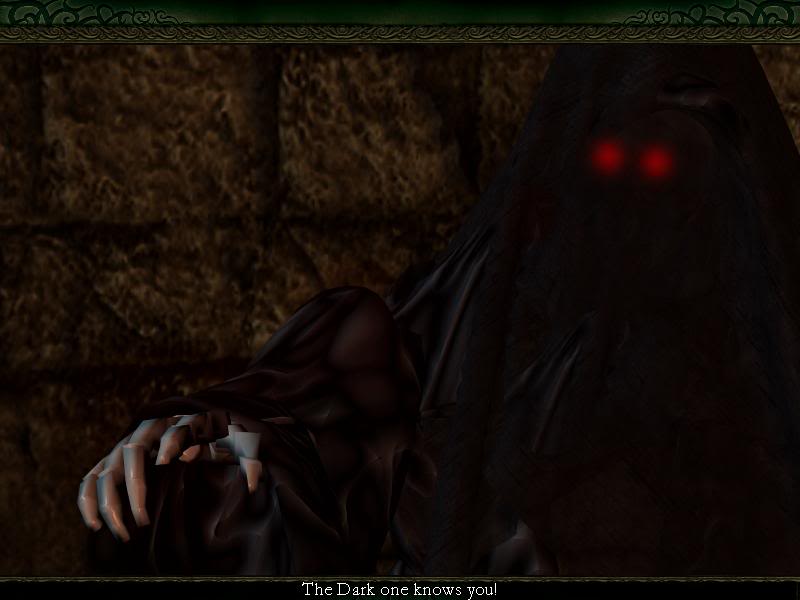
He's clearly the alpha ghoul thing. I mean he is the most incomprehensible polygonal mess this side of a Michael Bay Transformer. That demands respect. I know I could't pull off that look.
 "Lens flare bitch!"
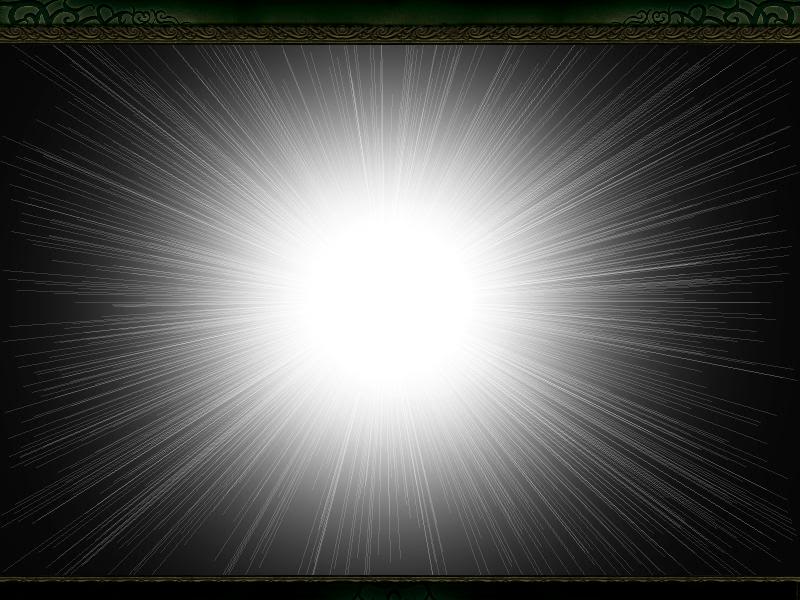 "BAM!"
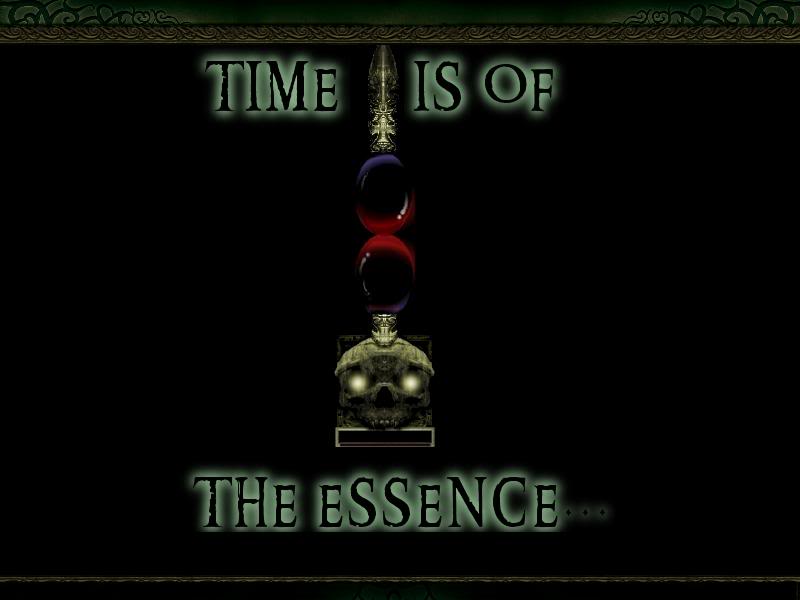
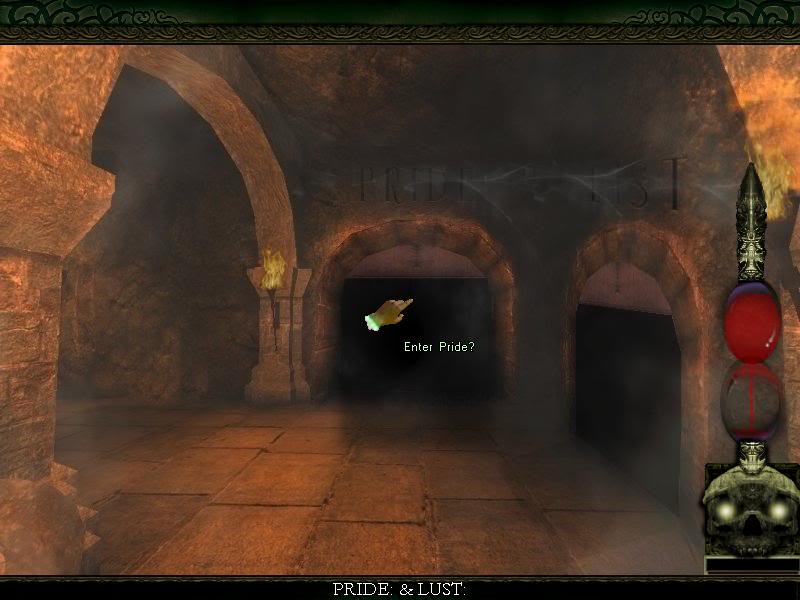
Welcome to the final challenge of Limbo of the Lost! A goddamn timed puzzle...
And so we are finally free from playing as Benjamin Briggs. I guess the intent here is that we personally are saving Briggs. This means we could interact with the world in some spectral form the entire time...? Which means there really was no reason whatsoever to dick around with that chucklefuck all this time...?

So, remember that shield with the symbols at the beginning? Those come into play now.
All the doors to the former Deadly Sins chambers are now opened to explore and they must be visited in a particular order of the symbols. Now, how do you know what symbol corresponds with which room? Why, trial and error of course!
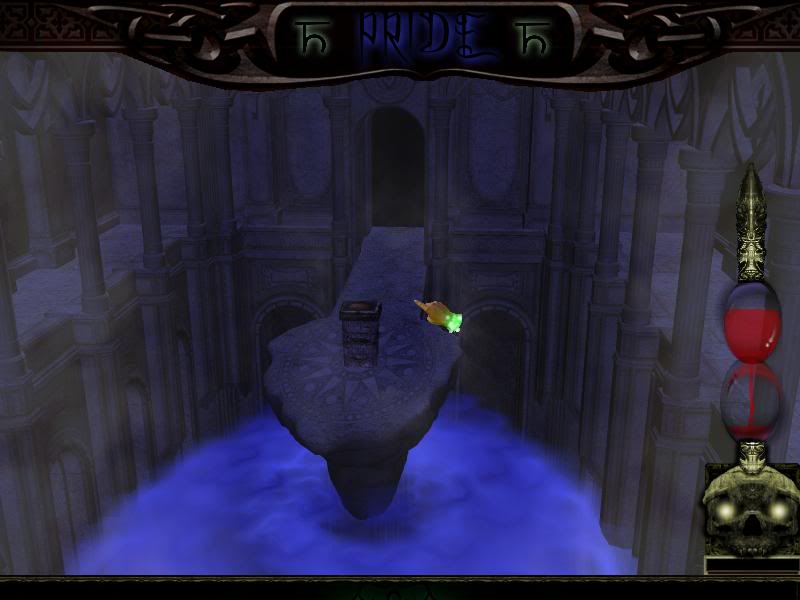
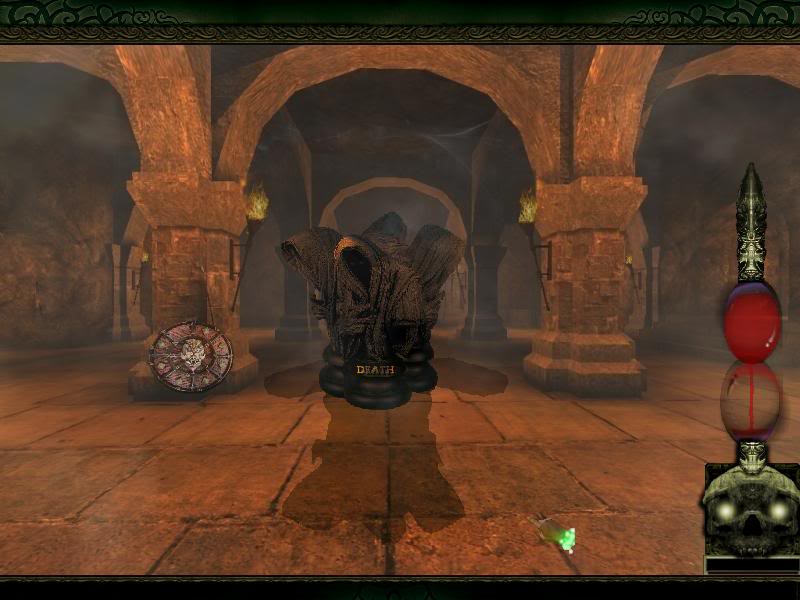
Each room is identical save the lovely stylize title screen and color tint. They really love that Buffy font. You'll notice a symbol next to the title. That is how you discover which belongs to which. No, they couldn't think of a better way to do it than that.
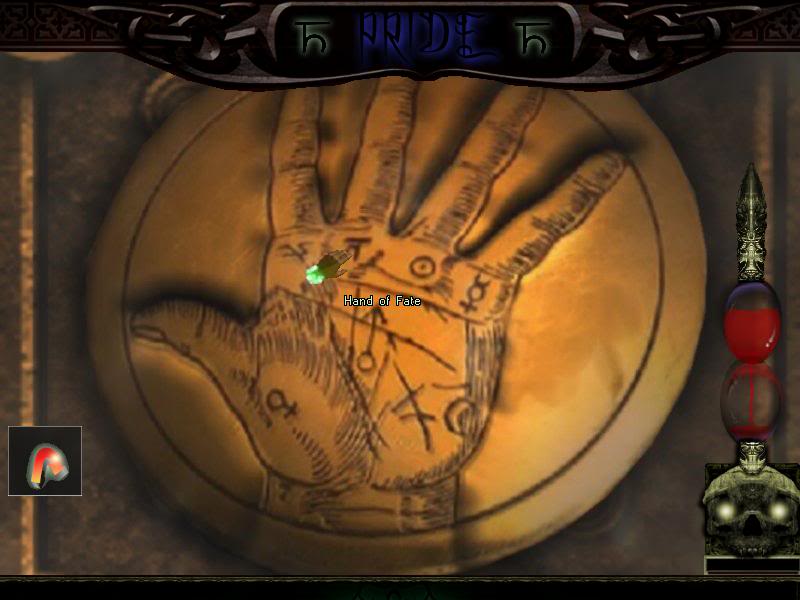
In the center of the sin rooms rests an altar with a hand tattooed with all seven of the symbols. The trick here is to visit each room in order and click on the hand in each. Yup...that's it...
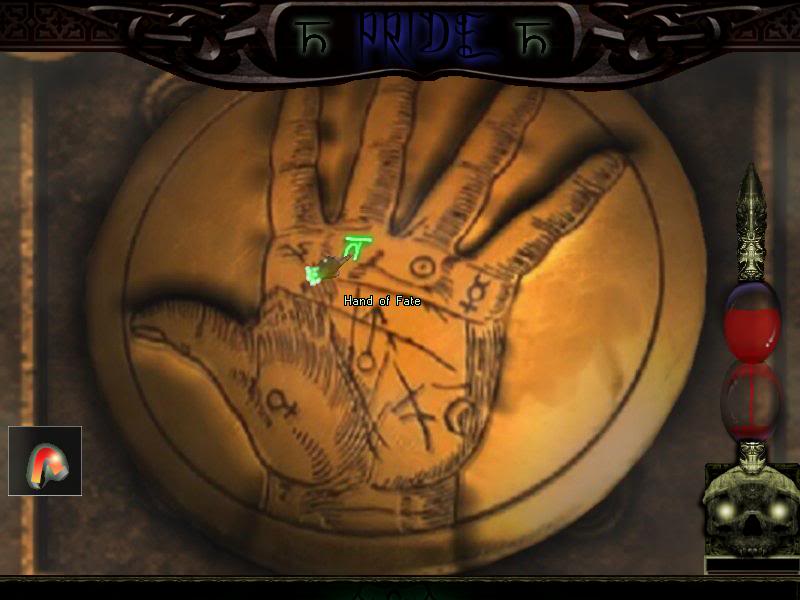
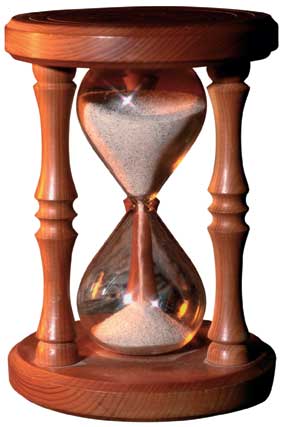
If it's the right room, the glyph on the hand will light up. If it's wrong, the blood hour glass "timer" will tick down. You see, it's not actually a real time limit. They couldn't even do that right. We could just wait in the central room and not move a muscle until the heat death of the universe and the thing wouldn't go down an iota.
It's actually a fuck-up-o-meter. It automatically empties a bit each time we enter one of the altar chambers. In total, there are fifteen movements allotted in the "time limit". So, visiting each room to learn the symbol to glyph correlation and then doing the rooms in order after learning that with a chance for a single fuck up. And what does fucking up lead to, you ask?
The only chance to kill Captain Benjamin Spooner Briggs in the entire game. FINALLY!!!

Bonus Content:
Movies -
The Final Challenge (You should probably watch this)