Part 25: GeneralYeti enacts Anakin's worst nightmare.
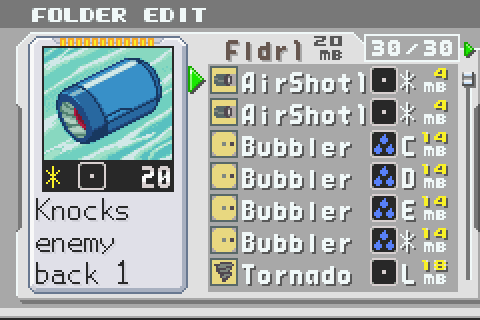
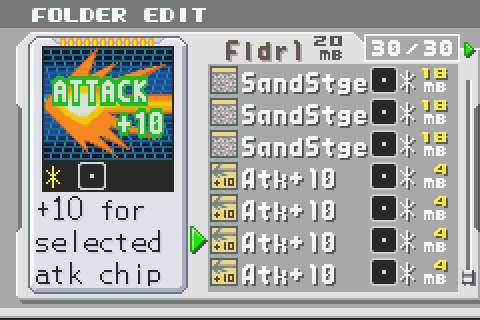
So hey, this is a weird looking folder, right? Nothing special really going on here, just some stuff.
Desertman Challenge
Restrictions this time include:
* Use Bug Style - because why not, right?
* Only one charge shot allowed
* Only one Bubbler allowed on Desertman
* One-hit kill after that Bubbler
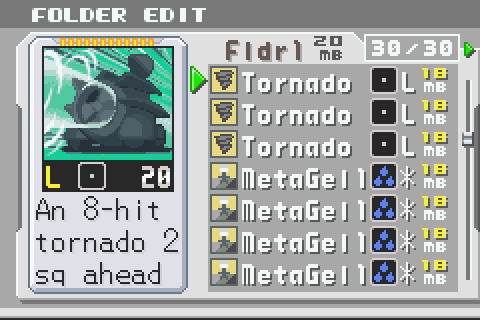
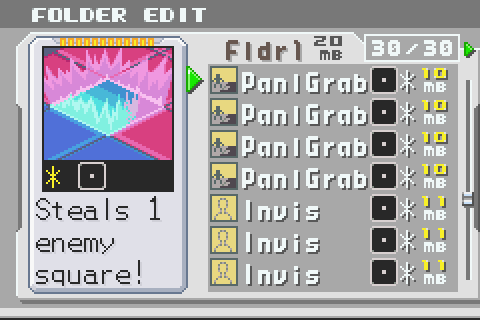
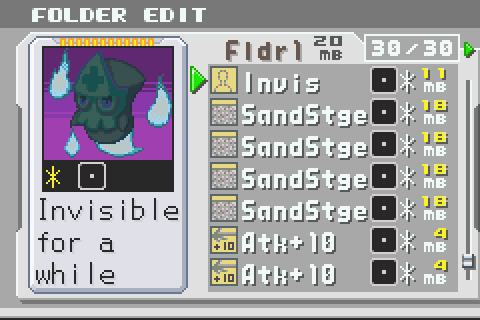
Basically, this entire folder is designed to manipulate Desertman's patterns to my advantage. I use the PanlGrab/MetaGel to grab the middle panel of Desertman's first row, take aim, and fire. Everything here is designed for fluidity; I wanted to be able to get rid of at least three chips a turn. That's why everything has the * code, with the exception of the Bubblers. Those are deliberately the wrong codes because
Anyway, Desertman's AI patterns.
They're pretty simple, really; he's got four positions. Start position is the one he starts in, first is middle back, second is top back, and third is bottom middle. Each time you hit the target, he shifts to the next position. Hitting him in the third position brings him back to the first one - start position only appears once.
Desertman's field is kinda busy. But this is why you fought Kingman twice this chapter; to teach you how to deal with Desertman. Because Desertman is like a really easy Kingman. Desertman's field includes:
2 Hands
2 Pillars
1 Target
The hands act like Kingman's pawns. They move up and down, and when they're on the same row you are they attack. In this case, their attack is like a Dashy, flying down your row. They're destroyable with regular attacks, unlike Kingman's pawns, but like the pawns they respawn after a certain amount of time. A similar strategy to Kingman works wonders; get a panel on their row and you are almost entirely safe from Desertman. Once Desertman's low on health, the hands will disappear after not attacking for a certain length of time and then slam down on the panel you're standing on. It doesn't create a shockwave, but it's meant to keep you moving.
The pillars are just obstacles, nothing special. They can be destroyed with two charge shots from Aqua Style.
The target is a big one. That's the bit of Desertman that has health and that you need to hit in order to win. The thing is, you can't use multi-hit moves. After getting hit, Desertman gets blown away like, pardon the expression, sand in the wind and reappears in his next position. He usually has the pillars blocking him off, which means you need to destroy them before you can get to him. The thing is, this boss has a special parameter. You saw it in Giver's fight and my strategy relies on it - when Desertman is hit with an Aqua-element attack, he gets 'soaked', a status equal to paralysis (he can still be paralyzed, by the way) just with a different name. That brief moment of stun lets you hit him with more than one attack before he disappears. Neat trick.
On your side of the field, two holes will randomly appear for a second and then disappear. They are meant solely to distract you and force you to maneuver around them; they'll never appear where you're standing. Only where you're going to be, so when you're dodging flying lion-head hands, chances are you'll run into them.
Now, you may be wondering how I managed to kill Desertman with one shot, even with a fully-powered up Tornado. 60 * 8 is only 480, and Desertman had 760 health left. That's because when Tornado is used on a Sand panel, it doubles in strength. Pretty neat, huh? So really, I did 120 * 8 or 960 damage to him in about half a second. Poor bastard.
Something else I noticed while going frame-by-frame through the video; this showed up for a split second before snapping back to Sunayama's office. Probably just a way for the game to load a cutscene or something, it just looked cool and I thought I should show it off.