Part 52: Murkland? NebulaArea? BlackEarth? I dunno.
As mentioned, the emulator I'm using was updated. This led to some...strange errors at first, but they all cleared up after a bit.
As seen here. The only way to enter Nebula Area, AKA Murkland, is to have beaten NebulaGray and have 100 standard chips. I only had 83 or so.
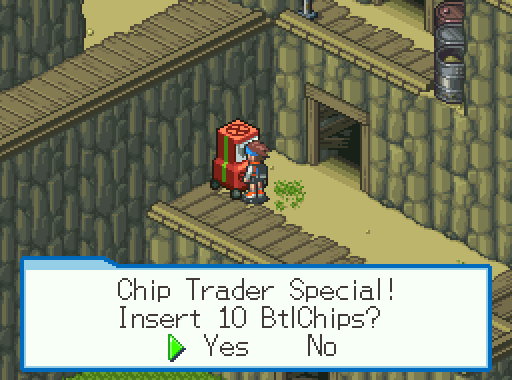
Fortunately, as is traditional, a new Chip Trader Special appears after beating the final boss. Dumping about 160 junk chips I've acquired over the course of the game got me up to 100. And yes, I could keep track, remember, you can load these up with up to 100 chips at a time for 10 runs of the things at once in DTDS. 16 runs of 10 = 160.
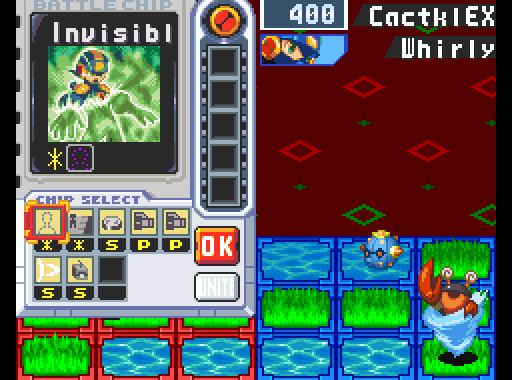
I had posted This video yesterday as a teaser, claiming I wouldn't have an update today. Turns out I underestimated my work ethic, how nice. Anyway, that video shows what I call the Adaptabuster, which was the result of using a code to make the charge shot deal as much damage as the chip used before it (hence why Invis made it crash).
But more importantly, holy shit, is that BassSoul? No, it's BassCross! I've been holding out on this for the postgame to give the game a bit of dignity.
BassCross is normally activated by having a MMBN5 TP or TC GBA cartridge in the DS when starting up DTDS. The save file needs to have beaten BassSP.
Why was that in bold? Because it's one of the most frequently-asked questions in the series. What can BassCross do? Well, it comes in two varieties, depending on which game version you chose to play in DTDS:
BassCross Gold (If playing Team ProtoMan):
-Emphasizes power.
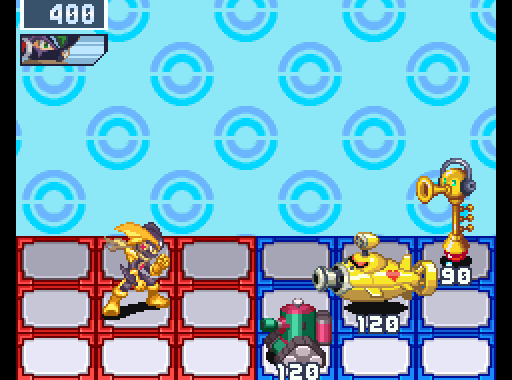
-Normal buster shot becomes the Tri-Buster, seen in the video above.
-Charged Shot becomes a watered down Shooting Buster, which fires 3 charged shots down the rows in front of MegaMan. Not shown due to code (ab)use.
-Several free program effects are added: Super Armor and HP+200.
-The amount of MegaChips you can have in your folder becomes 3.
BassCross Silver (Team Colonel):
-Emphasizes Speed.
-Tri-Buster.
-Charged Shot becomes a watered-down Hell's Rolling, summoning a dark wheel to home in and hit multiple times.
-Auto-FloatShoes and HP+20%
-Same MegaChip restriction.
There also exists SolCross, which gives MegaMan Django-based powers and unlikes an altered version of the 100 Samurai minigame that features unending bat swarms. Playing that minigame nets you points which can be spent at the Zoktai (yes, Zoktai) trader that appears in Oran Area 2. That trader in turn gives you Boktai-related chips.
SolCross:
-HP+200 and SuperArmor.
-Same MegaChip restriction.
-GunDelSol charge shot.
-All chips can be charged to add 20 points of damage. You thought SuperVulcan and AirHoc were evil before?
-HP regenerates after battle.
-GunDelSol chips do 2x damage if Lan is Jacked-In from outdoors.
Yeah, these things are massive power boosts. Easily worth the MegaChip penalty. That's why I didn't use them until now, the game would just be too easy. This came at a cost, however, using BassCross allows you to fight weak versions of Bass far earlier than otherwise. I deemed this acceptable, because Bass will be getting plenty of time in the spotlight later on.
Anyway, let's get on with the postgame already!
Thankfully, there's no NewGame+ horseshit like in MMBN4 to get the V2/V3 viruses. Unfortunately, this still isn't perfect. Opening the NebulaArea releases the V2 viruses on the world, and there's another door further in that unleashes the V3 viruses. This gets annoying fast if you missed chips at a certain level, because then you have to run all the way to the appropriate door and close it to seal all the viruses back up.
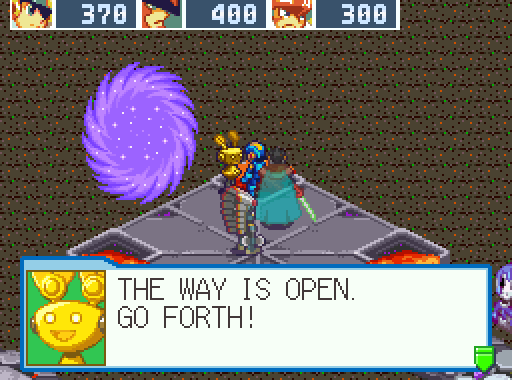
Yes, they re-used the pulsing dark void thing from NebulaGray. Alternatively, that might make sense because the portals lead to the same place.
Either way, I just realized it looks like a Spiritomb and now I can't look at it the same way ever again.
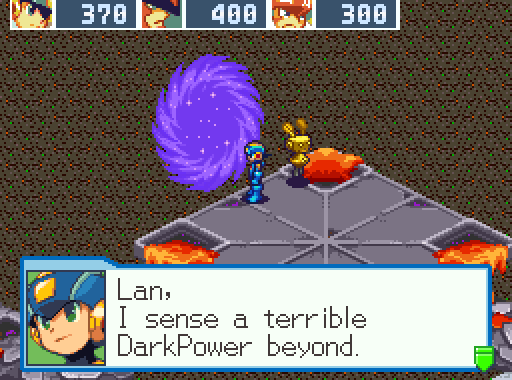
Before entering the NebulaArea for the first time, MegaMan asks if you're sure about this.
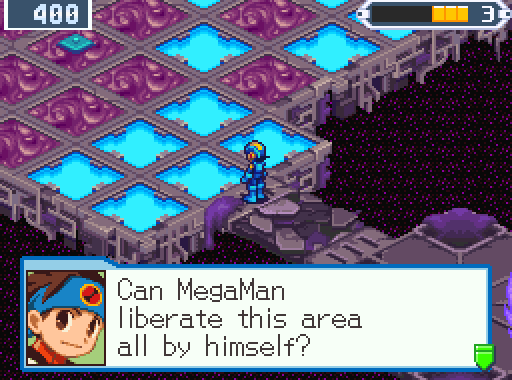
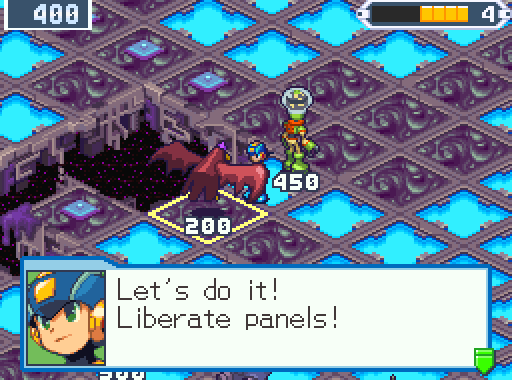
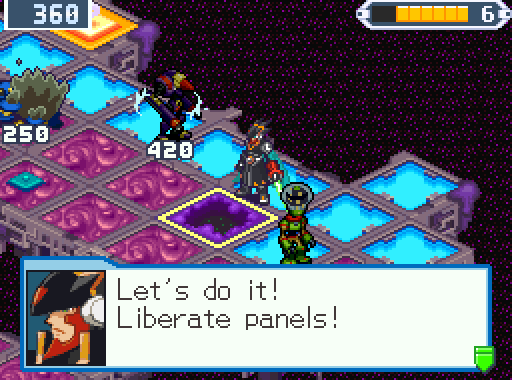
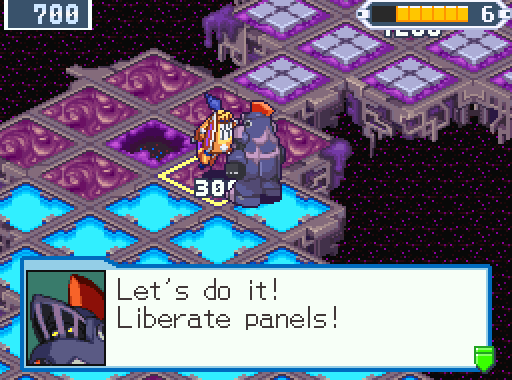
Because it's a Liberation Mission! I dunno, Lan, can he?
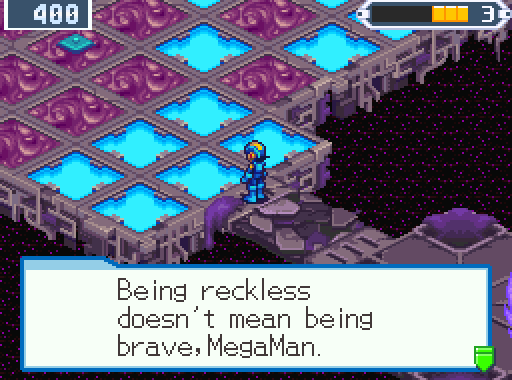
Fortunately, the game's just kidding about having to do it with only MegaMan.
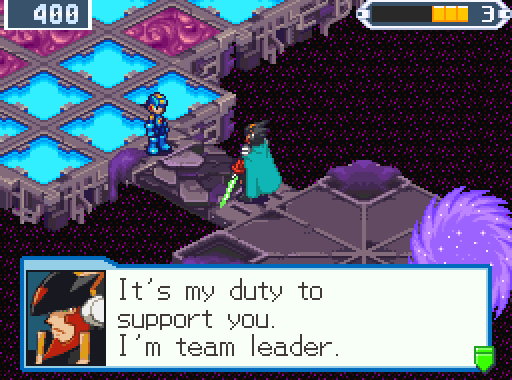
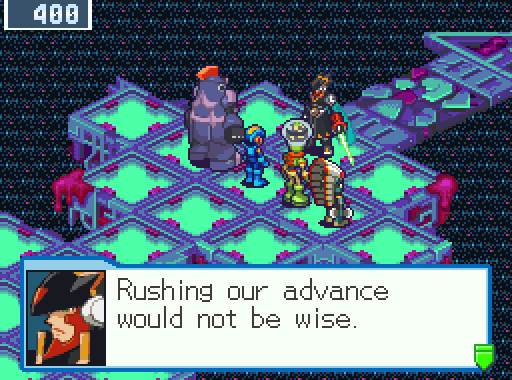
Ah, Colonel, always with perfect timing and masculinity.
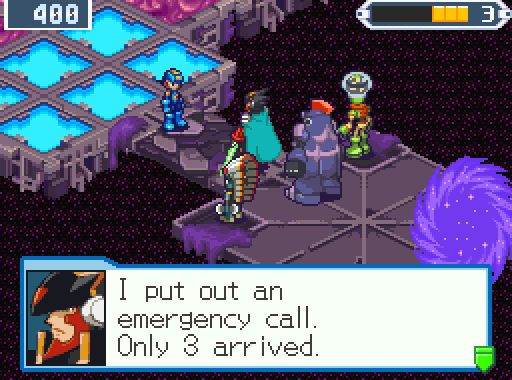
However, the NebulaArea Liberation Missions are far more challenging than the ones in the normal game, and you can only use certain teammates. Not having ToadMan or ShadowMan makes this one pretty lengthy.

 Time to begin the postgame!
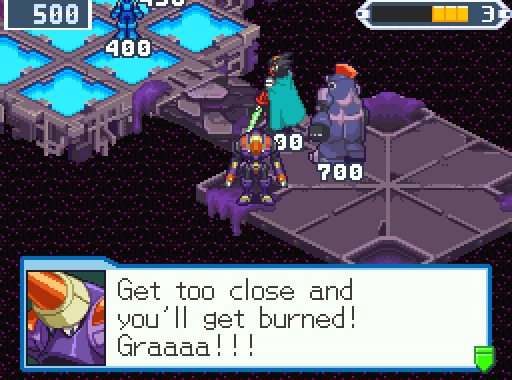
As usual, TP Chipping in NapalmMan kicks things off. Supposedly I'll finally start finding more of the things now that the postgame's gotten underway.

As you can see, the Liberation Mission does indeed have all V2 viruses instead of V1s. I could have gone out and gotten my hands on better chips from the released V2 viruses when I opened the portal, but wanted to get things moving already instead.
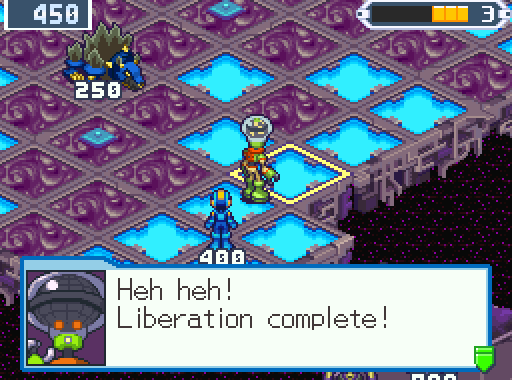
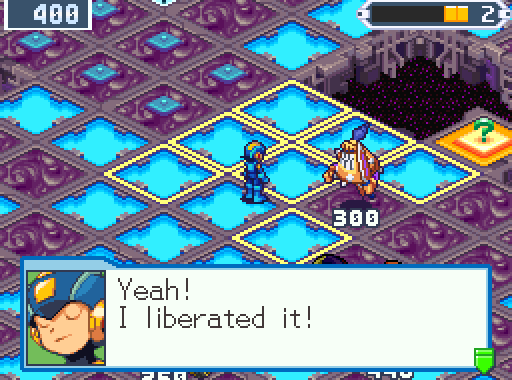
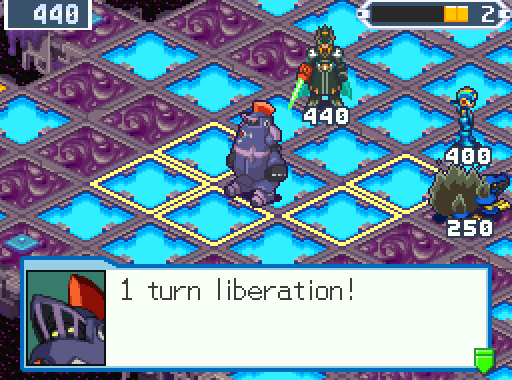
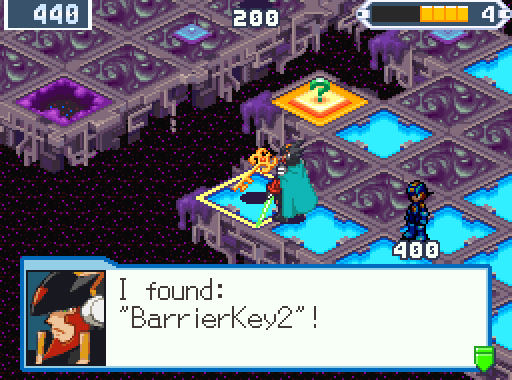
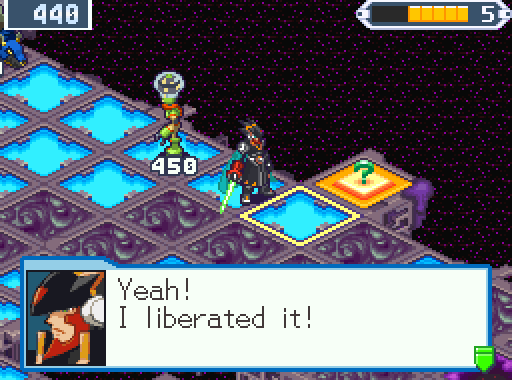
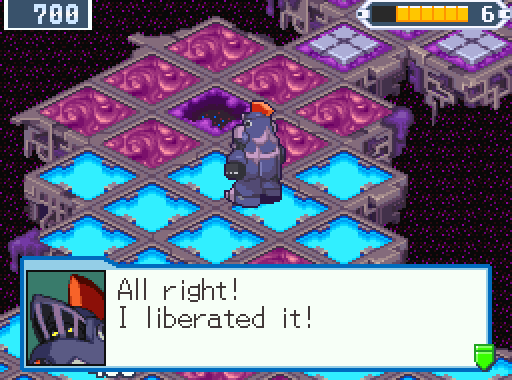
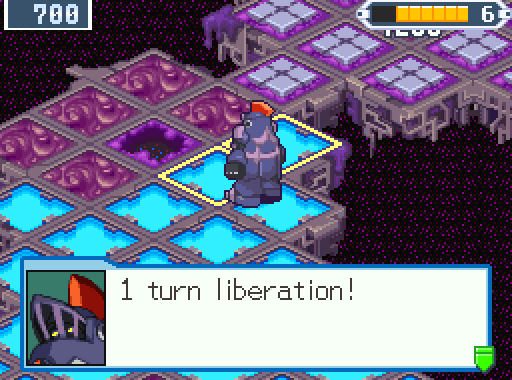
NumberMan opens things up by liberating this single panel. You'll notice a sharp drop in 1-turn liberations here, naturally, but I still do get quite a few in. Also, due to the much higher difficulty, especially in terms of finding the BarrierKeys, I'm making much more use of my once-a-phase (read: once-a-phase savescum) save opportunity.
Normally this situation ends with KnightMan tearing shit apart in a single turn.
Not this time. Not in the NebulaArea.
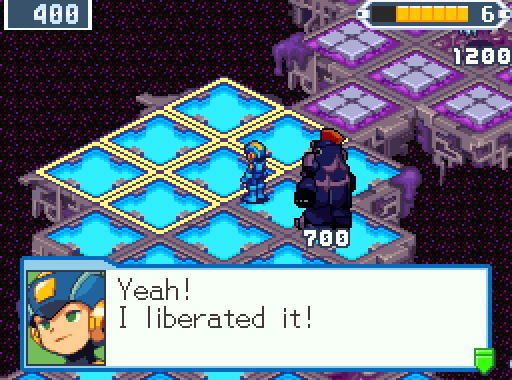
Having cleared the way for an ideal shot, NapalmMan blasts a way forwards, as well as exposing a DarkHole.
Best to handle that as soon as possible, I know that Bladia is going to give me a headache if I let it live.
Ugh. I just know the damned key is somewhere in there. And with the difficulty at a level where I can't just assume I'm going to succeed every battle like before, that BonusPanel is pretty attractive.
 Yes, ShadeMan AGAIN! All the Darkloids make yet another comeback in the postgame. Needless to say, I won't be making videos of them because the FactoryComp fights showed them off so much better. None of them have anything new besides more HP and damage.
MegaMan opens phase 2 by snagging the BonusPanel that he exposed by liberating that DarkHole. I don't know if the roulette for BonusPanels is weighted or not, but I get this pretty often.
Remember: BonusPanels don't use up a turn. Switching to KnightMan, we thankfully return to the norm of KnightMan smashing whatever is stupid enough to be in the way in a few seconds.

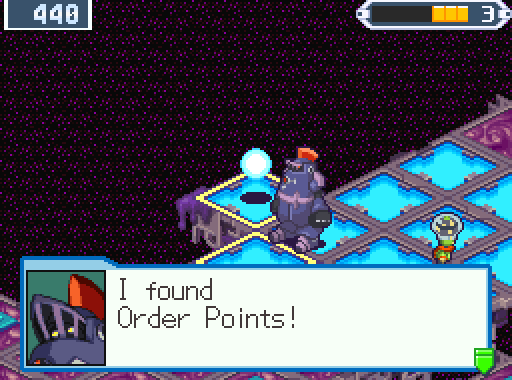
I like how this section is designed. No matter if you're using SearchMan or NumberMan, it'll take you 2 turns to check everything here. And it's worth the Order Points, just look at all those things.
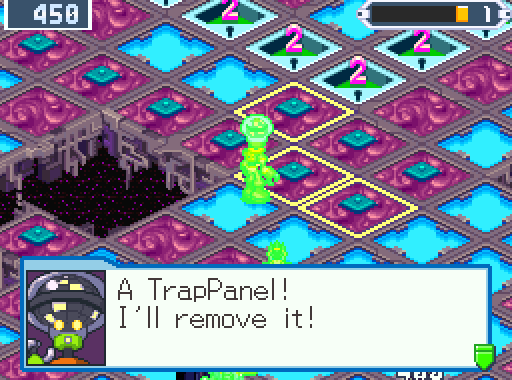
I was surprised that only half of the ItemPanels were traps. The items are mostly Zenny here, no needle-in-a-haystack BarrierKeys.
I was hoping for a 1-turn liberation here, but these sorely-needed Order Points make it worthwhile anyway.
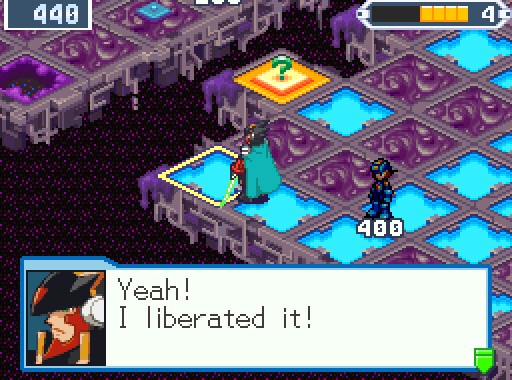
Colonel moves in. Dammit, again, I was hoping for a 1-turn!
The consolation prize is pretty worthwhile, to say the least. This opens up the next section of the mission, actually, you get the BarrierKeys in reverse order here.
NapalmMan can't get an ideal vantage point for Napalm, and the others have all used their turns, so he can at least expose the BonusPanel. I'll save it for later though, I'm doing fine currently.
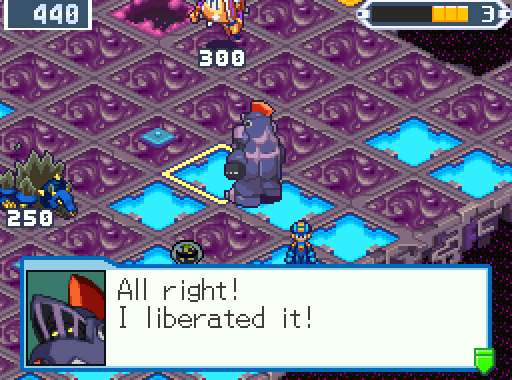
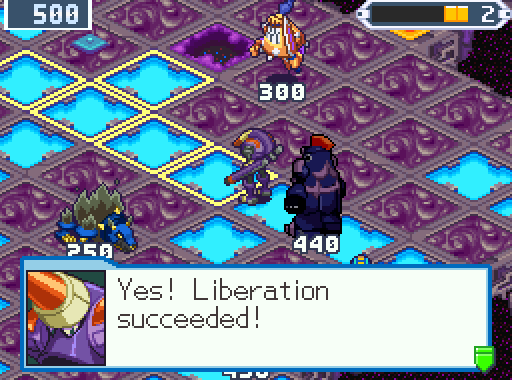
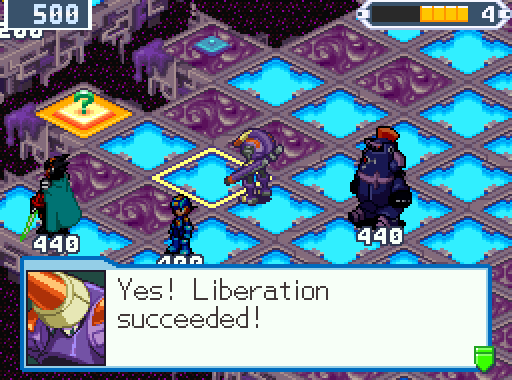
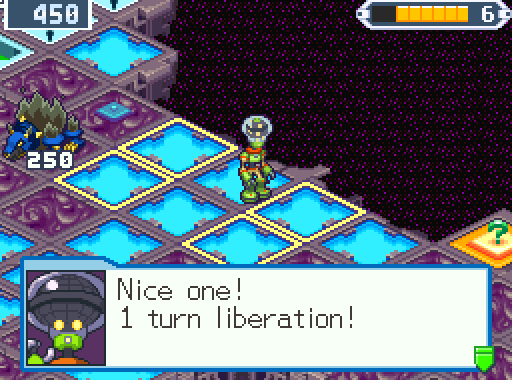
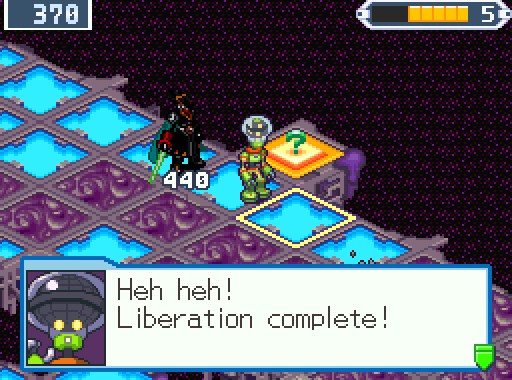
It was fortunate that the TinHawk moved here. As a reminder, DarkGuardians on the field are always one on one fights, so they make for very easy 1-turn liberations.
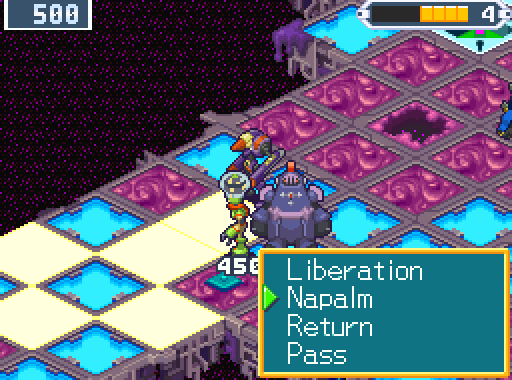
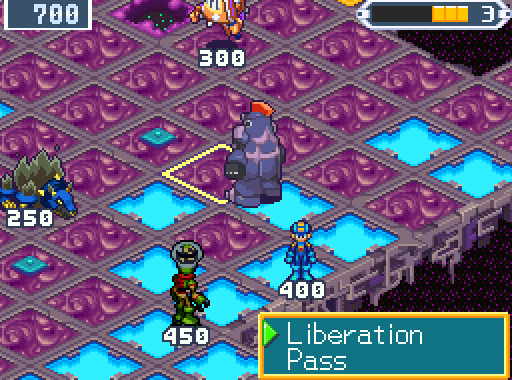
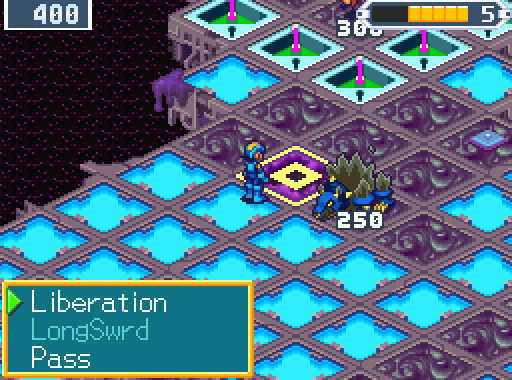
Moving just ahead, it's worth noting that Napalm does work in this situation where the 'target' panel is already liberated. Any Order Point action (besides ShadowMan's and ToadMan's, which do other things) only requires that the panel in front of the user be a DarkPanel or ItemPanel.
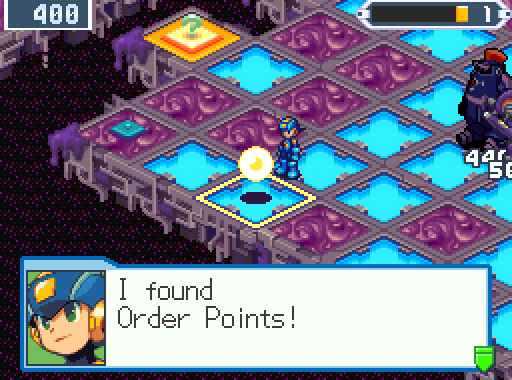
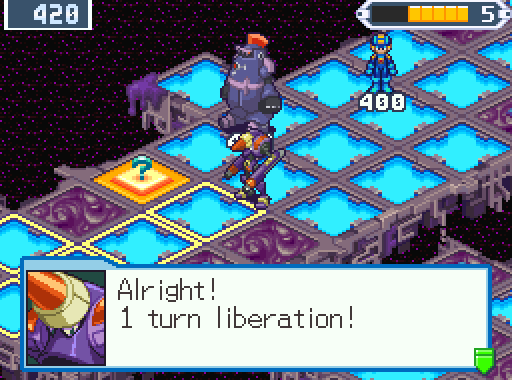
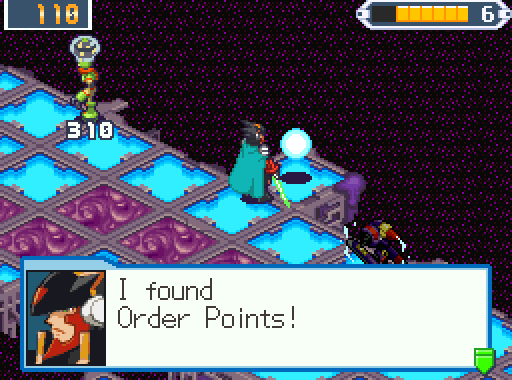
KnightMan gets a 1-turn in the area NapalmMan opens up, and finds a cache of Order Points in an ItemPanel. What luck!
Making use of the save, I used NumberMan to check some of the local ItemPanels for anything worthwhile. Nothing, so he gets sent to the other side of the field to begin down that arm. The whole area has a diagonal, lowercase t-shaped layout, you see. Both 'arms' have DarkHoles, but since I already found one of the BarrierKeys, only one of them is worth poking around for the other in.
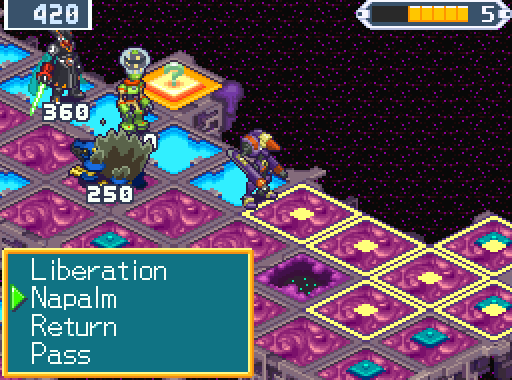
The next phase opens with a bang in a very literal way.
Due to Napalm, however, no matter which way I attack the DarkHole from, I'll be surrounded. KnightMan is the specialist for this kind of thing.

And even then he takes a 300-damage beating.
Bah, I should have used ScreenDivide. I was hoping for a 1-turn. As usual, I wind up with a surplus of Order Points because I'm so stingy with them and don't expect the game to give me so many.
Once again, I'll save the BonusPanel for later.
MegaMan finishes up the phase with a 1-turn I forgot to screenshot and then begins the next by attacking the DarkHole he opened up.
This'll open up the DarkHole, but I know damn well what's likely hidden in at least one of all those ItemPanels...
 Fucking shit!
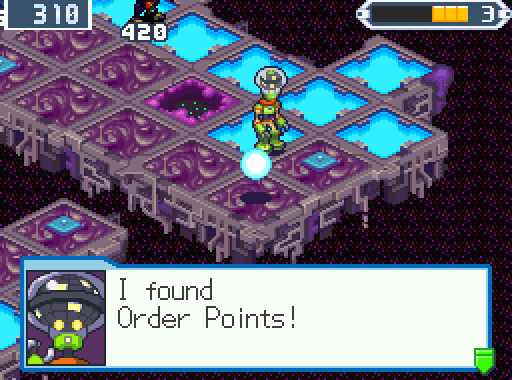
NumberMan gets sent in to search the ItemPanels. He's really being very useful in this level. His first result is helpful.
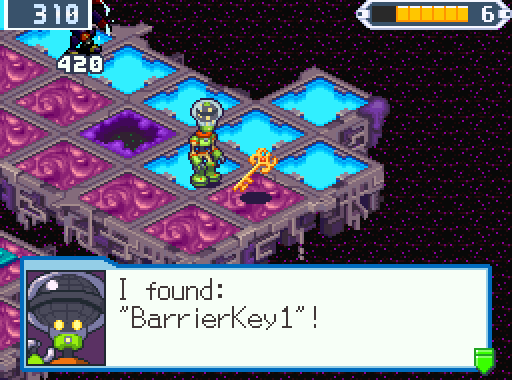
The second is mandatory and much appreciated. That's all the keys found, so now it's on to cleaning up the last of the DarkHoles.
Colonel handles this one, we need a Navi with above-average offense.
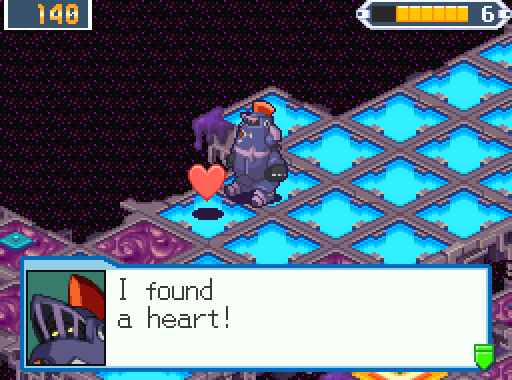
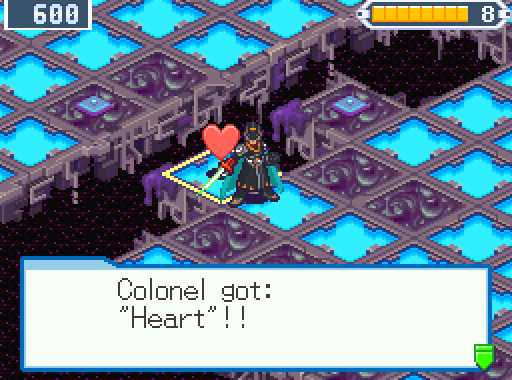
KnightMan's the only one left, and with such low HP, I'm very grateful he got the Heart from a BonusPanel to restore his HP to full.
There was a Bladia here, and we all know what it'd have done if I'd gone after any of the other DarkPanels. Bah, I was hoping for a 1-turn, but Bladia's can be annoying about that.
The DarkHole spawns a replacement, so KnightMan opens the next phase by spawn-camping the damned thing and opening a way to the DarkHole.
What can I say? Bladia's are irritating.
There we go!
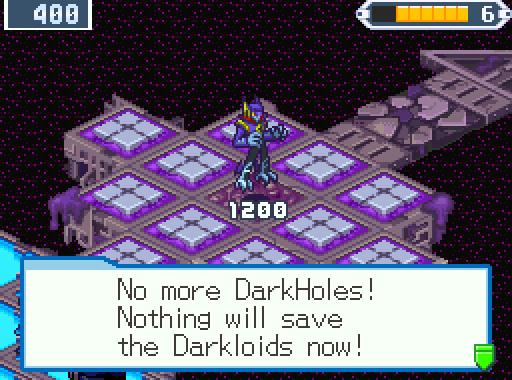
And really, CockMan aside, this is always a Darkloid death sentence.
I was hoping for a heart from that BonusPanel for Colonel, damn.
The panel I left back by the beginning was, thankfully, very obliging about coughing one up. I admit, I got really lucky several times over the course of this mission.

That opens up ShadeMan, so everyone can pile on the damned vampire next phase.
You'd think he'd do more damage, really.
Game! That's cheating! ShadeMan is only supposed to be able to do that if his target is next to a DarkPanel. NapalmMan is, but ShadeMan's attacking from empty space rather than said panel.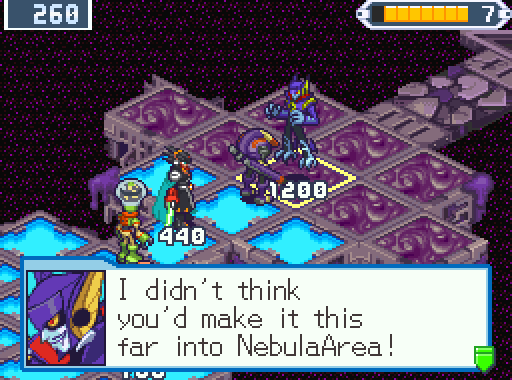
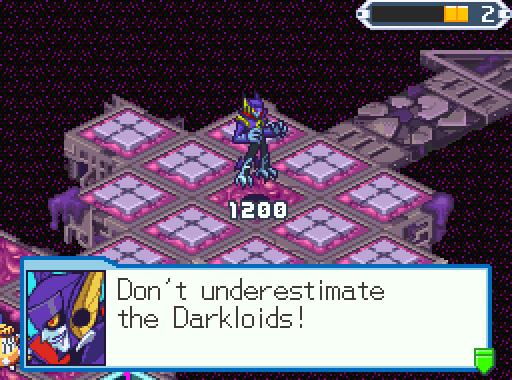
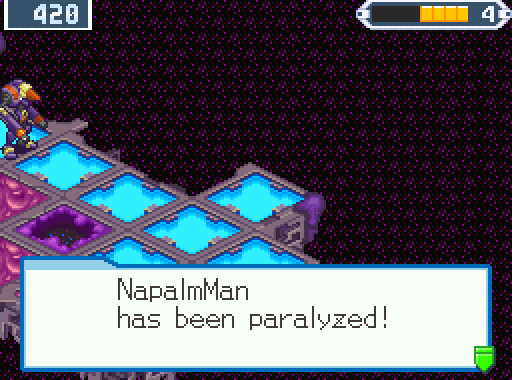
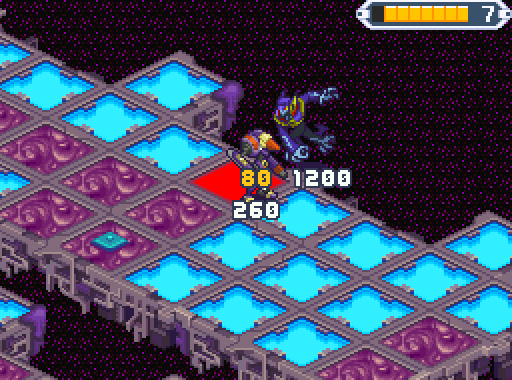
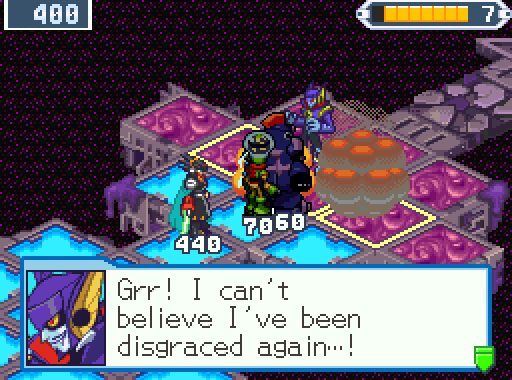
Next phase opens with NapalmMan, now freed from the damned paralysis trap, initiating the assault on ShadeMan. There's some special dialogue as well for the NebulaArea confrontations.
 Also some 'special' dialogue, for that matter.
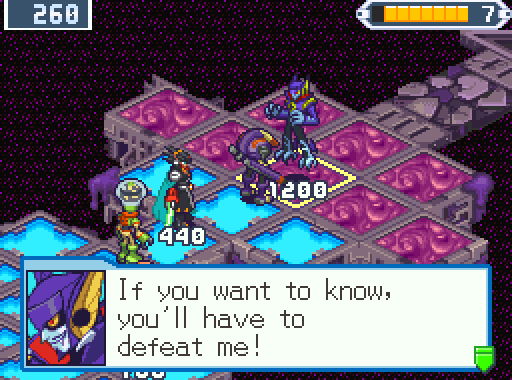
Sure thing. As I mentioned before, no videos for postgame Darkloids.
It's been a while, so you can be forgiven for not realizing it, but all the Darkloids repeat their original "Oh no, I'm exploding" text from their original Liberation Missions. This can get weird sometimes. Although I wonder why the pre-battle was changed but not the post-battle.
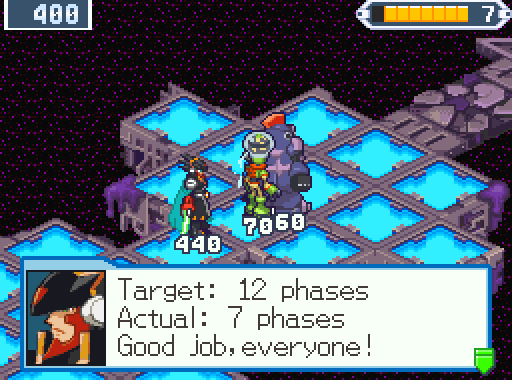
Oh hell yes, 5 phases under par even in the postgame. The final Liberation Mission of the postgame is pure hell though, so I expect to finally be given hell. Probably the game's way of getting even.
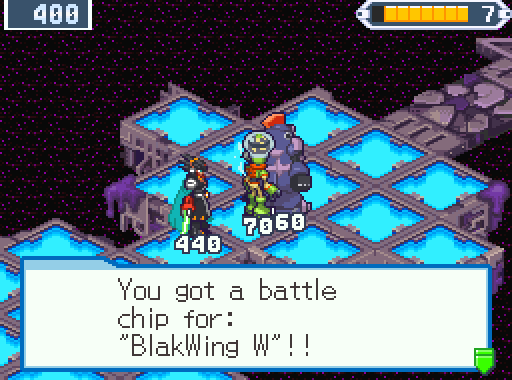
The postgame Liberation Missions are different with their rewards. The normal reward is the DS chip of the Darkloid, the special reward is one of the EvilChips, which much like last game can only be used by dark-aligned players.
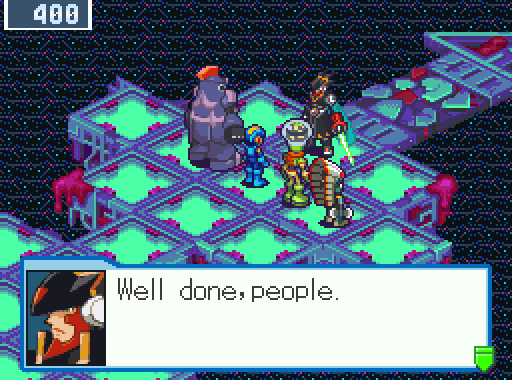
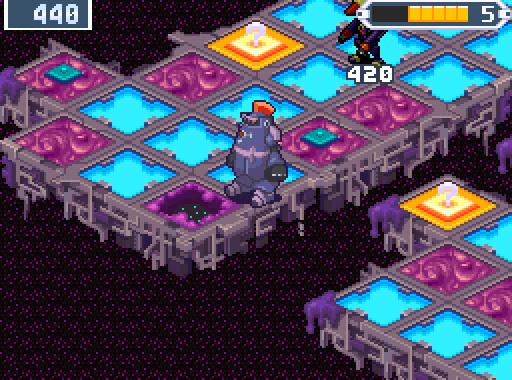
Oh god, the actual color palette for the postgame is hideous.
The rest of the team jacks out, presumably covering their eyes.
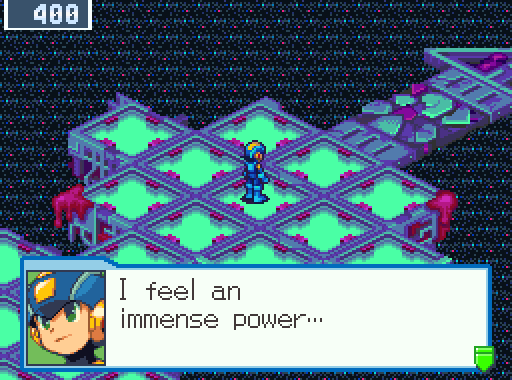
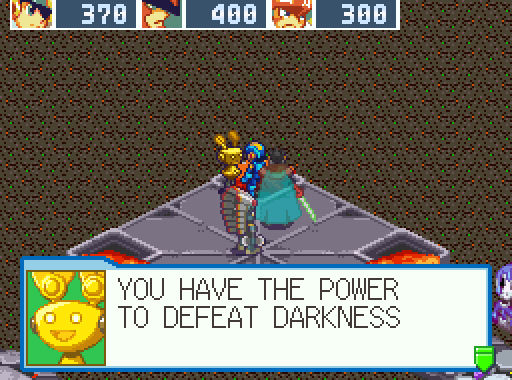
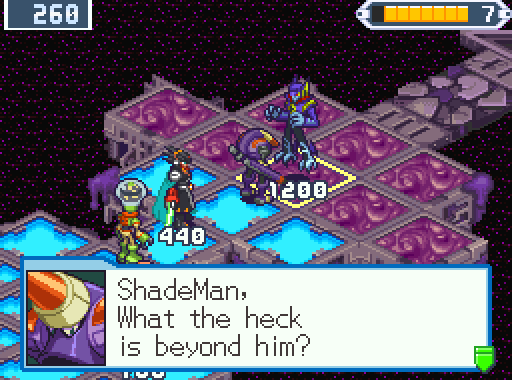
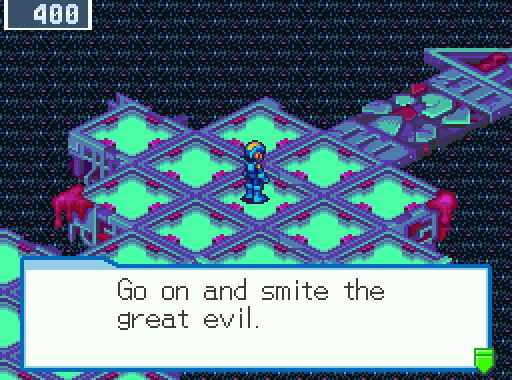
Usually, whenever MegaMan says this, it's time to prepare yourself for a showdown with Bass, but for once, that isn't the case here.

MegaMan is worried, but whoever this voice belongs to is on his side, against the evil of the area.
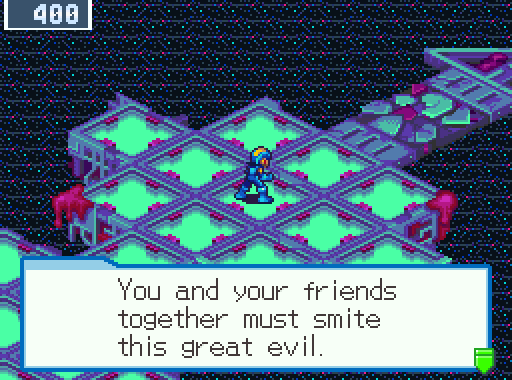
The voice's identity isn't revealed, but it's pretty obvious in a bit.
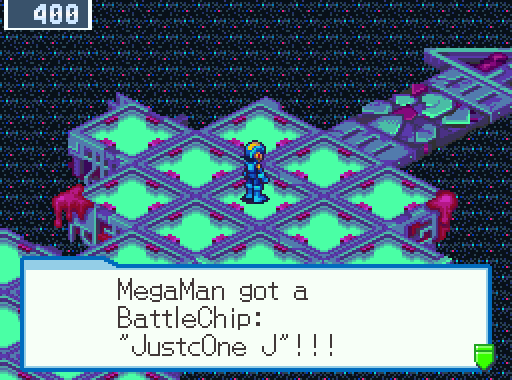
I'll give the voice credit, it's not often a quest-giver actually provides something helpful. And boy is the JusticeOne J chip helpful! A MegaChip, it sends a giant Duo fist down to punch the center square of the enemy field, dealing 280 damage to it and the surrounding panels as well as cracking all of them. This is the closest thing to Anger Impact in chip form, and powerful to boot, so it's going straight into the folder.
And yeah, the chip being Duo's fist makes it obvious who the voice was. Let's not even ask how.
I mean, the speed of light is even being exceeded, in a moment of Capcom Fundamental Physics. Duo's asteroid is who-knows-where in interstellar space, how he could react to something that happened on Earth and send a message in under a minute is anybody's guess. Light takes 8 minutes to reach Earth from the sun, for reference.