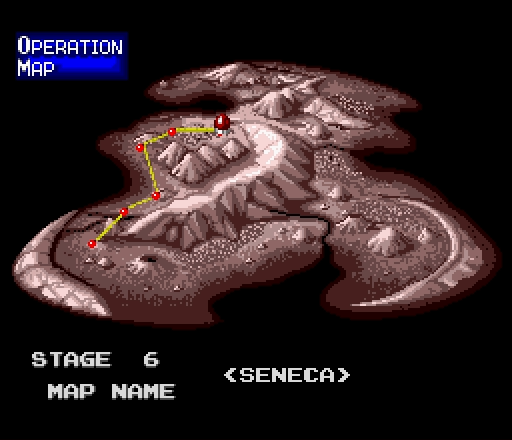
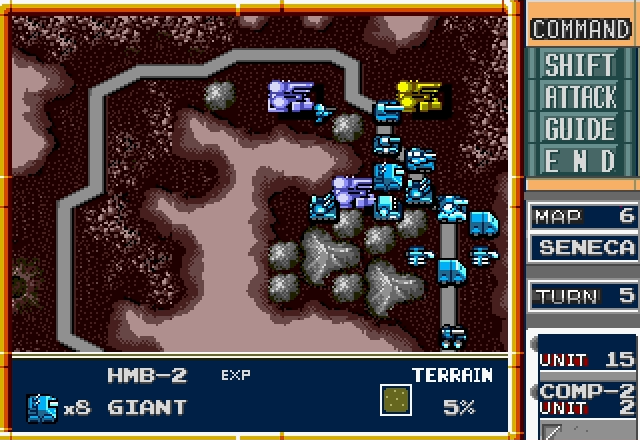
Part 7: Really? At SENECA
Stage 6 - SENECAThose of you who were waiting for a harrowing battle I scrape through by the skin of my teeth...well, you'll have to keep waiting.
I'll tell you right off the bat that Seneca's not going to give me anything resembling an actual challenge, so I'm going to use this chance to demonstrate some of the techniques I'll be using to make later missions winnable.
What makes later missions winnable makes this one a complete joke.
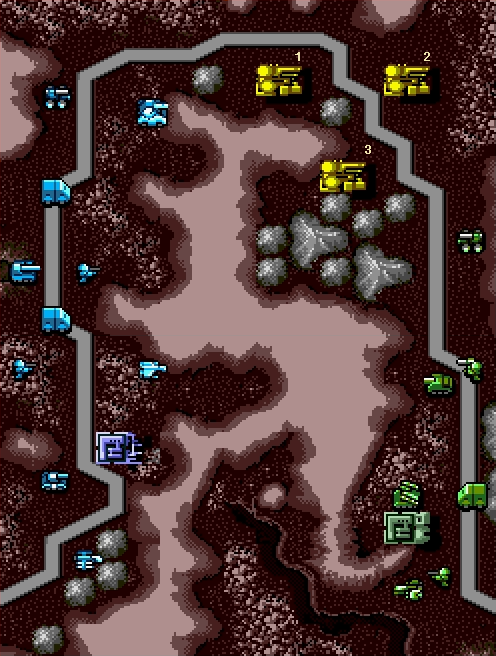
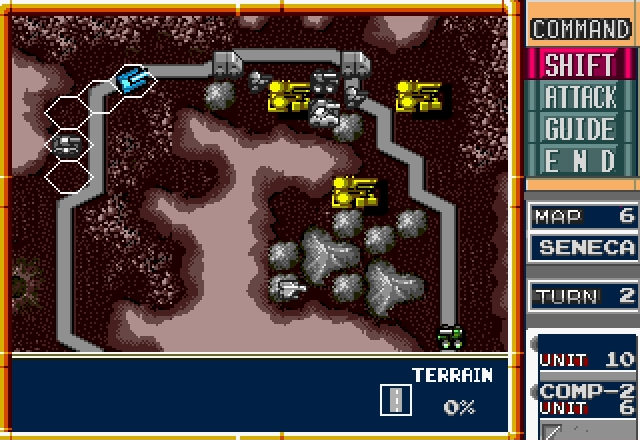
UNITS IN FACTORIES:
1. Eagle, Grizzly, Seeker
2. Lynx
3. Octopus, Seeker, Giant
Since we'll be seeing more factories with more units from now on, I've decided to switch to this format to avoid too much visual clutter on the map overviews. We've seen all of these units in the factories except the Octopus and the Giant. We can see two new unit types already deployed now, so let's have a look at those.
(Also note the enemy Hunter)

There's not much to say about when to use the Falcon, it's pretty much a textbook fighter. At 90 attack power, it's tied for the highest in the game, although the 30 defense means it's rather brittle. It also has the highest movement of any unit at 12 hexes a turn, so overall it's pretty damn impressive.
Ironically, while the game says to keep the Falcon away from Hunters, it's actually another unit on the very short list of those that can effectively fight them. When you compare the Falcon's 90/30 stats to the Hunter's 70/50, it's a pretty even battle. Get the Hunter surrounded and the Falcon will cut it to shreds.
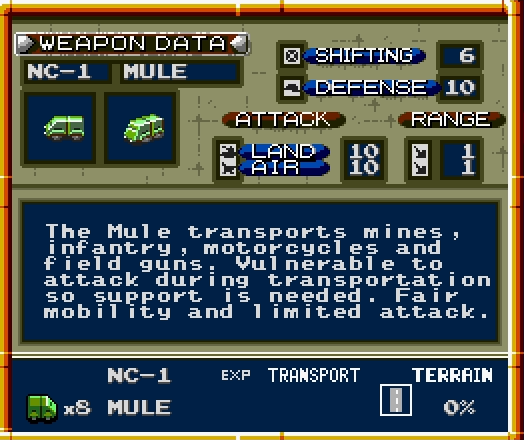
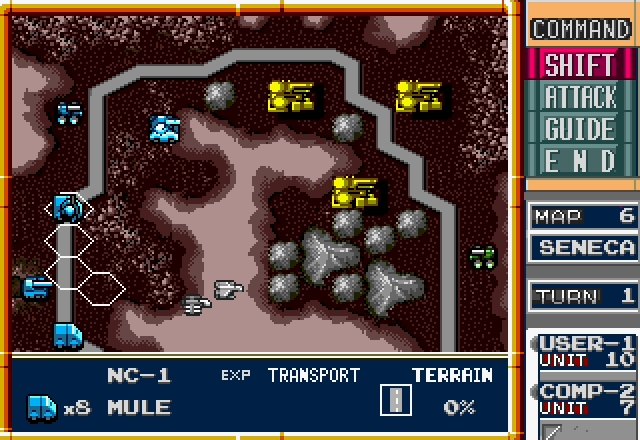
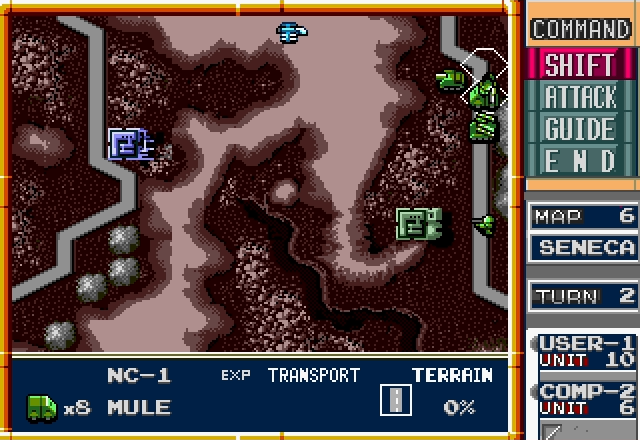
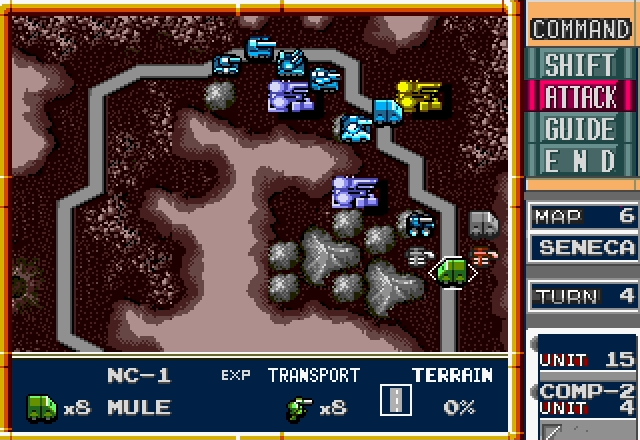
The Mule isn't nearly as statistically impressive, but it's still useful. We haven't seen most of the units it can transport yet, but as long as it's on a road it can help Charlies move around twice as fast, so that's always good.
Unlike the Advance Wars APC, though, the Mule can't load and unload a unit in the same turn, so there's no way to do "short hops." It offsets this by having a gun, but it's not very good and if it's carrying a passenger, it can only counterattack.
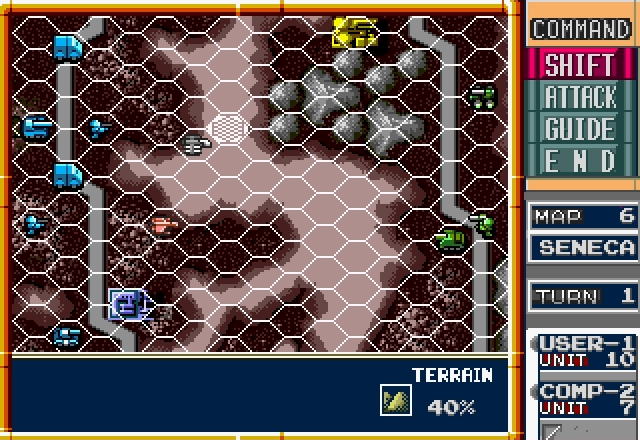
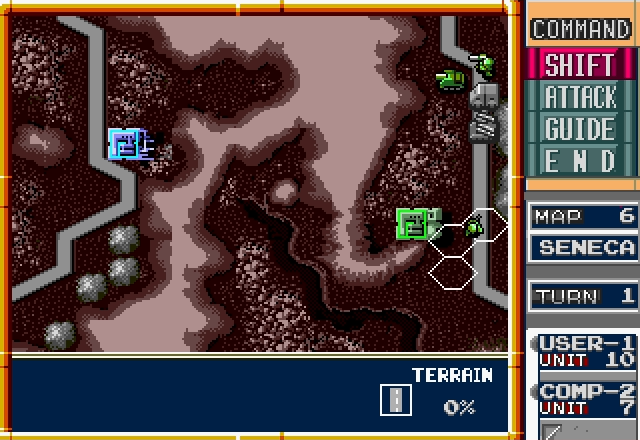
With that done, let's see how ridiculously easy we can make this.

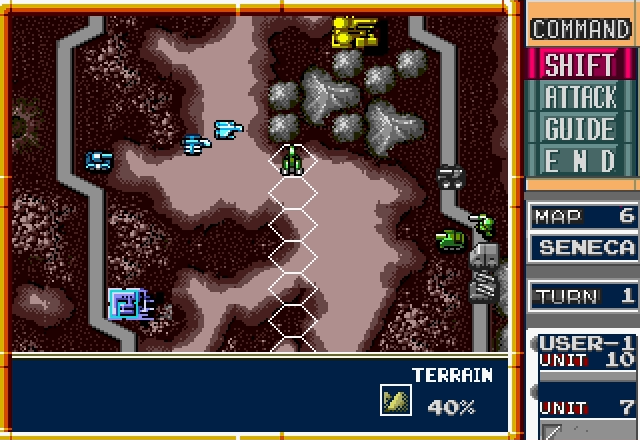
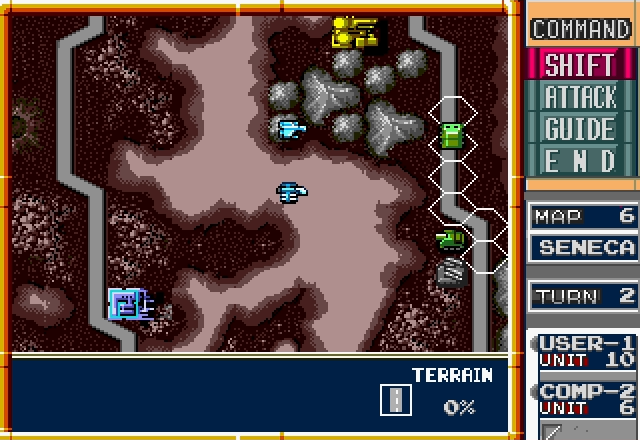
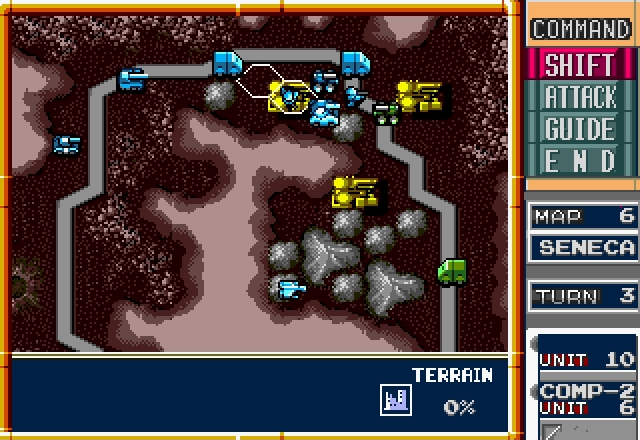
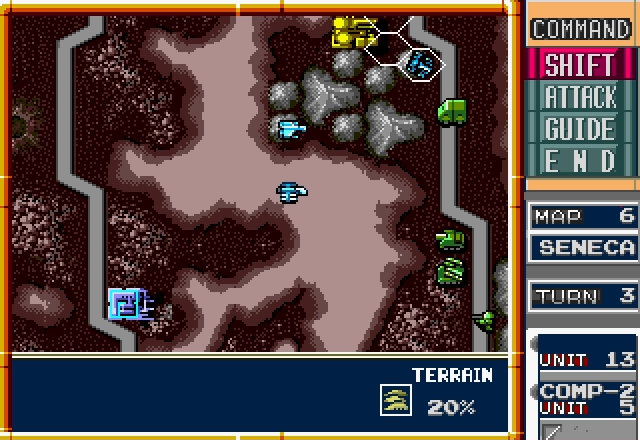
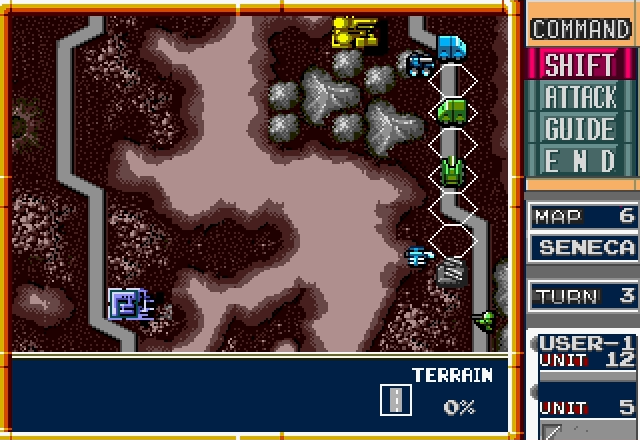
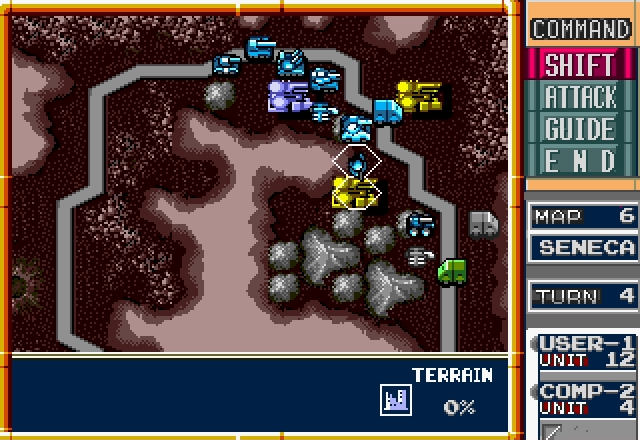
We need to bait the enemy Hunter to lure it out of their Hawkeye's firing radius, so we'll park an Eagle just outside its attack range.
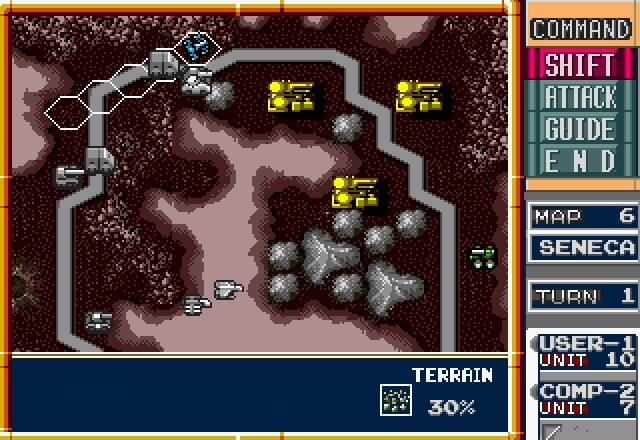
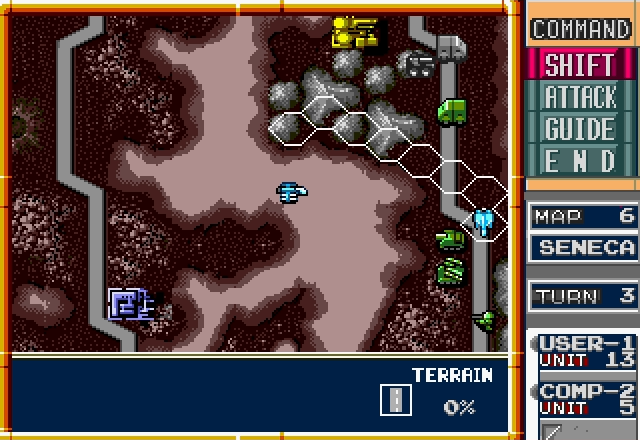
Then we select the Falcon and HOLY SHIT IT CAN MOVE LITERALLY ANYWHERE ON THE SCREEN.

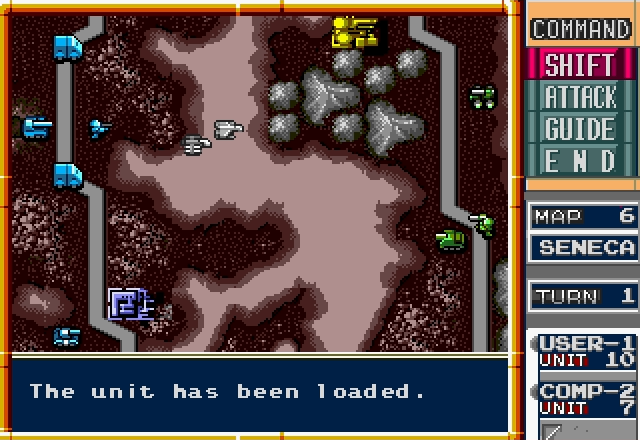
Loading Charlies into Mules works pretty much the way you'd think it does.
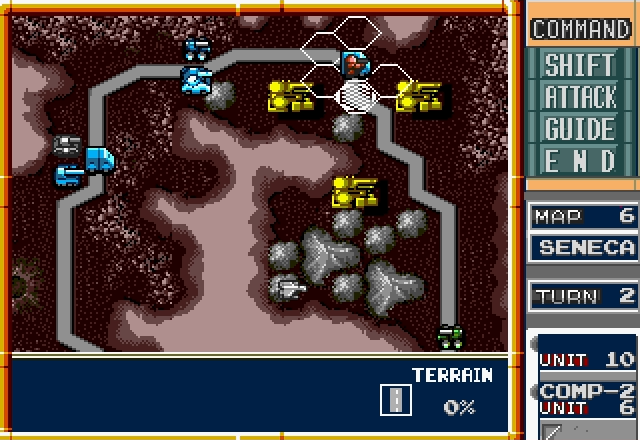
And finally, everyone pushes north so we can control the area with the factories.
This, right here, is the reason that the AI's waves of Hunters are survivable. Since they tend to outpace their other units, they tend to charge right into the fray unsupported since they don't wait for anyone else to catch up. This makes it very easy to outnumber and surround them.
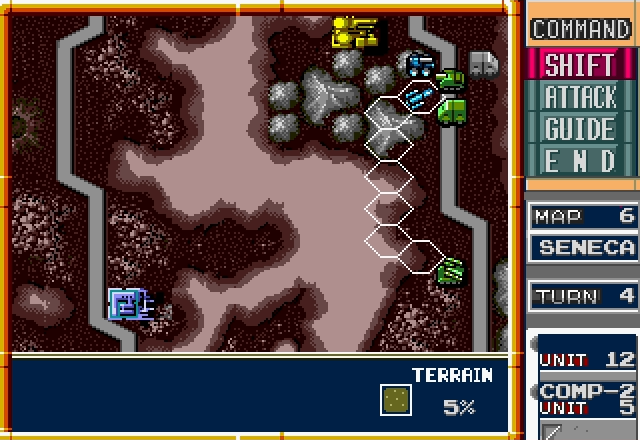
Just as we did, the AI pushes its other units north, although for some reason doesn't load its Kilroy into its Mule.
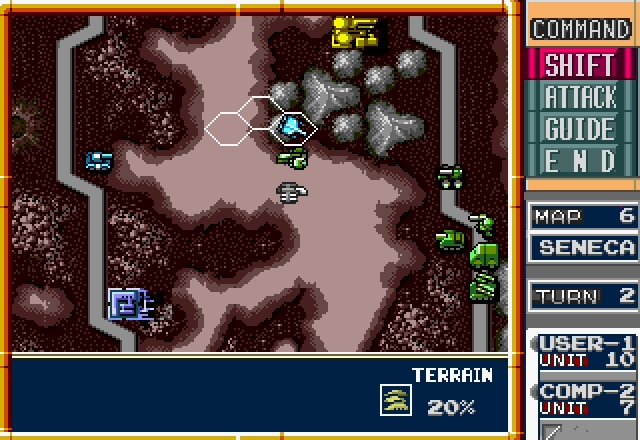
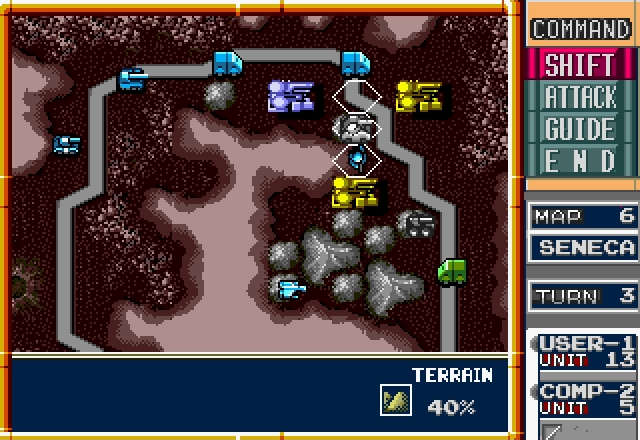
Our turn again, and now it's time to deal with the Hunter. The Eagle moves into position so the Falcon can close in and surround it, stacking the odds hugely in our favor. Even if it survives, it has nowhere to run.
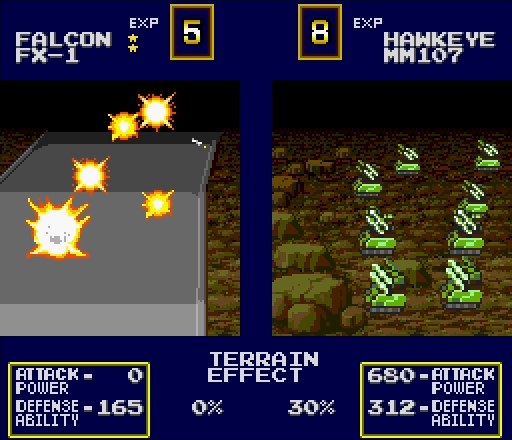
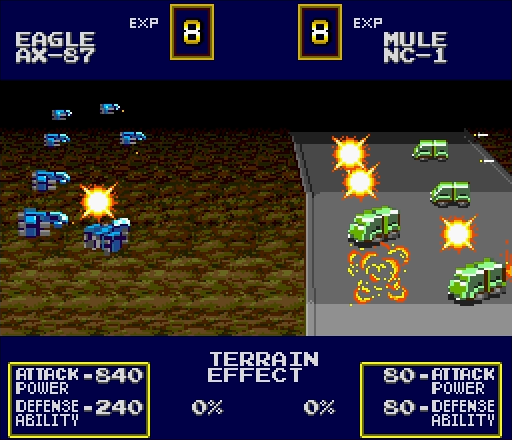
Time to see what the Falcons can do.


"Keep away from the Hunter" my ass!
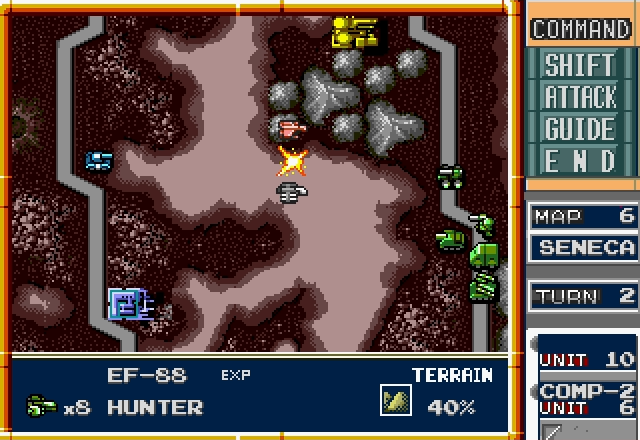
Aaaaaaand that takes care of the sole challenge in this map. You might think the Falcon is useless now, but it's still good for swooping in and quickly surrounding or blocking enemy units anywhere on the map.
Unloading Charlies, much like loading them, isn't particularly exciting.
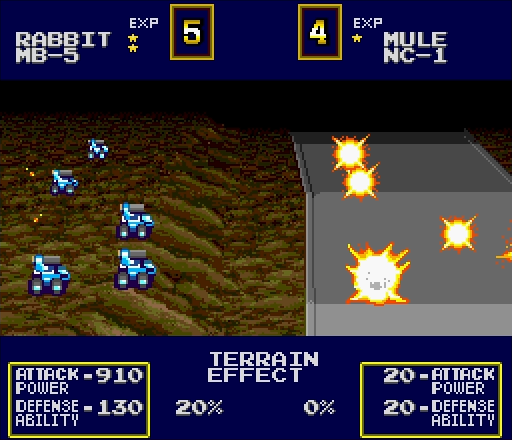
We move the remaining units up, and now we've got a definite advantage for grabbing those factories. Rabbits are tough, but a single one won't be able to oneshot anything I have.
So how will the AI respond?
It decides to make use of its Mule a turn too late.

At the same time, it realizes that maybe it doesn't want me taking every last factory.
That leads to it making the same mistake with the Rabbit it did with its Hunter, although at least the bunny gets a shot off.
The Mule, meanwhile, makes a desperate run for the southmost factory, and with that the AI's turn is over.
Presumably this factory was supposed to give us badly-needed reinforcements for a huge battle in the northeast.
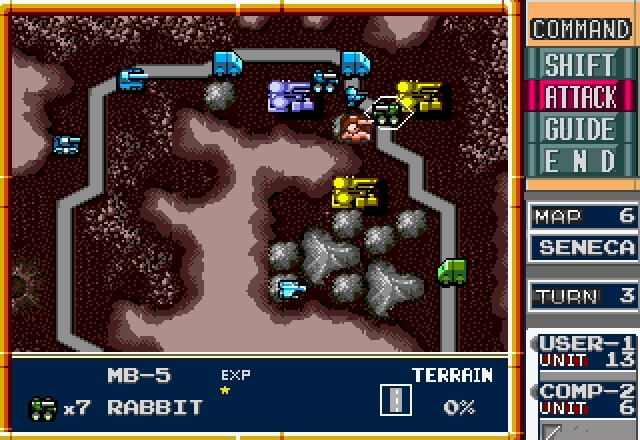
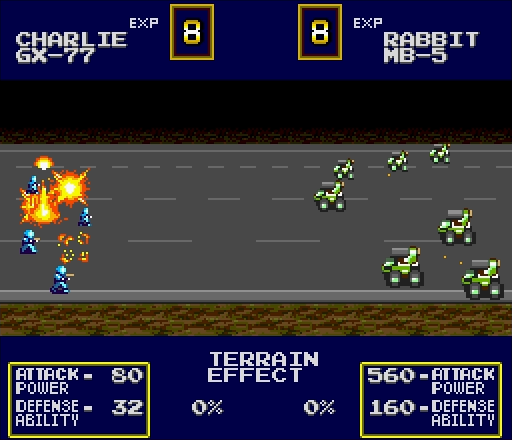
Next order of business, let's kill the Rabbit.
 Well, I guess there are worse times for the RNG to hate me.
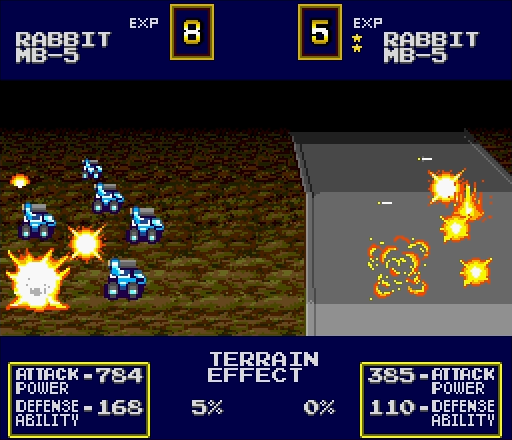
Even with supporting fire and strength in numbers, Rabbit vs. Rabbit battles are always messy.
Tempting as it is to have our damaged Rabbit head back to a factory for repairs, if the enemy takes the one in the south there'll be trouble. Parking it here means its ZOC will stop the enemy Mule in its tracks.
Of course, the way things are going, that might not even be necessary.

It'll be nice to have these three units in the fight, the Eagle especially. You might have noticed our advantage is getting a bit ridiculous.
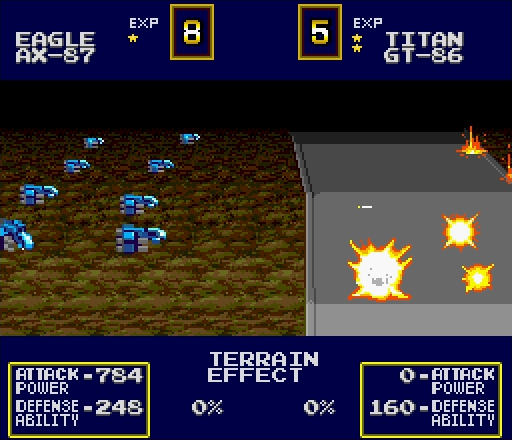
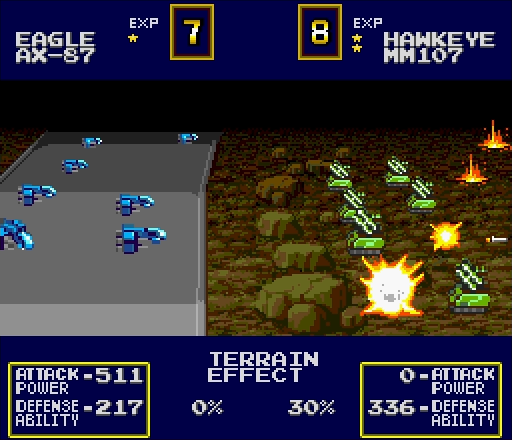
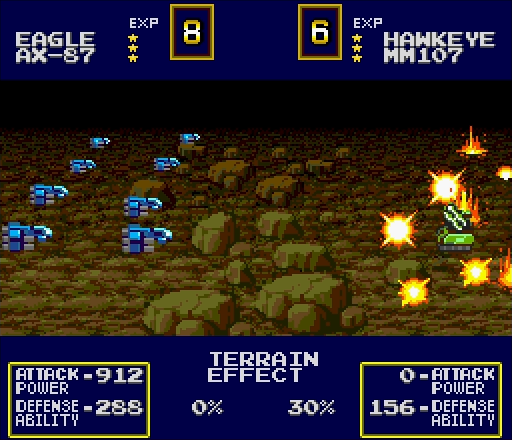
Aaaand this is me being overconfident. As you probably guessed, I was trying to surround the Titan here, but failed to note that 1) Hawkeyes hit like motherfuckers, 2) Falcons have thin armor, and 3) this unit is down to 5HP.
My Eagle moved in, surrounded the Titan, and did 2 damage. Totally worth losing my Falcon for

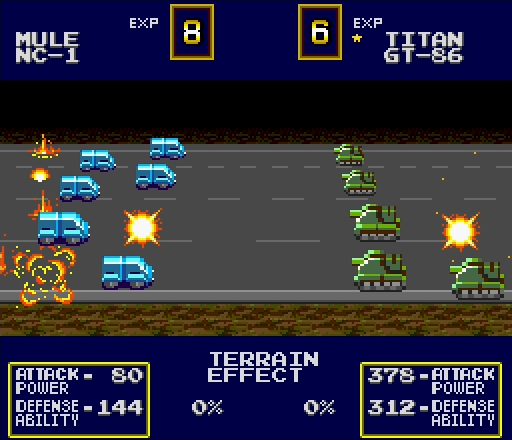
What the fuck a Mule did half as much damage as an Eagle that had the enemy surrounded
Luckily, that's all the AI does on its turn.
When I was playing this part, I counted out the Hawkeye's range easily five or six times to be damn well sure my Eagle was outside of it.
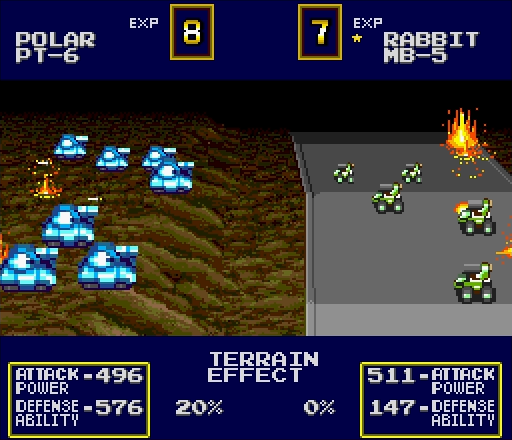
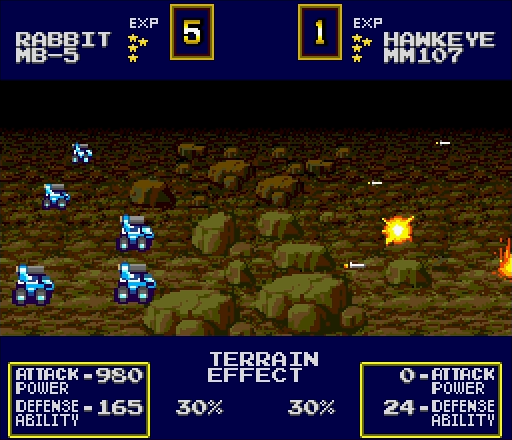
The Eagle does a bit better once it has a bunny helping it.
Speaking of, I'm still waiting for the perfect time to post Monty Python's killer rabbit.
And in other news, we've got the second factory! I'm not going to bother with the one in the northeast, since it only has a Lynx.
I'll show off the new units in a minute. For now, I hope you like to watch me smashing things with Eagles because that's pretty much the rest of the mission.
Well, Eagles and Rabbits.
One interesting thing about Mules is that, since there are eight of them to a unit, they don't quite work like Advance Wars APCs. Every Mule you lose that has a unit loaded in it also means the unit is lost. You can load an 8HP unit into a 4HP Mule, but that means every Mule lost causes the transported unit to lose 2 HP. It can actually get a bit weird with situations like, say, a 7HP unit being loaded into a 3HP Mule. I don't know if the "heaviest" transports get destroyed first, or the "lightest," or if it's random.
Meanwhile, I get the rest of the units deployed and no seriously, look at this. This map is the perfect one to show how being clever about controlling factories can produce absolutely ridiculous results.
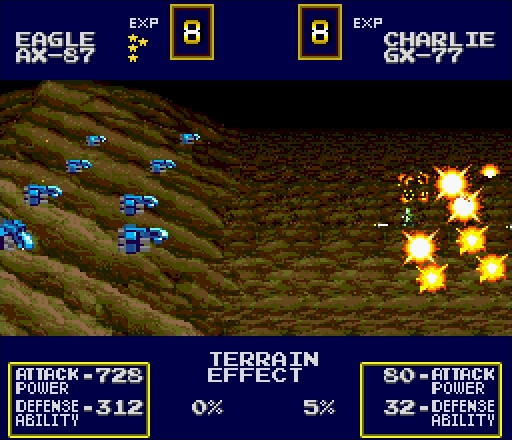
Anyway, how about those new units? That huge tank looks pretty promising.
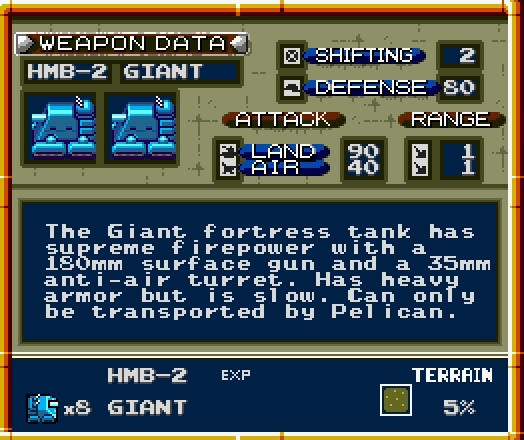

Good. Fucking. God.
The Giant is the mother of all tanks. It's tied with the Falcon for ground attack, and its air attack isn't too shabby either. It's also got a staggering 80 defense. Fighting a Giant on even terms one-on-one is pretty much impossible.
Of course, it has a glaring flaw I'm sure you noticed: its movement is horrible. Even on smooth terrain the Giant takes forever to get to the frontline, and on some rough terrain it isn't fast enough to move at all. These make it easy to surround and outnumber, which is the best way to defeat it.
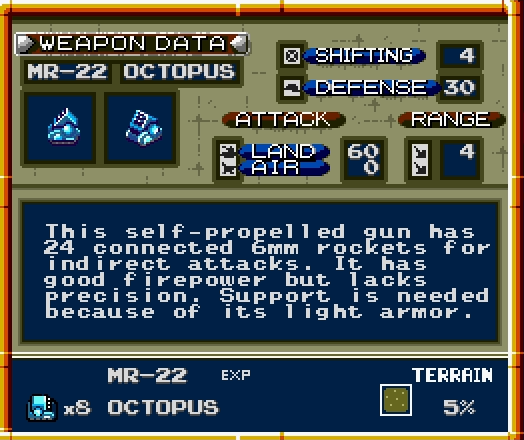
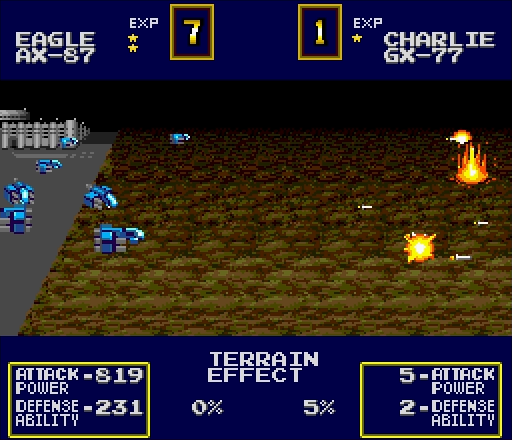
The Octopus is a bit anticlimactic compared to the Giant, but overall it's still a good unit. It's another artillery piece, and it has a bit less range than the Hadrian but it hits harder. Get it protected and close to the frontline, and it does a pretty good job of shredding enemy units.
With that interlude over, we now return to your regularly scheduled carnage:
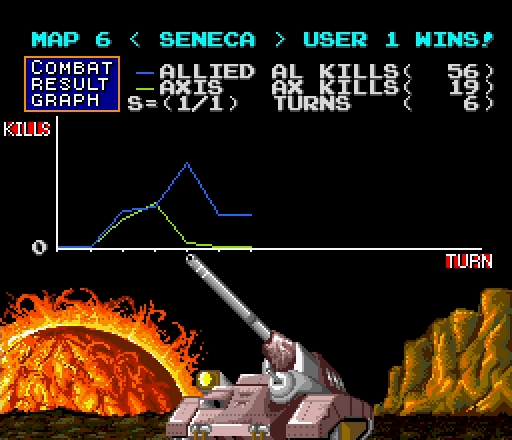
Well, that was embarrassingly easy. The good news is that, after this mission, things will start getting a bit more interesting. Unless we pull off some very risky maneuvers to get factories, the enemy forces are going to start getting a pretty large edge over ours.
NEXT TIME: Mines that don't explode at SABINE.