Part 6: Defying Gravity At NEWTON
Heren posted:
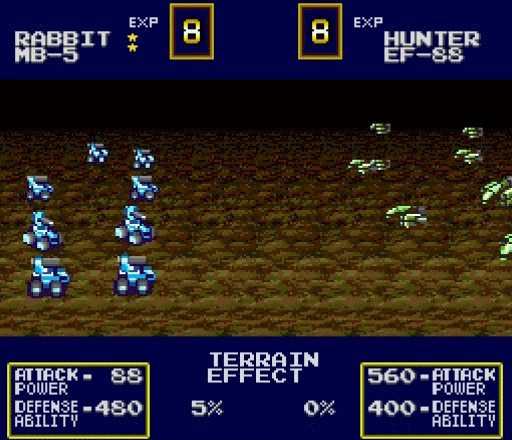
It was cool to see the new units this time around. Thanks for showing them off so well. One thing I liked was how the tanks didn't just follow a linear improvement path but stead split into the high-armor Polars and the high-damage Grizzlies. Thanks for the screenshot of the Eagle's range - it looks like it covered practically the entire field.
Seems like the RNG can be just as fickle as ever. How did you feel about this mission compared to the earlier ones from a difficulty standpoint? Since the enemy AI seems to make some gameplay mistakes I'm curious as to how much of the difficulty in later levels comes from just starting out out-numbered or getting unlucky with the RNG.
Great to see this still going, hope everything has worked out well for you and your family.
Thanks, things are going about as well as we could've hoped for.
Honestly, Ramsey isn't that much more difficult than anything before it by the time you hit it on a second playthrough. By then you already know the tricks it's trying to teach you (fighting air units) really well, so pretty soon it becomes a matter of "shoot down the Eagle, crush them with your better tanks."
Paul.Power posted:
Enjoying the LP. It is a nice touch that they speciated the various tanks into attacking and defensive varieties. The Hadrian's range is definitely a bit, but it doesn't seem to have the attack power of an Advance Wars artillery, so that evens things out. The game feels a little rough around the edges (especially the RNG, my goodness) but I like all the extra details put in like the flanking bonuses and zones of control.
Instant-repair factories lend a whole new terror to war, though.
Glad you're liking it
") I'll be honest, that means a lot coming from the guy who did two very good LPs for a series I absolutely loved.
I'll be honest, that means a lot coming from the guy who did two very good LPs for a series I absolutely loved.You're right about the factories, though, in later maps the strategy pretty much revolves around them.
-----
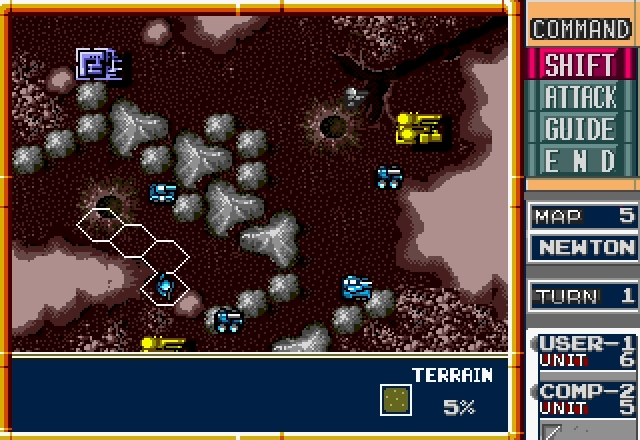
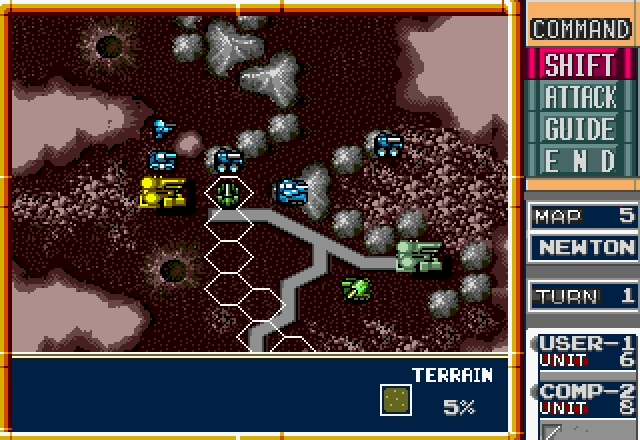
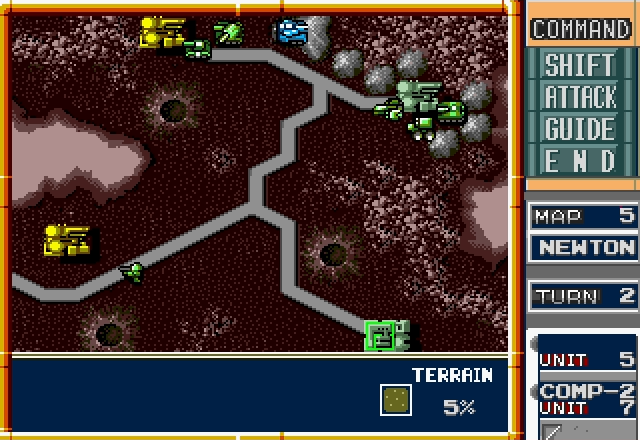
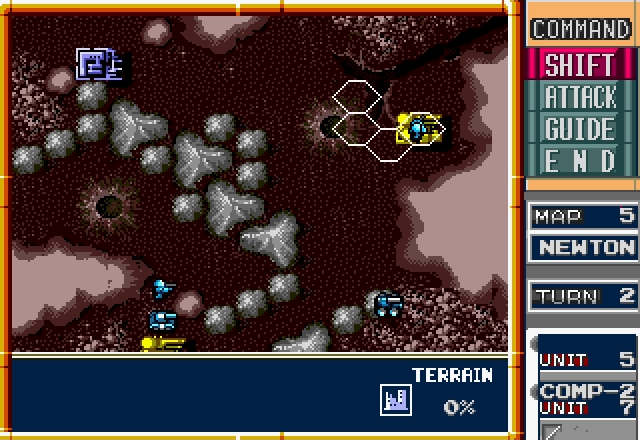
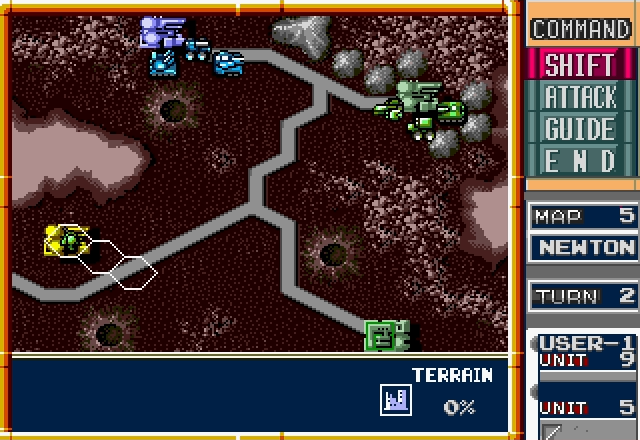
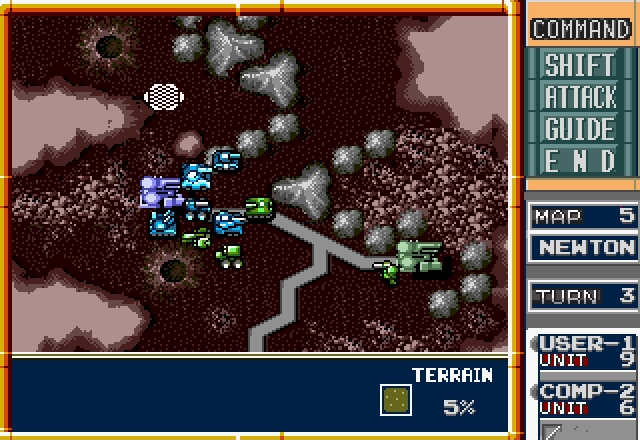
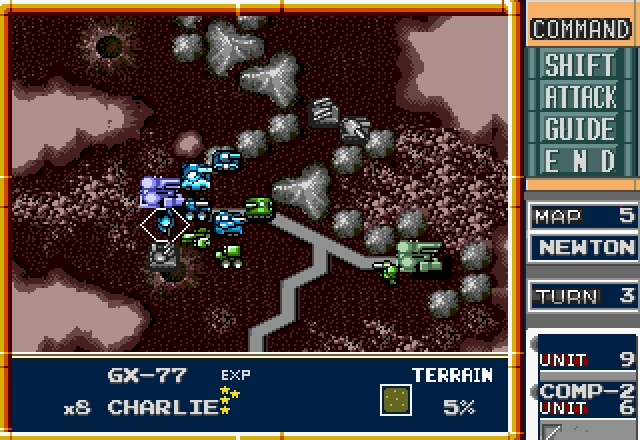
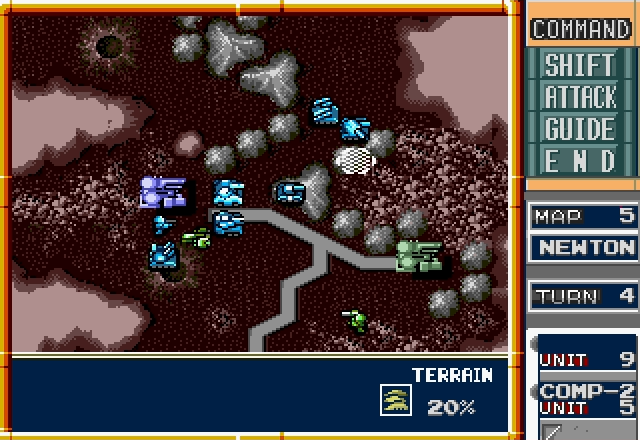
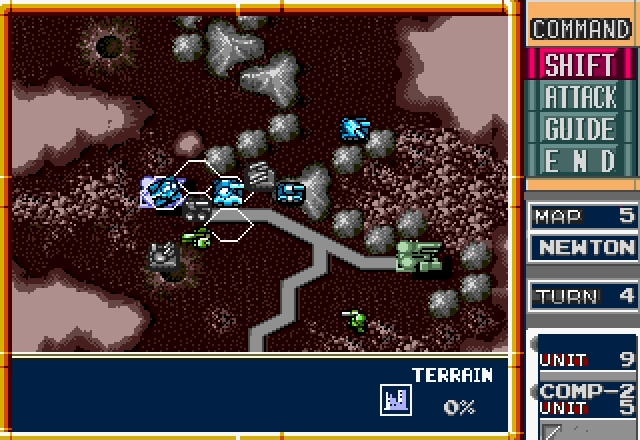
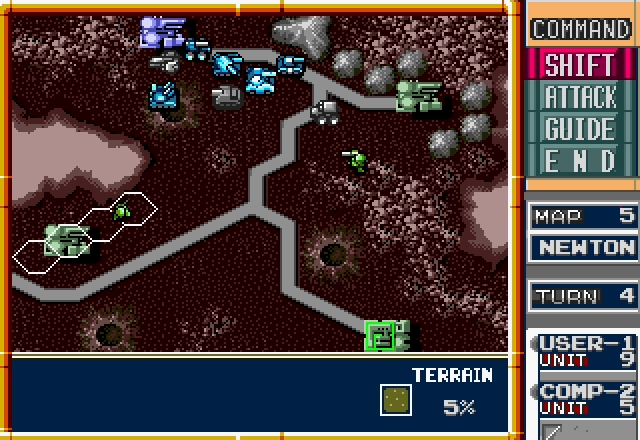
Stage 5 - NEWTON
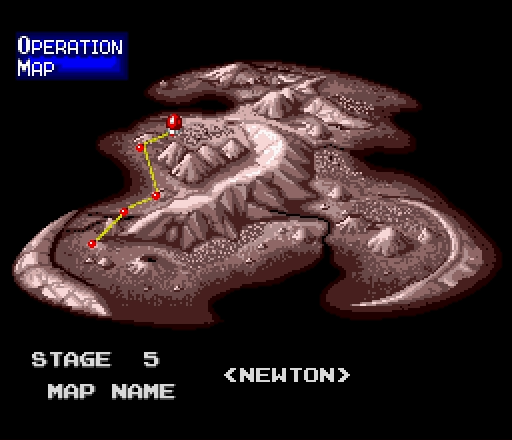
NEWTON's another step up from RAMSEY, but at this point in the game things are still pretty easy. Once again, though, the enemy will have air power and we won't, and they'll be throwing something more dangerous than an Eagle at us.
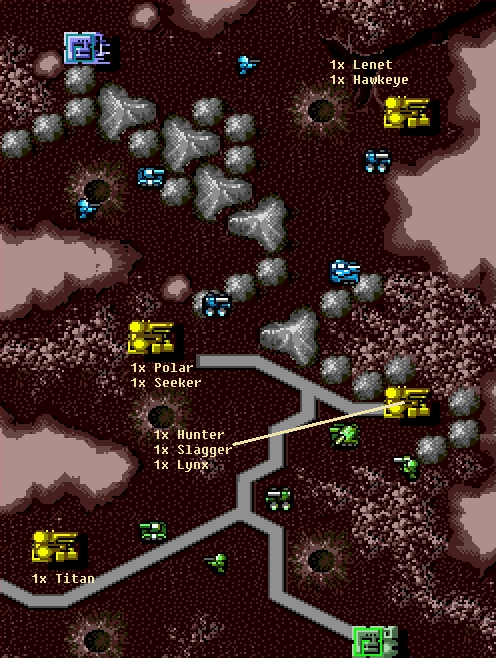
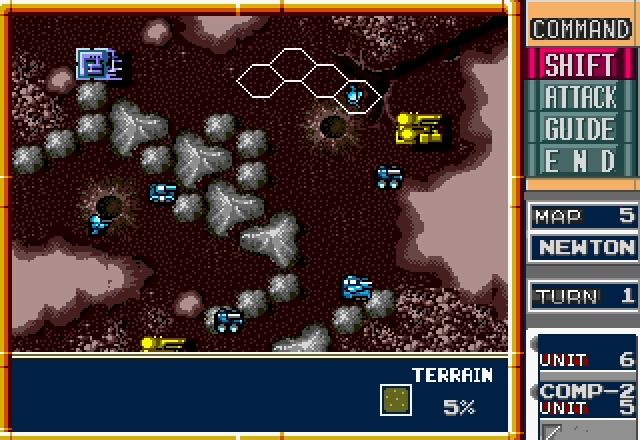
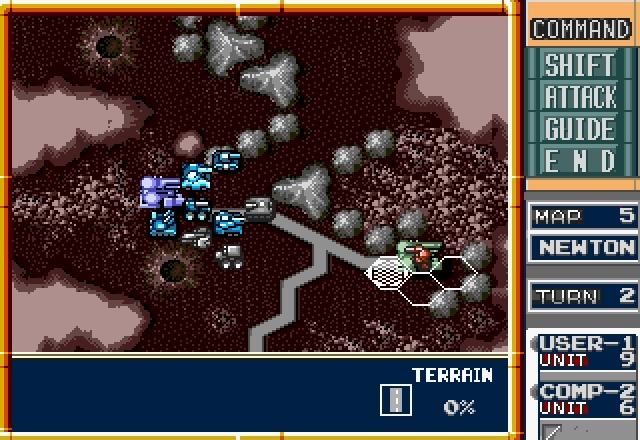
All of the factories start off neutral this time around, but looking at the map and the units it should be pretty obvious who's going to grab what. We've got new units to play with, so let's have a look at the ones that are deployed now.
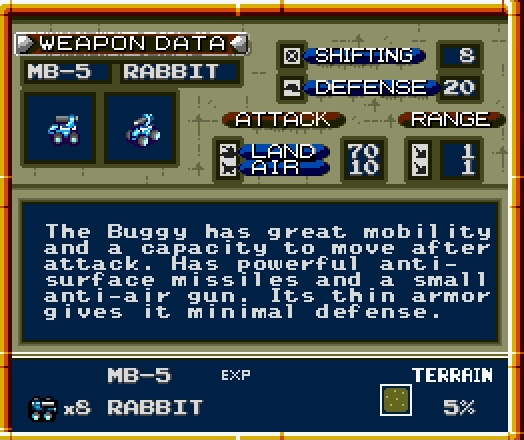


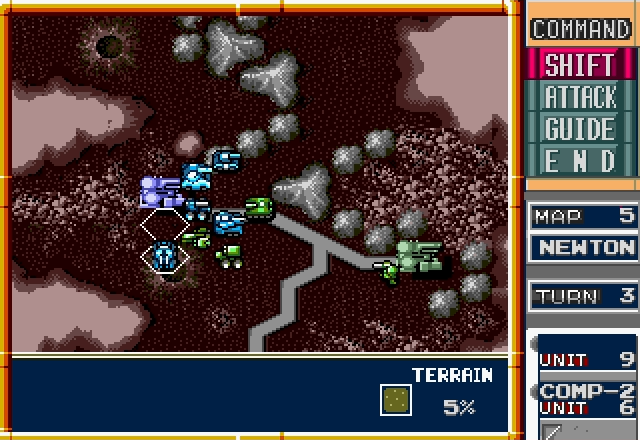
Jokes aside, the Rabbit's a pretty interesting and versatile unit. The most obvious way to use it is go for a classic hit-and-run: zip in, smash up an enemy unit, and zip back behind a wall of your own tanks or into a factory. Another option is to just have it near your other units to give them its support bonus without it getting into a fight. If you do that, though, you can't have it retreat and you risk it getting stuck in the line of fire.
For that matter, since the subject's come up a lot, they're the first unit we've seen that can't really be compared to anything in Advance Wars. The game will be giving us a lot of Rabbits, and while they can be tricky to use, I like them.

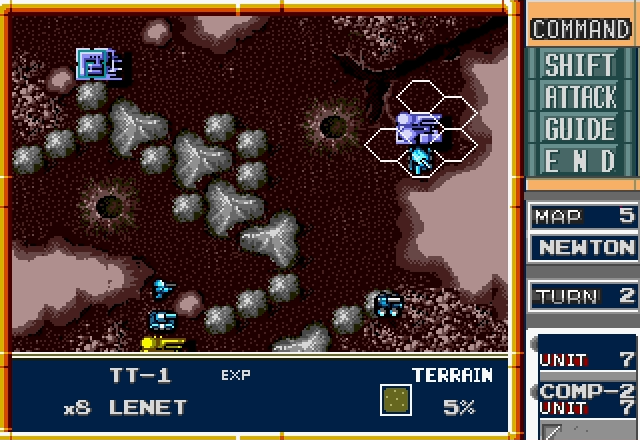
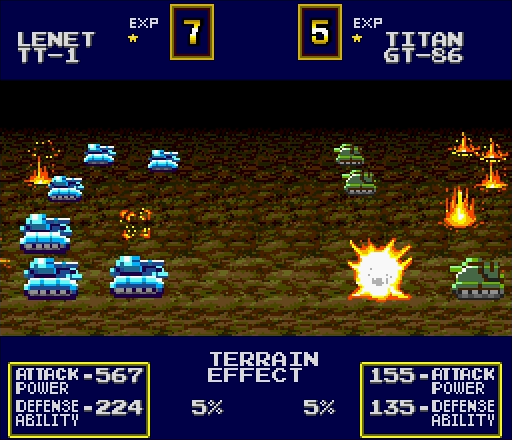
...which is a hell of a lot more than I can say for the Lenet. Its gimmick is that it's terrible, seriously: it's a Bison that's worse at everything. In a game where we don't get to pick our units, though, we don't really have the option of ignoring them when we get stuck with them. We'll just have to put them to what use we can.
The good news is that the computer seems to get stuck with these more often than we do.
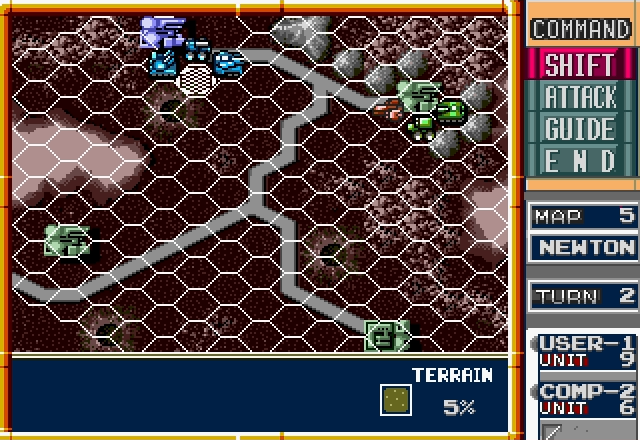
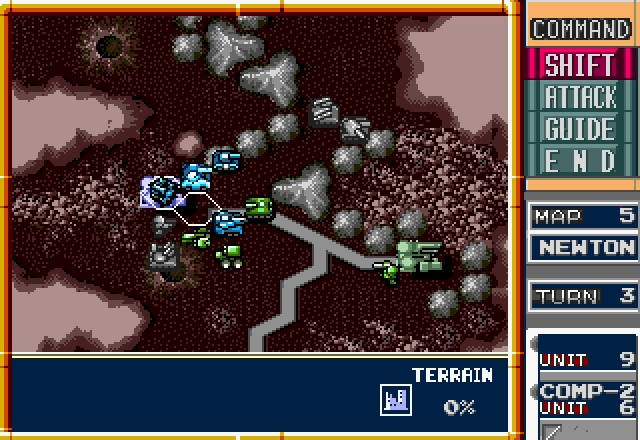
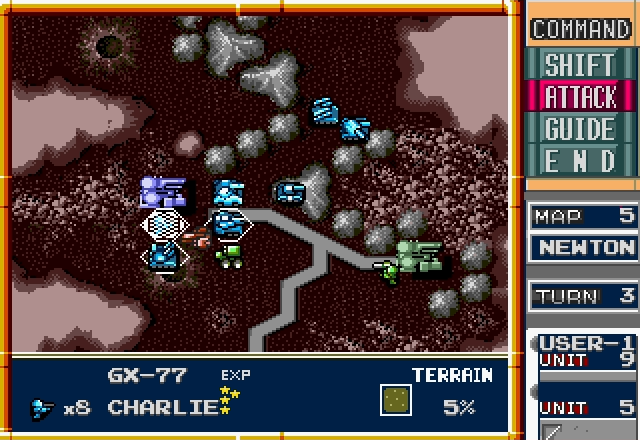
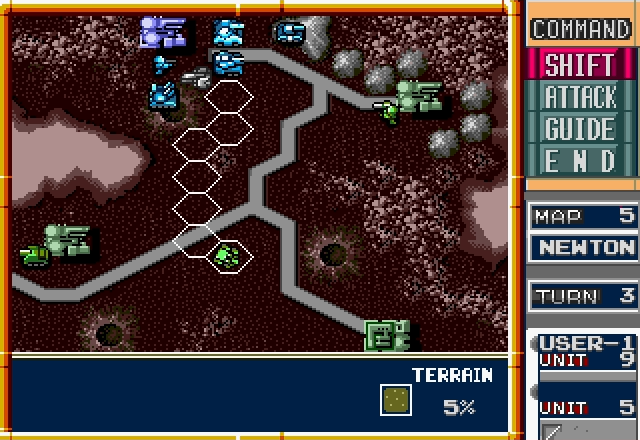
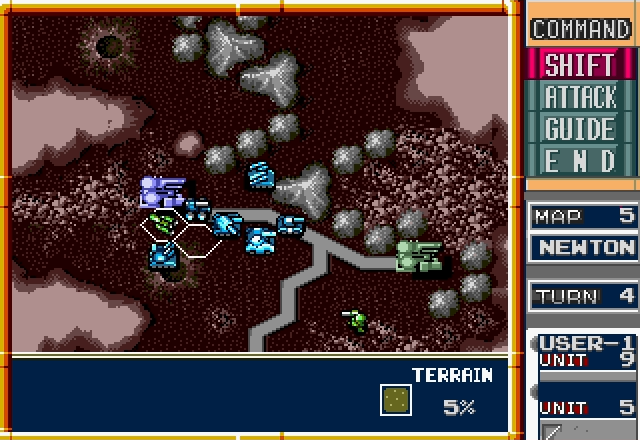
First order of business is to push our Charlies towards the factories. The upper one won't be a problem, but the enemy will likely harass us when we try to take the lower one.
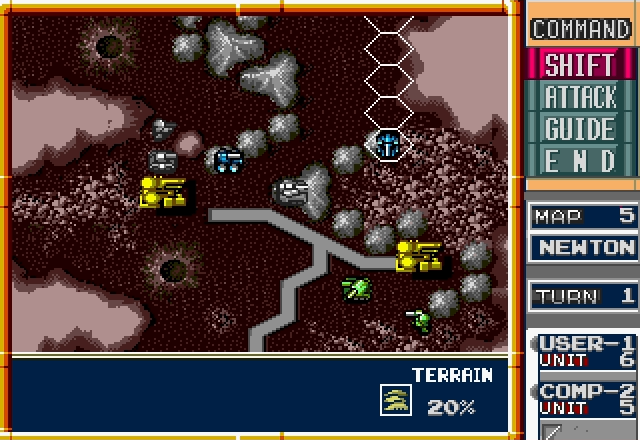
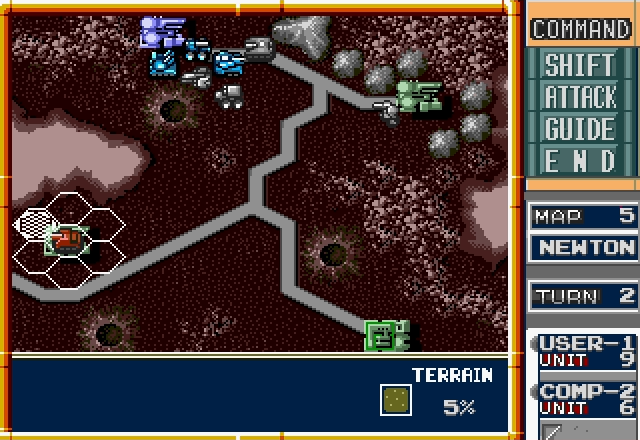
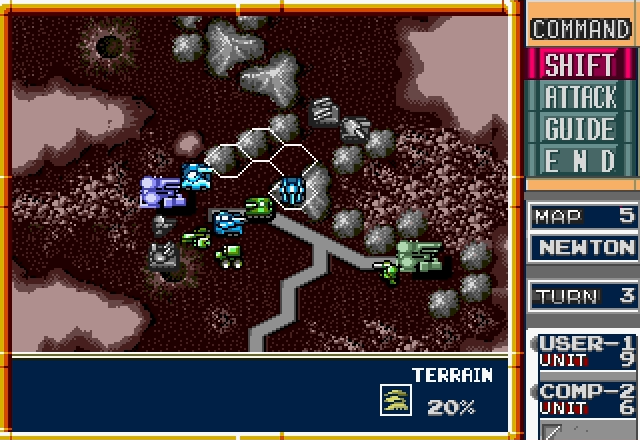
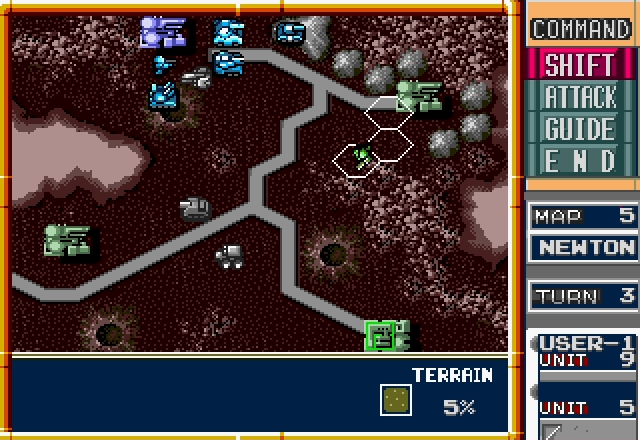
To end our turn, our Grizzly, Bison, and northern Rabbit push south. The only thing really in their way is a Lenet, so they should be able to hold the line without any trouble.
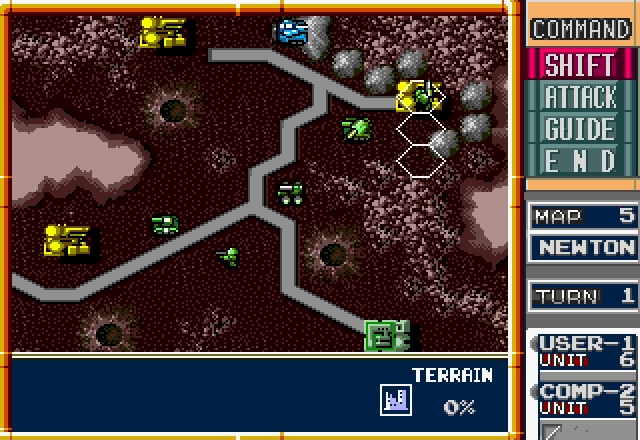
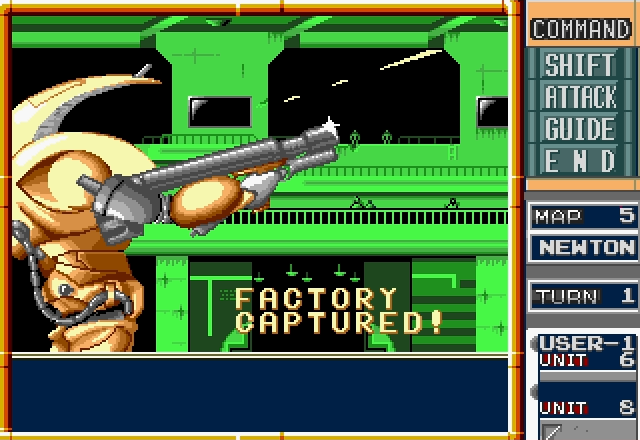
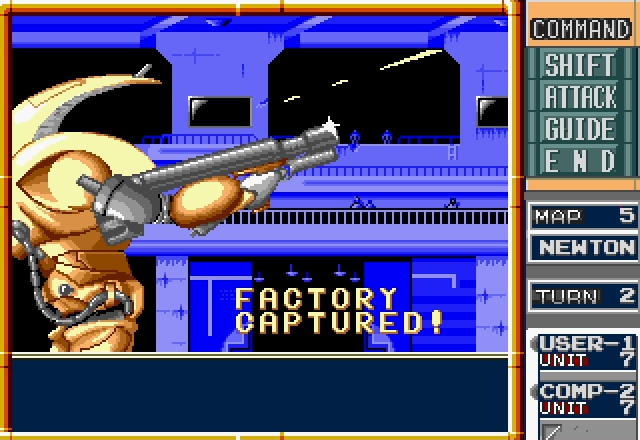
To start off its turn, the AI captures the best factory in the map. It has more units than any of the others, but that's not why it's the best.
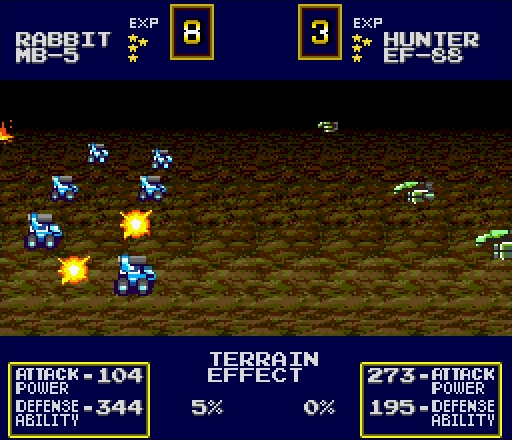
And oh god I forgot how fast Rabbits can move
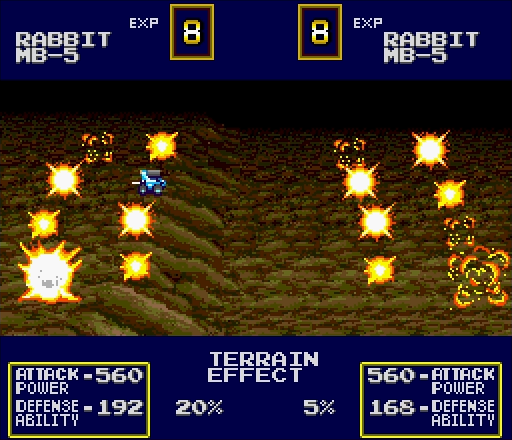
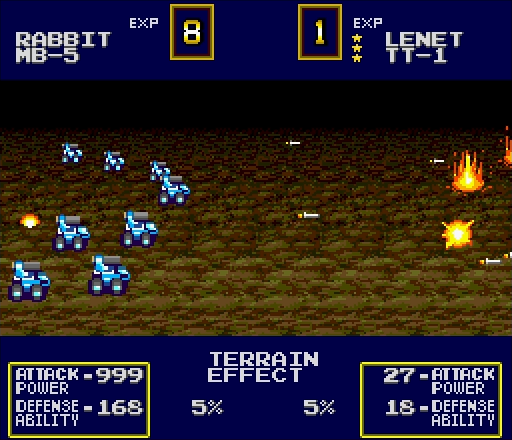
Well then. Rabbit vs. Rabbit matches are never pretty, for obvious reasons, but usually they at least both survive. I'm not going to complain though, mine came out alive.
Okay, maybe I will. I could've done a lot of damage with that Rabbit, and if the other one hadn't knocked it down to 1HP there was a good chance it would've survived the Lenet's attack

This is actually the first unit I've lost in the LP.

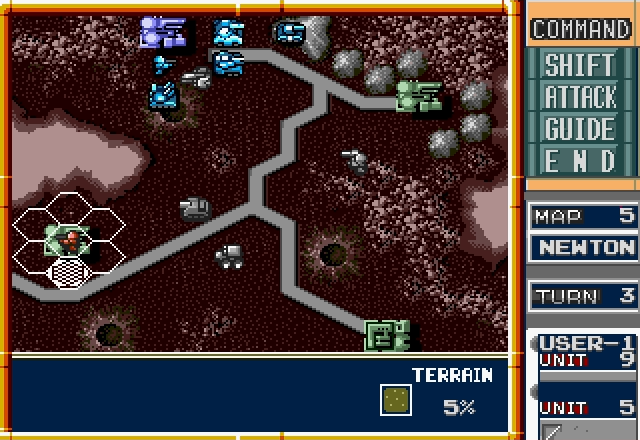
To cap off its turn, the AI moves its Bison up and deploys all of its units from its factory. The AI targets your southern factory pretty aggressively early on, and if you don't make sure the path to your own factory is safe, the AI can and will cut off and kill your Charlie - something I found out the hard way the first time I ever played this map.
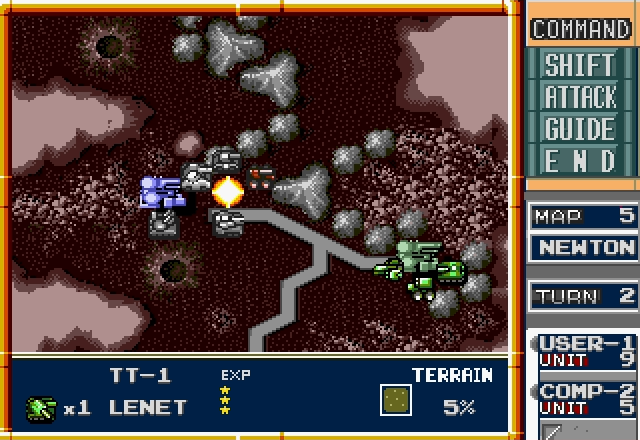
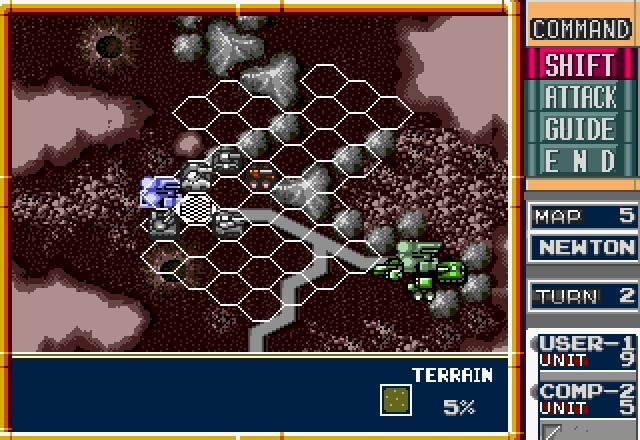
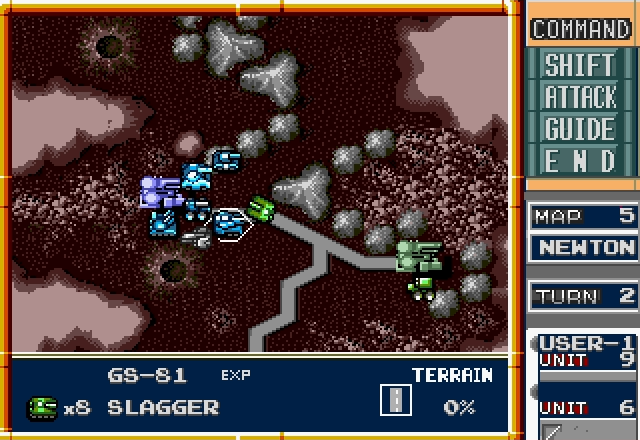
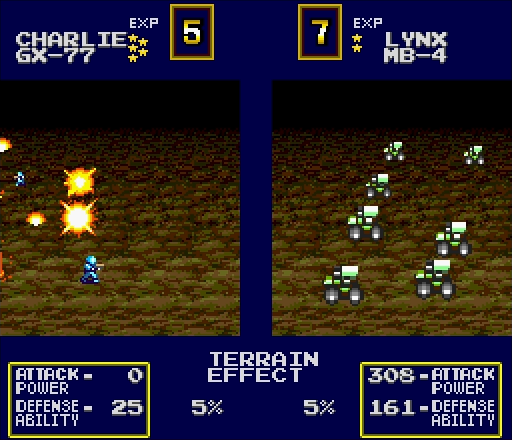
To the south, their Charlie will get that other neutral factory next turn. More importantly, though, we're dealing with two new unit types.
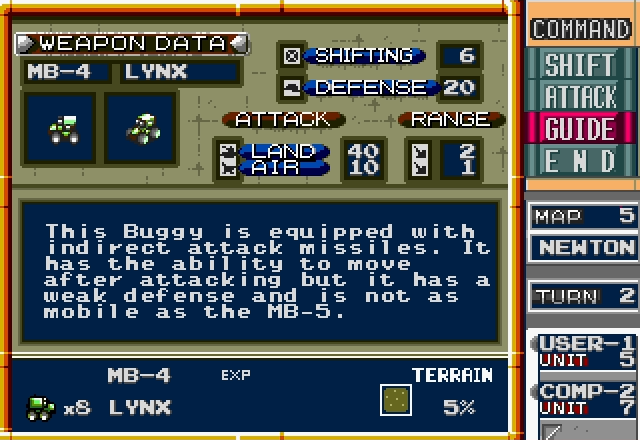
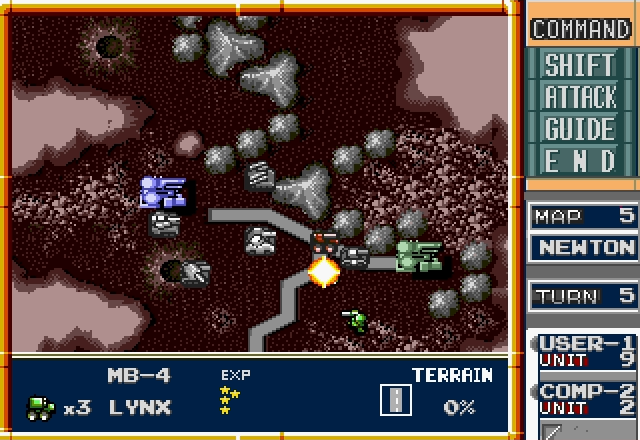
The Lynx is an odd little unit, and it doesn't hit especially hard, but it has its uses. It can hit units two hexes away, but with an attack of 40 it's probably not going to do much damage. You'll get the most out of a Lynx if you focus on hitting units that are protected behind enemy lines, fragile stuff like Hadrians and Rabbits that it can do some decent damage to.
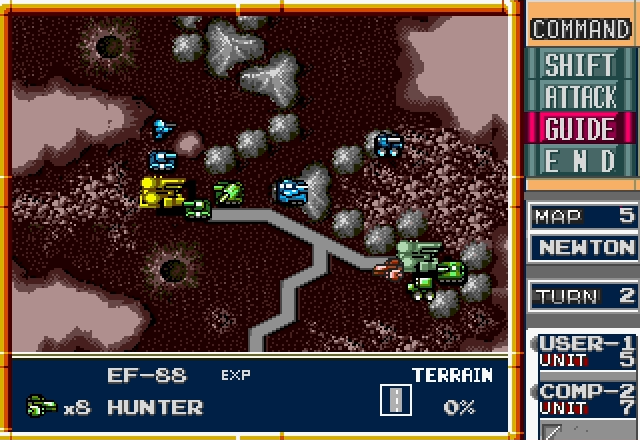
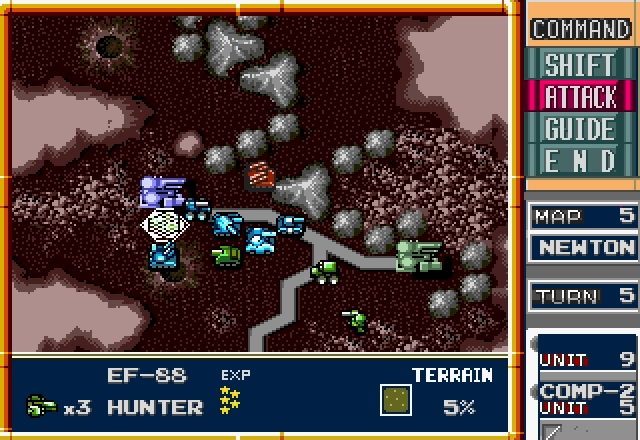
We've already seen the Slagger, so all that's left to look up is the Hunter. Let's see what we're dealing with.
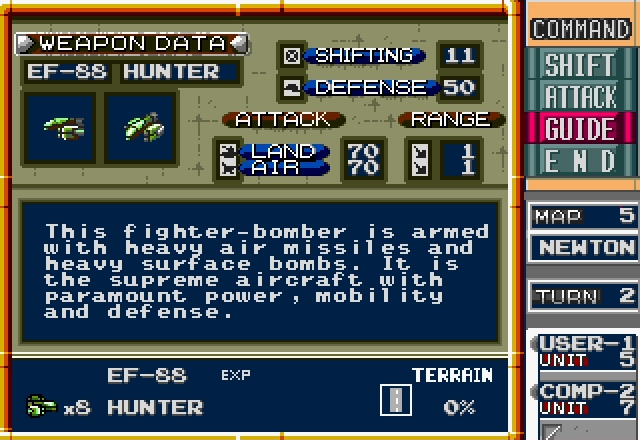

Good. God.
It's a flying Grizzly that can move faster than an Eagle and tear up other air units. It's far and away the most powerful unit in the game, and unfortunately, the enemy gets it almost exclusively. We'll be able to get maybe one or two of these throughout the entire game, and that's if we take a few risks. Whenever a map features Hunters, capturing or destroying them is going to be our #1 priority.
Luckily, there's something in this factory that can help us fight this thing.
And no, it's not this guy.
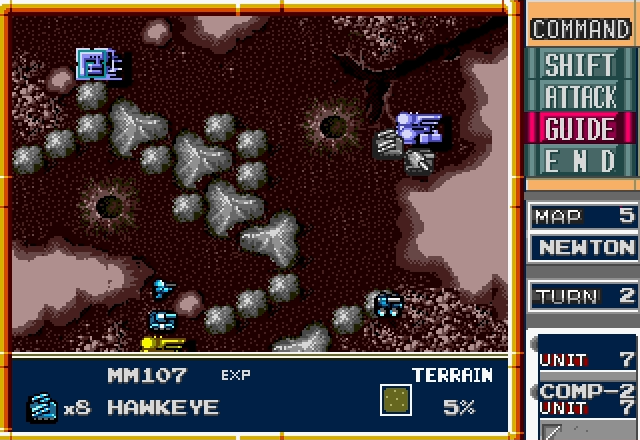
It's the thing next to it.
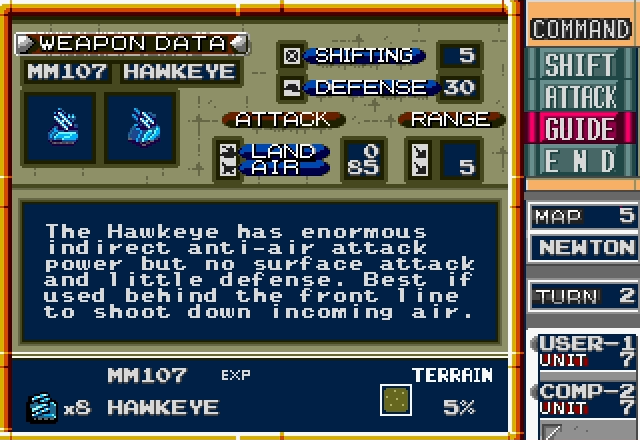
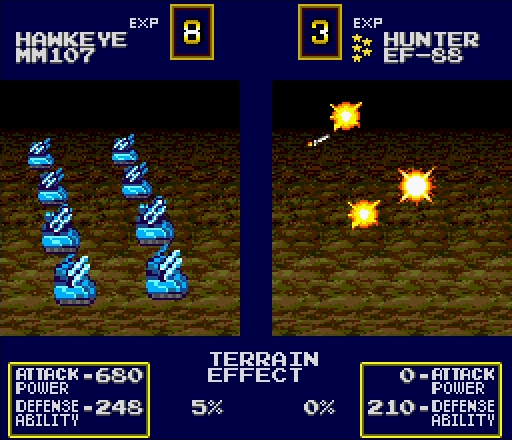
For the most part, the Hawkeye is a Hadrian that shoots air units instead of ground units. The difference is it has a staggering 85 attack power - pretty close to the highest in the game. If we can keep it safe, we should be able to take down the Hunter.
If you compare it to Advance Wars's Missile unit, it's definitely a lot more useful. Not only does it have a smaller range shadow (range of 2-5 vs. Missiles' 3-5), but with Zone of Control effects, it's a lot easier to keep it safe from enemy aircraft. And for that matter, Seekers are a lot less effective against aircraft than Anti-Airs are.

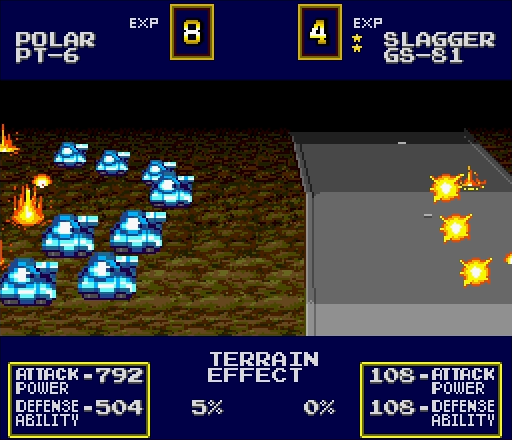
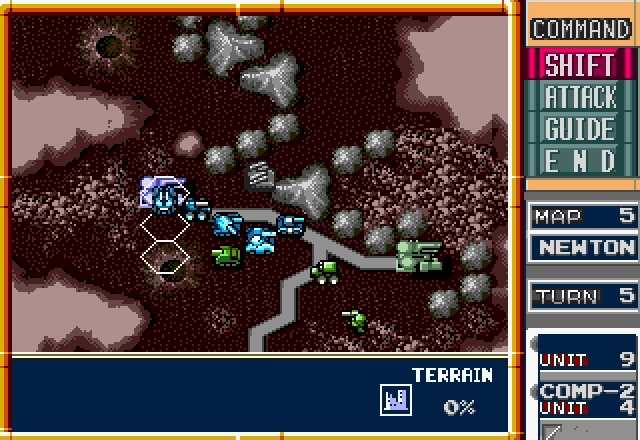
The second factory nets us a Polar and a Seeker. The Polar will make the ground war a lot easier, and while it's not as powerful as the Hawkeye, the Seeker at least gives us something better than a peashooter to hit the Hunter with.
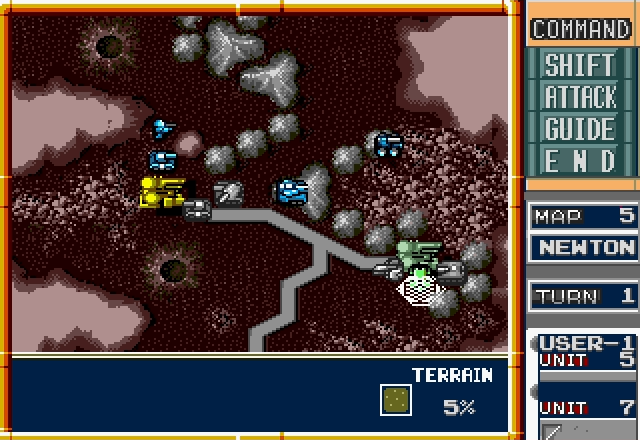
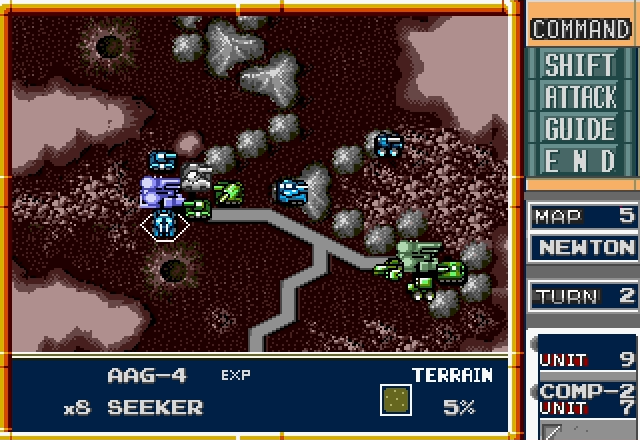
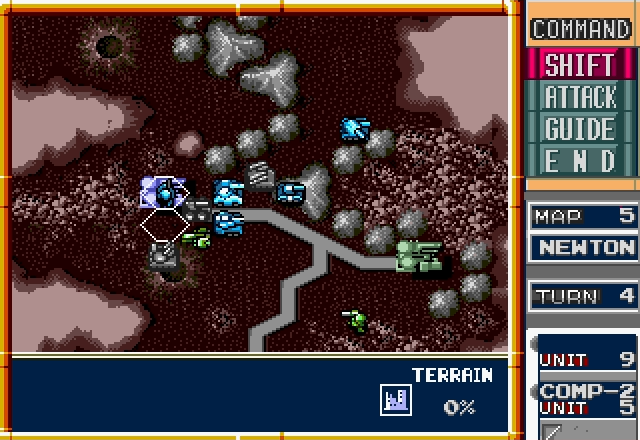
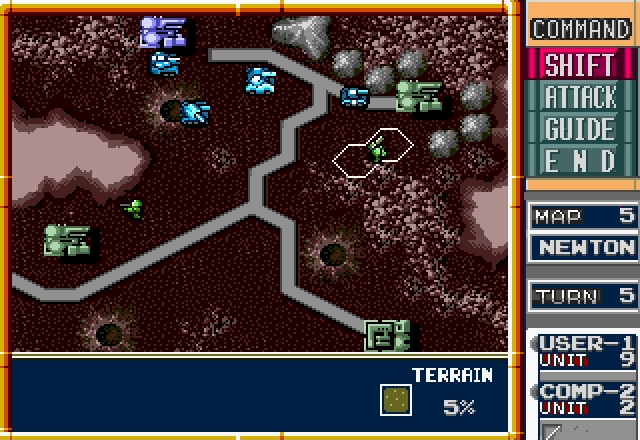
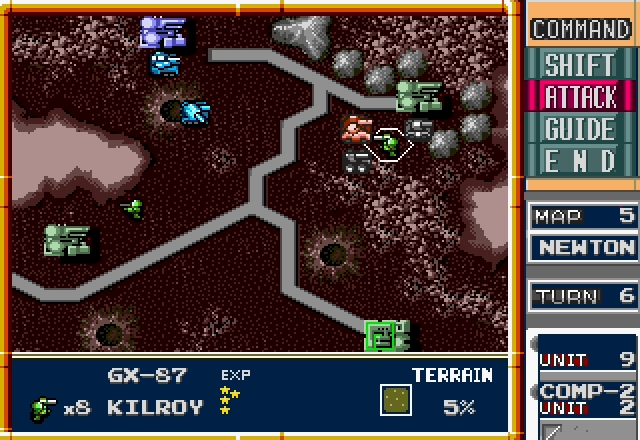
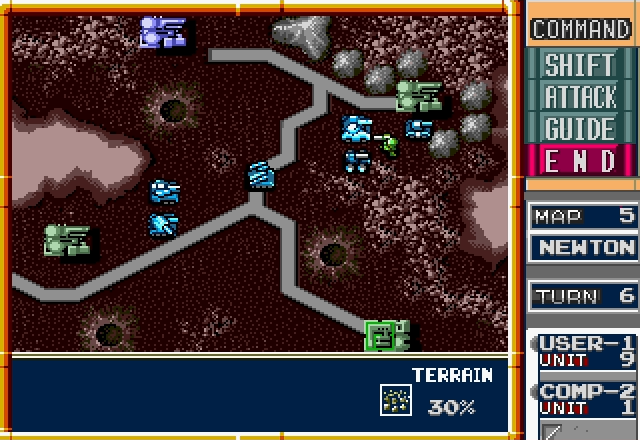
Now that everything's deployed, it's time to clear out the cluster of enemy units at our factory.
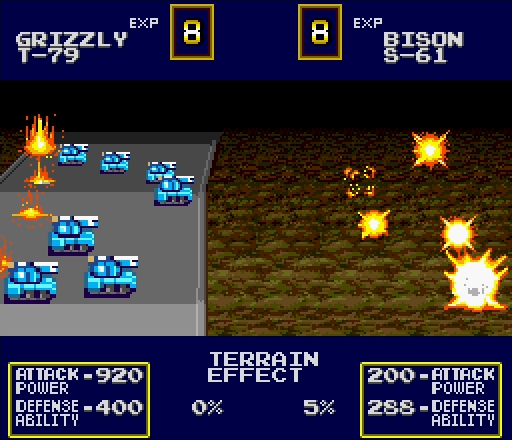

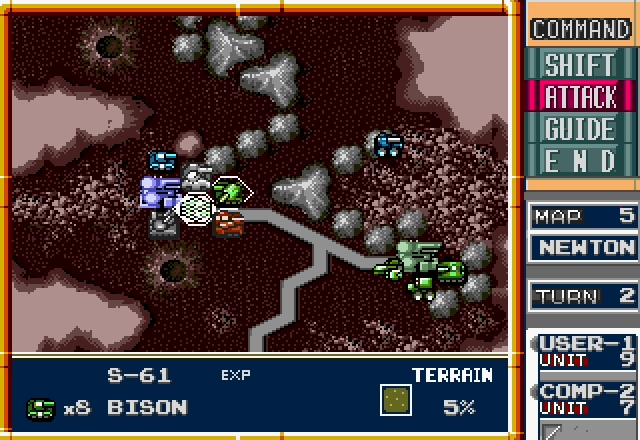
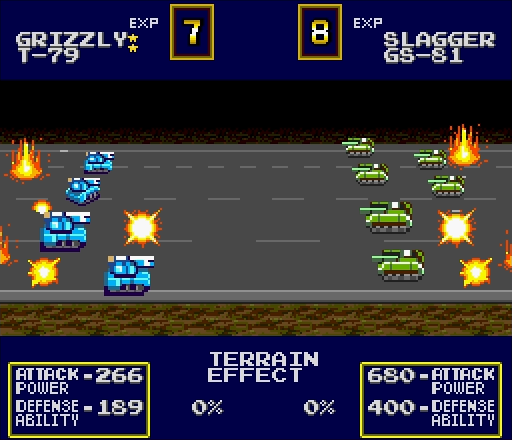
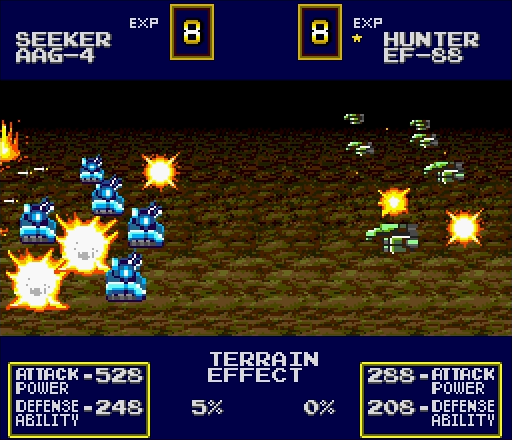
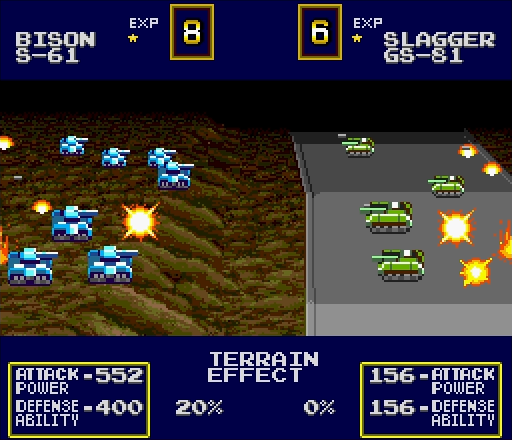
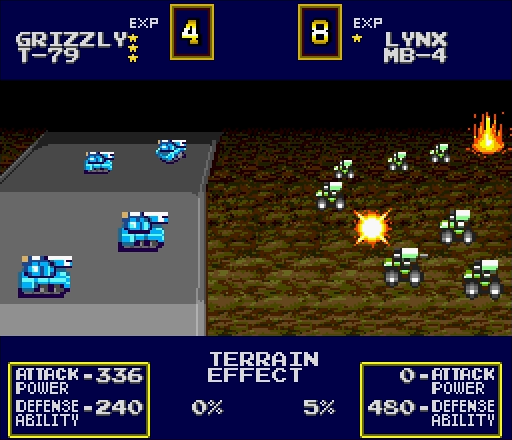
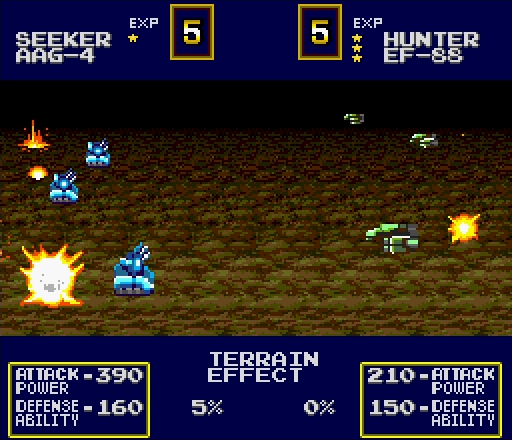
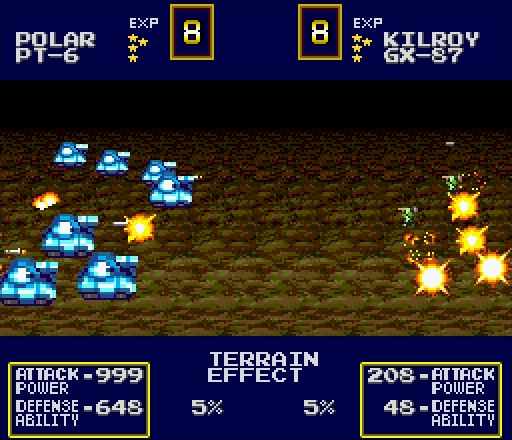
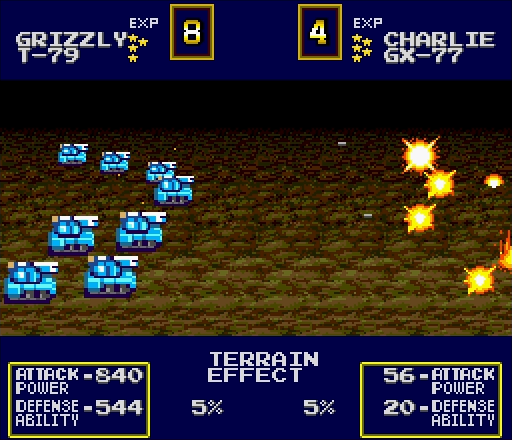
Oneshotting a Bison is pretty damn impressive, even with it surrounded and our support bonuses sending our power through the roof. Plus, it's two experience stars for our Grizzly, and an already powerful unit doing an extra 25% damage is always nice.
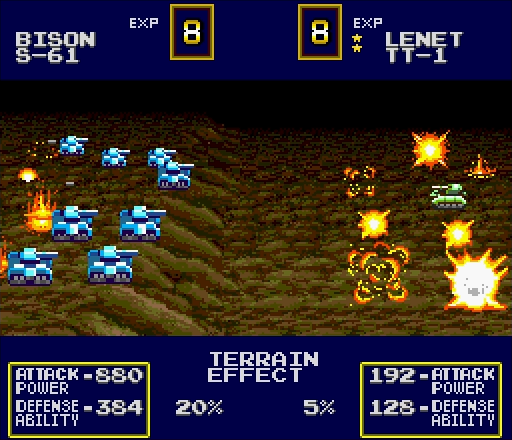
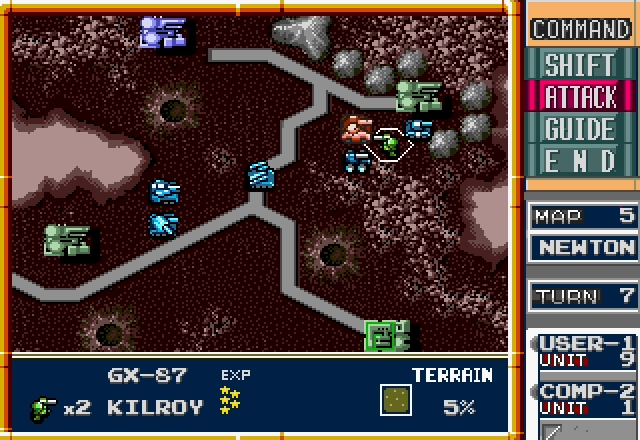
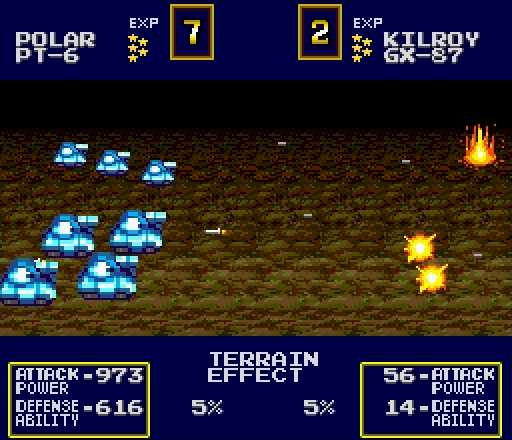
The enemy Lenet gets surrounded, and it does what Lenets do best. Also, we got another first for the LP here. Can you spot it? We hit the attack power cap

Much better.
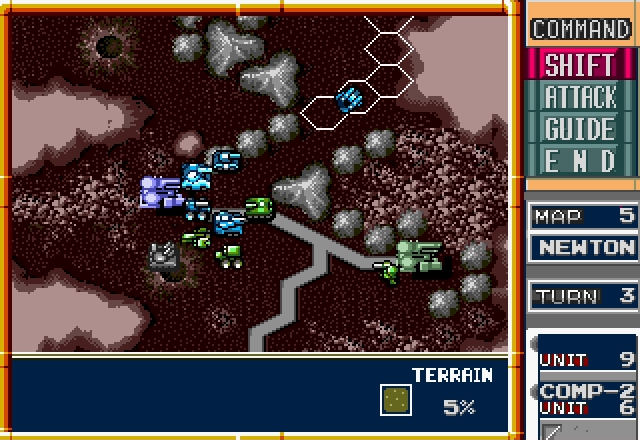
Showing off the Rabbit's fire-and-move ability here. I decide to put it in the center of my tanks and Seekers so it can have a decent chance of surviving if the Hunter goes after it.
The enemy's turn rolls around again, and they start off by capturing a factory.
Rather than deploying the unit that was in it, though, it decides to take its new Hunter for a spin. That range

And...well...that wasn't so bad. The Rabbit will need to go back for repairs, but it's safe to say it'll survive. The scary part is that between its experience bonus and its defensive support, the Rabbit had as much defense as a Polar and it still got knocked down 3HP.
I did this one as an animated GIF to show off something I forgot about in the last battle - attacking air units have a pretty neat swooping animation. It's one of those little things that, for me, makes the battle scenes satisfying to watch.
For the first time the enemy takes advantage of the surround effect - something that's very easy to do when it can fly Hunters behind our lines - and the results aren't pretty. The fact that the Slagger's getting a massive attack bonus from the Hunter doesn't help matters.

The Lynx comes in and batters the Rabbit further. Since it can't get defensive support for ranged attacks, it takes a beating. The good news is that since it survived and nothing else is in range to attack it, next turn it can just head to the nearby factory.
The AI rounds off its turn by deploying everything from its factories, and we've got one last new unit in this map.
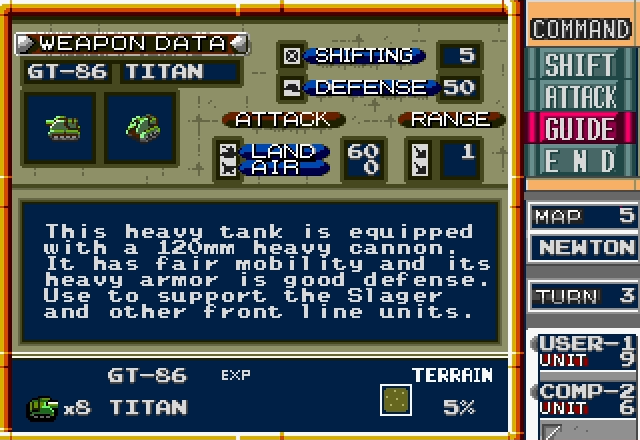
The Titan is kind of a halfway point between the Bison and the Polar/Grizzly: it can't take hits like a Polar can and it can't hit as hard as a Grizzly can, but it moves faster than either.
All in all, nothing especially exciting, but for some strange reason it's almost always the AI that gets them.
We don't need to worry about the Titan yet, though. We've got a Hunter bearing down on us.
Let's see how tough it is when it's surrounded.
Okay, there's clearly RNG bullshit at work here, but the message is still pretty clear: Hunters are bad news.
Our Hawkeye moves south to try to intercept it, but it's one hex out of range. Since it's surrounded and stuck, we'll have to wait until at least turn 5 to hit it

Charlie goes out, Rabbit goes in. In tough situations, juggling your units in and out of factories can become a game of musical chairs pretty damn quickly.
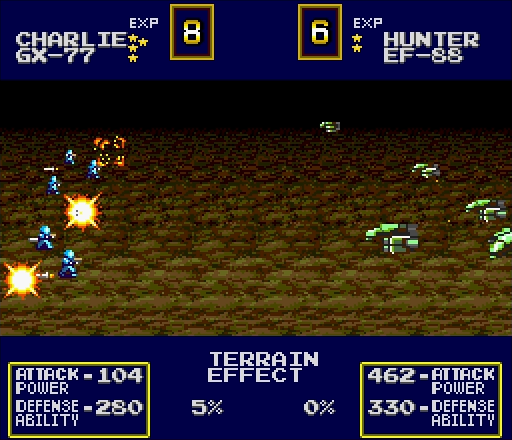
The Slagger's a bigger threat than the Lynx, so since our tanks can't hit the Hunter, that's what they'll focus on.
They make pretty short work of it.
The Grizzly needs to stay outside to help box in the Hunter, so while it's out there it takes a potshot at the Lynx. With the Hunter's defense bonus, it doesn't do much good, but there's no real reason not to.
We've done all we can do here, so it's the enemy's turn.
Remember how the AI in the original Advance Wars really hated APCs? Military Madness's AI is the same way about Charlies.

Wonky and sometimes infuriating as the RNG is, it's so worth it for the chance to see Charlies shoot down a Hunter. Especially since it's my Charlies and the enemy's Hunter.
Anyway, yeah, Charlies. AI hates 'em.
Having taken its potshot and finding itself next to a group of heavy tanks, the Lynx runs the hell away.
Titan and Kilroy inch towards the fray, Charlie that captured the factory gets deployed. All the cards are on the table now.
Turn 4. Let's see if we can bring that thing down.
First order of business, the Rabbit is deployed to give us just a tiny bit more of an attack boost against the Hunter. How will our Seeker do this time?
That Hunter may still be alive, but it's getting torn up and it can't get away.

The Charlie and Grizzly duck into the factory, and the Lenet gets the unenviable job of both keeping the Hunter in check and drawing the Titan's fire.
AI's turn, let's see how well this works.
Right away, the Hunter makes a break for it and takes a bite out of our Rabbit. No problem so far.
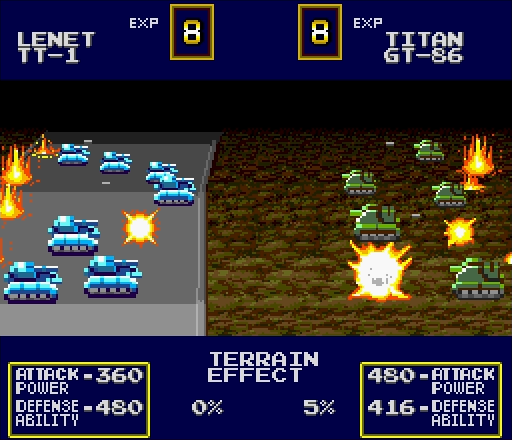
...What the hell? Okay, yes, the Lenet had defensive support from our Polar, but that still doesn't explain how it managed to take out three Titans!
The AI doesn't do anything particularly important with the rest of its turn.
Remember the Hawkeye? We pushed it forward last turn, and no matter where the Hunter moved it would be trapped in its range. Let's see how it does.
If this doesn't seem especially impressive, keep in mind that Hunter had 5 stars and the Hawkeye was a completely green unit. It did more by itself than the Seeker could do when it had the Hunter surrounded. The Hawkeye is on a very short list of units that can effectively fight a Hunter, and it's absolutely deadly to any other aircraft.
The Seeker's been beaten up pretty badly, so let's get it to safety.
If you ever wanted an example of how ridiculous this game's RNG can get, compare this Lenet vs. Titan battle to the last one. The Lenet hit a surrounded Titan with heavy offensive support and did less damage than it did fighting it one-on-one.
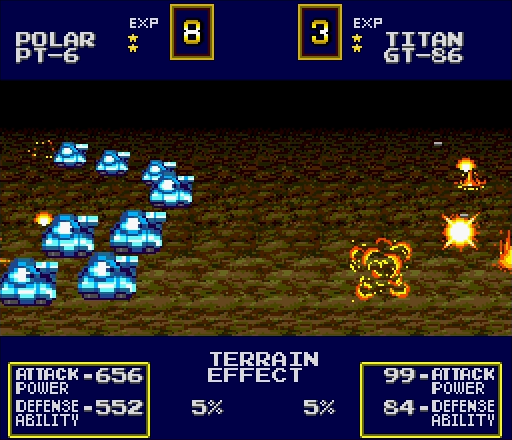
I like the Polars. They're reliably useful.
The Lynx didn't run far enough, and gets unceremoniously blown apart. We've won this turn, all that's left to do is carry out the victory.
For its turn, the AI only tries to, uh, do something. Not sure what that is, though.
In any case...
...it gives me a chance to hit the attack cap again.

I swear the RNG is wonkier than usual for the Lenet. It's so unevenly useful.
The Grizzly isn't about to let the Lenet overshadow it.
Well, it's the AI's turn now and it's down to a 2HP Kilroy.
It does everything it can usefully do.
Right, let's finish this.

While the Hunter didn't go down easily, the mission ended in yet another Allied victory. Now that we've seen the first Hunter, we'll be facing them regularly, so it's a good thing the game introduces you to them and gives you a chance to learn how to fight them in a map where you still mostly have the advantage.
NEXT TIME: Grabbing every single factory at SENECA.