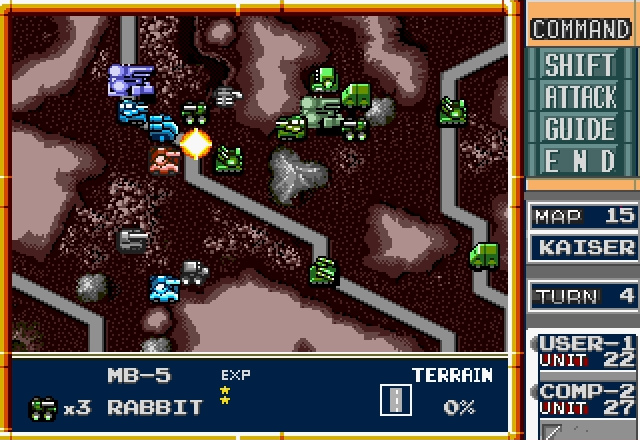
Part 16: Maintaining A Delicate Balance At KAISER
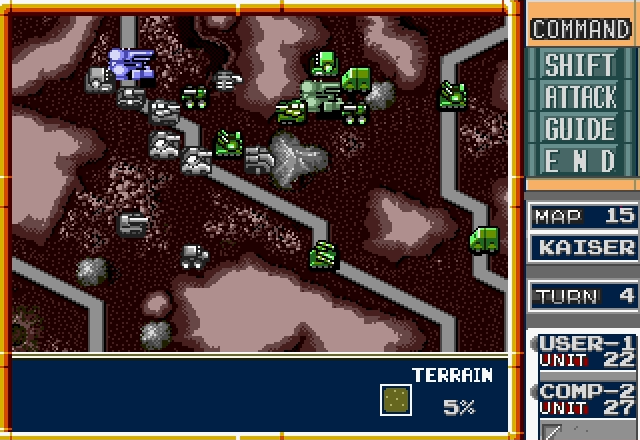
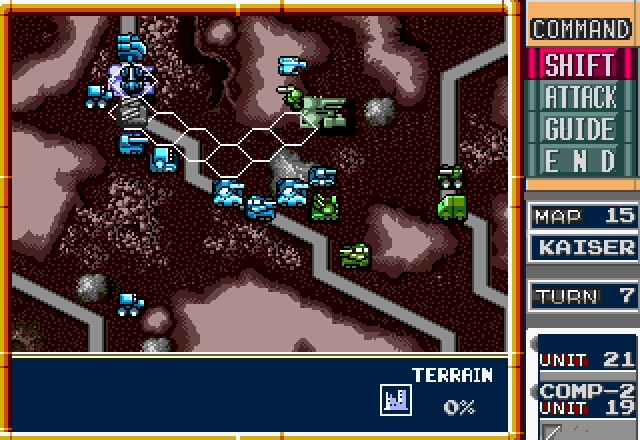
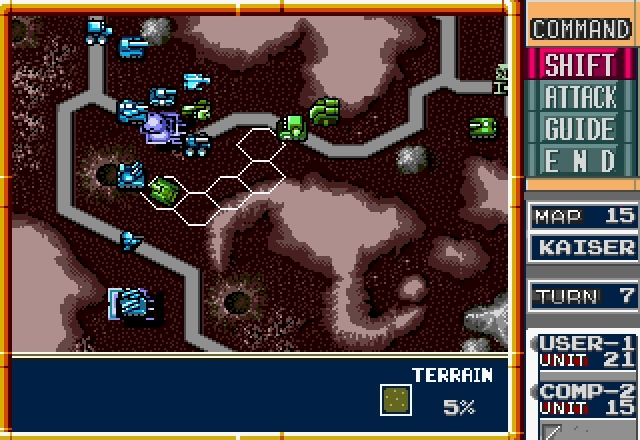
Stage 15 - KAISER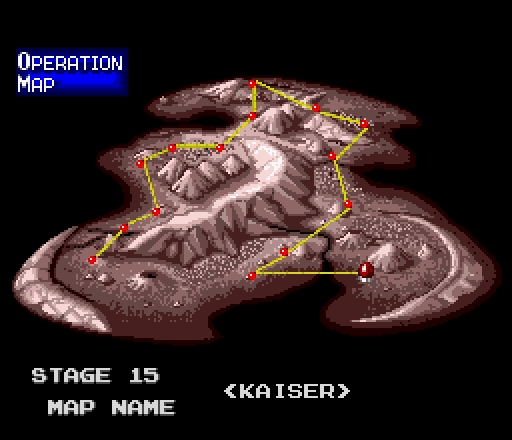
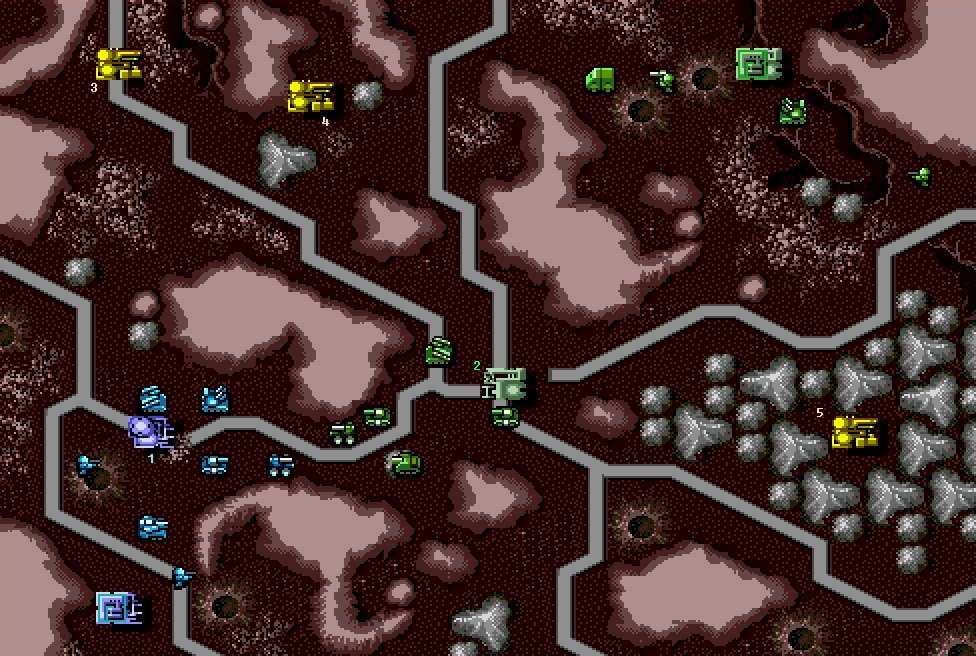
UNITS IN FACTORIES:
1 (Allies). Grizzly, Pelican, Lynx, Hadrian, Polar
2 (Axis). Titan, Hunter, Rabbit, Seeker, Octopus, Charlie
3 (Neutral). Falcon, Eagle, Grizzly, Polar, Bison, Hadrian, Rabbit, Lynx, Hawkeye, Octopus, Mule
4 (Neutral). Grizzly, Octopus, Mule, Atlas, Rabbit
5 (Neutral). Hunter, Pelican, Charlie, Pelican, Charlie, Falcon, Hunter, Bison, Slagger, Titan, Hadrian
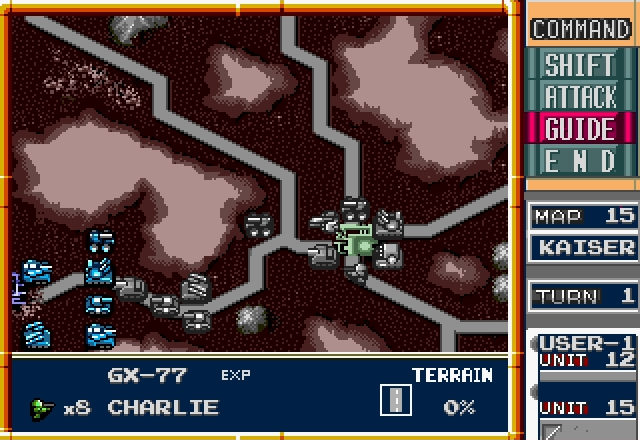
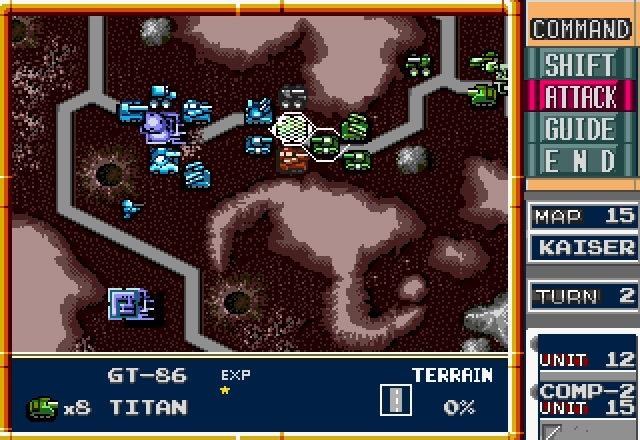
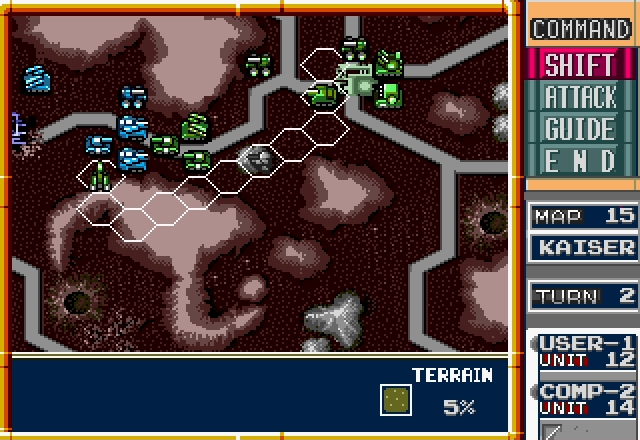
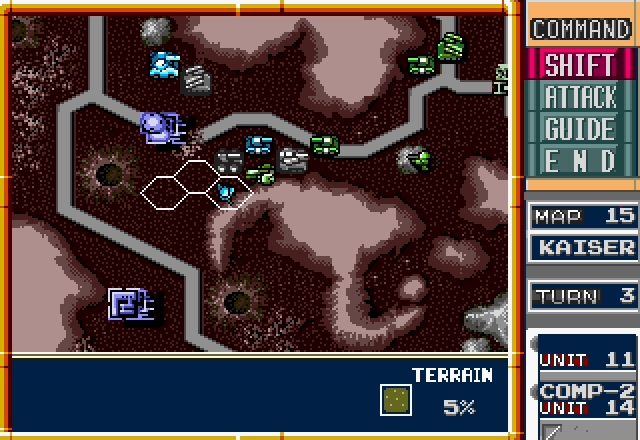
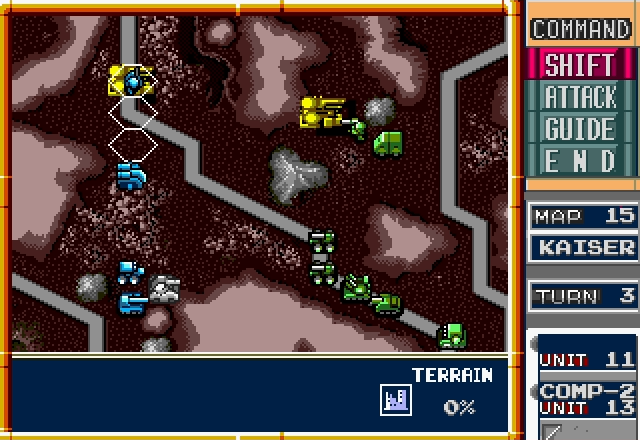
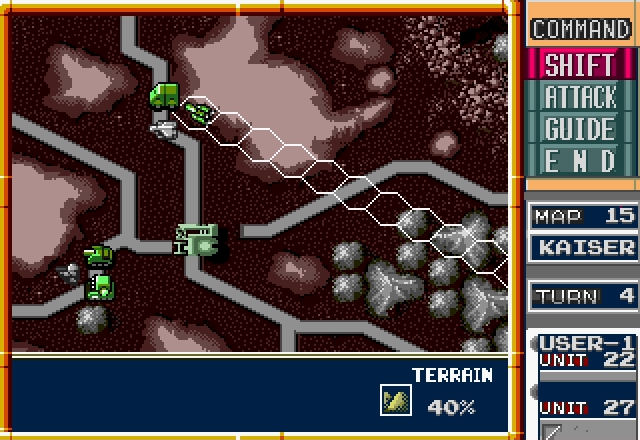
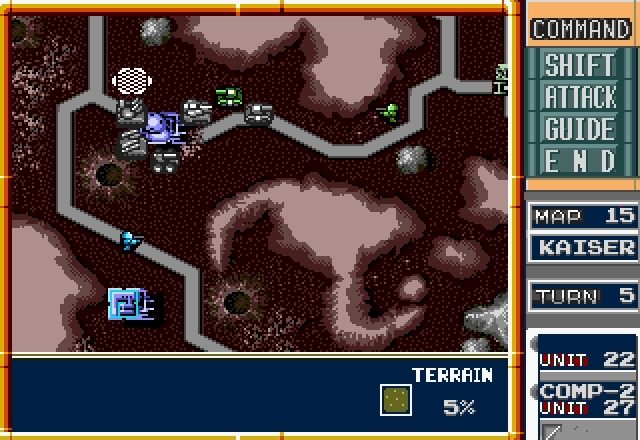
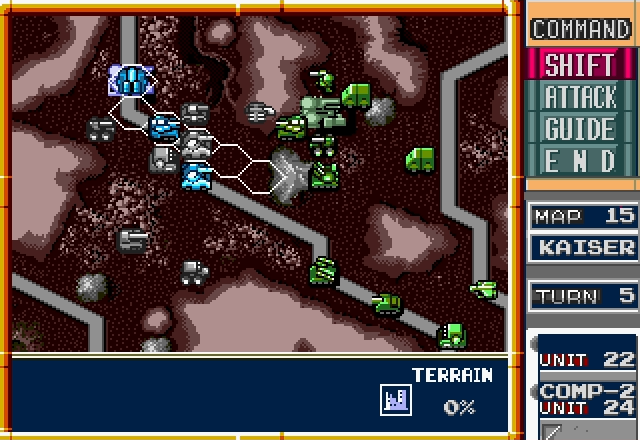
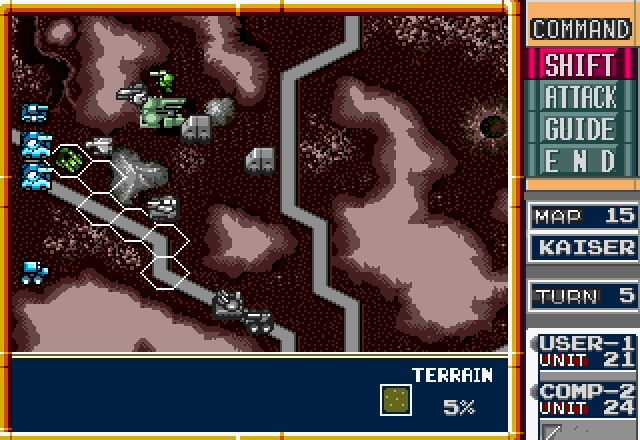
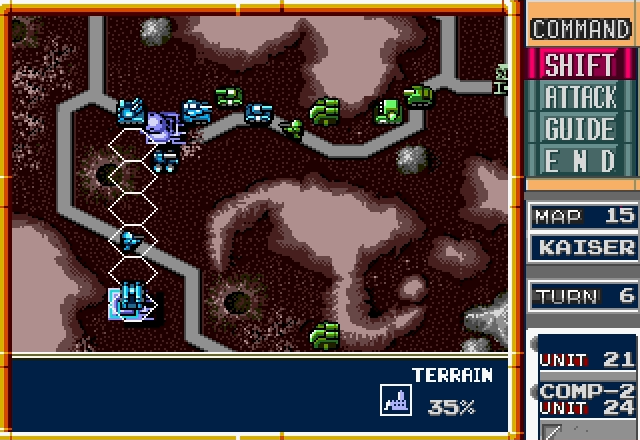
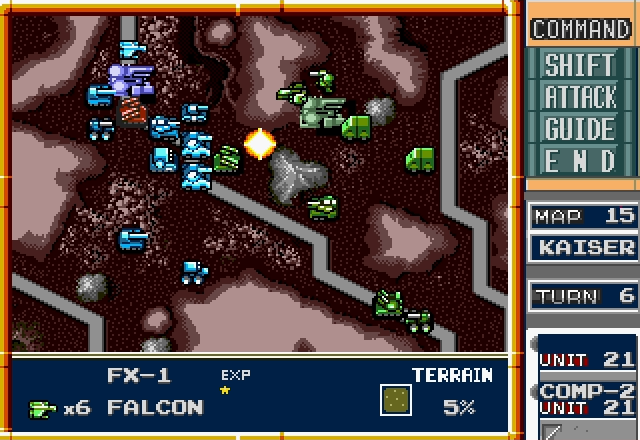
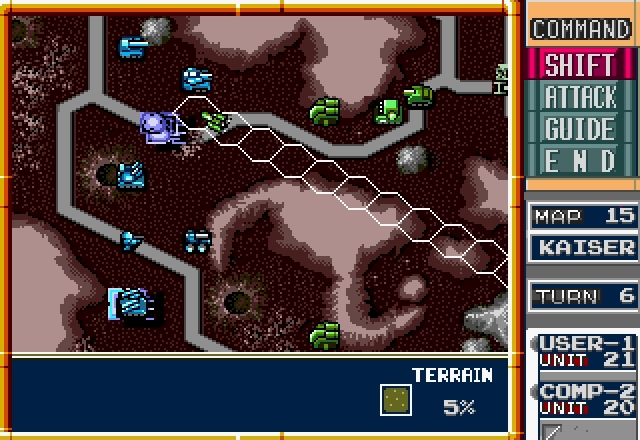
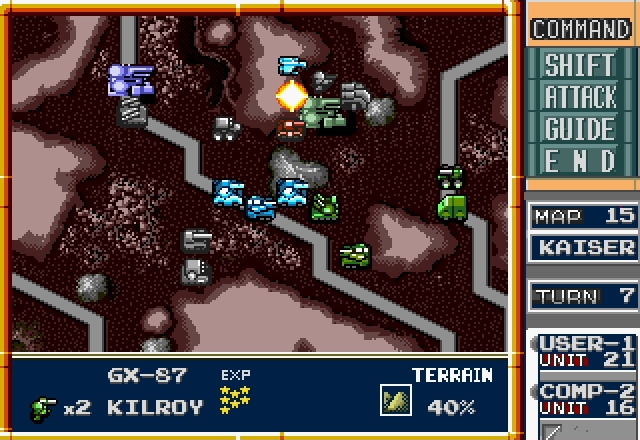
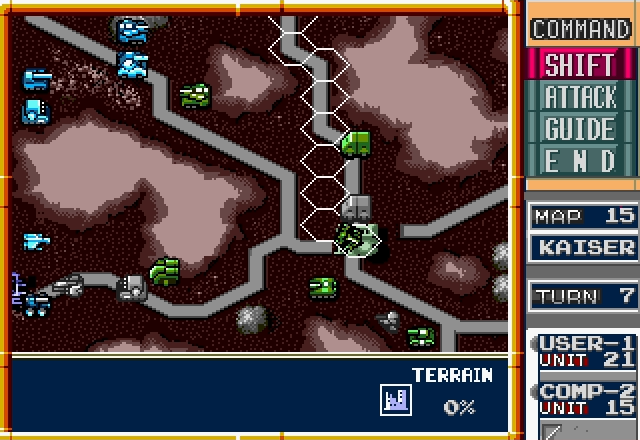
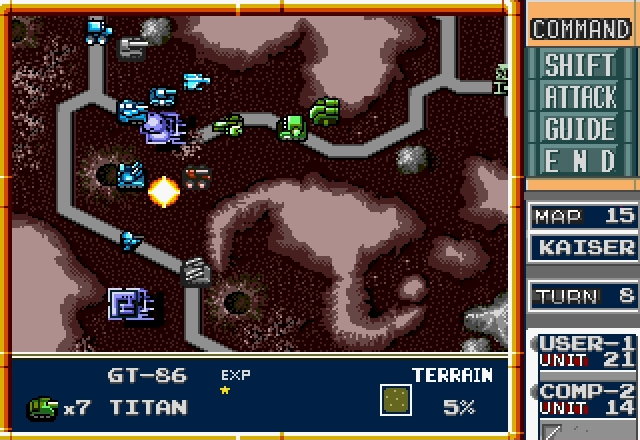
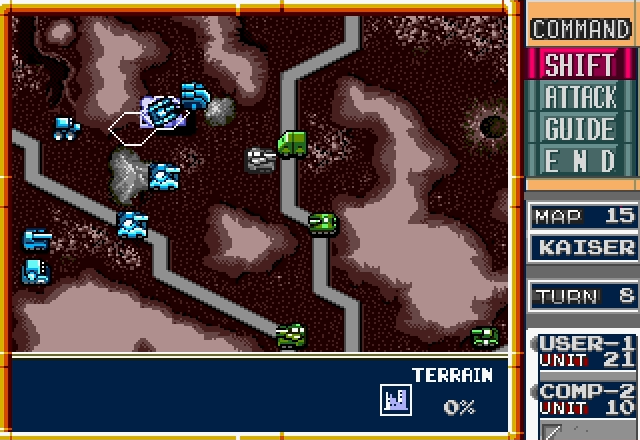
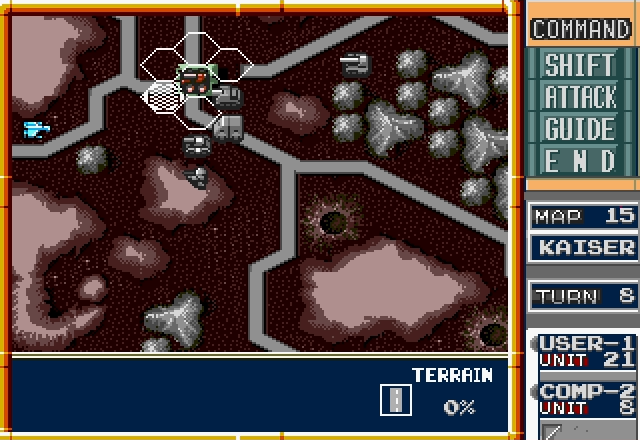
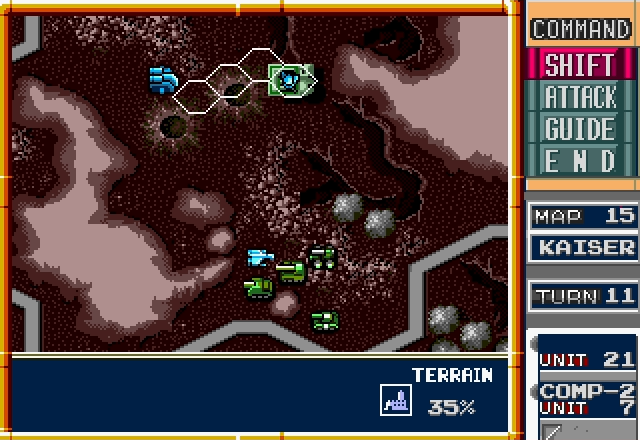
On the surface, this map looks much easier than Apollo. All of our units start out where they can support each other, there's no enemy artillery pounding us, and as long as we can grab Factory 3 (not difficult), we're not too badly outnumbered.
There's a few things that will make this a tough battle, though. For one, the enemy has multiple Hunters this time around. We've got more air defense to compensate, but they'll still make things hard for us. We'll also have to split our units between two fronts, one to the north and one to the south. The Axis will have a considerably easier time doing this because while we've got rough terrain between our factories, they've got roads between theirs.
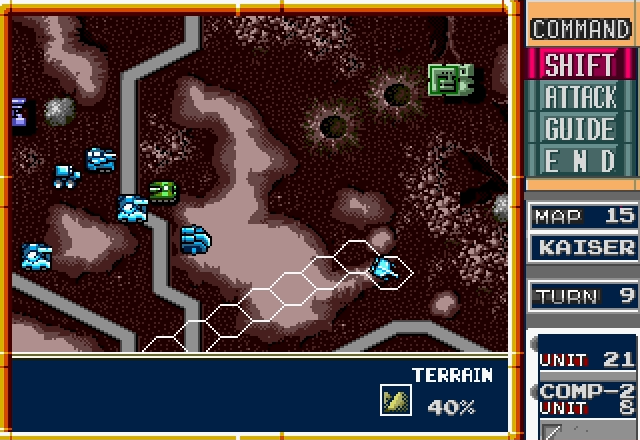
One strange thing about this map is how close the Allied and Axis units start to each other. We could attack them in the first turn if we wanted, something that hasn't happened since (I believe) Cyrano.
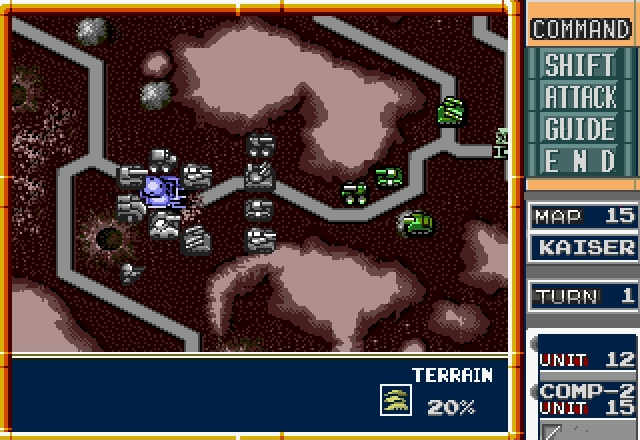
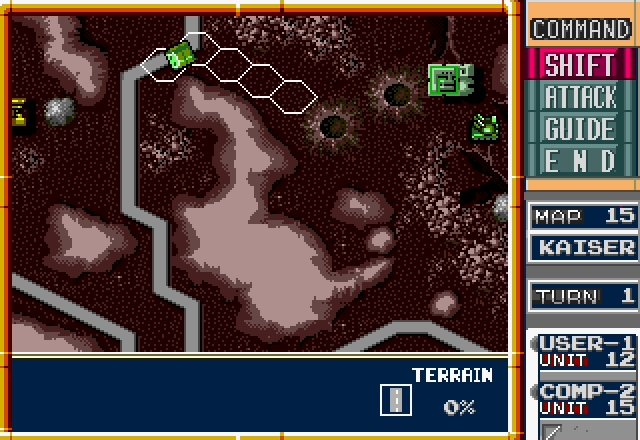
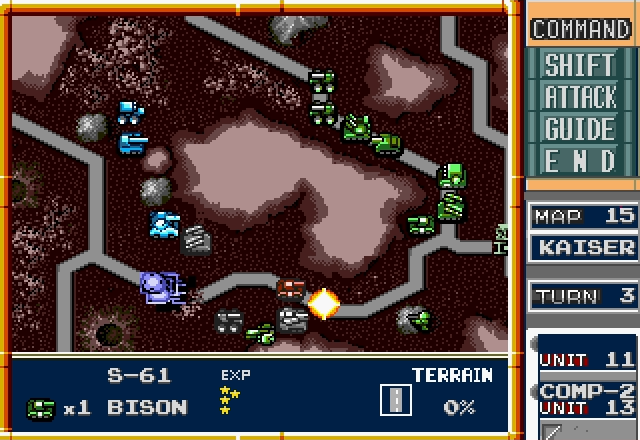
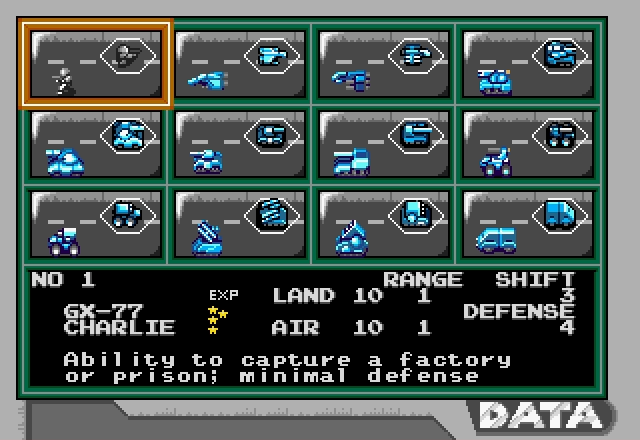
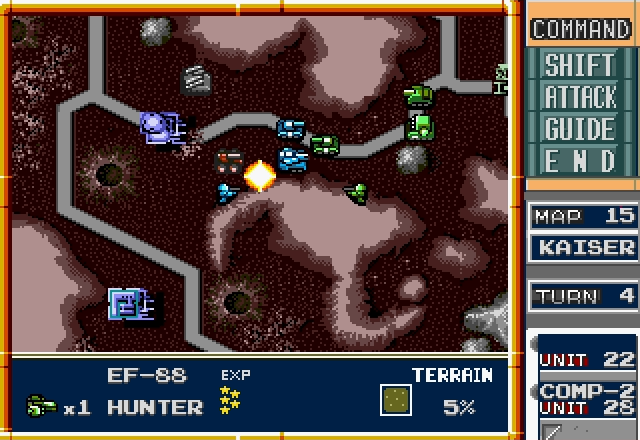
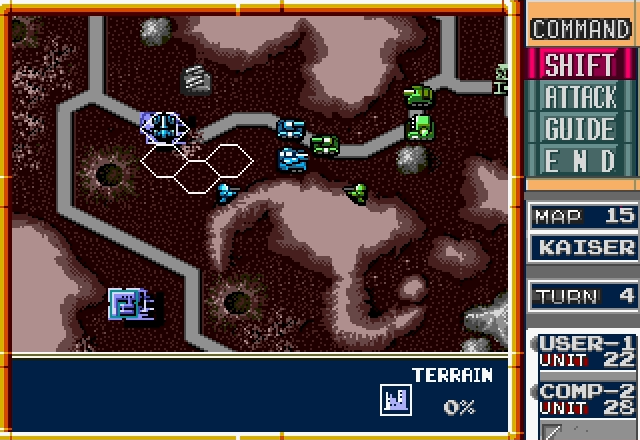
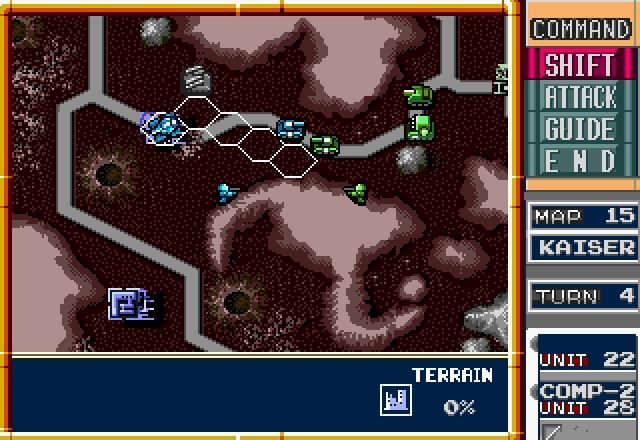
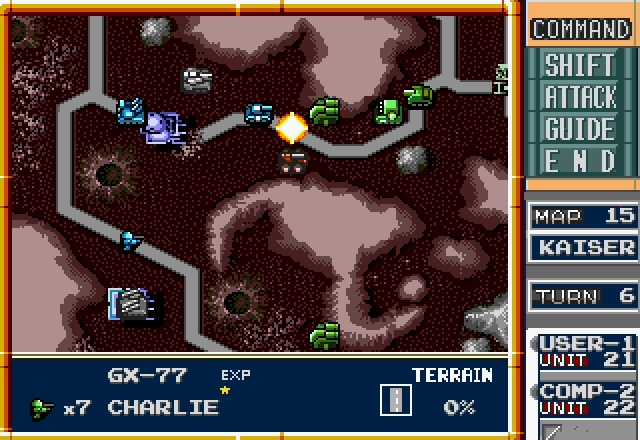
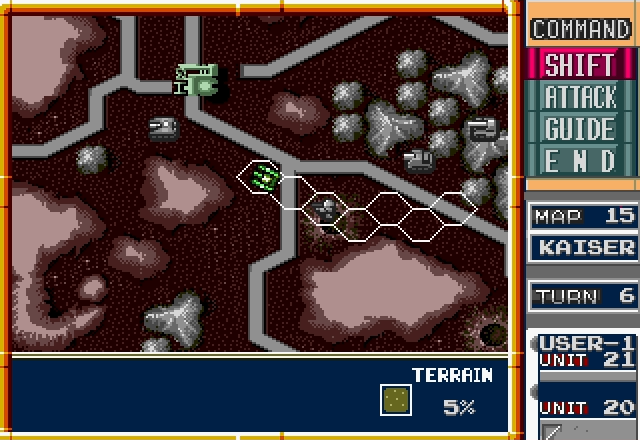
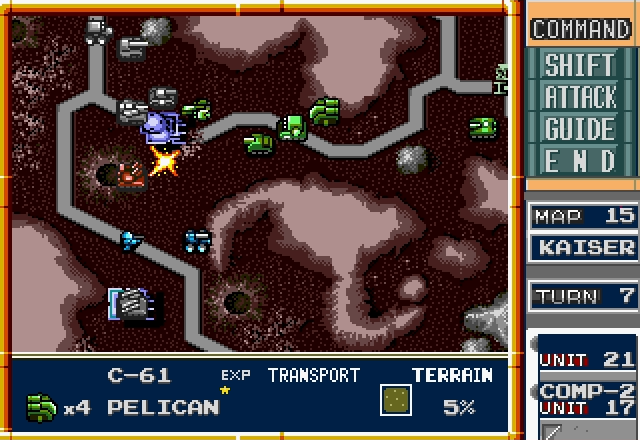
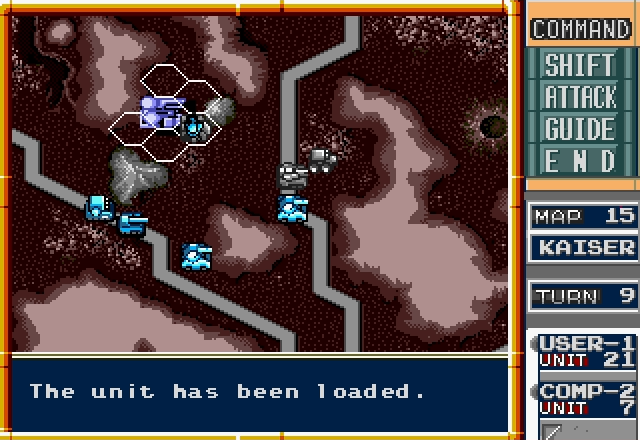
First off, let's form a defensive line and try to draw the enemy into attacking us. They won't outnumber us much at all for the first couple turns, so we've got to fight as much as we can before we get too disadvantaged. Meanwhile, we've loaded a Charlie into the Pelican and it'll be heading to Factory 3 next turn.
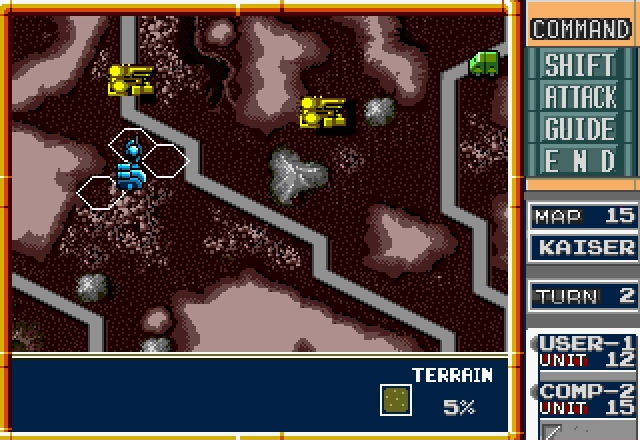
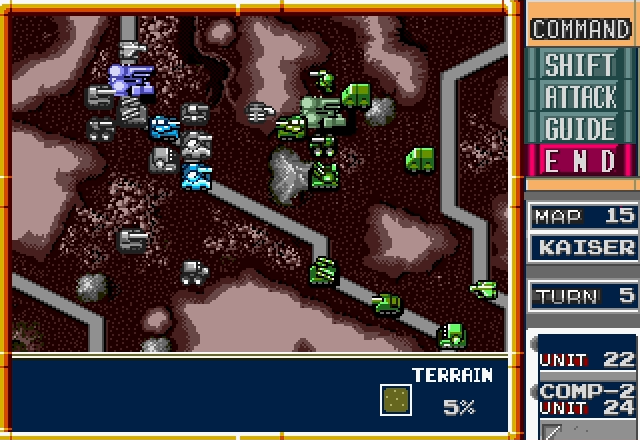
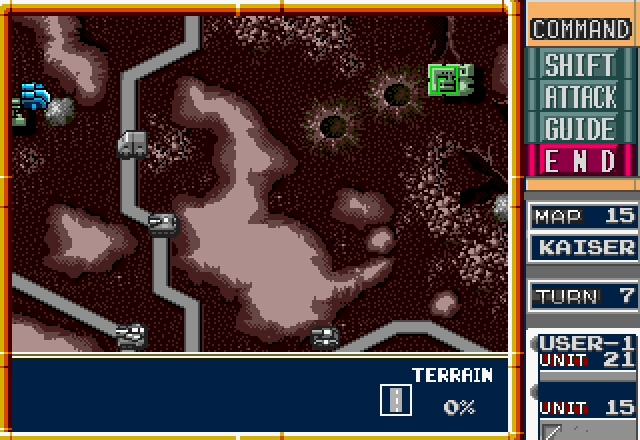
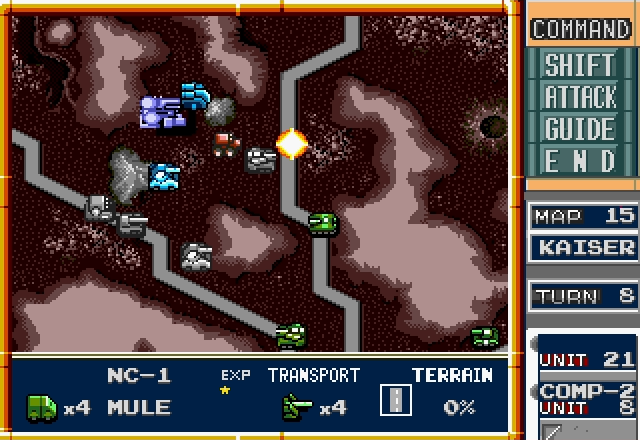
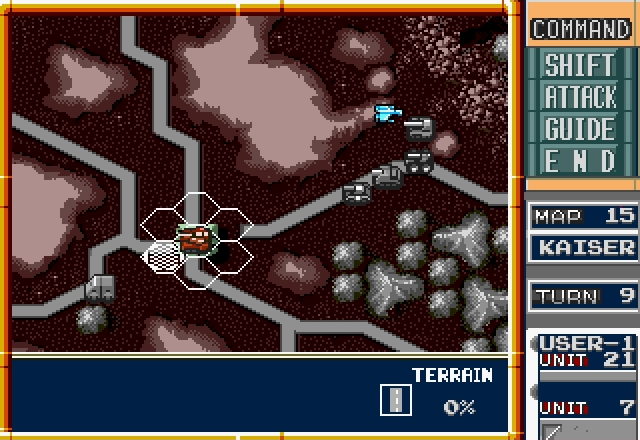
The Axis starts off by loading their Kilroy into the nearby Mule to take Factory 4. You can't stop them from doing this - I tried on one run and just ended up losing a Rabbit to a Hunter.
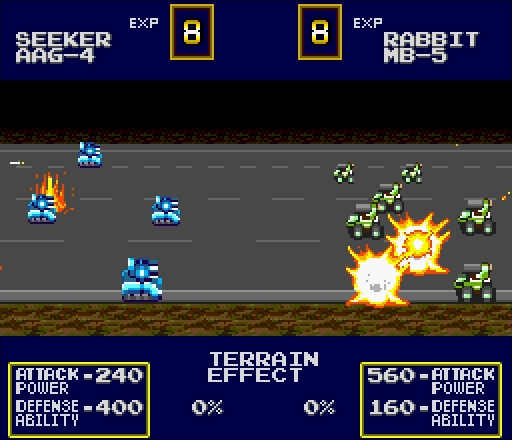
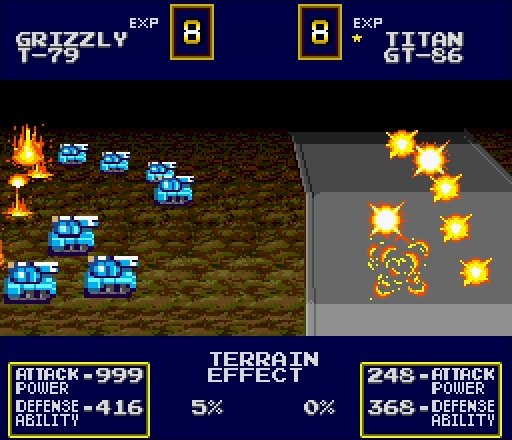
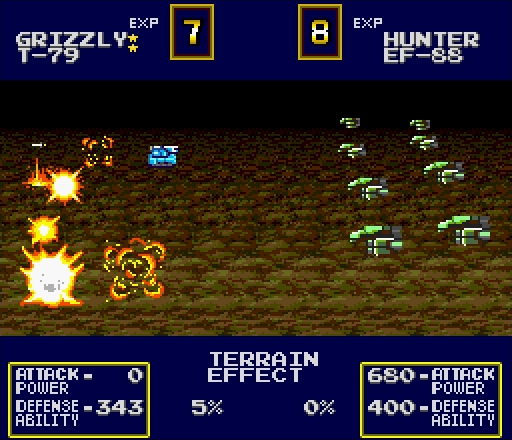
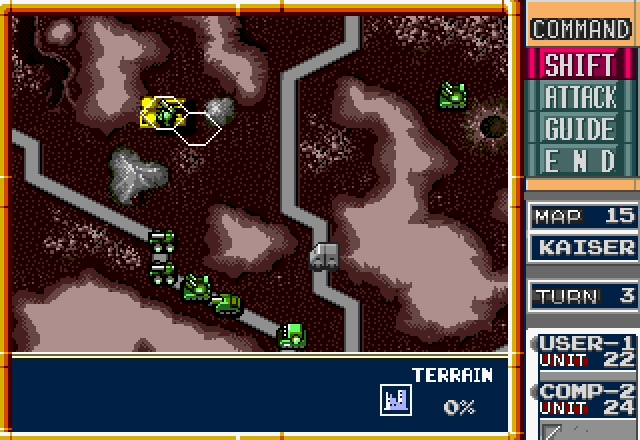
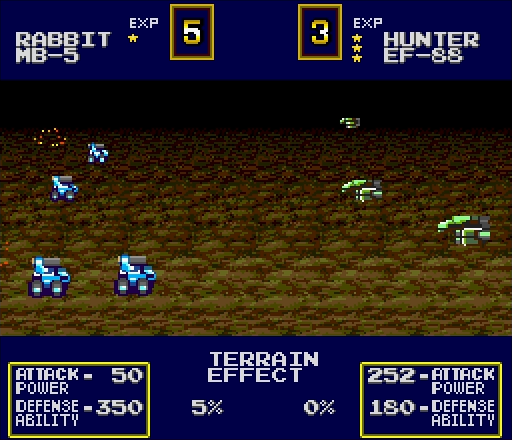
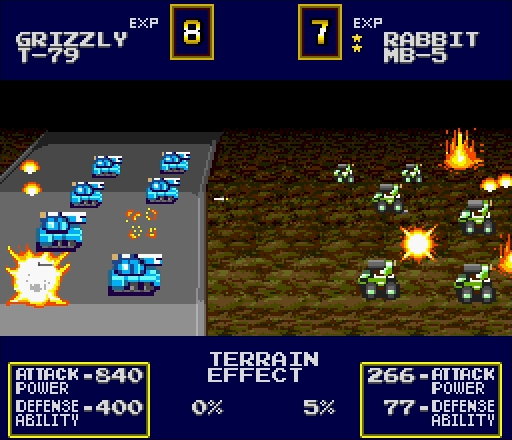
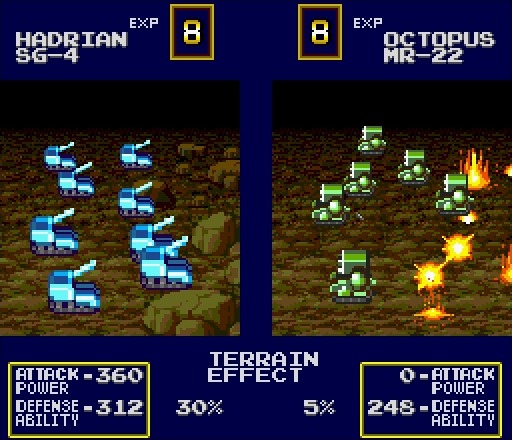
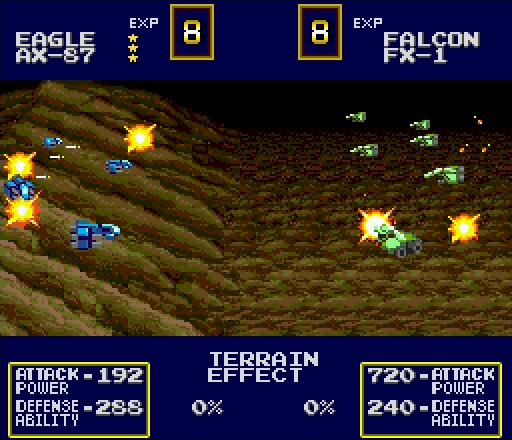
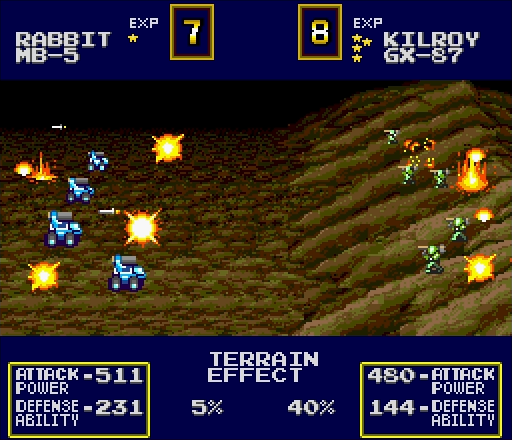
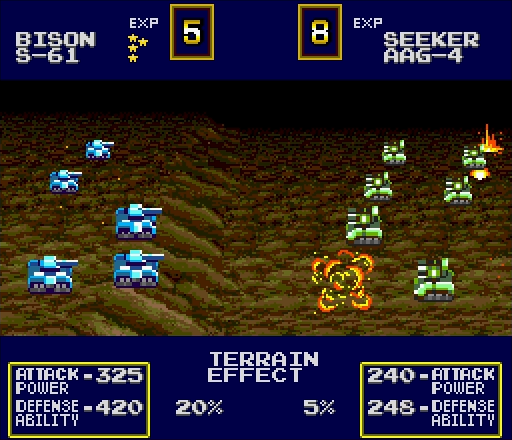
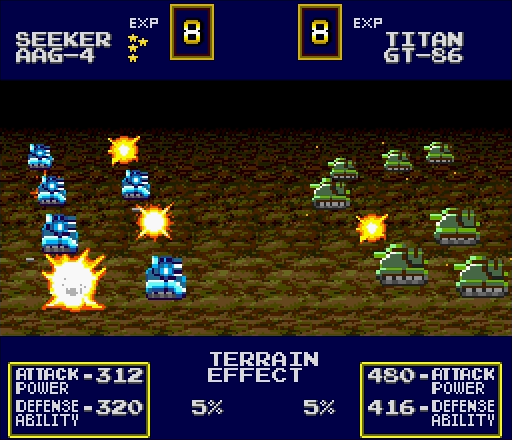
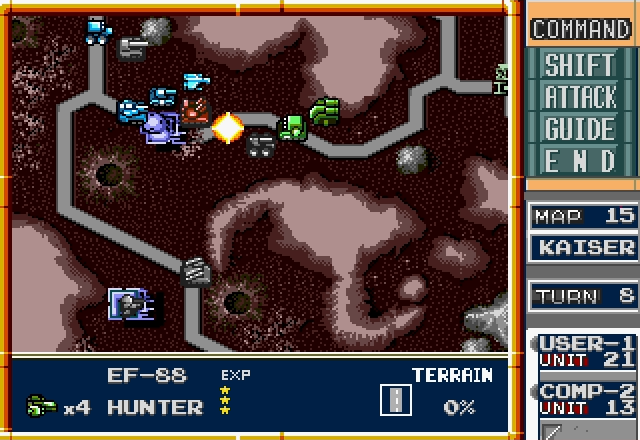
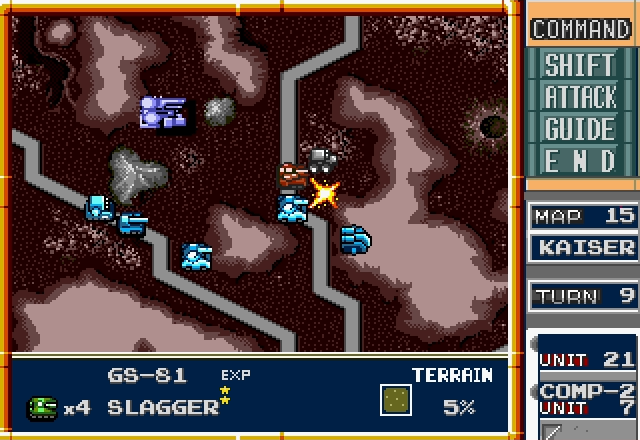
Back on the frontline, the enemy's taken the bait. In retrospect I probably should've kept the Seeker back, since it's one of the few units we have that can effectively fight their Hunters.
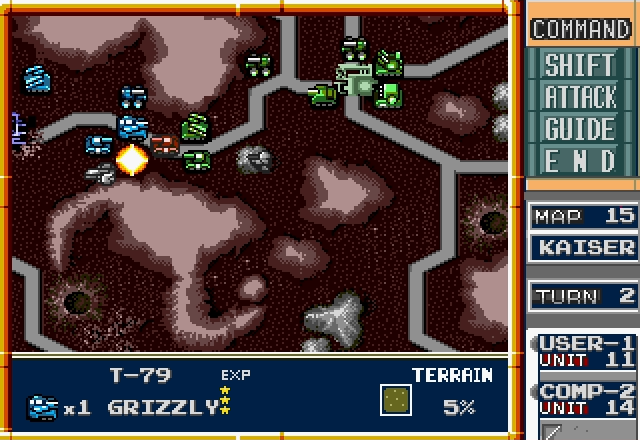
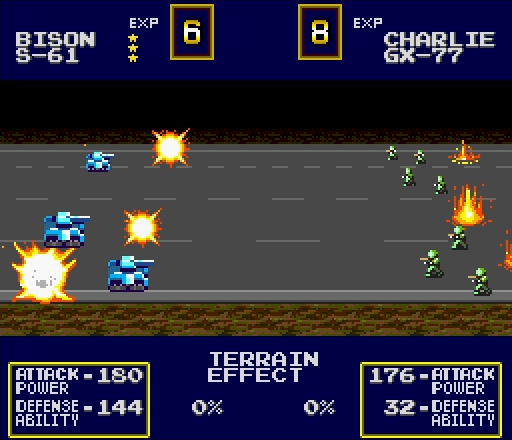
On the other hand, if they keep shooting like this, there's nothing to worry about!
Well, okay, maybe there is.
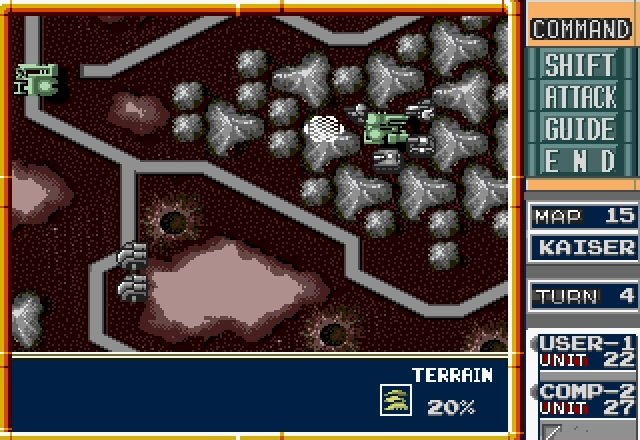
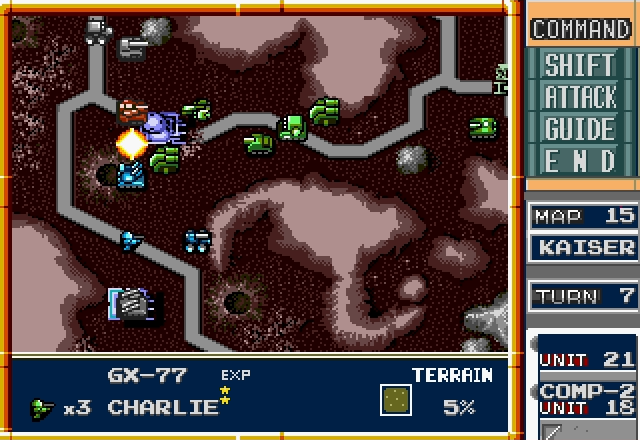
Fun fact: It's possible for the enemy Hunter to fly up here and attack your Charlie and, if you're unlucky enough, oneshot it. If that happens, restart.
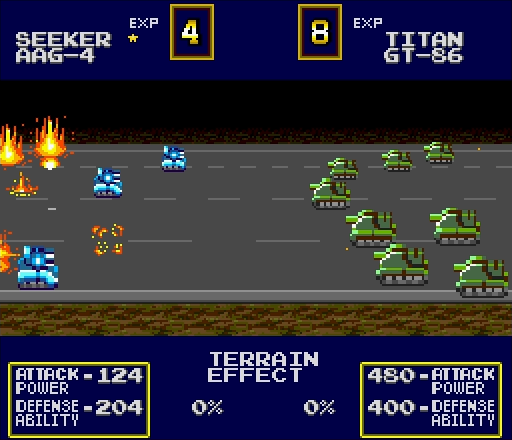
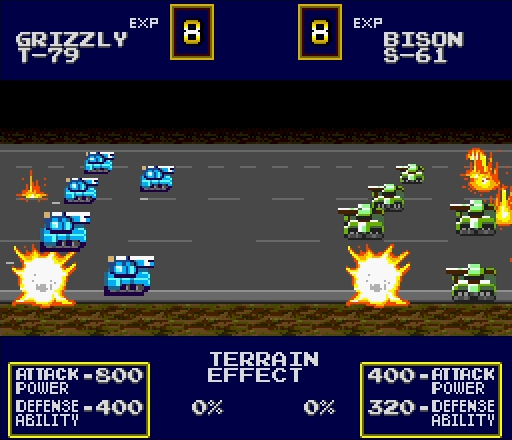
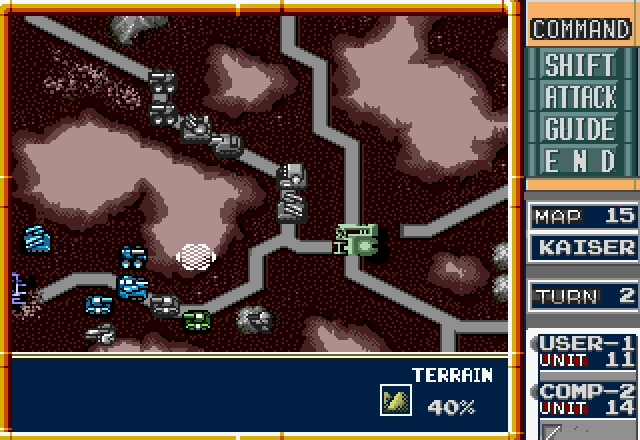
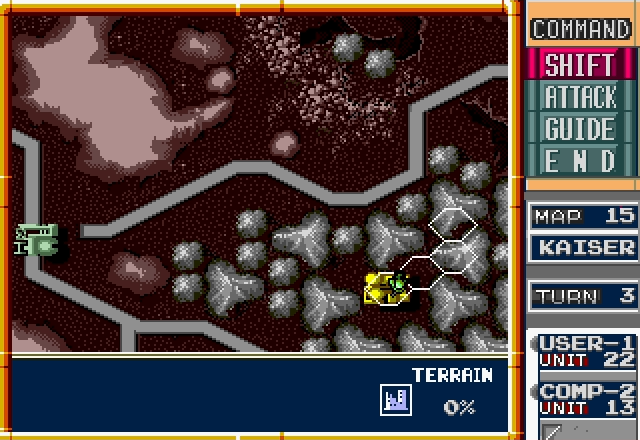
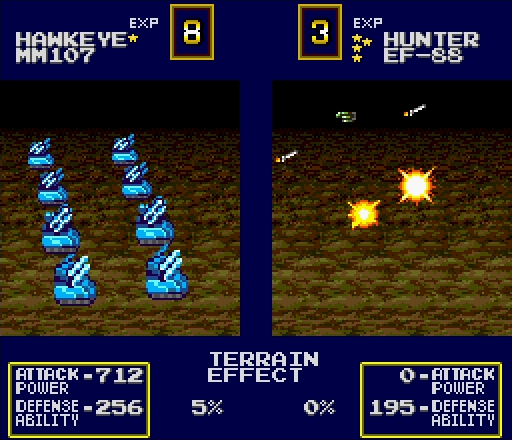
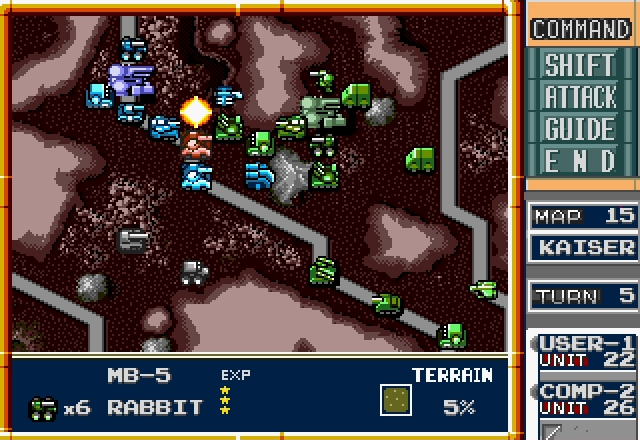
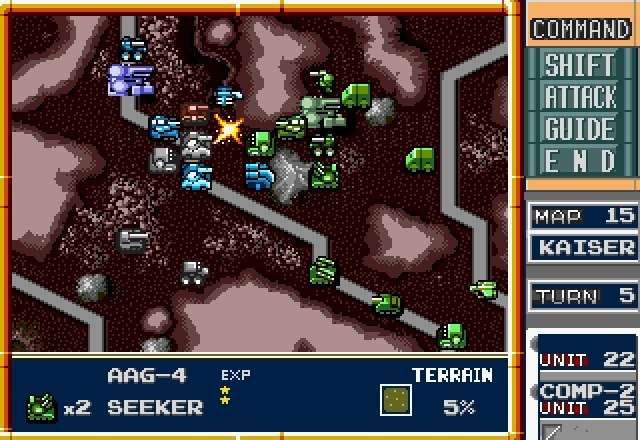
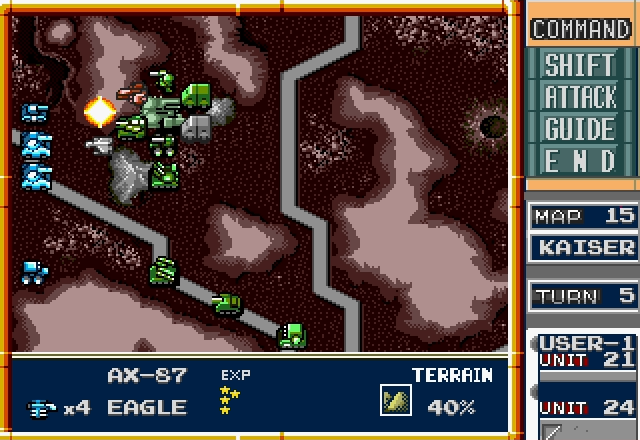
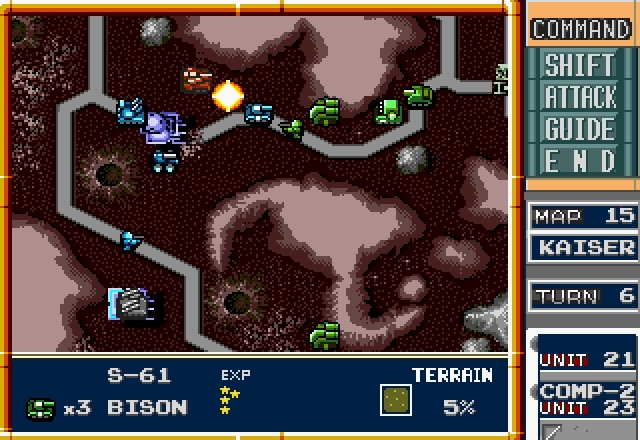
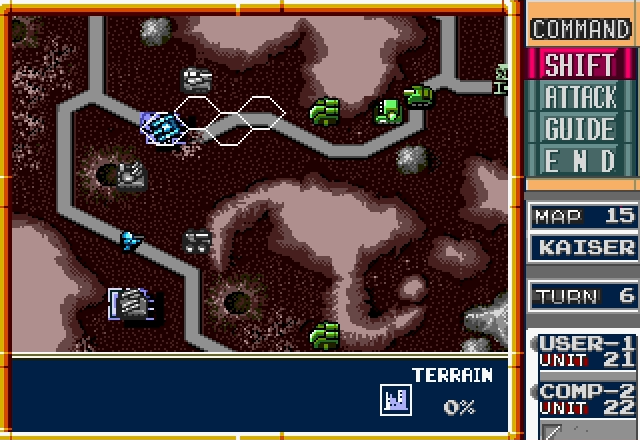
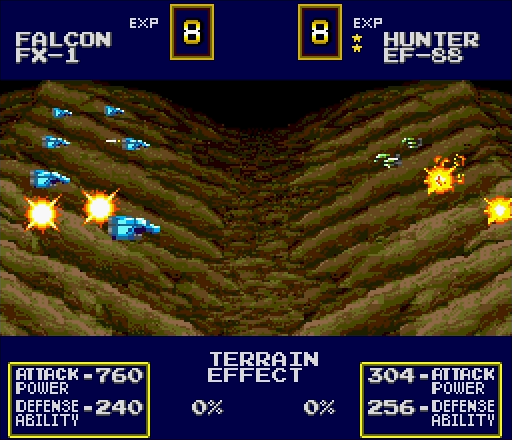
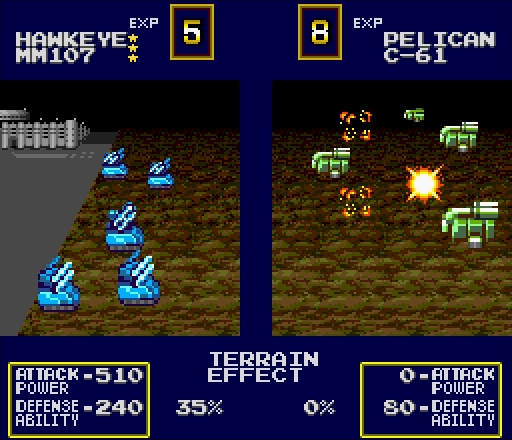
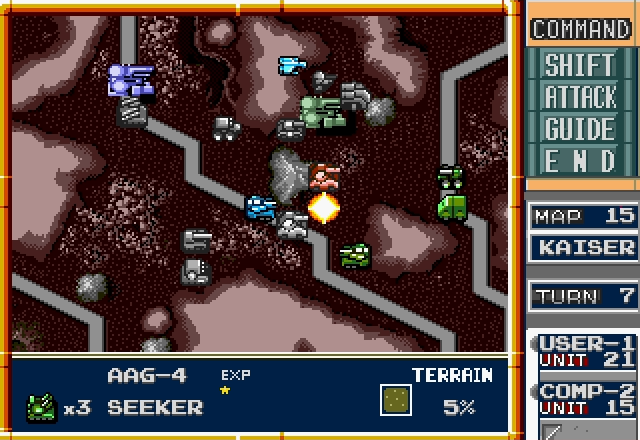
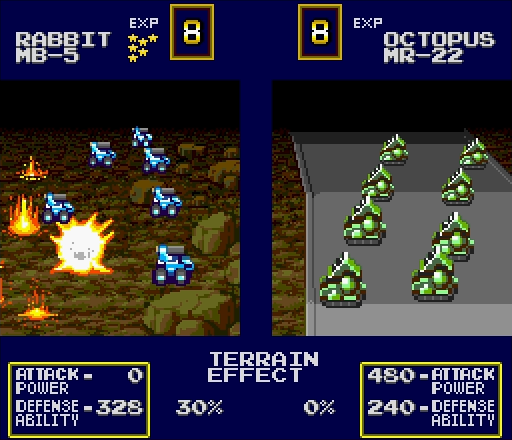
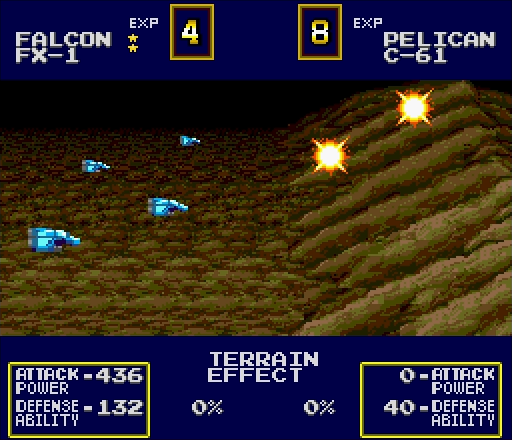
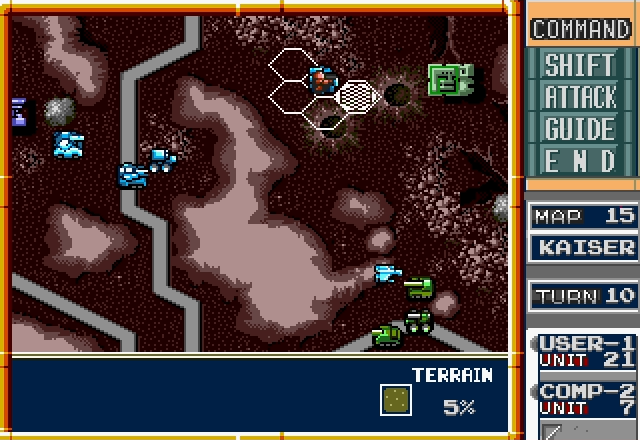
Back south, we're going to attack while we still can. The Hunter is worrying, but we've got a Hawkeye and we're not in artillery range yet, so this is pretty close to the best position we'll ever be in.

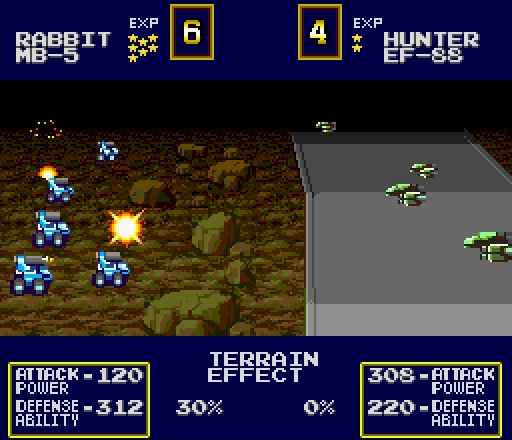
Could it be that the RNG is finally on our side?
Yeah, I didn't really think so either.
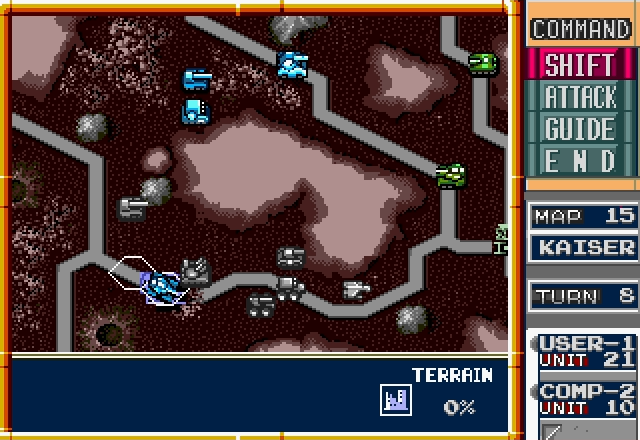
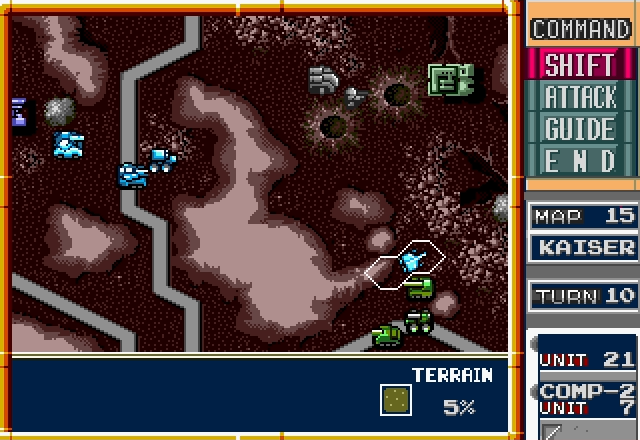
Much as I hate taking the Seeker out of the action with so little air defense to go around, it needs repairs if it's going to be any good against the Hunter.
oh hey speaking of which
Ouch. This initial assault isn't going as well as I'd like. At this rate the enemy could very well break through my lines.
So, naturally, they...uh...send everything up north?
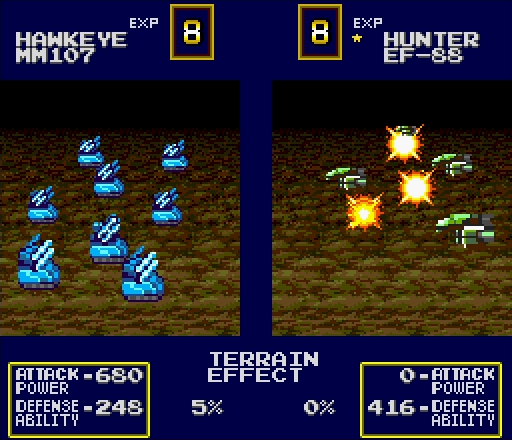
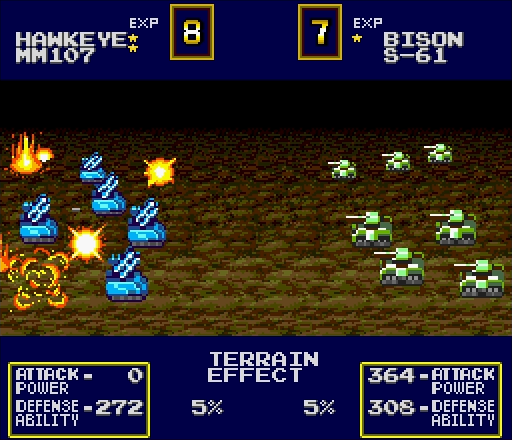
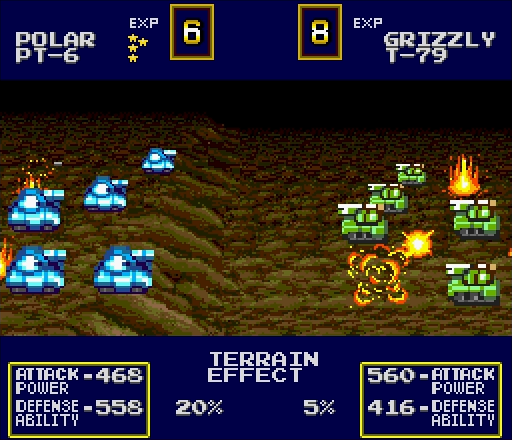
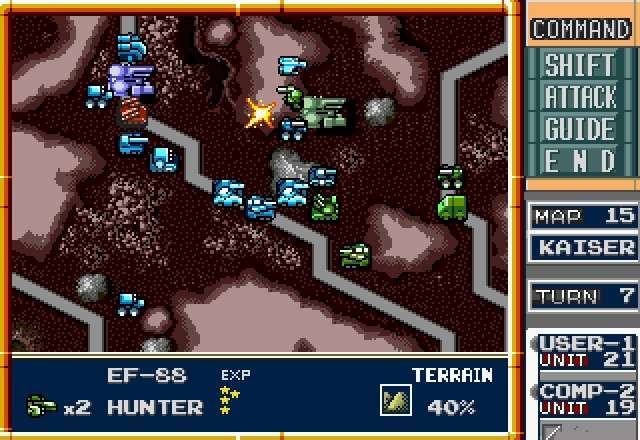
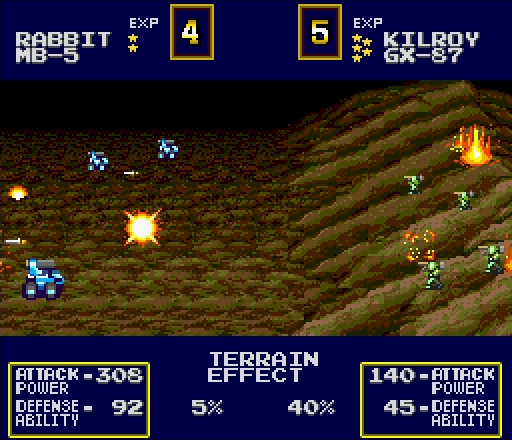
Whatever. At least we've got a decent shot of taking this Hunter out, thanks to this impressive shot from our Hawkeye.
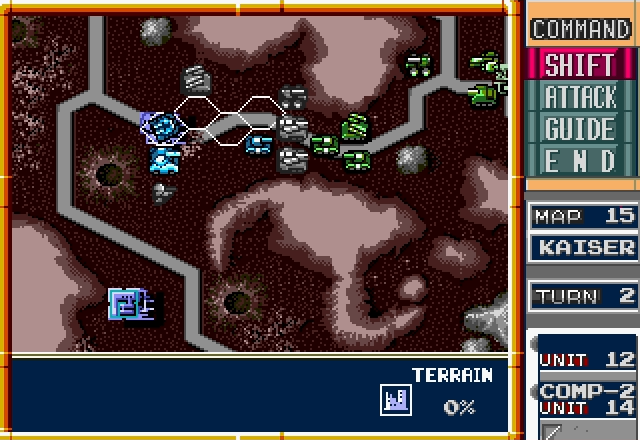
And hey, we're actually breaking through their lines!

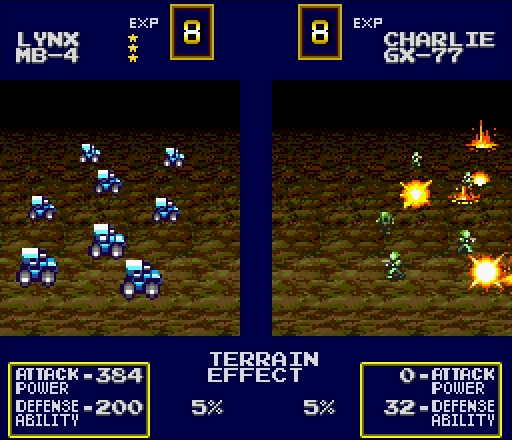
To make that Hunter die faster, we send a badly outmatched Charlie in against it. A Charlie only needs 1HP to do its job, after all.
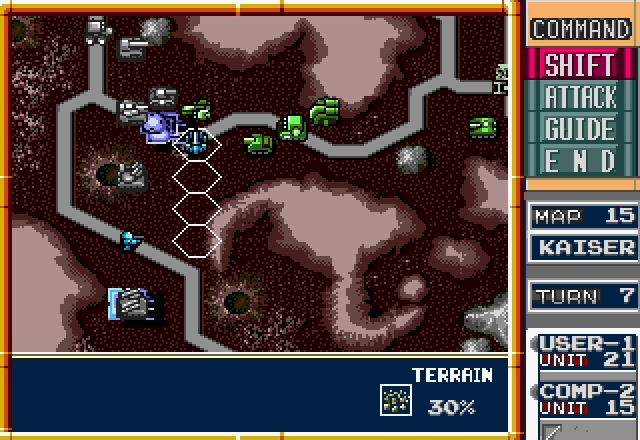
Got 'em. Not only does this prevent our Grizzly from being surrounded, but it may also force them to send their tanks back south to protect their factory. Keep them moving between fronts and they won't have time to shoot anything.
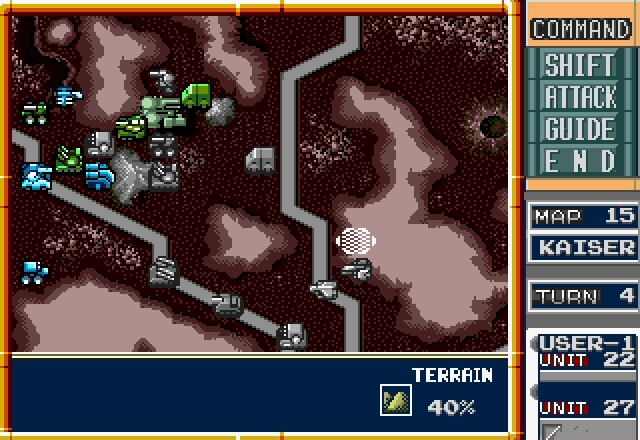
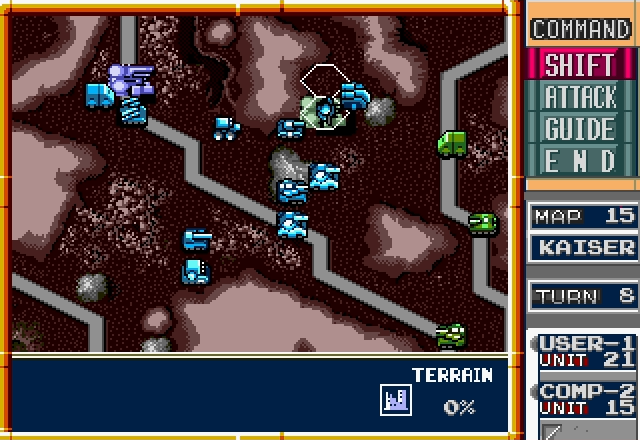
They'll have to make up their minds quickly, too, because we've got ourselves a shiny new batch of units up north.

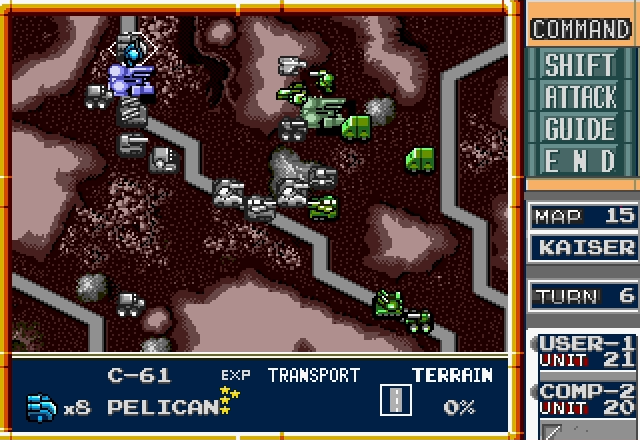
There's a lot of stuff I'd like to deploy, but with only three spots to work with, we'll have to prioritize. The Pelican gets meatshield duty.
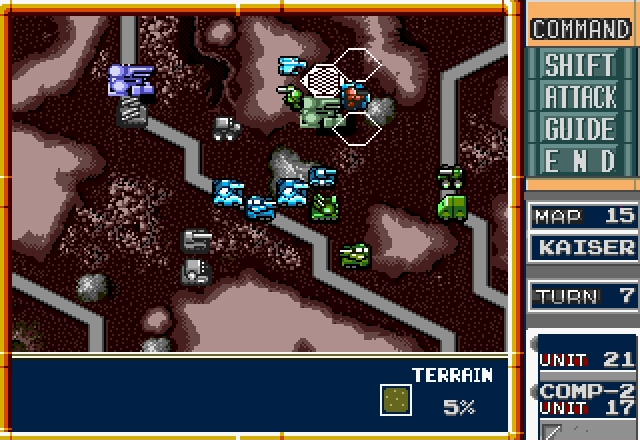
We actually briefly had more units than the Axis, but those days are over now. This is where things get tricky, because they're going to hit us hard on the northern front and a careless mistake could let them surround the northwest factory.
With nothing better to do, the Hunter decides to hunt

I'm a bit more worried about the Grizzly, though. It's surrounded (making me look like an idiot for saying that couldn't happen) and its survival depends on me killing that Hunter.

This...also happens. The Pelican's slightly less brittle now, so I'm all for it.
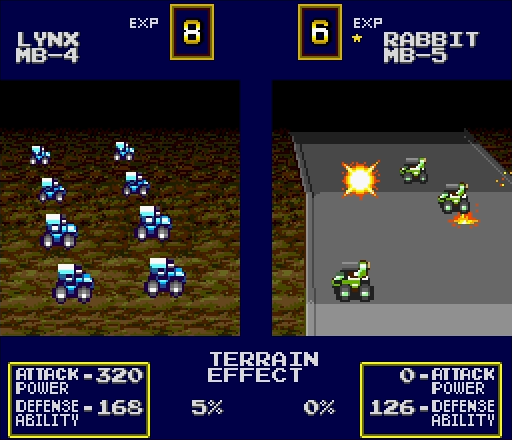
And that's two Rabbits that have effectively suicided by attacking it.
The enemy's next reinforcements are inbound, though. Both of those Pelicans are loaded up with Charlies, and both of them will be beelining our prison and factory in the south. Above all, we can't let that front fall.
So close, yet so far. How will I deal with the Hunter now?
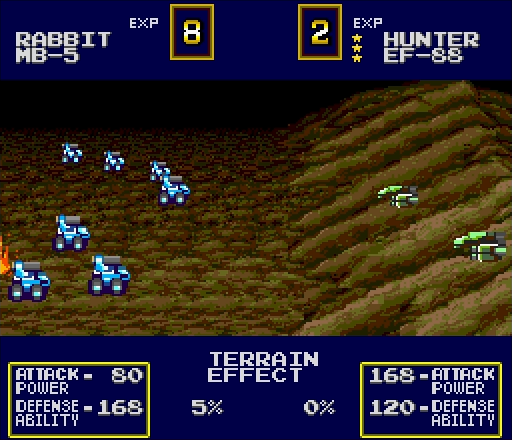
And this is why Rabbits are awesome. 2 experience stars and it didn't even have to wait any longer before getting repairs!
While we're at it, better get this guy to safety too.

That's...that's not really much of a battle line, is it?

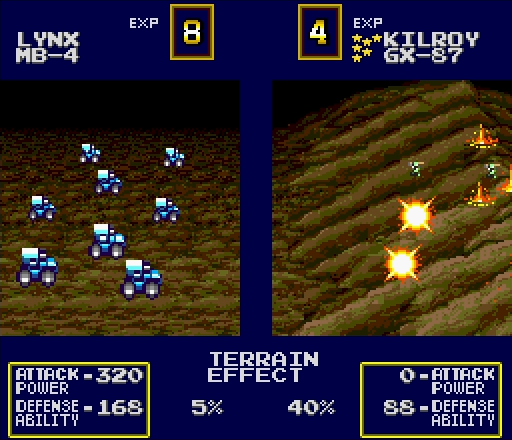
Up north, we open up with a solid hit from our Lynx. At least things are going decently well there. We've even got a bombing run ready!
In the history books, this moment of the war was forever remembered as the time of creation of Soldiers Against Drunk Flying.
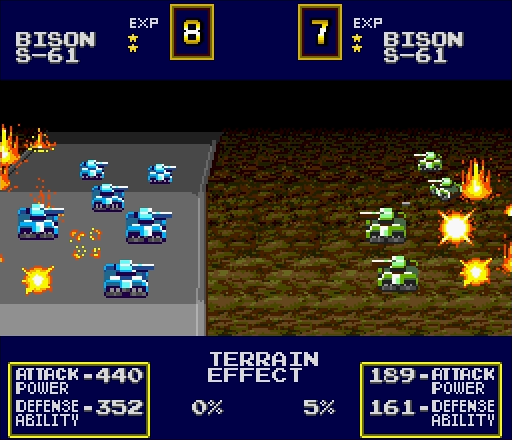
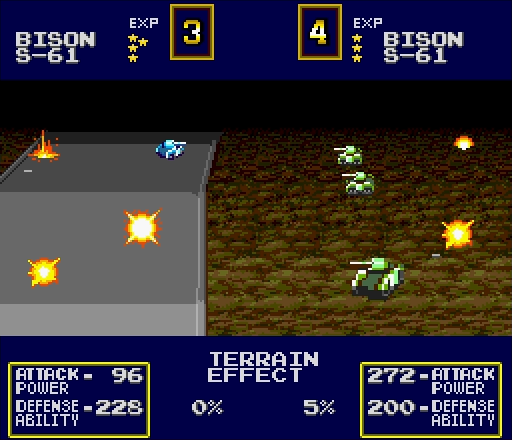
At least we can always rely on our tanks.
For a certain interpretation of "always."
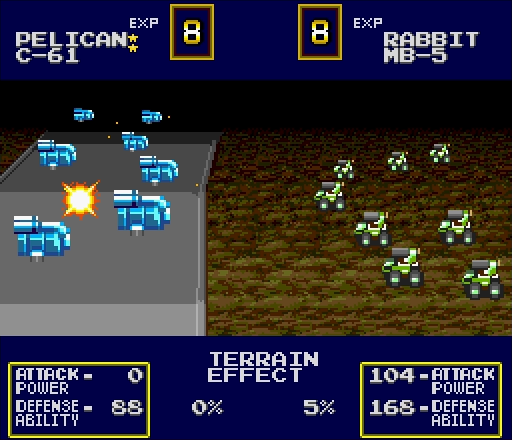
Okay, fine. I'll just drop units until we have so many shooting that someone has to hit something sooner or later.
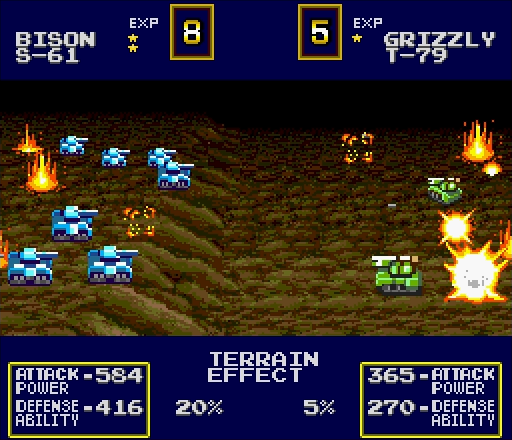
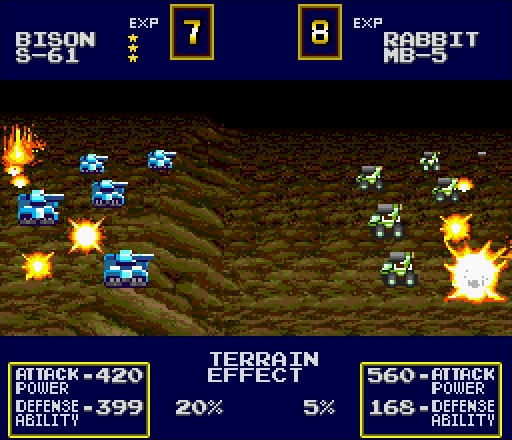
The Axis pushes back in the south, demonstrating the importance of protecting your artillery.
The Pelican continues to do its job just fine, taking a hit as well as a Hunter did.
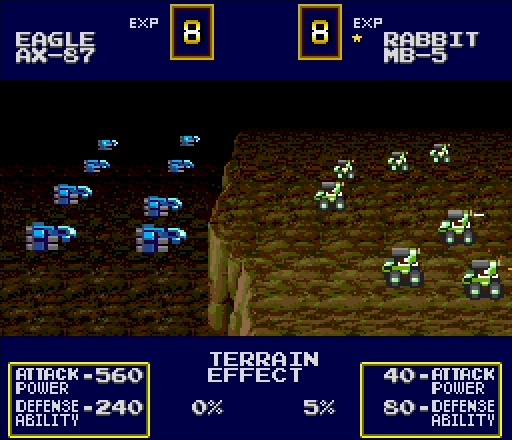
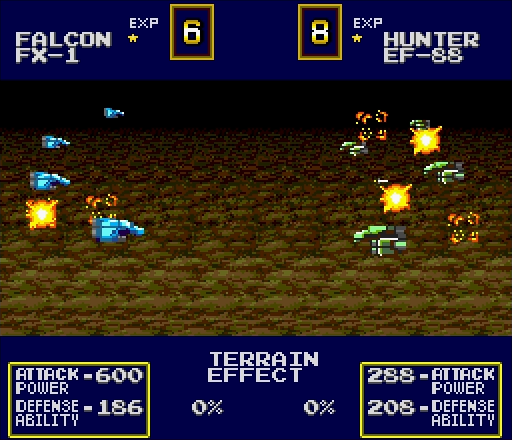
The Falcon and Hunter from the east base close in on our Eagle, not wanting to give it time to improve its aim.
And with things getting ugly up north, soon that Eagle's going to be out of the action one way or another.
This isn't quite as frightening as the last batch of units to come out of the eastern base, but another Hunter in the fray won't make things any easier.
For now our position at the prison is strong with the repaired Grizzly, Seeker, and Rabbit coming out of the factory to mop up the stragglers.
The north is a different story. In all honesty, this is a risky assault and it'll probably end up costing me, but we need to do as much damage as we can before their reinforcements get here and I've at least tried to keep everything close to my factory.
Let's get the Pelican to safety. It's been shot at more than any Pelican should be and the skies are about to get very unfriendly.
We can do something about that, though. This is less air defense than I'd like, but it's what we've got.
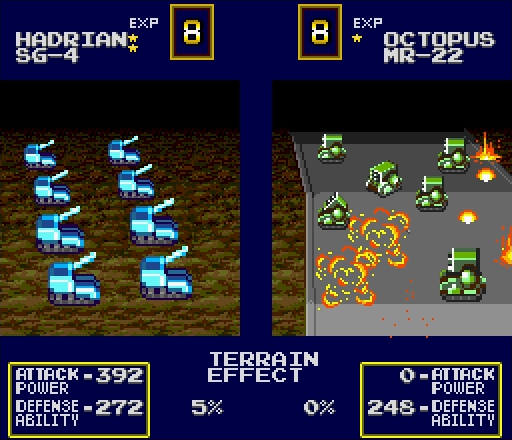
Okay, I think we all saw that coming. I was really pushing my luck, finishing off the Octopus. At least the Eagle distracted the Hunter long enough to stop it from bombing the tanks.
Then again, with performances like this, maybe it should've bombed the tanks.
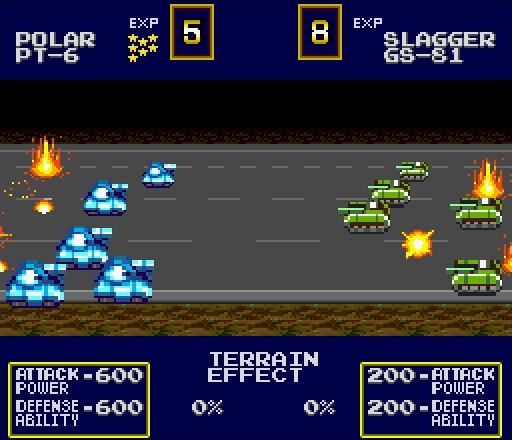
And that's the story of how a stray Charlie unit completely turned the tide of a tank battle.

Smelling blood in the water and not wanting to get in a slugfest with Polars, several more Axis units head down to try to break through in the south.
Not that it stops them from charging our lines with...a Hawkeye? Really?
The last units come out of the eastern factory, and all told they're pretty unremarkable.
Things are getting a bit too heated at our prison camp, so we'll go on the defensive. The Hawkeye will serve the dual purpose of shooting down any Pelicans that get near and blocking any Charlies that would go for the capture.
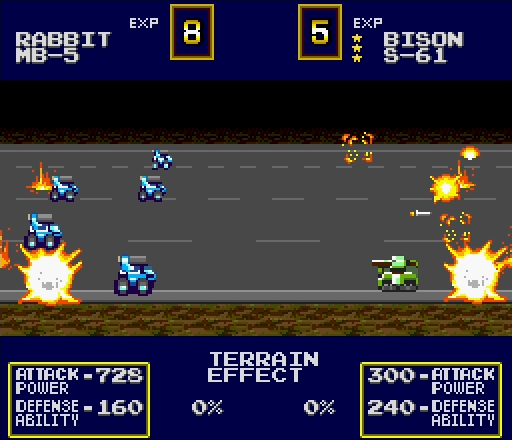
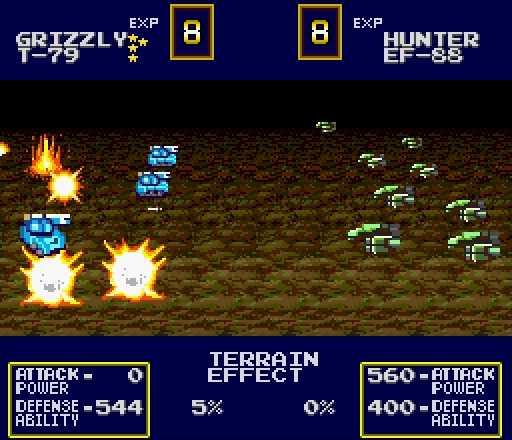
While that's going on, we park our 1HP Bison in the factory and mop up the units responsible for it being at 1HP.
The battle to the north rages on, and already the skies are much safer. Too bad we've already lost our only bomber squadron.

In fact, things are going well enough over there that I decide to send the Hadrian and Lynx down south to help.

Well, now that our Falcon can attack without fear, this should make that Hunter easier to handle.
Damn, should've known it was a longshot. This would be fine if it weren't right next to the factory, where it will almost certainly go for repairs on the Axis' turn.
At any rate, it's tied up for the moment, and that gives us the chance to make another push.
It goes reasonably well. Well enough, in fact, that it seems worth it to try to capture the enemy factory.
Welp. This is what the Hunter, surrounded by enemies and right next to a friendly factory, decided to do with its turn. It could've come back to terrorize me with full health and 3 stars, but apparently the Axis just can't delay gratification.
Oh, hey, it's a Kilroy actually doing something! I don't think we've seen that since Ramsey!
Ouch. That's a solid hit even for a Hunter, and that Grizzly had just gotten out of the factory, too.
The enemy tries to break through in the north, without much luck.
They've got more tanks on the way, though.
A much bigger problem, though, is that Charlie that just dropped outside of our factory. If they get it, we're left with no place to repair until we take it back and the Axis can heal their Hunter at any time.
Let's do the easiest job first. Any turn where we drop a Hunter is a good one.
I'm glad this game's RNG is so screwy. It means I'll always have something to talk about.
This unit's experienced and it's a Rabbit, so that's two reasons to be extra-careful with it. Repair time!
Hey, remember this guy? He's finally doing stuff again! It's only an empty Pelican, but more experience is always welcome.
On the whole, the Charlie didn't turn out to be much of a problem.
While it's nice to have a clear shot at the Hunter, I'm a bit worried about the Titan. Let's hope the Seeker can survive the Axis' turn.
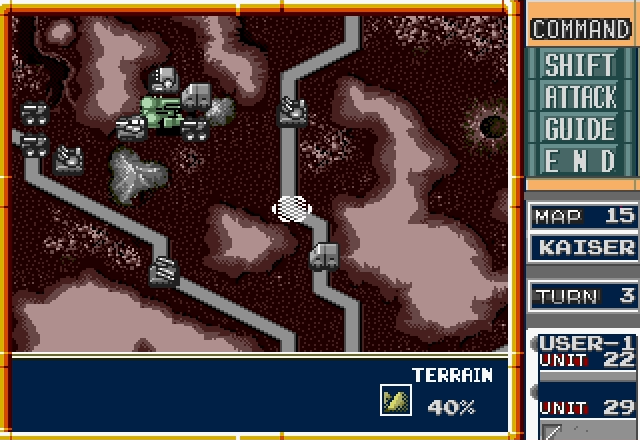
We've just about got things wrapped up in the north and we're ready to capture their factory, although I'm still worried about that Mule because it's carrying an Atlas.
Well hell, we've got enough firepower, let's rush it!
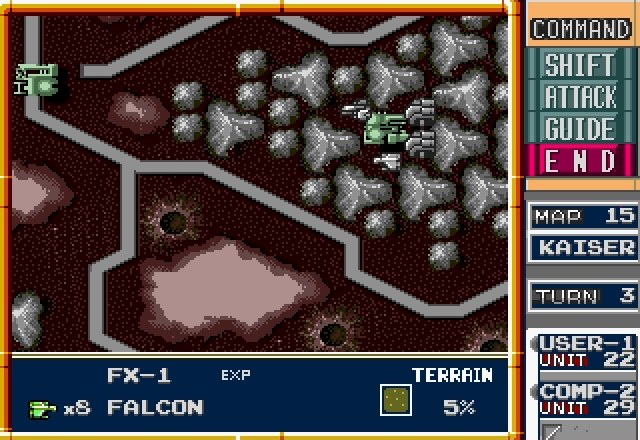
Now, why would I be so grossly careless with my Rabbit?
Why, for the surround effect bonus, of course! My Falcon was just in range to attack this Hunter, but not in range to get to where it could surround it, so I had to improvise.
The AI, being the AI, uses this chance to hit the high-risk, low-reward target, rather than my Rabbit.
Oh, there it goes! That's...less than impressive.
The Hunter follows up by making our Rabbit the most badass it can be - it's got a full star now.
Having seen the incredible power of Rabbits for itself, the Axis takes measures to preserve its own.
Beyond that, its remaining units to the north withdraw. Are they rushing the south or falling back to defend their prison?
Whatever the case, we've got a new place to heal! This is, what, the second time in the campaign we've taken an enemy factory? And the first one wasn't even necessary.
Ah, Hadrians. What's the point of all that range when all you've got is a peashooter?
See that 7HP Titan we just killed? Remember, that Rabbit is at 5HP.
And it still had time to surround the Hunter so we could shoot it down.

As if that weren't enough, its supporting fire lets us kill this Octopus!
Much like fine china, Rabbits are fragile but priceless.
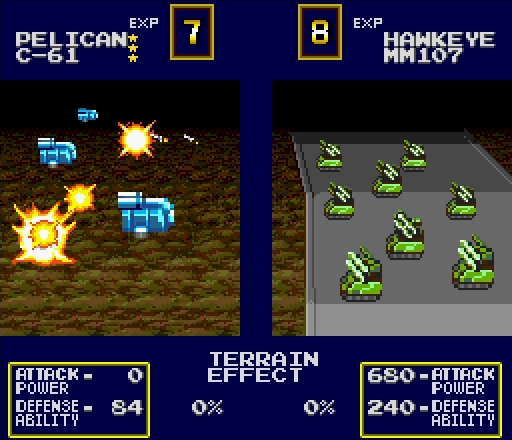
Inspired by this success, the Falcon gives us a two-for-one special by taking out the Charlies while they're still in their transports.
And, just like that, we've got a 2:1 advantage over them. The battle will probably be over before this Grizzly gets back in the fray, but let's repair it anyway.
We've got more damaged units to the north, so those can get repairs at our new factory.
With nothing left to protect them, the enemy's last Mule and their only Atlas get torched.
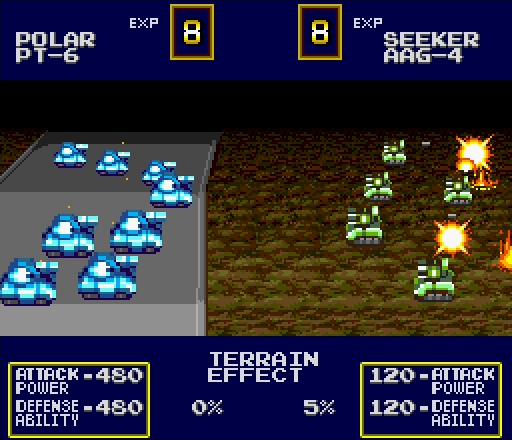
This Polar can still fight effectively, so it keeps pressing the attack, earning it a full star and making it even more terrifying.
The enemy seems to agree with my assessment.
It's times like these, though, when I start wondering whether the numbers at the bottom of the screen actually mean anything.
They've still got a pocket of units left that we'd probably take some casualties trying to finish off.
We're not going to do that, though. First, let's cut them off from their prison.
With that done, we kill this Slagger so we've got a solid front.
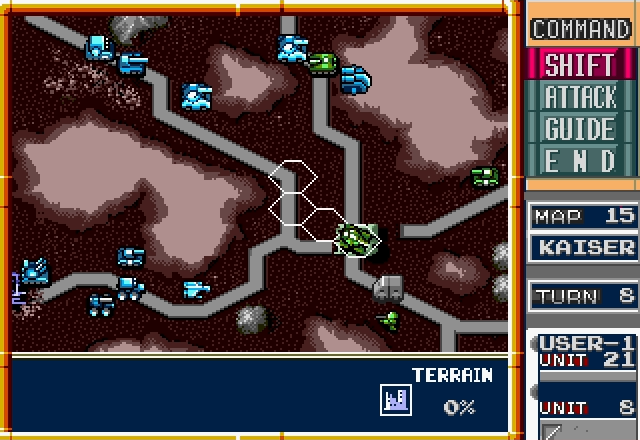
Finally, we're ready to wrap it up.
The Axis sees what's going on and makes a mad rush to defend their headquarters.
They might've gotten there in time, if not for the Falcon's zone of control.
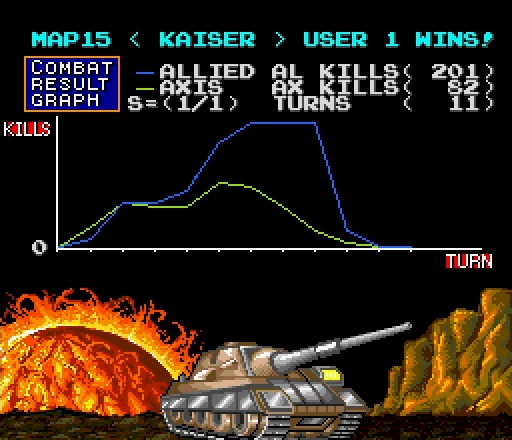
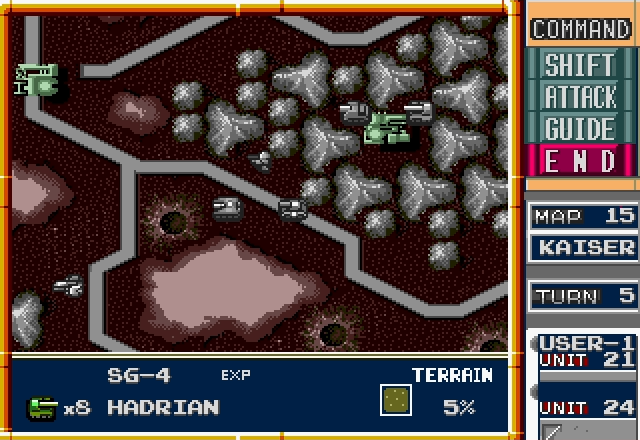
And that was Kaiser.
Like Apollo, I lost a few times on this one before I worked out a strategy I could rely on. Kaiser can get complicated very quickly - there's a thin line between putting too much of your force in the north and too much in the south, and you've got to do all this while being sure none of your forces are too vulnerable to their Hunters. With your factory right next to theirs in the north, you're practically deploying right on top of each other and it's easy to overextend yourself and find yourself firmly in Axis territory just fending off their attacks (see: what happened to the Eagle).
We've made it, though, and now there's only one battle left.
NEXT TIME: Stopping the SAM at NECTOR.