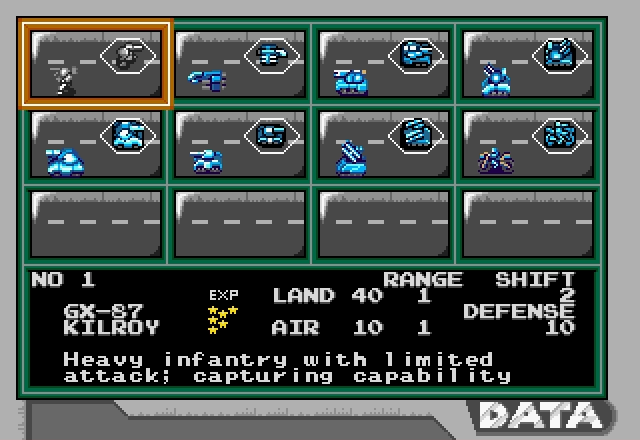
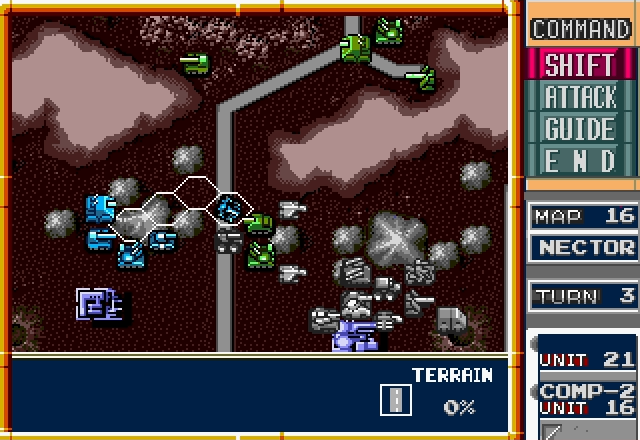
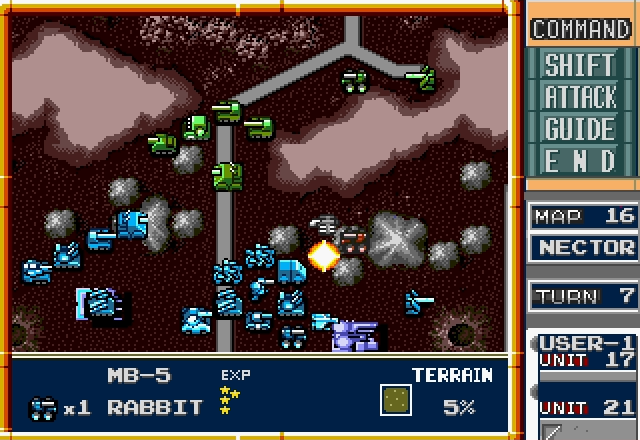
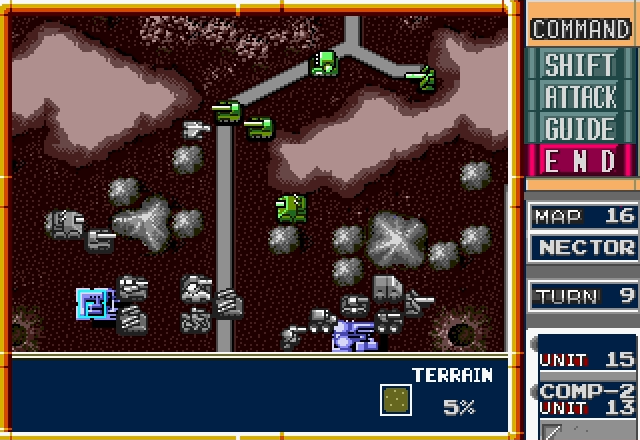
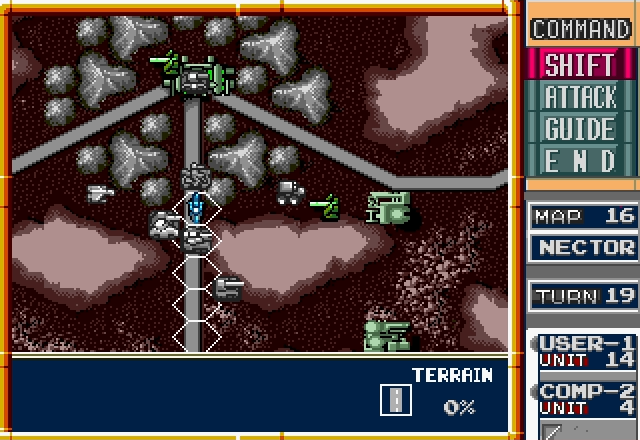
Part 17: Winning The War At NECTOR
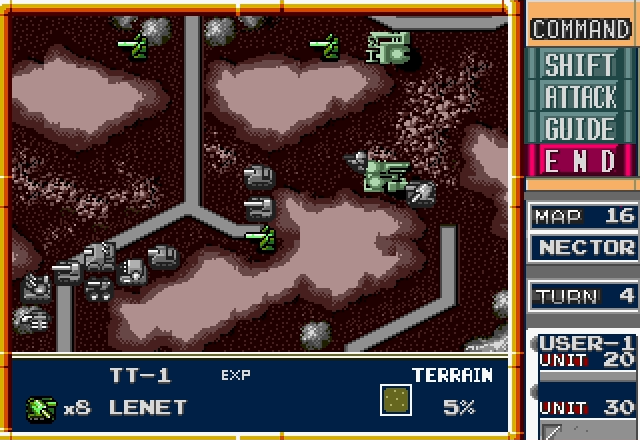
Stage 16 - NECTOR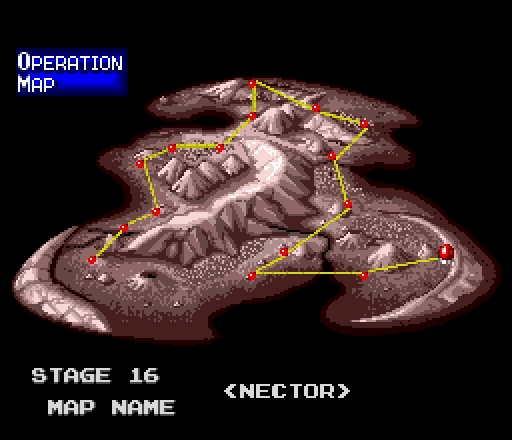
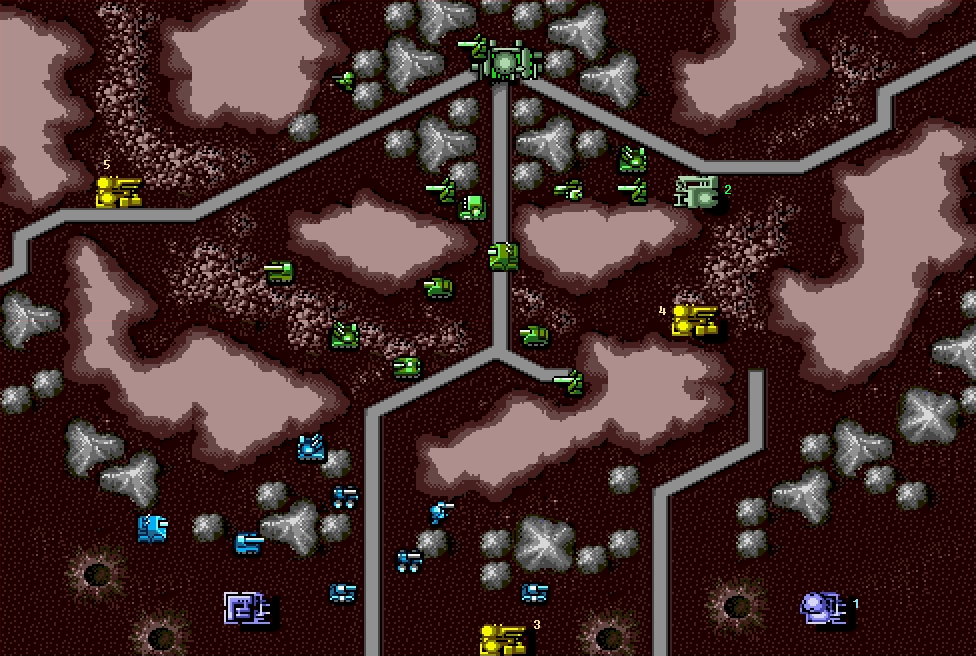
UNITS IN FACTORIES:
1 (Allies). Falcon, Panther, Mule, Atlas, Lynx, Hawkeye, Falcon
2 (Axis). Rabbit, Titan, Hadrian, Charlie
3 (Neutral). Eagle, Grizzly, Seeker, Polar, Bison, Hawkeye, Panther
4 (Neutral). Eagle, Hunter, Lenet, Rabbit, Lynx, Trigger
5 (Neutral). Slagger, Hunter, Hunter, Seeker, Pelican, Giant, Falcon, Seeker, Slagger, Hunter
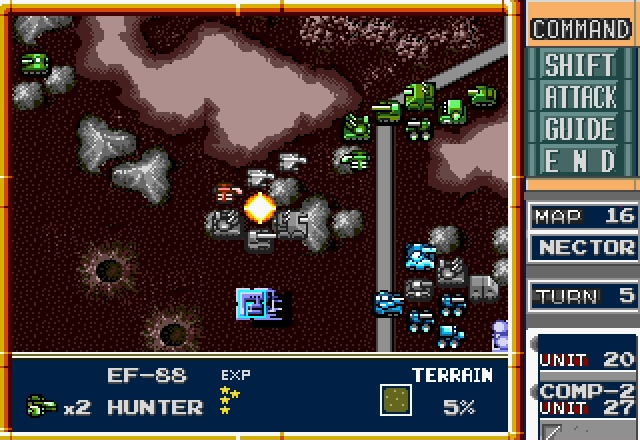
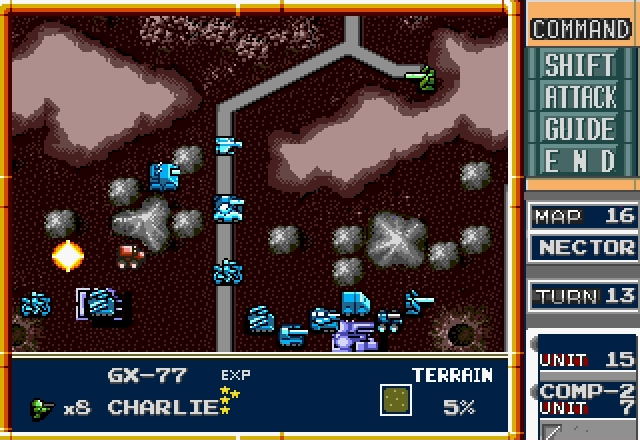
Well, this is it, the final battle. If we can win here, we'll disarm the SAM, take back the moon, and stop the Axis Empire once and for all.
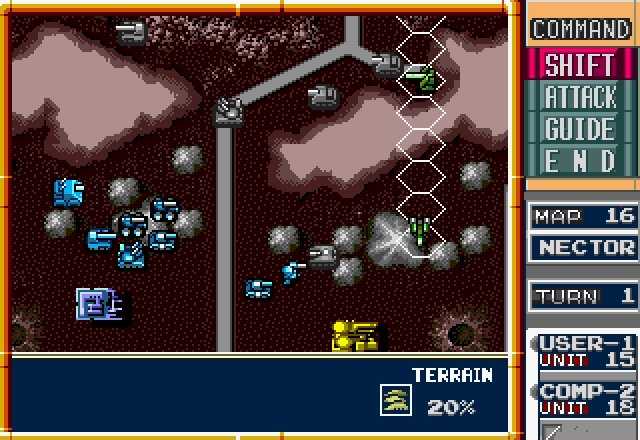
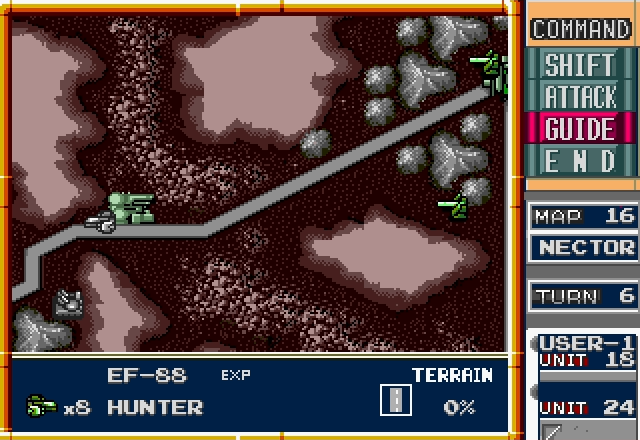
And, for such an important battle, it's suitably daunting. The enemy's got a ring of Atlases around their headquarters and an additional gun further out to pound us while we're trying to defend our prison camp, there are five Hunters on the map and they have uncontested access to every last one, and they've got a generous serving of heavy tanks, artillery, and anti-air guns to smash us with. Their Hunters will take a bit longer to get here, but that's actually a bad thing because it means they'll be arriving with the other units rather than ahead of them, so we can't really isolate them and pick them off before the ground units reach us.
My plan for this mission is simple: Pull everyone back to the prison camp, and hold the line or die trying.
On the plus side, since this is the last mission, both the Allies and Axis get new combat themes, and the music doesn't change if someone pulls far ahead. You can have a listen to an arrangement of the Allied theme here, but sadly I couldn't find the Axis one.

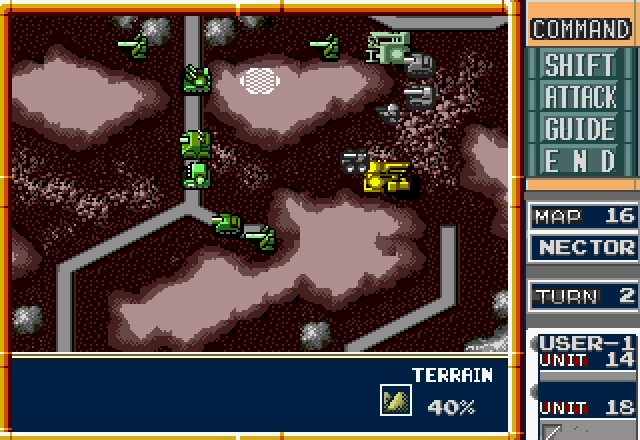
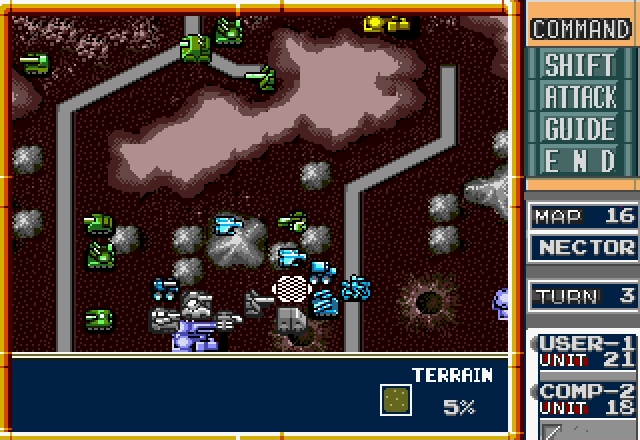
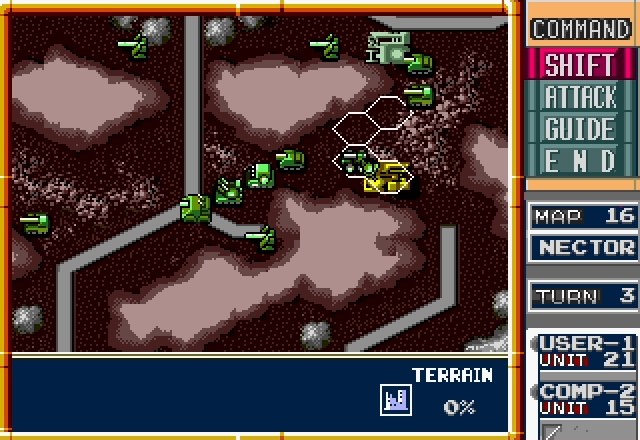
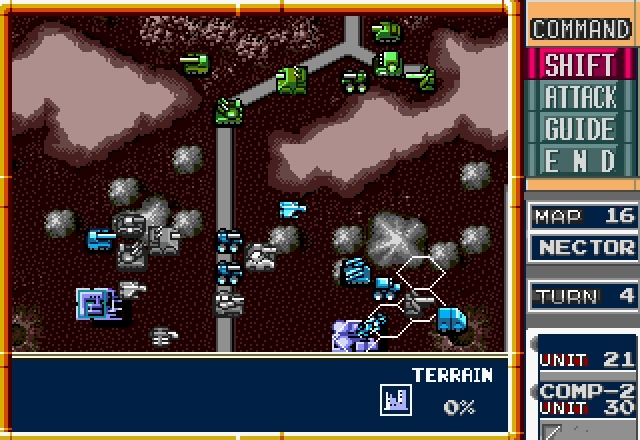
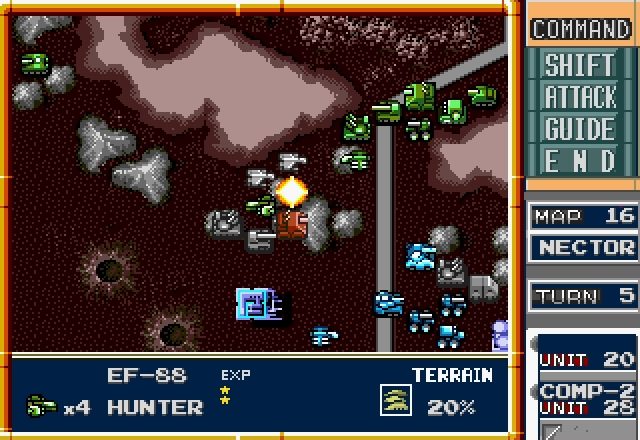
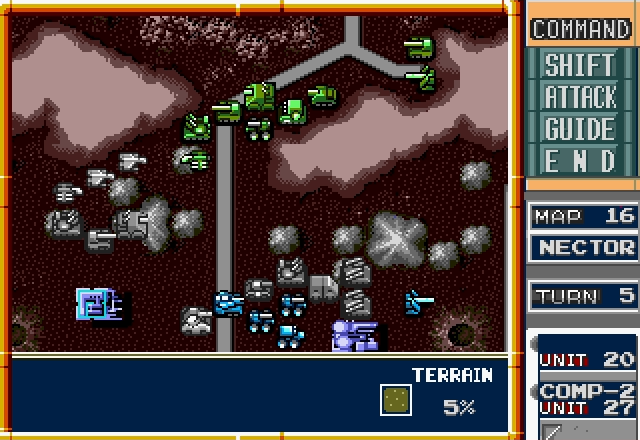
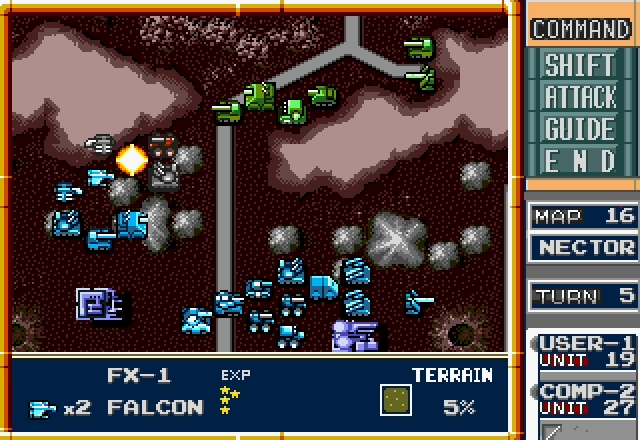
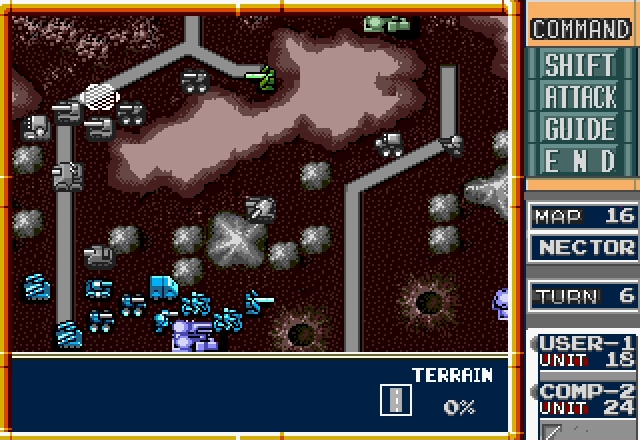
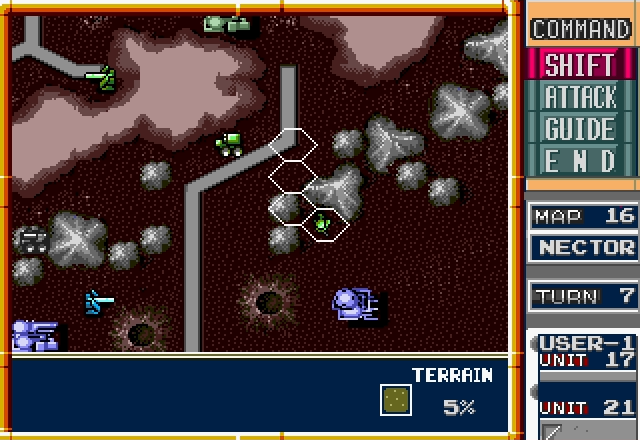
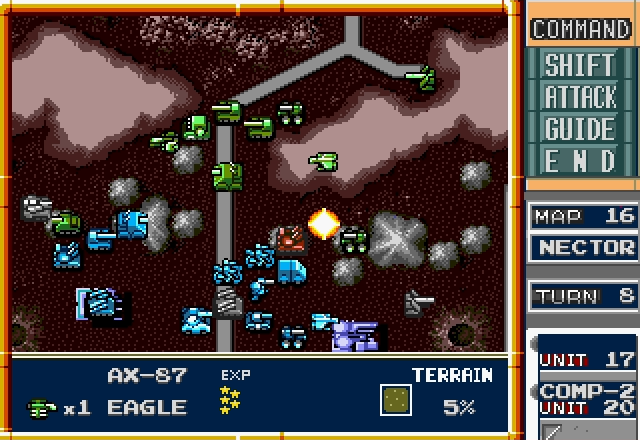
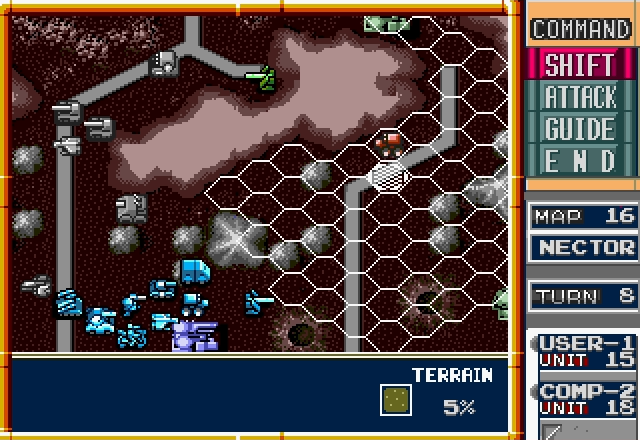
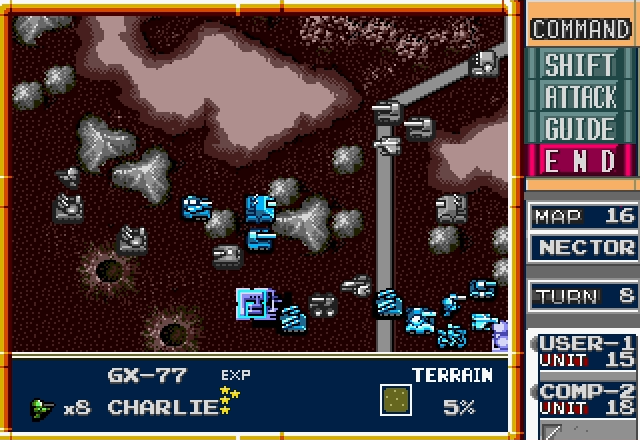
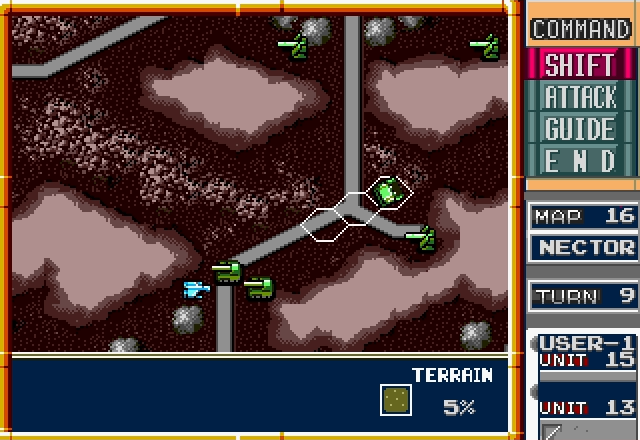
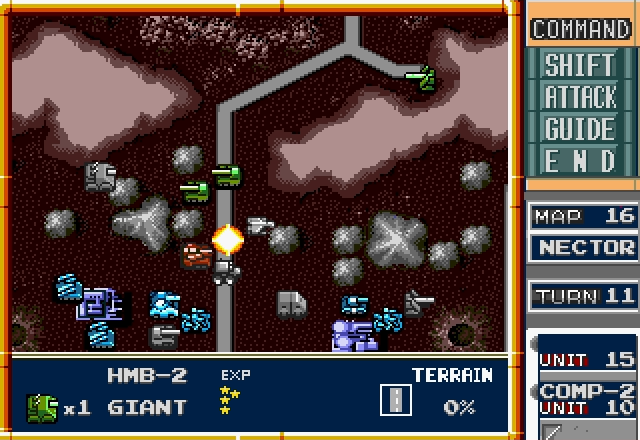
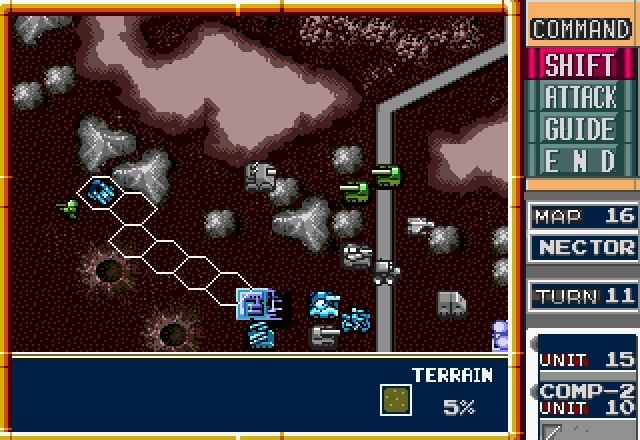
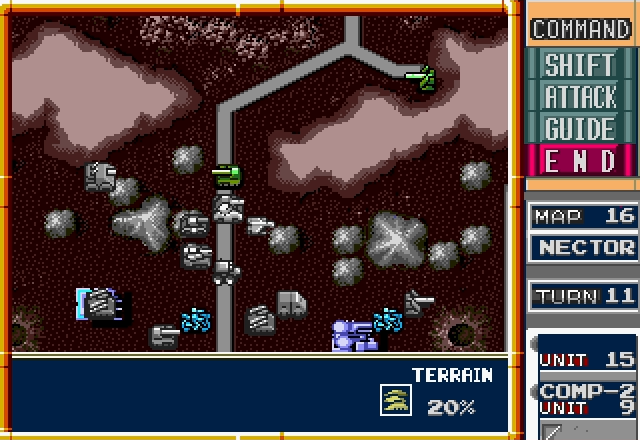
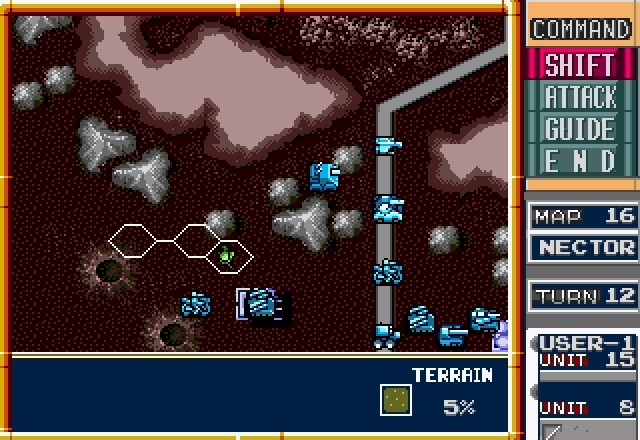
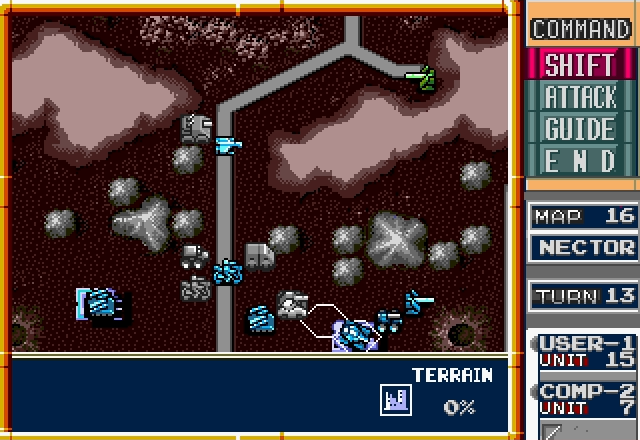
To begin with, everyone except the Giant moves back. We need to make sure we can surround their attacking units without getting in the range of that Atlas.
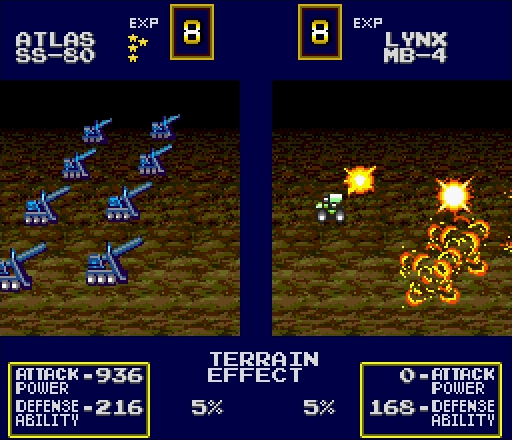
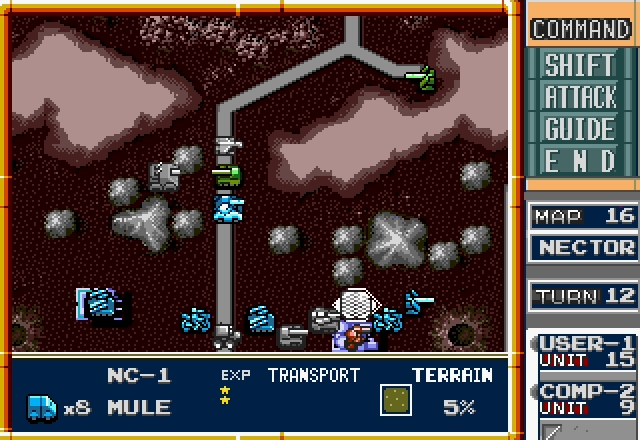
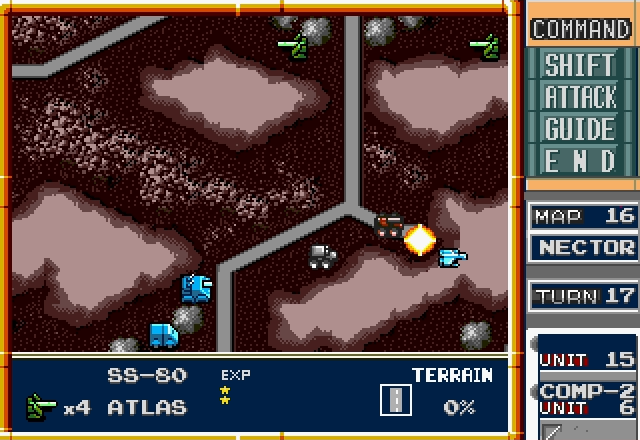
Of course, the Atlas goes in the Mule. These guys will make a beeline for the prison camp next turn.
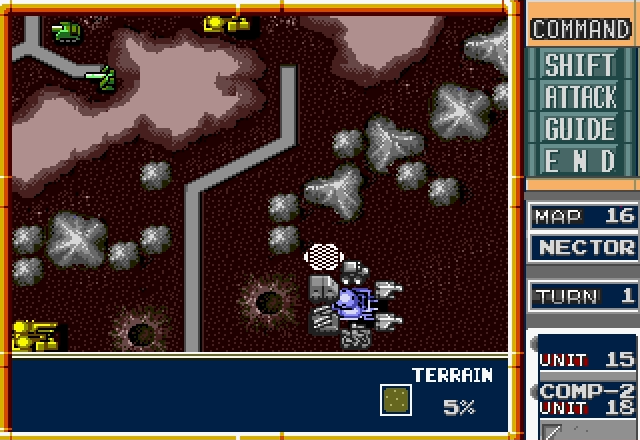
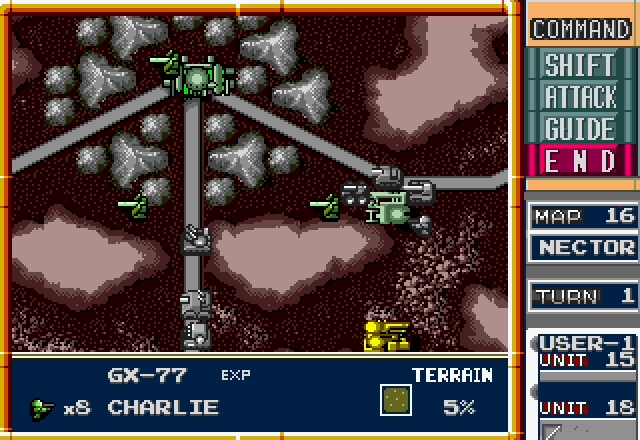
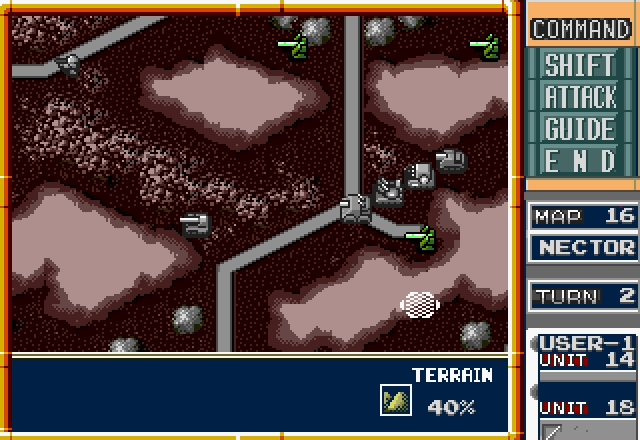
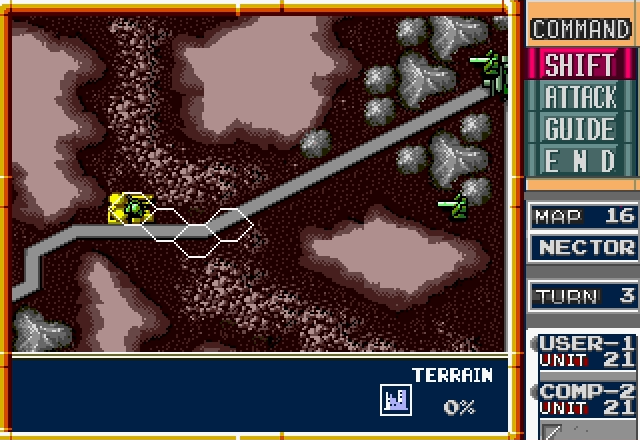
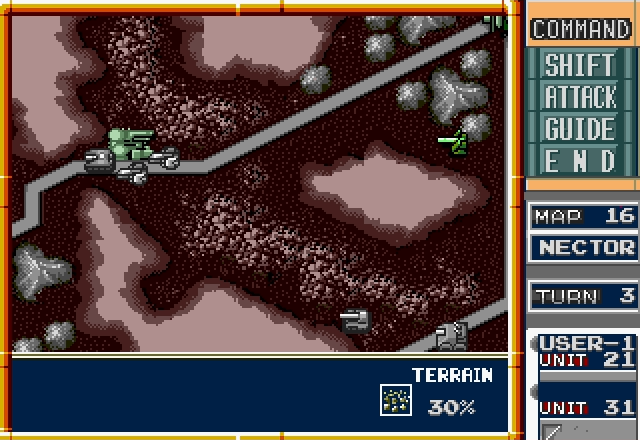
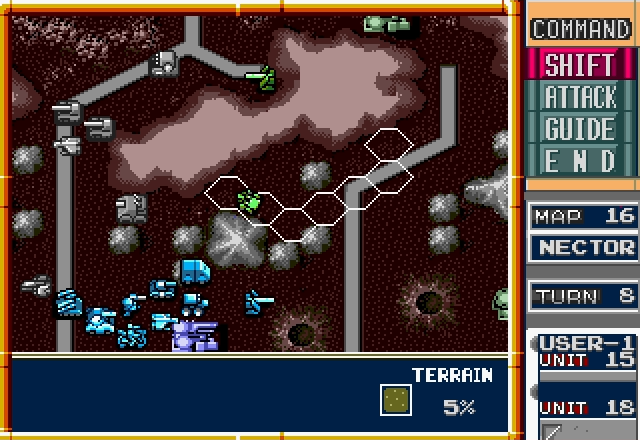
Unfortunately, I was so focused on shoring up my defenses on the left that I completely failed to consider they might attack the right. At least the Kilroy's still alive.
Well, shit, this is a problem. Getting that factory immediately is not optional, so that Kilroy dying would mean restarting.
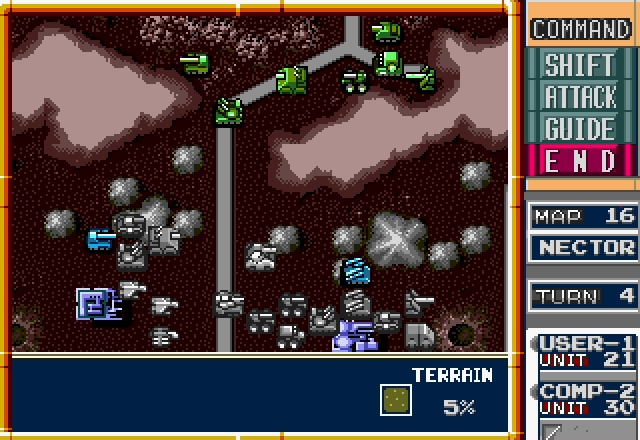
The rest of the Axis turn is mercifully short, and is mostly just a general push toward the Allied prison camp.
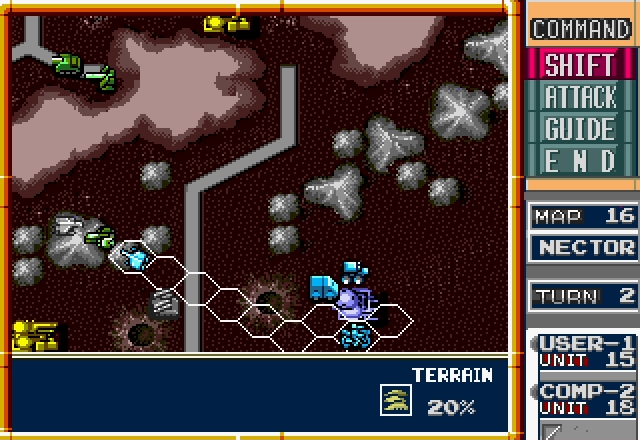
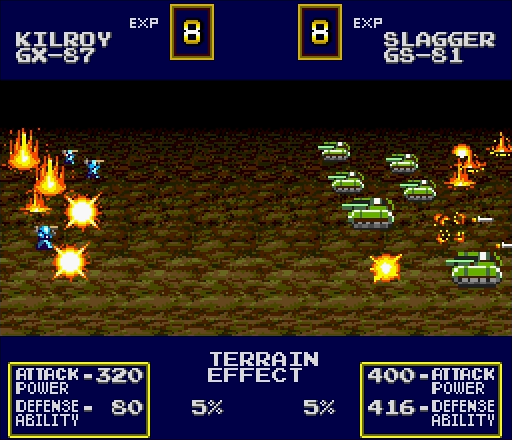
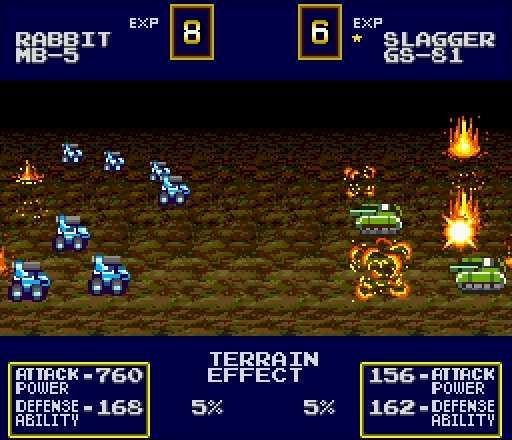
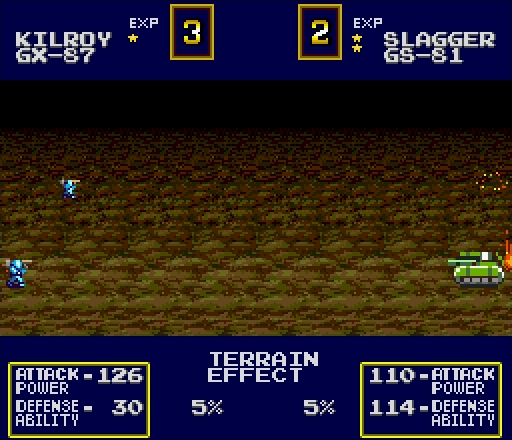
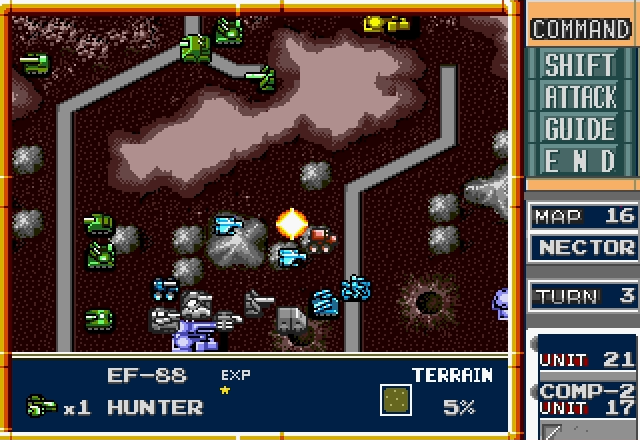
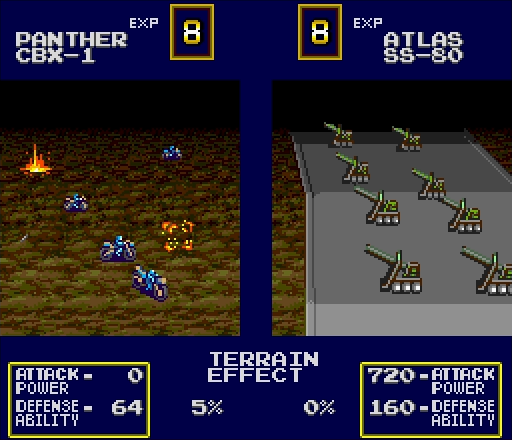
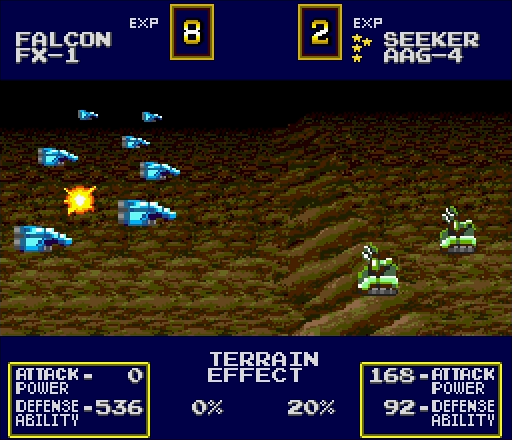
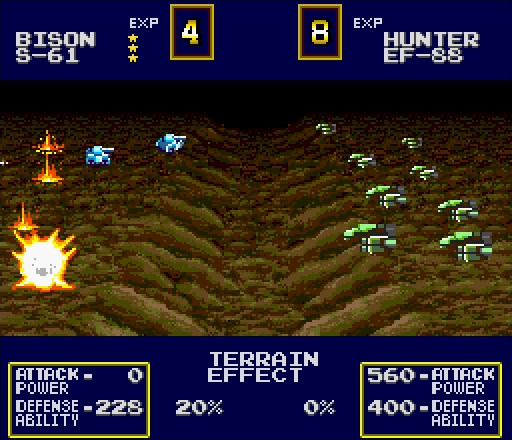
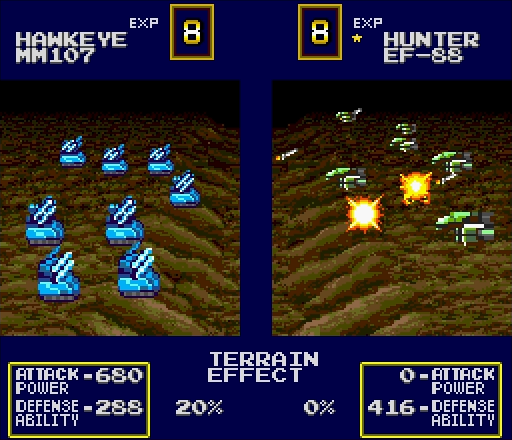
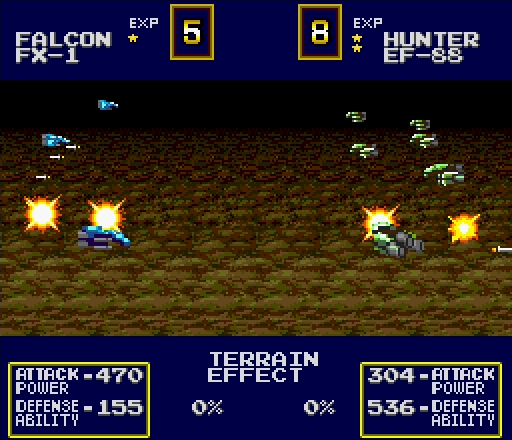
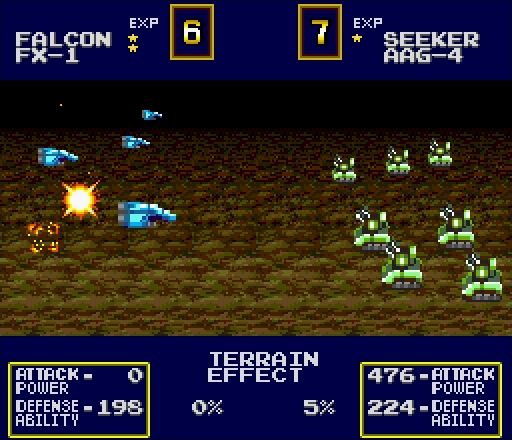
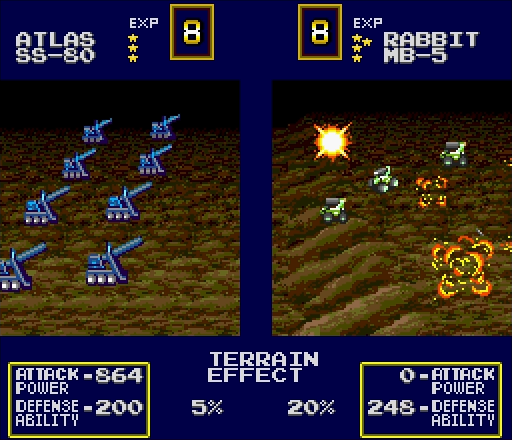
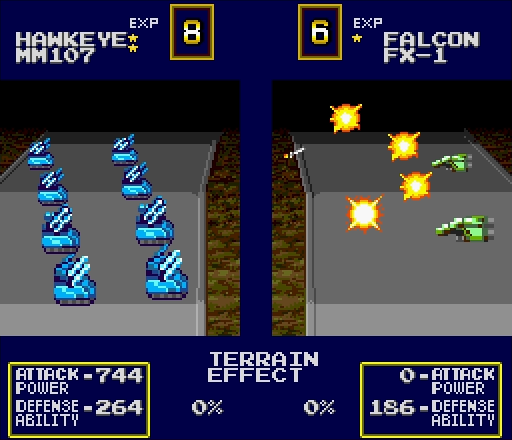
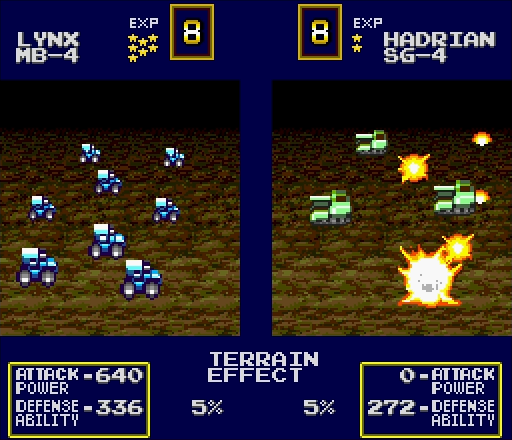
The Hunter, as usual, takes top priority. I didn't attack with my other Falcon because I want to preserve them, and that Hunter's not going anywhere anyway.
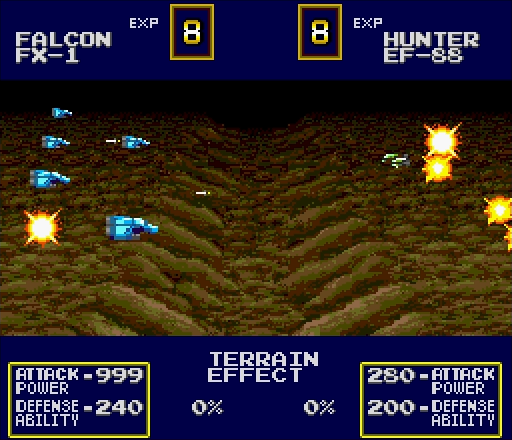
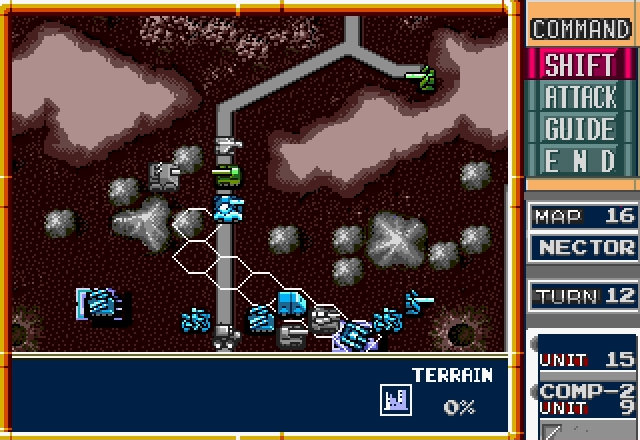
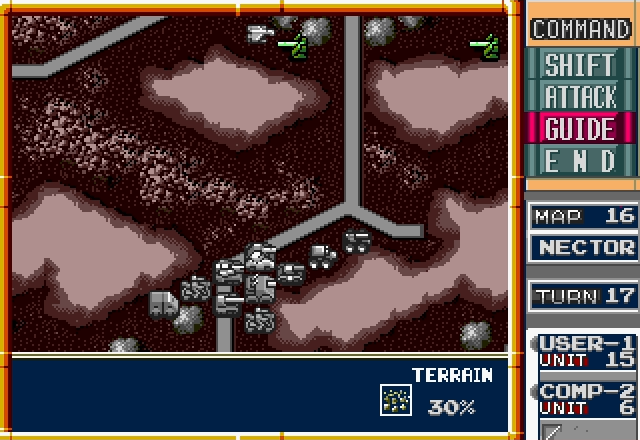
Yeah, I think we can safely say it's neutralized.

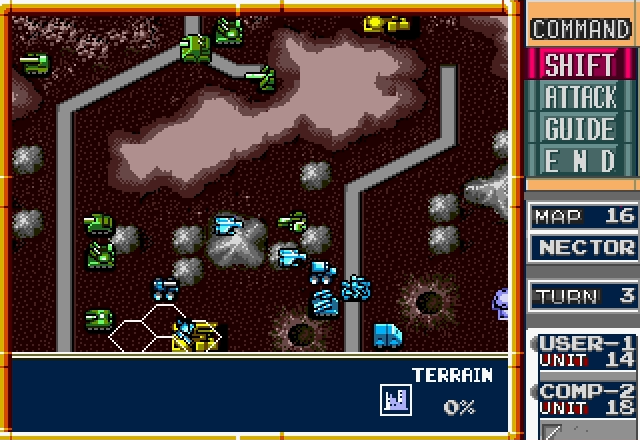
With that done, everyone bails the fuck out of the eastern front.
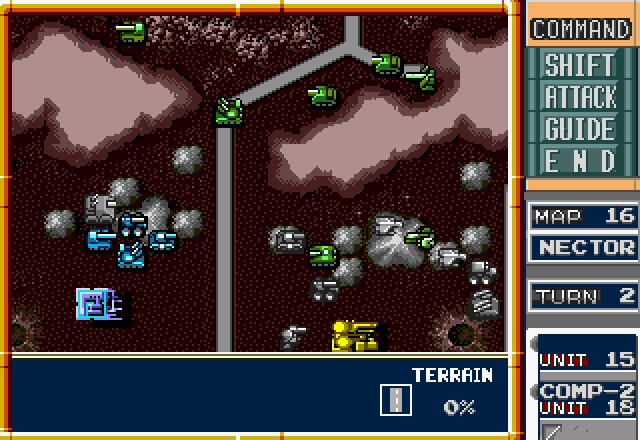
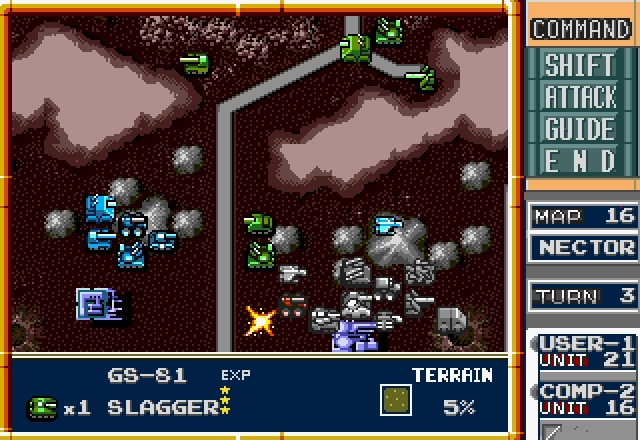
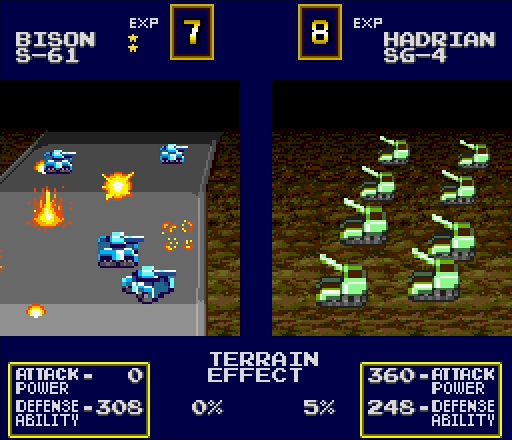
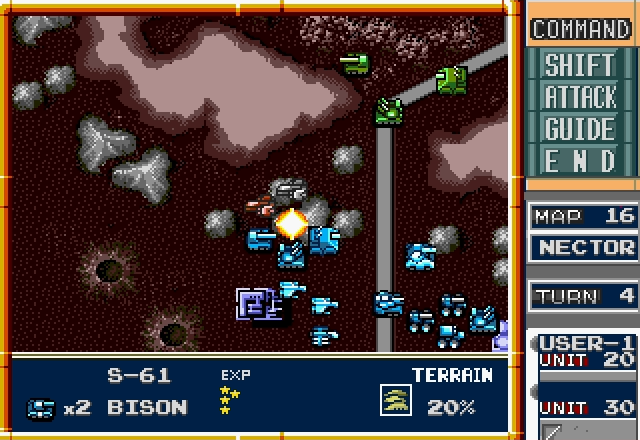
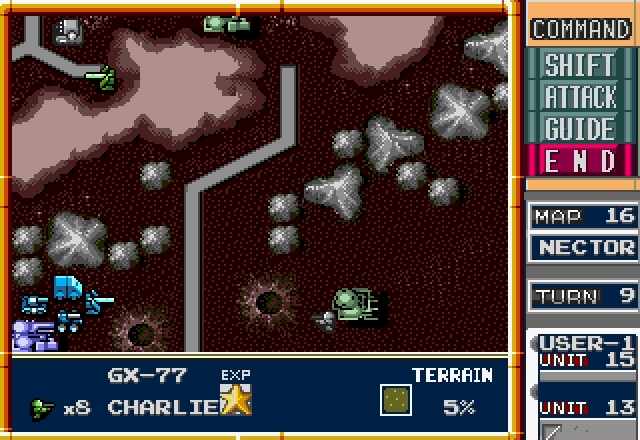
We also box in the Slagger and, while it's still alive, I don't think the Kilroy has much to worry about from it anymore.
I didn't attack with that Bison because I wanted to preserve it. I'm sure you can see the irony.
The Slagger manages to weave around and take a shot at our Kilroy, but thankfully it's not enough to kill it.
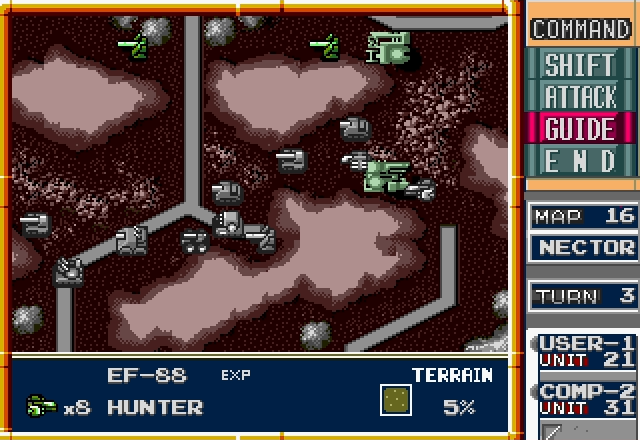
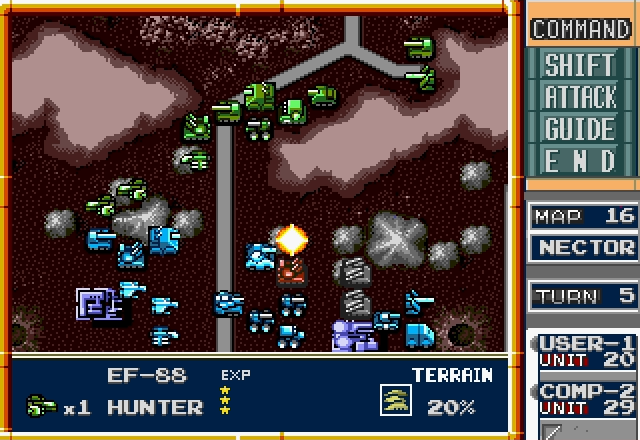
Meanwhile, the rest of the Axis' death parade keeps marching toward us, and it's about to get some new members.
The good news is we just got another wave of soldiers to help defend the frontline.
Oddly enough, the Eagle is actually probably the least useful unit here. The enemy has an absolutely massive amount of air defense in this mission, so by the time you can safely bring it out and start actually using it, the battle's probably over anyway.
Still, more forces are always welcome. God knows we'll need them. While we're at it, we also drop off the Atlas. This isn't the best place for it, but we run the risk of the Mule getting harassed if it tries to push any further west.
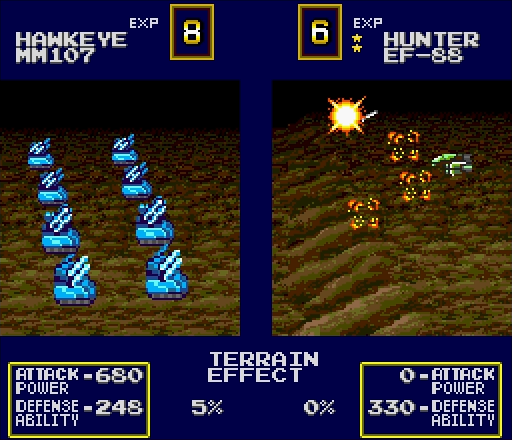
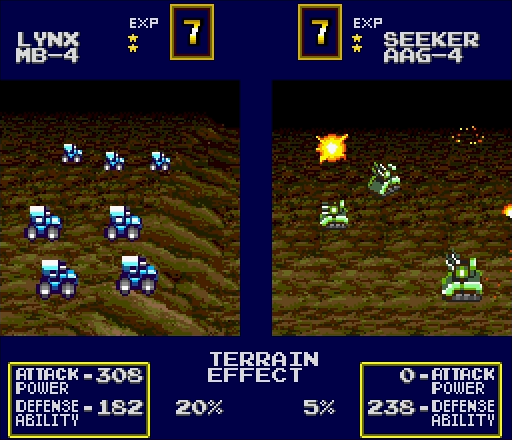
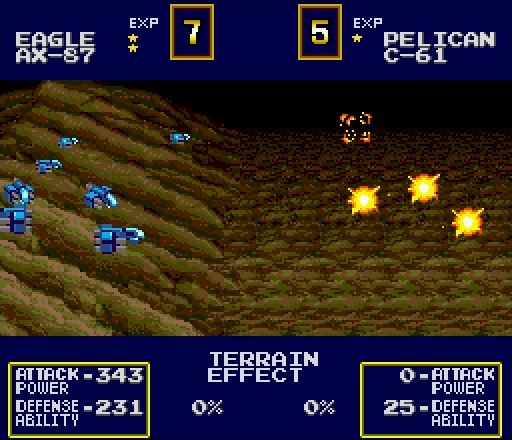
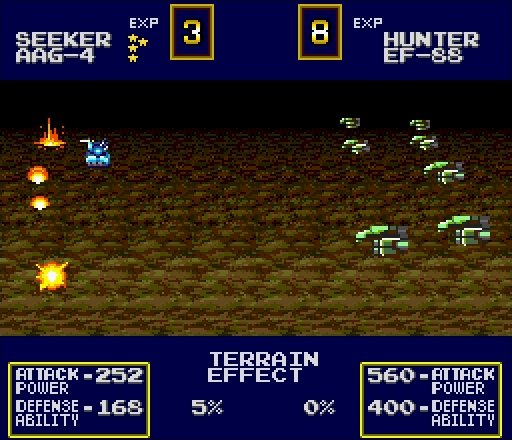
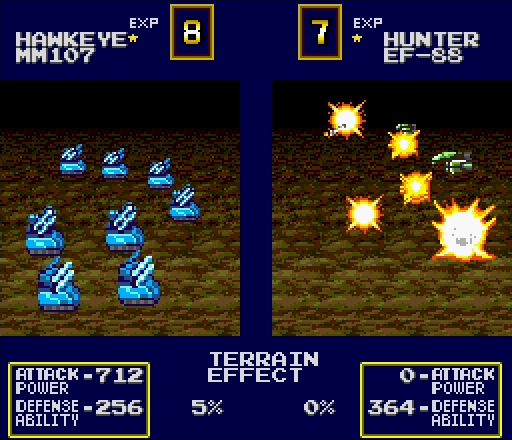
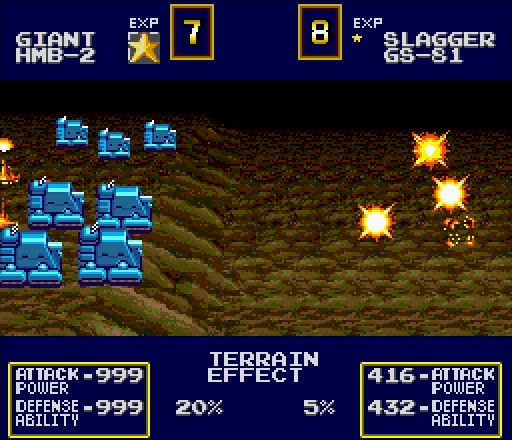
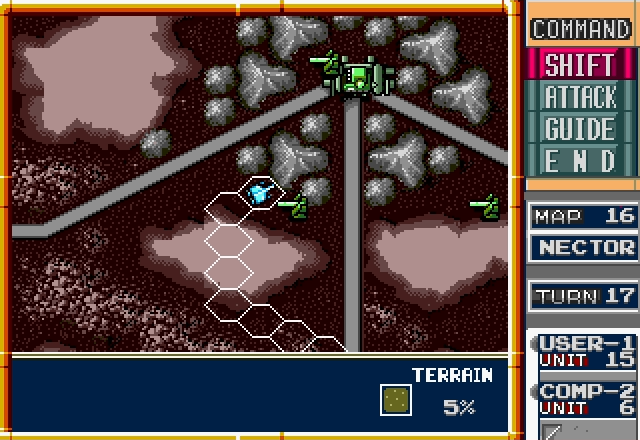
I've been playing games in this series for years, and cherry-tapping Hunters still hasn't gotten old.
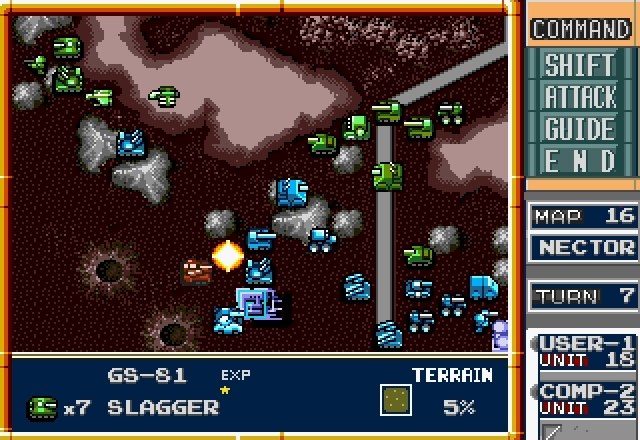
The Slagger follows in short order.
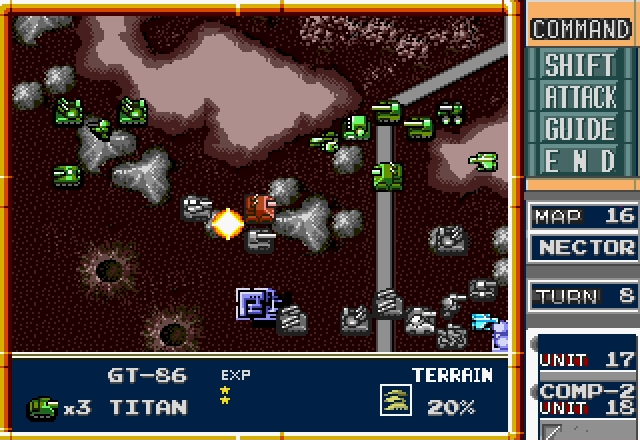
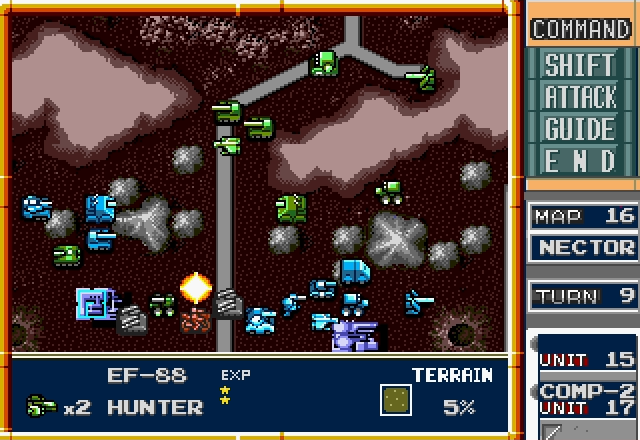
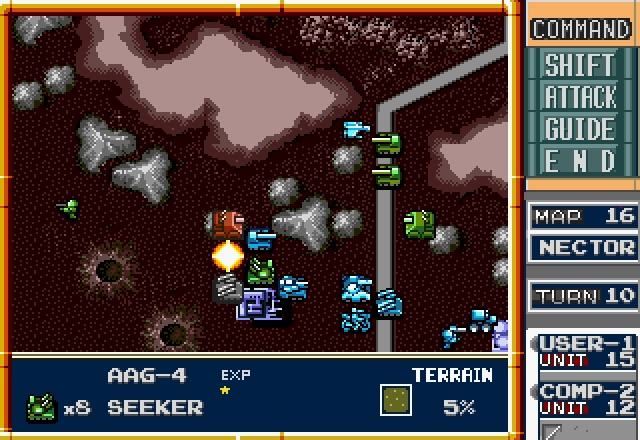
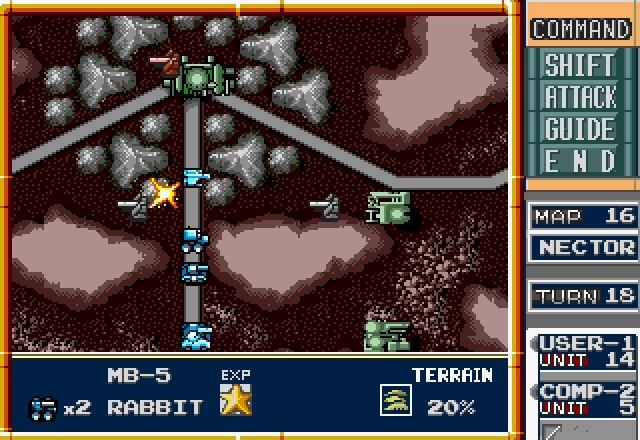
These units are still strong enough to pose a threat, so let's creatively surround them.
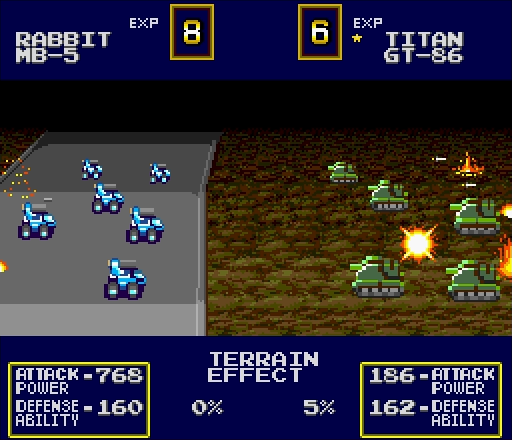
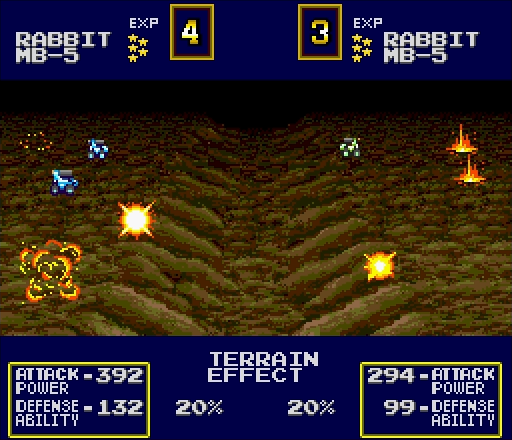
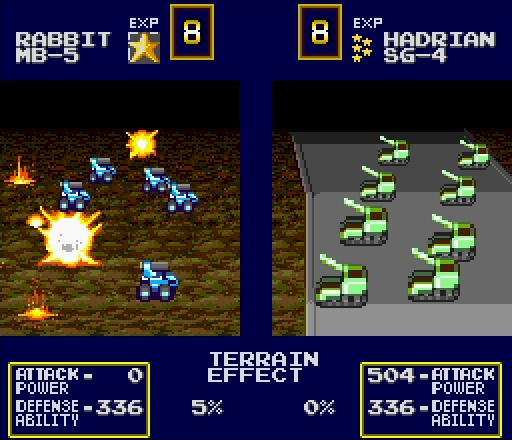
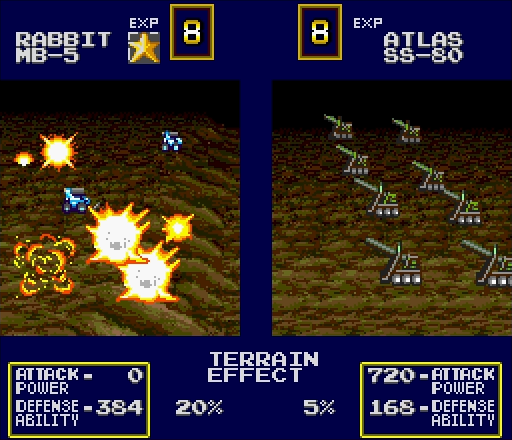
Wow, uh, that Titan's 2 defense over the Rabbit sure counted for a lot.
...

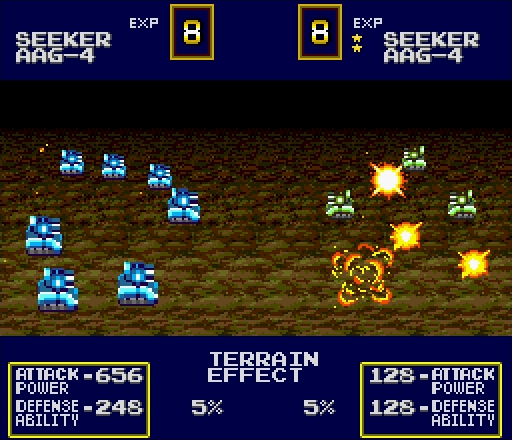
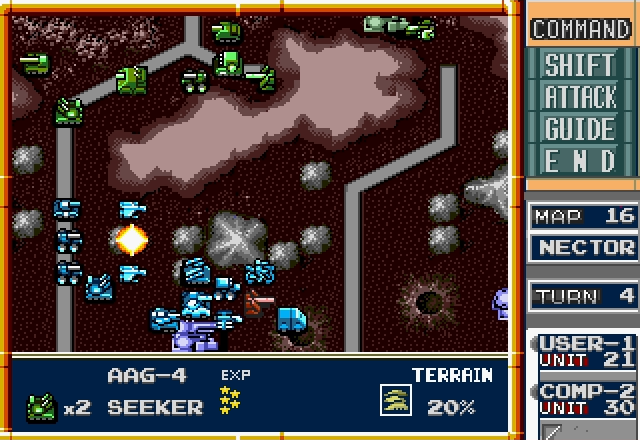
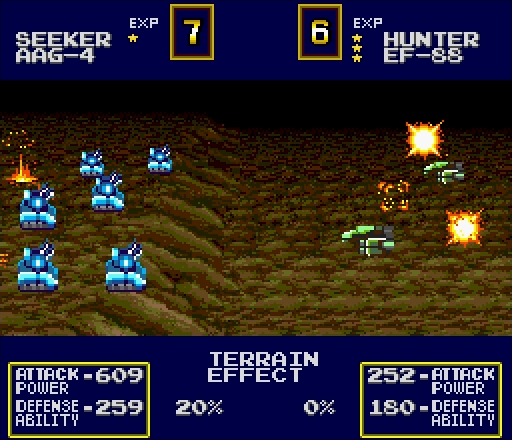
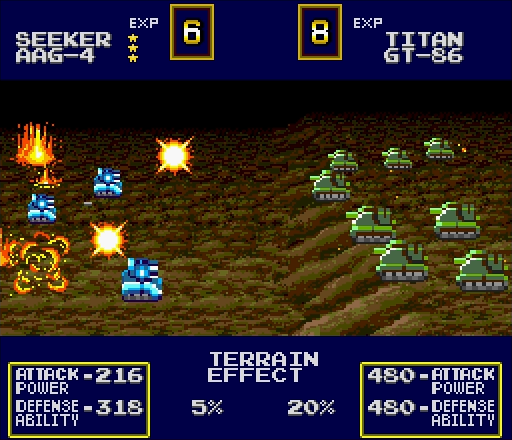
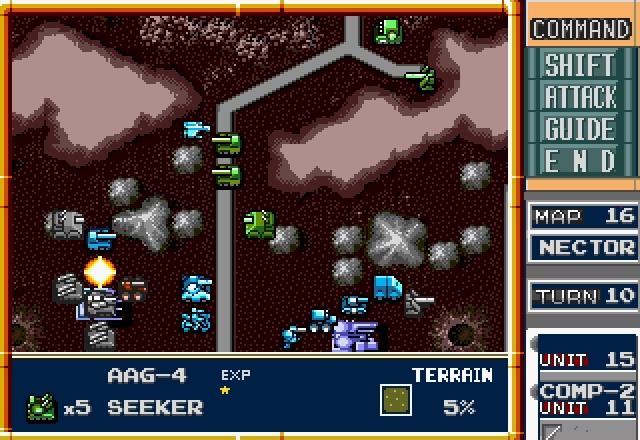
Thankfully, our Seekers fare much better.
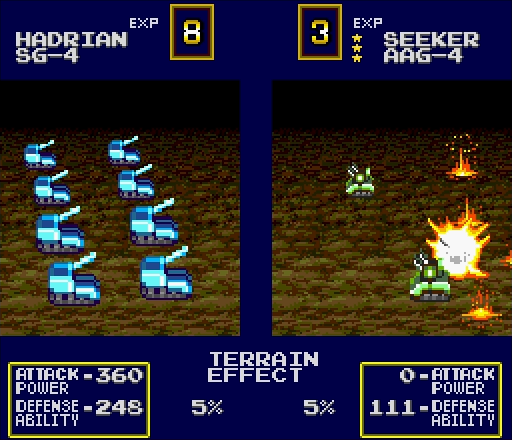
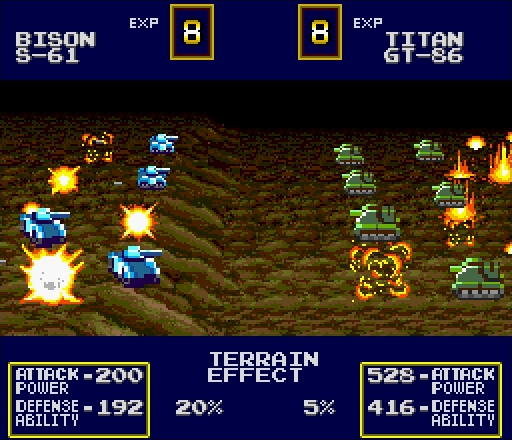
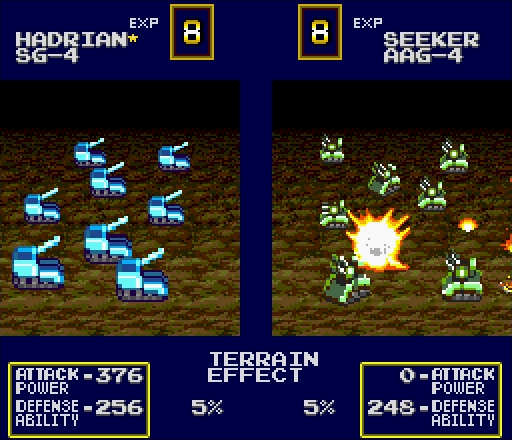
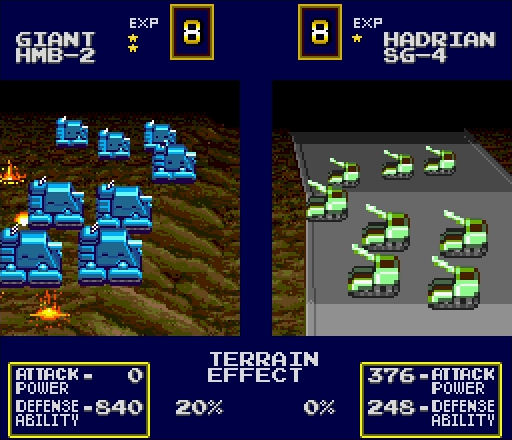
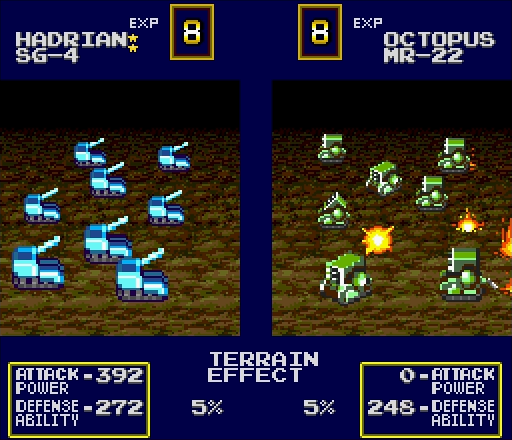
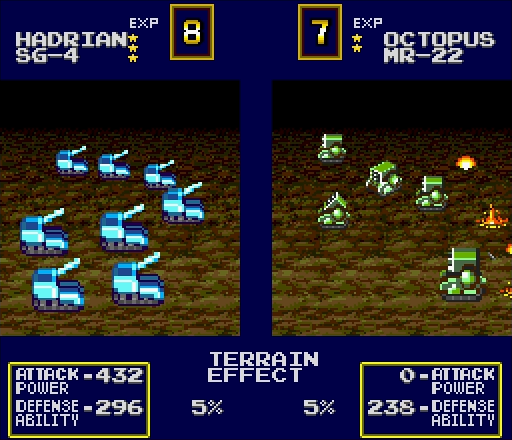
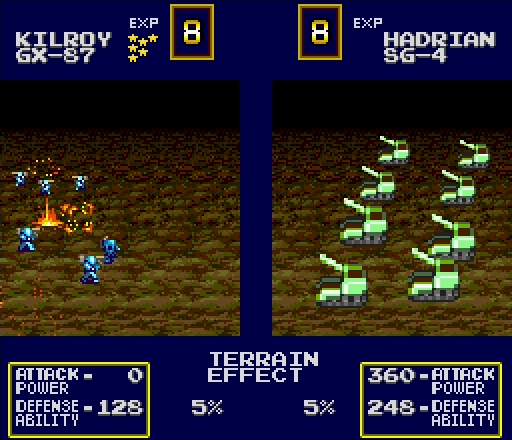
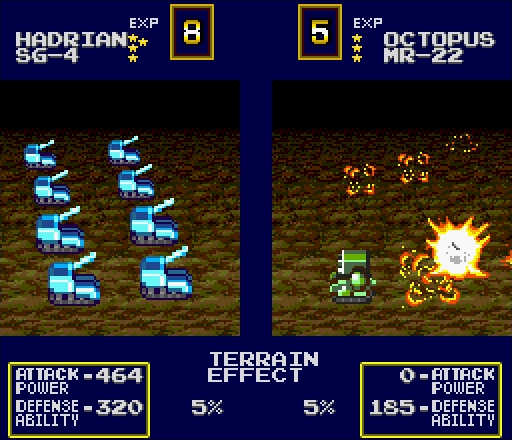
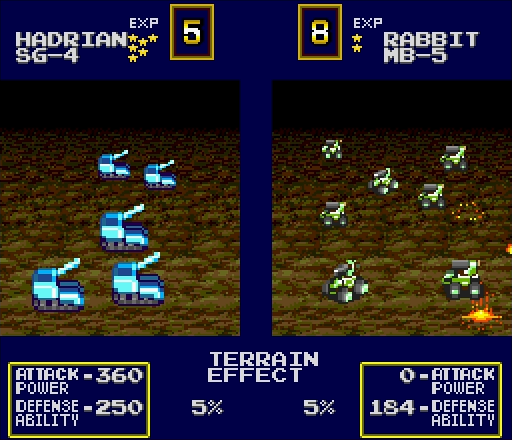
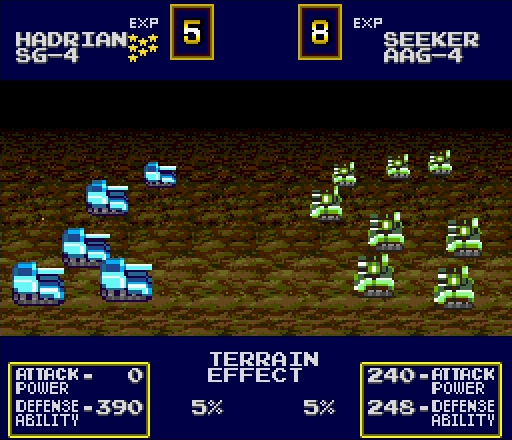
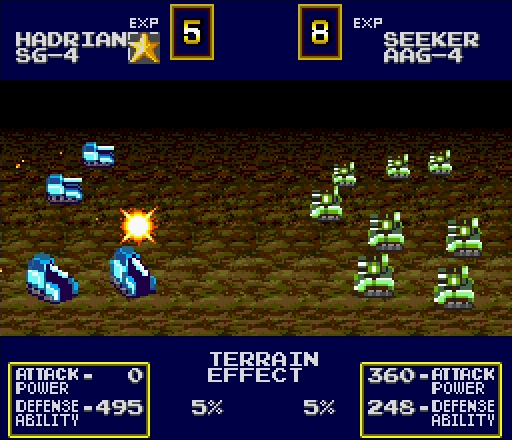
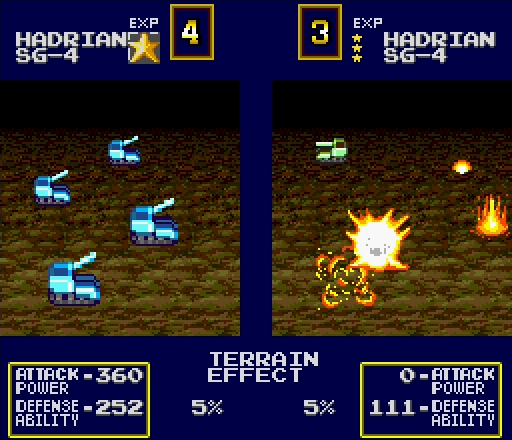
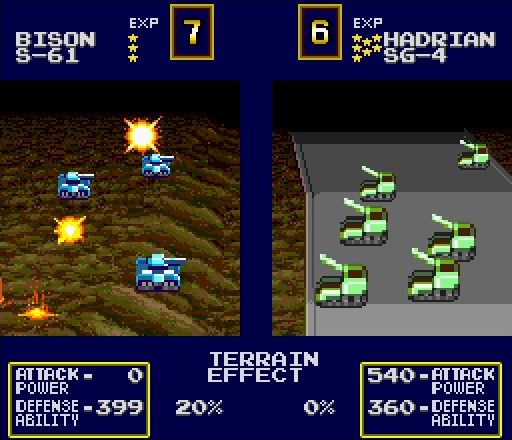
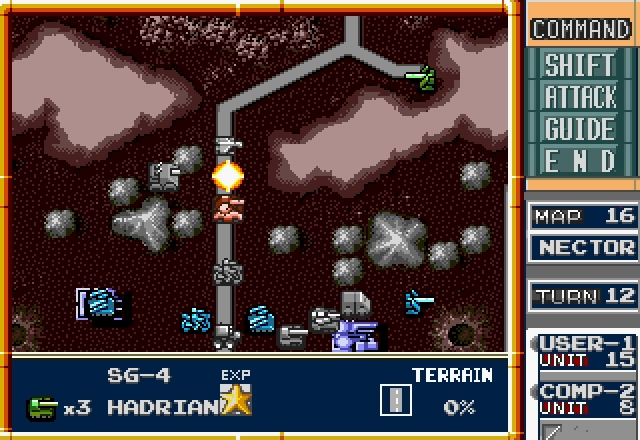
Godfuckingdamnit, Hadrians. The entire free world is counting on you, can't you at least try to take this seriously?

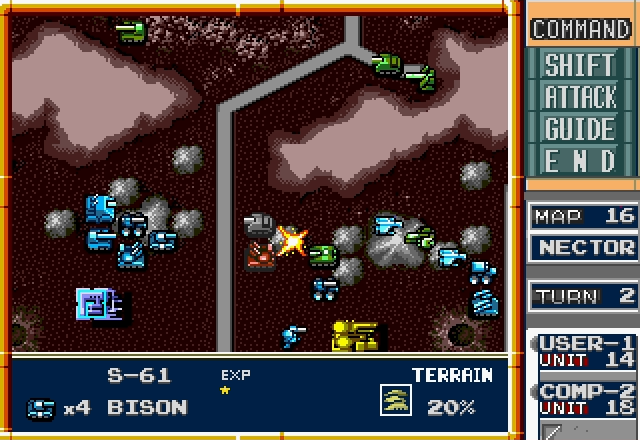
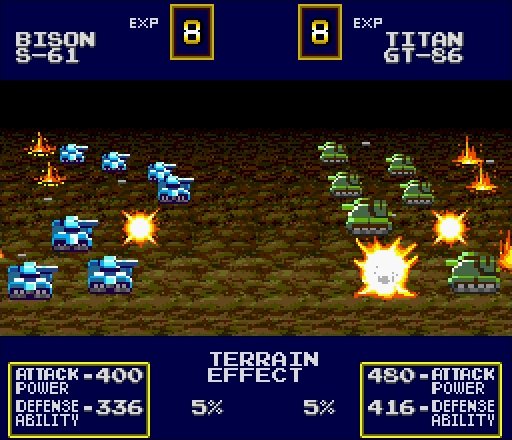
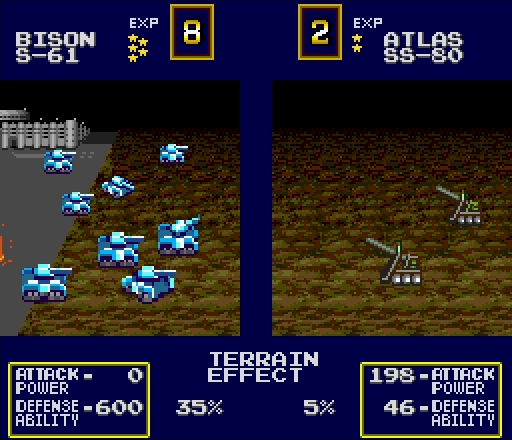
Why can't you be more like the Bisons?
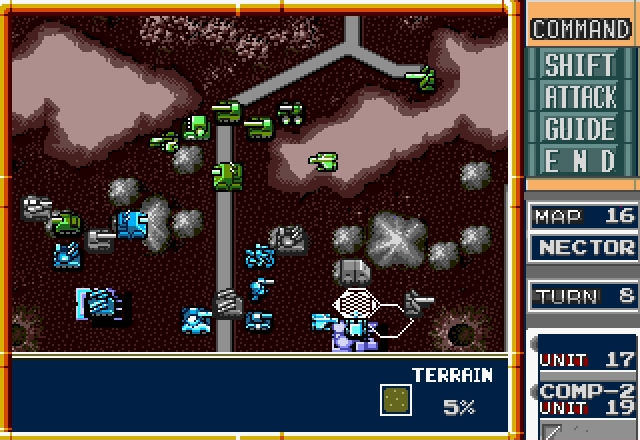
The inevitable happens. The Axis has taken both of the remaining factories, and their unit count's gone up like a pinball score.
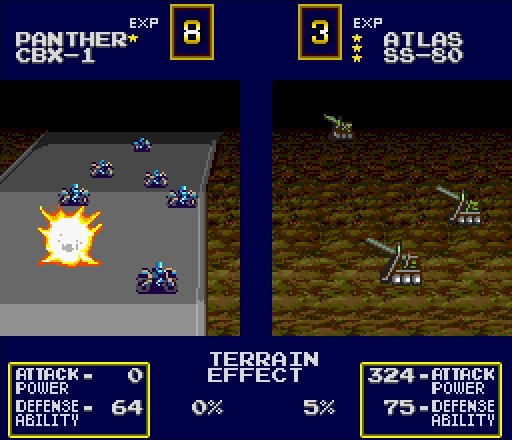
On the plus side, my careless placement of that Panther has led to the discovery that the Axis artillery gunners are just as incompetent as ours.
Well, maybe not.
Their Seeker delivers one last "fuck you" to one of our Falcons, but it's not especially worrying.
The two Hunters, on the other hand? Those are worrying.
Actually there's a third Hunter and an Eagle too and Jesus oh my god
Our Atlas might not have the best positioning, but it's still able to finish off the Seeker for an easy two experience stars.
The Panther retreats because it got shot up, and it wasn't doing much anyway.
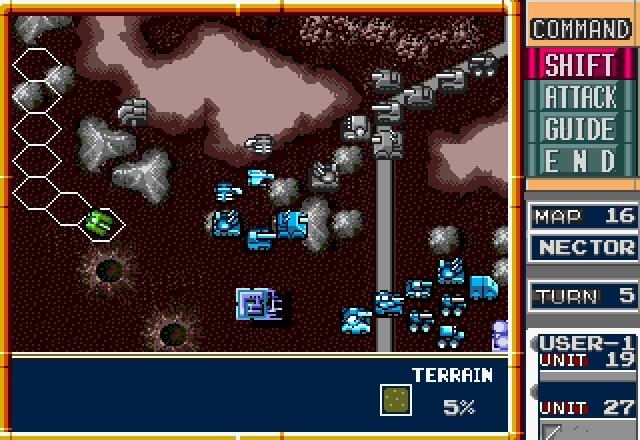
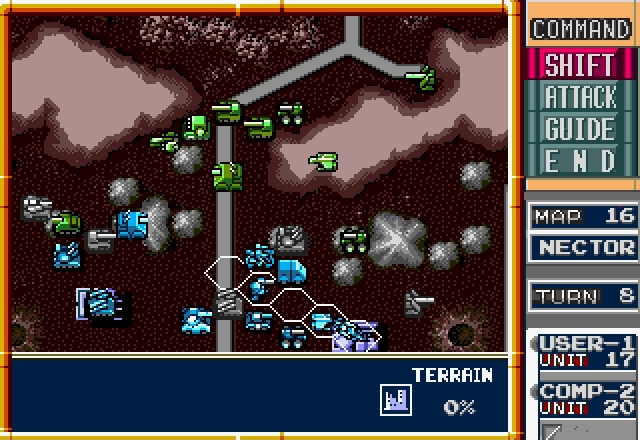
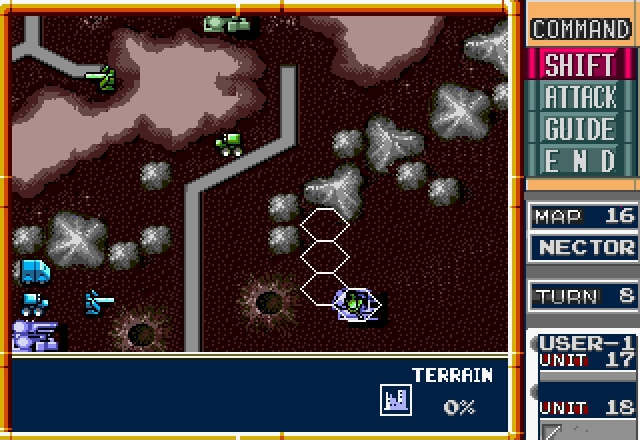
To end our turn, we pull everyone back as far as they can go. The deeper we can draw them into our territory, the better.
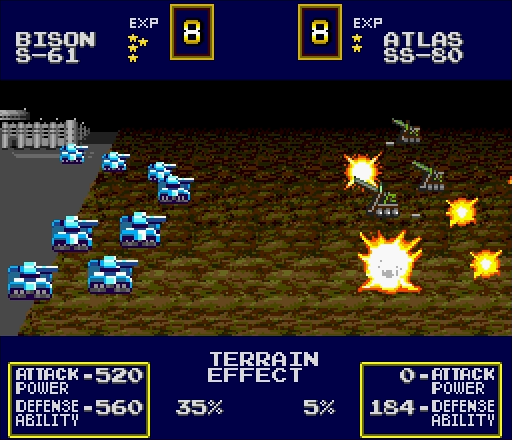
Sure enough, their Hunters storm our lines, finishing off the damaged Bison but getting in range of our air defenses.
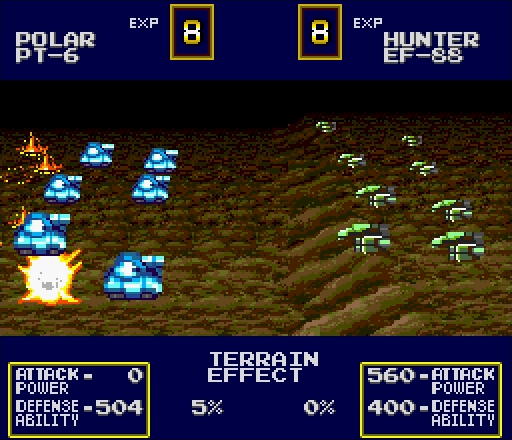
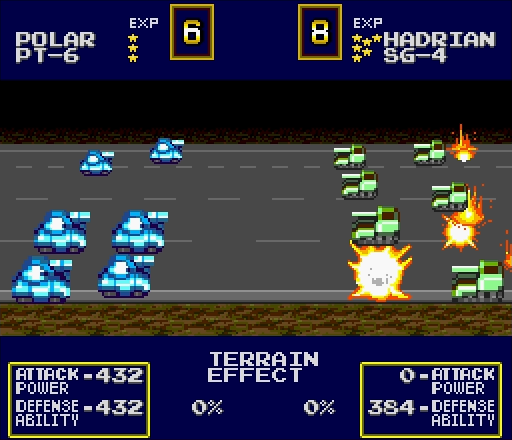
Pictured: Why I like Polars.
With the Eagle coming in, though, the situation on the frontline is only getting worse. The Axis still has another Hunter and a Falcon on the way, too

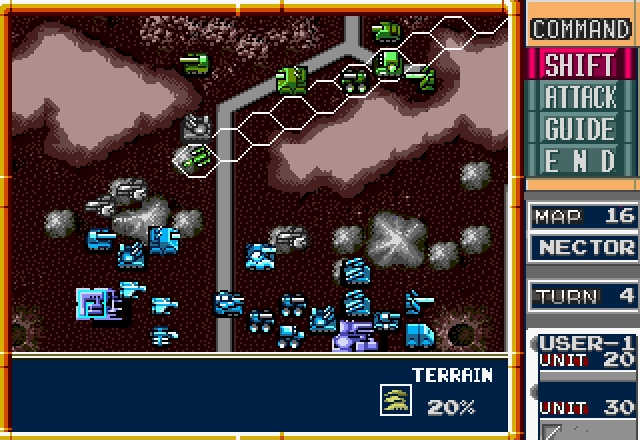
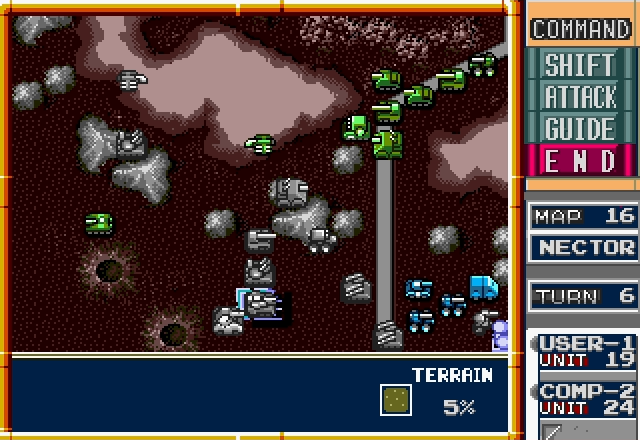
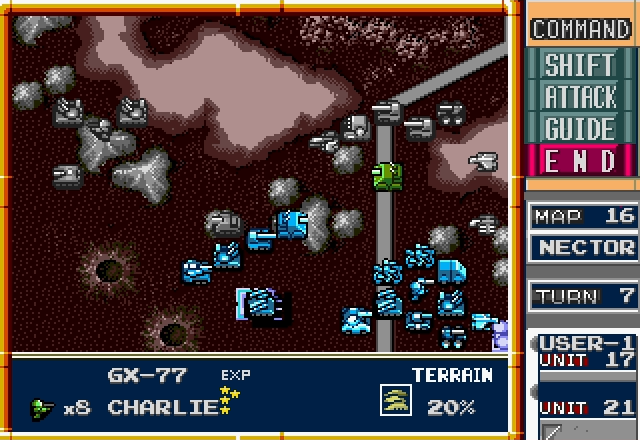
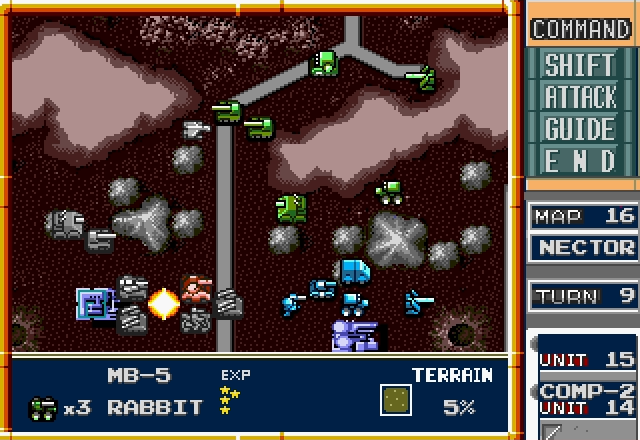
The bulk of their forces have arrived at the chokepoint. This is about to get ugly, fast.
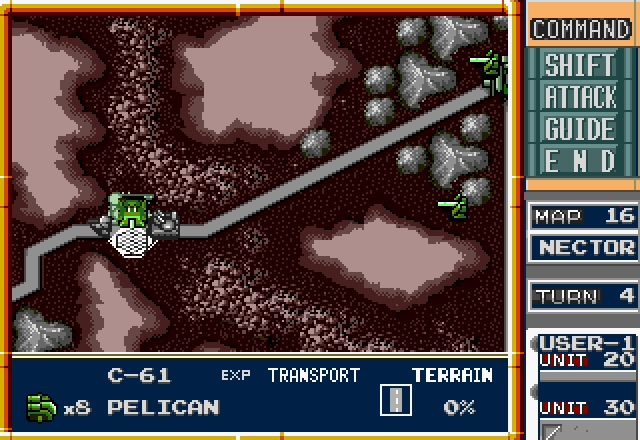
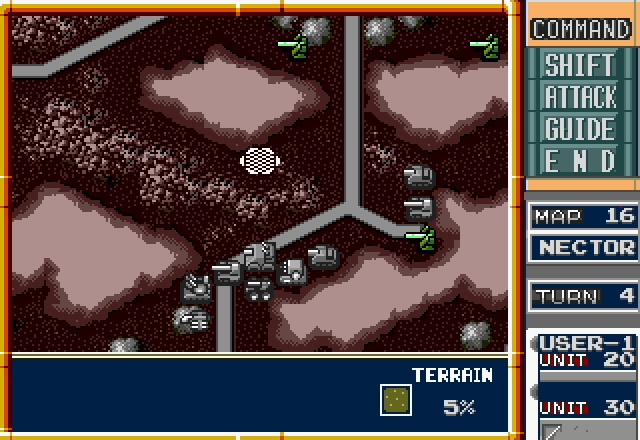
To put even more pressure on us, they load their Giant into a Pelican, meaning they'll be able to drop it right on top of us within a couple turns.
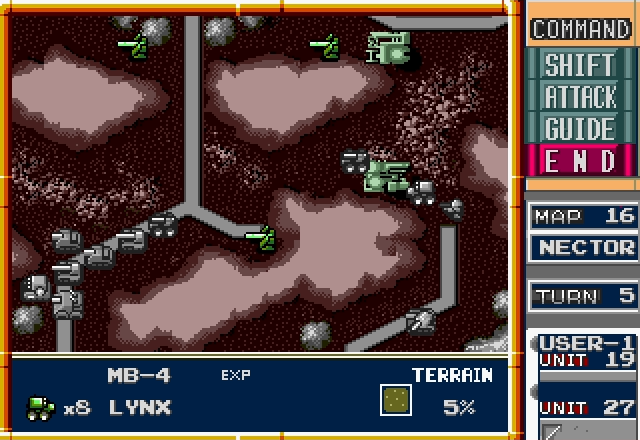
Rather anticlimactically, the Axis end things by deploying these two from their east factory.
There's no putting it off any longer, the Axis is throwing everything they have at us. We'll live or die by how well these next few turns go.
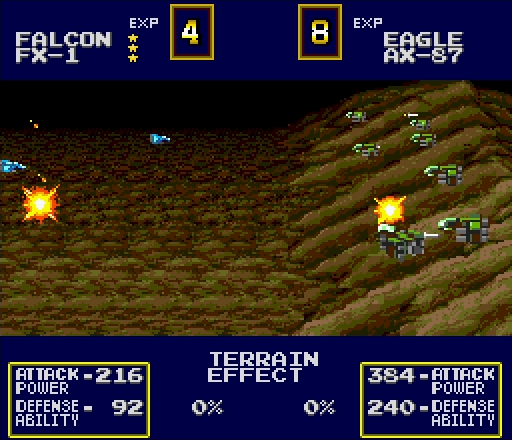
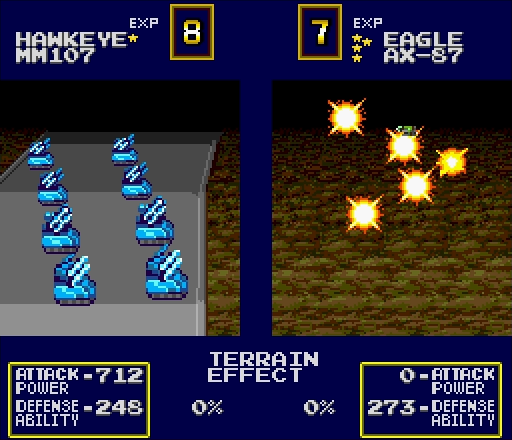
Our air defense positioning pays off when our Hawkeye gets a shot at one of their Hunters, though not to much effect.
The other does much better.
Our Seeker finishes the job, clearing out the east while still leaving our fighters free to hit them in the west.

And so, we do.
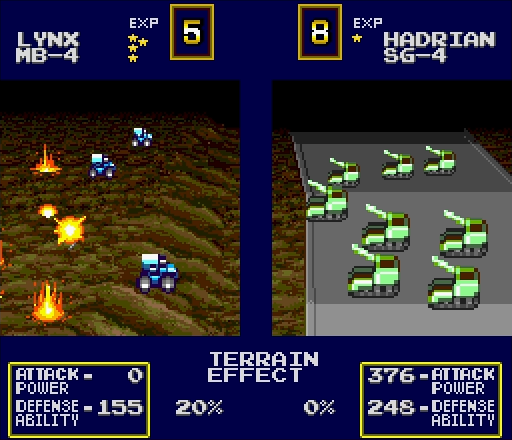
DAMNIT HADRIANS WHAT HAVE I TOLD YOU
At least the important job is mostly done. Shame I couldn't soften up that Seeker more, though, the Falcons are in a dangerous position.
There's not much left to do this turn, save for shuffling everyone around a bit more.
Sure enough, the Axis focuses fire on our vulnerable Falcon and sends it going down in flames. This is a pretty serious loss, since those are our best defense against the Hunters and Eagles, and we only started with two of them.
At least our Giant can cover for them a bit better thanks to the enemy Hadrians' stupidity.
Axis troops are continuing to pour in on all sides, and their other Giant will be here next turn. Much as I'd love to keep retreating and drawing them out further, there's not really much room to do so.

With yet another new wave of units coming from their factories, things aren't getting any easier, either. See, this is what I meant when I said the Axis has too much air defense.
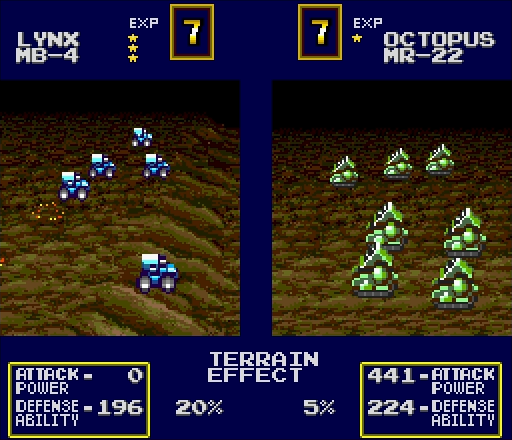
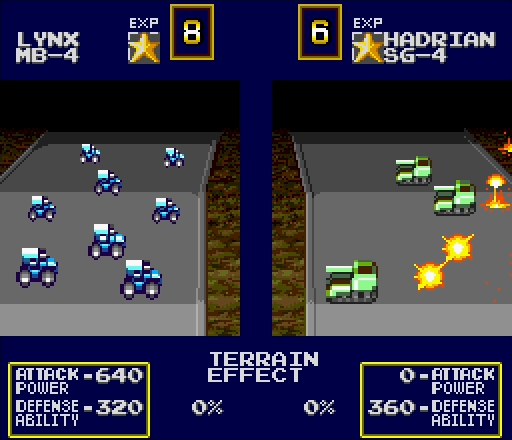
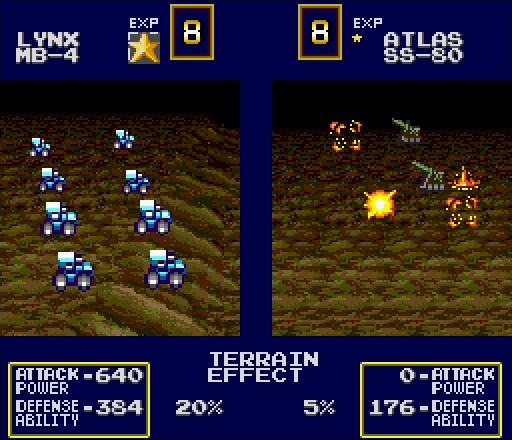
Luckily, unlike our Hadrian, our Lynx is committed to its job of fixing that.
Oh you have got to be shitting me
Three times. Three times in a row, our Hadrian has only hit for 1HP when it should have done more.
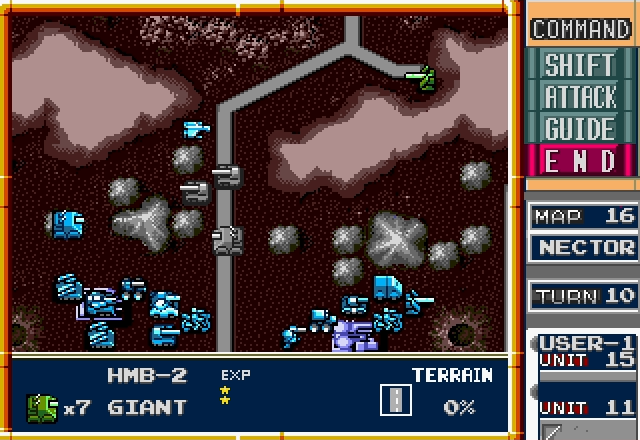
No use complaining about it, I suppose. At least our Giant is up to six stars without having taken a scratch.
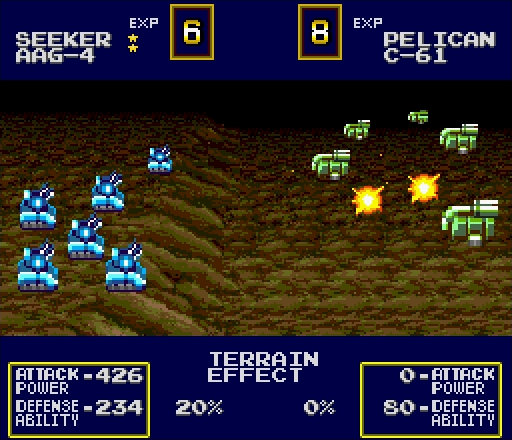
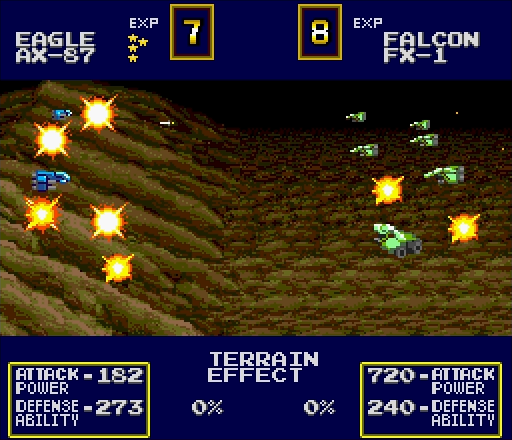
Speaking of Giants, the enemy's are still alive and ready to drop on our frontlines, so let's try to shoot them all down before the Pelicans can unload them. I'm really risking my anti-air here, but they'll never be as vulnerable as they are while still in their transports.

Much as I hate to take it out of the action with all the enemy aircraft around, this Falcon's almost dead and we need to take care of it because it's the only one we have left.
Thankfully, a lucky shot from our Eagle is enough to finish off the Pelicans and the Giants inside.
Now, the front's been drifting west a bit, so let's change up our formation to compensate.

Well, I'm sure we all saw this coming. Given that the Eagle was more or less condemned to die as soon as I brought it out, though, I'm just glad it killed the Giant before dying.
The Axis keeps battering our front lines, and while our Seeker and Lynx take a beating, everyone holds strong. Quite surprisingly, in the Lynx's case.
In their attack, though, they let some of their forces wander into our Atlas range.
Finally, their last Hunter emerges from its factory. The end is in sight, let's just try to hang on long enough to get there.
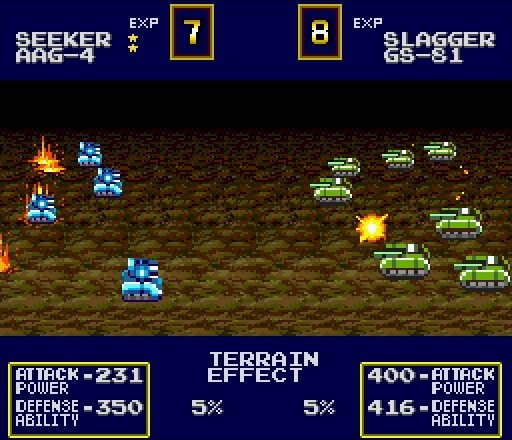
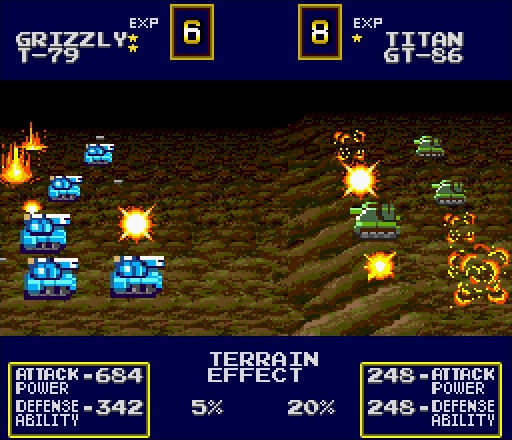
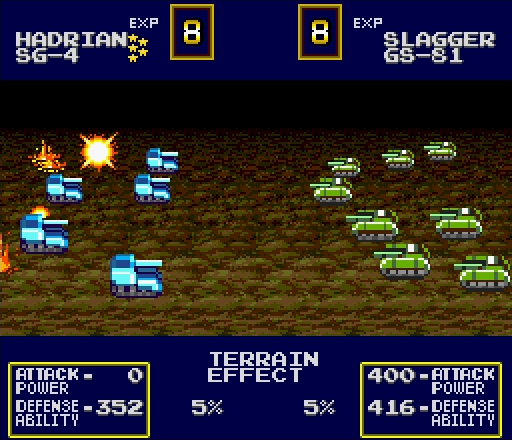
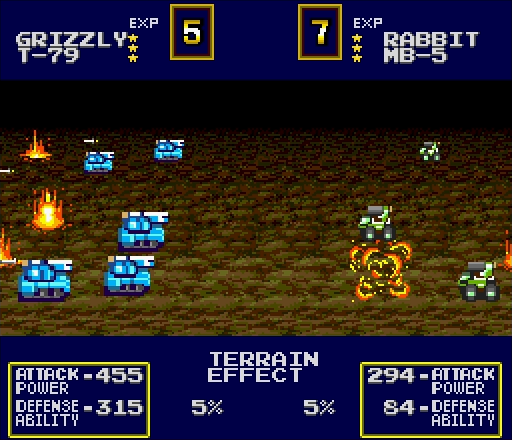
With the aid of supporting fire, our Grizzly makes short work of the Slagger that pushed too far ahead of the rest of the crew. That Hadrian does so much better when it's defying common sense to give us an attack bonus.
But look, it scored two kills this time!

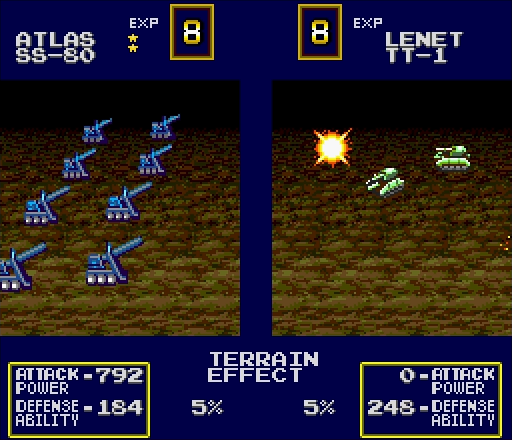
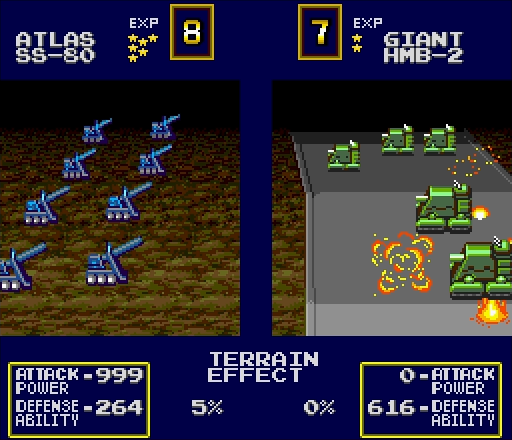
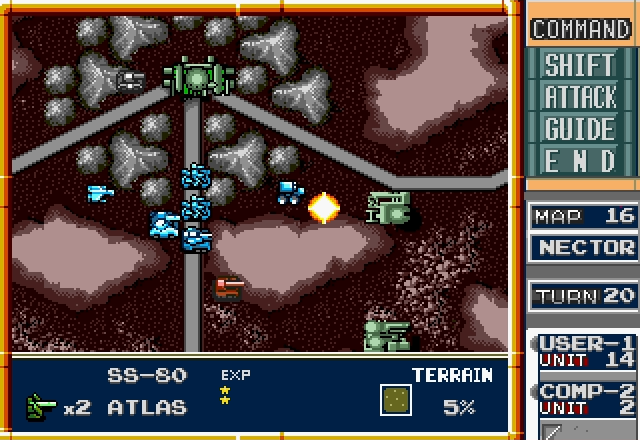
With two tempting targets to pick from, our Atlas rains death on the Lenet. Why not the Titan? Well...
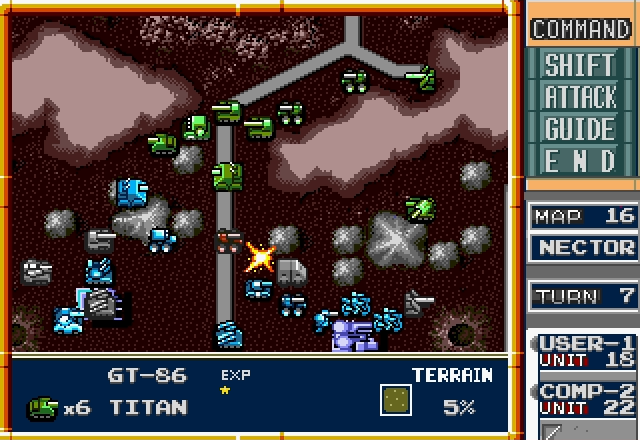
...others have that covered.
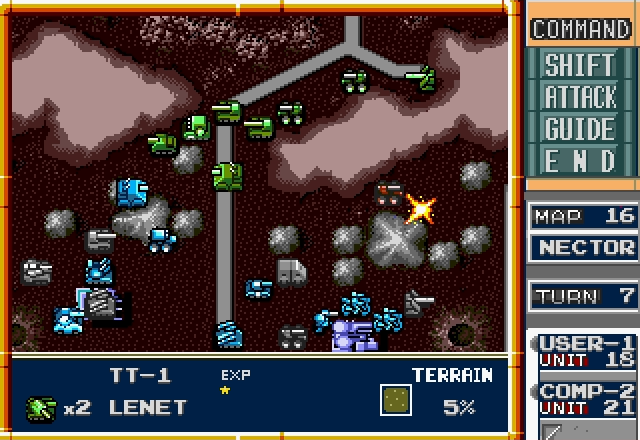
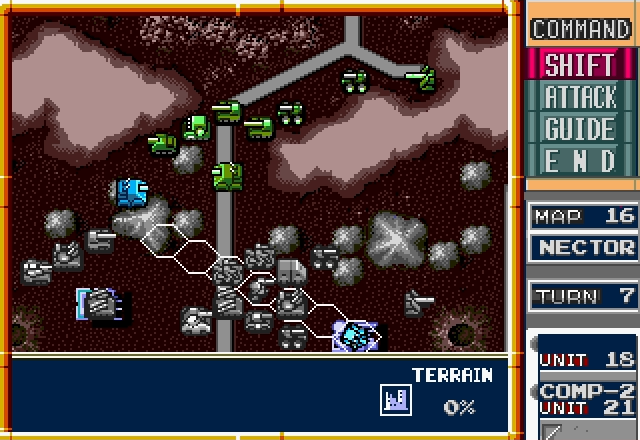
One of the Rabbits finishes off the Lenet, with just enough movement left over to get the hell away from that Atlas.
At 3HP, this Lynx is little more than a target, so let's get it fixed up. Meanwhile, everyone else clusters together and I do something stupid with the Panthers. Can you see what it is?
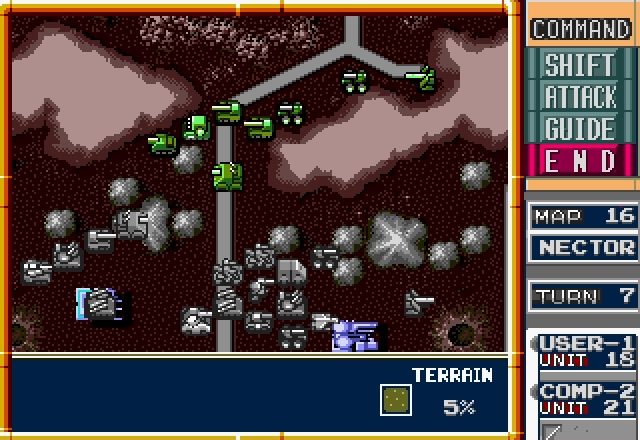
Even though it's got six stars, things are getting a bit too hot for the Giant. Let's have it pull back with the others.
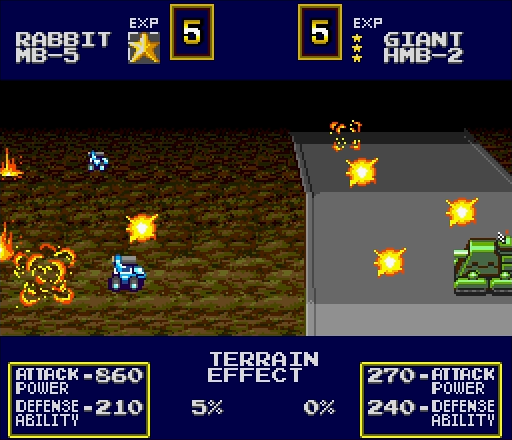
It may have escaped the enemy Atlas, but our Rabbit couldn't get away from all of the Axis forces, and it has paid the price.
Undaunted by the loss of their Slagger, they keep trying to take out our AA guns...

...and I pay for being stupid with my infantry.
But hey, we've got a full-star Giant now!

We're also going to lose that factory, but since it's useless to us, that's the least of our problems right now.
The Axis forces have lost a lot of steam, but they're still clamping down on us tighter and tighter. This is the last of them, though, and if we can survive this attack with enough forces to rush their Atlases, we've won.
So far so good. I doubt that Seeker will survive, but it was worth it to finish off their Eagle.
Even better, our Hadrian finally gets a solid hit!
There's a brief lull in the action as the Panther moves to undo the results of my carelessness.
I guess it was a bit much to hope for to finish that Rabbit off, huh?

Luckily our Rabbit can fall back and give the Panther some company. But who will finish off the enemy's?

Well, I think that's about as embarrassing as it gets.
The Lynx comes out of the factory, which has been seeing a lot of traffic lately.
The Giant finishes off the Titan with about as much difficulty as you'd expect.
Come their turn, the Axis forces capture the southeast factory, much to my utter indifference.
Their last Hunter finally makes its move, but it isn't really worth the buildup.
The Rabbit finishes the job, though, and another Allied unit falls in combat.
OH MY GO-
...oh, never mind. I don't know what the Allied Seekers are armored with, but they're seriously tough bastards.
Not tough enough, though.

The Axis finally start putting some effort into it, and manage to take out one of our Giants in the process. That's a really damn impressive shot for a Hadrian.
Oh, shit. Is our Atlas's time up?

I want to know what logic the AI could possibly be running that would cause it to do this instead of hitting my Atlas and ducking into its range shadow, so that I may never program one that is so inept.
In the desparate final stages of the battle, the frontline's all but dissolved, replaced by a chaotic mess.
Nothing to do but ride it out.
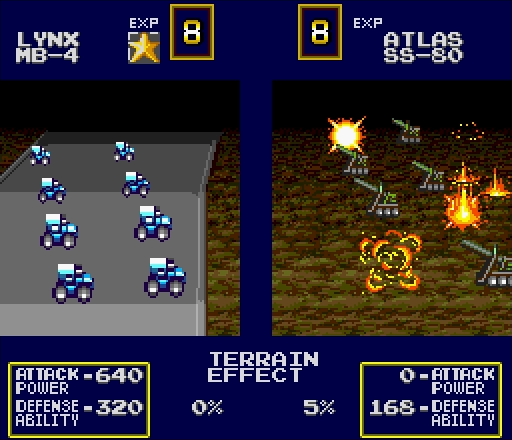
Thanks to the supporting fire from the Hawkeye, our Panther drops their last Hunter. We can finally say goodbye to those stupidly overpowered death machines forever!


Our Falcon does the same to theirs, and we've finally got the Axis air force shut down for good.
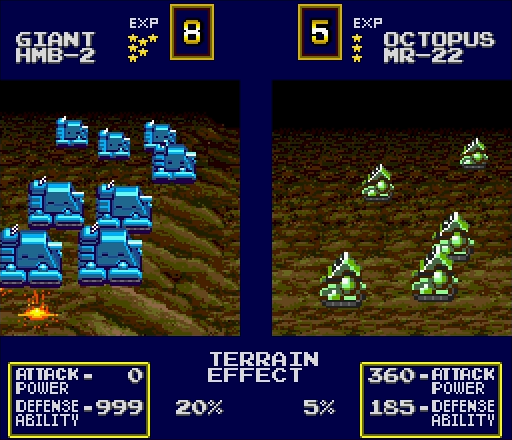
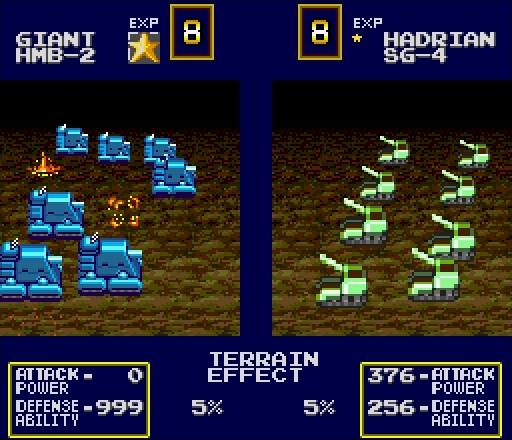
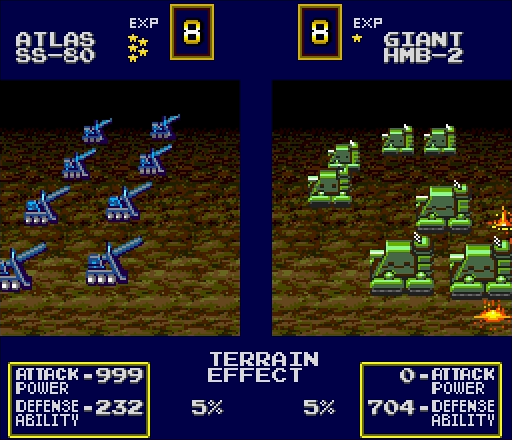
You want to know how hilariously powerful a full-star Giant is? Take a good look at the above screenshot. Its stats are still capped. Destroying one did not even weaken the unit.
Even at six stars, the Hadrian continues to disappoint.
No problem, though, that's what our ursine-themed tanks are there for.

We go ahead and finish off the Lynx next. The Giant is a bigger threat, but it can't attack us this turn.
Not after we do this, anyway. Also note the Rabbit that just came out of the factory.
Our Hadrian can't dish it out, but it can sure take it. In other words, it does the exact opposite of what we need it to.
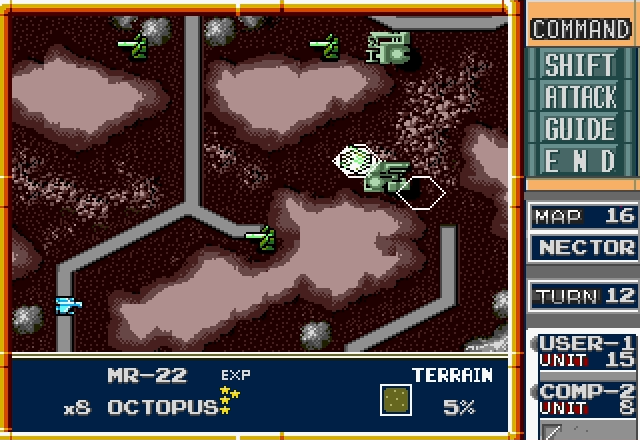
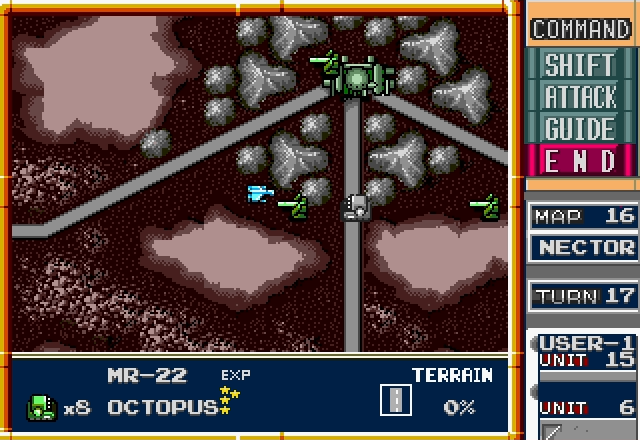
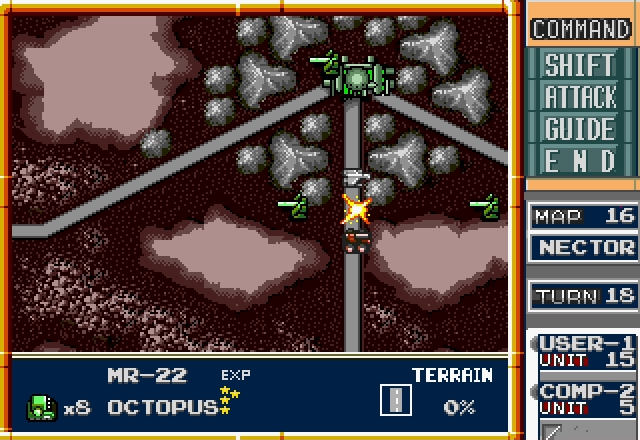
Reduced to 1HP and with its support falling fast, the enemy Octopus wisely decides to head back for repairs.

Here it is, the last dregs of the Axis strike force. Once we clear these guys out, we can charge their headquarters.
Giants are tough.
Seekers are not. Well, except ours.
Everyone shuffles around a bit more and the Panthers deploy, but otherwise there's not much left to do.
Well, except maybe check the range of their Hadrians, which I completely failed to do

All in all, though, it could've been worse.
I don't think we're ever going to get a better chance to hit them, so it's time to clear them out once and for all. Luckily all of our surviving units have gotten plenty of experience shooting green things.
Okay, imagine the enemy Giant is a big, fat cow.
Now imagine our prison camp area is a river.
And then imagine the Allied units are piranhas.
The Kilroy ducked back into the factory for repairs, as did the Rabbit after it hit the Giant. The Kilroy wasn't too badly damaged, but we need everyone at full strength for what's coming up next.
Also, gonna kill this Charlie so it can't cause me problems later. Probably not necessary, but safety's important.
We clear out one Hadrian...
...and damage another.
Alone and outnumbered, rather than retreat the enemy Hadrians make a desperate last stand.

Really, if they'd chosen discretion they could've been backed by Octopi.
Crippled Bison goes in, Mule carrying a Kilroy comes out.
Their last Hadrian explodes, and their attack force is destroyed. All that's left to do is get everyone back to full health and charge the Atlases.
Oh, and deal with this asshole I guess.
Okay, the Atlases will have a little help. With any luck that won't be enough to turn the tide in their favor, though.
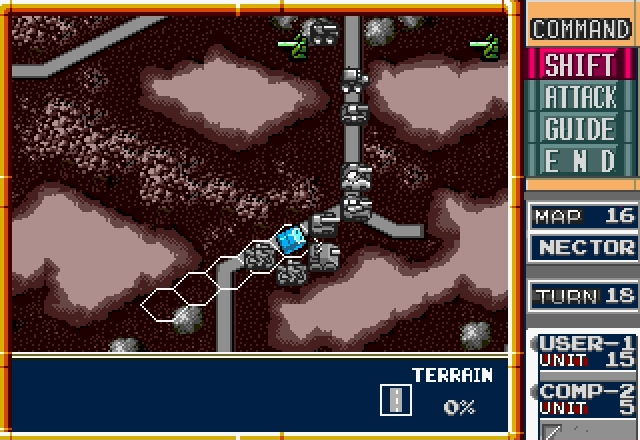
Since it doesn't need repairs, the Lynx does the task nobody else can be bothered to.
And now begins the long process of shuffling everyone in and out of the factory (except the Giant, because it's really far away and slow and fuck that). This is one reason to hold your Eagle back - if you think you can clear out the attacking force without it, you can then bomb the Atlases at your leisure.
Unfortunately, I didn't do that, so I'll just skip ahead a bit...
...except to show you where this Octopus parks itself by the time I'm done.

Okay, everyone's in formation and at full health. We're as ready to charge as we'll ever be. Let's do it.
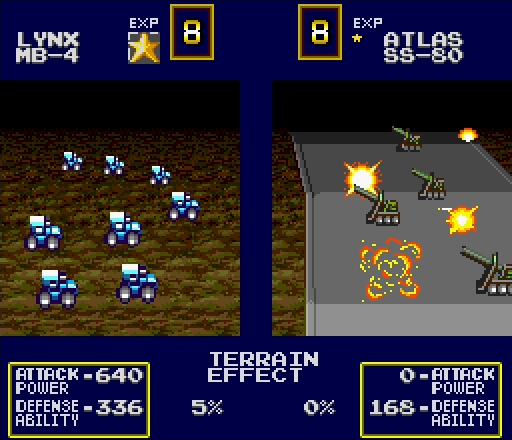
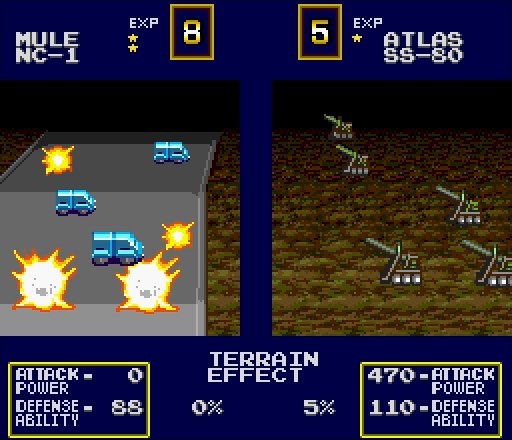
We're off to a good start, clearing out the first Atlas with little difficulty.
Of course, that was the easy part. The remaining three can all cover each other, and they've got an Octopus with them.
Nothing to do but park as close to their range edge as we can, then rush them on our next turn.
Interestingly, and unexpectedly, the Octopus moves forward.
It slows us down and does absolutely nothing else.
That Rabbit's going to die if we leave it in there alone. There's nothing left to do but charge in and hit them as hard as possible.
We're still keeping our infantry out of range, though, with the exception of our Kilroy.
...And that's why. Yeah, that was painful, but it led one Atlas to spare our hard hitters.
The others aren't so obliging.
That's okay, though, because neither are we.
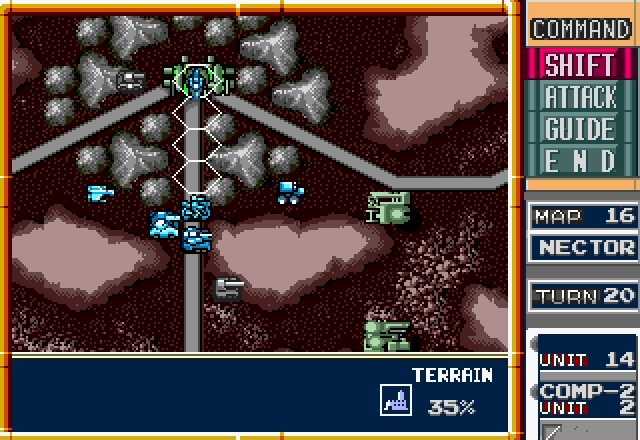
Take a good look at this, because this is the shot that wins the war. Their headquarters is open, and they have one unit left that could possibly oneshot one of our Panthers.
And now, we've got our tanks rolling into the Axis central command facility. It may only count if it's infantry, but symbolically I'd say that's pretty damn important.
Speaking of the Panthers the Axis can't possibly stop, here they are!
I guess the Axis realizes this too, because they don't even bother trying to shoot them both.

Like so much other stuff I've done in this campaign, this isn't necessary, but somehow it just feels right that we take out the last of their defense guns and roll into their headquarters unopposed.
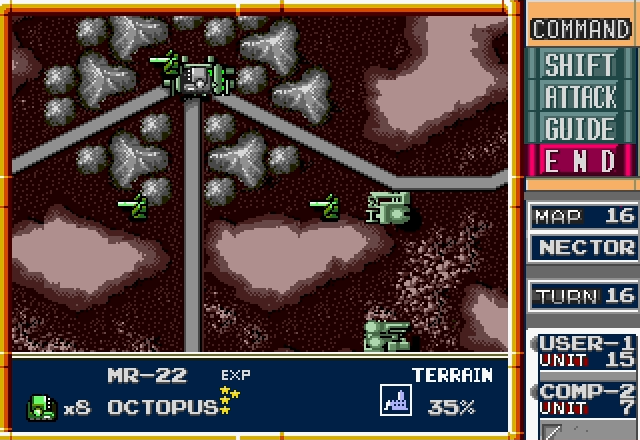
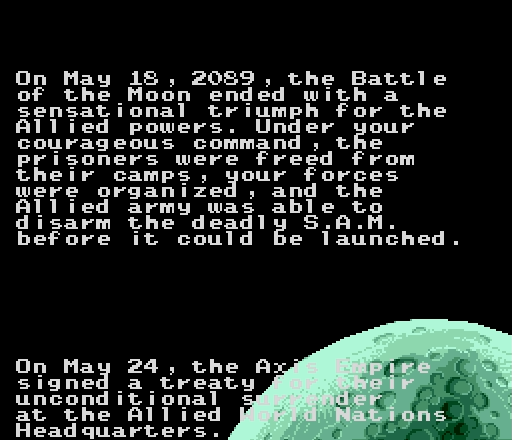
The battle for Nector is over. The war is won. The Allies are victorious.
By the way, do you know what the two surviving Axis units were?
The Charlie that captured our factory and a Trigger they never deployed.
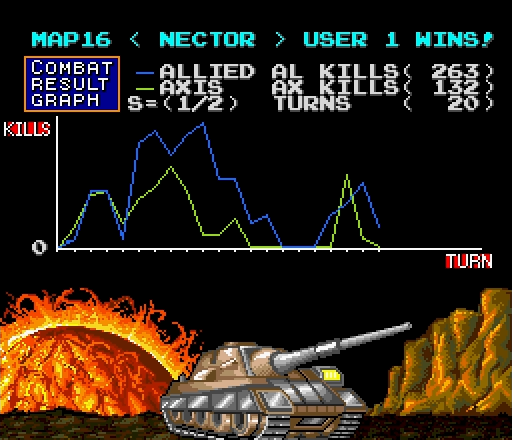
And what a battle it was, too. At a combined total of nearly 400 kills, this was far and away the most brutal of them all.
There aren't really any tricks or gimmicks to Nector. It's just your force against the vastly superior Axis one, fighting off the deadliest their arsenal has to offer from every side. You constantly have to juggle your units between multiple conflicting priorities and many targets that all need to be destroyed as soon as possible, and any mistake just leaves you less to fight the overpowering army knocking on your door.
We've won, though, and there's only one thing left to do.
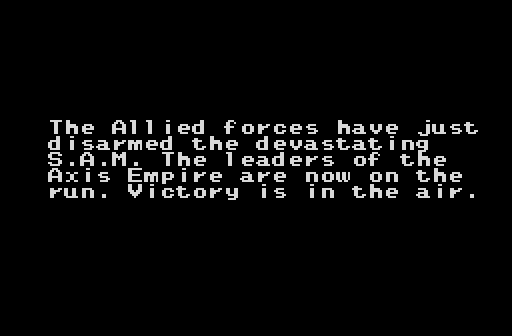
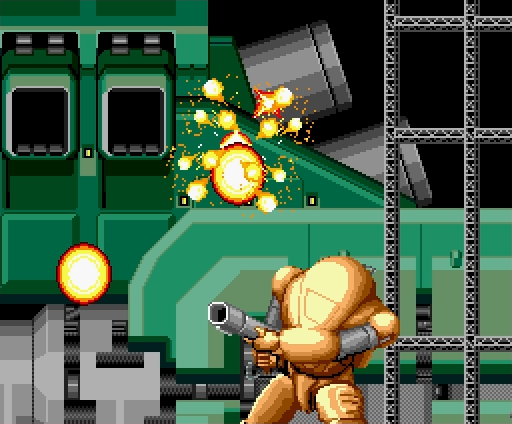


The Space Nazis have been defeated, their absurdly-named superweapon has been dealt with, and Earth and the Moon are safe once again.

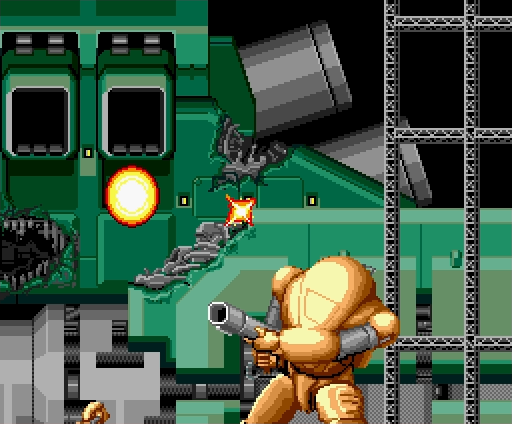
We take a slow pan to the left...
...and the game announces the end against a backdrop of stars rushing towards the screen.
Well, this was a fun one. Military Madness has its faults, and it's rather rudimentary, but it was still a damn fine strategy game for its time and, thanks to including some gameplay elements that you can't really find elsewhere, I think it still holds up reasonably well today.
Thanks to everyone who's followed this LP! I'll have some bonus stuff for you hopefully within the next few days. I plan to talk about the new units introduced in Neo Nectaris and the DOS version, and I'll also have some shots and thoughts on hard mode.
NEXT TIME: Whatever bonus stuff I decide to include.