Part 12: Godsend
Last time on Heroes...
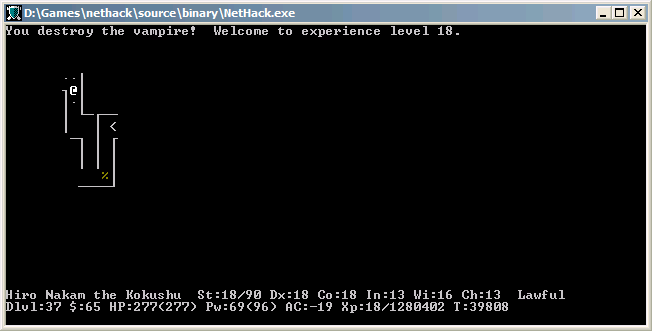
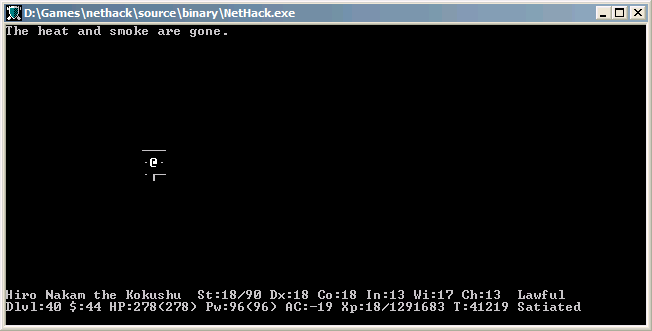
With the Castle behind him, it is now time for Hiro Nakamura to descend into the very depths of hell itself. Who knows what monsters lurk below?
Chapter 12 - Godsend
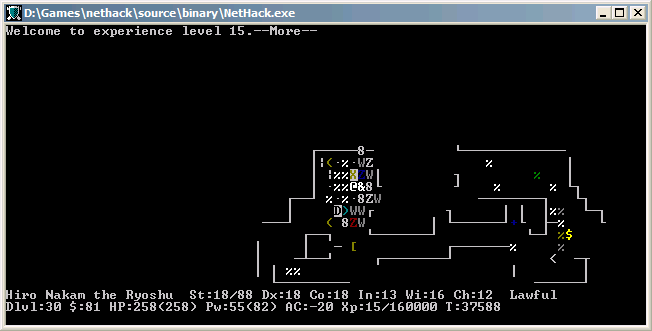
As was popular request (at least at the time when I started playing this update), Hiro has decided to stash his wand of wishing for later. I'm heading back up to take care of some final business before going into Gehennom. It's usually a pretty good idea to make sure that you have everything you need before entering Gehennom - you aren't forbidden from leaving, but it's a good check to make sure that you're fully kitted out and ready to go on. Once you wake up Rodney, there's no turning back.
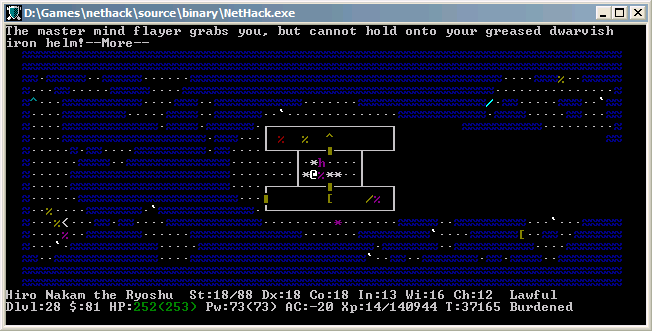

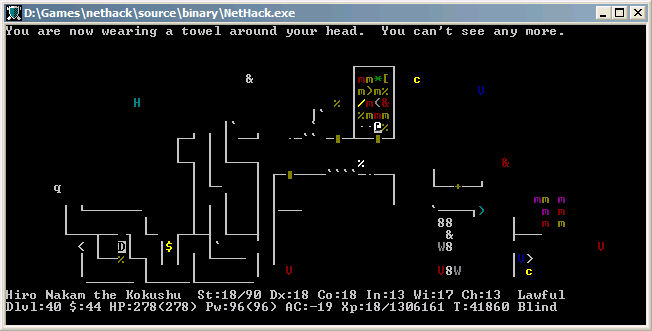
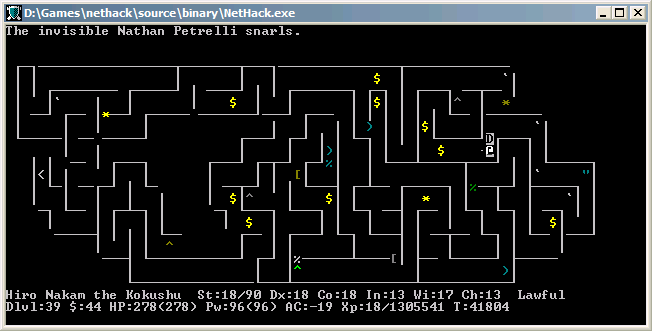
Yipes. A pretty bad omen, if I do say so myself. Thank god I have my greased helmet.
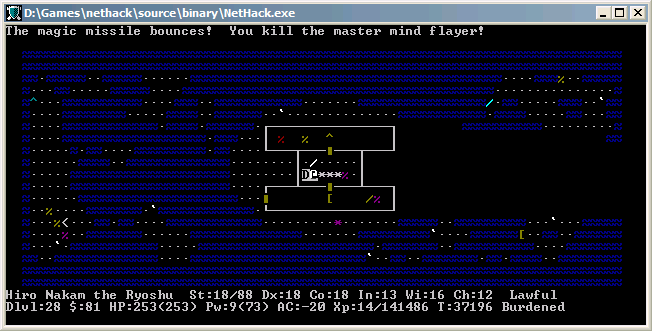
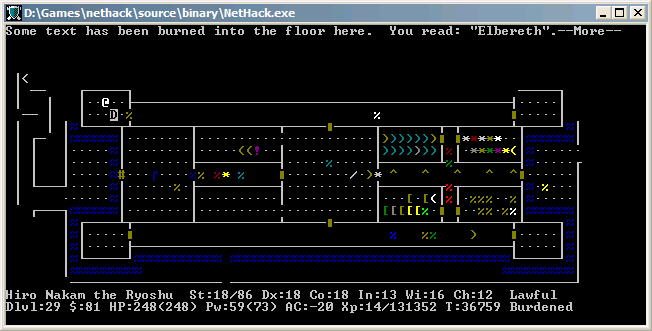
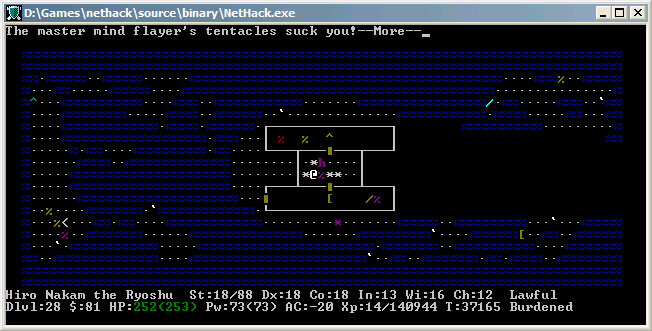
I decide to burn an Elbereth and zap this guy from afar. Don't mess with mind flayers - amnesia sucks.
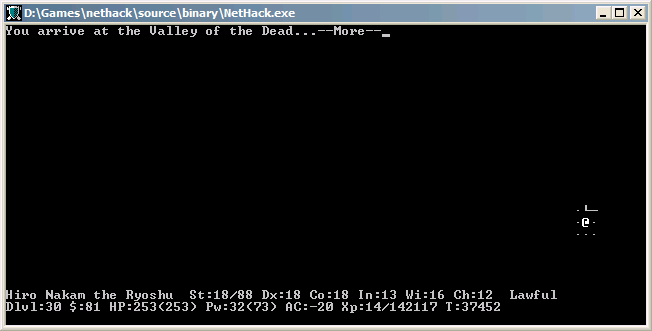
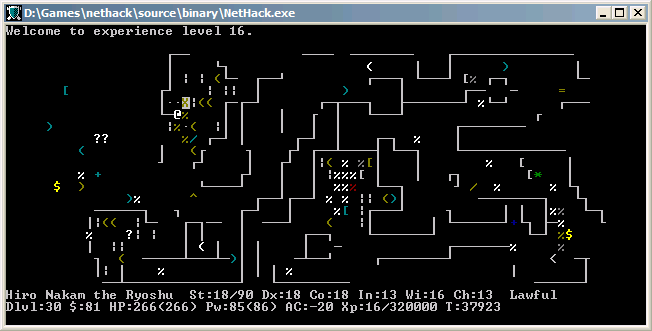
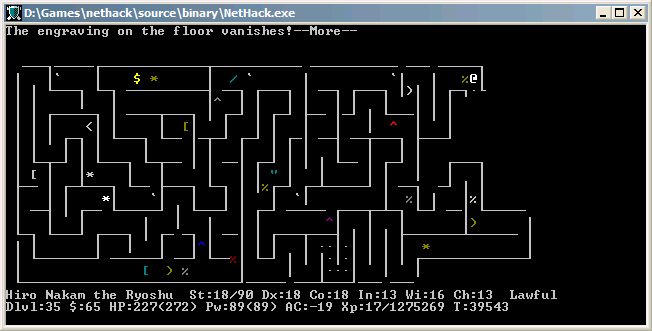
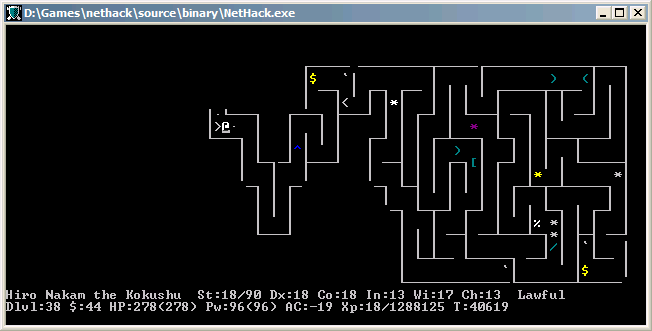
Now entering the Valley of the Dead. You can only enter this level through the trapdoors in the Castle or through level teleport. One of the first things you should do, which I forgot to screenshot, is find the upstairs (they're generated somewhere near where you fall in) and take them up. The stairs on the Castle level are randomly generated in a maze on the right side, and it's nice to know where they are before you ascend.
Hm...looks like Peter decided to phase through the floor when he got surrounded by castle monsters. That's pretty badass.
:gulp:
:doublegulp:
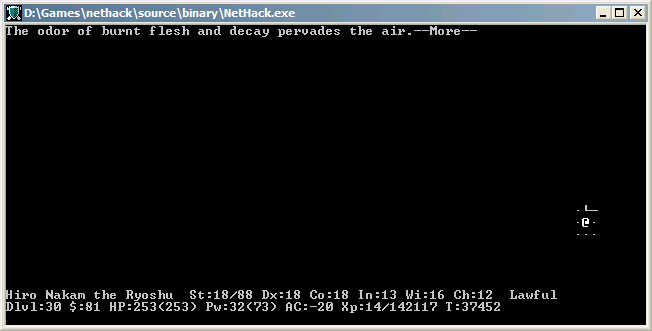
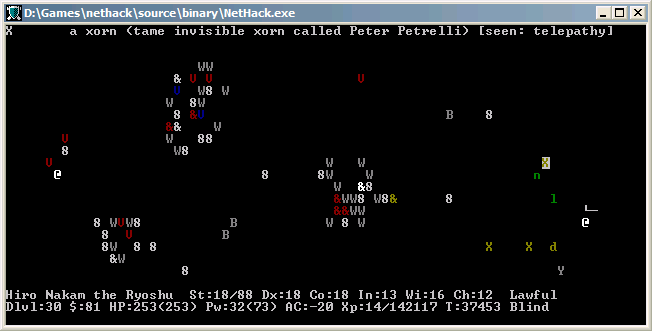
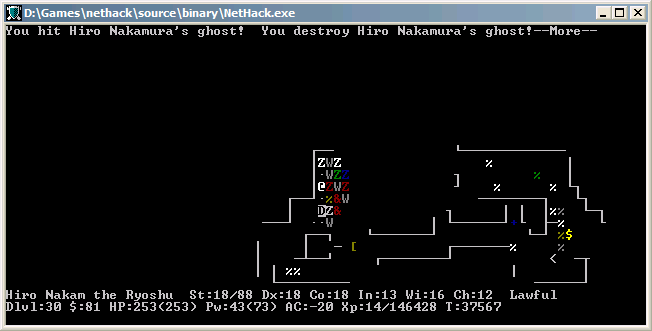
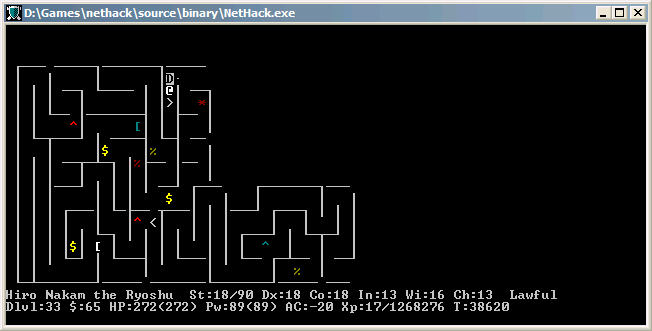
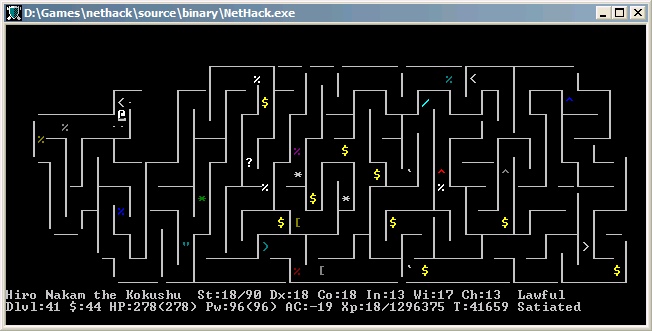
The Valley of the Dead has 3 graveyards in it, filled with your normal graveyard monsters - zombies, vampires, wraiths, demons, ghosts. The ghosts are randomly generated with names, including names from the top scores list and also your own name.
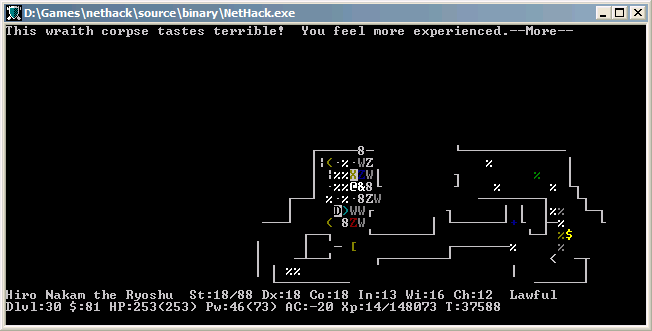
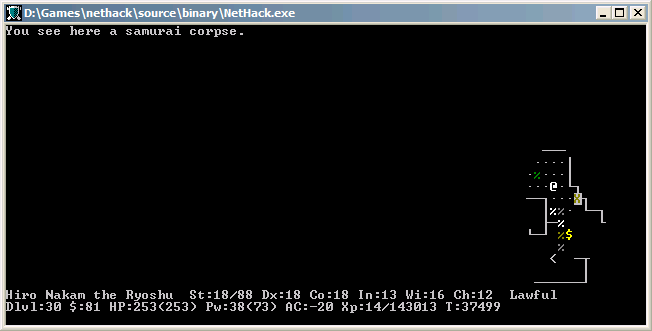
Wraith corpses make you level up whenever you eat them, which is awesome. Unfortunately, they don't leave many corpses when they're in the graveyard. Graveyards are also filled with boxes, which usually have a bunch of items in them, so unless you're speedrunning it's worth checking them all out.

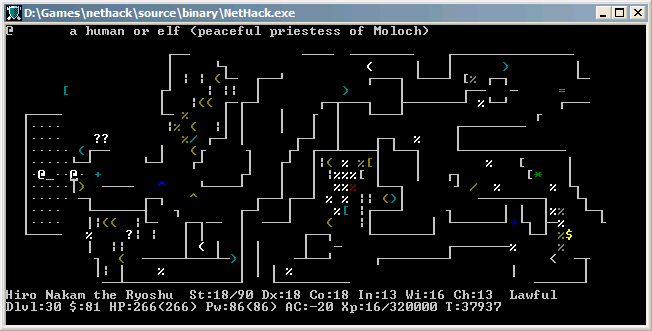
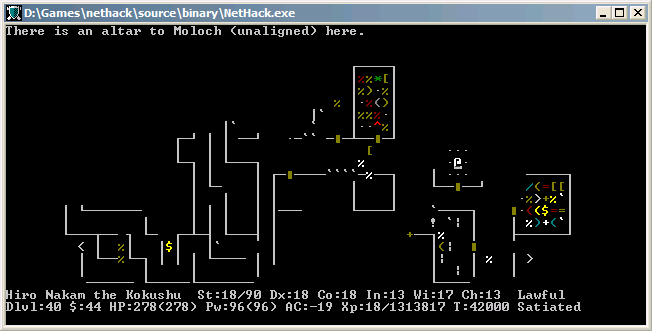
And here we meet our first priest(ess) of Moloch, who happens to be generated peaceful. Just like any other priest(ess) in the game, you can donate money to lower your AC.
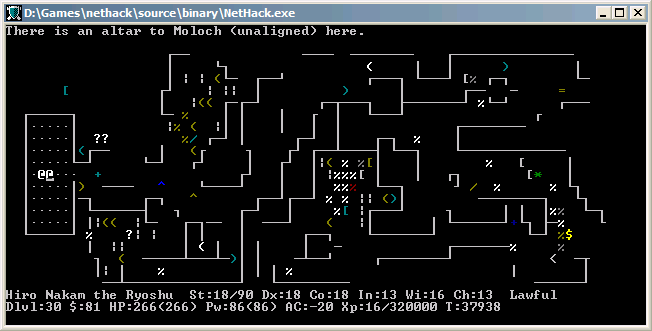
And we also have an altar to BUC test stuff. While we aren't technically in Gehennom yet, the Valley of the Dead is part of Moloch's realm, and #praying here will attract the attention of Moloch, who probably isn't as nice as your god and will probably blast you. Don't pray when you're in Gehennom.
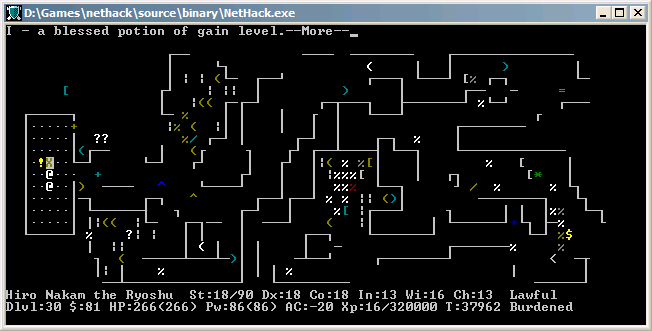
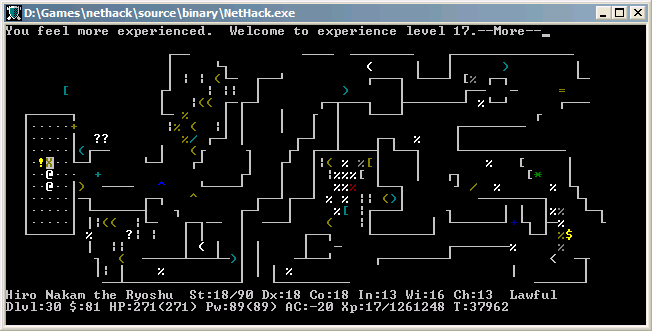
It turns out my potion of gain level is blessed, so I decide to quaff it anyway.
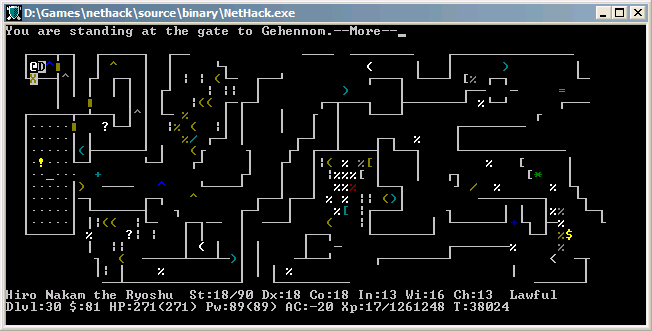

Would you like to enter? (y/n) y

Gehennom is Nethack's special version of hell. Most of the levels in Gehennom are randomly generated mazes, which absolutely suck to navigate. There's also a few special levels with named demons, the Wizard's Tower, and other various detours. Since I don't have magic mapping, I'm going to have to find the stairs the hard way, by running through the maze until I find them.
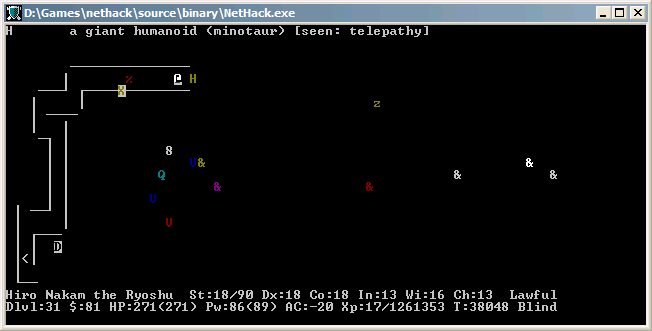
All maze levels have a minotaur generated on them. Don't underestimate minotaurs - they average 38 damage a turn in melee and can hit real hard. They also don't respect Elbereth. They're definitely a candidate for a few ranged attacks to soften them up before they get in close. Minotaurs also usually drop wands of digging, which you should be stockpiling anyway.
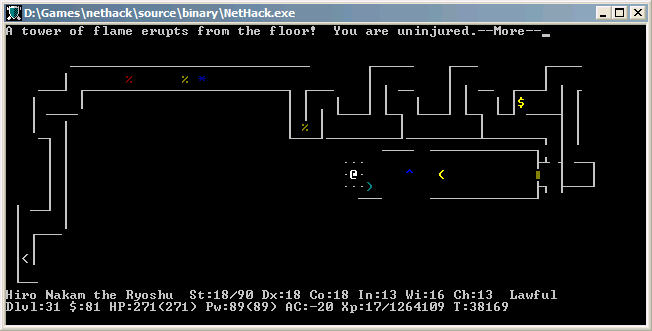
Gehennom is also filled with fire traps. Better make sure you're fire resistant and put away all your potions/scrolls before you walk around. At least this version of Nethack is kinder than the older versions - if you walked into the older Nethack's Hell without fire resistance, you would die instantly.
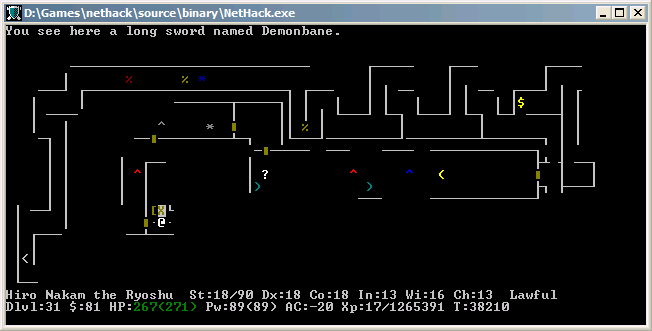
Wow, what are the odds. I'm a little too burdened to pick this up though, and Grayswandir is a better weapon anyway.
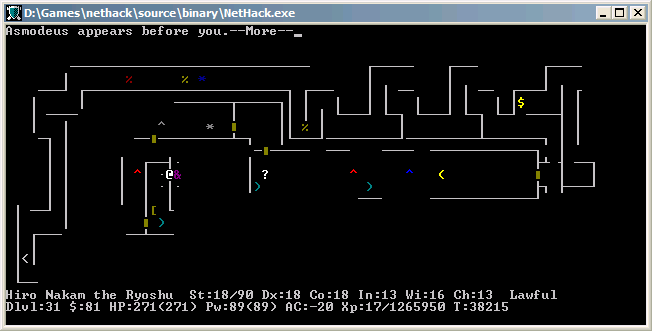
As it turns out, the first level of Gehennom is one of the special levels, Asmodeus' Lair. There are 4 special demons in Gehennom with special levels, and Asmodeus is the first. You'll notice that the center of the level matches the Gazetteer description, but the outside is randomly generated Gehennom-maze.
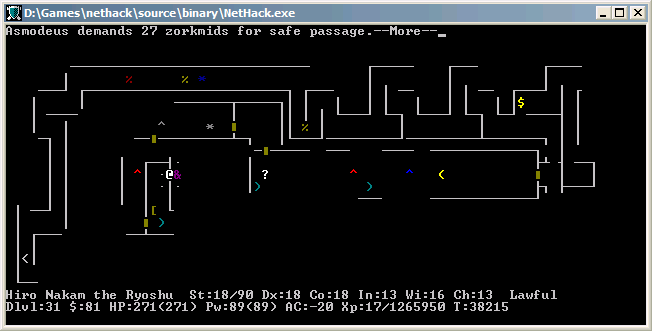
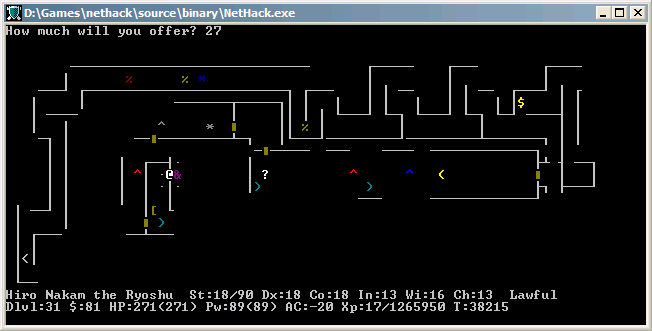
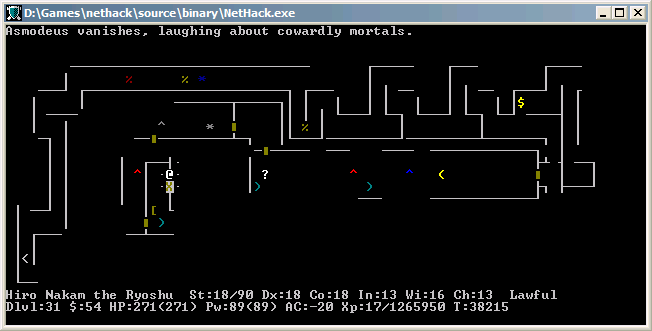
Most demons are generated peaceful and give you a chance to bribe them away (not if you're wielding Excalibur though, in which case they'll always be hostile). It's not like Asmodeus is especially threatening, but I'd rather avoid unnecessary fights. He'll always ask for a small percentage of your visible gold as a bribe - if you carry a small amount of gold in your inventory, you won't have to bribe him with too much.
Well, someone's going to be immortal pretty soon, if you catch me drift *wink wink*.
I'd be more sad about this if I hadn't already written Peter off as dead 5 levels ago.

Ah, and we found the downstairs pretty close to the upstairs. When you're ascending back up with the Amulet, you'll want to have the most direct path possible between the upstairs and the downstairs. Spending time in Gehennom during the ascension run is a bad idea. So, take advantage of your free time now and dig out a direct path between the upstairs and the downstairs with a pickax.
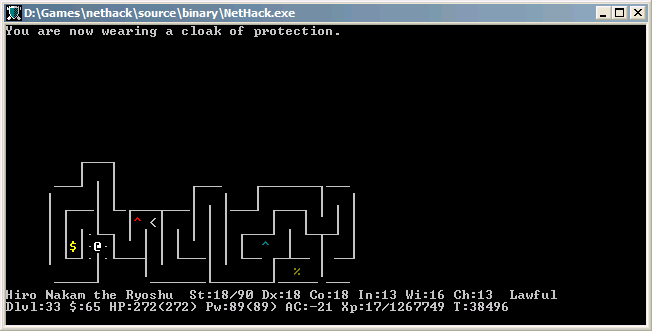
I was hoping it was magic resistance, which auto-identifies when you put it on, but no such luck. Guess I'll stick with the robe.
Woohoo downstairs.
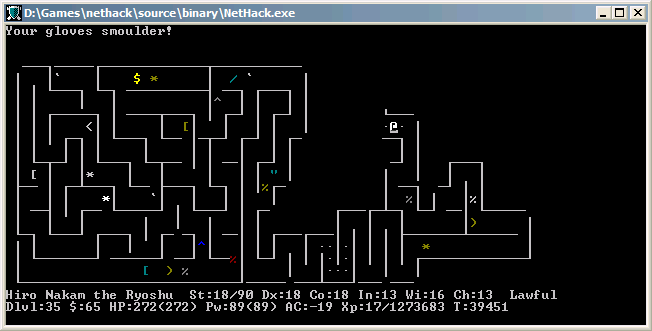
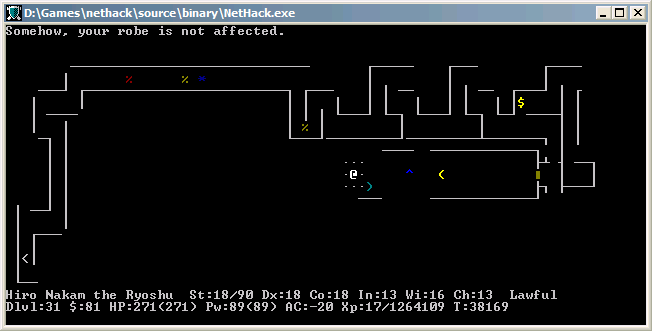
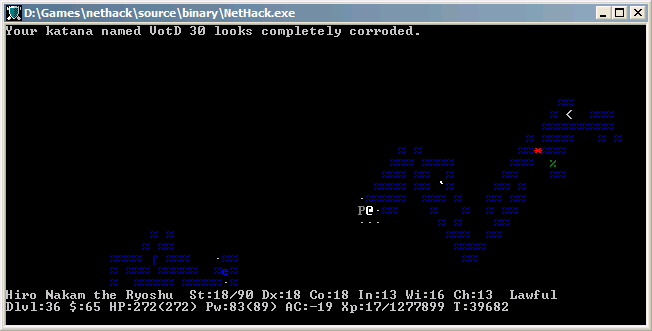
Stupid fire traps. It's worth mentioning that you're better off using your enchant armor scrolls to raise the enchantment of your armor instead of erosion-proofing it. The erosion only affects the base AC of your armor (ie 1 for gloves and helms) and won't affect the enchantment.
Finally found a wand of cancellation. Once you've identified it, put it in a sack ASAP.

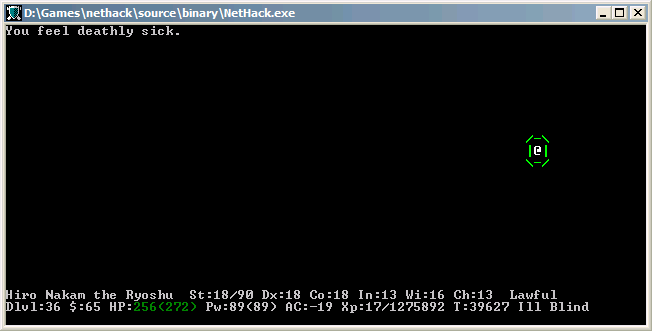
A sea in Gehennom? This can only be Jubilex's Swamp.
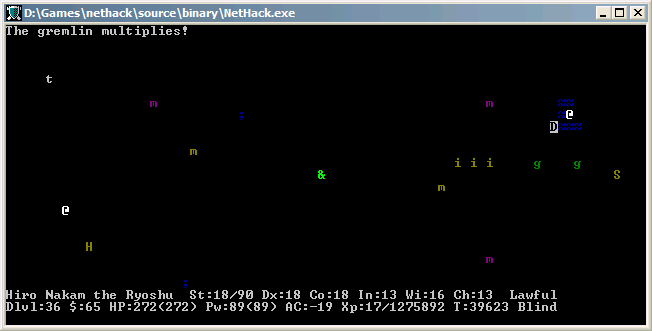
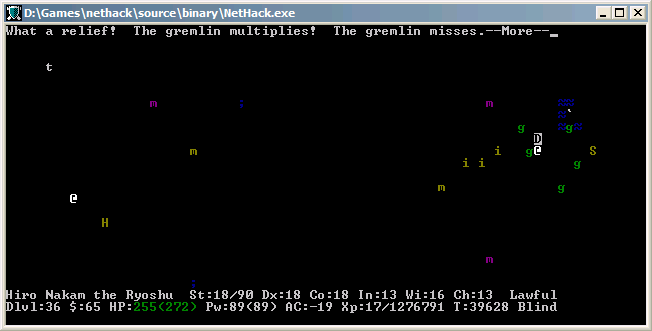
Complete with gremlins, ugh. Gremlins multiply when they touch water, and there's plenty of water in Jubilex's Swamp for them to divide in. The last time I was in Jubilex's Swamp, I ignored the gremlin problem until it became this:
Needless to say, I don't want that to happen again.
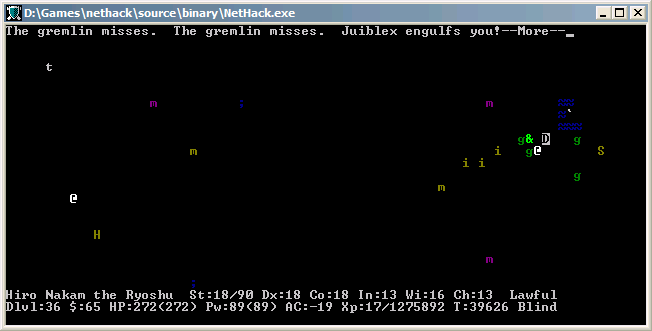
Jubilex won't let you bribe him, and his first attack is to engulf you and make you sick. Fortunately, there's an easy way out - just zap a wand of digging at Jubliex and he'll let go of you.
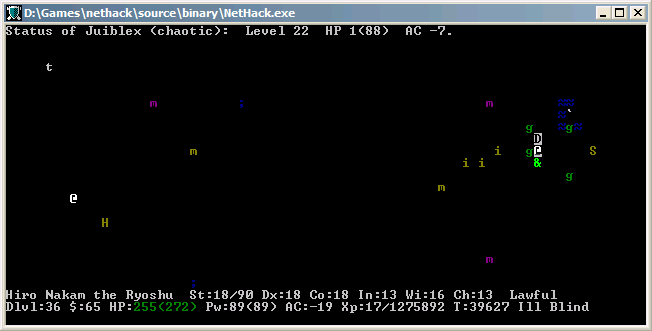
Even better, he'll only have 1 HP left.
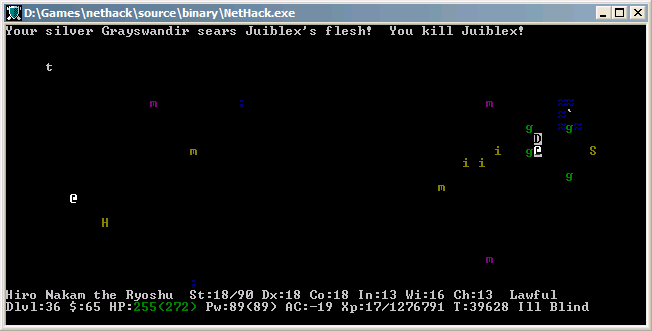
Give him a good whack.
And apply your unicorn horn to heal the illness. That wasn't too bad, was it?
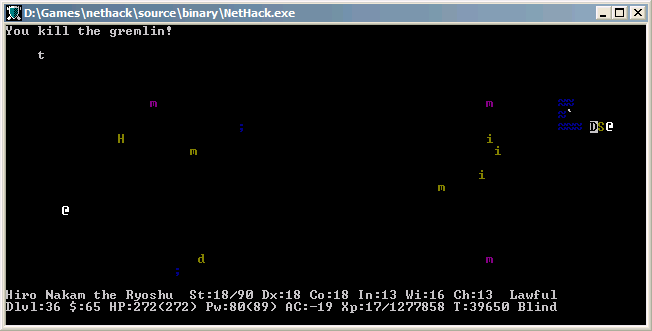
Took care of the gremlin problem, thank god.

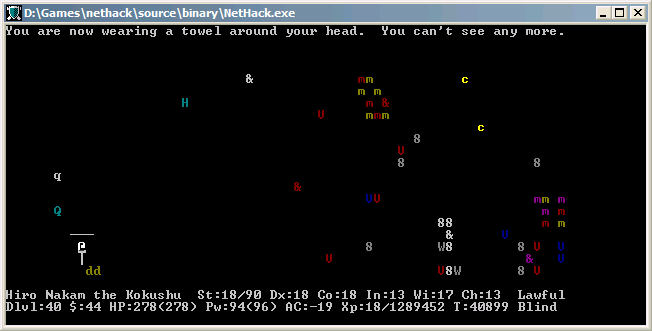
Jesus christ what happened to you? Thankfully, it's nothing a bunch of Heal spells can't fix. Lucky I caught him before he died.
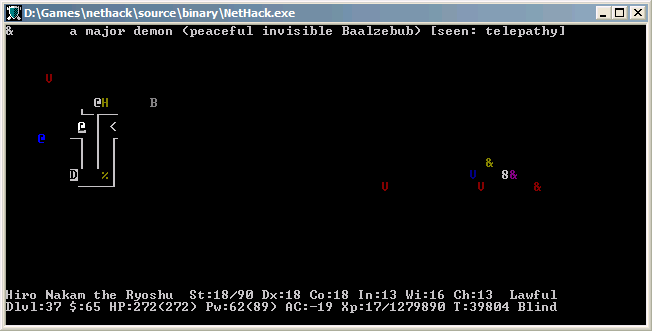
Looks like we've made it to the third named demon, Baalzebub's Lair.

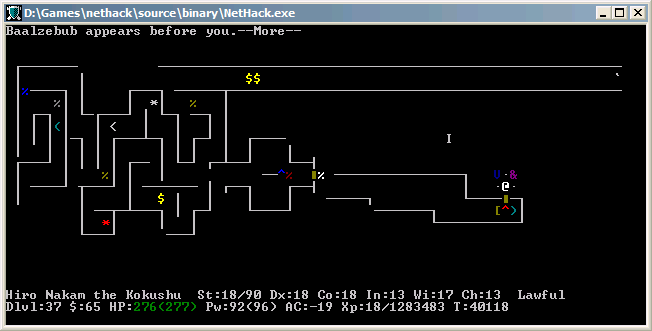


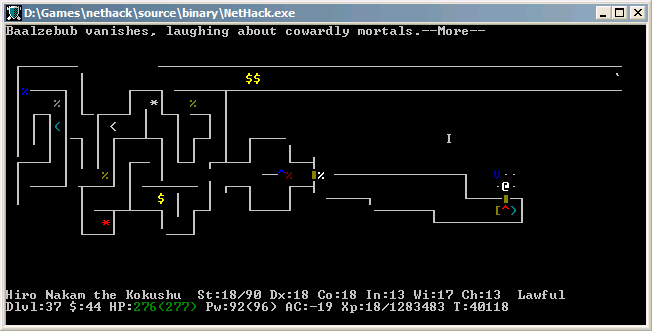
Just like before, Baalzebub will let you bribe him. Baalzebub isn't a big threat either, but hey, the less risk the better.

If you're wearing a ring of slow digestion, purple worms won't eat you. Random, I know.

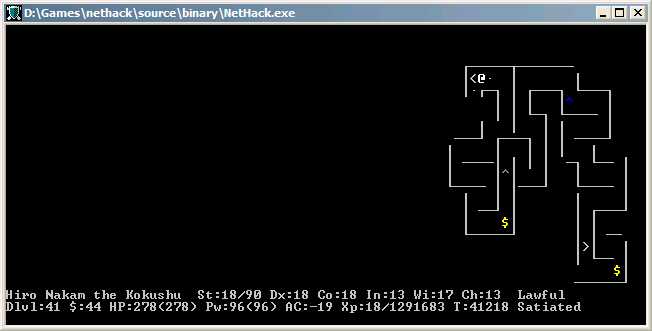
Mapping out two more levels of Gehennom. If you recall from before, the Valley of the Dead was on level 30 (and I also wrote it on my katana in case I forgot). If you count the VotD as the first level of Gehennom, the upstairs leading to Vlad's Tower can be found in the 9th-13th levels. So, level 39 is the first level I can find the upstairs on. If you have a limited number of magic mapping scrolls, these are the levels to use them on.
Well, this certainly isn't a normal Gehennom level - we've come to Orcus Town. Before taking on Orcus though, I'm going to keep looking through level 39 though for a second set of upstairs to Vlad's Tower. One should note that Orcus Town can also contain the upstairs
One poorly placed trap door later...
ARGHBLAHBLABHBLAH
I've landed on the level below Orcus Town, so I better be prepared for him when I go up.
Unless I happen to find the upstairs to Vlad's Tower. Vlad's Tower is not a part of Gehennom, so you can safely #pray here. I'm a little worried about Nathan the gray dragon though (since pets can go feral if you leave them on a level alone for a while), so I'm going to hurry back to him. Vlad can wait.
Finally, another set of upstairs.
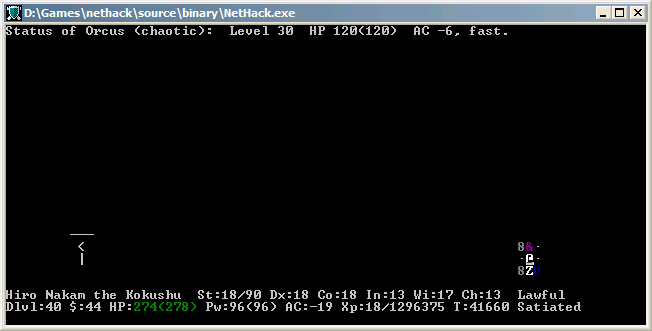
Orcus is the 4th of the named demons with a special level in Gehennom. He has the ability to summon other demon princes (including possibly Demogorgon), which makes him the biggest threat thus far in the game. He also has a guaranteed wand of death, although if you've made it this far you probably have MR or reflection. The real problem with the wand of death is how to relieve him of it without him wasting too many of its charges.
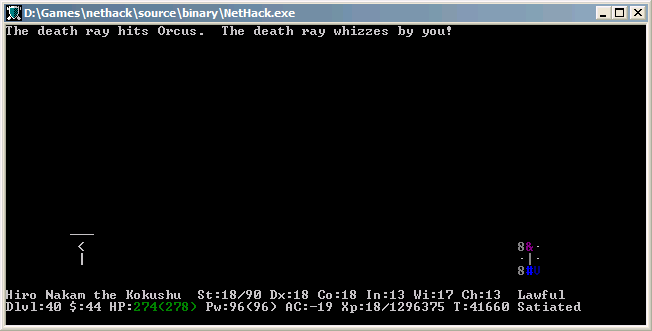
First turn, I try to zap him with my wand of death before forgetting that demons don't die to death rays. Whoops. Instead, let's go right back downstairs - since Orcus is standing right next to me, he'll follow me down.
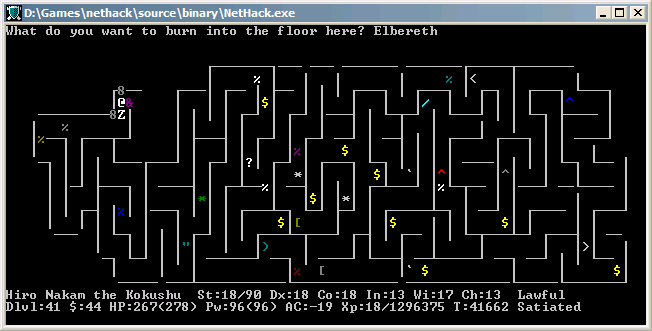
Since Orcus is an &, he respects Elbereth. He (like all the named demons) also has the annoying ability to teleport to the upstairs when damaged to heal himself up. But since I'm still standing on the upstairs with my burned Elbereth, he has nowhere to go and won't attack me. From here, I can beat him up at my leisure.
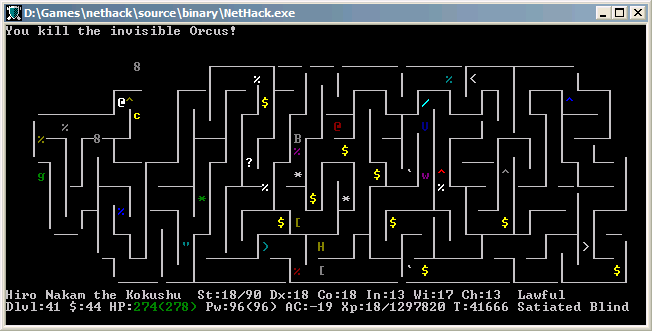
That wasn't too bad.
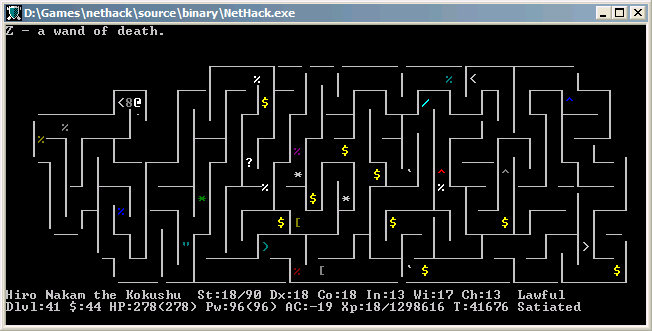
And you won't be needing this any more, either.
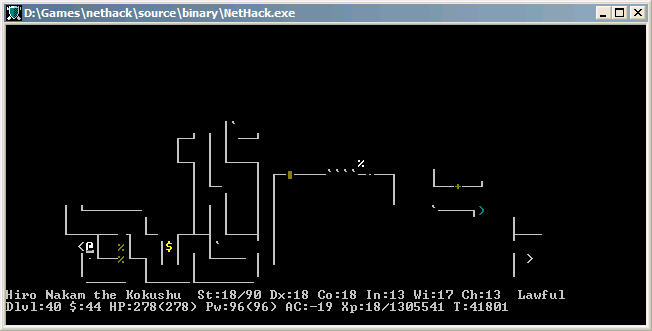
Making my way backwards through Orcus Town.
Aww, buddy, I missed you too.
Hiro has conquered the 4 demon princes of Gehennom! But his next foe comes armed with a candlestick and an epithet. Will Vlad the Impaler strike a lethal blow to our brave hero? Find out on the next episode of Heroes, Chapter 13 - The Fix.
---
Next time on Heroes...