Part 118: 9/23: ERROR: NO GIMMICK FOUND
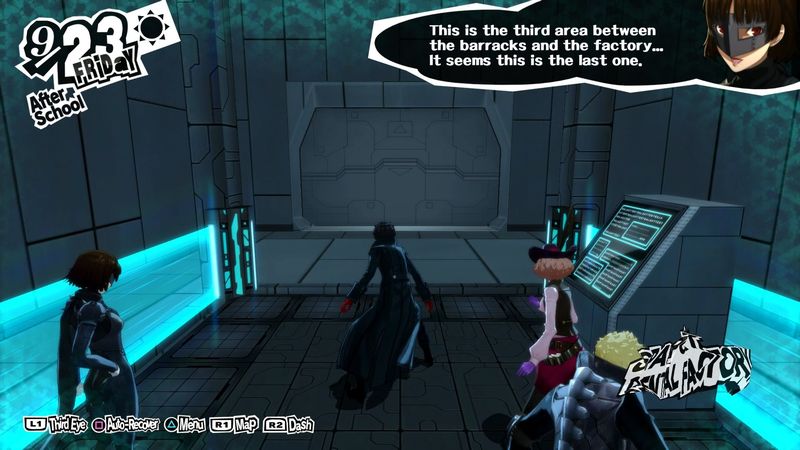
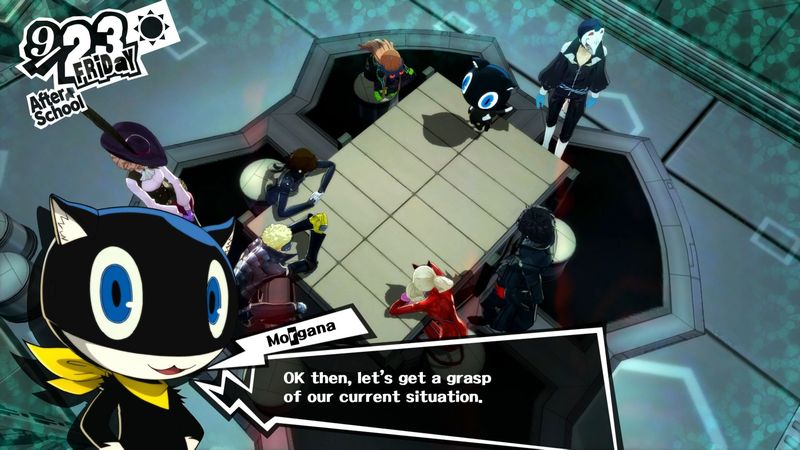
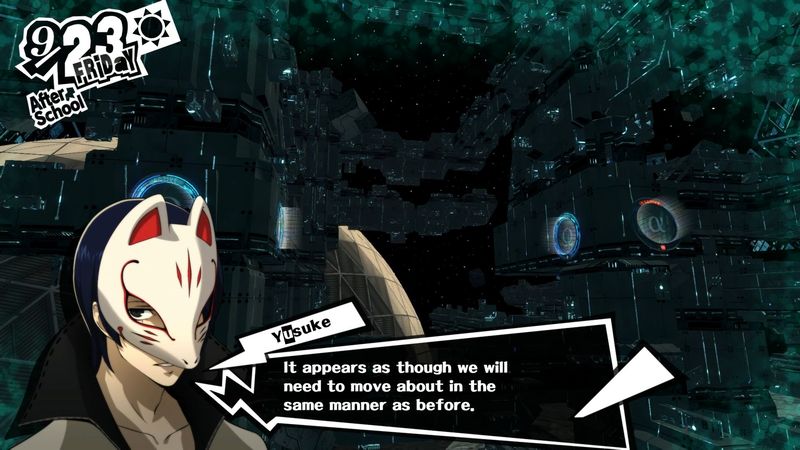
Part 111: 9/23: ERROR: NO GIMMICK FOUNDWell, we’ve gotten through the baneful barracks and the foul factory. Time for the abysmal airlocks (I actually don’t mind this part).
Music: Sweatshop
Cool detail that didn’t translate well to the images is that there’s tons of floating detritus outside the airlocks, primarily floating worker robots.
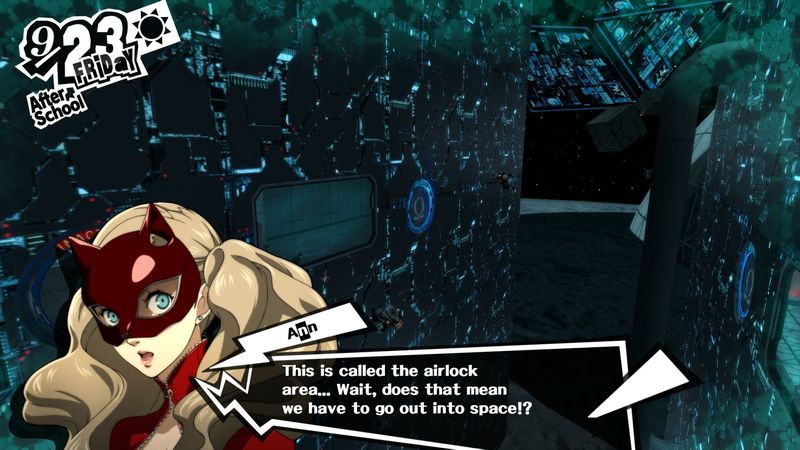
 Putting it lightly, I believe such an action would lead to our extermination.
 I fixed the portraits.
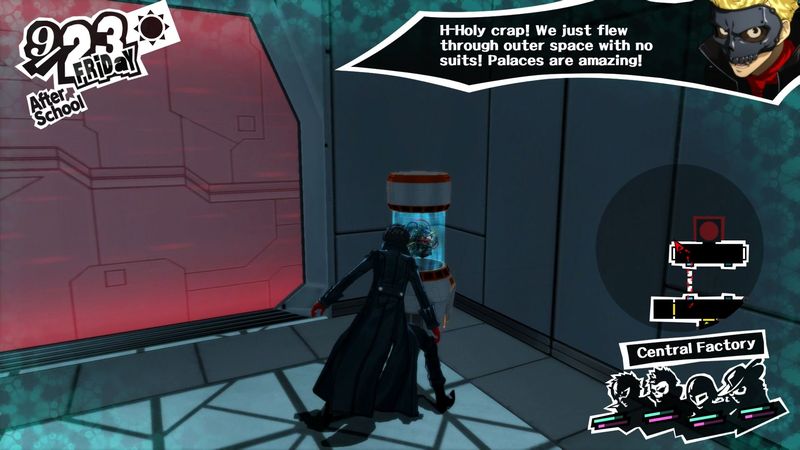
 Wellllll, apparently you’ll be OK for like thirty seconds if you keep your eyes and mouth shut. Huh. Honestly, I woulda thought we’d just explode out there.
  Don’t scare us, dammit!
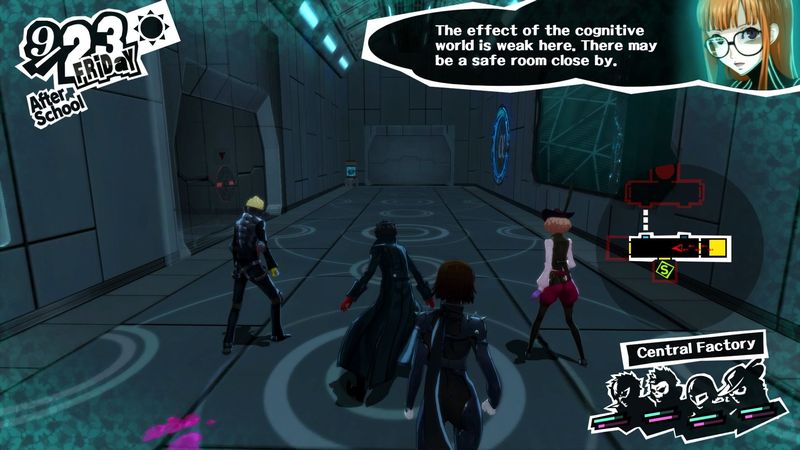
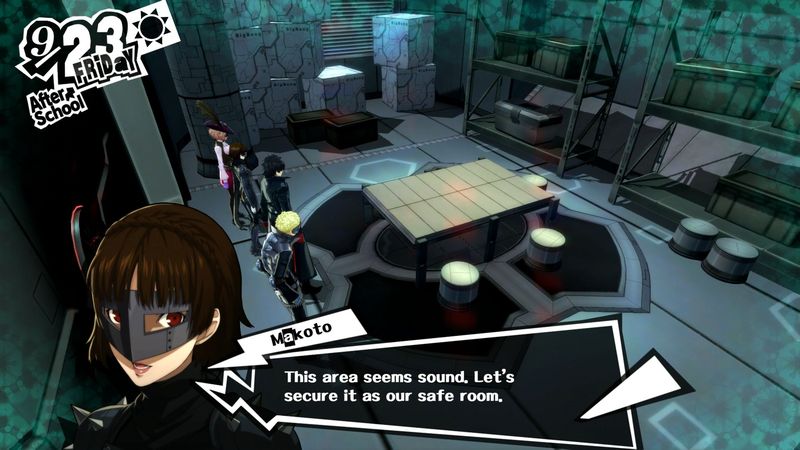
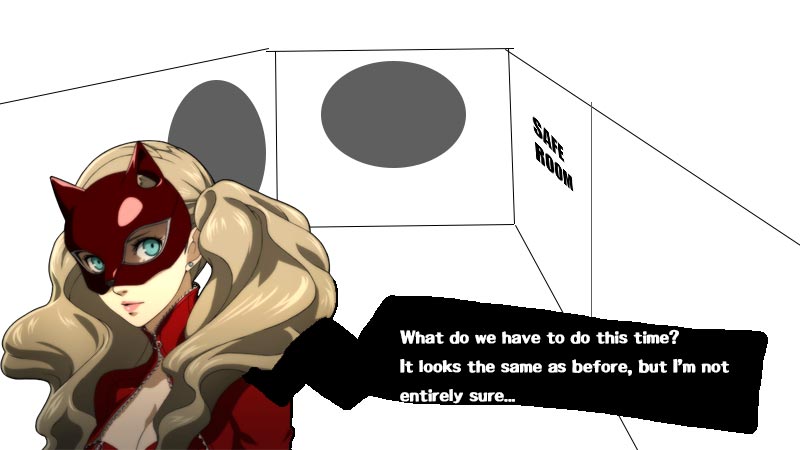
And a new safe room.
Music: Have a Short Rest
 Hm, this extreme scenery really makes it clear how distorted the Palace ruler is…
  We’re about halfway now, right? We need to hurry up and change my father’s heart! Now is not the time to get hasty. Let us go about this one step at a time.
 What!? Halfway!? That’s fucking impossible! It’s been over three hours!
I don’t know if this is an error or meant for a different point in the Palace or simply fucking wrong, but don’t worry, we are not only halfway through by any stretch of the imagination. We’ll be out of here in under thirty-five minutes or this update is free.
Also, the previous updates were not free, you all owe me big.
Music: Sweatshop
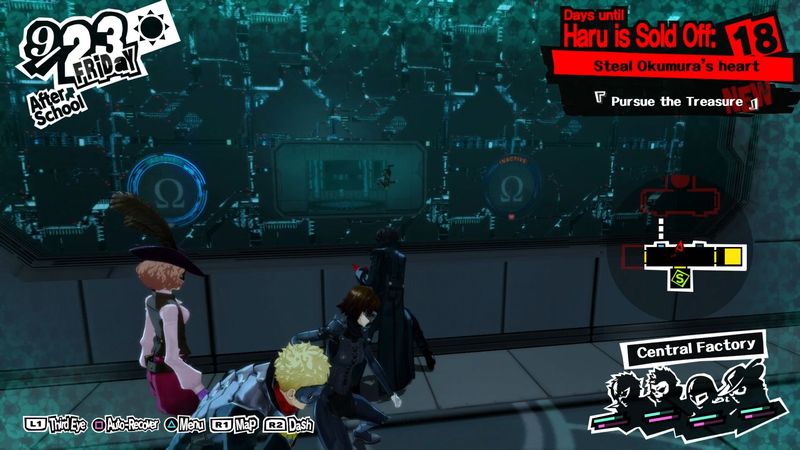

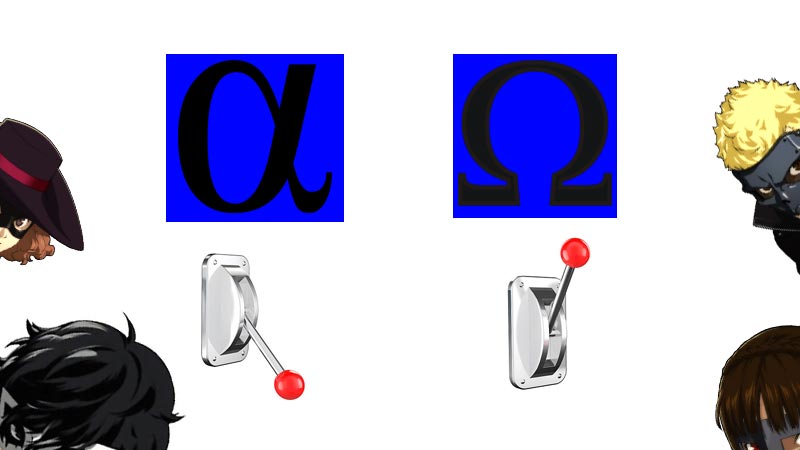
So, the airlocks on the far side have a capital Omega symbol (Ω), while the near side have a lowercase Alpha (α). This will end up being hella confusing but ultimately has no importance whatsoever because it never matters which door in a pair is which, so ignore the symbols on the actual doors. Later airlocks will have a smaller α or Ω underneath the door (not on these for reference, unfortunately), which is actually important, infuriatingly, and we will actually have to pay attention to. I did not realize this or even notice those symbols on those airlocks until I was taking screenshots for this update. I can only imagine how annoying it must be to not be able to figure out anything because you never saw them and the game signposts the wrong information here. I say “I can only assume” because while I’ve heard many a horror story about this part of the Palace… I’ve never run into any trouble here whatsoever. By either sheer blind luck or incredible intellectual aptitude (and it’s not the second one), I have stumbled through this part of the Palace perfectly on the first attempt both times I played it, with a full year between attempts. I’ve just never had any trouble here. Sorry. I’ll try my best to explain the path, though.
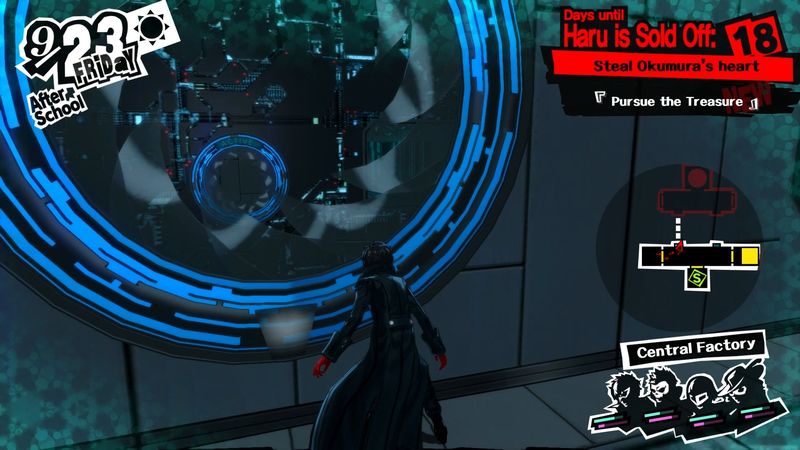
All right, let’s open this airlock.
WHOOSH
 I guess it’s not a true vacuum outside… but that seriously shaved years off my life.
  At least other stuff won’t seem as scary to me anymore…
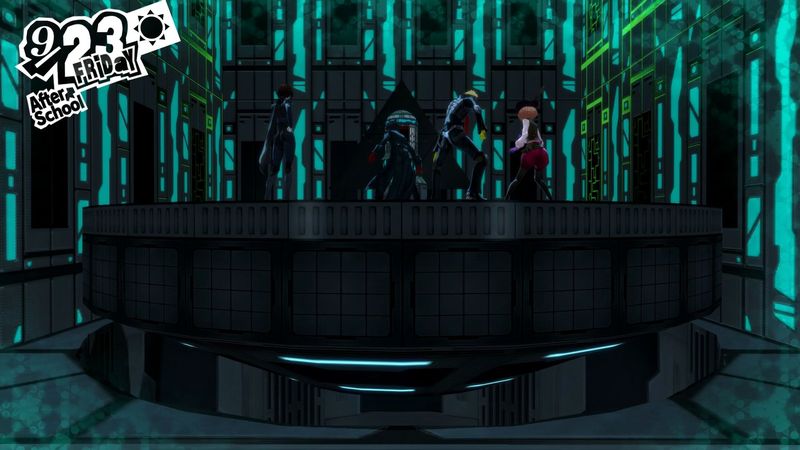
We ascend to the next level of the Palace.
Sweatshop (Another Version)
This version is notably less good, but at least it’s not the old one at this point.
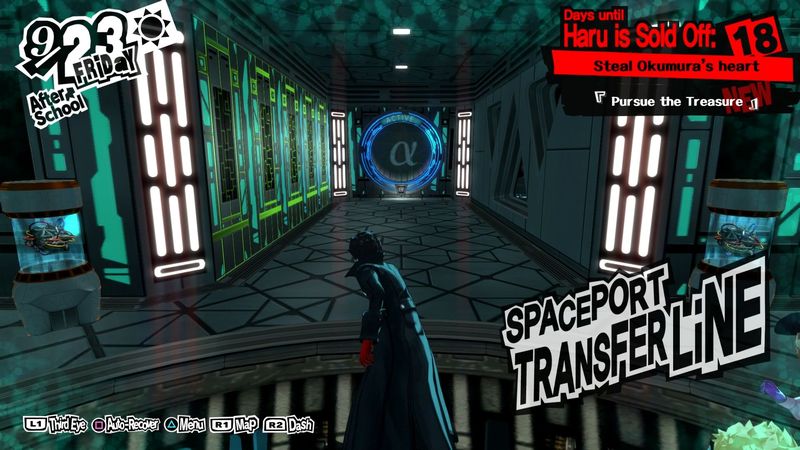
We're in the next area. Also if you squint really hard you can see the itty-bitty α on the bottom of the airlock door. I can’t believe that they’d put the important part there, and so small.
 To think we’d end up flying through space… The awe I felt at seeing that flying bank feels like a distant memory at this point.
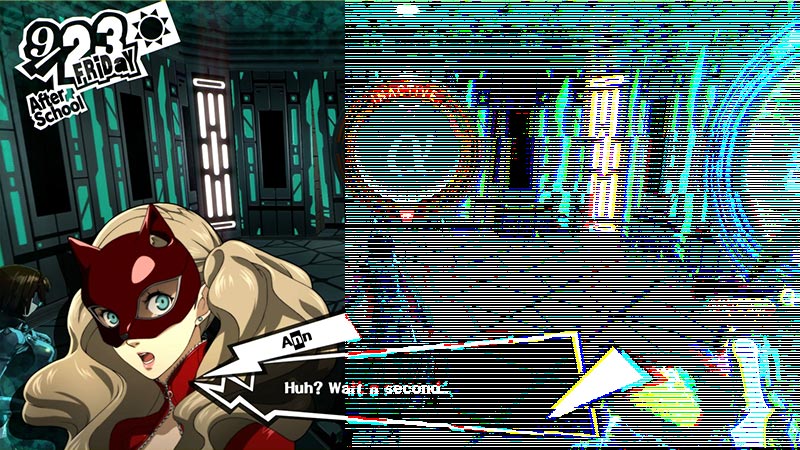
Oh, what the fuck now!?
 i’m bored of you so i’m just gonna delete all your shit, lol
Wait, what!? No!
bye
*deep breath* Well, uh… looks like I’ll just have to recreate the missing images for this update manually. Oh boy.
Also, goddammit, he left me with the fucking crayon portraits.
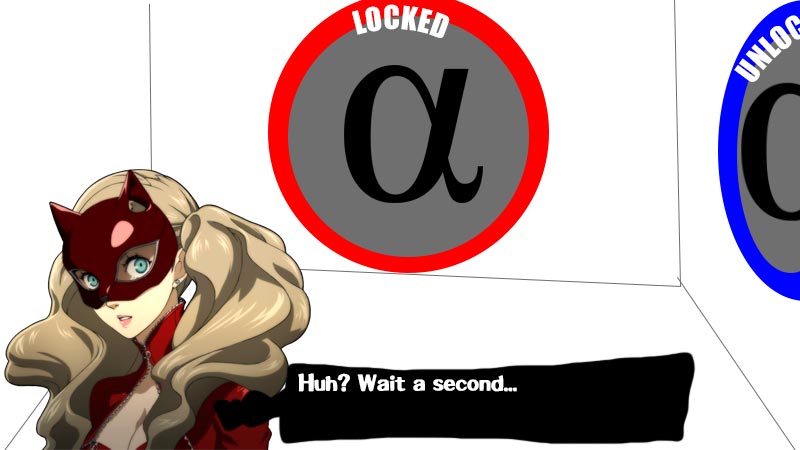
 Some airlocks are working, but others aren’t…?
  I hope we can reach our goal with just the ones that are on...
There we go. Any time I “draw” an airlock from now on, the symbol will indicate what type of door it is, not which in its pair it is (actually I’m lazy so it never comes up again). This may make things more confusing, but just think of it as reducing it down to the relevant information. The colors are also important, so uh… hope you’re not colorblind! (I’ll try to label the relevant colors in more complicated scenarios)
Also, yes, some of the airlocks aren’t working right now. We’ll get to why in a second. But Morgana’s wrong, because the exit is dead ahead, and we can’t get through there right now. So, we head right.
Along this path, we come across two switches, the symbols next to them surrounded by a blue border. The alpha is depressed, and the omega is upright. The Omega symbol and switch are also glowing red, but I forgot to put that bit in.
 Are these… switches?
  There is something written above each one… These symbols…
 One of the nearby doors turns on, and another (the one we entered through) becomes inactive.
Oh, so these levers switch the airlocks on and off! It looks like this should open our path through here. This is all on you now, Joker!So, it seems our goal is to turn on the first door we saw.
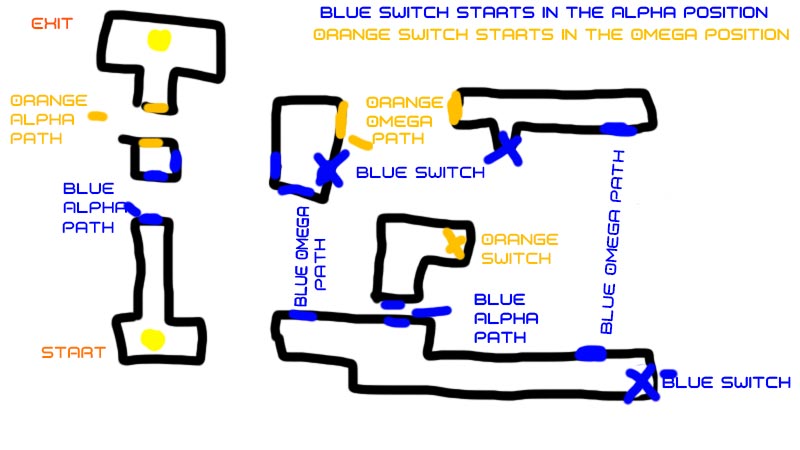
Here’s a crude map of the area. We pulled the blue switch, changing it from alpha to omega. Then we head east through the orange omega path. If you want to get this done faster, you can skip this part and head south through the blue omega path, but I wanted to fight more enemies. However you make it to the southmost building, pull the eastern switch to change blue to alpha, head up into the middle building, and pull the switch inside to change orange to omega. Then, go back to the eastern blue switch, change it back to omega, and head back to the northwestern airlock. You’ll be back in the building you found the first switch in, and after pulling that switch to change blue back to alpha, you can head west and finally north to the exit.
I realize now as I write it out that this all seems very complicated and confusing. Well, uh… this was the simple one.
THE MAJESTY OF SPAAAAAAAACE!!!!!!!!!!
 Hm… Soaring through space is quite fun once you’ve become accustomed to it!
  I bet bungee jumping’s nothing compared to this! Not that I’ve done it! Ugh, can you guys be serious for one second!?
This is Mithras. It uses Heavy Nuke spells and can hit everyone with nasty Physical attacks. It can drain fire, block Nuke, and resist Physical. Weak to Psy, though.
And this is Scathach, and I can’t make any jokes about that name that the Persona 4 Endurance Run hasn’t already. It doesn’t have a weakness, uh-oh! It repels Ice and blocks Curse, can use Maragion and Magarula (Medium Fire and Wind to everyone), and Tempest Slash (Miniscule Physical damage to 1 foe 3 to 5 times). It’s a nasty one, and even if we were to knock it down with a crit or Shinya’s skill, it’s above our level so we can’t acquire it.
Eventually, we make it back to the end.
It looks like this is the end. We did it, you guys! That was simple! Let’s keep blazing a path through here!In the next area…
Glad for the safe room, at least.
Now, here’s a map of this area:

Pretty daunting, eh? I’ll explain the switchers in a bit when we get to them.
The first thing we need to do is proceed normally through buildings 1 and 2 until we reach building 3. Once, there we need to make absolutely sure not to activate the lever right there. It’s a trap, the first of two to my limited understanding.

This here’s Kaiwan. He likes to use Heavy Psy and inflict Forget. Weak to Nuke, though it also blocks Psy and Gun.
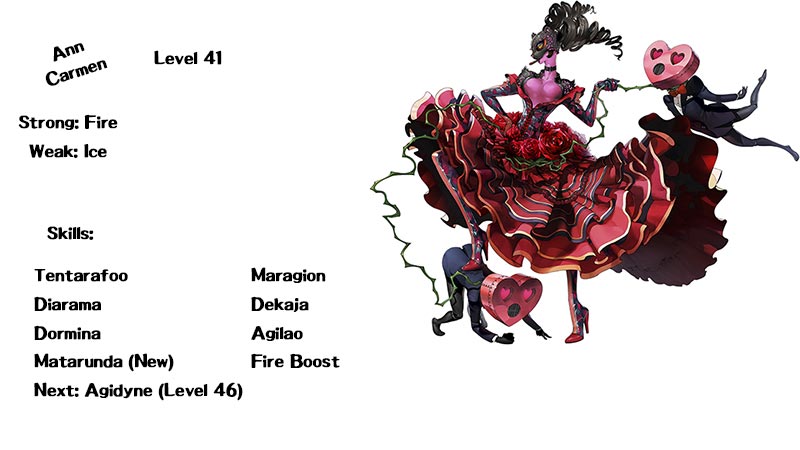
Ann learns Matarunda to replace Tarunda. It’ll be very handy if I ever decide to use her again.
Eventually we enter a room and the airlock we used to enter turns off behind us. That would be in room 4, going by the map. However, another airlock in front of us turns on at the same time.
Oh… The path we came on has been closed off? The airlocks seem to have changed. Let’s proceed with caution. These are the switchers. Every time we go through a green airlock, all other green airlocks will cycle to the opposite state, “on,” or “off.” It’s pretty simple, though I can imagine it causing a real headache in conjunction with some of these other mechanics.
Back to the map:
Here’s the steps to complete this area:
- Head north from building 1 to building 2.
- Head east from building 2 to building 3.
- Head to the southeast exit of building 3 without pulling the northern lever. This is crucial. There’s probably still a solution if you do that, but I don’t know what it is. Exit to building 4.
- Head north to building 5.
- Head east to building 6.
- Go to the easternmost airlock and go to building 9.
- Go west to building 8.
- Go west again to building 7.
- Pull the lever in building 7.
- South to building 6 again.
- Middle airlock to building 8.
- East to building 9.
- North to building 10.
- Pull the lever in building 10.
- North to building 11.
- Pull the lever in building 11.
- South to building 12.
- Using the blue airlock on the eastern wall, head back to building 10. Using the green airlock is another trap.
- Pull the lever in building 10.
- Use the green airlock on the southwestern wall to go back to building 12.
- Head south to building 13.
- Head west to building 14.
- South to building 2.
- West to building 15.
Oooh, we’re finally reachin’ the end. That shit was easy! Uh, Skull…? All you did was follow Joker.
 And that’s the entire Palace. We’ll see the Treasure later after I throw my computer in the dumpster, but just know this was something of a trial. The weird thing is that if you subtract deaths (and even if you add some time for the fact that I didn’t fuse anything) and time spent fucking around for dialogue in the security card game, this is honestly a pretty short Palace. Well, shorter than Kaneshiro’s or Futaba’s, anyway. It took me four hours all things considered, which is par, but again I wasted a lot of time here.
Well, at least I never have to do this again! Until NG+!