Part 26: Heading for Herzen Castle II
 Puzzles Remix
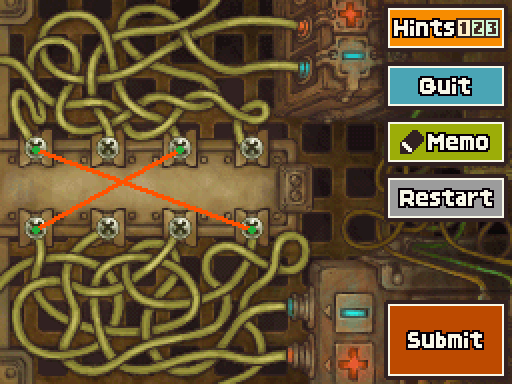
2. To make things simpler, identify the wires that are connected to some other area offscreeen, and elimiate them as possible answers. In the top row of wires, the rightmost wire and the one third from the right run offscreen.
3. The leftmost terminal in the upper set of four is connected to the wire carrying a negative (-) current. Now it's up to you to figure out the other three terminals you need to use.
Alright, so, this is a (relatively) short one today. Don't worry though!

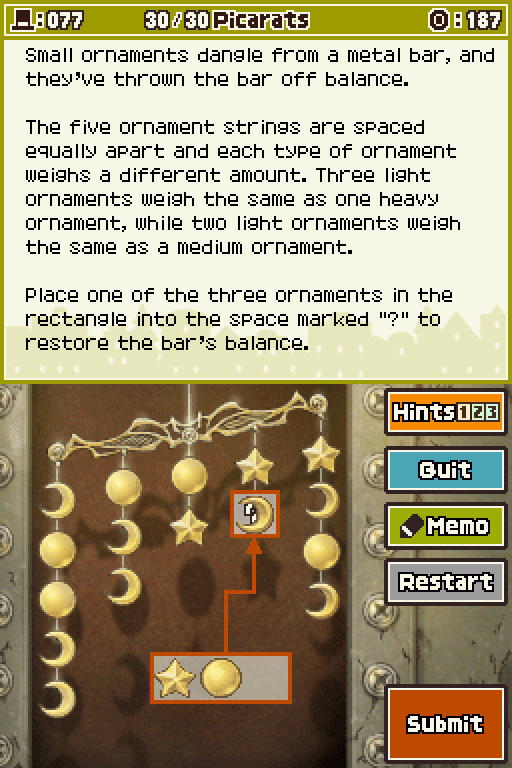
2. Look at the strands on the far left and the far right. While they both contain sun and moon ornaments, only the far-right strand has a star. By comparing the ornaments on these two strands, you can probably figure out how many suns and moons it takes to equal the weight of a star.
3. A single star weighs the same as one sun and one moon together. Now that the weight of one star is clear, you should be cable to compare the two strands next to the center strand.

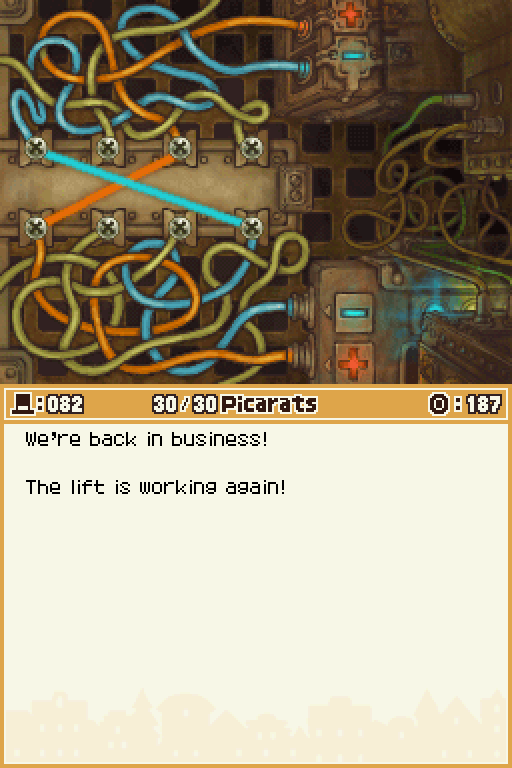
Only one more key to go now.
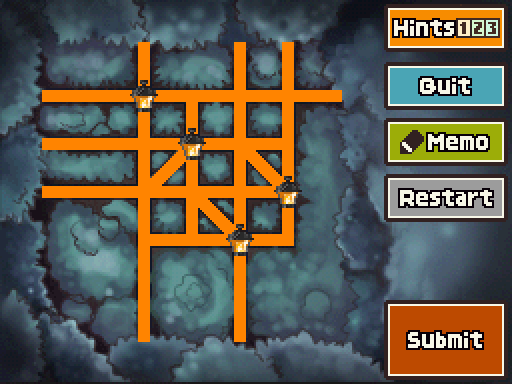
3. You need to place lamps at the end of three diagonal paths, and the last lamp will go on one of four possible corners.
These are all relatively simple. When you place the lamp, those orange lines flash up showing where they light before disappearing. When you click submit, the lines do appear again for a longer time period so you can see exactly where everything is. In other ways, this is...
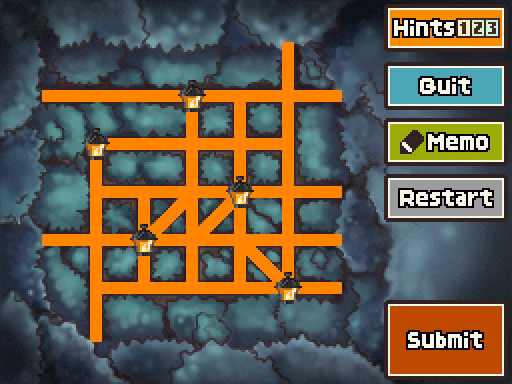
3. The two lamps not being used to light diagonals will have to go on T and L intersections.

 Now that the path is easier to follow, let's move ahead.
One more of these to go as well. The difference is these are really kind of uninteresting in comparison to everything else, so getting them out of the way is nicer.

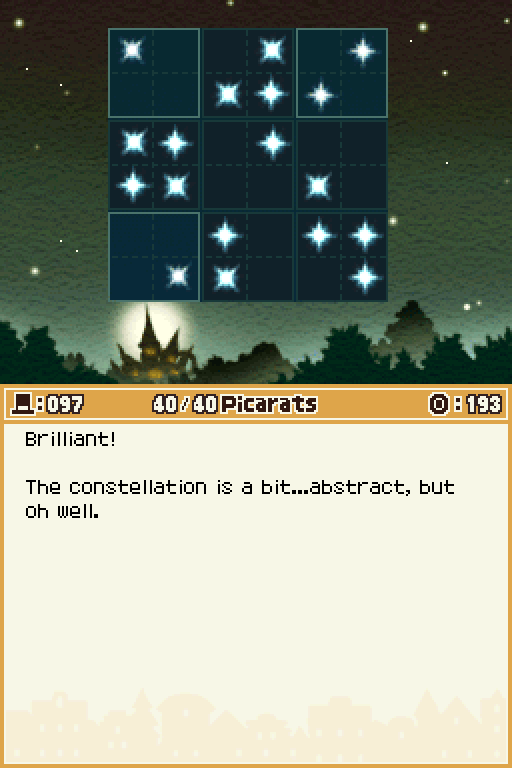
3. Let's take a look at the leftmost column of blocks, which also has two blocks locked in place. The left column of stars contained here has only one star locked in place, as does the right column. So the block you can move in this row must have two stars in both its left and right rows.
Speaking of nice, this one worked out nicer than I thought it would've done.
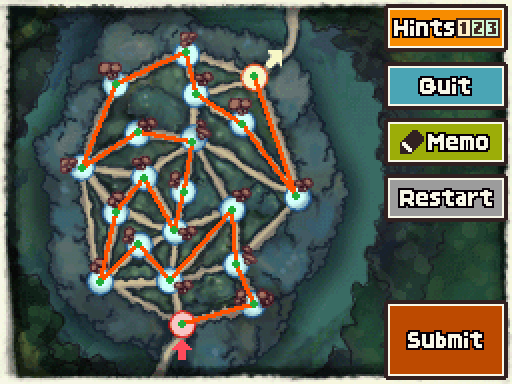
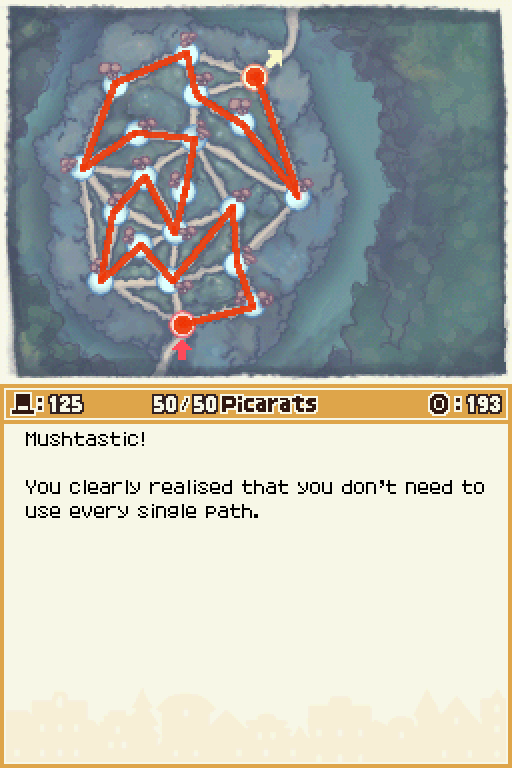
3. Don't give up! Hints One and Two should shorten the course for you significantly. Also, you don't need to use every path.
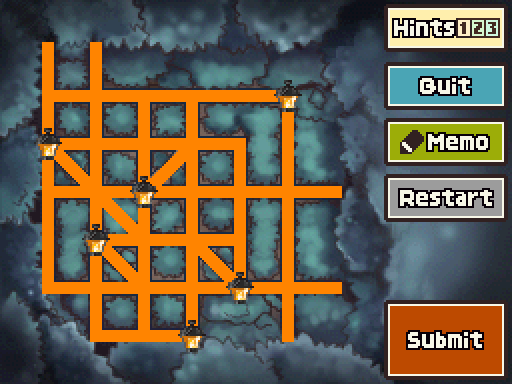
3. The top-right corner definitely needs a lamp.
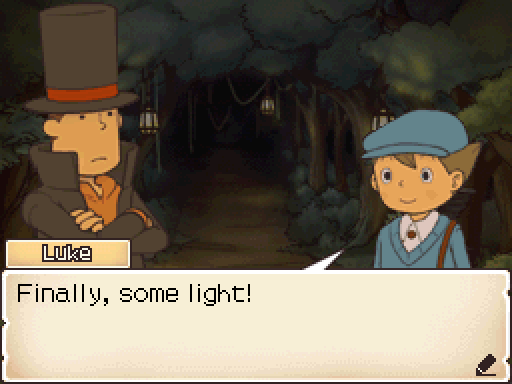
Alright, now back to being inside the forest. The recap scene is the same as before, of course.
Lost Forest (High Quality)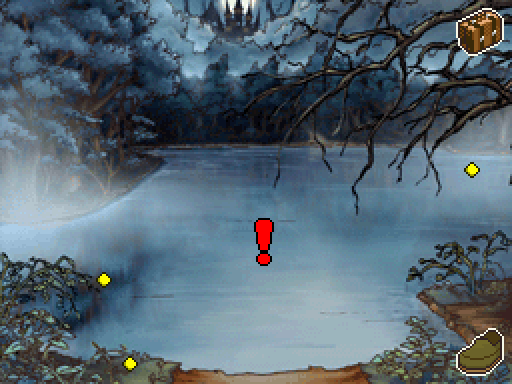
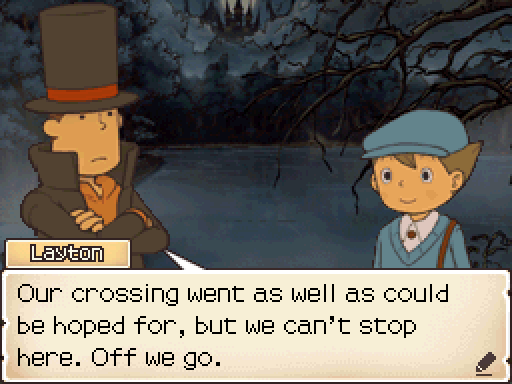
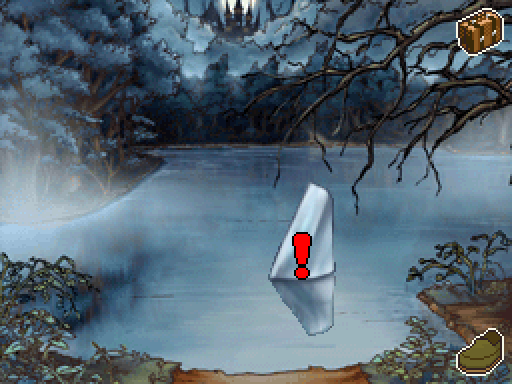
This lake is longer than it seems here. Just gonna grab the coins, and jump into this mandatory puzzle.
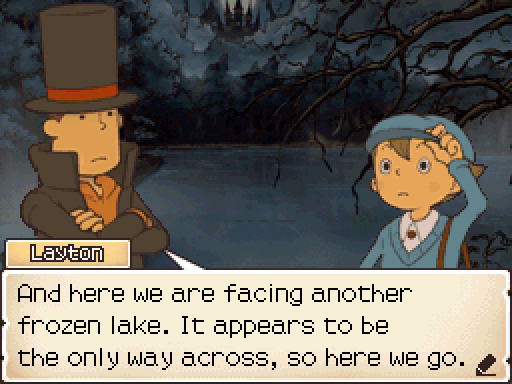
 Indeed. It's so cold out here that the lake has frozen over... Oh! I have an idea for a shortcut.
We take the shortcut via a puzzle.
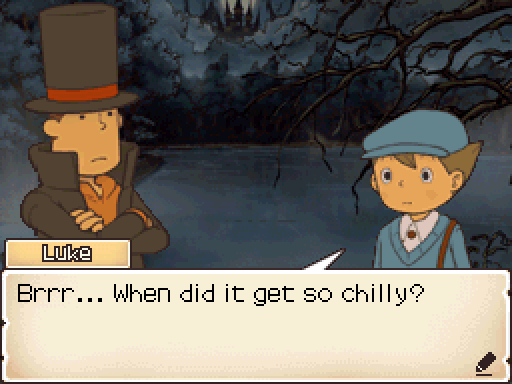
Now we're still on the same screen, of course, but there's something different...
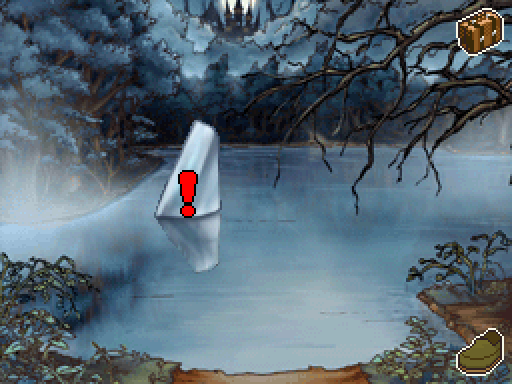
And this puzzle is optional, of course.
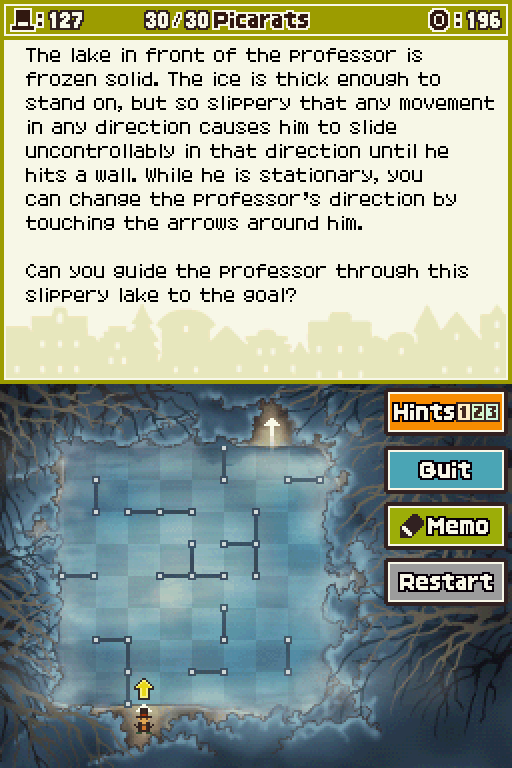
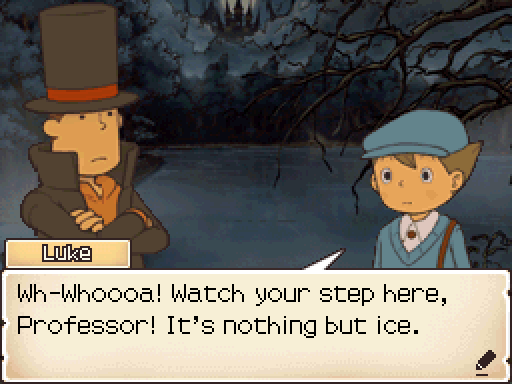 There's no snow for us to walk on here, so we'll need to tread carefully. Here goes...
Needless to say we won't be doing this right now.
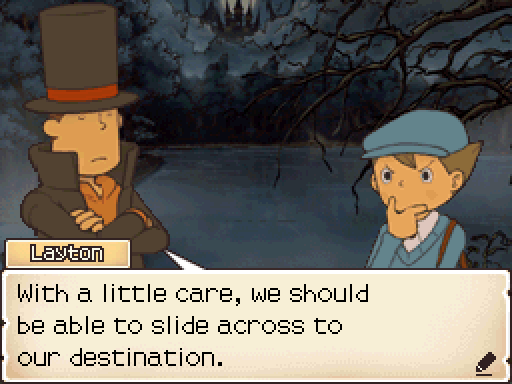
But, uh, if we did? Then the area would change a little again.
The triangular giant ice block has moved and gives us yet another puzzle.
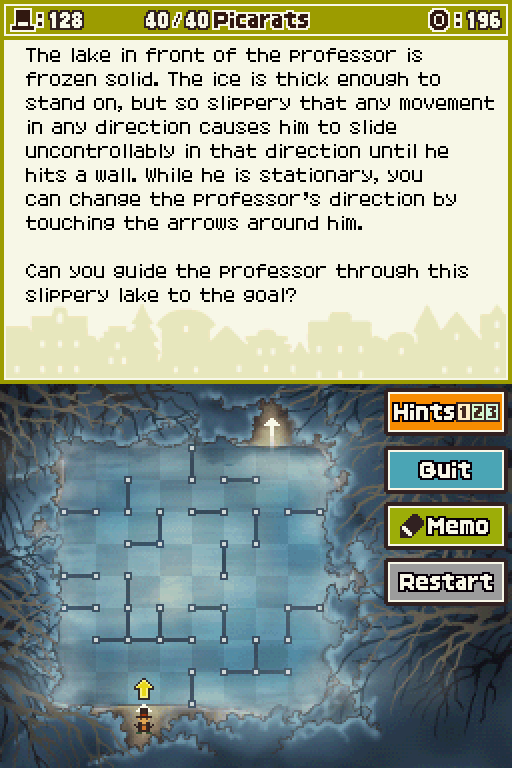
I-it... It's the same frozen lake.
But, yeah, we're not going to do this one just yet either.
Instead, we're going to move past the lake and get closer towards Herzen Castle.
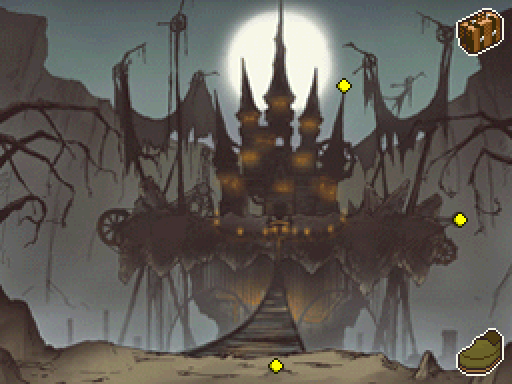
Which it turns out is a lot closer now than you'd have thought.
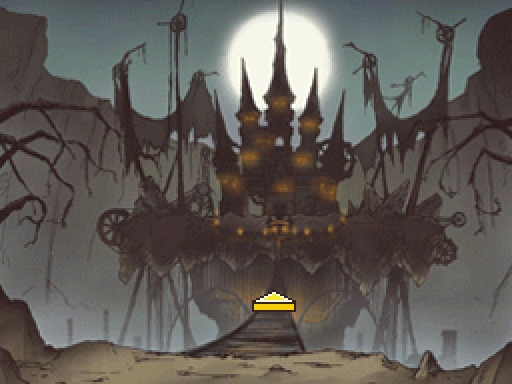
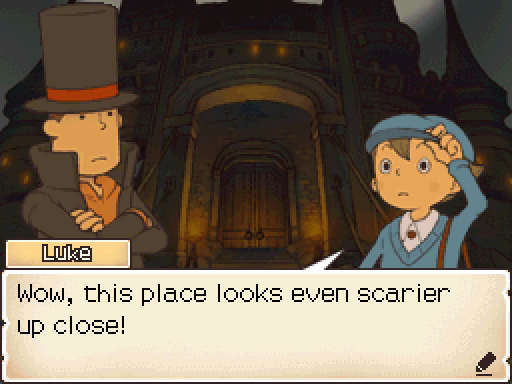
At first blush, there's only a bunch of coins here but when we try and cross this singular bridge.
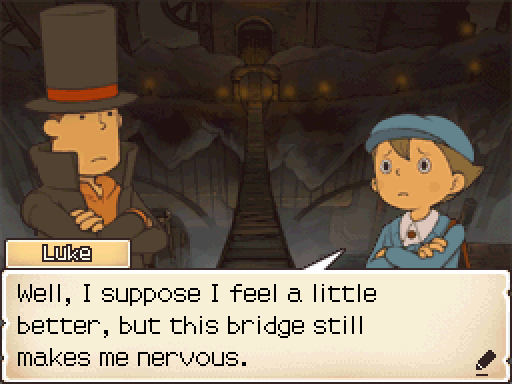
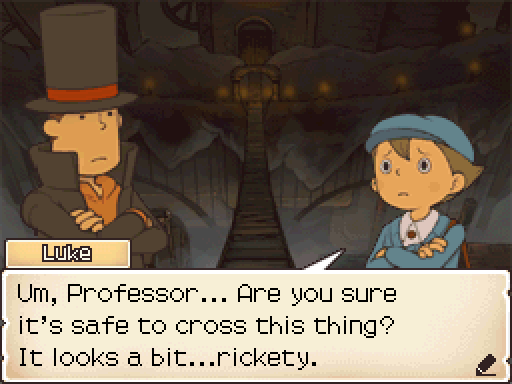 Safe enough, I believe. Are you frightened, Luke?
 A little, yes. I mean, just look. If I fell, that'd be the end of me for sure. Now, Luke, it may seem scary, but if you stay calm and keep moving forward, you'll be just fine. Here, help me with this puzzle. It will help take your mind off our little trip across the chasm.
Luke will, of course, do just that.
And with that, we're automatically on the next screen.
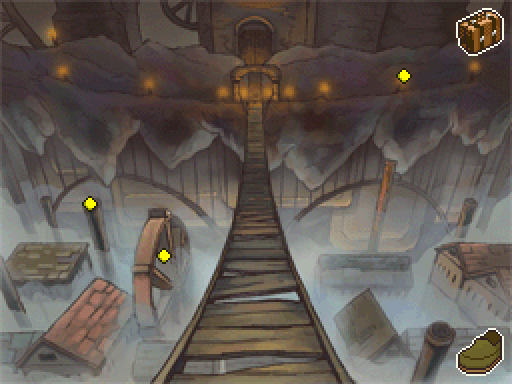
There's not much here though. Just a few hint coins as usual and that's all. Even when we walk closer towards the castle...
 Feeling nervous again, are you? Not in the slightest! Let's go, Professor!
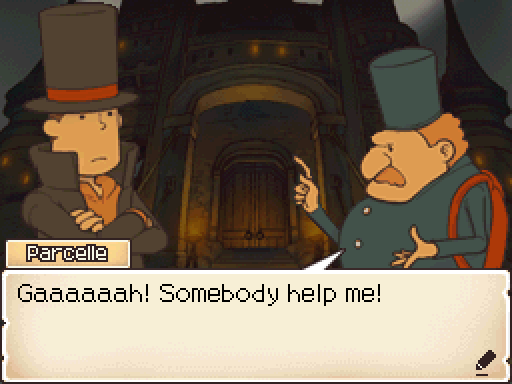 What seems to be the problem, sir?
 There's a vampire in that castle! I thought I was a goner, but I managed to give him the slip! An actual vampire? Are you sure? I didn't stick around to check his fangs up close, sonny boy! I've got to get out of here! AUUUUGH! So what do you think about all this vampire business now, Professor? The rumour does seem to have spread throughout the population of Folsense. Well, do you think maybe it could be, you know, more than a rumour? Mr Parcelle seemed fairly sure!
Next time, we enter Herzen Castle and maybe confront a vampire?!
 Lost Forest (High Quality)

1. When you hit the first wall, head right!
2. After heading right as described in Hint One, you'll hit another wall. Don't try to head up to the goal from there.
1. At the first wall you come to, head left.
2. Your next move should be to head up toward the top of the screen.
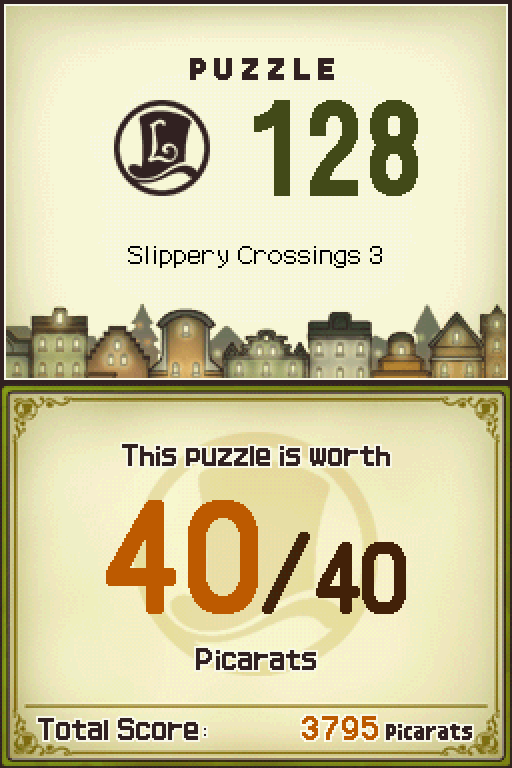
1. Hang a right at the first wall you bump into.
2. The number of walls might make this puzzle seem daunting, but think of it this way: the greater the number of barriers in your path, the more options you have to work with. Always think ahead of your current position on the ice to narrow down the possibilities.

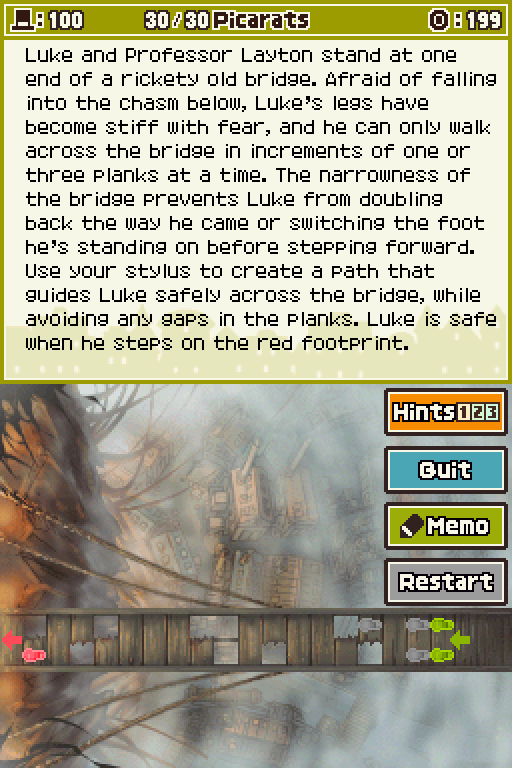
1. The first step Luke takes is with his left foot.
2. The last step Luke takes is with his right foot. It carries him a distance of one plank.