Part 22: Leaving the Park

[Music: Puzzles]
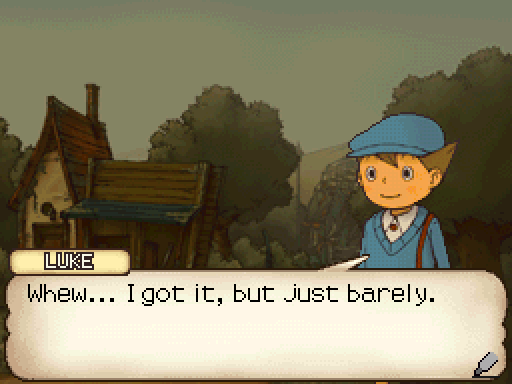
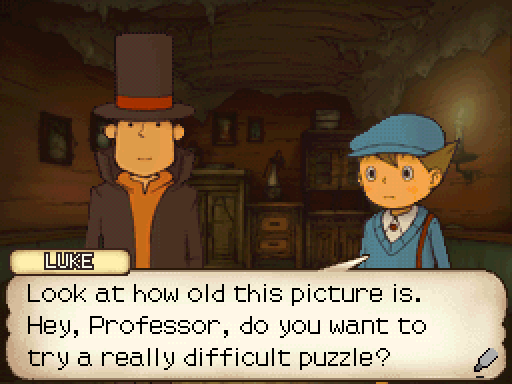
Well, uh, I fell for the trap that's in this question before but it doesn't seem like anyone else did...

3. At 5pm on day 1, the water level is 60cm. At 9am on day 2, it's 40cm. At 5pm on day 2, 1m. At 9am on day 3, 80cm. At 5pm on day 3, 1.4m. At 9am on day 4, 1.2m. Notice anything?


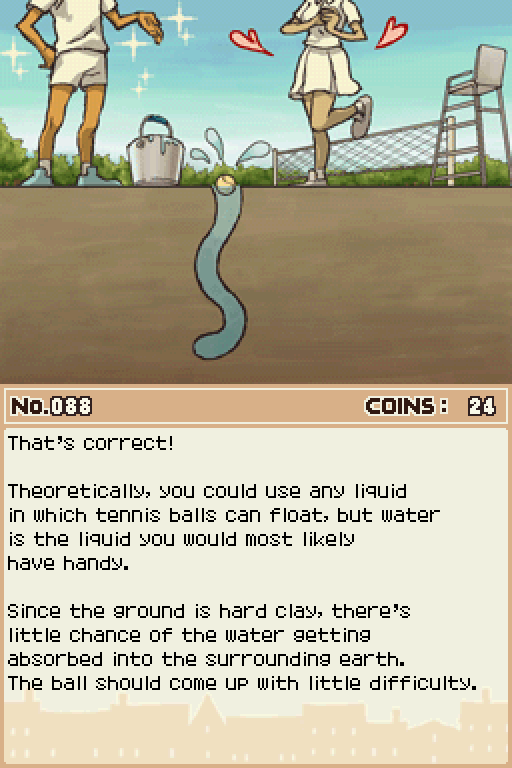
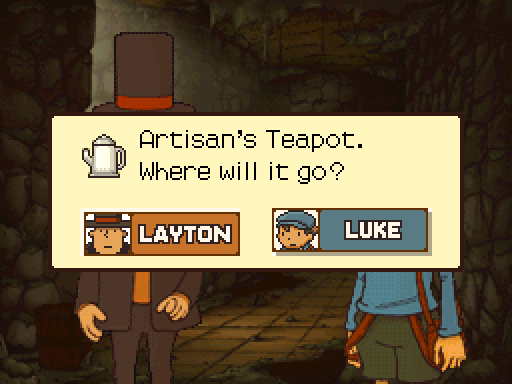
2. Think about the particular characteristics of a tennis ball. It bounces, it's light... Well, it has many interesting properties, but what happens when you throw a tennis ball into a lake?
3. If a great rainstorm were to come along right now, you could probably retrieve your ball without doing anything at all. Think about why that is. And just what is "rain," anyway?
For once, writing this out letter by letter wasn't too bad since none of them are overly likely to be mistaken for anything else.
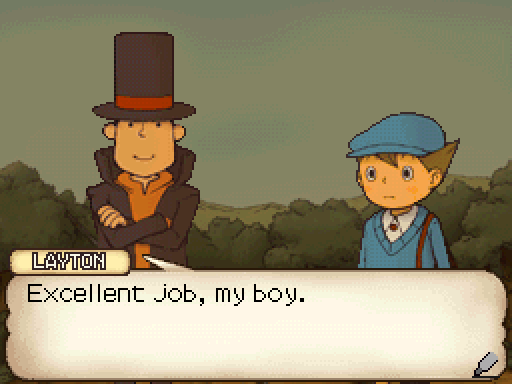
 : Ah yes, getting back to me park. It hasn't been properly maintained, and parts are just rotting away. If something looks old and broken, do the smart thing, lads, and stay away from it.
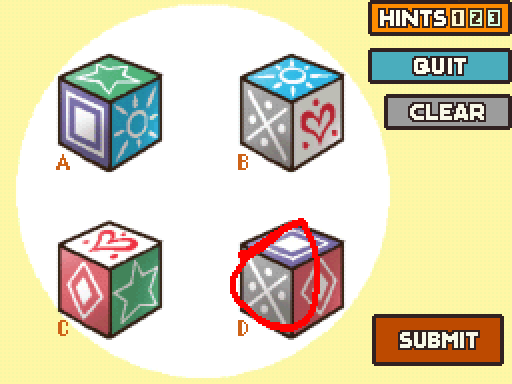
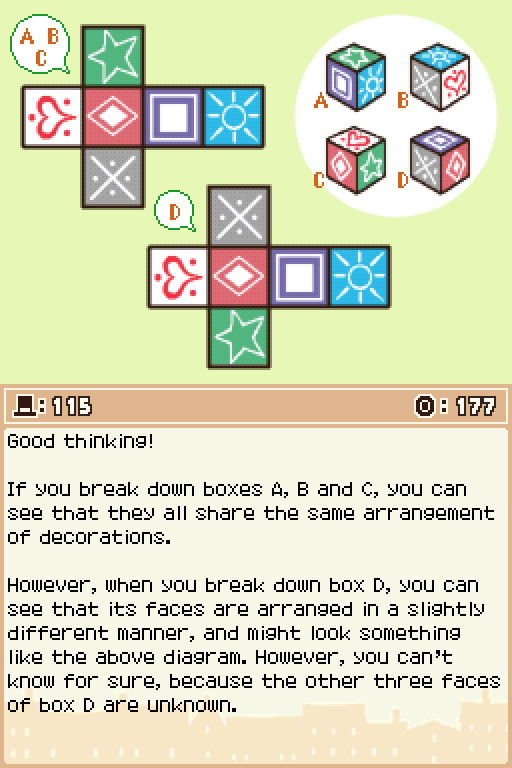
3. Box A is one of the three identical boxes. The face with the X is directly opposite the face with the star. Use these two clues to see if they apply to boxes B, C, and D. They wouldn't hold true for one of these boxes.
2. As stated in Hint One, you should place large numbers in your square. Use the numbers 43 through 51 when formulating your answer.
3. It might not seem obvious at first, but the center number is used in every single tabulation. Since you're trying to get the largest sums possible, doesn't it make sense to put the largest number right in the middle?
It's not often I get to say this, but in this case I seriously think you guys overthought this one just a bit.
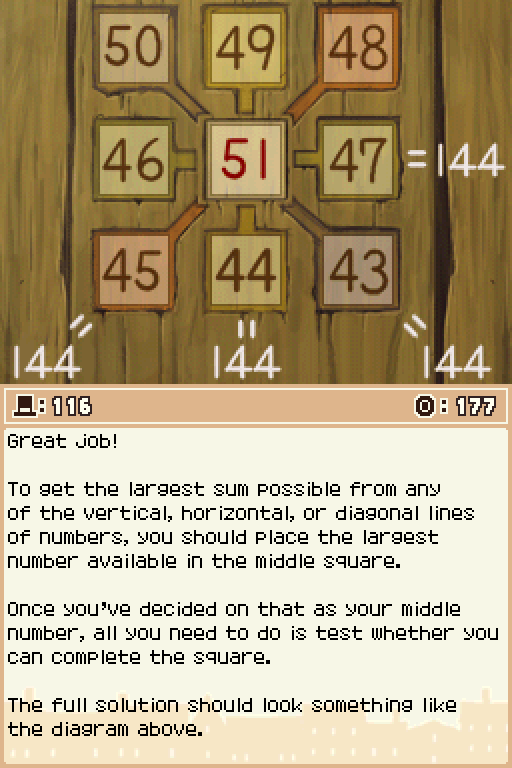
I can't argue with the results, though.
[Music: Deserted Amusement Park]
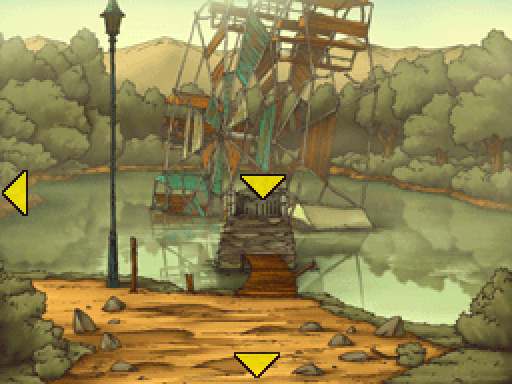
So, now that we're done with all that we can go and check out where that RC Ferris Wheel crashed. It conveniently opened up an area that was locked up pretty tight before, so let's go see what's down there.
[Music: Down The Tubes]
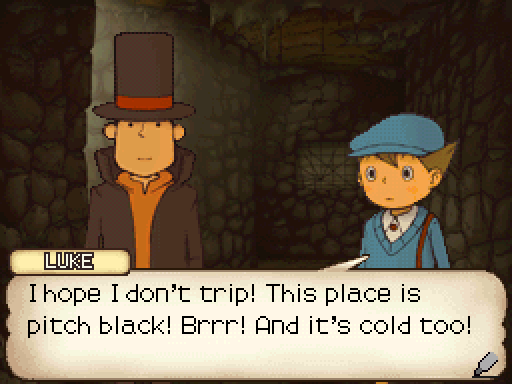
 : Watch your step, Luke. Look for anything suspicious or out of place.
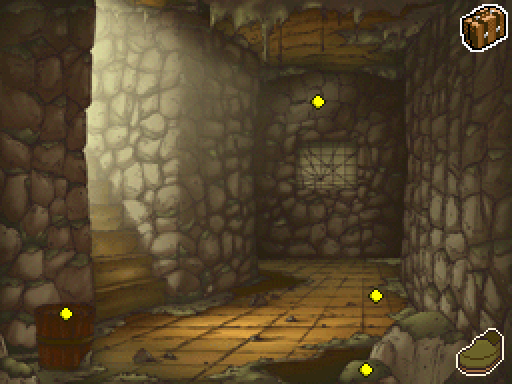
There's only one thing here that strikes me as being a bit suspicious and it's on the back well. Let's give it a look at, shall we?
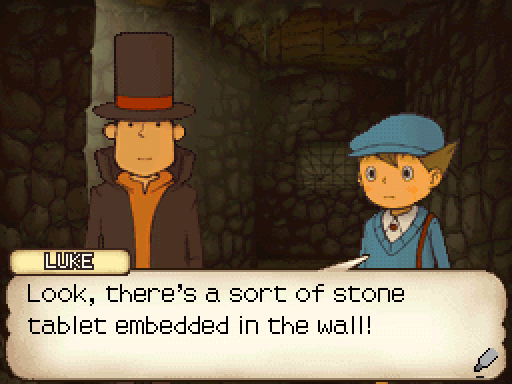 : This is clearly some kind of puzzle. I'd wager the solution will tell us the direction in which to proceed.
Okay, now in retrospect this is a bit of a goof on my part. I probably should've added it to the end of the previous update. Still, I wonder if we can just skip it and blindly guess until we get the right way to go.
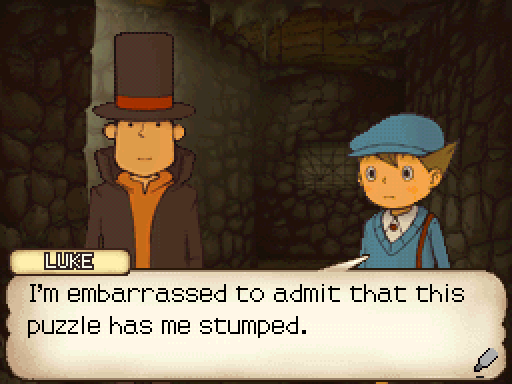 : Not to worry, my boy. Take a moment to collect your thoughts and then try again.
No such luck, unfortunately. As is, you'll be able to find the puzzle itself down at the bottom with the others like usual.
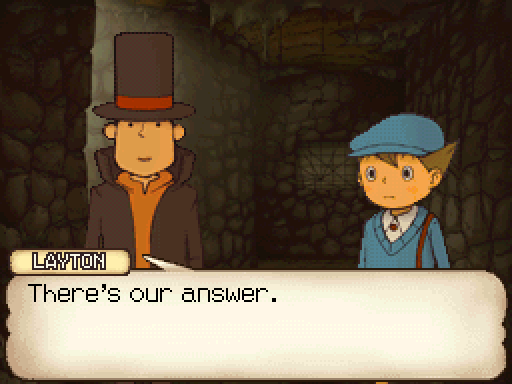
There's a bit of extra dialogue here (a whole 2 sentences!) I skipped over for the time being, because it tells you the answer to the puzzle. Sort of.
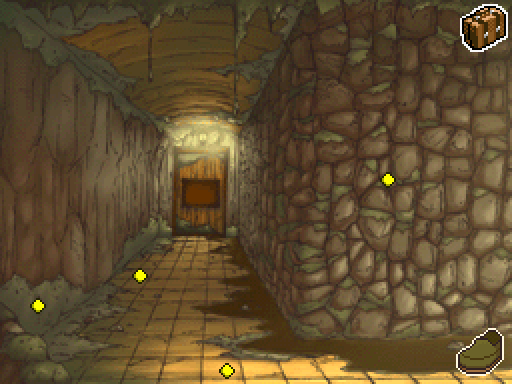
Ah well, after solving that one and moving ahead we come to a corridor with a conspicious door at the end of it. Let's see what that wants us to do, shall we?
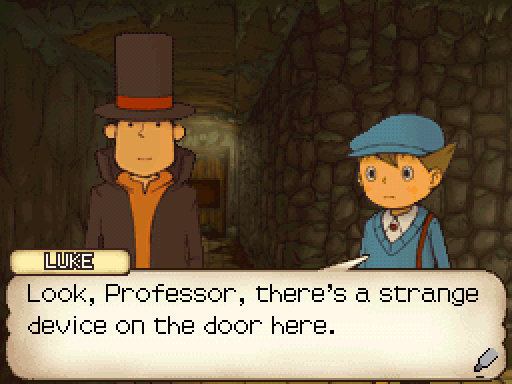 : Hmm... It seems to be a puzzle of some sort. I imagine the door won't open until we solve it.
 : It's almost like we're being tested, isn't it?
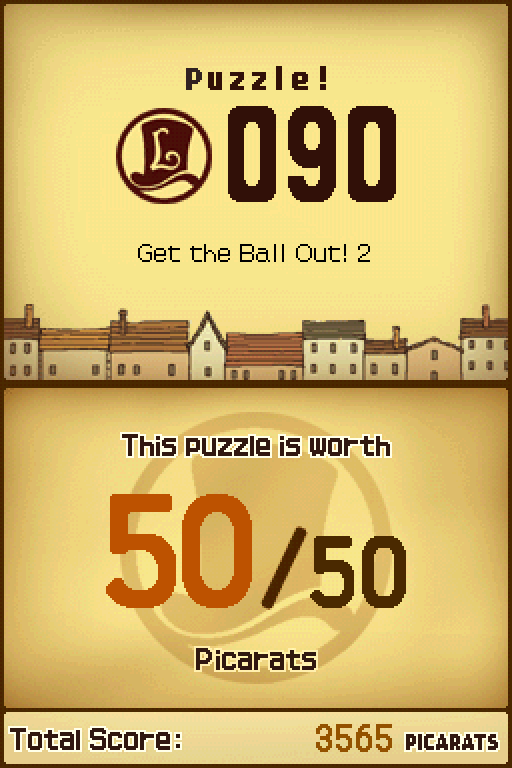
[Music: Puzzles]
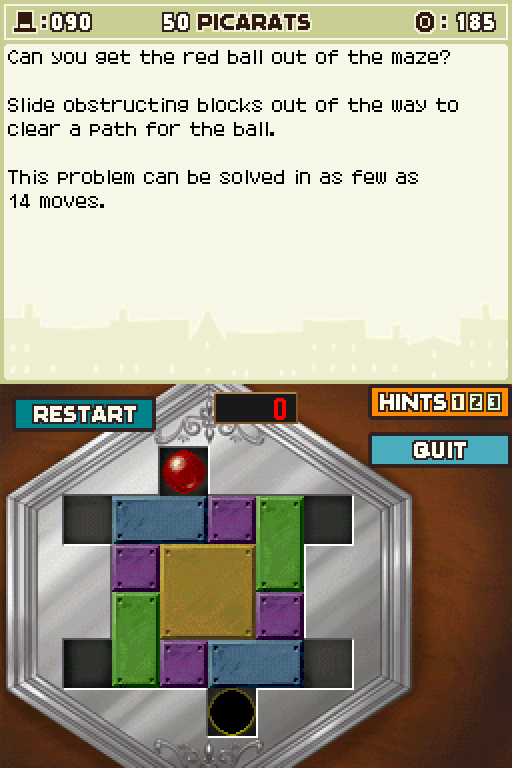
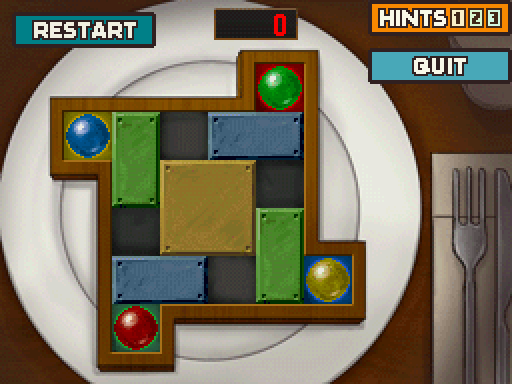
1. Sure, the puzzle looks a little daunting at first, but take heart. If you use the five open spaces in the box, you can solve the puzzle. Think about how to move things around so that you create some wiggle room for the bigger blocks.
2. The solution requires that you move that big yellow block into the upper-right portion of the screen. Here's what you can do to start making room for that move to take place. Move the blue block at the bottom over to the right and slide the purple block into the space that has a hole. From here, if you move the blue block at the bottom so that it sits directly beneath the yellow block, you'll free up a space on the right that you can work with.
3. This hint starts from where Hint Two left off. Move the purple block into the lower-right space and then bring down the green block above it. Next, move the purple block in the upper right as far to the right as you can and move the blue block in the upper left to the far left. Now you should be able to move that big yellow block up and to the right. With that block out of the way, the rest should be easy.
I was almost going to complain about this one as it's a lot harder than I made it look (at least without the hints). Then I noticed the initial pattern is basically a pinwheel and that makes me wonder if I missed any other interesting designs in their setup. Because I was too busy groaning at having to slide blocks.
[Music: Down The Tubes]
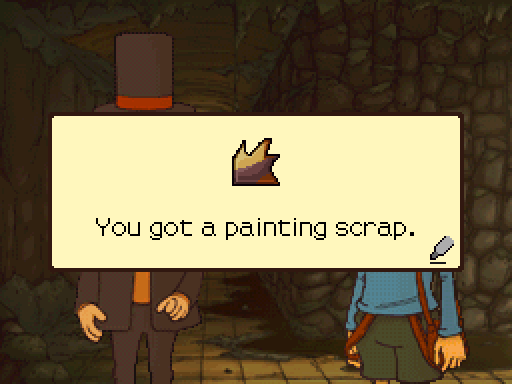
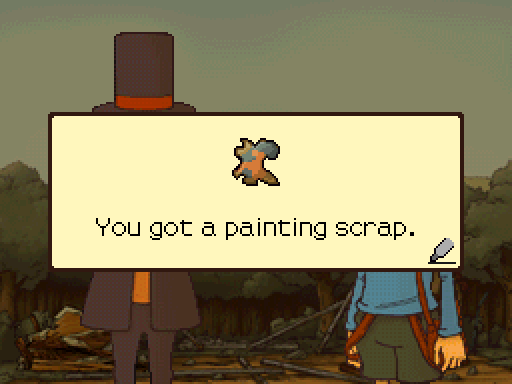
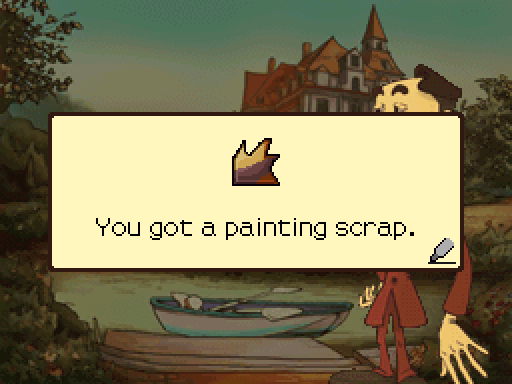
If you've been keeping count, you'll probably noticed something about our number of painting scraps at this point.
If you haven't been keeping count, we're only missing one and then we'll have them all.
 : Let's give it a thorough once-over. Something isn't right about this place. I can feel it in my bones.
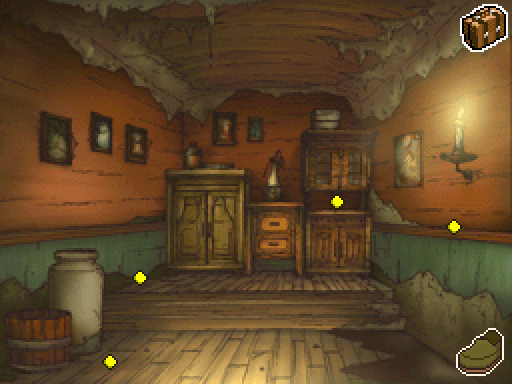
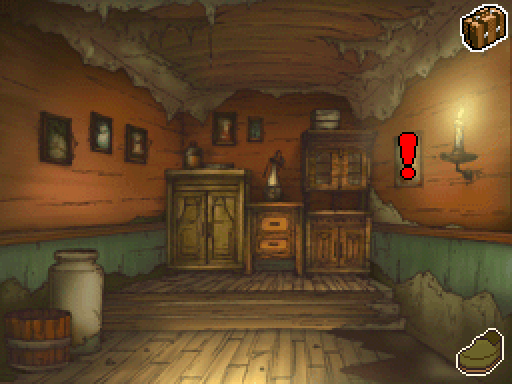
Though we get to now scour the room for whatever there is here, that's easier than it sounds. The hint coins, and a few generic examination messages, are the only other things we can find for now.
So let's cut right to where we need to be and just examine the backwall.
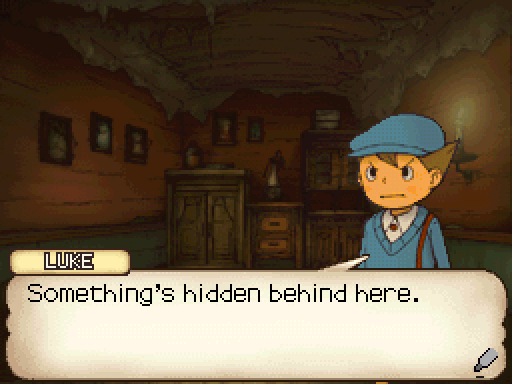 : All right. Let's move the picture out of the way then.
[Music: The Plot Thickens]
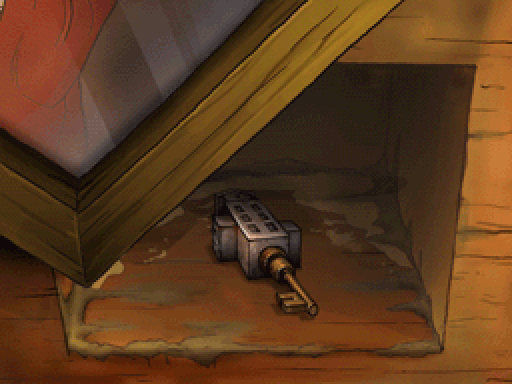 : It appears to be some sort of key.: But what does it unlock?
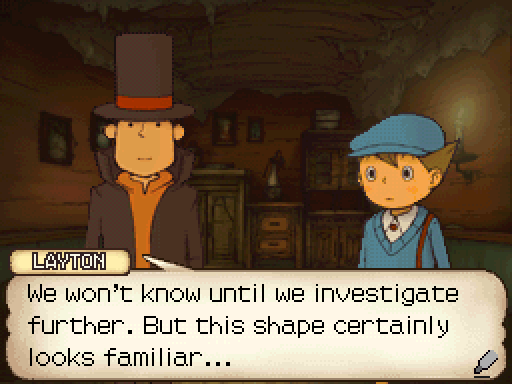 : Professor, could this be...?
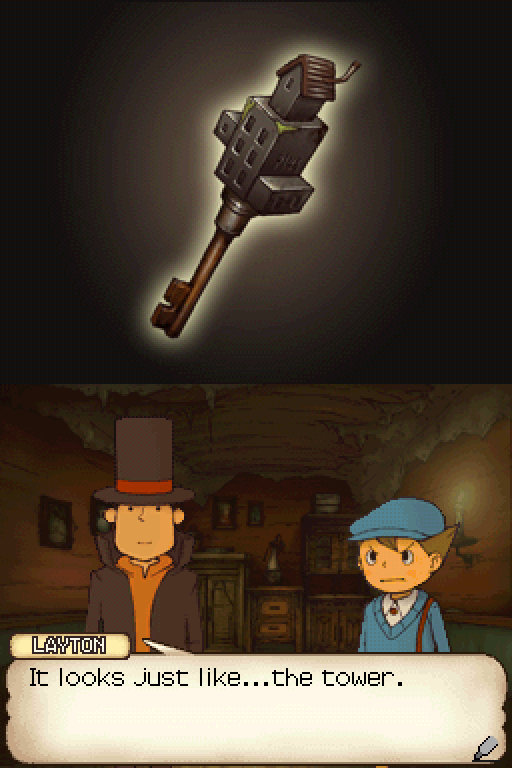 : I knew there was something odd about that dead end. Perhaps this key will shed some light on things. Luke, we need to head back to that large wall on the north side of St Mystere. I have a hunch that it's more than just a dead end.
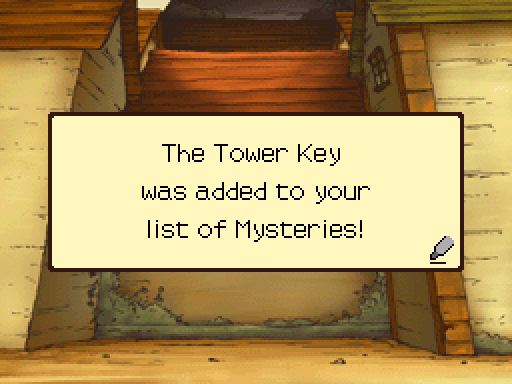
[Music: Down The Tubes]
Before worrying about that, though, now that we've found the key there is something new in the room. This sounds pretty arbitrary, and it is, but I don't mind too much. I'm probably biased there, though, since I found it pretty easily.
Nothing else at all in the park, so let's head on out to that dead end right now!
[Music: The Village Awakens]
 : All right, Luke. But first let's make a quick visit to the inn. There's something I need to check there.: Why the inn, Professor?: It seems that someone doesn't want us around, Luke. Someone is, in fact, after us. And the key to identifying this scoundrel is back at the inn.: So you already have an idea about who's behind this?: Ha ha! Piqued your interest, have I?
[Music: Silence]
Well, if we're going to be taking a detour anyway let's take another one and head back into the sewer.
[Music: Down The Tubes]
 : But lucky for you, I've got meself a darling of a puzzle and a mind to share it with you.
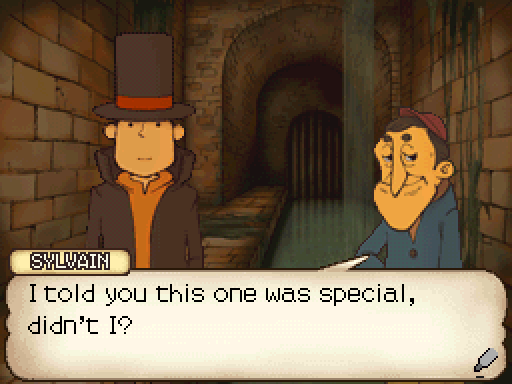 : If you feel like you want to try again, just come see me.
Okay, now with that done let's head on over to the inn.
[Music: About Town]
 : Beatrice, I have an urgent request. Could you show methe newspapers from the last couple of days?
 : The papers? Certainly. Hang on for just a moment while I fetch them for you.: That's strange. I'm sure I put them down around here somewhere.: Is there a problem?: I'm sorry to disappoint you, but I can't seem to find them anywhere!
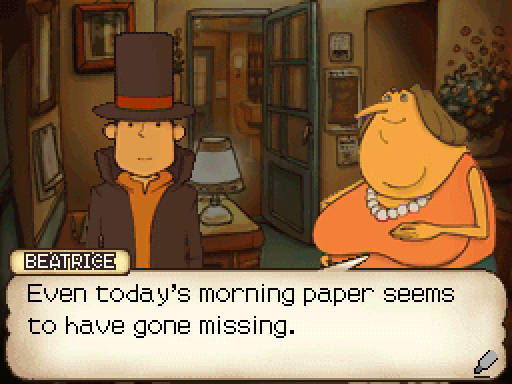 : Hmm. I see. Well, thank you just the same, Beatrice. This has been most helpful.: Just what was in those papers anyway, Professor?
I'm sure you'd like to know just as much, but before we can even find out...
 : Yoo-hoo! Professor Layton!: Ramon! And to what do we owe this visit?: Oh, he told me I needed to find you and bring you to Reinhold Manor.
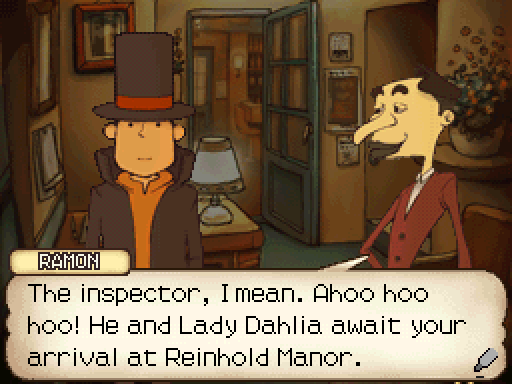 : Thank you for the message. We will set out for the manner in just a few moments.
By a few moments, he means "right now." Since the inspector is calling for us suddenly I imagine this has something to do with Simon's murder. Or maybe he wants us to see him yell at Matthew again.
[Music: The Mysterious Girl]
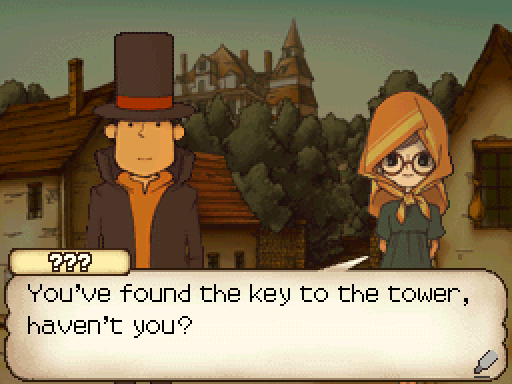 : How do you know about the key?
 : You mustn't interfere with the tower. Whatever you do, just stay away from there.: Interfere? Whatever do you mean by that, dear?: ...
And just as suddenly as she appeared that girl from before vanishes again.
Oh well, let's carry on to the manor.
[Music: The Village Awakens]
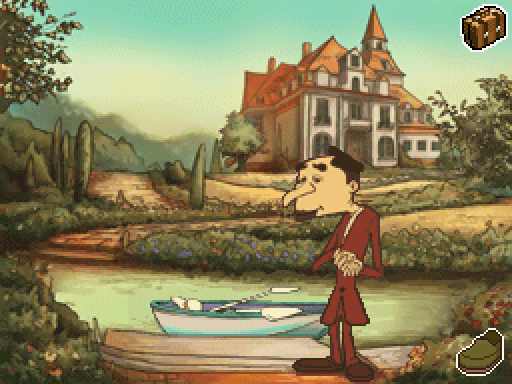
Well, I do believe this is the first time in quite a while we've had the chance to speak to Ramon generally. We did briefly chat before but that was about that whole "being kidnapped" business, so I'm not sure that counts.
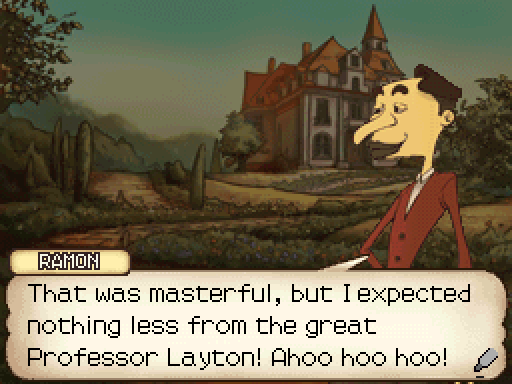
 : You look terribly tense, Professor. Perhaps this small puzzle will help, ahoo hoo, loosen you up.
[Music: Puzzles]
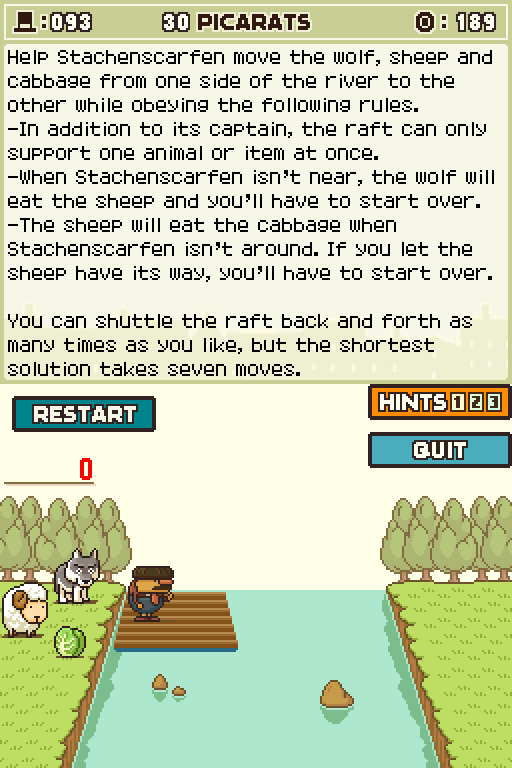
1. Think about your first move here. If you take the wolf over first, the sheep will eat that poor, helpless cabbage. Meanwhile, if you take the cabbage over first, the sheep will fall victim to that hungry wolf. So now do you have a better idea about which of the three to move first?
2. The key to solving this puzzle is being flexible in the way you go about solving it. Don't forget that you can bring a single creature or item with you when you return to the left bank of the river. When your cabbage or sheep is in danger, you can always bring it back with you.
3. The sheep should travel first. When you return to the left bank, you can bring the wolf or the cabbage with you. However, remember that no matter what you bring over next, you'll have to take something back to the left bank to keep your sheep or cabbage from being eaten. Now you should be able to solve this puzzle with ease.
The thing about this puzzle is that it's clearly meant to be a harder version of a puzzle we did way, way back at the start of the game. The issue, naturally, is that Ramon had been MIA for a long stretch between then and now, so it can't be too difficult. This results in it being barely any harder than before, and arguably even easier.
I'm not complaining, though, for one simple reason.
[Music: The Village Awakens]
And here's the reason why. We now have all of the painting scraps; let's go and put them together, shall we?
[Music: Crumm's Cafe]
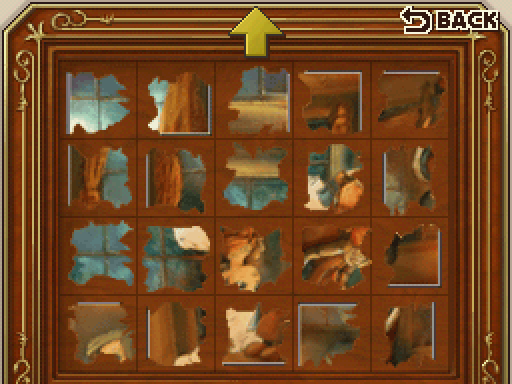
Well, here's all of the pieces now we just need to put them together.
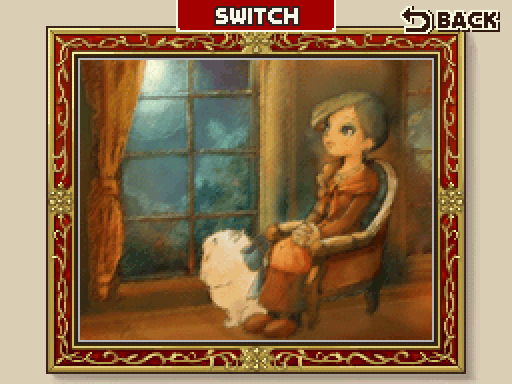
That was easier than I expecte- hey, am I imagining things or do these two look kind of familiar? Eh, it's probably nothing major.

And with that, we'll leave Chelmey waiting until next time...

[Music: Professor Layton's Theme (Live)]


1. There's no way around it. You just have to search the picture long and hard for the answer. The puzzle mentions the directions left and right, so there's a good chance the hidden arrow won't point upward like the example, but sideways.
2. The arrow hidden in the picture is a bit larger than the example.
3. Don't bother searching the left half of the sign.
Hey, remember that star one from before? I think this one's even worse. It's not as bad to look at, which is a point in its favour at least.


1. The first thing you need to do is identify the pattern within the large shape. It's a simple pattern made up of squares, Xs, and circles running diagonally down and to the right.
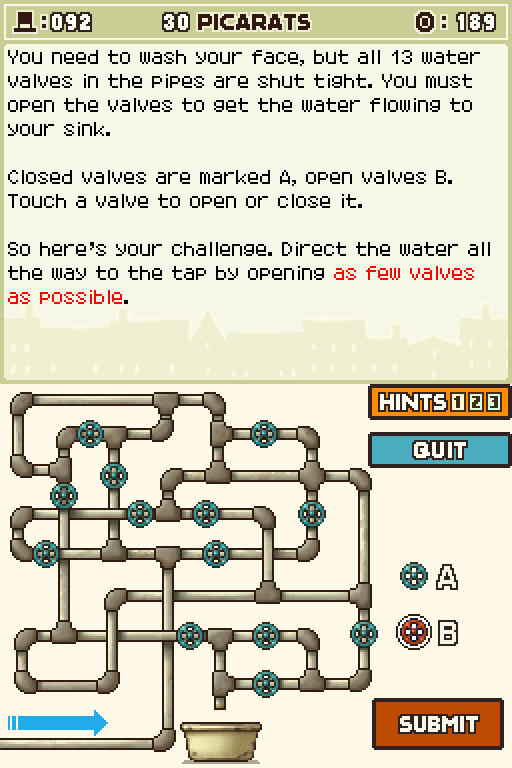
1. It goes without saying that if you open every valve in sight, the water will make it to your faucet. To keep things simple, though, let's start near the source. It's safe to say that you'll have to open one of the three valves directly surrounding the water source. Keep the number of valves you open in addition to this one as low as possible, and you'll have your answer.
2. There are three more valves positioned near the faucet. Work backward from each of these and see where they go. Do this right, and you'll eliminate quite a few possible valves.
Getting to the Art Lover's House is very much the same as the Inventor's, so I've skiped that part. Let's see what we have here...
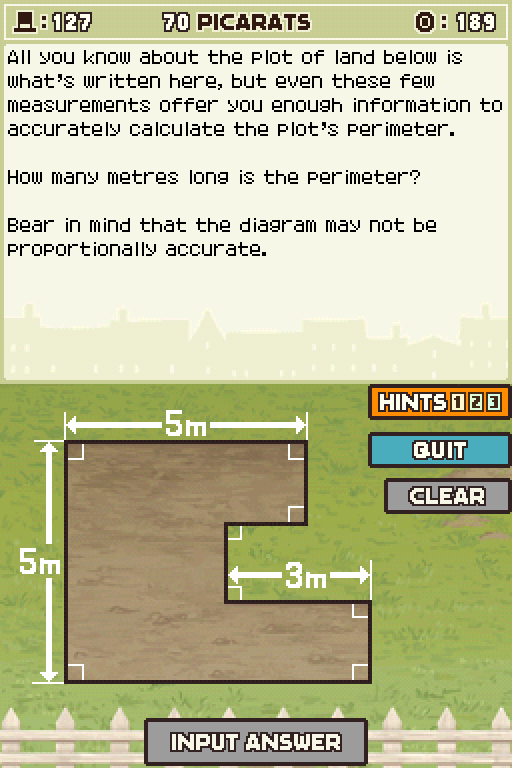
1. First, don't be thrown off by the shape of the plot's right side. The total length of the right side is five feet. Now focus your attention on that three-foot measurement. It plays a pivotal role in helping you solve the puzzle.
2. Try drawing a line straight down from the upper-right corner of the plot. This will divide the area marked three feet into two section. The two parts you just created with your line may not be labeled, but you might be able to find equivalent lengths somewhere else on the perimeter of the shape.
3. If you look around the shape, you can find two other lengths equal to both parts of the three-foot edge you divided with your line in Hint Two. If those two parts total three feet and you know there are two more segments identical to those two, then the total of all the edges with unknown lengths should be...
Personally, I think this one's on the easier side of this set. And I say that as someone who was bad at these kinds of questions.
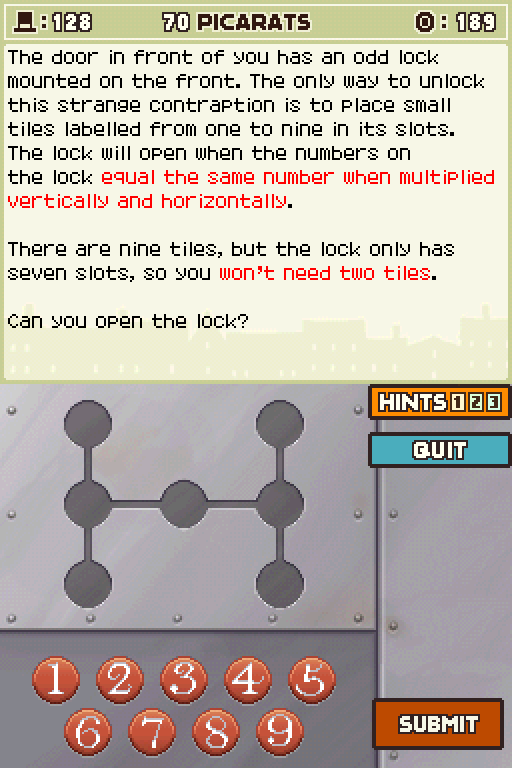
1. There are multiple correct answers, so the best thing to do is just work patiently until you find a solution. For those of us without patience, here's a more obvious hint: you can eliminate the five tile.
2. The five tile isn't used in your answer, nor is the seven tile. Now that you know the seven tiles you need to work with, see if you can find the answer.
3. When you multiply each row of numbers, they should all equal 72. If you still feel like you could use a hint, here's one more. Place the two tile in the center slot of the lock.
I think this one's the hardest of the lot, or it would be if it weren't for this..

...Yeah, no. I'll do this the same time as the solutions to the other two are posted.
Oh and here's the American version:
Other than that minor change in setup it's perfectly identical. I think you can make a reasonable guess as to why it was changed...
Incidentally, this had the side effect of making the European version slightly easier than the American one. Well, for a given definition of "easier" at least.