Part 42: Bonus Update
Bonus UpdateWelcome to this thread's one and only bonus update, a pretty chunky update covering this game's post-game content. Although this is going to be posted after the final storyline update, I'm going to put this just before the final battle sequence, for the sake of LP cohesion. I think the final update ended as well as it could, and I don't want to break up that flow by having this update after that in the update order.
Anyway, enough crap no one but me cares about. After defeating the final boss, seeing the final scene, and choosing the final woman to carry on Weiss' bloodline to live in the new world, you'll be prompted to save. If you save, when return to the title screen and reload that save, you'll be prompted with this, each and every time you load up a post-game save. Just so we're clear, you can only access the post-game if you've gotten the True Ending. Bad End just dumps you right back in the new game creation process.
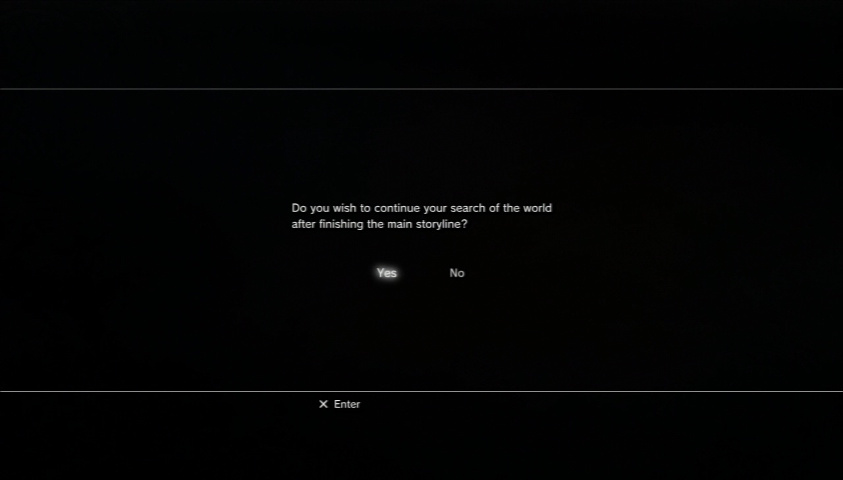
If you choose yes, you'll be returned to the game, just after the final boss sequence. If you choose no, you'll be headed back to the New Game creation process, including difficulty selection, using Soul Coins to carry over what you want, all that stuff. Just so you know, you can't use a cleared Agarest War Zero save to get all that good stuff on a New Game+ run. You can only acquire those bonuses on a totally new game.
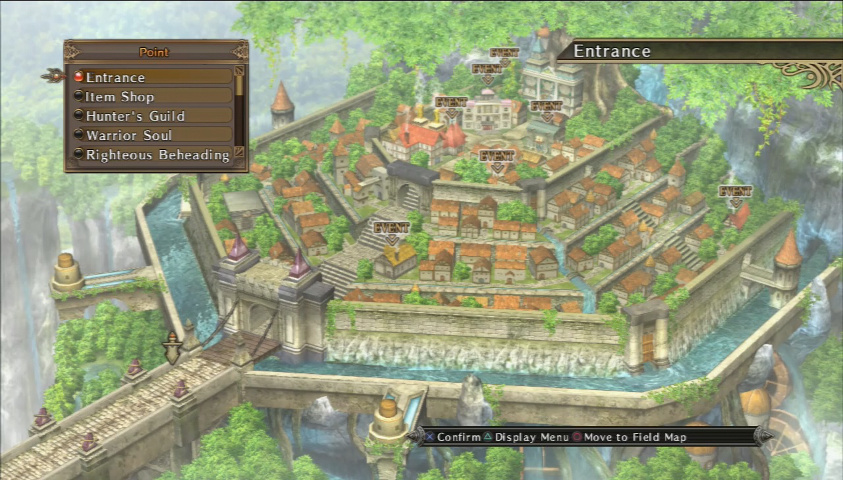
Back in town, a whole bunch of scenes have shown up. Based on Li Ra-Lua's appearance in the scene at the Back Street, it appears all these events are supposed to have happened before the end of the game (c'mon, it's not a spoiler if Weiss explicitly said that everyone who was returned to the party by Chaos can't live on in the new world). You can view all the scenes in this final bonus video.
There's a number of scenes between Ingrit of the Hunter's Guild and Milzam of the Righteous Beheading if you fulfill three special requests from the Mysterious Oracle from defeating the three bosses in the final boss rush. I'm not going to say who they are here, but just by being in the post-game, you've already completed them. Anyway, all of those scenes are already in the video.
There is one special scene at the Precipitous Falls Bar. It's an unvoiced scene, but it's an event with Shaldie.
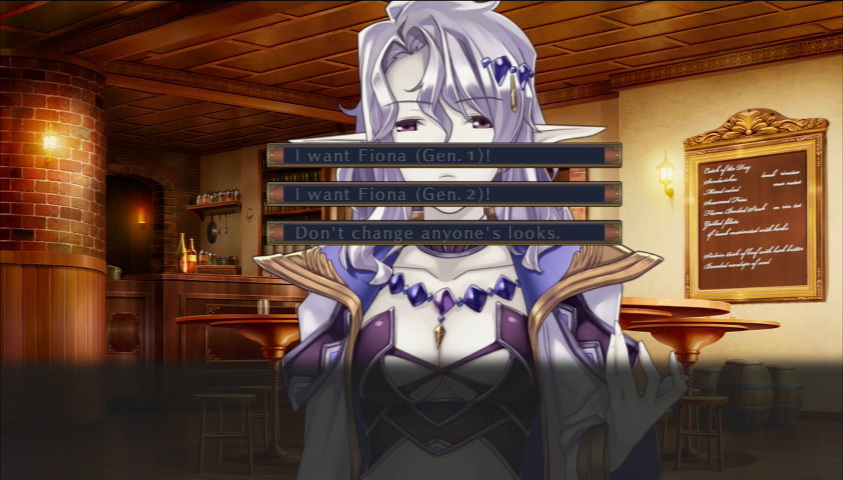
This is an event indication that never goes away. If you so desire, you can change Fiona between her generation one look, a child (voice and all), or her generation three appearance (ignore the fact it says Gen 2 Fiona. That's just the game's weird way of acknowledging Jainus and Fiona change appearance after the first generation). I won't speculate as to anyone's reason for possibly wanting to change Fiona's appearance, as there are more things in heaven and earth than are dreamt of in my philosophy, but I'm certainly not going to do it.
You could do this exact same thing with Agarest 1's high elf character, Ellis. In the post-game, you could change her between her generation one appearance and her appearance throughout the rest of the game. There's not much difference between this game and that game's high elf choice, as both Ellis' and Fiona's later character designs are much better. The only difference is that Ellis looks much, much better as an adult than she does as a kid, whereas Fiona's adult appearance is just better, if you follow. Anyway, all this choice is is cosmetic. Changing Fiona back will not change her stats in any way, and you also can't do this to Jainus, though in his case I still like older Jainus more.
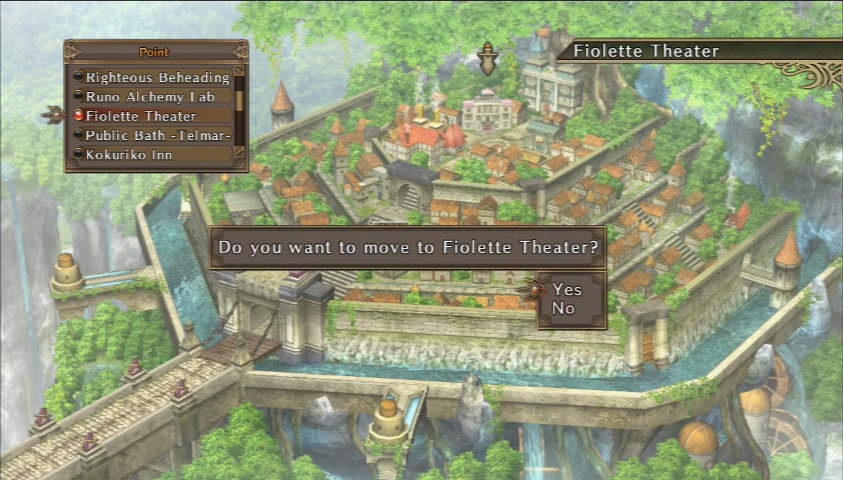
Let's talk about one more thing before leaving town. It's a pointless little thing, but eh, might as well cover it. At least it does have one neat thing about it.
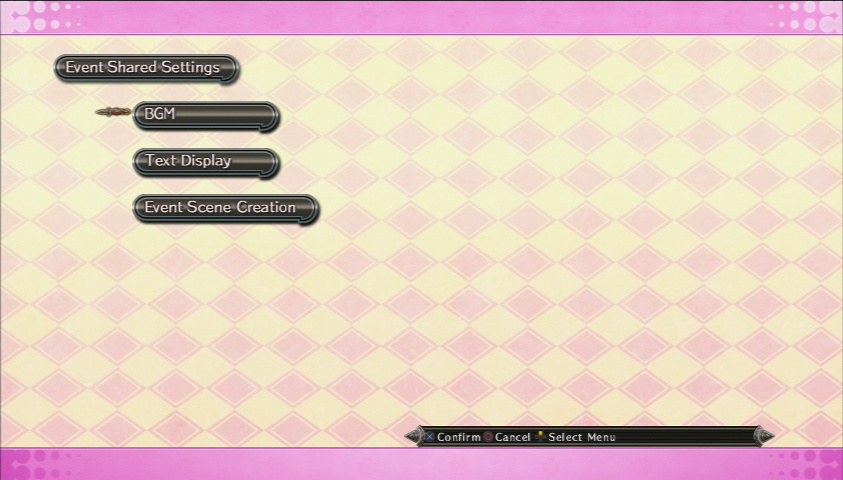
Going to the theater allows you to create little skits of your own. I don't exactly know WHY you'd want to do this, but if you want to mess around, be my guest. If you choose the third option, you get taken to another menu, where you can choose a CG background for the skit, which characters you want in it, and finally, the voices. This is the one neat thing about the theater.

By going down the list (it lists EVERY named character in the game who has spoken, including all the gods), you can see the in-game translations for the various things our characters have been shrieking in Japanese throughout this entire game, with the exception of special attacks, where sometimes the voice actors will use English words (the Soul Crush and Hazard Strike Finishing Moves as a perfect example).
If you ever wanted to know exactly what they're saying when they attack, or they get KO'd and revived, or when they change formation, etc. this is the place to go. The Original Skill lines are most interesting to me, actually. For example, when Weiss uses Brave Storm level two, he yells, "Your existence...is a result of my sin...! Along with the lives I took away... Brave Storm!" For his granddaughter-in-law Sofia, she chants for Eternal Gleam "The light of eternity... Bless all children... Gather in my hands...the light that pierces through the eternal darkness! Eternal Gleam!" Every character has a line or two they say during their level two Original Skills.
In addition, you can see, in English, what the characters are all yelling during Finish Strikes that they're a part of. To use another example, when you use Absolute Blaze, Eva calls out "Those burdened by the weight of their atrocities, come unto me. Let me free you from your guilt in the searing flames of the light! Absolute Blaze!" The translations for what Grey, Weiss, and Schwarz say during Absolute Blaze are, of course, in there. In addition to battle lines (and bath house lines for the girls), you can also choose from a healthy stock of what everyone has said in the story, all the way to when they first joined the plot. Obviously, you can't choose every line everyone has said, but rest assured, there's quite a selection.
Anyway, that's about all to Frensberge. Our horizons are a bit more exotic than that, this time...
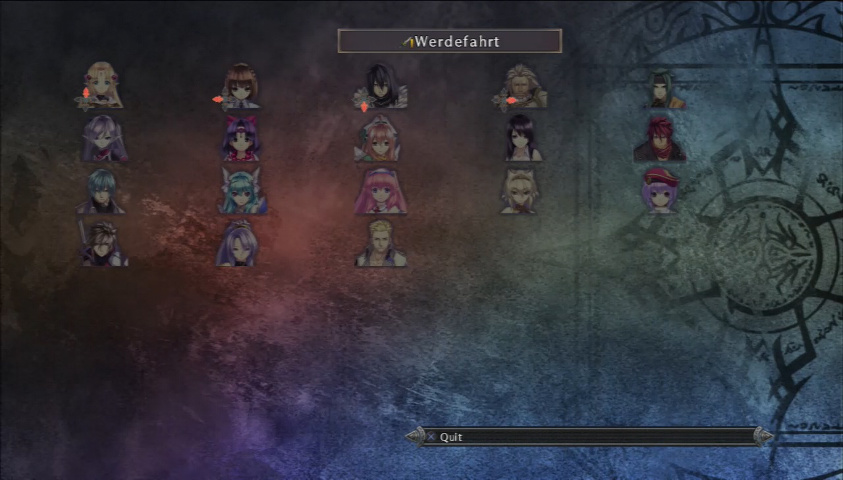
Oh, one more thing before we leave. I intend to burden this thread with as much guilt as I can manage for this one. Remember when you all made me make Weiss in a punchy fist battle mage? I hope you all do, it wasn't that long ago. Anyway, here's the deal: the Werdefahrt is an actual gameplay sword, arguably the strongest, but it certainly has strong competition from Lenion's Shining Light blade. Aside from the Tsui Scale, Eye of Muad'Dib, and the Xhosa-Materia (remember when we got that a long, long time ago from the Garvel commission in the first generation?), you need 5 King's Treasures from the Bifrons in the Boundary Plain, and then you can make the sword that started all of this for all your actual gameplay item needs.
Just a couple problems with doing that, at least for me. Being an enormously powerful artifact and what the Sera had built their entire clan on protecting, only those with the blood of that clan can use its full power. For our purposes, that means Weiss, Schwarz, and Grey, obviously. Unlike every other sword in the game with the exception of one, it's a special sword, and doesn't count as either Sword or a Greatsword. If it did, Fiona, Georg, or Mervina could use it, and that's not right, is it? Anyway, if Weiss or his brood can't use it, no one can. This screen indicates no one can equip that weapon.
The one other special sword? Oh, none other than the Shining Light. That's right. Two artifacts no one on the team can use. I was so pumped to bring The Oathsworn into the final battle, too...punchy mage Weiss wasn't worth this, I think. Anyway, ruminate on your mistakes, thread denizens, and burn this sin into your soul, for even when oblivion calls out to you, you shall never forget this moment. Or something.
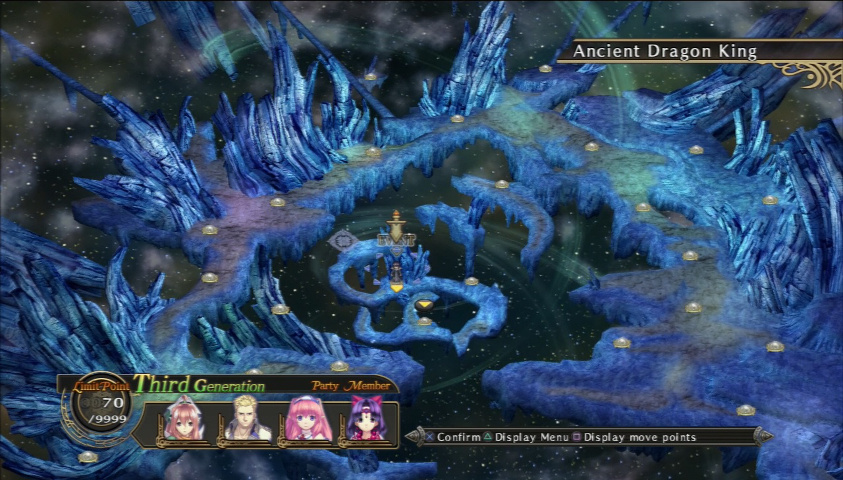
But now, that's really all for Frensberge and stuff I've needed to get off my chest. The next, and biggest part, of post-game involves you going back to the Boundary Plain and defeating the Holy Dragon one more time, to get rid of that event indicator. Since we've already seen the Holy Dragon in action, I'm not going to post a video of it, but be assured he and his three Nill buddies went out like punks.
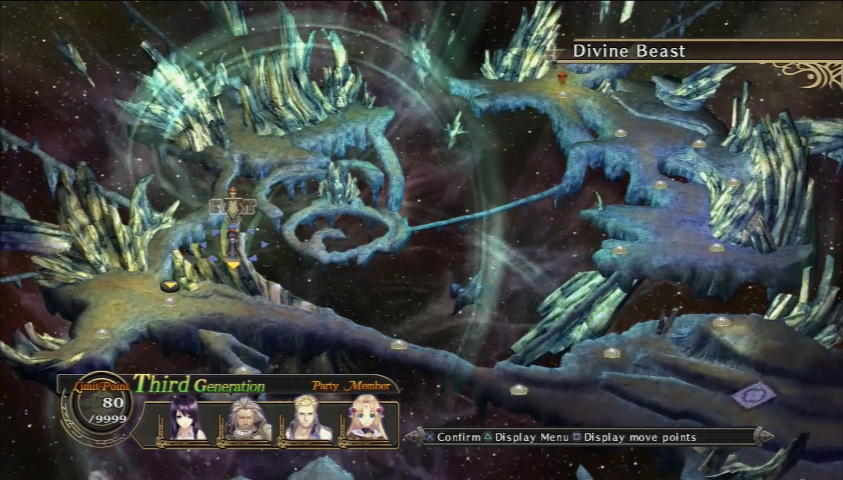
Oh, that's another thing I should bring up, now that I'm reminded of it. You can choose to fight any of the Boundary Plain bosses again. I'm certainly not going to stop you, but be advised they're harder fights if you're going after them again. More enemies will show up in them, or you might fight TWO of the bosses. Though, at the power your party should be, you should be steamrolling just about every fight. I went to Divine Beast to grind some Lapis Nosters, and I ran into two Astrals. The second Astral went down in a single round of attacking. Both of them weren't on the field at once, though.
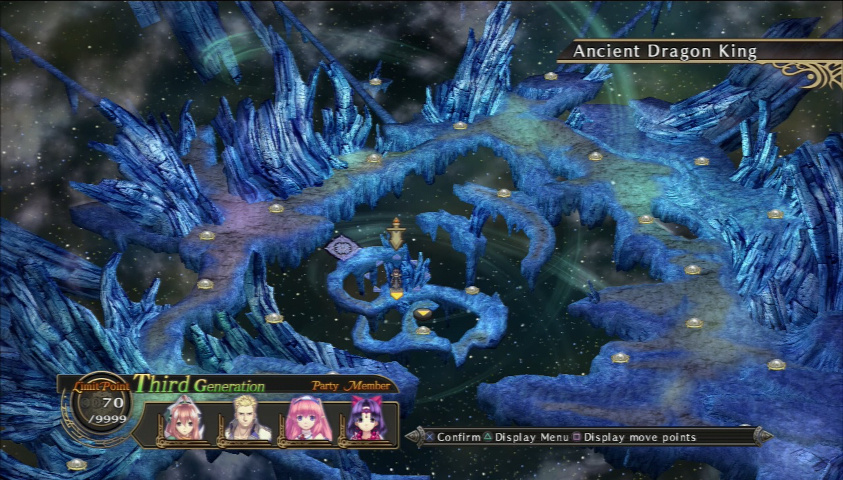
"But wait a second, Sylphid, you've beaten Holy Dragon again, and yet nothing seems to have changed." Well, you'd almost be right about that, but since we're on the Hard difficulty setting, something HAS changed...
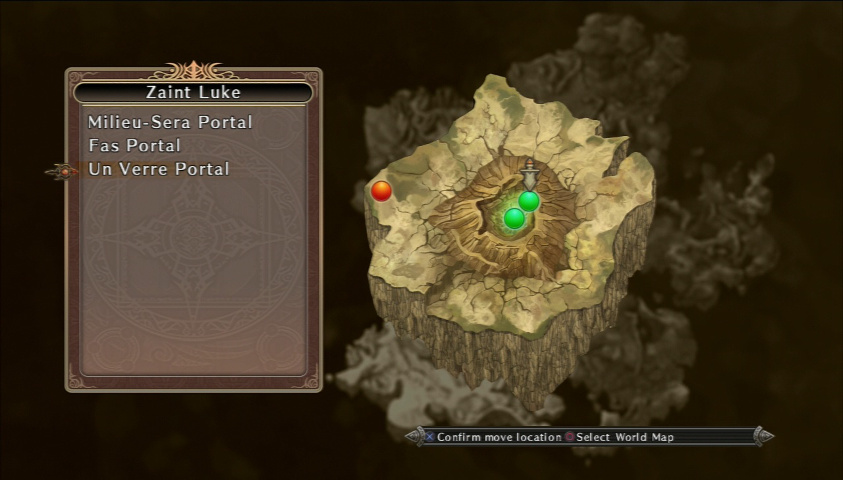
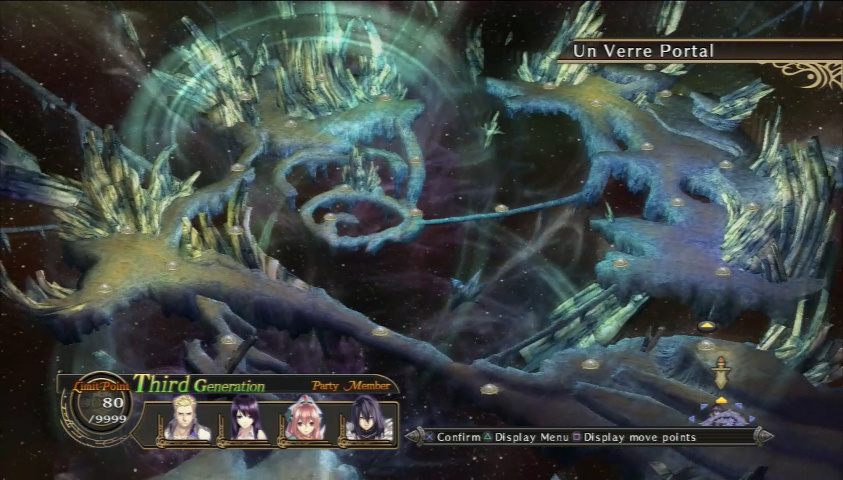
This. If you've seen the True Ending, are on Hard mode, and you've beaten Holy Dragon twice, the very special Un Verre Portal of Zaint Luke opens. Not a shortcut to Etre Large Hollow, no, no... That would be quite lame. Instead...
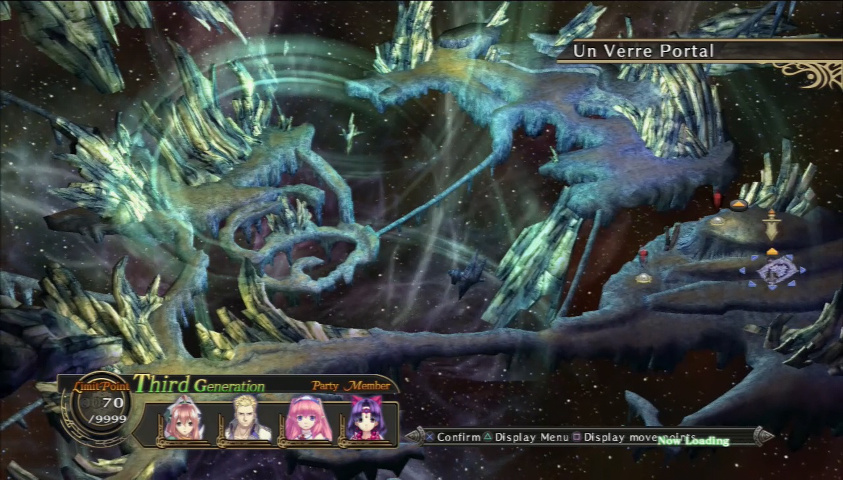
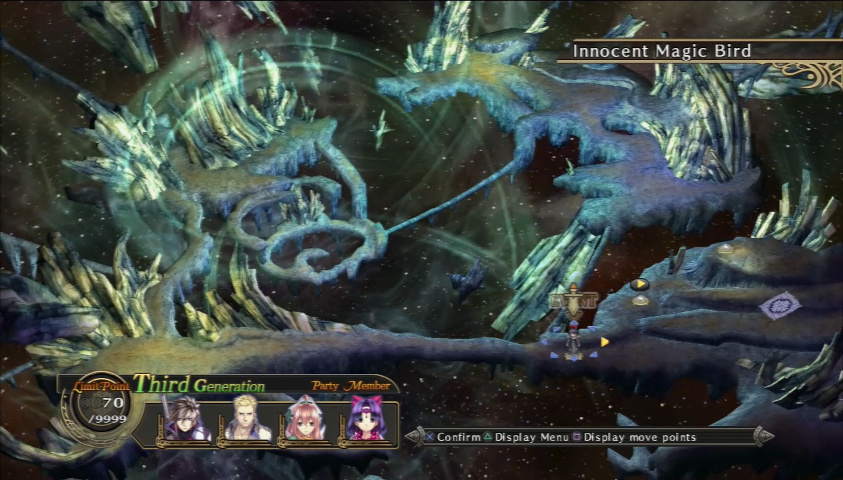
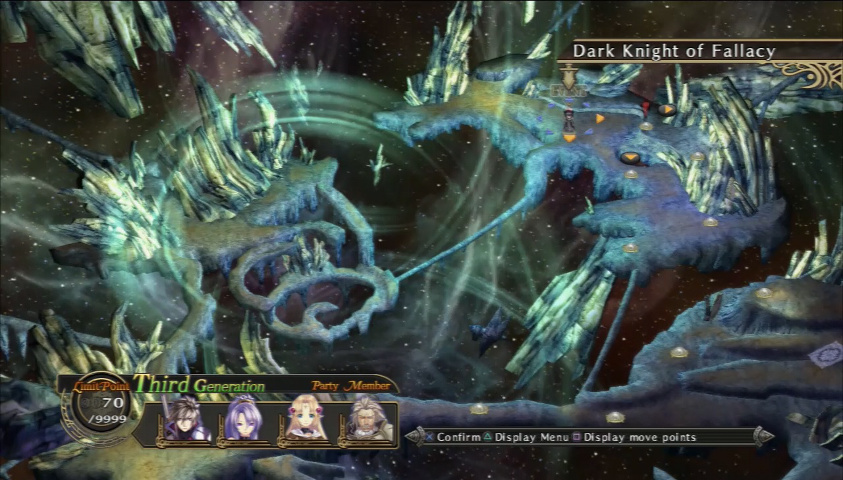
Welcome to the Boundary Edge, the exclusive Hard mode dungeon. If you're on Medium or Easy, you shall never seen this very special place. There's a few neat things here (the place itself looks very nice), but the most important thing is that the stats of even generic monsters have absolutely skyrocketed. Although generic foes have grown even stronger, you're not entirely unrewarded for reaching this place.
Because these enemies are not technically the same ones you fight elsewhere in the game (even if they share name and appearance), their drops are changed somewhat. For example, the Lilith enemy has an Orichalcum as a rare drop normally, in the Plains, but Liliths at the Edge also rare drop the Hrunting dagger. This is just one example, but it's well worth your time to fight here, if you have the stats to back yourself up. Also, if you're grinding enemies for monster-hunting commissions, none of the enemies here will count toward any of that, because again, they're not technically the same foe as elsewhere they might show up.
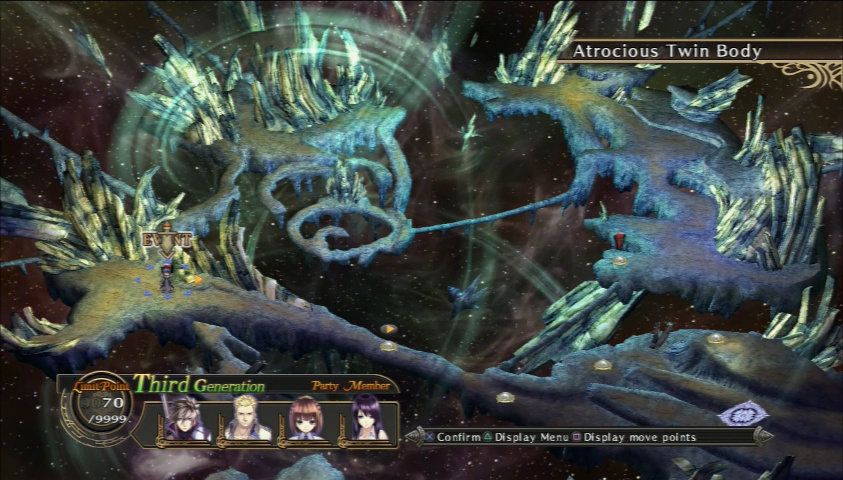
But normal enemies are not all that the Edge hides. You can also fight significantly upgraded versions of Plains bosses. This first fight is against a Lindwor and Nill, and trust me when I say holy shit is the evasion on both enemies in this fight off the charts. Jainus has around 600 Accuracy when this screenshot was taken, and he couldn't hit shit without being in Weiss' formation.
But, the Accuracy boost Weiss' formation gives is so incredibly massive, as long as Weiss is team leader, evasion is not a problem. If you don't have anything like that, someone with Accuracy is pretty much mandatory, unless you feel like having a very magic-oriented team. There's a number of ways to approach this, much like nearly every other fight in the game. I'm not going to go through the trouble of running through my boss strategies here, as that's not really the point of this update. If you're so curious to see what I do in the boss fights here, you can watch the accompanying videos for each fight. Note: I cannot guarantee entertainment value, some fights might drag on so long. So, if you choose, Versus Lindwor Mk. II
While I said I wouldn't talk about battles, but I should mention this: you can rare steal one-of-a-kind materials from the bosses in the Boundary Edge. The Hunter's Title (it makes the Blue Dolphin) you can normally only acquire from a commission for defeating a Plains boss, but since you can fight Edge bosses as much as you want...you can create as many artifacts as your patience allows, for the most part.
Honestly, although this is really cool, it's kinda pointless. I mean, you can make a million different Scythes of Destiny, but the fact remains only Li Ra-Lua and Eva can equip those million Scythes of Destiny. I mean, these Edge bosses aren't easy, and you'd have to be crazy to grind them out. Well, it's up to you. I just want to say "I beat all these boss fights". But, because I'm just too damn nice, I'll mention what one-of-a-kind material you can get from each boss. As for the Lindwor, you can get both a Hunter's Title and a Spiritual if you get both rare drops.
After Lindwor, a rematch against Waffe, alongside a Nill. I've always hated this fight, but for some reason, my victorious fight against this guy ended really, really quickly. His rare drops are a Sacrifice and a Maumet Figurine. Versus Waffe Mk. II
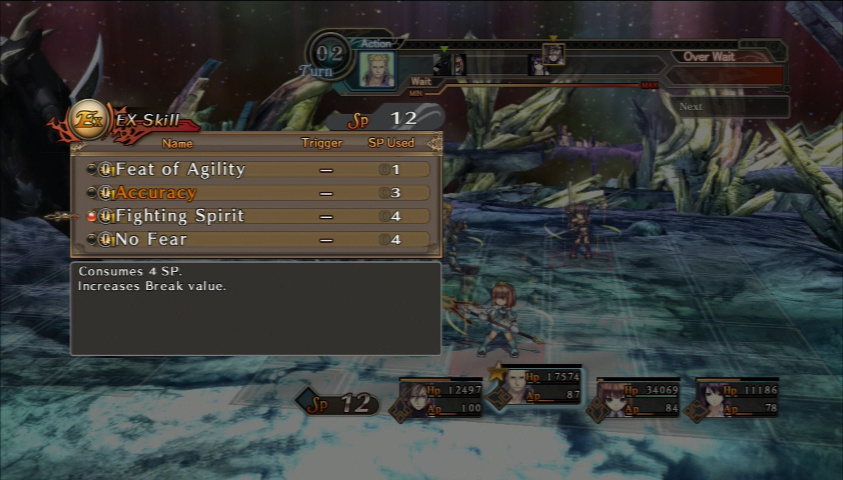
Honestly, I think I might have to use Jainus and Vanessa in near every fight in the Edge. The thing with Jainus is that every single EX Skill he has is valuable. Pretty pricy to activate them all, but Vanessa can cover Accuracy, as well as Anger. Fighting Spirit is ridiculously awesome. When it says "Increases Break Value", it goddamn means it.
After defeating Waffe, we're going to challenge the upgraded Grandleon. Like his Plains counterpart, he's weak to Fire, so I'm going in with a team with very strong affinity to Fire magic. I love the smell of roasted demon in the morning. The big guy rare drops a Heavenly Body and a Rigveda. But, it seems they mixed up the battle point names for Grandleon and Waffe... Versus Grandleon Mk. II
After defeating Grandleon, four new fights open up. You thought the bosses first time around were enough of a problem? Sure hope you're ready for Plains bosses to double up, and I don't mean "a boss + a Nill" Oh no. The location I'm hovering over gives you a double trouble team of Satanael and Rune Blade. I cannot stress this enough: do not even think of fighting this battle with magic. Satanael is an extraordinarily powerful mage, and the Rune Blade has a lot of magical resistance, too. A very melee-oriented team is exactly what you want here.
I'll give you a bit of advice for this fight: focus on the Blade first. Although both enemies are plenty vulnerable to physical attacks, the Rune Blade is a weaker foe, and you'll want to tear him apart very quickly. The weird thing about this fight is that's it's eminently winnable, but very difficult for some reason. Also, one very important piece of advice I cannot stress enough: Accuracy.
Acurracy is simply mandatory, unless you have my Weiss' formation bonus, and sometimes even then. I'm not joking when I say fighters with 600+ accuracy can't hit for crap against bosses. You've got two choices: grind Accuracy++'s like crazy and just link nodes up for Accuracy going in the 700s or 800s. Or...just use a Skill that sends everyone HIT stat to infinity. Your choice, but keep in mind for the former you'll have to sacrifice nodes that shrug off status resistances, increase AP gain, or other nice bonuses. I'm going with the latter, personally. Anyway, the Satanael rare drops a Ventriloquism Book, which makes the Rodriguez III staff, which has very high magical attack, but crappy everything else. The Rune Blade drops the Rune Blade Shard and the Book of Meditation. Versus Satanael and Rune Blade Mk. II
The rematch against Vermillion, though, is without many tricks. It's just another showdown against Vermillion's two arms, as well as the main body once the arms are slain. One really annoying thing about Vermillion is that he loves using Iron Wall, but Vanessa is going to be lighting these suckers up. Make sure you have someone who can rare steal, because you know what Vermillion's main body has as a rare steal? Another Auto Matter, and that means as many Revolver Cannons as you want. I'm only really interested in giving Jainus one, though, as the Blue Dolphin is getting a bit long in the tooth. Anyway, Versus Vermillion Mk. II
After Vermillion went down and I made a new Revolver Cannon, I decided to do something crazy: I was going to grind Divine Crests. By fulfilling the commission where it asks you to kill 3 Mucranes, Mieshas, Lujits, Cliones, and Chickapedes, you get the recipe book for forging Divine Crests, as well as new War God's Crowns and Blue Ribbons. To make a Crest, you need Byakko's Crest, Suzaku's Wing, Genbu's Bowl, and Sieryu's Eye.
The enemies holding those four items are the Kali (Bracelet), Salamander (Sword), Hardened Dragon (Gauntlet), and Satanael (Ring). The Bracelet can be found as a rare drop from the Kali in the Dajlua Wetlands, the Gauntlet is from the Hardened Dragon in the third generation areas of Calicai, the Salamander is in the last areas of the Groza Mountains (we went to these areas to reach the Nebula village in the second generation, and where we first met Georg), and the Satanael is a boss in the Boundary Plain, obviously.
But, there is a problem. You can't steal from the Kali, Dragon, or Salamander (you can rob the Satanael blind, though, and he makes Suzaku's Rings the easiest to obtain, since you don't have to rely on luck). But, there is a way to get around this: the Destiny EX Skill. Unless one of the generation leads has this (none of mine do), only Sofia gets this incredibly valuable skill. And all it does is increase item drop rate. Since you can't steal from those three enemies, you have to rely on drops. Or, if you still have the option, Li Ra-Lua can get Heavenly Sense, which is more valuable, as it increases steal and drop rates. Aside from Destiny and / or Heavenly Sense, link a lot of red nodes together on a character and have Item Drop Rate up to get those rare items at least semi-frequently. But, you also need a lot of Orichalcum to convert the Ring, Gauntlet, and Bracelet (you also need a Generation Crystal to convert the Ring). But, you can just loot enemies in the Boundary Plain for all that sweet, sweet Orichalcum.
All told, I grinded about 10 or so Divine Crests over the course of a single day. In that time, I also fully upgraded the new Revolver Cannon, attached as many Divine Crests as I could on it (three for a 999 Grade item), attached three Crests to the Rune Blade Shard, and attached two more Crests to Eva's Soul Blaze (that's why she's able to pull such high numbers in that screenshot without any armor or accessories), and filled Scions of the Sun with Crests. Still, even with those Crests, Vanessa is still my heaviest physical hitter with 7800 ATK. She is an absolute Valkyrie of destruction, which I'll more than prove with the next boss battle.
Yes, it's our old friend Astral, out for revenge. Now that I've fought this guy again, I know what his weakness is: he's far weaker to physical damage than magical. Sofia, pride of my mages, was able to manage such glorious moments as a Chaos Flare doing about 7 damage, whereas when Astral got broken and Vanessa was attacking, she was doing about 20,000 damage with normal attacks. Yeah.
This is why Fighting Spirit is so important to me. Once an enemy gets broken, that damage just keeps adding up, and when other stars are in the sky (like Rile, Unleash Magic / All, Desperate Strength, Anger, and / or Georg / Jainus' formation), watch the hell out, because you'll be hitting more than a million damage in no time. I am so happy of the fact I managed to Over Kill a Boundary Edge boss, and have the proof on video. This guy's rare items are the Rose Emblem and the Morning Star. Versus Astral Mk. II
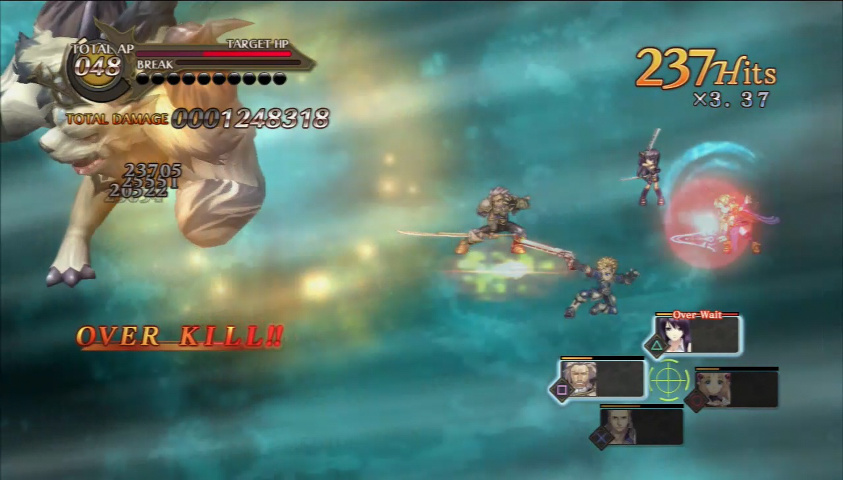
Eat that, you son of a bitch. Sure, the Over Kill item is a lousy AGI Up stat increaser, but it's the principle of the matter. Surprisingly, he won't be the last one.
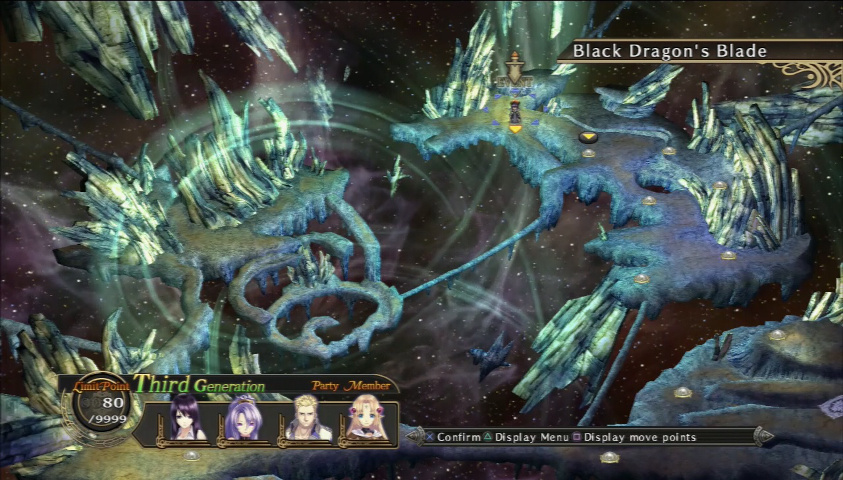
And we begin the final round against the Boundary Plain bosses. I'm going to miss these guys. In this corner, you'll be fighting the Kaiser Dragon and the Cursed Sword. The former is weak to Darkness, the latter to Light. Even so, the Cursed Sword is pretty easy to kill, but the Kaiser may take some getting used to, especially since he's highly resistant to physical damage.
Still, all the fundamentals, of having Accuracy on, stand. I won't be running with Vanessa, Eva, Jainus, and Sofia much longer, but necessity forced my hand when it came to the latter bosses of this dungeon. It's actually a clever little strategy I cooked up, but I'll talk about when it's relevant. The Cursed Sword rare drops Devil Ore and the Book of Philosophy, and the Kaiser can give you a Silence of Nirvana and a Princess Sigil. Versus Kaiser Dragon and Cursed Sword Mk. II
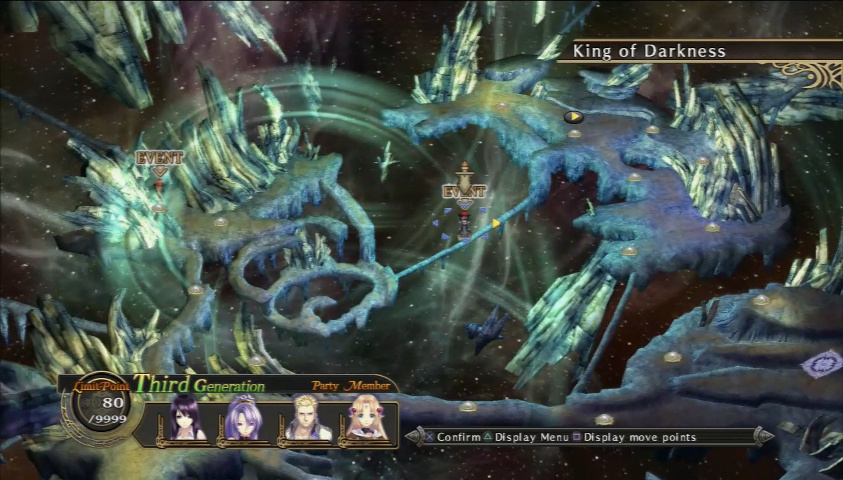
Hanging in there, huh? Sure hope you've got what it takes for this batch of fights. Upon defeating all the previous bosses here, you unlock two new fights: the Holy Dragon, on the left side of the screen, and the one and only King of Darkness, a rematch against our old pal. This is actually the third Summerill enemy we've fought in the game. Even though they all share the same name, the Summerill of the prologue, the Summerill of the third generation, and this Summerill are all different enemies, with different stats and abilities for the most part.
You may also notice some battle points along the left side of the floating landmass thingy we're on. These fights have new version of some enemies from the Plains, including Echidnas, Ancients, Arc Dragons, Loup-garouses, Phoenixes, and Hell Bouncers. If you want to reliably steal Genbu's Gauntlets or Seiryu's Swords, you'll want to be fighting those Bouncers and Loup-garouses, respectively. The Norns rare drop Byakko's Bracelet, and you can steal from them. So, if you're Divine Crest / level grinding, this is not a bad place to be.
Well, here's Summerill again. This fight went hilariously poorly for him. At that start, he couldn't do crap to Eva, because her magic and physical resistance more than countered anything he could do, even with Limit Break on. The second time he was up to bat, his stupid ass knocked Eva into critical. On my second round of attacking, I had more than 500 AP to play with, so I went on one of my best rampages, stealing three of his four items (I had already stolen his first item), and racking up 25 Wait Bonuses (the max you can get), 12 SP Bonuses, 5 AP Bonuses, and most importantly, about half of his health. In fact, when he used Hell's Victim against Sofia and Jainus, he didn't even kill Jainus. He did get Sofia, though, because I forgot to heal her. If I had, his most powerful Original Skill wouldn't have killed anybody. For shame.
With Unleash Magic and Unleash All on, and with Eva's formation bonuses, my Over Killing combo went to 2,003,919 damage. In the results screen, I got an A rank, and with Gospel on when I killed him, I got 6,300,000 EXP, 2,925,000 Gold, 2739 TP, and 275 PP. That fight really couldn't have gone any worse for him. His rare drops are the Xhosa-Materia and the Rainbow Shard. Summerill has the honor of fighting me three times, and not winning once. Really. I beat third gen Summerill on my first try, and Boundary Edge Summerill on my first try. You can watch the utter curbstomping here. Versus Summerill Mk. III

But, karma has a way of biting me in the ass, and the new Holy Dragon gave me the most trouble I've had in this game since Danaos. This guy is really, really strong, and is backed up by two Nills. This fight was annoying as shit, lemme tell you, but I figured out a clever strategy that I like to call the Leapfrogger. This is how it works.
I start off the fight with Jainus' formation, meaning everyone on the team gets increased physical attack and defense. I pumped a lot of points into Vanessa's AGI, so on the good chance that Jainus gets targeted first on account of him having the most HP and being the formation leader, and he gets KO'd, Vanessa simply revives him, then activates Accuracy. She then uses her considerable physical attack to start doing some damage. Eva and Li Ra-Lua (I'll explain her presence later), hang in reserve and support as needed. The most important part is to keep Jainus' wait from going up during this phase.
Ideally what happens next is that the enemy targets someone who isn't Jainus, and probably will kill them. At this point, the formation reforms with Jainus as the leader. At this point, his job is to turn on all of his EX Skills, then drive his own Wait up. During this phase, everyone except Li Ra-Lua is on the attack, and after the attack is done, it's Li Ra-Lua's time to shine. She reforms everyone under her formation, which gives everyone increased magical attack. She then activates Critical Break and Genius, and I start hitting the enemy with magic instead of physical attacks. At this point, Eva hangs in reserve. Vanessa is a constant attacker because her formation bonus, SP Gain Up, doesn't help that much.
The reason I bring in Jainus, Eva, and Li Ra-Lua is that he has Physical Attack and Defense Up, while the two scythe girls have Magical Attack up. When it comes time for us to be attacking, we desperately need those bonuses to do some actual damage. The reason I call this strategy the Leapfrogger is that we're constantly switching between physical and magical attacks as the primary damage dealers. This strategy involves a lot of SP, so it's paramount that you prioritize attacks and combination skills that change the enemy's state of damage. Even if you're doing piss all damage, as long as you're getting that precious SP, that's what matters. I would not use Accuracy increases at all, because Accuracy completes negates the necessity of those, and the evasion of enemies here is just too high to attack them without it.
What I've stated above is the ideal, honestly, and it's up to you to adjust things as needed. I would highly recommend you get passive bonuses like AP Drain Guard and SP Drain Guard on anyone you can (from the Phantom Bracelet and Debilitating Ring, respectively), so the enemy can't rob you of them at a critical moment. As for the Holy Dragon, we're going to exploit his Darkness weakness like crazy. And for this fight, at least, it is crucial you do not use an Ultimate Strike to kill the first Nill. I wouldn't even recommend going on if you have to use one, honestly. You simply cannot afford being a bunch of slugs in this fight, since everyone in this fight is super fast.
Unfortunately, seems in my haste I never created a video for this Holy Dragon fight, or I deleted it in my haste and did not realize what I had done until it was too late and I deleted the source video, too. Oh well, when you're handling so many videos for a single update all at once, something like this is bound to happen. Rest assured, it was a long fight.
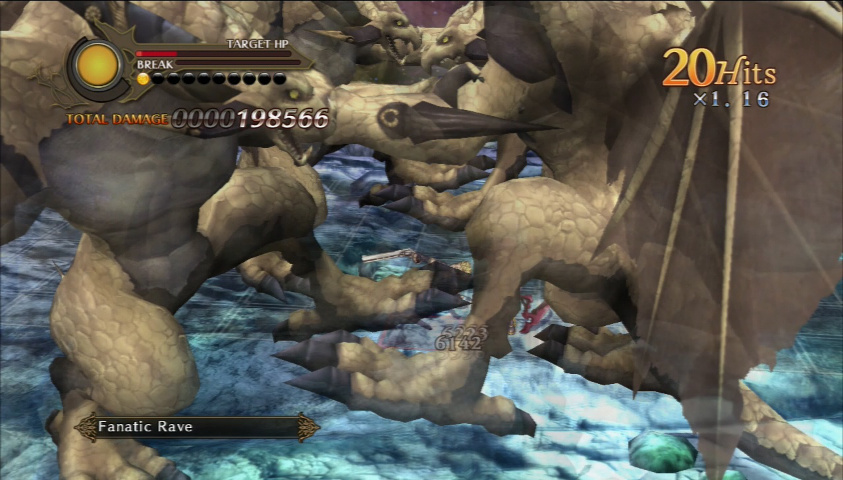
Well...I did say I wanted the Holy Dragon to use Fanatic Rave or Square Cross on their turn. Jeez that's a lot of lizard.
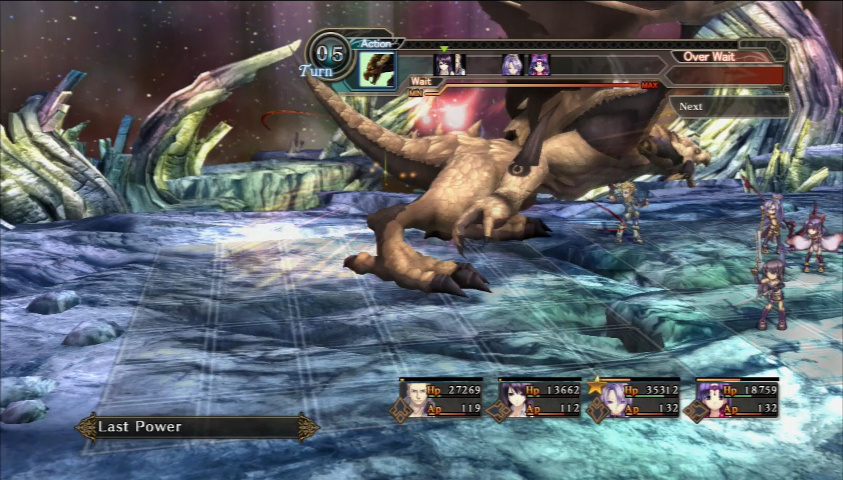
I would like to bring this up, since it's the first time Last Power has been used while the camera has been running. Last Power significantly increases the physical attack and defense of the enemies affected by it, but the good news for you is that it doesn't touch magical resistance at all. So, Vanessa and Jainus are useless at this point, but that's why we have magic. Oh yeah, and his rare drops are Princess Blood and Suzaku's Ring.
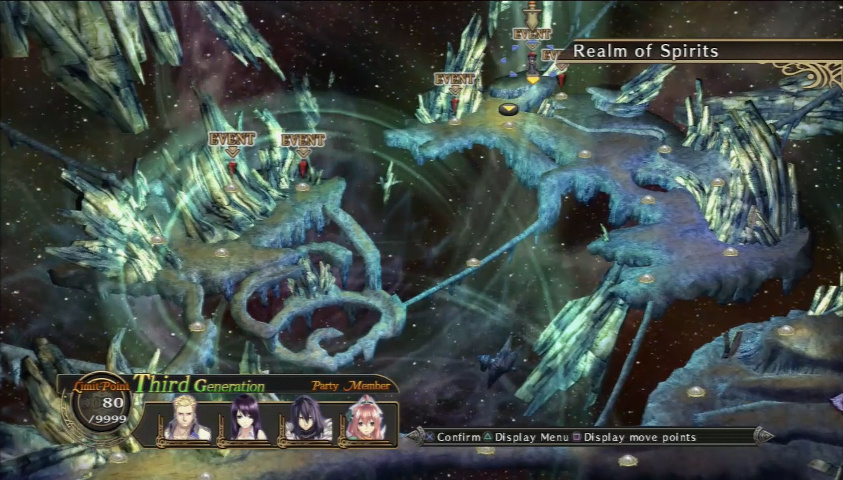
After Summerill and the Holy Dragon are down, it's time to go all the way. Rematches with five of the dark gods. Mercury lies in the Realm of Earth, Mayastia in the Realm of Fire, Nemesis in the Realm of Heaven, Deeth in the Realm of Spirits, and Mobius in the Realm of Time.
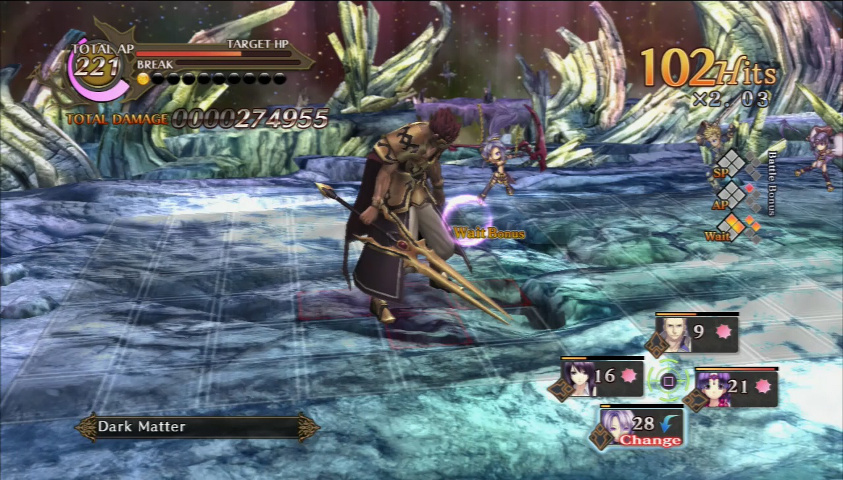
The notable one out of this batch is against Mercury. I would honestly say he's the hardest of these fights, with Mayastia a close second. But, what's neat about the Mercury battle is I got a royal flush of circumstances at the end of it. I had Fighting Spirit for most of my dudes on, Genius, Accuracy, and Unleash Magic / All. A perfect confluence of circumstances to mess him up beyond all recognition. You know what the final damage count ended up at? 5,025,267 damage (Carnage Disaster alone did nearly 2 million damage). Um...ouch. Poor Mercury. He's the only boss I've Over Killed both times he's shown up.
For all the gods, they have Final Release and No Pain. Final Release is the worst thing ever. Against enemies who already have significant defense against everything, Final Release increases all their parameters, and makes them nearly invincible. If they turn on No Pain in addition to Final Release... Just don't even think of letting them sit on <20% HP. I'd say to be absolutely safe, destroy the last 40% of the god's health in a single turn of attacking.
I did want to screenshot this bit, as I find it amusing that sometimes when you use certain attacks really quickly, your dudes can end up standing in mid-air for attacks. Right now in this screenshot, everyone has their "falling" sprite while just standing in mid-air.
Also, I should mention this. Between Holy Dragon and Deeth (the first of these god fights I did), I converted a bunch of Rapid Swords. Rapid Swords are a pretty bleh weapon, but their conversion item is ATK+200. Since I'm not worried about HIT increases against bosses I already always use Accuracy against, Vanessa is now sporting, oh, about 8800 ATK.
For the gods, I should mention they rare drop all of the weapons they use (in the order I killed them, the Scythe of Destiny, Nemesis, Scions of the Sun, and Lost Regnum). Since Mobius' weapon isn't in this game technically, instead he drops the Avenir. The final two bosses of the Edge give you Aqua Chrome and Shining Light / Soul Blaze.
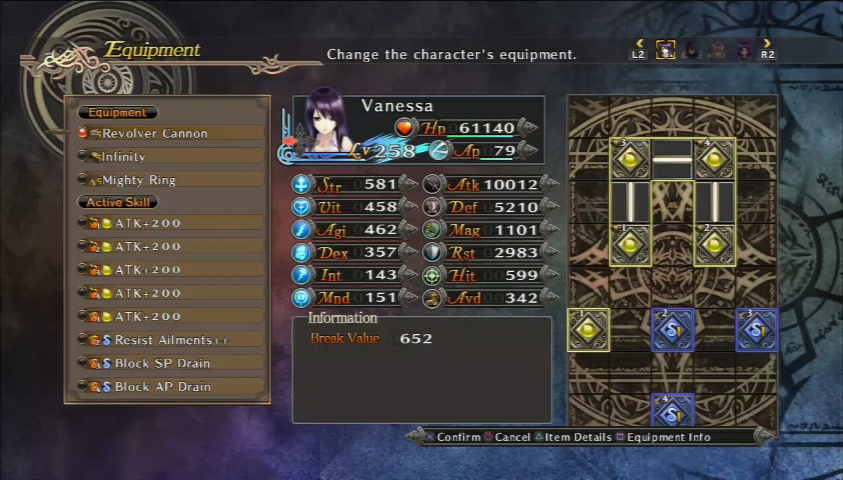
 Vanessa has over 10,000 ATK! The funny thing about this is that Vanessa is so powerful I'm frequently killing regular enemies long before they get broken, but man. Vanessa is packing heat.
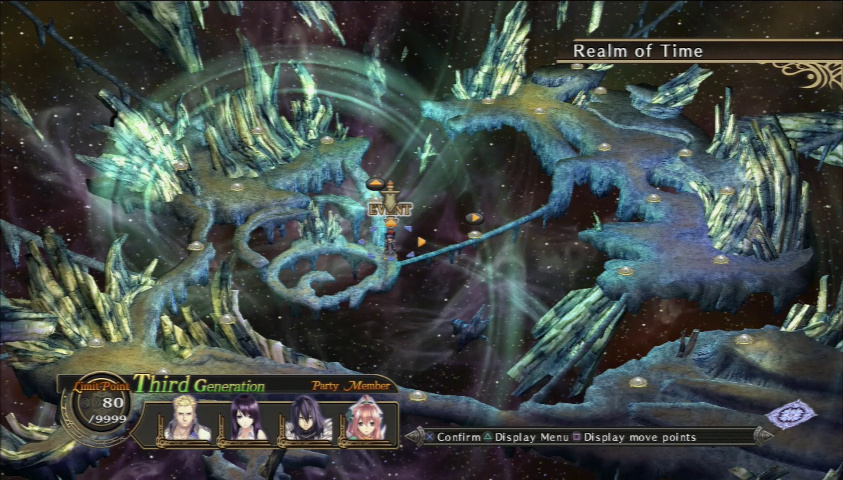
Once all the gods are defeated again, we can finally reach the Boundary Edge's inner sanctum. Although I'm sure you can guess who you'll fight in this point just based on the name, you can refer to the next update for who will stand before us now. Versus ???
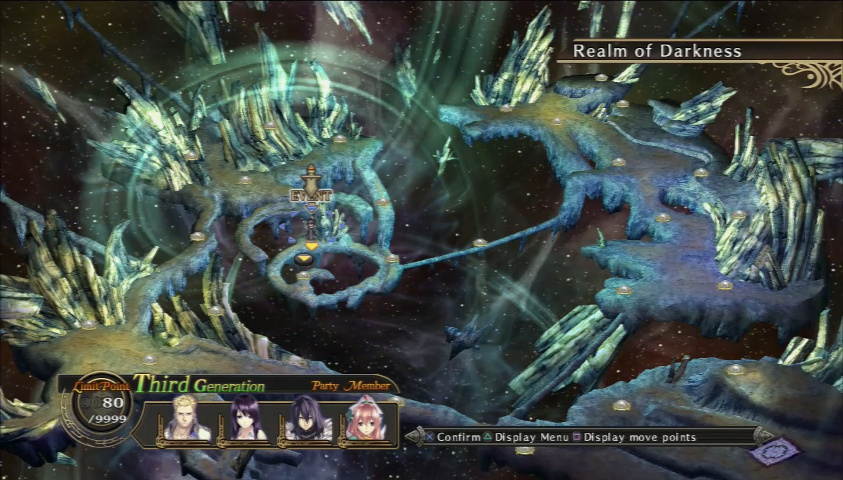
And now, the final challenge of the Boundary Edge: the Realm of Darkness. The enemy here is really, really tough, and took me forever to beat. Took me more than half an hour, and it ended up with me getting a G rank, the second worst I've ever done on this playthrough. But, I can't complain too much, as this playthrough is the first run I've beaten every boss in the game.
Basically, my last playthrough, I was going for Platinum, so I needed tons of money to pay for all the big money commissions. I was just fighting Summerill over and over and over again, for all the cash (his reliable two Gurgs join him if you decide to fight him again) and by the time I was done I was just wanting to be done with this game, so I left the previous boss and this guy alone. But, I'll finish the fight now. Versus ???
We are the champions.
Dramatic Update from the future
One day, while nonchalantly checking the voice line-up in the theater, I noticed that there were four names at the bottom of the list: Leonhardt, Ellis, Valeria, and Myu. The last name I didn't recognize, since I haven't played the game she's in, but the first three I definitely remember from Agarest Zero's Digest Mode, where you play an abridged version of Agarest War 1, seeing all the major scenes and boss battles, and by completing it, you enlist the services of Ellis and Dyshana (Agarest War 1's equivalent to Eva), as well as the hero and heroines of each generation (except the fifth, but you do get the final hero, Rex, and Dyshana as freebies for making it to the fifth generation of Digest Agarest War 1).
Now, had I known that Leonhardt and Ellis, two of my favorite characters from Agarest War 1, were DLC characters, I would have used them long ago. Apparently, from information I received in the thread, Idea Factory held a vote for the most popular characters from their games to be DLC characters in this one. Leonhardt, Valeria, and Myu were the top three, but apparently, from that post, I learned that if you combined the vote totals for the child and adult versions of Ellis, she'd be in the top three instead. So, since this game has a four party-member limit for battles, what the hell, let's just throw her in too. At least, that was apparently Idea Factory's conclusion.
Honestly, I have no opinion on Myu, since I haven't seen her in her original context, but Valeria is the one that weirds me out between those four. She was a Maiden of the Pillar in Agarest 1's second generation (and if you go by Digest Mode, the one who eventually married Leo's son), but I don't recall many things notable about her. If you were to ask me, I'd replace her with Noah, one of the third generation's heroines and someone I liked more than Valeria, but hey, what do I know? Valeria's cool enough, especially that little hair flip she does in her victory pose. Leo and Ellis I can totally understand, because they're like the mascots of the game that they're in together. Ellis in particular.
Now, since I've already completed this game and don't have any new boss fights to show, I decided instead I'd level them all up to level 160 or so (they all start at level one when you use the Forbidden Tome to bring them into your party), and have them smack Boundary Edge Summerill around again, since that never gets old. This is the official DLC Exhibition Match. Leveling up in the Plains, though, made everyone's experience rise really fast. I got the four DLC characters up to that level in less than a day (including sleeping and eating and other real life stuff), by combining Gospel with Ellis' Blessing and Myu's Endeavor. But what made me really happy is I got to use The Oathsworn after all! Leonhardt can equip every sword in the game. But, since everyone does have Original Skills, the DLC Original Skill line-up.
Just one thing I'd like to bring up for this video, Ellis' Criss-Cross Rejuvenation. Not only is she directly tapping into Lenion's power for that attack, but in Agarest 1, Nemesis' Seventh Gate Original Skill is basically an evil version of Criss-Cross. I thought it was a cute way of showing that Ellis really is a child of the divine. Anyway, Valeria, Leo, and Ellis in this game have their level 1 and level 3 Original Skills from Agarest 1 (though in that game, they're called Extra Skills, I believe). Also, you can do the bathhouse mini-game with Ellis, Valeria, and Myu, but there is absolutely no point, since none of the DLC characters have affection levels. Enjoy both videos.