Part 29: Hackers in a Half Shell
It's the end of an era.
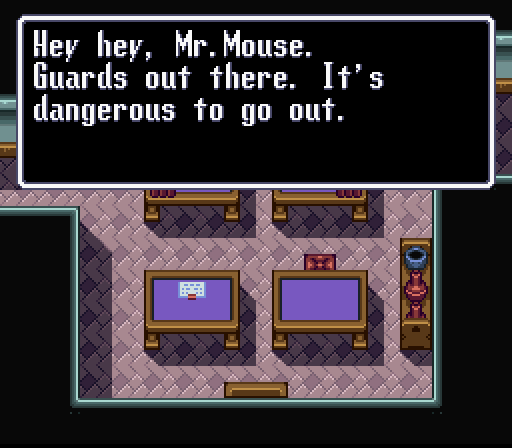
Now that we've passed the point where Brain is supposed to get the Change item, most characters we'll come across will have a response to the mouse form. A few key ones like Nagisa still work as normal, but a lot of the plot-moving will require the switch-and-back tactic in order to work. Despite that, we will persevere.
Before heading home to see what has our hero's assistant all riled up, there's a couple things he can knock out first in town. During the course of the game, a sort of Romeo and Juliet analog has been going down in Rococo. When everyone was invited to the Island and subsequently kidnapped, the couple decided to take that opportunity to elope to who knows where. The mother of the "Romeo" has become sick with worry, and is bedridden. She needs some sort of helper to deal with this problem. This gives our hero an idea.
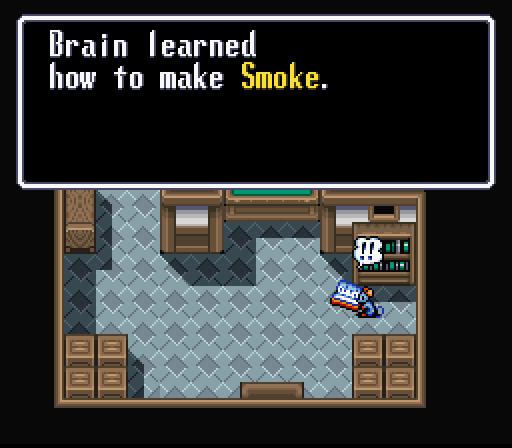
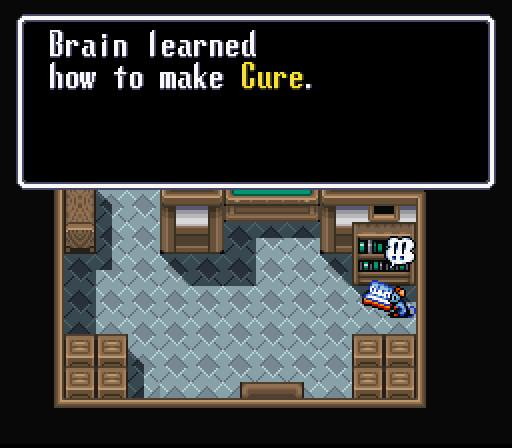
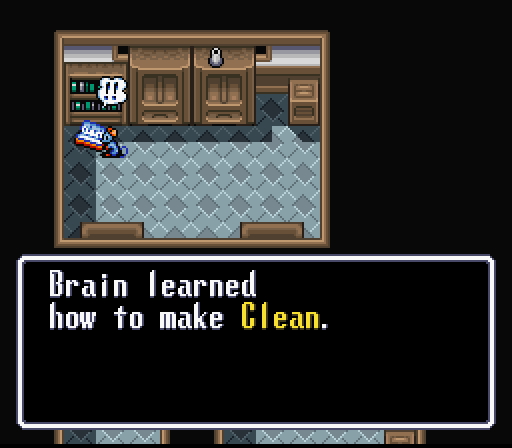
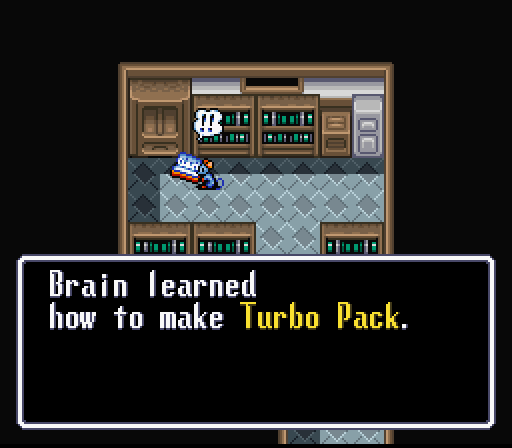
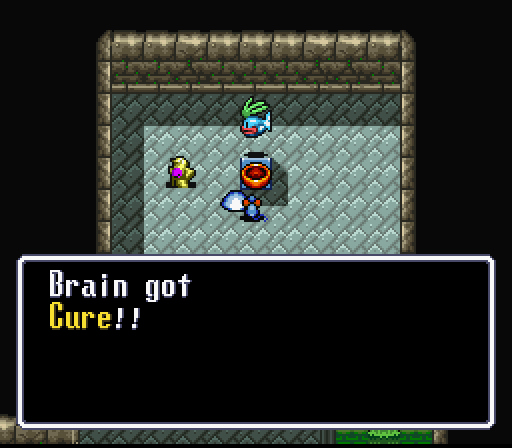
First order of business is to hit up the books at the Shop to learn how to craft some of the consumables. Learning how to make them is actually pretty awesome. This means if you run low on Cures or Cleans due to excessive use and/or bad drops, they can be "purchased" using the Portable or any Invention Machine. Great when you're low on supplies in an area where a shop is inaccessible or when you're just in one of those situations where you really wish you had a couple more Cures.

Then it's back home to pick up the remaining schematics there. There's actually one more book left to learn from here, but Brain is a level too low to understand it. It only contains how to make Repairs, though, which is not all that important for our hero and his bot.
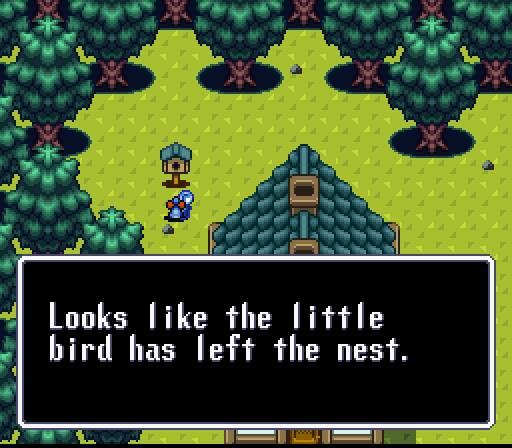
Fun fact: the plot was supposed to start as soon as our hero entered the house, but it was bypassed because he's currently a rodent.
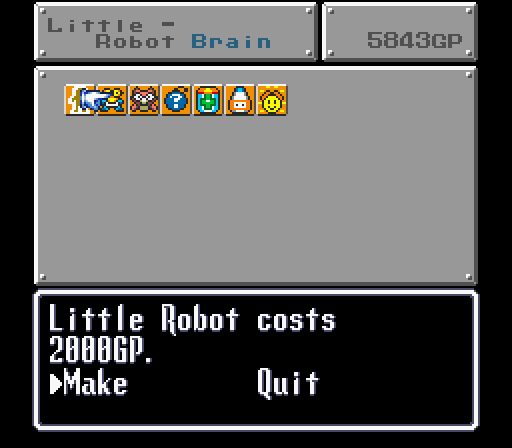
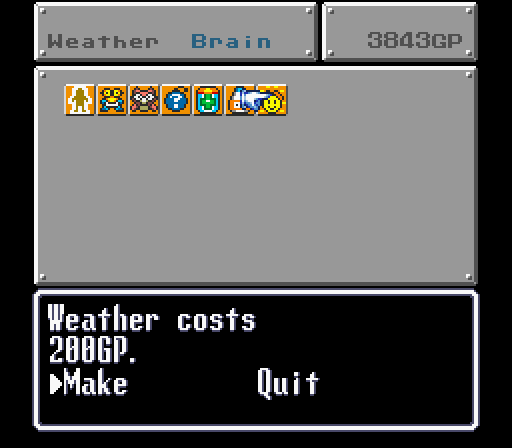
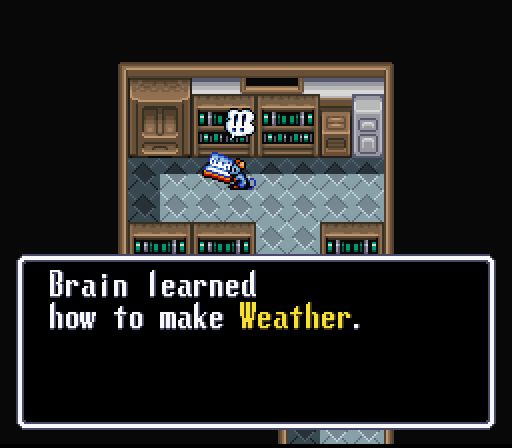
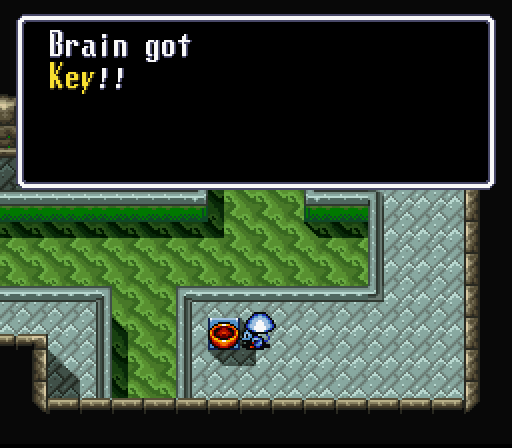
So we continue to abuse this fact to hit up the Invention Machine downstairs. Our hero creates the helper robot for the old lady, and a Weather for reasons that will be explained later.
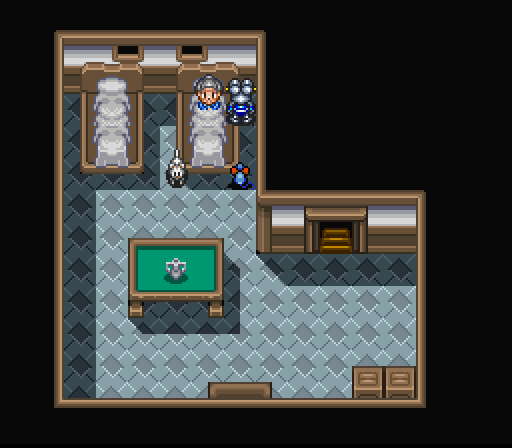
For the hawk-eyed among you, you might recognize this robot as looking a lot like the one that wandered the room with the hidden Sword 2, back in the Old House. It's a nice touch. Giving the robot to the old lady doesn't have any real reward, though, beyond a warm fuzzy feeling for helping her out. And, personally, I think that's enough.
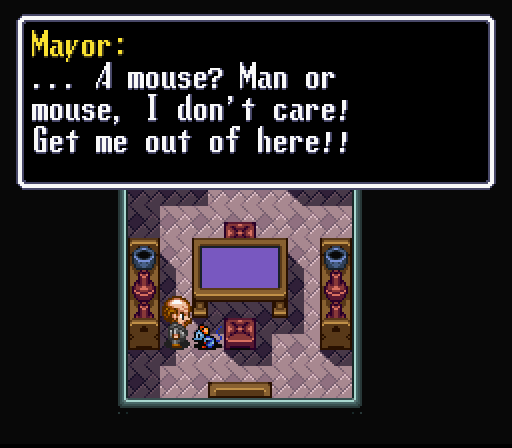
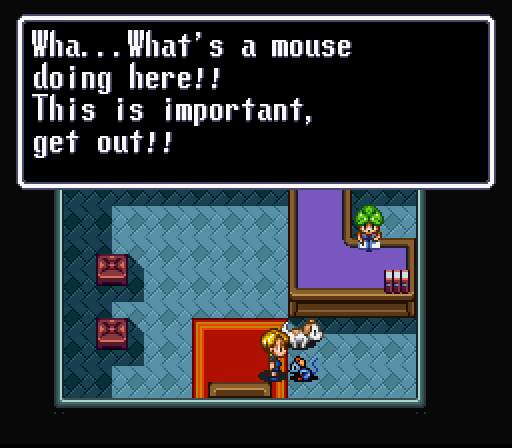
Anyway, with that out of the way, we're free to continue to plot. Turns out the Mayor's spread word that our hero has stolen some jewelry from him, and Brain's going to jail for his crimes.
However, he won't stay in there long. After he's been divested of the MacGuffins, the policeman leaves. Apparently, it isn't passed along that the captive is a mouse - so setting off the Surprise Horn gets the door open, letting Brain escape at his leisure.
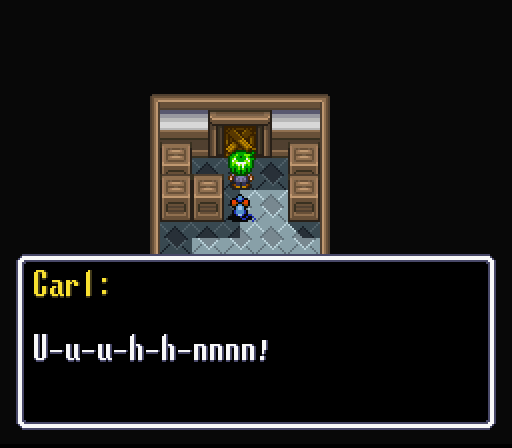
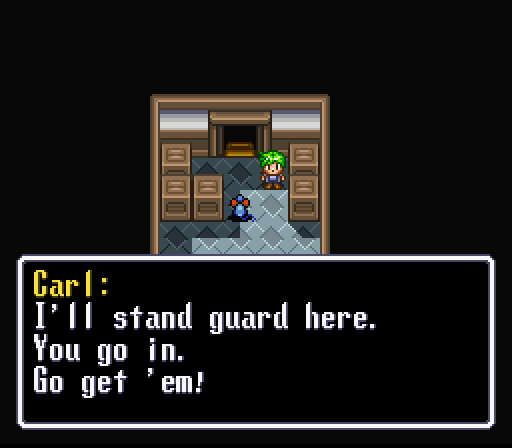
Going and trying to confront the Mayor won't accomplish anything, so the only course of action is to return home to continue the plot. Turns out Carl heard about the charges and isn't buying it. He offers to help our hero by getting him into the Mayor's abode via a secret passage. Working together to bust down the door, Brain gains access to the next dungeon of the game.

The Sewer. Much like the Tomb, this is where the game takes a sharp leap in difficulty. Not only are the enemies hardier and more powerful, but there's some new gimmicks to keep an eye out for. As with the Tomb, this place is a good sign of things to come.
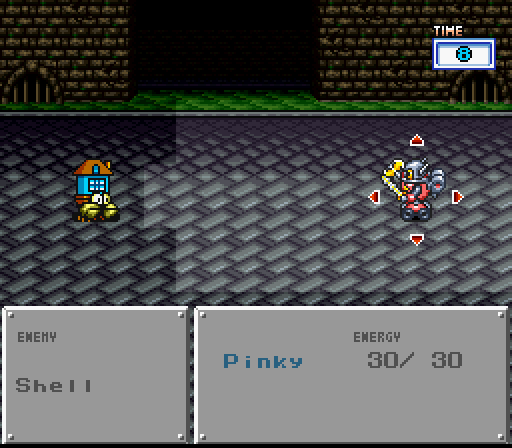
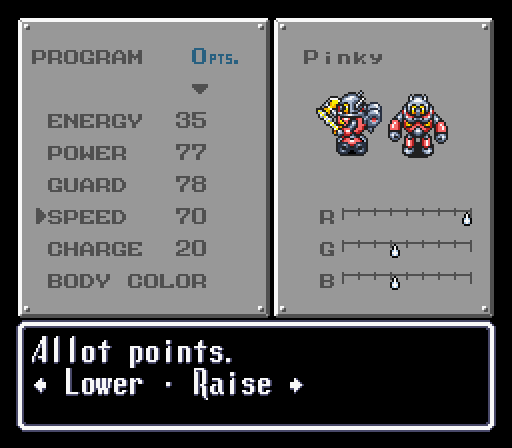
A good example is the Shell, the first enemy encountered in the Sewers. It has insanely high defenses and evasion, including a random shielding effect not unlike Bigeye. So, even if one is able to land a hit on this particular baddy, it's going to do paltry damage. Even Pinky with his beastly Power and mighty Axe 3 can only do around 60 damage to it if he manages to land a blow. While that's impressive (for a Shell), that's still not enough to kill it. If that wasn't enough, they don't even fight - they cower and attempt to flee. Fights involving Shells are better spent just nabbing capsules on the hopes you get some bonus Megs when they run away.
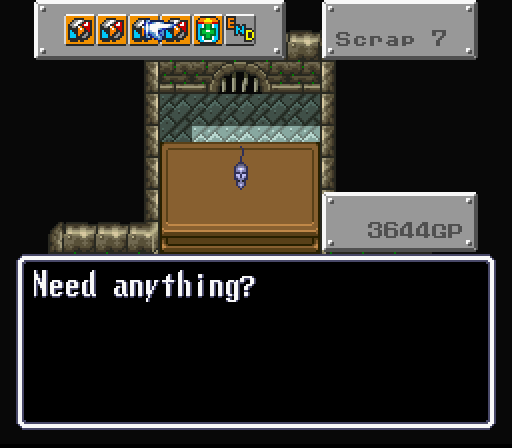
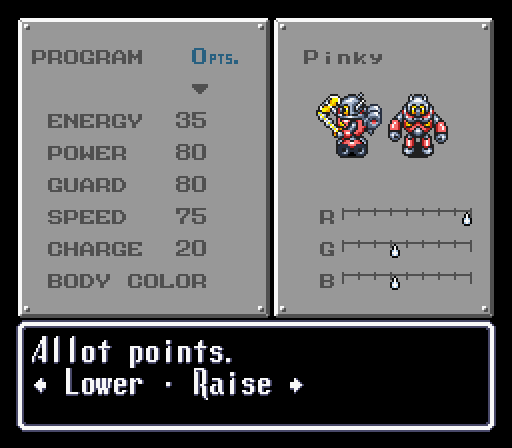
Across the way from the entrance is a rat-run shop that is part of the reason why there's no real need to be stingy with Scrap. This place sells Scraps 1, 4, 5, and 7; this means that you can upgrade your Axe (or Punch) to the highest tier. Should you have a Scrap 2 on hand, you could even create and upgrade to the highest tier of Laser. And you should top off your equipment if you can, because the game is going to assume you have from here on out.
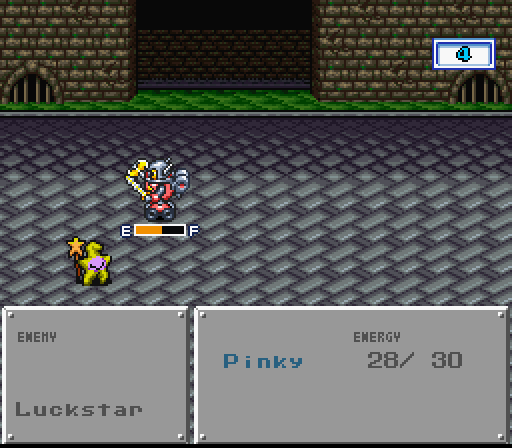
Despite all this warning about the increase in difficulty, a robot with suitable Power and a fully leveled Sword 4 can still take out most of the trash with a triple-strike Run command (Zort, in Pinky's case). However, if you see one of these enemies in the line-up, DO NOT DO THIS. Like the invisible enemies back at the Volcano, these smiling stars will take single digit damage in return for a nearly drained Charge Gauge. This will leave you mashing and waiting on your Gauge to refill as these little guys proceed to tear your bot apart. Even Pinky was taking upwards of 10 damage a hit per starshower.
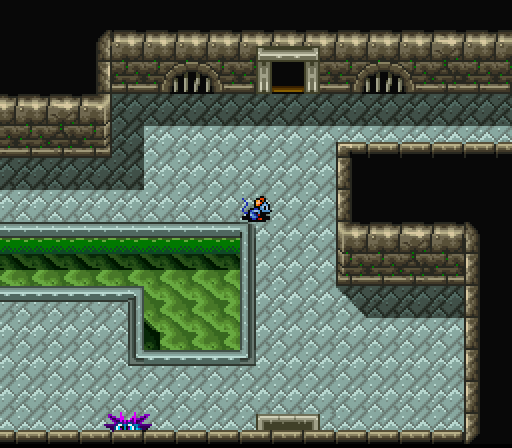
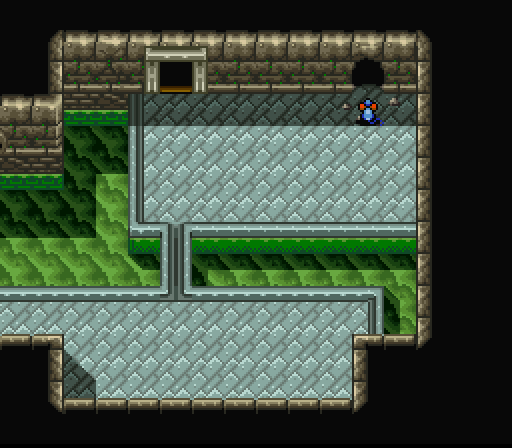
Several people have mentioned having a problem navigating the Sewers. However, there's actually an neat little trick to remember which way is correct - the "right" way to continue through is always to the north when you're presented with multiple options. The alternate paths are either dead-ends, or lead to loot and keys to continue along the "proper" path. For example, heading up here would continue onward.
While heading down results in a Scrap and a Cure.
The way up also has a nice cash reward, but also has the way deeper into the Sewer. Be wary, though, for on the other side of the mouse maze is a new enemy. A very dangerous and numerous new enemy.
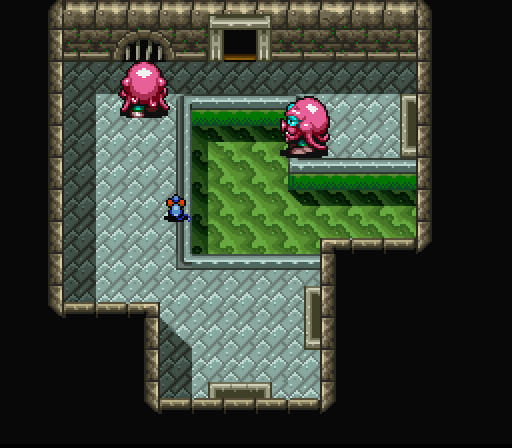
Octopi. As part of their movement around the battlefield, they can spew ink and switch places with your bot. After which they'll get a free hit on its unprotected back for massive damage. Hiding in corners doesn't work, since they'll just swap and strike. The best choice of action is just to take them out as quick as possible before they can rack up the damage. It should be noted that while the Octopi have high Run Resist, if you have a powerful and geared bot like Pinky, a triple-strike will still kill them. So, Pinky will be Zorting the hell out of these baddies.

It's recommended that you figure out a consistent way to deal with these enemies - whether it's via Sword 4 or another tactic. Not only are they worth a good bit of experience, there's a LOT of Octopi between the vents and the exit to the Sewers. Without a set plan of attack, they can be a big drain on your supply of consumables. Upping your Bot's Energy is also not a bad idea.
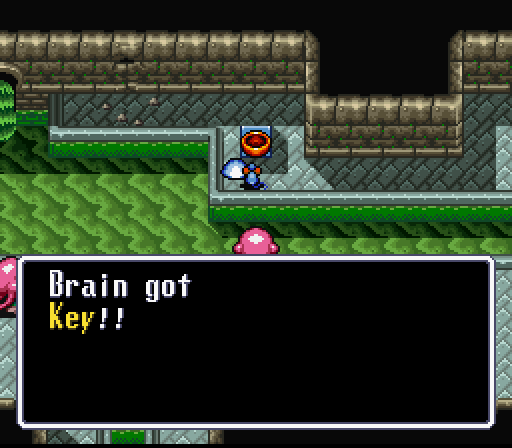
The way to continue fits with the pattern mentioned earlier - heading north leads to where our hero needs to go, but it's blocked by a locked door. Heading through the upper right door takes him on a roundabout route to the capsule with the key. Then it's just a matter of doubling back and pressing on.
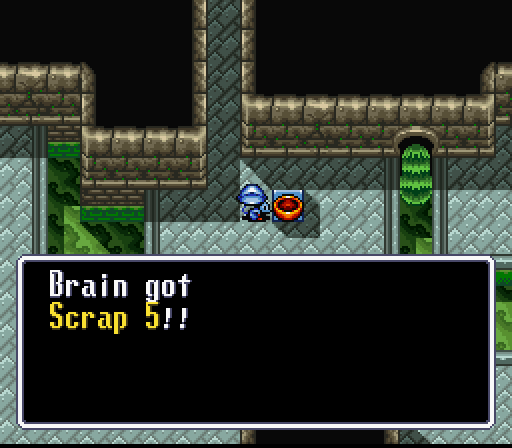
The drill makes a return in the Sewer after a sizable absence. Drill-able walls in the Sewer can be identified by the debris and the cracks in the wall itself. This capsule with a Scrap 2 in it serves as an enticing hint to the wall's structural weakness.

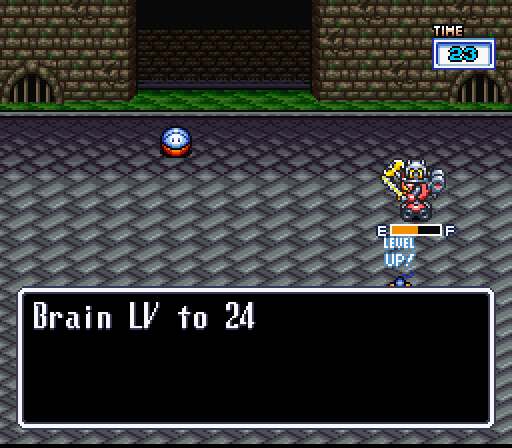
It should be noted that the Octopi aren't the only good experience in the Sewers. Almost all the enemies give one or more Megs each. Groups of multiple enemies plus bonus Megs from capsules and Bonus Time means that leveling comes relatively quickly.
Continuing on, the trick proves its validity once more. The way to go, again, is the doorway to the north. However, it ends after a time with a locked door. Drilling through this wall first will save our hero a lot of time and effort.
At the end of the passage beyond the hole is the key needed to exit the Sewer, along with another drill-able wall containing a very useful prize.
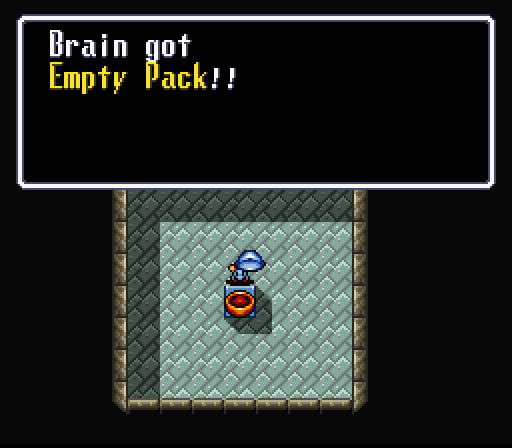
An Empty Pack. It doesn't seem like much, but back in the Hacker Hideout, it was mentioned that a 5000G Quick Pack turns into one of these after it Repairs a robot that's wearing it. Combining this pack with a Repair could get us a free Quick Pack. However, we're not going to do that. We're going to do something better.
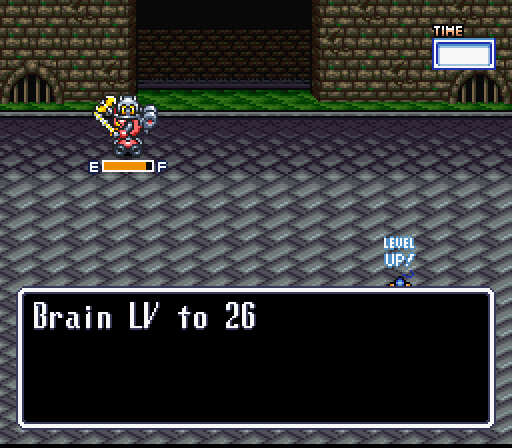
The way from the key capsule to the exit is paved with Octopi, so our hero levels again in short order.
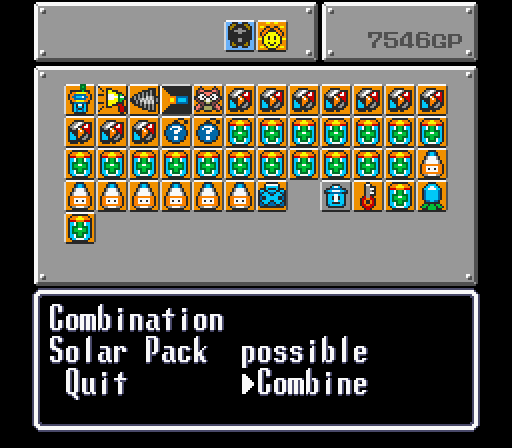
This is why a Weather was made earlier. By itself, it just changes the weather in an area. Combining it with an Empty Pack results in this little beauty. Where the Quick Pack provides a one-time auto-rez, the Solar Pack gives the robot a regen effect. At the start of each of its turns, it will recover some of its Energy. This pack is never coming off Pinky.
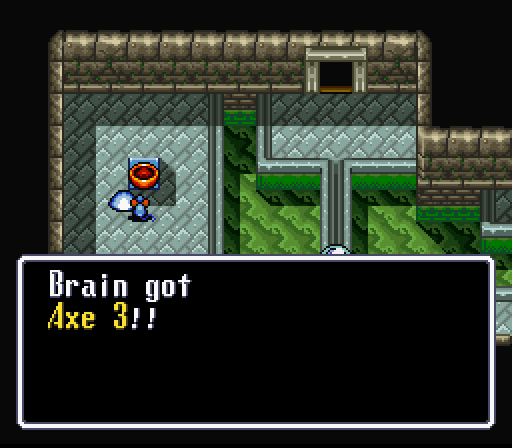
To hammer the point home about how dangerous things are going to be, the game outright gives you an Axe 3 to use. Sure, it's right by the exit after overcoming the denizens of the Sewers, but the point is still made: If you don't have good equipment, it's time to start working on it. It's going to be needed.
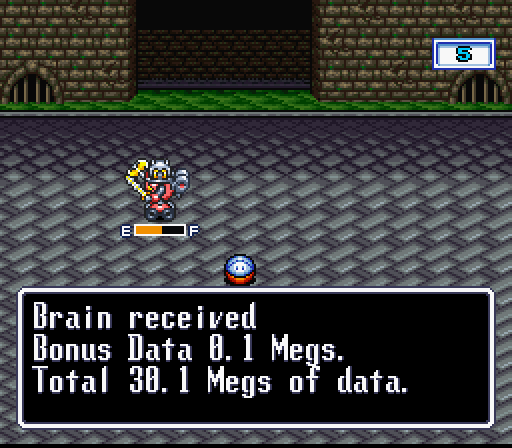
On a different note, it seems that the game also wants to make a point of proving me wrong. Upon entering the Sewers, it was mentioned how impossible it is to kill a Shell, thanks to their huge defensive stats. So, of course, Pinky ends up critting one and killing it near the Sewer exit. The reward? 30 Megs. That's more than Meta Crab gave, and almost ten times more than the invisible guys from the Volcano. Not something you can farm reliably, but I'm not going to turn down a huge chuck of experience like that.
Beyond the locked door lies the way into the Mayor's house. Why he has an open manhole into the sewer sitting in his courtyard is beyond me.
Inside, two of the Mayor's aides are being confined to their office, a Hacker soldier guarding the two doors leading out. The bottom one cannot be attacked from either side right now, so that leaves the other guard as the obvious target.
However, he spouts this line when spoke. It's the "generic" response when a character is spoken to by our mousey main character, and thus why it was made the thread title. A reminder of who our hero is results in a battle with some non-threatening gold Cmdr enemies. Once he's defeated, the other guard will offer a similar fight. Clearing both guards results in the aides escaping to who knows where.
Not that it matters overly much for right now. Behind the door opened by defeating the first guard is a series of hallways with a vent hidden amongst the plants. Going through it takes him into the locked room which contains... the Mayor? Talking to him results in a mini-plot dump: turns the Mayor in the office is a fake and he's been locked in this room by Rose. He also hid one of the MacGuffins and offers it a reward in return for his freedom.
This knowledge is enough to get Mint to try and expose the fake, but to no avail. Bringing in a dog reminds her of the Mayor's well-known cynophobia and a plan is forged. Amusingly enough, if you talk to her in the office before speaking with the "Mayor," she'll basically describe the plan right in front of him.
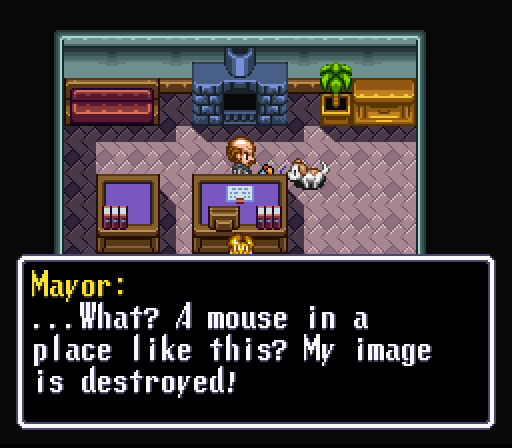
To the fake's credit, it gives the exact same response to a mouse that the original did. However, once he fails to freak out about the presence of the pup, Mint calls him on it and exposes him for a fraud. Turns out he's Rose's biggest fan and he's going to defeat Brain in her name! I'd like to see him try.

This is Papamecha and, after boss fights like Marumana and Bigeye, he's surprisingly simple and straightforward. He's a lot like a boss version of the Bosstoads from in the Volcano - he's programmed to try and get behind your bot and hit them hard with his gatling guns and rockets. This can be very dangerous, but having having a high Guard and a Solar Pack goes a long way in helping to mitigate most of the damage.
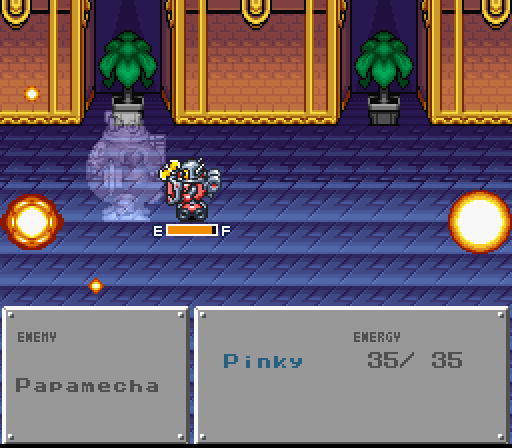
It also helps that, in trying to get to your robot's back, he leaves himself open to back attacks quite frequently as well. His smaller size also means less bulk to maneuver around, especially with the increased mobility of Boots 4. Just make sure to hit him with normal attacks - Run attacks will actually do less damage - and Papamecha should start exploding in short order. About four or five hits, in fact, gear and crits notwithstanding.

He actually gives less experience than boss at this stage should - as much as a Shell, in fact. Still, considering Pinky did manage to drop a Shell, this manages to be enough for a level anyway. Definitely getting up there in both Power and Guard.
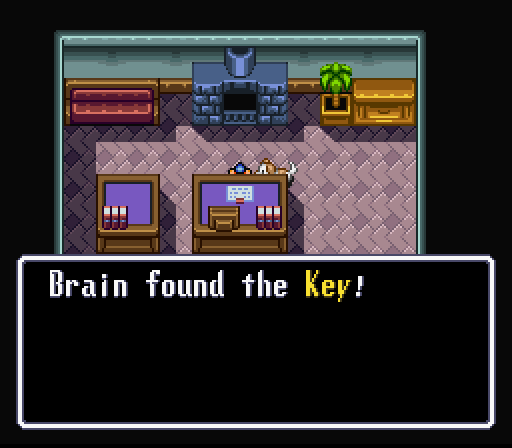
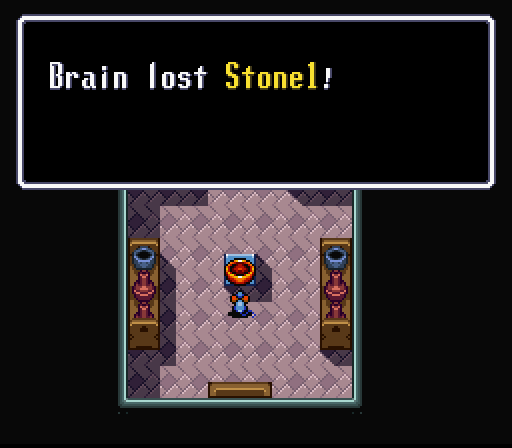
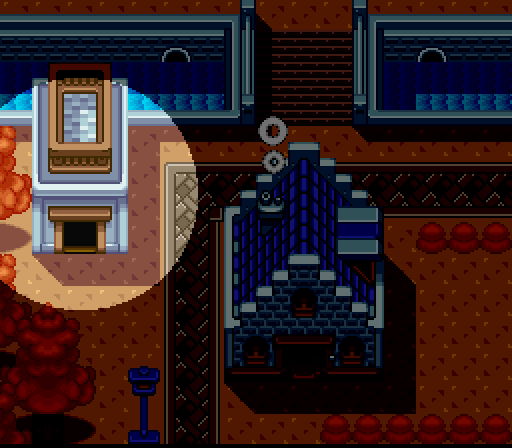
With Papamecha defeated, all that's left is to nab the key from the desk and go free the real Mayor. In return, he tells us that the MacGuffin is hidden behind the fireplace in the next room. Once he's told our hero, we can check the spot and it'll open to lead to a hidden room with the stone. Unfortunately, that played right into Rose's hand and she immediately snatches it away.
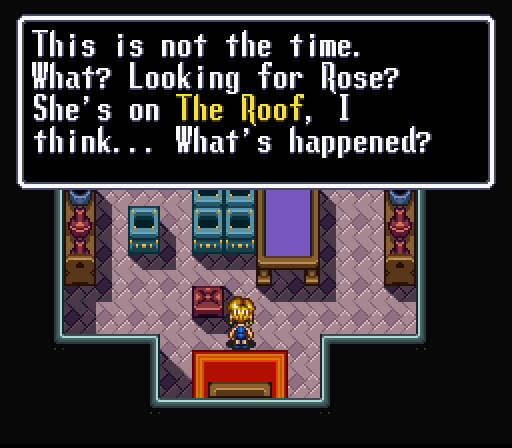
Leaving to give chase results in Mint holding up our hero to try and nab a photo for her article. There's no time for that, though, there's MacGuffins to reclaim. Fortunately, she saw where Rose went.
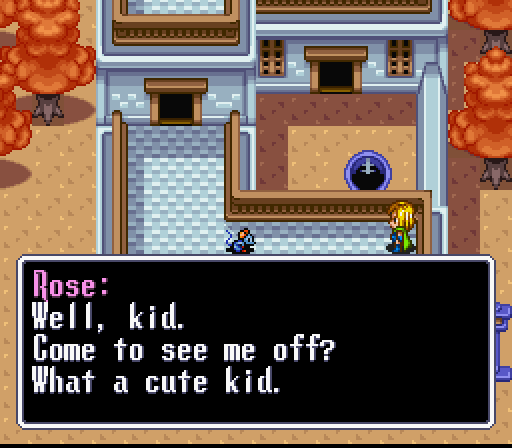
Less fortunately, Rose teleports away with all three MacGuffins in her clutches.
So, to cheer ourselves up, we take the Mayor's bribe money.
Next Time: Way Past Cool