Part 2: The Crabb Philosophy
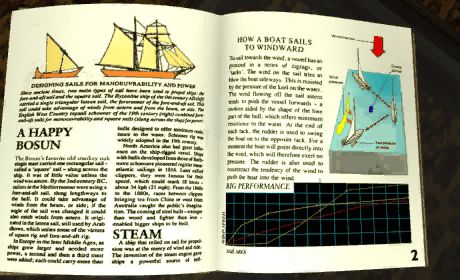
Before we move on, there's one more thing we've got to check out in the reception. To the right of the computer is a red binder that we can read, and the contents are good to know (pictures are from the source file, which is why the UI is gone):
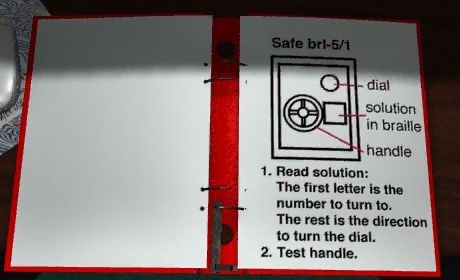
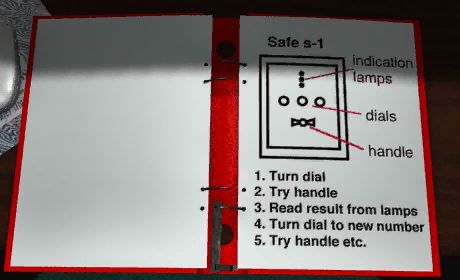
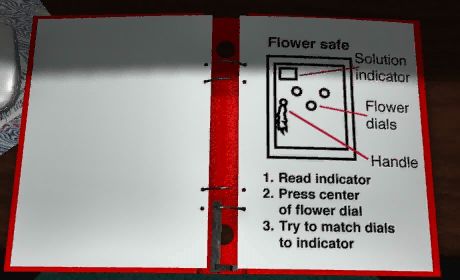

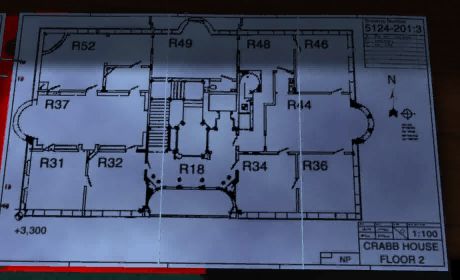
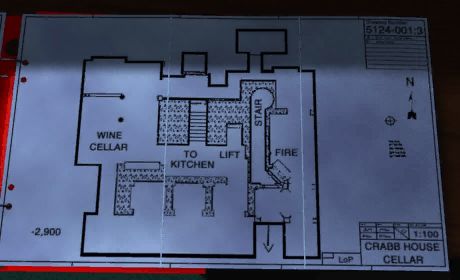
While the safe guides aren't all that enlightening beyond letting us know two safe types we're going to see (both in this update, as a matter of fact), but the map is really handy, if just for orientation purposes. The first thing we're going to do is make a lap around the outer rim of the mansion in a counter-clockwise fashion (essentially going from R01 to R13), then visit the inner rooms before moving on to the other floors. But first,
we need to get moving. Making our exit through the right-hand door, we make our way to...
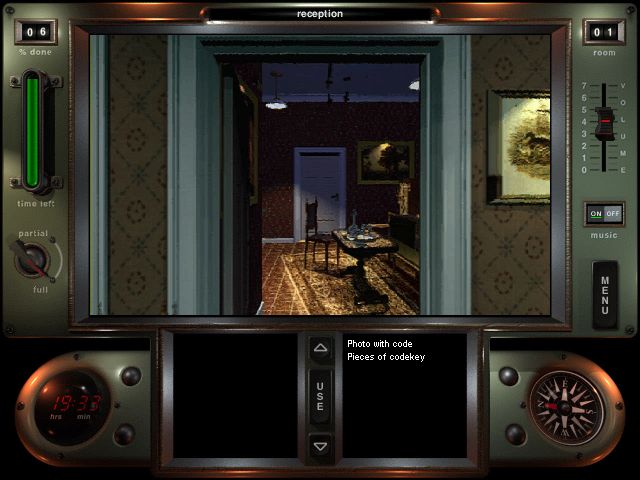
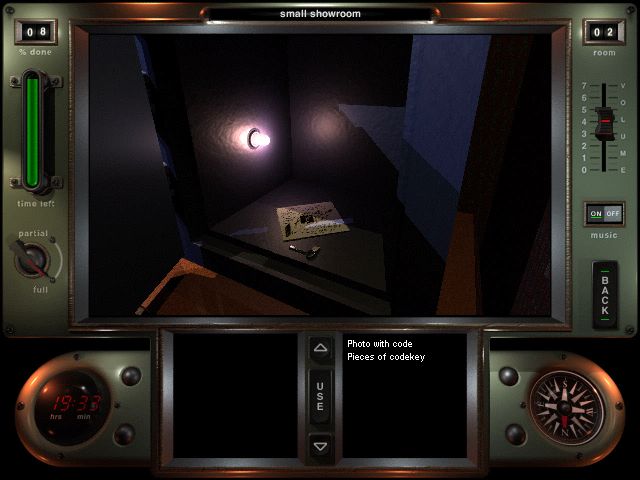
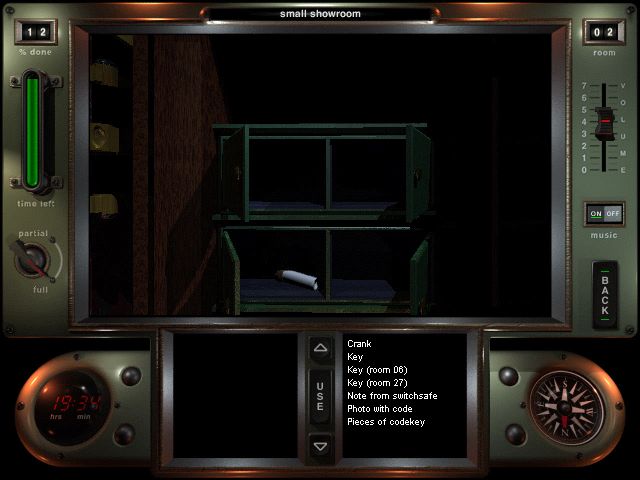
Room #02: The Small Showroom
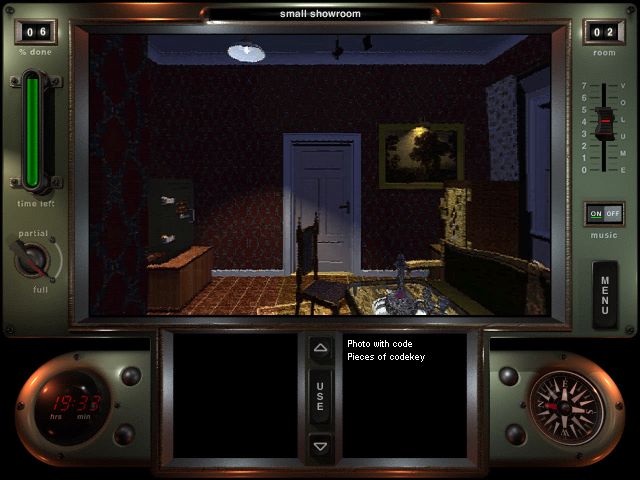
I guess this is where minor business partners and non-corporate customers get their presentation on what Crabb and Sons is capable of. Smooth tune going on, too. And what do I spy? Three safes, with one right next to us! I'd say we get to work immediately, then:

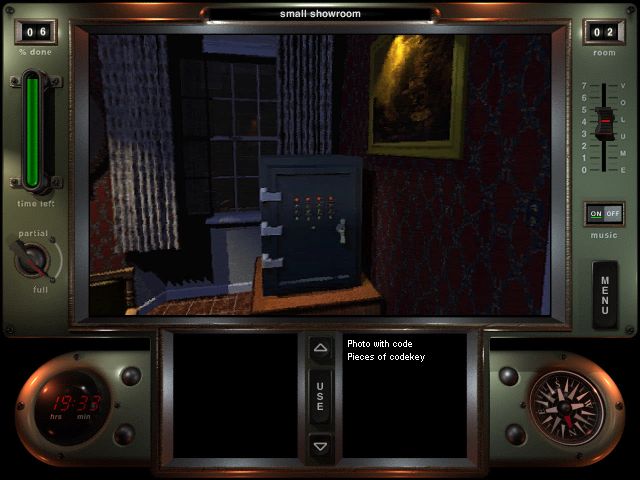
Puzzle #5: Small Showroom Sequence Safe
This one's pretty basic, and we'll see a more complicated version of this one somewhere else in the mansion. Here, you've got eight switches, and you have to flip them in the right order. Flip one wrong, and the whole thing resets so you have to start again. But since there's only eight switches, it's not hard to figure it out eventually. The solution is as follows:
4 2 6 7
3 5 1 8
And in motion. So what's our reward this time?
A key (room 06) and a note from the switch safe. Let's take a look at that note:
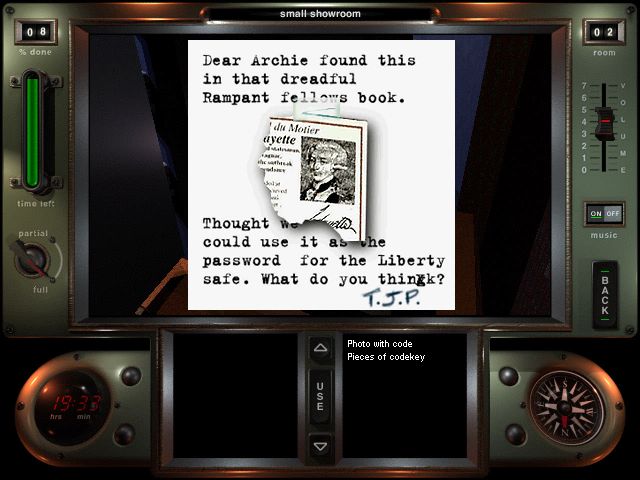
Ah, a note from our dear Mr. Petherbridge. Looks like we've got ourselves a hint for the combination to another safe - that'll come in handy. Moving on, we've still got two safes to go:
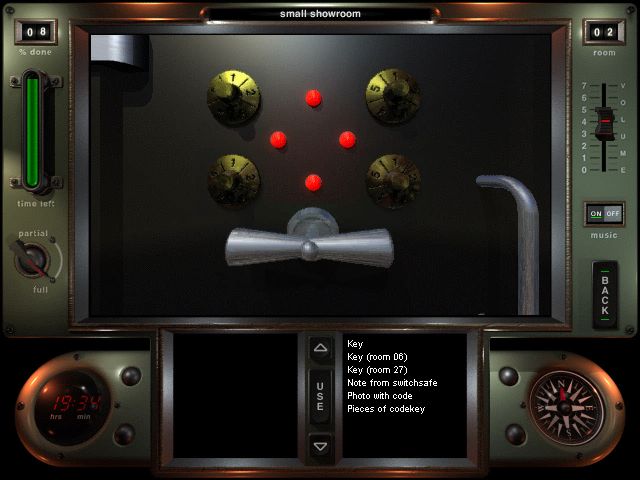
Puzzle #6: Small Showroom Combination Safe
Second verse, same as the first. Trial and error brings us to the combination:
3 2
3 1
These are really easy to solve. And what was this safe guarding?
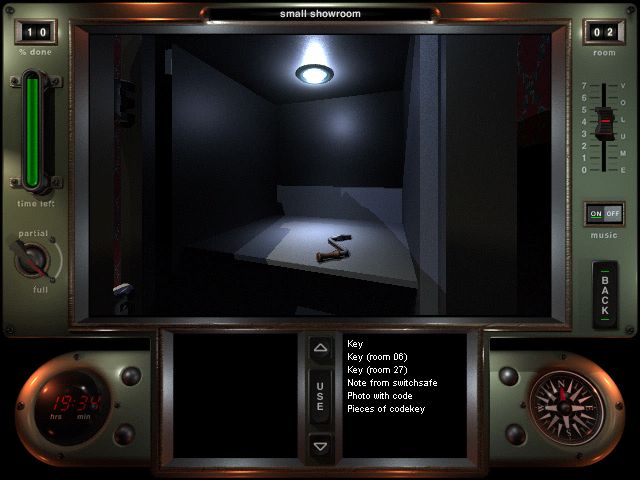
...a crank. Mysterious. Anyway, there's still one safe left to crack, so without further ado:

Puzzle #7: The Pascal Safe
Now this one is just completely ridiculous. I mean, just look at it! You've already solved this one, haven't you? Yes, it's the famous Pascal's Triangle, where a number is the sum of the two numbers above it.
It's not exactly rocket surgery or brain science. So, what are we getting out of this one?
A scroll? Let's unravel that sucker:
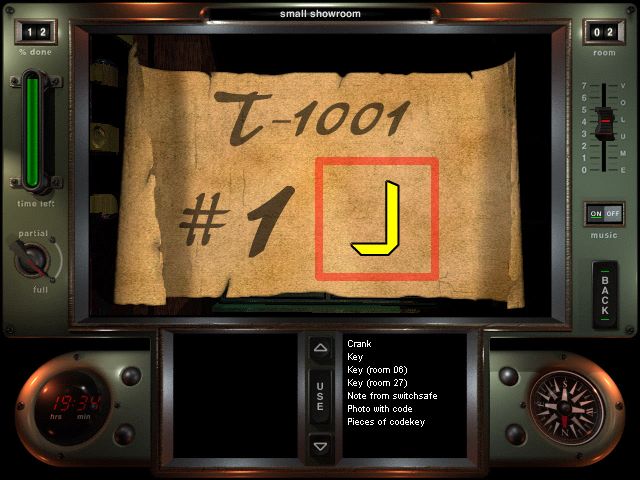
Ah, so this is the first part of the T-1001 scrolls. These hold the combination to the main Crabb master safe and are going to be vital if we want to finish this game. Now, there's one more thing in this room we can check out:
We can read these catalogues. Now, I took these pictures directly from the source because I couldn't be arsed cropping the UI out, because there's two screens worth of picture per page. However, the pages are kind of weird. Put together, they're not all the same size, so a few pictures might look a bit off (most notably page 4).
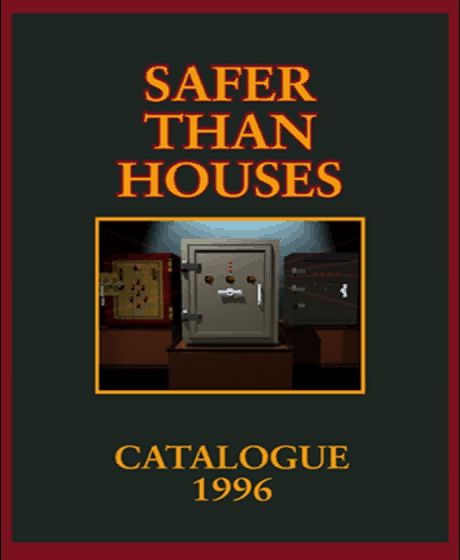

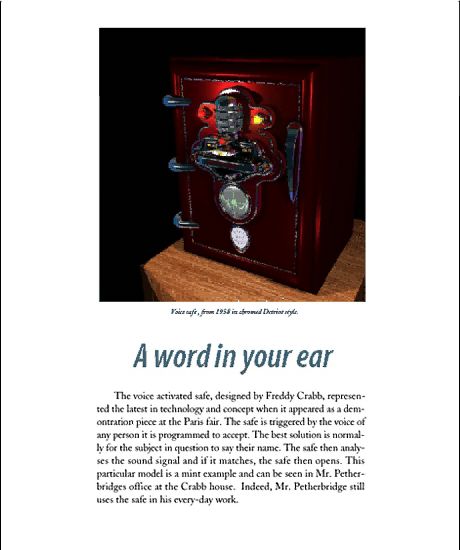
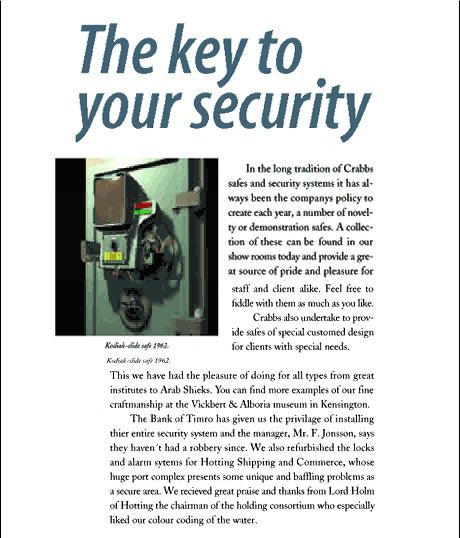
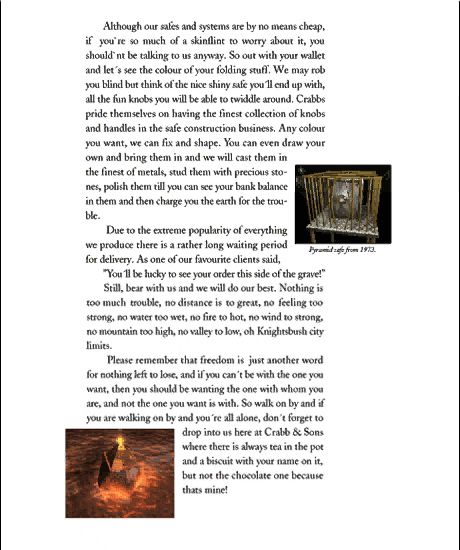
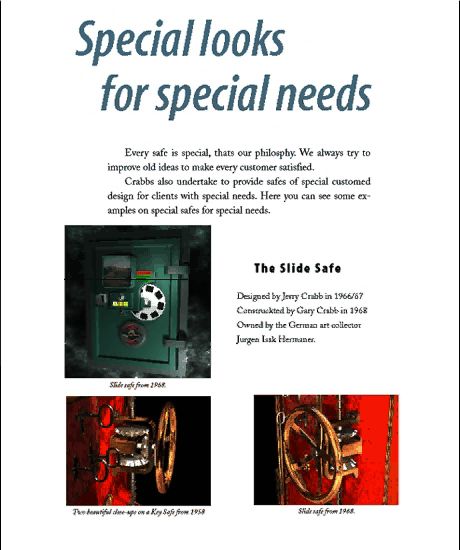
This is a pretty neat catalogue. This is one of those examples of worldbuilding I mentioned - give the company its own character. I really like the "Crabb and Sons: Where there is always tea in the pot and a biscuit with your name on it, but not the chocolate one because that's mine" tagline. I wonder how many of these safes we're going to encounter in this mansion? (Hint: Probably every one) With that done, we can now move on to the next room:
Room #03: The Designers Room
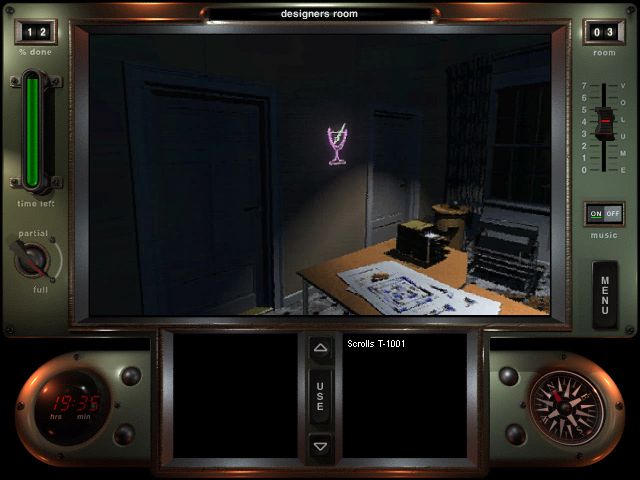
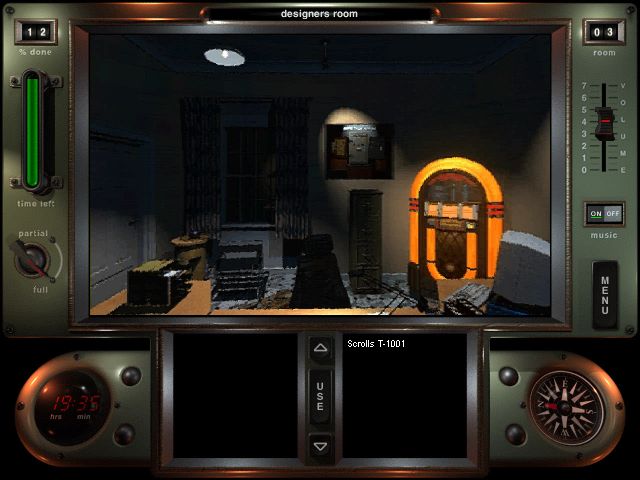
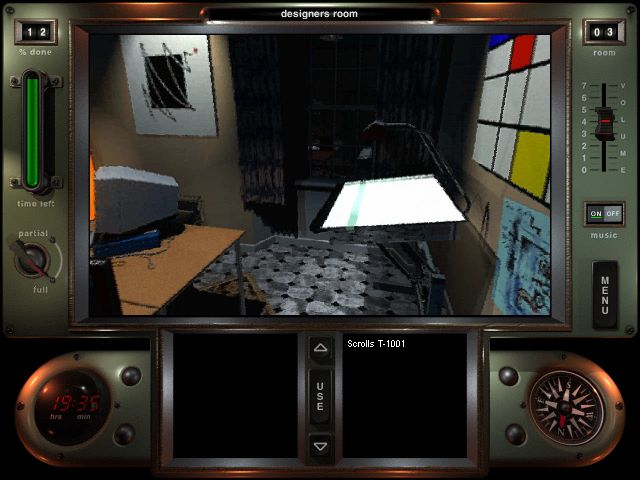
Looks like a room for designers, alright. Music's really funky, too. It's even got a juke box - a juke box I can interact with, apparently.
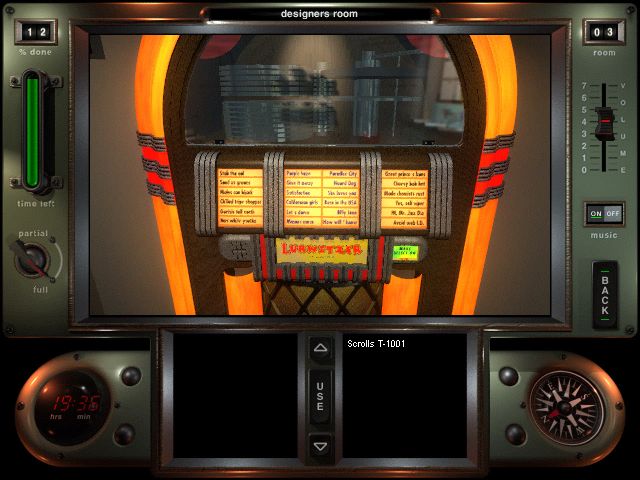
Hm... looks like it needs coins. I'd rather not be throwing my limited coins in there as long as I have no idea what I'm doing. So let's make our way to...
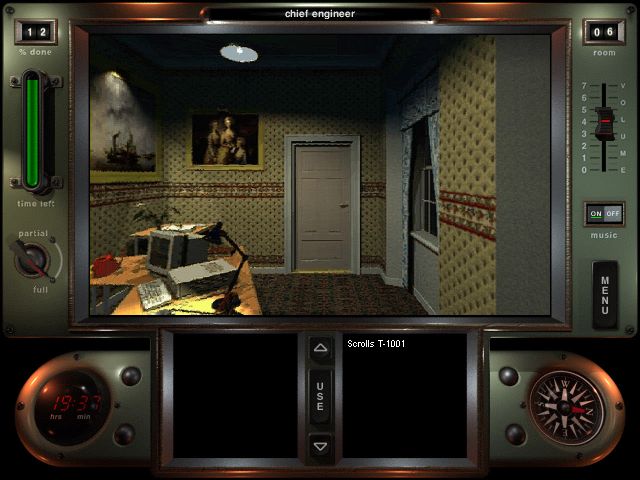
Room #04: The Coffee Room
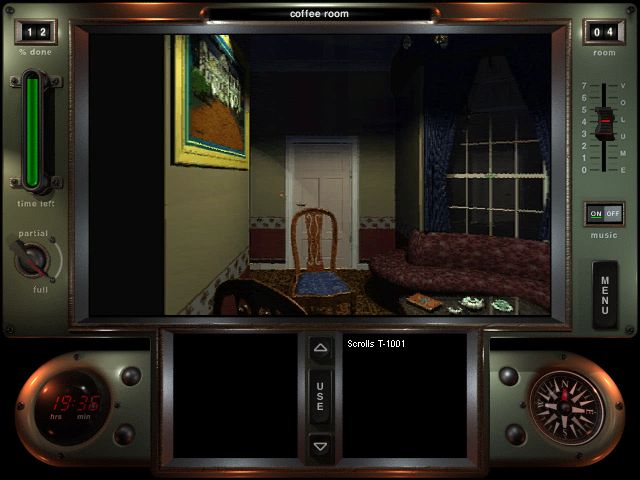
Apart from the sweet tune, this room has nothing interesting. That is, except that one thing I'll talk about in the end because I only figured it out after recording the footage. For now, let's go straight ahead to...
Room #05: The Constructors Office
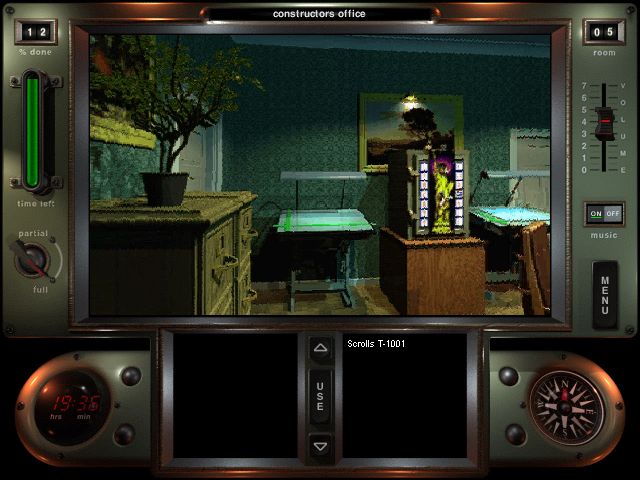
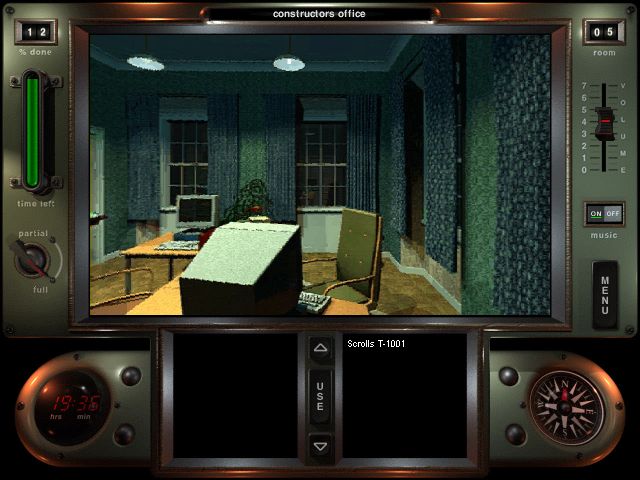
Yeah, that's an office alright. Nothing much that stands out here apart from that safe. The BGM is meh, too.
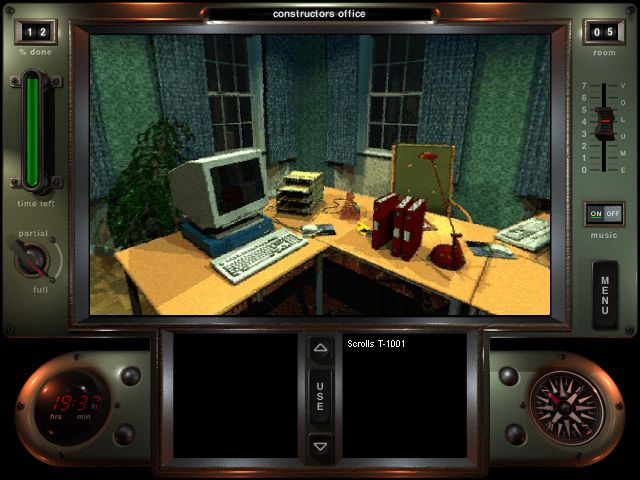
However, we can interact with this computer here!
Well, that was interesting. It's like we're going recursive. Also, there's a diagram on one of those tables we can take a look at:
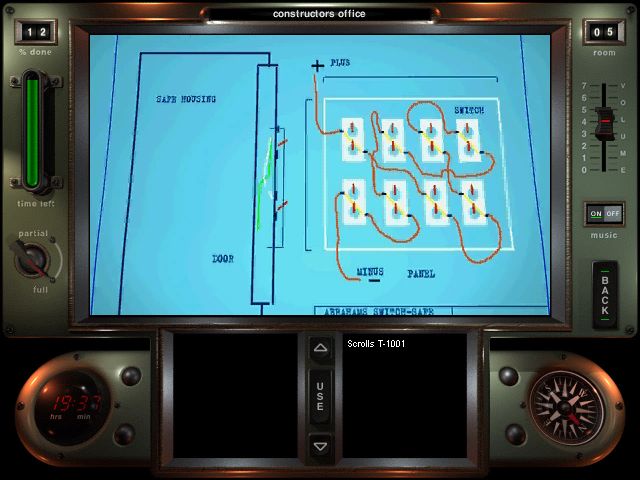
This is a diagram for the more complex switch safe I mentioned earlier, and it's going to make that mess a whole lot easier. But now, let's check out that funky-looking safe:
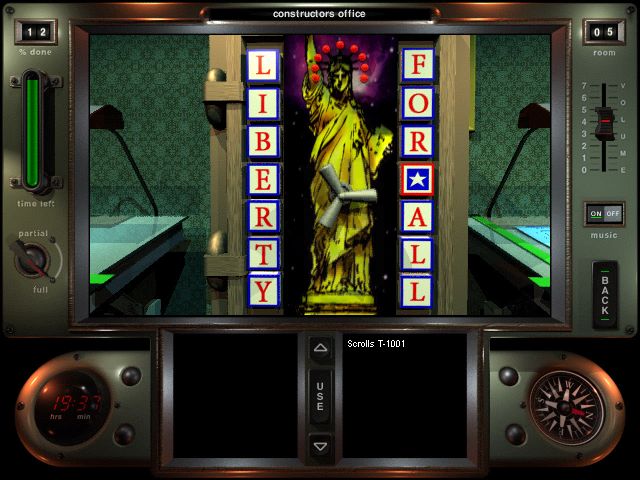
...well then. Looks like we need to punch in nine letters, and I'm pretty sure this is the safe the memo from Petherbridge was referring to. We'll get back to this one once we figure out just who that guy on the picture is. With nothing else to do here, let's head to...
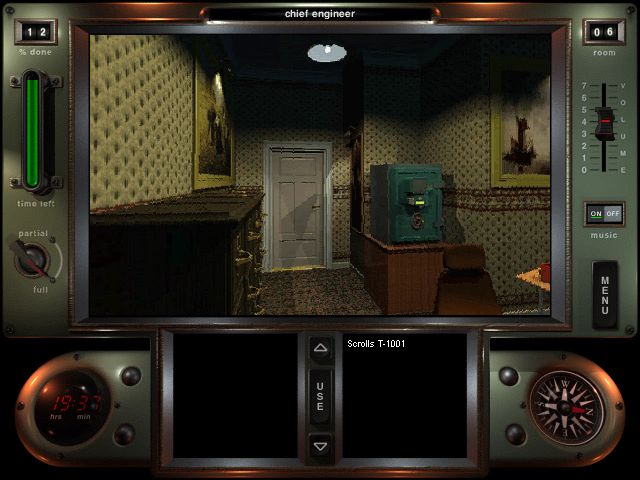
Room #06: The Chief Engineer Office
BGM
While I see a safe right there, there's also a drawer that we can interact with:
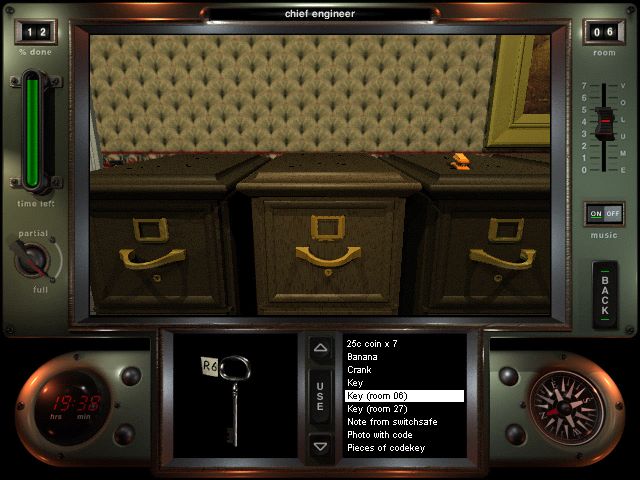
Locked. What a coincidence, we've got a key for room #06! So let's unlock this bastard and see what's inside:
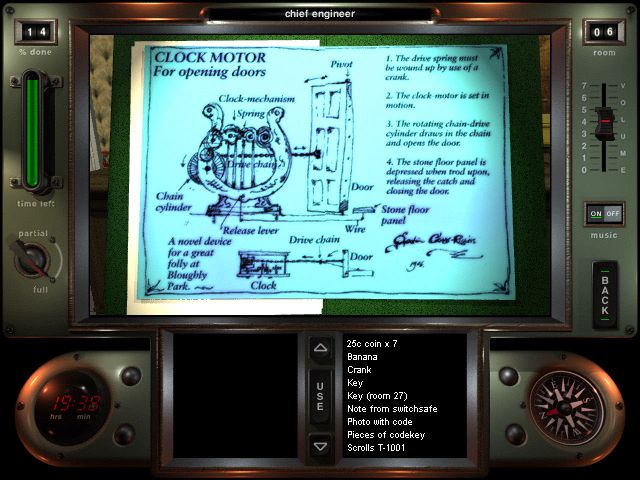
A clock motor note that we take with us. Wound up by use of a crank, you say? Well, then let's check out the safe:
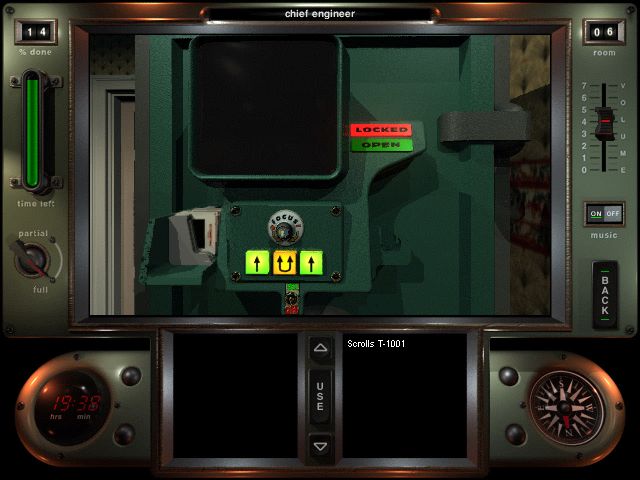
...hrm. I can push the left and middle button and the picture displayed in the window changes, along with some weird overlays. It seems there's something missing to this one... as a matter of fact, let's check that catalogue again:
Aha! Looks like we need to get that thing there before we're going anywhere. With that, we're done with this room. Next up is...
Room #07: The Big Showroom
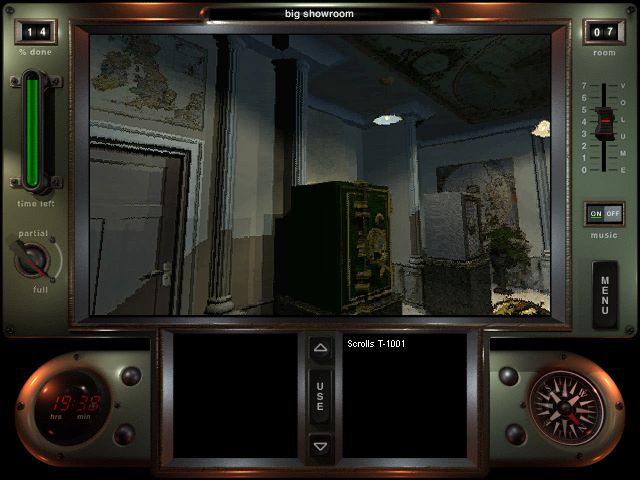
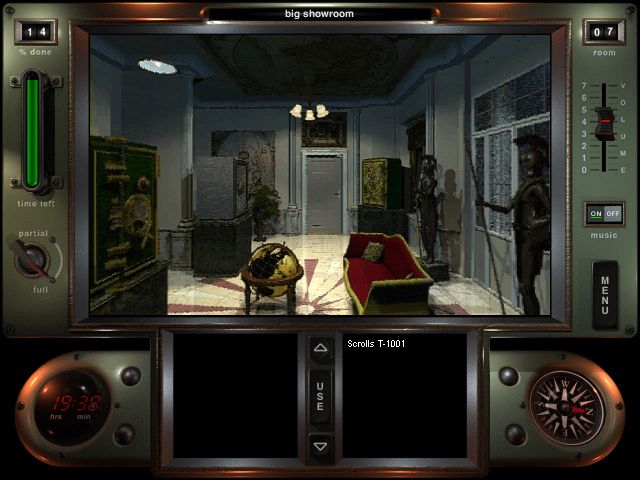
Holy hell! Now THAT's a fancy room. Even the music just oozes fancy. So this is where the bigwigs get their safes presented. And just like in the small showroom, they're lined up for the picking, so let's get going!
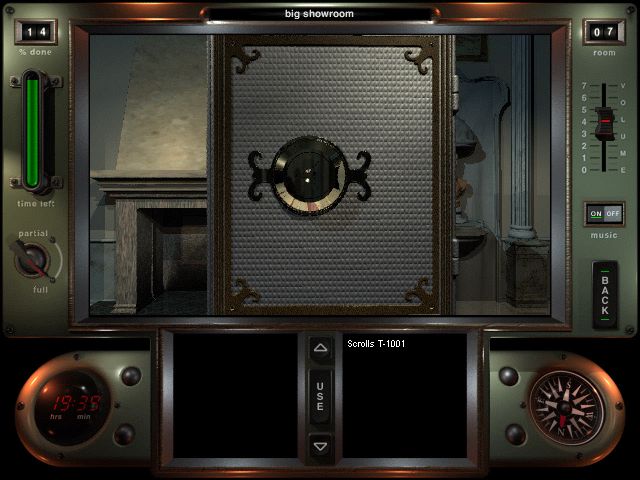
...hm. We need three keys, which we don't have. Moving on...
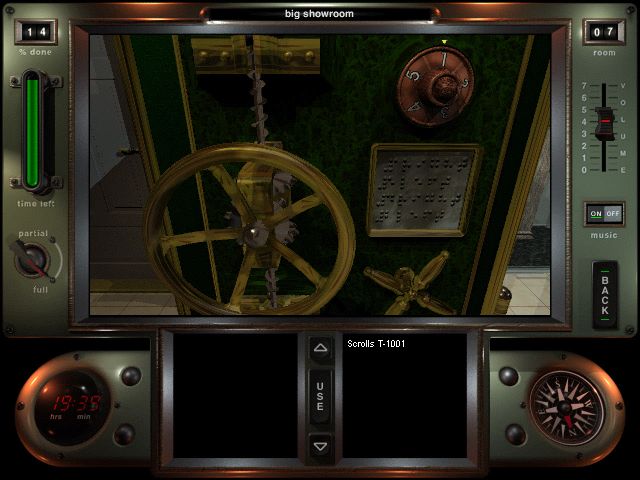
...looks like we're coming back to this one after we learn braille.
And this one is just weird. It's like the handle is just missing entirely. Is there a single safe in here we can actually unlock now?
There we go.
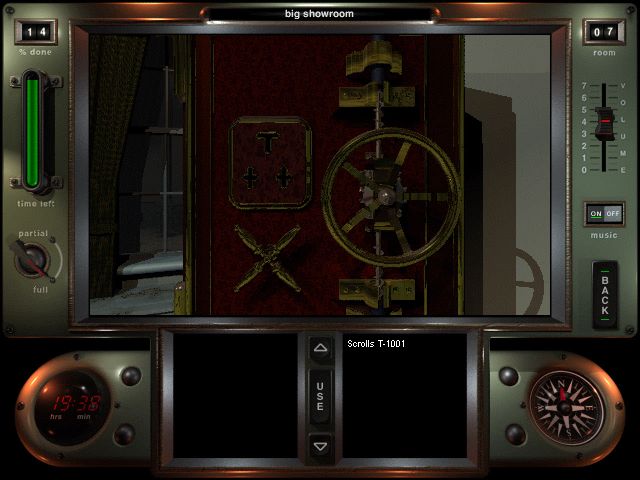
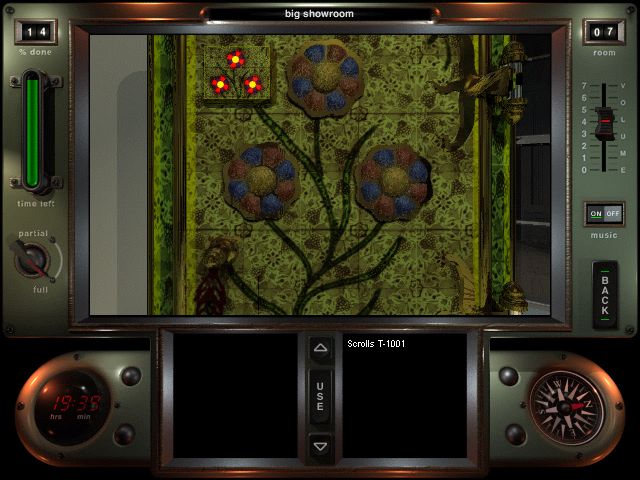
Puzzle #8: The Flower Safe
This one's kind of tricky until you figure out the simple trick. You start with all three flowers unlit. If you click one flower, the other two take one step forwards - in this order:
Unlit -> Yellow -> Pink -> Red -> Green -> Cyan -> Blue -> Unlit
The simple trick here is that if you click the three flowers once each, you make a double jump and end up with all flowers having the same color in this order:
Unlit -> Pink -> Green -> Blue -> Yellow -> Red
And once you hit red, the safe unlocks. Here's how it all plays out. And the spoils are:
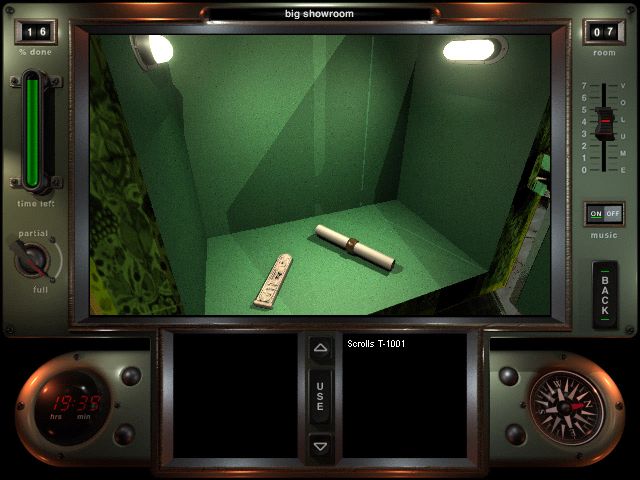
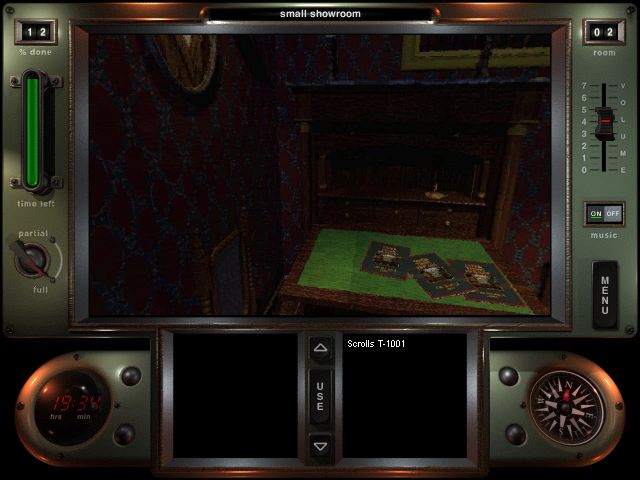
An Egyptian cypher and another T-1001 scroll:
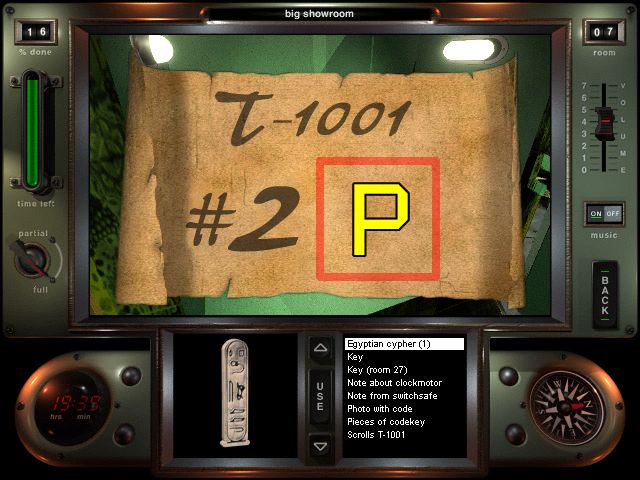
So far they're coming in in order.
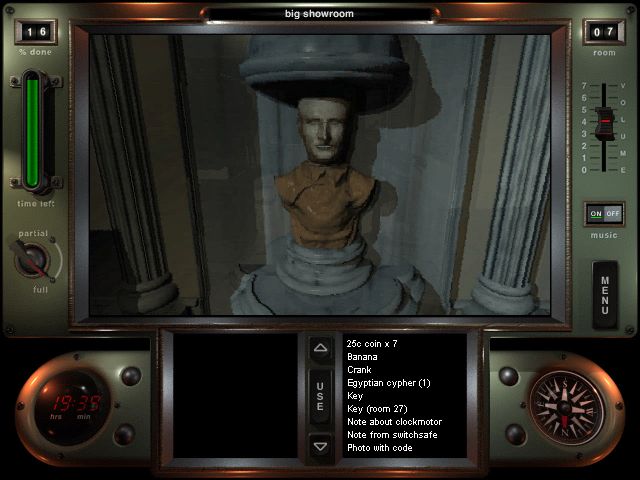
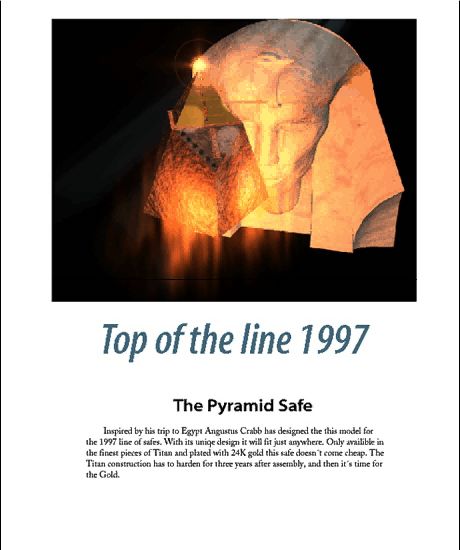
I wonder who this guy is? His bust is all tucked away in a corner.
With this room as done as we can be with it so far, that'll be it for this update. Next time, we'll go full circle and end up in the reception again.
ADDENDUM:
You might have noticed a book laying on the table in the coffee room. Yeah, you can actually read that. I completely missed it because I never figured out exactly how to get to the book. Turns out there's a small hotspot that brings you behind the table, and from there you can read the book. Anyway, here's what's in it:
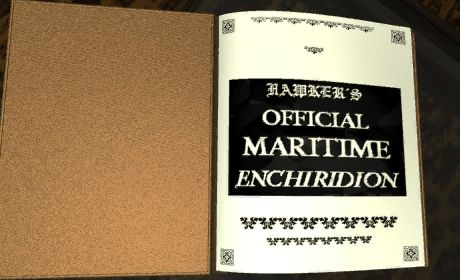
I bet something out of that book is going to be relevant later.