Part 7: Land Down Under
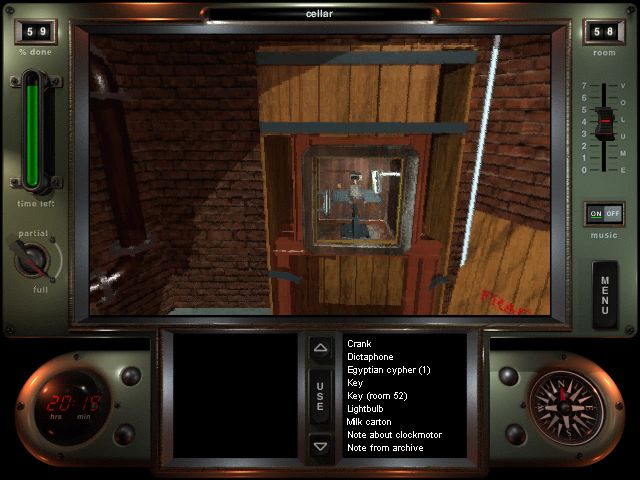
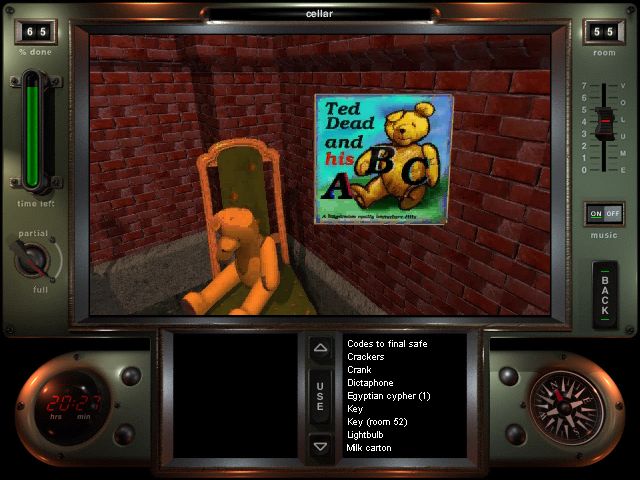
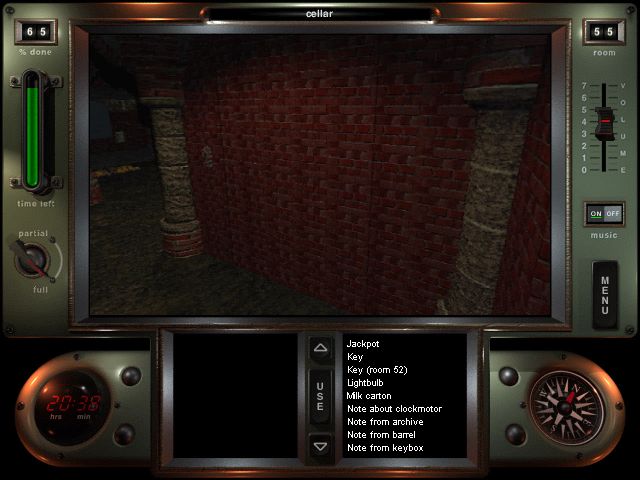
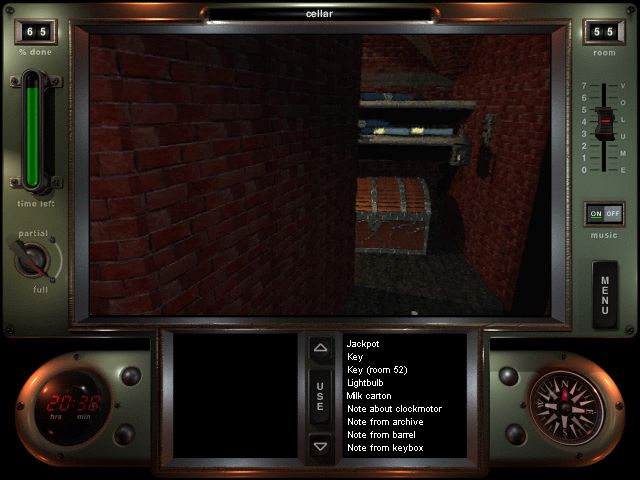
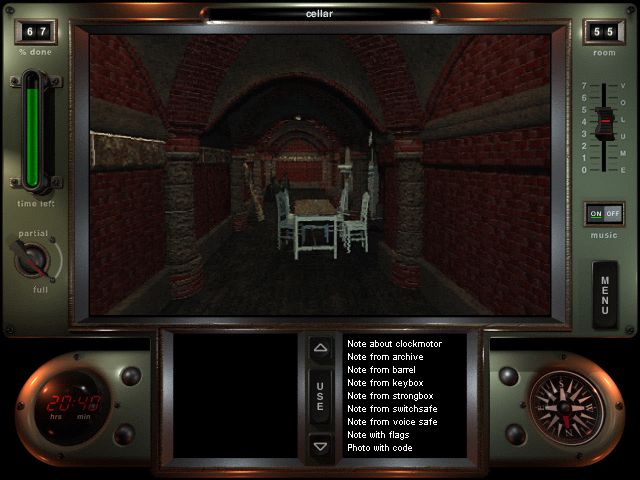
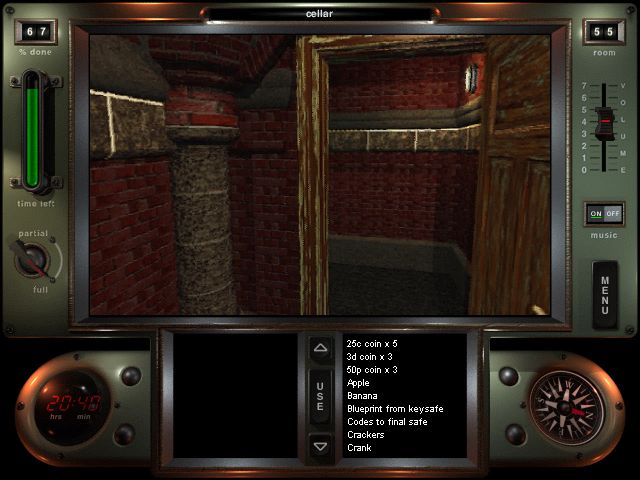
Last time, Crabb and Sons unceremoniously dropped us two stories. That was either a company joke, or a reminder of our future status in the company. Either way, we've landed in...Room #55: The Cellar
Spooky music.
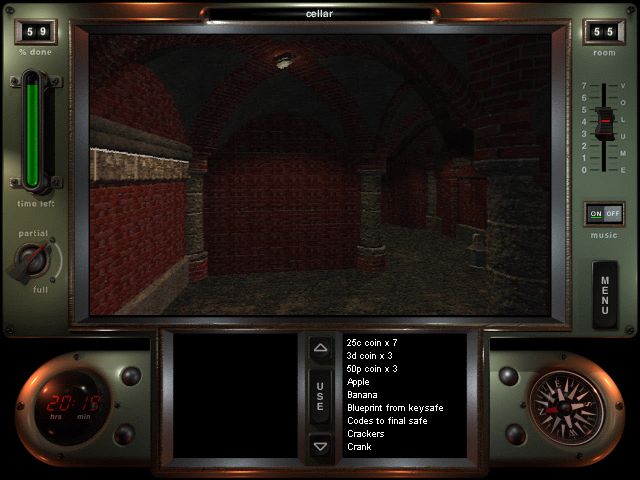
Anyway, we've got shit to do, broken joints be damned, so let's explore.
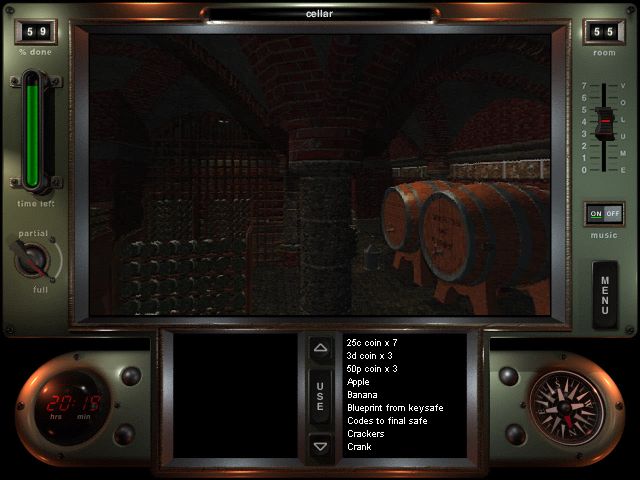
Looks like Crabb and Sons has a private wine cellar, and with every employee knowing how to get into the cellar (we'll be seeing soon how normal people do it instead of our masochistic plunge), I suspect they've had the occasional problem with that.
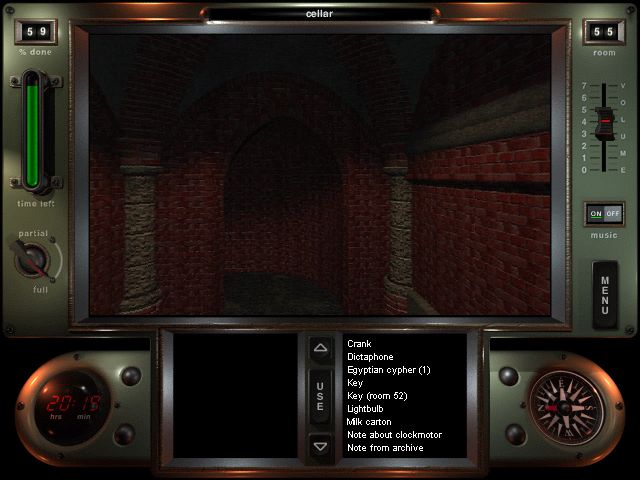
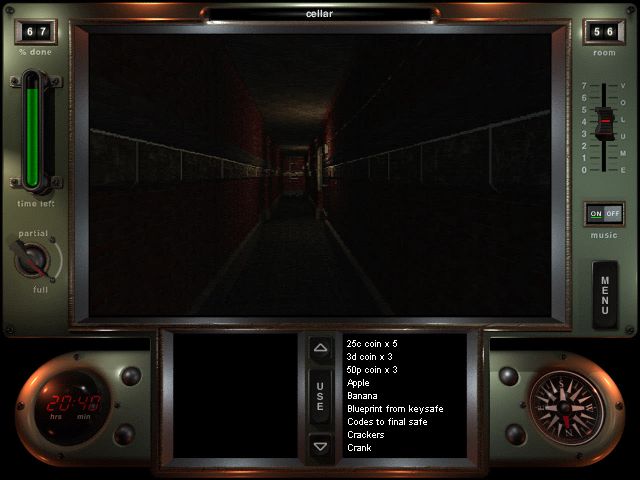
To the left, we find a narrow, winding hallway...
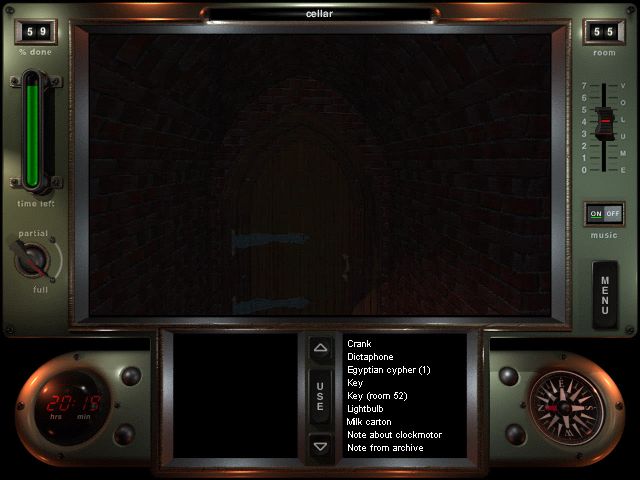
...which leads to a door leading to a new room:
Room #58: Some Sod's Personal Workshop, I Suppose, Not Really Sure
That's some bizarre contraption, that's for sure. However, to the right, we find a little binder that explains just what we're dealing with here:
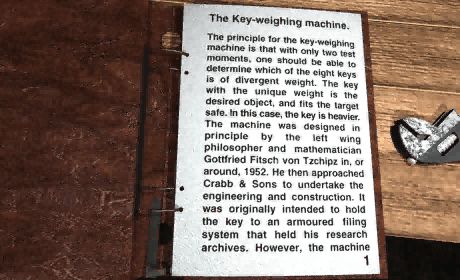
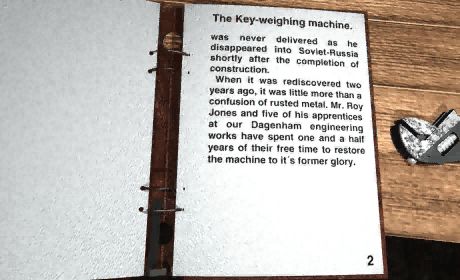
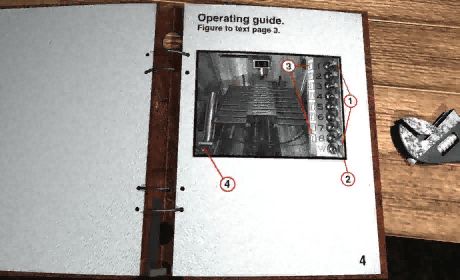
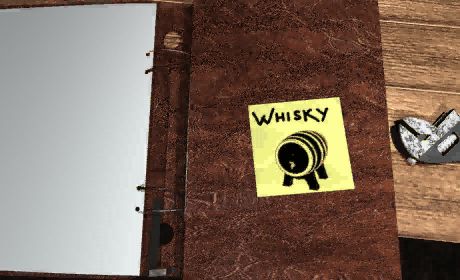
"Whisky"? Anyway, we now know what this machine is, so let's see if we can't get that key!
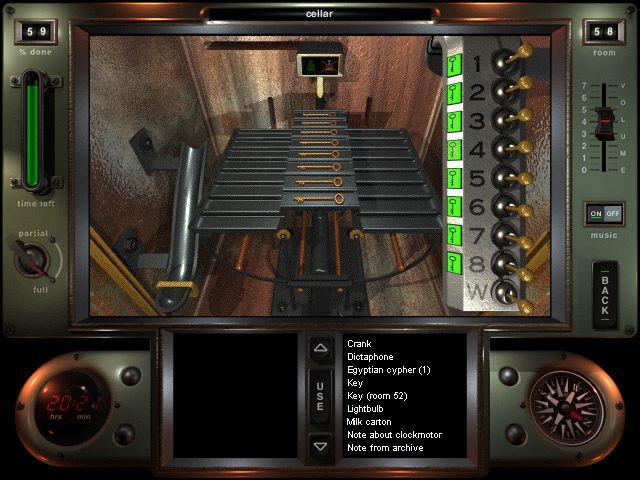
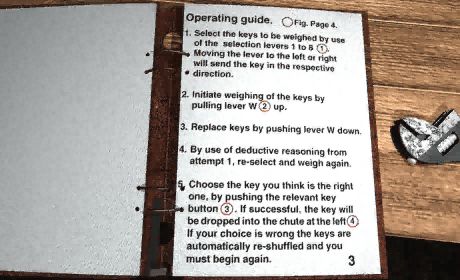
Puzzle #21: The Key-Weighing Machine
Pretty interesting puzzle, although it's a riff on a classic one, the old "find the odd one out of X objects by weighing Y times" chestnut. In this case, you've got eight keys and two weighing sessions. Basically, you weigh three keys vs. three keys. If they're both the same weight, weigh the last two you haven't weighed and find the solution. If one group is heavier than the other, weigh two from the group and figure out the solution from there. Easy - the biggest difficulty is fiddling with the controls for this machine and figuring out exactly what you're supposed to do.
Also, the machine fucks with you when it's "shuffling" (check the video). You can easily see there's a pattern when it shuffles, and you can easily find the one key you're looking for after the shuffling - or so you'd think, because the game actually randomizes the keys. So remember that you've got to start over once the machine shuffles. Otherwise, it shouldn't be too hard to figure out the right key. And what do we get for our trouble?

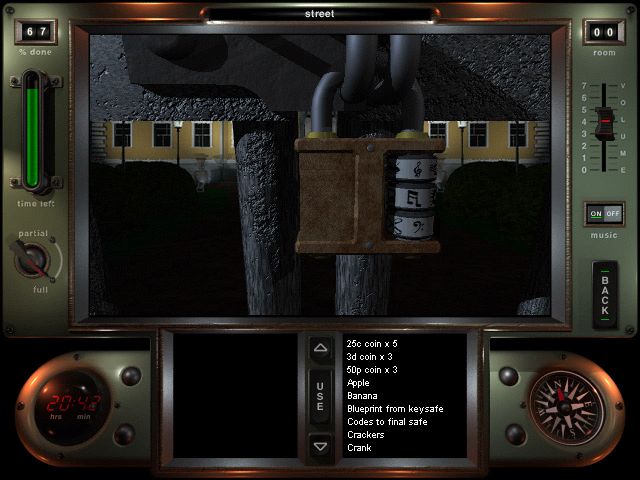
Well, the key, of course. And here's the video. With our new key in hand, let's take a look at those barrels near the wine cellar:
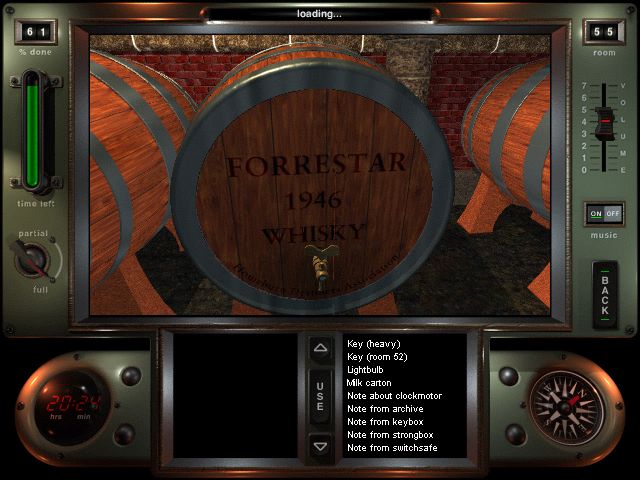
"Whisky"! That must be what the note was talking about. Let's turn the tap...

Keyhole! We use our new-found key...
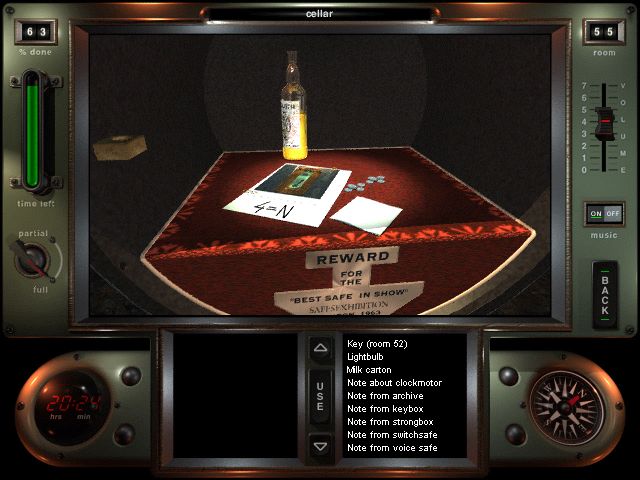
...and we get the spoils! A bottle of whisky, 8 US quarters, another photo with a code, and a note from the barrel, which I won't show just yet, but rather when it becomes relevant.
Also, this safe won the "best in show" award at the 1963 "Safesexhibition" (kind of unfortunate, the name, and I'm not sure it wasn't intentional) in London! A round of incredibly belated applause for Crabb and Sons! Yay! Anyway, moving on...
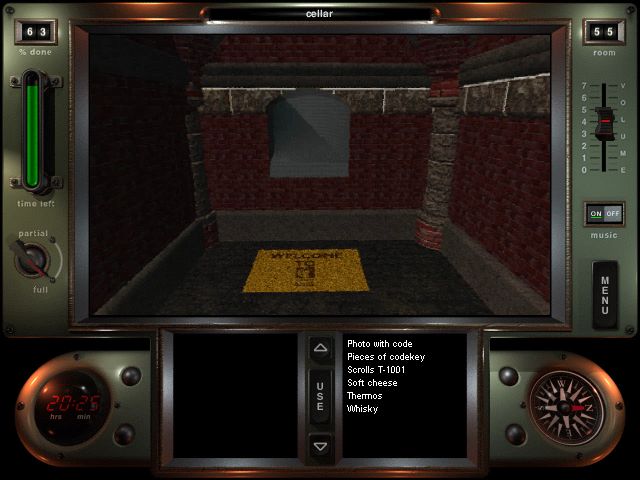
I took a look back to where we landed, and it looks like they had the courtesy to lay out a welcome mat for us! How considerate, although I think that didn't help much. Anyway, we bop around the cellar some more (I'll post an annotated map in the addendum, trying to map this cellar out through screenshots is far too complex), and we stumble over another safe!
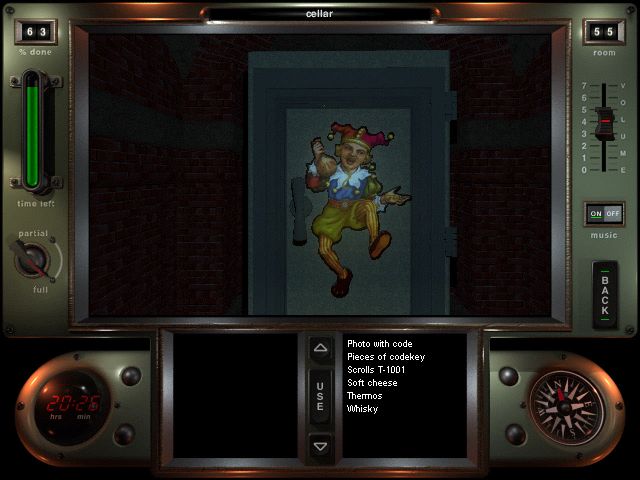
Puzzle #22: The Poker Joker
Hm? This thing won't open, but I don't see any buttons or anything, so what now?
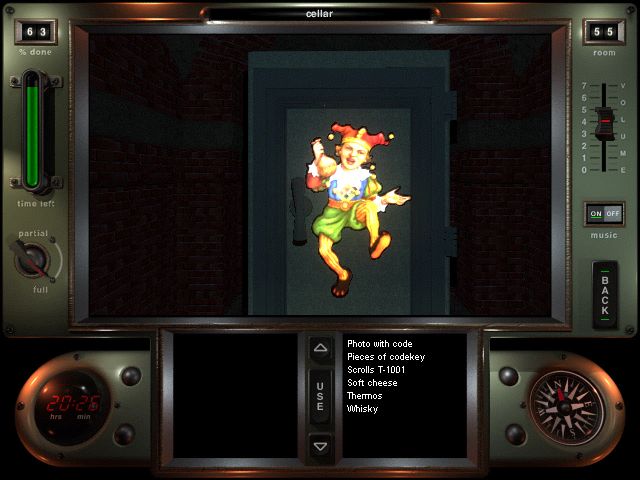
Oh, I click the joker, it lights up, and now I can open it! Alrighty then.
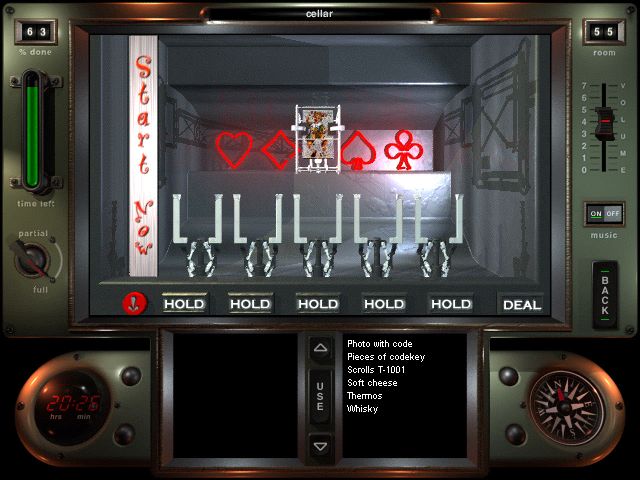
Anyway, this is a really simple puzzle. You click "start now", get the instruction "beat my hand", and the game deals both you and your "opponent" a hand. You can then pick which cards to hold and discard the rest (although your opponent doesn't get to do that, which skews the odds in your favor). Basic poker machine. And when you win?
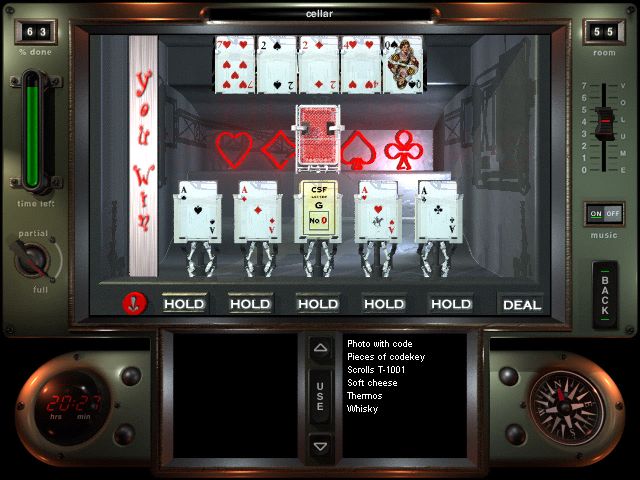
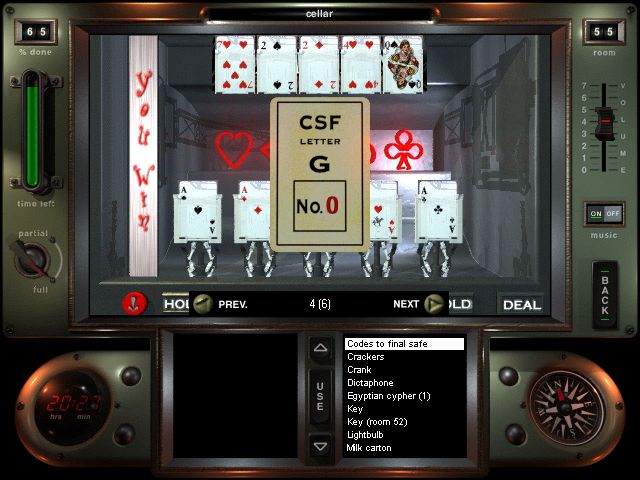
You get another code to the final safe. I just realized I only have half of those, if I'm not mistaken. That list better fill up fast. Also, here's the video.
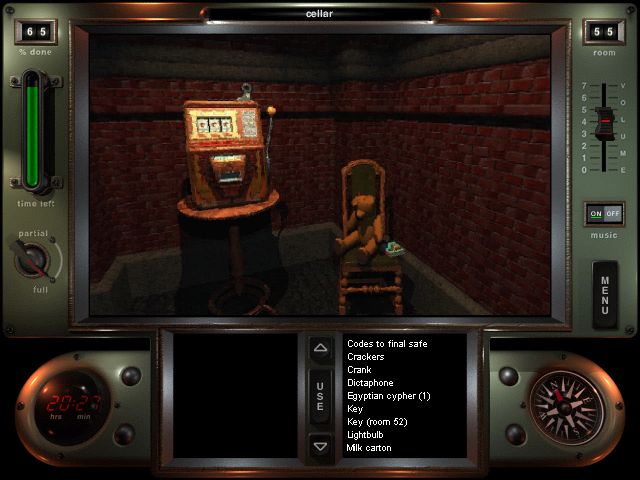
Anyway, right next to that machine, we find a curious assembly - childrens' toys and a slot machine. First of all, let's check out that book.
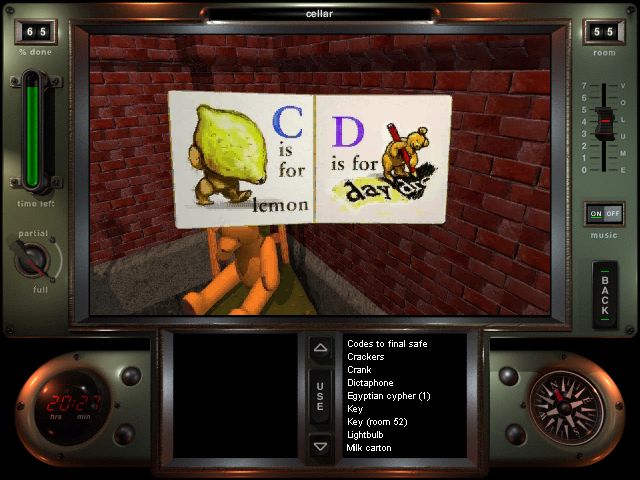
Developer cameo spotted! Also, "C" is for "lemon"? This clearly has some deeper meaning.
Also, I can interact with the teddy bear, which results in an amusing little show. So, now let's get to the slot machine.
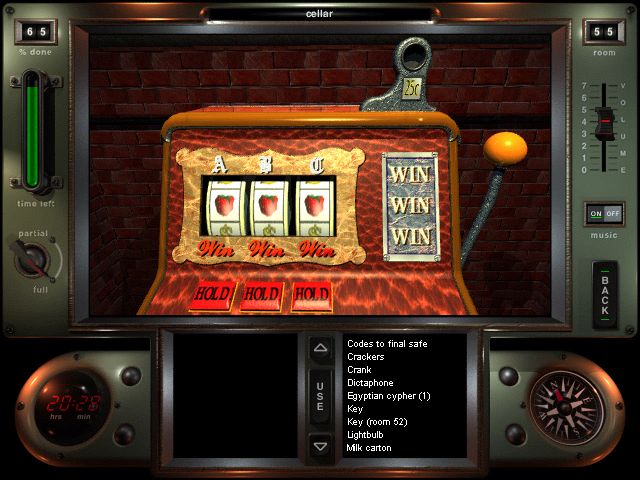
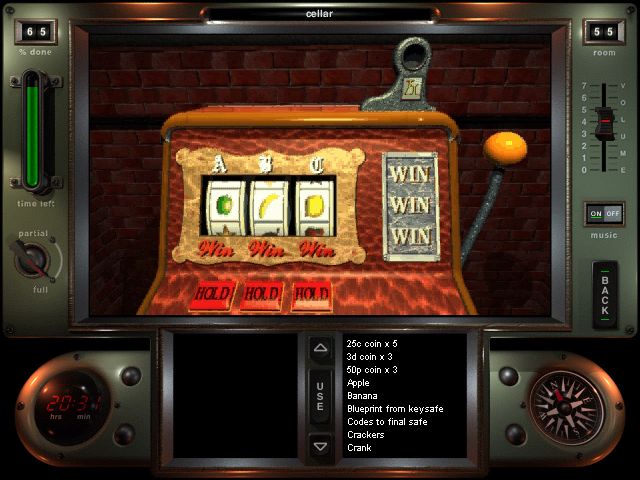
Oh boy. Oh boy. Let's talk about this motherfucker for a few minutes, or rather, let's talk about the circumstances surrounding this motherfucker first. Now, I've been playing this game for a bit, but the total game time it took for me to create the first six updates was 50 minutes. How long did it take for me in game time to create this update? One hour. How long did it take for me to "solve" this specific puzzle? 40 minutes.
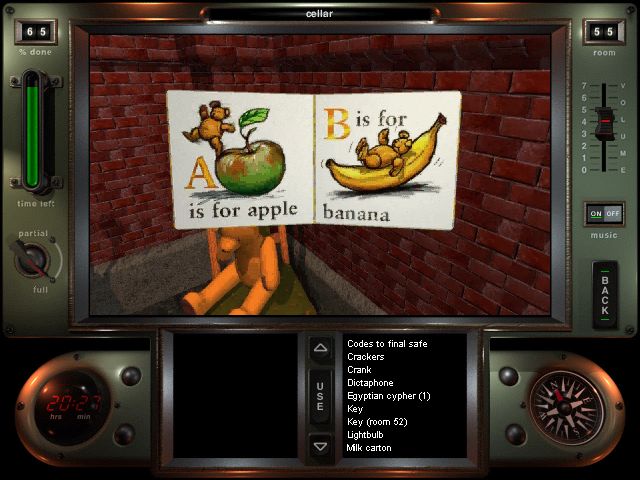
How could it have taken me this long? Well, let's explain this "puzzle": It's a slot machine. You put in one of your quarters, pull the handle, select which reels you want to hold, pull the handle again, select the reels again, pull the handle again, and then start over if you didn't get the winning combination. The winning combination, of course, is an apple on reel A, a banana on reel B, and a lemon on reel C, as according to the book we just read.
The problem with that? This fucking machine does NOT let you win. The poker machine lets you win fairly easily (I ended up beating it directly after the deal with 2 queens vs. 2 twos), but this thing will just not let you win. The only thing you can do is save beforehand and reload every time you run out of quarters. And you WILL run out of quarters.
For a good way to feel just how tedious this is, try staring at this GIF for five, ten, or maybe even twenty minutes.
Anyway, let's just say you stave off the boredom like I did, played for what felt like an eternity and managed to somehow hit the correct combination. What is your reward?
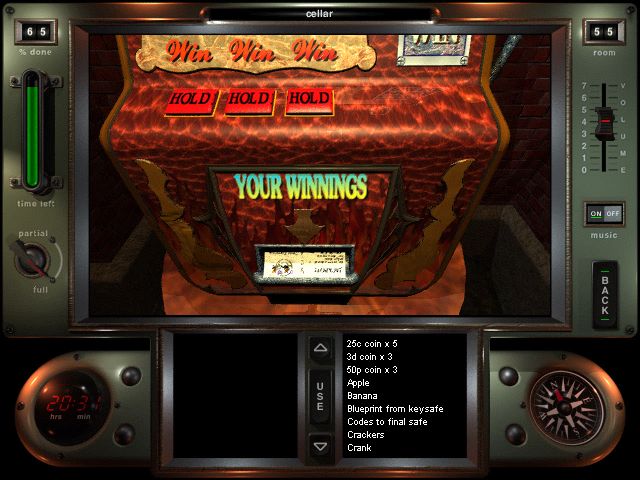
A card? Maybe for the safes at the end? No, it's something much better, and yet much, much worse...
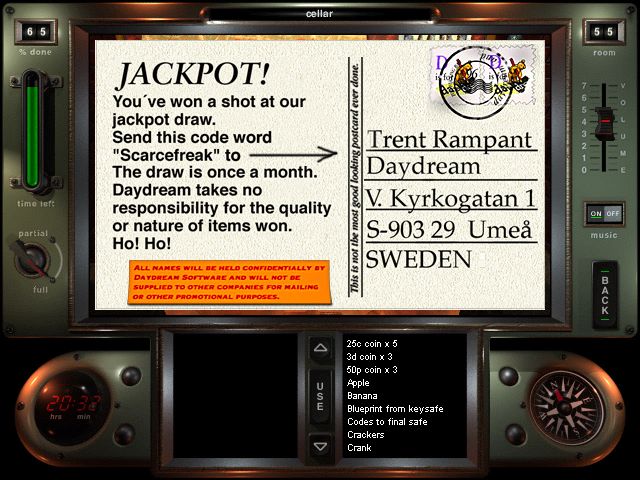
Yep, it's a mail-in competition where you can win something. Except Daydream has been dead for years. Even Resolution, the studio they turned into, has been bankrupt since 2012. I spent forty minutes playing a slot machine, and I didn't win a thing apart from experience. Fitting. Here's a video of me finally winning.
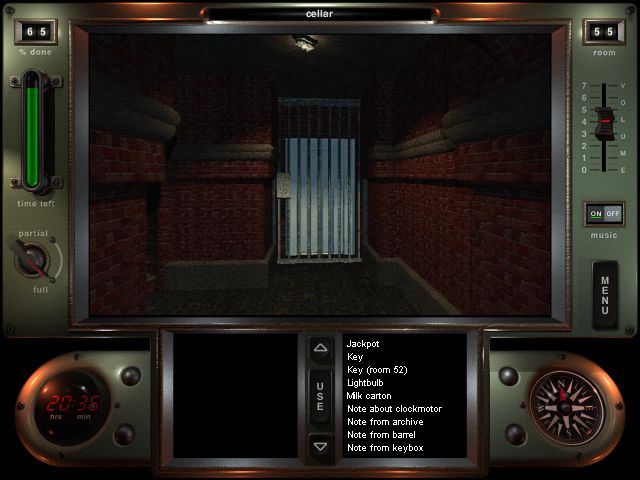
With that shit off my plate, let's roam around the cellar some more. Here's the barred elevator exit we saw earlier, and even though the door has a keyhole, we can't open it.
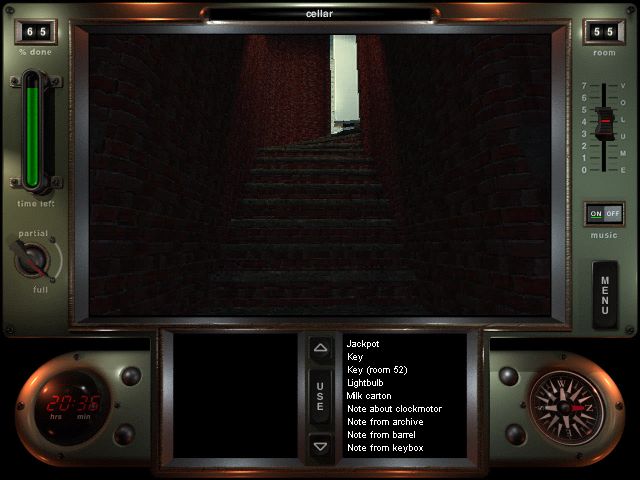
And here, we find some stairs upwards! Where do they lead?
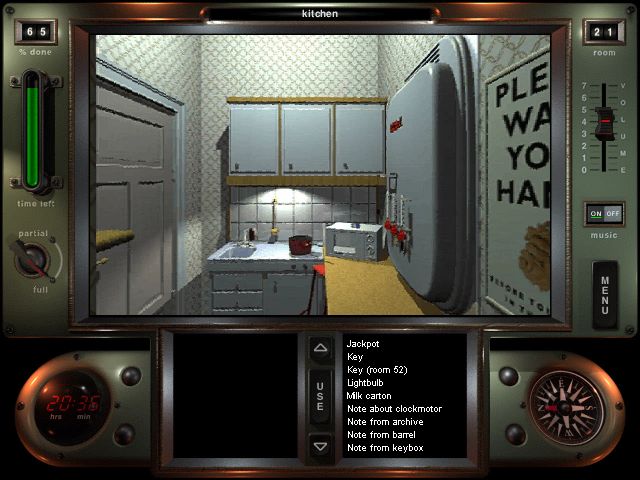
The kitchen! The stairs from the kitchen to the cellar have been mentioned occasionally, and we know they're operated by some sort of crank.
And since the door shut behind us, there's no time than now to find out how to open them. The solution?
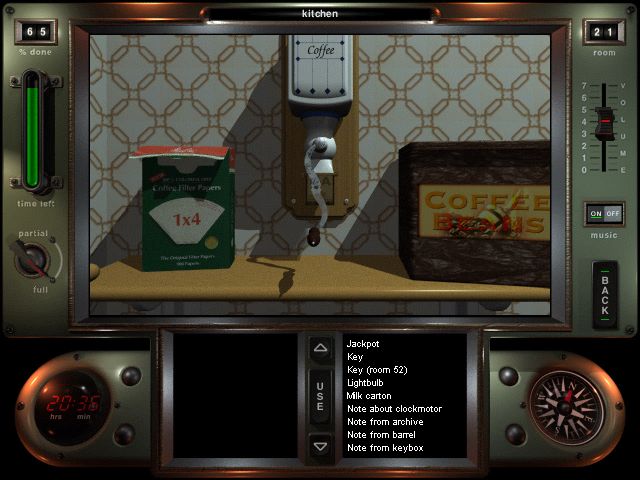
The coffee grinder. Turn it, and...
...the doors are open again! Since we're not done down there, we head back.
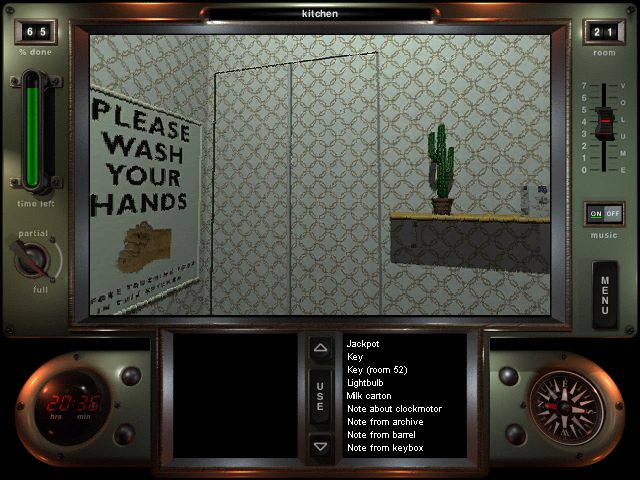
Now this took a long time for me to figure out, because I knew there was some sort of hidden compartment, but I had completely forgotten exactly where it is. If you look closely, you can see that the wall is just a bit off here.
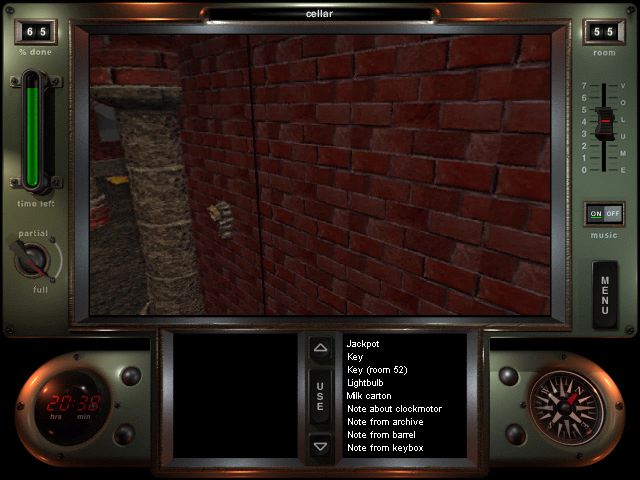
And if you fiddle with that switch on the side...
Room #59: The Hidden Compartment
...and we find ourselves in a hidden little room. There's two things of interest here - first of all, one of those blueprints hides a little secret:
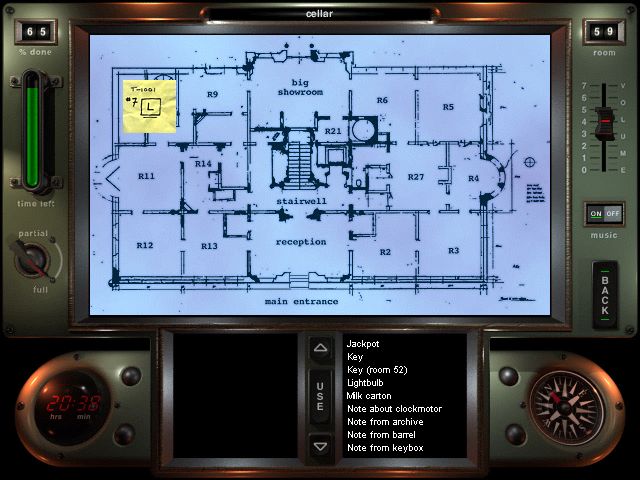
Part of the T-1001 codes is hidden inside! I had no idea this was something I could look at until this playthrough, and as such I always missed this clue. And second of all, there's a big-ass chest in the room:

A little bit dark. Let's take that flashlight and shine some light on this clue!
Looks familiar. We'll be using that information later.
Anyway, there's one more place to explore in the cellar, and that's this hallway.
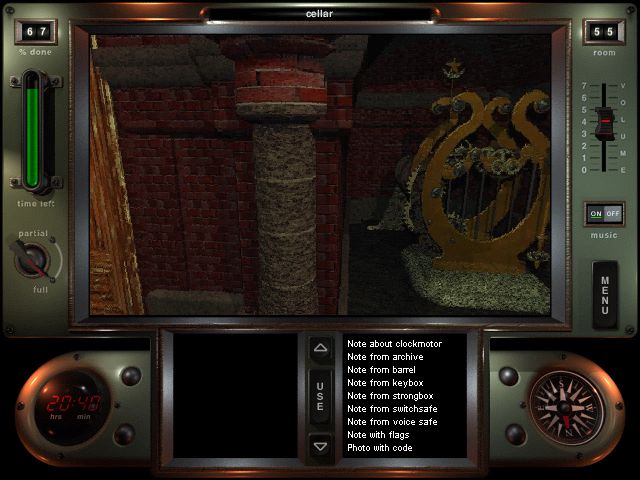
There's a locked door, but there's also one of those clock motors we learned about from one of those diagrams we found earlier!
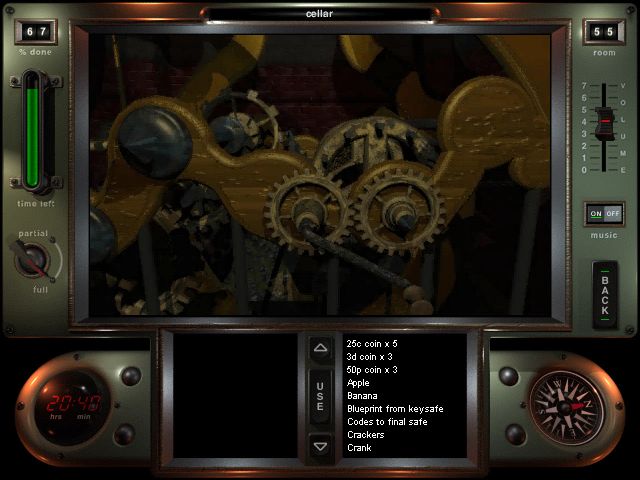
Stick in the crank, turn that thing...
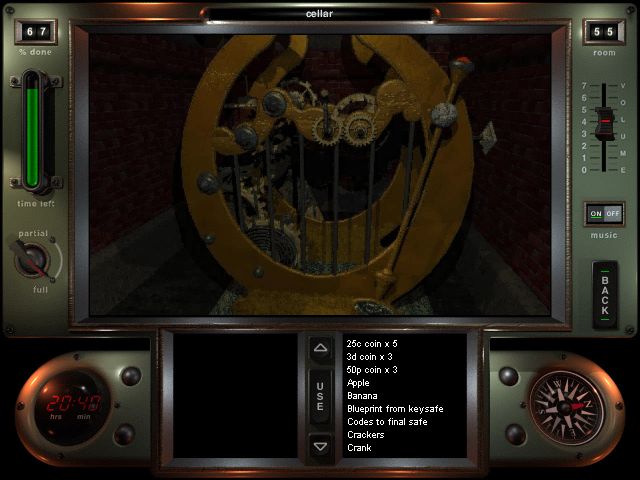
...then this thing starts moving...
...and the door is unlocked!
Room #56: The Cellar Hallway
Featureless and dark. Let's not dwell on it.
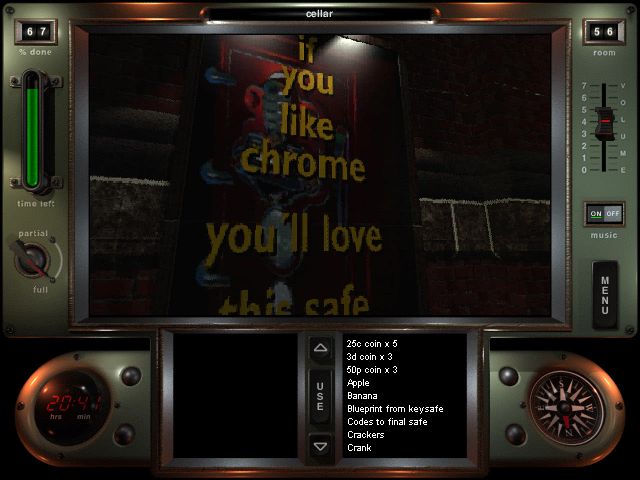
Only interesting bit is this advertisement for the voice safe. Did they just have too many of those? Who'd stick a poster into this hallway I assume pretty much nobody uses?

We follow the hallway and find a door. Where does it lead?
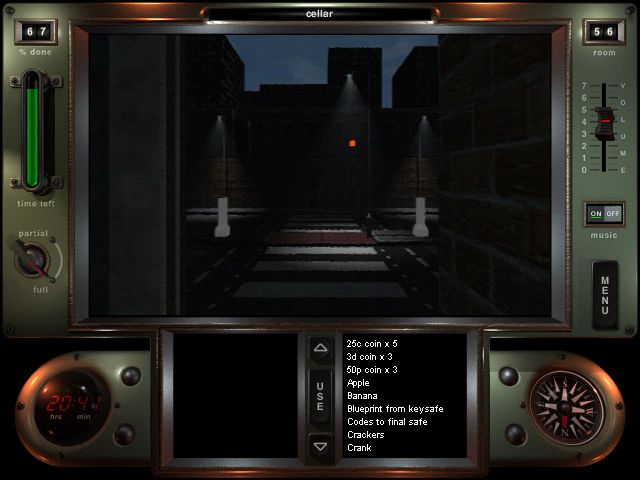
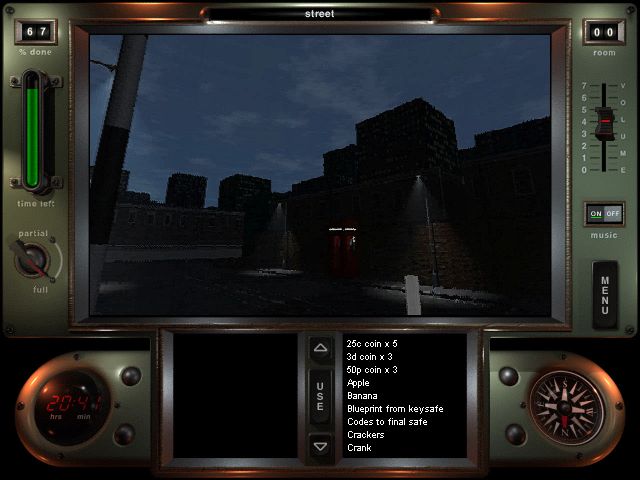
Back outside. And yeah, the door closes behind you, so you've got to make your way inside the mansion again.
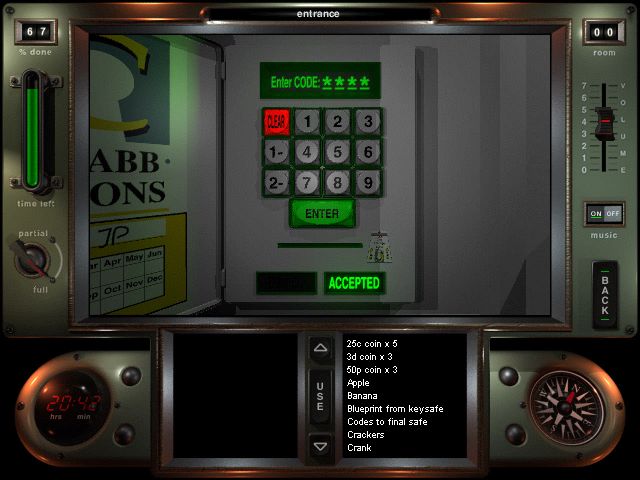
I sure hope you didn't forget the code Crabb gave you at the beginning of the game, because there's nothing to remind you. You could very well lock yourself out here. Anyway, let's backtrack for a second, because we've got unfinished business on the first floor:
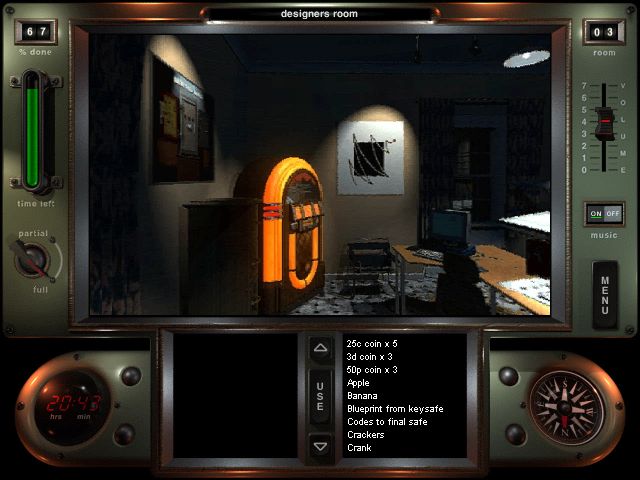
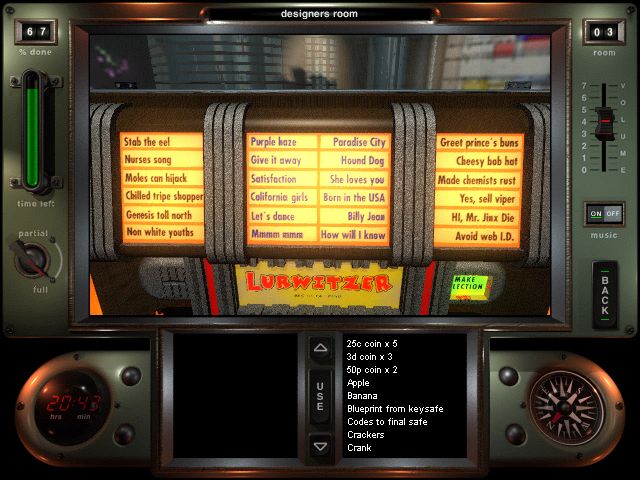
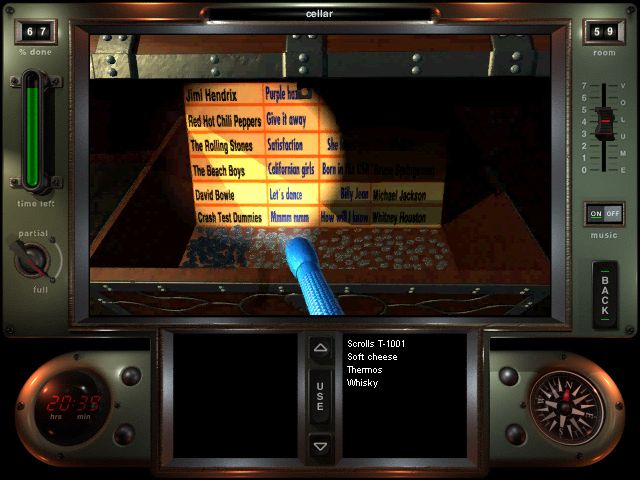
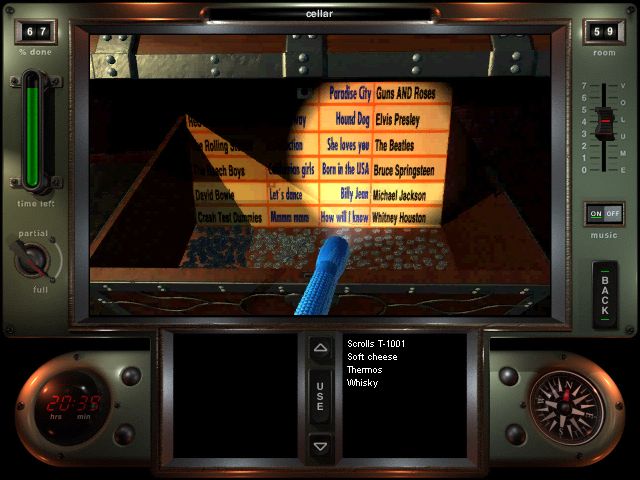
Puzzle #24: The Jukebox
This one's kind of tricky. Basically, you stick a 50p coin into the machine, then you match artists to songs (using the guide in the cellar in case you didn't know already). However, you've got to unscramble the artists' names first, which can take some time. Eventually, you'll figure all of this out:
Stab The Eel - She Loves You (The Beatles)
Nurses Song - Paradise City (Guns 'n' Roses)
Moles Can Hijack - Billy Jean (Michael Jackson)
Chilled Tripe Shopper - Give It Away (Red Hot Chilli Peppers)
Genesis Toll North - Satisfaction (The Rolling Stones)
Non White Youths - How Will I Know (Whitney Houston)
Greet Prince's Buns - Born In The USA (Bruce Springsteen)
Cheesy Bob Hat - California Girls (Beach Boys)
Made Chemists Rust - Mmmm Mmm (Crash Test Dummies)
Yes, Sell Viper - Hound Dog (Elvis Presley)
Hi, Mr. Jinx Die - Purple Haze (Jimi Hendrix)
Avoid Web I.D. - Let's Dance (David Bowie)
And with that done, the top compartment opens and we get...

...another code to the final safe! Excellent. Here's the whole thing in motion.
That'll be it for this update. Next time, we'll really tackle the top floor!
ADDENDUM:
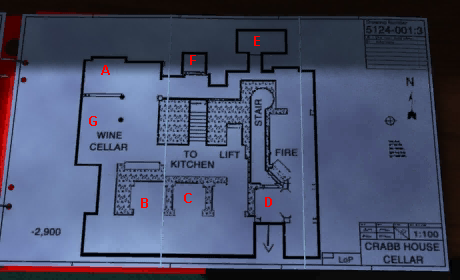
A: Place we landed at
B: Poker machine
C: Slot machine
D: Clock motor
E: Key-weighing machine
F: Hidden compartment
G: Whisky barrel