Part 40: Doskias
40: Doskias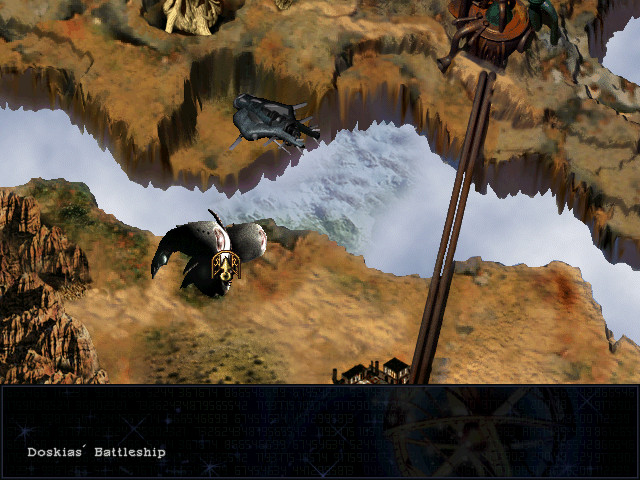
Doskias's flagship has crash landed just northwest of Oasis.
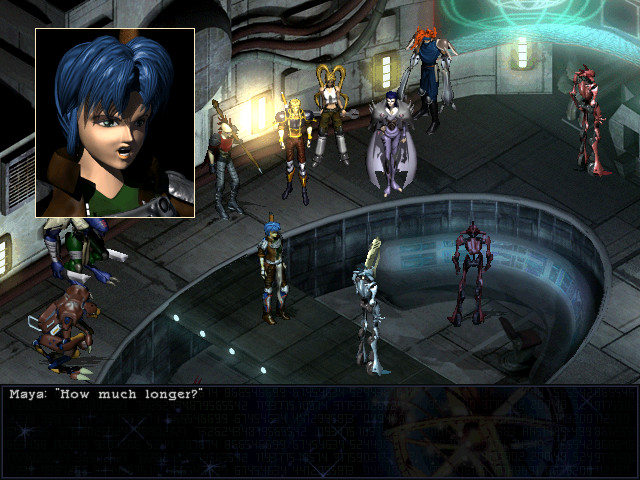
 Almost there. Doskias is throwing all of his defenses at us.
 I'm picking up an energy source near the bridge of the enemy ship...
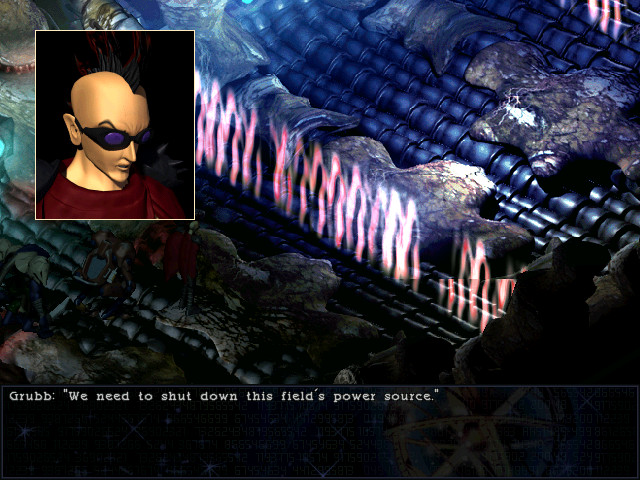
 It looks like some sort of force barrier.
 We'll have to destroy its power source.
 It has dual generators - one in each engine room.
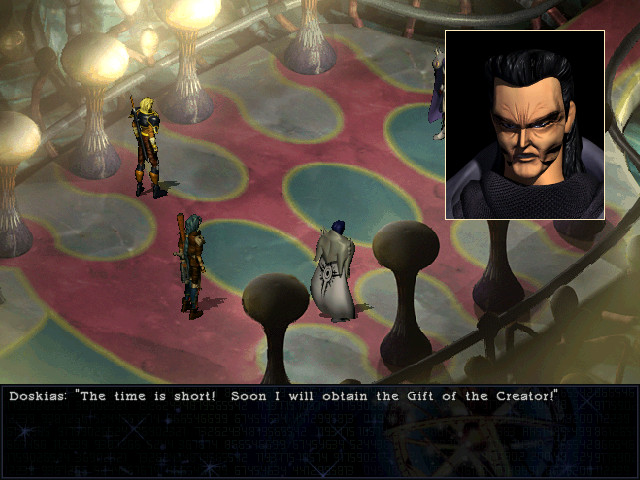
 We don't have time for that! Lobo, take Araym and Led and knock out engine room one. Grubb, you take Runner and Badu and kill engine room two. Corgan, Selina and I will head to the bridge. If either of the first two groups fail, we'll all die. We won't fail. Let's go!
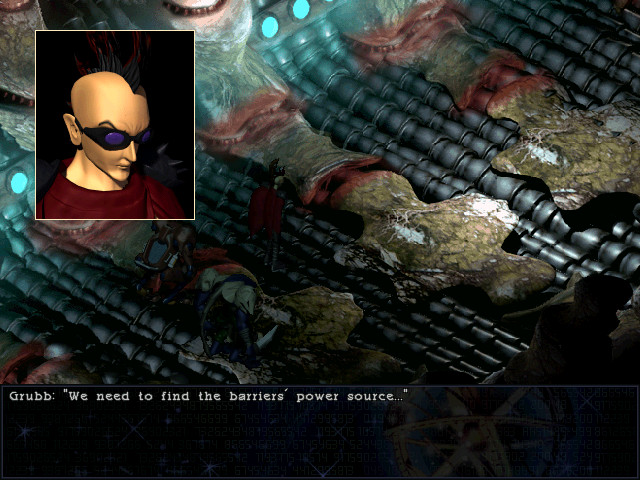
If you hadn't guessed already, the final dungeon requires the use of all nine characters in three teams. Sadly, you don't get to choose who makes up the teams, so team one is the
 -tastic combination of Grubb, Runner, and Badu.
Let's take a final look at them.

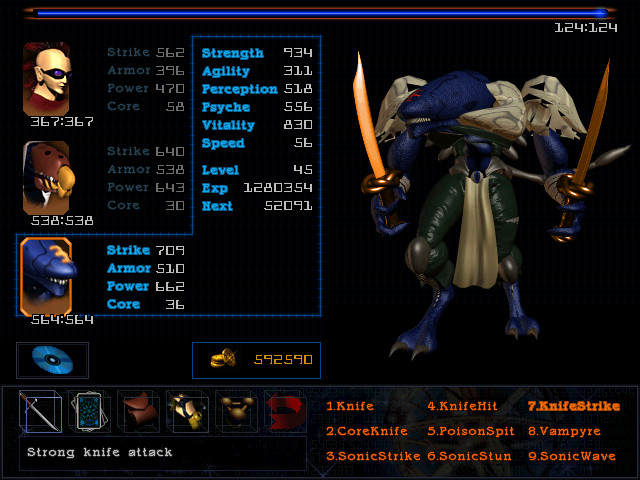
Grubb has grown into a magical powerhouse. Level-wise, he's lagging behind - not because he gets less experience, but because he gains levels more slowly than most other characters - but this hardly hampers him. His poor health and armour are offset by his absurd speed of 86, allowing him to get magical defences up before most enemies can act.
Note the gap in his skill list - if Led were in the party, LedCombo would go there.

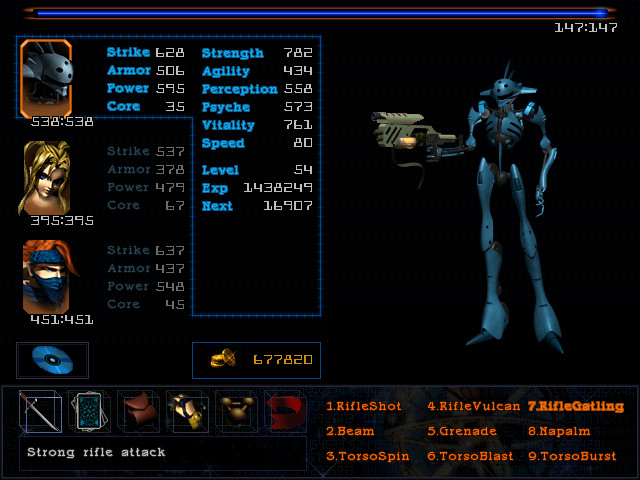
Runner, unfortunately, has not aged so well. His Strike and Power are second only to Badu's, and his high armour and HP makes him extremely durable, but his low speed cripples him. I find myself in the unfortunate position of having to retract everything good I said about Runner earlier; this late in the game, you need high Speed or high Core to be competetive, and Runner has neither.
Badu manages to top Runner in pretty much every area, making him marginally more useful, but he still suffers from the twin problems of not enough Core and not enough Speed. Low speed means his (admittedly powerful) attacks aren't that useful, low Core means he can't cast or participate in spells effectively, and his natural abilities just don't cut it this late in the game.
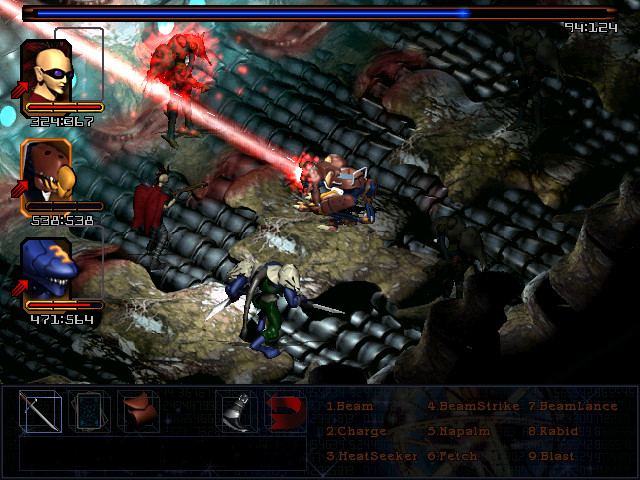
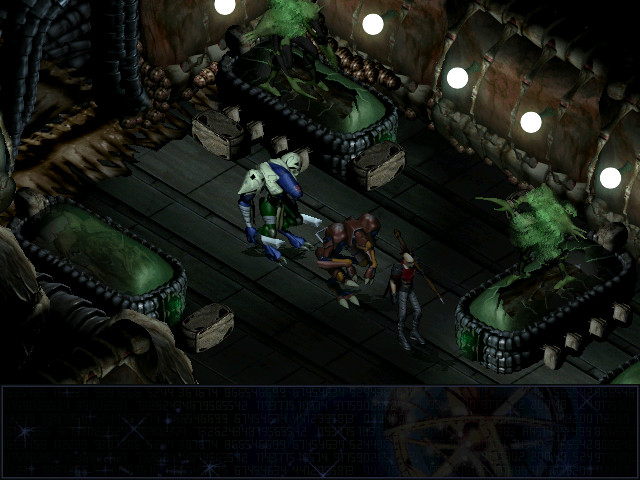
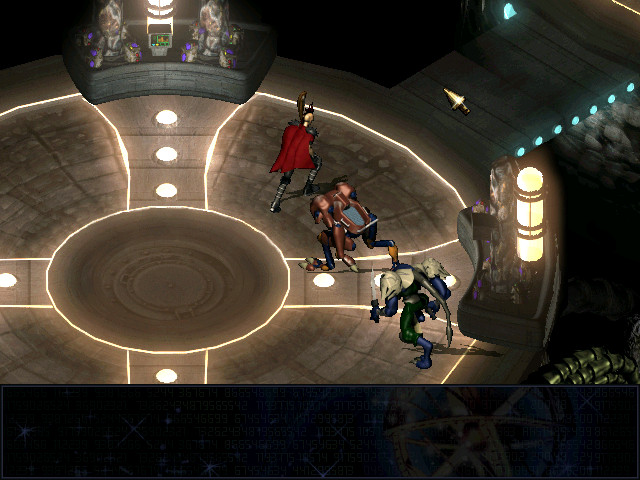
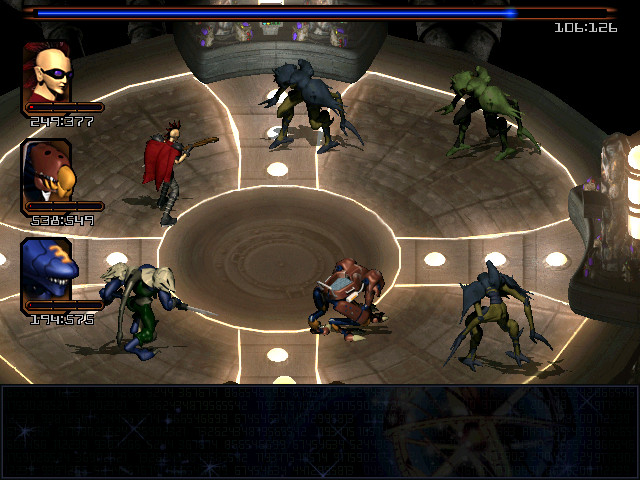
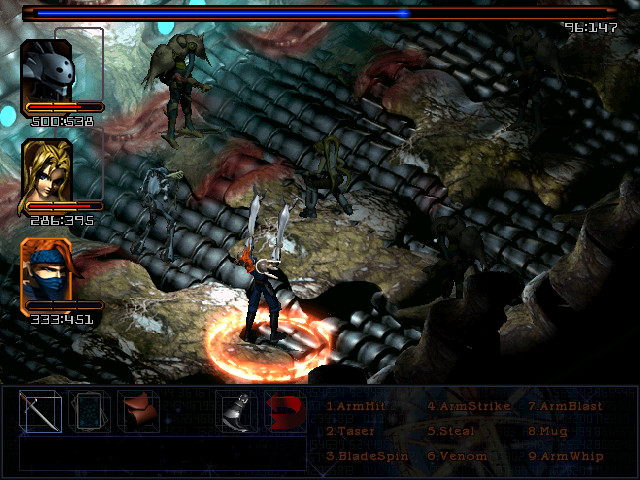
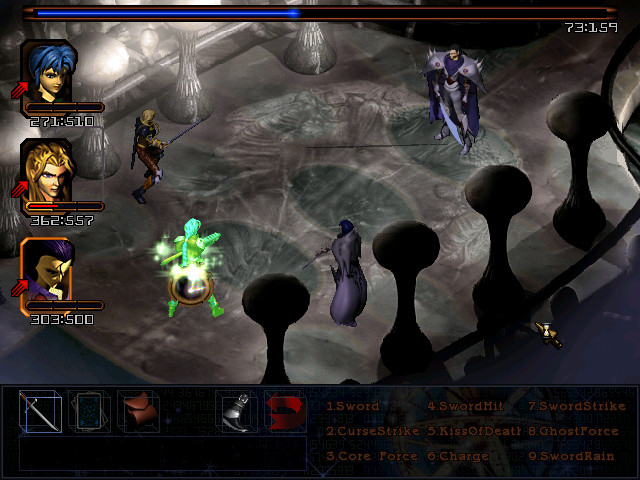
Anyways, welcome to Doskias's flagship! The main hall contains this squad of generic beam fodder, who we get to fight no less than five times.
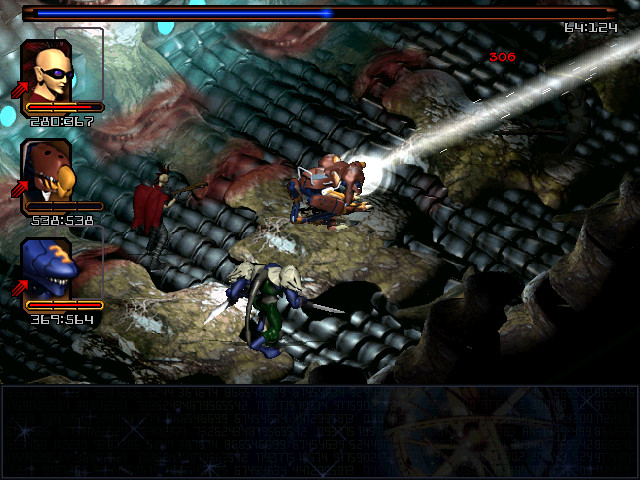
This gives us a chance to finally check out Runner's ultimate attack, Blast. Like Maya's Sphere, it proves to not be worth the casting cost.
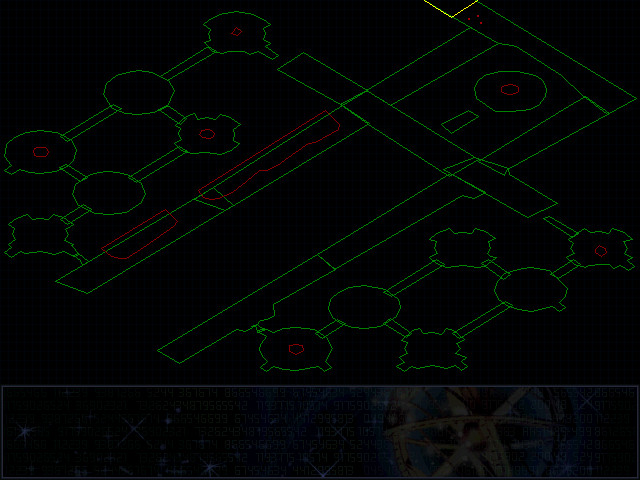
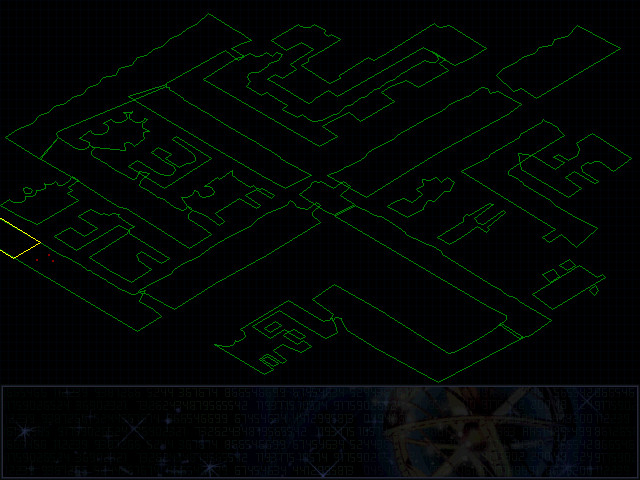
There's five exits from the main hall - four side doors, plus the path to the bridge itself. As we can see, however, the path to the bridge is sealed - and only one of the side doors is open.
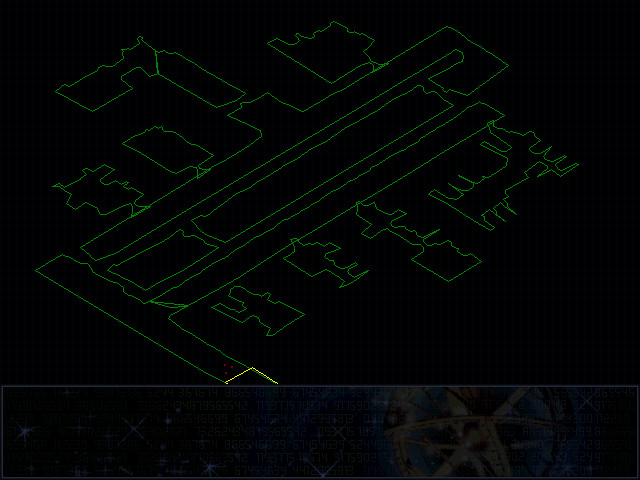
Behind it we find what we have come to expect from Septerra Core: lots of locked rooms with levers that open them. It's comforting, in a way, to know that the game remains true to its roots as the end approaches.
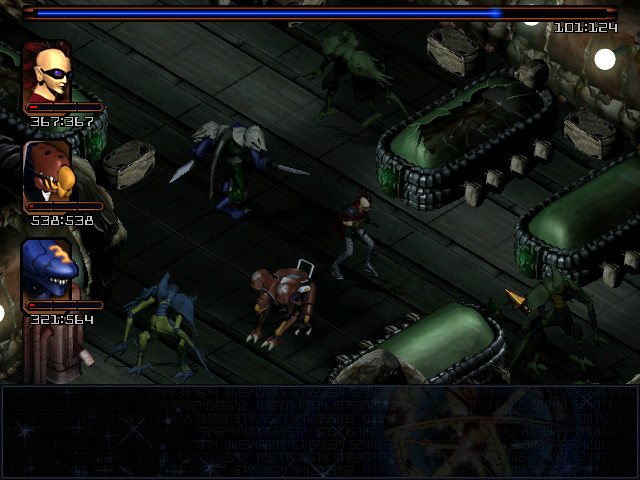
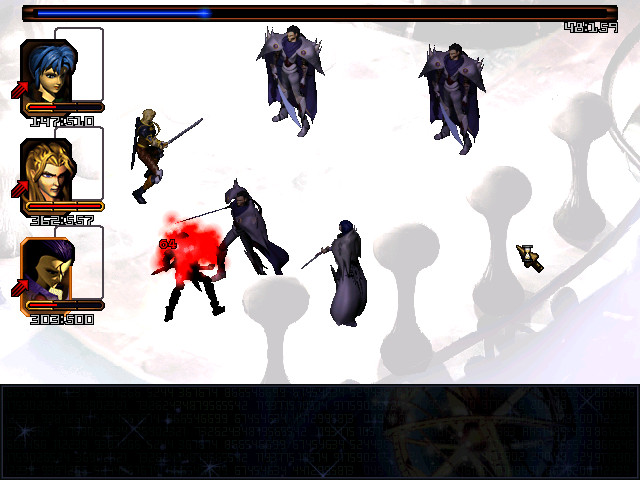
It also introduces us to what is possibly the most common enemy in the flagship: the Motherfucking Ninja. This is a standard recolor of the ninjas from earlier in the game: higher health, more damage, still cloaks itself and throws knives.
Cloak+Mirror makes their constant cloaking a nonissue, but even with Runner and Badu bogging down our casting, we can deal with them much more effectively.
We also see some heavy armour and small robots, but it's the ninjas that are the main annoyance.
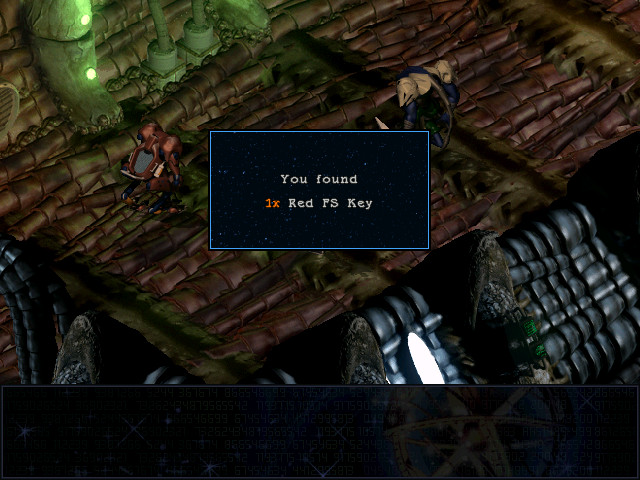
Five levers later, we find the Red Flagship Key.
21stCentury posted:
How dare you forget their award-winning "flip lever to find key to open door"? That's exciting dungeon design!
Anyone who thought he was joking earlier? Sorry, but you're wrong.
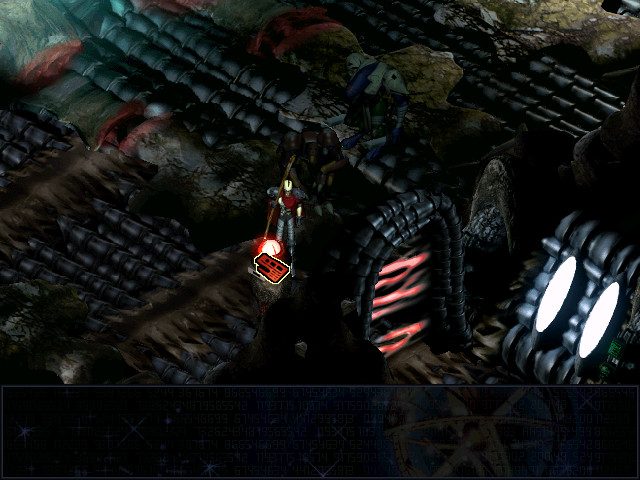
A quick run through the central corridor (killing the enemies there for a second time) takes us to the red door.
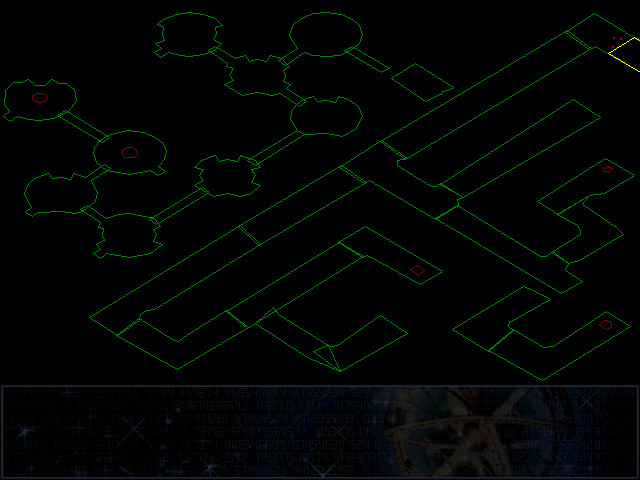
By now you should be able to predict how this will play out. You might, for example, predict that you need to go through both pathways of circular rooms to reach the levers that, when flipped, open the doors to the central circular room.
And if you did, you'd be right!
 This is it! Let's kill it and get out of here!
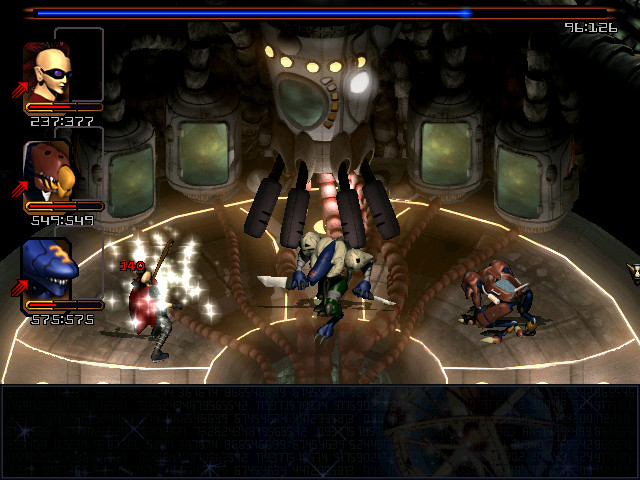
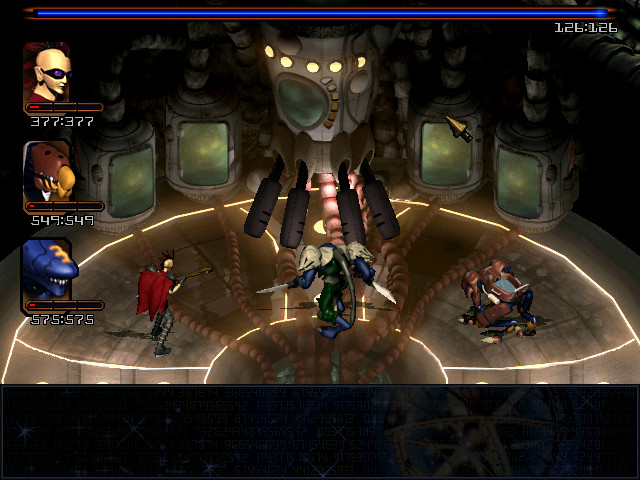
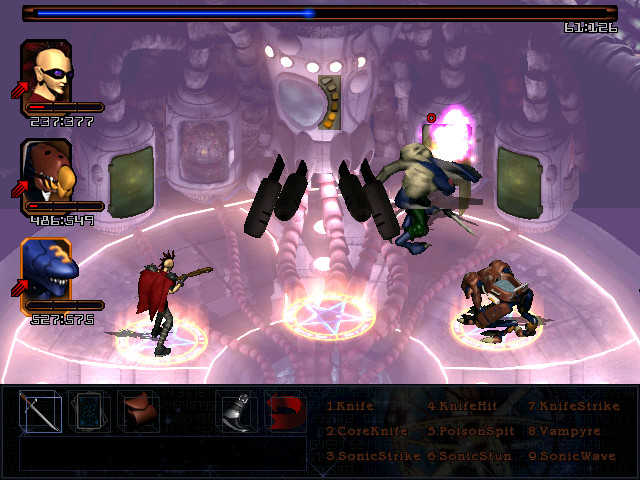
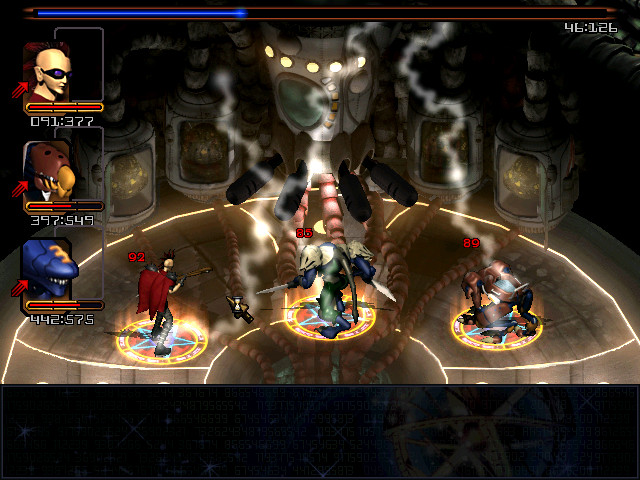
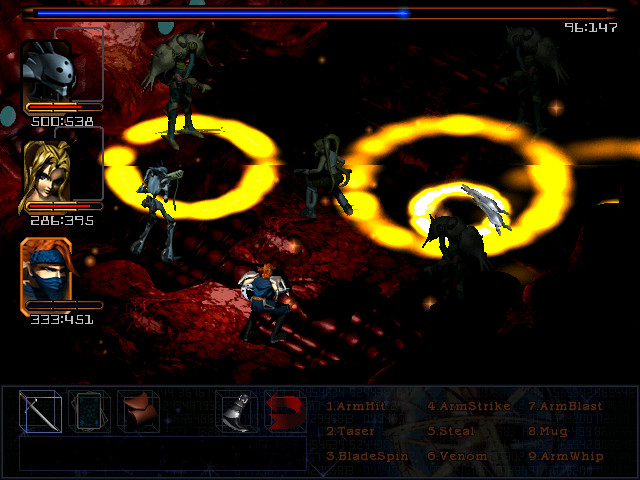
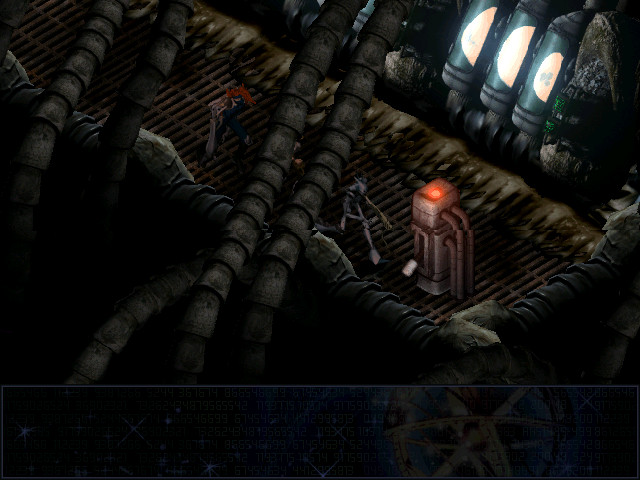
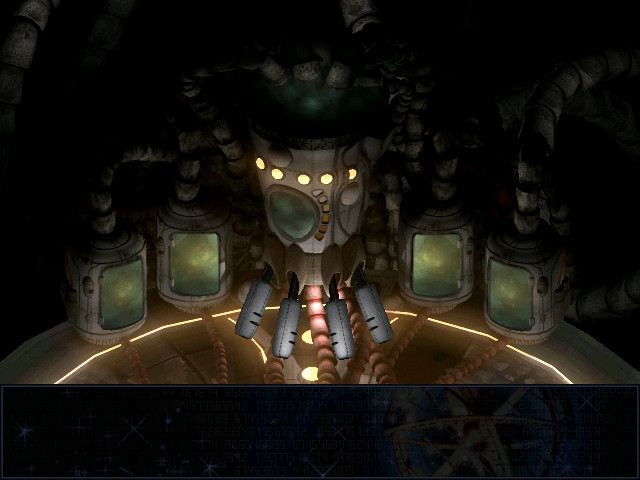
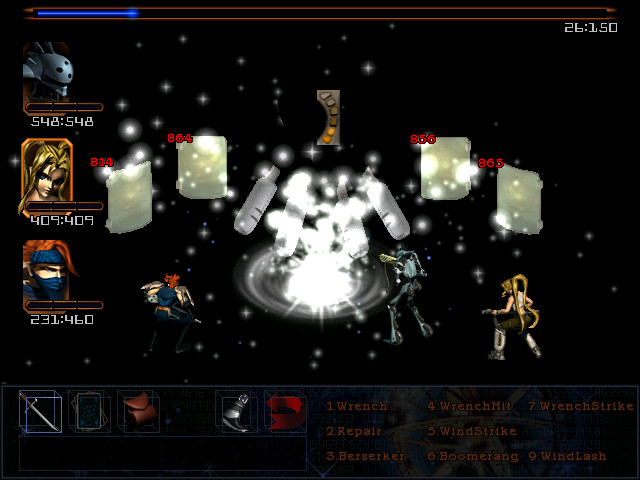
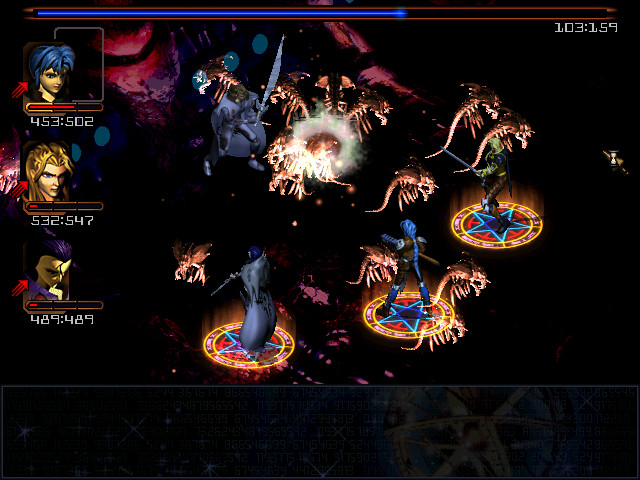
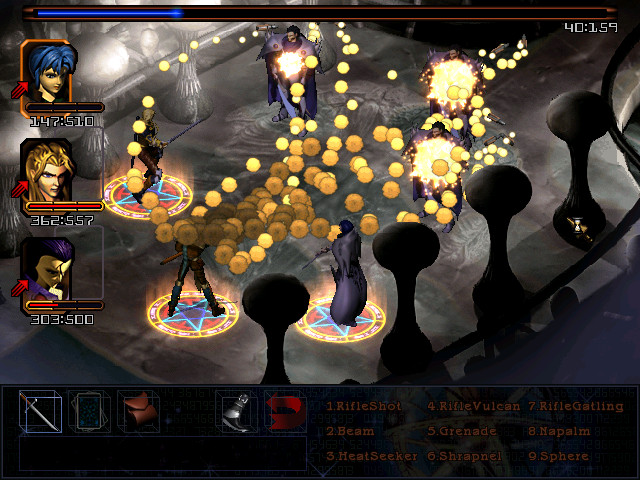
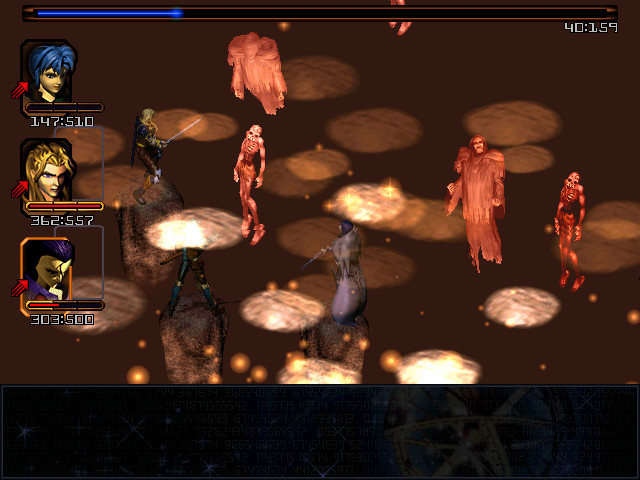
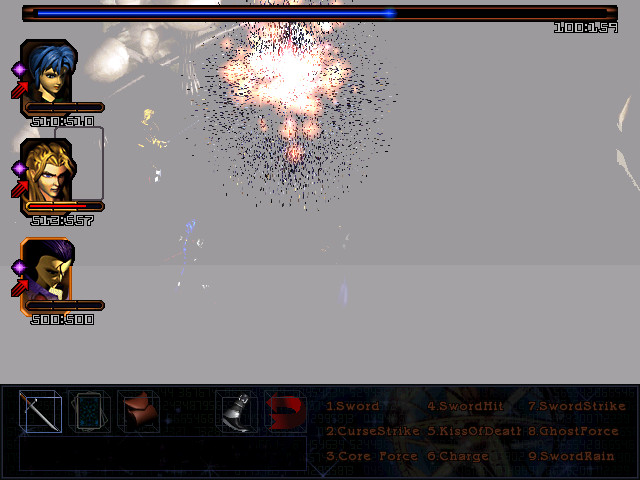
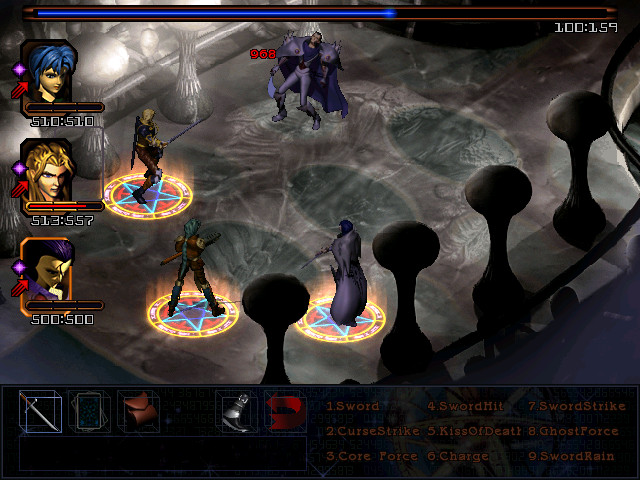
With seven levers in just the two areas we've explored so far, this is really the only way it could end: with a boss made entirely of levers.
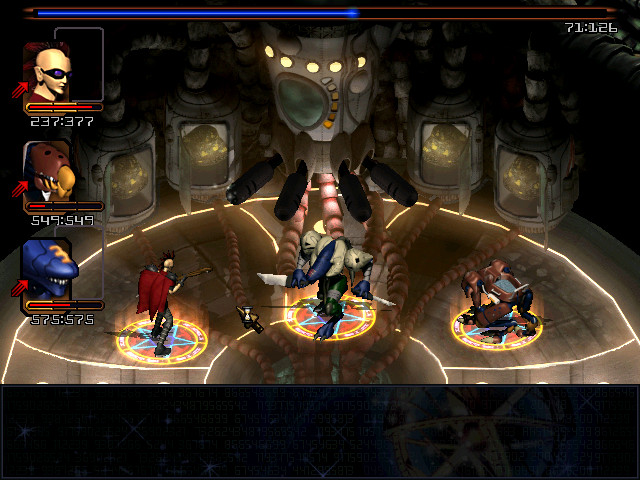
Hitting the levers causes them to flip upwards and the four pods in the background to open, making it possible to target them.
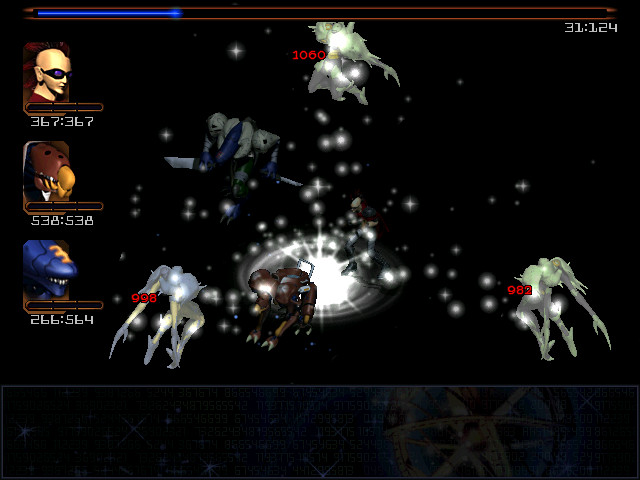
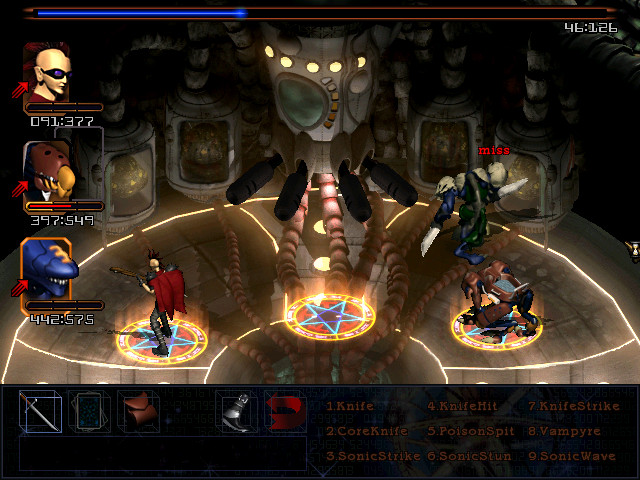
Black Hole is unfortunately hampered by the presence of two terrible casters in the party and doesn't quite kill them all - they have around 800hp each. And hitting the levers causes them to flip back down.
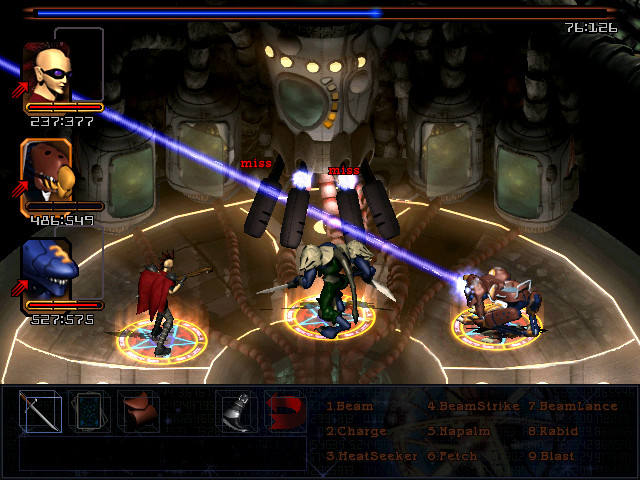
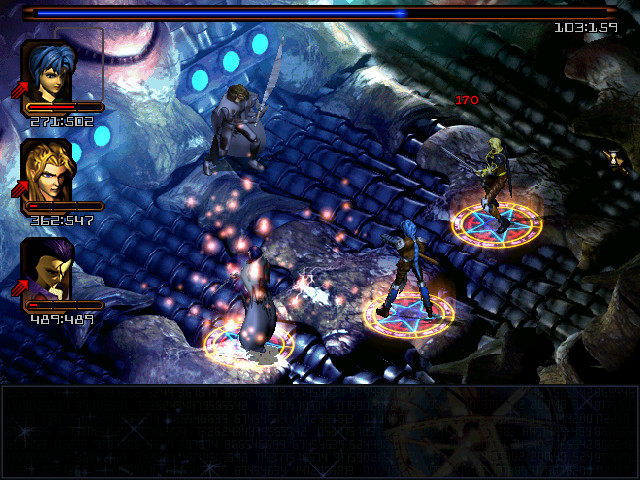
Runner, despite having the second highest Strike of any party member, is unusually prone to missing. So is Badu, for that matter. Extra frustrating considering how rarely they get to attack.
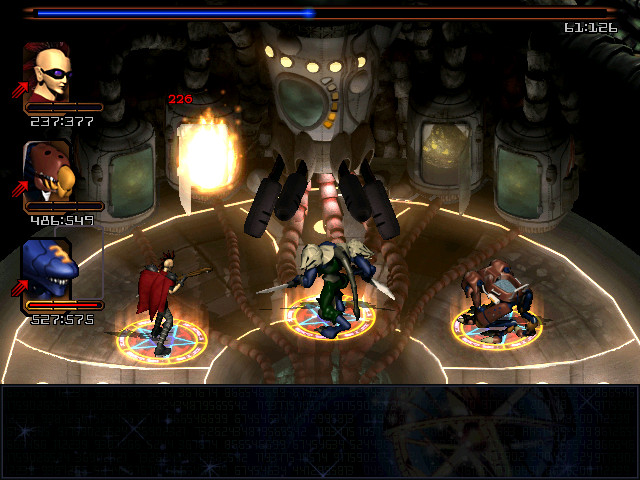
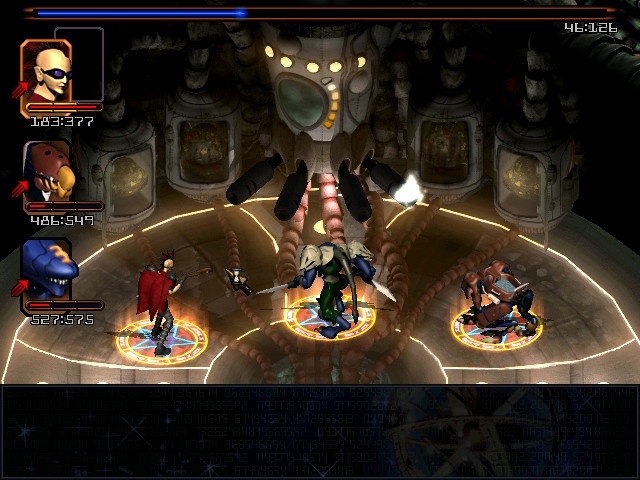
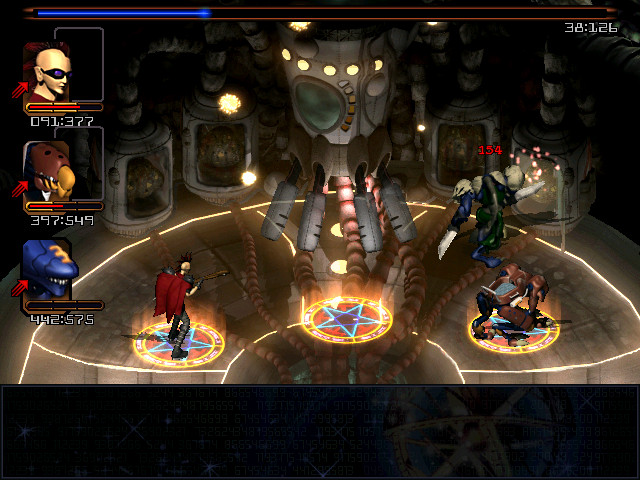
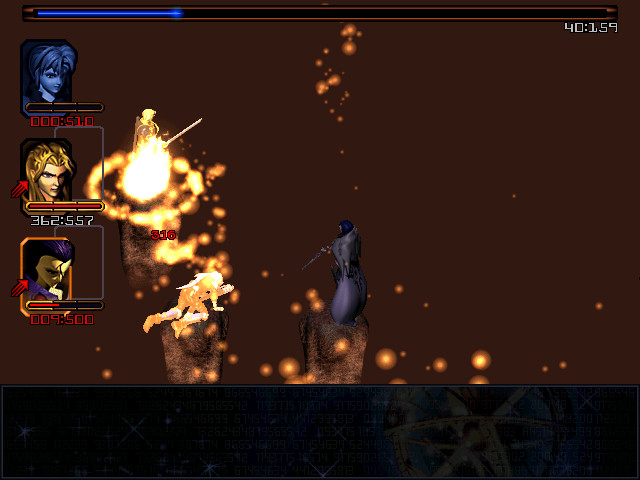
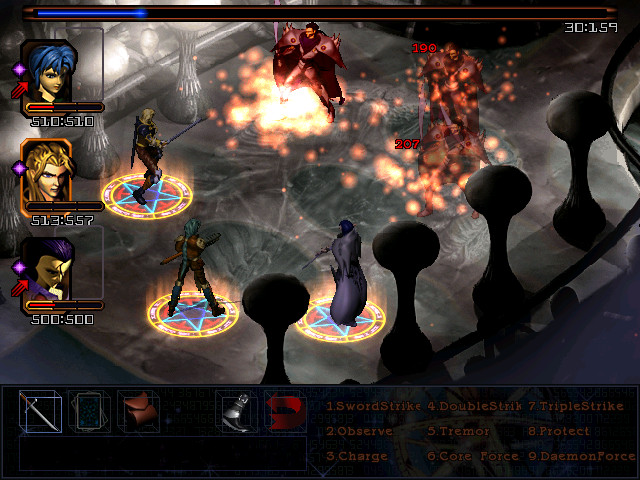
Grubb takes out one pod with fire.
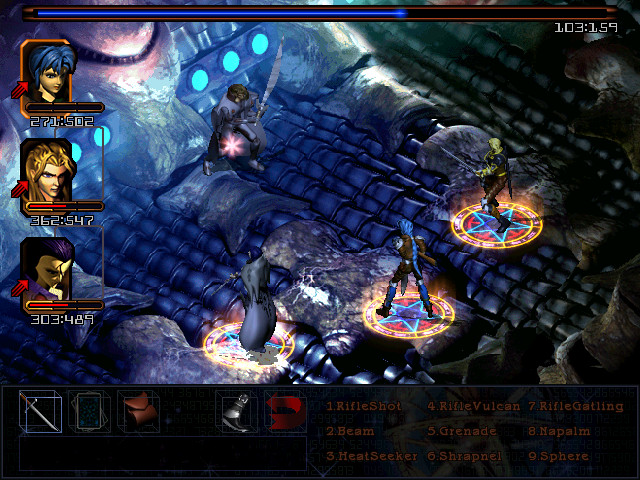
Badu helpfully illustrates my previous point about his accuracy, leaving Grubb to deal with the second one as well.
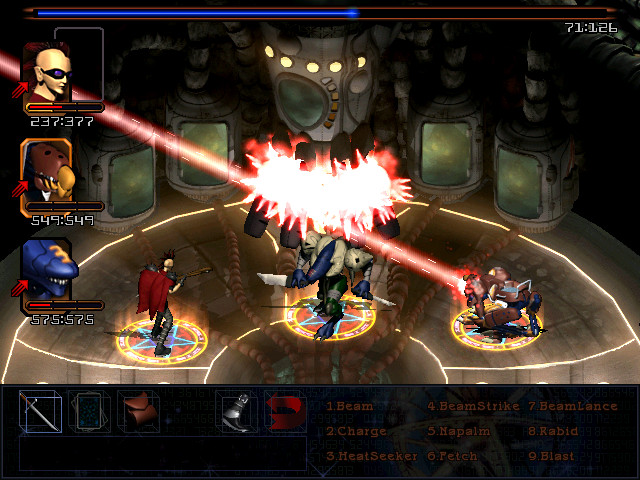
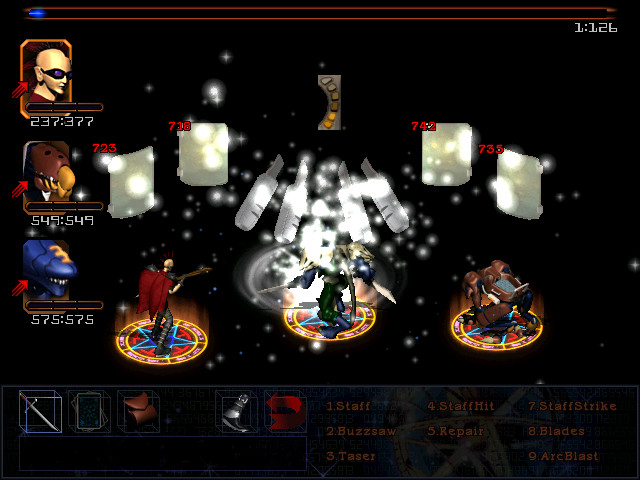
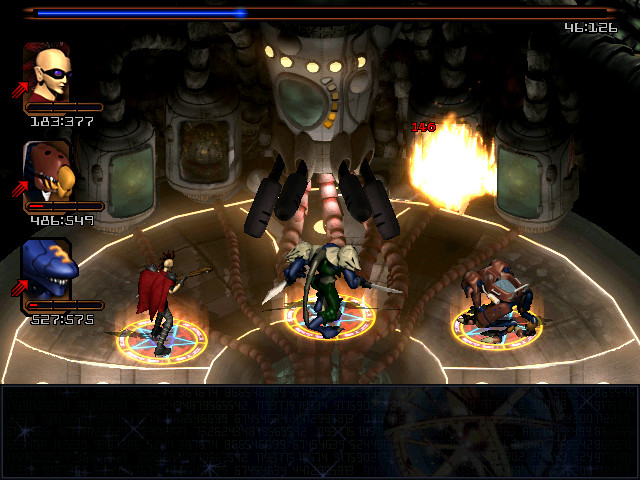
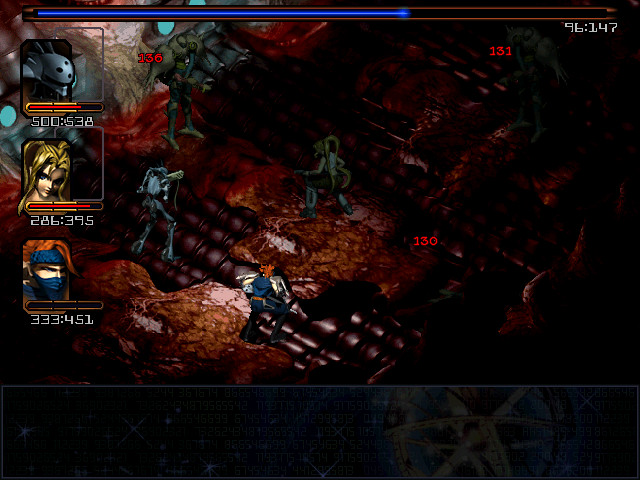
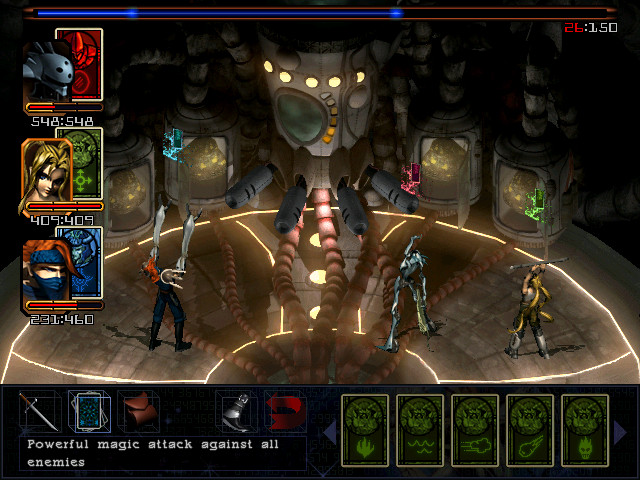
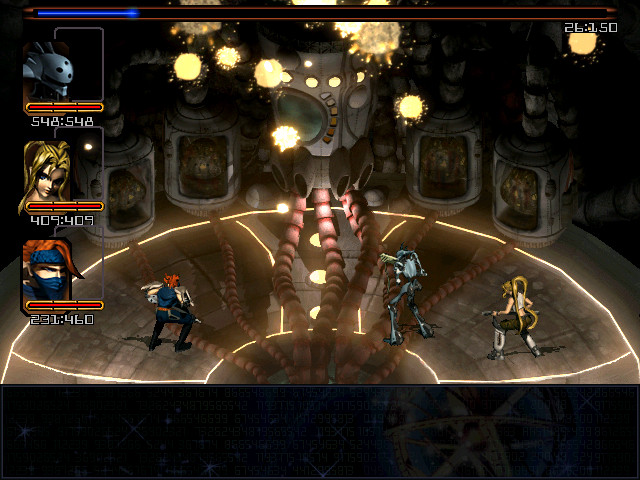
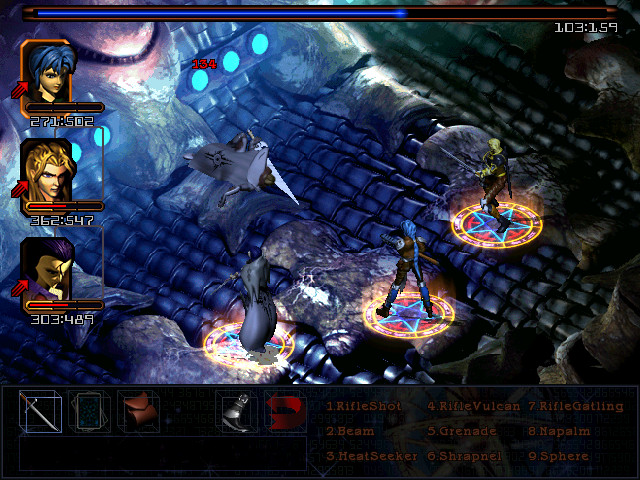
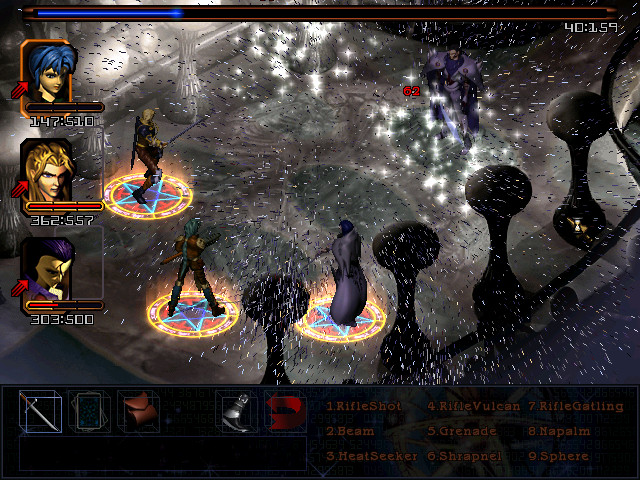
Here we see the danger of leaving the pods open. The levers will periodically glow, filling the meter you can see on the center of the boss - the more levers up, the faster it charges.
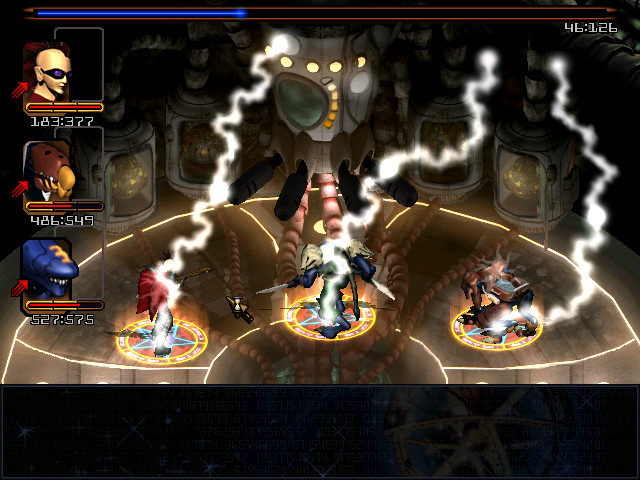
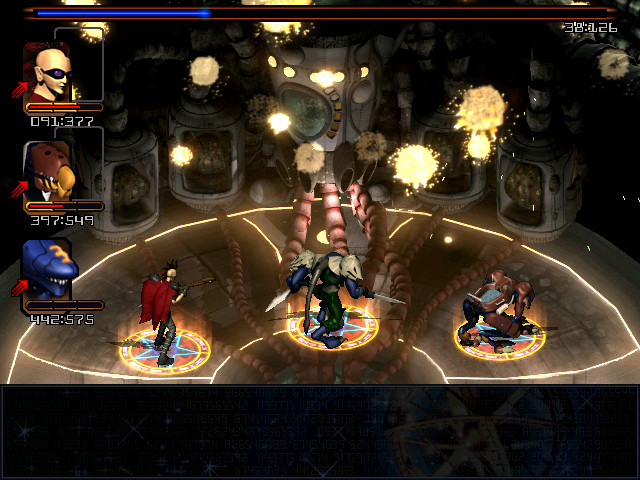
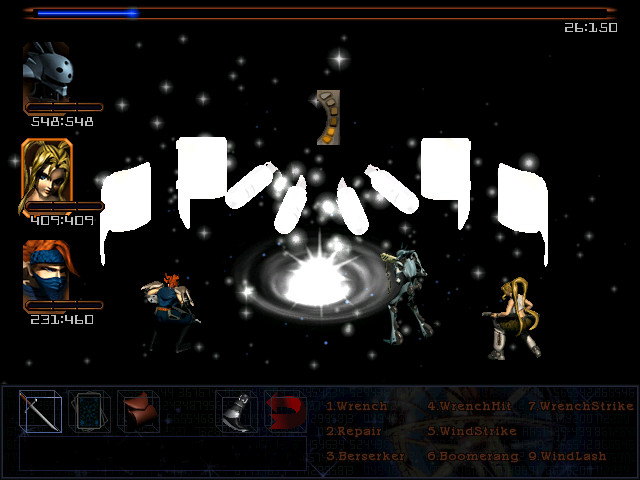
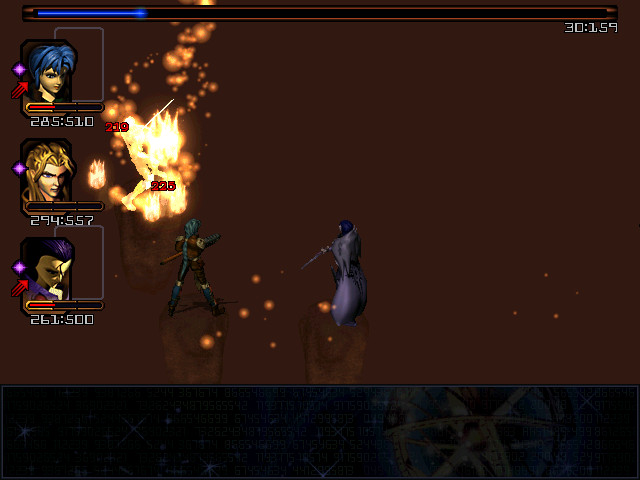
And once it's charged, it does this. Fortunately, as endgame-quality boss attacks go, it's not all that - the Sentinels in the lost city hit harder.
Badu misses for the third time in a row, but finally manages to connect on his next attack and finish the boss off.
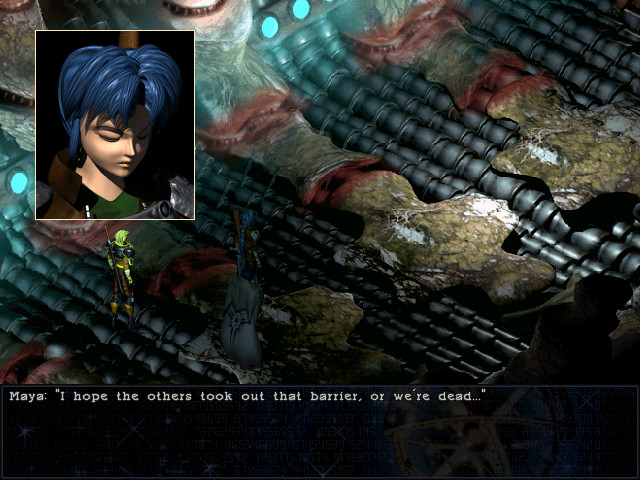
I hope we weren't too late!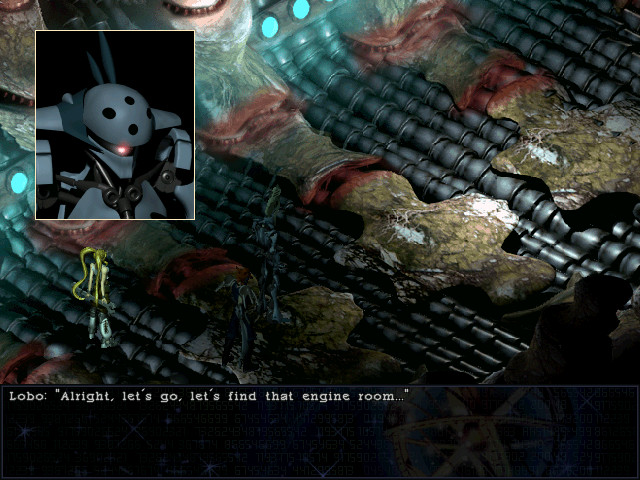
Let's take a look at party #2! Unlike #1, this consists of three relatively fast characters and isn't completely boned when it comes to spellcasting, so it should be easier.
Lobo is as he's always been, a fast, durable, direct attacker. His cyborg nature makes him almost as bad at casting as Runner, but his greater speed will at least enable him to assist in spells more often, and his normal attack isn't bad.
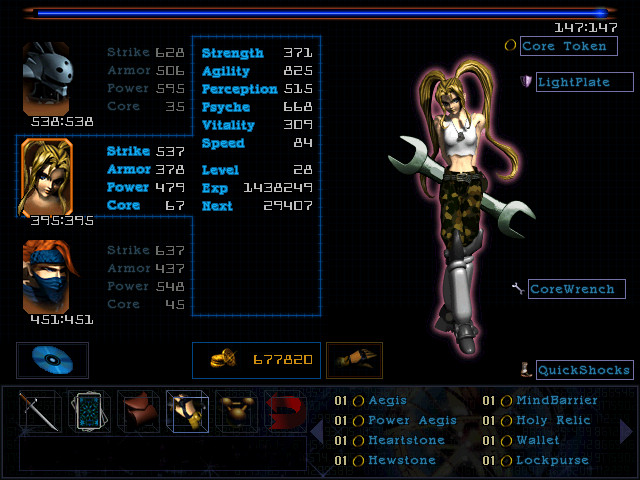
Led is Grubb Lite, with slightly less Core, Speed, and Armour - which is to say that she kicks ass. Equipping her with Glamdink would have made her a not-too-bad melee attacker, but her real strength is that she is the third most powerful caster in the game, and losing the Core Wrench would make her that much less effective.
Like Grubb, she's missing her combo ability, GrubbCombo.
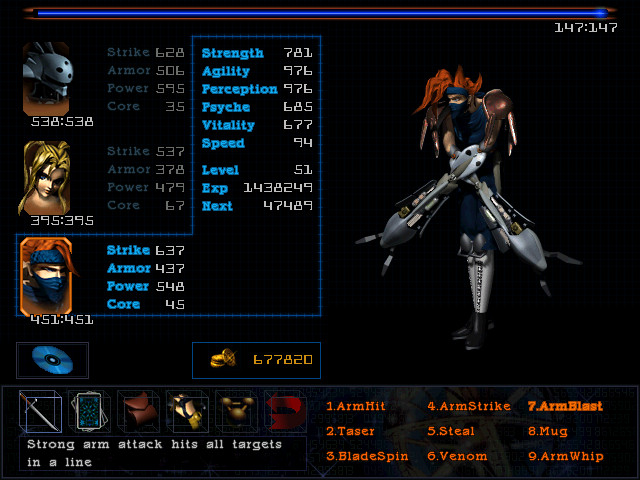
Araym's distinguishing feature has finally come to light: he's an average caster and an average attacker, but easily the fastest character in the game. This makes him an excellent support character, capable of assisting casters, casting support spells, using healing items, or just chipping in with a bit of extra damage where needed, all on very little notice - but he'll never be the center of attention.
His ultimate ability, Arm Whip, hits all enemies for...mediocre damage. He can use it quite often thanks to his high speed, but you're better off linking him with Led to cast Fire All or similar for about the same cost and far more damage.
Somehow, the Blue Flagship Key procured by Team Grubb remains in our inventory, granting access to the third side area.
This area contains only two levers, bringing the total count to nine (or thirteen if you count the boss).
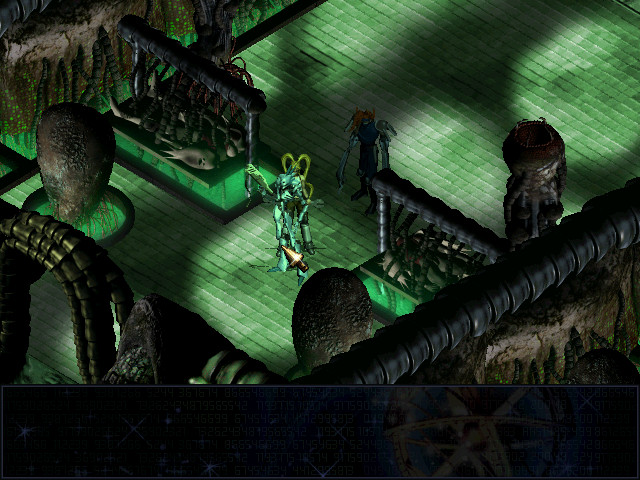
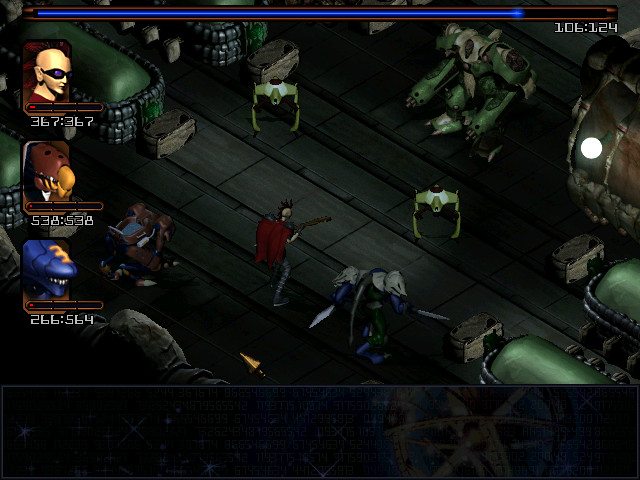
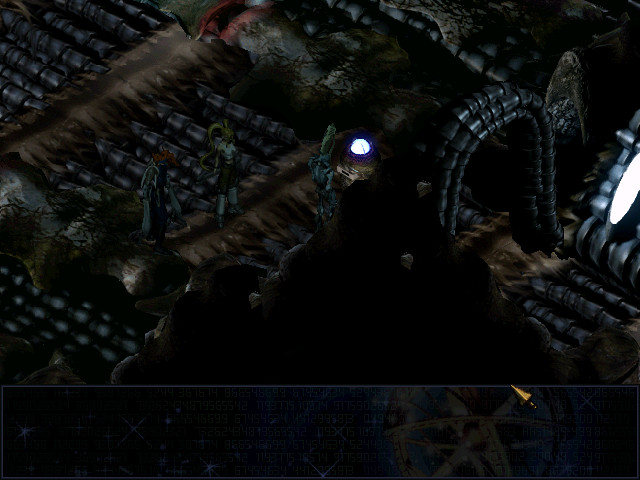
It also contains some genuinely cool decor. Is this an armoury where suits are being grown or repaired? A medical bay? A recycling center? Who knows?

We get the Yellow Flagship Key and scarper, killing the enemies in the central hall for the fourth time.
This one flips things around a bit - rather than having the levers in the circular rooms, it puts them at the end of hallways. There's also three now - one of them opens the door to a hallway which itself contains another lever which opens one of the doors to the circular rooms.
Lever count: sixteen.
 This looks like it!
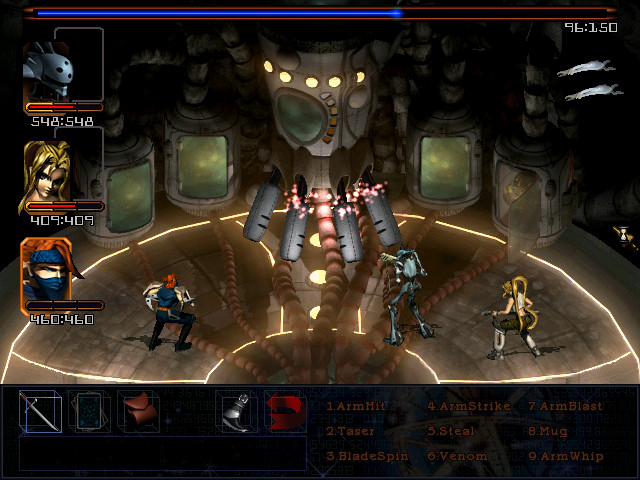
Annoyingly, Araym isn't quite in position to hit all three levers the way Runner was.
Here we see the difference that not having Runner and Badu in the party makes: Led obliterates the boss with a single casting of Black Hole.
 Come on, let's get outta here. I hope Grubb's team made it.
 Both generators are down, and it only took twenty levers to do it.
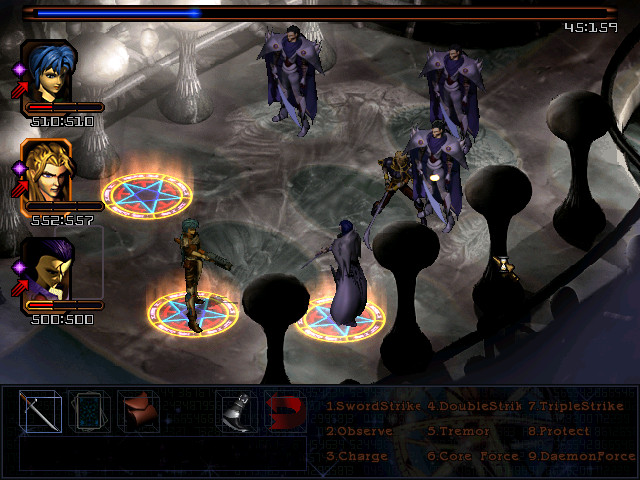
With both power generators down, it's time to end this.
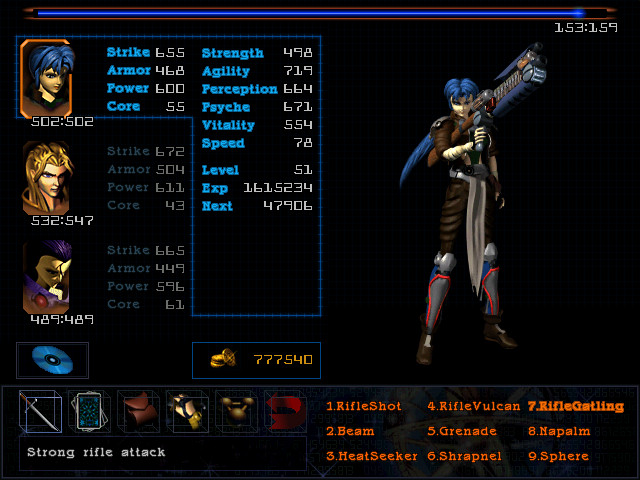
Maya, once equipped with Bahamut, is almost as proficient a caster as Led and Grubb - while at the same time being no slouch at direct combat. As in the beginning of the game, she's good at everything with no real weaknesses.
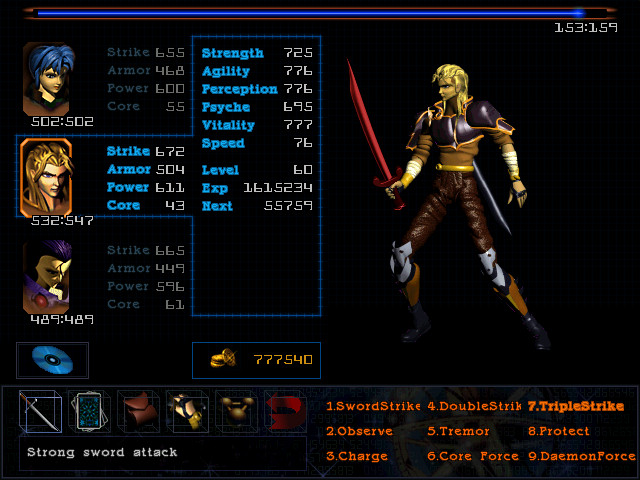
Corgan trades a lot of Core for a bit more strength and durability. There's really not much to say about him.
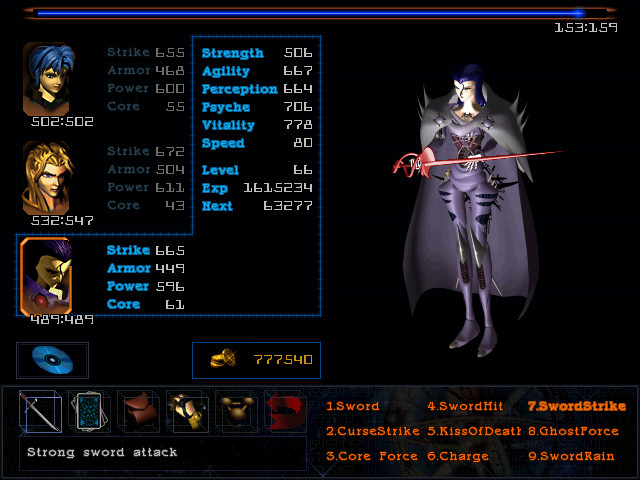
And Selina takes it the other way - she's the weakest and least durable of the party, but also the best caster.
All three party members are pretty close in capability, though, and all are quite fast. If anything, Corgan is the weak link here, with his markedly lower Core stat.
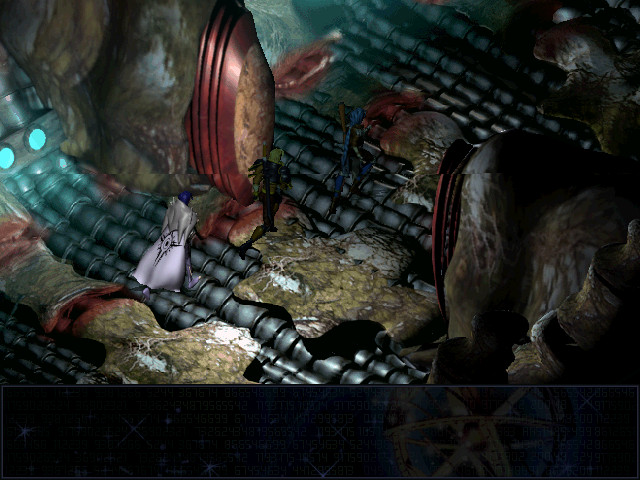
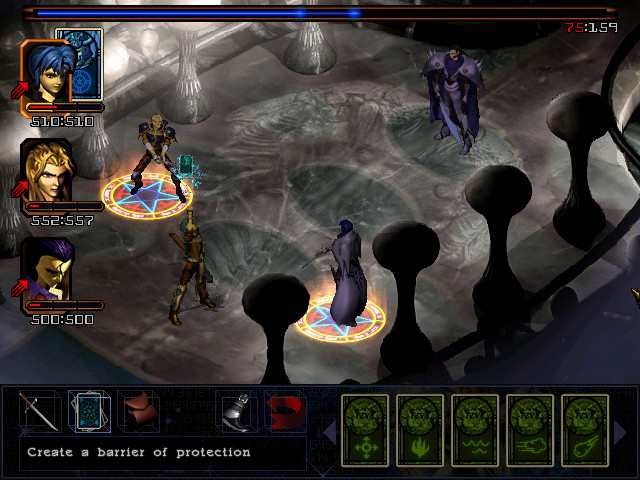
The barriers are down, so we race into the heart of the flagship.
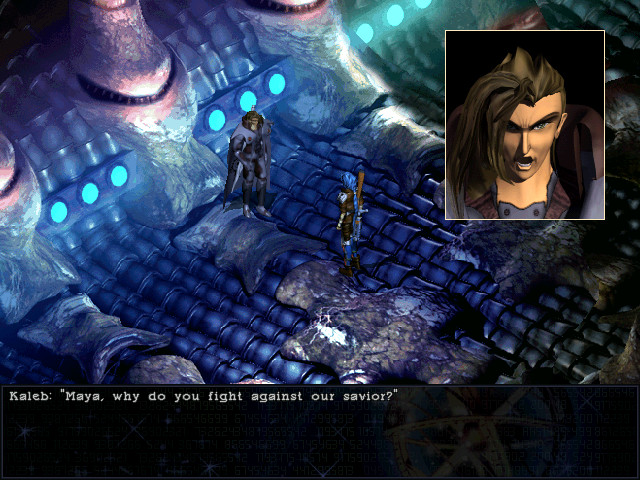
Before we face Doskias, however, we need to deal with his lapdog.
He'll only use the Gift for evil! Blasphemer!
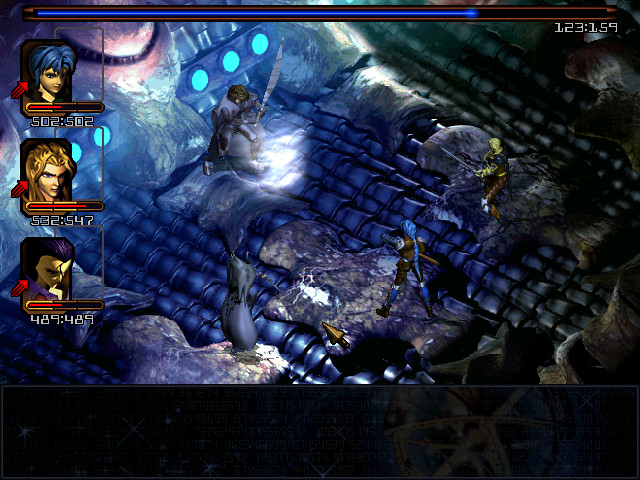
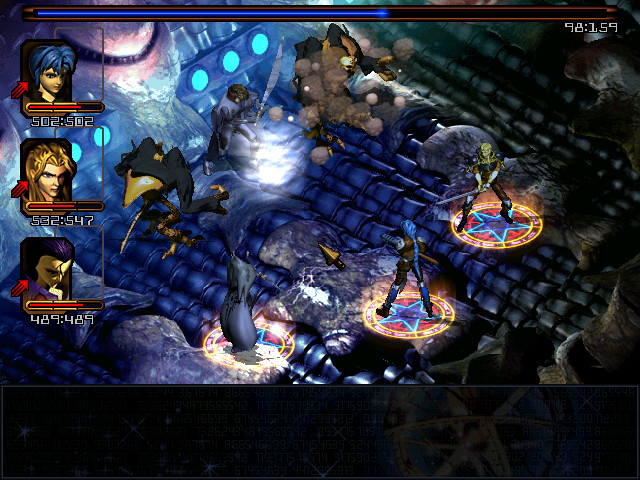
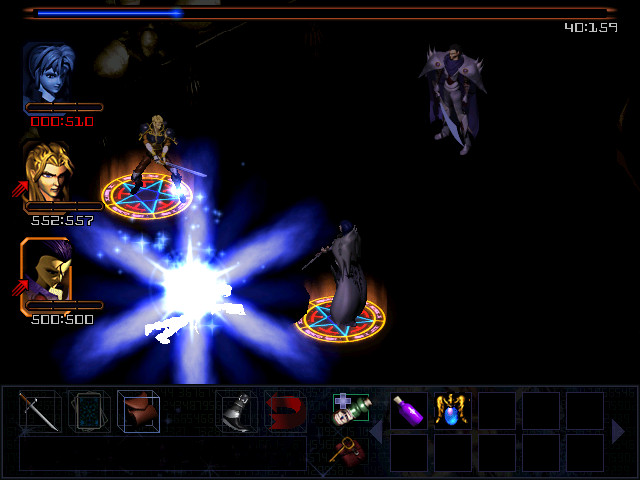
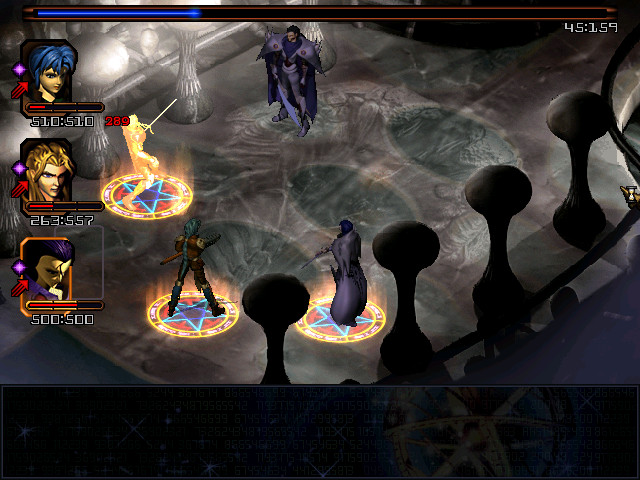
Kaleb's trick is that he casts an impenetrable barrier to protect himself, then summons up some demons.
He then sits back throwing weak lightning attacks at you while the demons - bosses in their own right - go to town on your party. At least, that's the idea.
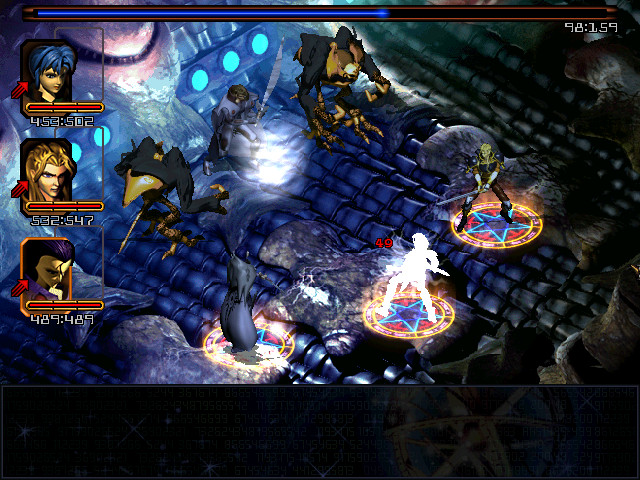
Back here in reality, however, Selina tears apart both demons and the barrier with a single spell.
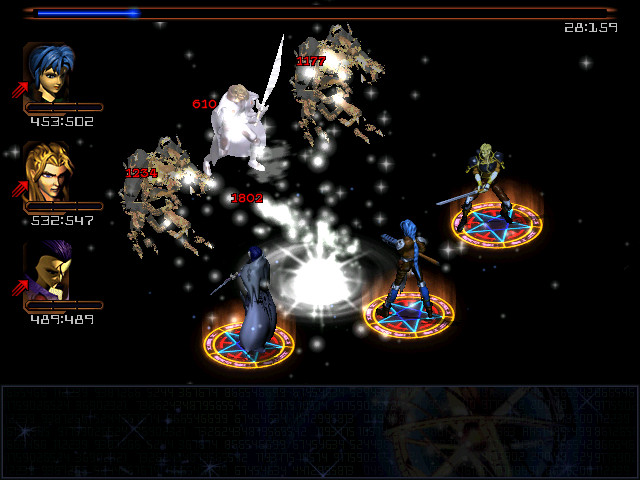
Kaleb desperately calls forth a swarm of lesser demons to attack the party...
...but against the barriers protecting the party, and Maya's relentless attacks, it proves futile.
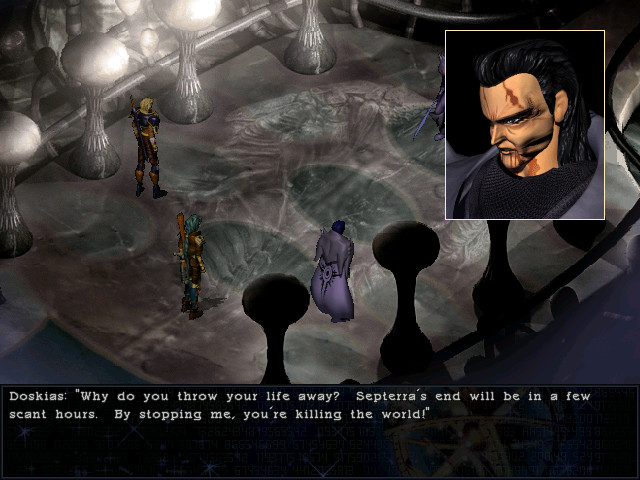
The world will be saved...It must. It will, but not by Doskias. 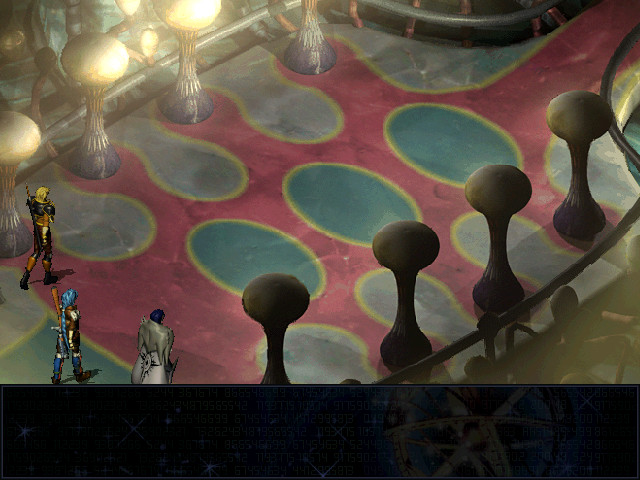
 I can't allow that to happen! The people of Septerra are not yours to throw away!
 No, they are mine to save or kill as I see fit! I am the Savior!
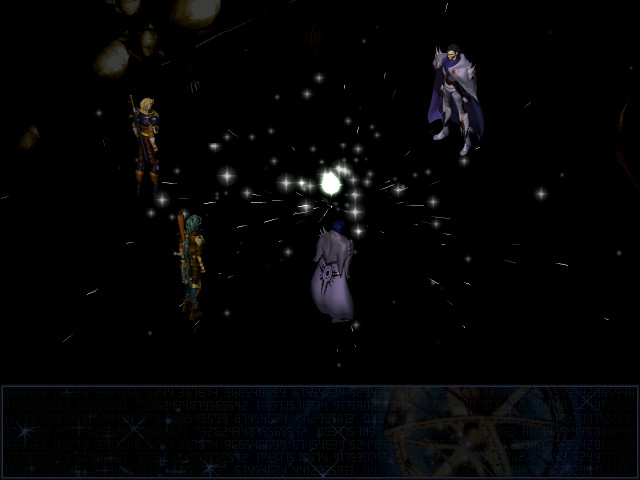
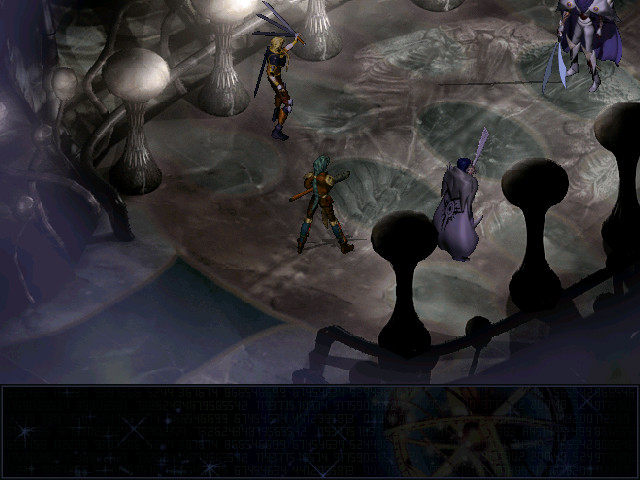
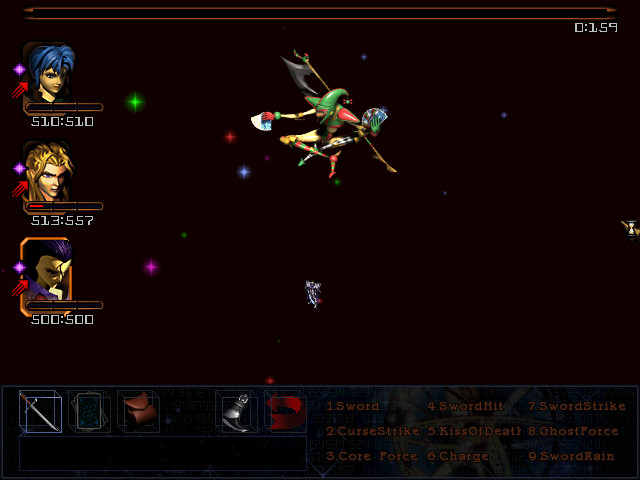
A wave of energy darkens the room as Gemma's Blade and the two Daemon Swords are drawn.
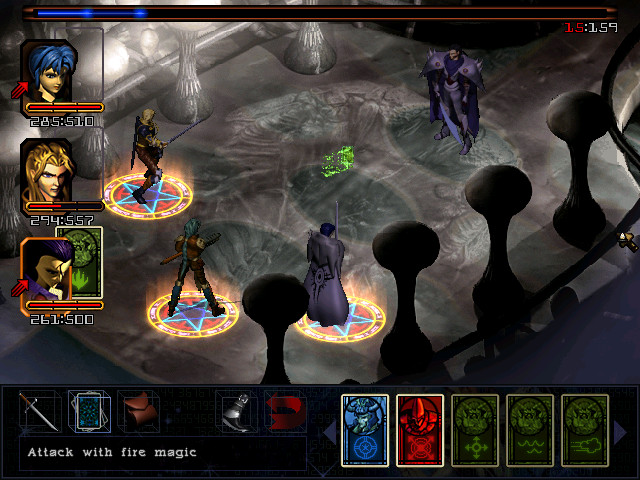
This is it, time to pull out all the stops.

While I'm getting my usual start-of-fight buffs up, Doskias creates a pair of mirror images.
This time, the one in the middle is Doskias - but all of them get to attack.
Maya's HeatSeeker makes an effective counter to the mirror images, since they only have one hitpoint. However...
...Doskias really doesn't appreciate the use of such cheap tactics, and calls upon the power of Gemma's Blade to consign the party to oblivion.
Hope you had barriers up, because without them you're looking at around 600 damage to the entire party, easily enough to kill them outright. Even with barriers, Maya didn't survive, thanks to the earlier attacks against her.
Fortunately, all of these healing items I've been saving up get her back on her feet and re-buffed before Doskias can capitalize on this moment of weakness.
Doskias mirrors again. This time I attack the images individually.
This doesn't trigger Doskias's lethal counterattack; he remains content to attack single party members for massive damage, rather than the entire party.
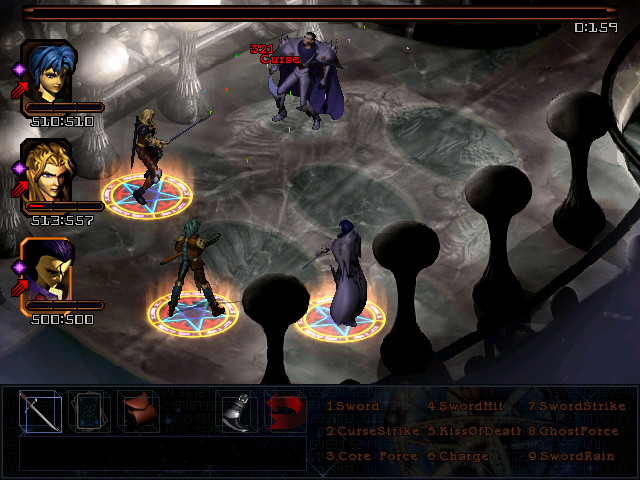
Doskias may have Gemma's blade, but we can call upon the Fates themselves to attack. Sadly, only Curse sticks, but -25% all stats is still a hell of a lot better than nothing.
Destroyer is the big damage dealer here. With Selina leading and Maya as secondary it takes off nearly a third of his health in one casting.

After a second Destroyer, Doskias realizes he can't take much more of this and mirrors again. I judge that between the blessing and everyone being at or near full health, the party can take the counterattack.
And I'm right.
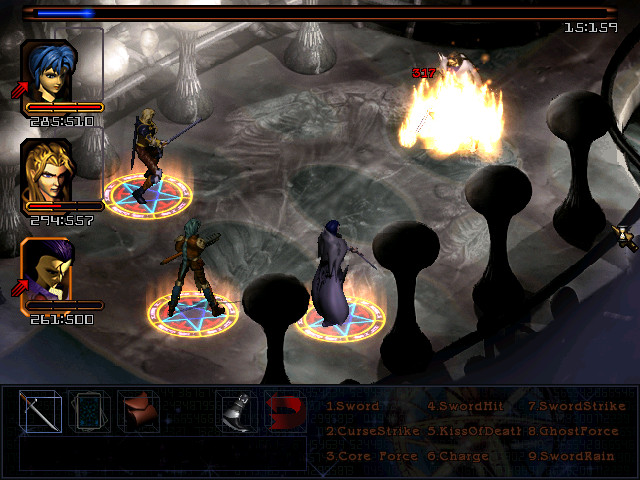
Selina delivers the final blow, enveloping Doskias in flames.
 This battle is futile! The last of the shell pieces must be moved, as the Creator planned! Shell two's northern wastes must rise to complete the Rune! What?! But - that's Oasis!
Next time: the thrilling conclusion!