Part 117: Blocking Problems
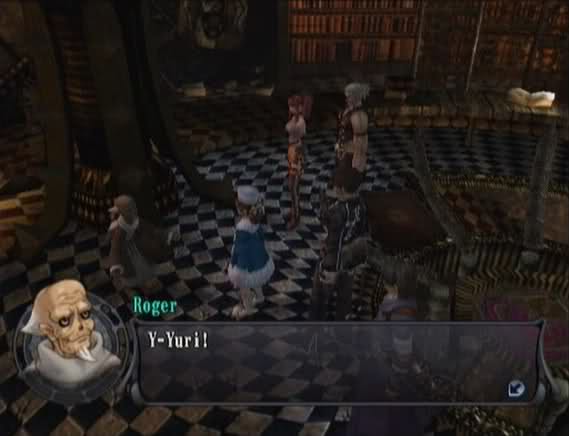
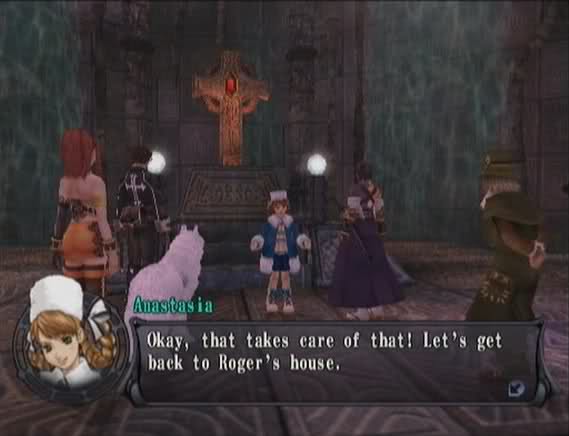
For our next adventure, we're heading back to Wales and talking to Roger.
 What's up? What's going on?!
 Well...I had a bad feeling, so while you were all away, I went down to the underground Neam ruins... And I was right! There are evil-looking waves swirling toward the altar down there!
 Evil, swirling waves? Yeah, they might be some kind of side effect from removing the Émigré Manuscript. If we don't do something, I bet some weird, monstrous creature's gonna start coming out of them or something!
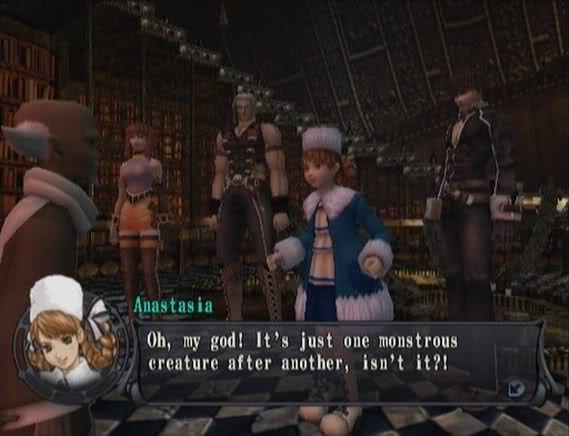 Well, we've got to do something before it's too late...
 Okay, I'll go take care of it!
 Another harebrained idea! What did you say?! You're coming too, you know!
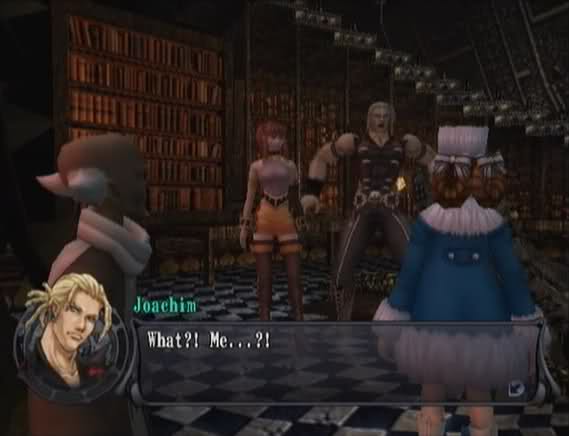 Of course! Who else would I pick? This is just the job for my trusted ally! Right? Well, I guess... Stay alert down there! You can bet it won't be a friendly monster... Are you trying to scare me?!
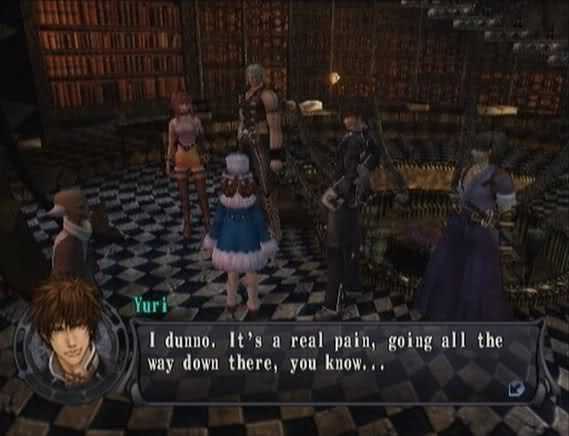 You want to just ignore it?! Fine. Forget it! I'll go by myself!
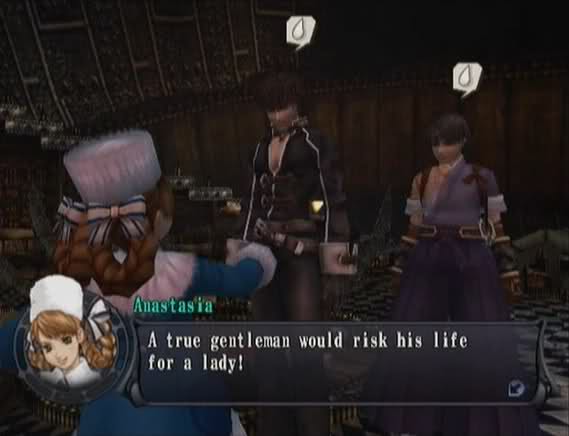
 I'll go with you. It'll be interesting to go somewhere new. Oh, Kurando! I knew I could count on you! You're so kind and caring. You're wonderful, Kurando!
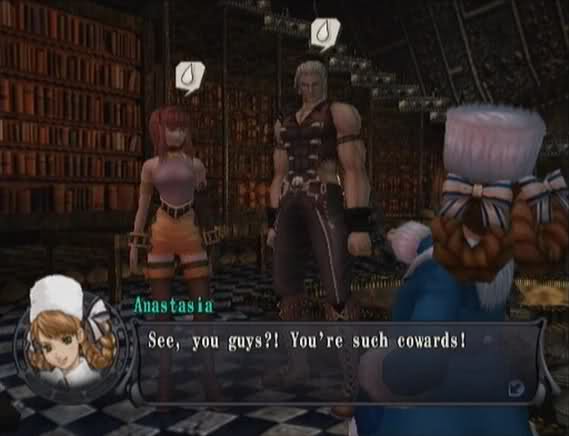
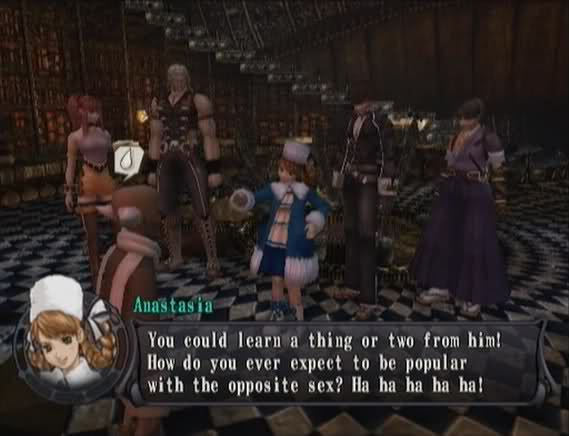
Poor Kurando.
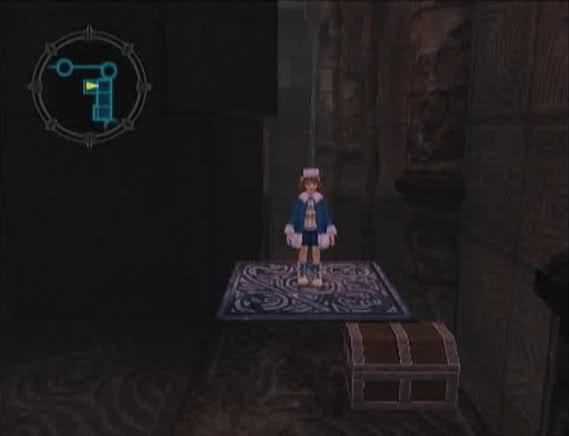
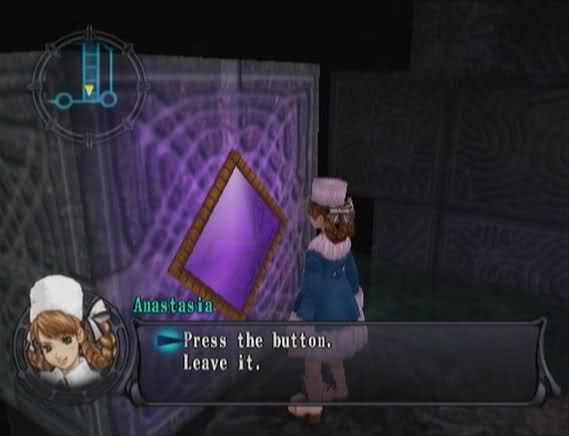
After that, we pick our party (which has to include Anastasia and Kurando), and then we find ourselves at the entrance to the ruins.
Map is here. (not mine)
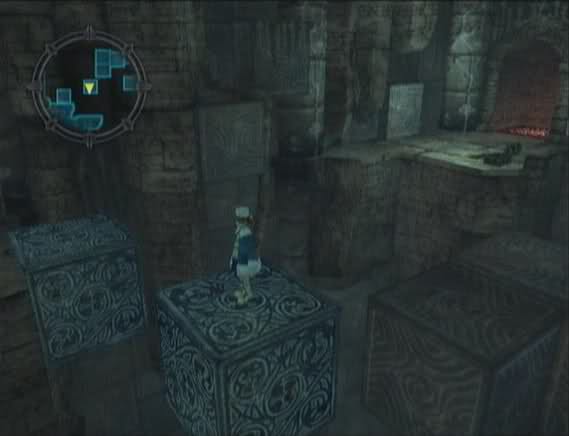
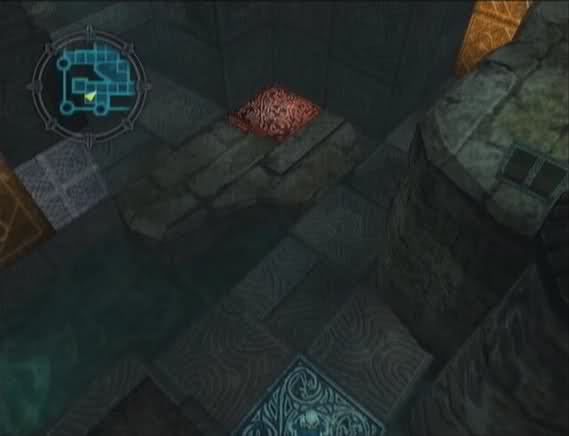
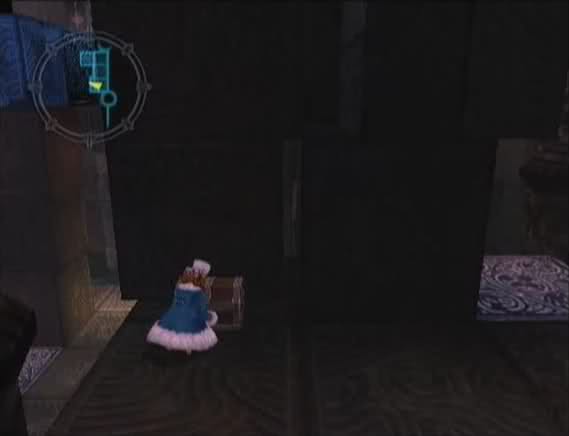
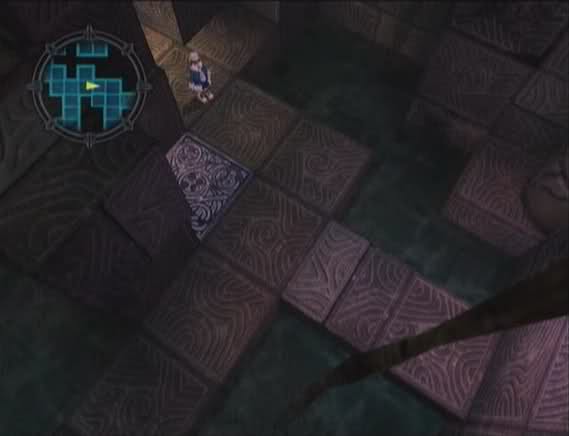
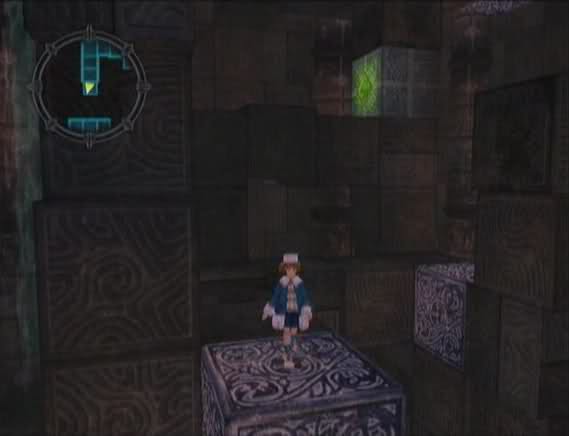
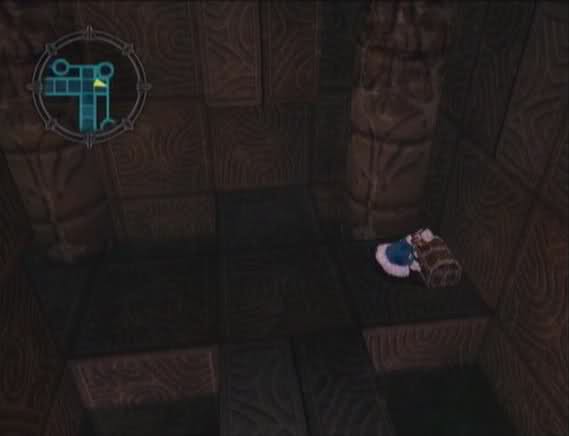
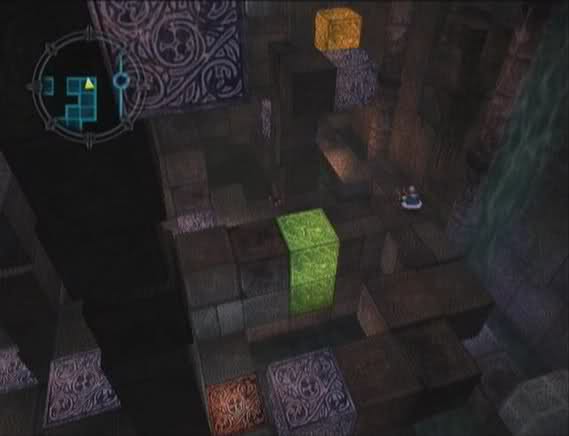
After we make our way through the labyrinth to the level with the huge block puzzle, we find a red block that hadn't been there before.
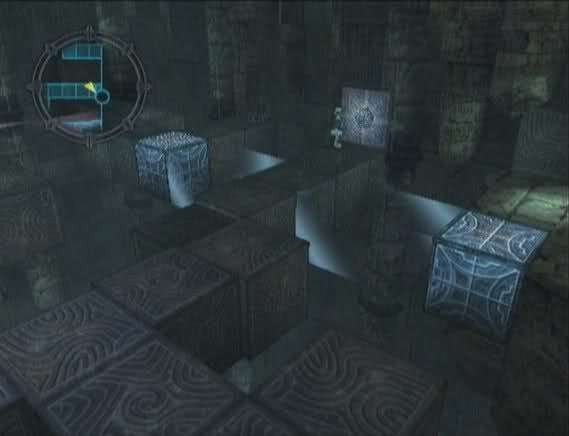
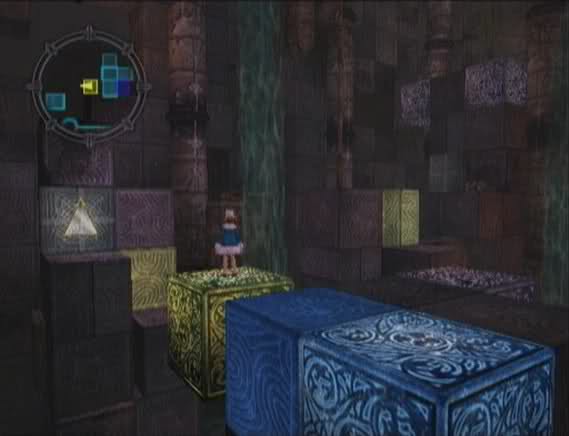
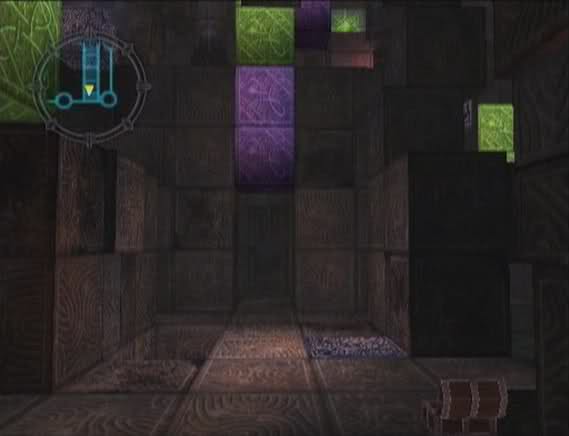
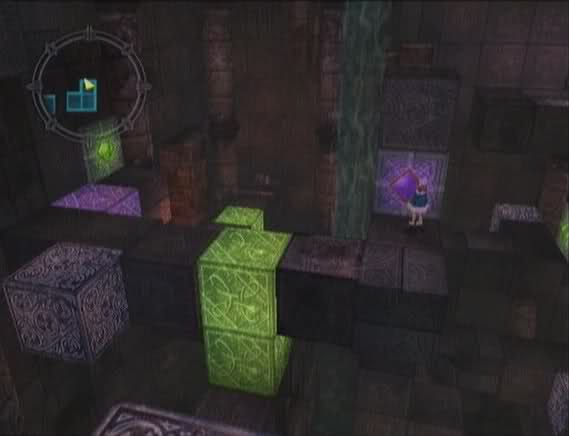
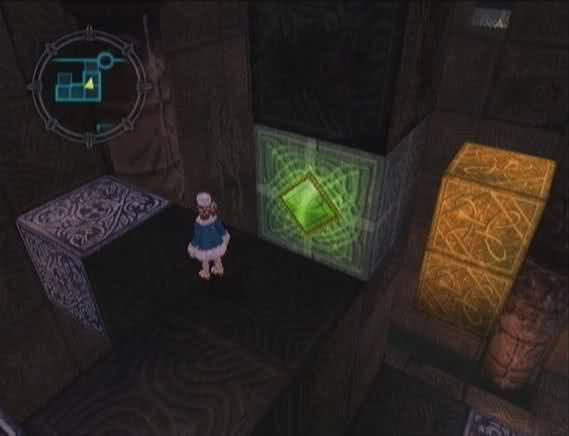
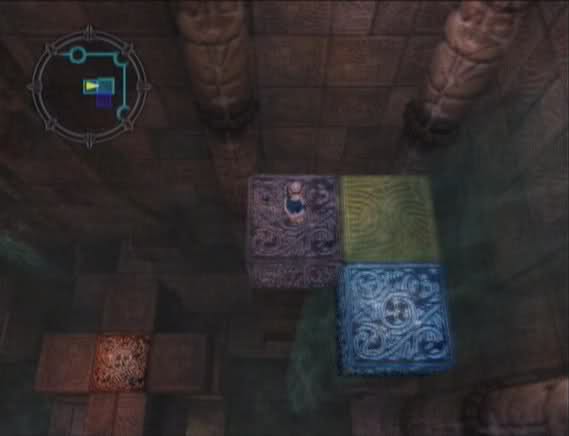
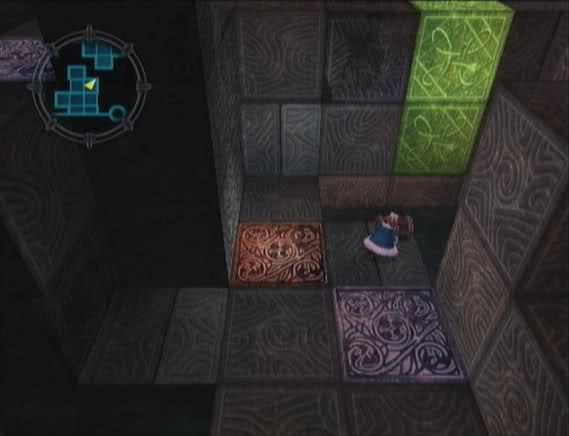
Riding the brick takes us even deeper into the ruins. This is the most complicated puzzle in these ruins. It has every block type we've encountered before (except for the light bridges). The enemies have changed as well. We now have Aerolite, Onlooker and Talos.
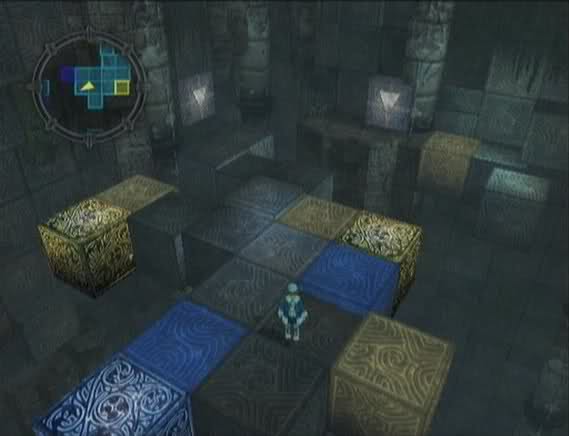
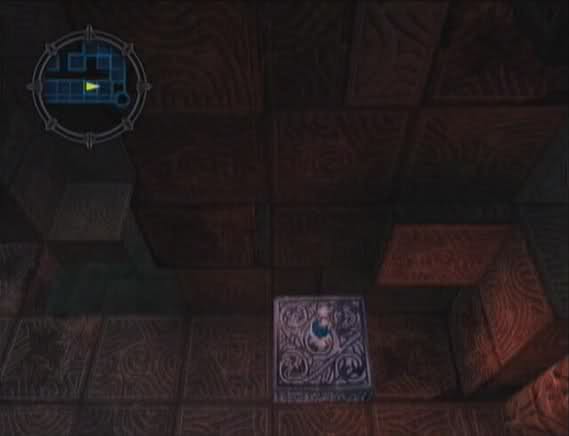
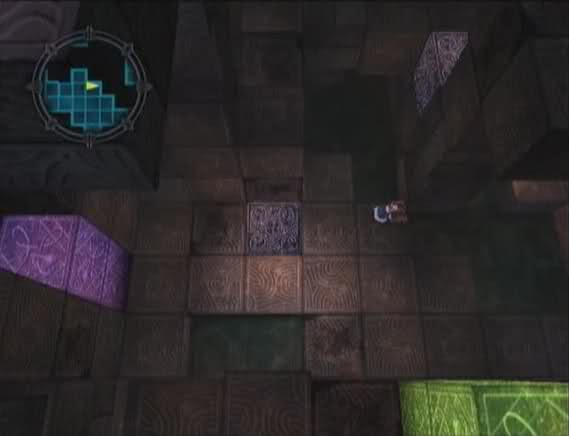
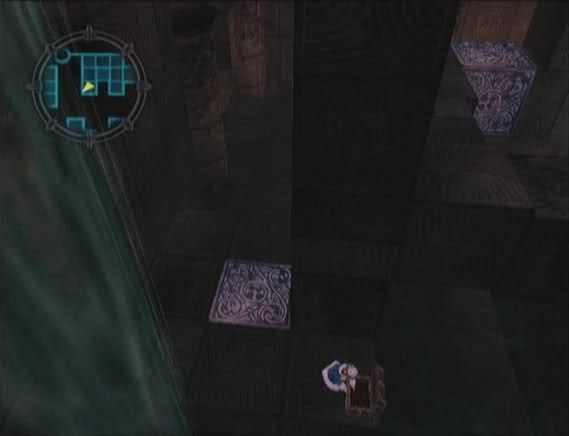
The first thing we do is ride the purple block across the room.
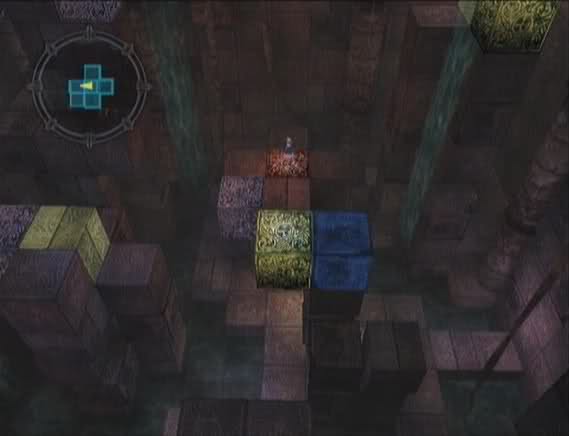
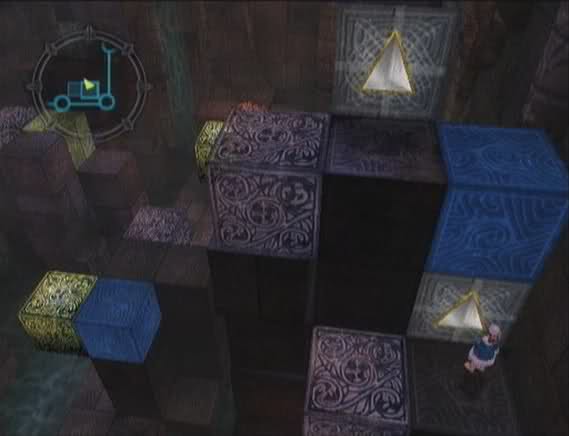
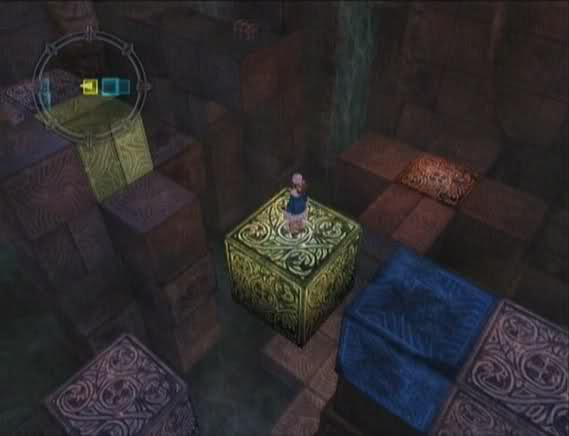
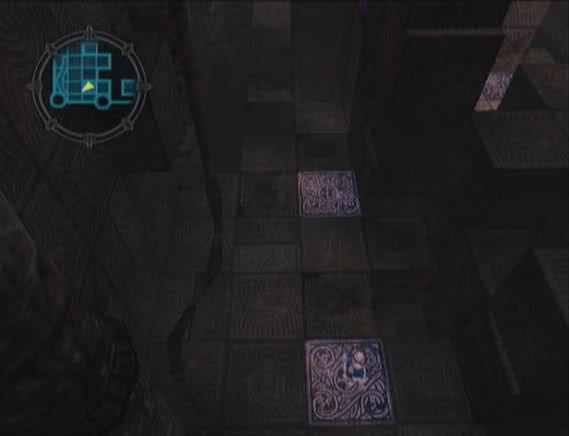
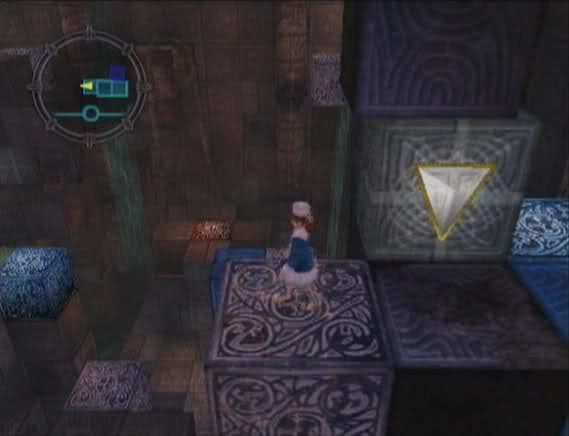
Then we ride the yellow block across, hit the button to switch the colors of the yellow and blue blocks and ride the now blue block back.
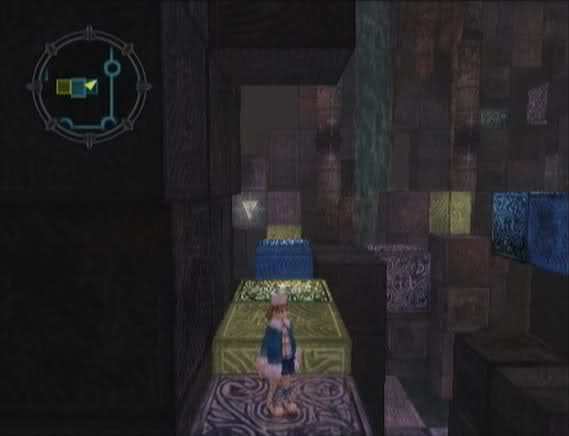
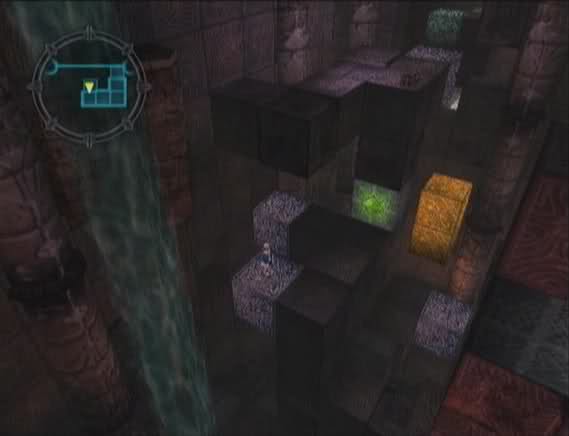
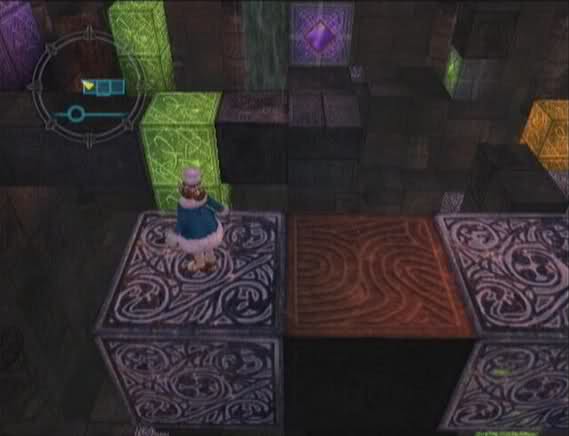
We ride the other block across and take the purple block down to a lower level.
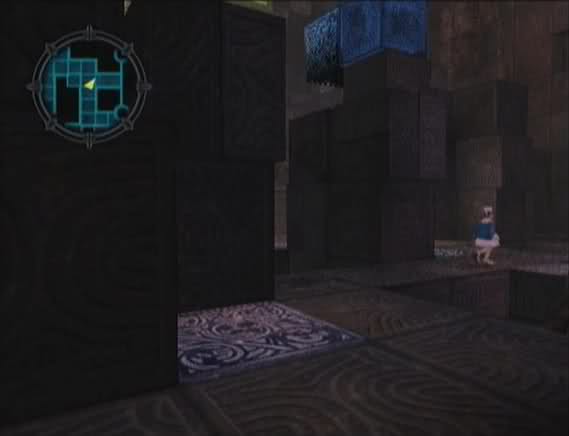
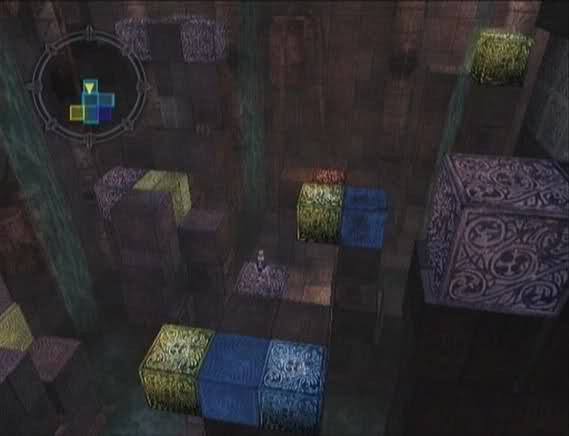
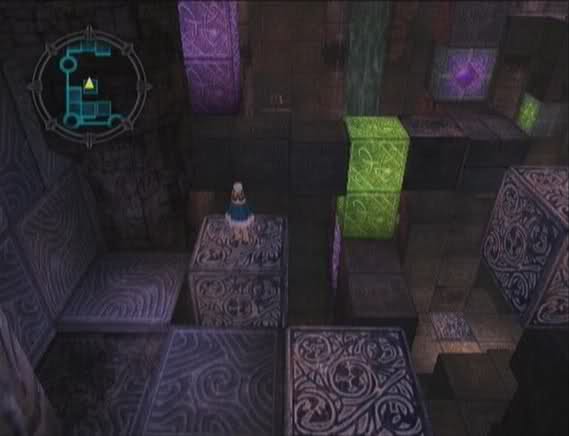
From there, we head north (on the mini-map).
On the northern edge of this area, we find a chest with a Seal of Wisdom. After grabbing it, we head to the further purple block visible on the screen (east on the mini-map).
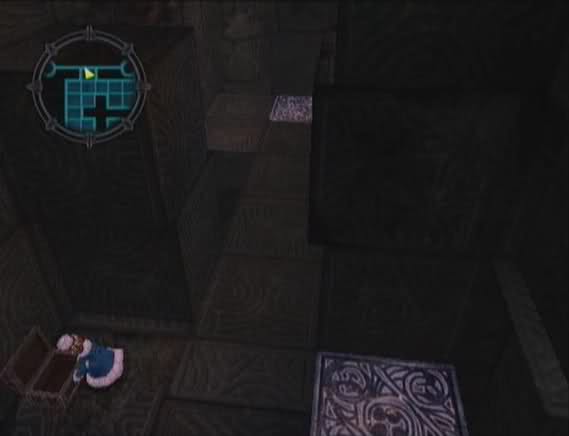
This brings us to an area with two chests. The first one has a Thera Extract.
The other one has Delay 4.
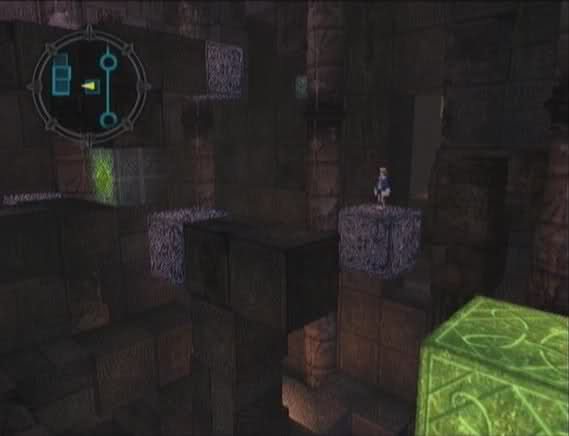
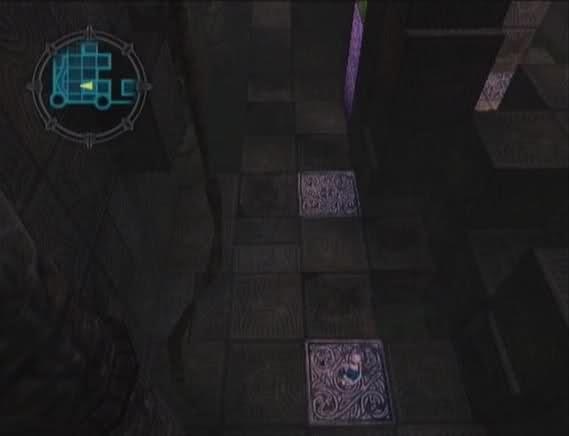
We take the block back down, then go all the way south (hugging the left side). From there, we go right to find a block heading up.
Up there, we find and press another color-switching button.
We take the block back down, go left and north. At the T-intersection, we head right to find another purple block that goes up.
We take a yellow block.
We take a purple block right next to where it docks to enter another room.
We take another purple block to go down one level.
We follow the path around and reach a block that takes us down one more level.
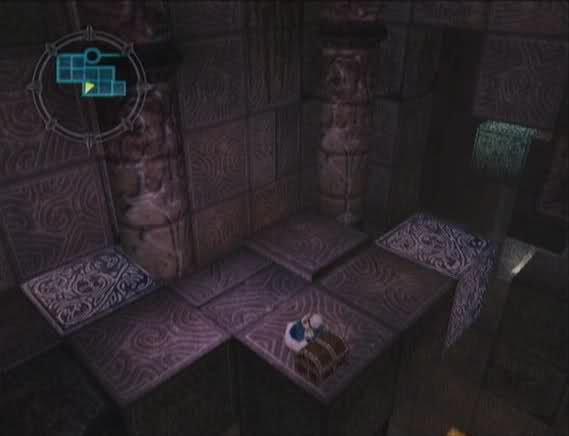
As soon as it lands, we grab a chest with a Strike Expand.
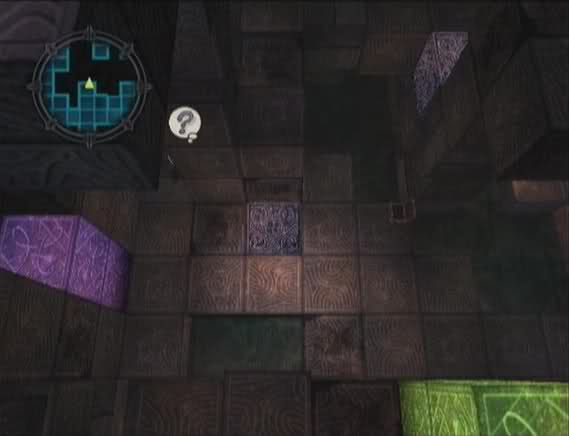
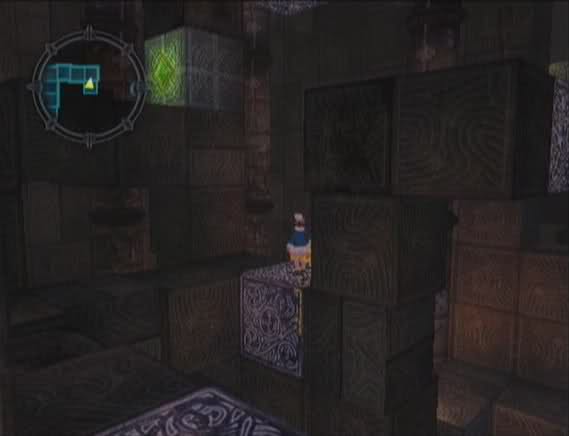
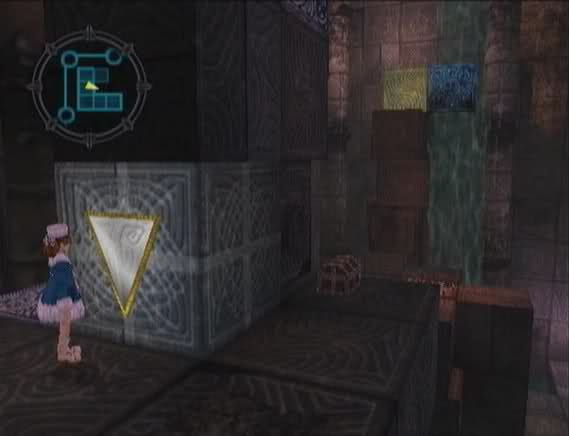
To the left, there's a hidden item.
You got Shanghai Heaven
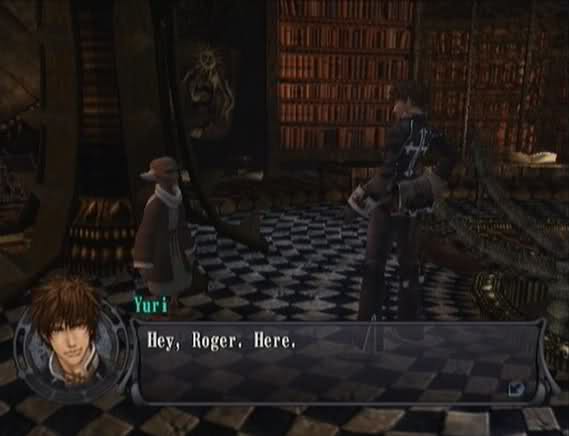
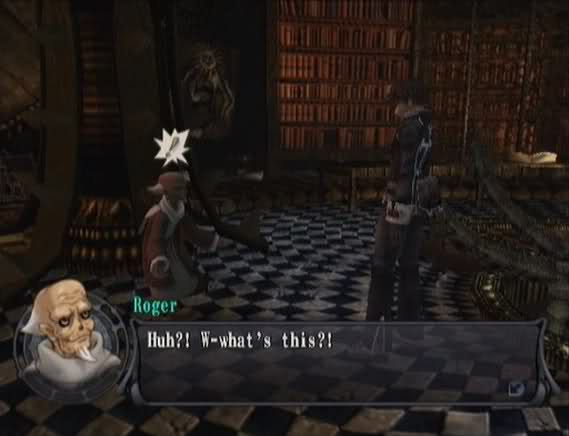
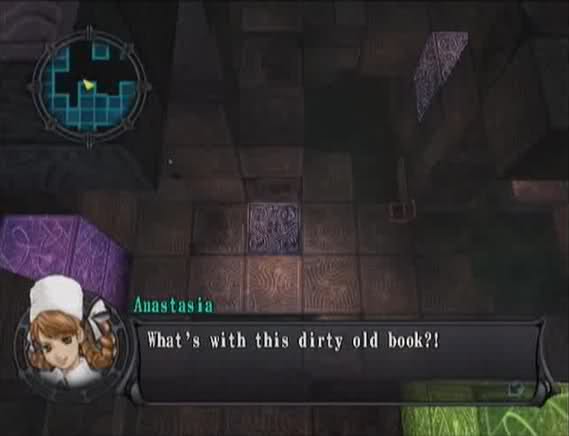 Hey! Old Roger must've been running away pretty quick to leave this behind! What kind of book is it? I-it's nothing?! You shouldn't look at it, Kurando! You mustn't! It would poison your pure heart! Yuri, quick! Put it away! Just seeing it out of the corner of my eye makes me feel sick! Okay, okay...
Huh. I can't believe Roger is still carrying around that musty old porn mag.
From there, we run to the right and all the way south to press a purple switch.
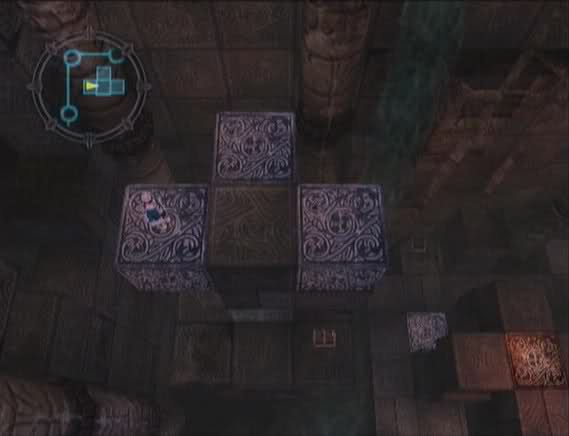
This moves some purple blocks.
Now we can go all the way to the lower-left corner and ride this block up.
We ride this block over and hit the purple button on the right.
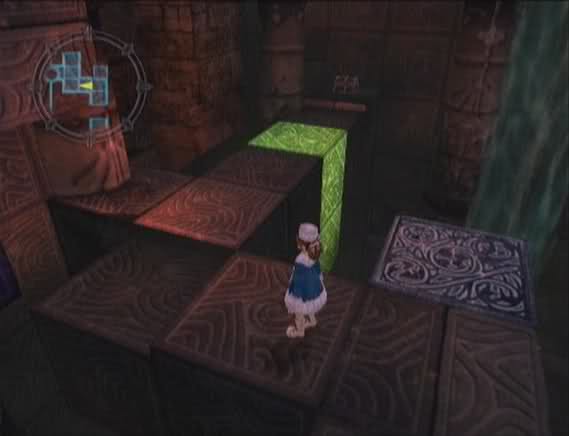
This lowers the purple blocks so we can reach and press the green button, which moves the green blocks.
Then we go all the way back down and take the next block up.
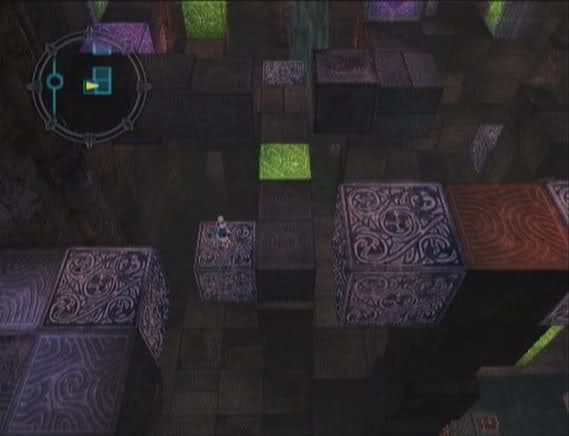
From there, we just go straight up across the green block and take the purple block down.
This lets us push a yellow button to move some yellow blocks out of our way. After that, we go back up, across the green block and back down. From there, we take the lower block up again so we can push the green button and the purple button. Then we go back down.
Then we go north, all the way right, and north again until we reach the upper-right corner. The chest here has a Pure Extract.
From the chest, we go left, grab a Seal of Speed from the chest here and ride the purple block up.
We push the green button and ride the same block back down. We then go ALL the way to the lower left corner and take the lower block. We hit the purple button and green button AGAIN, and we ride the block back down.
We can now reach a chest from the next block up. This one has an Eternal Key.

We go back down, take the lower block back up, hit the green button, hit the purple button and go back down. From there, we go north, right, north and left until we get to the block that brings us back to the second green switch. We ignore the button and take the other purple block here.
This takes us up to an area with a Seventh Key in a chest. After grabbing it, we take the block on the right, which brings us back to the room on the right.
From here, we take the middle purple block down.
We push the switch here to change the block colors then grab a key item, Hieroglyphics, from the chest. These are used in another sidequest.
We go back up and take the block on the right. This floats us across to a now blue block. We ride this block south.
We ignore the switch and ride the purple block across.
This one takes us to another purple block that goes down.
From there, we follow the path across the green block to reach a treasure chest holding a Daphne Fruit.

Then we take the purple block on the lower right, which brings us down another level.
This gets us a chest holding a Bat's Gold.
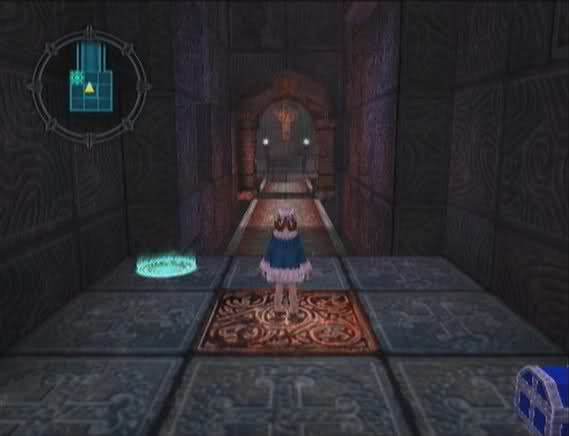
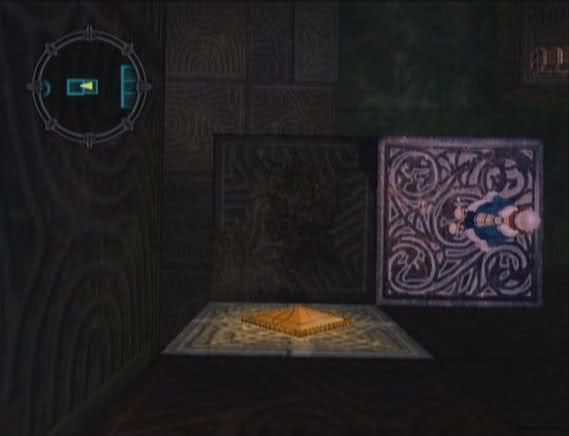
Stepping on the red block takes us down to the lowest level. The chest here has a Zodiac Bracelet. We save, heal up and head down the corridor. This triggers a scene.
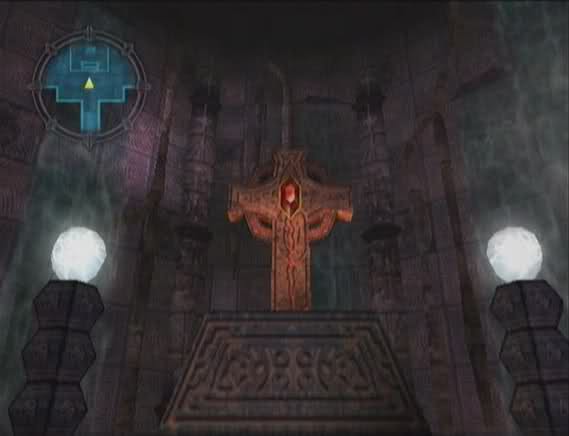
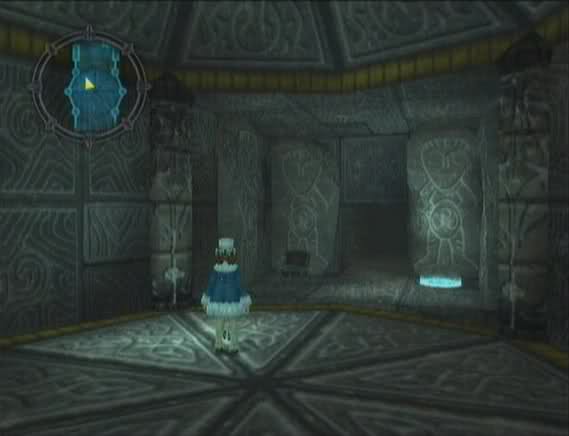
It...looks just like the other altar, except painted gold.
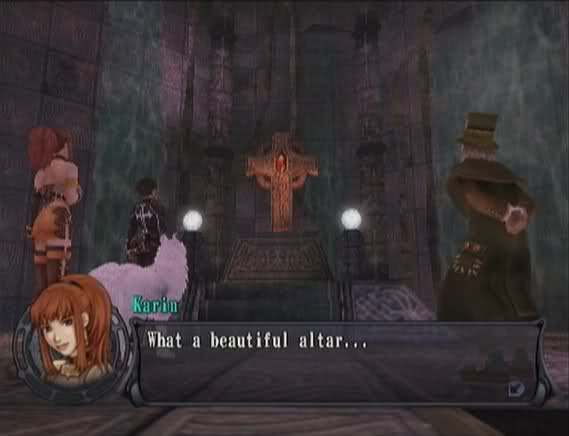
 I didn't even know this was here. These ruins must be huge.
 The waves are focusing in the center of the altar. You can feel something creepy coming out of them, right?
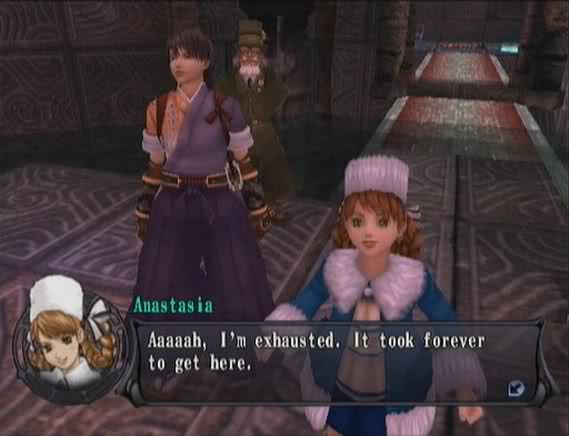 I've got to get a photo of this monster, whatever it is. Otherwise, it'll all just have been a waste of time... It's coming!
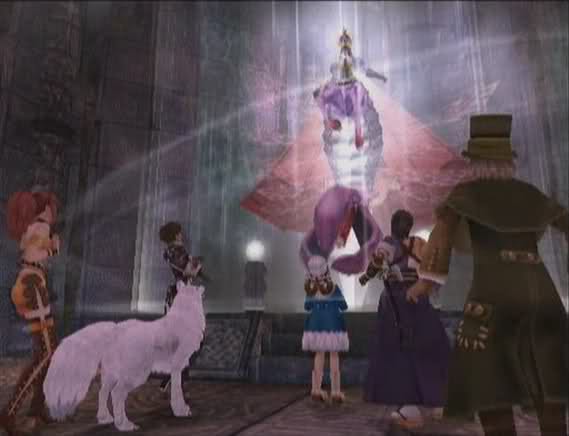 I-it's c-coming?!
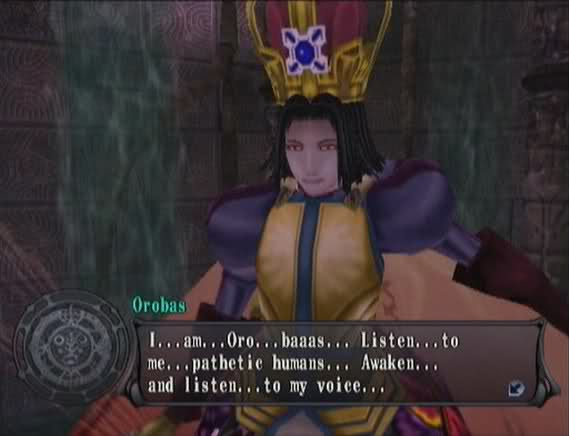
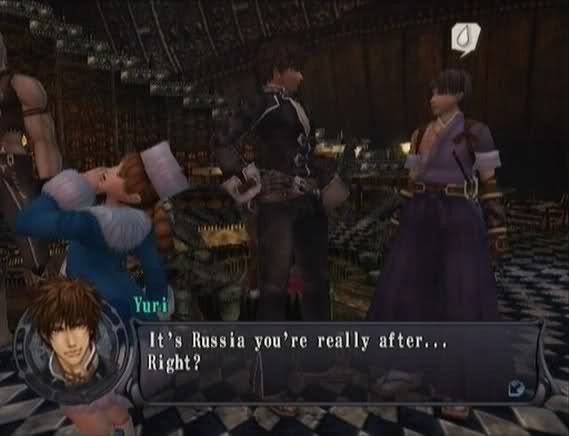
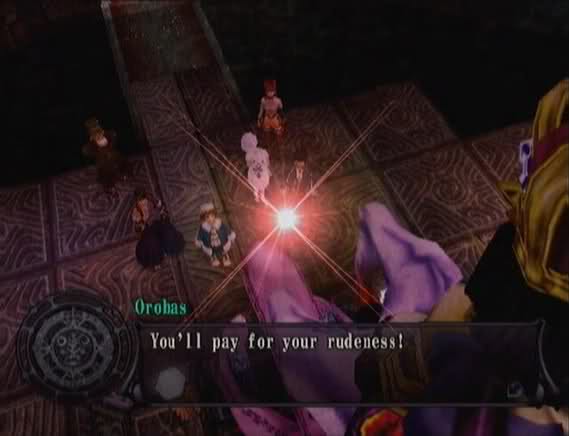
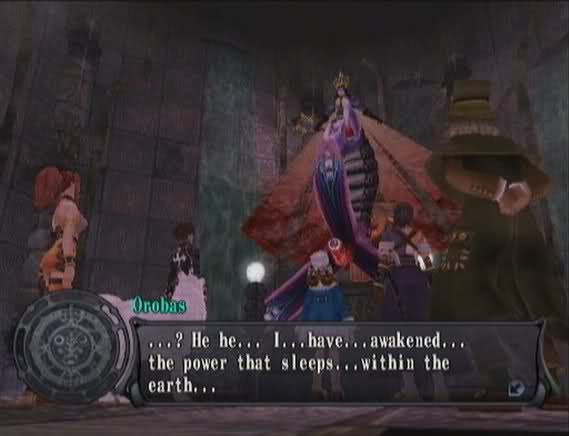 I can't wait around for this, you snail! Just get to the point! What's this sleeping power you're talking about?
Orobas: I will destroy the world...with the sleeping power...!
Oh, please! Not again! Is that all your type ever talks about? Do you really want to destroy the world that badly?Orobas: Yes. Once the land is ruled by my hand, then...
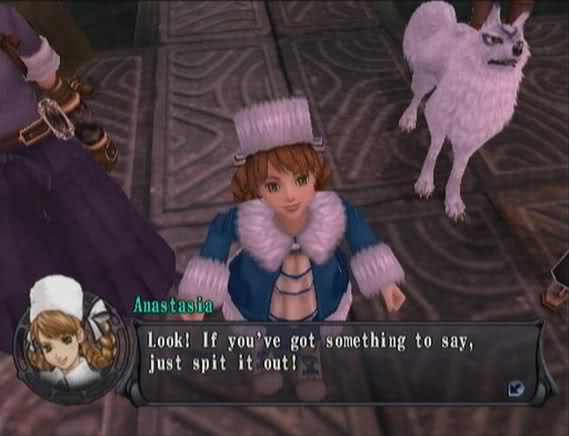
Once you rule it, yes? And then what?
Orobas: Then...
I love this game.
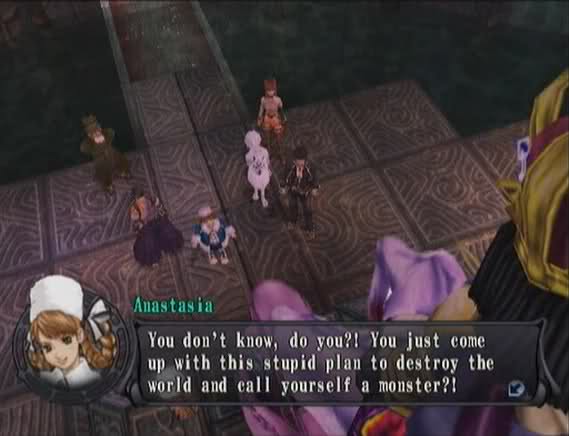
 You're ridiculous!
Orobas: Whaaat?! You...! Think before you speak! You think my plan is s-stupid?!
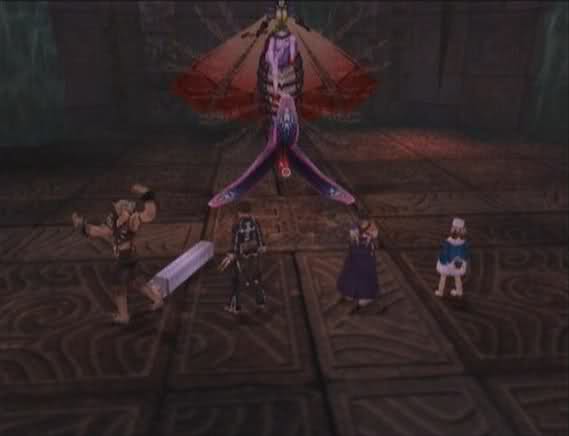
So now we have to take down Orobas.
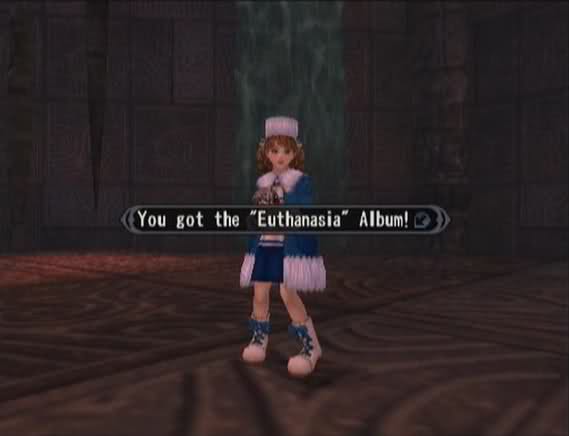
Anastasia saying she wanted the monster's picture earlier was a hint. Doing so gives her one of her albums.
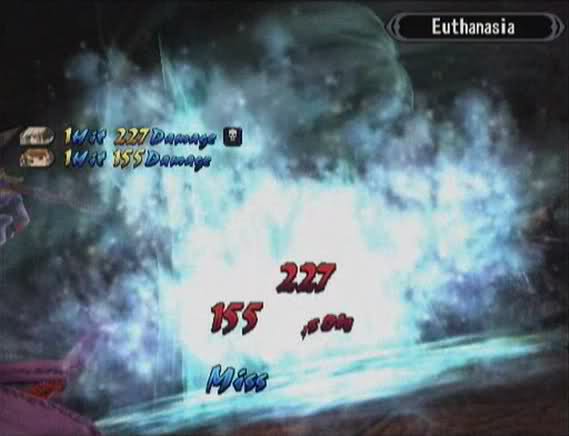
Euthanasia is a Water spell that can also Poison the target.
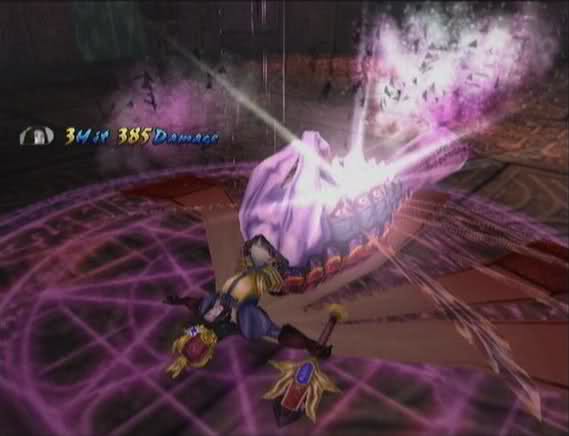
The fight doesn't take long, partly because I equipped Mind's Eye on Yuri.
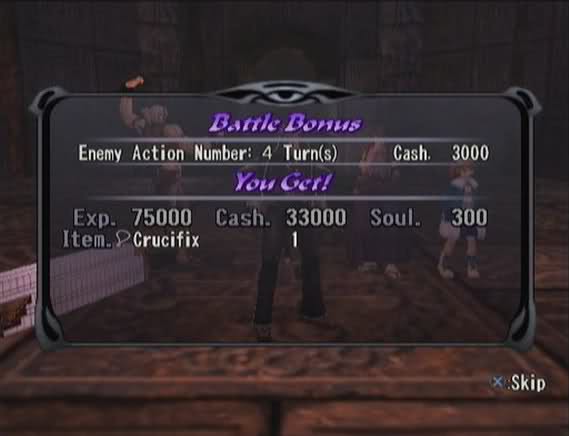
We get another Crucifix for winning.


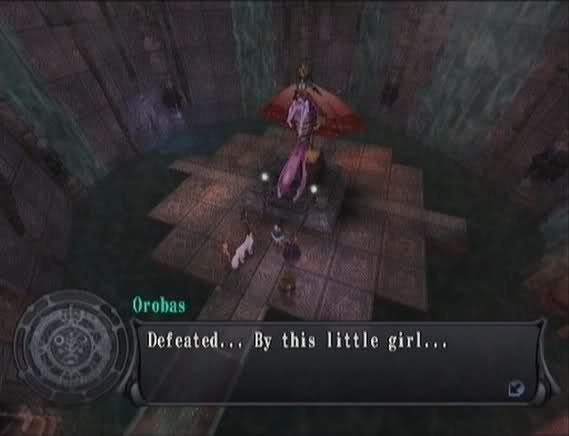 I hope that taught you a lesson! If you turn over a new leaf and work for me, I'll spare your life.
Orobas: S-spare me?!
Ahem! Spare me, what?Orobas: S-spare me, please?!
Fine. If you promise to behave yourself, I'll take you out of here and show you there's a great big world out there. I'm giving you a chance to forget your stupid plan, and come up with a new one. So? Don't I deserve some thanks?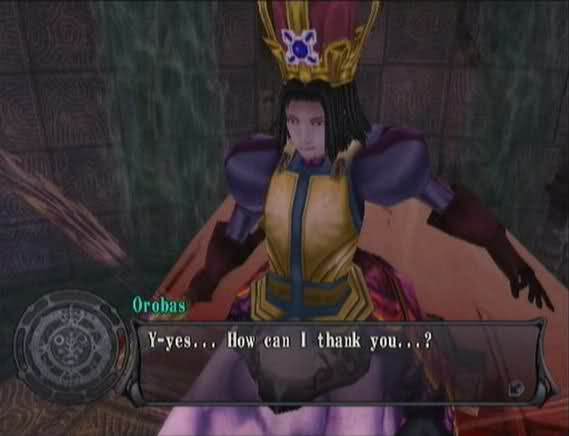
Orobas: I'm your servant now...
You got the Orobas Crest
You know, sometimes Anastasia is a little scary.
 Yeah. You'll probably have a lot to put up with Kurando. Huh? Well, um...
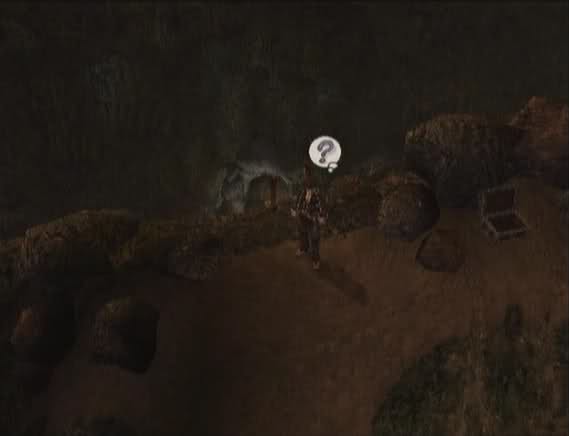
After the scene, we automatically end up outside the ruins.
After that, we can talk to Roger to return the magazine.
 You dropped it. Y-you brought it back for me?
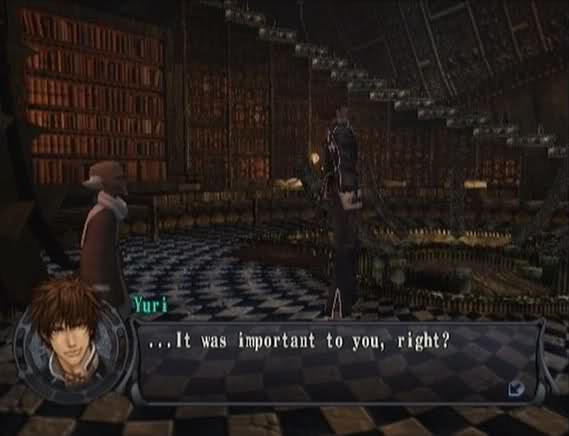
Cue sentimental piano music.
Yeah. ...I know how you feel. Yeah... ...So you'd better keep it safe. Yeah!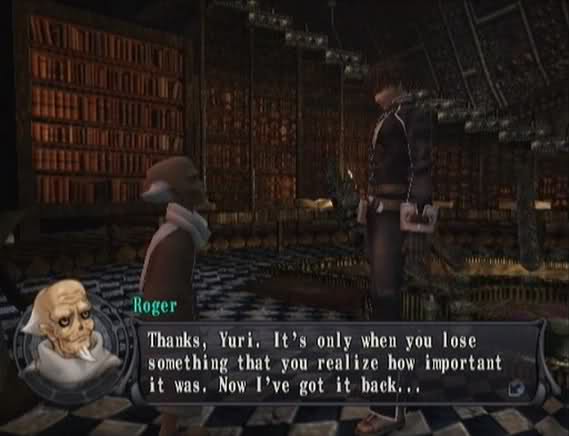 I really wanna thank you! Here, have these!
You got White Underpants
These are a unique accessory that any of the girls and Gepetto can equip. They halve Physical damage received. ...I'm not going to ask what Roger was doing with them.


After that scene, if we leave Wales and then come back, we find Roger standing over by the stairs.
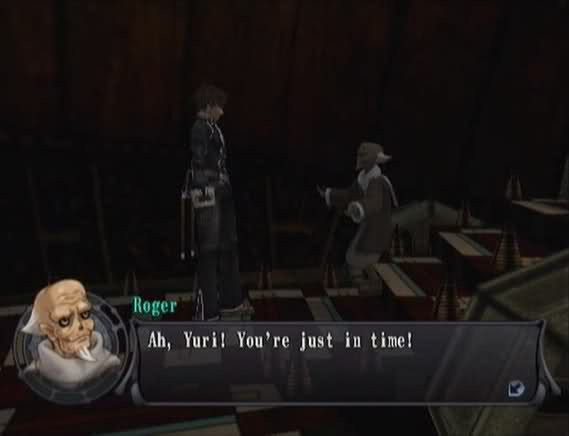 What's up, Roger? You're certainly in a good mood. He he he. I'm finally finished with the repairs. Behold the rebirth of the glorious teleporter!
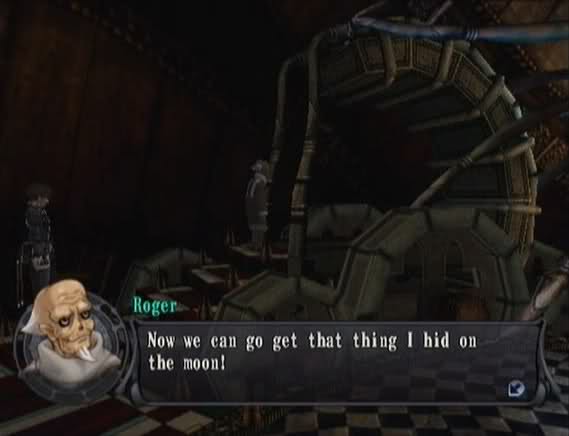 Oh, that thing, eh? What did you have to go and hide it on the moon for, anyway? It's not like anybody'd want it... Bite your tongue! You know I couldn't let such a powerful weapon get into the hands of some evil genius! But, gee, you really did show up at a perfect time! What luck! Mere chance. If I'd known what you were up to I would've stayed far, far away. So how about it? You ready to take another little sprint? I bet you're just itching to hop on that thing! Can't say I feel the least bit itchy. You sure? Positive. Not itching just a little? Not in the slightest!
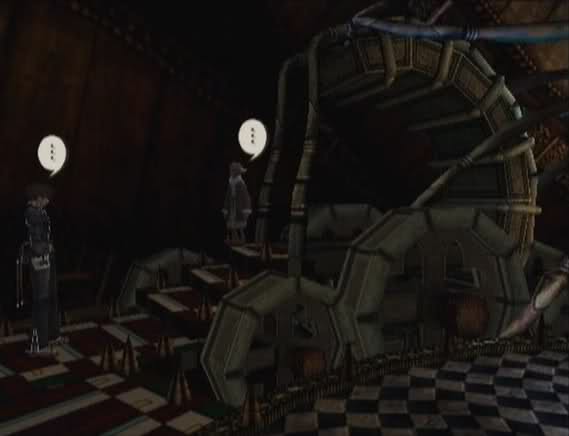 What? ...Guess it can't be helped. I'll have to do the running, I suppose. You just go stand in that Warp Point.
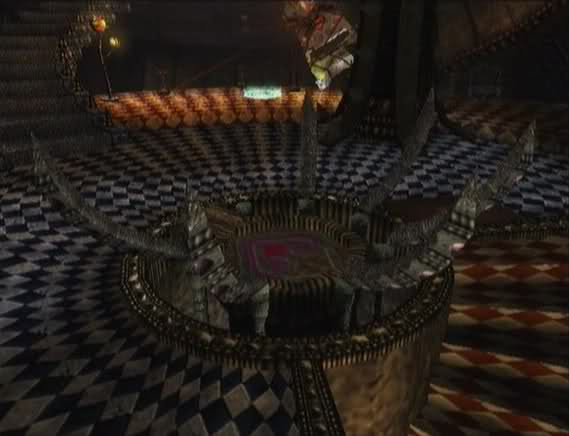
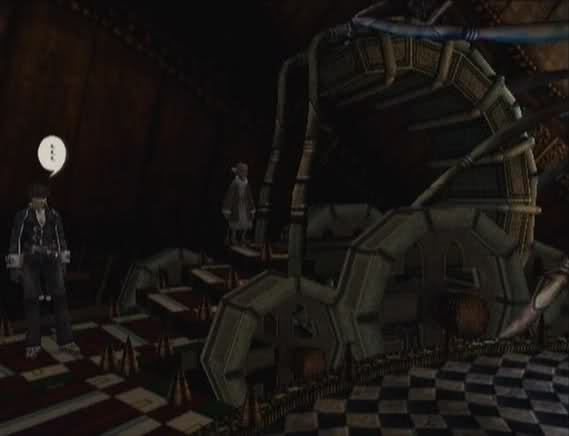 ...I'll do the running! No, no. That's fine. No, really! Suddenly, I'm just dying to go for a jog. Oh, please! Please, please let me do the running!
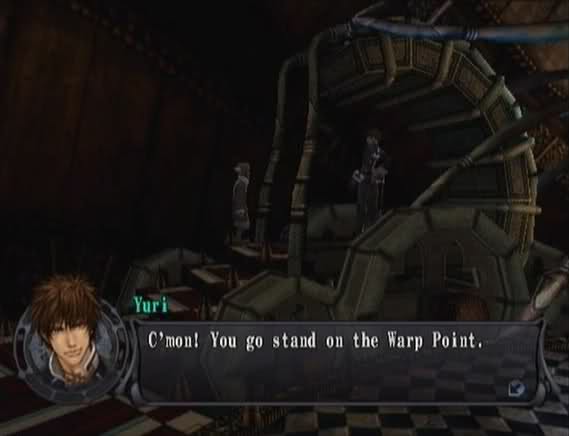 Thatta boy! Thanks, Yuri! As soon as I stand over there, the machine will start to work. And then you start running at full speed! Yeah, yeah!
 Okay, I'm all set! Go ahead and get those feet moving! That's the way now give it all you've got!
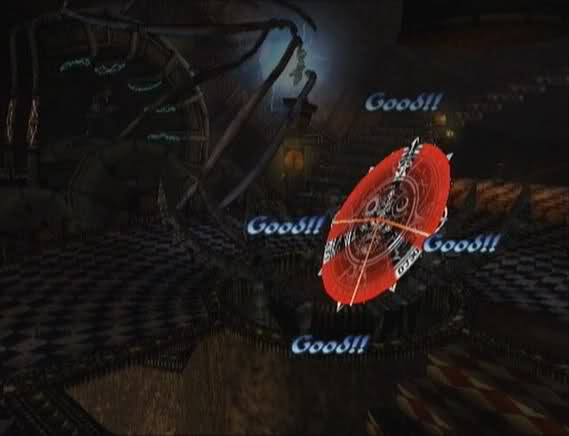
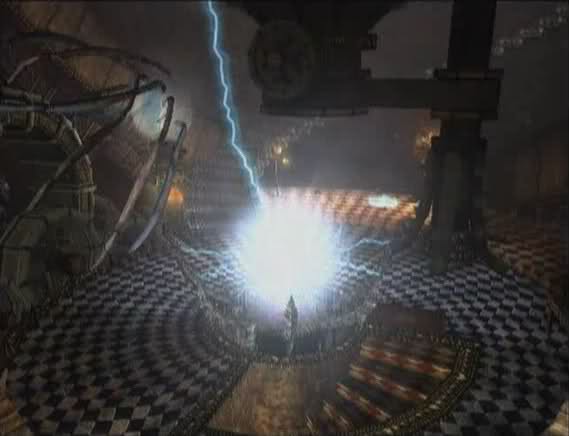
This is just like the same mini-game in the first Shadow Hearts. You have to hit all three areas for ten revolutions of the Ring. The indicator starts out moving slowly, but it speeds up every revolution. This one isn't as hard as it was in the first game.
This time it only took me 20 tries!
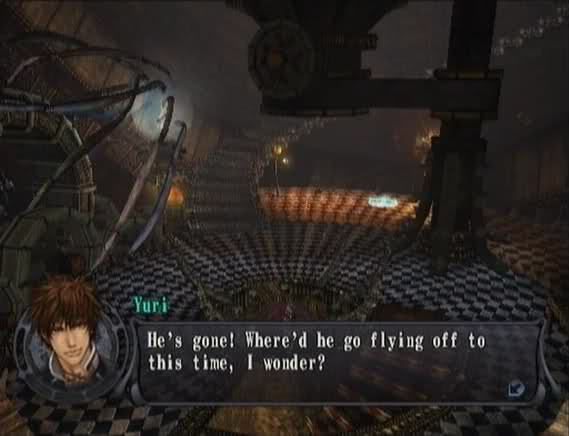
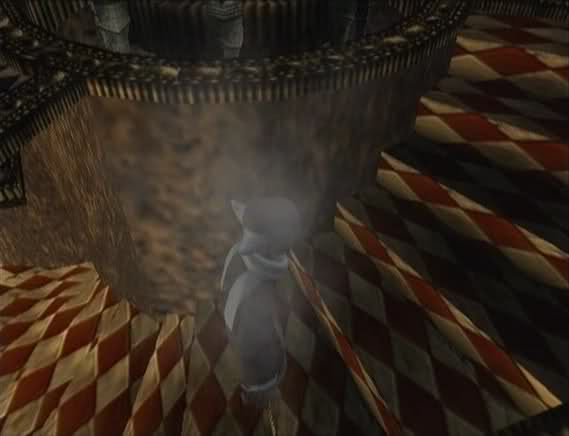
After a little while, Roger appears, smoking, at the entrance.
 Welcome back. *pant, pant* I went there...to the moon! I-I brought back a souvenir...
You got Chimera Claw
We now have Yuri's Ultimate weapon.
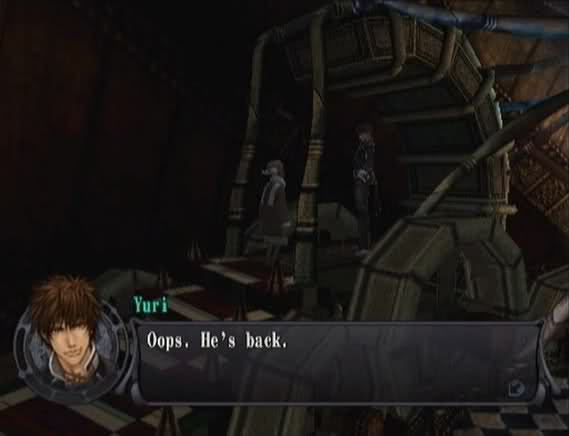
Gee, thanks Roger. By the way, there, Rog. You almost died out there again, didn't you? You okay?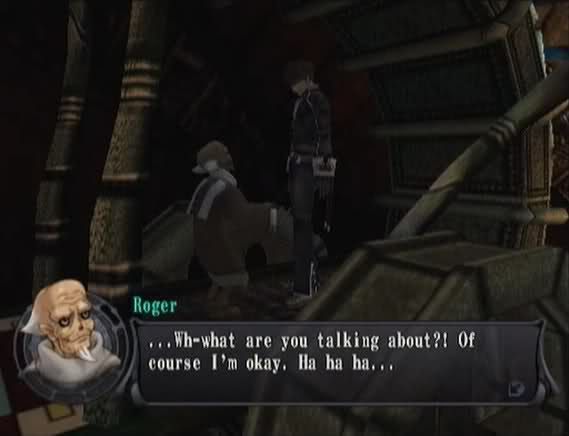
And with that, we're done with Wales (for now).